Oct
30
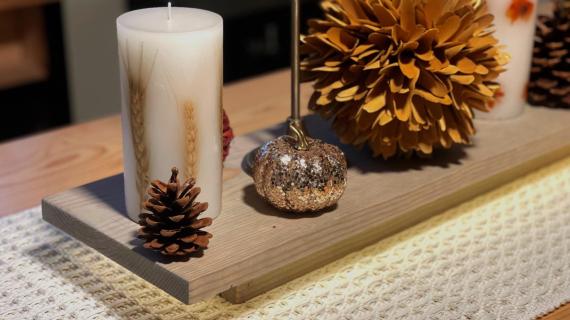
Elevate your dining table with a wood runner riser - this adds a beautiful wood texture to your dining space, separates out your centerpiece decor, AND it's lighted, adding a glimmer of glamour. Free step by step plans from Ana-White.com
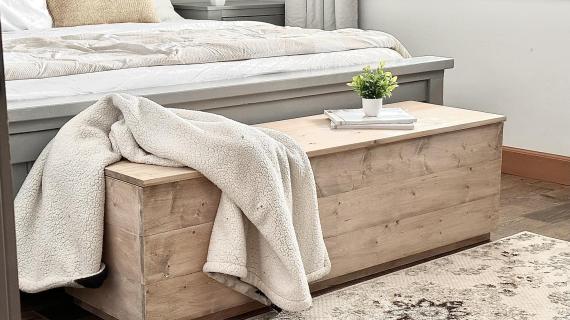
Do you need a bench with maximum storage? A wood chest or trunk can provide tons of storage and act as occasional seating or even tabletop surface.
Save hundreds of dollars by building your own wood trunk or chest. This is a free project plan with step by step diagrams, video tutorial, shopping and cut lists - everything you need to be successful at building your own wood trunk!
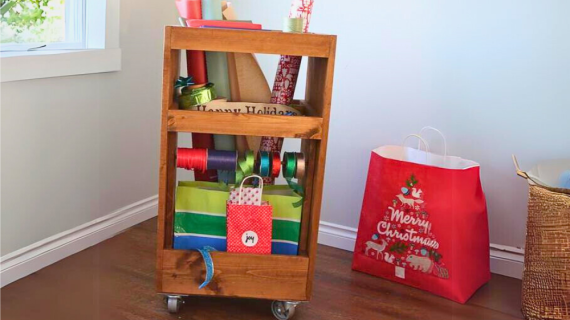
Organize your gift wrapping supplies in this beautiful cart! Featuring storage for rolls, and shelves for ribbons and bags, customize with dowels for more ribbon storage.
This is a free step by step project plan from Ana-White.com, including diagrams, shopping and cut list.