Community Brag Posts

Bathroom corner vanity
Submitted by Anonymous (not verified) on Mon, 06/12/2017 - 12:49

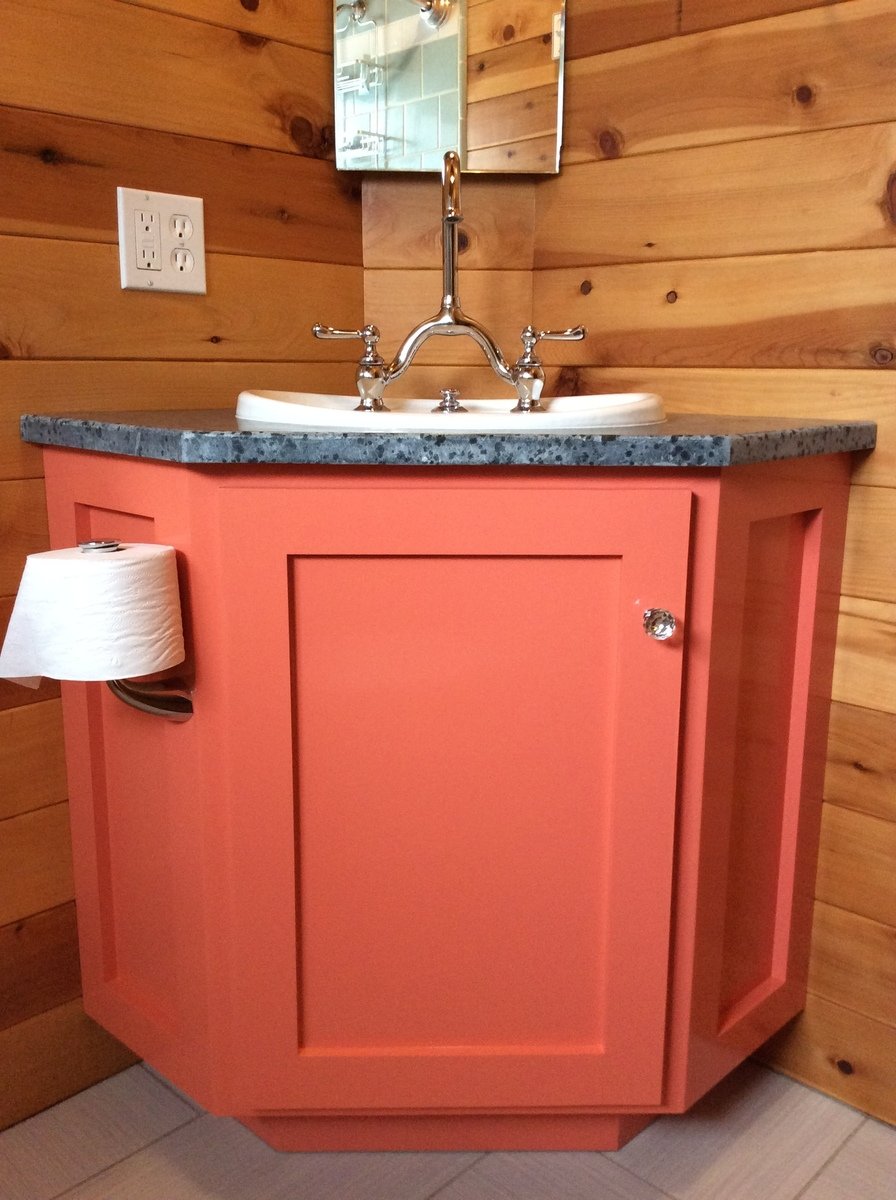
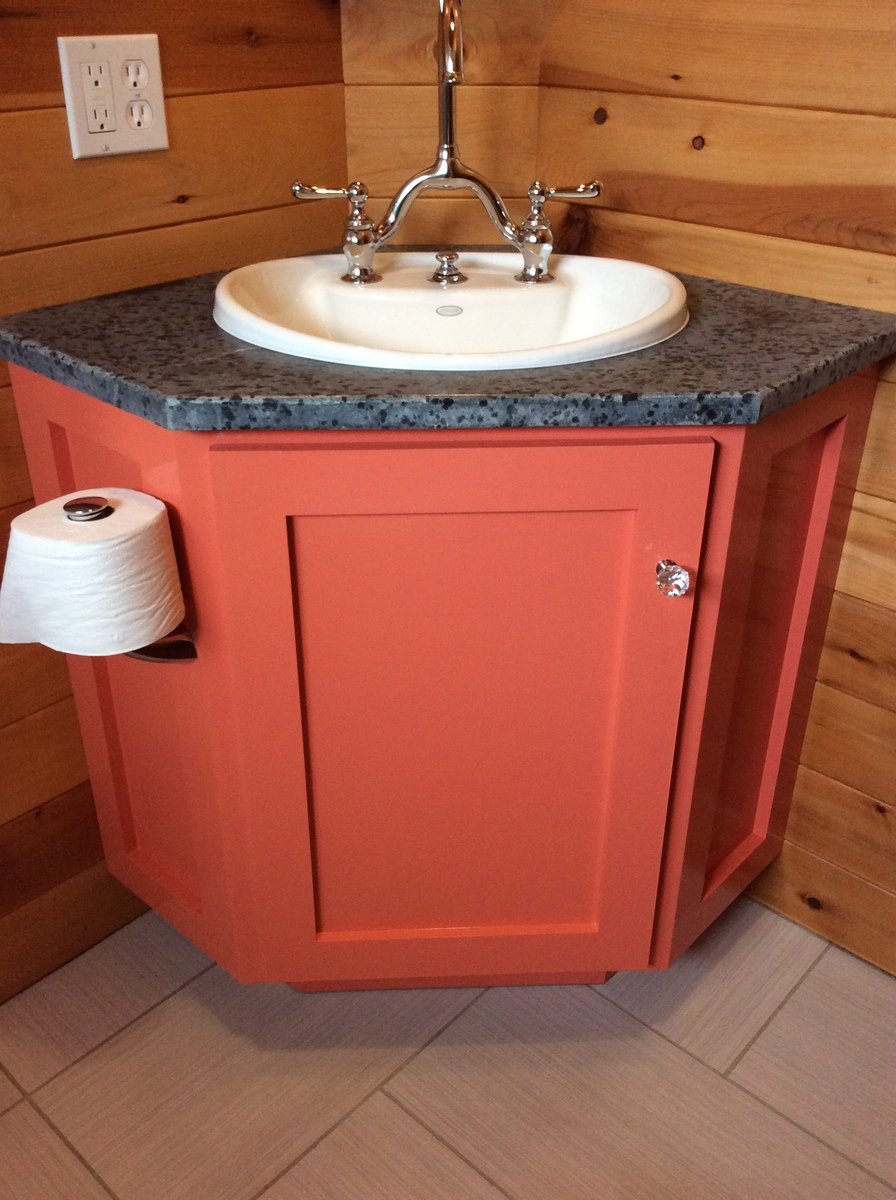
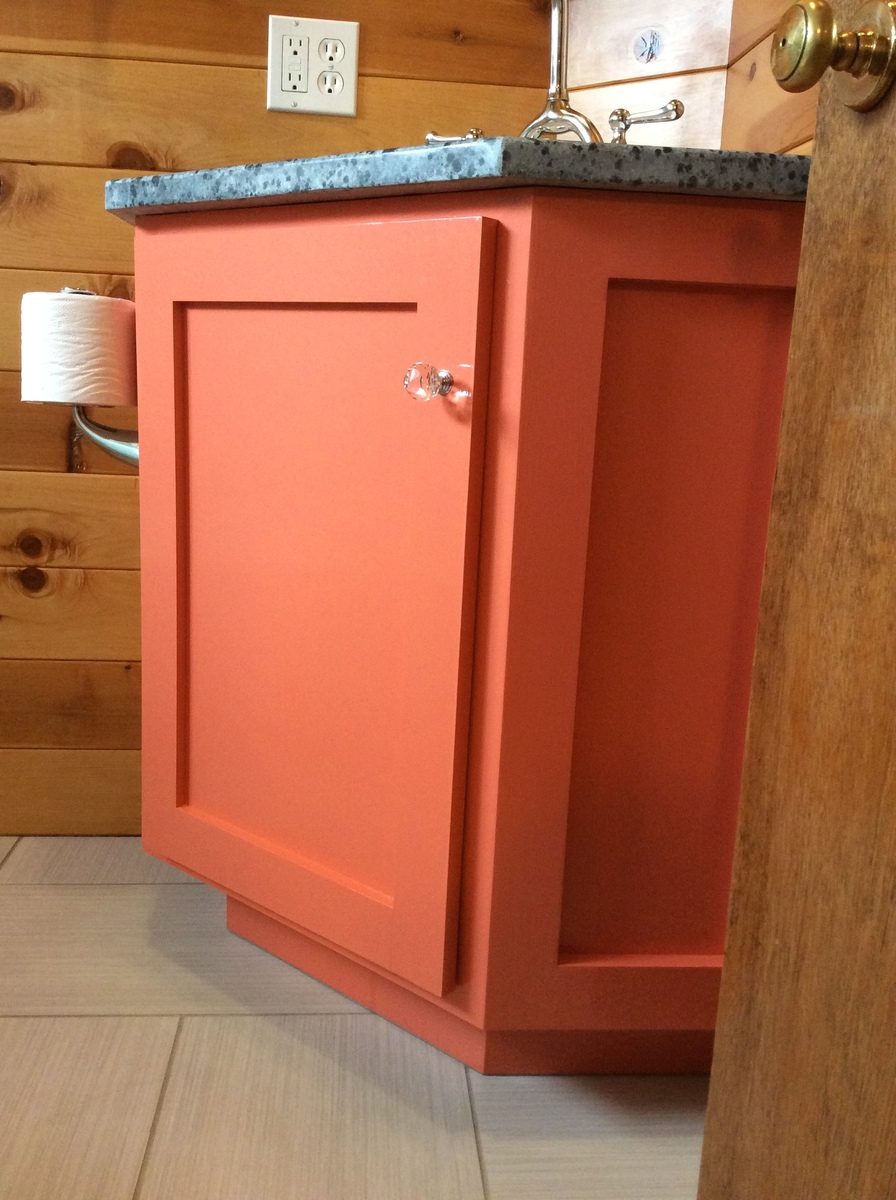
This project started because a corner bathroom vanity that fit my space requirements and budget did not exist. A plan specific to what I exactly needed also did not exist. After combing through what plans I found online, the Wall Kitchen Corner Cabinet best matched what I wanted. I modified it with the Momplex Sink Base Kitchen Cabinet in order to turn it into a sink base.


But, there was a problem. I hadn't actually built anything before. In order to get at least one project under my belt, I built the Vintage Step Stool. It turned out great, so I figured I was ready to go! Strangely enough, after spending about $100 and several weekends picking away at this project, it was done! It looked great, even. Then, I moved the vanity into the bathroom and realized that, while it may have looked great, it wasn't very square. Lesson learned was that this is a two person project. It is too difficult to keep things square and screw at the same time when there is only one person.


At this point, everyone was tired of having to use the kitchen sink to brush their teeth and wash their hands, so we needed to get this project done. $100 later, we had more material. Since I had figured out what needed to be done with the first vanity, let's call it our prototype, the second vanity went together REALLY quickly. 


Within a few hours, it was pieced together. Since it was going to be painted, we used Bondo to cover up our imperfections. Yes, of course there were imperfections. While much better than the prototype, it still was only my third woodworking project. Sanding, caulking, and priming took another hour or so. A few coats of the finish paint went on, followed by a couple more coats of a clear sealer, and it was done.


We moved it into place, screwed it to the wall, put the soapstone countertop on along with the sink and faucet, and it truly was complete. Sink is Kohler, faucet came from our local Habitat for Humanity store and I'm not sure what brand it is, and the soapstone came from soapstones.com. If we had oiled the soapstone with mineral oil, it would be a very dark gray.
Estimated Cost
$100-$150 for the wood, screws, caulk, primer, paint, and clearcoat.
Estimated Time Investment
Weekend Project (10-20 Hours)
Finish Used
Pratt & Lambert Azalea 5-12 and Designer White 33-1 for the colors. After each application dried, I sanded it with a very fine grit sandpaper to make the finish silky smooth. I also used our air compressor to blow the dust off, and then used a damp cloth to wipe it down before applying more coats. That worked better for me than using a tack cloth. Then, I added a few coats of a water based, heavy duty floor finish, meant for wet areas. I don't recall what brand it was.
Recommended Skill Level
Intermediate

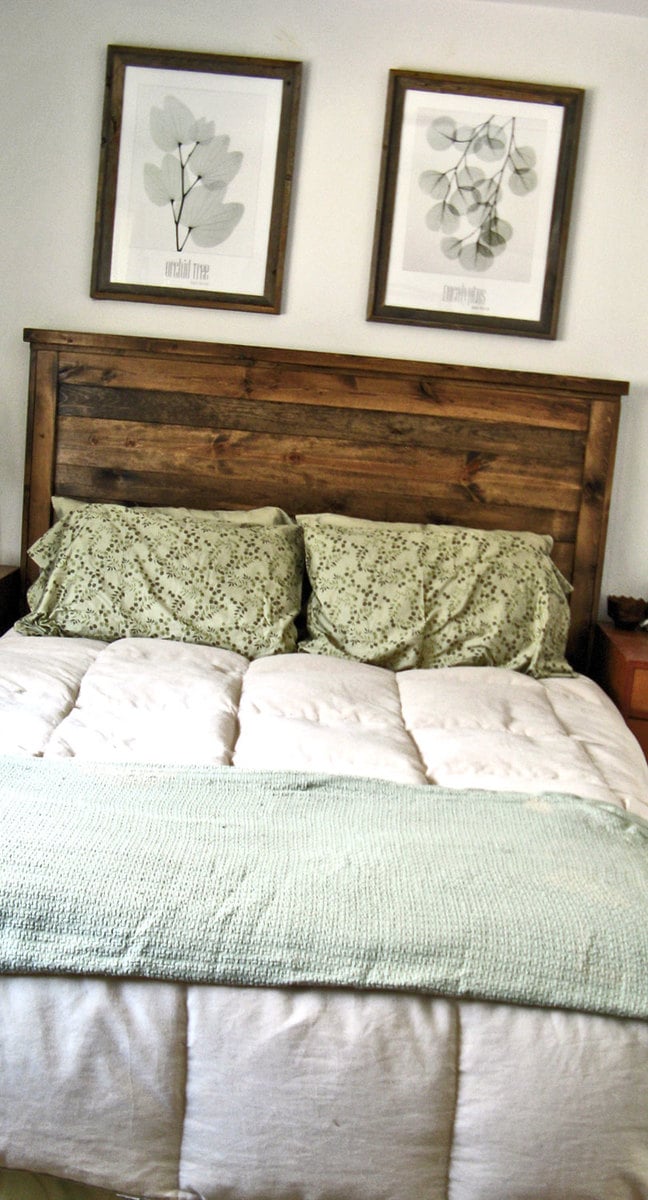
First Project- reclaimed wood look Queen headboard!

Submitted by jamie_C on Tue, 03/22/2011 - 12:02


Pin For Later! 

First Project- reclaimed wood look Queen headboard!

Estimated Cost
around $75
Estimated Time Investment
Afternoon Project (3-6 Hours)
Finish Used
Used only one coat of Minwax Dark Walnut (really liked the rustic look), and finished with Minwax polyueruthane.

This was a quick build- did all of the cutting, & got it mostly assembled while my toddler was napping! One thing to note- we had to add some wood braces on the back in order to straighten our boards out. They looked ok at the store, but we got them home & realized they were quite warped! Sanding, staining and polyurethaning took additional time that was spread out over a few days (didn't include that in total time). This was great for a first project. I've got lots more on my to-do list now!
Recommended Skill Level
Beginner
Seasonal And Holiday

Console Table

Submitted by jrees09 on Wed, 06/15/2011 - 07:22

This was my first attempt at building anything. Ever. I am fairly pleased with how it turned out. There was a bit of uneveness on the back side of the table, where the top joined with the back and where the back joined one of the side pieces. They were hardly noticeable and I was able to sand it down. All joints on the front side of table were prefectly aligned, though. I don't know if the wood was uneven or if it was just an error that was likely due to my less-than-ideal work space. You can check out my blogspot for pictures of the completely finished project.

Estimated Cost
About $50, for a first time builder who needs basic supplies....
Finish Used
painted, distressed, then stained.
Recommended Skill Level
Starter Project

Comments

Outdoor Sectional

Submitted by Anonymous (not verified) on Fri, 04/28/2023 - 05:24

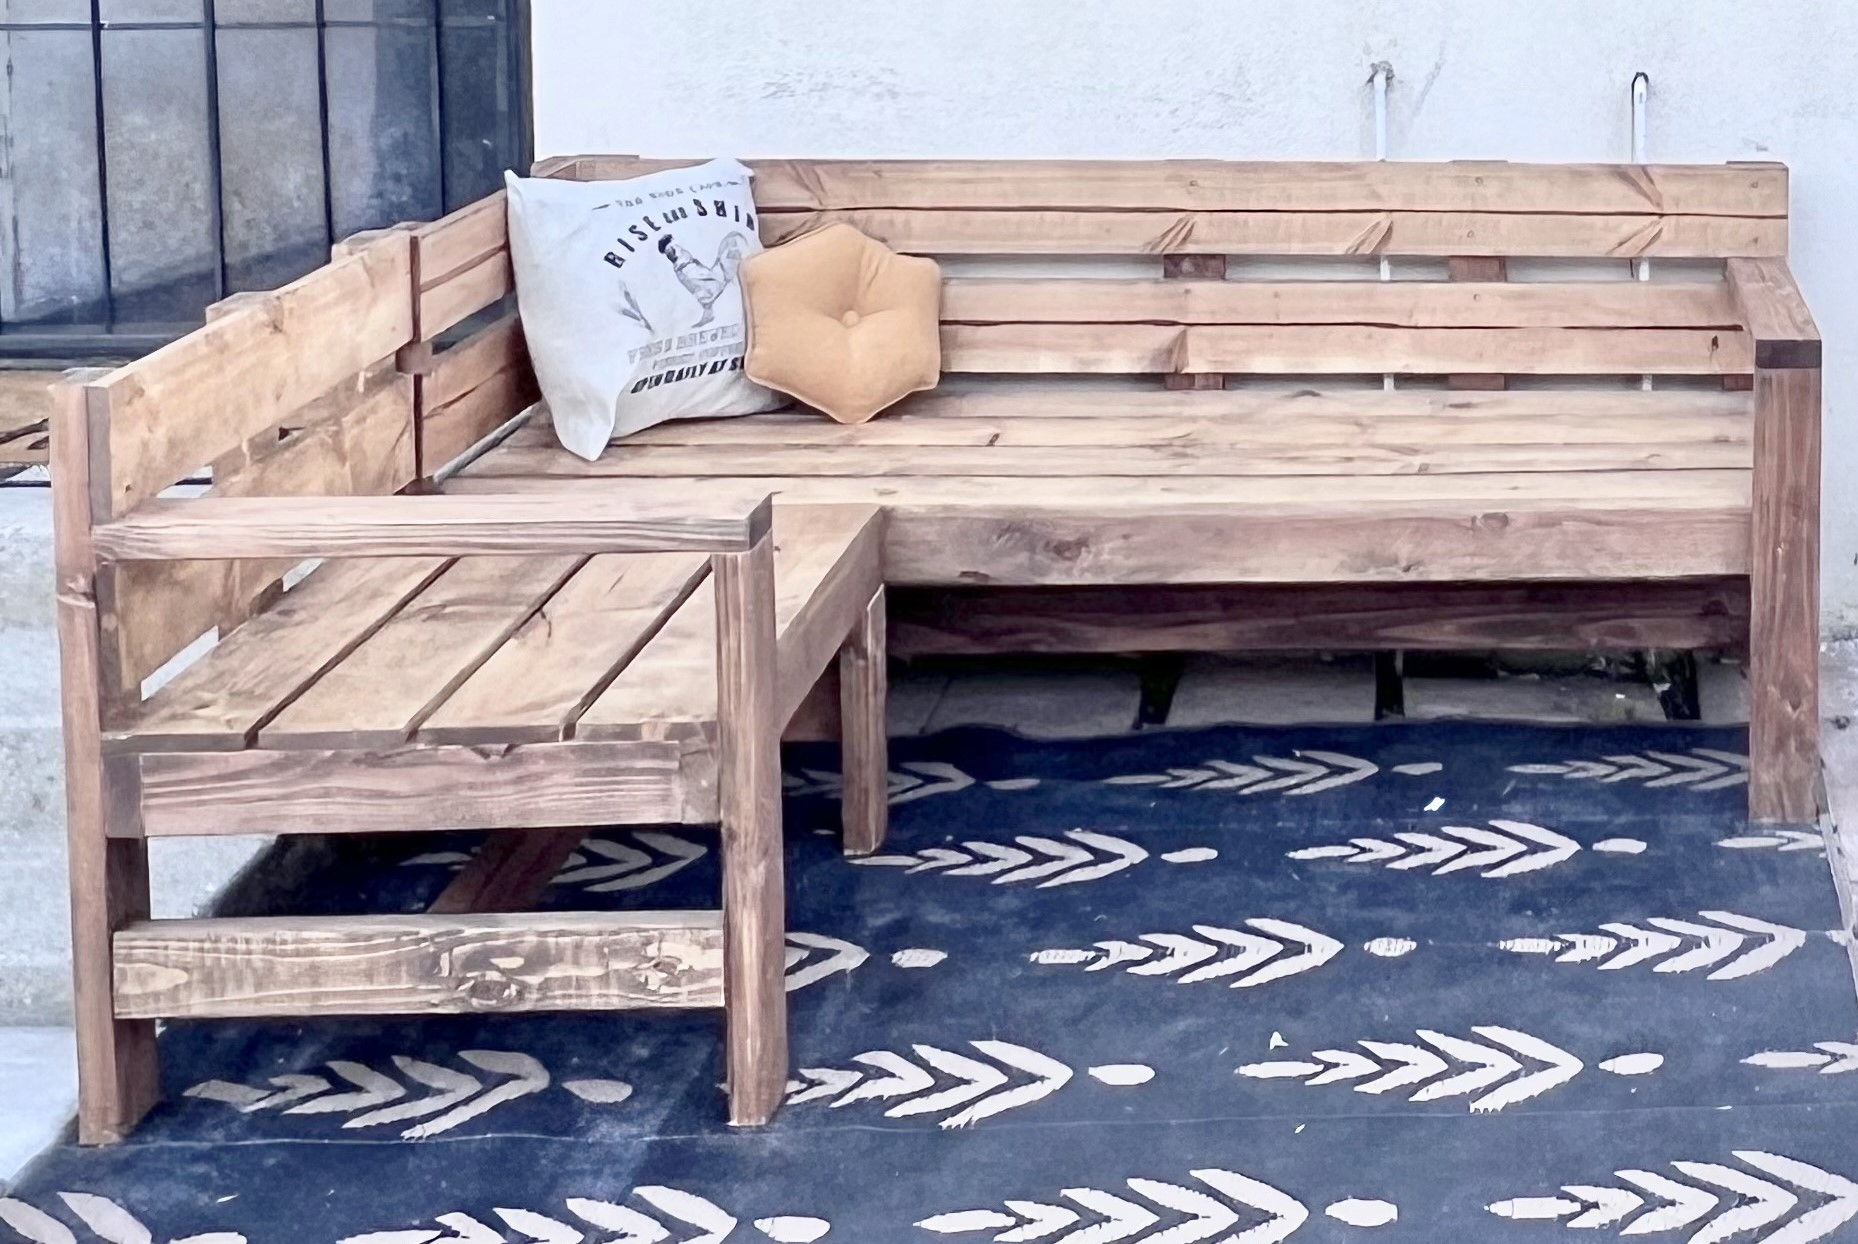
This was my seventh outdoor couch but my first sectional. My very first couches were all inspired by Ana White's plans and I have gotten so much better with my skills that I building other things as well. Thanks Ana for all your inspiration!

Comments

L-Shape Outdoor Bench

Submitted by ShannonG on Mon, 07/24/2023 - 13:21

Modified to make an L shaped bench . Absolutely love it! Thank you!

Built from Plan(s)

Comments

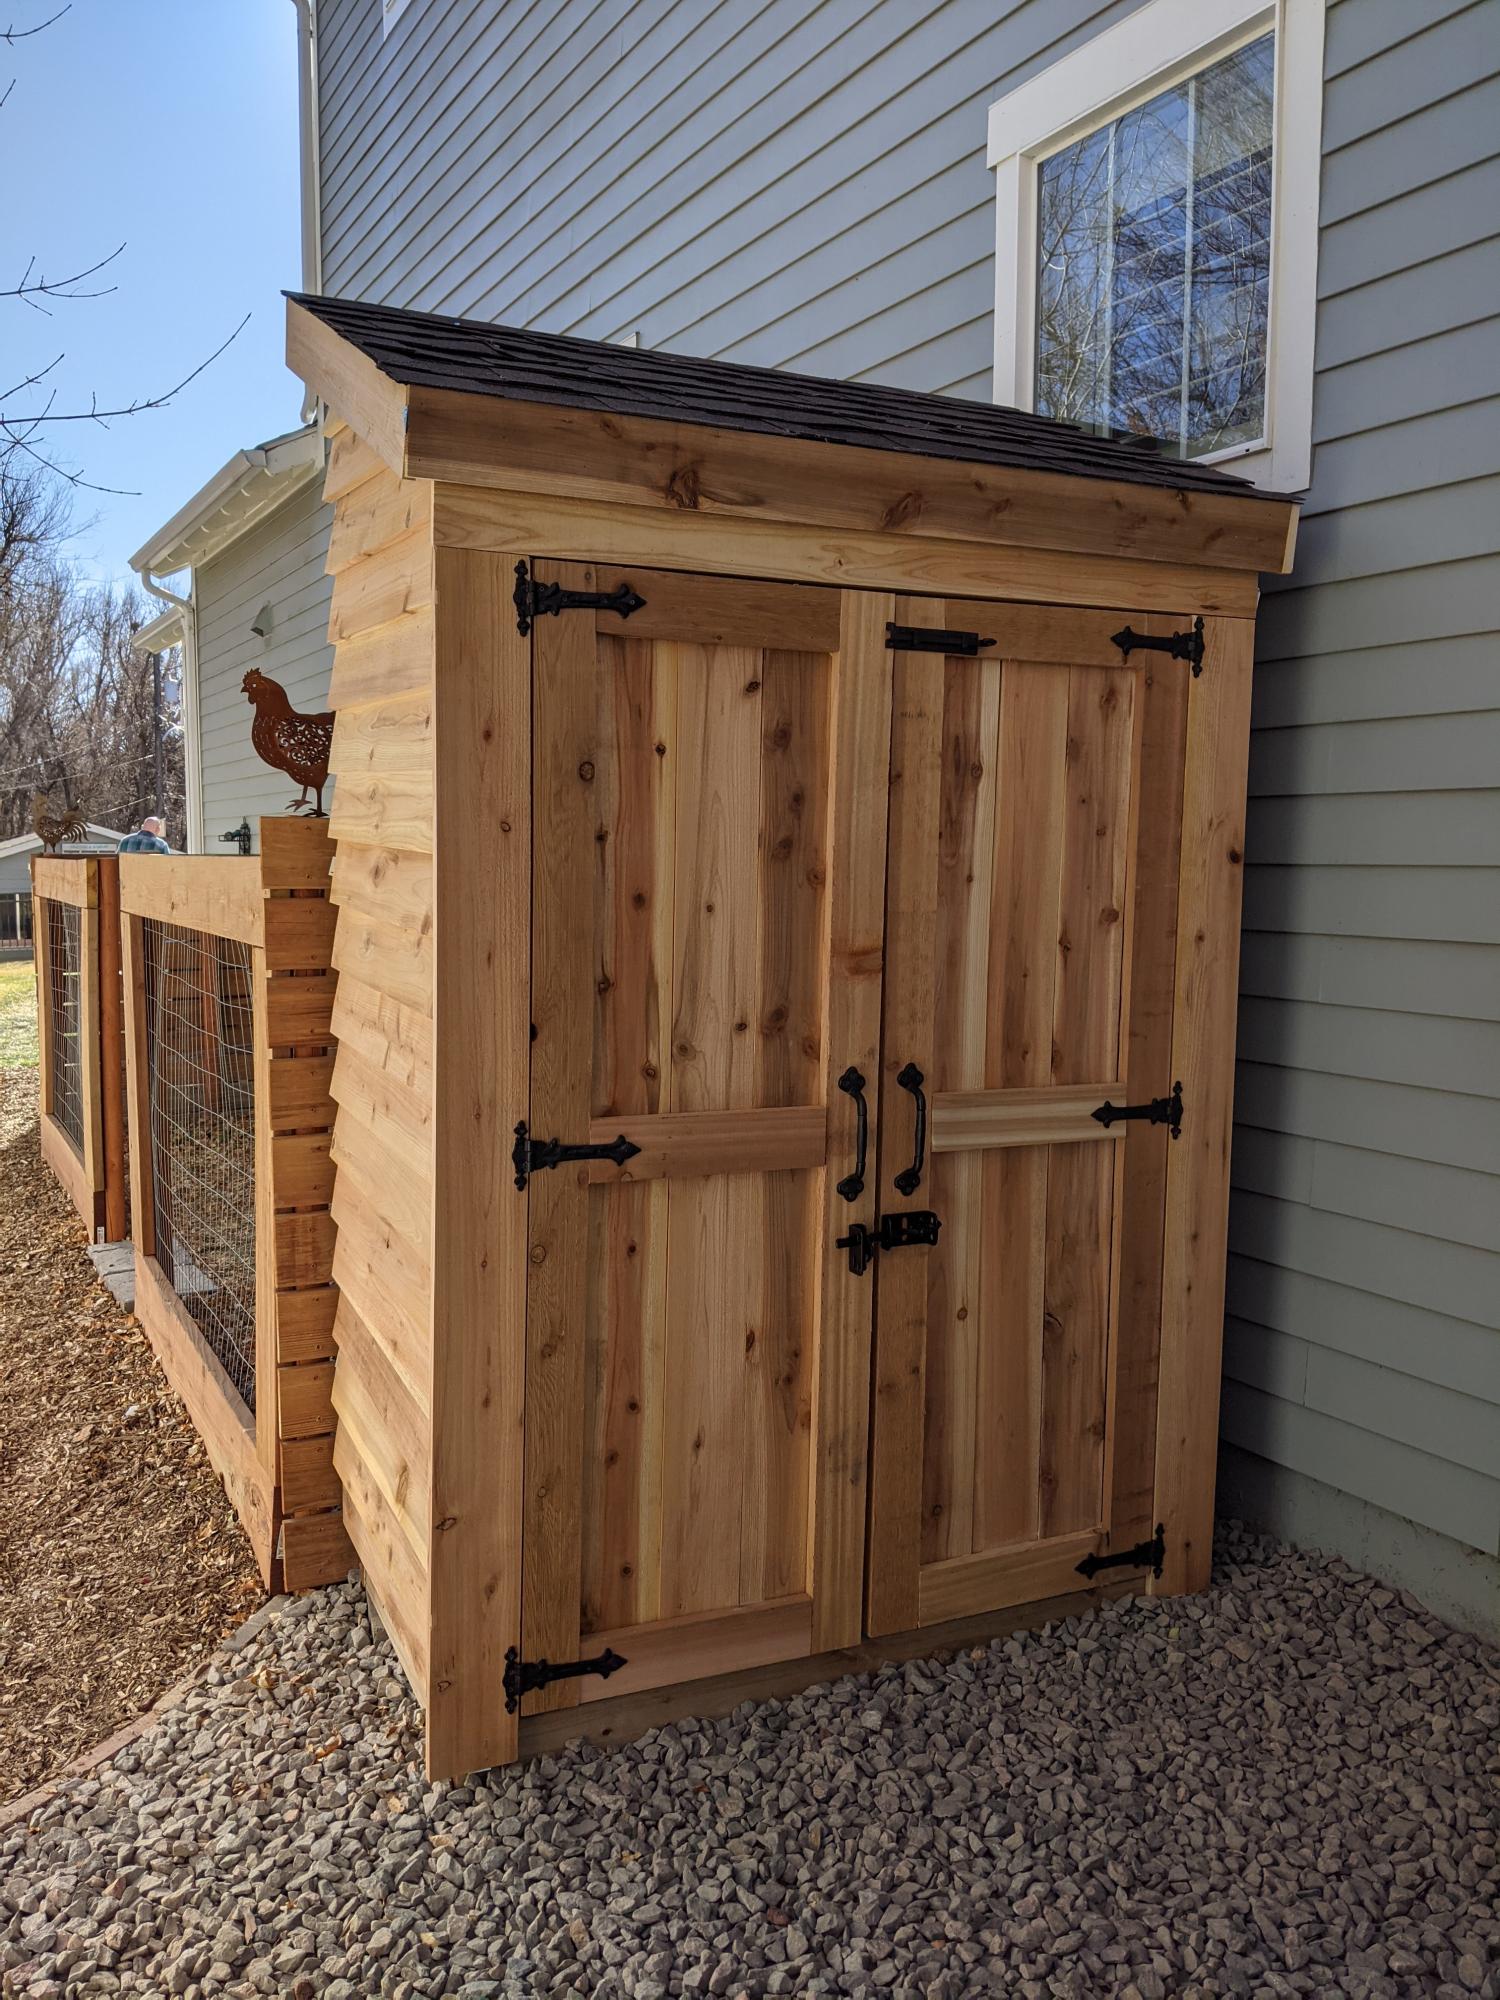
Garden shed

Submitted by Anonymous (not verified) on Sat, 11/28/2020 - 13:19

Our take on the small garden shed. Ours is 4 1/2 by 7 feet. We used cedar fence pickets and 2x4 construction. Left over shingles from when our house was built. We are definitely not roofers or framers, also chasing around a 3 year old didn't make things easier. Turned out beautiful for what we want it for. Just rustic enough. Great intermediate project.

Built from Plan(s)
Estimated Cost
$400
Estimated Time Investment
Weekend Project (10-20 Hours)
Finish Used
Thompson's clear water seal will be applied this summer.
Recommended Skill Level
Intermediate

Comments

Seasonal And Holiday

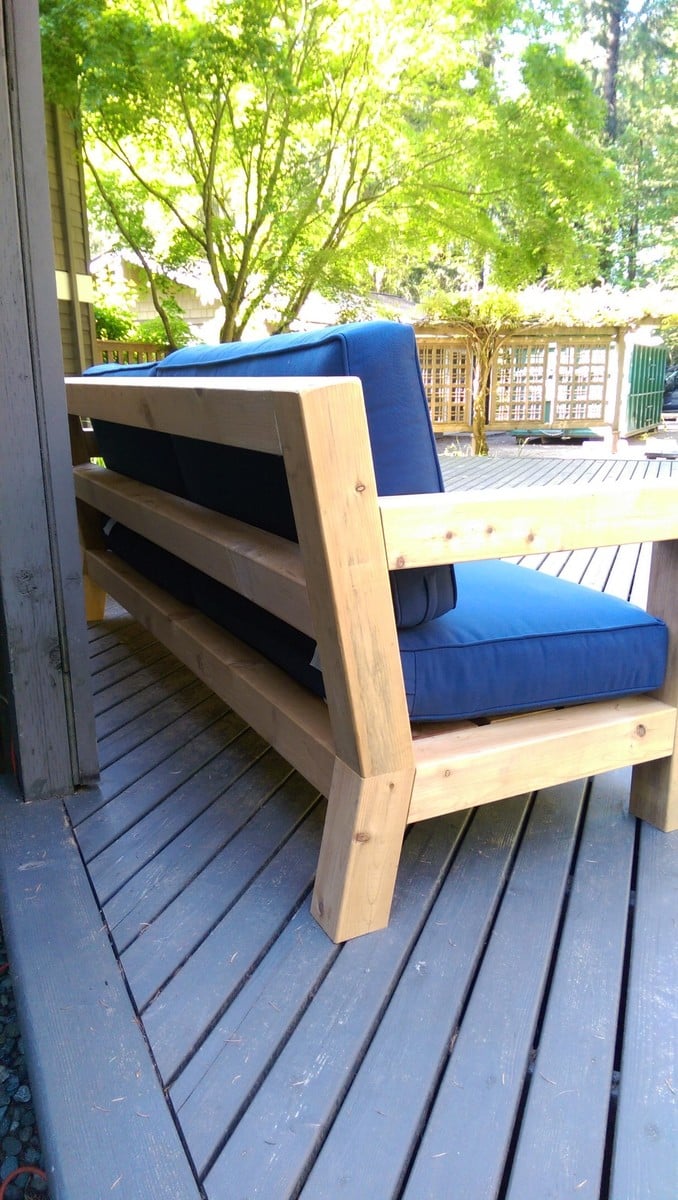
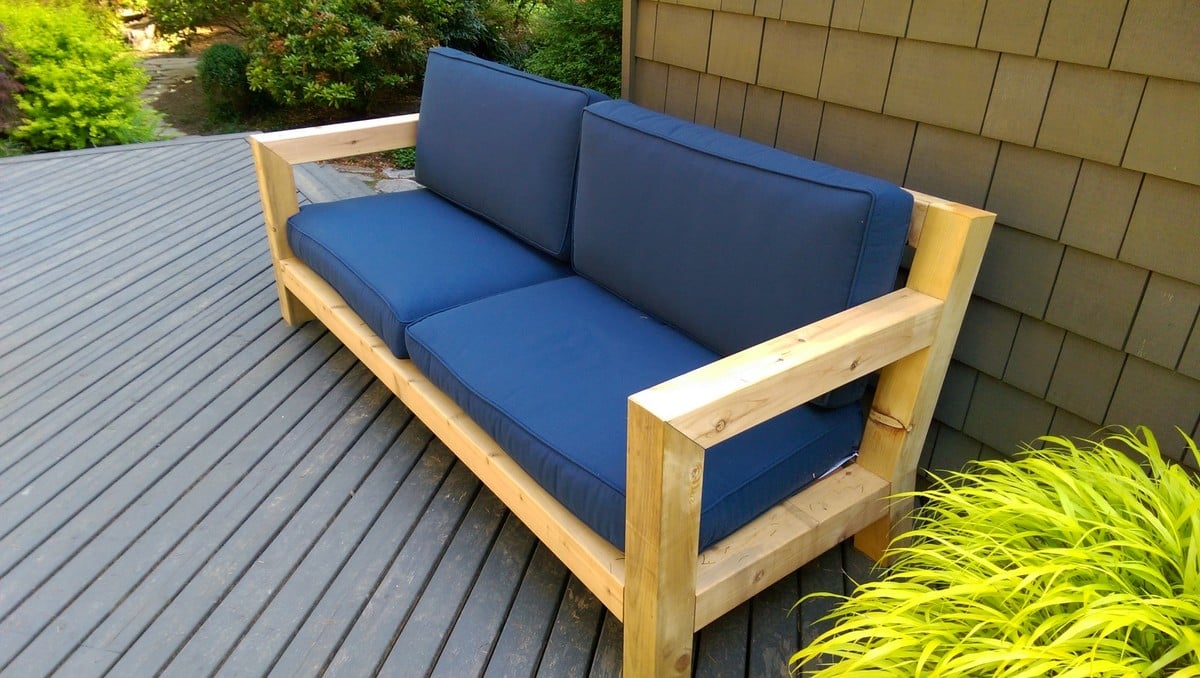
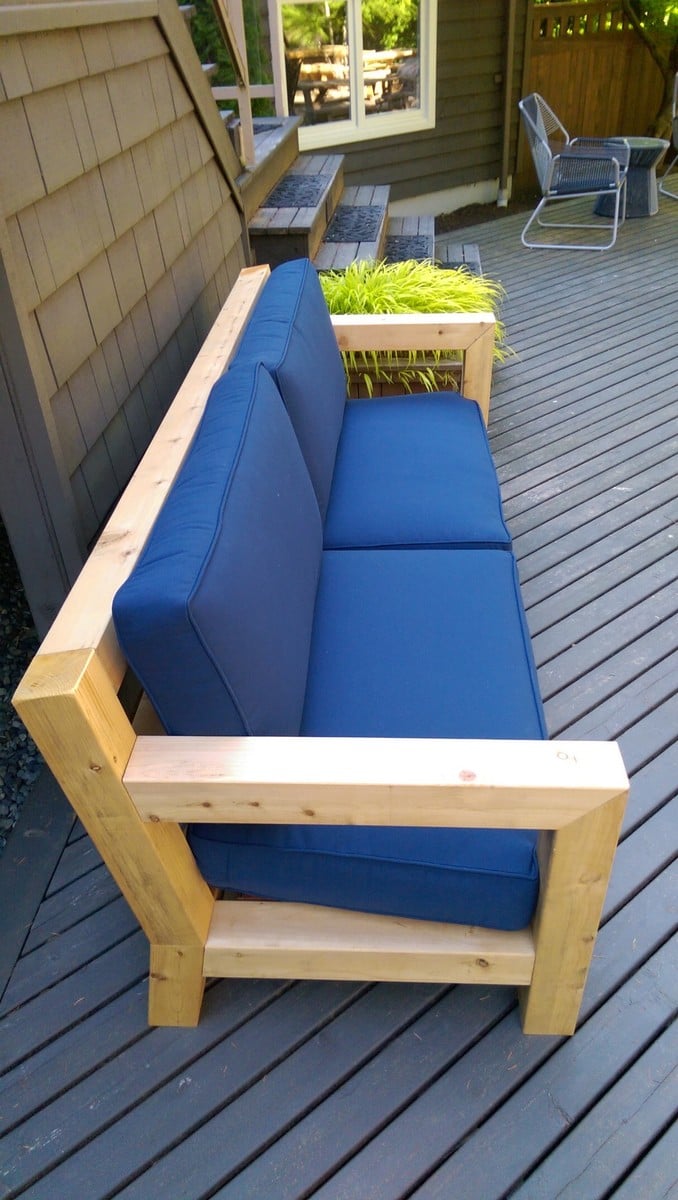
Modern Rustic Outdoor Sofa Inspired by RH Merida

Submitted by susanshamp on Sun, 04/01/2018 - 14:19

I was in love with the RH Merida set because of its clean lines and modern style. Also, the plan seemed simple enough that I could re-create it without a pattern. The only thing that I did not like about it is the lack of arms. I really like to have a place to put my arm or my beverage :) - so I added arms to the design.

Estimated Cost
$150
Estimated Time Investment
Day Project (6-9 Hours)
Finish Used
Natural
Recommended Skill Level
Intermediate

Comments

bogle

Wed, 05/20/2020 - 10:45

This is Awesome. I'm halfway in the middle as i thought I could complete without plans. Do you have any plans could share. Please....

Farmhouse Bed and Night Tables

Submitted by frmoody on Tue, 10/01/2019 - 18:44

A friend of mine wanted a new queen bed in a rustic, weather grey look. I have built many projects from Ana's site and decided on the Farmhouse Bed. The plans were perfect and building the bed didn't take me long. The time consuming part was the finish. I really wanted an old, weather wood look so the entire bed and night tables were first stained with a dark Kona stain. Once this dried I applied two coats of a watered down (50:50) light grey paint. The thinner paint made it easier to sand. Once this was completely dry I used a medium grit sanding sponge and selectively sanded everything. This took a while. Once complete I carefully cleaned all pieces and then applied three coat of semi-gloss varathane. The bed is incredibly solid with the 2 x 4 slats and will last a few generations. As always great plans from Ana.

Estimated Cost
$300 for materials
Estimated Time Investment
Weekend Project (10-20 Hours)
Finish Used
Varathane Kona, Beauti-Tone Designer Satin "My Favourite Sweater", Varathane Diamond Finish Water Based Interior Semi-gloss.
Recommended Skill Level
Intermediate

Comments

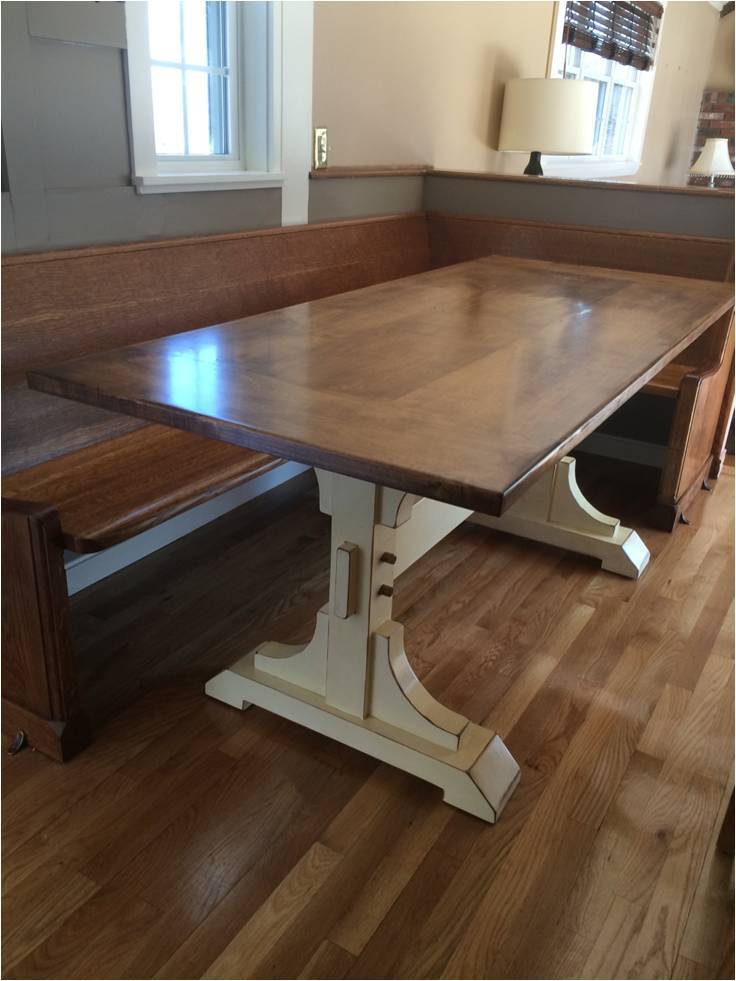
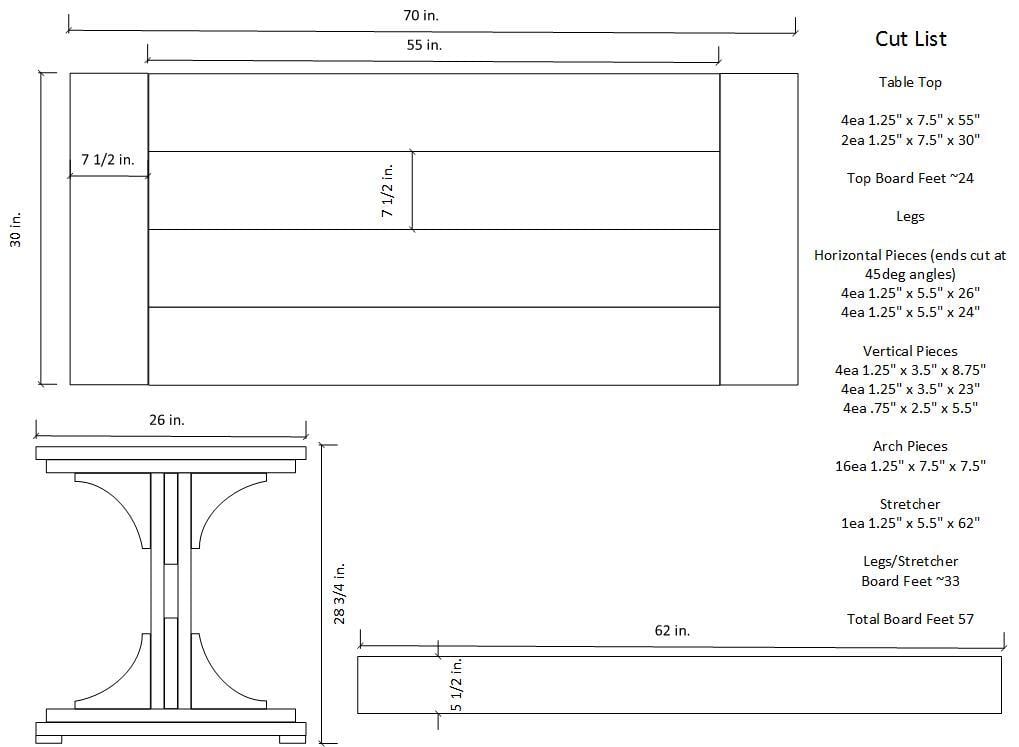
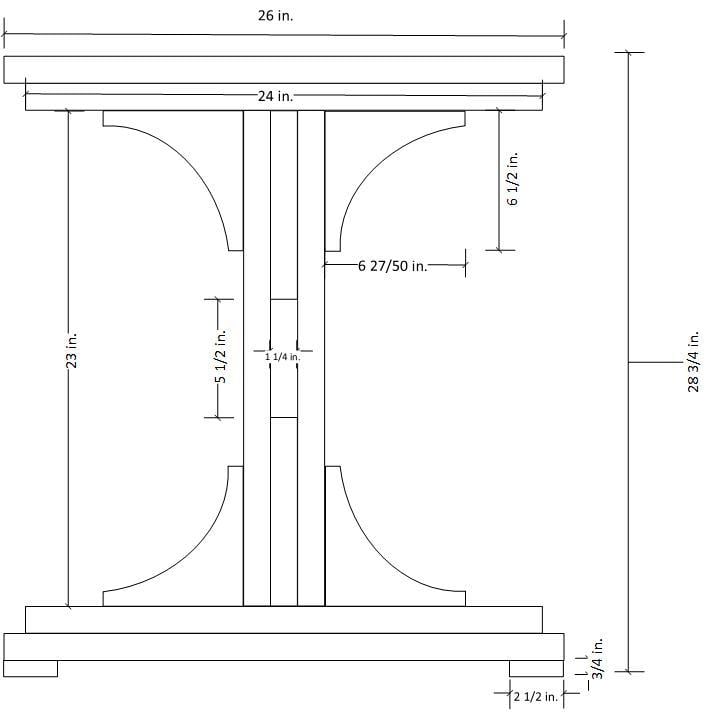
Double Pedestal 6' Farmhouse Table

Submitted by g82martin on Sat, 05/17/2014 - 20:38

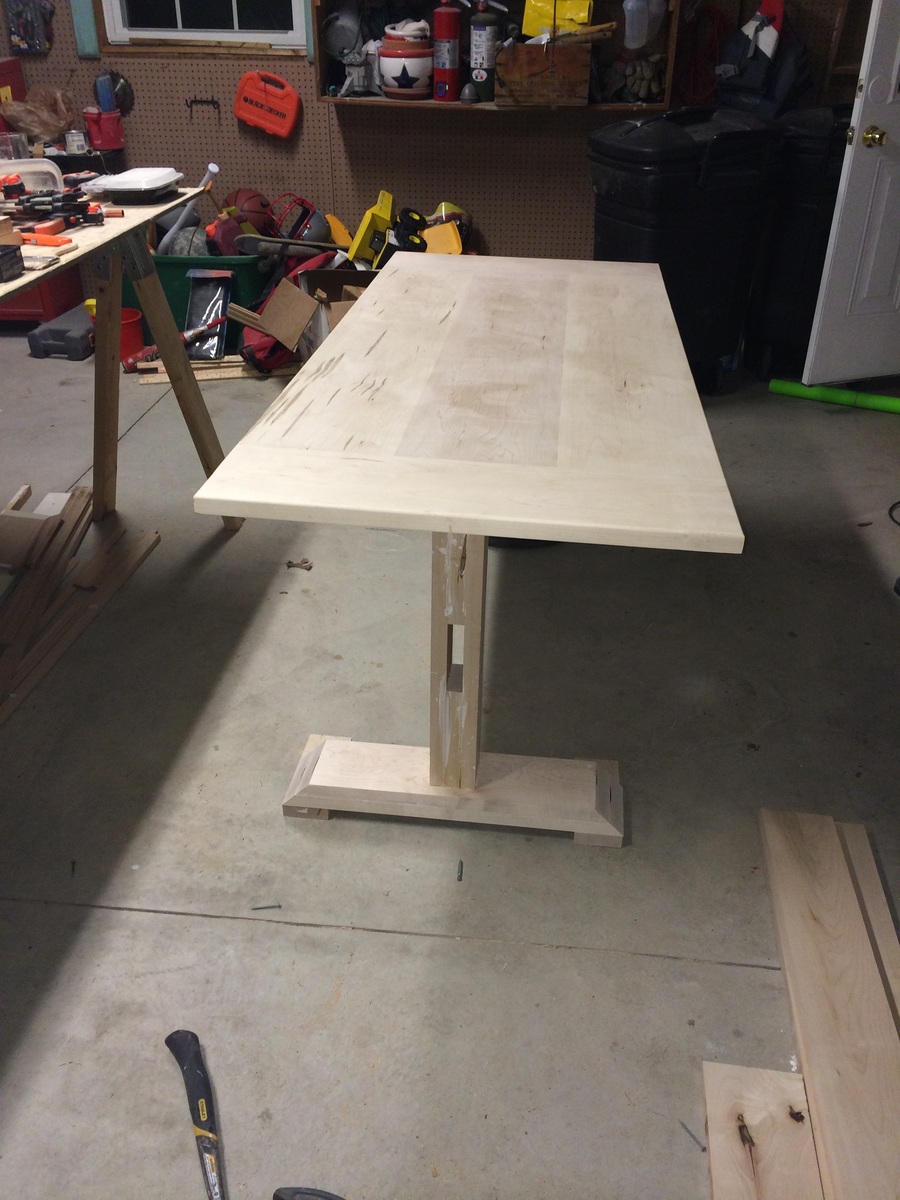
Farmhouse table made from distressed (worm hole) maple.

My neighbor was able to get me the 5/4 distressed maple for about $2/bd ft - I ended up buying 100 board feet and had plenty leftover. The finished board feet for this project was about 60 if I remember correctly. So the $200 was the bulk of the expense. The only other costs were sand paper, I bought a Kreg Jig, screws, Minwax Marker, paint, stain and urethane (much of which I already had).
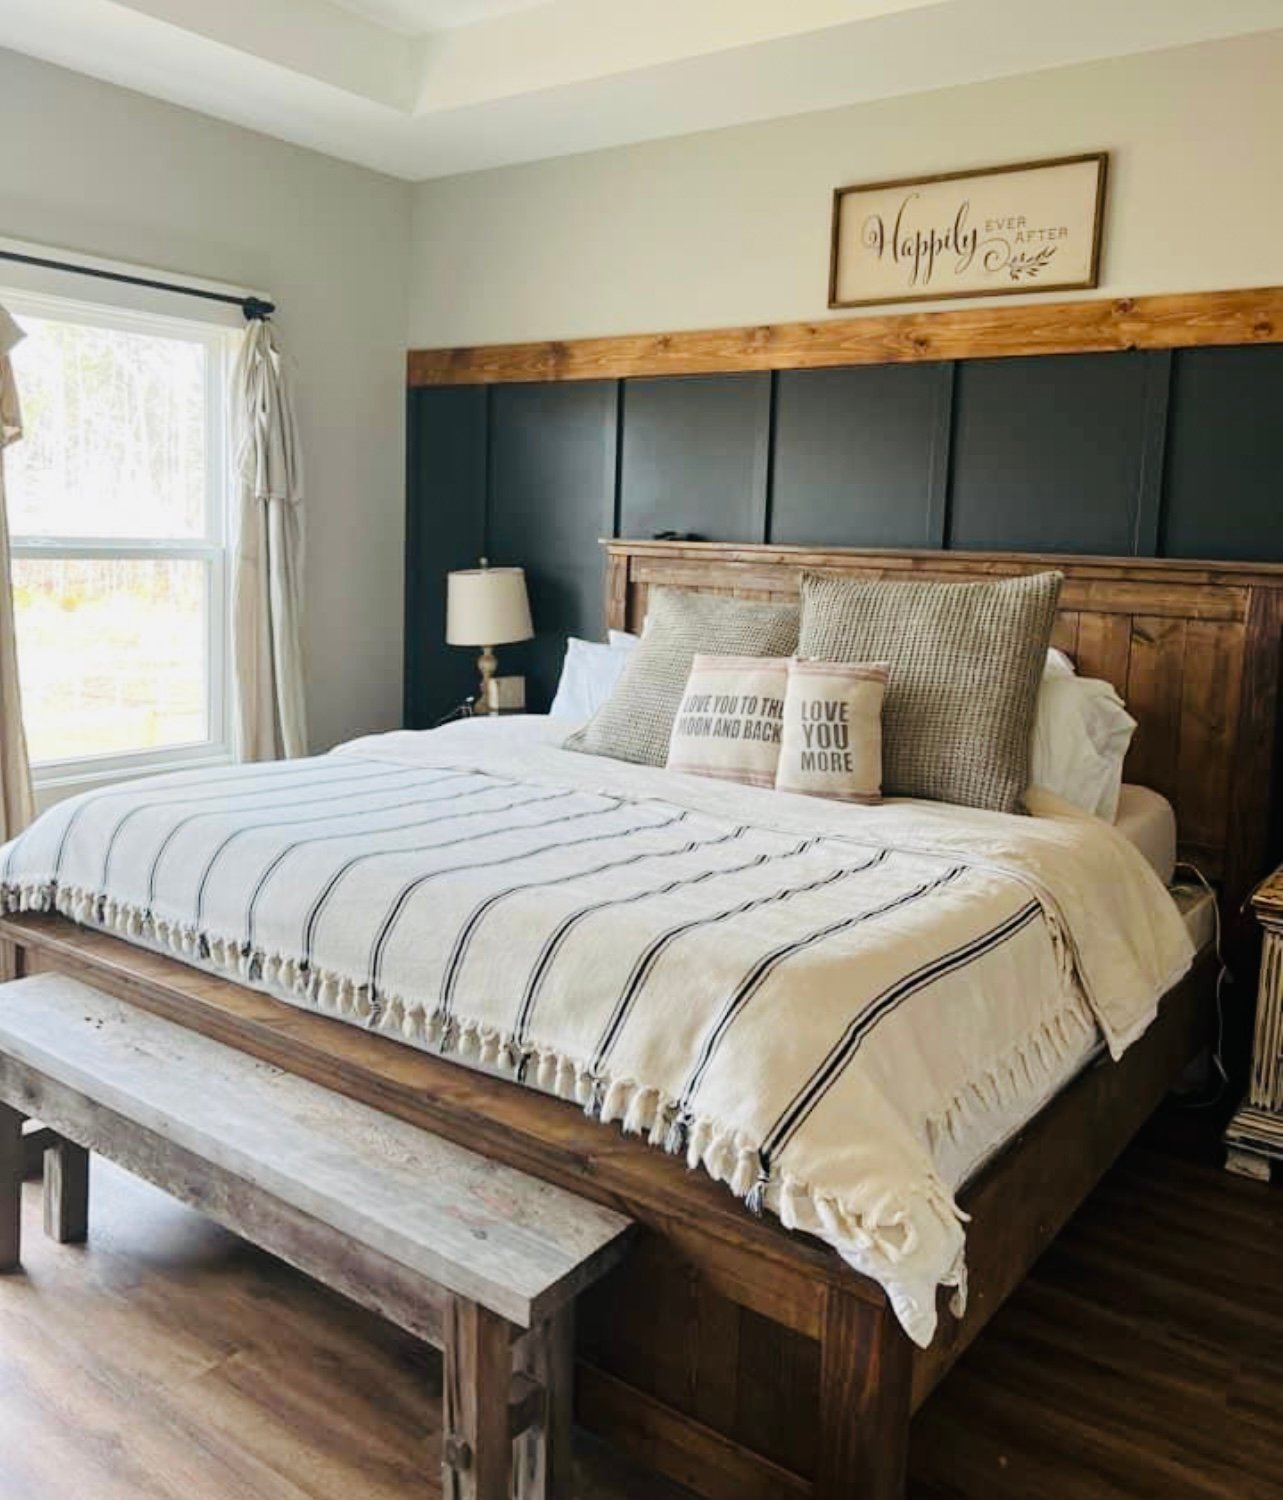
It came out better than I anticipated. The antique white finish was not difficult at all.

Tip - When following the instructions for the finish here, I applied the first coat of urethane with a brush almost immediately after applying the Minwax marker to all of the sanded edges. I did this in haste, but ended up with some unexpected results that really added a nice touch. The stain from the marker incorporated a bit into the urethane as I brushed it giving it an antique, yellow hue. At first I thought I made a big mistake, but it turned out to add a really nice look.

Built from Plan(s)
Estimated Cost
$250
Estimated Time Investment
Week Long Project (20 Hours or More)
Finish Used
Antique White using Minwax Stain Marker - http://ana-white.com/2012/09/antique-white-using-minwax-stain-marker
Recommended Skill Level
Intermediate

Comments

g82martin

Mon, 05/19/2014 - 07:29

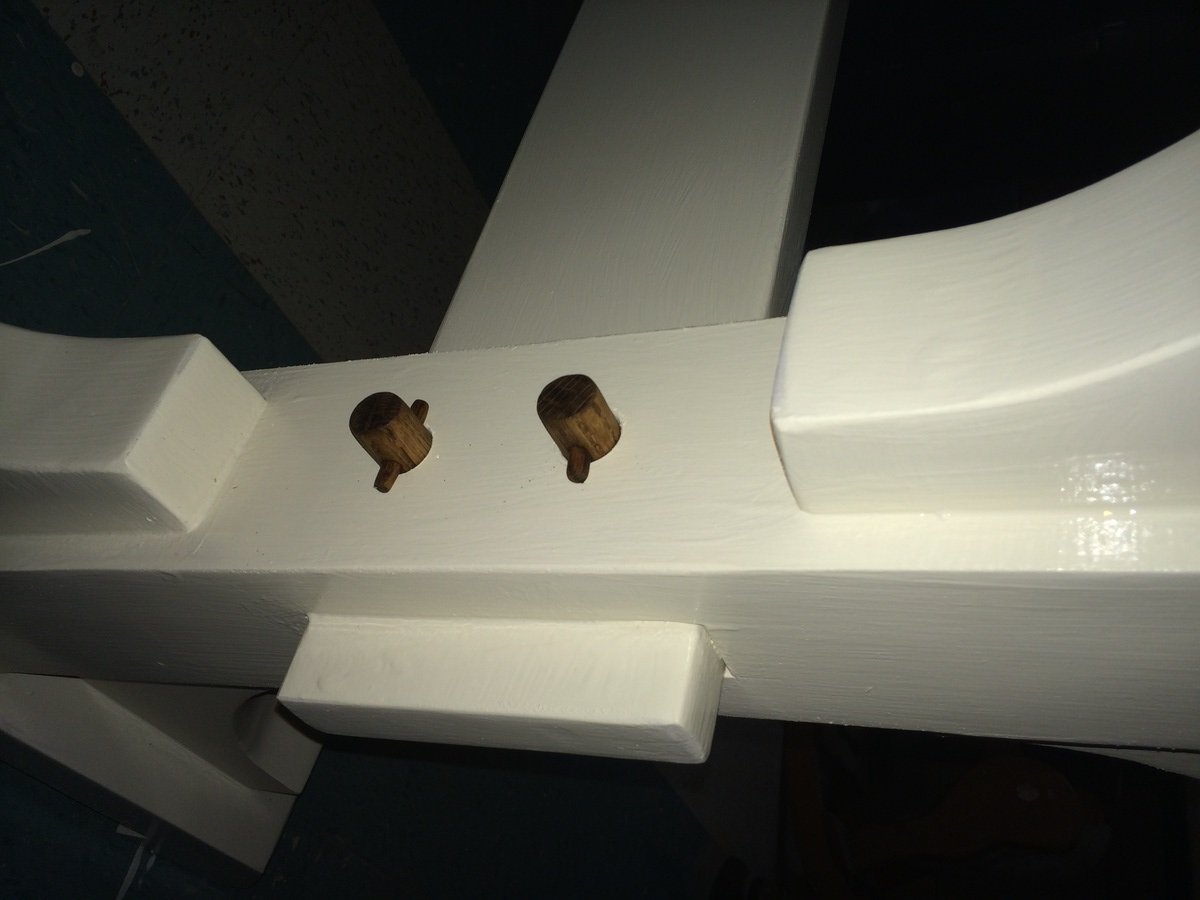
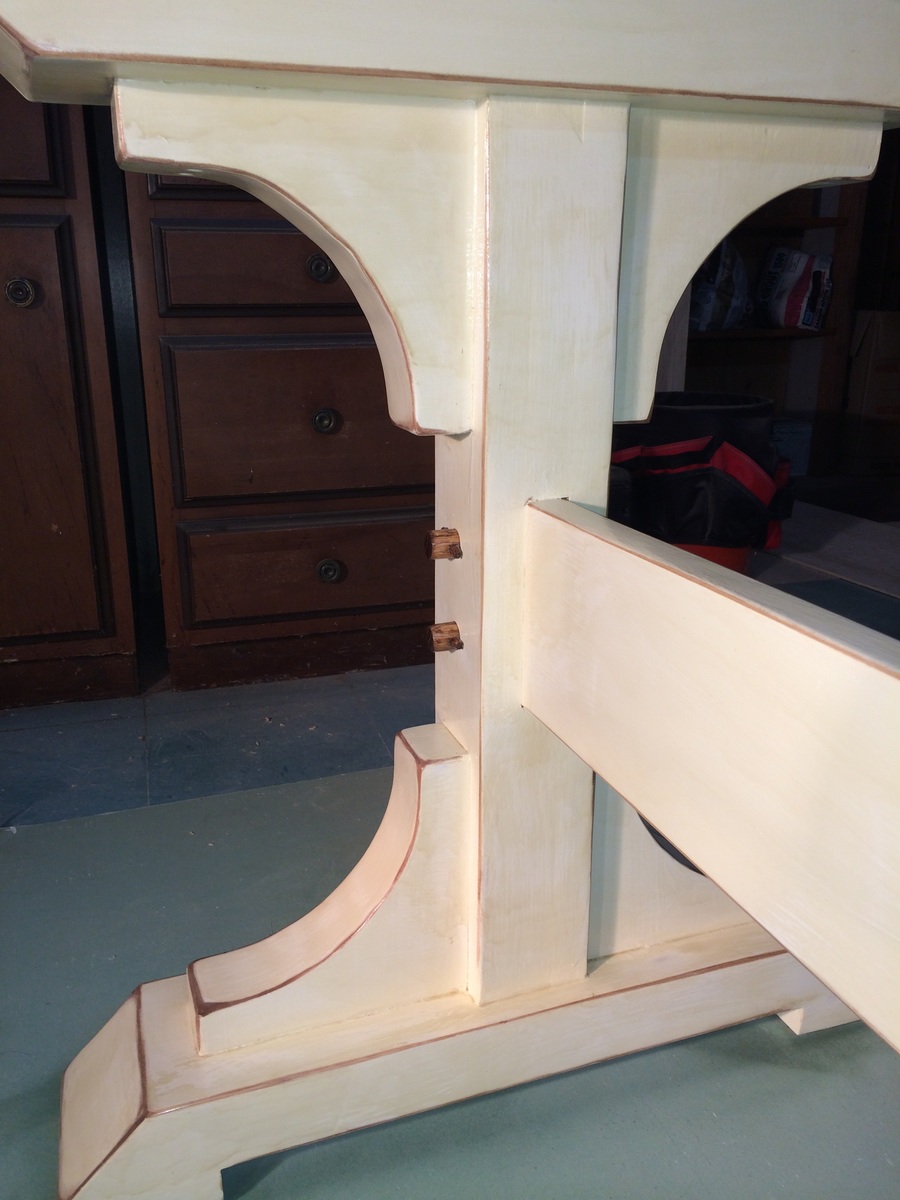
CSaintD - The top can be removed as I did not glue it. I set 3 dowels on top of each of the 2 legs so that the top would always lign up correctly if disassembled and reasembled. The stretcher could be removed, but would probably cause some damage to the finish as it was a tight fight when I finished it. The stretcher would be removed by removing the dowel pegs that I fabricated on each leg.

g82martin

Mon, 05/19/2014 - 08:26

I cheated a bit on the top. My neighbor who got me the wood works in a furniture reupholsery shop. He planed and joined the boards for me, which saved me a good amount of time. I'm confident I could have done this at home with my table saw, miter saw and hand plane, but what he did in 2 hours probably would have taken me 10.

bclute

Mon, 05/19/2014 - 08:06

Table looks great! Great antique finish on the base and your table top looks nice a smooth.

bclute

Mon, 05/19/2014 - 08:06

Table looks great! Great antique finish on the base and your table top looks nice a smooth.

KathrynK13

Fri, 01/01/2016 - 12:00

I love the table...but I wanted to ask about the booth?  Is that a church pew?  Did you make it?  Any tips for recreating it?

Lenaluv87

Fri, 08/05/2016 - 20:35

Love the dowels you added! Planning on building this exact table pretty close to your dimensions and have a very long church pew as well! Trying to decide between L-ing my pew and cutting to straigjy 6'. Do you mind sharing the dimensions of your pew? And how did you miter the pew?

Reclaimed Fence = Free Benches

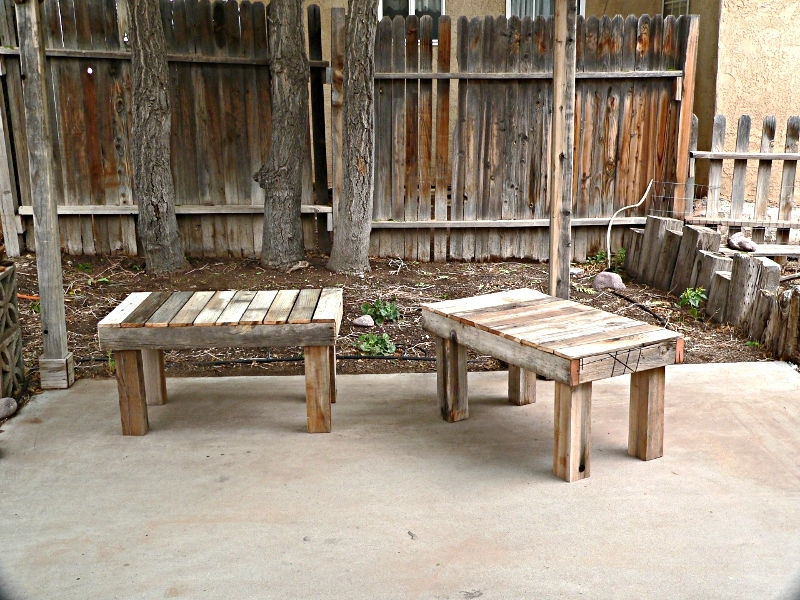
These are made from the 4x4 posts, 2x4 rails, and slats from an old wooden fence that weren't good enough to re-use when we repaired the fence.

It's close to the Simple outdoor bench, but I simplified the plan even more to take advantage of the pile of free lumber. Or maybe it's the Simple Outdoor Dining Table ... but a lot shorter.

CAUTION: Be careful to remove ALL nails, screws and bolts from the lumber you are reusing. If you can't get the metal out, mark that area and figure out a cut that won't hit it.

TIPS FOR RECLAIMED LUMBER:
* Trim the ends of the lumber square before you measure.
* Don't try to salvage split or rotted wood. Trim it off and see what you can do with the good bits.
* Plan your cuts so you have the least waste.

TOOLS:
10" Miter saw
Wood glue
Nail gun, with 2 1/2 and 1 1/4 inch 16gauge nails for gun (You could use deck screws if you have them)
Surform Pocket plane (wood rasp from Stanley tools)

CUT LIST:
For one bench, 21x36

NOTE: To cut a 4x4 cleanly with the 10" miter saw, put a thin shim behind each side of the 4x4

4 4x4 post scraps, 18 inches long (legs)
2 2x4 18 inches long (sides)
2 2x4 36 inches long (front and back rail)
10 fence slat pieces, 21 inches long (cut to fit the top after it is assembled)

ASSEMBLY:
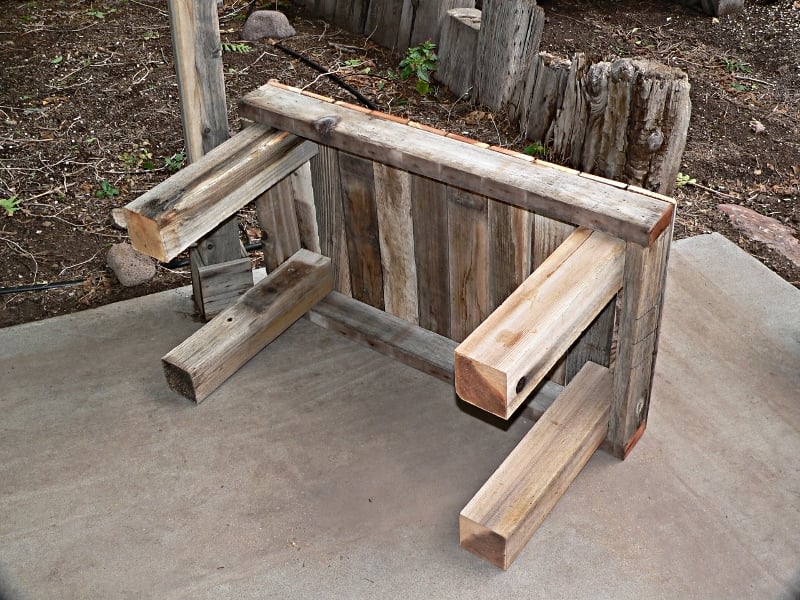
See the picture of the underside of the bench:
1 - Square up the legs with the end pieces, glue and nail.
2 - Square the sides with the legs, so the legs are inside the 2x4 apron, glue and nail.
3 - Align the 2 end slats with the edges of the bench and nail through them into the 2x4 apron
4 - Space the rest of the slats on the top, leaving 1/8 inch or so etween the boards for drainage. Nail them to the 2x4 apron.

FINISH: Use the wood rasp to round the cut ends of the slats and 2x4s. Rasp with the grain to avoid raising splinters. Lightly rasp the tops of the slats to smooth any really rough spots.

A table or maybe a buffet is planned, with the same construction method, but a bit taller. Tables are 26-29 inches, most buffets are 36". It depends on what will make best use of the remaining bits.

Estimated Cost
$0
Estimated Time Investment
Afternoon Project (3-6 Hours)
Finish Used
none
Recommended Skill Level
Beginner

Farmhouse Sidetable

Submitted by Anonymous (not verified) on Tue, 01/17/2017 - 21:14

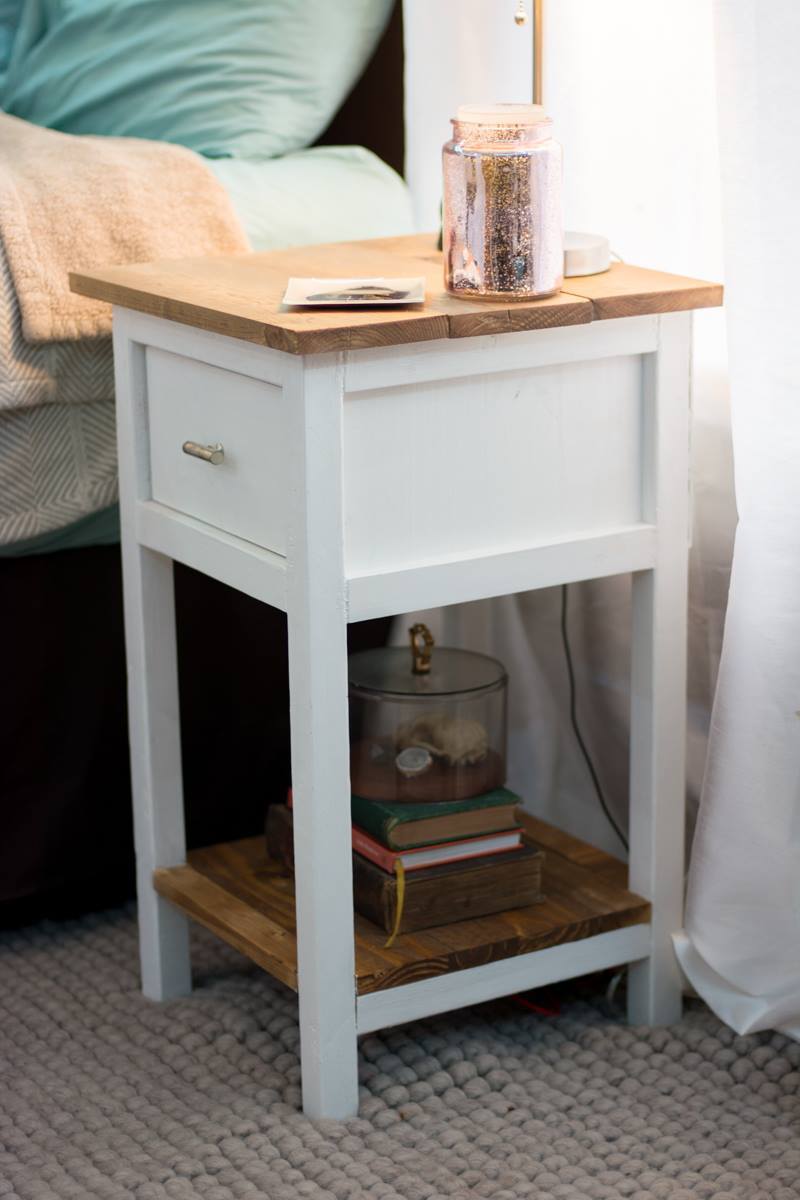
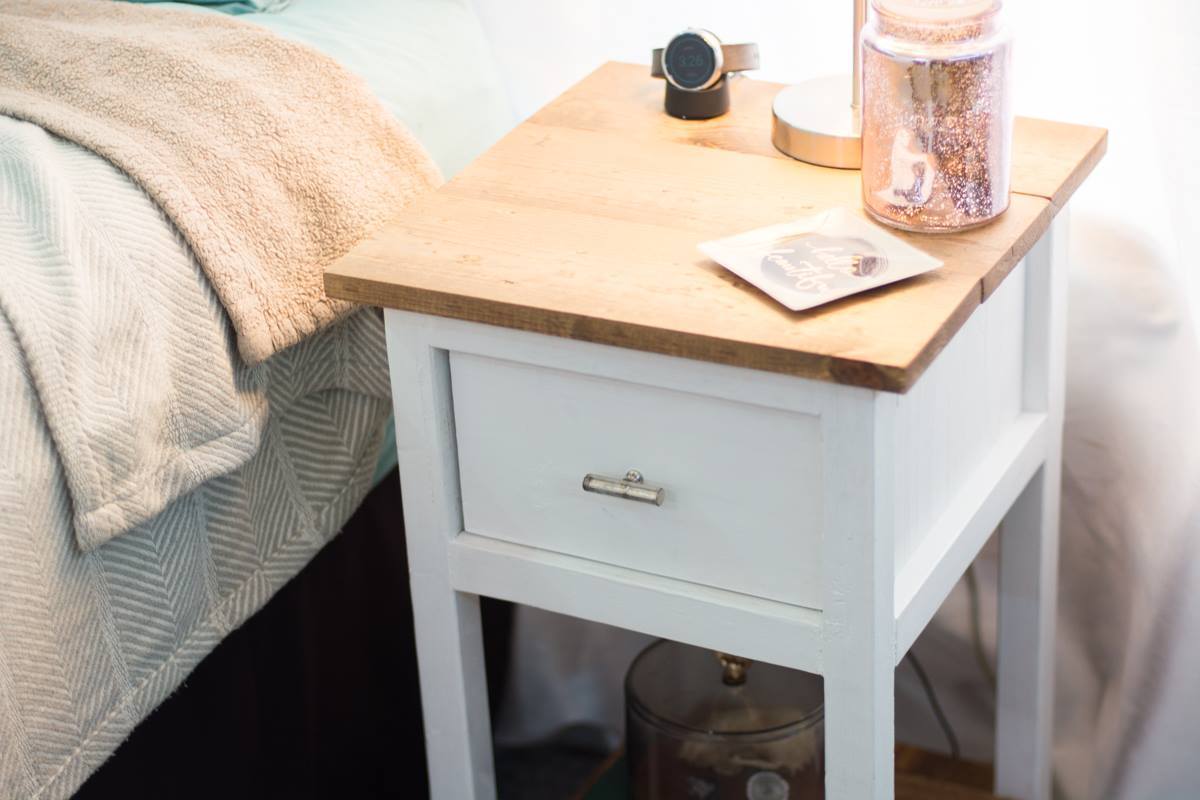
This is the second thing i have ever built and I am SO excited with the result! This has inspired me to take on new ambitious woodworking projects. Love it, thanks for the free plans!

Estimated Cost
about $30
Estimated Time Investment
Day Project (6-9 Hours)
Finish Used
I used satin finish white paint, and Danish Oil for the exposed wood.
Recommended Skill Level
Beginner

Comments

Drop Leaf Mobile Kitchen Island

Submitted by jkjackson on Sun, 03/14/2021 - 11:19

This was born out of the need for more counter space in our galley kitchen. We don't have the space to add an island. Especially around the holidays, it would be great to have extra space for making cookies, serving big meals, etc. I used Ana's Small Kitchen Island Prep Cart plans for inspiration. I adapted the dimensions to fit at the end of our counters when not in use and added a drop leaf to give us almost 4 additional feet of butcher block counter top when we need it. I used scrap lumber that I had for the cabinet and had an extra drawer handle that matches our kitchen cabinets but bought the butcher block, locking casters, drawer slide and hardware for the legs. Also, the weight of the butcher block makes it want to tip when it's away from the cabinet with the drop leaf down so I added a lead counter weight inside the drawer.

Estimated Cost
$150-200
Estimated Time Investment
Weekend Project (10-20 Hours)
Finish Used
Behr paint for the cabinet, food grade mineral oil and cutting board wax for the butcher block
Recommended Skill Level
Advanced

Comments

jkjackson

Sat, 07/24/2021 - 16:59

Sure! I used a 4 foot butcher block and cut it down. The horizontal part is 13 1/2" and the drop leaf part is 32 1/8" attached with a piano hinge. The legs need to be cut and hinged to fit when folded up. This one is made so that the drop leaf fits right under the overhang of the kitchen countertop that it is next to so it's snug against the cabinet and not an issue but, if you want it to be freestanding, the weight of the butcher block will pull it over if you don't weight the cabinet down with something as well. I got a 5 pound lead bar from Amazon in case we need to use it somewhere else. I hope that helps! Let me know if you have any other questions.

Closet Door with Storage

Submitted by kristen on Sat, 03/12/2011 - 21:07

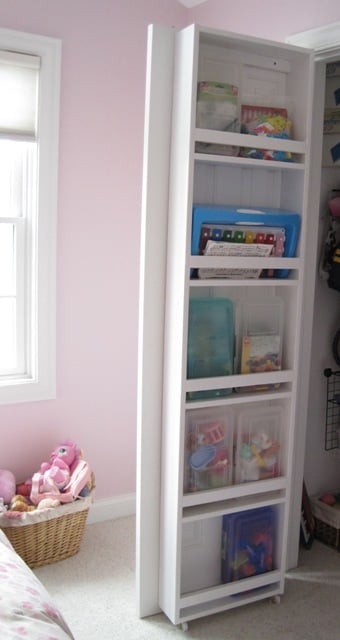
This was my first Ana White project, and I learned a lot from making it since I was also a novice woodworker. I am very happy with the end result, but it was probably a good thing that this went on the inside of a closet :) It gave me the confidence to go on and build something more difficult with the skills I built along with the storage.

The $30 estimate is only for the wood. Wood putty, sandpaper, screws, paint, etc. will make this more expensive, but you will use all of the extras on other projects since this one won't use those up.

The time involved is a guess--it has been a few months since I completed this. Someone with experience could probably do it faster and someone brand new to building might go slower. So I chose 3-6 hours, a nice in-between number.

Watch your caster size with carpet. That was my only snag with the instructions. Ana has hardwood floors that the casters roll on. I have carpet so I wanted larger wheels in order for smoother rolling. That added height to the caster also, so you want to modify the length of the sides of the storage unit to reflect the larger casters on carpet.

All in all a great plan and useful end result!

**UPDATE--January 30, 2012** We removed the casters from the bottom of this just yesterday and the door opens SO much easier. I would invest in some high quality casters and not the cheap ones I bought if you are going to use these. Without the casters I am only putting light things (stuffed animals) in this. If you are using it for heavier items, I would use the casters but make sure they readily turn. The casters I had did not want to turn as the door moved and they dragged on the carpet instead. Also, the overall height of your unit will depend on the height of your casters, so buy them first if you are going to use them. I still love this though!

Built from Plan(s)
Estimated Cost
$30
Estimated Time Investment
Afternoon Project (3-6 Hours)
Finish Used
White primer and white paint over that. I used the Zero VOC paint you can get at Lowes--I think it is Olympic brand.
Recommended Skill Level
Starter Project

$2 Farmhouse Table

Submitted by Handy Andy on Tue, 04/19/2011 - 14:29

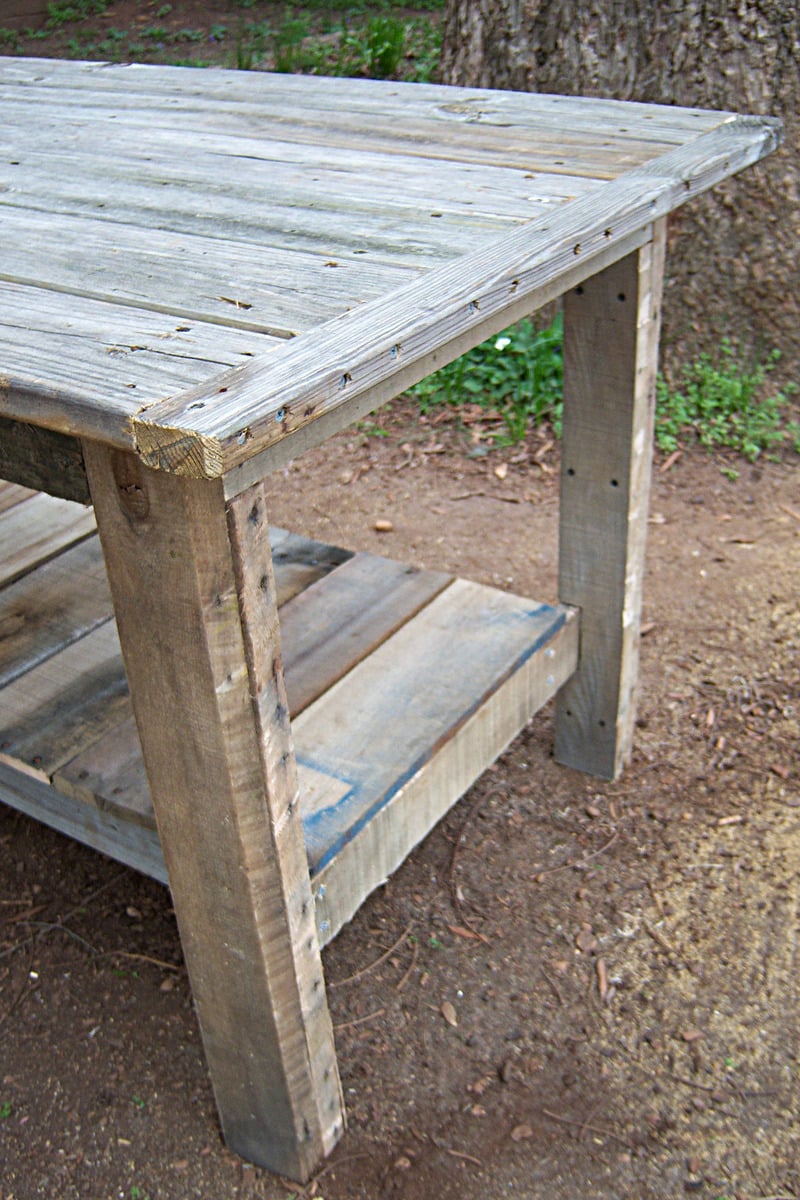
I am starting to work on more and more projects and I'm limited with space. I needed a worktable that could double as a backyard dining table (should the occasion arise). We have been planning to build the farmhouse table for a while now, so this was a great opportunity to build a prototype. I did some repair work for a friends deck and she gave me the leftover decking material. This became my table top. I purchased 4 2x4's at our local Habitat for Humanity ReStore for 50 cents each (this was the only money spent on this project). While I was at the ReStore I also picked up 4 pallets (they are free). After cutting them apart, the 2x4s from the pallets became the table legs and the 1x4's & 1x5's from the pallets became the shelf underneath. The shelf has been great for holding extra tools while I'm working on projects. My daughter likes to stack her toys on it too! This was a super quick and easy build. My wife even suggested we just refinish it and bring this one inside!

As always, I have to give thanks to Ana for such great plans!

Estimated Cost
$2
Estimated Time Investment
Afternoon Project (3-6 Hours)
Finish Used
We haven't yet decided on the finish, we might just use a clear coat and call it done!
Recommended Skill Level
Beginner

Simple Play Kitchen

Submitted by Anonymous (not verified) on Sun, 06/04/2023 - 13:03

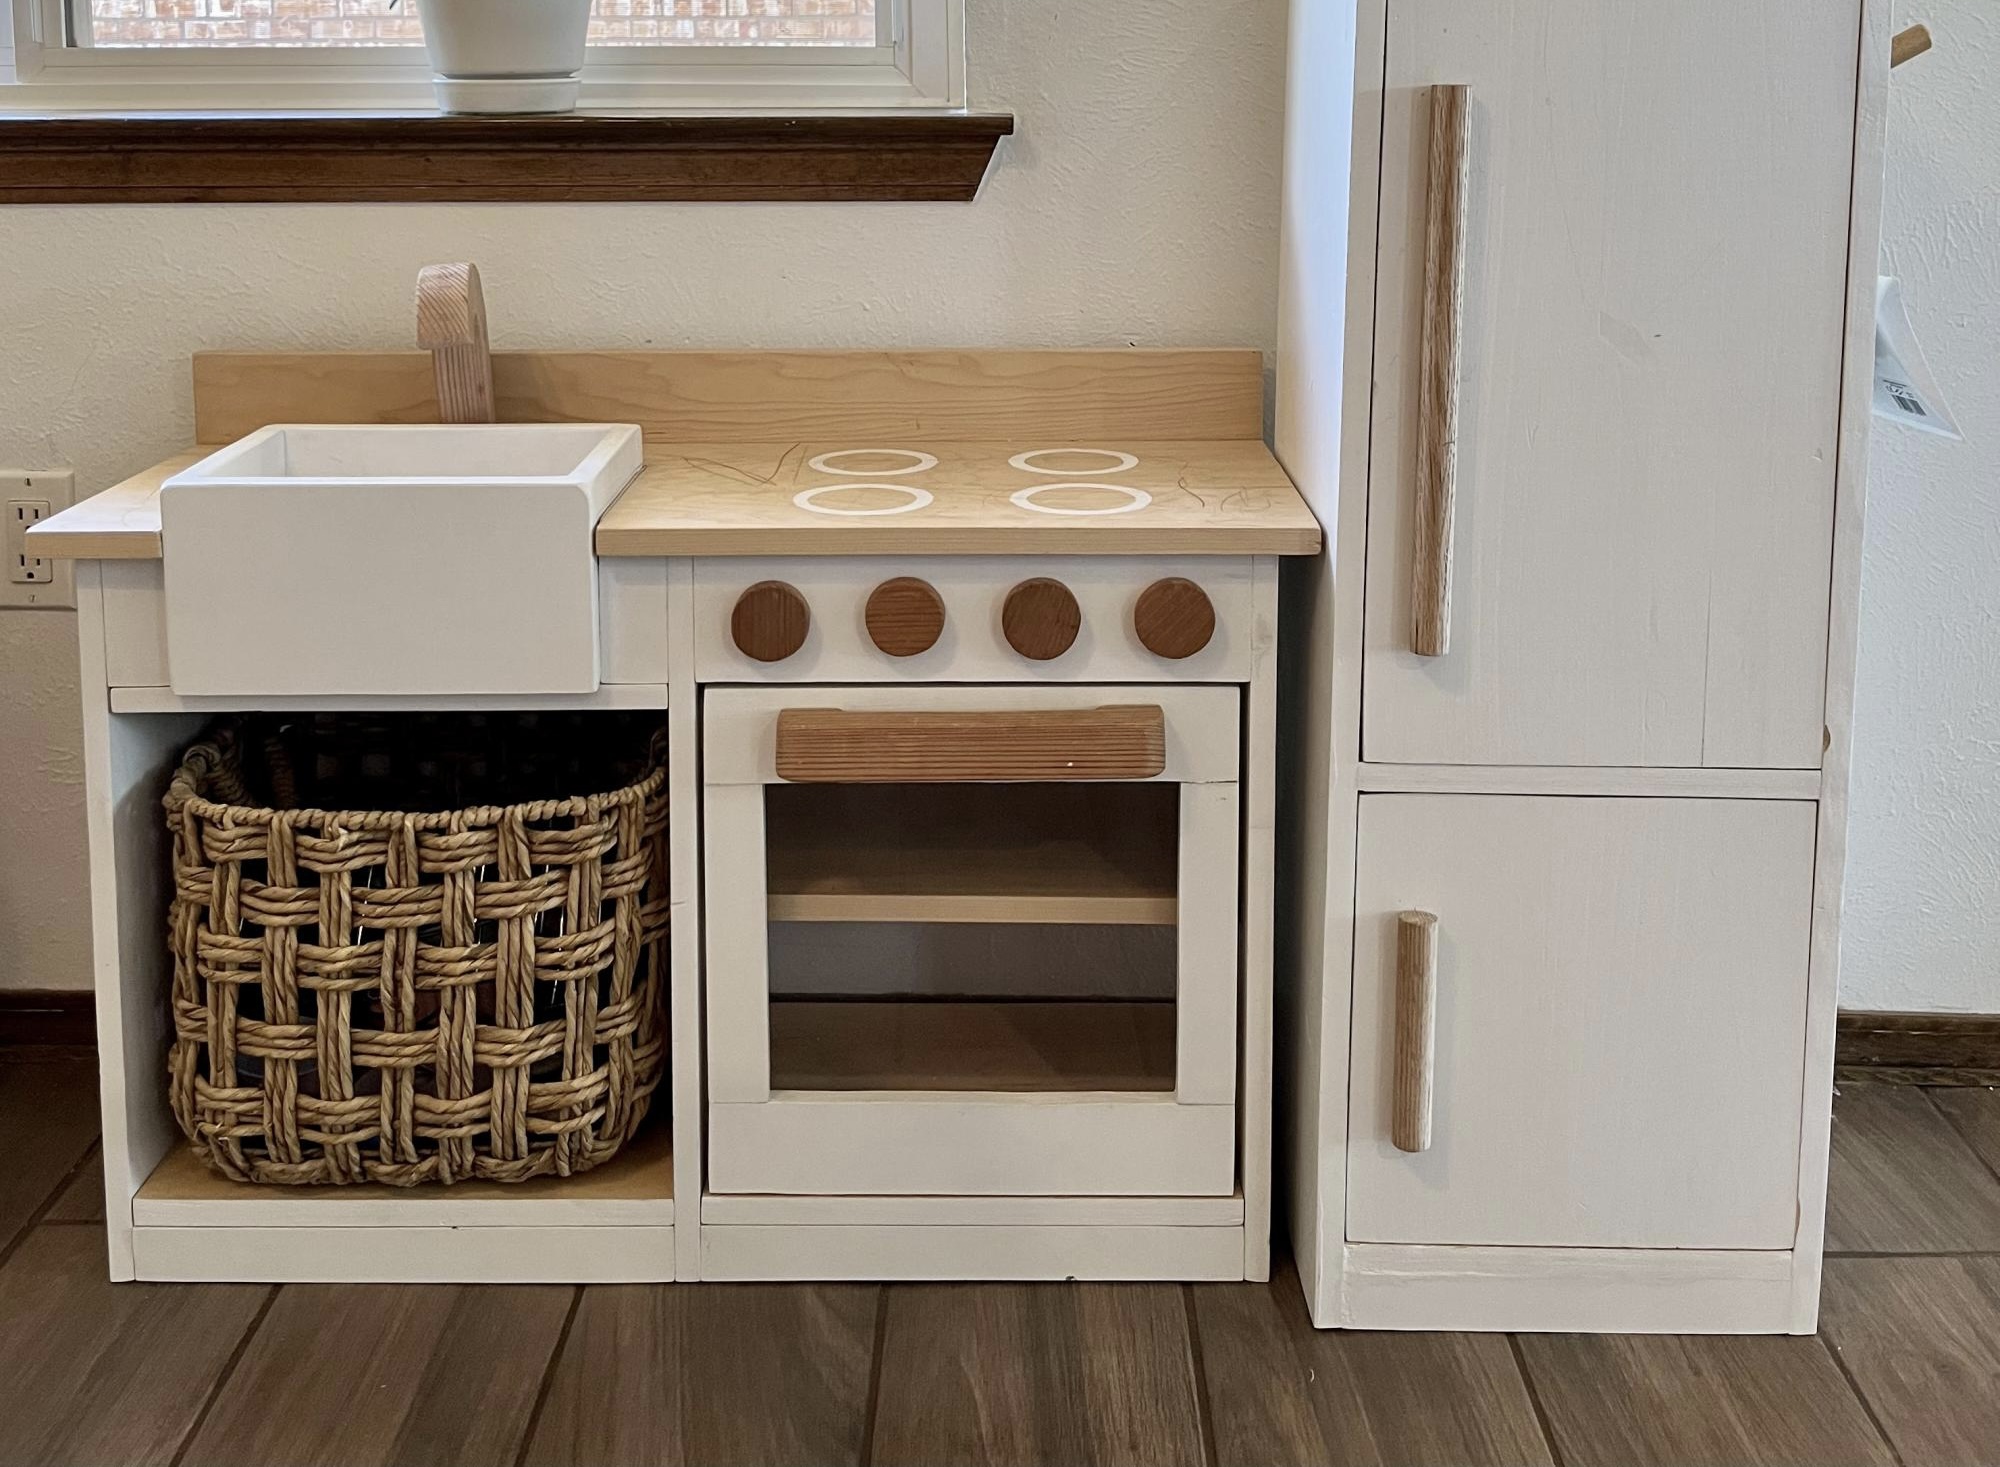
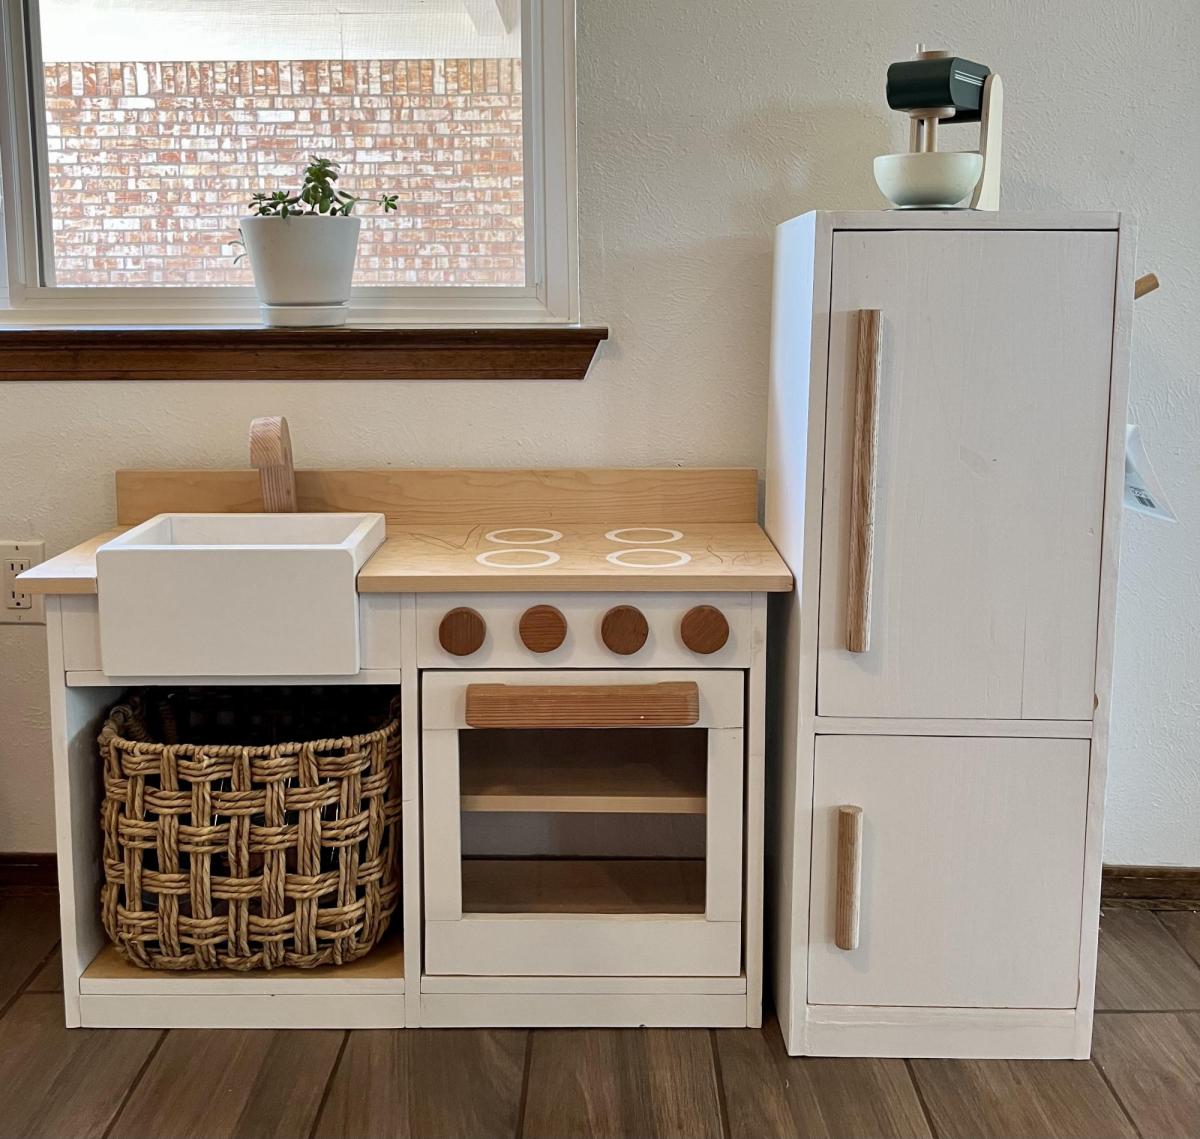
I made this play kitchen as a Christmas present for my kids, and it’s been a big hit! It’s built mostly from leftover hardwood plywood, and a couple of 1x12 pine boards. The oven knobs and faucet were cut from redwood scraps and attached with 1/2” dowels to freely rotate. The vertical surfaces were painted with leftover house paint and sealed with water-based polycrylic. It was a fun build, and I learned some new skills (like installing hinges)! Thanks for the plans!

Comments

Outdoor Box Planters

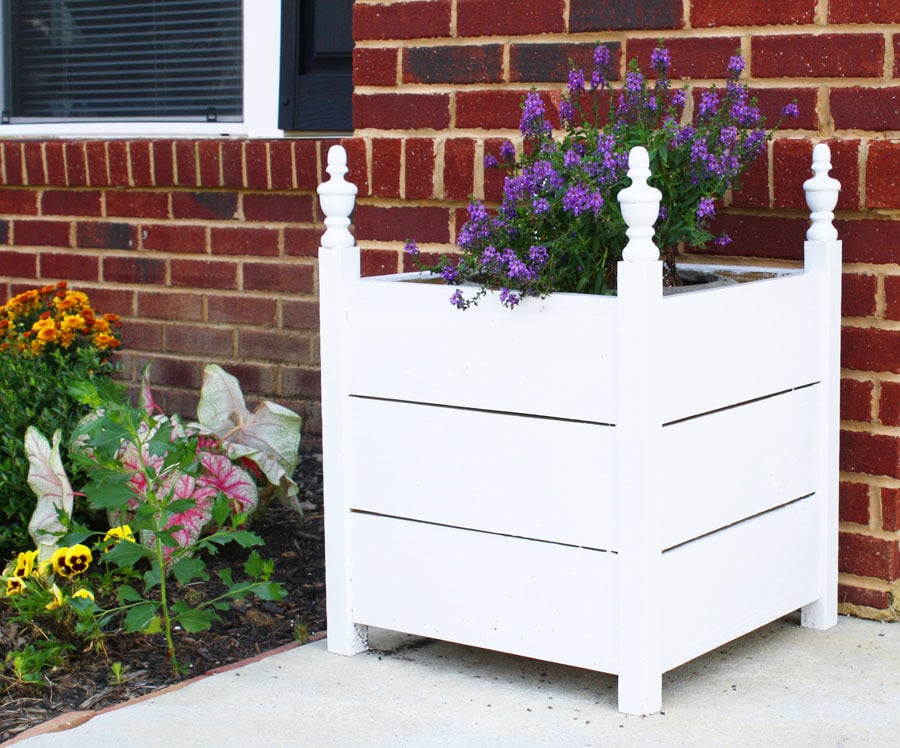
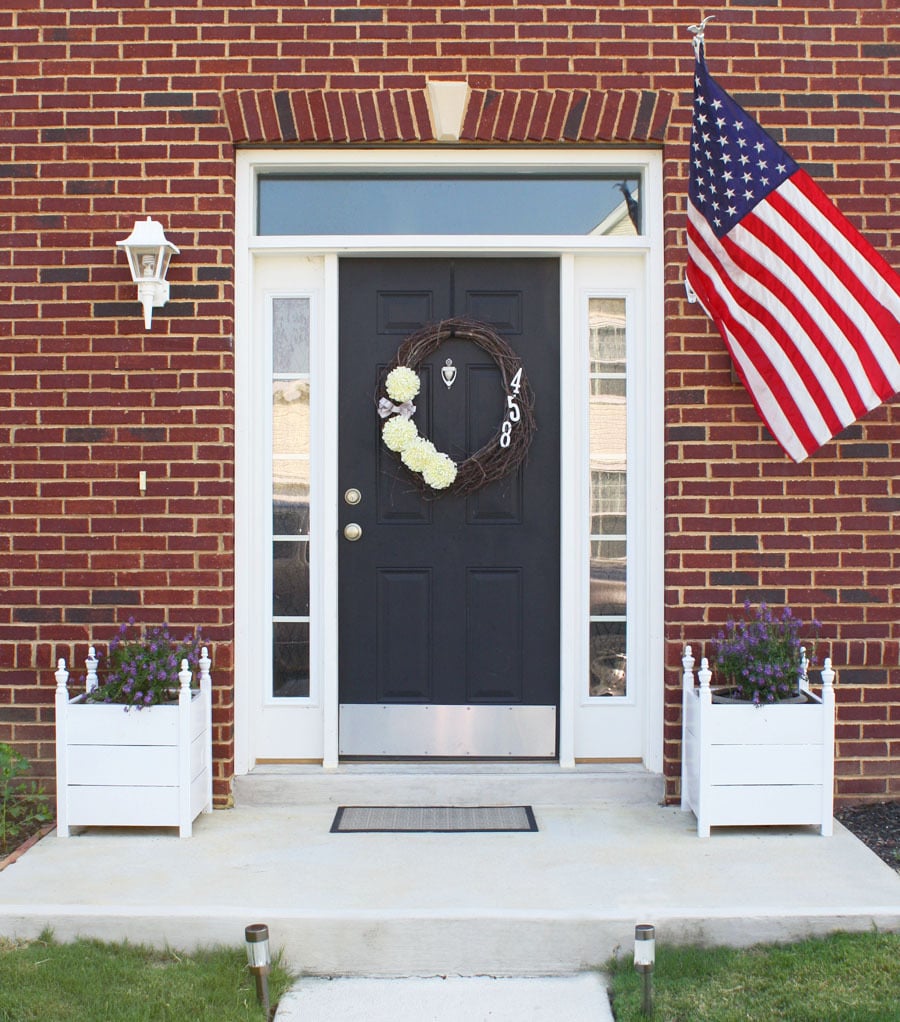
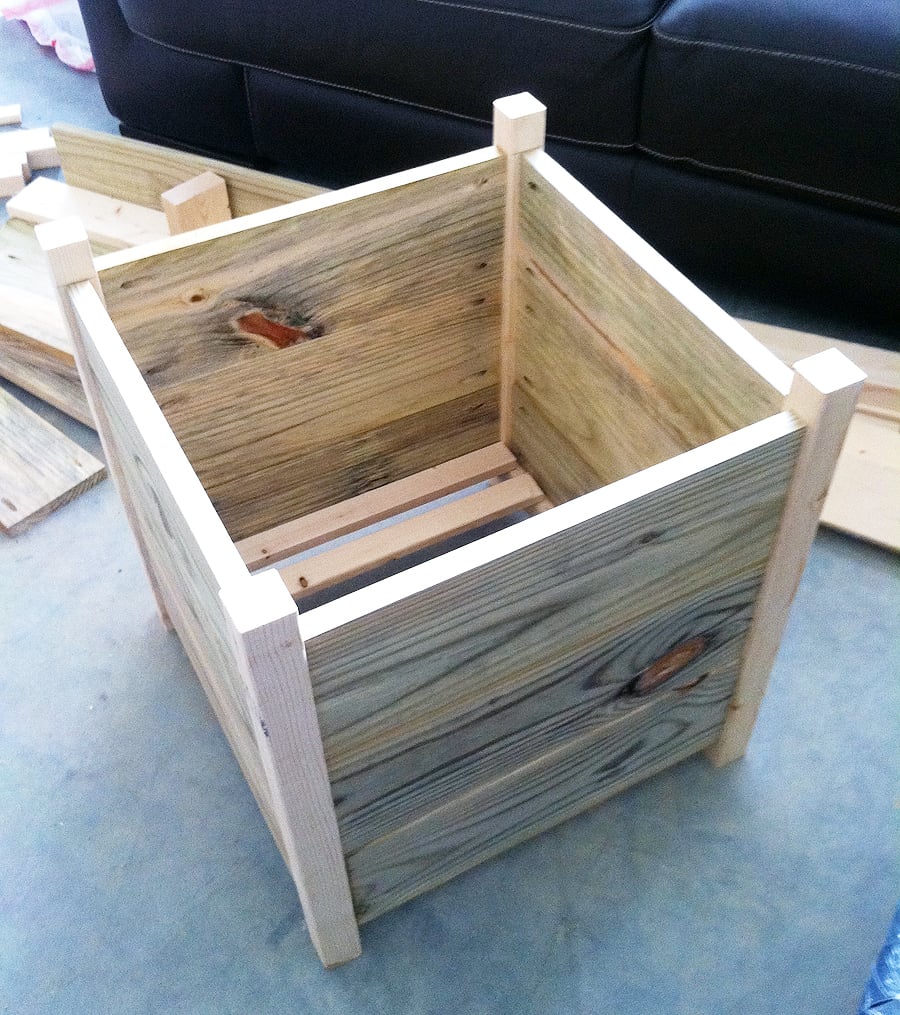
Super easy project to do with a Kreg Jig! I made two for my front stoop. The finials add that extra touch! Check out my blog link for more info!

Built from Plan(s)
Estimated Cost
$16.00 per planter
Estimated Time Investment
Afternoon Project (3-6 Hours)
Finish Used
Primed with Zinsser 3-in-1 Primer, painted 2 coats of glossy white interior/exterior paint.
Recommended Skill Level
Starter Project
Seasonal And Holiday

2x4 outdoor couch

Submitted by Anonymous (not verified) on Sat, 07/18/2020 - 18:46

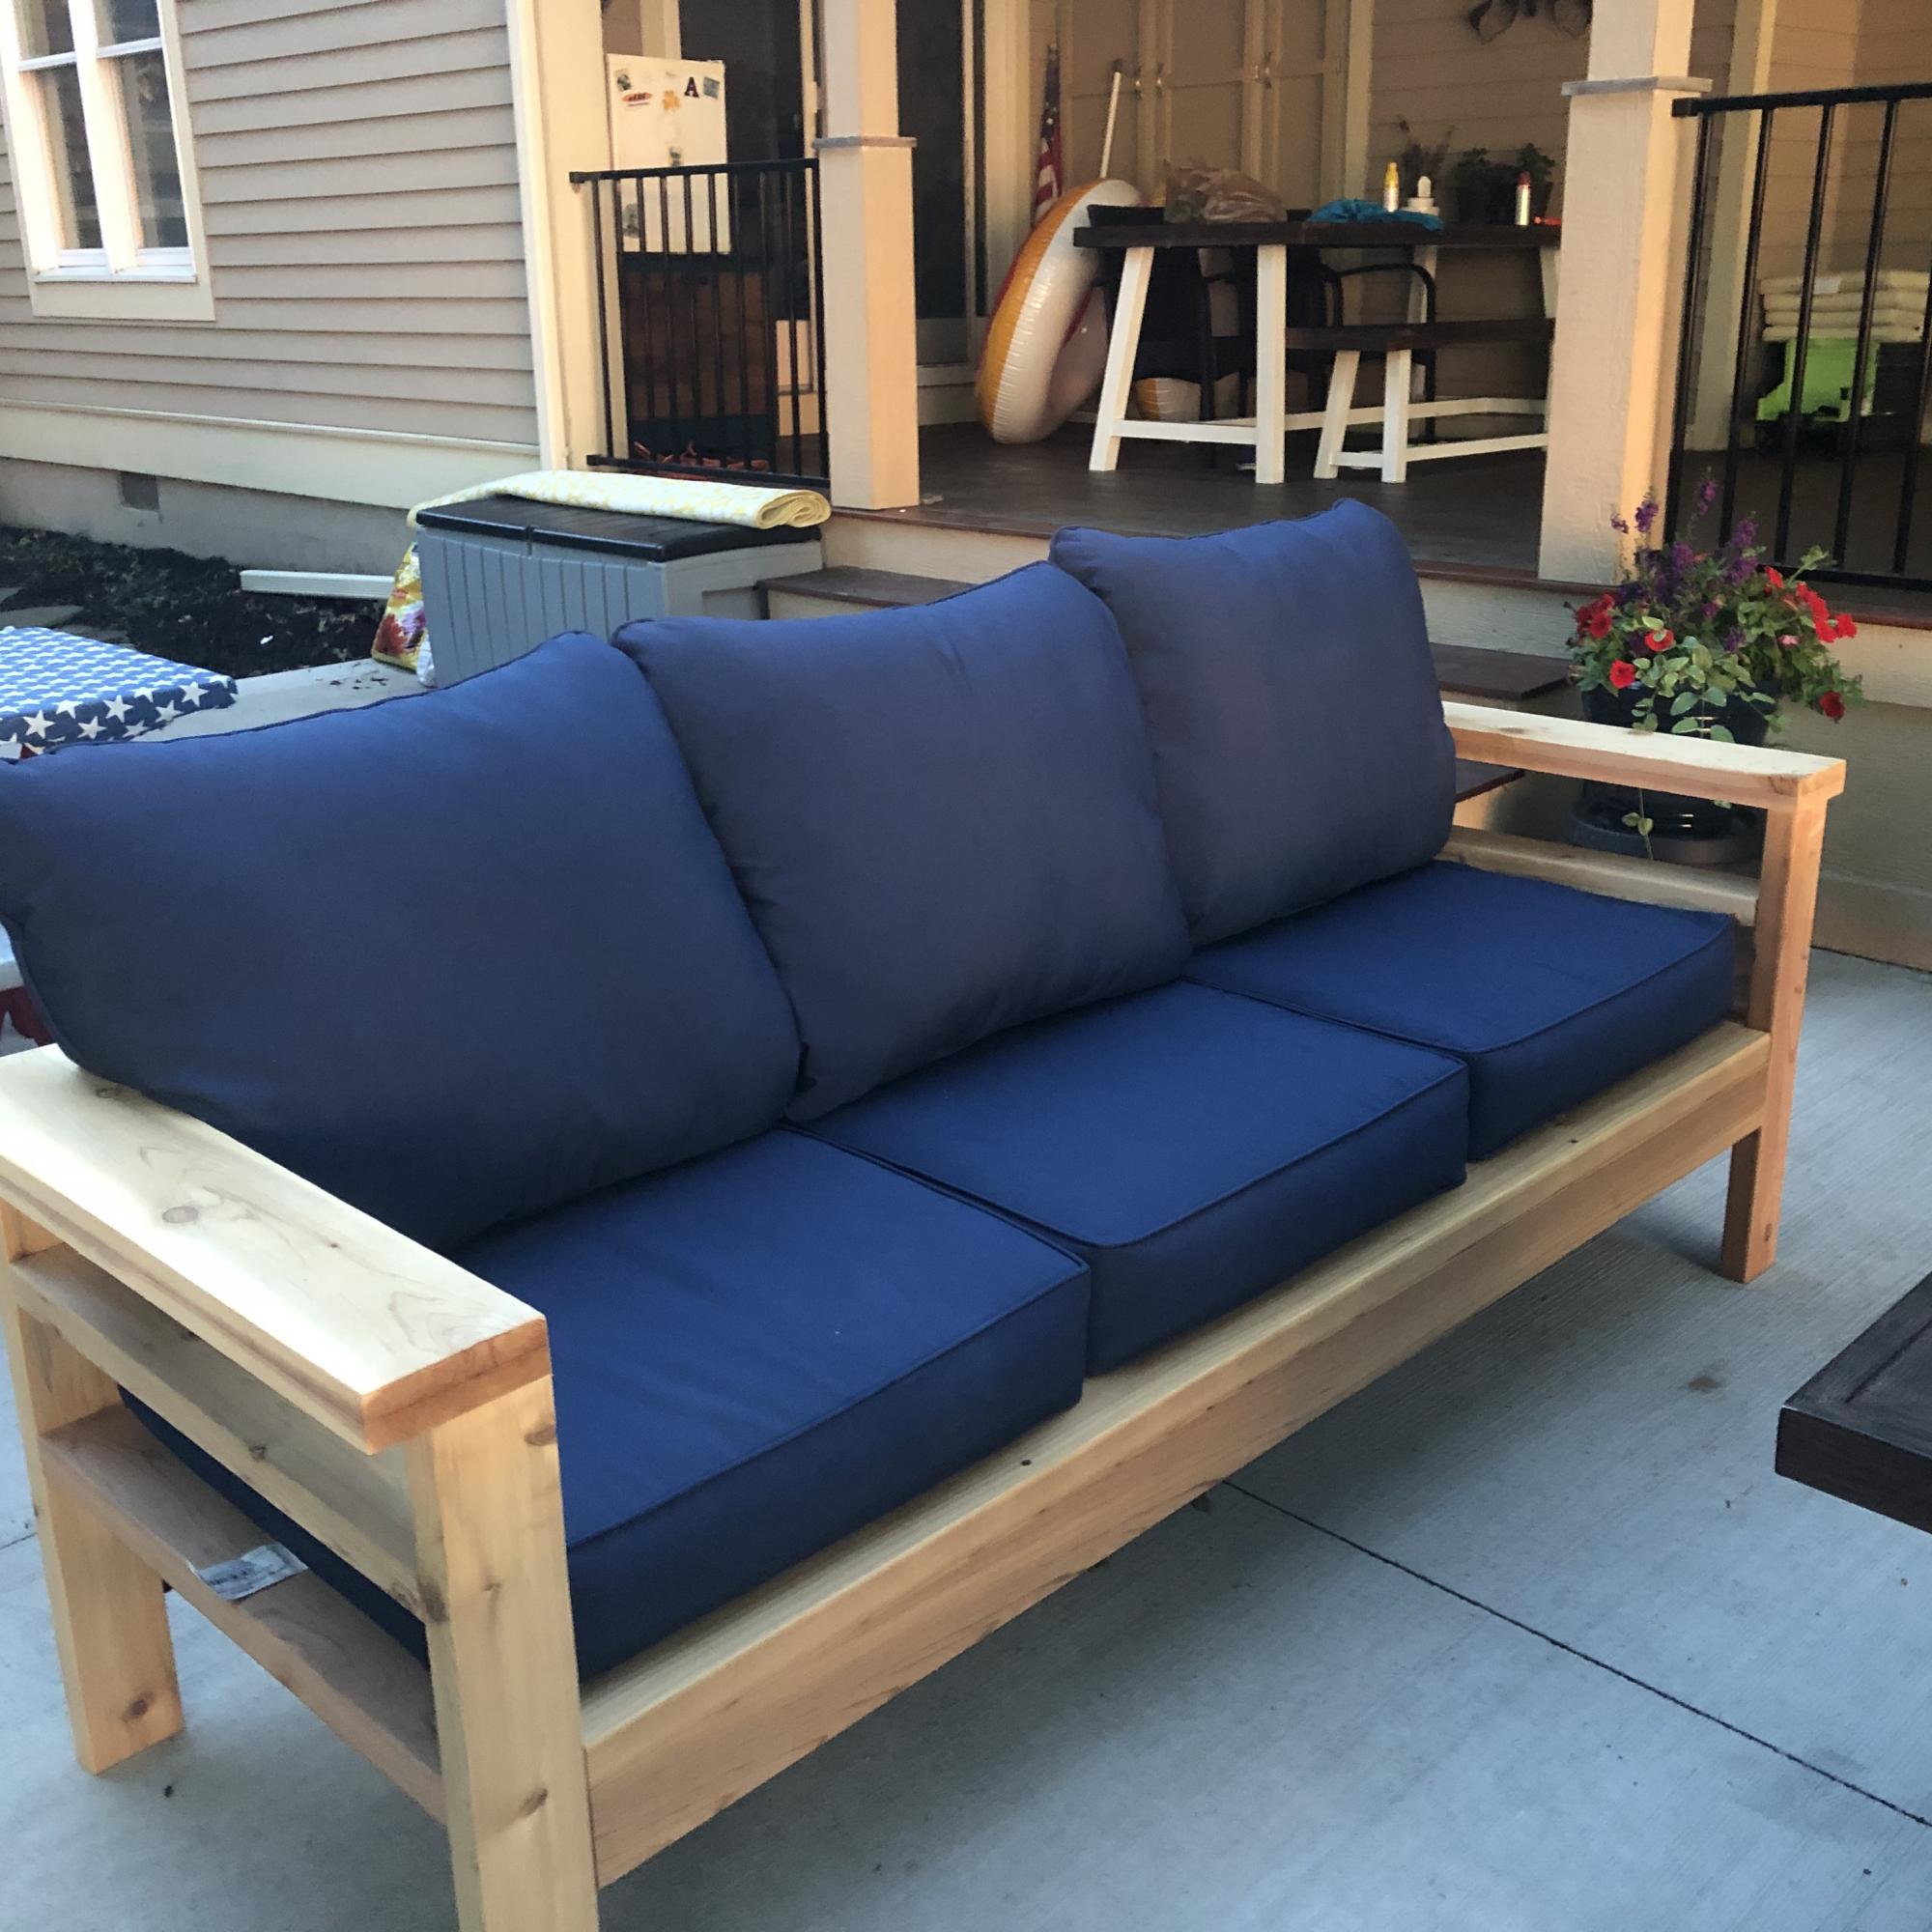
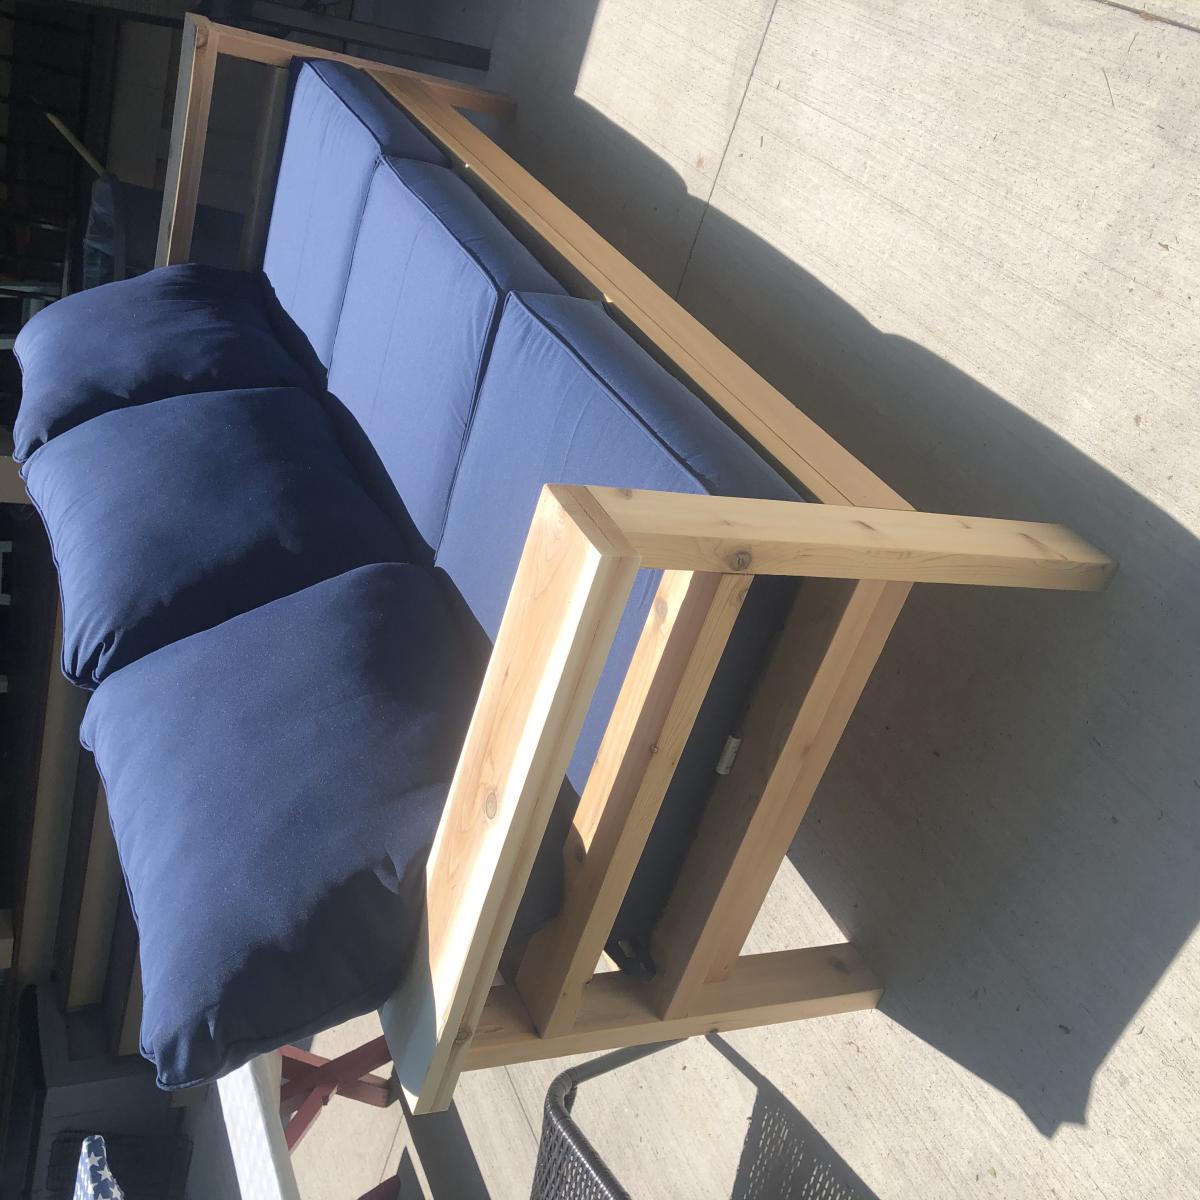
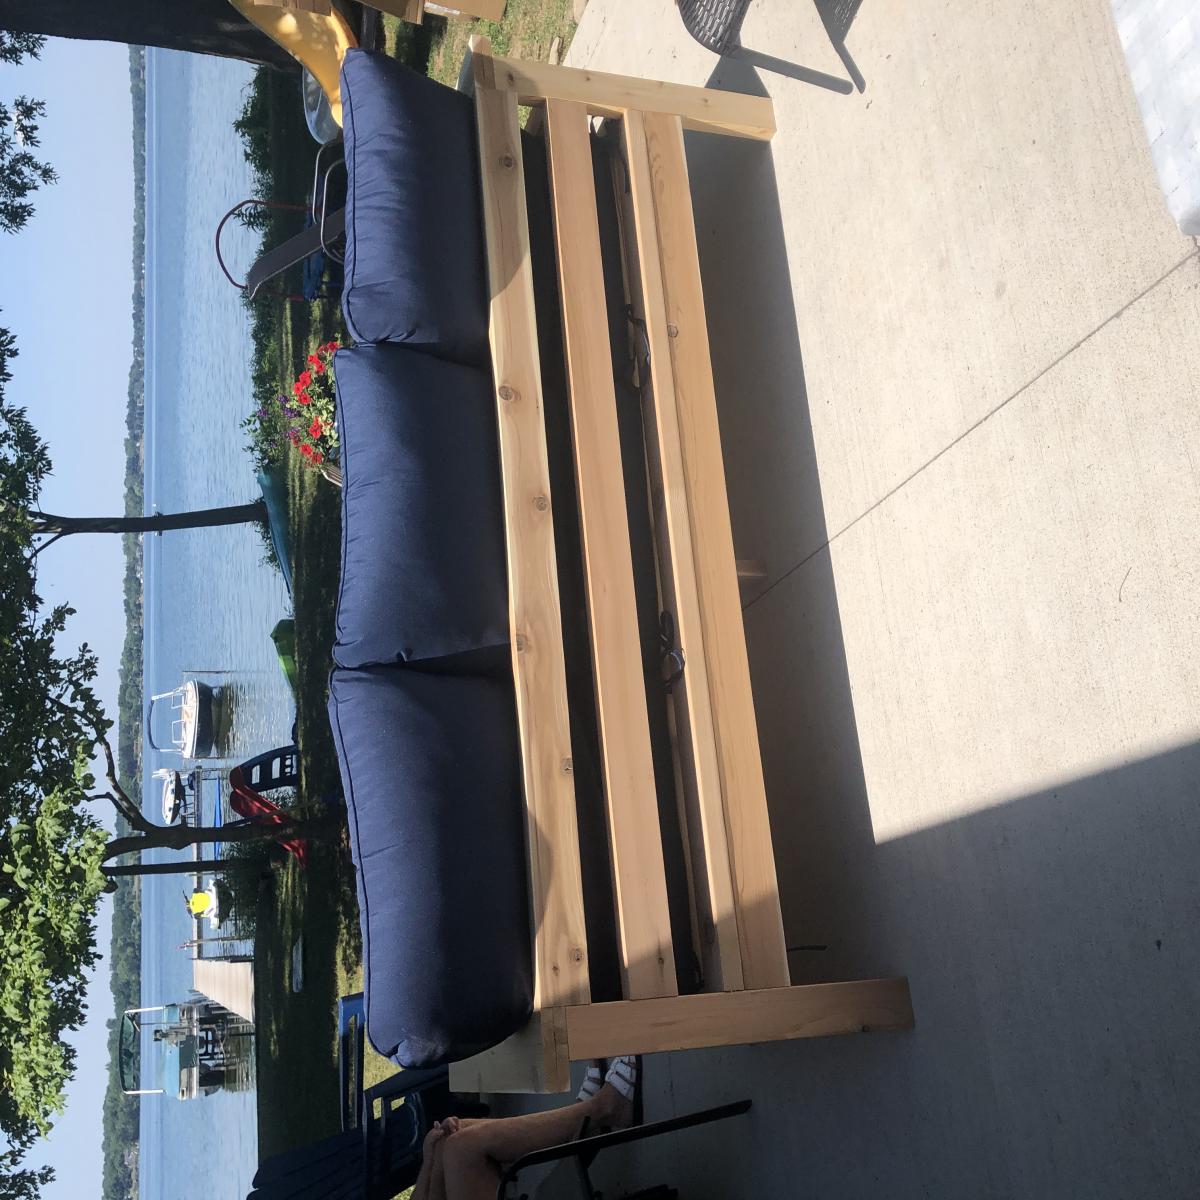
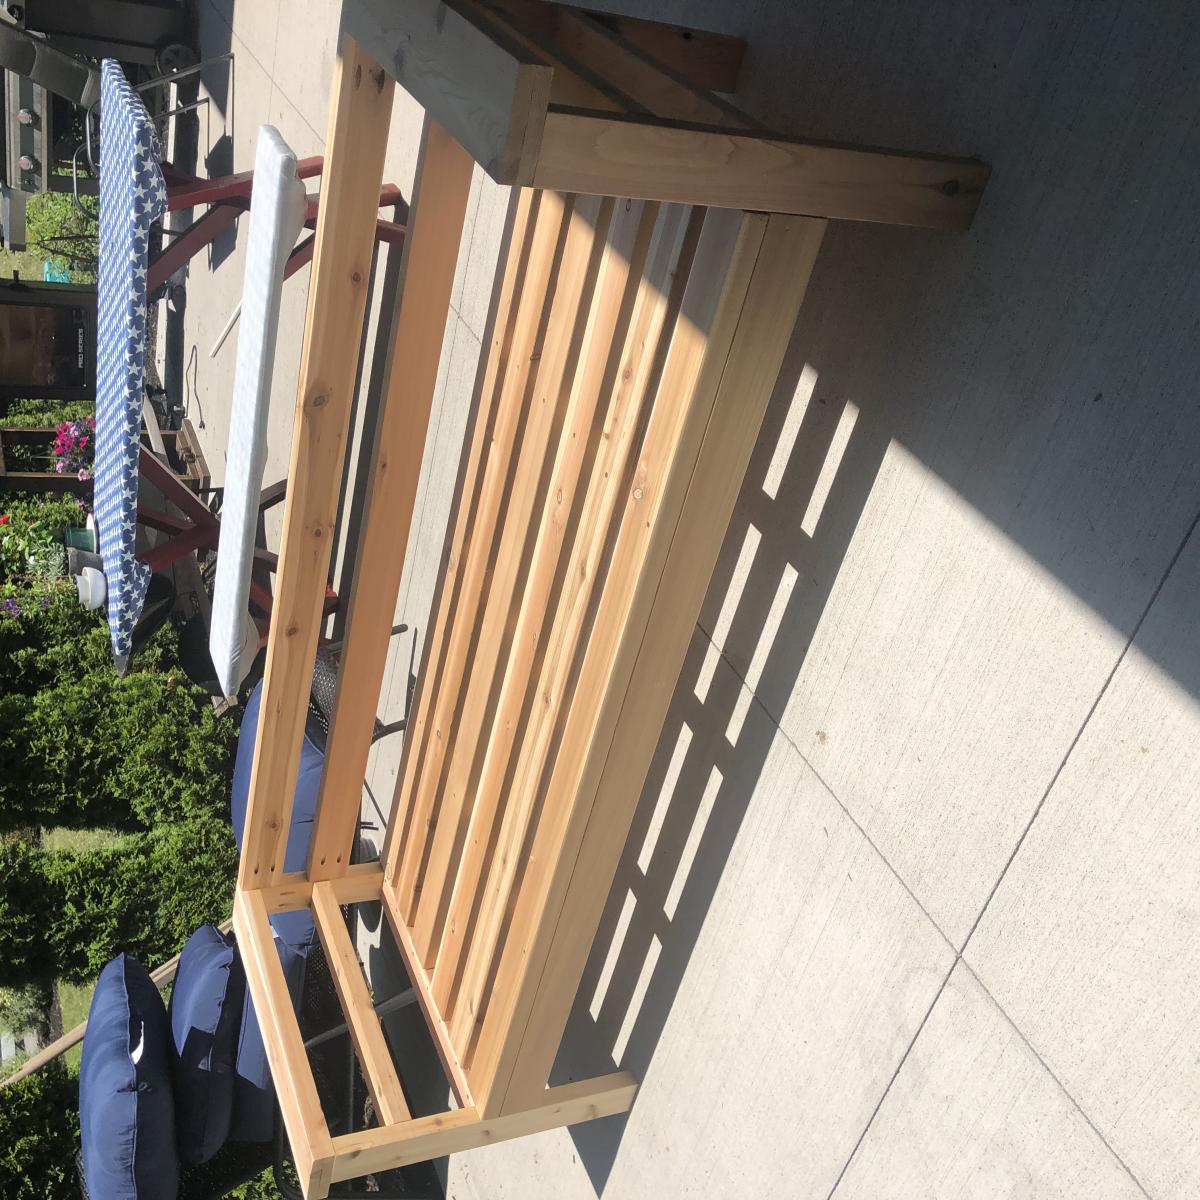
I used cedar and added the extra boards so the cushions would stay put. We also made the arms 2x6 boards so we wouldn’t need end tables for the couch. The plans were super easy to follow. I mostly used pocket holes so the screws wouldn’t be visible. Love how it came out! Thank you for the plans, Ana!!

Built from Plan(s)
Estimated Time Investment
Day Project (6-9 Hours)
Finish Used
Nothing yet. Deciding on whether to let it grey on its own
Recommended Skill Level
Beginner

Modern Geo Headboard

Submitted by Ana White on Sun, 11/03/2019 - 08:48

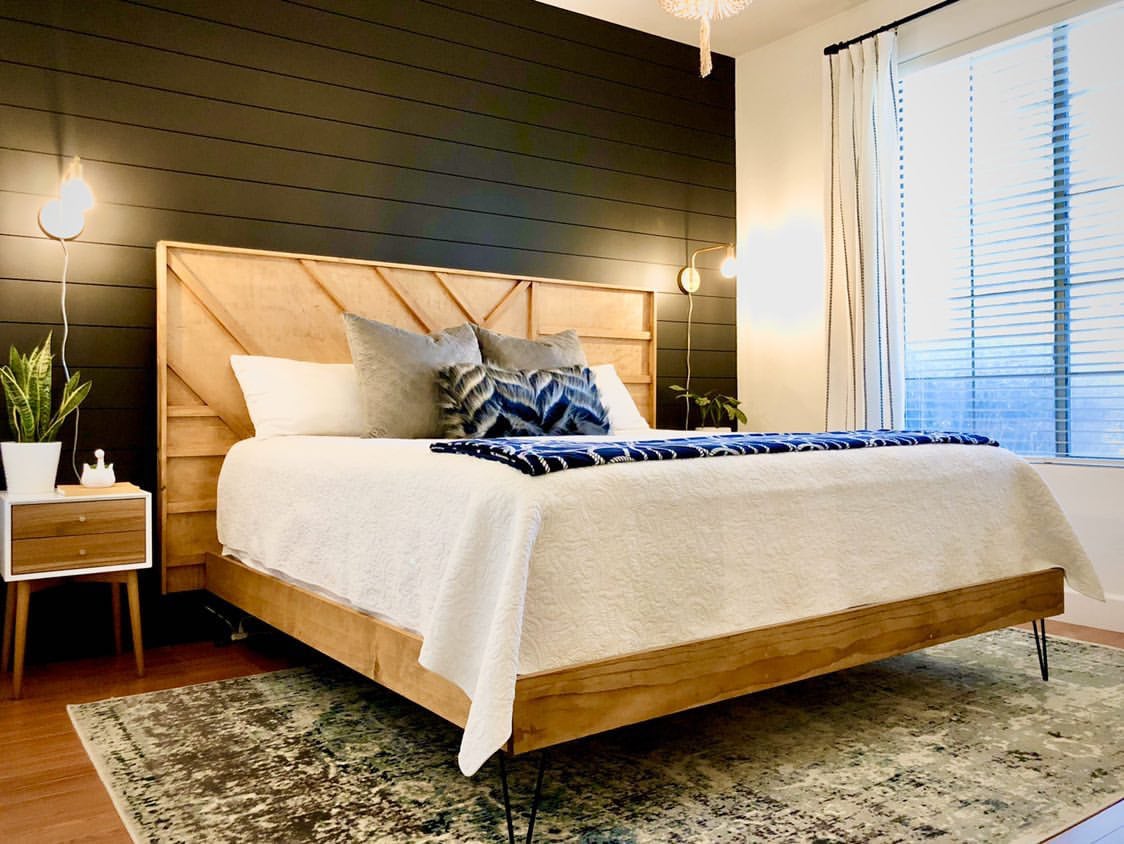
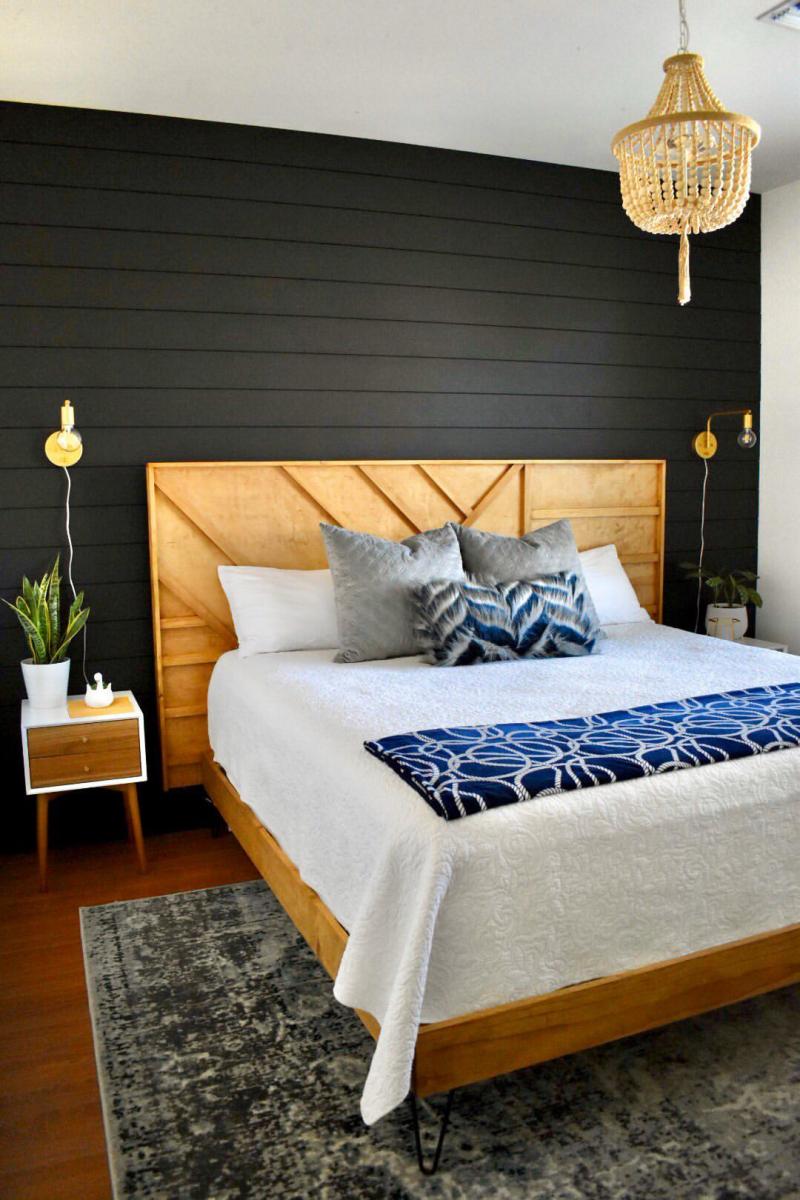
For more information and photos see House of Rumors in Instagram www.instagram.com/houseofrumours 

Comments