Console as microwave cart
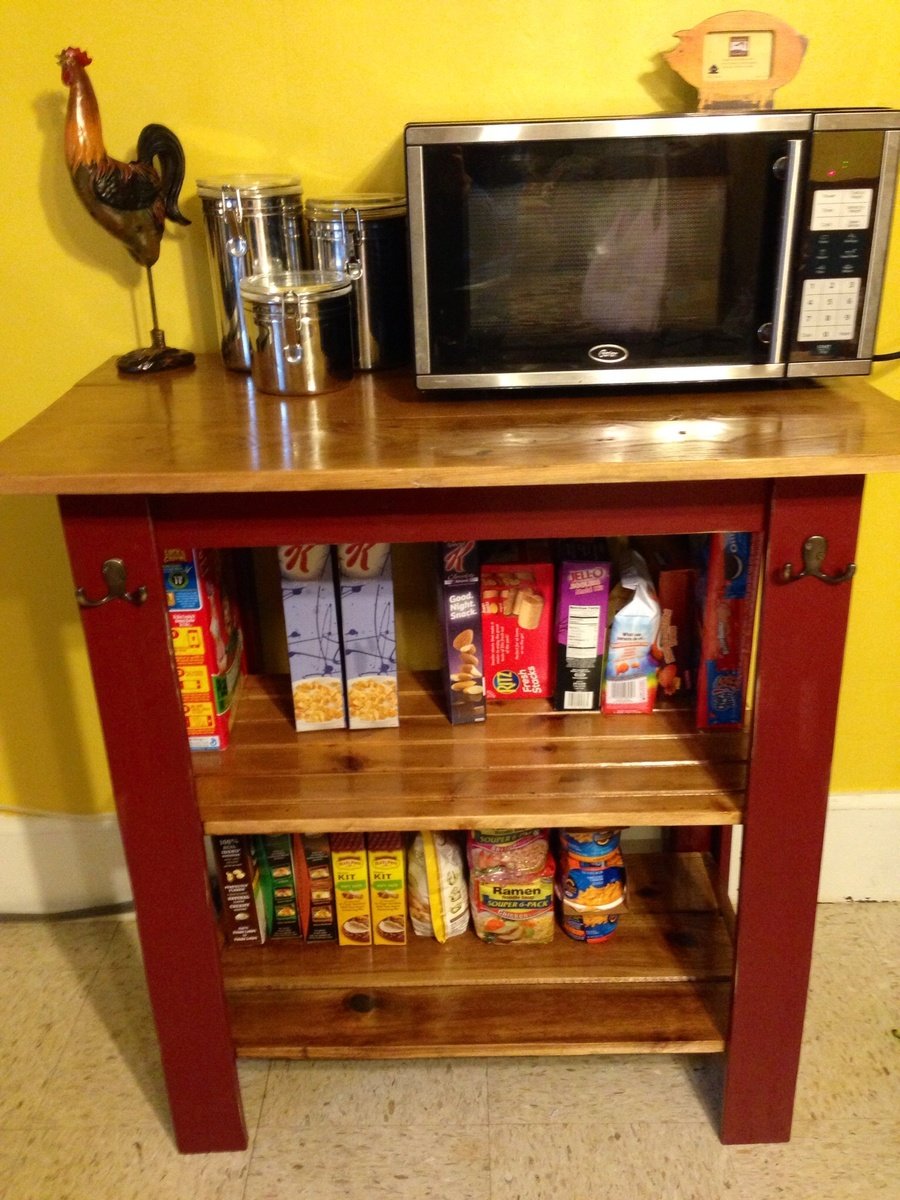
Added a shelf and made the console a microwave cart for my mom.
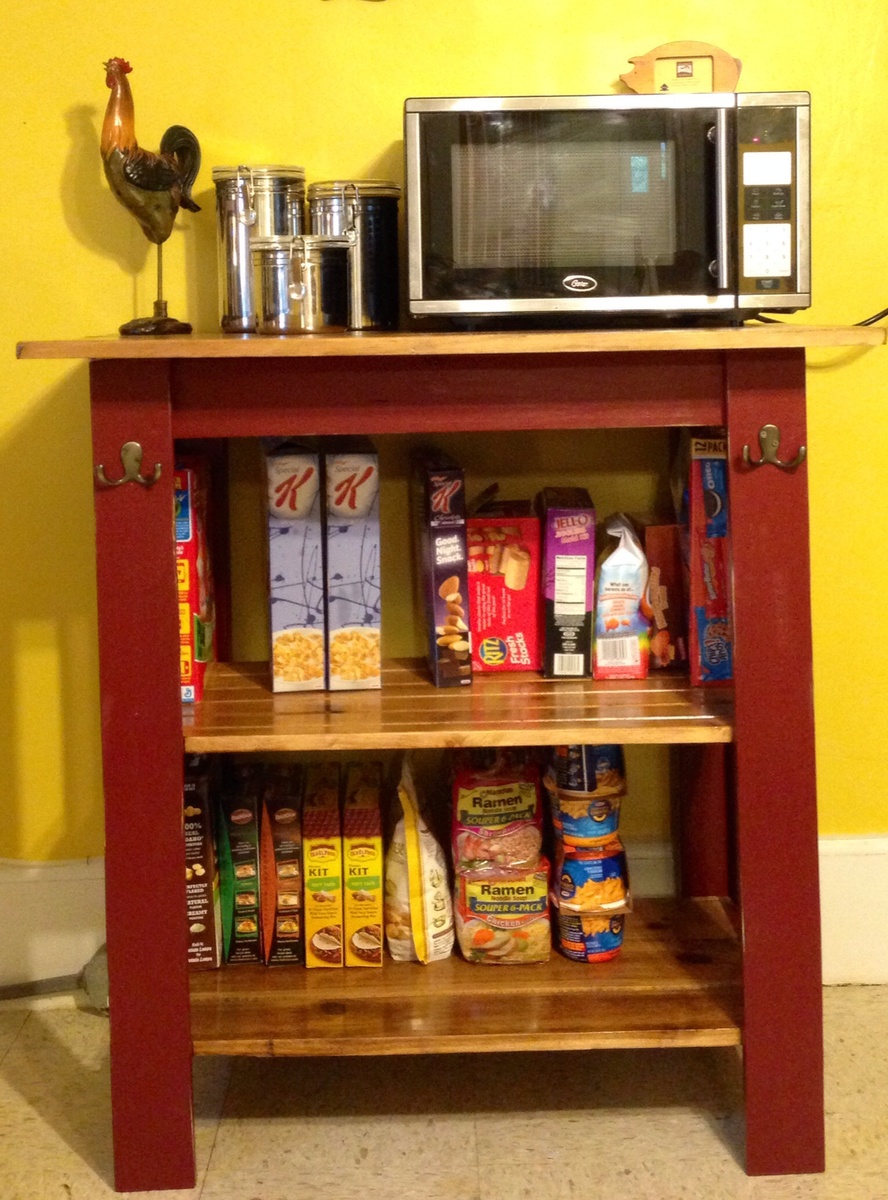

Added a shelf and made the console a microwave cart for my mom.

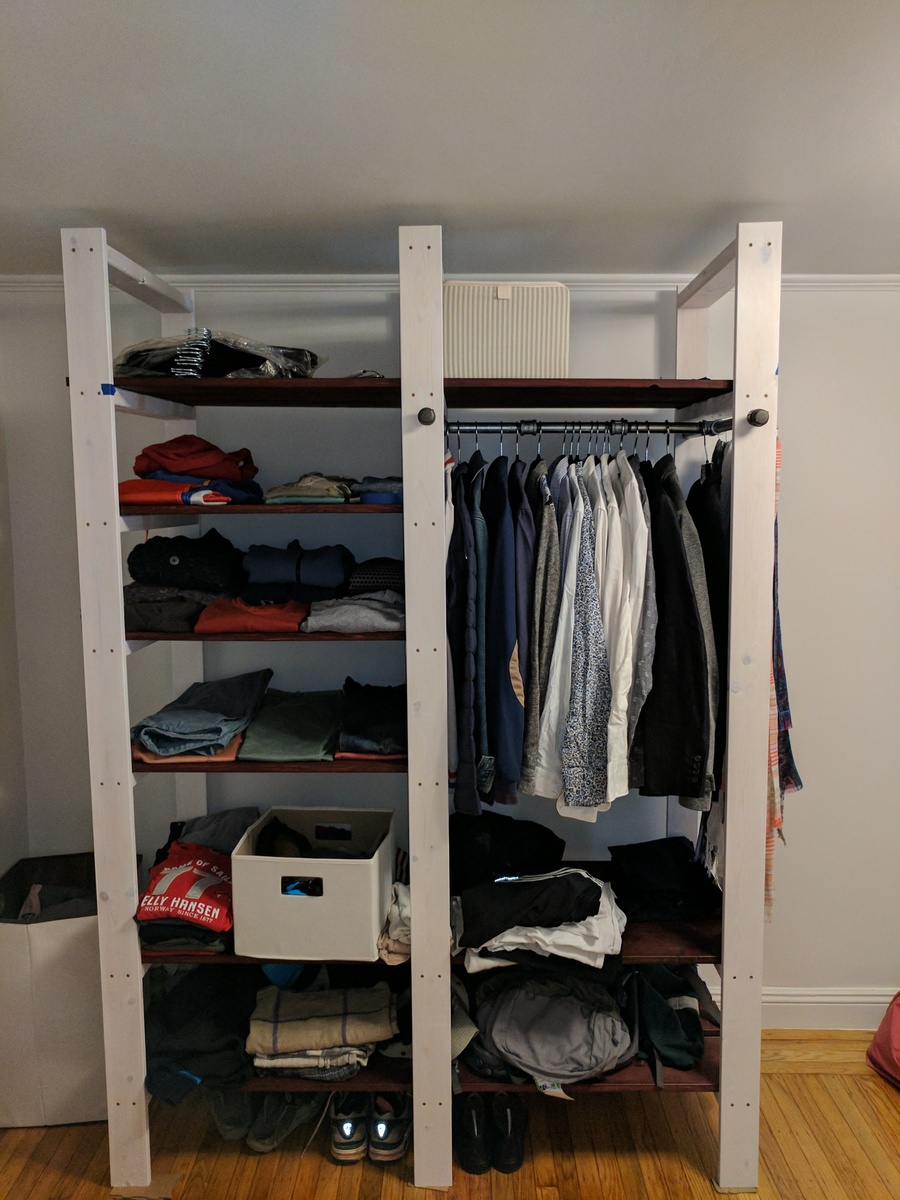
I couldn't find any wardrobe that I was really happy with - and then I stumbled upon Ana's design, and I loved it! I went for two different colors (white for the supports and rosewood for the shelves) to give it more presence. Dimensions are 60" wide X 22" deep x 86" tall

I found the plans on the website last year but we never got around to building it. So this year it was first on the list!! I wanted a large enclosed garden because we had a hard time keeping our dogs out of our last boxed garden. I followed the plans pretty closely, making minor changes to give us more room for planting.
I did not use the corner wood pieces for bracing because I did not like how they looked. Instead I used brackets made for decks that I can't see from the outside of the garden. I also made a custom gate to mimic the custom railings I had made for our deck. Added brackets to the outside for hanging baskets. Still needs to be stained and sealed. Hoping to get that done next week.
Note: I bought 22 2cubic feet bags of Miracle Grow Flower and Vegetable soil to fill the garden boxes.
Approximate costs were around $180.00 for wood/stain/gate hardware, netting and deck screws.
Approximate costs for the soil was $140.00.
I hope
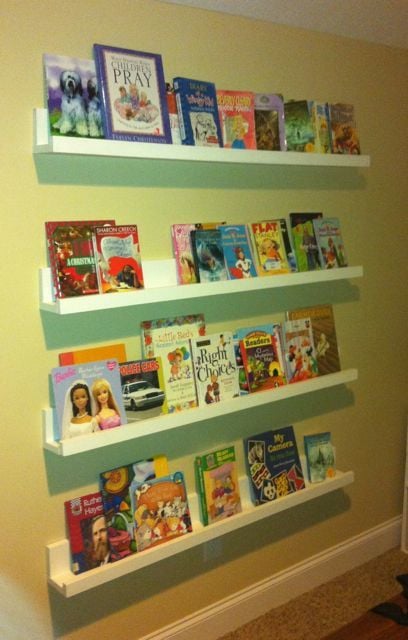
I really enjoyed this project. I would suggest painting as much as possible before assembly. I used pocket screws to hide which are hidden on the back side and a nail gun to attach the front 1x2s. I made a total of 8 ledges.
One thing I did different from the project plan is that I connected the bottom board on top of the back board to give me a little more space on the bottom for layering my books.
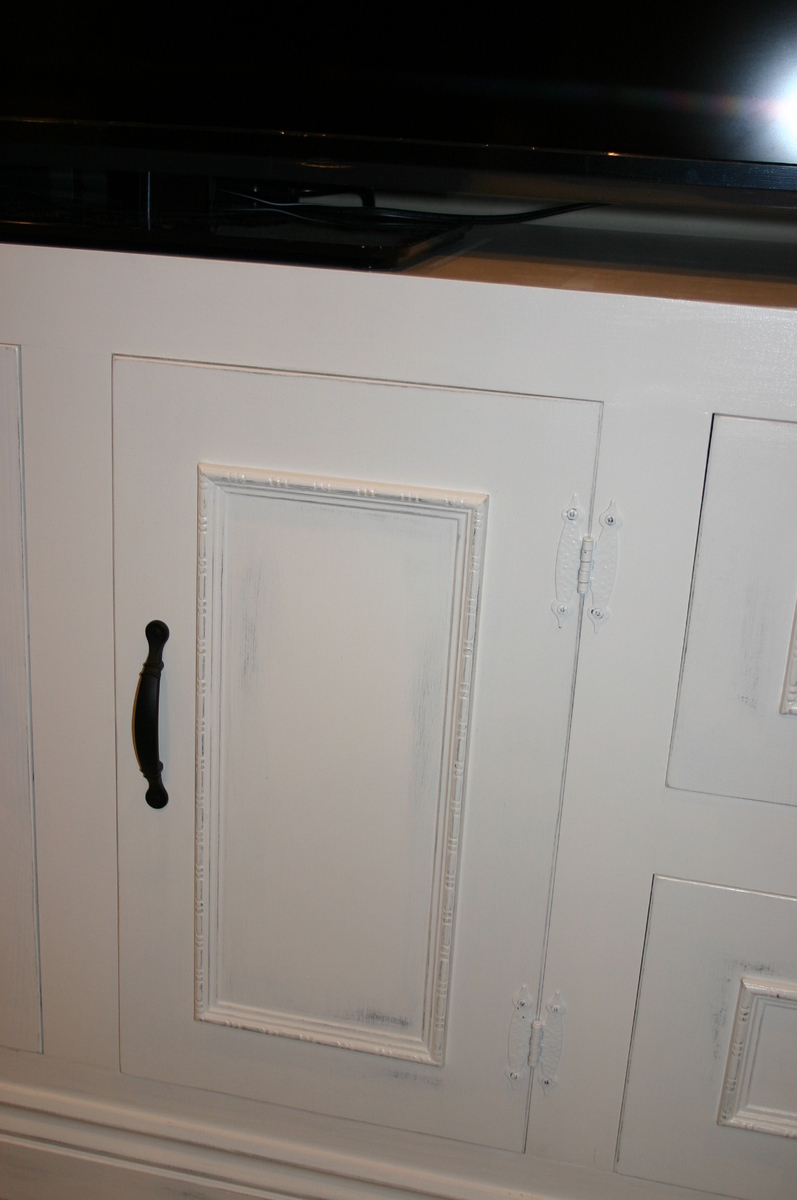
I used the plans from JRLwoodworking and the pictures from AZCA33 and combined them to create an entertainment center to hold my new 60" flat screen tv. I priced new entertainment centers at furniture stores for a nice entertainment center to hold a large tv and the price was around $2000. I looked around online and found a couple of websites of handmade entertainment centers and decided to give it a try. I had never made anything remotely his large or detailed, but with the plans and some patience, I was able to bring this thing to life. I couldn't have done it without the help of this website or jrlwoodworking. I am very proud of this piece of furniture and plan to cherish it for a long time....
Sat, 06/01/2013 - 19:21
Hi RAZORBACKFAN, I am so excited to see this build from our plans at jrlwoodworking.com! This is absolutely beautiful. It looks like a very difficult project, but with the step by step instructions and going through it a few times, it really can be done by a handy do-it-yourselfer. I hope you enjoy yours as much as we enjoy ours. The best part of it is telling everyone you built it. Nobody would believe it unless we had the pictures to prove it.
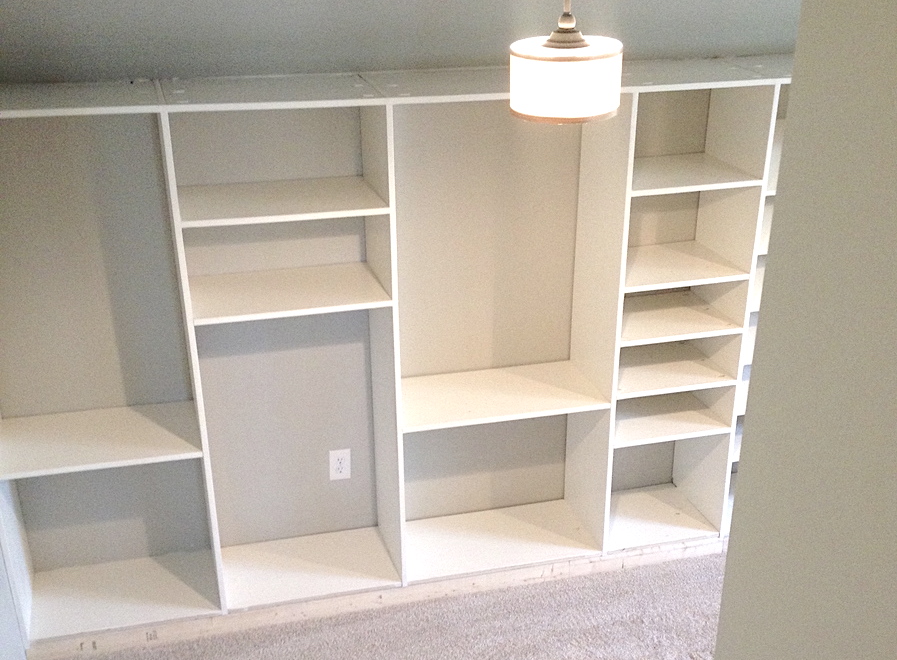
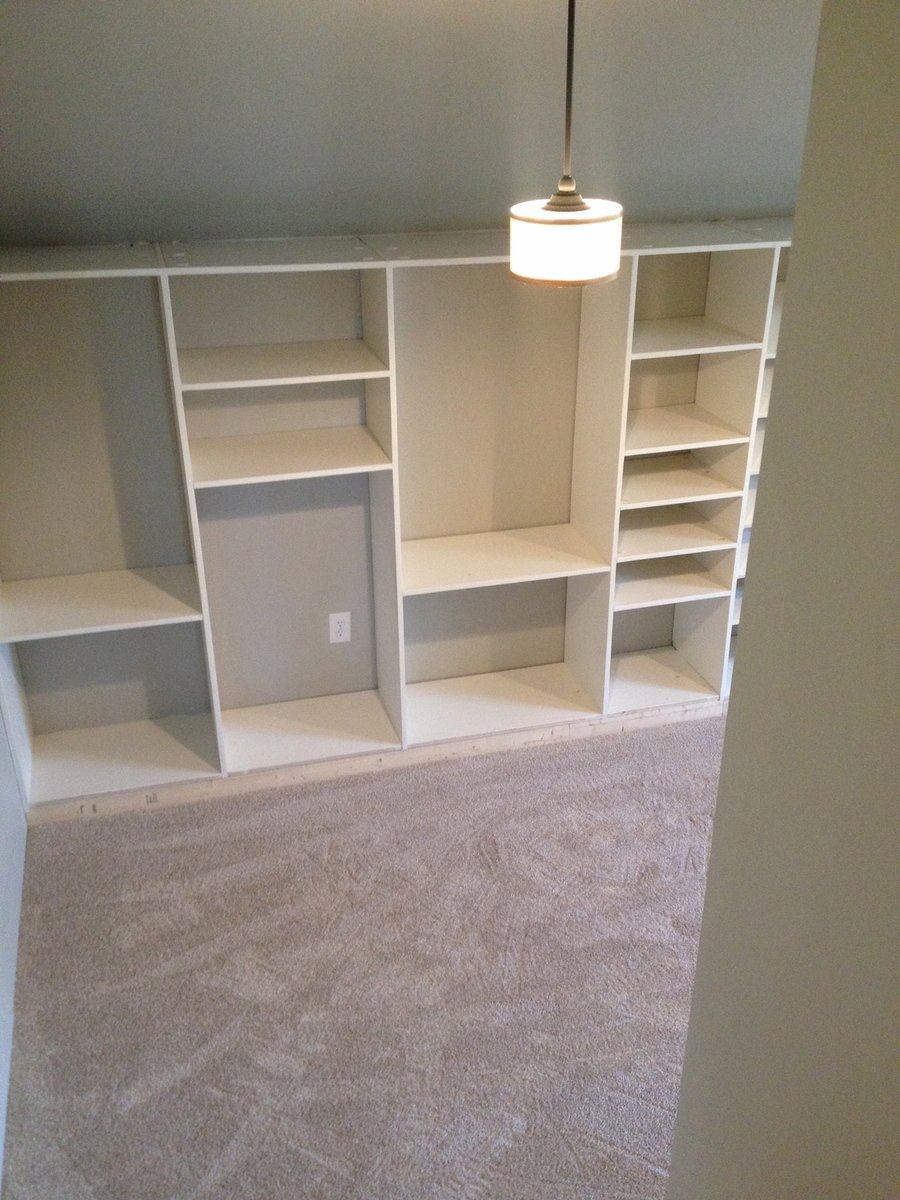
We used an unfinished attic space above our garage that was connected to our bedroom to make a walk-in closet with great shelving. This project took a lot of time but we are so happy with the results! There is a side for my husband and a side for me. Although it is hard to see we also incorporated a small door/bookshelf into the room to allow us access to attic storage space.


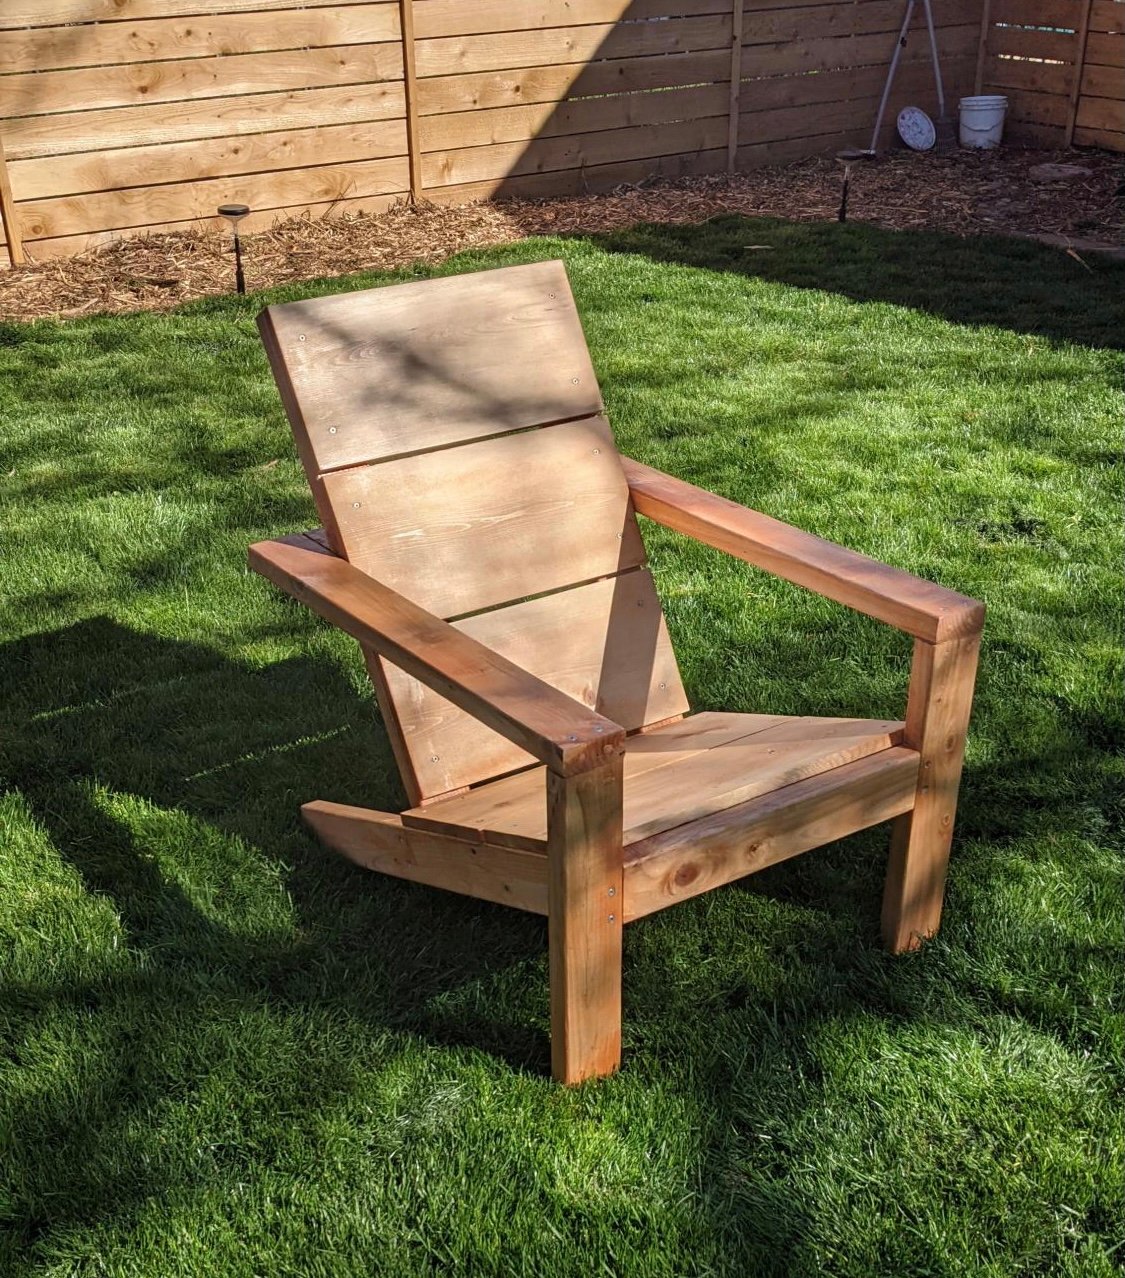
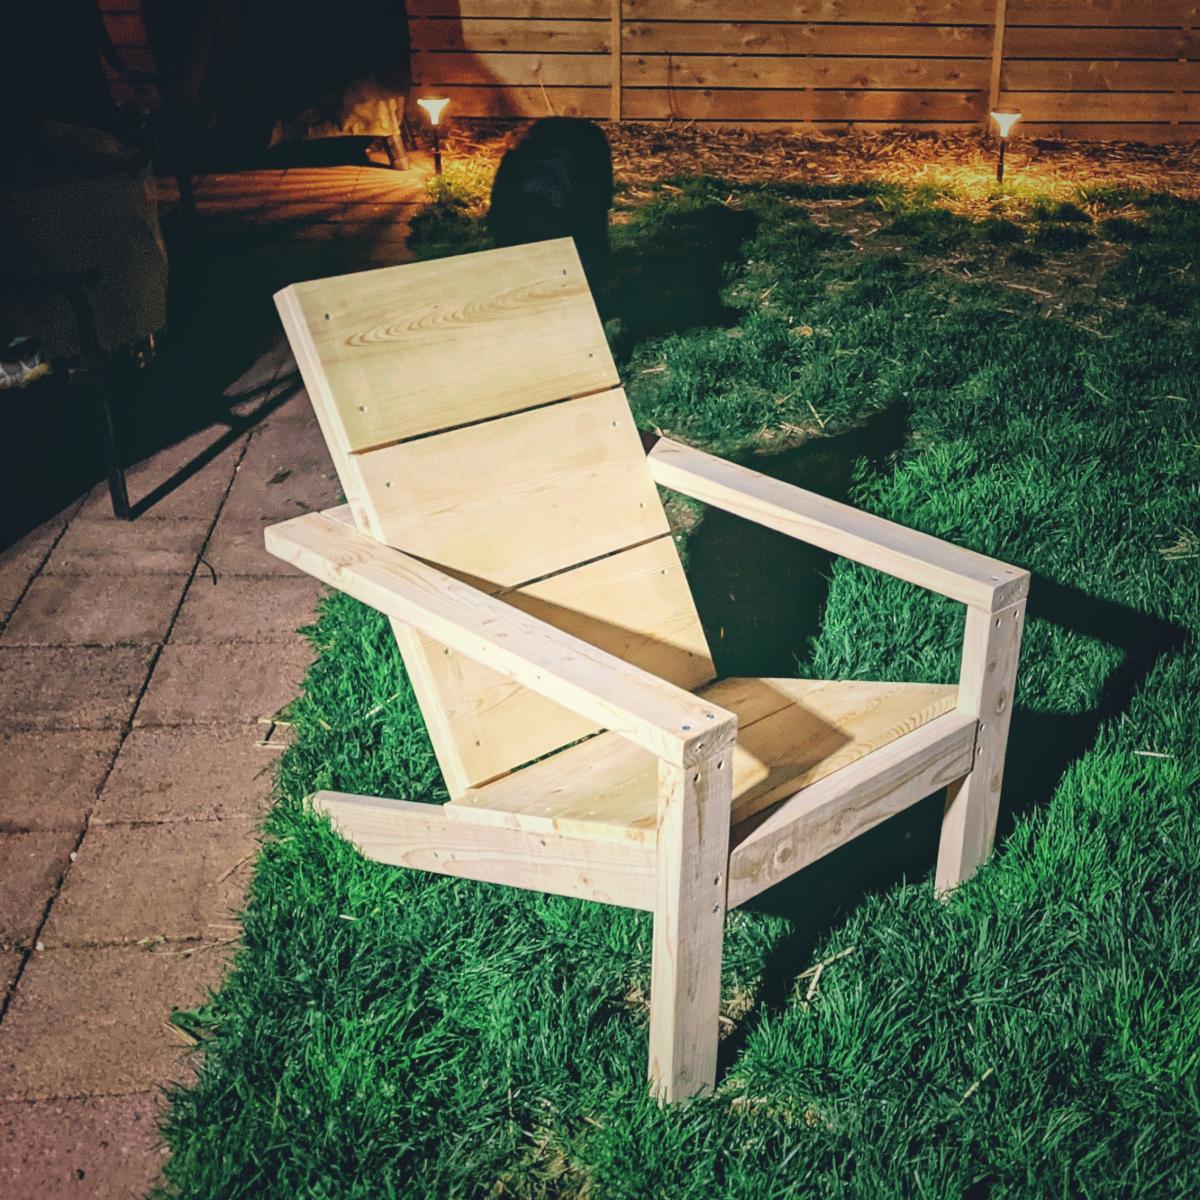
I've made 2 of the Modern adirondack chairs. Really enjoyed the plans and the video for help as I'm new to woodworking. I look for new plans all the time to see what I might build next
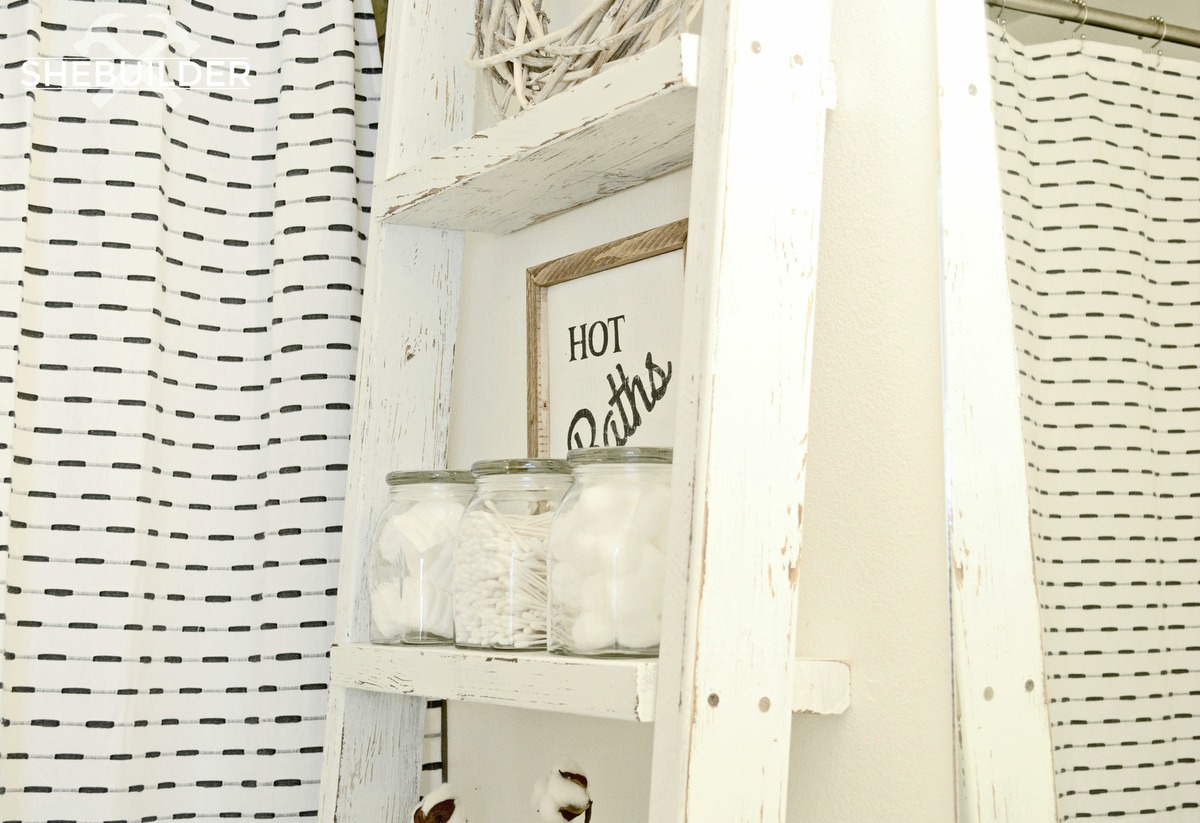
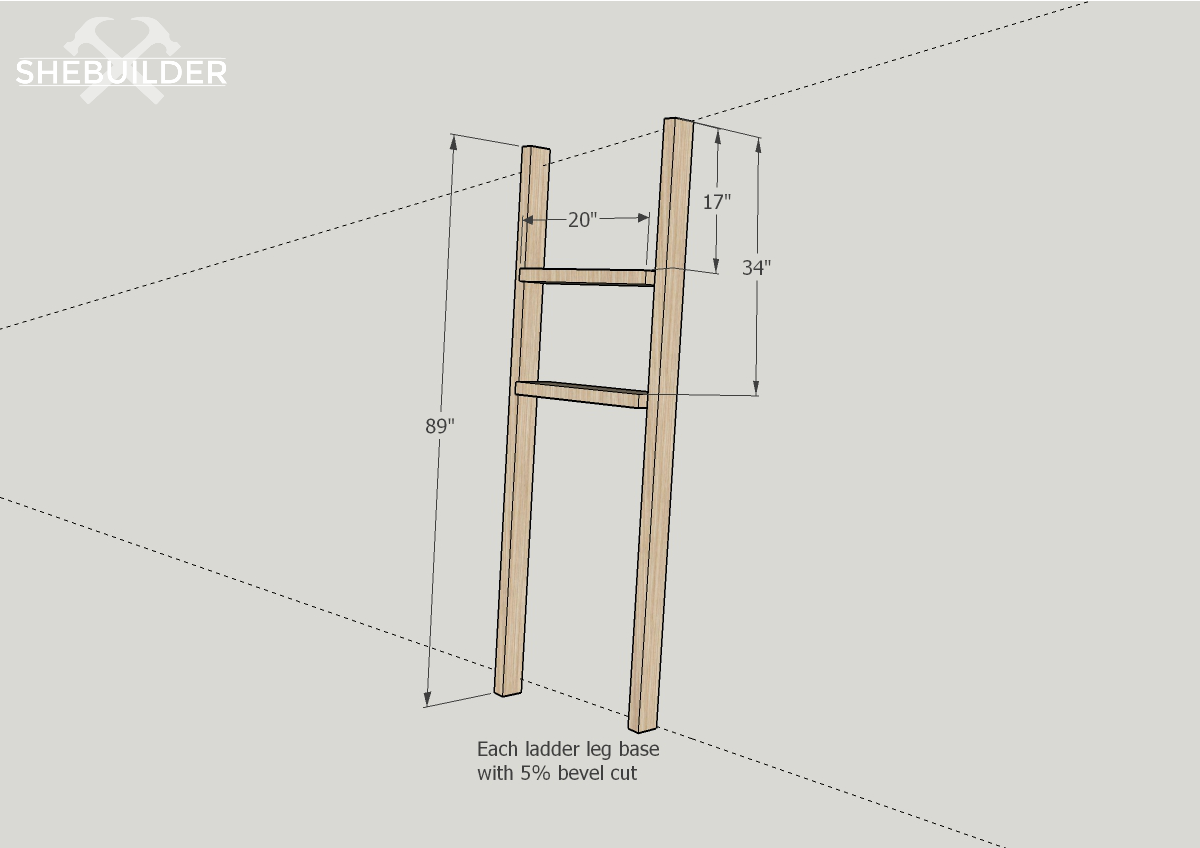
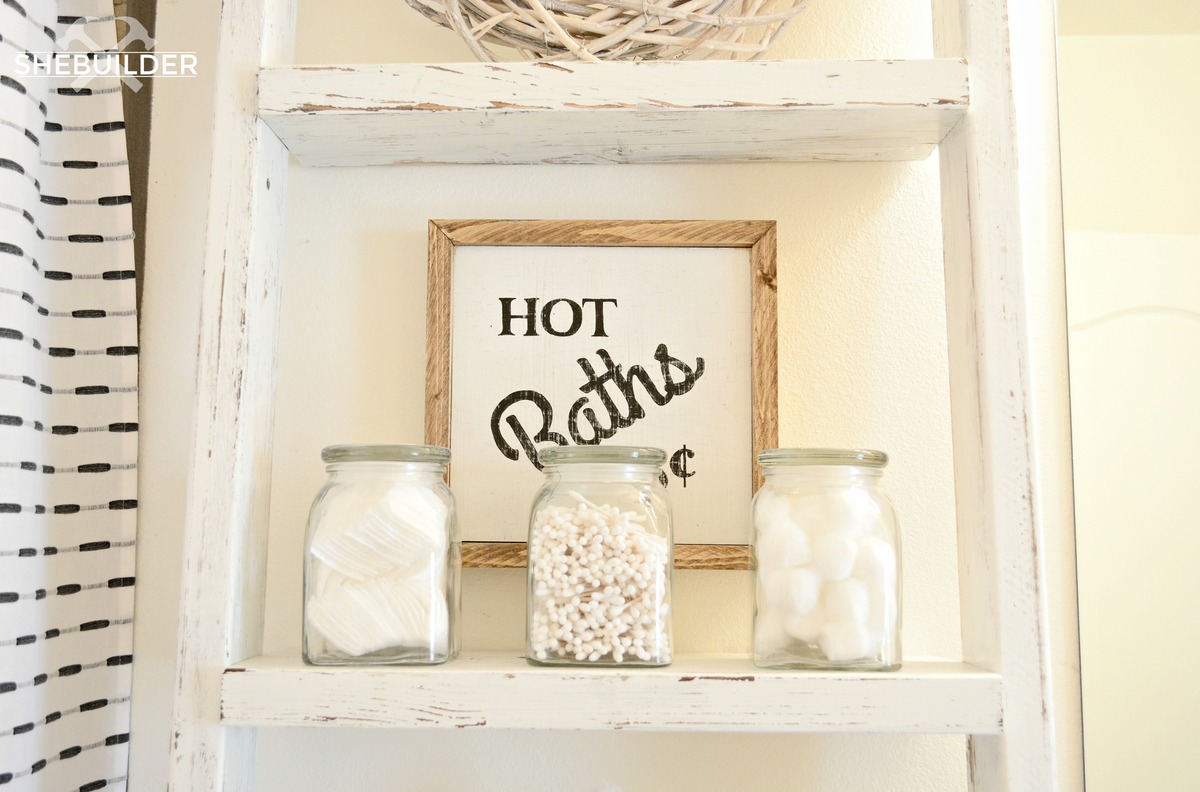
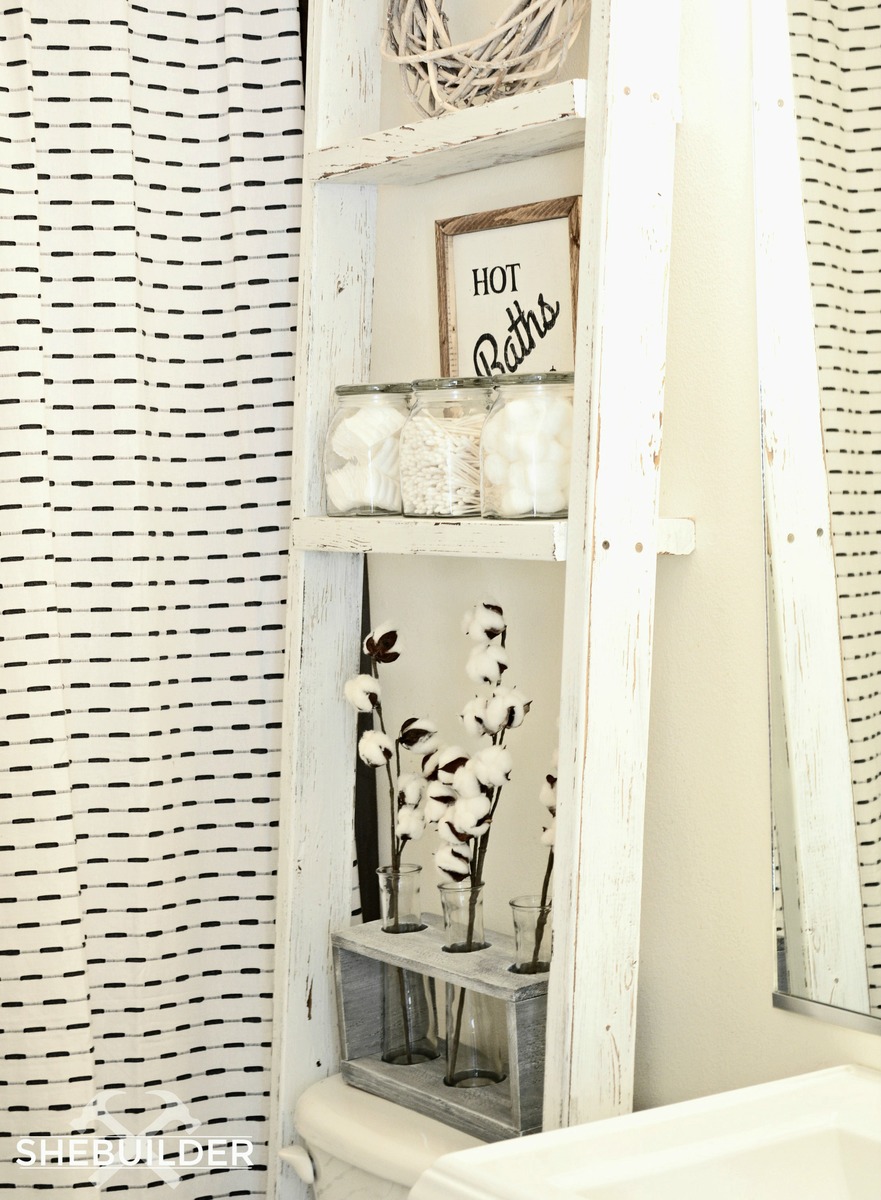
I was inspired by Ana's Over the Toilet - Leaning Storage Ladder to create my own! This build is about as easy as it can get! Just 3 easy steps. More pictures and details can be found HERE.
Let's chat wood!
Lumber:
(2) 8' - 2x4
(1) 8' - 2x6
(1) 8' - 2x8
Step 1:
Drill pocket holes into ladder legs.
Step 2:
Attach shelves with 2" wood screws.
You will attach your smaller 2x6 shelf at 17" from the top of each ladder leg and your larger 2x8 shelf at 34" from the top of each ladder leg as well.
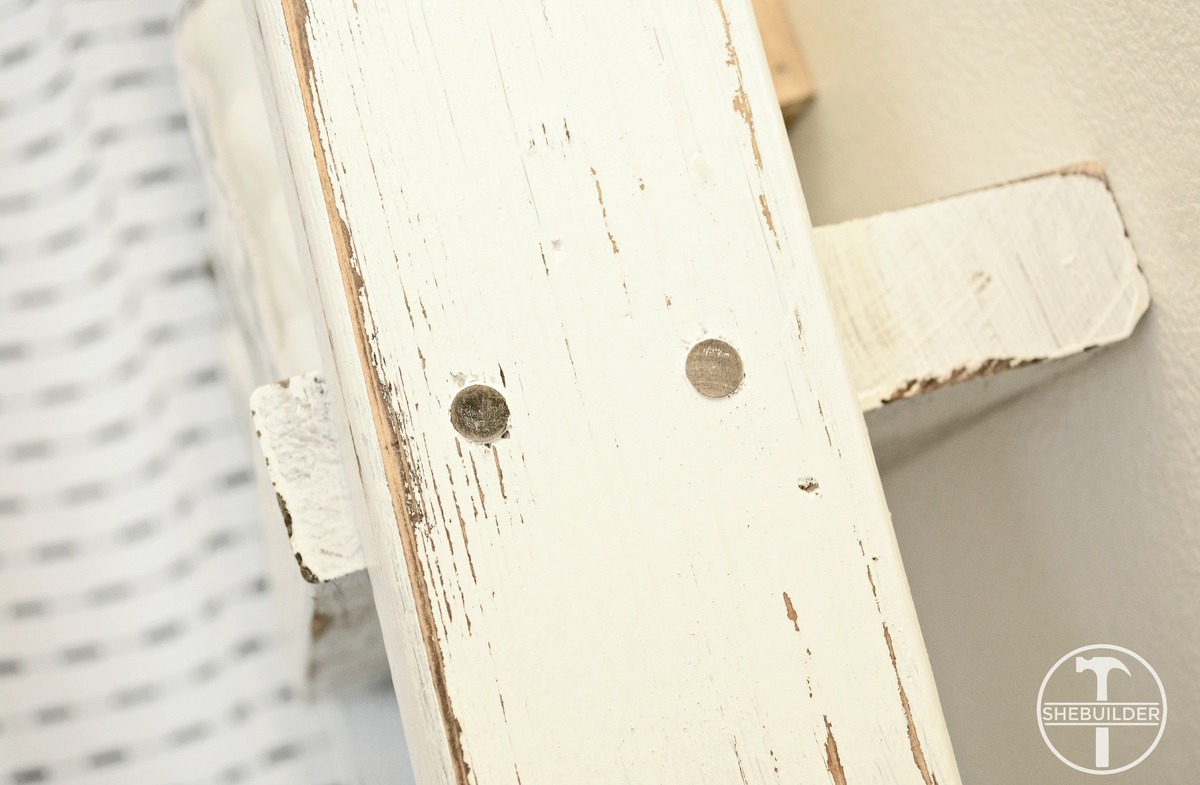
I plugged each hole with 3/4" pine wood plugs.
Step 3:
Sand and paint
Happy building!
Miranda
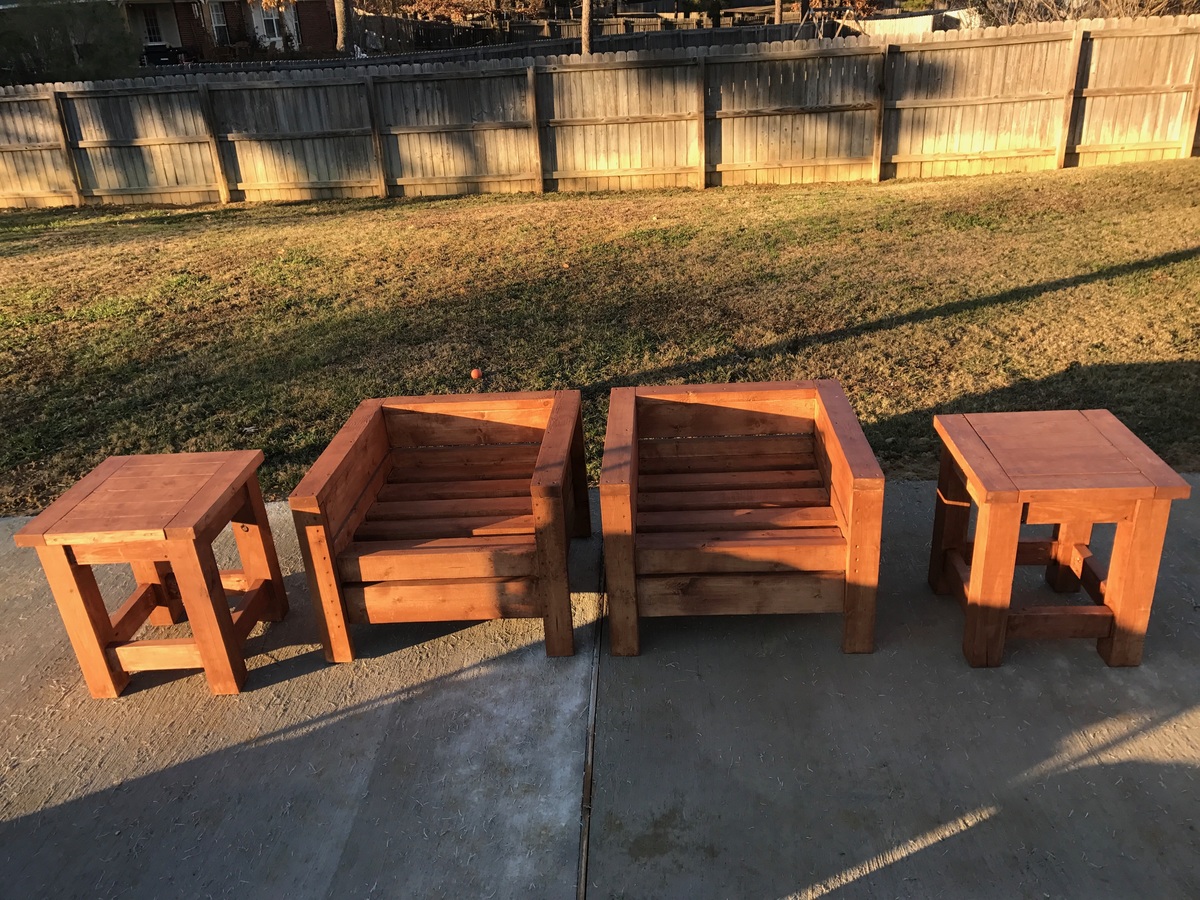
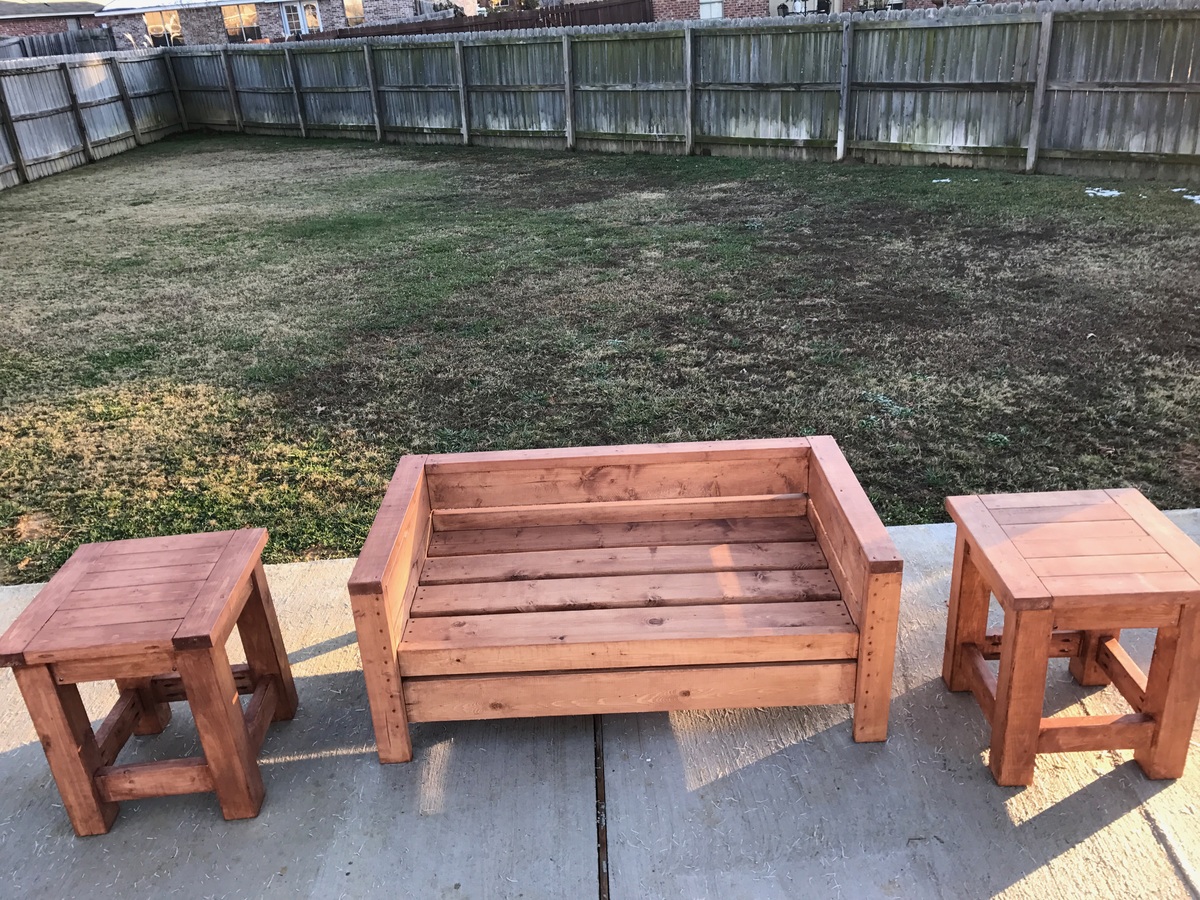
Project is still in progress but so far this has consisted of a firepit, 20x20 slab, 4 cypress columns, bistro lighting, 2 modern outdoor chairs, 1 modern outdoor bench, 4 matching tables, and a project screen. To come: flower bed, projector storage stand with casters and hinged top, outdoor speakers, and possibly a green egg stand, and extending power to the back of the slab.
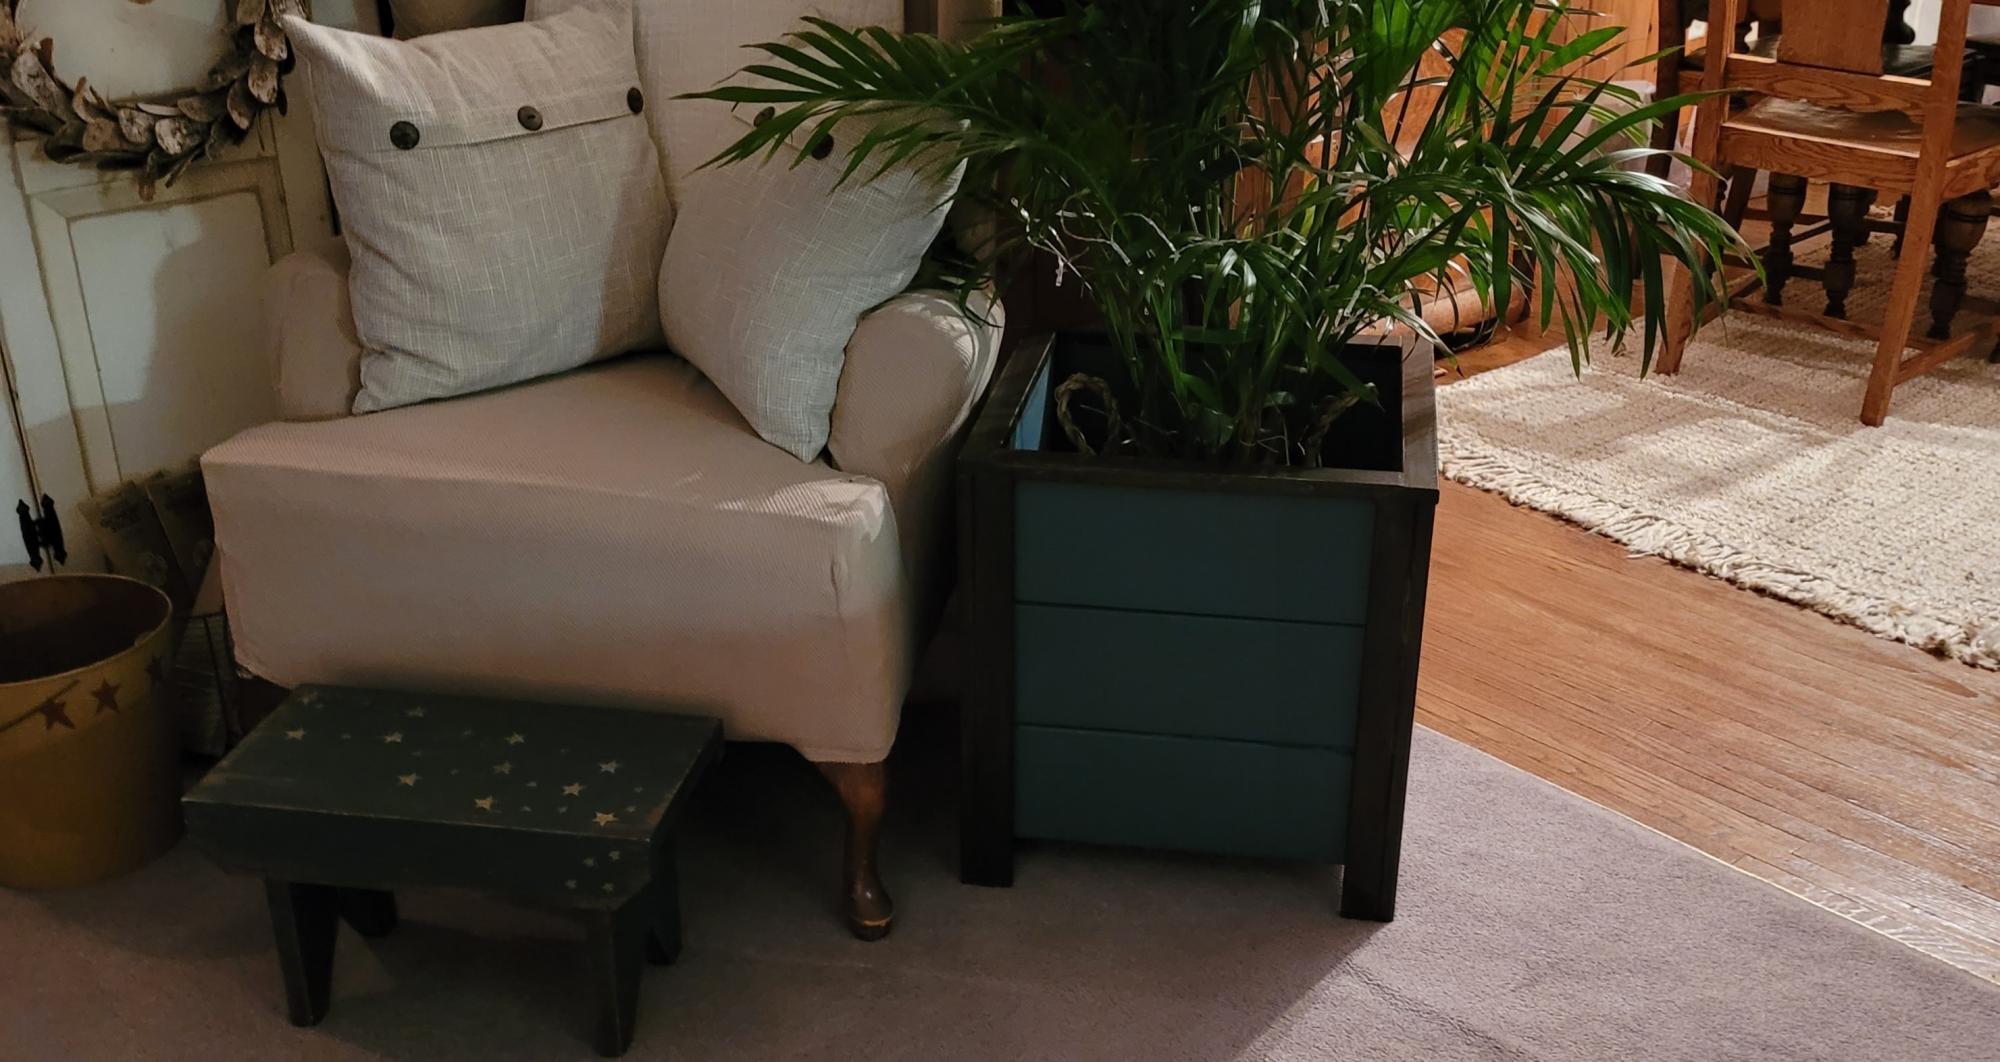
My very first project. Was so easy thanks to Ana's instructions. Dark walnut gel stain and Fusion Seaside. Thank you so much Ana.
Saw the other project and based everything off of that. I made some adjustments on the shelf side to ensure I could lay down 3 layers of 2x6's without it hanging off too far. At first I wasn't going to go with the rail shelf system, but I couldn't find anything that I liked at the store to make actually shelves. I did cut a 2* angle on the bottom and top of the shelf framing. I figured if I put enough weight on those shelves, I woudln't want it messing with the frame of the cart too much. On the bin side, I decided to just do different heights instead of angled because I know I'll have plenty of 3' plus. I chose to put a scrap bin on the end for anything smaller than a foot. Many of those joints were done with my Kreg setup, but not all of them. The last fix I did was add a 2x4 to the insde of the shelf frame. This was to move the shelf hangers in so that an 8' board wasn't just edge to edge (I found that to be a problem when I put some of the 1x4's on there...they would be on 2, but not always all 3). So moving each side in around 1.5" gives you about 3" to play with as far as 8' lumber goes. This enabled me to turn my old storage into bench and shelves and I'm ready to get moving on projects!
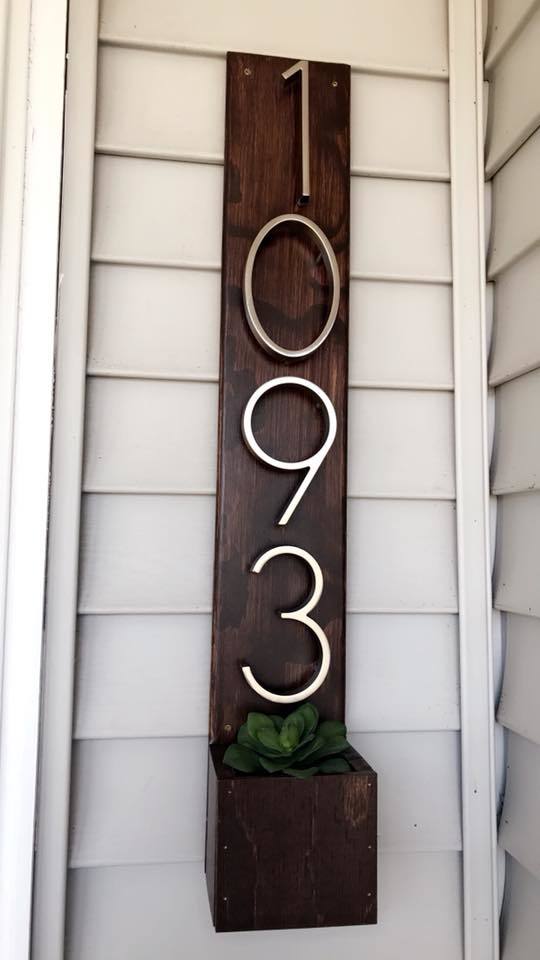
Address Sign
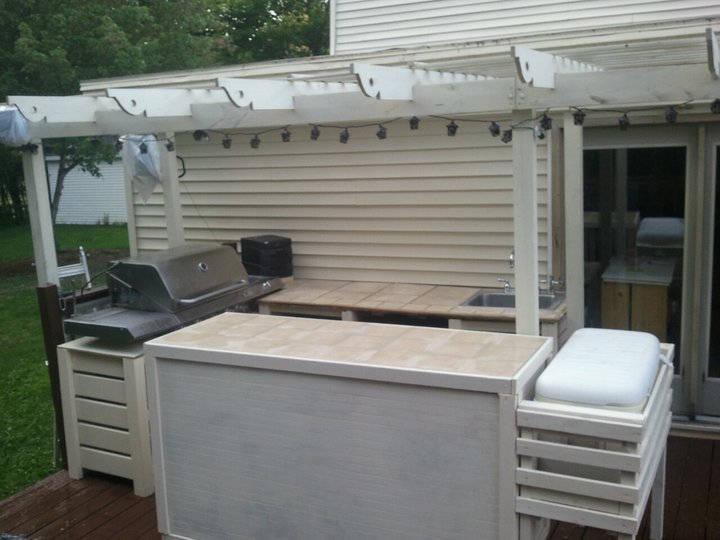
This is the new outdoor kitchen I had been working on - finally finished! It was inspired from the kitchen island plans - I like the slats, and thought they would work well outdoors for air flow and water drainage. I worked around the existing grill, and it is all modular, so it can be moved if necessary (such as painting or treating the deck). It includes cupboards underneath the bar, dorm fridge and sink with storage under the countertop. The cooler stand raises the cooler up to 'user' level (no more bending!). Because I'm an avid recycler - most of the products used were recycled items. All told (not including the already purchased grill) - this kitchen cost me a total of approximately $95.00 (I had a lot of the materials already). This project took me approximately 5 weeks working on it part-time after hours. I built one cabinet at a time, then the countertops.
Wed, 07/06/2011 - 10:12
I would love to see more pictures of of your bbq kitchen. This is just what we need. Thank you for sharing.
Wed, 07/06/2011 - 17:29
This looks really awesome Colleen! I was thinking about putting a sink like that on my deck. What kind of finish did you use for the countertops? Would you please post more pictures of it? Great job!
Thu, 07/07/2011 - 04:42
Thanks Kmatt & Viola...I'll try and get some more pictures up asap. For the bar top and countertop I used tile, and treated the grout lines many times with a waterproofer. Both tile and grout were purchased at our local ReStore - a total of 20 cents a piece for the tile, grout was $3. Not bad for a countertop!
Thu, 07/14/2011 - 16:57
What kind of top did you put under the tile? Plywood, cement board?
Wed, 07/20/2011 - 11:48
Wow, this is really amazing! This is just what we need for our new deck - something modular and not too expensive to build. Do you have any more pics? I'd love to see what the area in front of the grill looks like. Very, very nice work.
Mon, 03/05/2012 - 10:54
Hi, I was wondering if you have the plans for the kitchen around the bbq grill, i would love to make this for my husband for his birthday.
Mon, 04/09/2012 - 18:38
Hi, this is great. Is there anyway you can post pics of the front of the bar where the sink is and especially the bbq, I want to build around my existing bbq grill but dont know how. thank you so much.
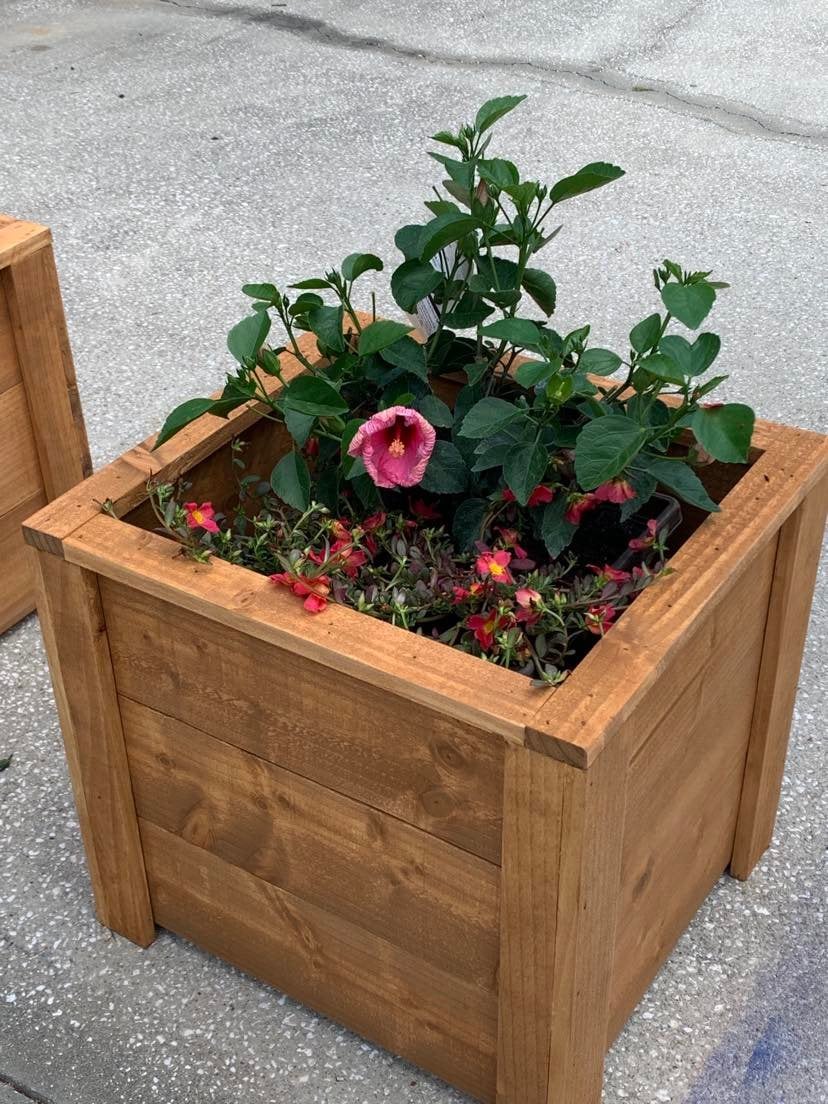
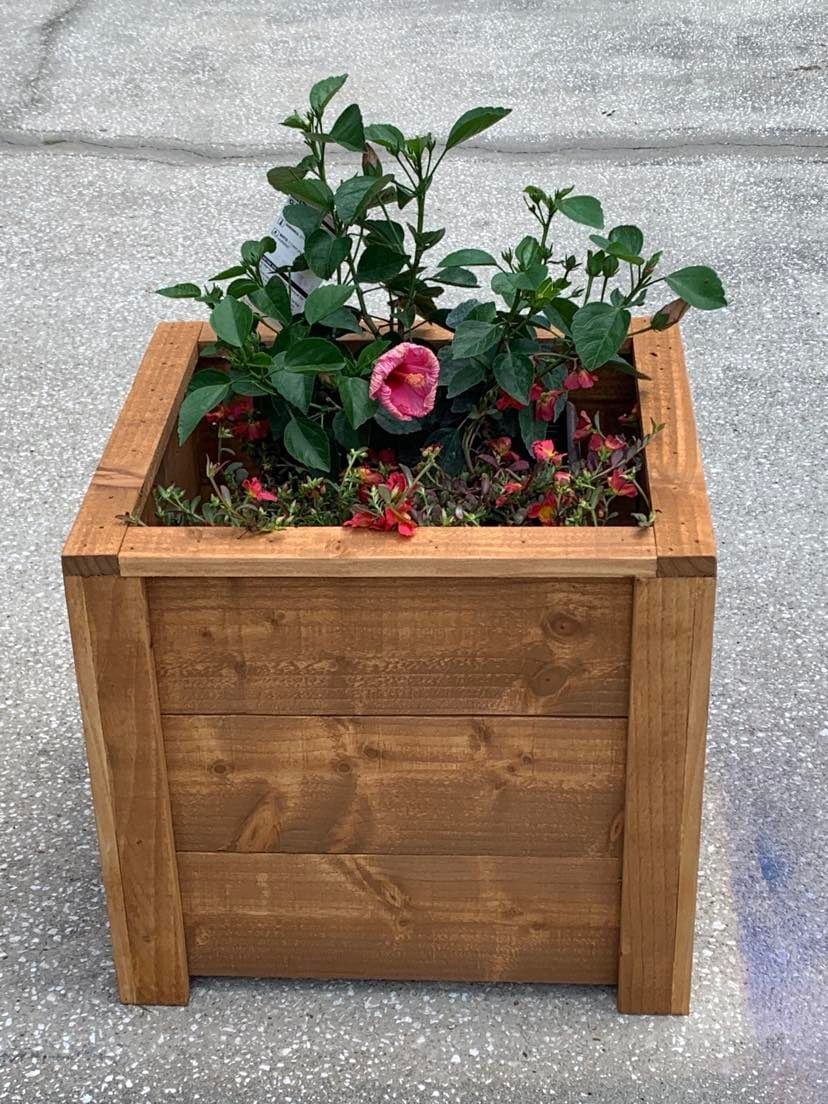
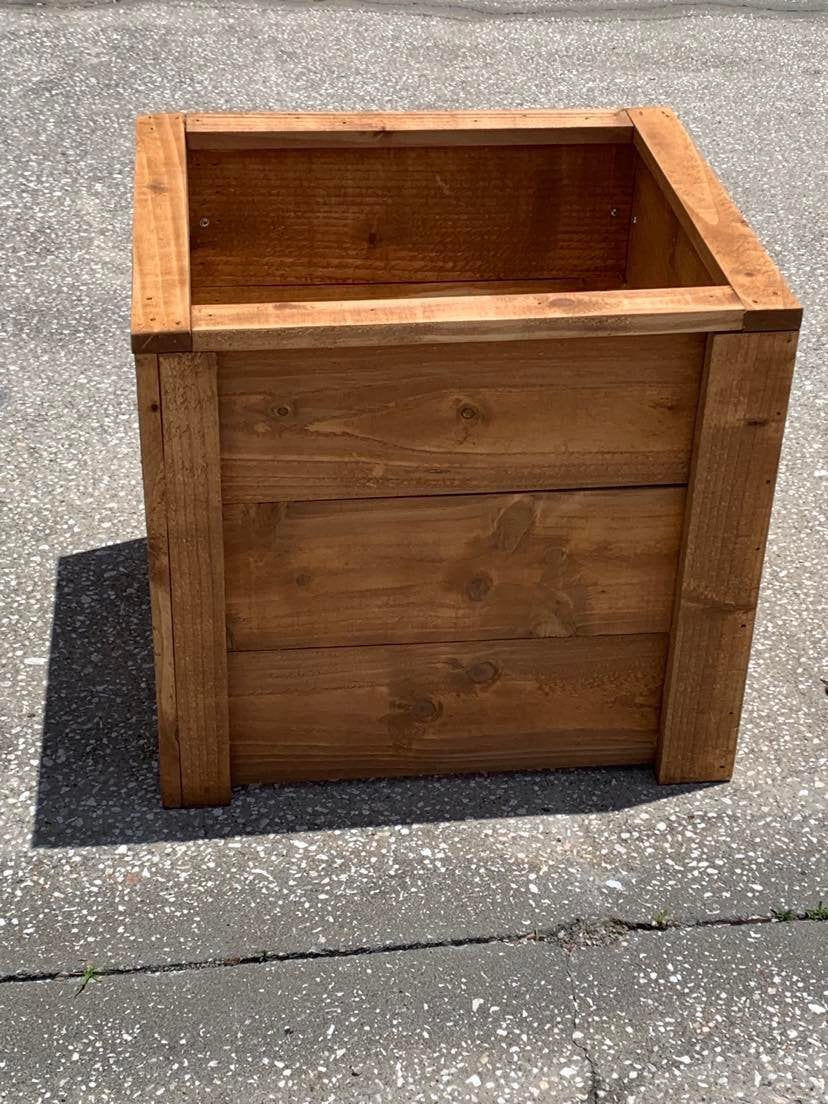
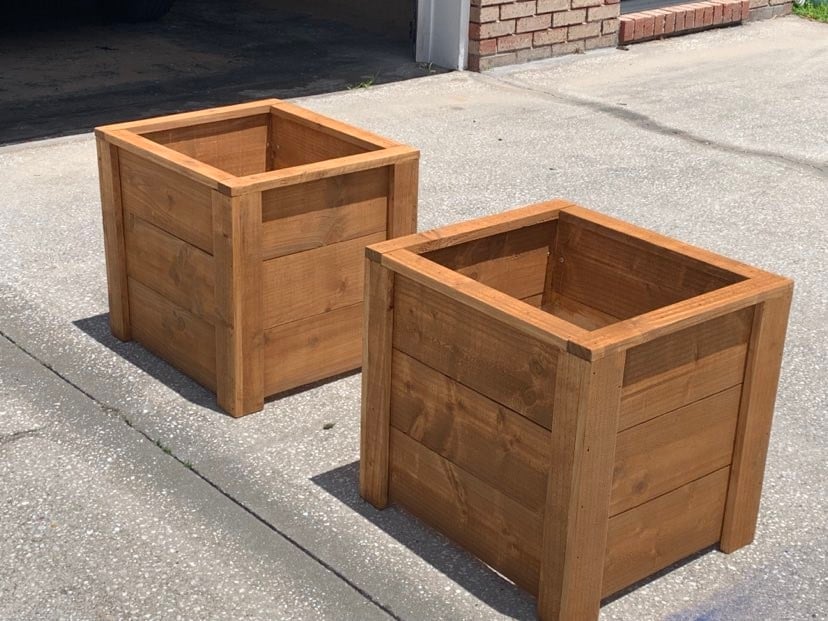
Thanks Ana, I built your planter box, actually built 2 of them, one for each mom. The were a huge hit and I already have people asking me to build them one.
So loved building this planter box. Thanks for all you do for your fellow woodworkers!
Dale G
Callahan, FL
Tue, 05/10/2022 - 07:05
Love these, wonderful idea for a mother's day gift, thank you for sharing!
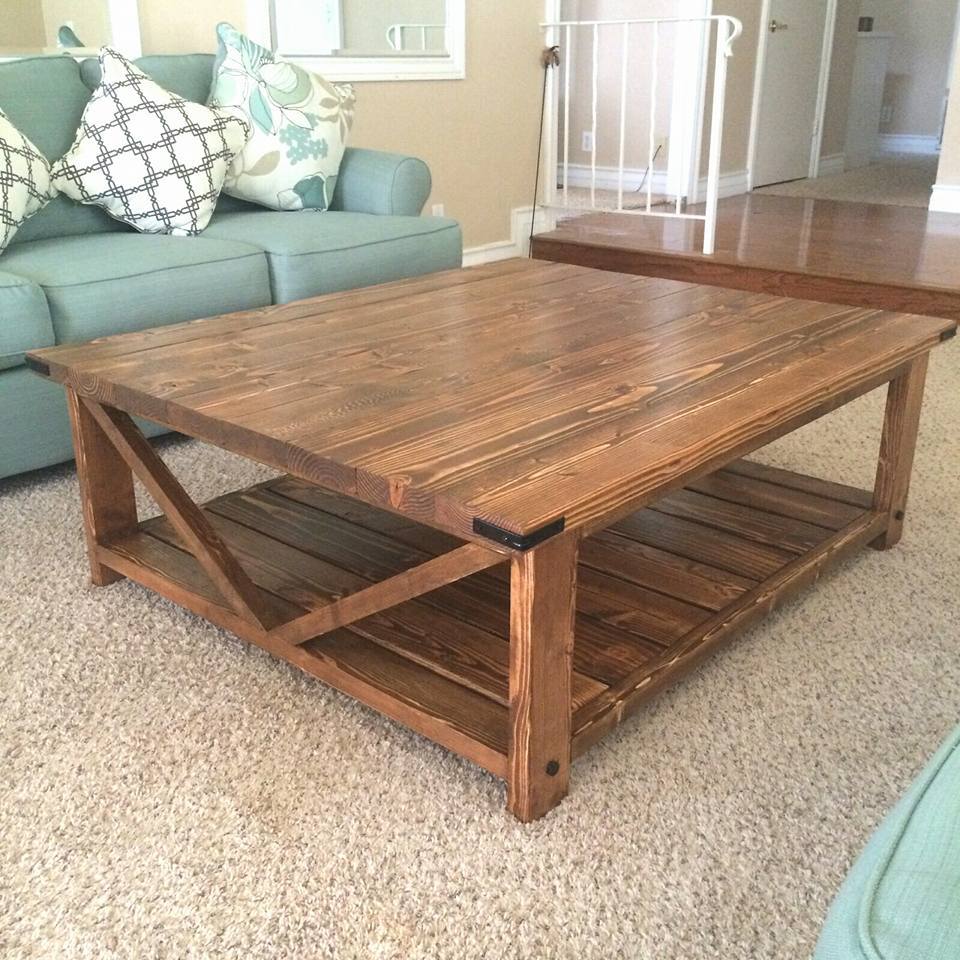
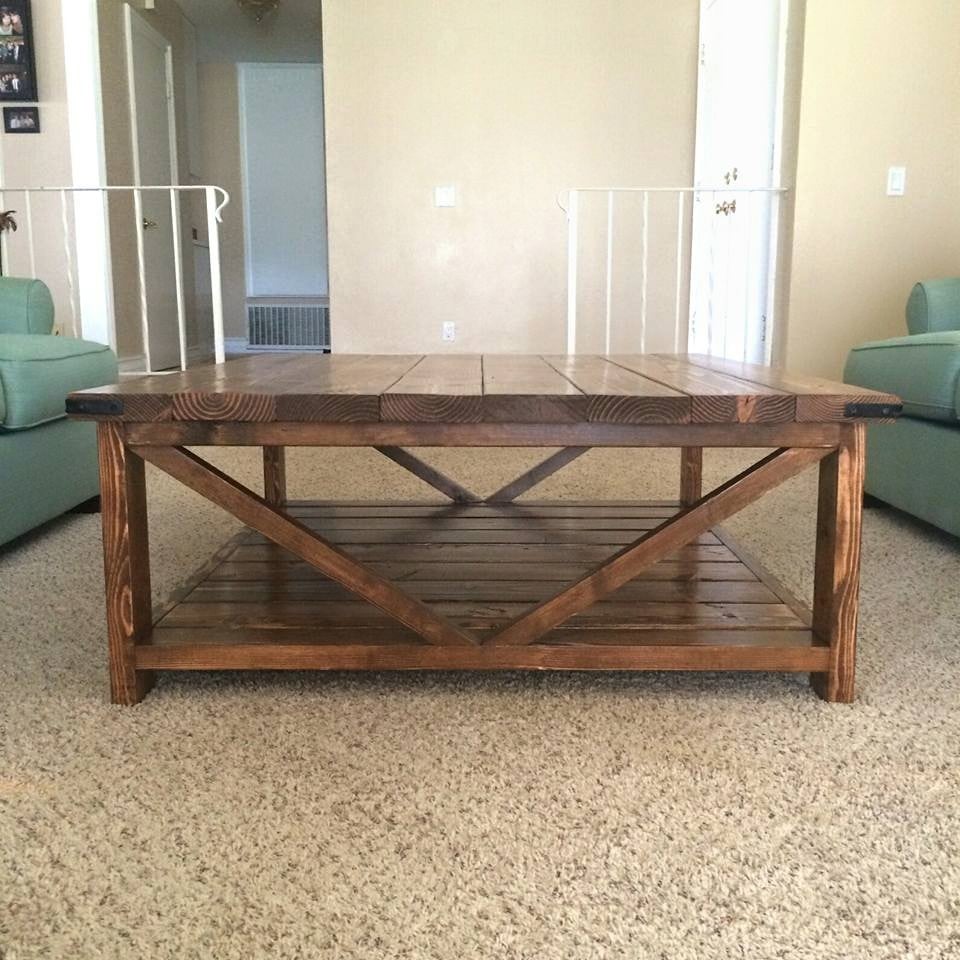
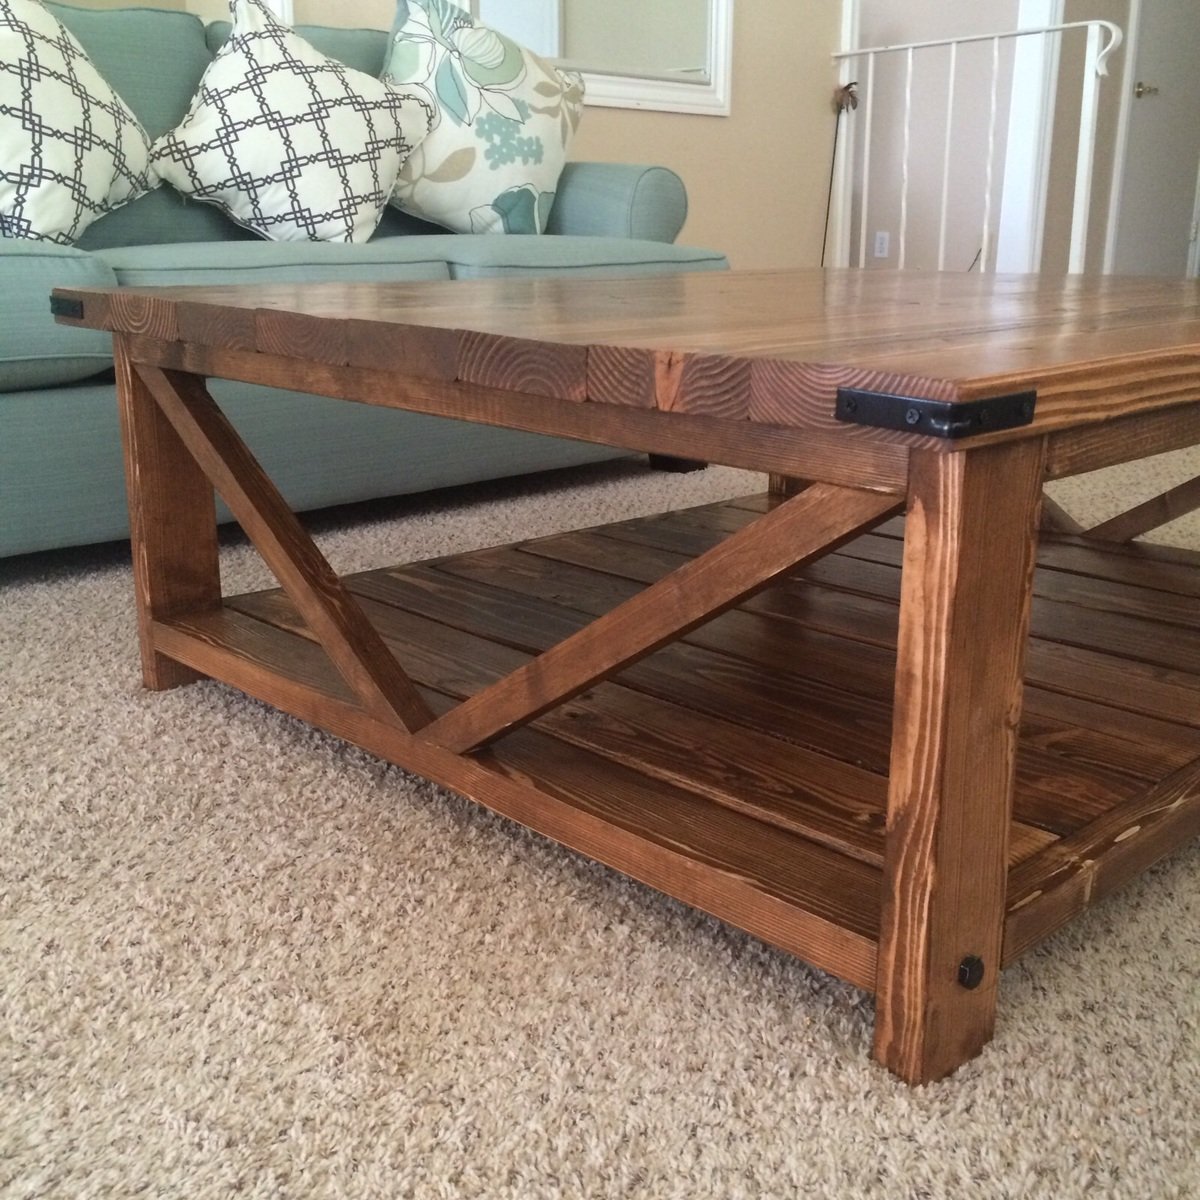
As a beginner at woodwork, this table was pretty easy to make. The instructions were easy to follow. I modified the table by adding 2x6 planks on the bottom and changing up the "X" design. The angles are tricky to get right, but i used scrap wood until i got the perfect angles then used my 2x2's for the final cuts. I also changed the finished dimensions of the table to fit in the room I was making it for, so this table was quite a bit wider than the original. It took me about a day and a half/two days to fully build and then I finished slowly over the rest of the week by staining and using a satin poly finish (I gave the top 4 coats so it took a little longer than normal). I'm so happy with the finished table I've already bought the wood to make another smaller one!
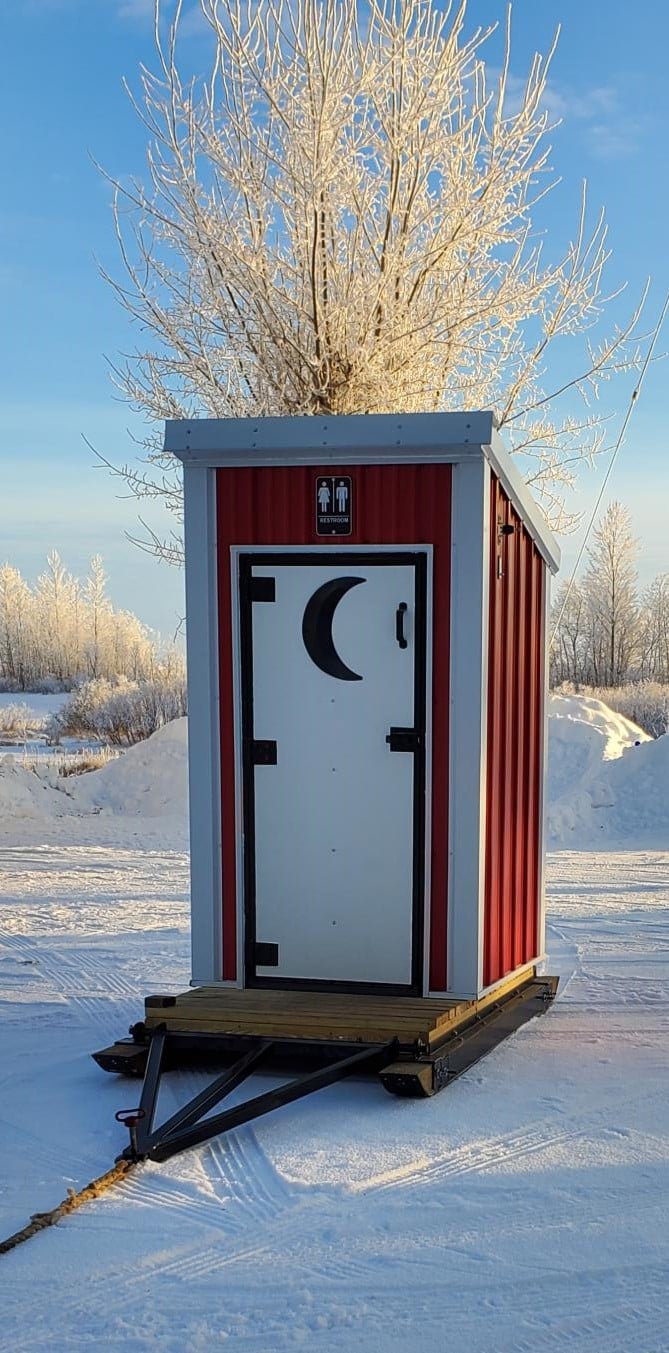
Your outhouse design was modified for a snowmobile club project as the building needs to be towed across a lake to a site next to a warming shelter. An LED light with a timer switch and solar battery charger were installed to provide light in a remote area of Lake of the Woods.
A steel hitch and skids with hyfax were added to the design.
Thank you for providing a design that allowed us to make modifications for winter outdoor recreation accommodations.
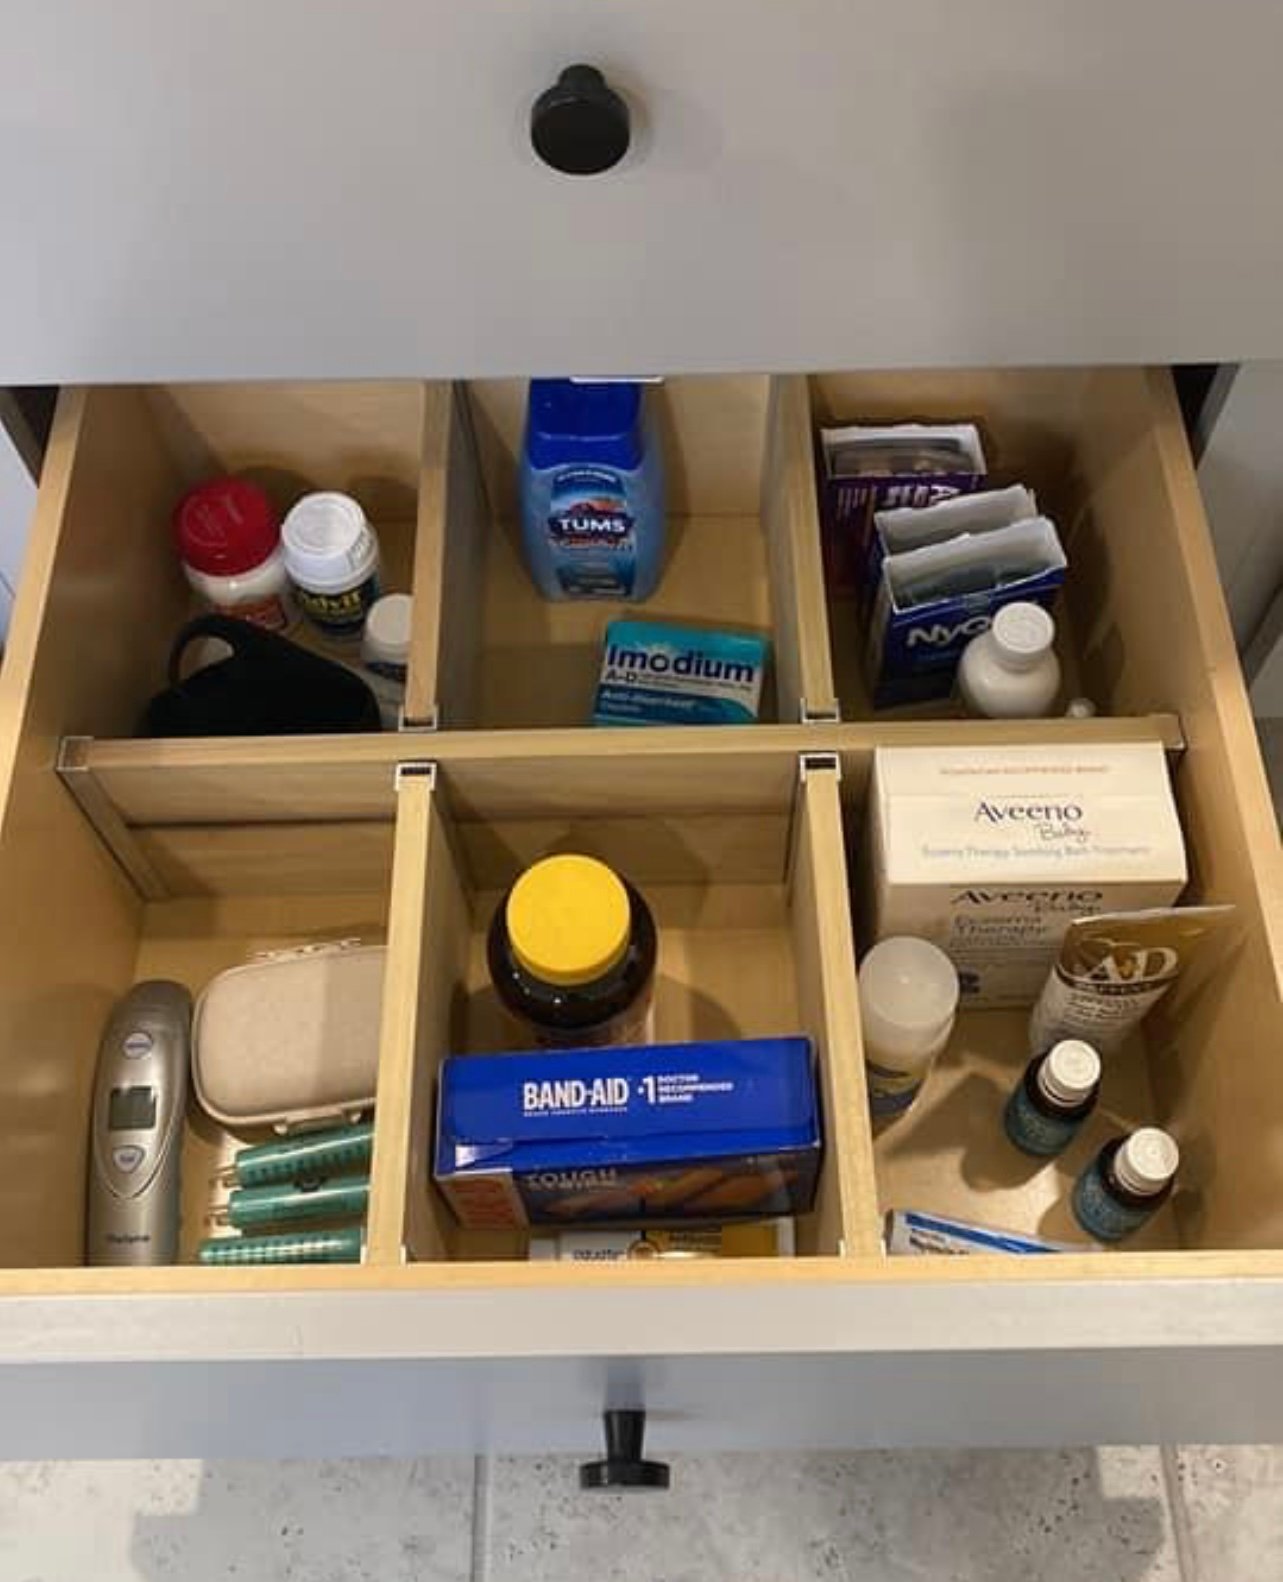
Simple and great way to get drawers organized, by Hannah
Tue, 01/31/2023 - 05:40
Hi Ana! Your work and dedication to your art are amazing! I had a quick question regarding the channels. I looked up "C channel" to order at my hardware store but there seems to be a curve at the bottom where the wood panel would sit. I also saw a "U channel" that's square and looks more like the one you posted in your video. Could you guide me as to which one would be best? Thanks!
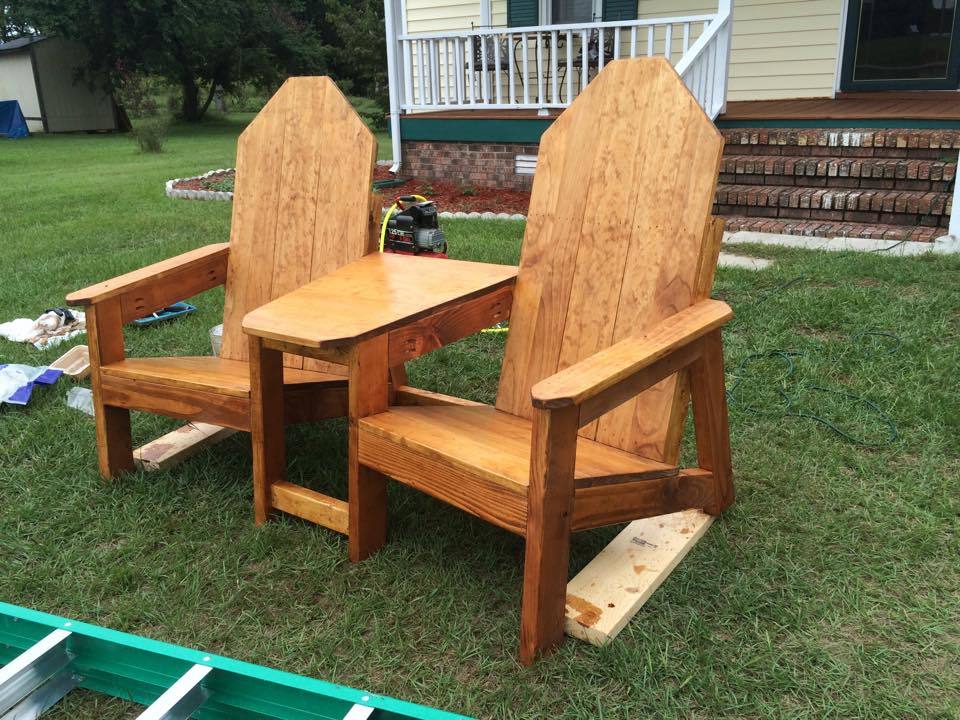
custom set of adirindack chairs i bulit for my deck. they are angled in at 20 degrees. i came up with the plans myself after looking at an older set i had purchased that were falling apart.
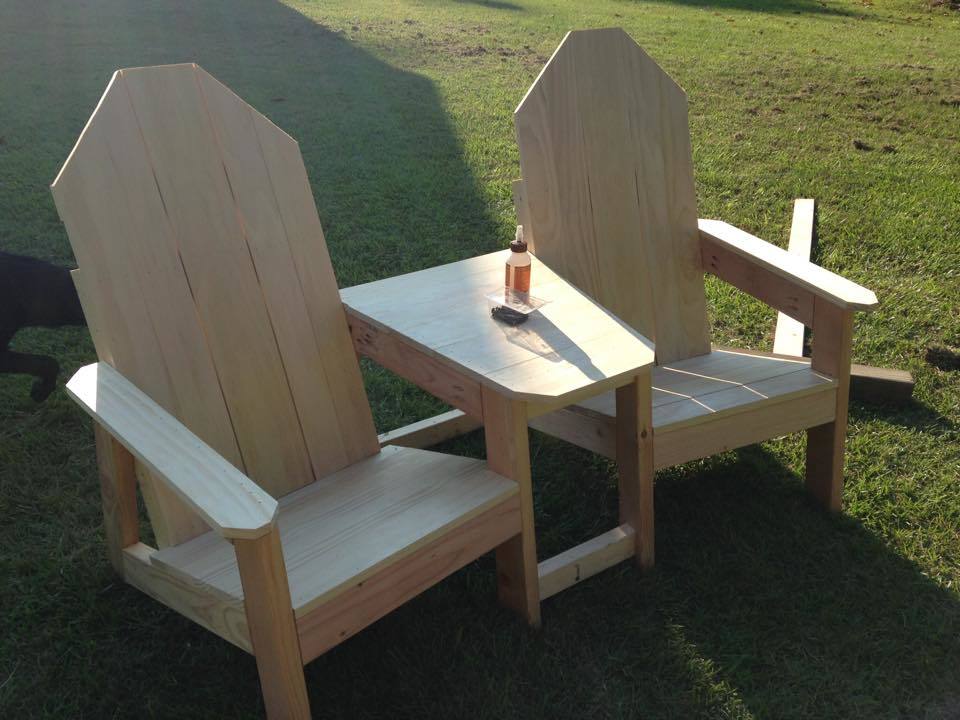
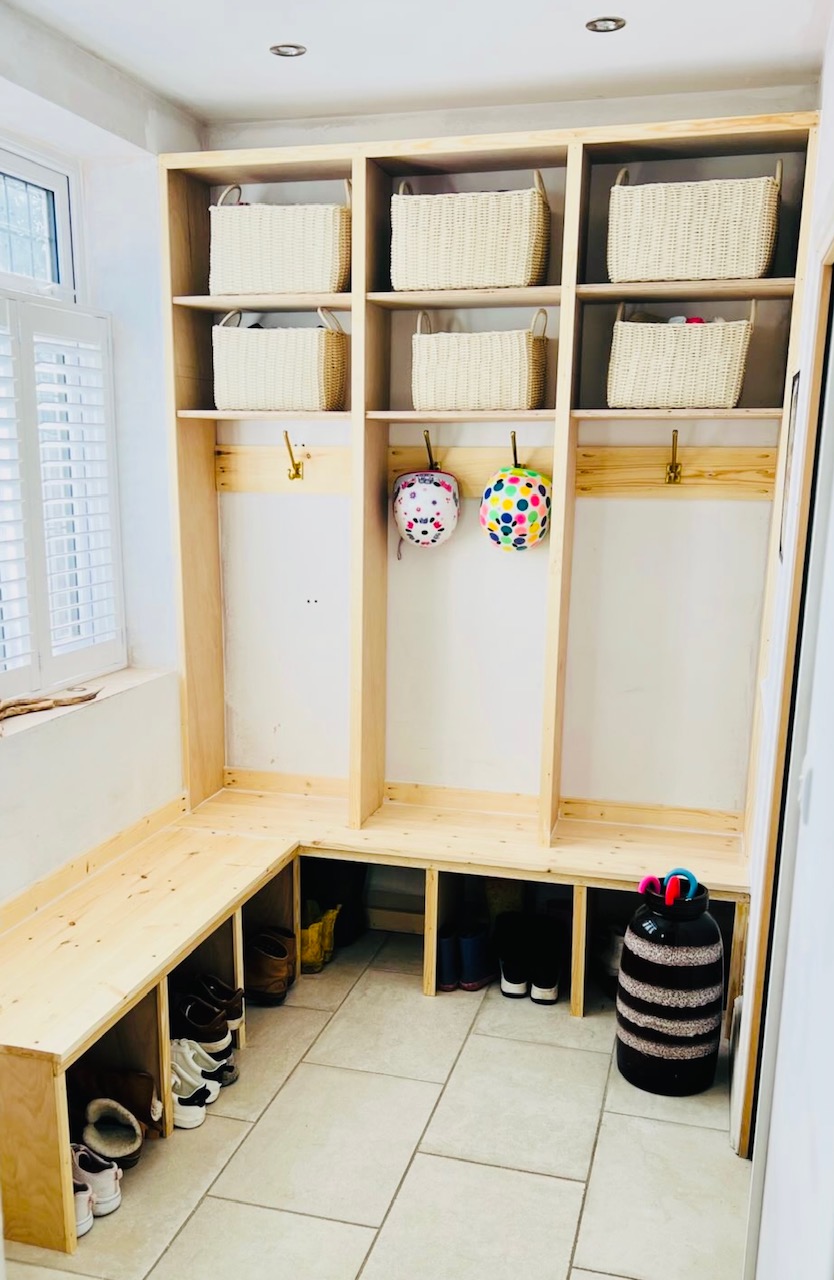
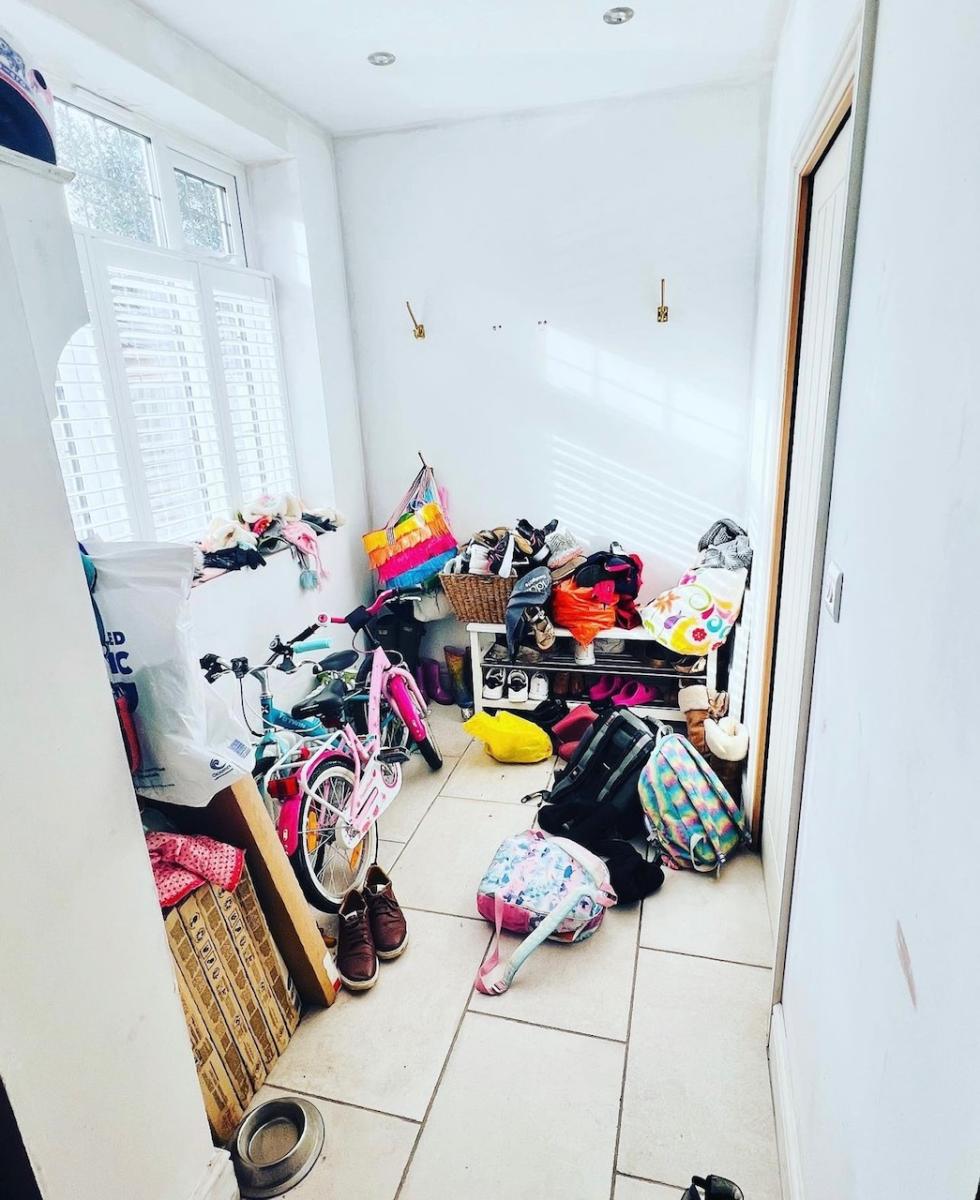
Got bored, built a boot room! Thank you Ana White for the plans!
Fri, 03/10/2023 - 13:31
Love the before and after, thanks for using Shelf Help!
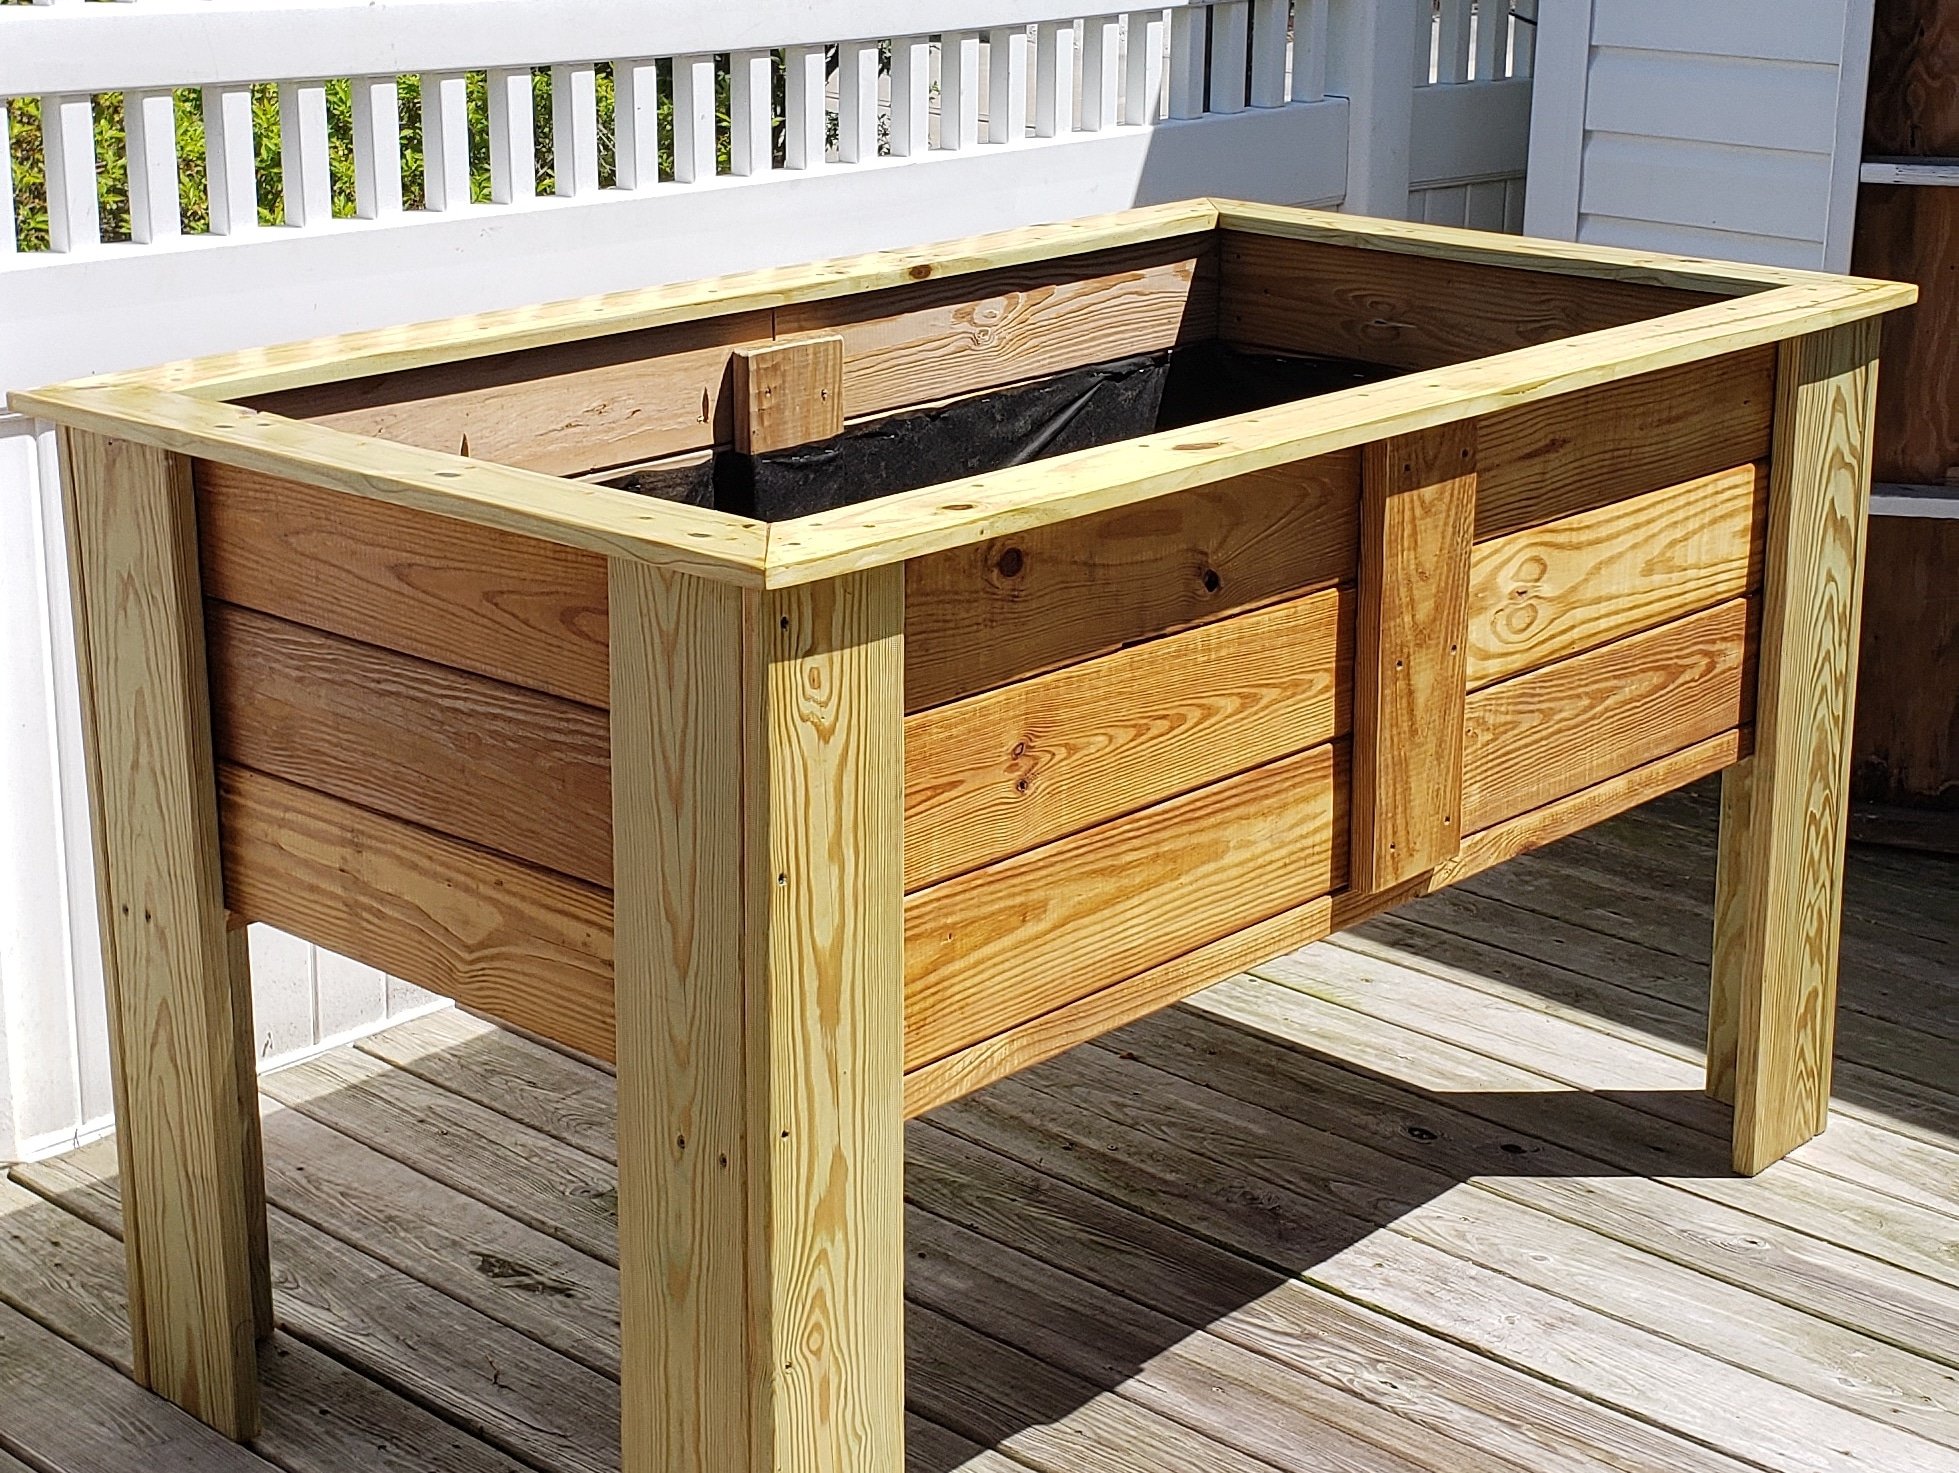
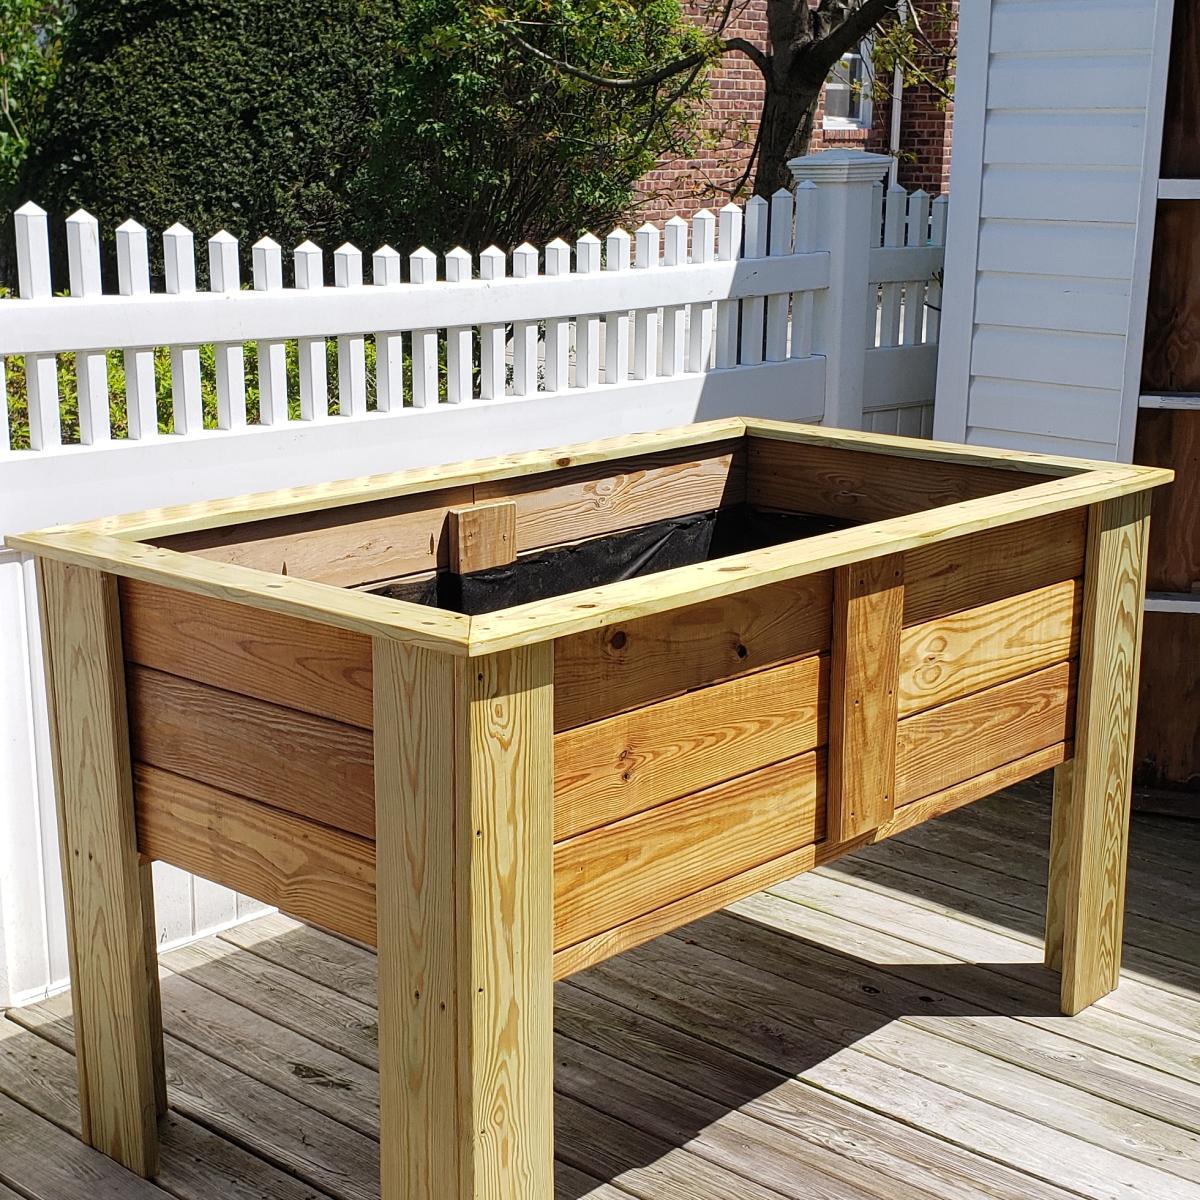
A friend of mine has issues with her knees but loves gardening so I built this to allow her to continue gardening. She loved it.
I didnt follow any particular set of plans I watched several you tube videos and combined different ideas from the videos to develop my own plan.
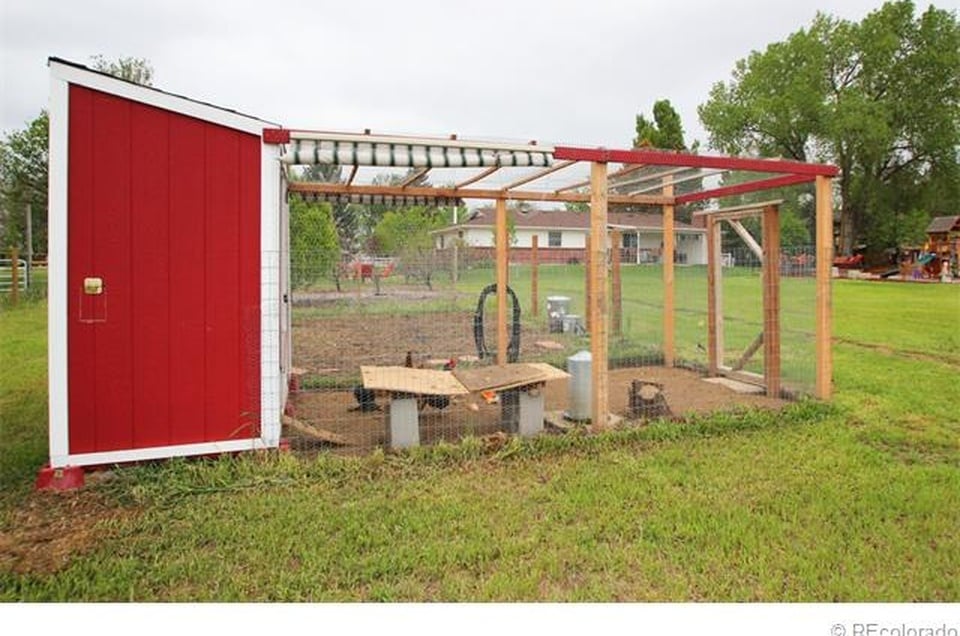
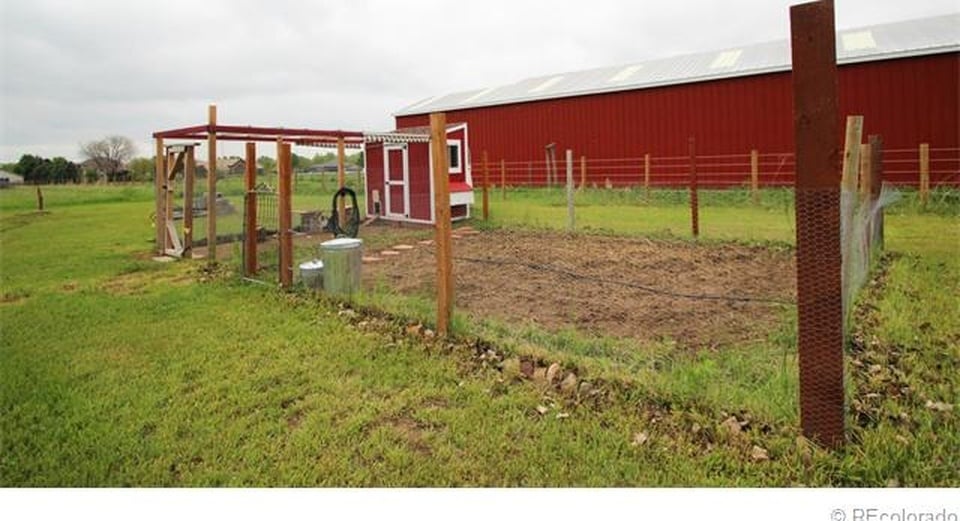
It took a while to come together and made several modifications but it is a great coop and was a major selling point of the house when we were relocated. I had added a main tray under the roosts and a door to srape the poop out. This made keeping the coop clean very easy.
Comments
Ana White
Fri, 11/14/2014 - 13:56
That's really nice! I love
That's really nice! I love how it contrasts with your walls! And all from scrap even better...