Community Brag Posts

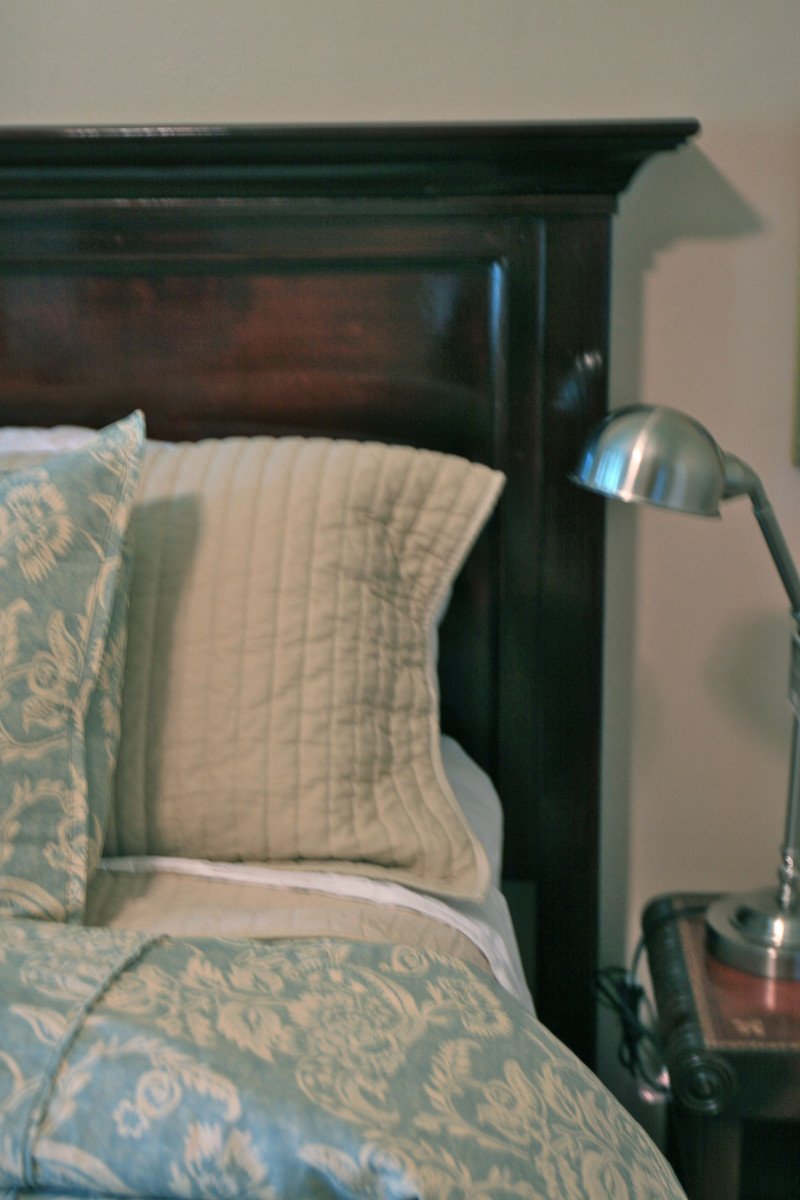
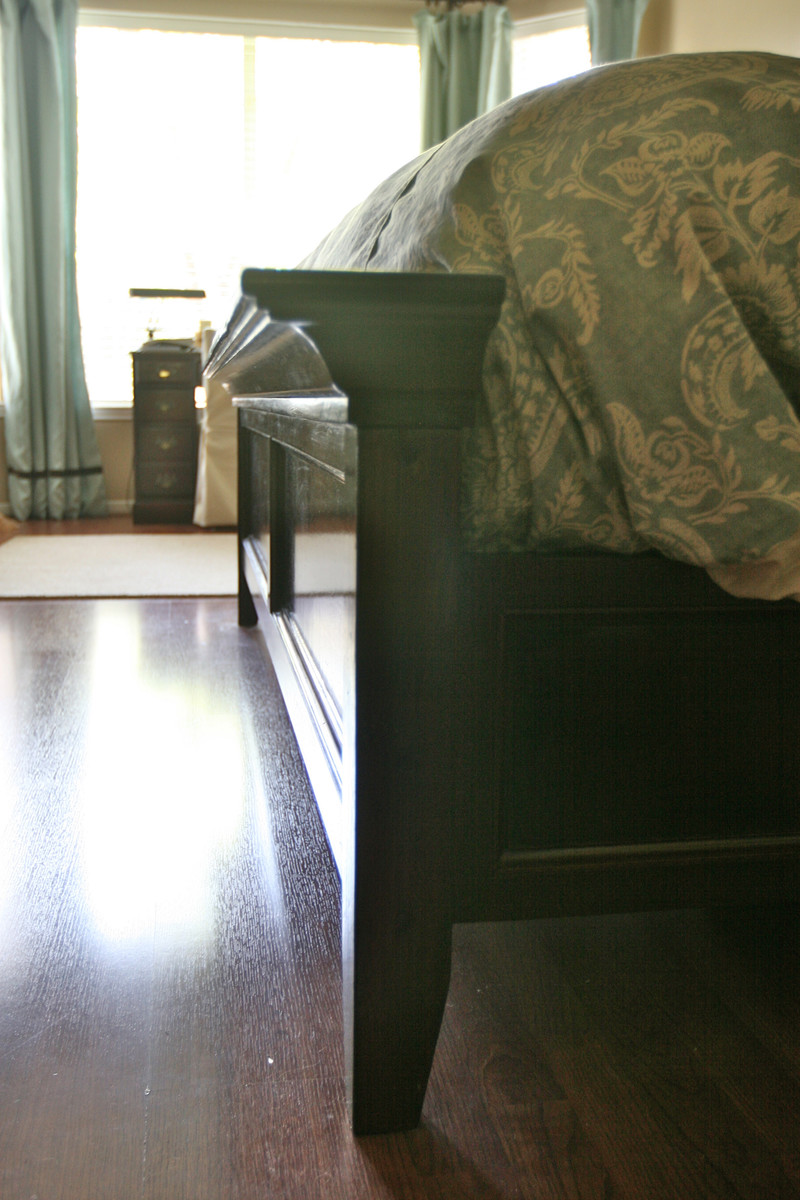
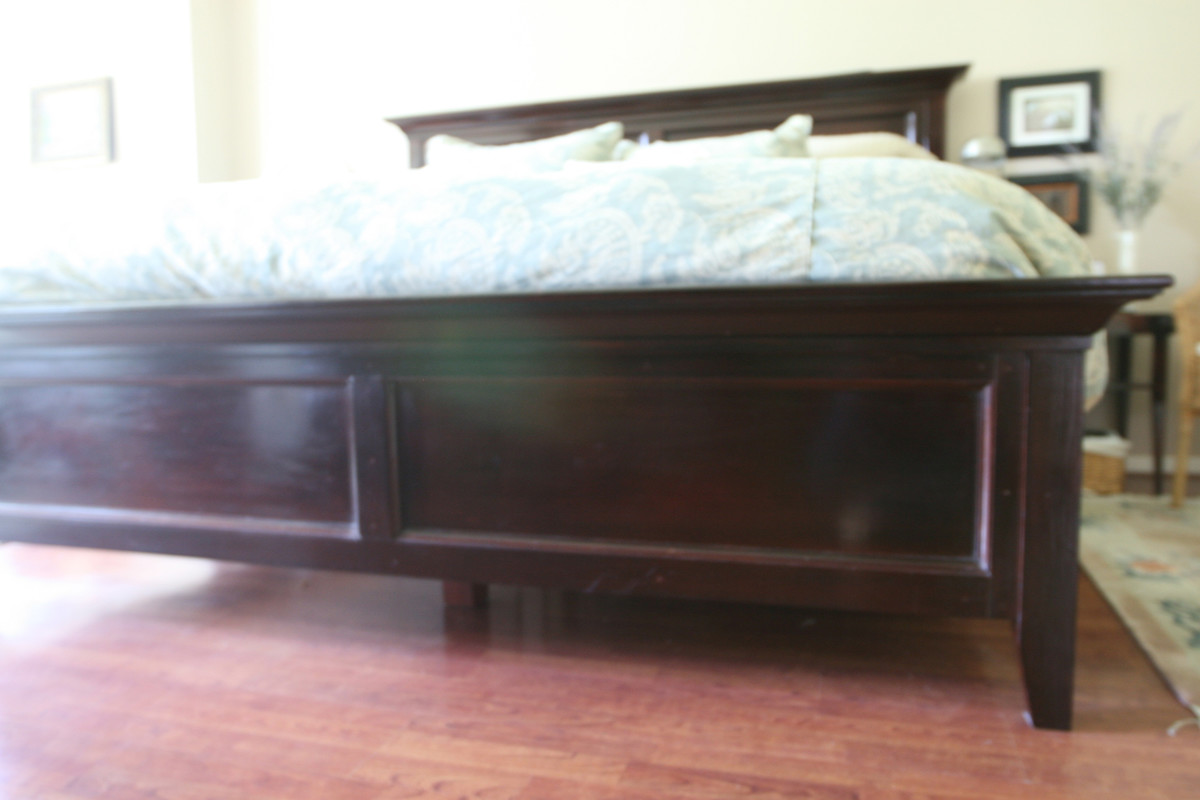
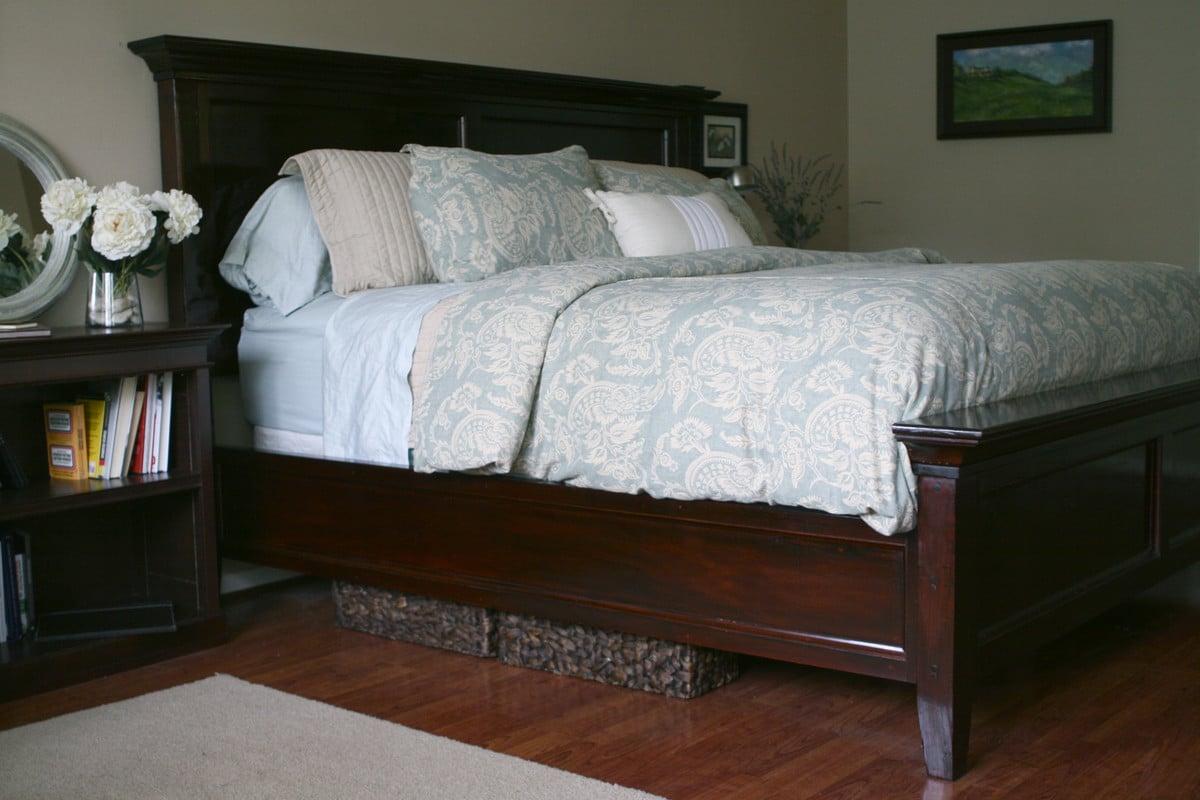
Modified Farmhouse Bed

Submitted by Liz H. on Wed, 03/30/2011 - 13:04

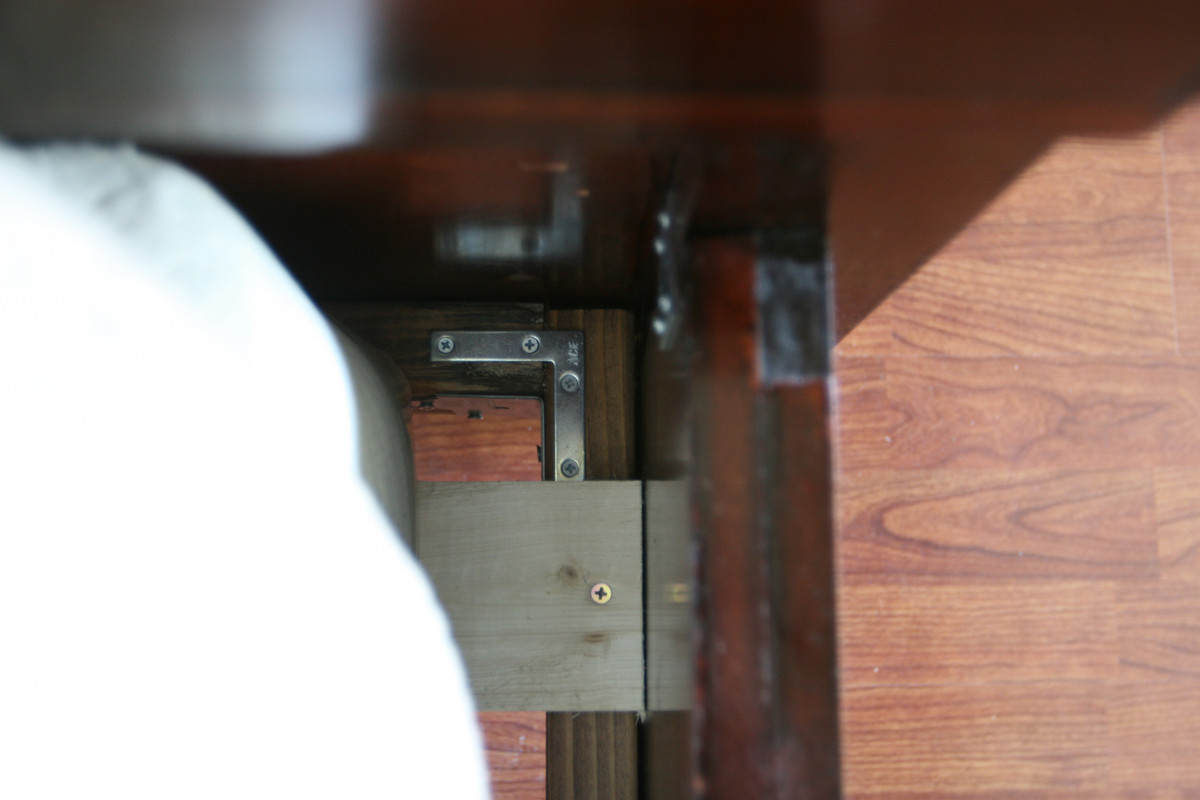
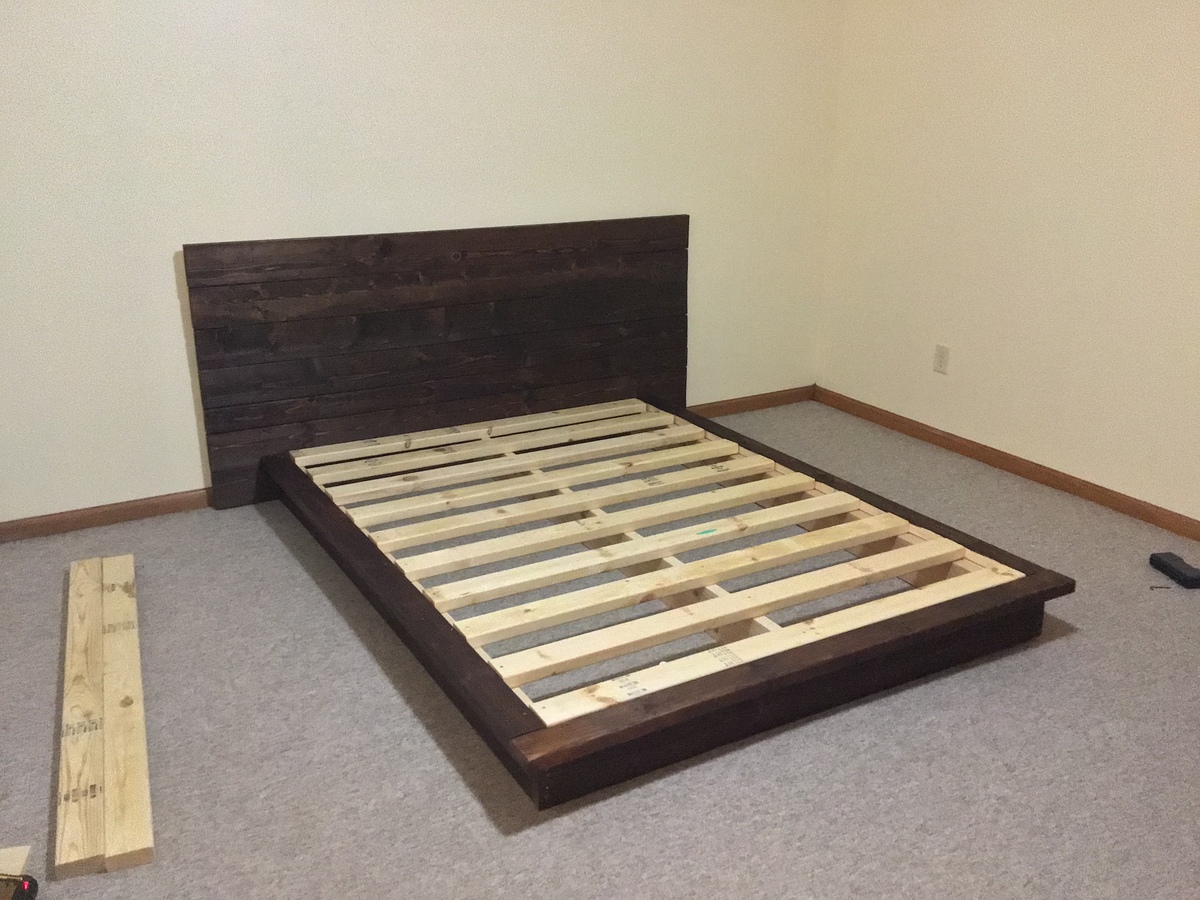
This was our first project.  My husband and I took the Farmhouse bed plans and modified them to look more like the Hudson Bed from Pottery Barn.  This is a King size bed with removable side rails and under bed supports so that it can easily be collapsed for moving.

Estimated Cost
$600
Estimated Time Investment
Day Project (6-9 Hours)
Finish Used
I had to dye the wood using a mahogany dye to unify the woods and then applied three coats of mahogany and english chestnut stains mixed together and then mixed with lacquer and lacquer thinner. The drying in between was long. Next time I would paint poplar or use a different wood.
Recommended Skill Level
Intermediate

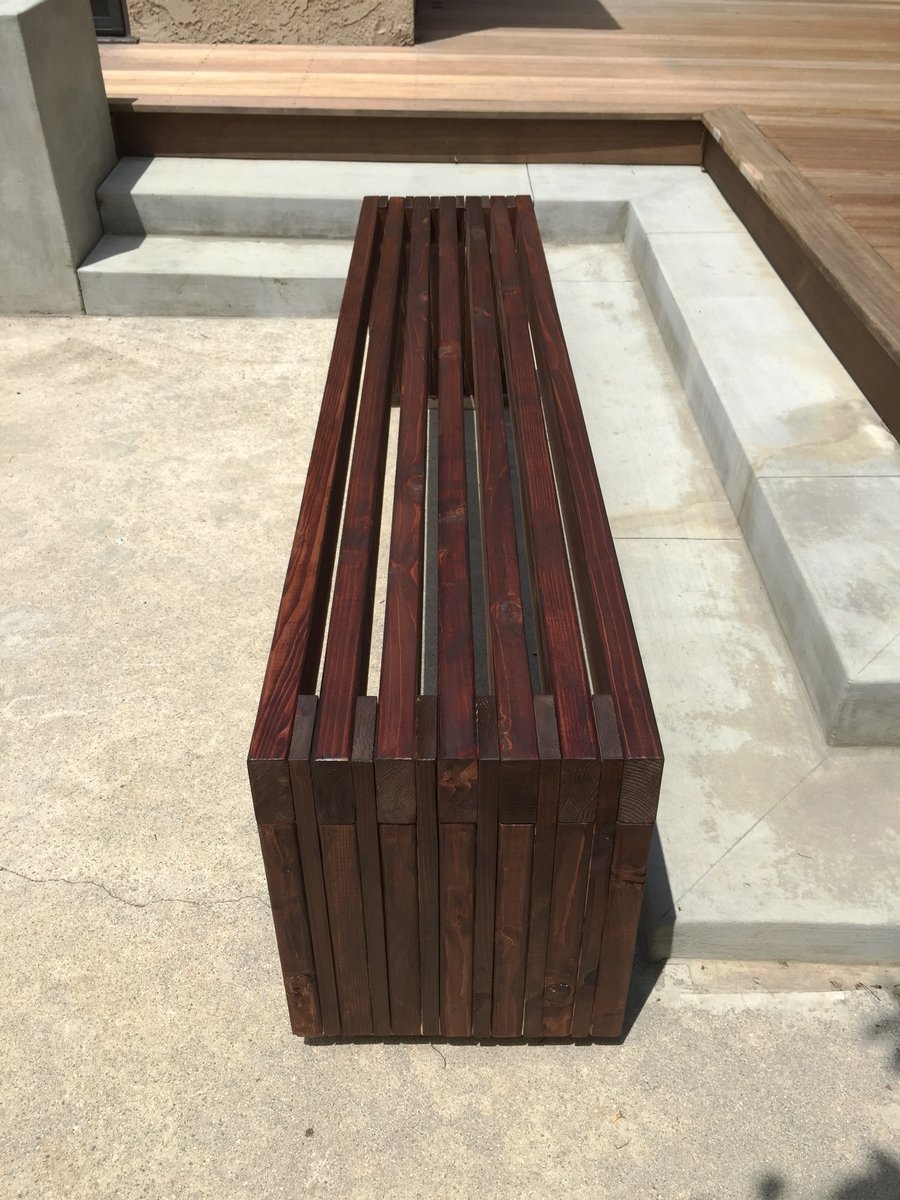
Modern Slat Top Outdoor Wood Bench

This took about 6 hours from beginning to end, but next bench should take about 4-5 hours. Most of the time was spent on sanding the wood and waiting for the stain to dry.

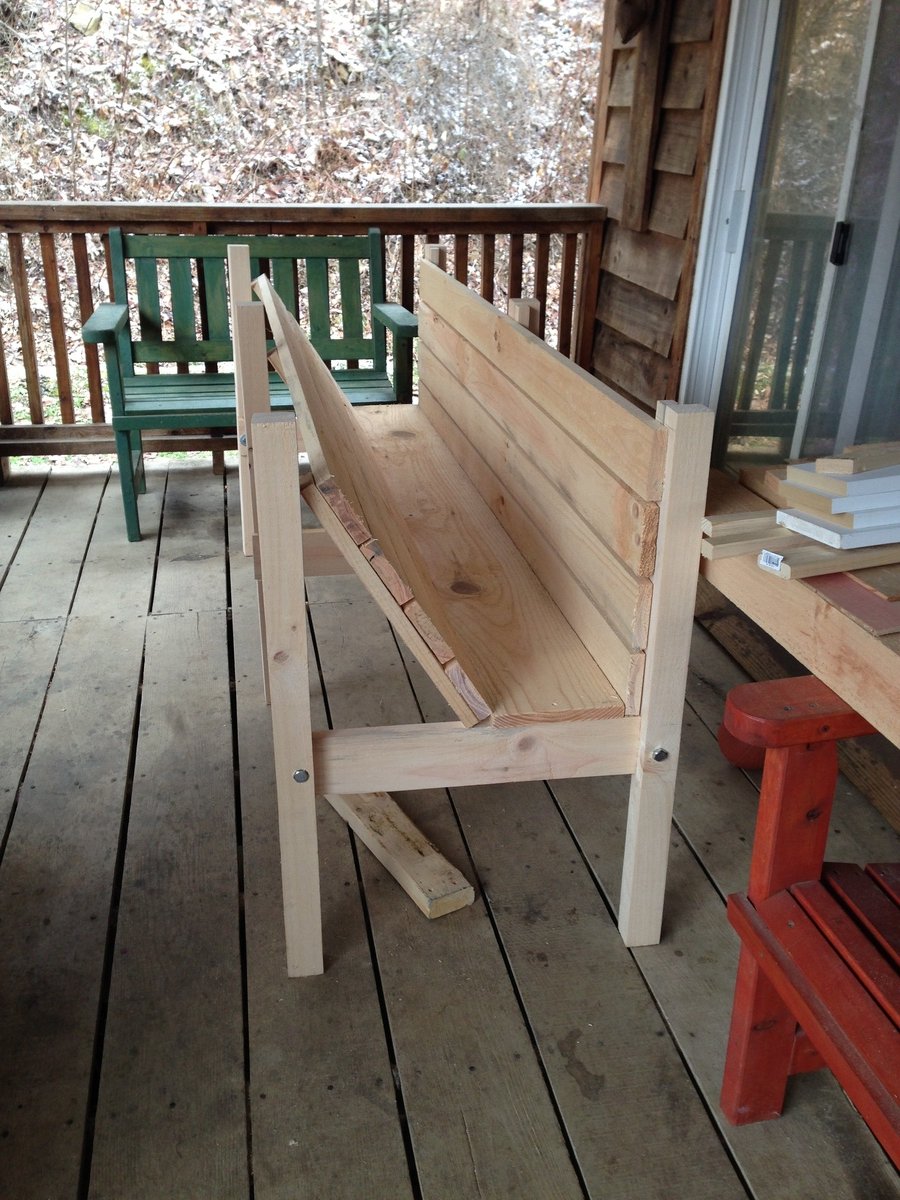
Main lesson learned: Drill pilot holes throughout. I used no-drill construction screws, but it didn't pull the wood tight enough against each other. Also, stain all the wood pieces before assembling (as opposed to just the top slats as suggested in the plan). Remember that the leg pieces will not need stain on the flat surfaces, just the sides that will be exposed. Use a square tool to stay as close to 90 degrees as possible.

Estimated Cost
$45 using "whitewood" (SPF) and pine 1x4's from Home Depot.
Estimated Time Investment
Afternoon Project (3-6 Hours)
Finish Used
Minwax red oak, wiped on with cloth.
Recommended Skill Level
Beginner

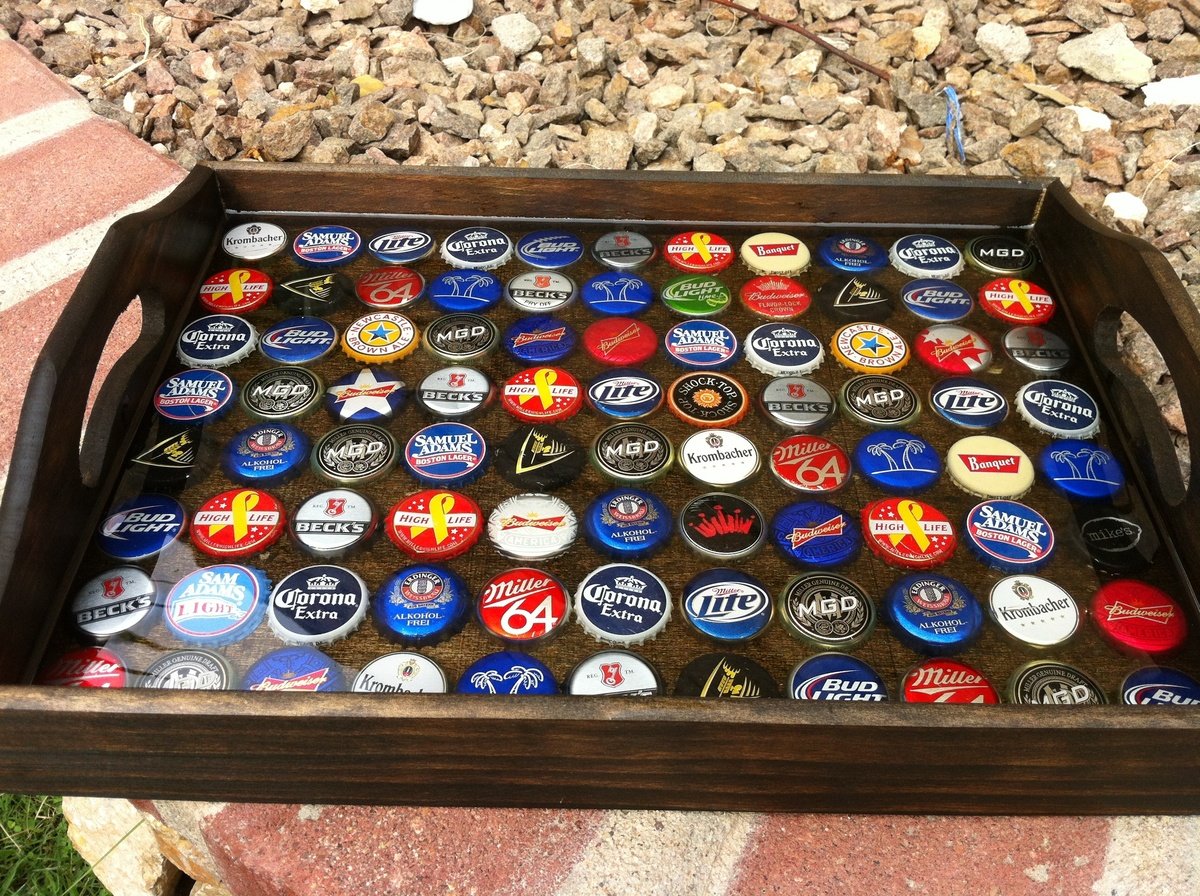
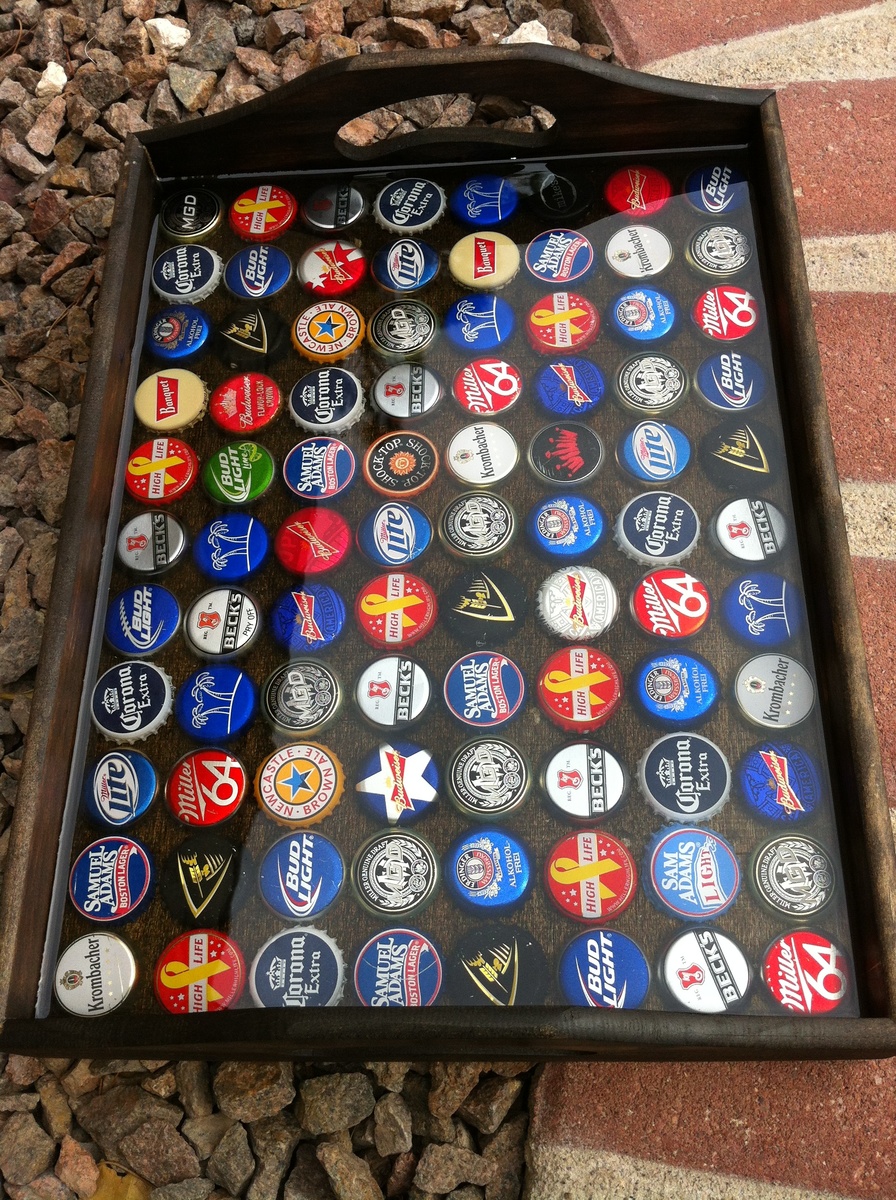
Bottle Cap Tray

Submitted by Jann Antos on Wed, 07/03/2013 - 18:29

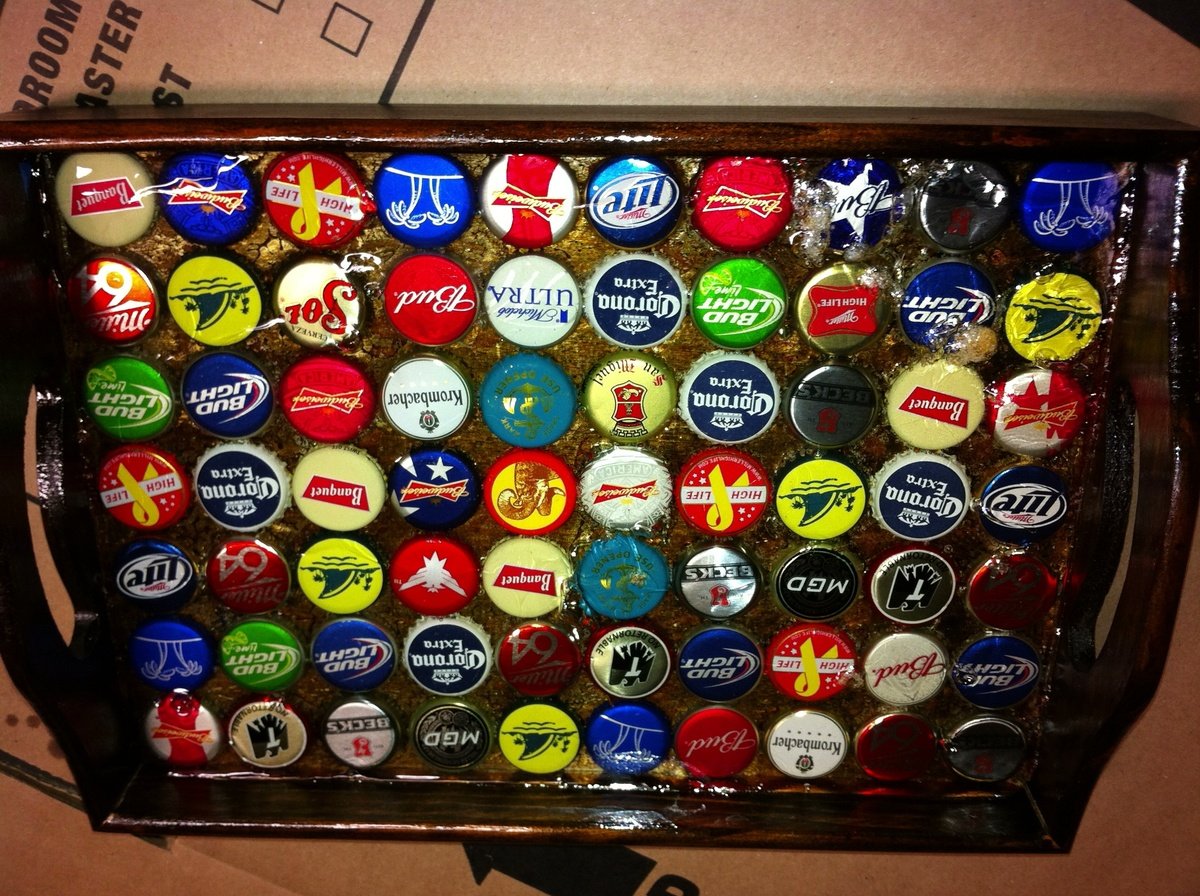
How to build a Bottle Cap Tray AND what NOT to do.

These Bottle Cap Trays are sold for 45+ Bucks online. I spend maybe 15$ on it.

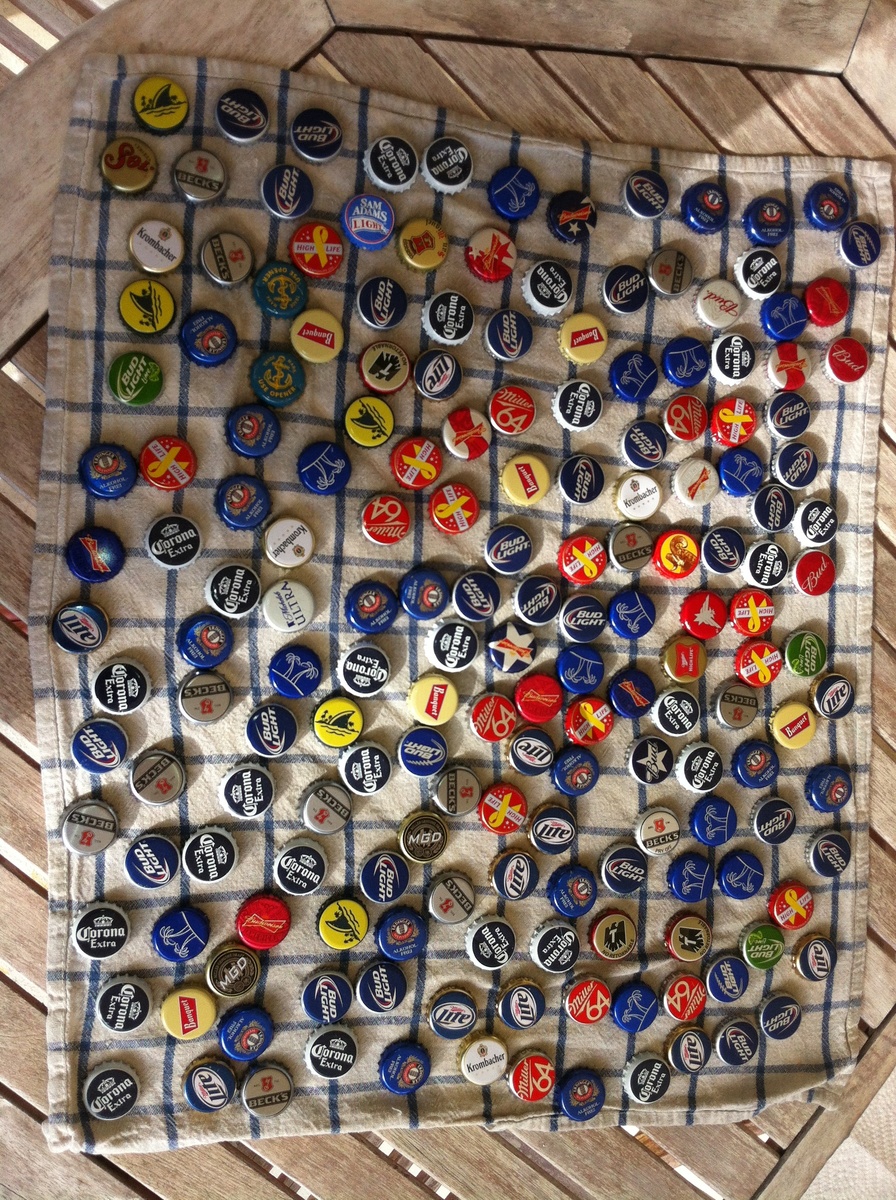
You need a lot of Friends drinking a lot of different Beers... For this tray i needed 88 Caps. I also asked Bartenders and Co-Workers to collect Caps. As more colorfull you get as better. Twist off Caps are the best behause they do not have dents.

I bought the Tray at Hobby Lobby for 3.99$ (you can also build one from a Plan from this Side) and after sanding with 220Grid i stained it to fit my Home Bar. After lay out the "Design" i removed them all and lay them in the back of the now empty tray.

2 Ways to glue the Caps to the Board:

1. Hot Glue (be carefull the Caps get very Hot)
2. I poured just a small amount of the Epoxy in there and pushed the Caps into the Ressin...

How to mix Ressin...

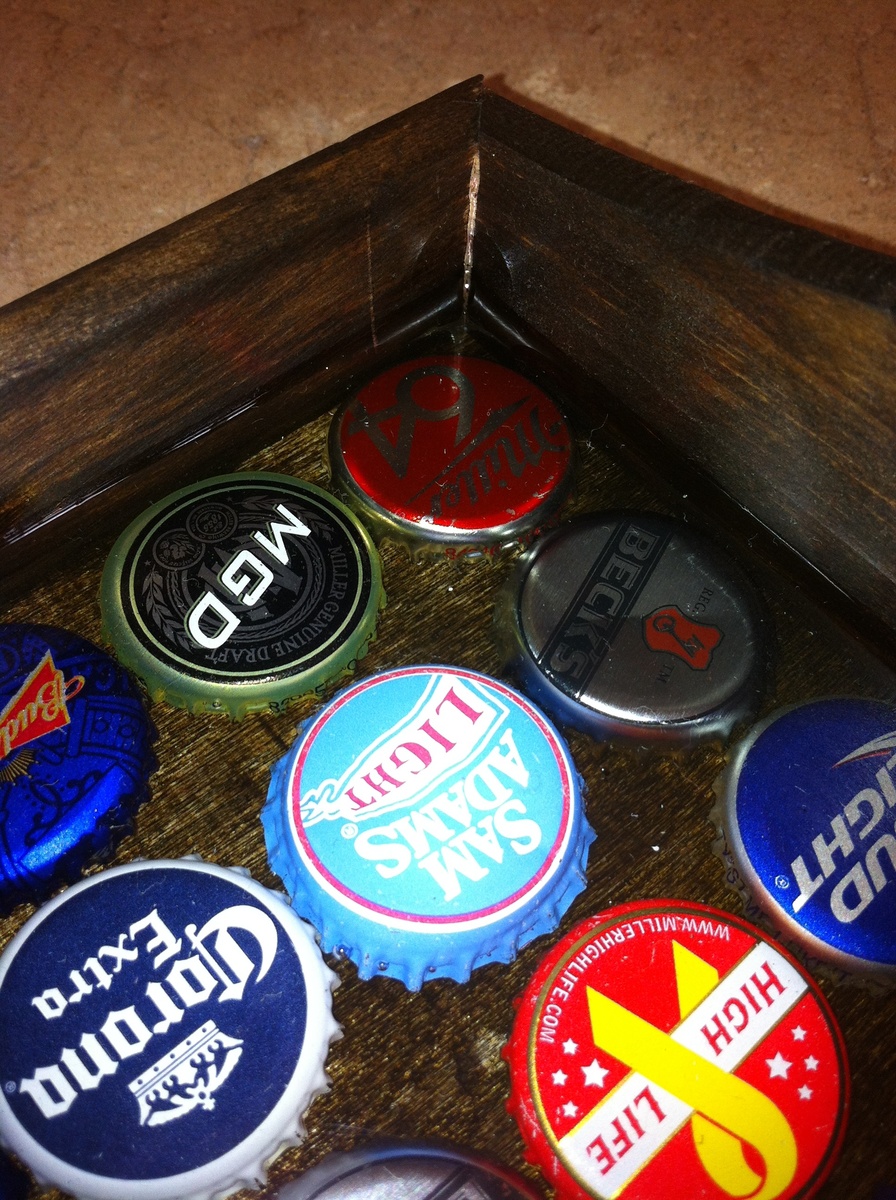
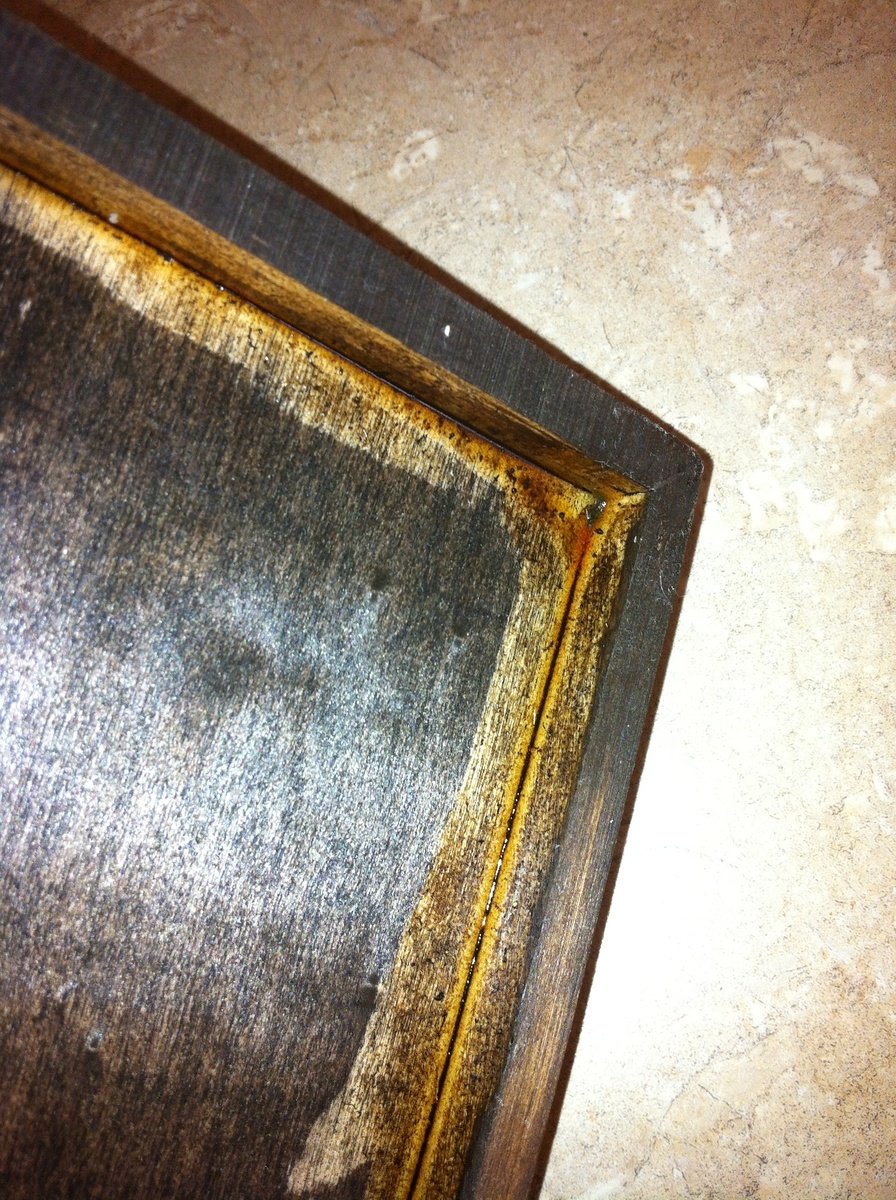
Read the Manuall!!! The first 2 Trays i poured to much and then it gets very very hot and ruin everything (see second last Picture). 2nd Glue the board to the Walls, if the Ressin runs out of the Tablet it is also a great mess!

I Used 2 small cups messured it and Mixed it in the Red Solo Cup...

Put the Tablet on an even surface (protect it) and pour a small amount into the tray... Level it and then put the Caps in there and use a torch to get rid of the Air Bubbles. I needed 3 layers to Cover all Caps. Keep it Dustfree during curing - very important .

I let it cure for 12 Hours bevor the next layer was applied. Total Curie after 72 Hours...

Sorry for Bad English - i am German...

Hope that helps to build your own Bottle Cap Tray...

And made it as colorfull as possible. I aranged them to face One Side but you also can turn them happy around.

Thanks for comments and Reading

Jann
Estimated Cost
15$
Estimated Time Investment
Weekend Project (10-20 Hours)
Finish Used
Minwax Espresso Stain
Polyurethane
Shellac
Recommended Skill Level
Starter Project

Bedside End Tables

Submitted by Grace734 on Mon, 02/05/2018 - 07:38

These are made from the three drawer plans but modified the size to meet our needs and used planks for shelves instead of drawers. Painted white and black gel stain. 


UPDATE FROM ANA - We have received MANY requests for this plan and have created a plan inspired by this post here.

Shopping List (for ONE bedside table) + Tools

  • 1 - 1x2 @ 6 feet long
  • 5 - 1x4 @ 8 feet long
  • 2 - 2x2 @ 8 feet long
  • 1-1/4" and 2-1/2" pocket hole screws
  • 1-1/4" brad nails
  • wood glue
  • Kreg Jig
  • Compound Miter saw
  • Drill
  • Brad Nailer (18 guage)

Cut List (for ONE bedside table)

  • 4 - 1x2 @ 14" - Side panel trim
  • 8 - 1x4 @ 23-1/4" - Side panels
  • 4 - 2x2 @ 27-1/4" - Legs
  • 6 - 2x2 @ 14" - Shelf support
  • 8 - 1x4 @ 17" - Shelves
  • 5 - 1x4 @ 18" - Top

Cut 1x4s and 1x2s with miter saw. Layout side panel 1x4s as shown above.  Measure and cut 1x2 to length.  Nail the 1x2 to the 1x4s, two nails per overlap with glue.  Make sure your side panels are square.  Build two.

Drill 3/4" pocket holes on inside edge of 1x4 ends as shown above.  Cut 2x2s with compound miter saw. Attach to the 2x2 legs with 1-1/4" pocket hole screws.

Set Kreg Jig to 1-1/2" setting.  Drill 1-1/2" pocket holes on end of each 2x2, one per end.  Attach to 2x2s with wood glue as shown above.

Cut 1x4 shelf boards with compound miter saw.  Nail and glue to the inside of the project as shown above.

Cut 1x4 top boards with compound miter saw.  Nail and glue to top with 1-1/4" nails and wood glue.

If you wish to add a back, measure and cut from 1/4" plywood and attach with 3/4" brad nails.

Estimated Cost
100.00 for both.
Estimated Time Investment
Weekend Project (10-20 Hours)
Finish Used
One coat of eggshell white PPG
Two coats of ebony gel stain
Recommended Skill Level
Beginner

Comments

stuffed animal problem

Submitted by bhoppy on Sat, 10/03/2015 - 14:36

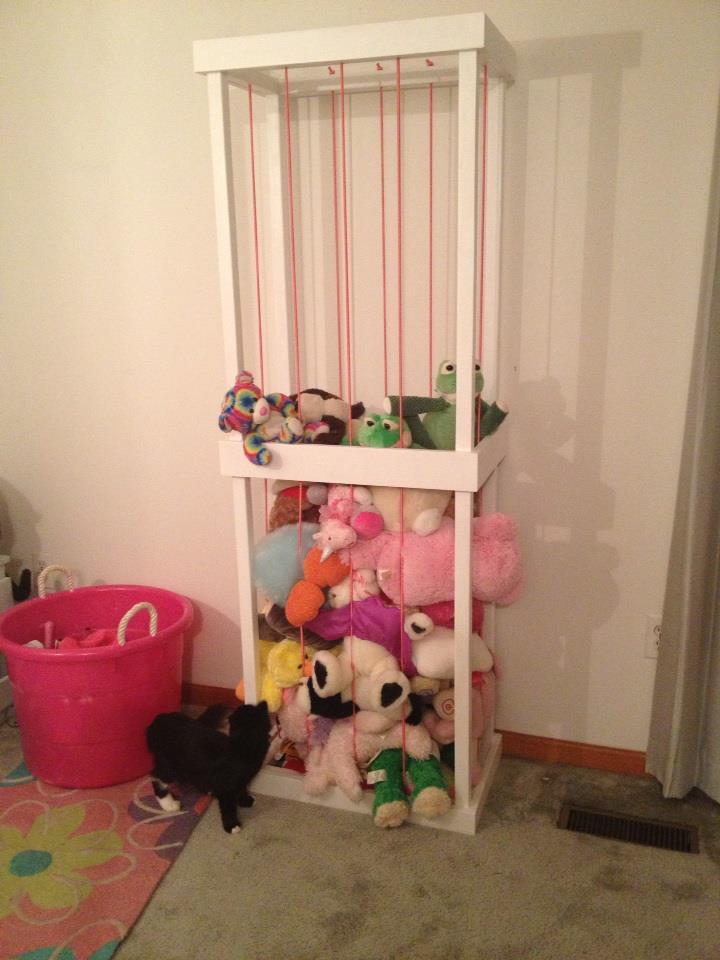
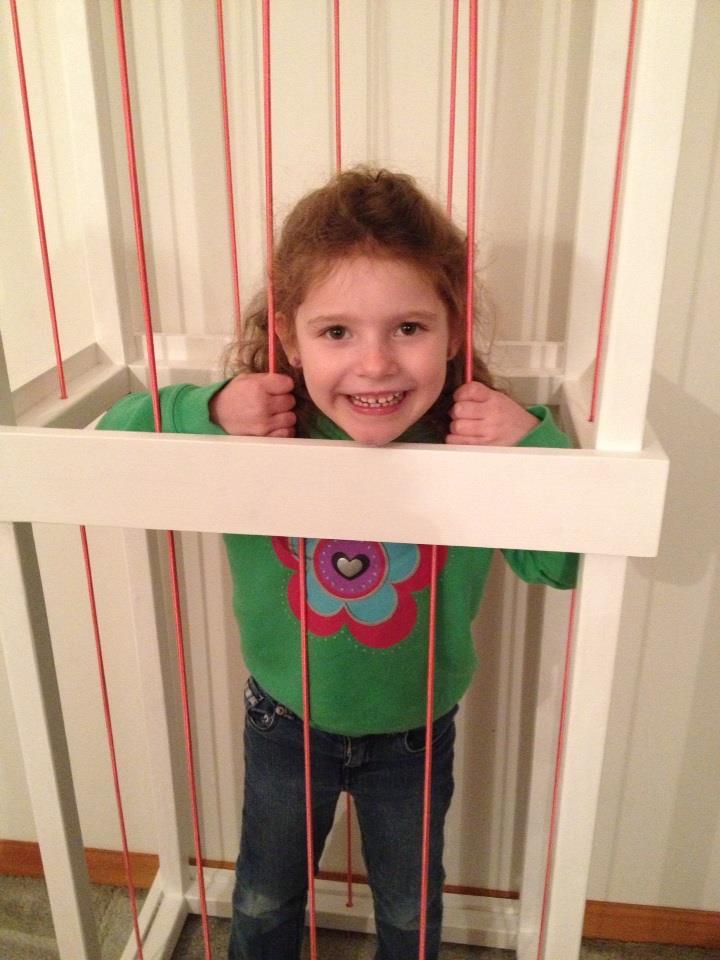
There were a few of these floating around pinterest so I just looked at a few pictures and kinda winged it.  It is made almost just like Jamie’s except I used additional 2x2’s as you can see in the pics… I needed something to thread the bungee cords through.  I tied them off on the top and bottom.  I ordered a roll of pink bungee cord off of amazon.  This is actually two years old as you can see from how much it has filled up.  I also went back and added additional rows of bungee cord between all the others as stuffed animals were falling out.  Again, I winged it.  Having plans will make this build much easier!!

Built from Plan(s)
Estimated Cost
$50
Estimated Time Investment
Weekend Project (10-20 Hours)
Finish Used
primed with kilz and satin white paint I already had
Recommended Skill Level
Starter Project

Comments

mrsloveless

Mon, 01/18/2016 - 13:19

Where did you purchase the 2x2's and 1x3's? Are they furring strips or pressure treated lumber? Thanks!

Privacy planter

Submitted by Anonymous (not verified) on Sun, 06/04/2023 - 16:11

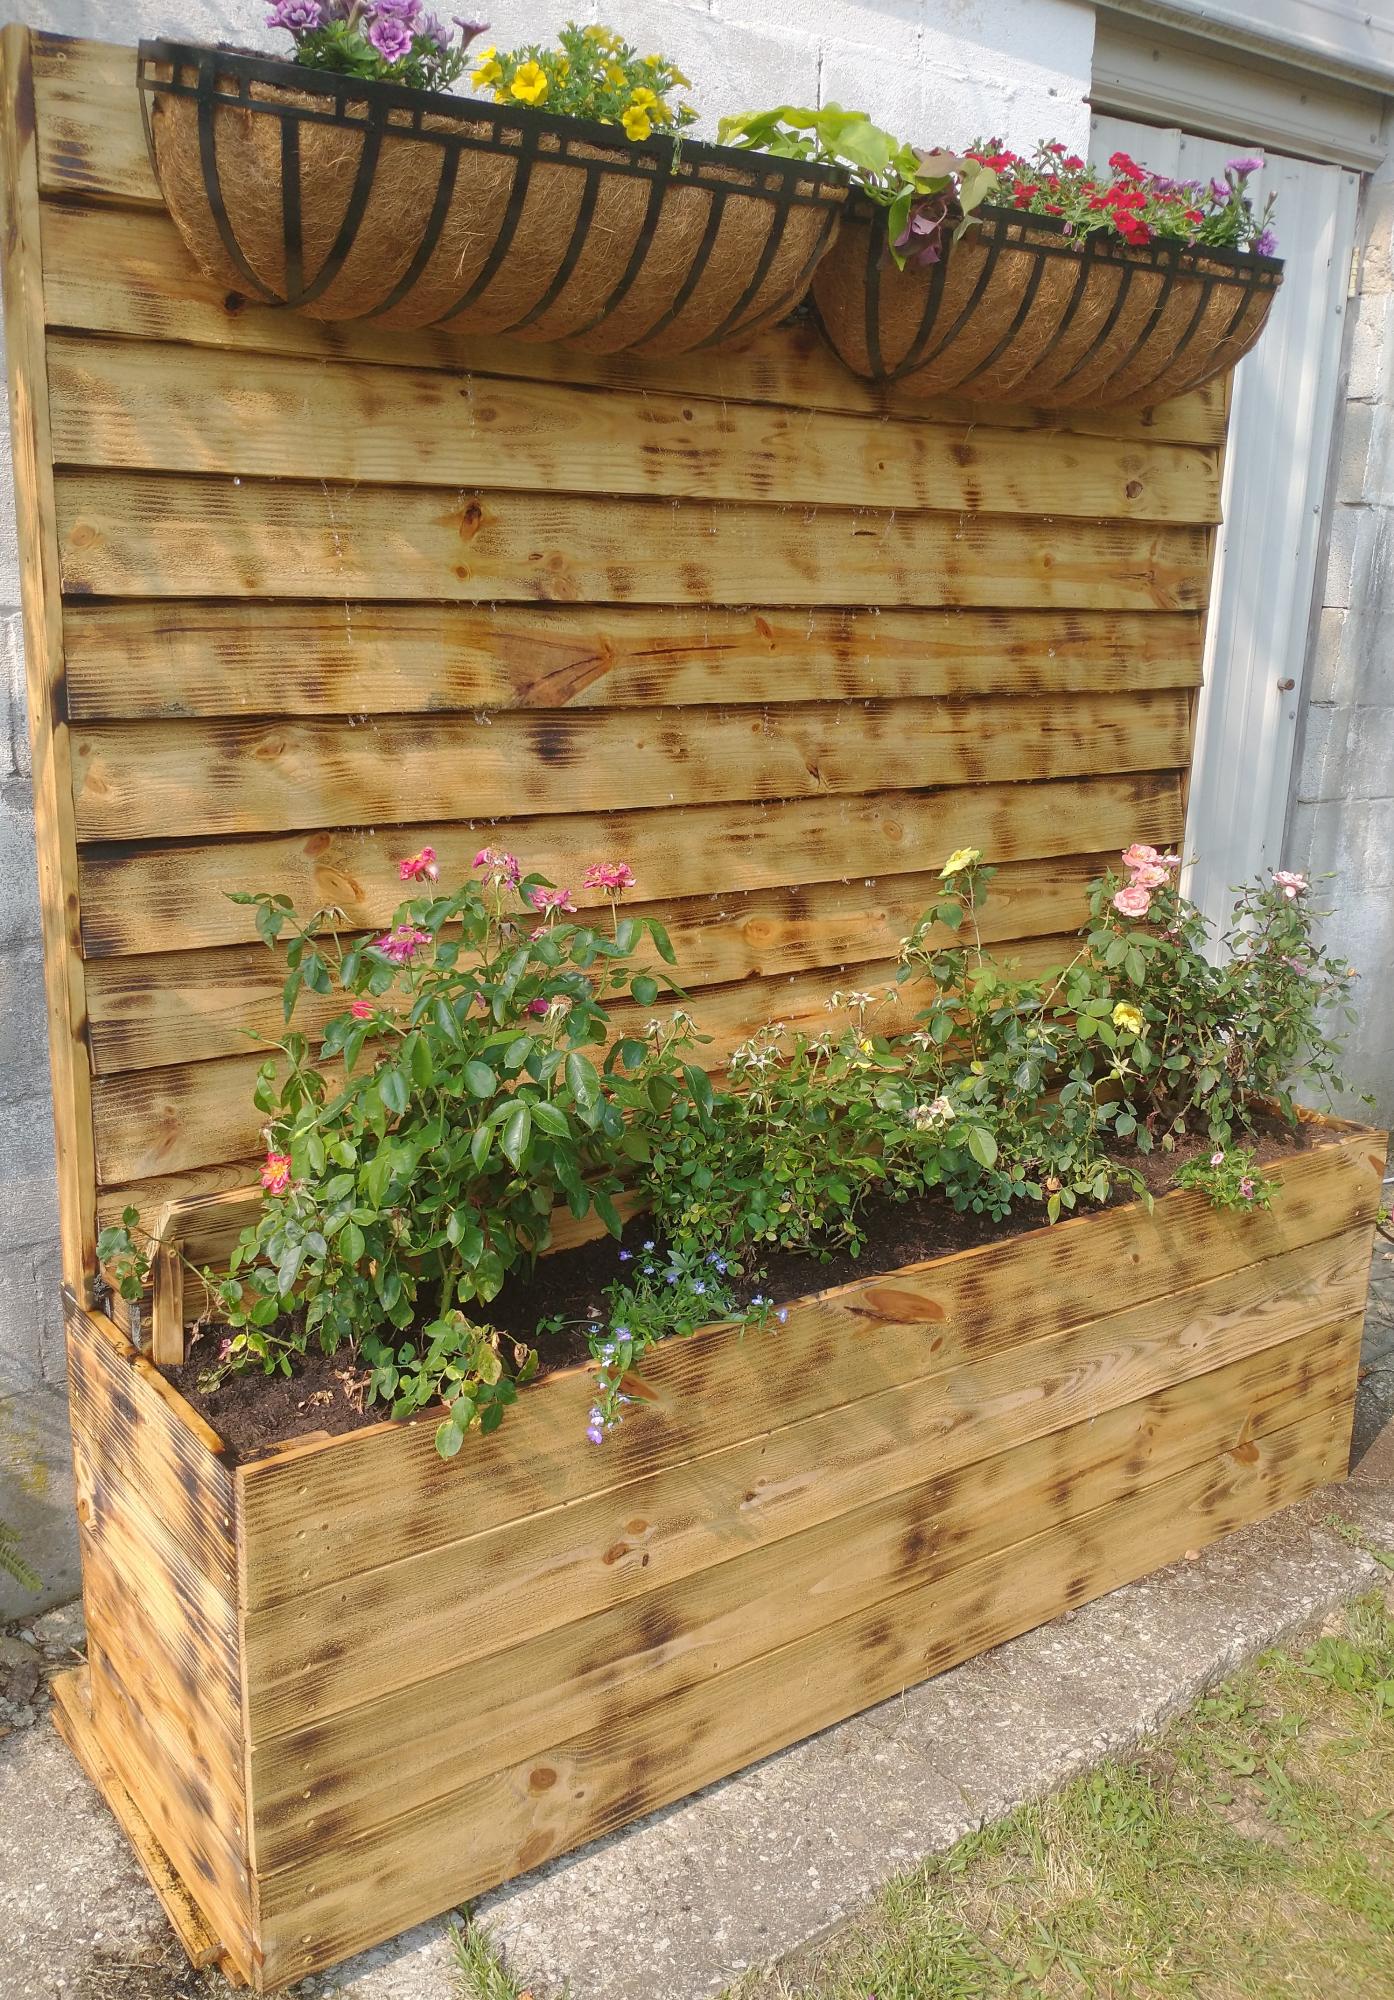
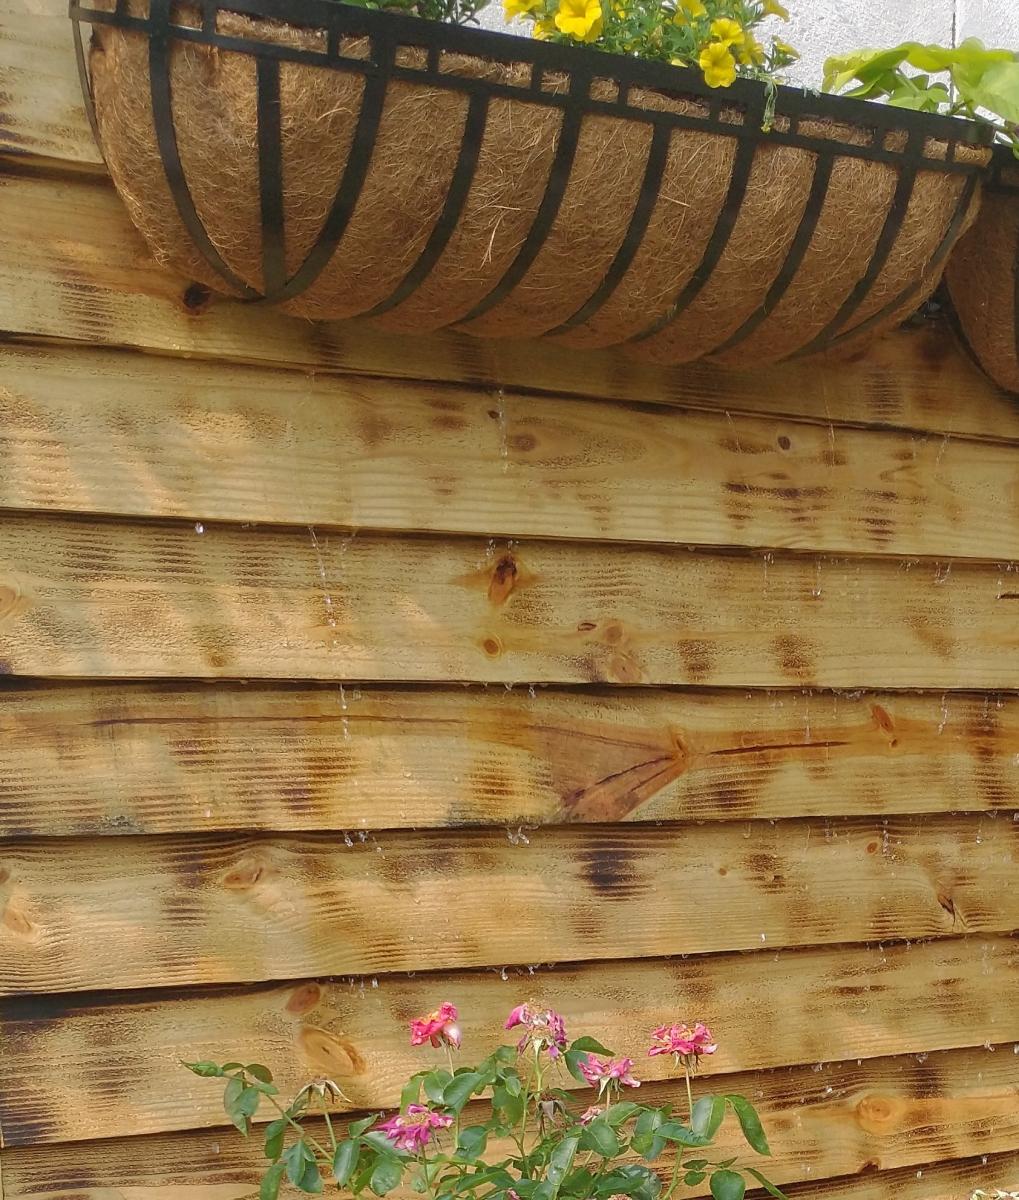
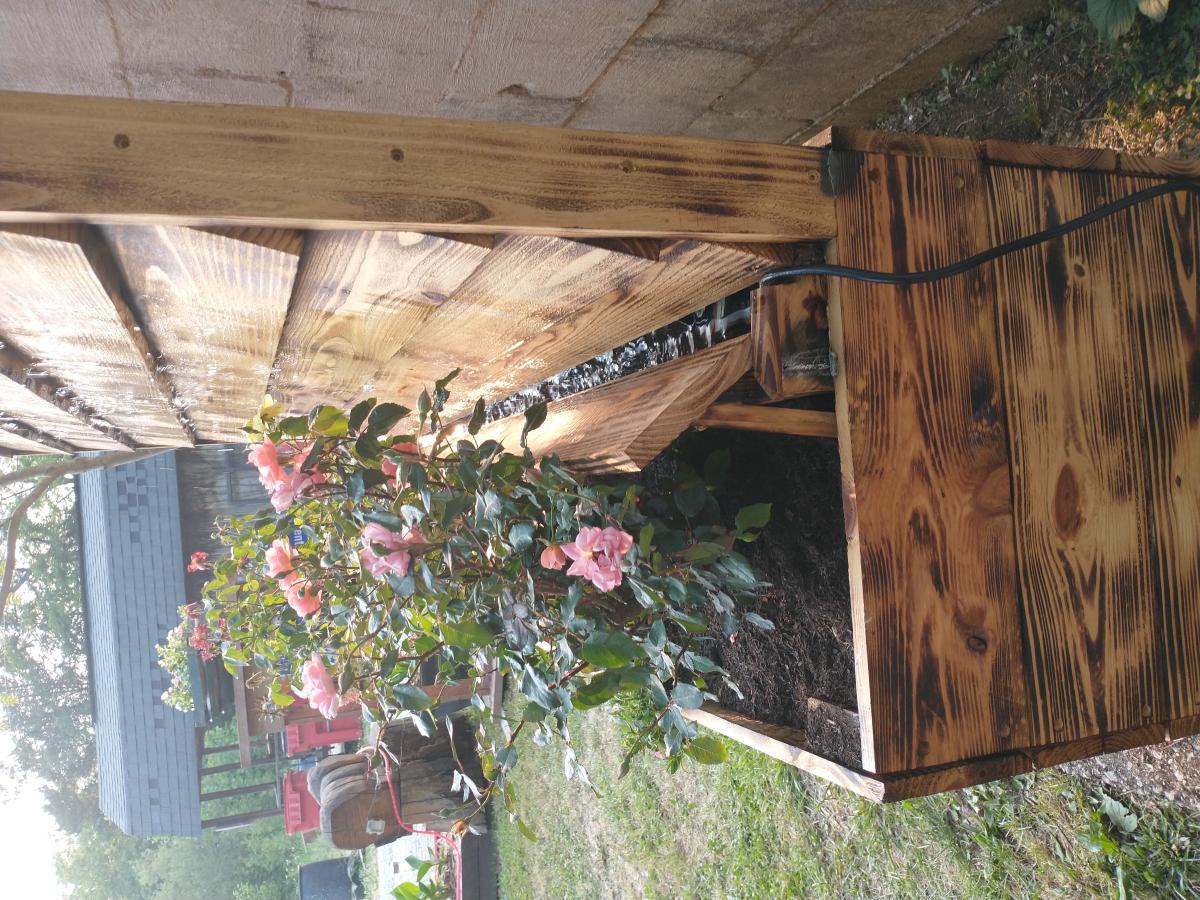
It's a take off of your privacy fence planter. But I added water to make it a water wall also.

Built from Plan(s)

Comments

Seasonal And Holiday

VegTrug

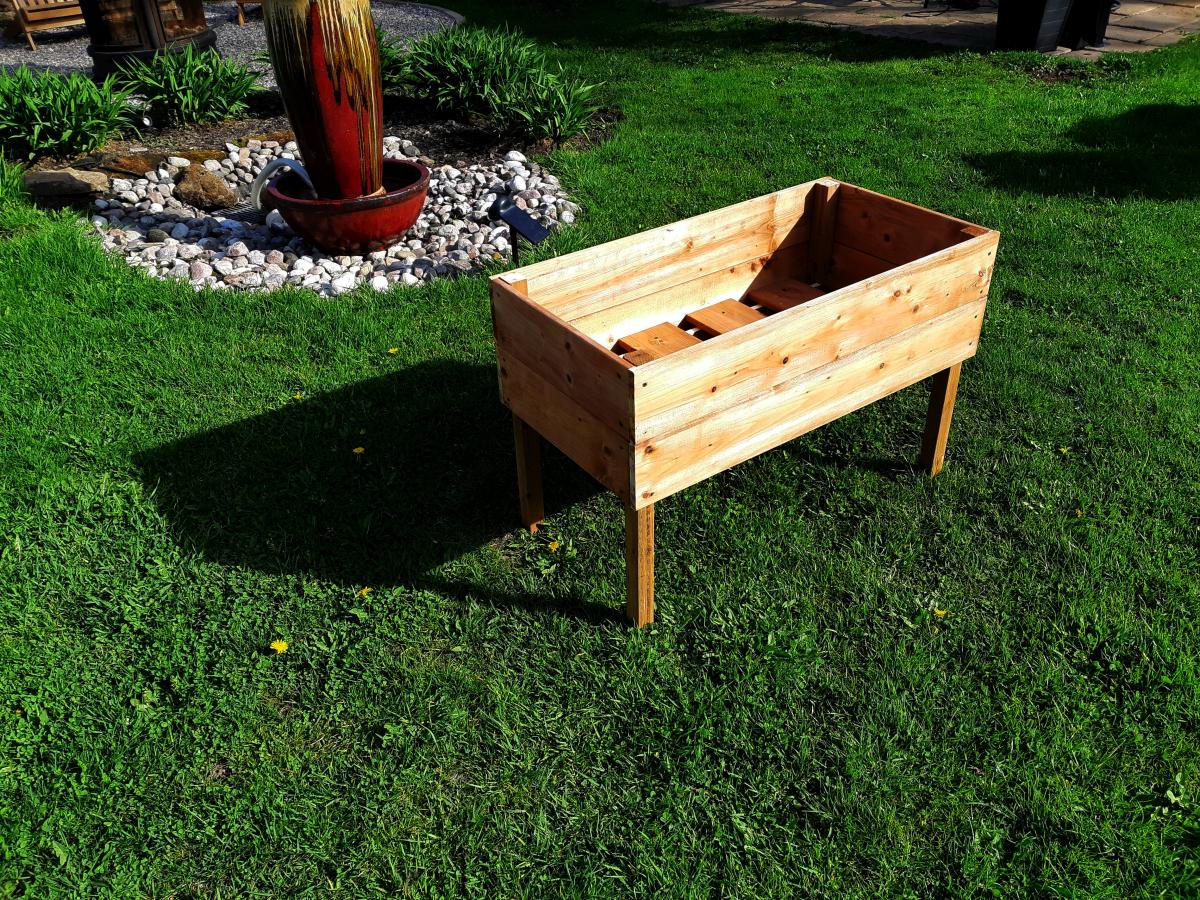
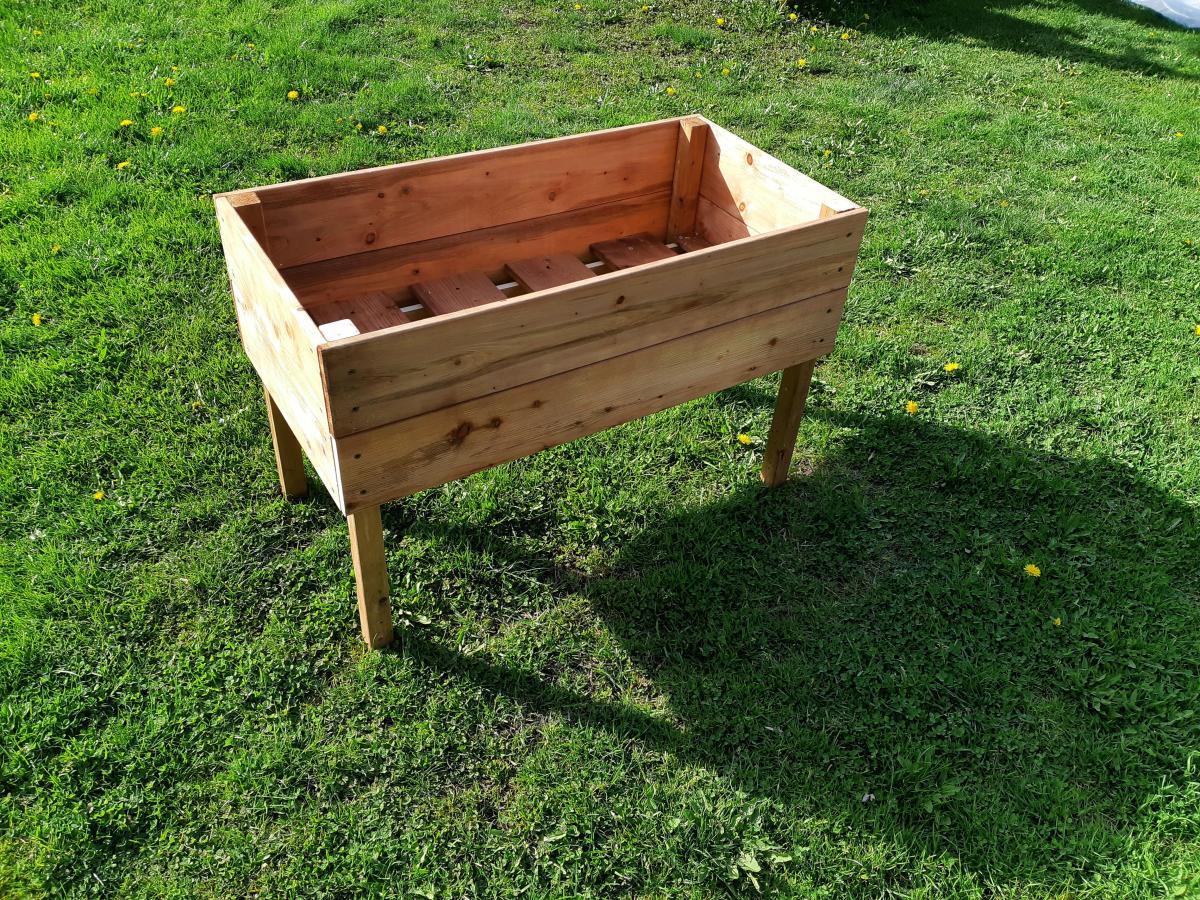
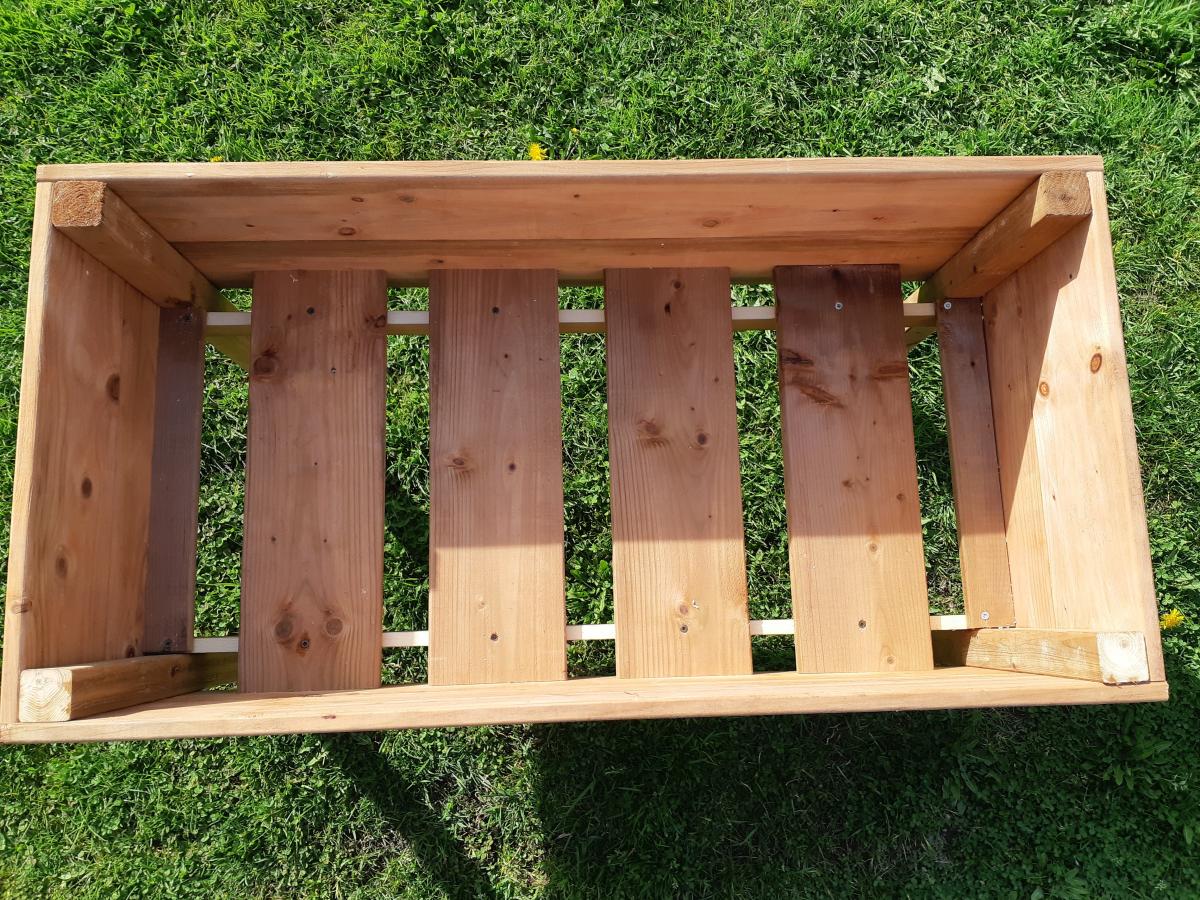
Submitted by carongirls on Sat, 02/22/2014 - 18:52

A friend needed a raised garden bed for her husband who is in a wheel chair. I searched and found the VegTrug's. It took a lot of trial and error. I based it off Williams Sonoma's pictures. I wouldn't of attempted this with out a plan if it weren't for Ana's website.

Recommended Skill Level
Intermediate

Comments

steve badham

Wed, 09/09/2015 - 02:56

We have just set up a "Men'sShed" in our little village here in the UK, and think that these would make a great first project for novice handymen. Are there any plans available to help us?

Steve

Trickman2

Wed, 05/18/2016 - 21:45

Not sure what the story is here,  Maybe she got in trouble for saying Vegtrug?  I would like plans for a DIY Raised planter bed like the above. 

Modern Chairs, Modern Loveseat, and the 2x4 Outdoor Coffee Table

Submitted by Anonymous (not verified) on Wed, 04/29/2020 - 19:58

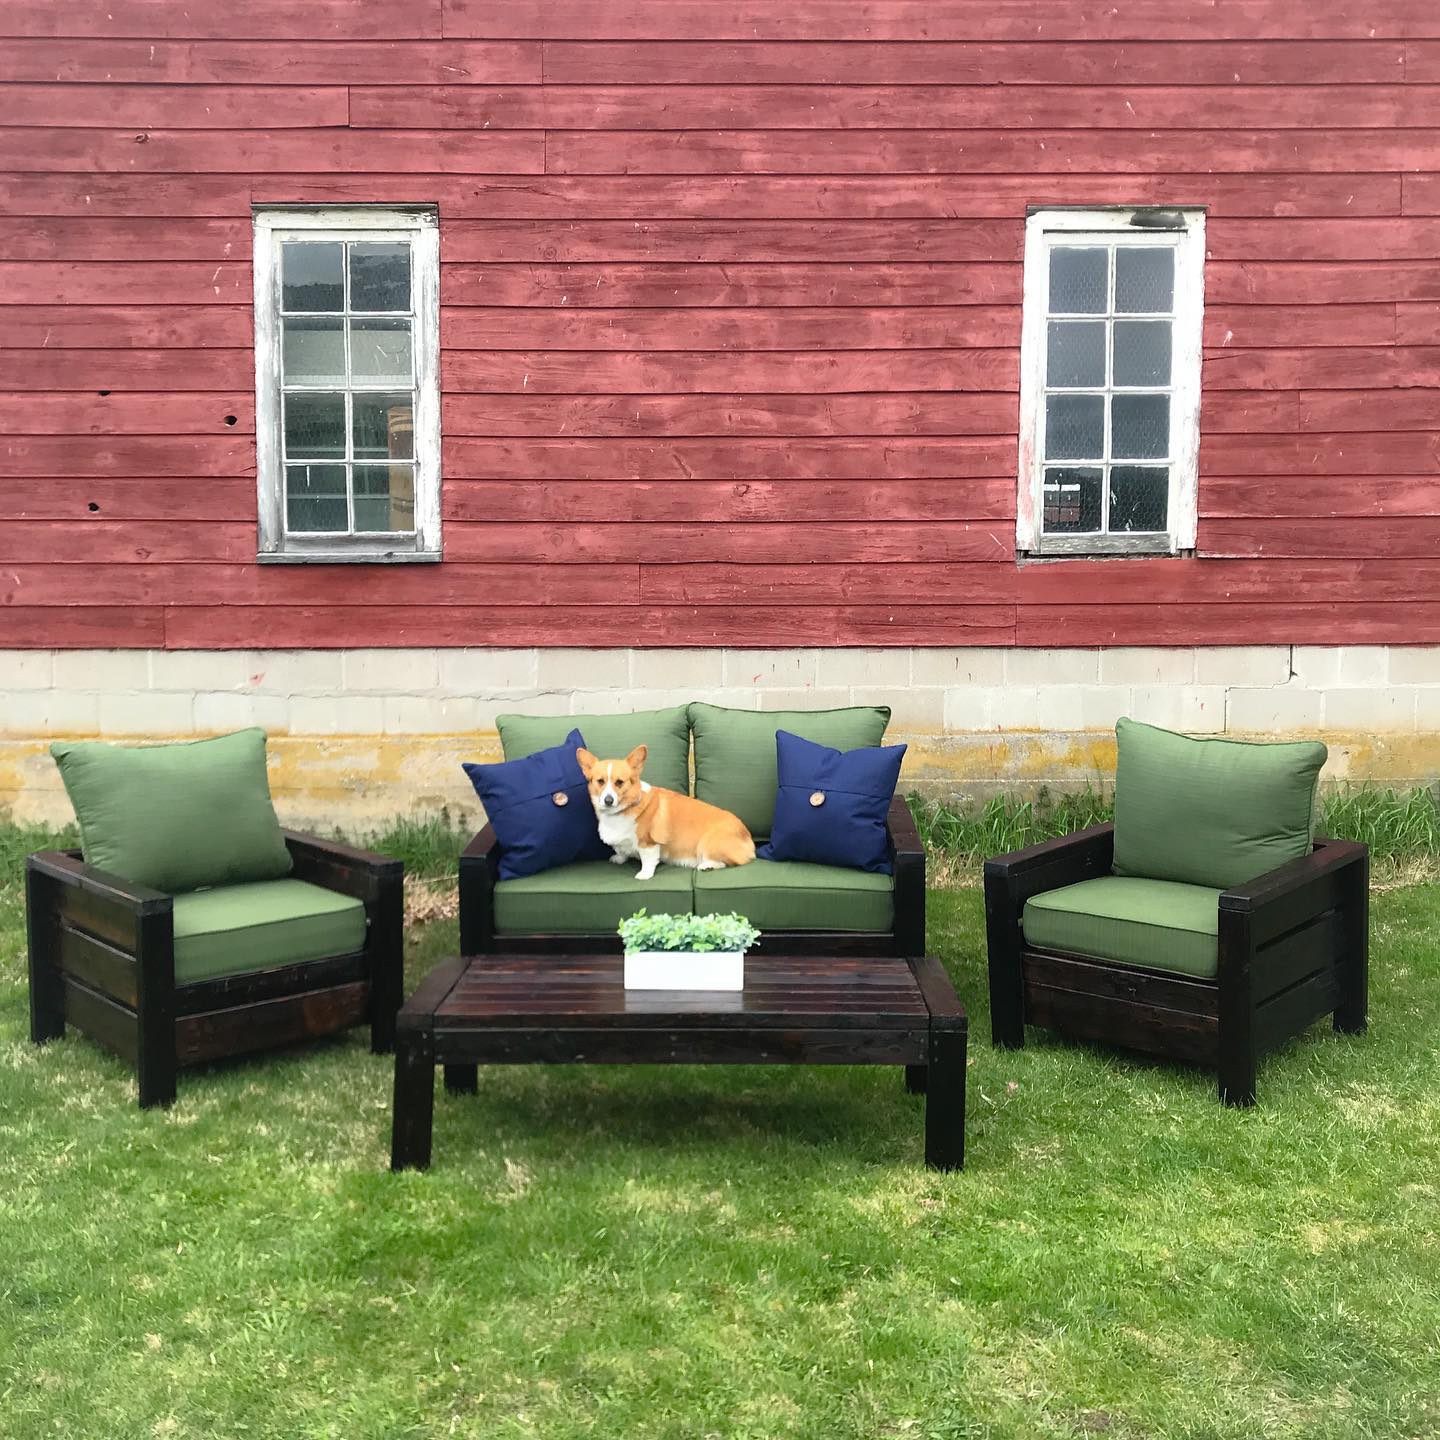
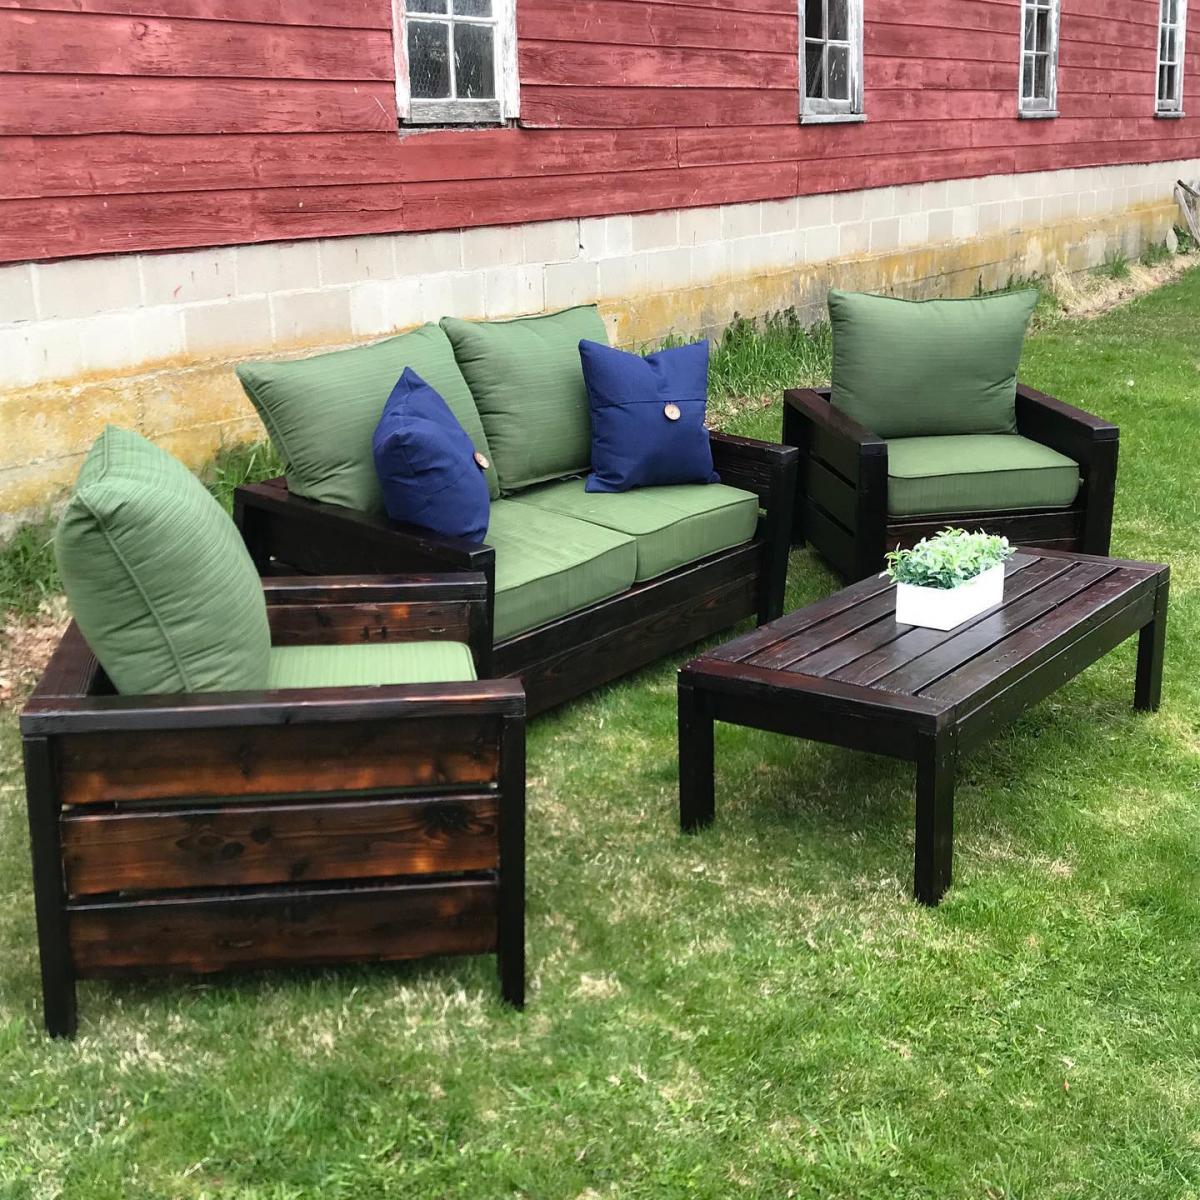
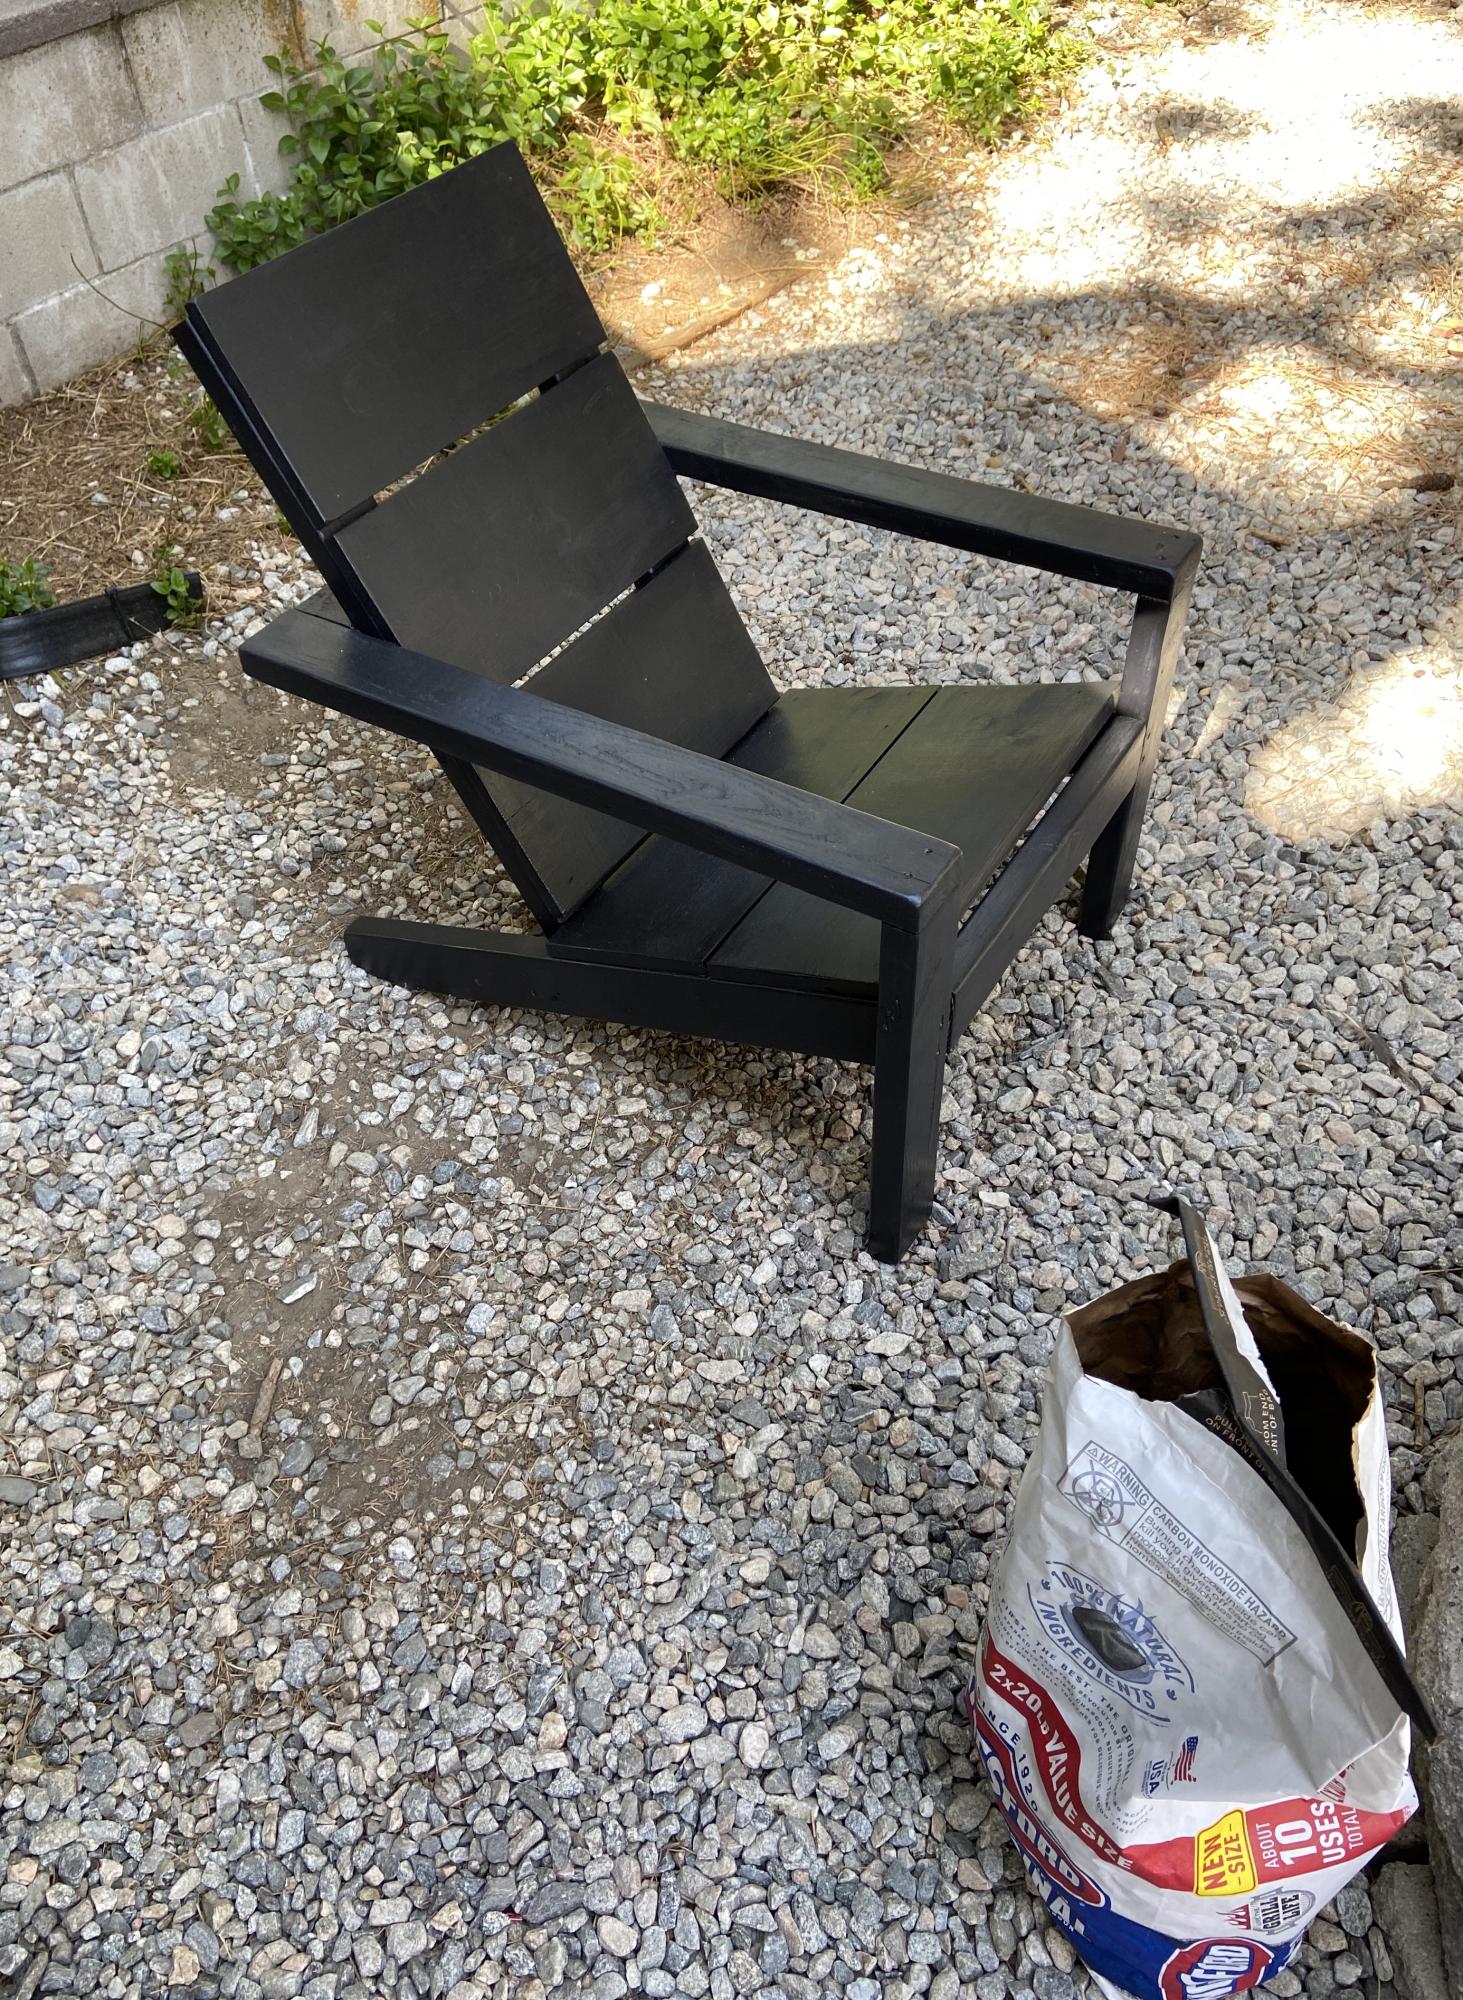
I took this opportunity while quarantined to make this set. I think it came out really beautifully!

Finish Used
Shou sugi ban, Simple Finish by Maker Brand, and Total Boat Halcyon Clear.

I used a blow torch to burn each board. Then I used a wire brush to remove soot, and washed with water and allowed to dry completely. I opted for pocket holes for the chairs and love seat. After assembling, I finished with Simple Finish by Maker Brand ($40/qt), and top coated with Total Boat Clear Halcyon ($32)

Porch bed swing

Submitted by janamason on Tue, 05/05/2020 - 18:30

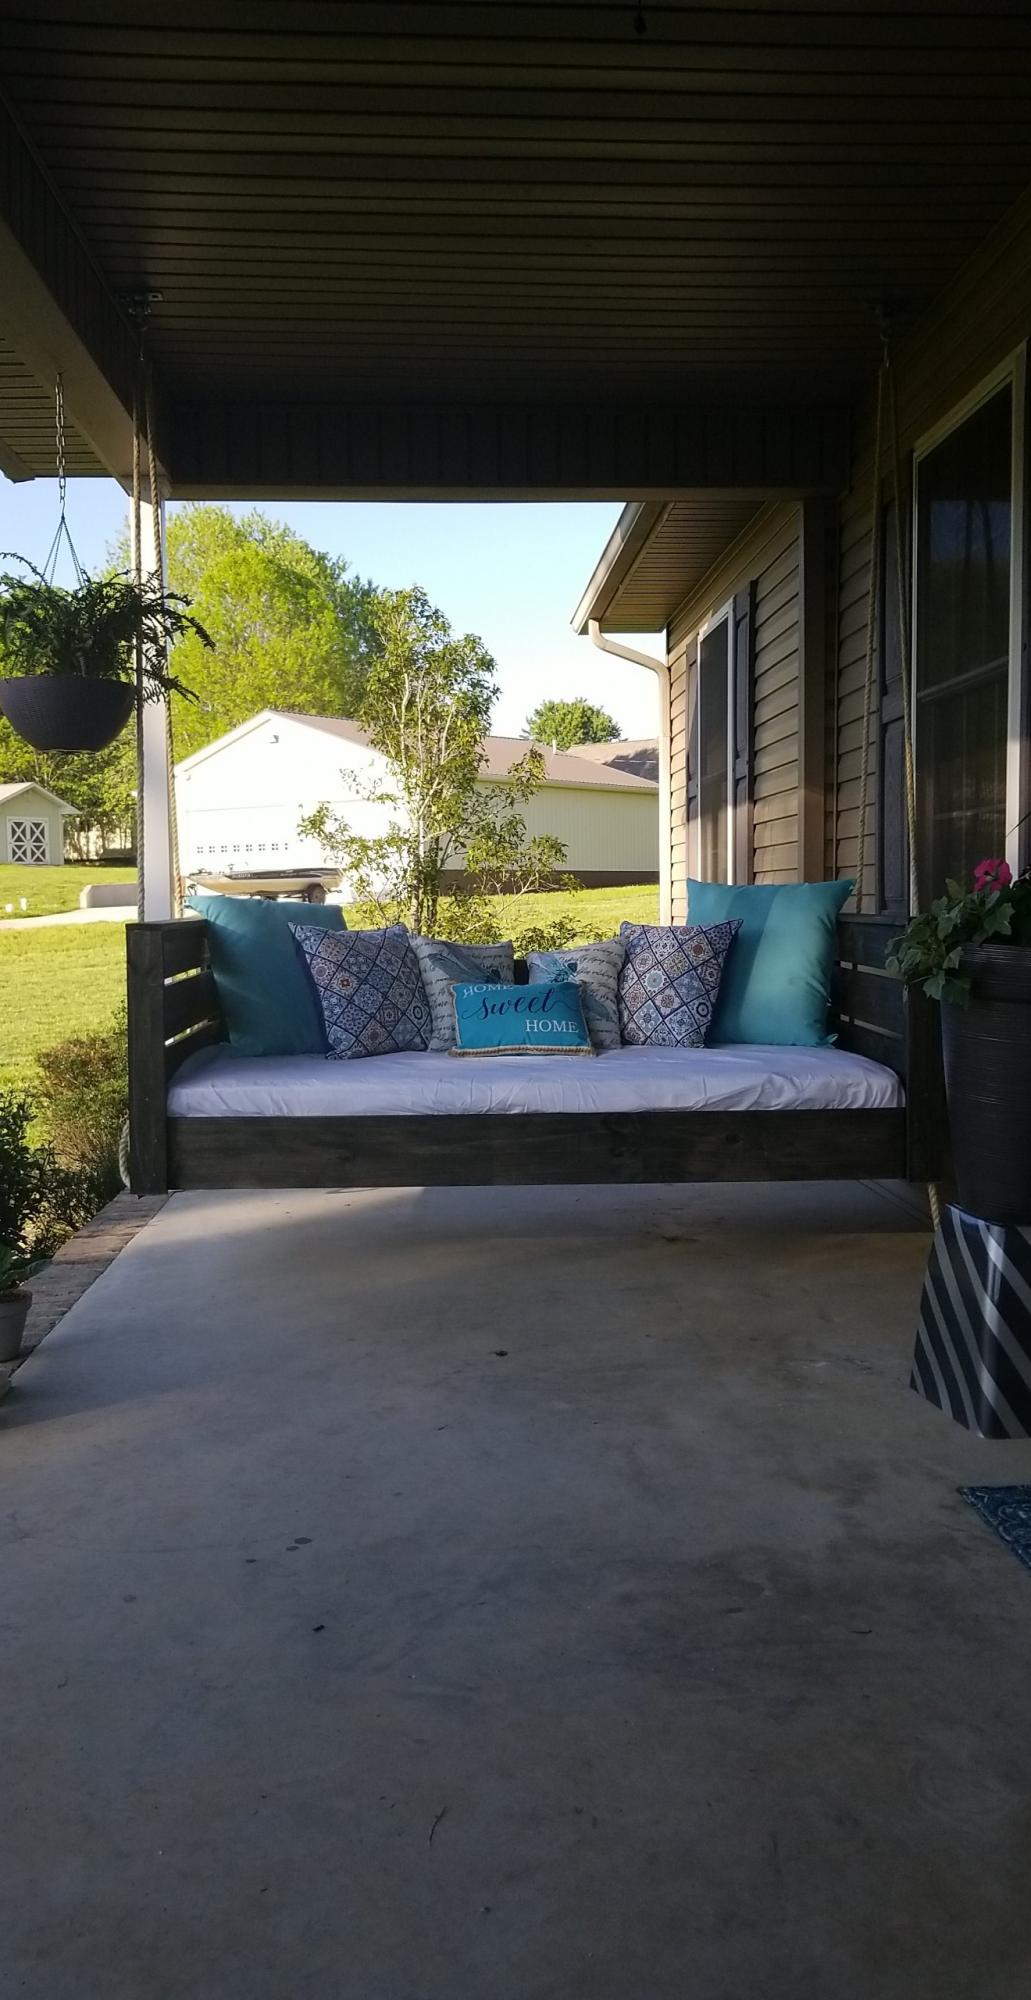
My 15 year old son built this for me!

Estimated Time Investment
Day Project (6-9 Hours)
Finish Used
Minwax ebony
Recommended Skill Level
Beginner

Comments

Rustic Modern Bunk Bed

Submitted by Seth on Fri, 05/15/2020 - 13:16

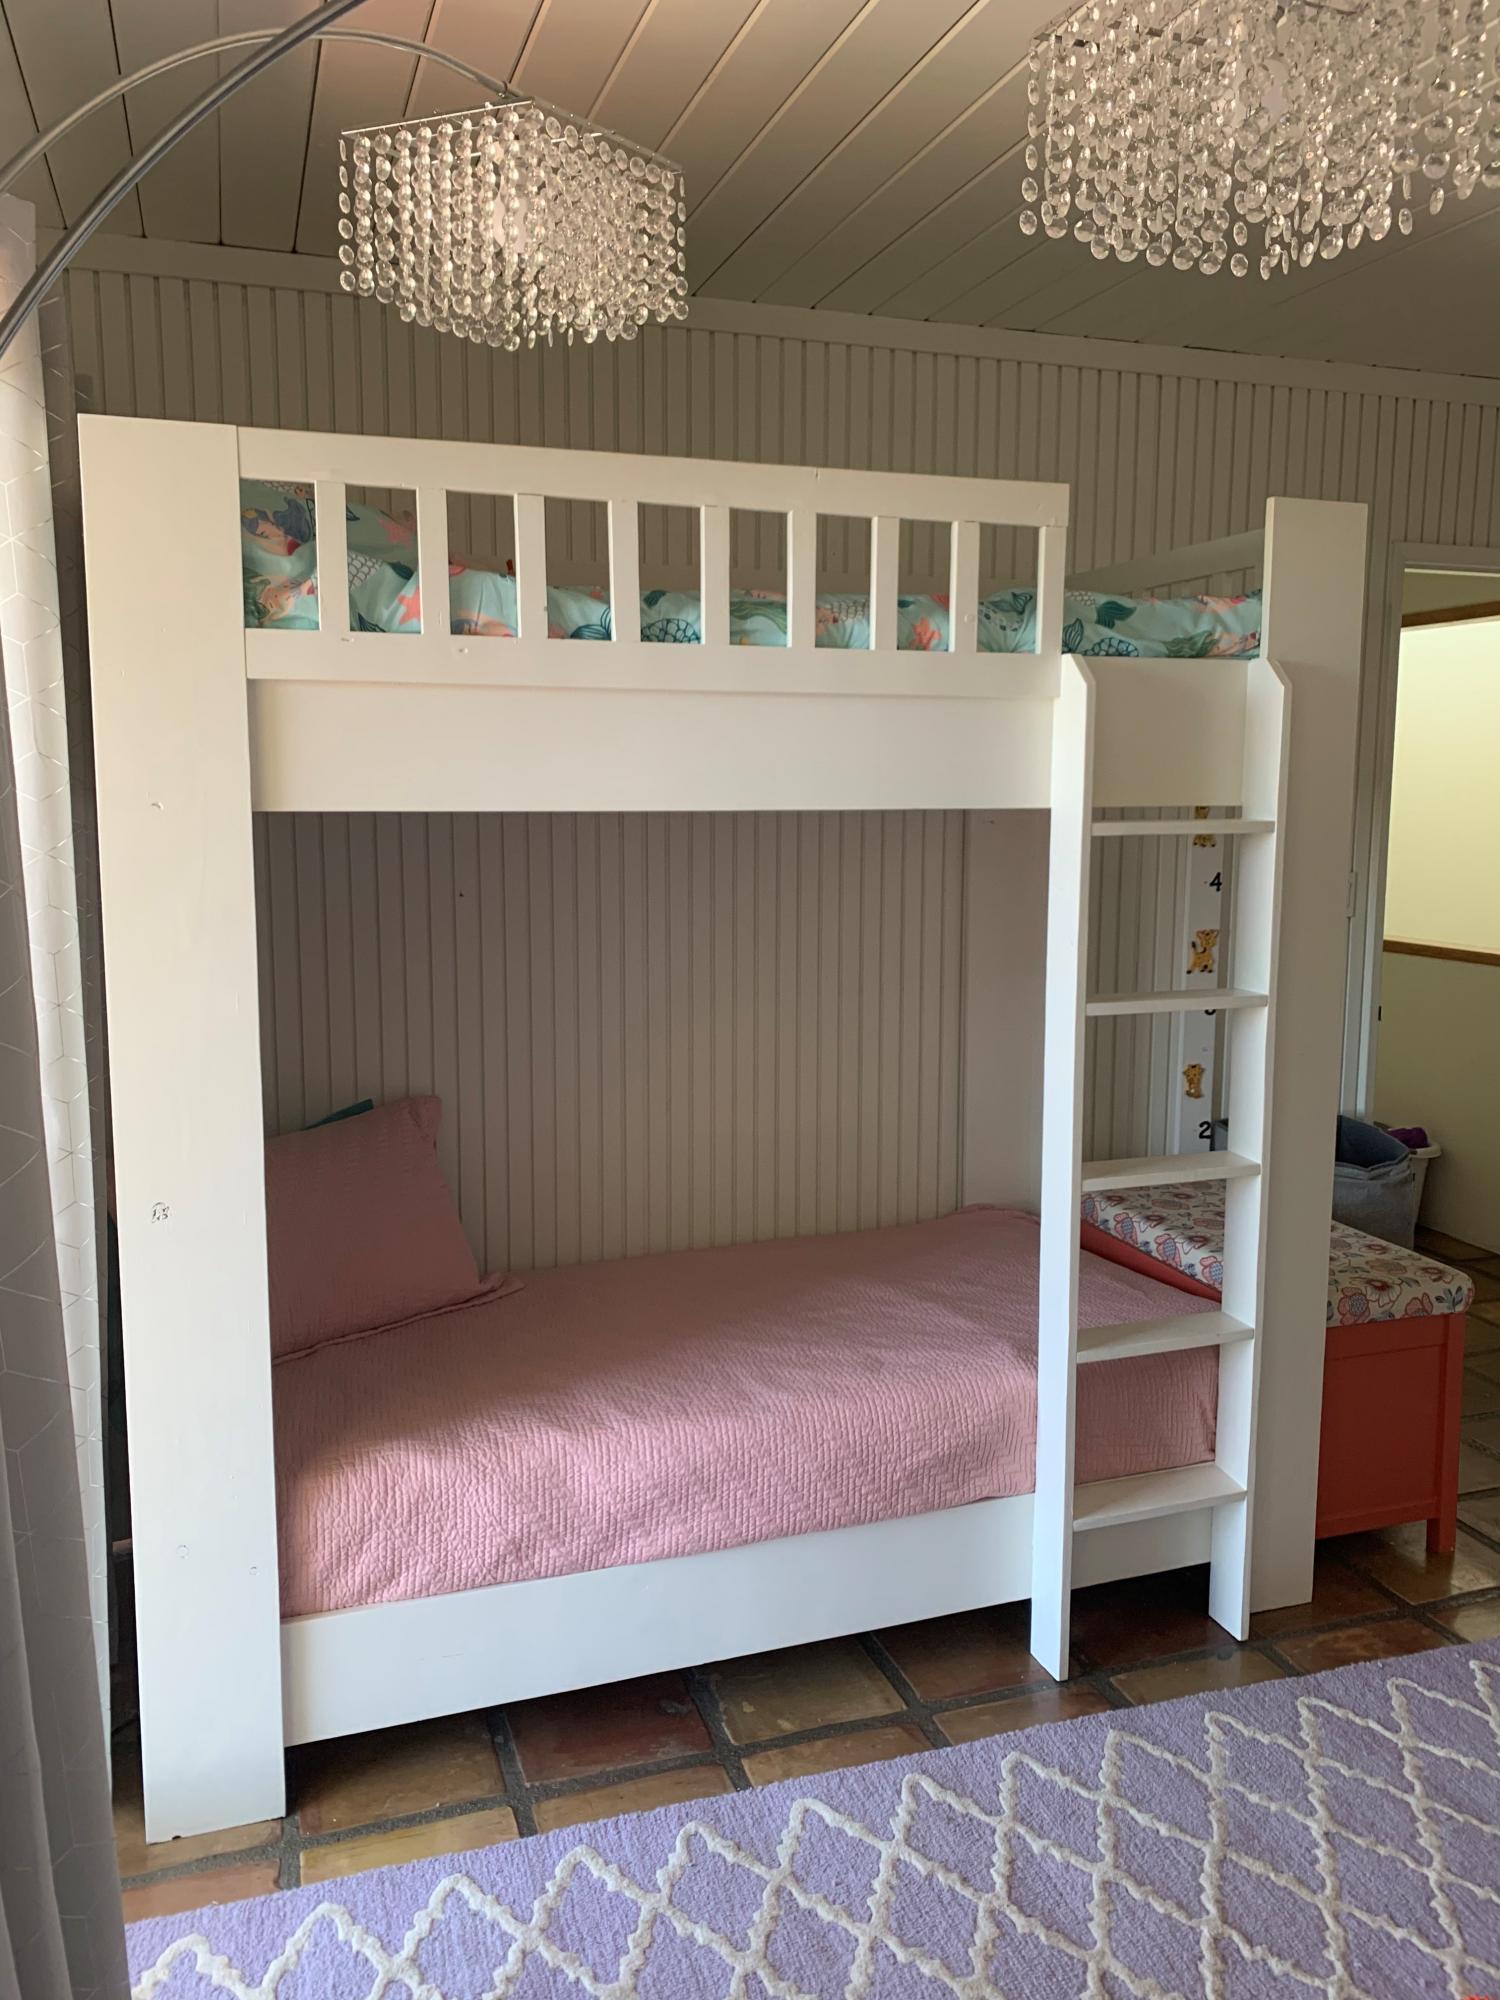
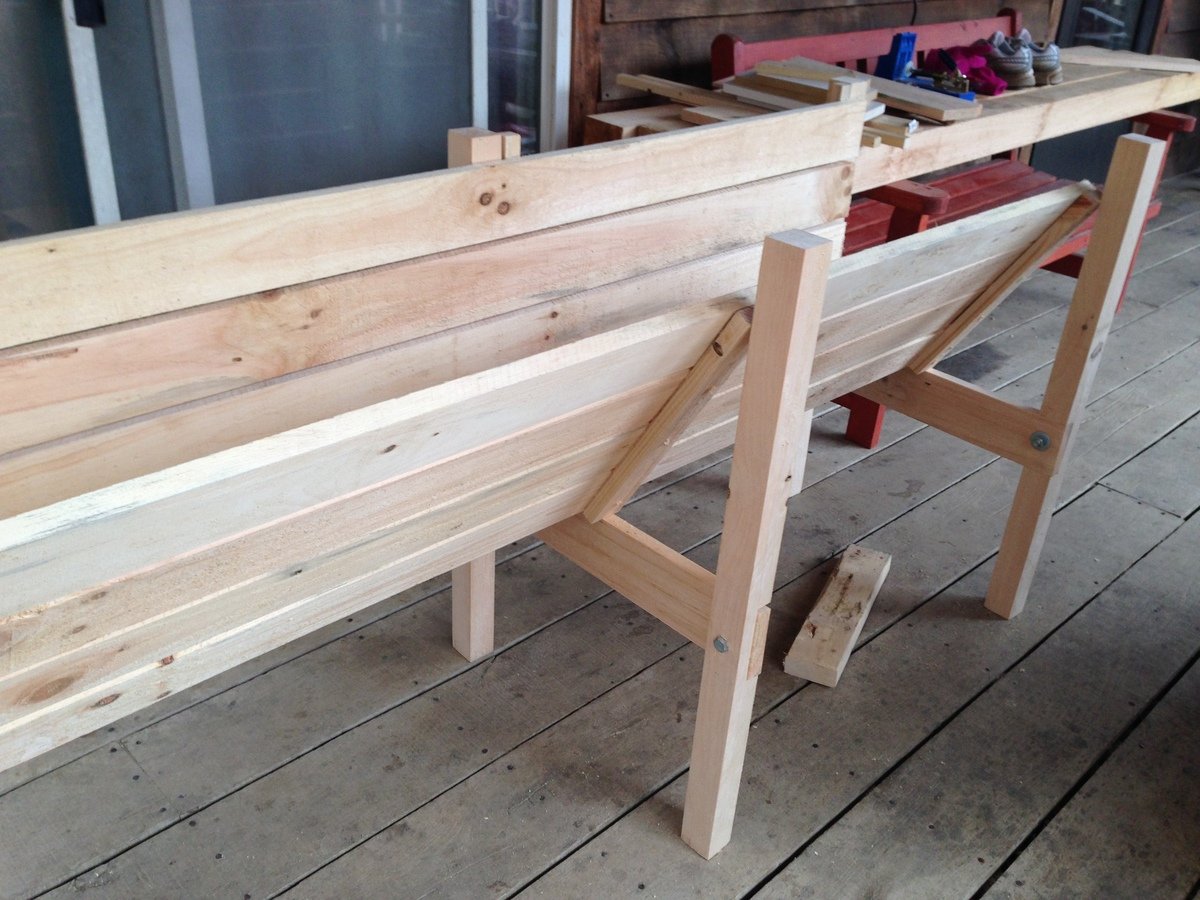
We build this bunk bed from the Rustic Modern Bunk Bed plans. We finished it with one coat of primer and one coat of Dunn Edwards Swiss Coffee. This project was made easier with a Dewalt 12'' sliding compound miter saw, Kreg K4, and a speed square for every aspect of the project.

Built from Plan(s)
Estimated Cost
$300
Estimated Time Investment
Weekend Project (10-20 Hours)
Finish Used
Dunn Edwards Swiss Coffee
Recommended Skill Level
Intermediate

Raised Planter / Jardiniere

Submitted by WoodON on Sun, 05/17/2020 - 23:11

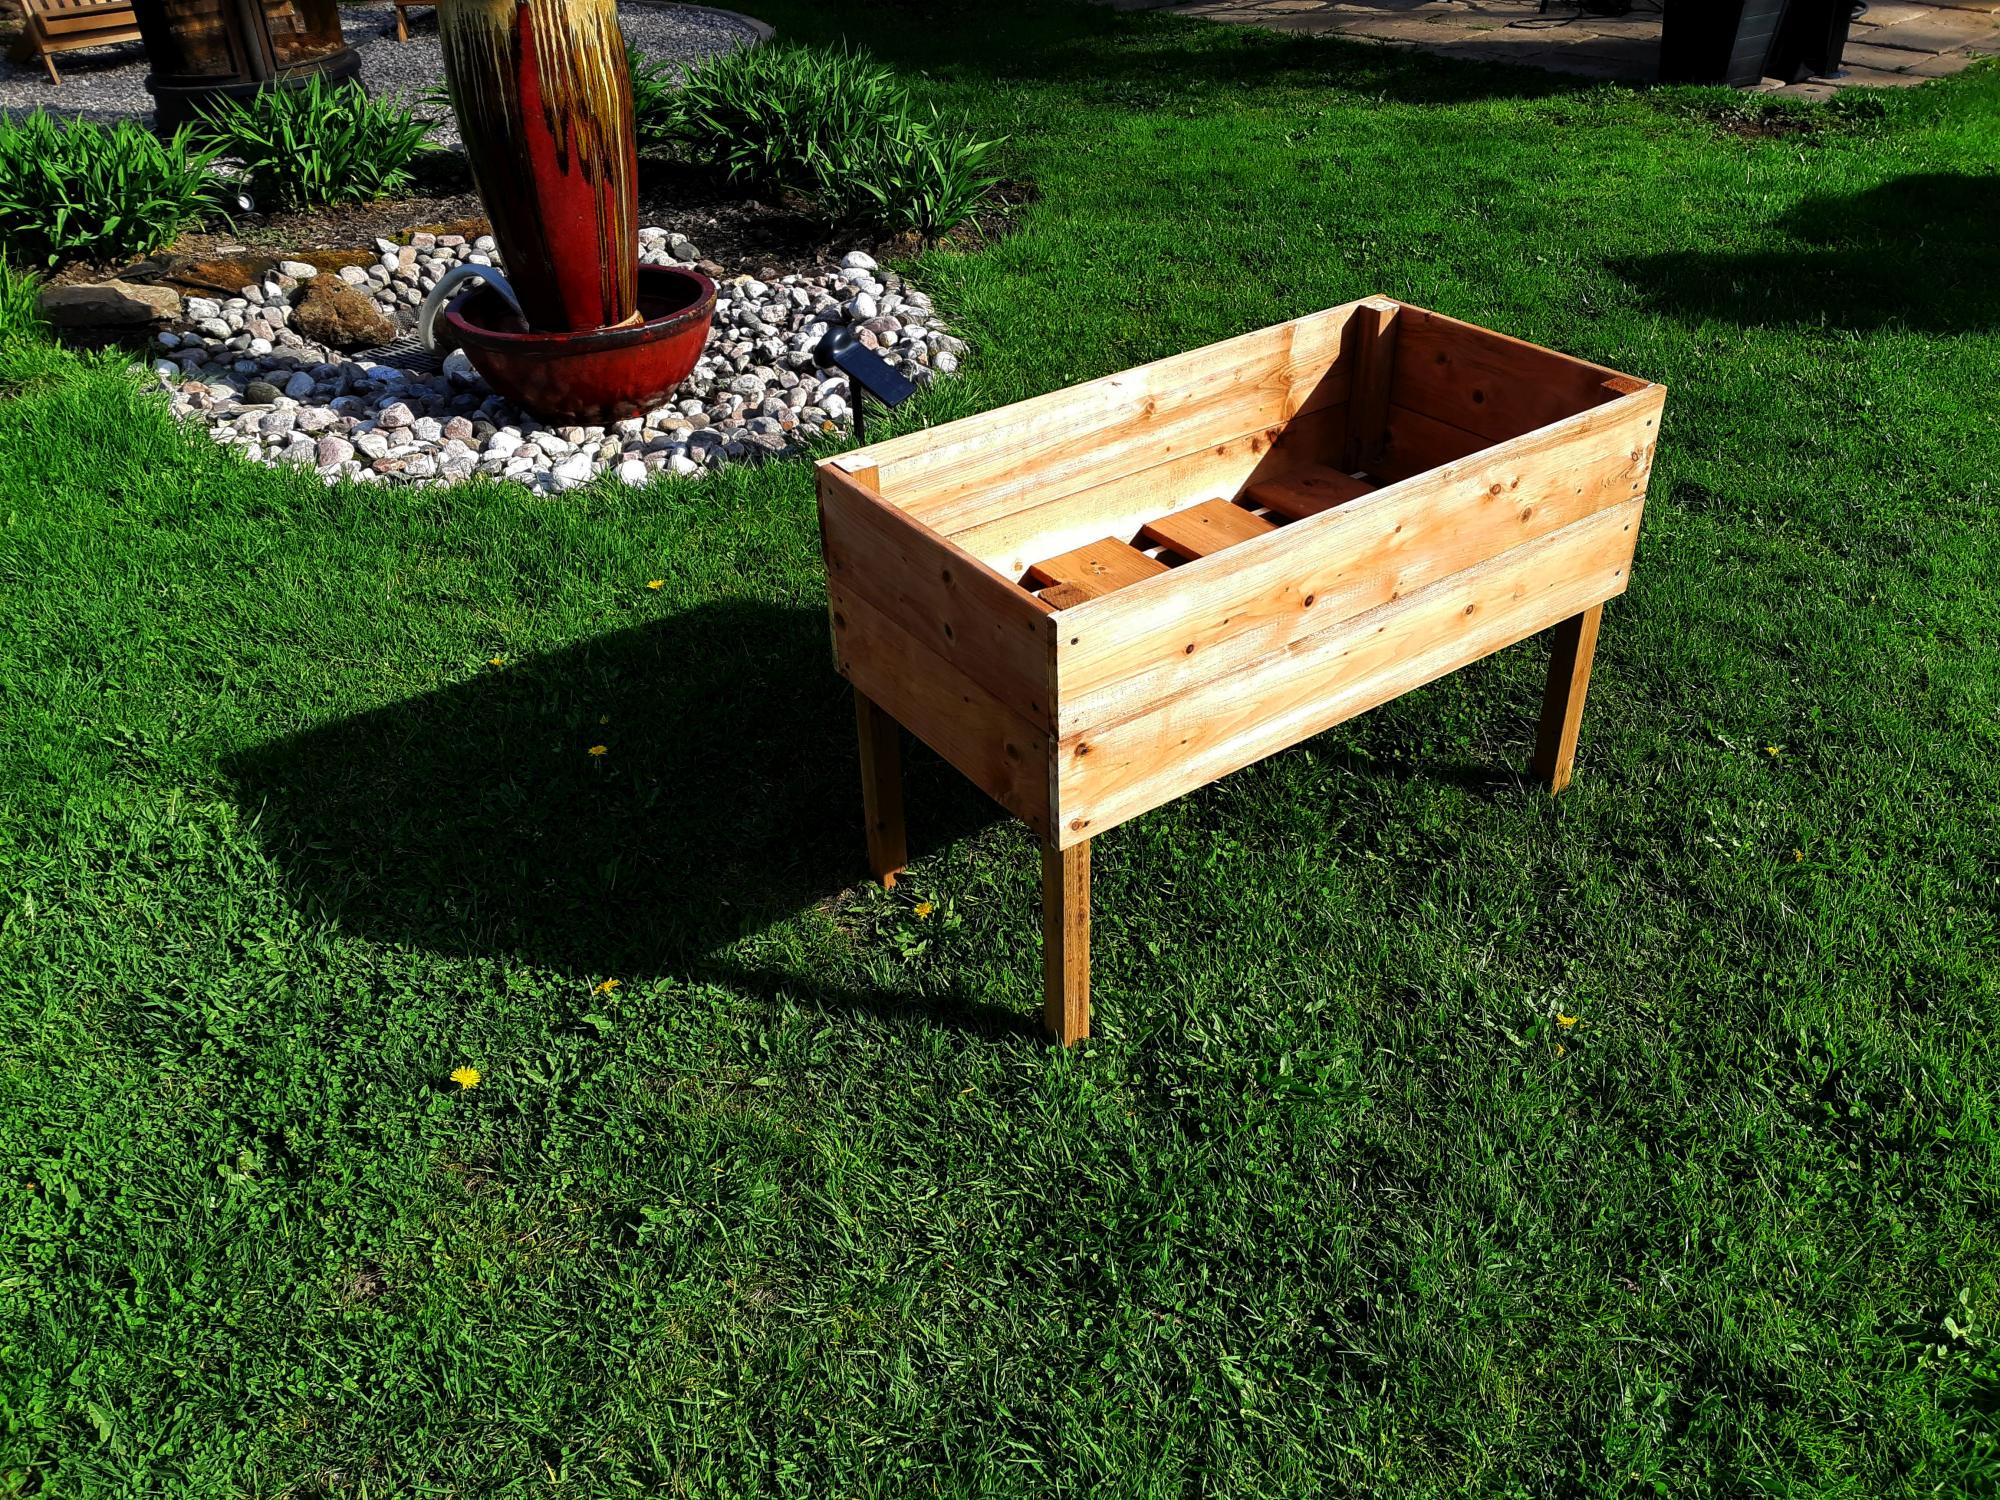
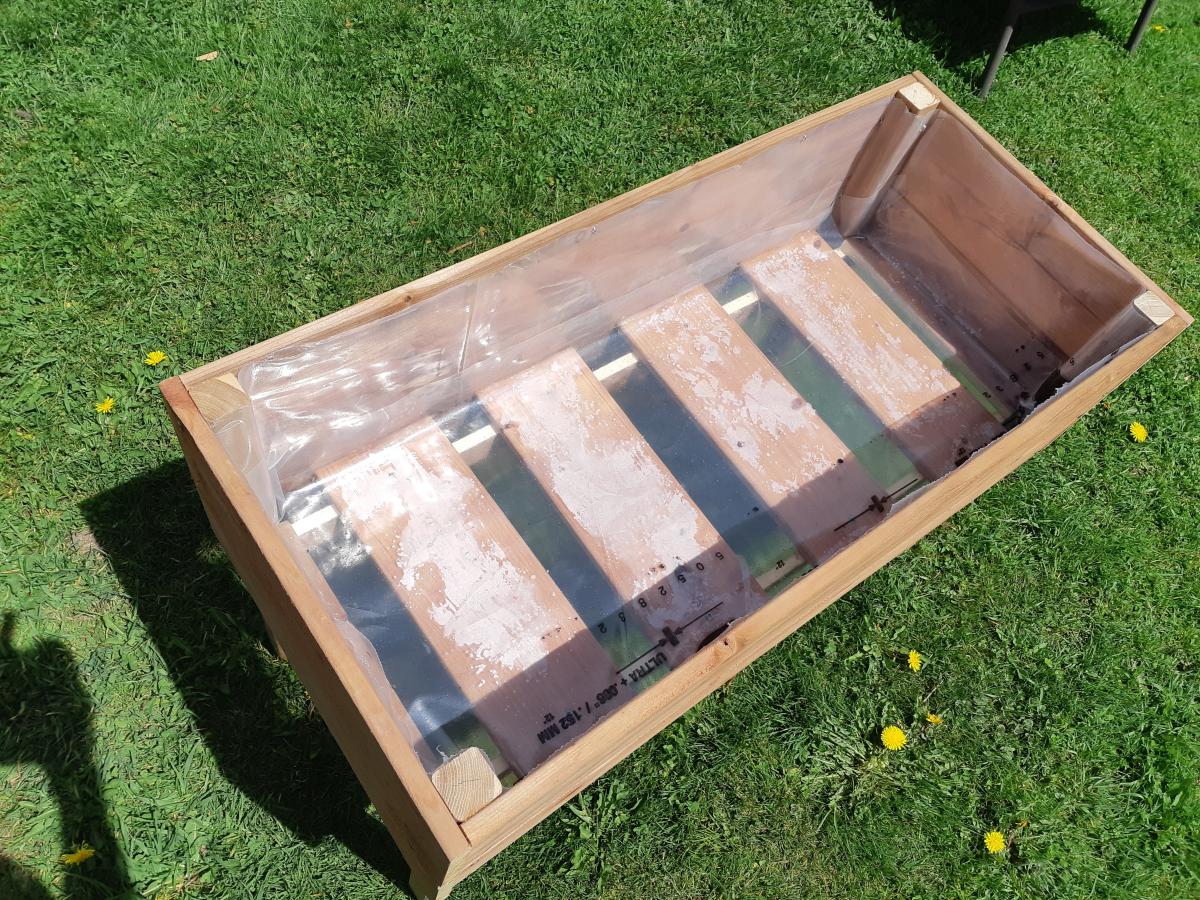
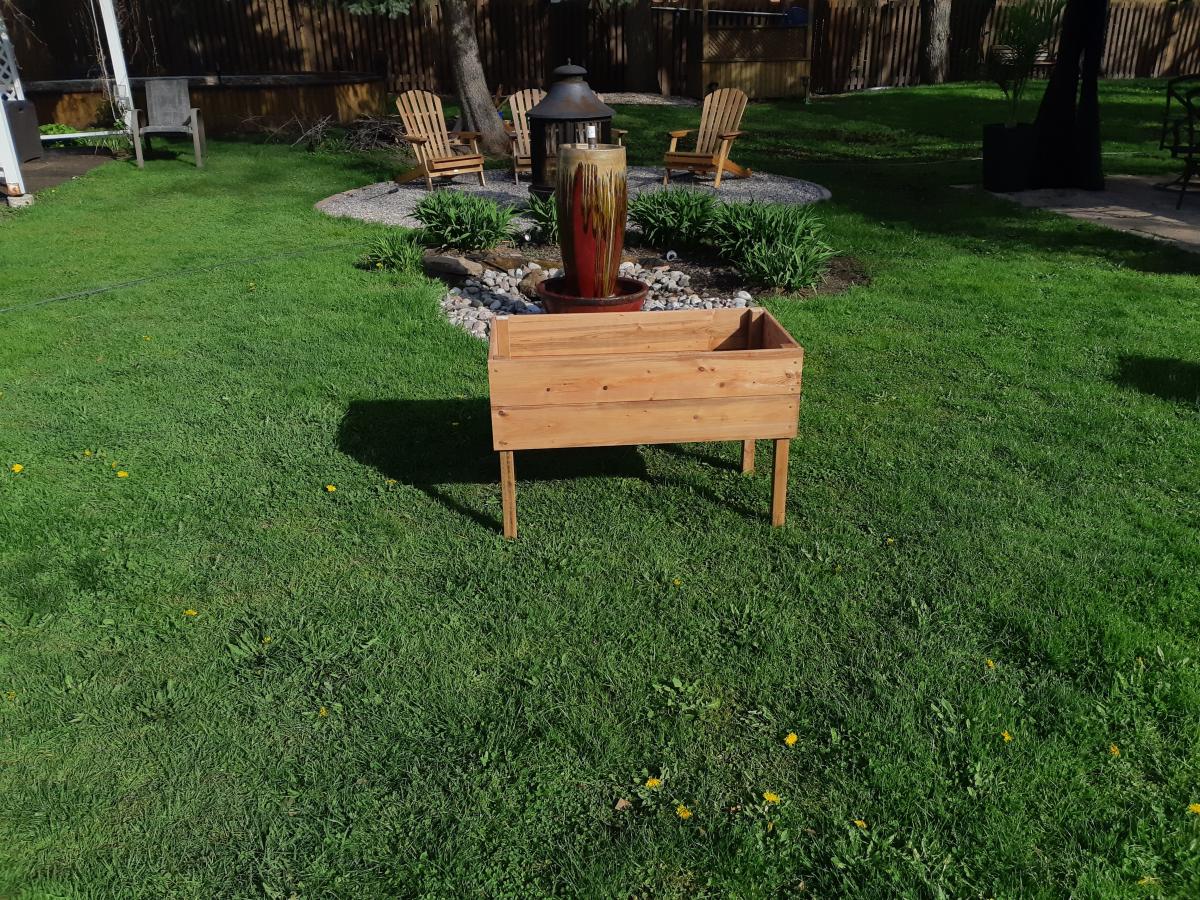
Not much to say apart that some internal measures were different (!?) and that I used treated wood and covered everything with recyclable plastic.

Oh yeah, of course.... Thank you Ana!!

Built from Plan(s)
Estimated Cost
31$ CAD
Estimated Time Investment
An Hour or Two (0-2 Hours)
Finish Used
None
Recommended Skill Level
Beginner

Simple Bunk Bed

Submitted by rogers99 on Sat, 05/23/2020 - 10:42

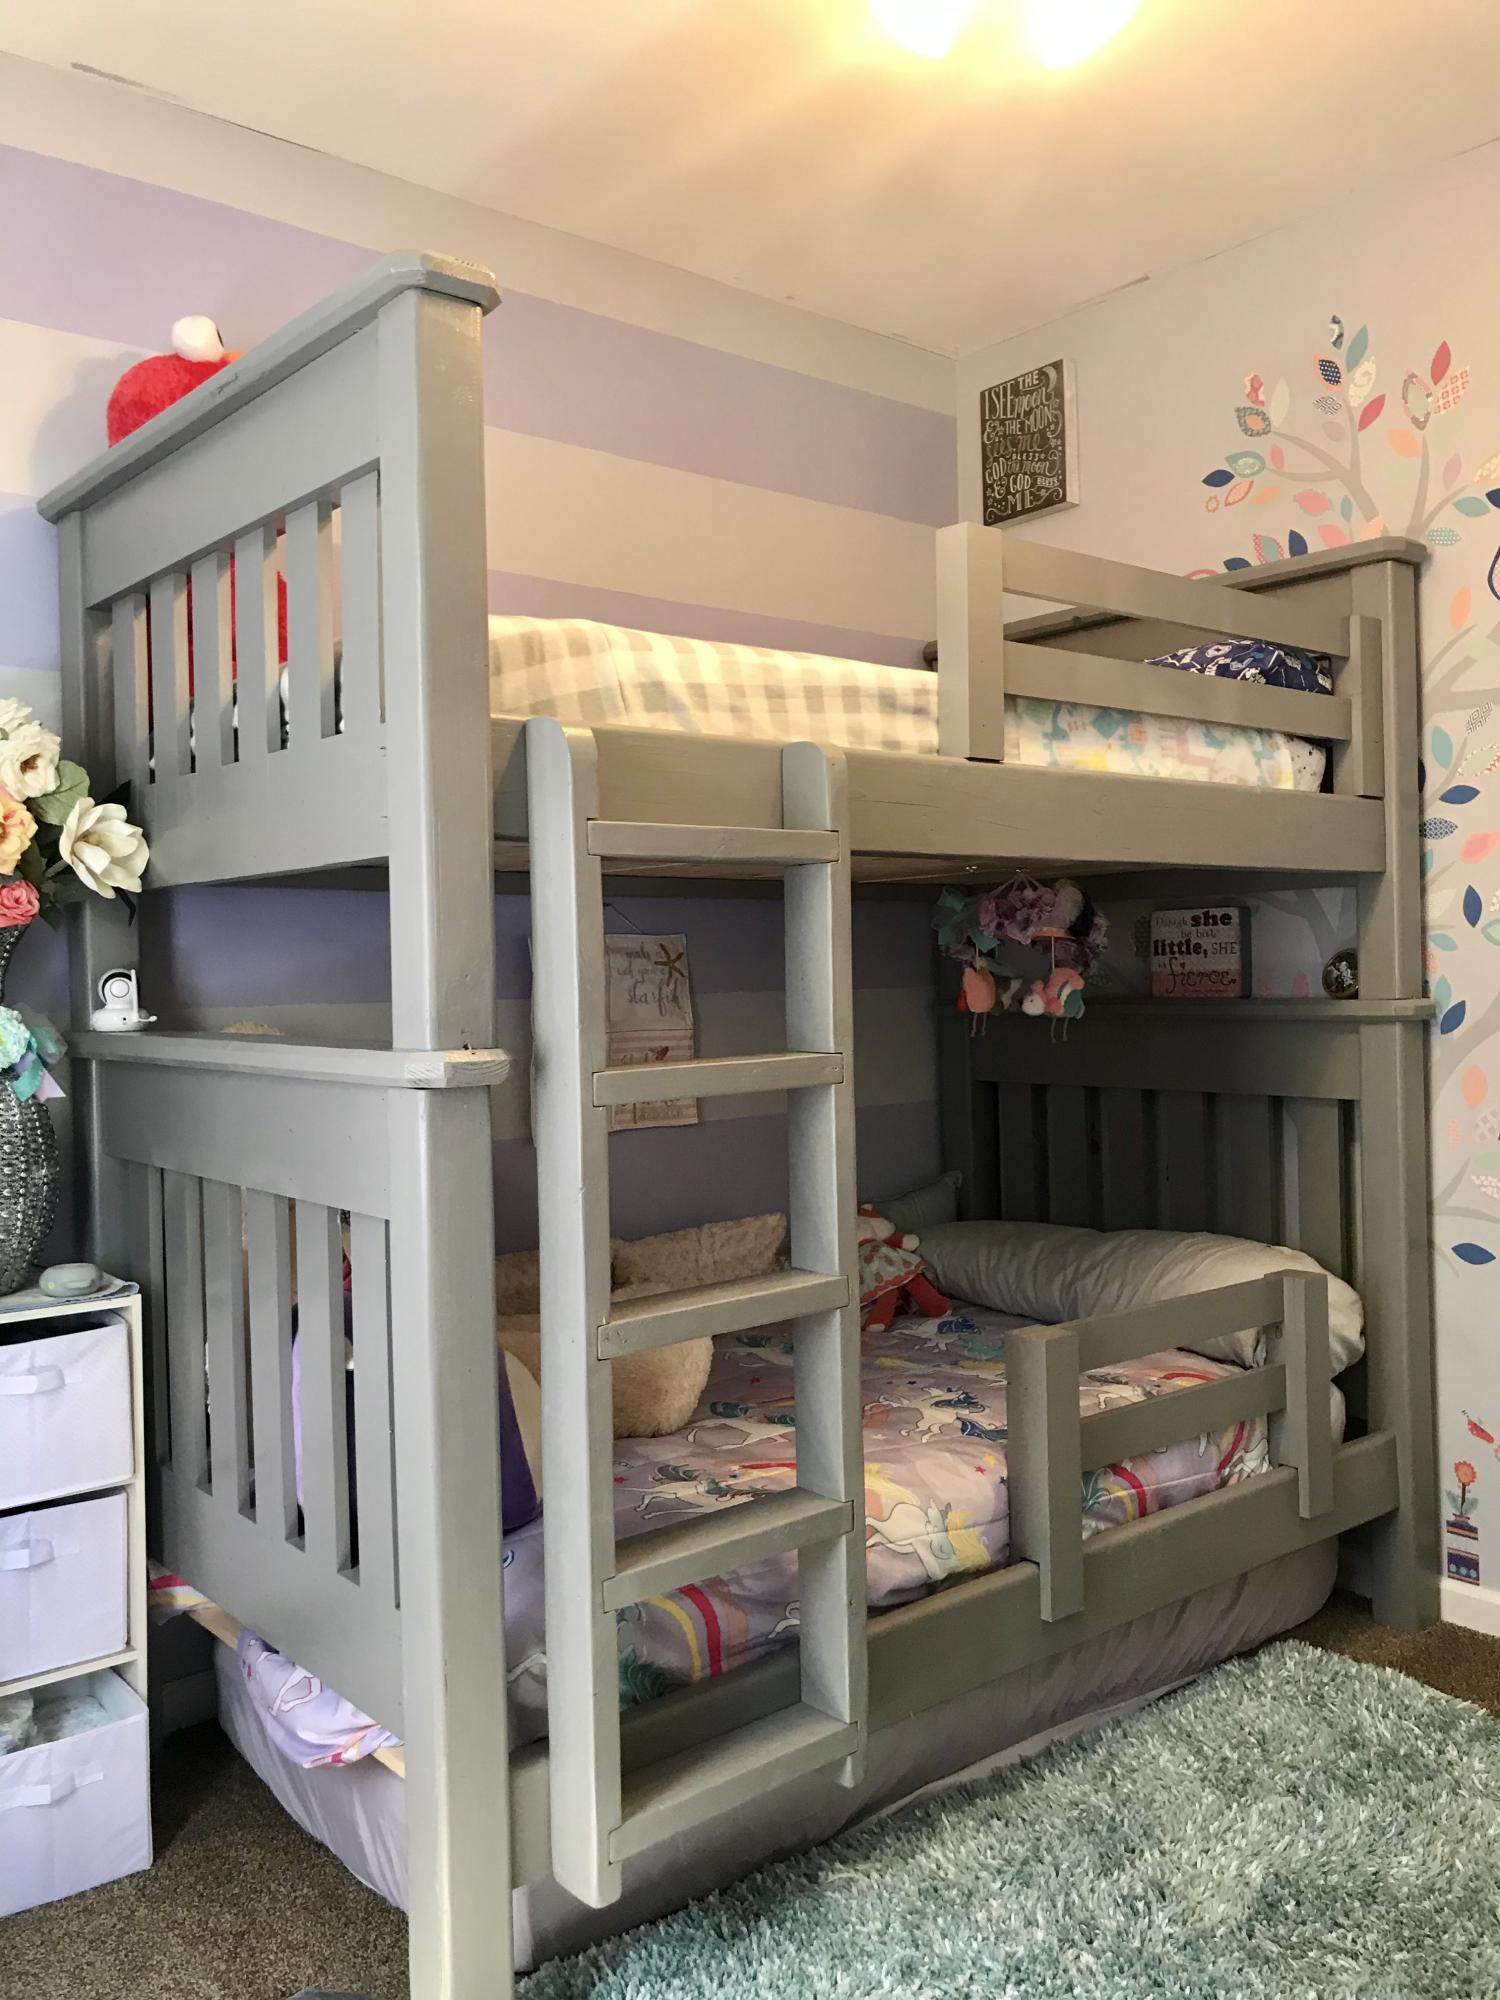
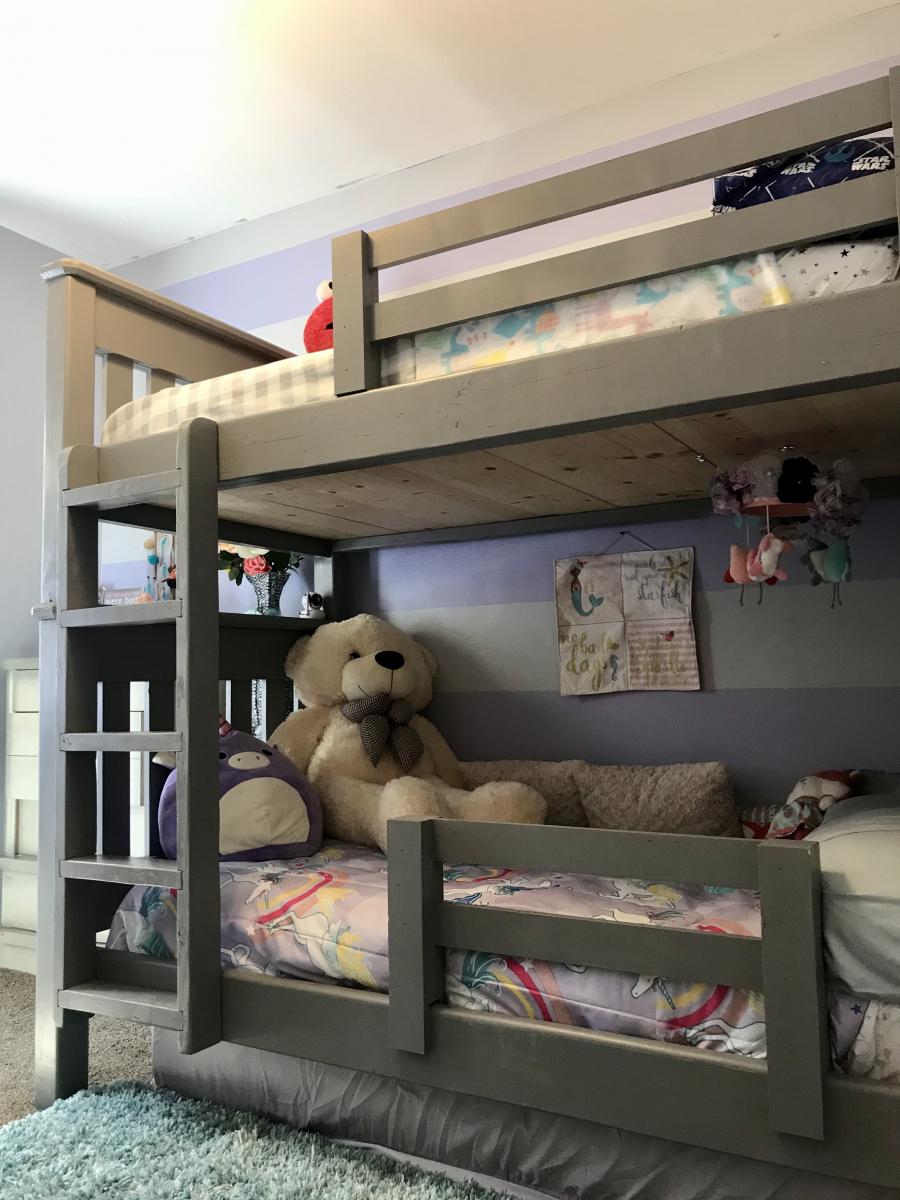
Built mostly from the Simple Bunk Bed plans on this site with a couple of modifications. Namely: made a vertical ladder, used Rockler Bed rail fasteners, increased bed height to fit 3rd twin mattress underneath for when my moms visits, and made a removable bottom safety rail that slides on when my daughter goes to sleep. Overall it was a fun project to do and they kids are really enjoying it.

Estimated Cost
380
Estimated Time Investment
Week Long Project (20 Hours or More)
Recommended Skill Level
Intermediate

Comments

Modern Adirondack Chairs

Submitted by daveyboy on Mon, 06/22/2020 - 11:04

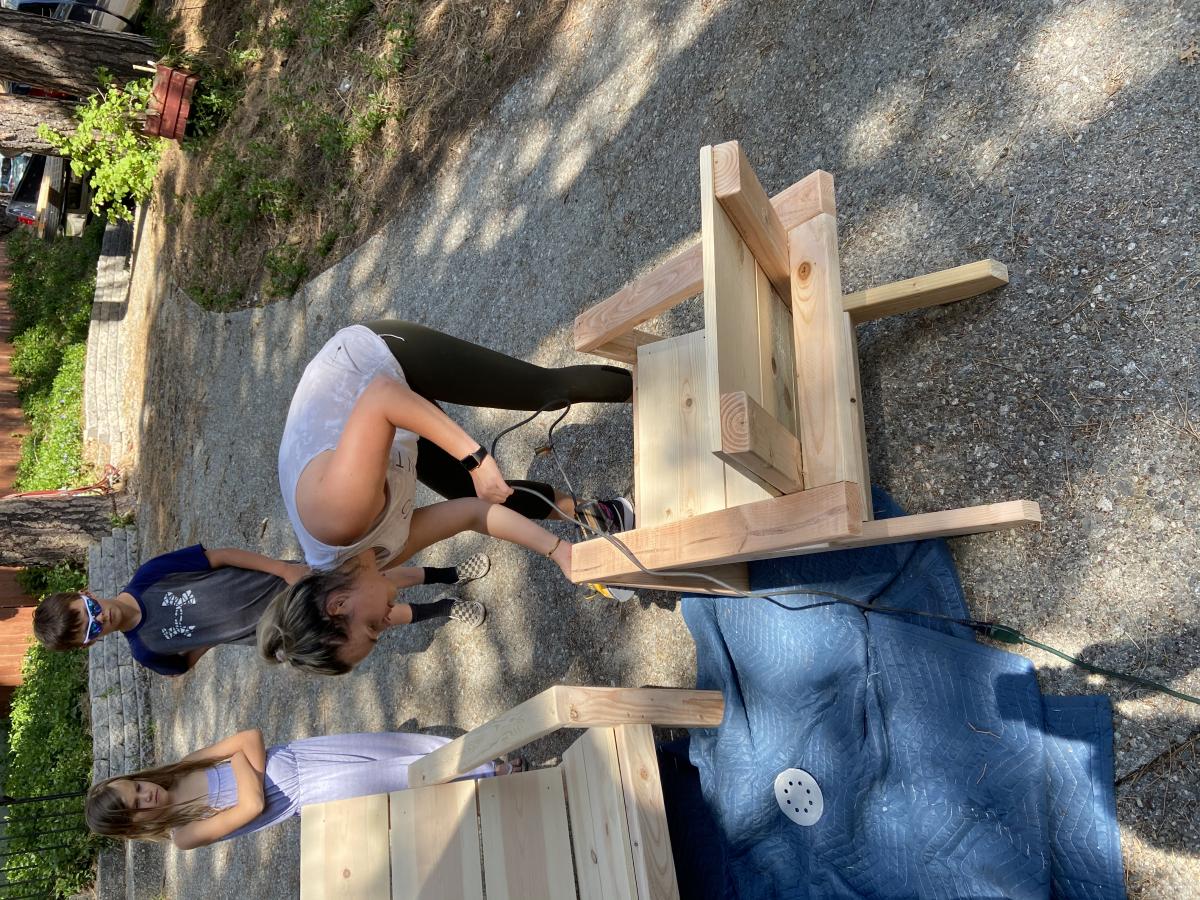
My daughter and my first project .. thank you for the easy plans and YouTube tutorials! Onward and upward ...

Built from Plan(s)
Estimated Cost
$30
Estimated Time Investment
An Hour or Two (0-2 Hours)
Finish Used
Paint
Recommended Skill Level
Beginner

Coop and run for Six

Submitted by Anonymous (not verified) on Sat, 09/24/2016 - 08:10

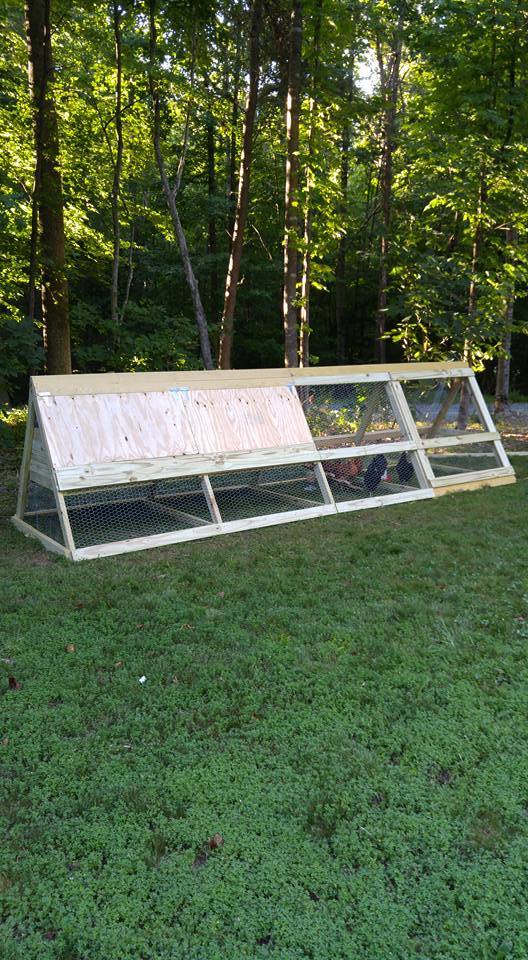
We wanted our chickens to have plenty of room for when we ere not home and could not let them free range in the yard.  One of the six was a rooster-- and long story-- but we don't have him any more-- so 5 chickens now enjoy this coop/run.  It cost about $300 in supplies.  It is 16 feet long.

Built from Plan(s)
Estimated Cost
$300
Estimated Time Investment
Weekend Project (10-20 Hours)
Finish Used
unfinished
Recommended Skill Level
Intermediate

Comments

Awesome! Thank you for the plans!!!

Submitted by Sherice on Tue, 07/15/2014 - 07:41

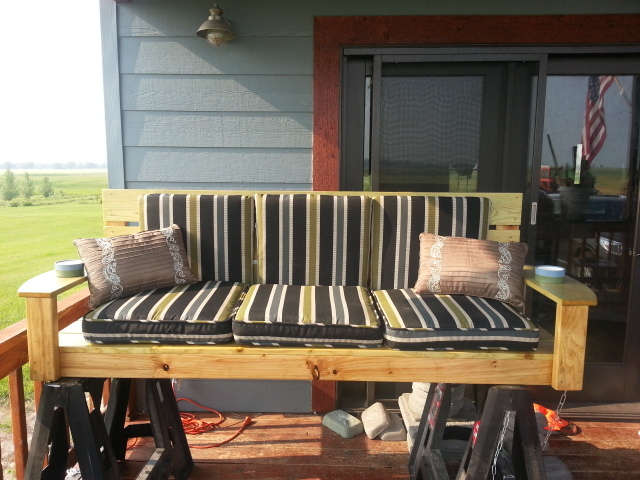
This is the second project I attempted and it was a huge undertaking for me, but it was fun and went well! I had planned to sew a cushion for it, but by the time I completed the project, I was DONE! So I bought some for now.

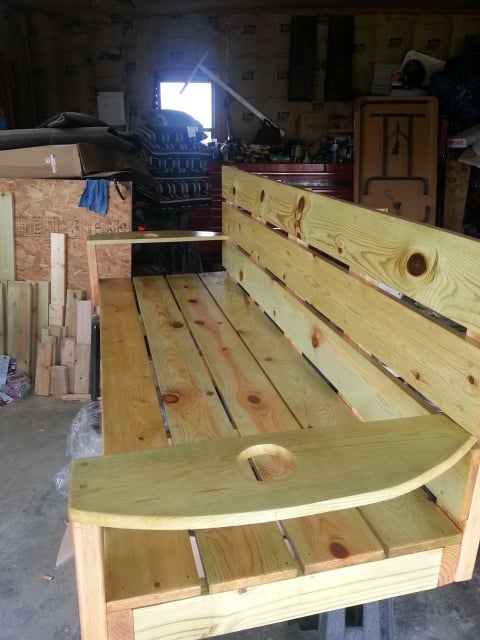
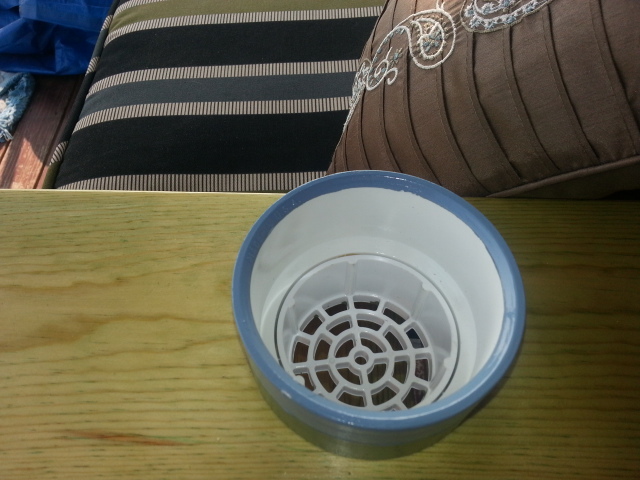
The only modifications I made were larger arm rests so I could put cup holders in them. The cup holders I made out of PVC 3" Male end and a 3" drain, which I glued together. I then scuffed the entire thing and painted them with acrylic paint (trying to get them to match the blue and green in the cushions) before spraying them with gloss sealant.

My family LOVES the new "swing bed". It weighs ALOT so I had to make sure to get proper hanging gear. It's obviously not hung yet when I took the pics tho.

Thank you for another beautiful project!

Built from Plan(s)
Estimated Time Investment
Weekend Project (10-20 Hours)
Finish Used
About seven layers of spar urethane, natural/clear, with sanding in between the layers.
Recommended Skill Level
Beginner

Coffee Table

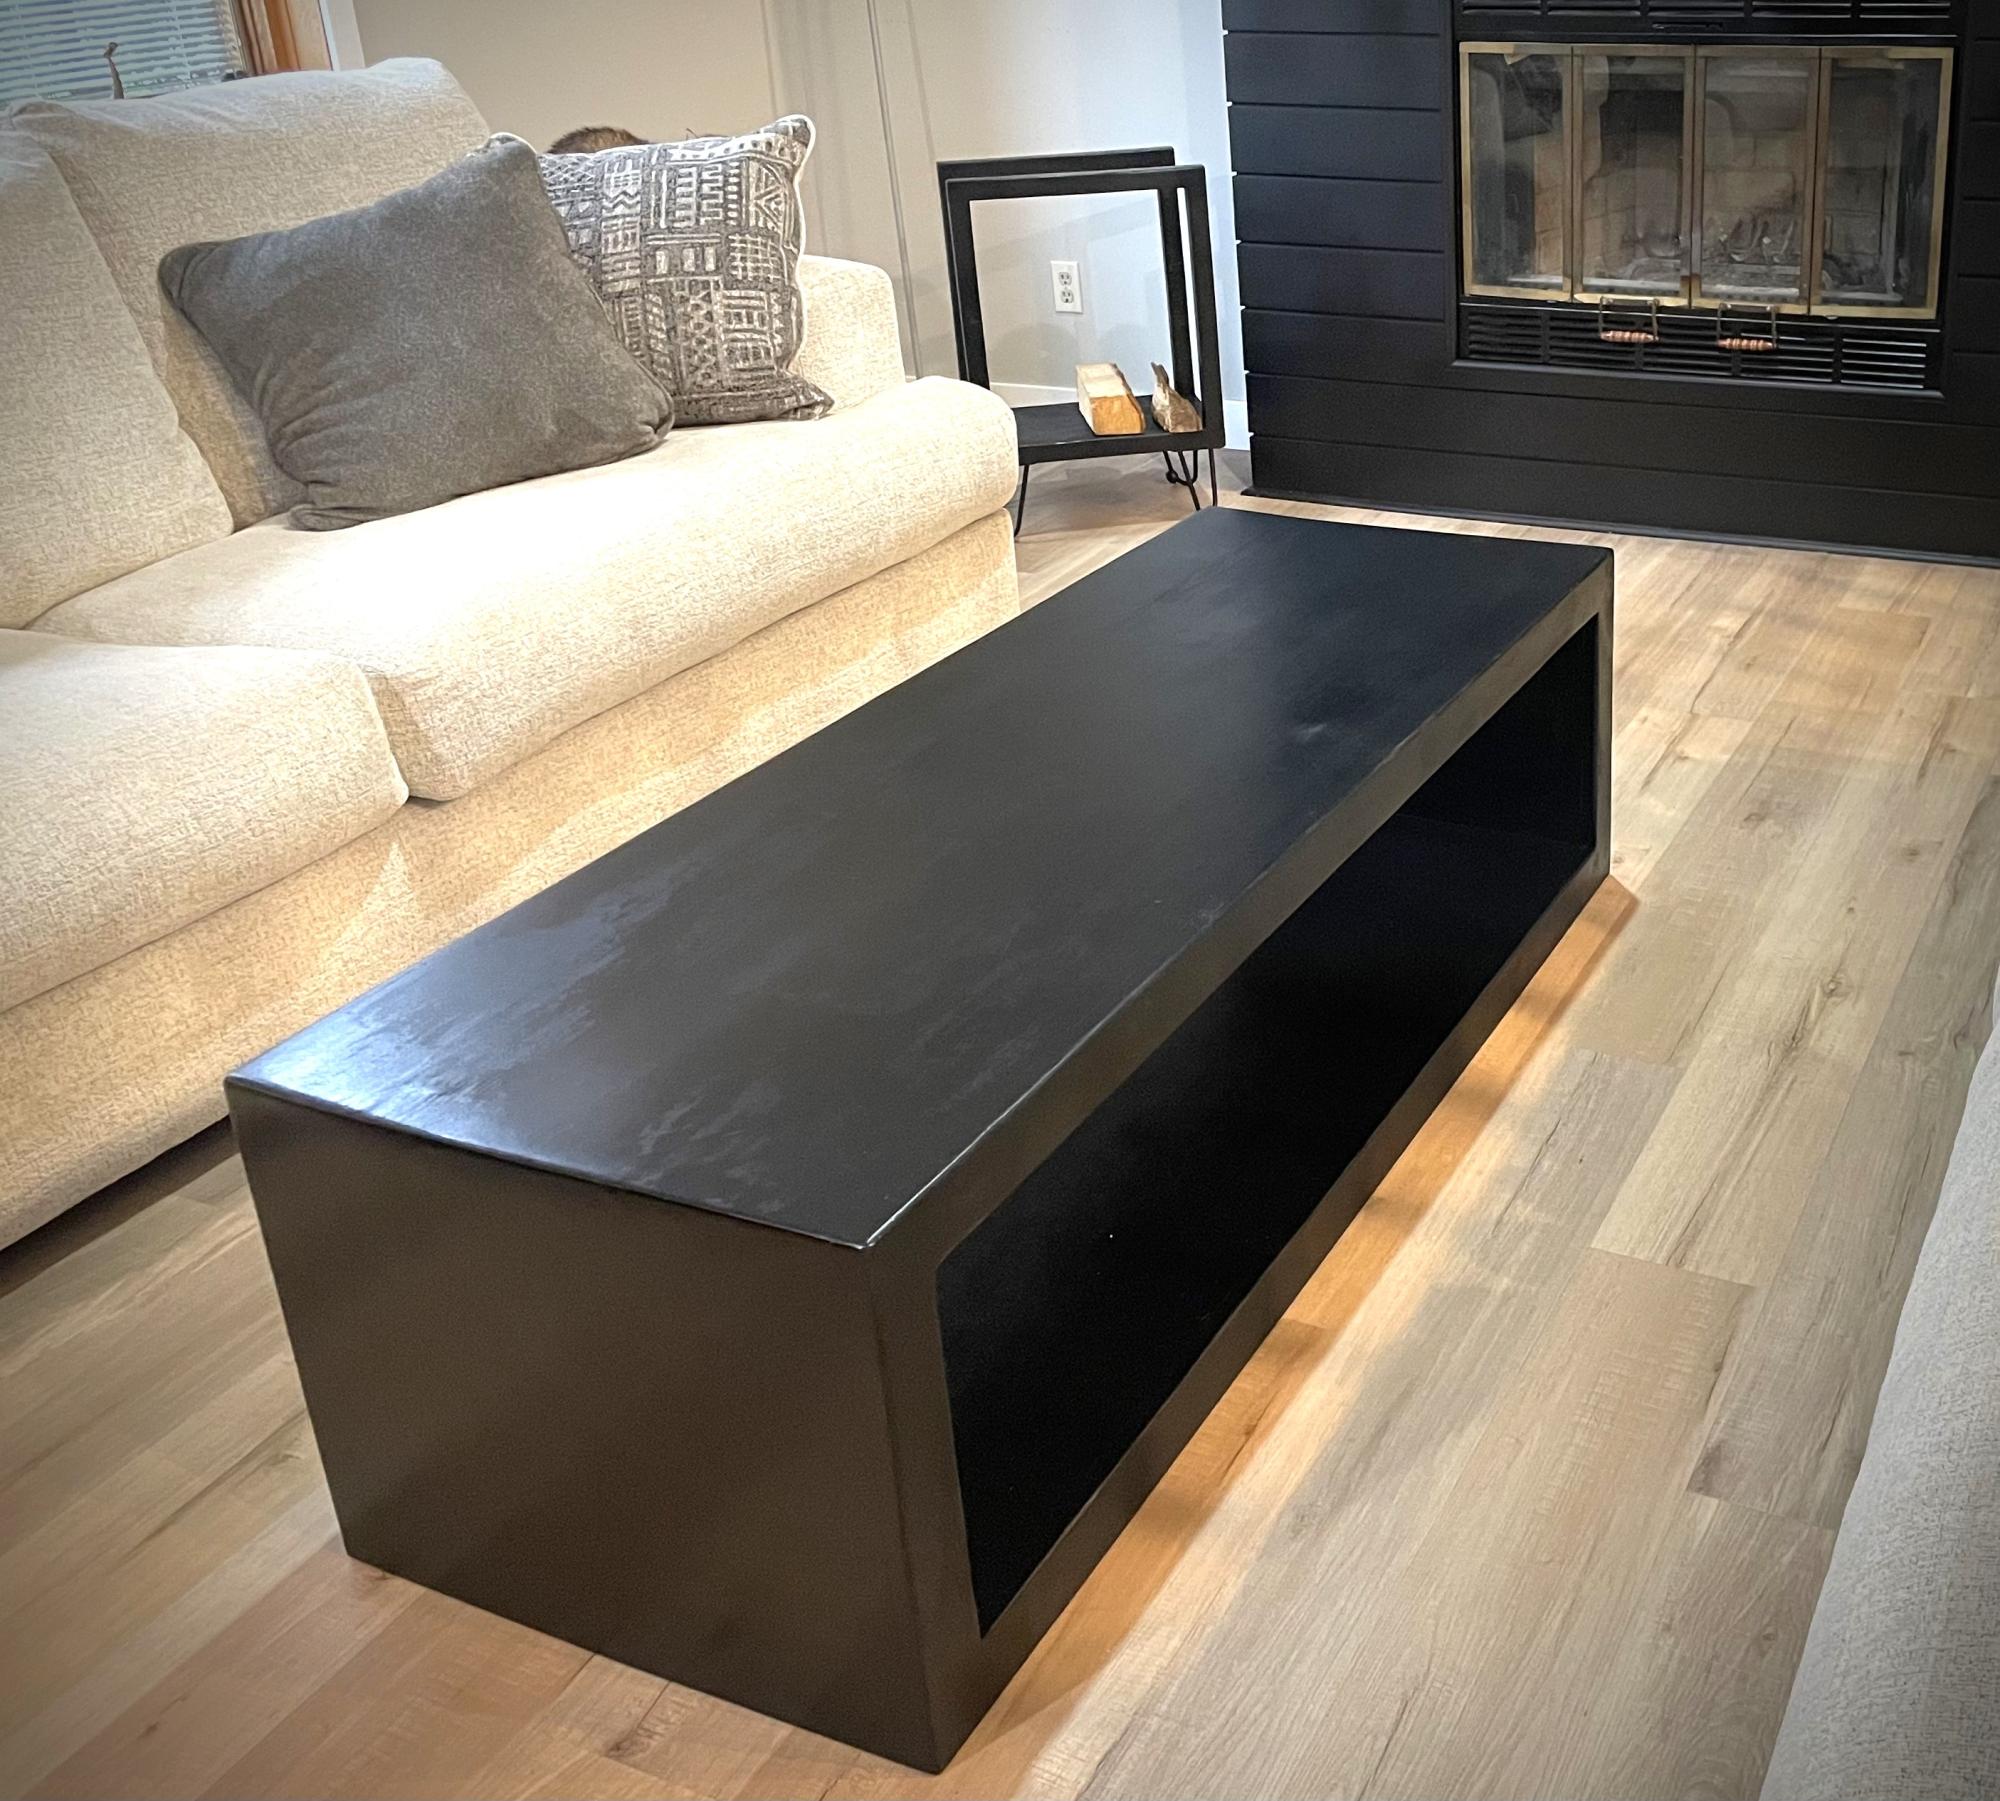
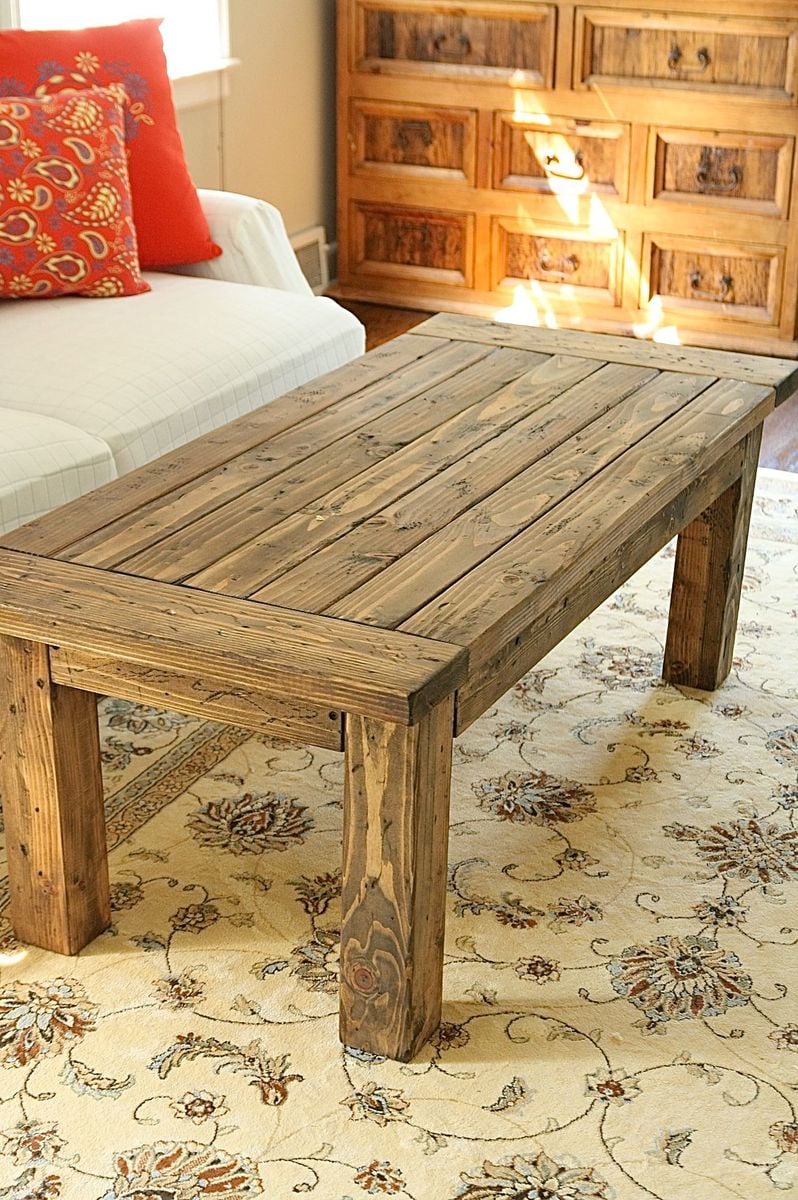
This coffee table was our first DIY project! We found the plan from Ana's website, and it was pretty easy to follow. We are so happy with the result and now we are itching to build everything for our house!

Built from Plan(s)
Recommended Skill Level
Beginner

Comments

hobbywood

Mon, 09/24/2012 - 02:53

Looks very nice! And yes - you're right, Ana's projects - they give enthusiasm to dare to do smth. Keep on homemaking - your coffee table is great!