Community Brag Posts

Playhouse Loft Bed With Stairs And Slide

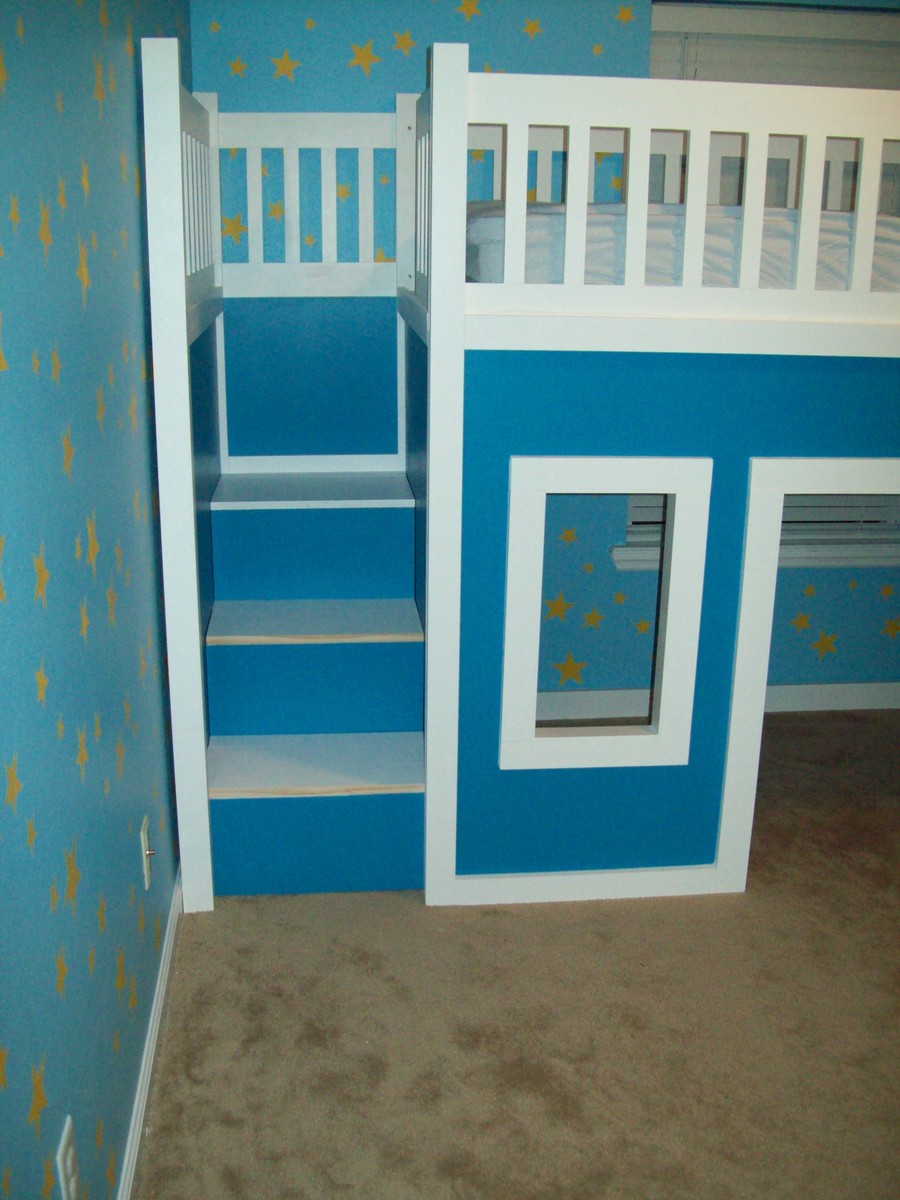
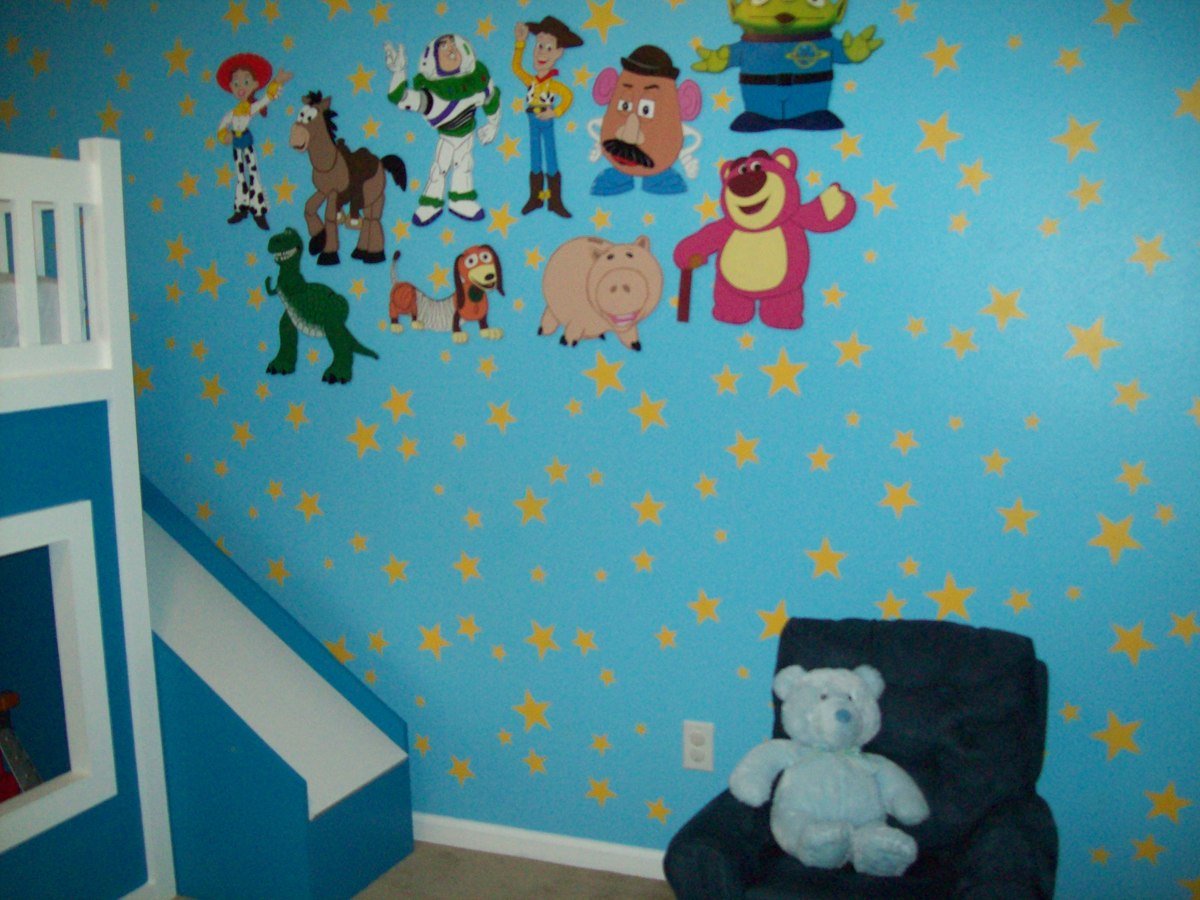
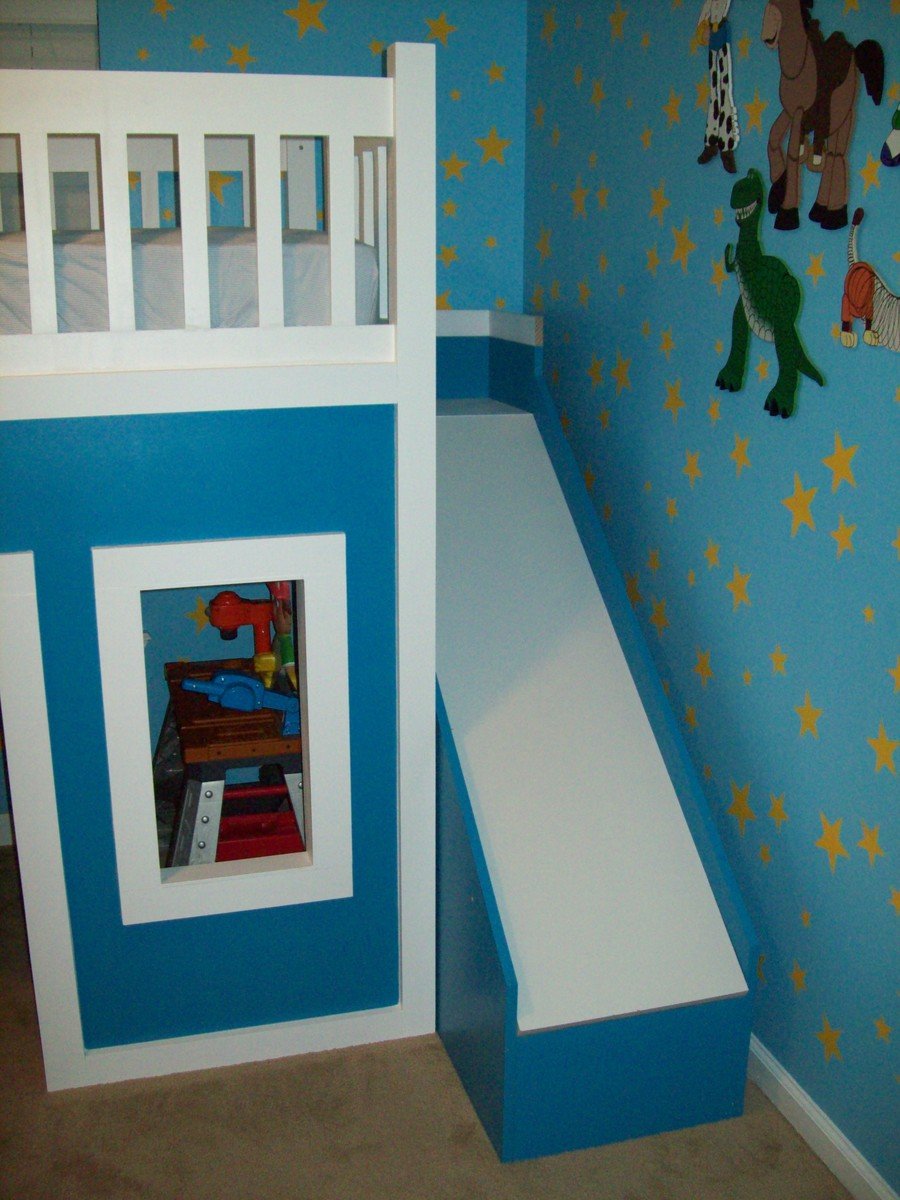
My son was about to turn 3 and I really wanted to redesign his bedroom as a birthday surprise. We went with a Toy Story themed room, he just loves Toy Story.
I started off by painting the walls blue with yellow stars like Andy's room in the movie. I added some custom painted art work and then it was off to find a cool playhouse bed. My husband and I were shopping around and we could never really find what we were looking for in the store. So we decided to build one ourselves using plans from this website.
I used the playhouse loft bed and the playhouse loft bed stair plans, for the bed and the stairs. I used the castle loft bed plan as inspiration for the slide. The project took us about 5 weeks from start to finish. We both have full time jobs and we did most of the work on the weekends. I looked at each plan very carefully and made notes. I had to modify the stair plans slightly to fit the space where we wanted to put the bed. The stairs look narrow, but they work just fine. My husband and I can both use them to get up in the bed. The stairs feature hinged stair tread with built in storage. We built them like that at first, but then later decided to make them stationary stair treads, with plywood. I didn't like the way the hinges looked and the top stair was so deep that I was worried my son would fall in there and get stuck. The storage idea was neat, but his safety was more important to me. The bed turned out really nice and VERY sturdy. Both my husband and I are able to get up there with my son (not at the same time).
Another modification that I made was instead of slats to hold on the mattress, I used a piece of plywood. I wanted the roof in the playhouse to look finished, and I didn't want to see his bedding hanging down from the slats. I painted the top of the plywood white, where the mattress goes to blend in with the slats, and the other side was painted blue to match the walls inside the playhouse.
I did modify the playhouse front facade to have 2 windows and one door. I like the symmetrical look. The total project cost about $400. I used birch plywood and select pine boards, and about 6 quarts of paint. I noticed AFTER we had finished the bed using the birch plywood, that Home Depot had cabinet grade plywood on a random end cap, that was just as nice for $12 less a sheet. If I could do it all over again, I would definitely use that!. I wanted the paint to have a nice smooth finish, without having to do a lot of sanding or patching.
We had Home Depot cut the plywood to the dimensions we needed. I had my husband cut the rest of the wood dimensions listed in the plans, and then I painted all of them before we put the pieces together. I used a small roller and self priming paint. The paint finish looks great. After assembling the bed I can not imagine what I would have gone through trying to paint it after the fact.

The slide was a bit tricky, I looked at the plan for the castle loft bed and attempted to use those dimensions, and for the most part they worked. But when we went to assemble the slide, we did end up recutting some of the wood to different dimensions. I used a piece of the melamine coated closet shelf material for the slide.
It is already finished in white and its nice and slick, like a slide should be! I hate MDF, but for this it seemed the best fit. We cut the top edge at an angle to meet up with the slide platform. PLEASE BE CAREFUL with this material. After it was angle cut the edge was razor sharp and I sliced my fingers up. Once it was installed it butted up perfectly to the slide platform, and the edge was hidden and not a danger. But use caution during the install.

Clamps are your friend! We used Kreg clamps for everything. They kept the wood in place while we were screwing the parts together. The coolest thing that my husband came up with was clamping two identical pieces for plywood together, and drawing the template for the slide support walls. Then he used his circular saw to cut them out. We ended up with two mirror image pieces. They looked awesome. I left them clamped together when I sanded the edges as well.
We really didn't have any building experience other, than building tables and chairs for children, We got the deluxe Kreg jig kit and a miter saw on Craigslist for $50 each and they were both practically brand new. This was the first time we had ever used a Kreg jig and we are both addicted. That thing is the bomb.

We locked my son out of his room for a week while we assembled everything. We had the big reveal at his birthday party and all of the guests were excited to see it after seeing my facebook teaser posts of our progress. There were 8 kids up there at one time and the bed did not budge. They all enjoyed the slide. I did the planning and paint and my husband did an awesome job making all of the cuts and sanding everything. We are both very proud of the final product. My son love his new big boy bed.
DISCLAIMER: This bed is not recommended for a child under 6 years old. My son is mature for his age and we monitor him carefully.

Estimated Cost
$400
Estimated Time Investment
Week Long Project (20 Hours or More)
Finish Used
self priming paint
Recommended Skill Level
Beginner

Comments

Teania (not verified)

Mon, 01/21/2013 - 12:41

This bed is awesome. My boyfriend and I want one just like this for are son. Did you happen to write out all your dimensions? I would love to make this bed for my son.

silvinairiana

Thu, 10/16/2014 - 14:40

Hi! Congratulations you did an awesome job!!  Would you please let me know what the total measures are, length and width?  Thank you so much!!


Basement Storage Shelves

Submitted by Eddie A on Sun, 08/30/2020 - 22:59

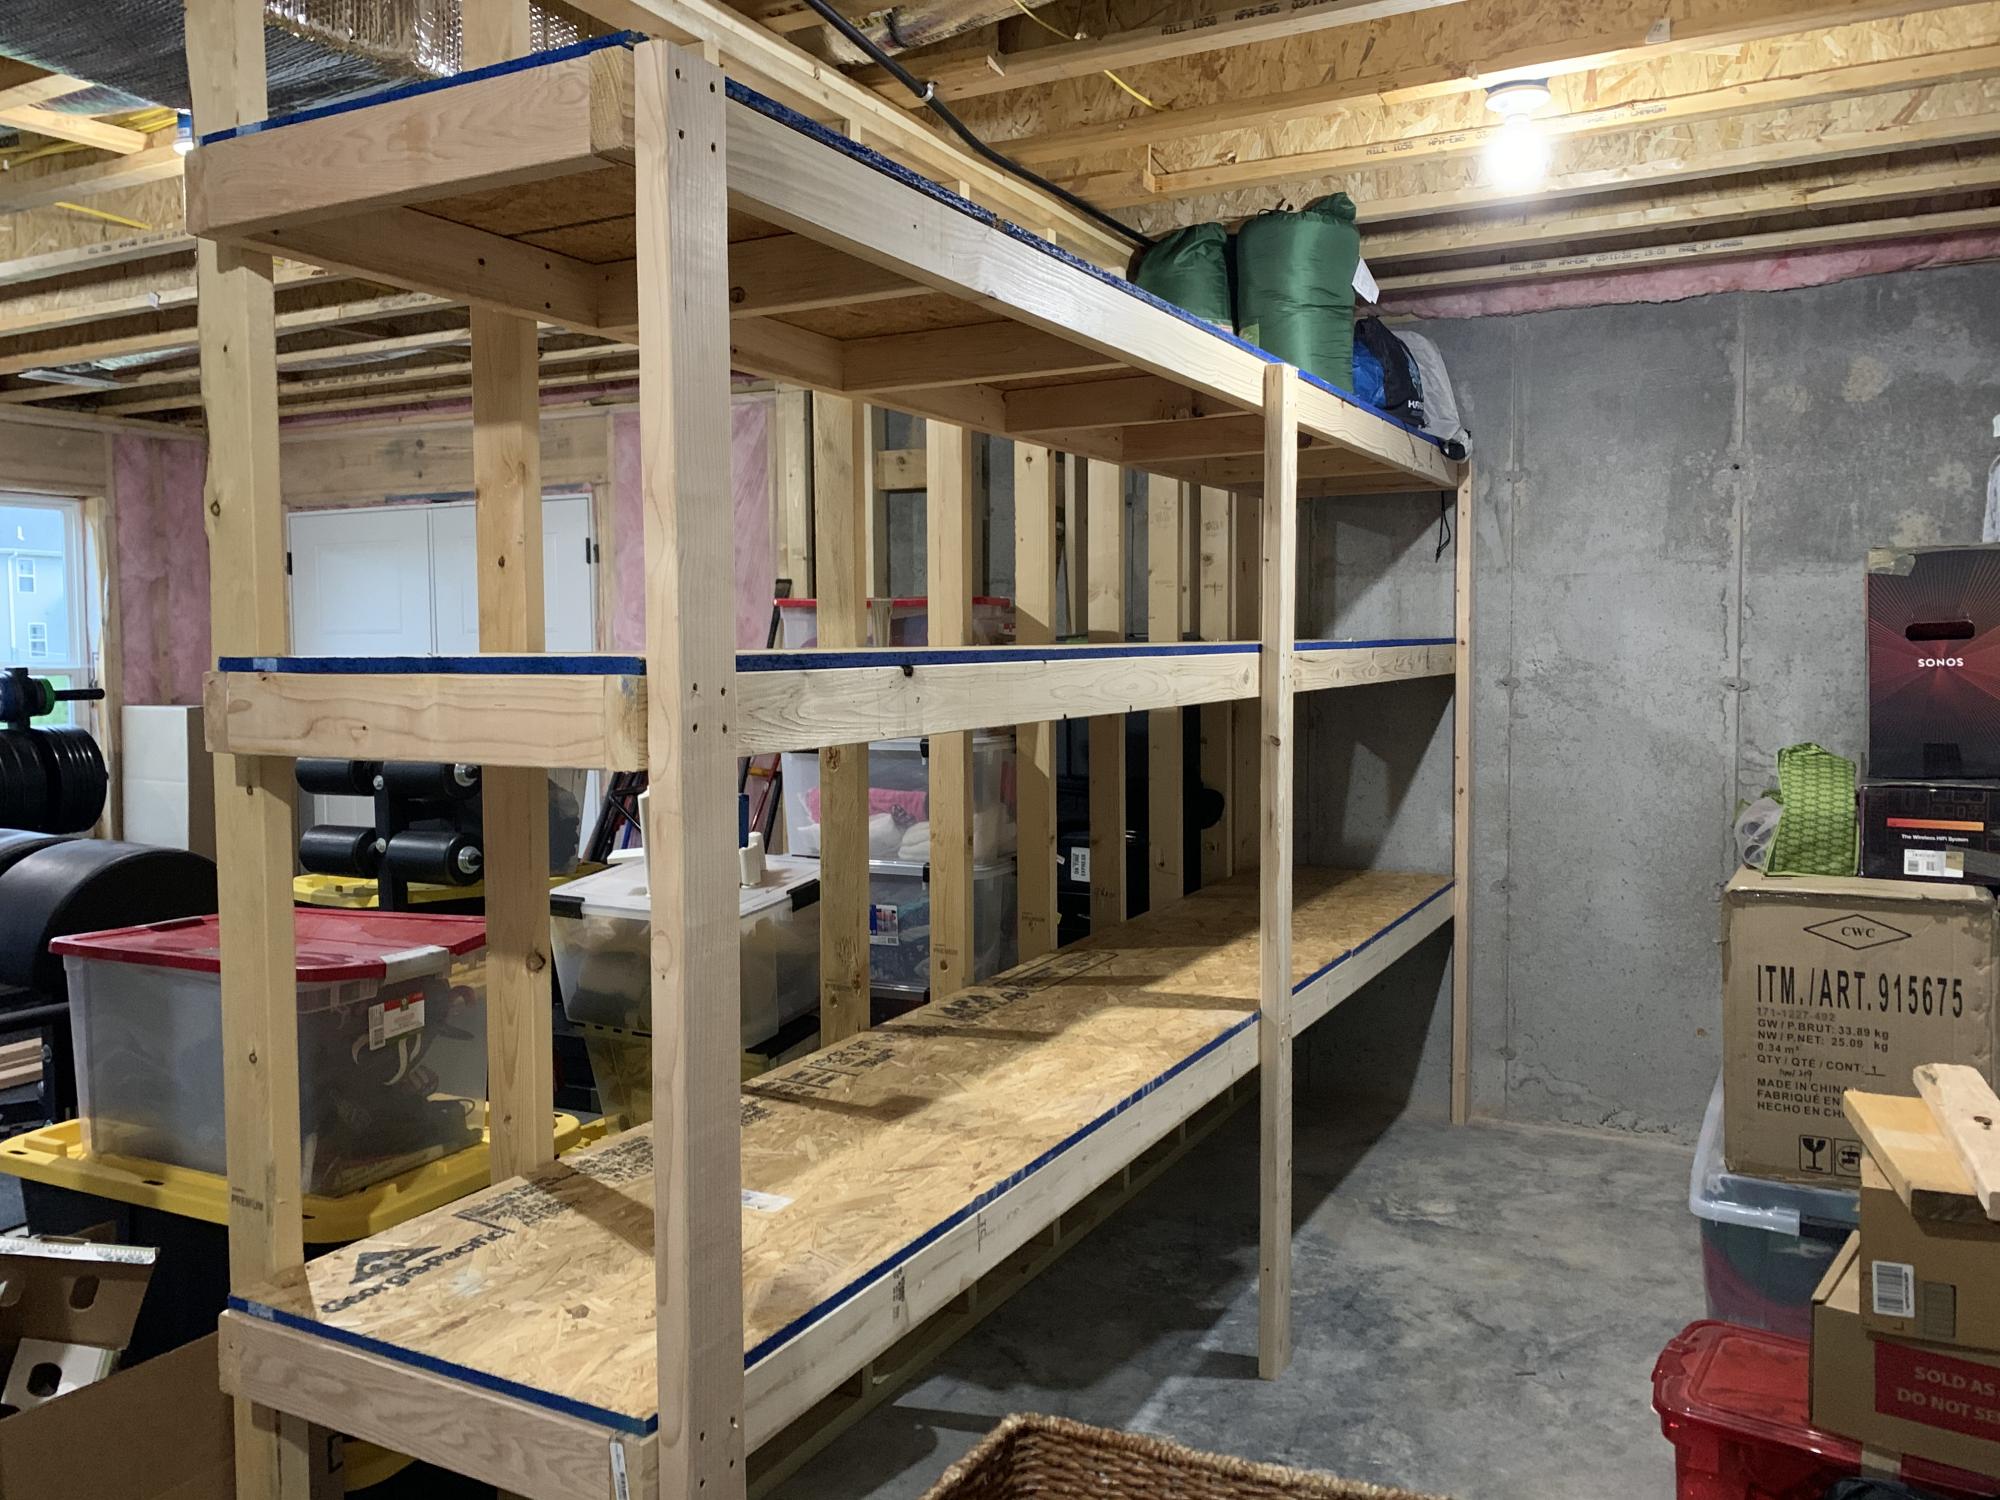
We just moved into a new home and had a huge open storage area in the unfinished portion of our basement and we’ve got a lot of stuff so we needed to make the best use of that space and these shelves deliver big time. This shelf is 12’ long by 2’ deep with 2 each 24” and 18” tall shelves. Really simple construction and I got to use my Kreg HD jig for the first time on the cleats so these bad boys are SOLID! My wife love this one so much I’m building another one in the opposite side of the wall with all 4 shelves at 18” tall.

Estimated Cost
150
Estimated Time Investment
Afternoon Project (3-6 Hours)
Recommended Skill Level
Beginner

Garage Shelves - Freestanding (Modified)

Submitted by Anonymous (not verified) on Tue, 09/15/2020 - 20:45

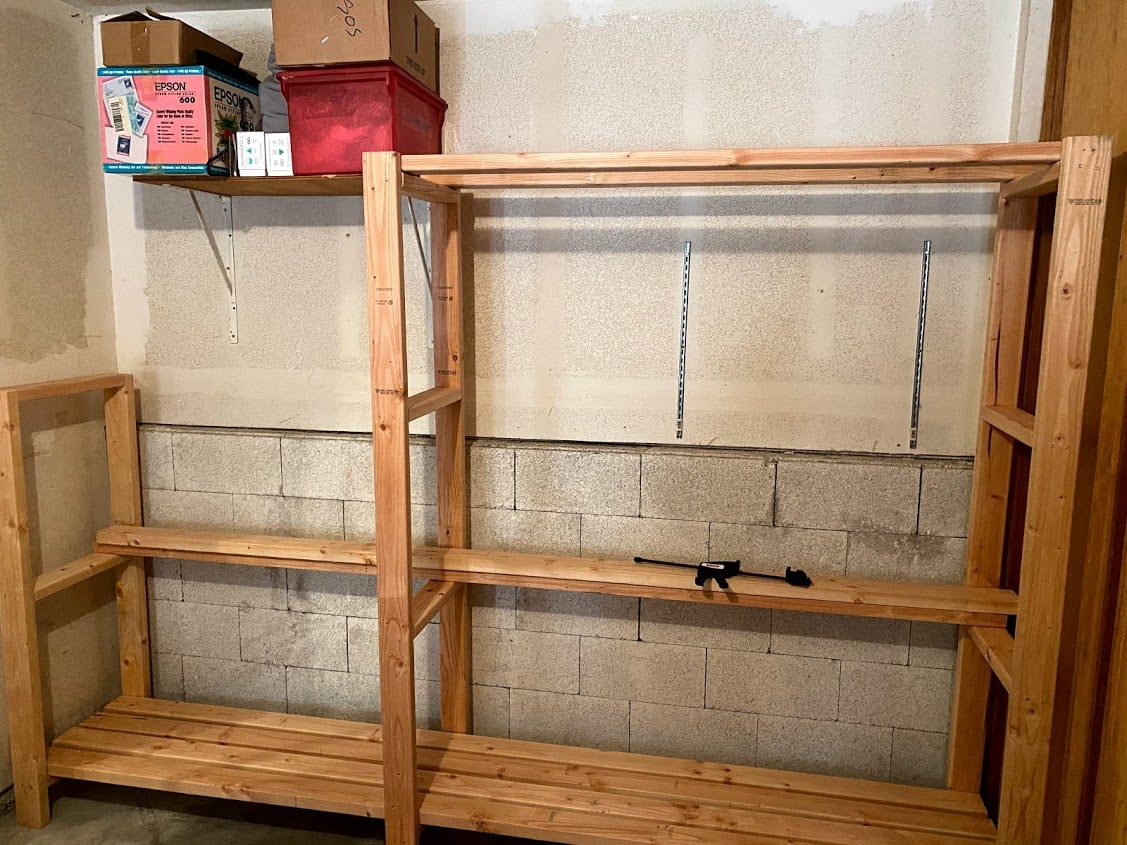
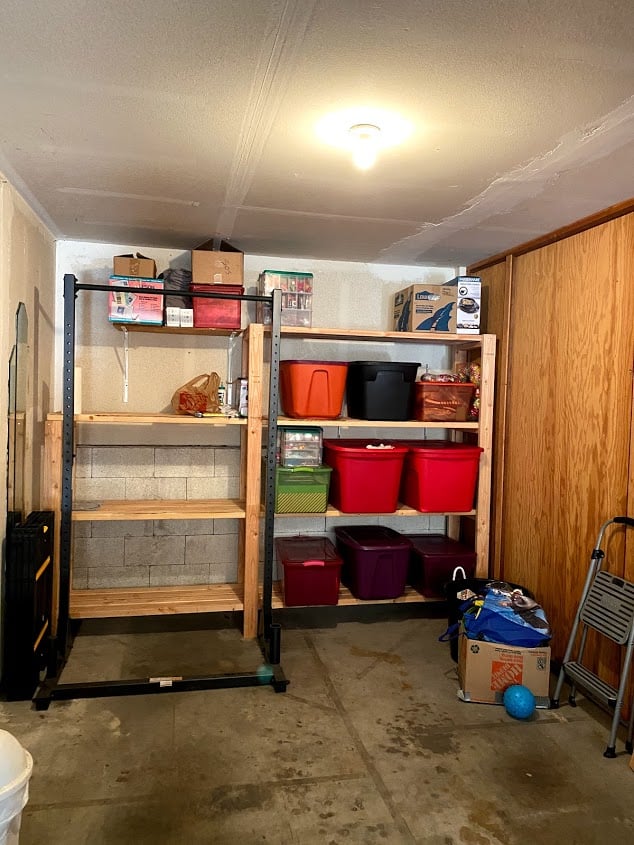
First project ever! I have been planning to build this for at least a year, and I finally did it! I had to modify the plan to fit my space, but it worked out well. They cut the wood for me at the store, so I did not make any cuts myself, just assembled all of the pieces together. I used all 2x4s, 8' and 10', cut down to my measurements. I did not finish the shelves since it is just for the garage, but I did sand rough board edges and some of the faces. I just used an palm sander and coarse sandpaper (80 grit). Please double check all measurements and lists because I forgot to add my shorter shelf supports to the list and had to go back to the store. I also forgot to add the width of the top shelf to those two shorter supports, so the shelf boards are resting on the top instead of nestled into the supports. It turned out not to be a functional problem, but a good lesson to learn. I also learned to make sure my driver battery is charged fully before starting - that took a large chunk out of my first day building and I had to finish the next day. My husband helped with some lifting and holding, but I mostly did this on my own in one weekend, so you CAN do it! Don't wait like I did - it is soooooooo useful and it looks great! All of my friends are really impressed and it feels so good to have made something like this! Thank you Ana!!

Estimated Cost
$180
Estimated Time Investment
Weekend Project (10-20 Hours)
Finish Used
N/A
Recommended Skill Level
Beginner

Comments

My first try!

Submitted by Chris Huds on Sat, 12/29/2012 - 08:13

Here is my fist whack at this bed for my son. I am starting the one for my daughter as well, but am modifying the design to have storage stairs.

Estimated Cost
$225
Estimated Time Investment
Week Long Project (20 Hours or More)
Finish Used
Golden Pecan stain
Recommended Skill Level
Beginner

Adirondack chair and loveseat

Submitted by Anonymous (not verified) on Mon, 03/27/2017 - 01:59

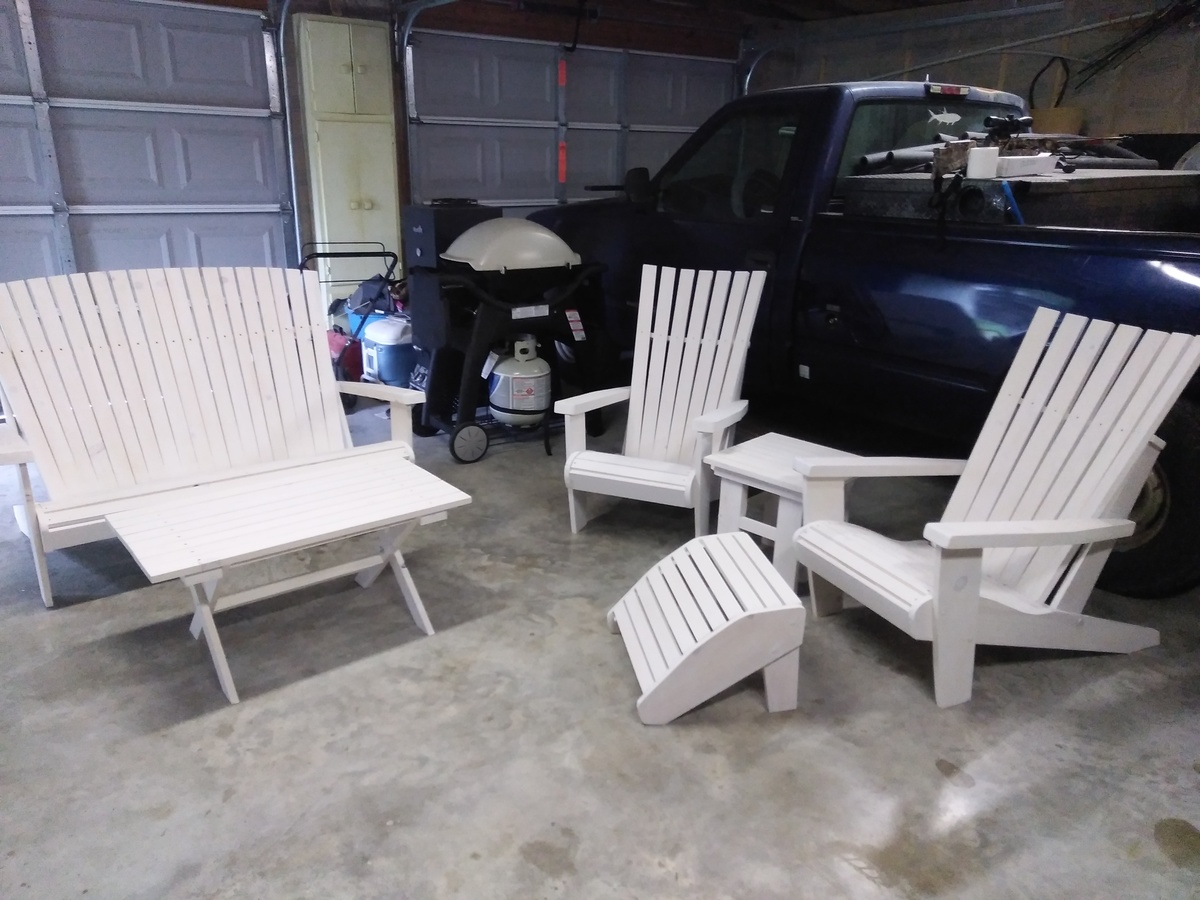
It was quite the little project I got myself into, but I have to say I am very happy with the end results. 

Estimated Time Investment
Week Long Project (20 Hours or More)
Recommended Skill Level
Beginner

Mudroom Bench

Submitted by BeingHome on Sat, 02/23/2013 - 22:26

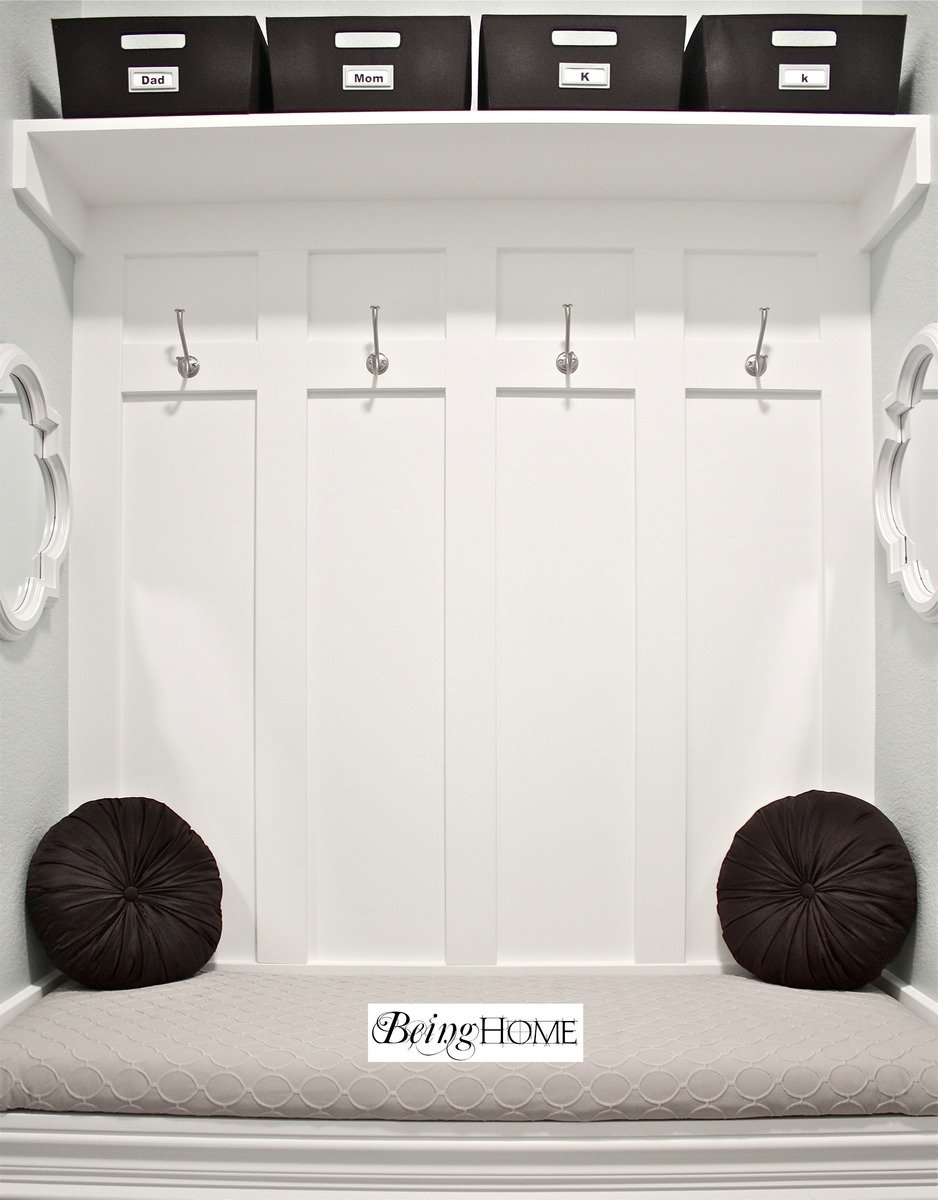
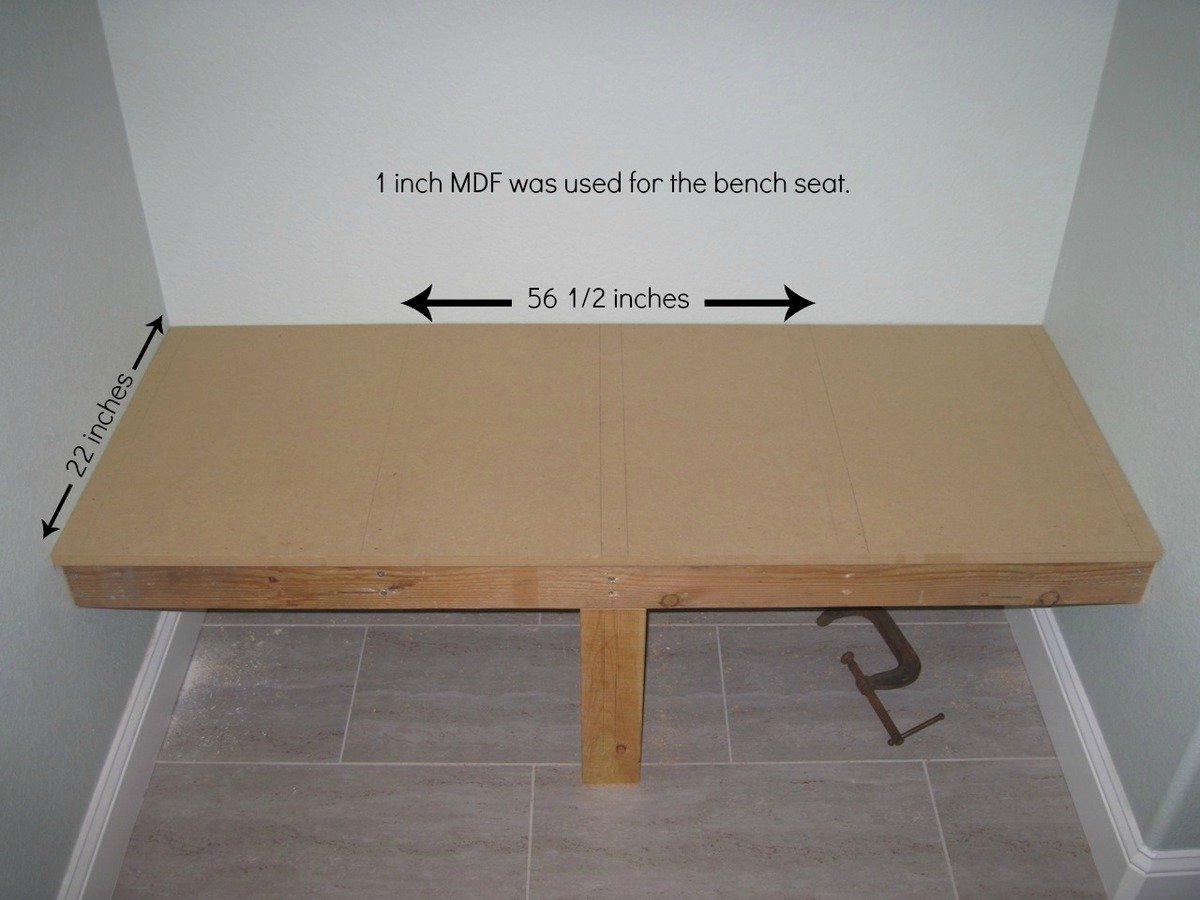
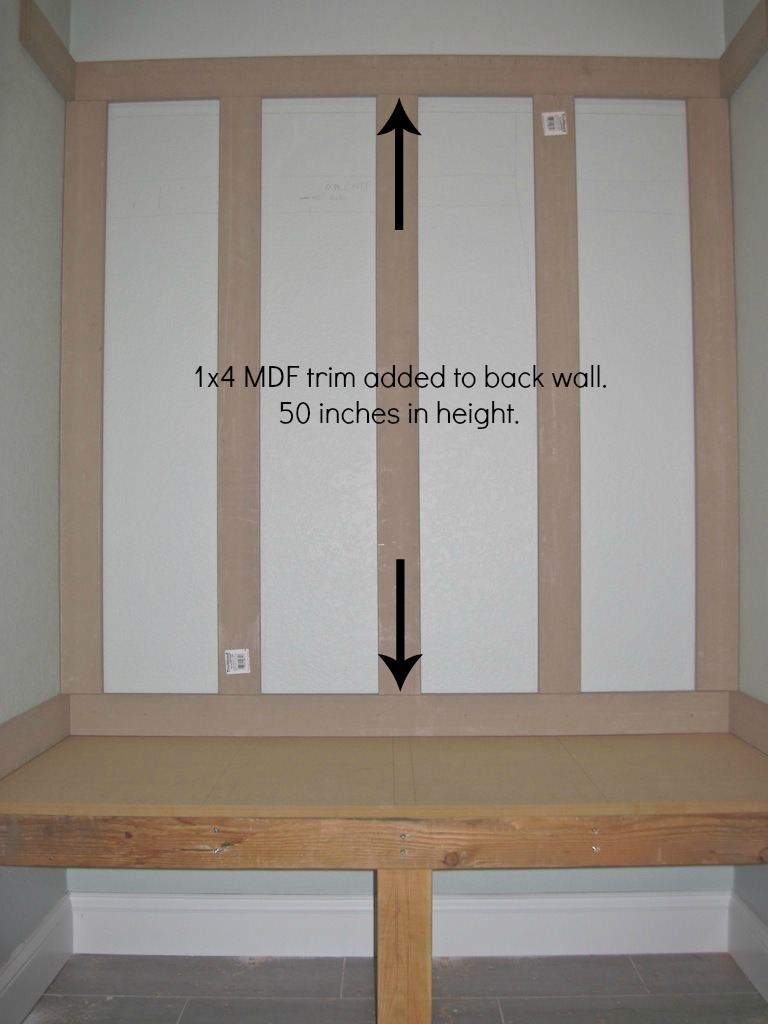
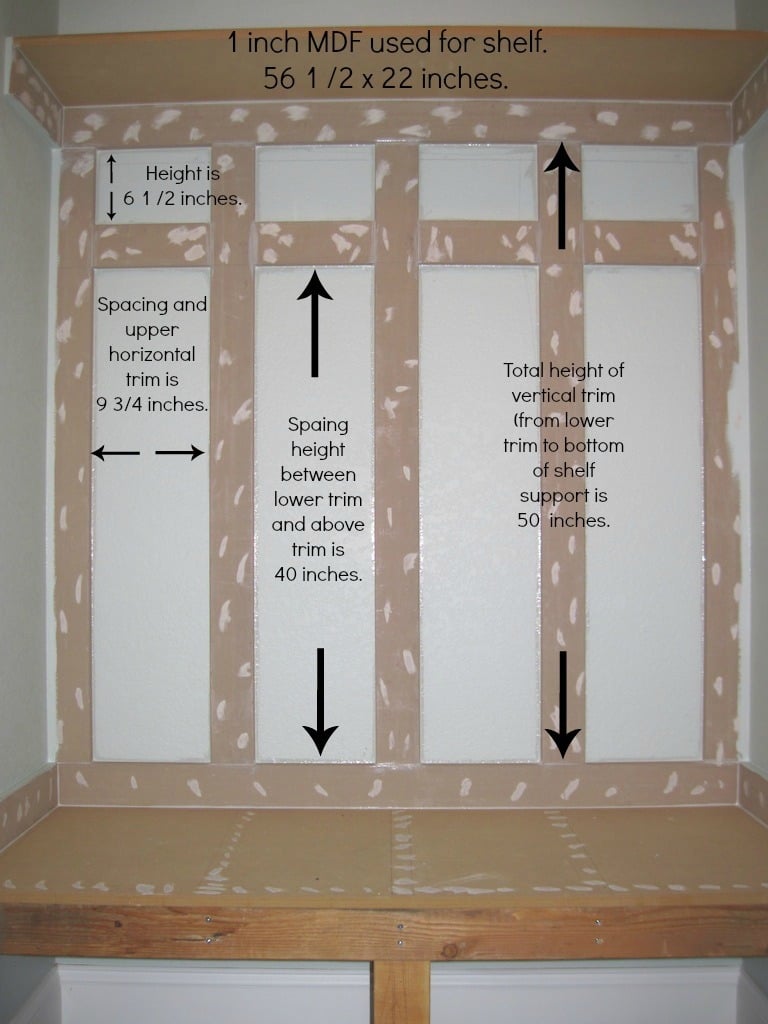
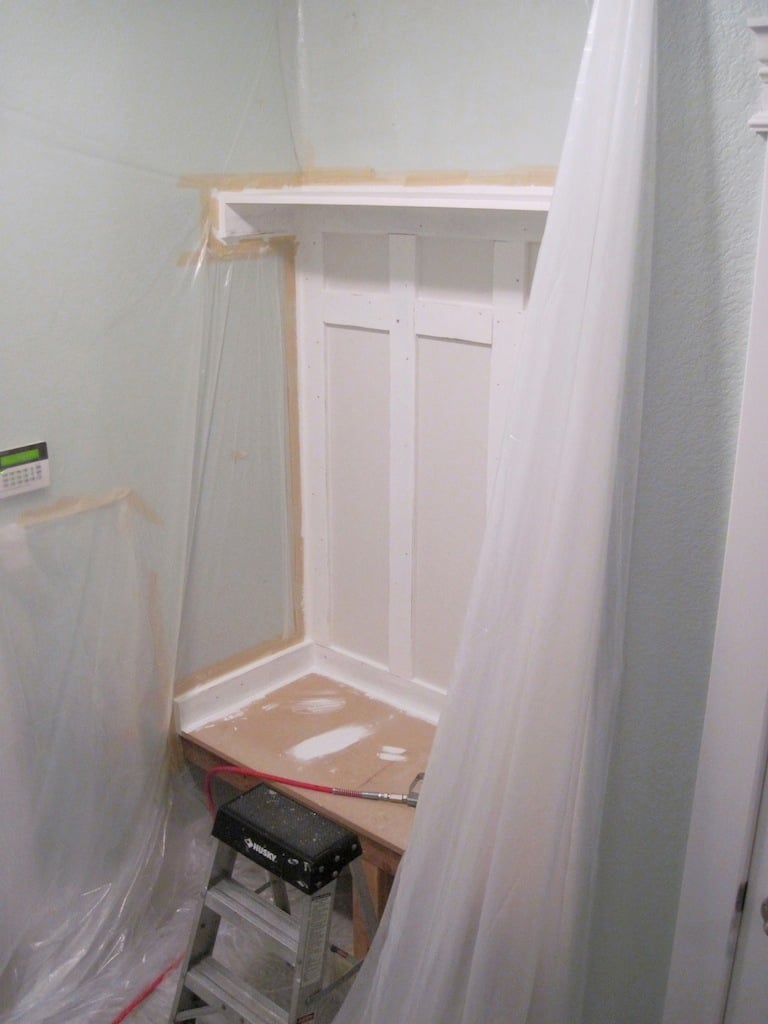
With much needed seating in the mudroom, an unused space (nook) was used to build a mudroom bench and shelf. No plans were used. I basically looked on-line and mentally drew up an idea of how I wanted the final product to look.  


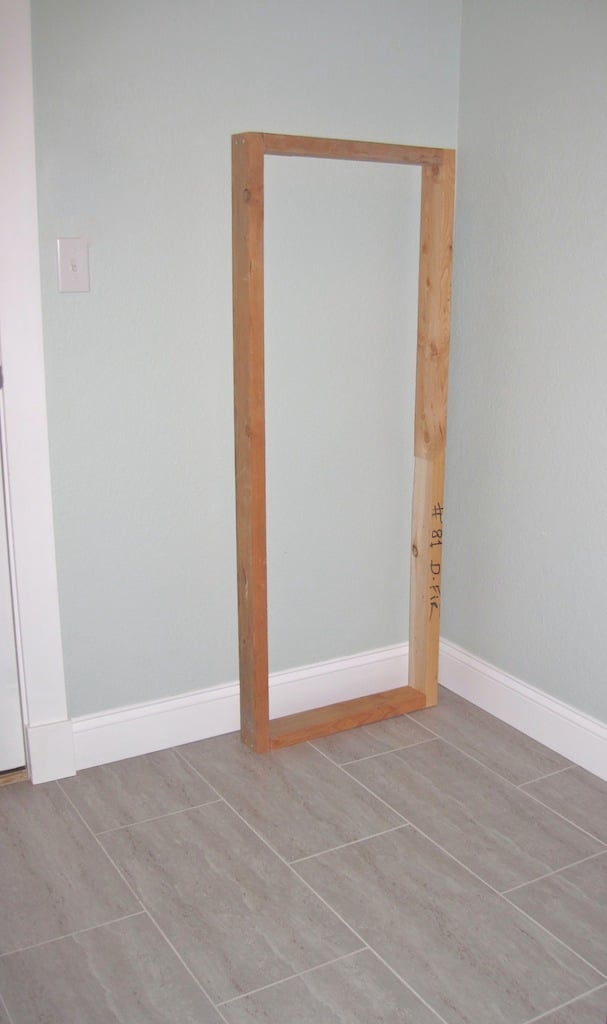
There were some setbacks such as not like the knock down textured walls (after partially painting the bench). I ended up covering the textured walls with hardboard and repainted.


A bench cushion was made for added comfort and style.


Complete tutorial for the bench is here and the bench cushion tutorial is here.


Thank you.


Julie

Estimated Time Investment
Weekend Project (10-20 Hours)
Finish Used
Behr Ultra (paint and primer in one) in ultra white finish.
Recommended Skill Level
Beginner

Comments

Cleverly6

Thu, 05/16/2013 - 13:48

Thank you so much for the idea and plan. I used it to turn an extra laundry room that we have off of our garage into a much needed mudroom. The most challenging project I have ever done before is hanging blinds. But with your help and some from the Home Depot employees, I did it! Our family is more than happy with it. Thanks!!!

BeingHome

Sun, 08/25/2013 - 22:28

Thank YOU so much! I would love to see a picture of your new mudroom area. :) I am happy the plans helped and of course Home Depot. ;)

Sorry for my delayed response. :(

BeingHome

Sun, 08/25/2013 - 22:28

Thank YOU so much! I would love to see a picture of your new mudroom area. :) I am happy the plans helped and of course Home Depot. ;)

Sorry for my delayed response. :(

Board and Batten Fireplace Surround

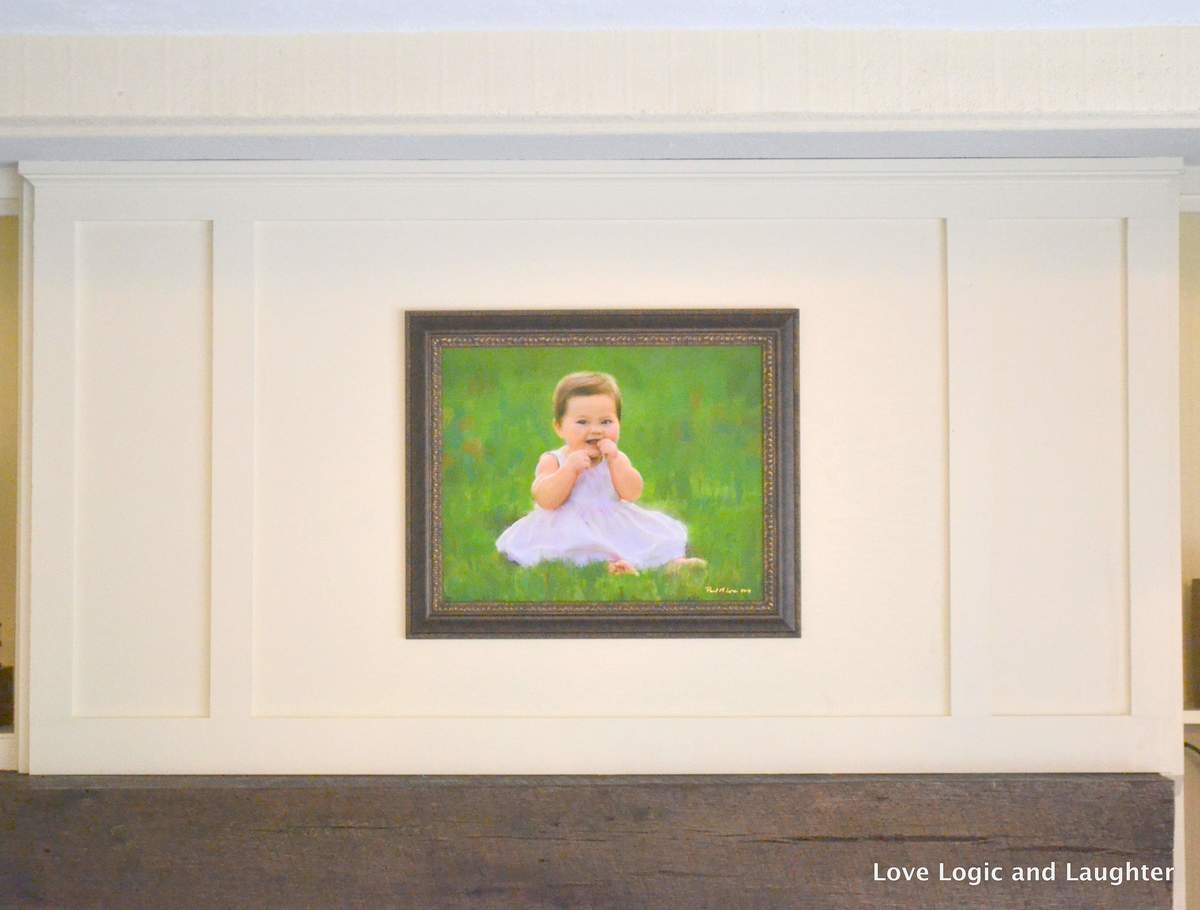
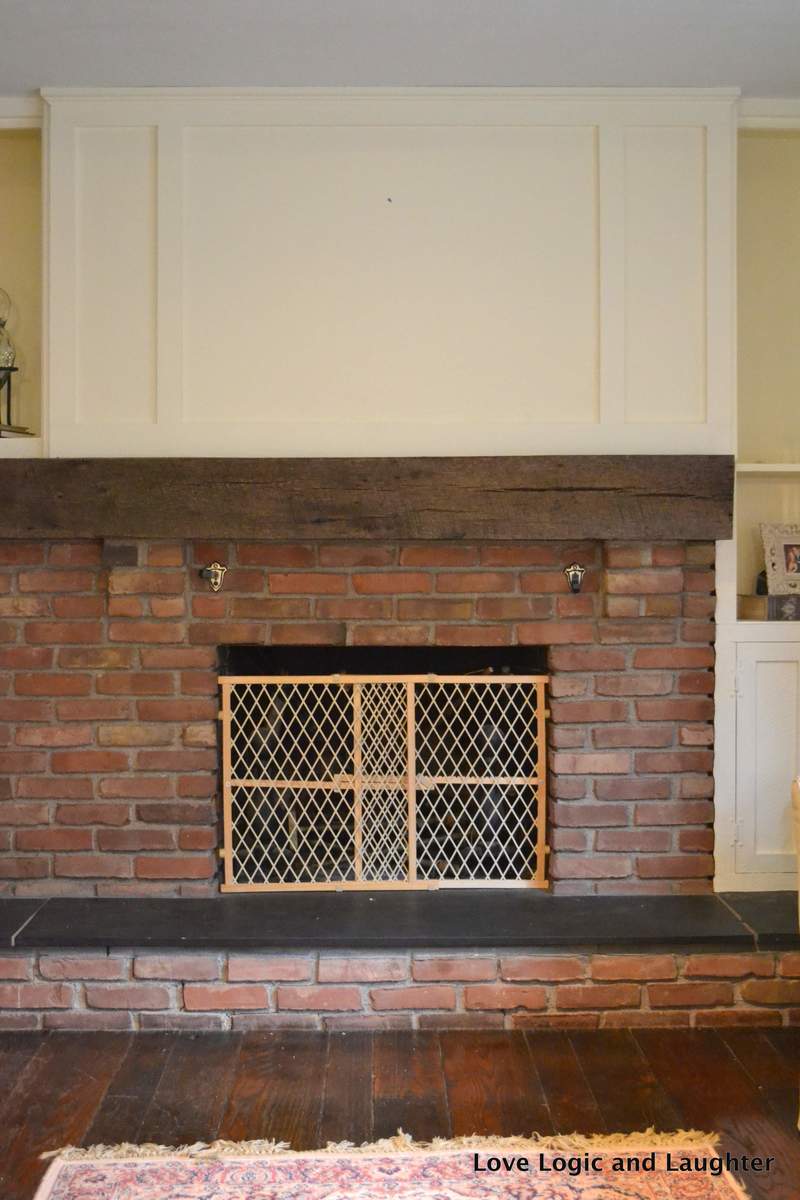
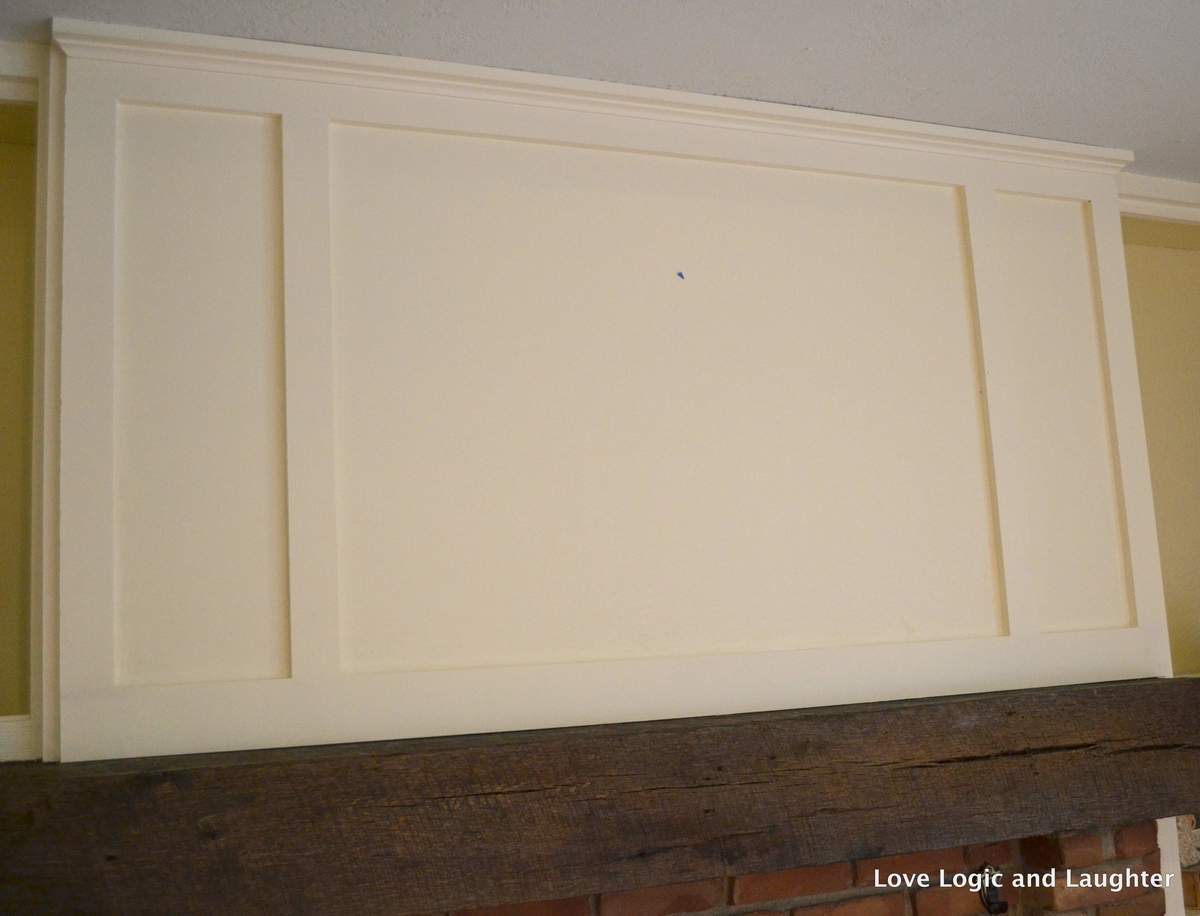
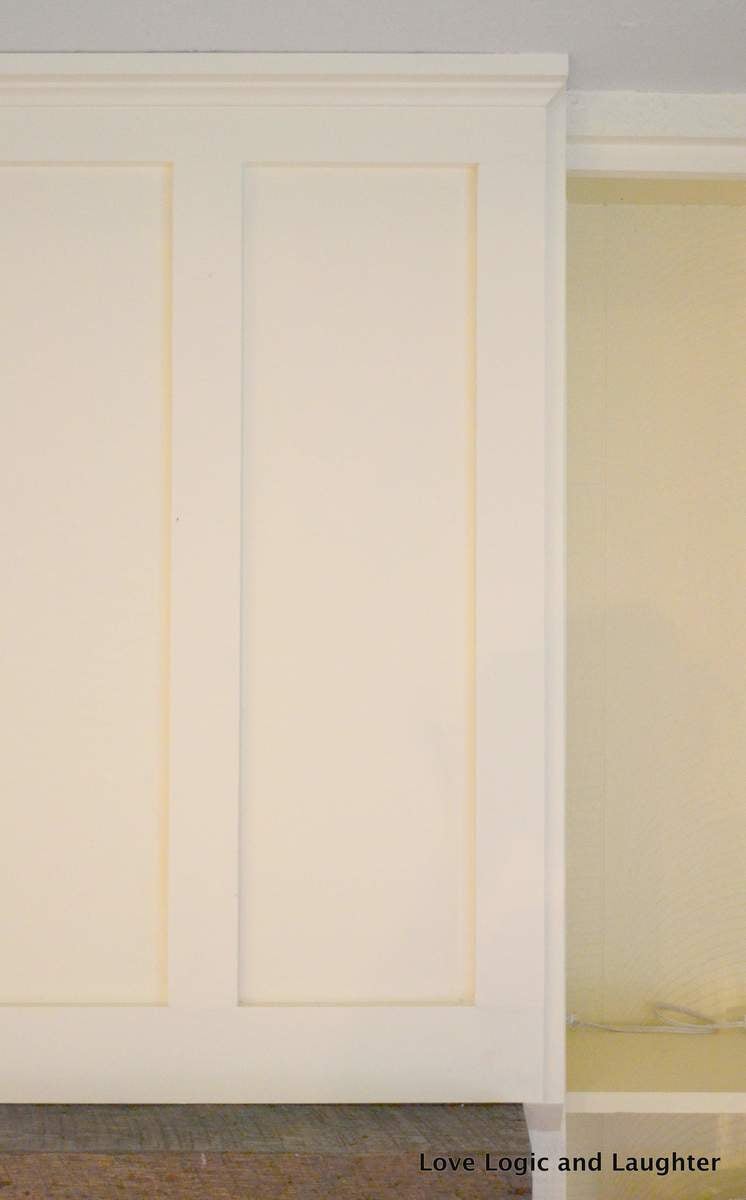
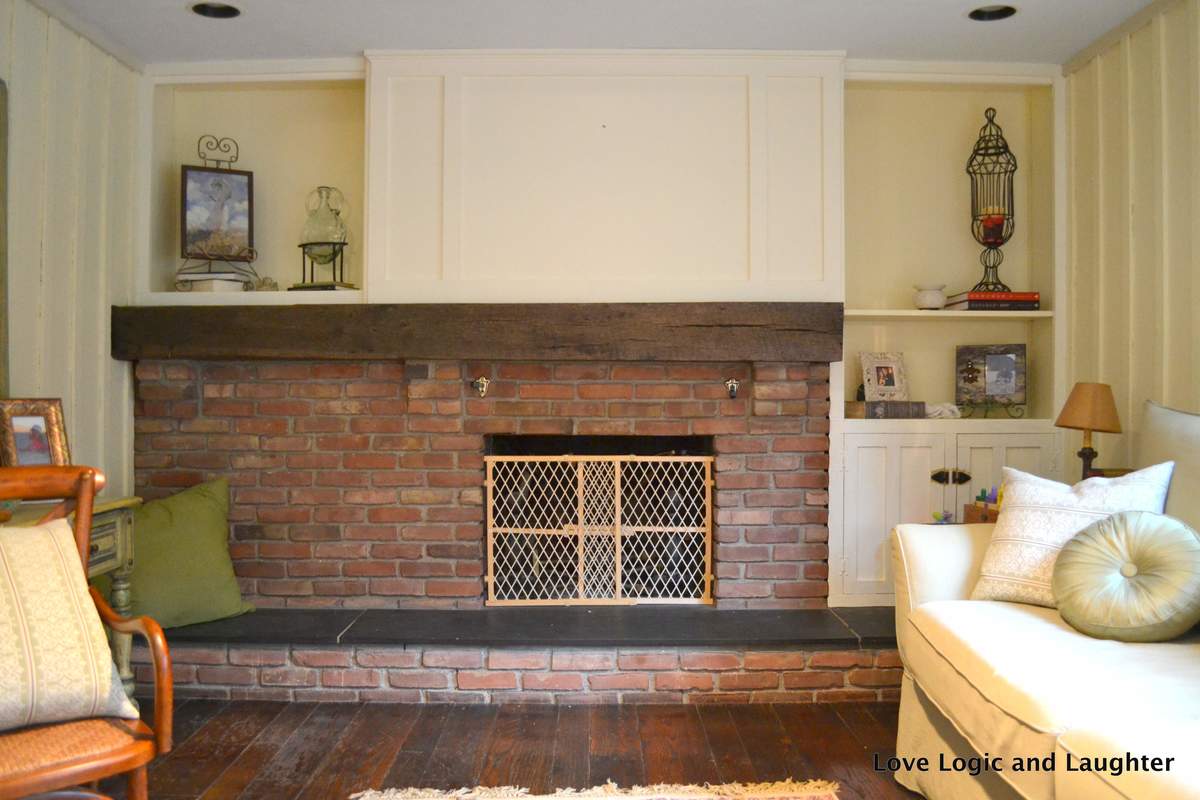
There was brick above my fireplace. I decided that I needed to lighten it up, but didn't want to necessarily paint the brick. Instead, I decided to panel above the fireplace using a board and batten style. I am so happy with the results! It is lighter and brighter in the room and goes with the style in the rest of the room (walls have board and batten as well).

Built from Plan(s)
Estimated Cost
$50
Estimated Time Investment
Day Project (6-9 Hours)
Finish Used
Painted white ("Linen White")
Recommended Skill Level
Intermediate

Comments

Beautiful table!

Submitted by Anonymous (not verified) on Fri, 05/05/2017 - 10:29

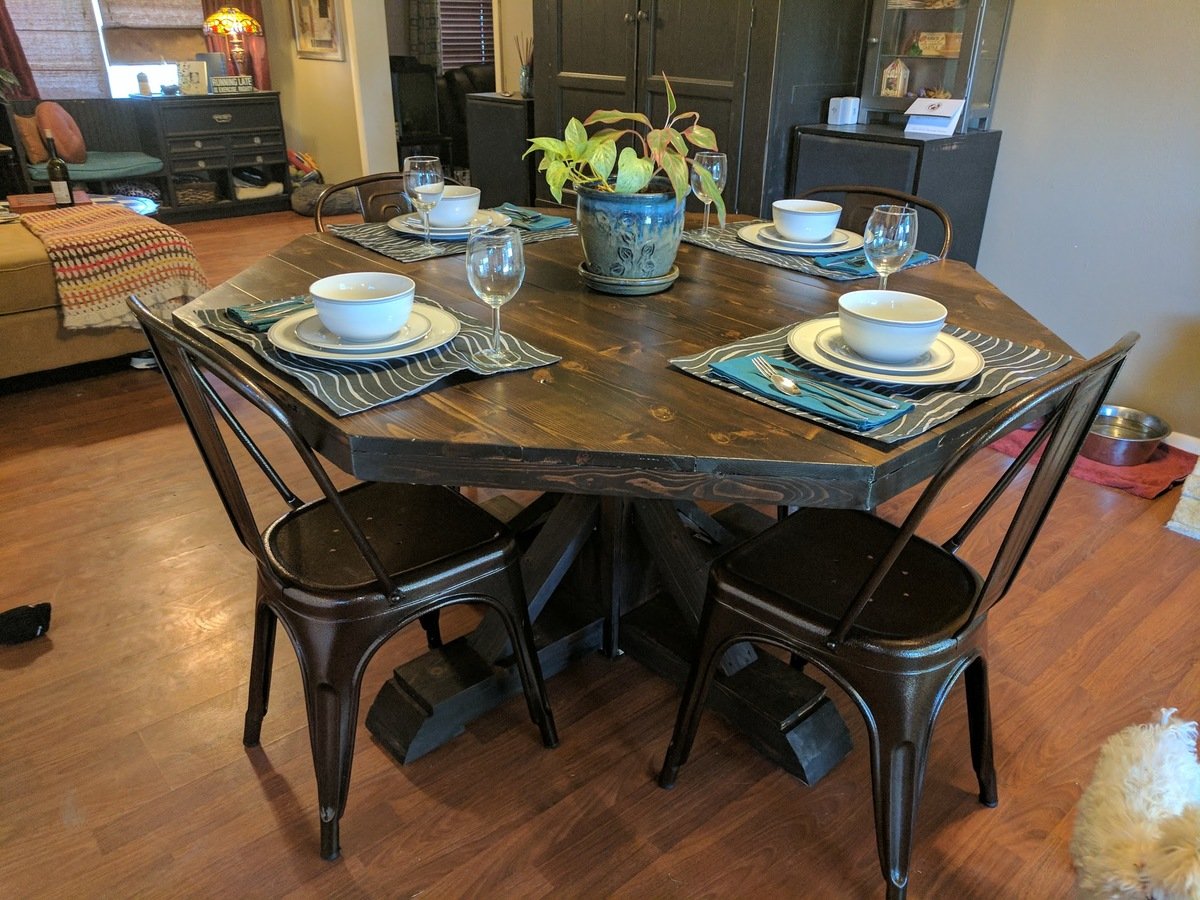
These plans were very easy to follow and the end result is beautiful. Thank you so much!

Estimated Cost
$200
Estimated Time Investment
Weekend Project (10-20 Hours)
Finish Used
Kona stain with matte poly
Recommended Skill Level
Beginner

Sewing Table

Submitted by deschudon on Tue, 04/23/2013 - 07:34

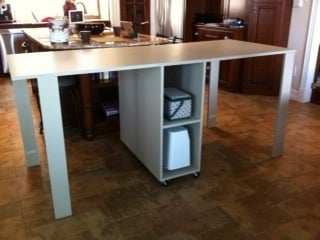
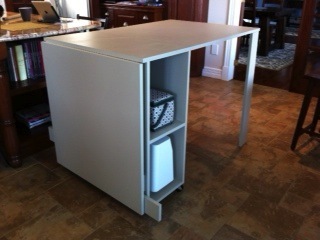
We did it in MDF as suggested, used piano hinges, and changed the height to 36" because I'm used to work at counter height and wanted a larger surface, plus I don't mind sewing sitting on my stool. We had the store cut all the pieces, but this table is very heavy using this material. We also made the legs at 4" considering the weight. The only disadvantage of making it 36" high is that the legs will stick out once folded, unless you have the room and adjust the depth at 36" as well. I overlooked that detail but in the end, I don't mind since this table is stored away out of the view when not used. It did soak up a lot of paint... Already used it and it's great to have my space ready to use roll away, not having to clear the counter or dining table to work.

Built from Plan(s)
Estimated Cost
$144 CAD
Estimated Time Investment
Weekend Project (10-20 Hours)
Finish Used
Behr paint, satin finish.
Recommended Skill Level
Beginner

Comments

jwk

Tue, 01/28/2014 - 05:11

Do you happen to have the new measurement layout for what you did????!!
I was trying to work it out, but math isn't my strongest suit!
Also-- did you consider making it wider so the legs wouldn't stick out??
(I am planning for plywood instead of mdf)
thanks!

First Thing I've Built

Submitted by Aninn1199 on Tue, 03/17/2015 - 10:18


Keep in mind I am a novice at best and this took me a total of 12 hours over 2 days to construct and stain and line.  Filling will be a separate project all together!

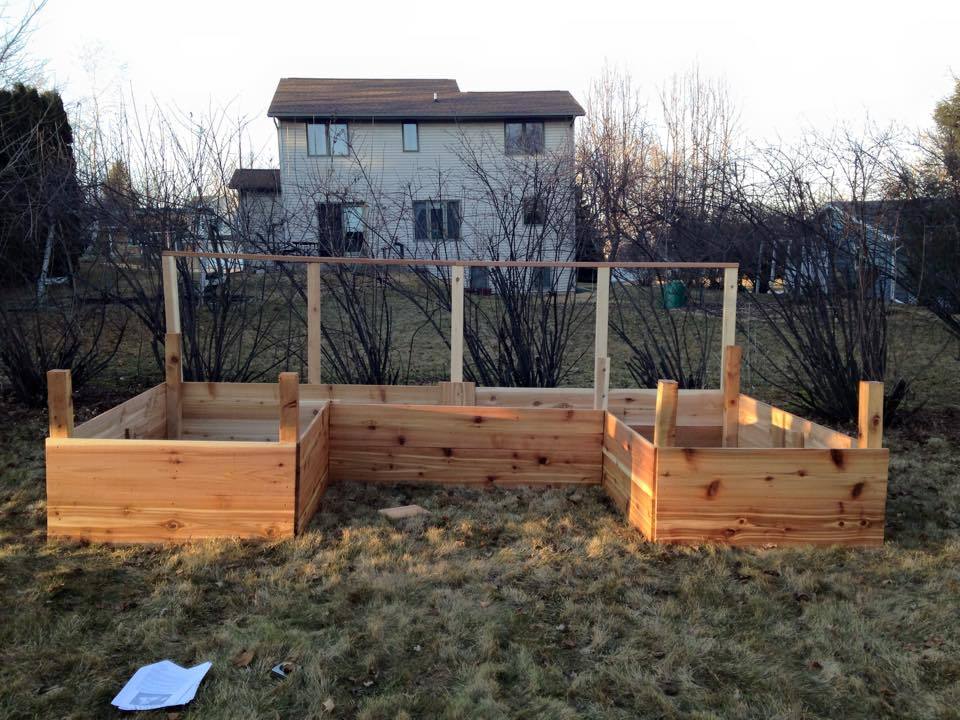
I opted to remove the top row of lumber all around to have something to attach bird netting to to keep the critters out and make it easier to reach in, also a cost consideration. The posts are still the recommended 3 ft I also changed to 12ft X1in boards instead of 12ft x2in also in the interest of cost. 


Built from Plan(s)
Estimated Cost
$600
Estimated Time Investment
Weekend Project (10-20 Hours)
Finish Used
Used Clear Deck Stain from Thompson's, deck nails. Added a clear plastic lining (not shown) to bottom 1/2 of inside of bed.
Recommended Skill Level
Starter Project

Comments

King Size Farmhouse with mods

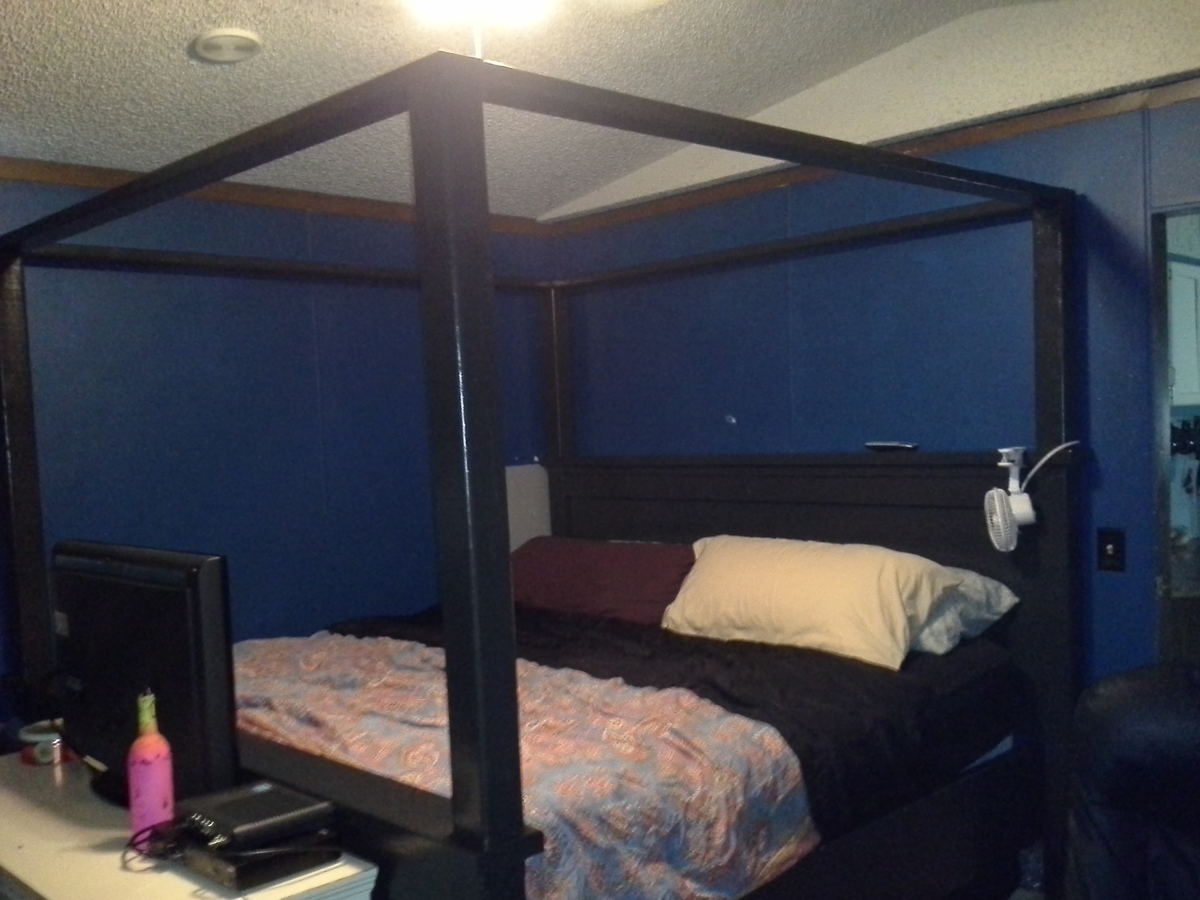
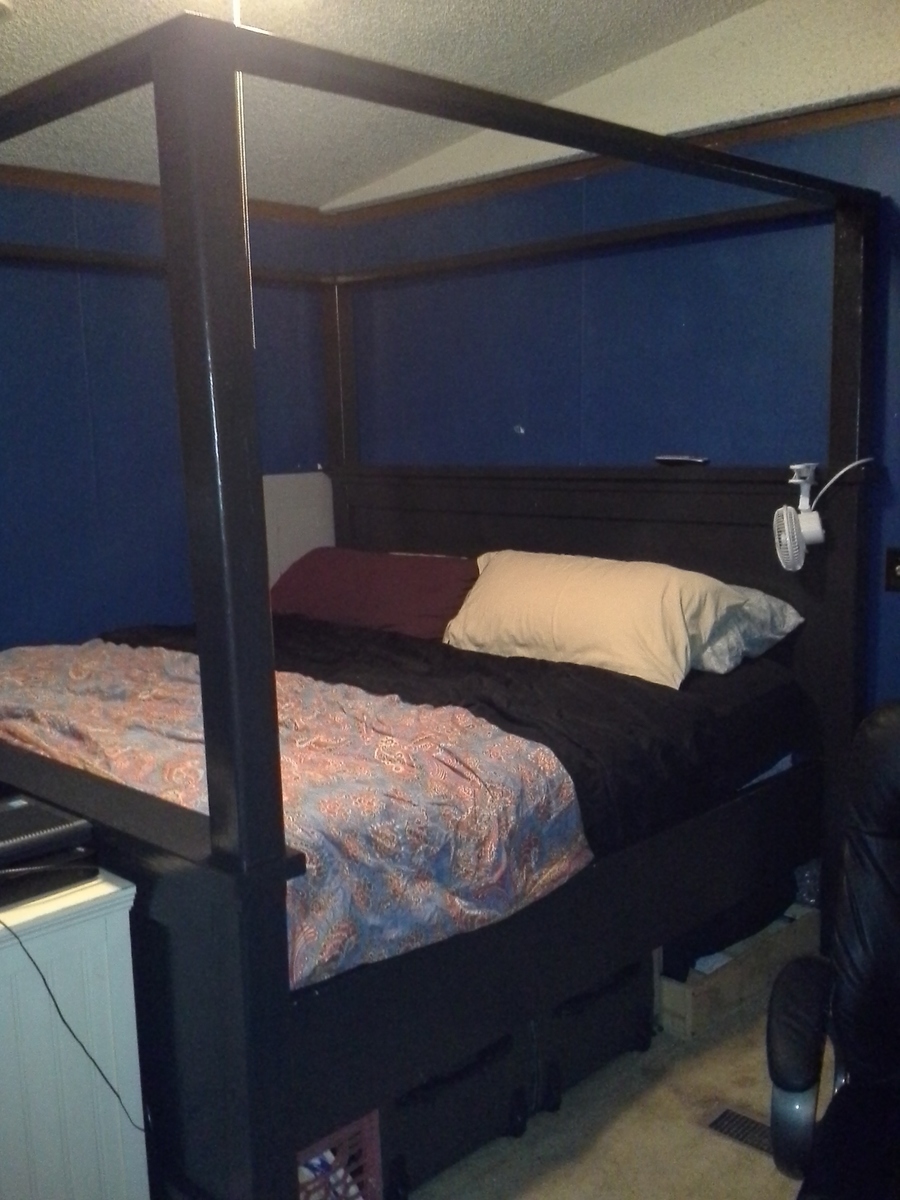
As our very first project we decided to go big or go home as the expression goes lol and it turned out great.

Let's start first with the list of mods that we did.

1. We wanted the bed to be higher. A lot higher. Gives more room for storage under the bed also. Plus we like high beds and it serves to keep 2 out of our 3 dogs off completely since they can't reach anymore \o/

2. We raised the footboard up 12" in height. So everything on the footboard height we just added 12" to which was really simple to do.

3. We added side rails, and despite the fact I thought wife was crazy she wanted 2 x 12 used for this. 12" wide so that it would look a lot better plus cover the the box spring and help hold mattress into place. We couldn't find a reasonable sized board that wasn't pressure treated so ended up getting a 2x12 that was 16 feet long, and just had it cut down to 7' long pieces at the store.

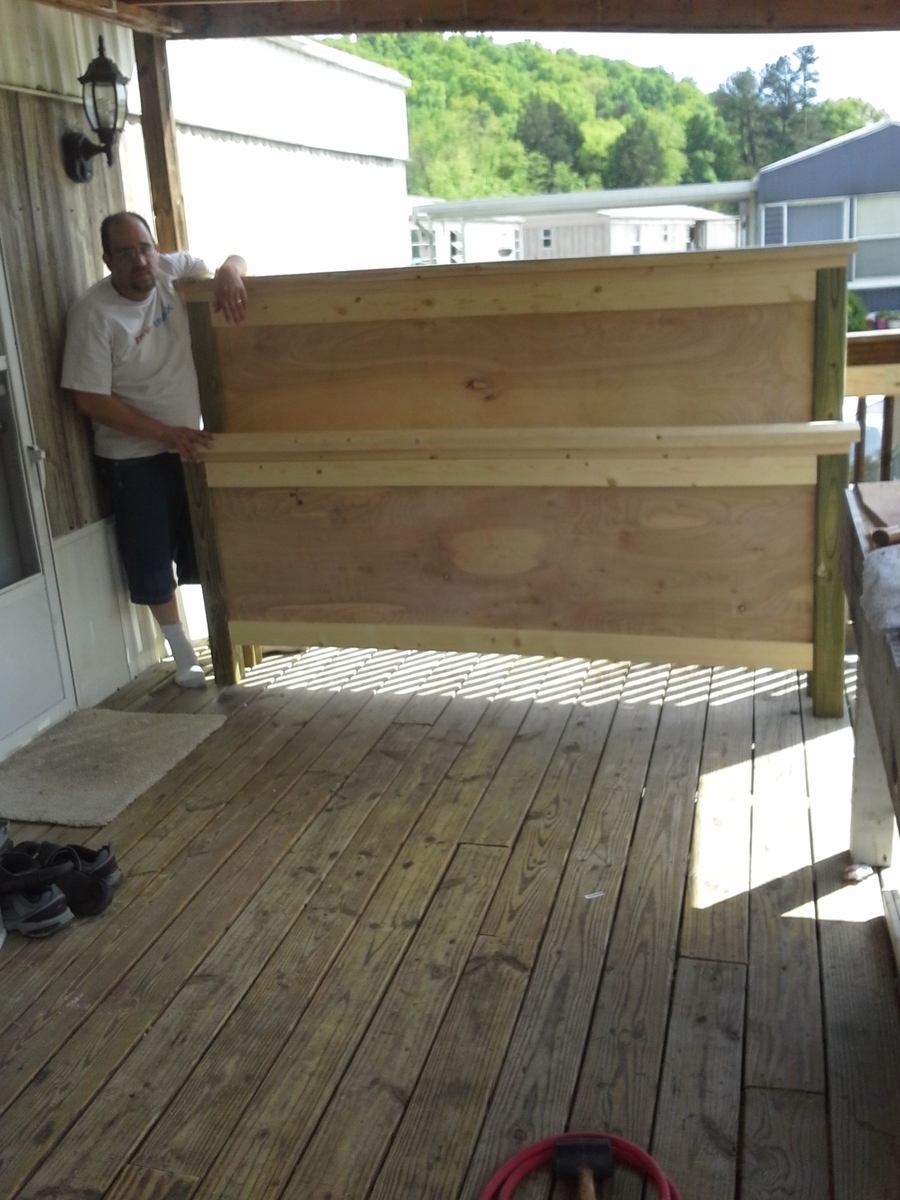
4. We swapped out the paneled look on the headboard and footboard with sheets of hardwood plywood. If your not adjusting the footboard as much as we did you could get away with a single sheet but we went so much higher that we had to use 2 sheet and have a lot of leftover wood.

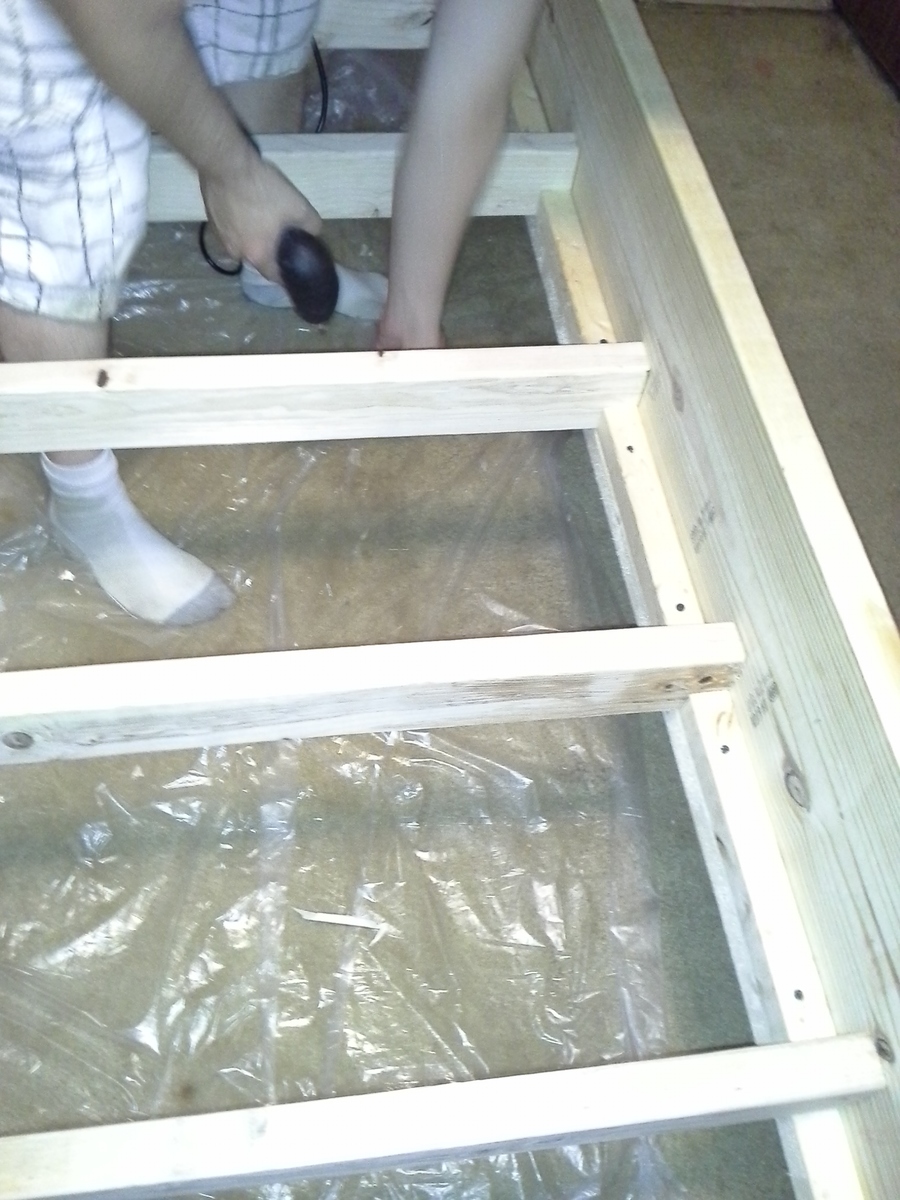
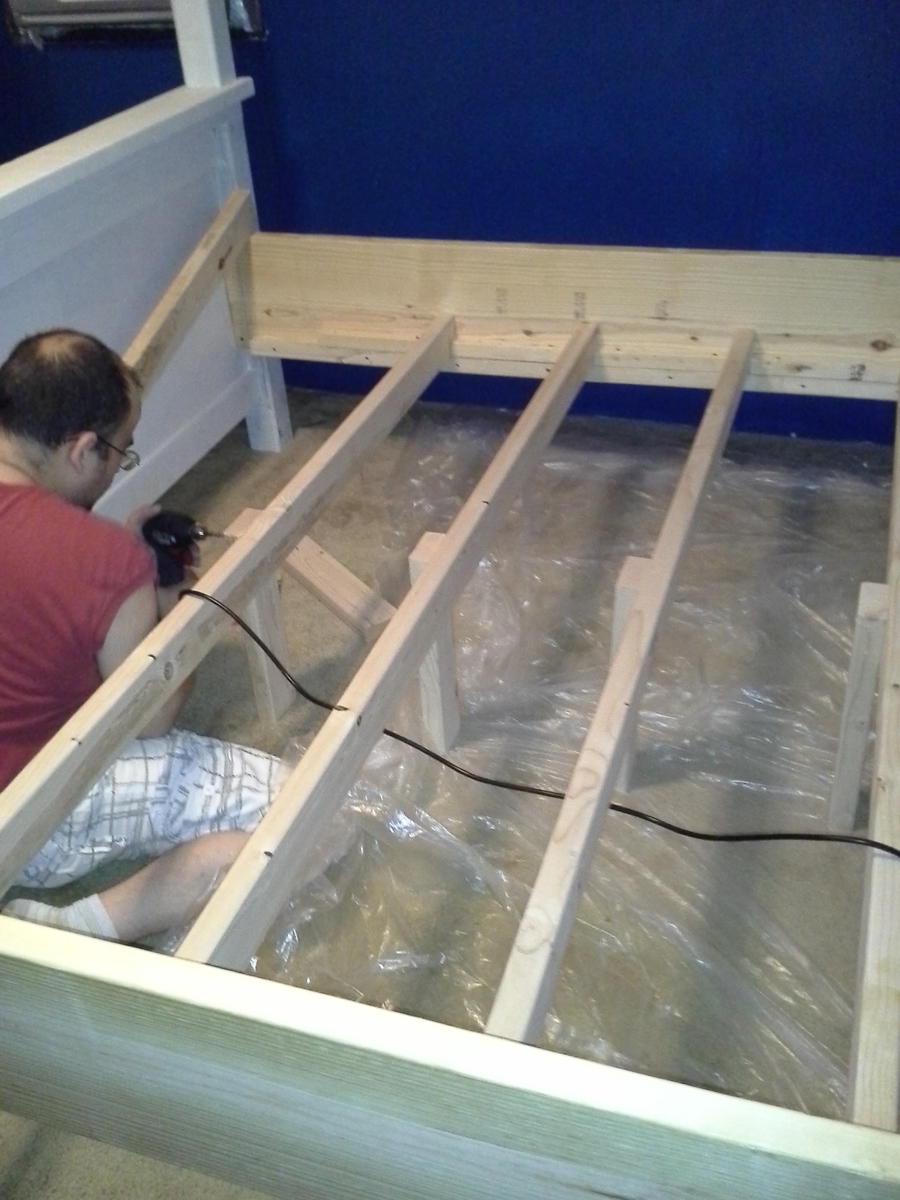
5. We did slats to support the mattress and boxspring and added small legs to them also. We just added furring strips ($1.82ish) to both side rails on the very bottom so they would be flush. Used wood glue and 3" screws to hold them onto the side rail using clamps and made sure they were thoroughly secured. From there, we just measured across and cut 2x4's to fit and slide them into place. We used the extra parts of the 2x4's to make legs that we put into the center of the boards also to help give a bit of extra support. Plus, to ensure stuff doesn't move around at all, we added an extra furring strip cut into pieces that we used to help hold the 2x4 supports into place. Only took 1 of those to do that and works out great.

Some tips:

Now, we had issues locating 4x4's at the local big box retail hardware stores. The only options there were pressure treated (ok for our usage) but if your wanting to stain the bed would need to use an actual lumber store which could get them, but the cost was approx $3 more each and had to wait for them to come in. We opted to use pressure treated since they were already available, we were planning to paint so the look difference wouldn't matter, plus we have 2 male dogs who are being difficult about marking so the pressure treated aspect helps protect against them. -.-

As for the side rails. We looked through tons of posts and saw very little about this. What we did was attach the side rails onto the insides of the 4x4's. For the footboard end there is just under 2" of space or so that you can connect to, and of course on the headboard side you have the entire area to work with. Worked out great. We initially attached them using 2 3" screws to get them into place and make sure everything was level and squared and after that was all done added in some beefy 4" bolts that we predrilled holes for a bit to make it easier to get them in.

While we were building the bed, we went ahead and did the canopy at the same time. So we just added on a few screws, 4 corner brackets, 4 hanger bolts and then the 4 2x4's. Was approximately an extra $25 or so to do and was really quick. We were planning to do the canopy to start with anyways so bought 4 of the 4x4's and ended up with very little scrap after it was all over and done with.

Total costs all said and done including the paint was just around $300 or so. However, again if your not wanting to completely change the height of your footboard could be cut by approx $50 (cost of extra sheet of hardwood plywood).

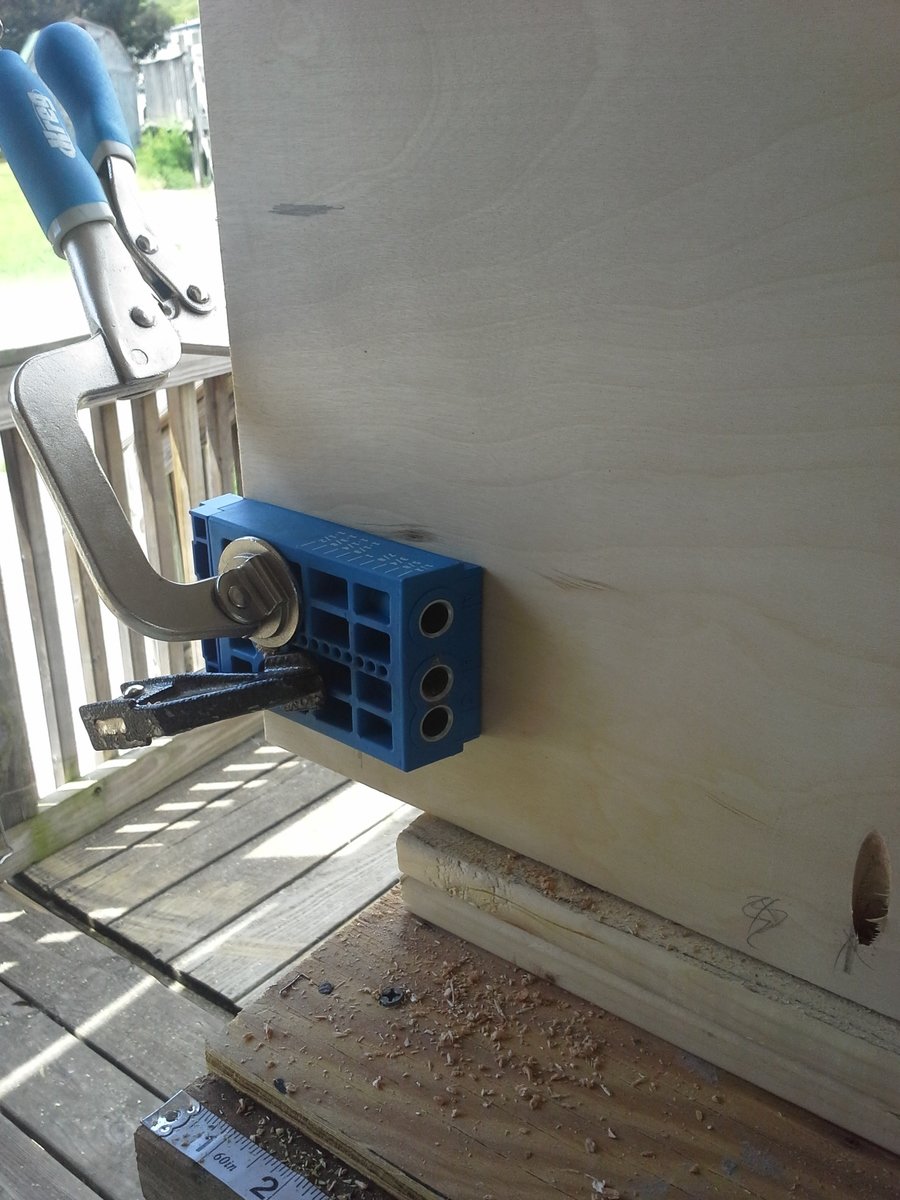
We added a pic to show how we did the pocket holes for the hardwood plywood on the sides. Since the directions themselves call for just the 1x8's to be used figured this might help some. The kreg mounted to the workbench helps loads for the top, but not so much for the sides since we were building on our covered deck and couldn't just turn it straight up on it's side.

Final piece of advice, we debated for a long time between the Harbor Freight pocket hole jig and the Kreg version. Ended up going with the Kreg Master Kit and got a great deal on it ($111 or so plus tax) so saved a bundle there which helped. HF sends out 20% off 1 item coupons all the time, we took that to Lowe's and used it for the Kreg jig set without any problems. So would definitely recommend this if your considering and trying to decide which to buy. Cost differences between them is huge, and if your scraping it can be a great way to get the costs a lot lower.

Also, seriously, seriously, seriously, get a nail gun and air compressor. Don't nail stuff in yourself. It saves a huge amount of time. We picked up an air compressor for $150 that works awesome and has great CFM and found some great air tools off CraigsList that cut the costs for a nailer down to just $10 and gives tools to use on plenty of other projects so was a really great investment for the time it saves. Definitely beats nailing by hand with a normal hammer.

Final advice, if your painting check the weather. We had problems with the primer drying to start with since we had primed the pieces outside and left them on the deck to dry and it started pouring something awful. So the pieces had to be brought inside to finish priming and fix the parts that were messed up by the rain coming in on them. Without this complication a single coat of primer might have worked but not sure. Overall still looks great though and quite happy with the results.

As for the paint, took less than 1/2 a gallon to do all 3 coats and still have enough left over to repaint the rest of the bedroom furniture to match. Hopefully this gives enough information to help anyone looking to change things up. We were really nervous about it to start with since we were shifting so much from the original plans but it came out great and my wife loves it so I'm definitely a happy guy.

We brought all of the wood home by carefully packing it all into our lil 4 door Saturn. Yes it was a super tight fit, but it was possible. We didn't have access to a truck, and none of our local stores had a truck that was available to rent. So you shouldn't stress out if you can't get your hands on a truck it's still possible to get everything home you need to do this project. Just get as many of the huge pieces cut as possible at the store.

Estimated Cost
$300 but could be cut significantly
Estimated Time Investment
Weekend Project (10-20 Hours)
Finish Used
Killz 2 Primer (2 coats to cover thoroughly) and then painted using Olympic Gloss (3 coats to make it super nice)
Recommended Skill Level
Beginner

Outdoor bench (inside)

Submitted by Anonymous (not verified) on Thu, 10/07/2021 - 11:02

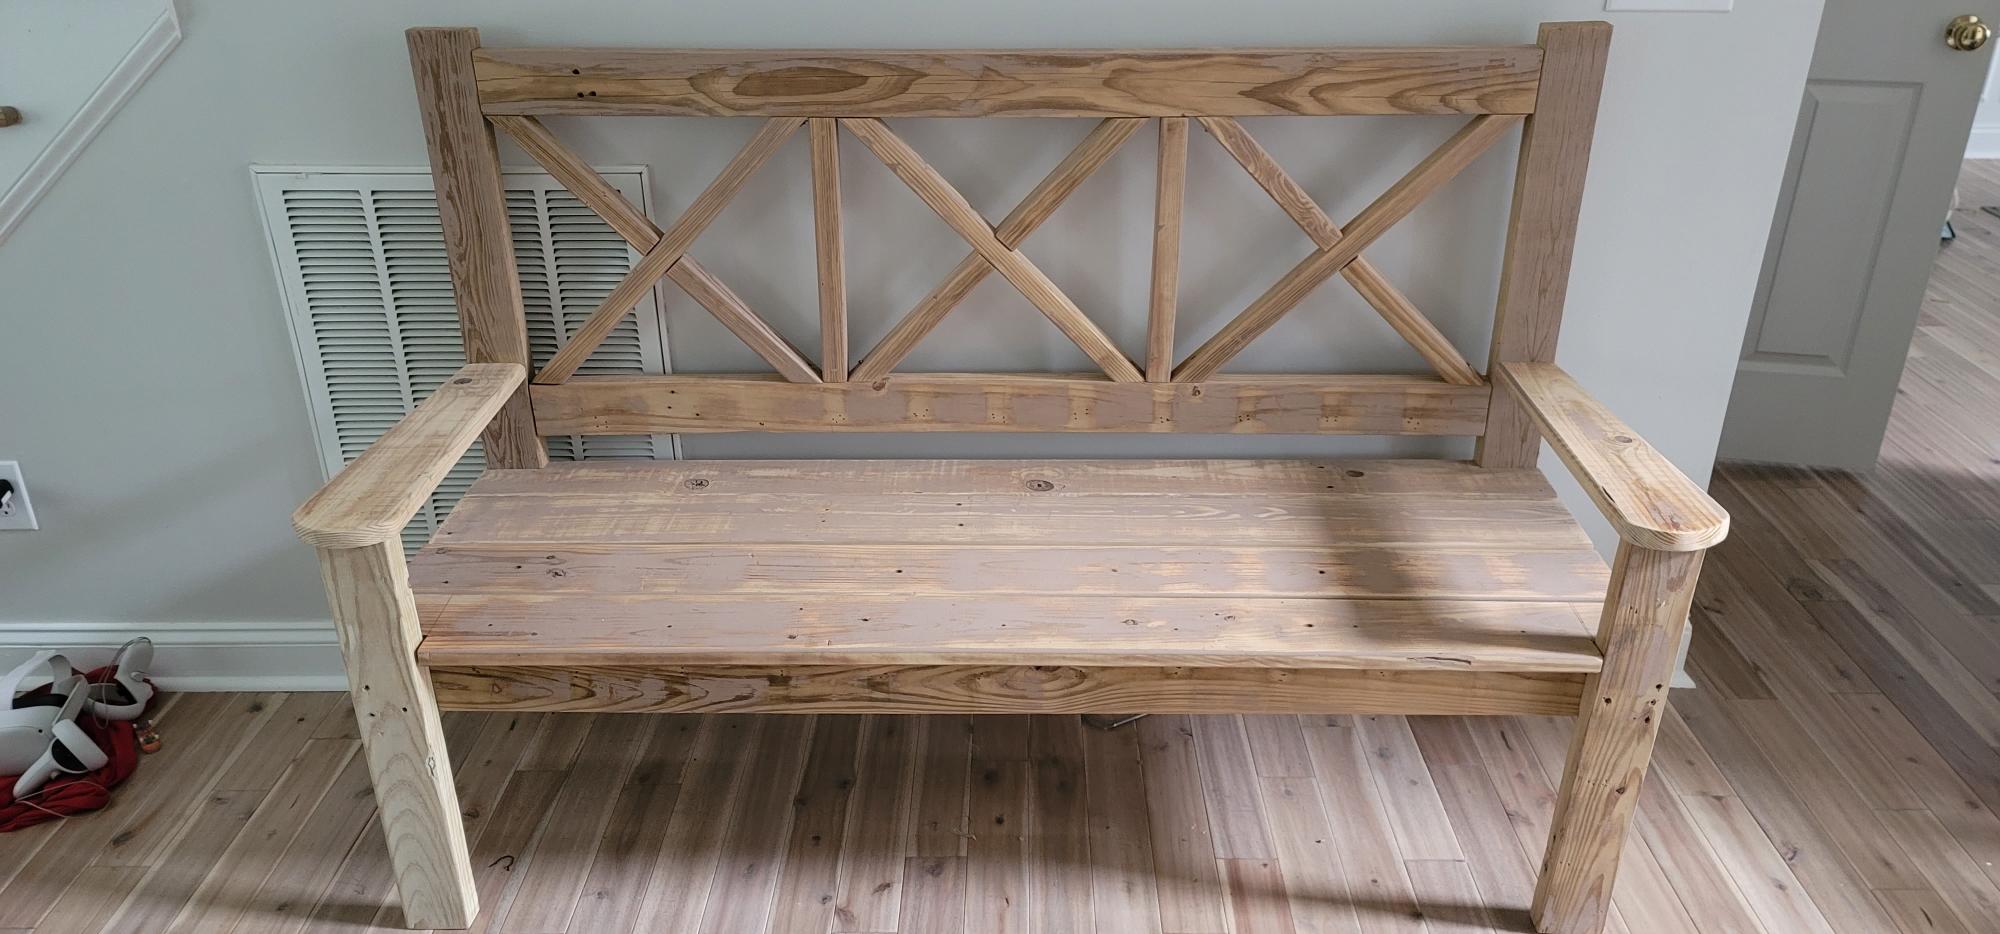
I took the plans for the out door bench and using wood from a friends deck remodel I build a indoor bench. My wife was going to paint it, but we like the way it looks. We still want to add pads to the bench.

Built from Plan(s)

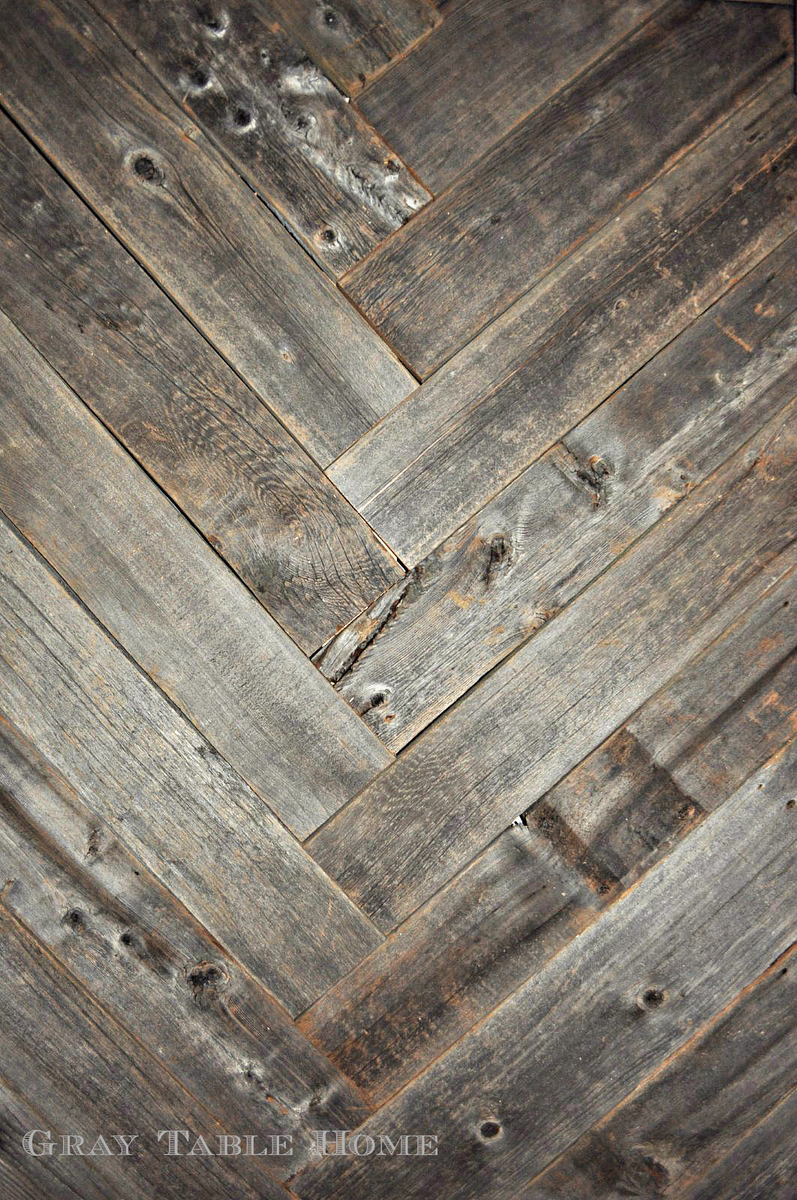
DIY Herringbone Barn Door

Submitted by susanshamp on Fri, 05/01/2015 - 22:25

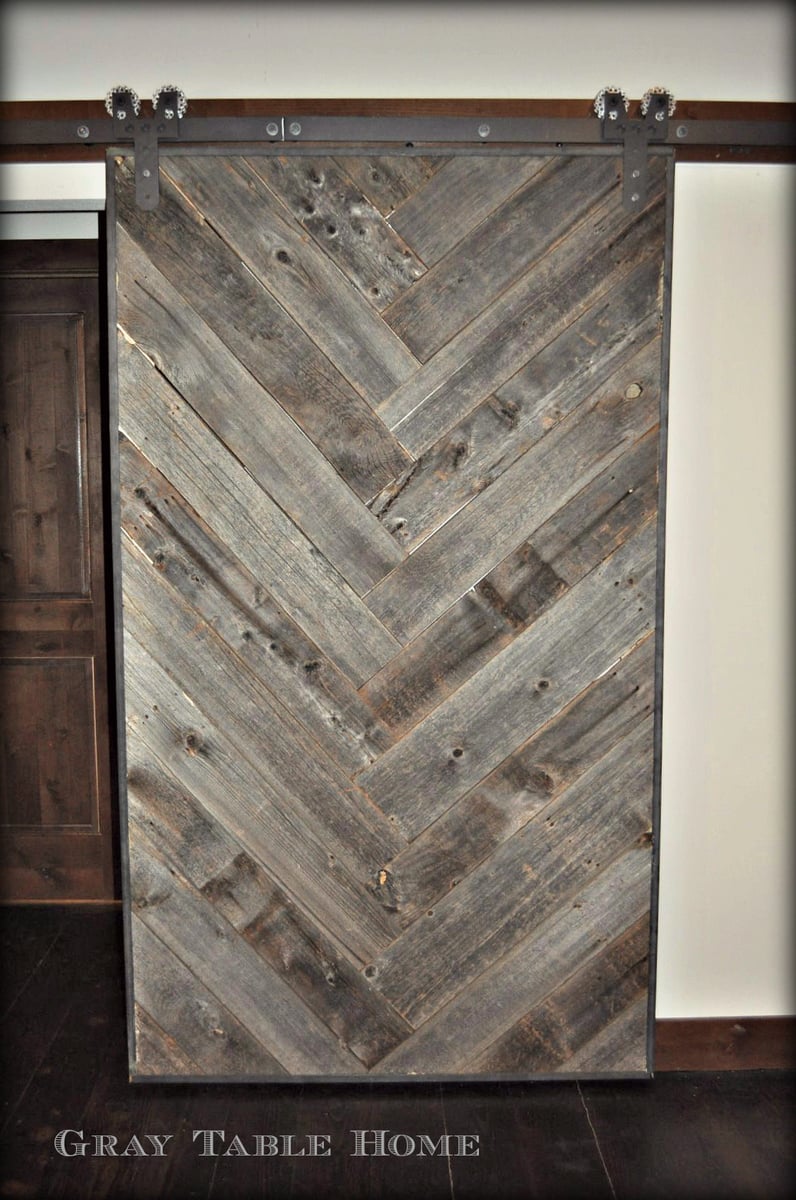
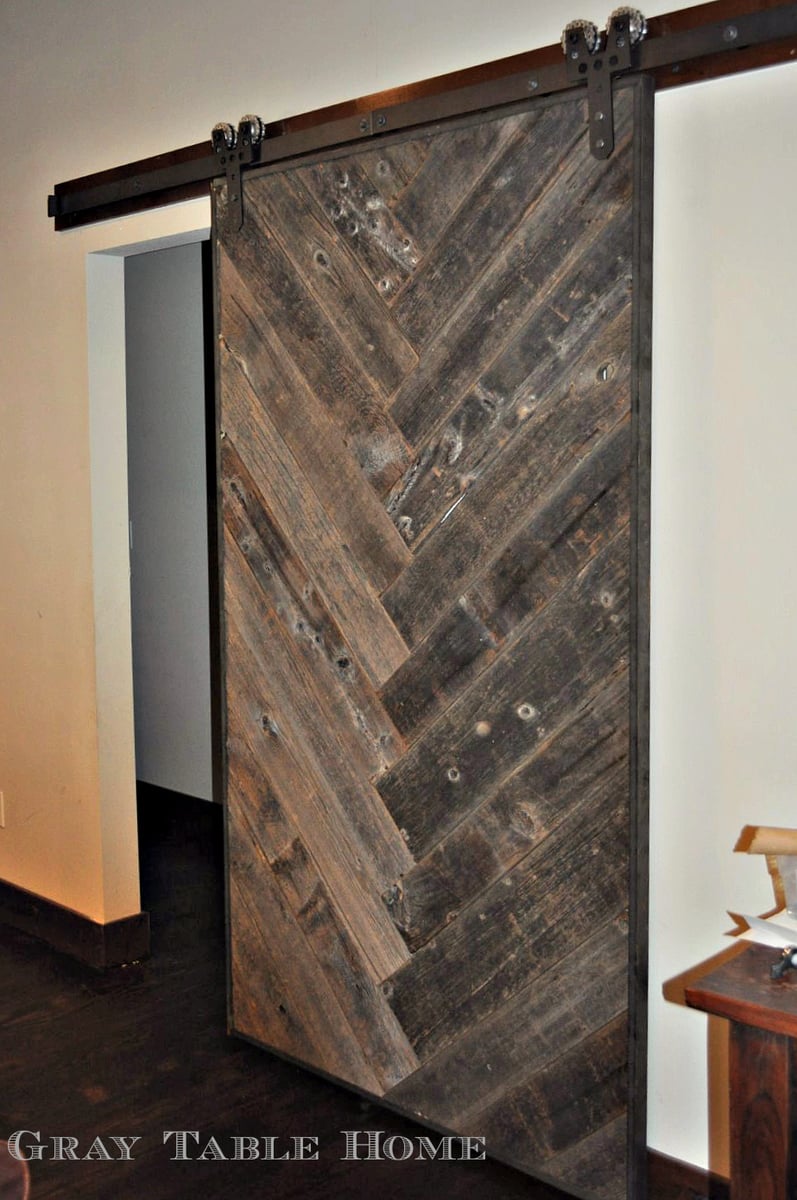
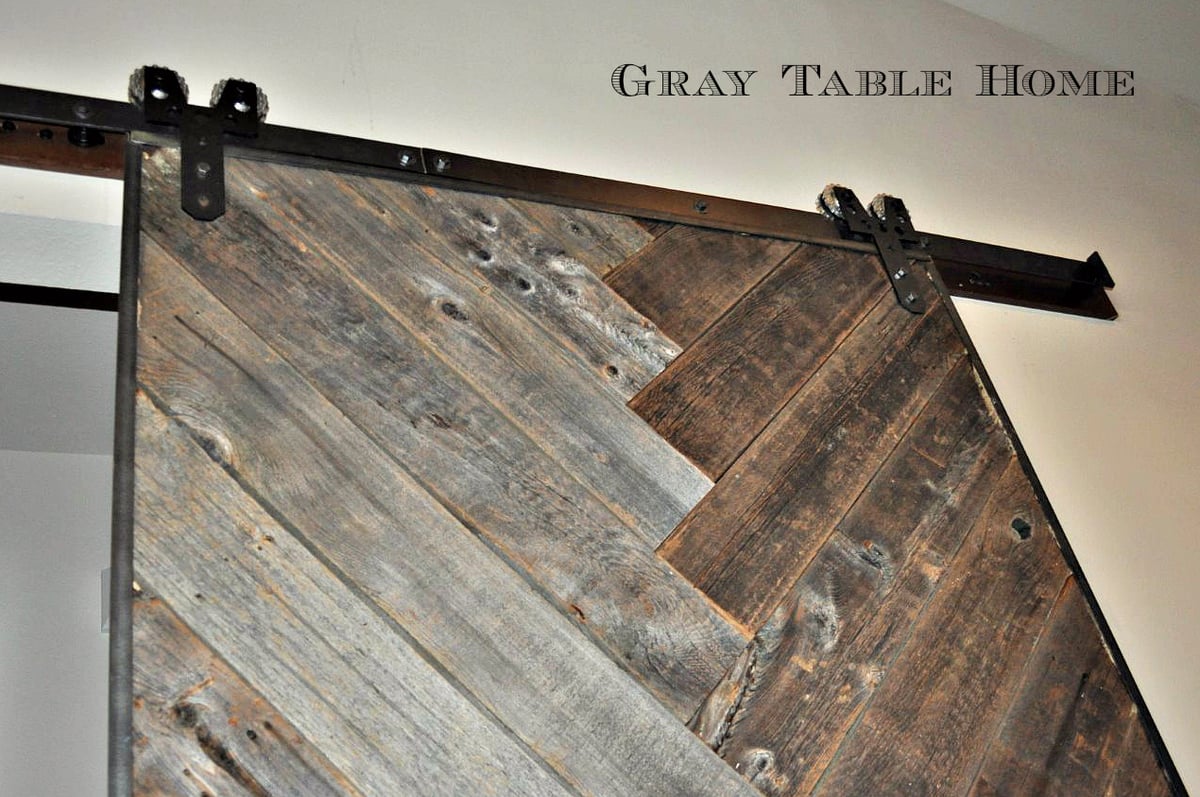
This DIY Herringbone Barn Door is used over a simple hallway opening to separate the maing living space from the kids' bedrooms. I searched this site and Pinterest for inspiration, and loved the herringbone and chevron patterns that I found. This door was made of reclaimed barn wood and wrapped in raw steel channel iron. Hope you enjoy!

Estimated Cost
$150 for the wood and steel, not including the rolling hangers and track
Estimated Time Investment
Day Project (6-9 Hours)
Recommended Skill Level
Intermediate

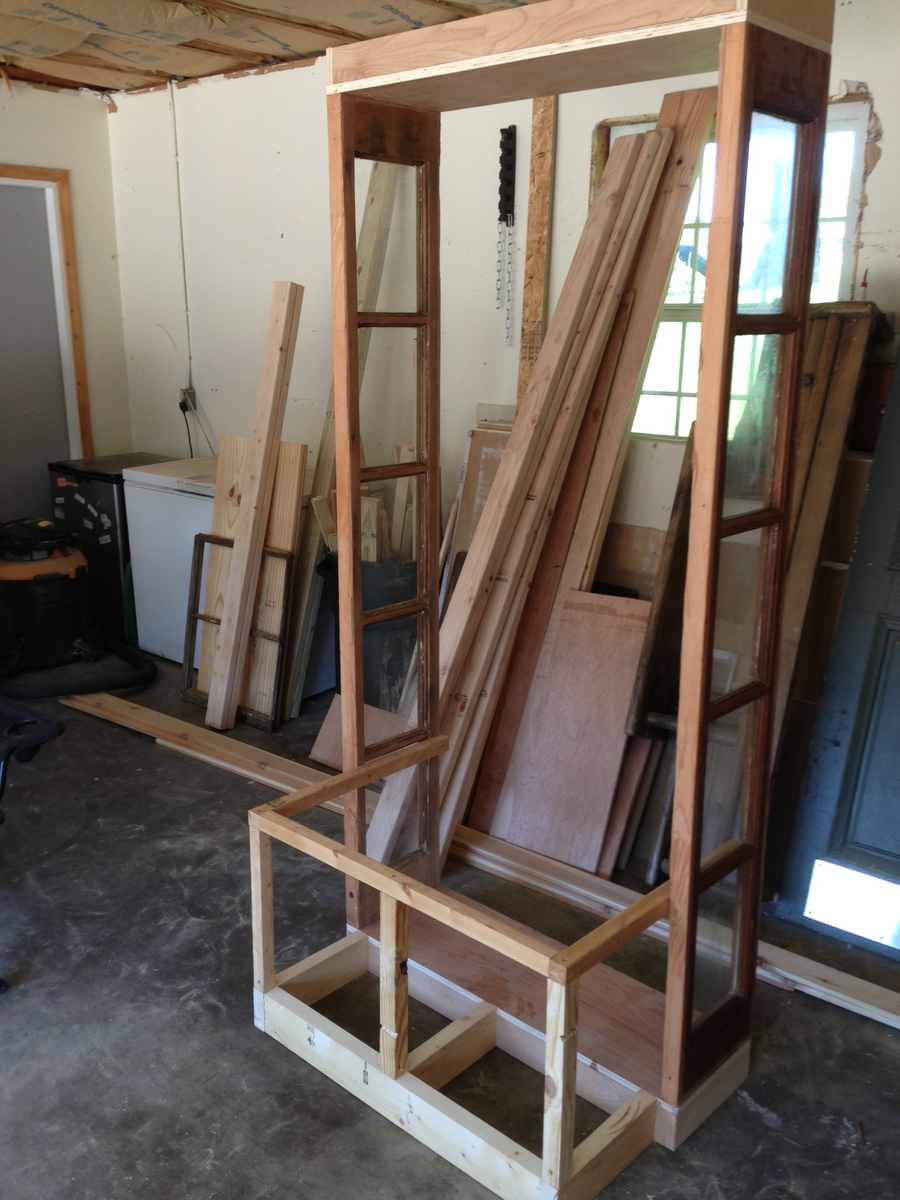
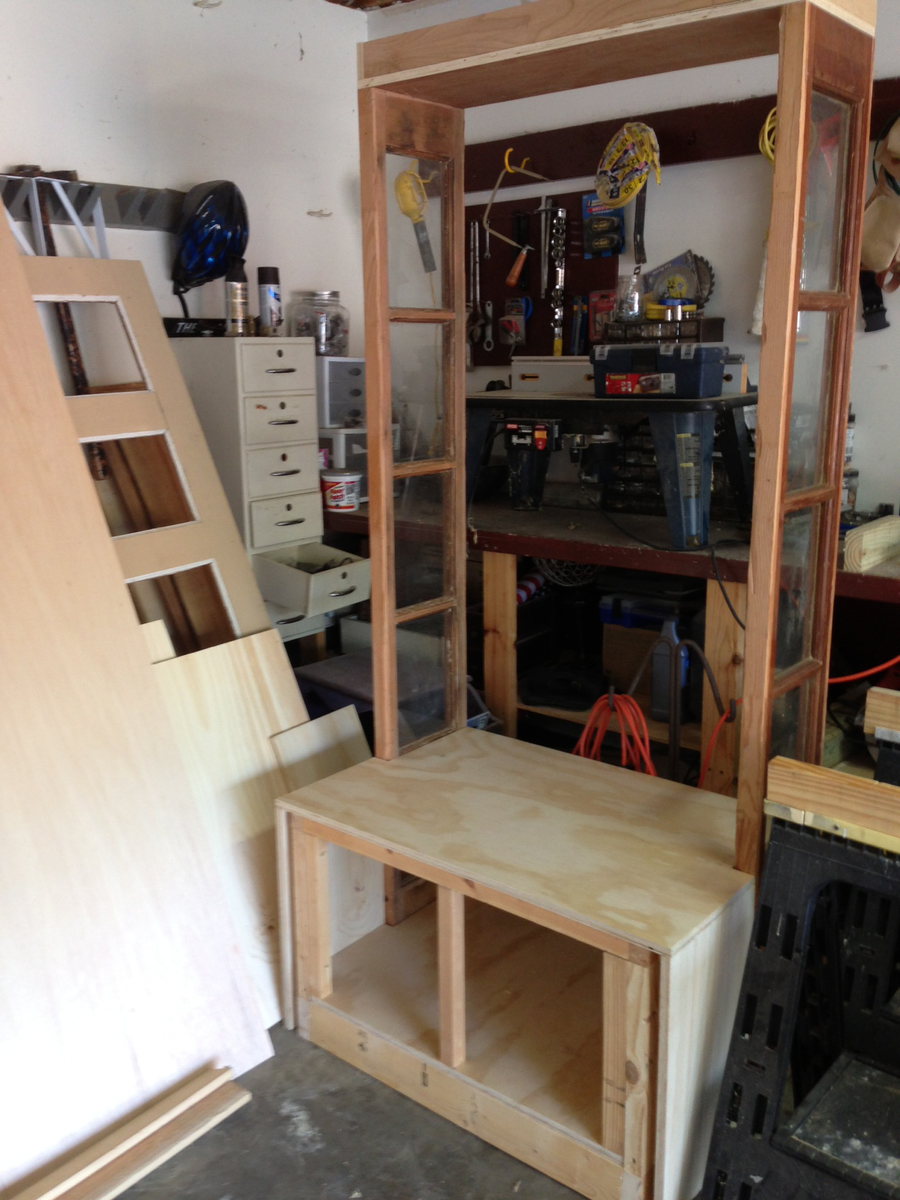
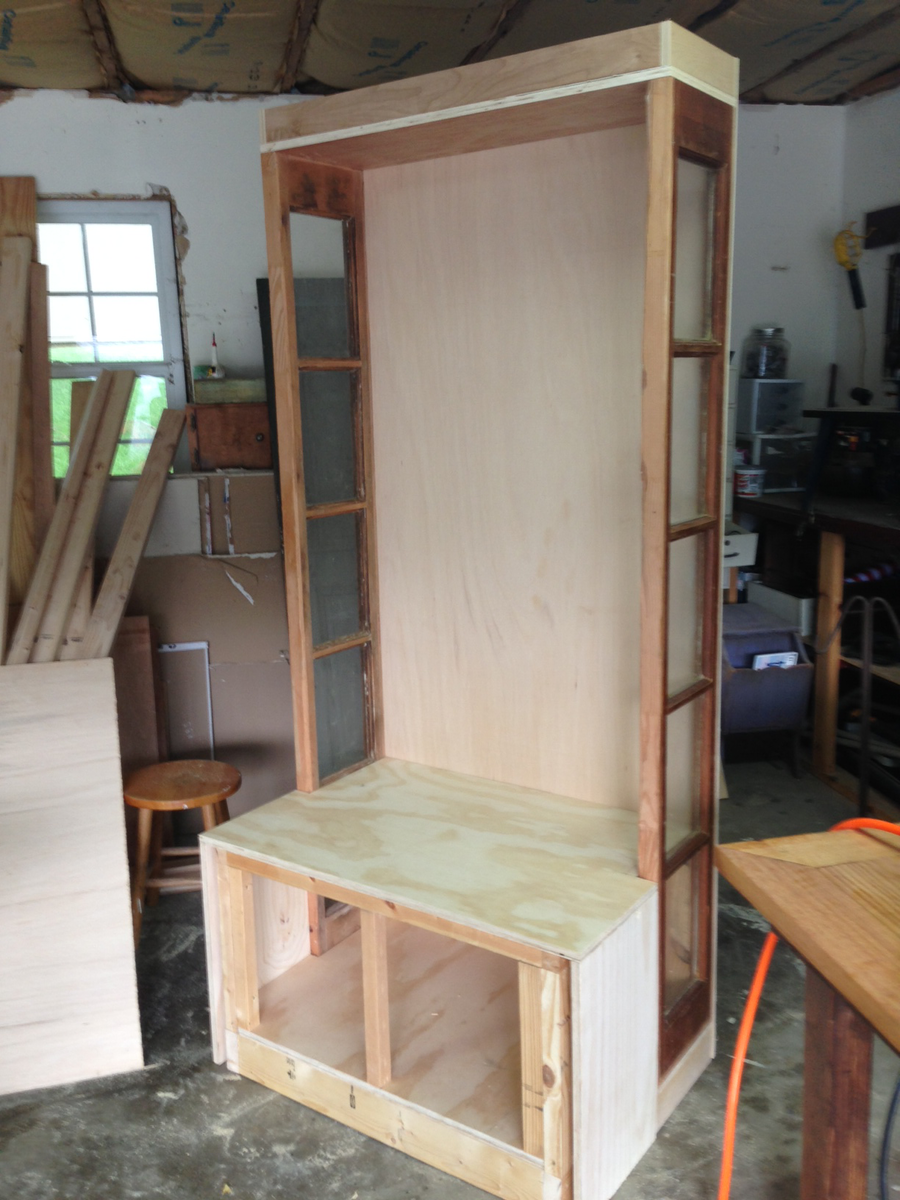
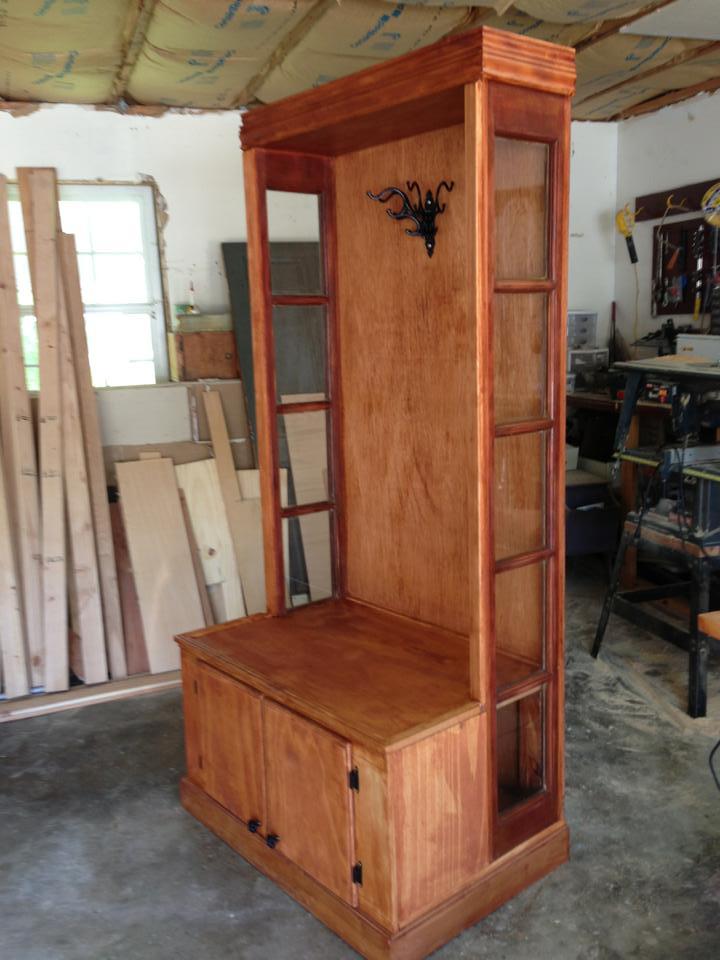
Halltree made from old Door Sidelights

Had some old sidelights that a lady gave me when I bought an old door. They sat around until I figured out that the halltree is what I wanted to do!

Estimated Time Investment
Week Long Project (20 Hours or More)
Finish Used
Minwax cherry
Recommended Skill Level
Advanced

kids adirondack chairs and a little scrap table too!

I was so excited about how cute these turned out that I had to take a picture before the paint was even dry! Hopefully my niece will love this set when I give it to her for her birthday. Now I have to make time to make 3 more for my boys- they love them too! Great plan-Thank you Ana!

Built from Plan(s)
Estimated Cost
$35 including paint
Estimated Time Investment
Afternoon Project (3-6 Hours)
Finish Used
Valspar exterior semigloss Lucy Blue. I drew the butterfly and the "M" on cardstock and laminated the page then used my craft knife to cut out the shape and make a stencil. I just held up the stencil and rolled over with exterior white for a rustic design. Definitely paint your lumber first! This project has VERY tiny spaces between the slats & I would have been pulling my hair out if I hadn't taken this step. I know this is an old plan, but I had a blast making them.
Recommended Skill Level
Intermediate

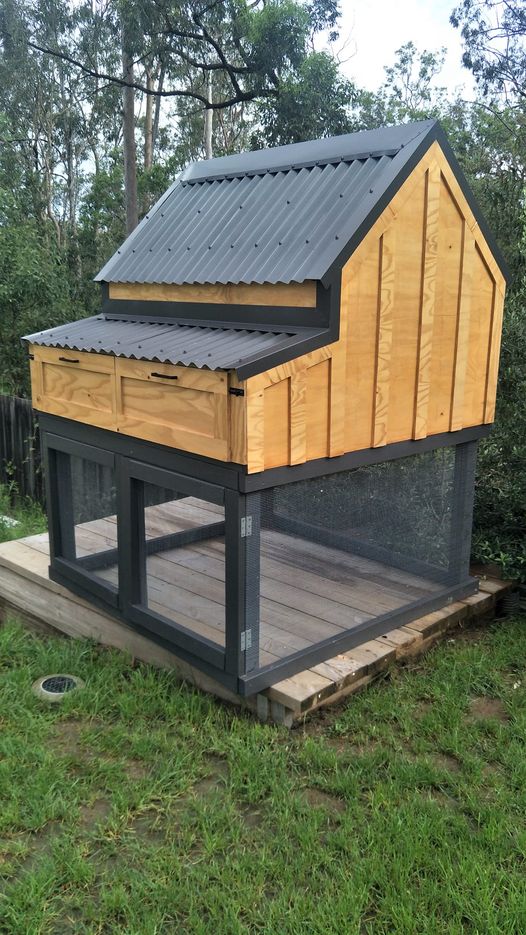
Timber Cabin Chicken Coop

Submitted by Julie101 on Thu, 12/02/2021 - 19:14

I had to convert all the measurements from inches to mm, but it was worth the brain drain. I didn't add the garden, but extended out the chicken coop. I am thrilled with the results! Thank you!

Comments

Ana White Admin

Fri, 12/03/2021 - 07:39

WOW, definitely worth the extra effort, just beautiful! I wish we could offer metric plans, may need to figure that out.

Seasonal And Holiday

Shaker Style Dresser with Copper Hardware

Submitted by jhelsel on Sat, 06/13/2015 - 10:32

Definitely a more advanced project, but the end result was pretty nice. I used copper bars and fasteners to create a unique hardware look on this dresser.

A few words of advice for those looking to use these plans:

1. Verify that your plywood is truly 3/4". I used Home Depot's so-called "3/4" plywood, which is actually 5/8" or 11/16" plywood (I forget which). Without a true 3/4", the sides of your dresser will be slightly off. I discovered the problem too late, which meant I had to shim the drawer slides. Trust me, you don't want to go through that exercise!

2. You can recreate the copper look with simple supplies from Lowe's or Home Depot. You just need a length of copper pipe and copper plated steel bell hangers. After I cut the copper pipe to the right lengths, I washed each section using barkeeper's friend to get that shiny copper finish. Then I sprayed each piece with clear paint so it wouldn't tarnish. Still shiny even now!

3. Do NOT nail in the front boards of the drawers from the back! The directions call for 1" nails and when I nailed it in, I blew a chunk of wood right off the front of the drawer. I filled it with wood putty, but still, not a good plan. Just countersink a few 1" wood screws and your results will be much better.

Built from Plan(s)
Estimated Cost
$400-$500
Estimated Time Investment
Week Long Project (20 Hours or More)
Finish Used
I used Minwax Polyshades, Espresso, Satin. This is a two in one product that has both stain and finish. I wouldn't recommend using this. I had to use two coats and had a lot of dust nibs show up both times. If I could do it over again, I would stain the wood to the color I wanted, then apply a clear satin finish.
Recommended Skill Level
Intermediate

Storage Bed

We used the plans for a six drawer storage bed to build this with a custom headboard and footboard. We used plywood to build these boxes but have since switched to using MDF. We use a pine laminate for the drawer faces.

Estimated Time Investment
Weekend Project (10-20 Hours)
Finish Used
Custom mix
Recommended Skill Level
Intermediate

Comments

leftysgirl

Sat, 09/26/2020 - 05:51

I absolutely love this style. I am trying to figure out your modifications.
What size pine planks are those for the foot and head board? 6”?

Thanks!

Wood Closet Shelving

Submitted by Anonymous (not verified) on Thu, 01/13/2022 - 09:01

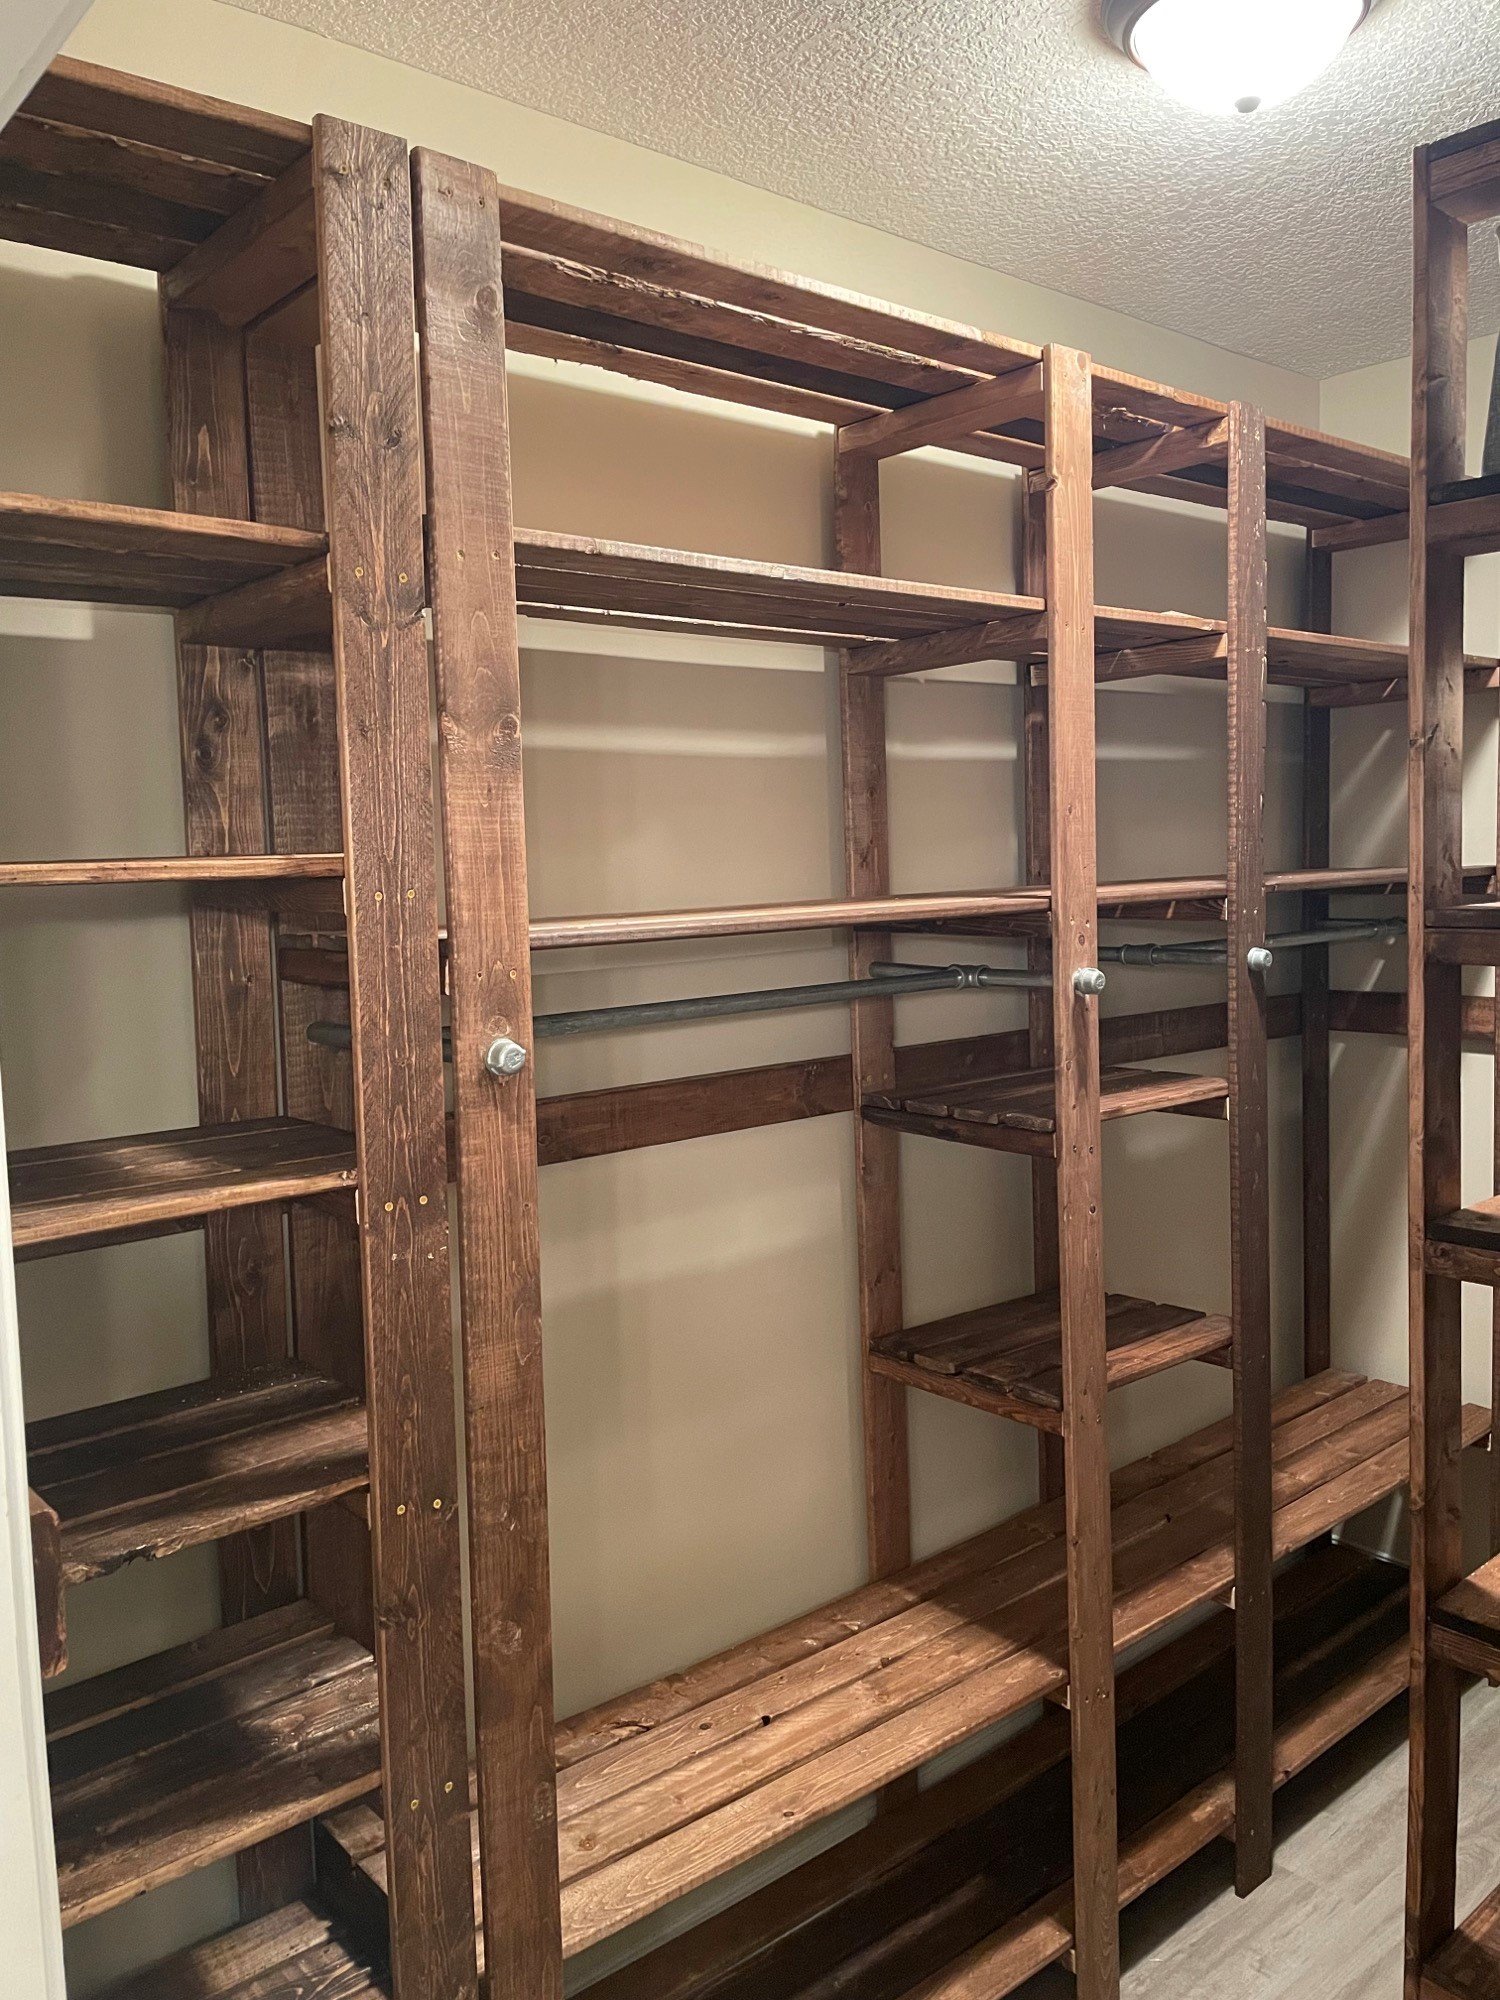
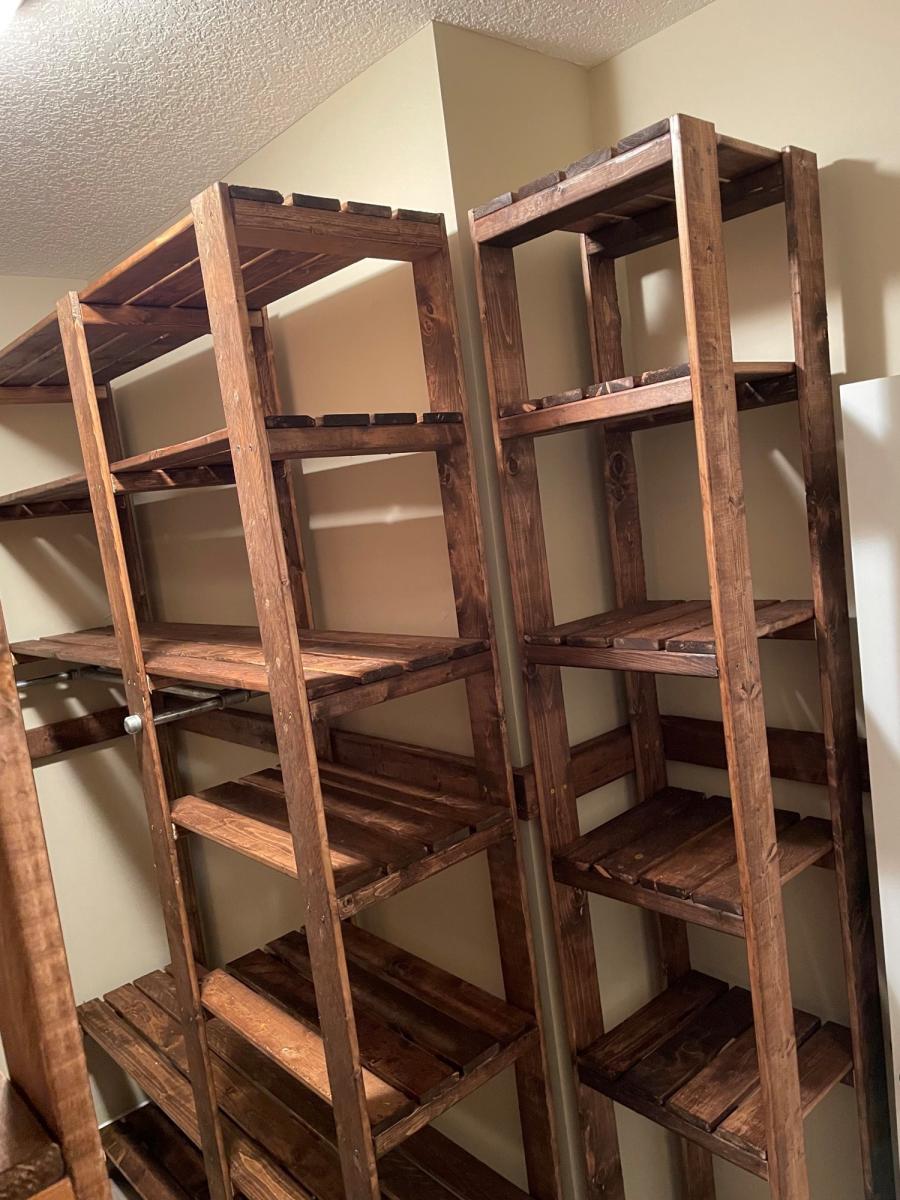
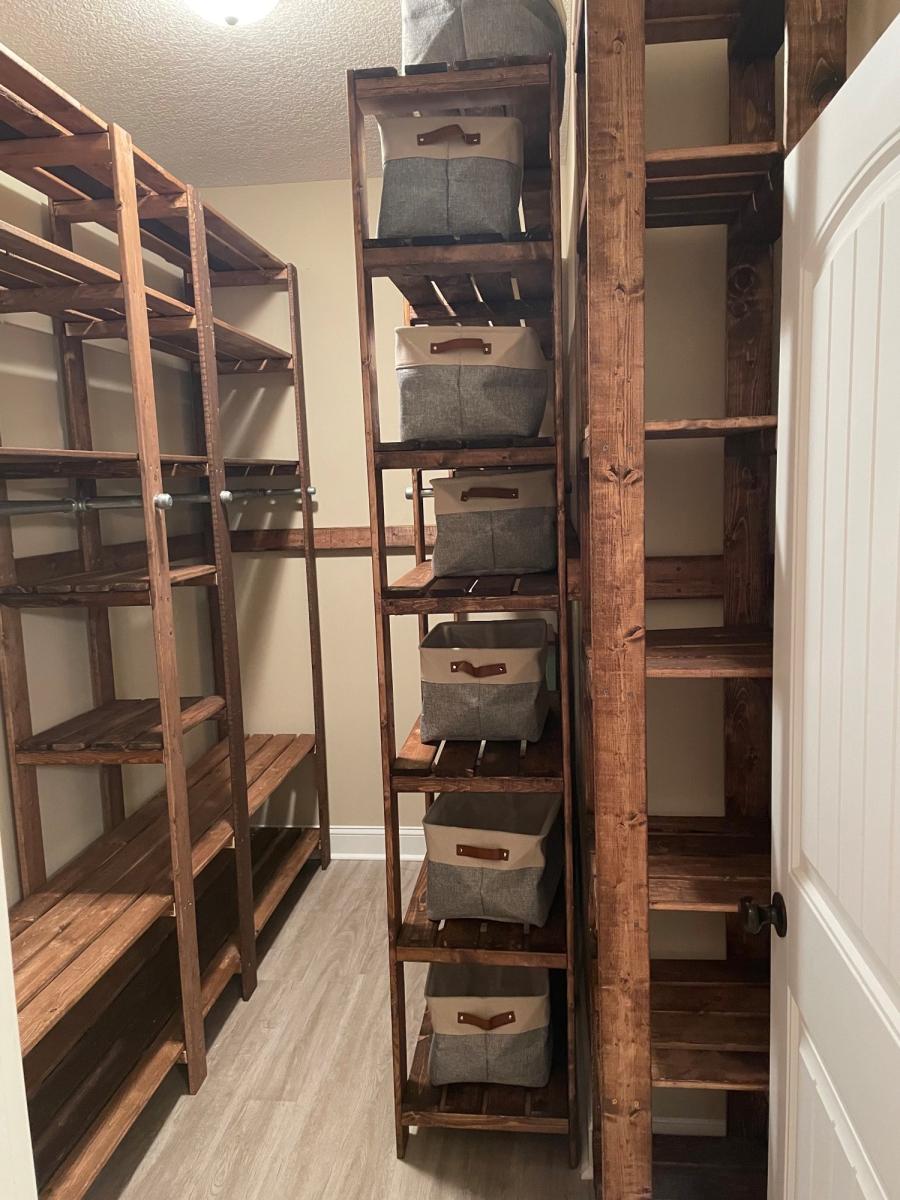
My closet system is four separate units that I butted up together and attached to the wall with a "decorative" 2x4 railing around the entirety of the closet. The main unit looks the closest to the real design but is 8 feet long and 8 feet tall to avoid extra cutting of boards. The smaller unit only has one area for hanging up clothes and is around 5 feet long which is just the length of the wall. I also built a unit for holding sheets and towels and another for my wife's shoes.

The plans are really easy to follow but I would suggest a few things:
-Do stain and boards before cutting; this would have been a nightmare otherwise.
-If you use the metal clothing rods (if I could go back in time I would have used wooden dowels) make sure that you put those in before you attach any boards between the support structures. I ended up having a 35 inch gap instead of a 36 inch gap and it killed my momentum.
-I made mine 8 feet tall because it was less to cut and then re-stain; time wise it probably was a scratch cause I had to build it in place and at the end it was very tight to work in the space.

Built from Plan(s)

Comments

Spice Rack

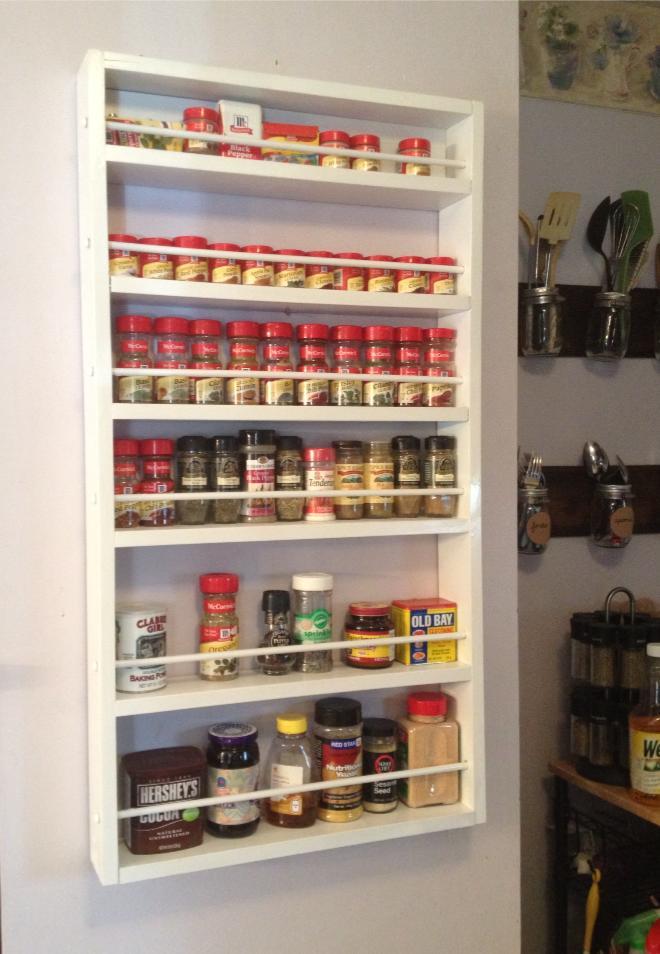
I absolutely love this project. I do not have a pantry with a door so I just placed this spice rack on my wall and it really looks great! We have a ton of spices so I might need to make another!

Built from Plan(s)
Estimated Time Investment
Day Project (6-9 Hours)
Finish Used
White Spraypaint
Recommended Skill Level
Beginner

Comments

robynred

Sat, 09/21/2013 - 10:33

hi - I'm thinking of building this to hang on a wall like you have. Do you think the dowels are necessary? Seems like it would give a little more shelf room without the dowels - but do you feel like the spices would fall out without them?
thanks!

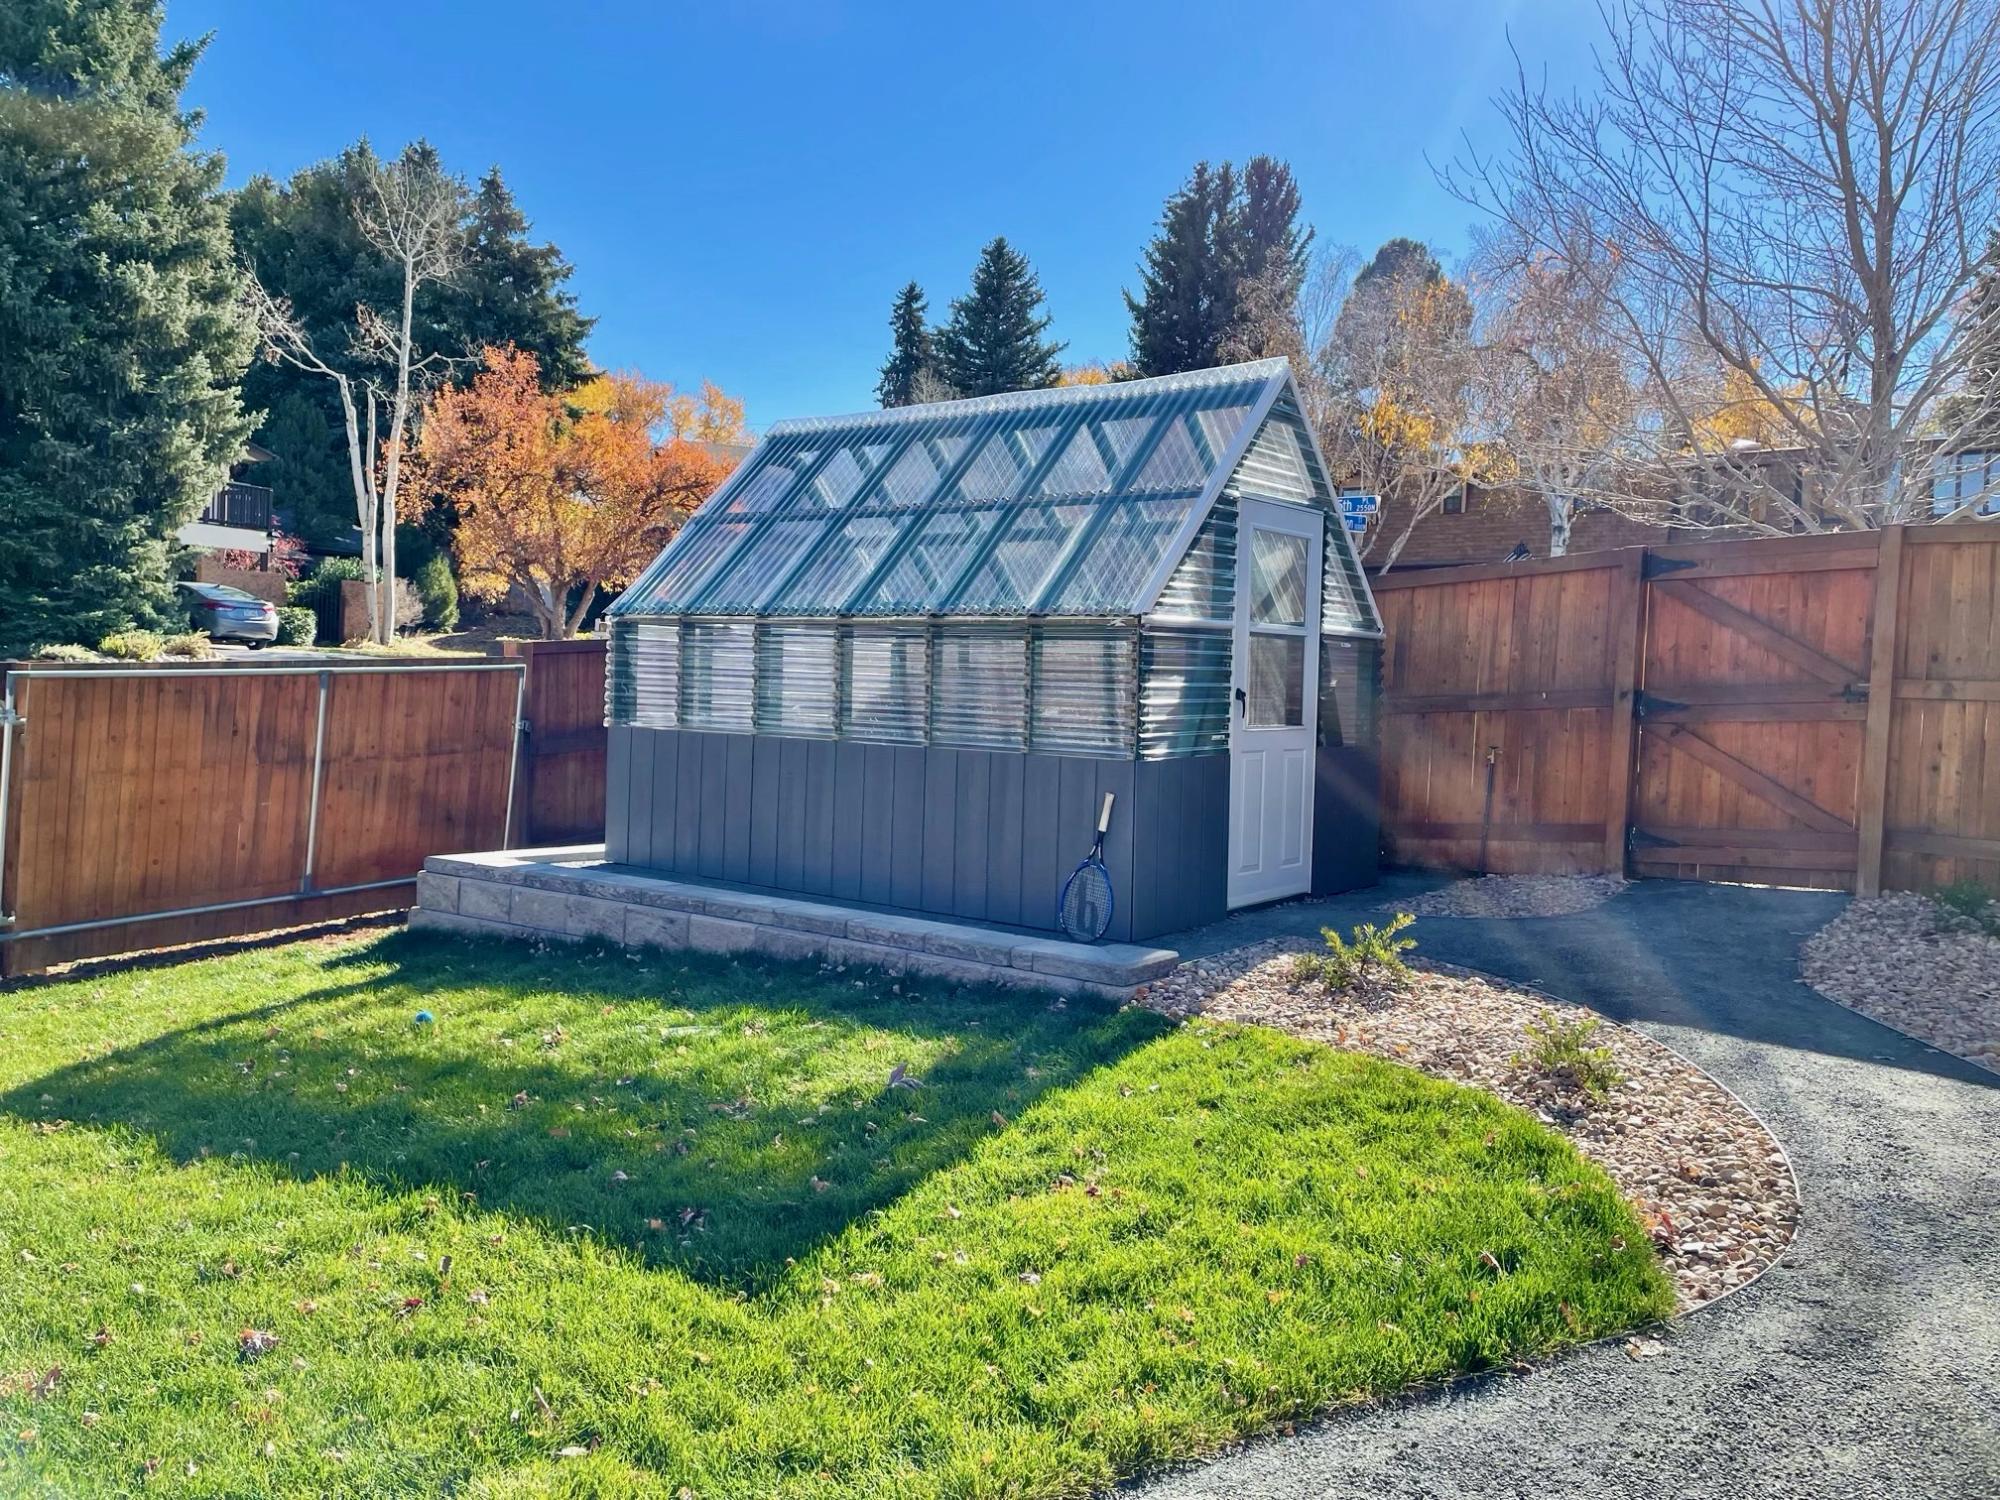
Colorado Backyard Gable Greenhouse

Submitted by Anonymous (not verified) on Tue, 05/24/2022 - 20:17

We started this project last fall with the goal of creating a multi use hobby greenhouse with plenty of space for the kids to get their hands dirty. We purchased the Small Gable Roof Greenhouse plans and made our first (of many) trips to the hardware store. Since becoming homeowners in 2015, we've done countless projects but nothing as big as this. We are still very much learning the nuances of greenhouse growing in Colorado, but that has become a fun experience for our entire family. Since completing the structure, I've found that I'm more interested in making the space more functional than I am in actually gardening. I added a shelf built almost entirely from old pallets, a raised cedar bed and solar powered exhaust fan/lights. Luckily, my wife loves spending time in there tending to the plants! As the summer heat sets in, we will face new challenges of how to keep the space cool. Maybe by adding a shade cloth and misters? Regardless of what the "output" looks like we are loving this new hobby and are looking forward to learning new skills!
Comments