Community Brag Posts

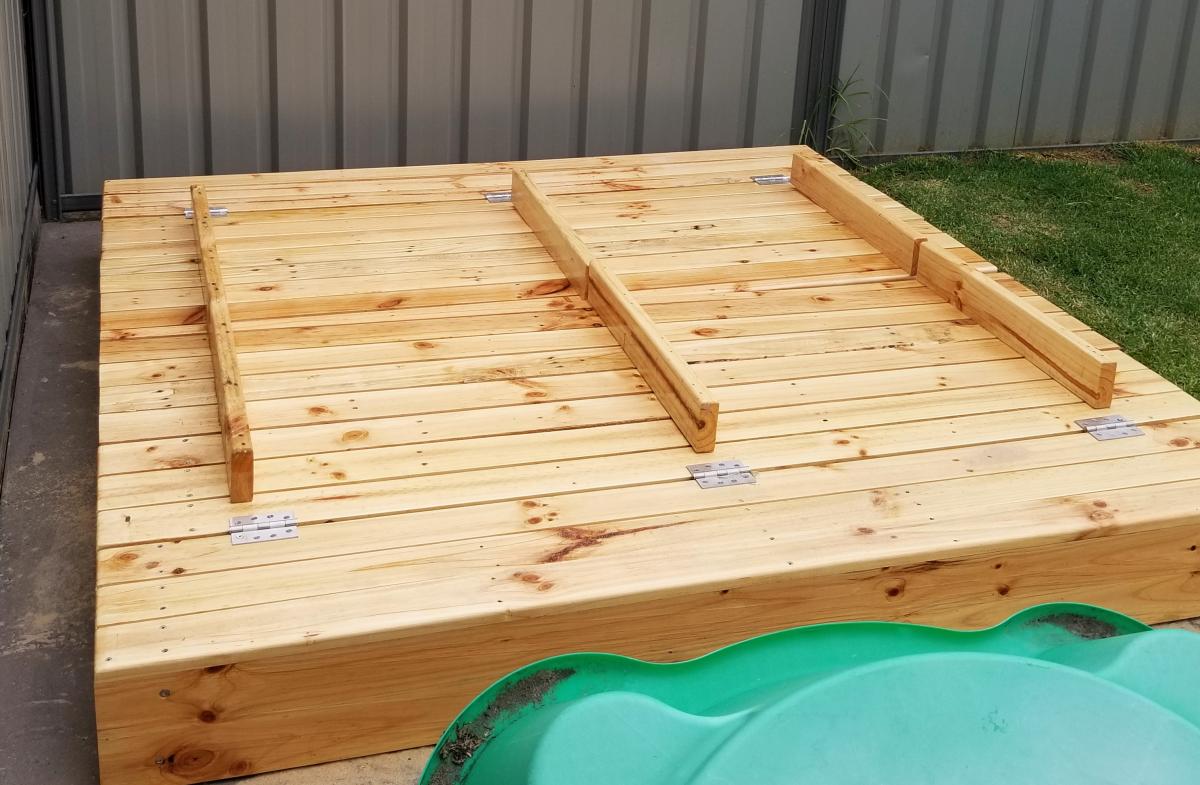
Wood Covered Sandbox with Built-in Seats

Submitted by Anonymous (not verified) on Thu, 02/15/2024 - 11:04

Hi Ana
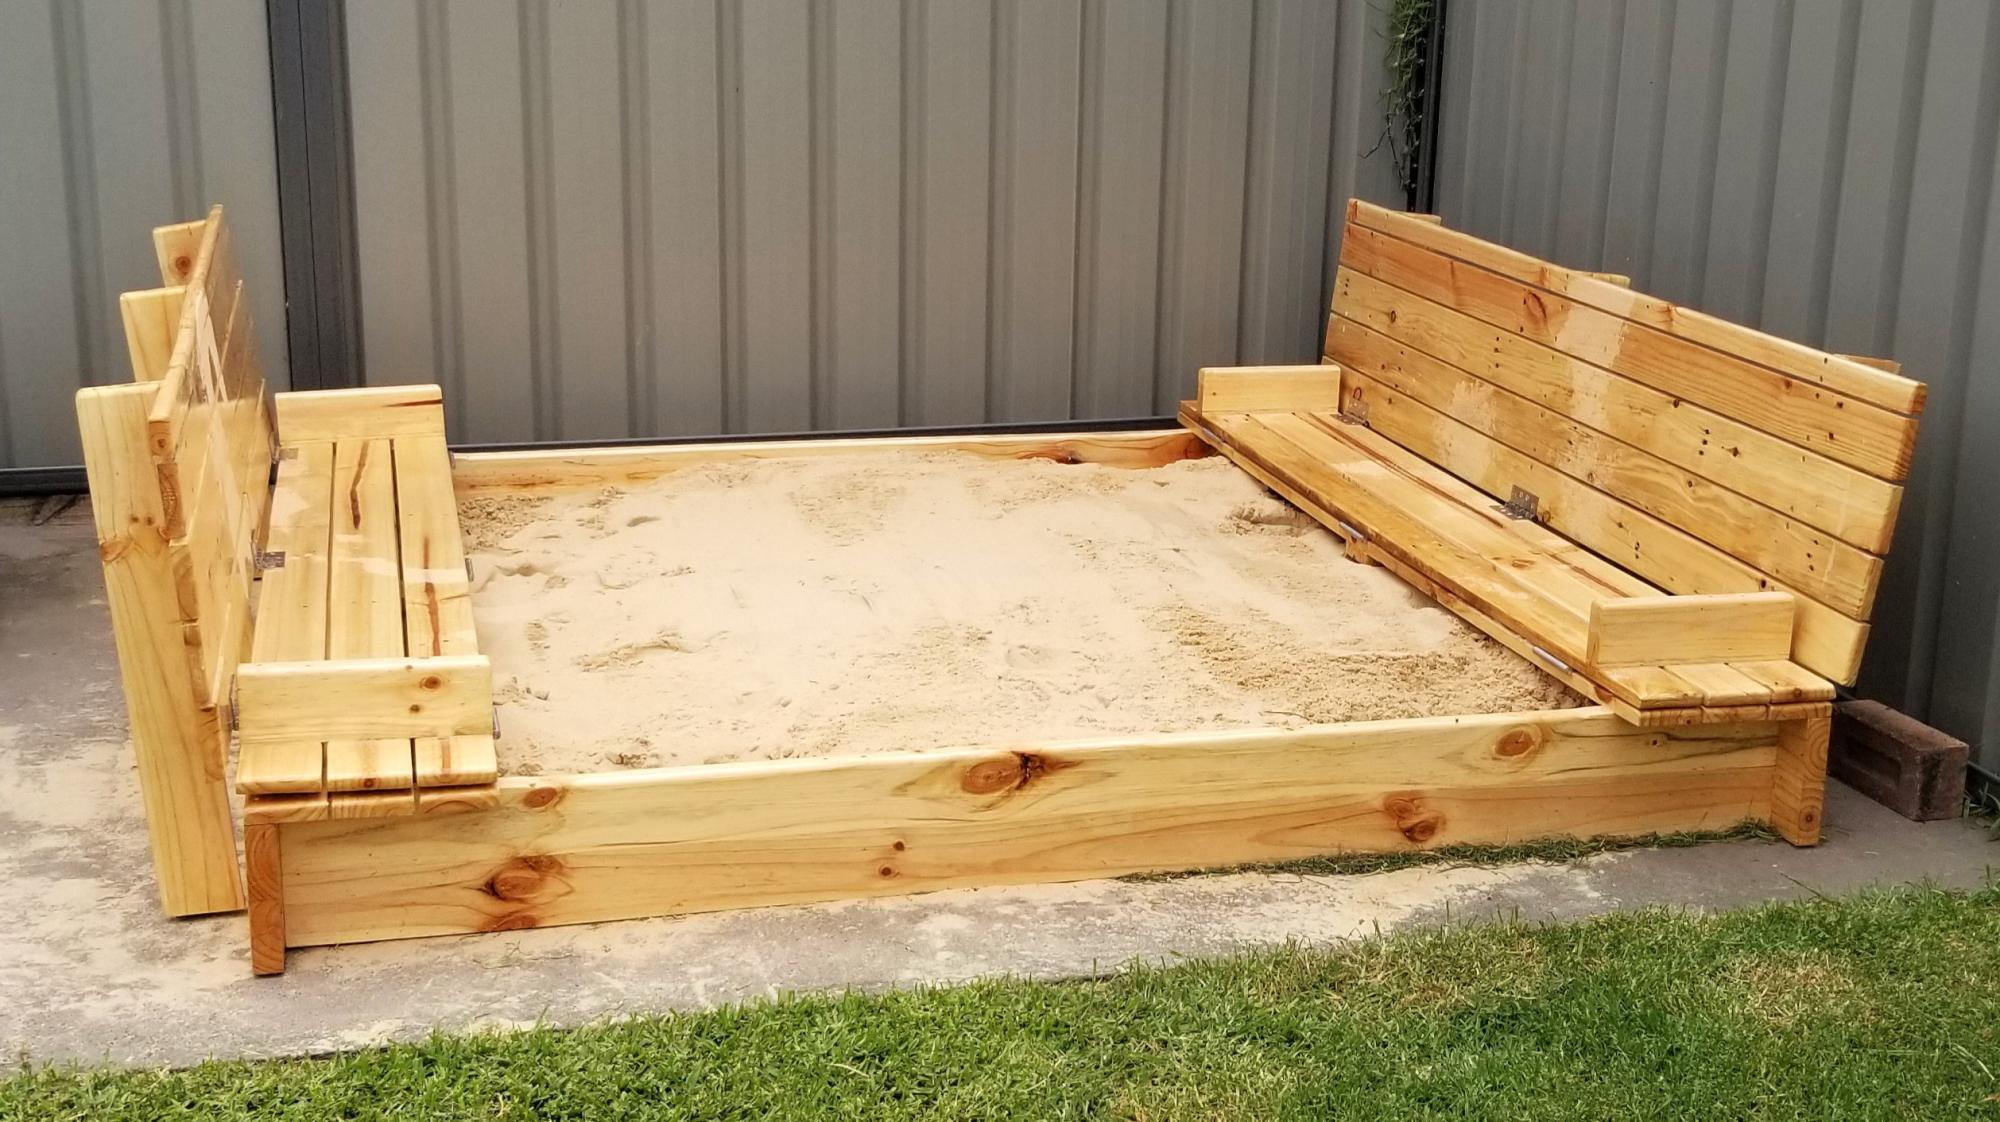
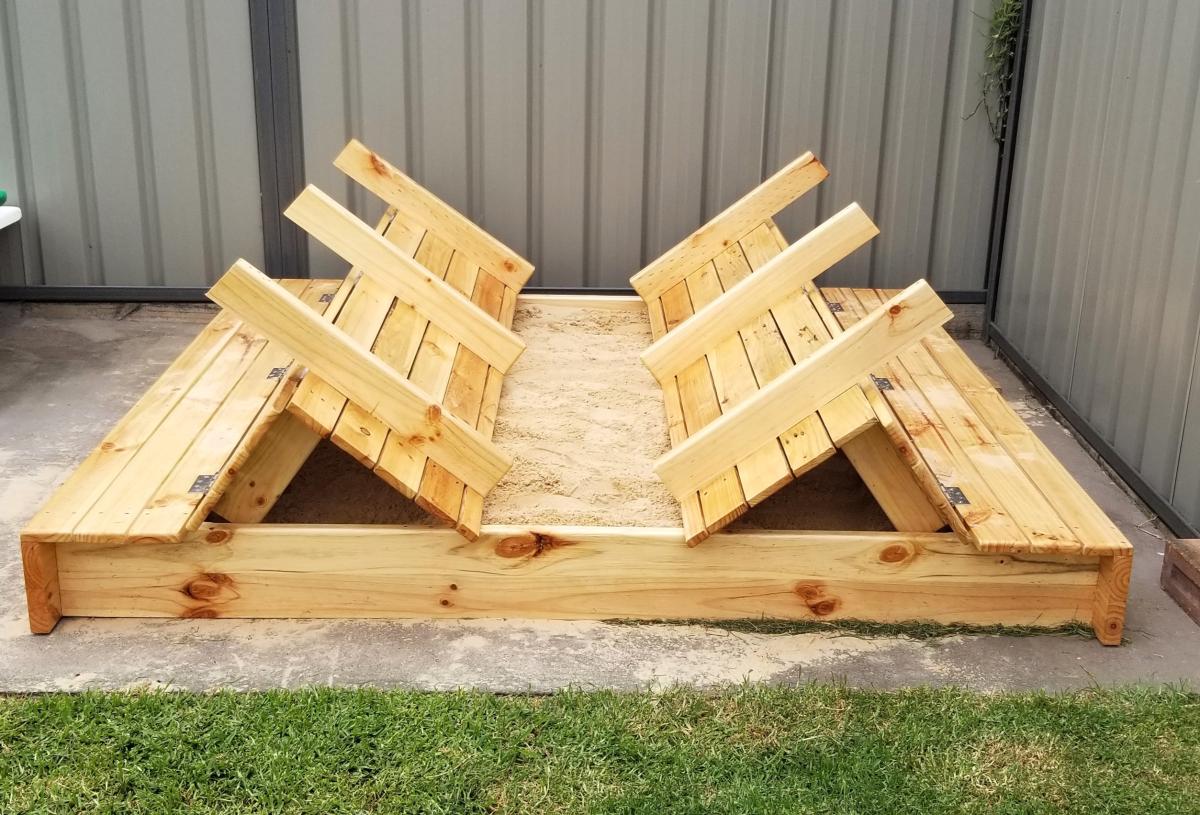
Well, was inspired from your plans on sand pits, so I made a custom one for my first Grandson Brax, it's around 2 meters square. With larger seats etc., was made completely out of recycled pine timber pallets. used waterproof glue, stainless screws and hinges as we live in Belmont NSW which we have lake Macquarie one side ocean on the other so it a battle with salt air. Finished it with a marine clear lacquer. Still lots to do like a pool fence keeps the dogs out and a shade over it. Love your site has great ideas and projects.

Chris Burt, Belmont NSW Australia

Seasonal And Holiday

2x4 Outdoor Sectional with Matching Chairs, Ottomans and Table

Submitted by Anonymous (not verified) on Fri, 06/12/2020 - 20:51

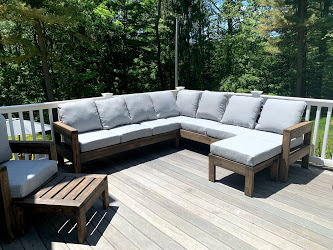
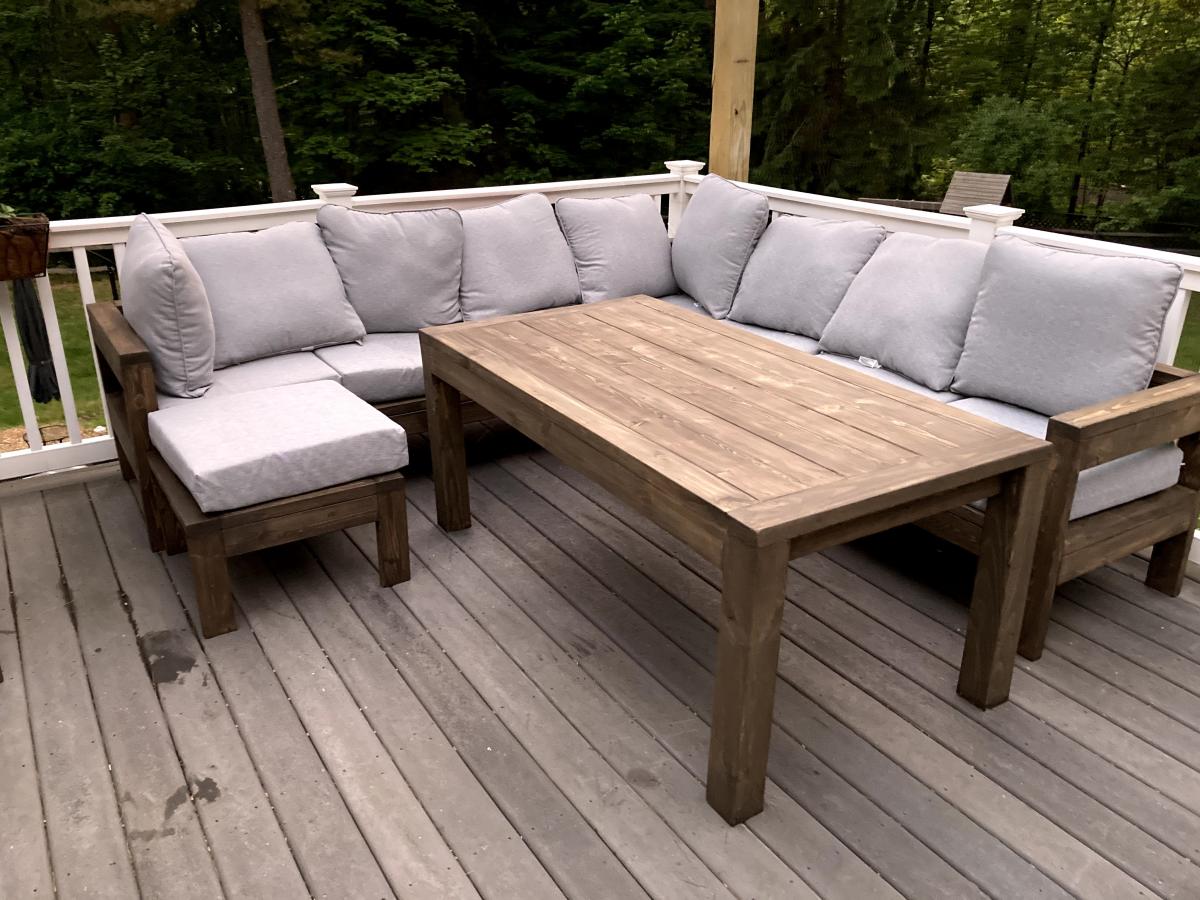
We were looking for outdoor furniture for our deck, and for the size and amount we needed it would have cost us at least $2000. We really like the idea of having an outdoor sectional that we can also use for dining, and we had trouble finding a set we liked. We found Ana's plans for the 2x4 Outdoor Sectional, and i loved the look. After seeing what others have done with the plans, I thought I would be able to modify it to get everything we needed for much less cost than buying a set.

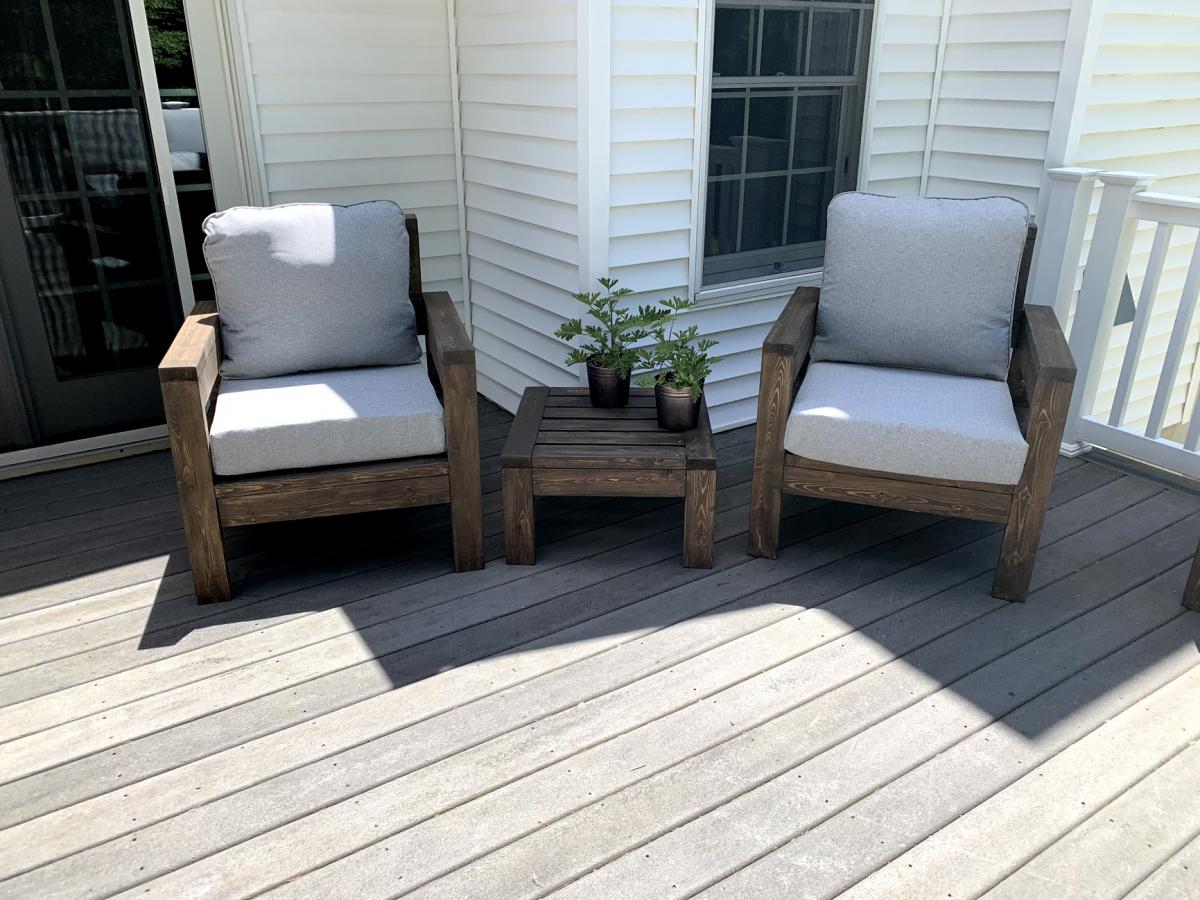
We ended up extending the size of the 2x4 outdoor sofa by one 24" section, for a total length of 96". I then used the same design to make two outdoor chairs, just reduced the length to 24". I modified the 2x4 outdoor coffee table plans to create two ottoman's that can be moved around to make the seating more lounge style Finally, I modified the coffee table plans to make a 5 foot outdoor dining table. All in all, it took about a week and I couldn't be happier with how it turned out!

Estimated Cost
$800 Total ($200 for the wood, $600 for the cushions)
Estimated Time Investment
Week Long Project (20 Hours or More)
Finish Used
Valspar Semi-Transparent Antique Oak Stain
Recommended Skill Level
Beginner

A's Full Size Loft Bed

Submitted by Hulsberg on Sun, 08/12/2012 - 14:58

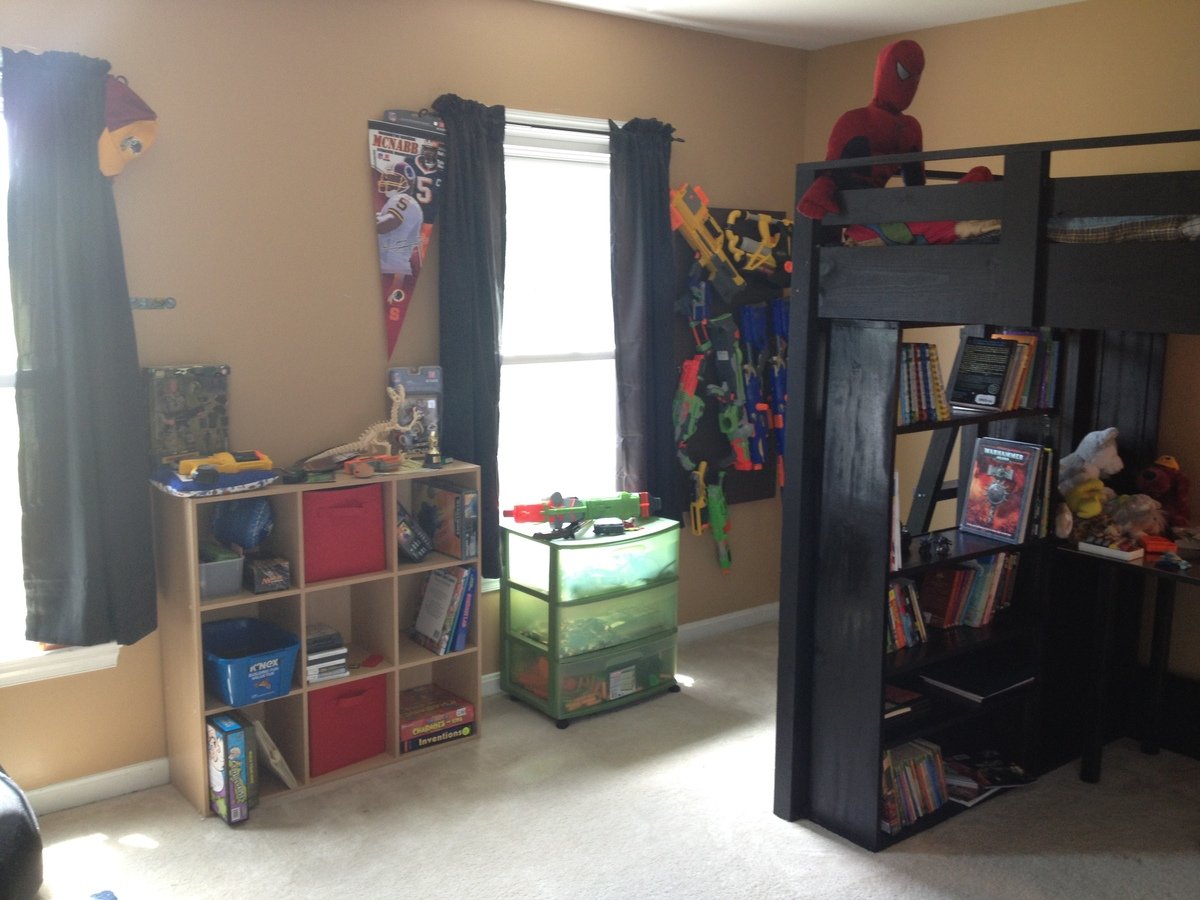
My son needed more room in his bedroom...and to be rid of the very girly furniture he inherited when he moved into his "big boy-ish" bedroom. At 10 yrs old, it was high time he got a bed that wasn't pink-tinged, white washed pine with 4 posters and enough curlicues to choke a forest. He also needed a desk which I couldn't really fit in his room with the armoire and chest of drawers that came with the Queen sized bed.

So off to Ikea we went and I saw a black loft bed for $300, but it was really, really high which meant I would have to cut it down and it was not sturdy at all. I looked at PB and saw the $1800 bed. Um, no - that wasn't happening. So, off to Ana-White I went and I'm so happy I did!

I built the full sized version of these plans and, to keep costs down, used wood I had on hand. This meant I had to work a bit at the cuts, but it all worked out.

Mods:
1) I modified the railings to have the ladder at the end of the bed to keep away from the ceiling fan.

2) Because I put the ladder at the end of the bed, I got very nervous about having a soon-to-be teen climbing on to a ladder secured to a 1x10 that was only connected to the side railings with glue and screws. So I sandwiched extra 1x3s over the bottom rails and attached them to the top railing.

3) I was very nervous about making sure that the bed was adequately supported so I put a 2x4 down the center instead of the 1x2.

4) I went a wee-bit overboard screwing things together to the point where it's a bit embarrassing and now I have to paint over the screw heads.

5) I made the ladder treads with 2x4's, modifying the inside spacer board cut lengths.

Because I had quite a bit of lumber on hand, the bed only ended up costing me about $90.

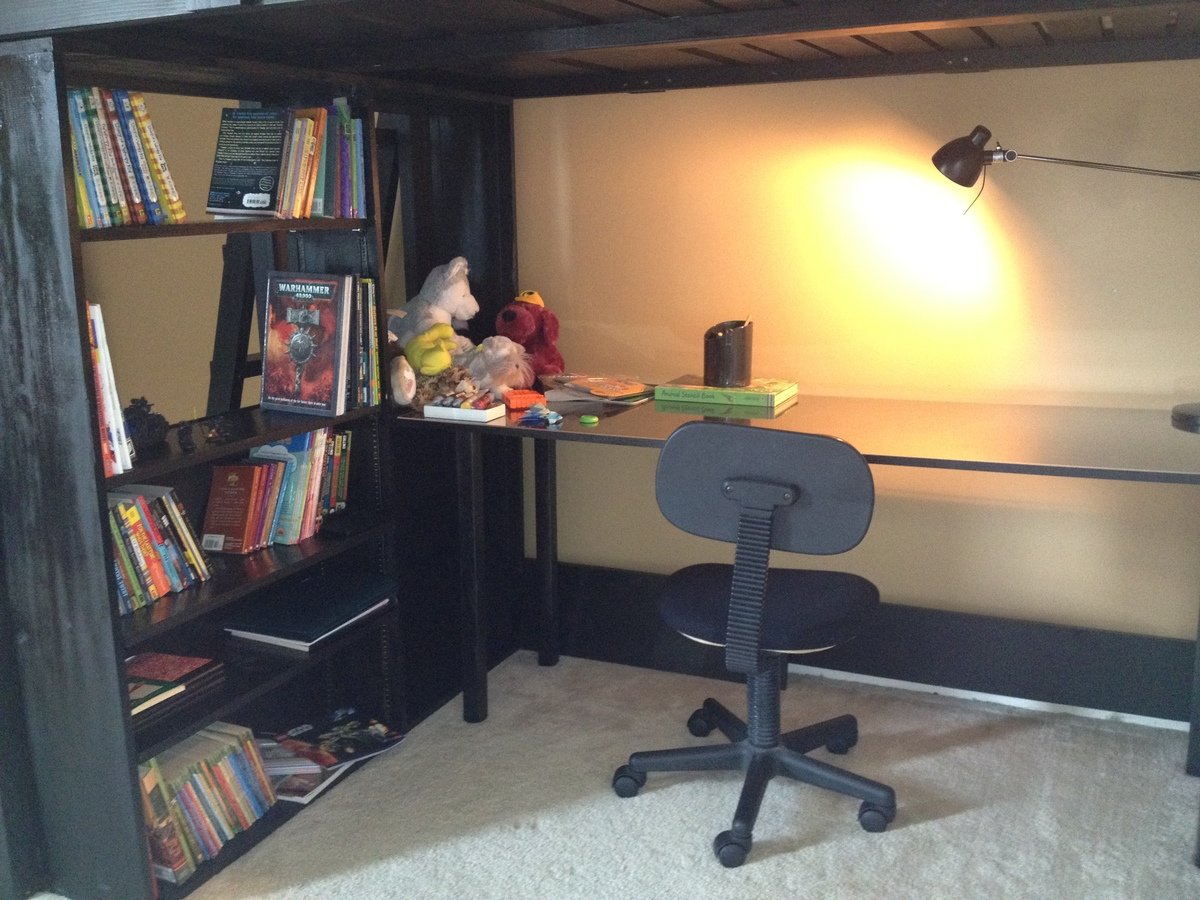
For the bookcase, I did end up buying the 1x12s and the adjustable shelf railings. I made the book shelf the entire width of of the bed and split the two sections based on width of the 1x24 board I bought for the desk. I only put the backer board up half way so that the daylight could get underneath the bed and make it not so cave-like.

The book case cost me about $70.

The desk was the easiest...but most costly item. A 1x6x24, 4 table legs and the table leg mounts ran me about $80. The plexiglass top that I had cut for the top cost me about $80.

Time wise, this would have taken me a lot less time than the 4 months it took - but I worked on it as I could and when I could, by myself. I got some friends to help me bring it upstairs and put it back together, but it was mostly done when I could fit in some time.

My son LOVES this and it really does give him so much room!!! Thanks Ana - I really appreciate it!

Built from Plan(s)
Estimated Cost
with paint, screws and bookcase hardware, about $450
Estimated Time Investment
Week Long Project (20 Hours or More)
Finish Used
gloss spray paint / primer in one.
Recommended Skill Level
Beginner

Comments

Jennifer P (not verified)

Fri, 01/18/2013 - 07:38

Hi!

To modify this to be full sized, I just added 15" to the width of the bed. Ana said this in the plans:

Cutting Instructions:

Converting to Full Size This bed can easily be converted to full size. You will simply need to add 15″ to all boards that run parallel to the ends. This includes the planks, end top pieces and the slats. Shopping list will need to be adjusted as well.

So I modified the cuts to the head and foot board parts and the full size mattress fits perfectly.

For the shelving underneath, I just looked at some of Ana's other plans for shelves and winged it.

Simple Composting Toilet Outhouse

Submitted by Emillie on Thu, 06/18/2020 - 13:36

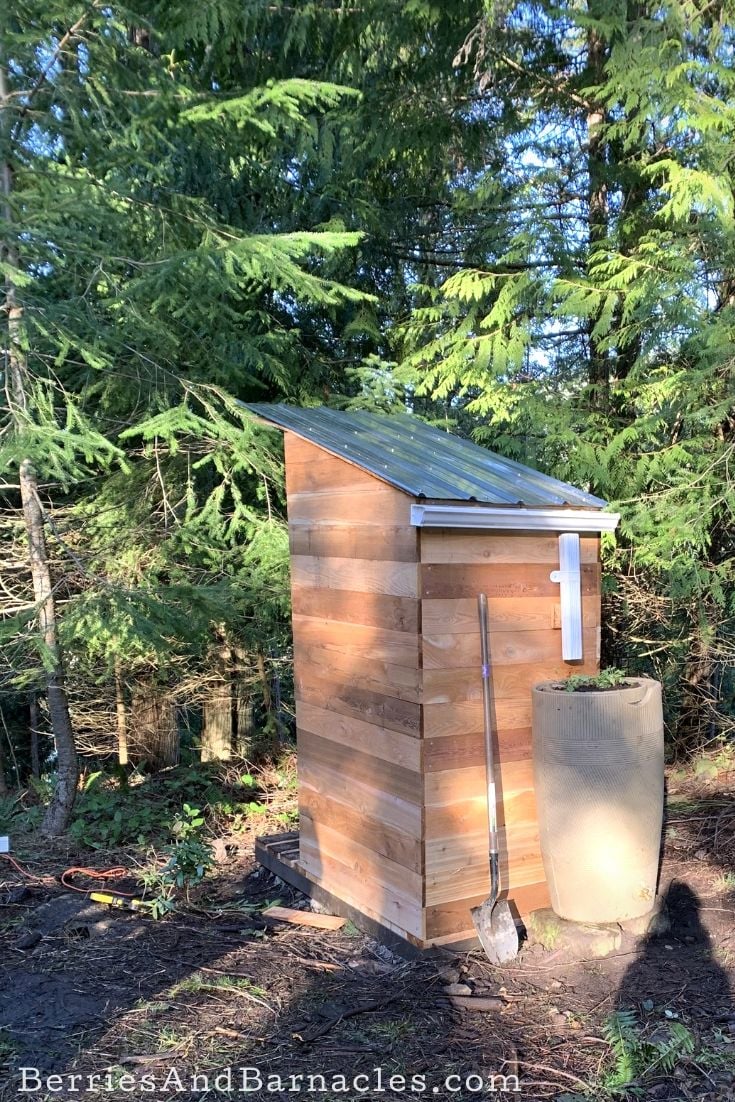
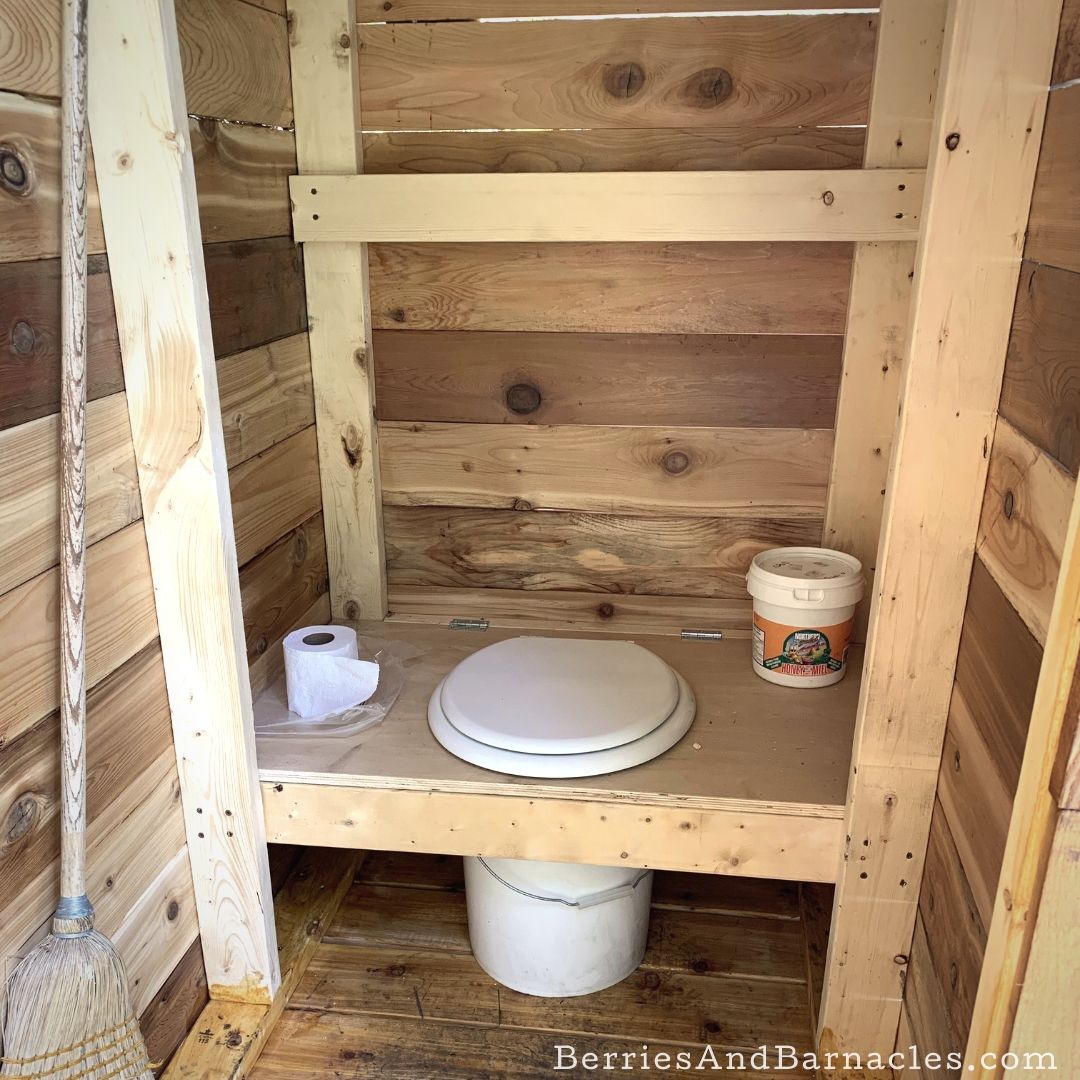
We built this composting toilet as one of the first things we did on our piece of vacant land. (How can you build anything else without somewhere to go when nature calls?)

An eco-friendly design was important to us, so we used cedar fencing instead of plywood. Otherwise, we followed Ana White's simple outhouse plans. It came out perfectly! It even has a rain barrel for hand washing.

Estimated Cost
800
Estimated Time Investment
Weekend Project (10-20 Hours)
Finish Used
We stained the outside with a semi-transparent stain and varnished the inside with an outdoor varnish.
Recommended Skill Level
Beginner

Workbench

Submitted by Ulrike on Sun, 06/21/2020 - 09:37

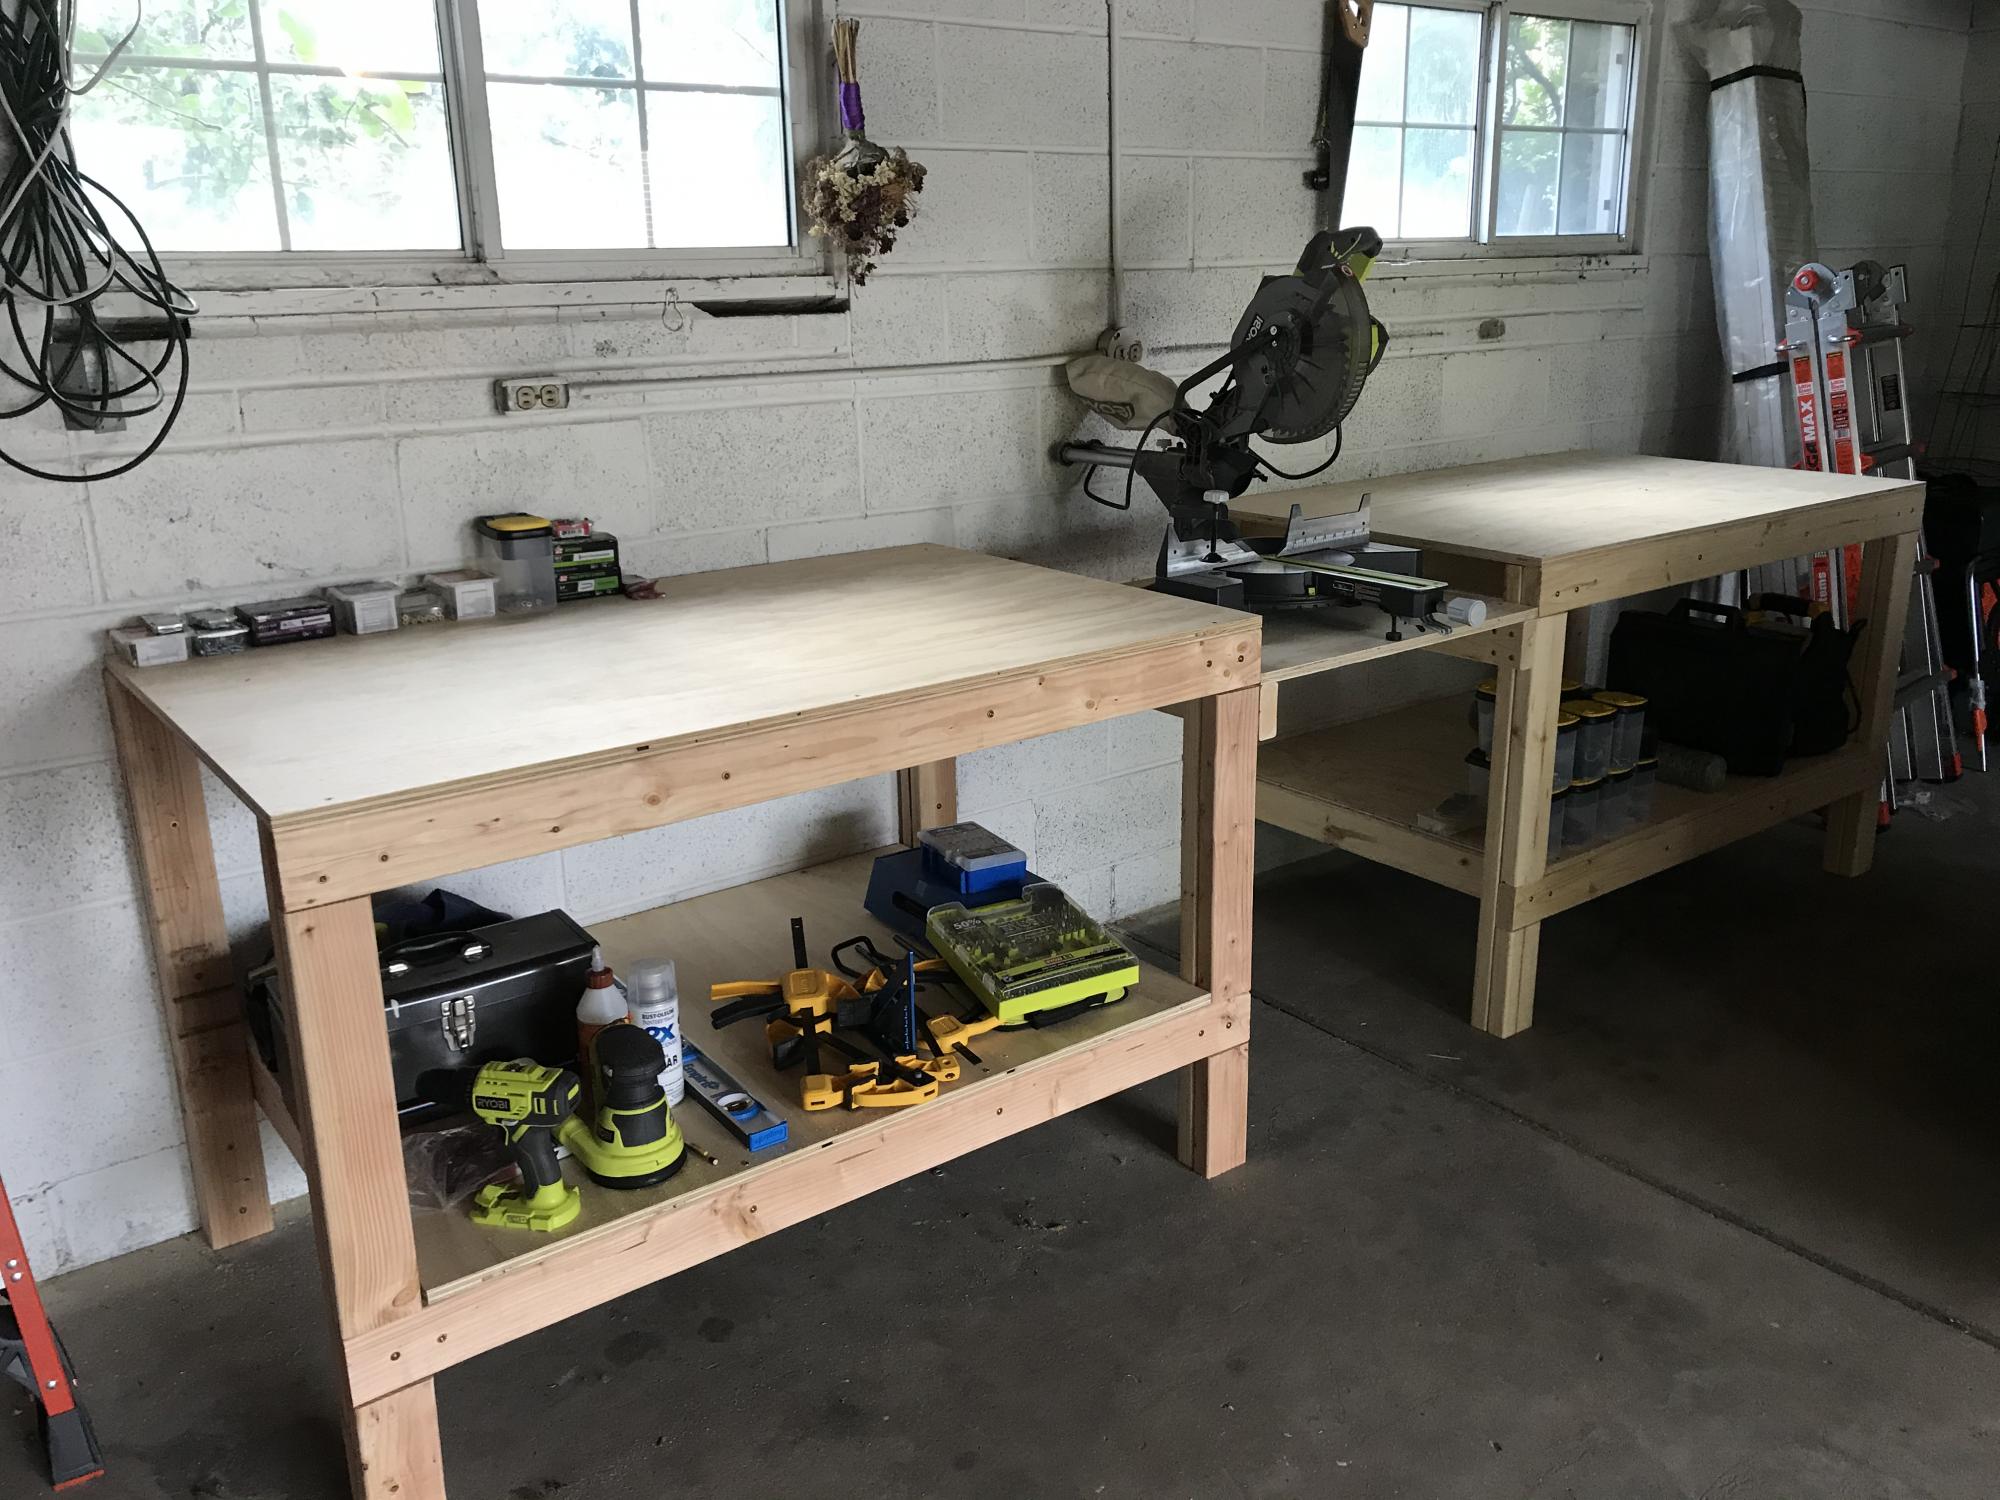
Built 2 of the workbenches for our garage. The plans made assembly very easy and quick. We had Home Depot cut the plywood to size.

Estimated Time Investment
Afternoon Project (3-6 Hours)

Comments

Sandpit with built in seats and lid - metric

Submitted by mrs_dt on Tue, 07/08/2014 - 01:49

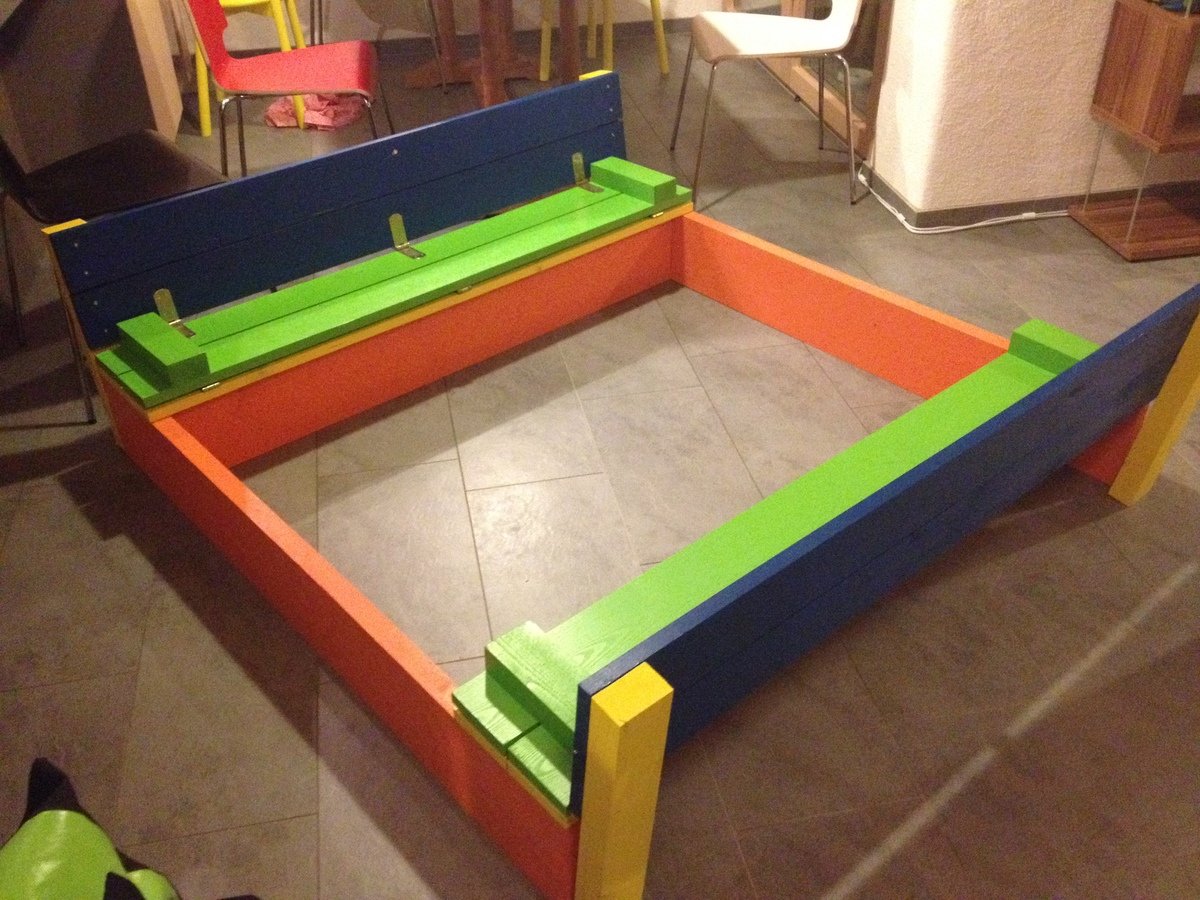
This was our first build from this website and we are so pleased! Having seen very involved plans on an Australian website for a similar sandpit, I was so pleased to come across this version, with its far simpler design!
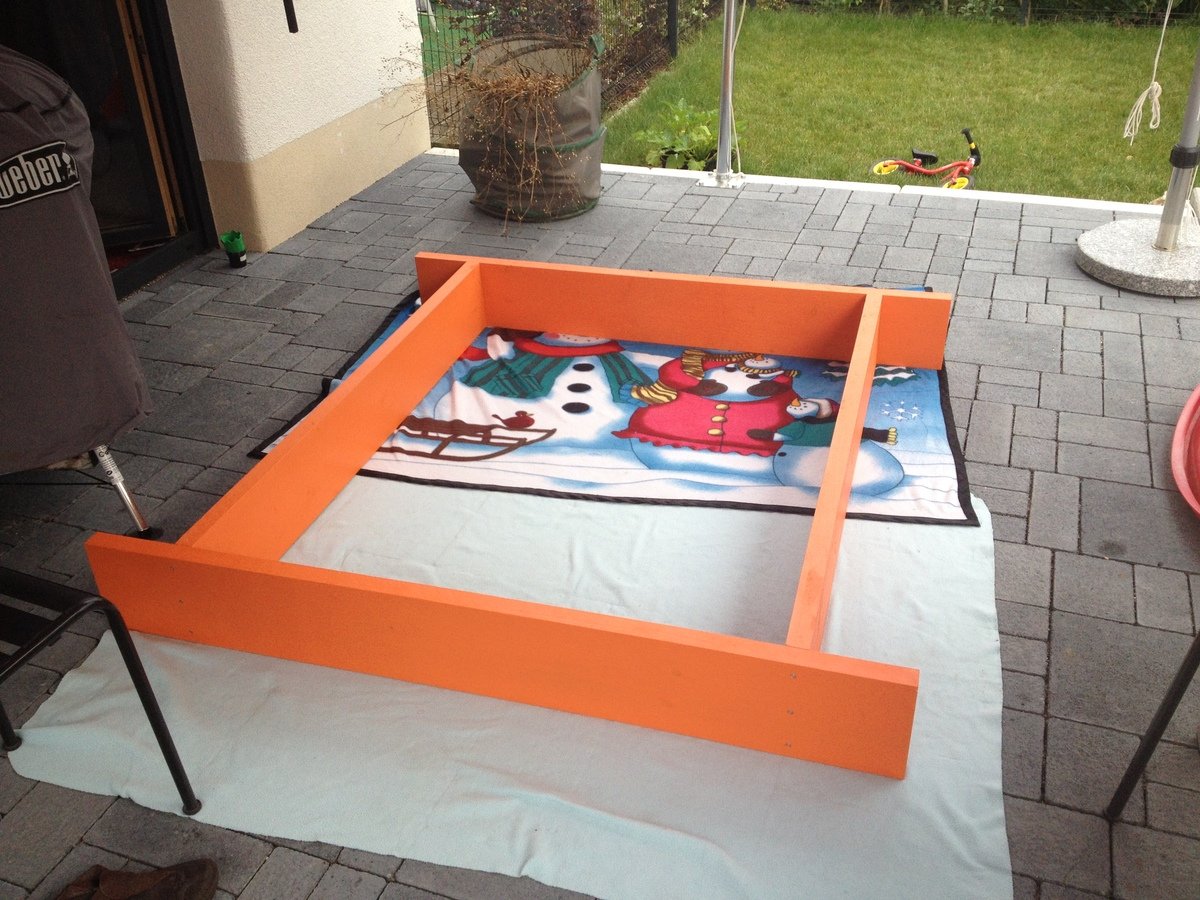
We wanted a slightly bigger sandpit, so I needed to do some modifications, and while I was enlarging it, I also converted to metric sizes, and designed specifically for the timber I knew I could buy locally (very obscure and inconsistent seeming German sizes). So the end result is a 1.5x1.5m sandpit, that has so far had 6 kids playing happily in it at once!
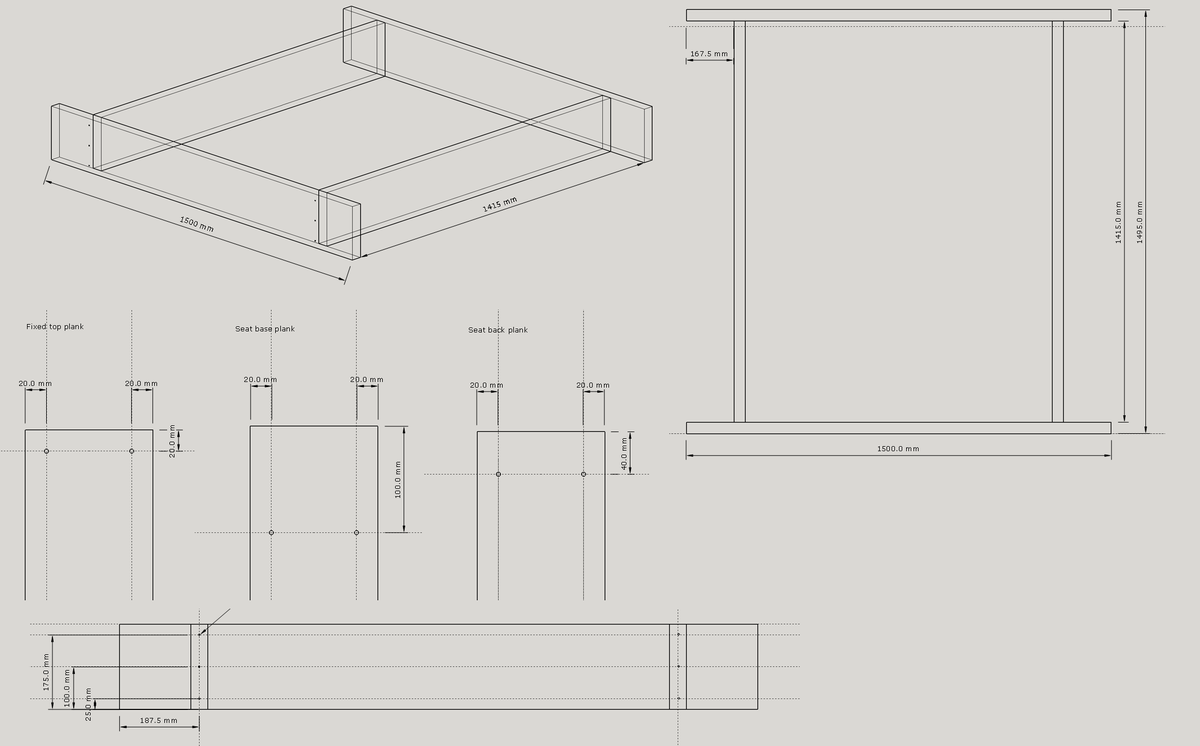
I've put in the drawings I used, and the cutting list for larger sizes in case anyone else is working in metric, or wants a bigger size!
Our other modification was to offset the shorter sections of the base to run along the front plank of the bench seat - there were two main benefits for this - we need a lot less sand, as there is none wasted under the seat, and the seat is supported and can't bow downwards!
The dimensions and layout we used are in the images.

Supplies

Timber
2 - 200 x 40 x 3000mm
6 - 120 x 24 x 3000mm
1 - 80 x 50 x 3000mm

Hinges
12 - 140mm long (the original design had 8, we went with three per edge to allow for the extra width)

Self tapping decking screws
18 - 5 x 80
48 - 5 x 50
96 - 3 x 20 (or enough for your hinges, depending on the design)

Paint
3 - 375ml PU Acrylic Paint, suitable for exterior use (top planks and seat supports)
1 - 750ml PU Acrylic Paint, suitable for exterior use (base)

Weed matting and staple gun

Sand
I calculated I would need 20 x 25kg bags - in the end we needed 11 - don't ask me where we went so wrong!

Cutting list

2 - 200 x 40 x 1500 (long sides of base)
2 - 200 x 40 x 1415 (short sides of base)

12 - 120 x 24 x 1495 (top slats - just under half a plank, to allow for waste)

4 - 80 x 50 x 245 (armrests / seat braces)
4 - 80 x 50 x 495 (back supports of seats)

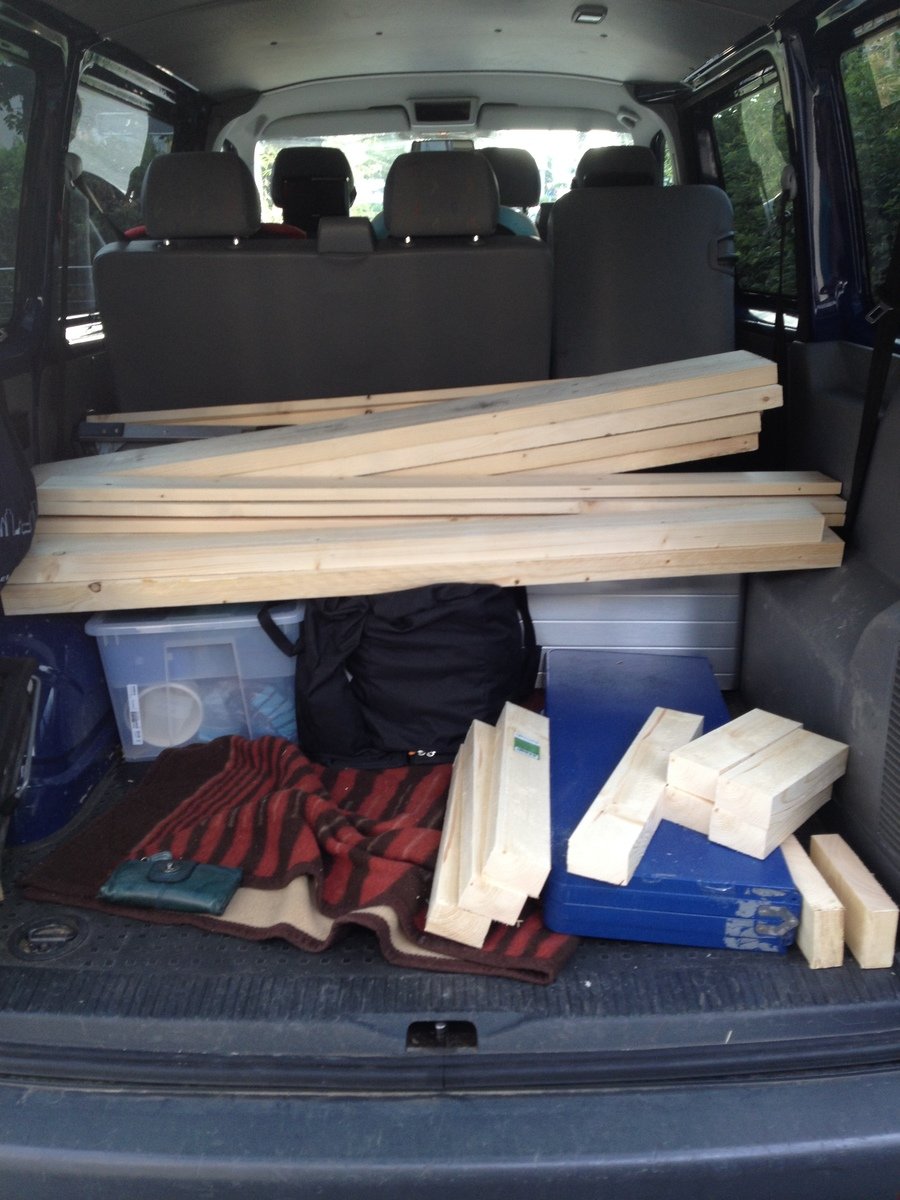
I gladly paid 5 Euro for the wood to be cut in Hornbach - it should have been more than this, but the guy was generous!

12 hinges (the original design had 8, we went with three per edge to allow for the extra width)

On Sunday we had the idea, on Monday I drew up the plans, on Tuesday I went shopping! Once all our wood was home safely, we sanded it down - most edges weren't badly finished, but there were a few splinters that needed getting rid of!
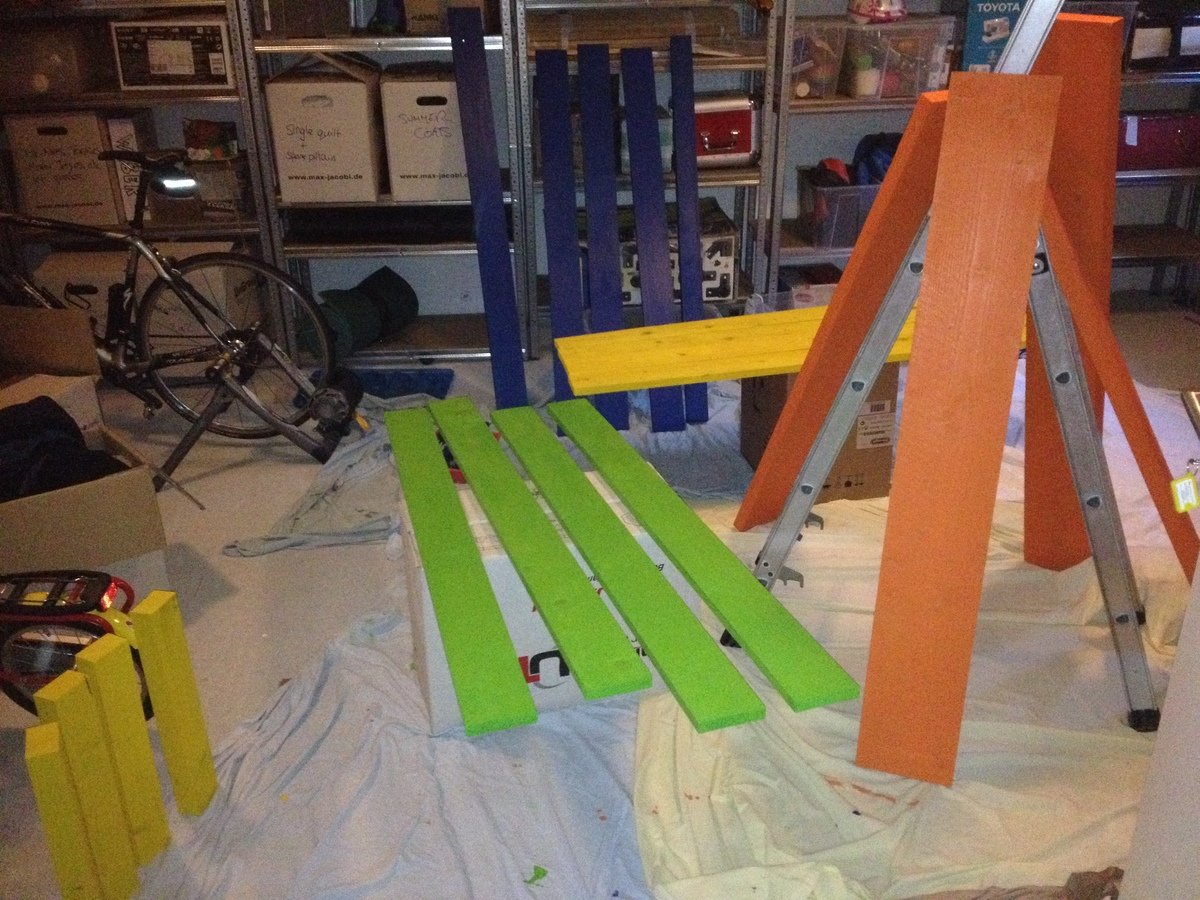
The next two nights Mr W gallantly set to work with the paint brush. After two nights, the wood all had two good coats of paint and we were ready to start assembling on Friday.
I pre-drilled the base of the bench before the second coat of paint - three holes for each butt joint - with some careful measuring this made screwing the base together really easy!
The top planks were also pre drilled, but there unfortunately my tiredness made me make mistakes, and some had to be re-drilled! Spacing the planks out took a lot of time, but I am glad I made the effort. I used cereal box, and experimented with different numbers of layers - I knew I wanted a theoretical 5.4mm gap, but it took some time to get the right number of layers of carefully creased and concertinaed card!

Having got our spacing wedge sorted, we screwed the blue planks in place at either end of the base. We then assembled the green seat section, and the blue/yellow back rest. Following a tip from the comments section, we added the hinge to the seat/back combo first, as this ends up being on the underside. Once those two hinged sections were made, they were then laid in place on the base (card wedge spacers in place) and then the final hinges added. The final assembly took about 5 hours - but this was partly because we started outside, then had to move everything inside when a huge thunderstorm rolled in!

The next morning we got busy with the staple gun and tacked weed matting over the base, then it was hauled in to position and filled up! For us getting this done and dusted was important, otherwise it could have dragged on a lot, but we are terribly proud that it was done in less than a week from being fist conceived!
I hope the metric/enlarged plans are of use to someone else too. One other idea we had, which we didn't get round to building in, was a support bar to be fitted when you close the pit, so the kids can play on top as a stage when it is not being used for a sandpit!
Built from Plan(s)
Estimated Cost
150 EUR
Estimated Time Investment
Weekend Project (10-20 Hours)
Finish Used
Painted with two coats of Polyurethane Acrylic paint
Recommended Skill Level
Beginner

Simple 2x4 Potting Bench - Modified

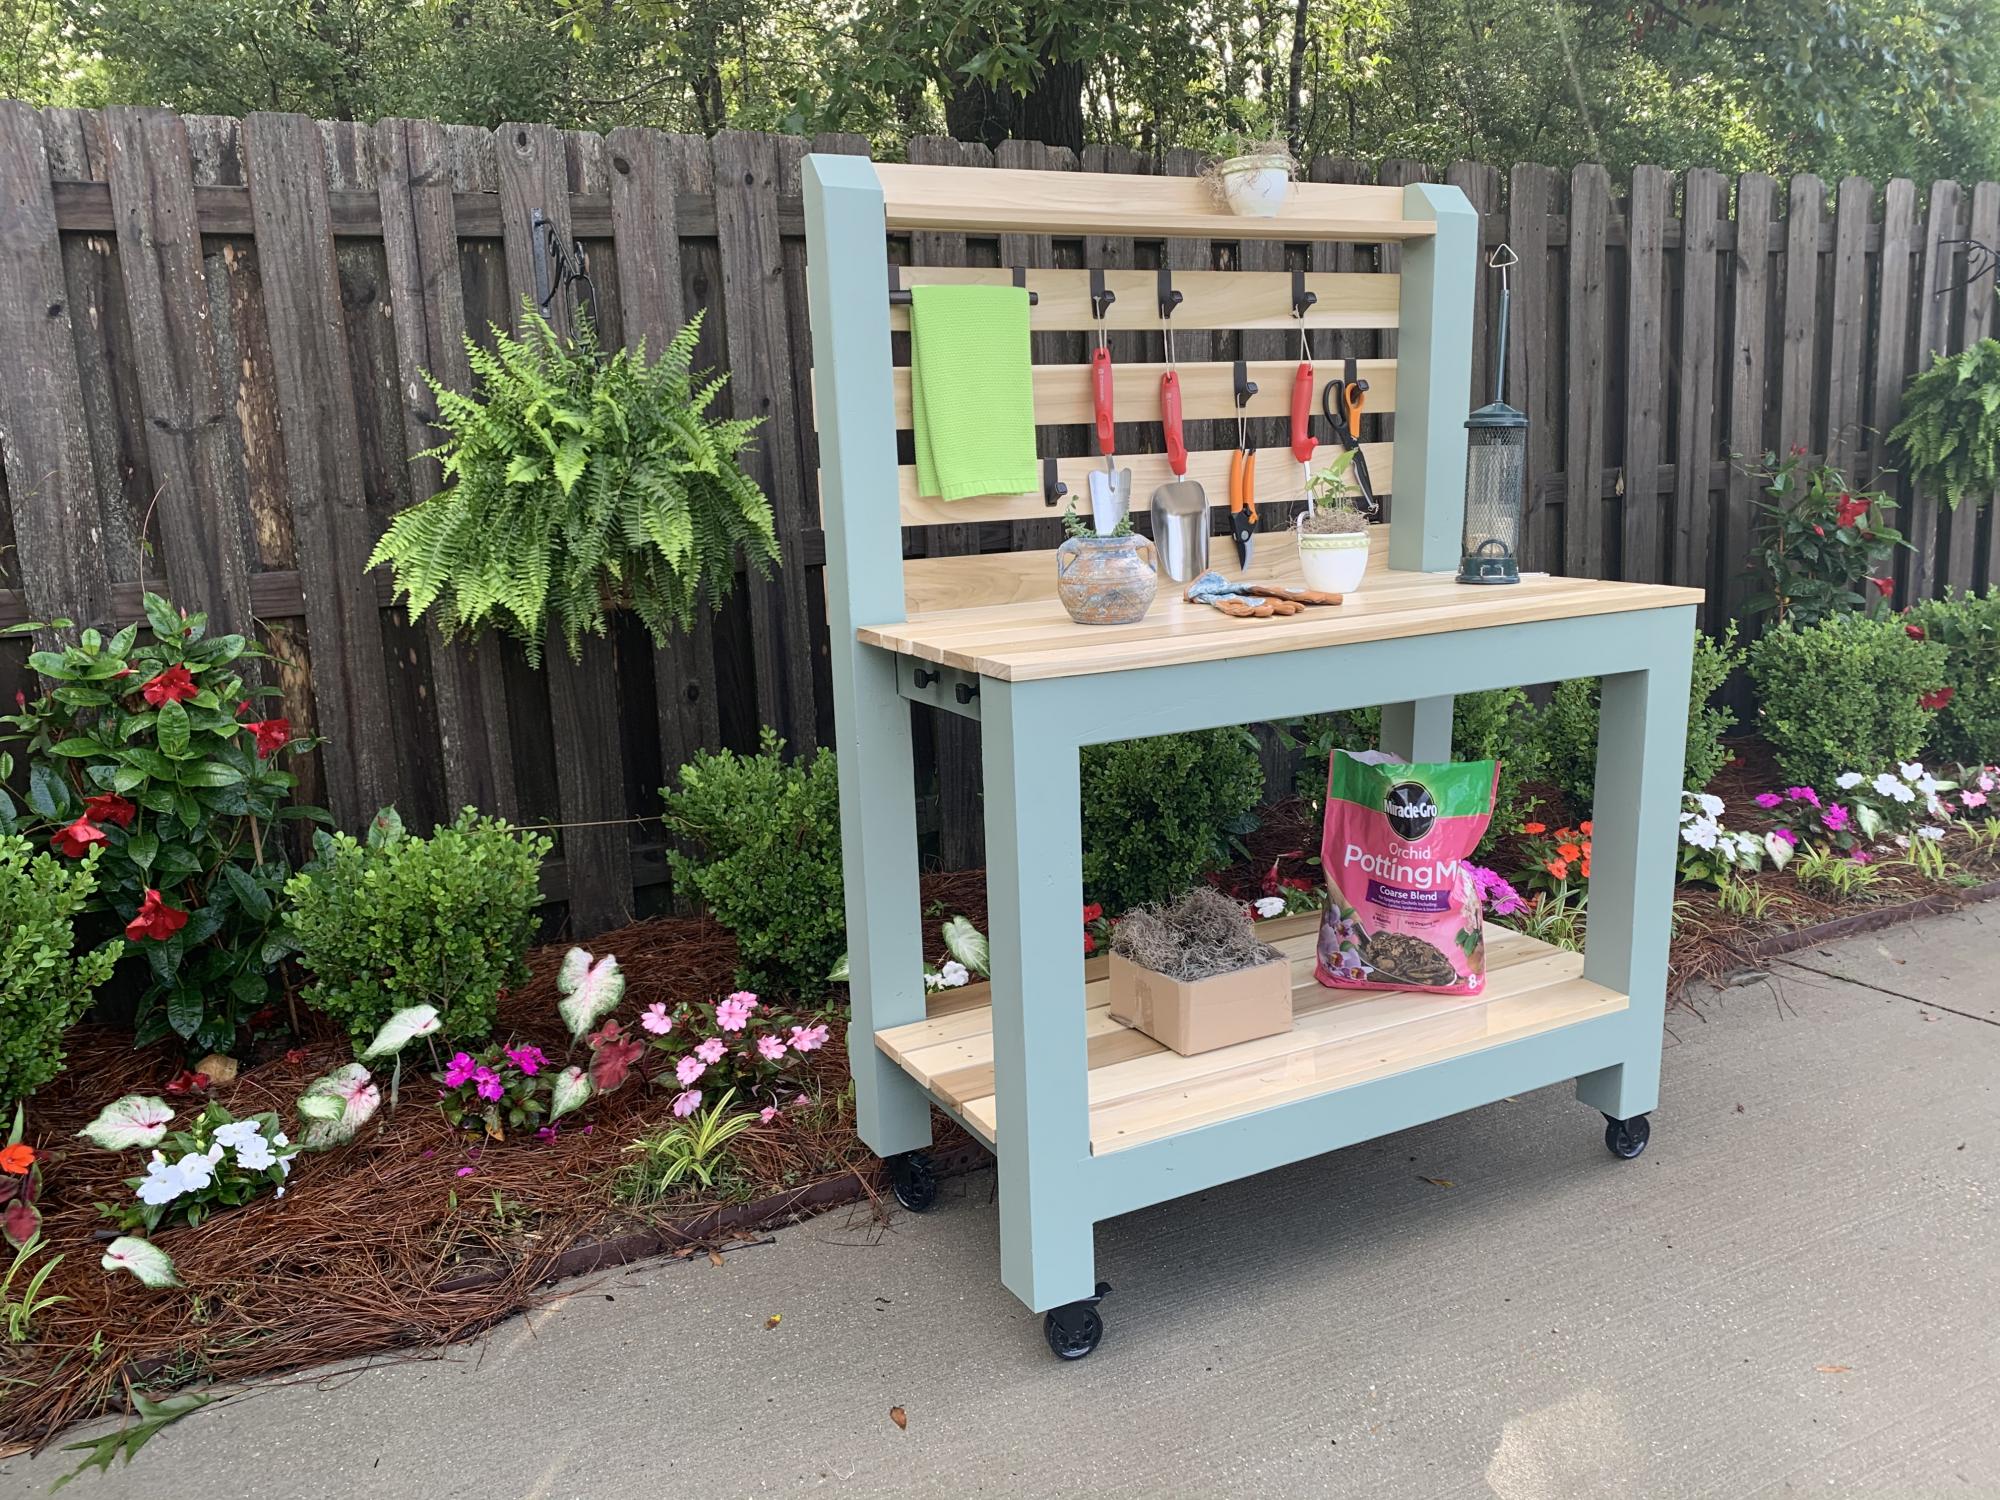
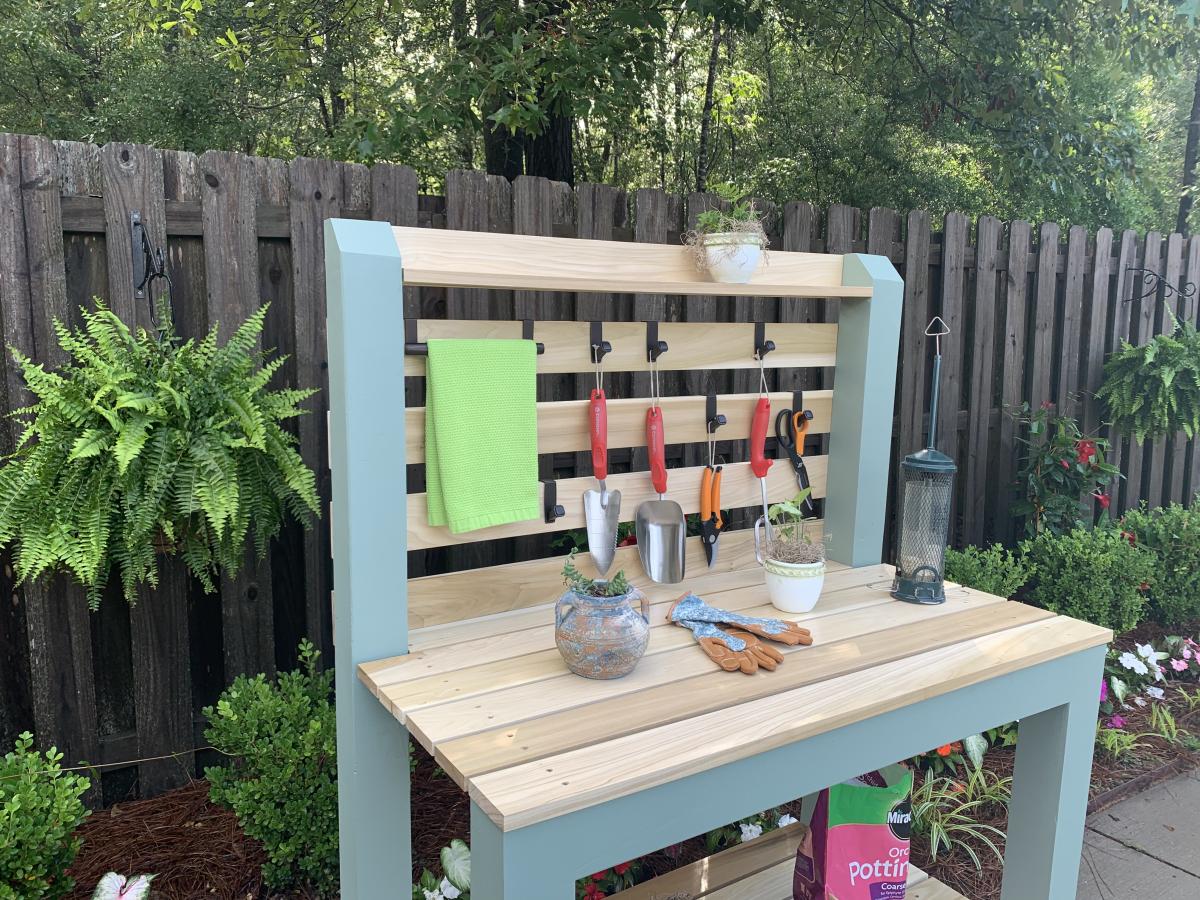
I was intrigued by Ana’s Simple 2x4 Potting Bench. The project seemed simple enough and it would be used as a means to clean up clutter in the garage. My main focus was to make it semi-portable and weather resistant. Instead of using 2x4’s for the corner posts, I used 4x4’s to accommodate casters. I also shorted the length of the posts by 4 inches to compensate for the height of the casters. To provide extra rigidity I did a dado for the 2x4’s that connect the front and rear legs. In retrospect, I wish that I did not dado the legs because it made it more difficult to attach some of the shelf planks. I painted the frame green and left the shelves and backboards clear for beautiful contrast. My wife is ecstatic with the result.

Estimated Time Investment
Weekend Project (10-20 Hours)
Finish Used
Benjamin Moore Environ Green paint for the frame and Minwax Polycrylic for the poplar shelves and backboards.
Recommended Skill Level
Intermediate

Comments

Seasonal And Holiday

Modern Dorm Mini Refrigerator Microwave Cabinet

Submitted by rachelcb on Sat, 07/31/2021 - 12:35

I changed plan to make deeper. I also modified the bottom trim and top. I put a ball bearing soft door drawer guide on modern door so it can slide back and forth. I feel we need more modern plans on here but with a bit of creativity and using plans you can make anything. I have never built anything before. I love General Finishes Milk Paint in Snow White and I brushed rolled it on (sanded between 3 coats). It’s basically self leveling and leaves a nice matte finish. Used door glide in picture bought from homedepot in the 24 inch and that’s how wide door was and it was 36” tall. Door glide I only used one on top of the door not on bottom as well. Door piece of fiberboard with just strips glued on and quarters spacing them correct.

Estimated Cost
$200
Estimated Time Investment
Weekend Project (10-20 Hours)
Finish Used
Dorm mini refrigerator microwave cabinet
Recommended Skill Level
Starter Project

Comments

Train & car table

Submitted by Jrich on Thu, 04/25/2013 - 12:58

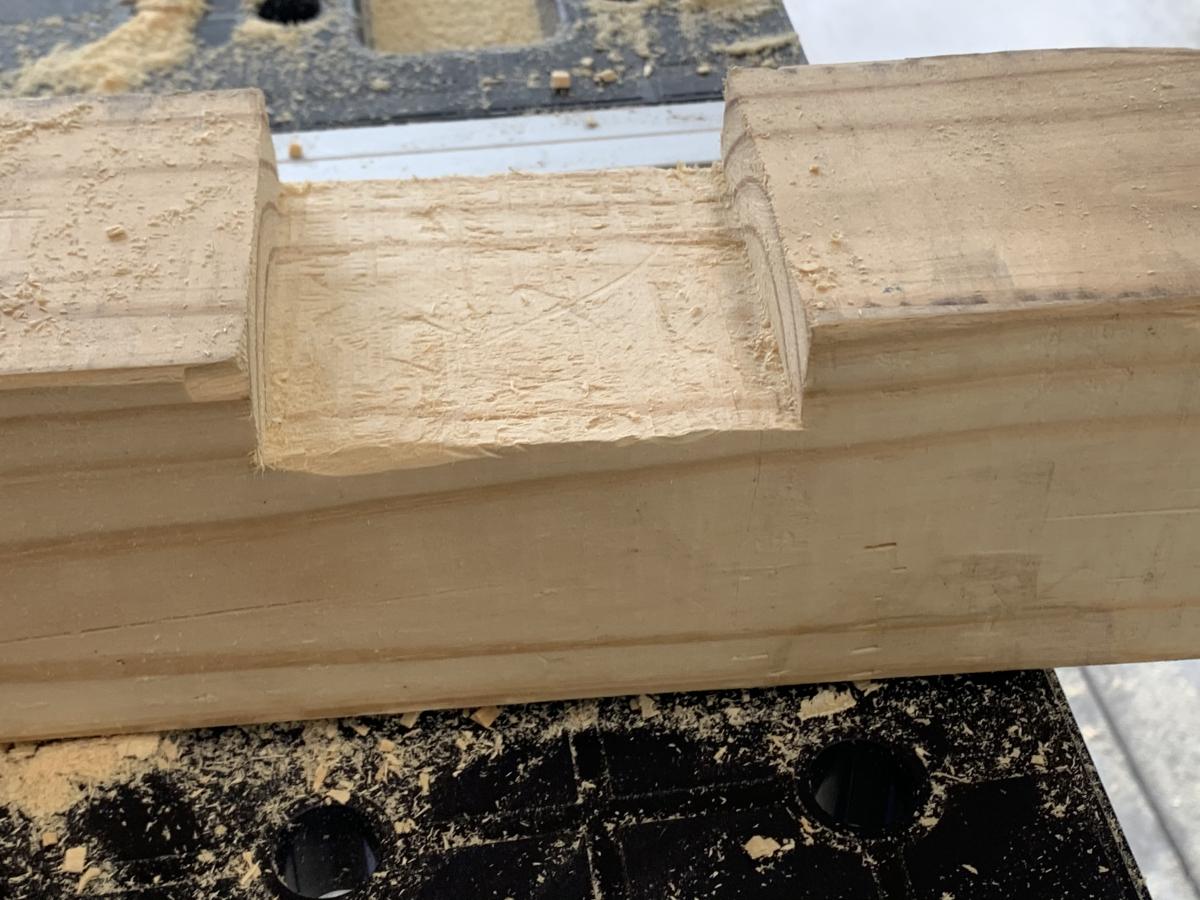
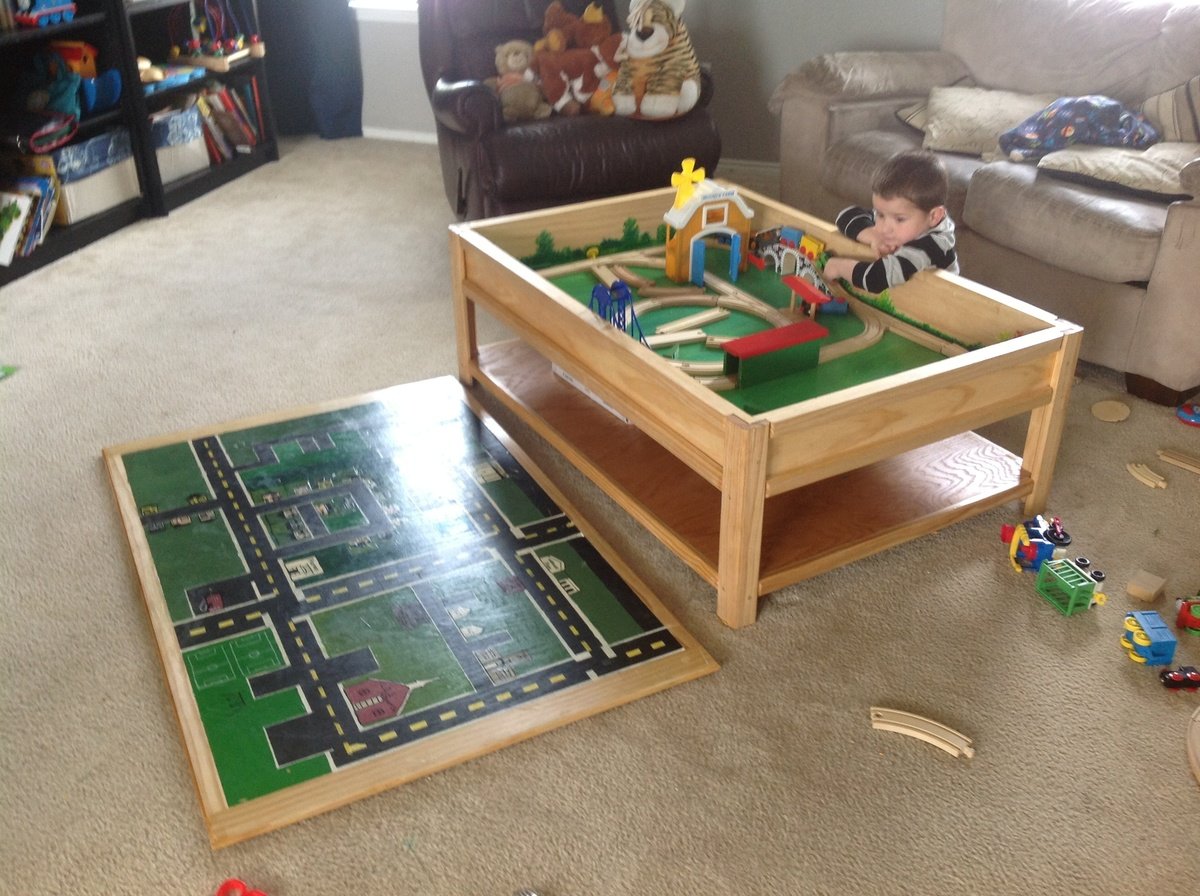
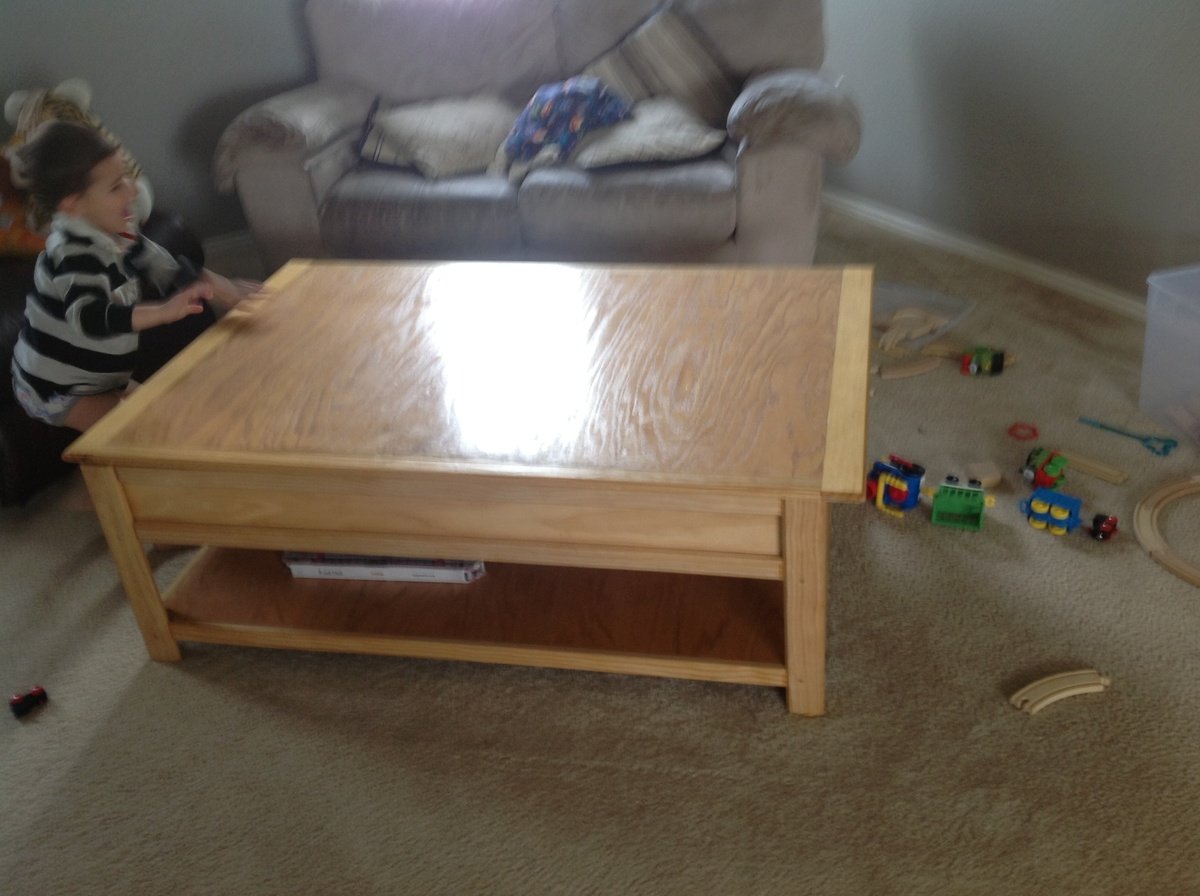
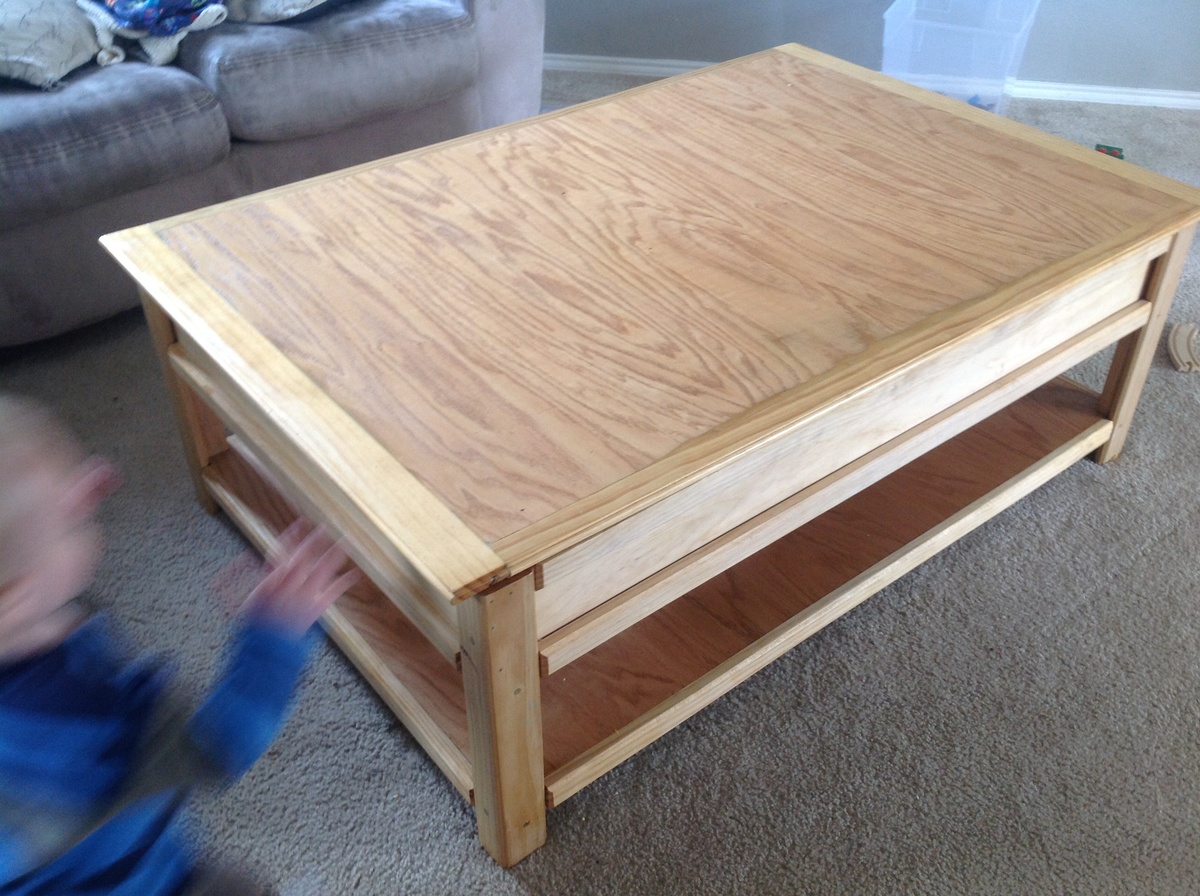
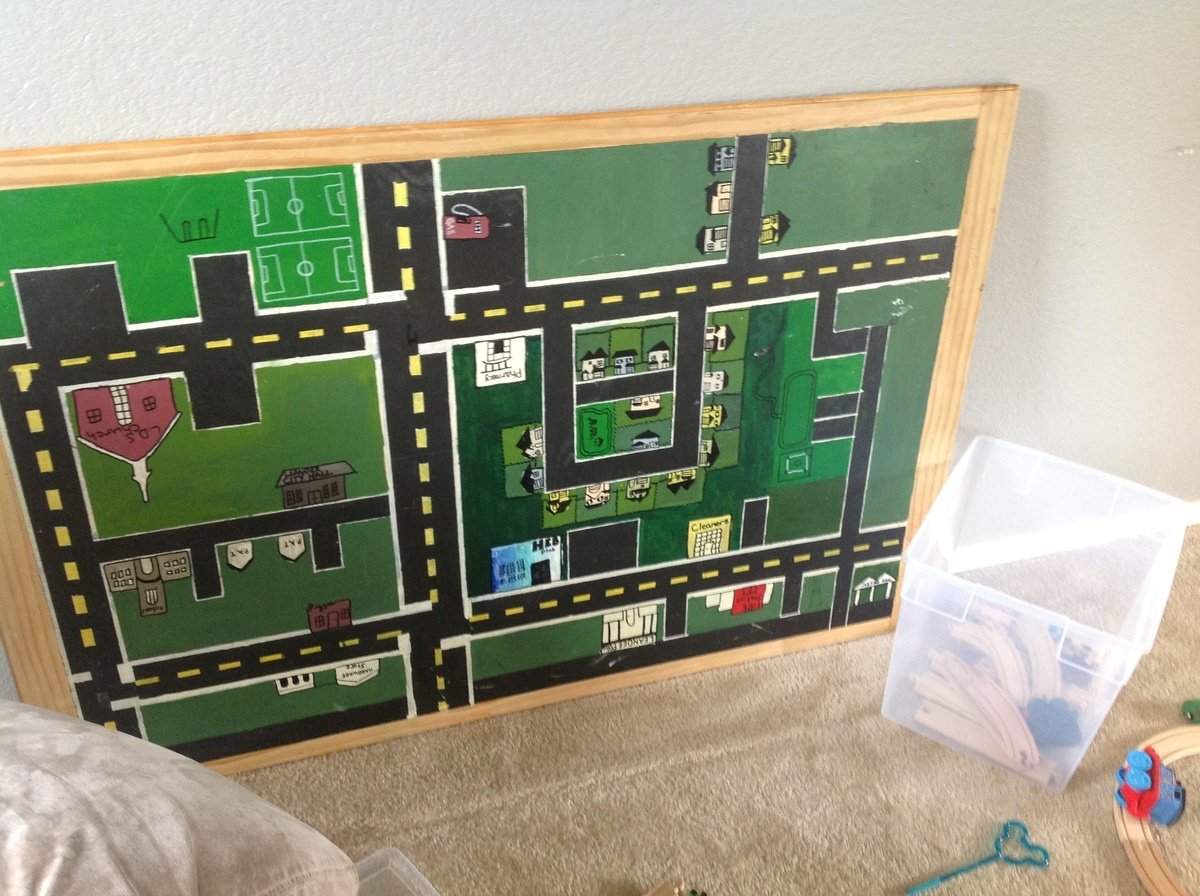
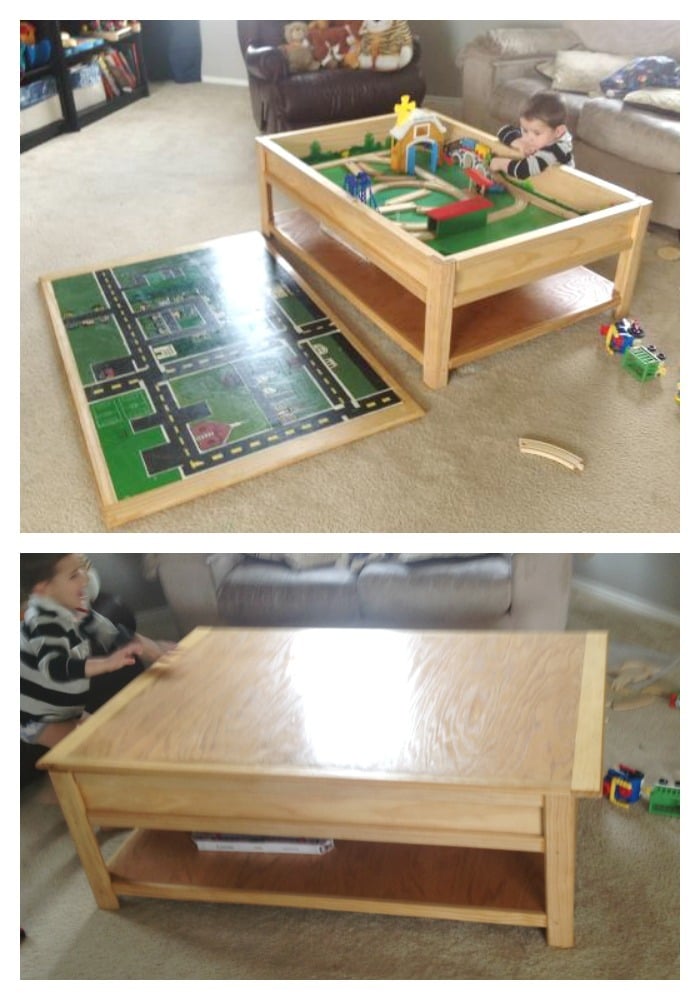
We customized the train table a bit and laminated the top into one solid piece so that we could paint a car map of our neighborhood on the underside. It's heavy! But with two boys in the house it's never really on anyways! :)
Built from Plan(s)
Estimated Time Investment
Week Long Project (20 Hours or More)
Finish Used
Tung oil
Recommended Skill Level
Beginner

Comments

mswendsen

Thu, 03/06/2014 - 22:26

I was wondering how you made it possible to lift and what the process was to do the map? I am wanting to do something like this for hot wheels for our friends son so he has something to play with when they come over.
Thank you

Simple Plant Stand

Submitted by mtairymd on Fri, 05/01/2015 - 12:32

Build Instructions:

http://www.instructables.com/id/Garden-Plant-Stand/

The plant stand allows you to grow edibles in a compact vertical space. We use the planter to grow herbs and edibles on the deck close at hand to the kitchen and the grill. In the containers we have mint, pineapple sage, marjoram, oregano and two other types of sage. The plants that like the most sun are placed on top. The lower levels of the plant stand are used for more shade tolerant plants; however, they still get plenty of light. For growing the plants, self-watering planters were chosen. Other planting options are a rain gutter system, individual pots, wood boxes, etc. The stand can be easily constructed from excess lumber or pallets

Estimated Cost
$20
Estimated Time Investment
Afternoon Project (3-6 Hours)
Finish Used
Paint
Recommended Skill Level
Starter Project

Comments

Sideboard and floating shelves

Submitted by knollgf on Tue, 12/05/2017 - 20:35

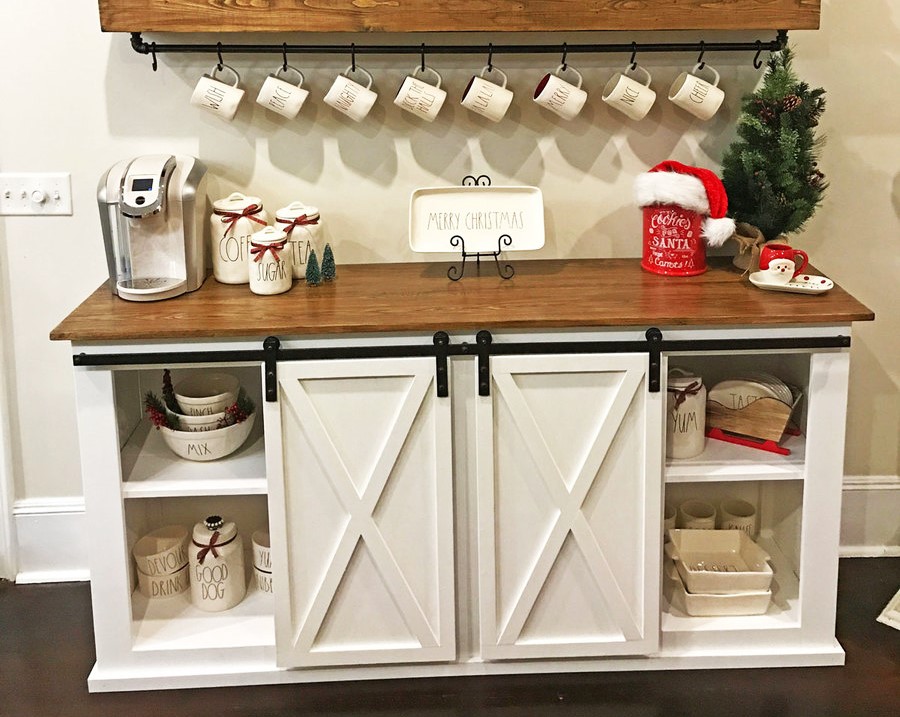
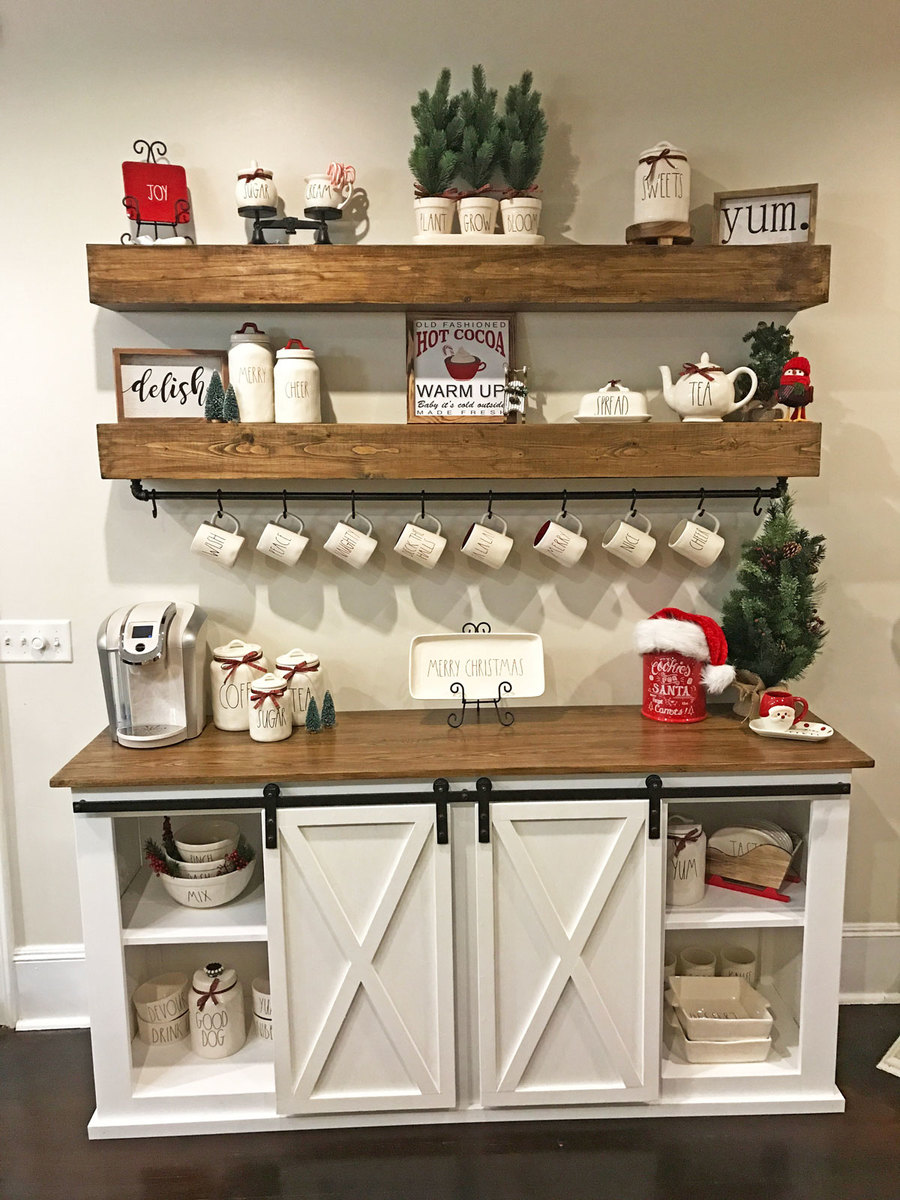
My wife wanted a piece for our dining room. This was a easy weekend project. I had to modify the size to fit my space. I decided to use red oak for the top. It was more expensive but is a much harder wood with a nicer finish. I made the hardware myself from aluminum flat bar. 

Estimated Cost
$200-$300
Estimated Time Investment
Weekend Project (10-20 Hours)
Finish Used
Flat white base
Espresso top
Recommended Skill Level
Beginner

Comments

Seasonal And Holiday

Full Farmhouse Bed with mods

Submitted by Kingsamui on Thu, 12/14/2017 - 16:29

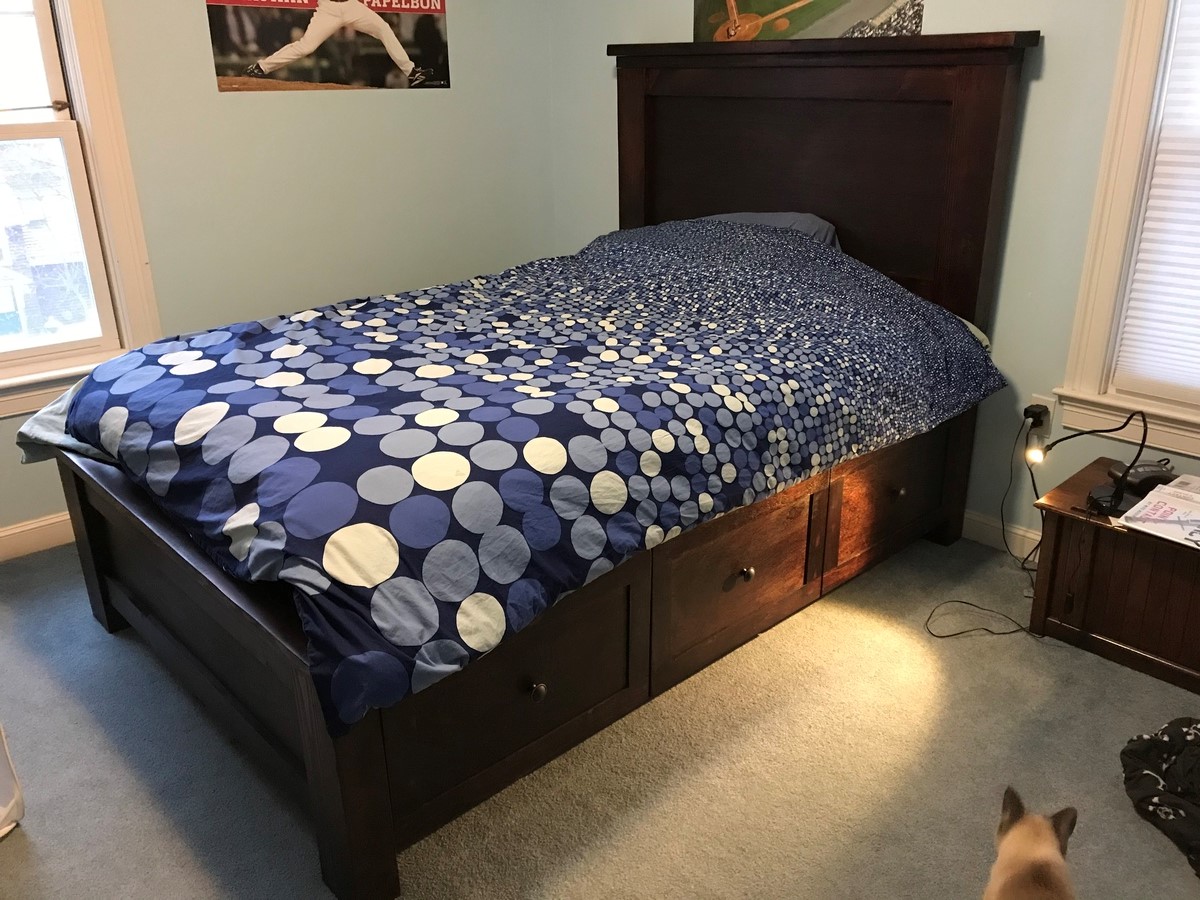
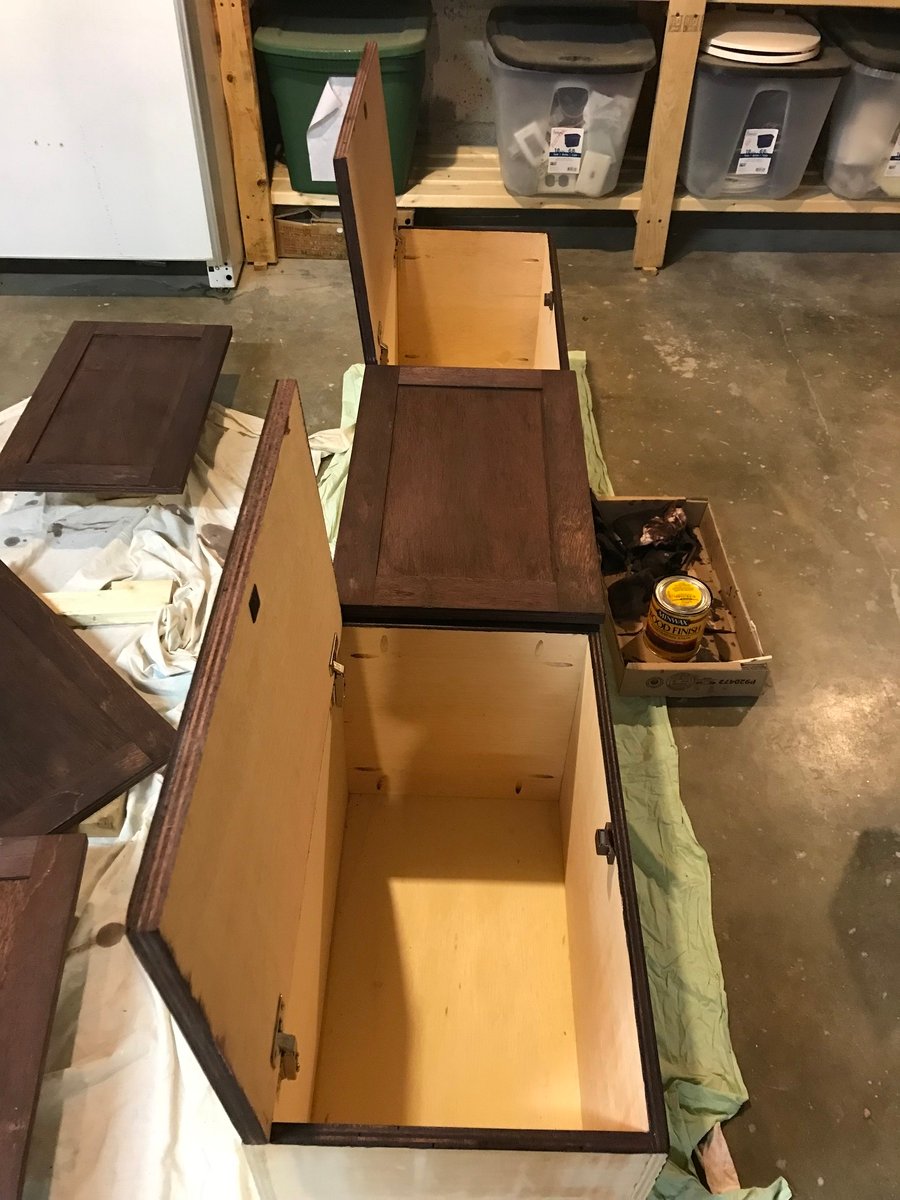
Made the standard full farmhouse bed with storage, but did a couple modifications. 1) Didn’t use drawers, but wanted closed, not open cubbies. I made the drawer fronts and then attached with full overlay hinges and magnetic catches do they open from top down like a horizontal cabinet. 2) built the slats as two, one piece slat frames which sit on the cleat so that they can easily be removed for the extra long term storage between the cubby boxes. Just lift mattress and the two pieces of slats and lots more space. 

Estimated Time Investment
Week Long Project (20 Hours or More)
Finish Used
Red Mahogany Stain and semi-gloss polyurethane
Recommended Skill Level
Intermediate

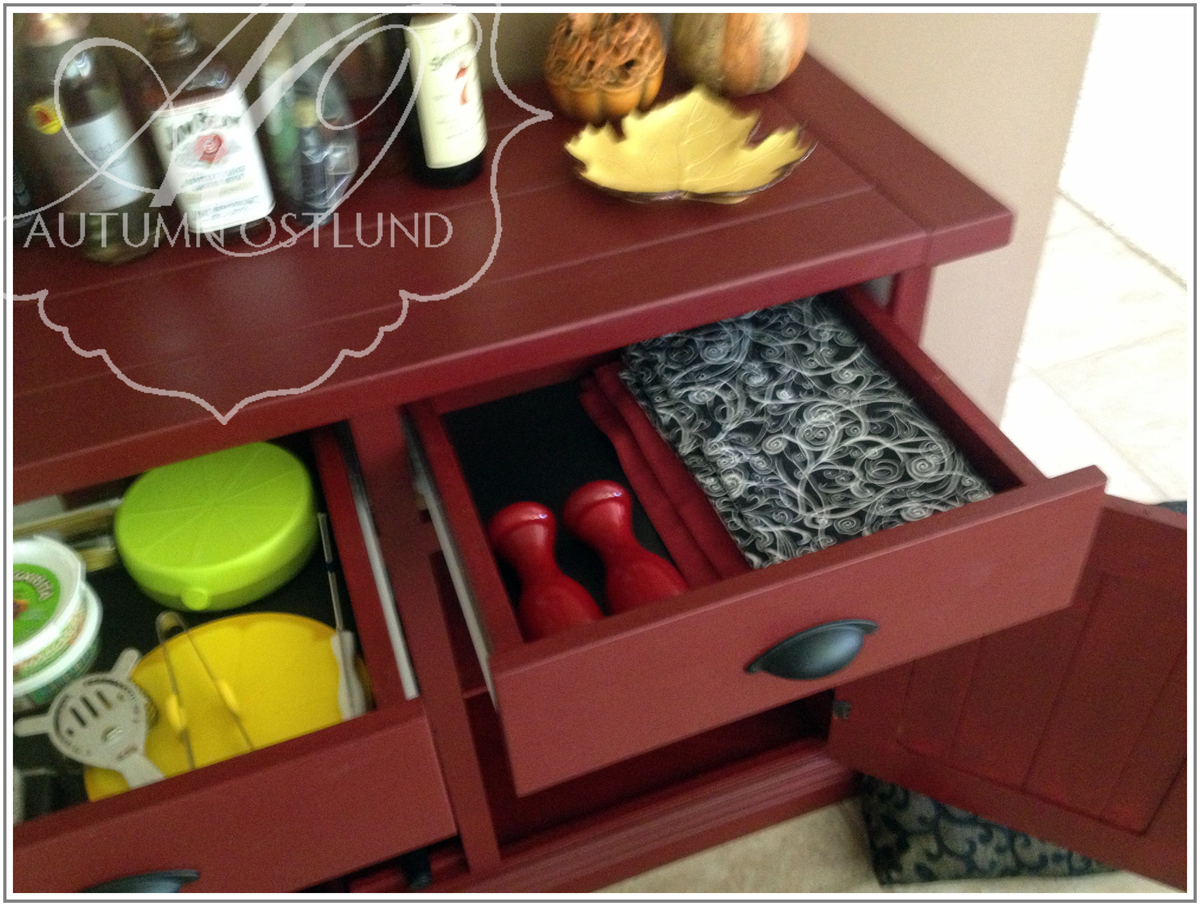
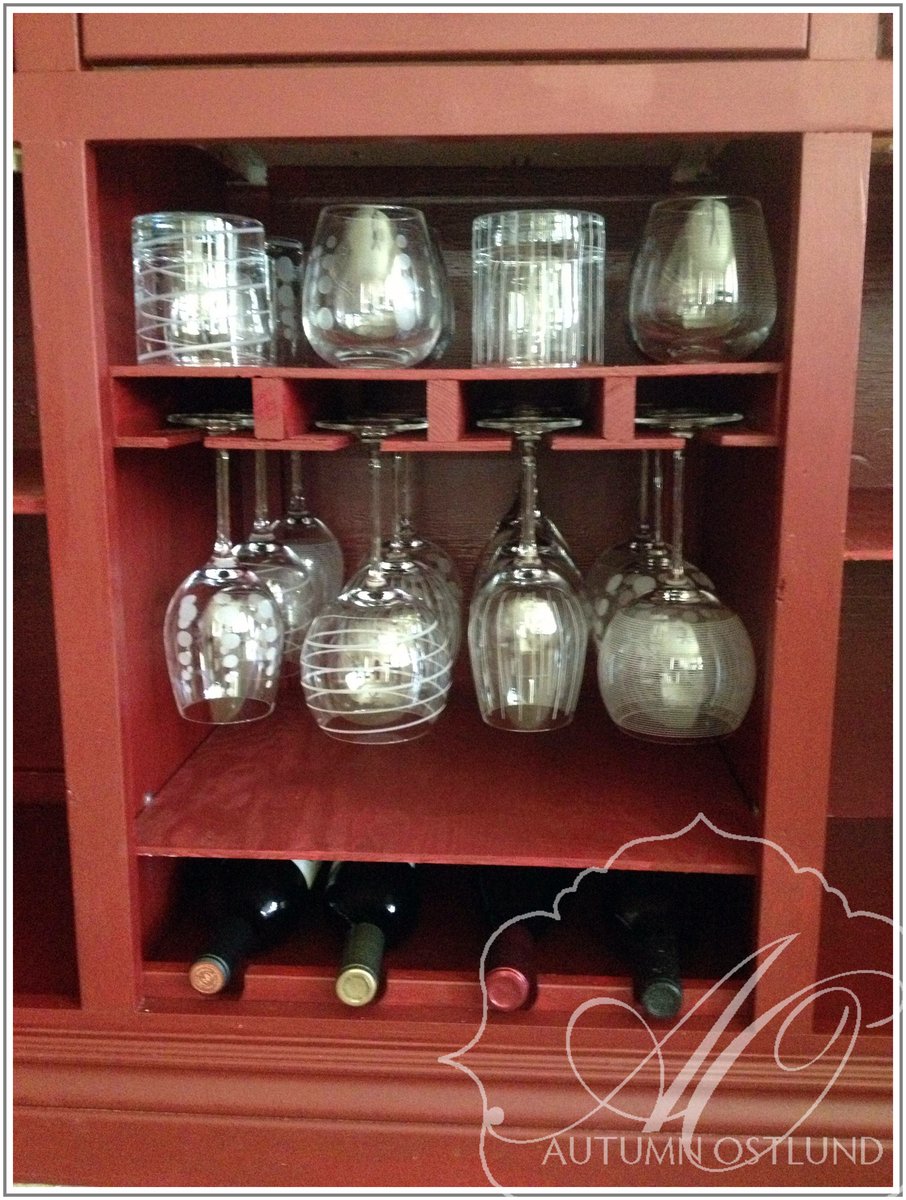
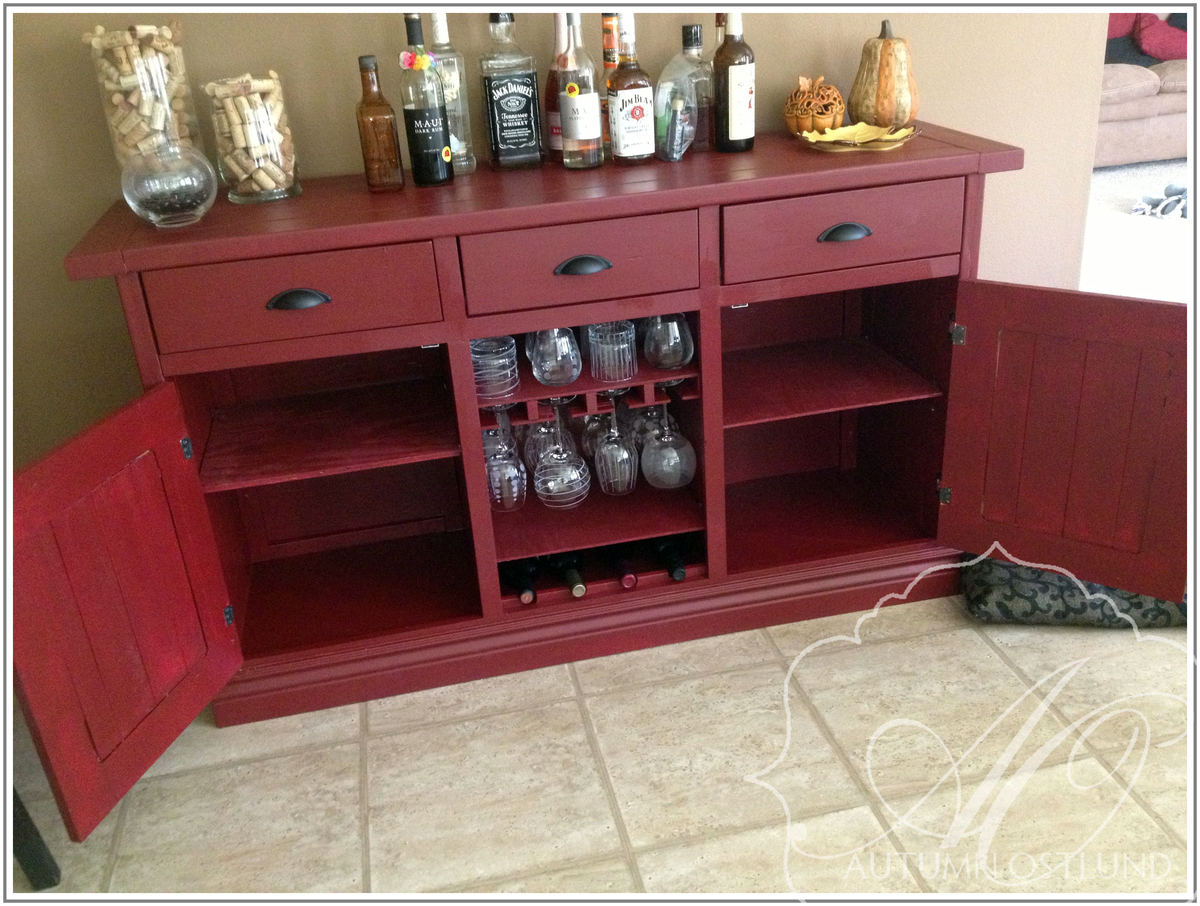
Red sideboard

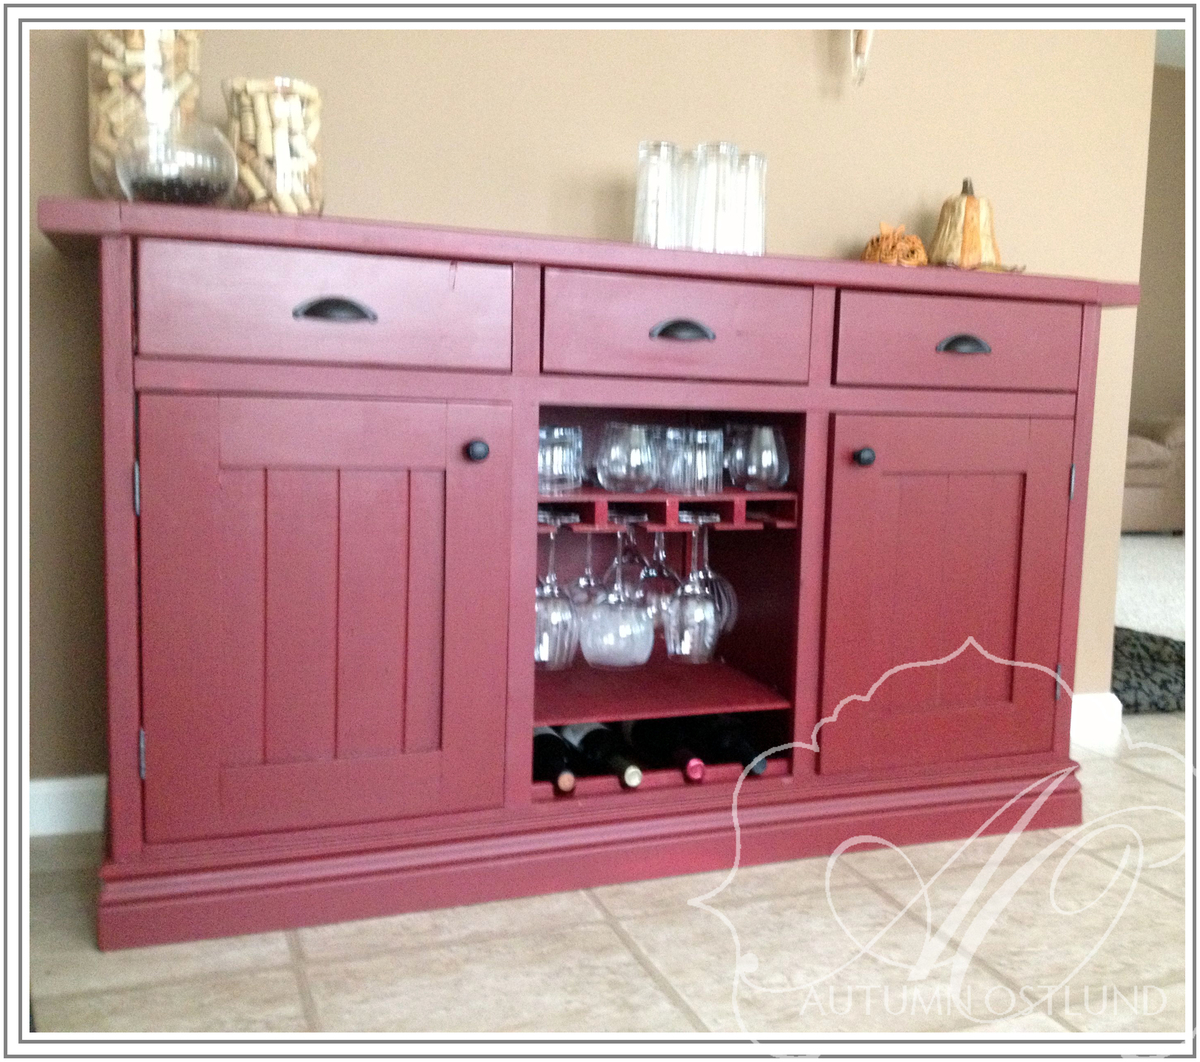
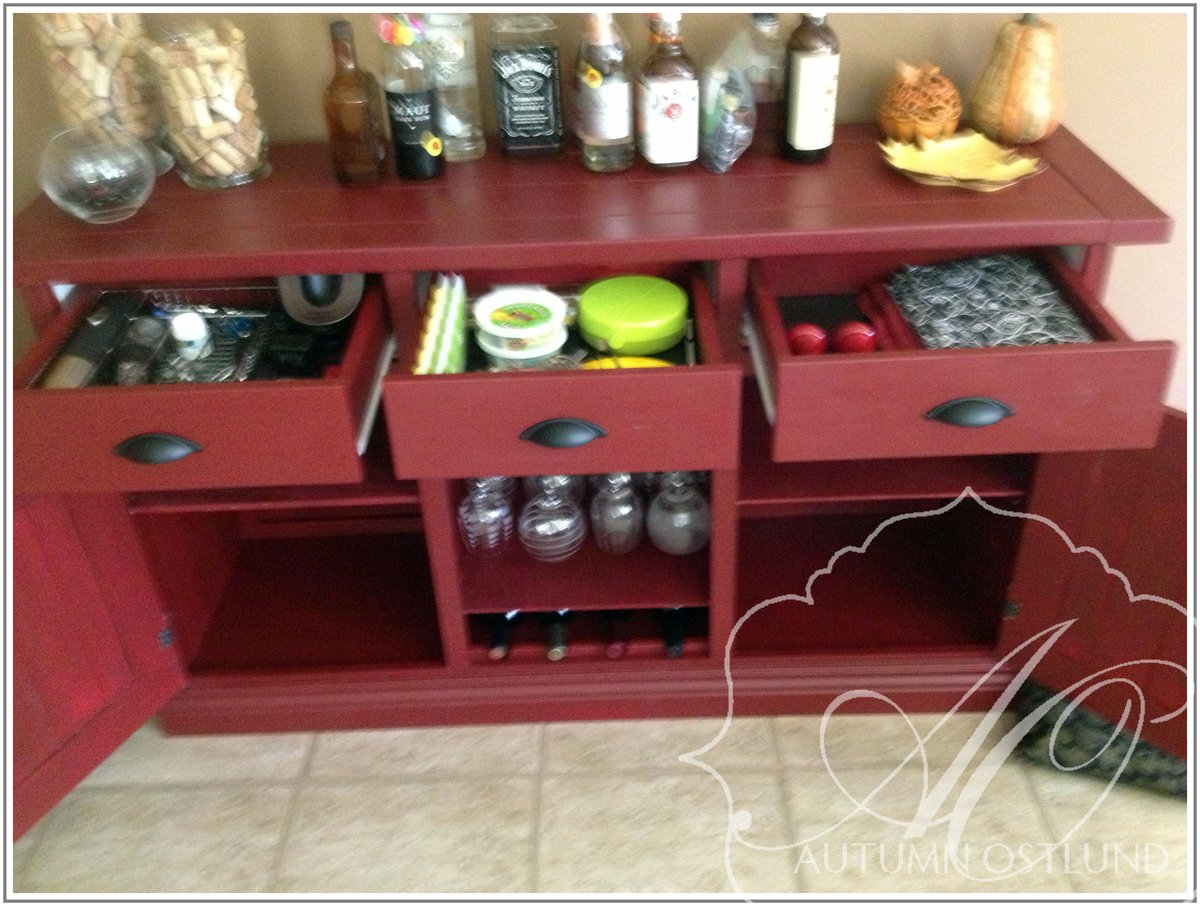
I modified the plan for the planked wood sideboard so it wasn't so large. I also took out the middle door and made an open area with shelves and a stemware rack.

Built from Plan(s)
Estimated Time Investment
Week Long Project (20 Hours or More)
Finish Used
I used a sanding sealer, then painted dark red. I topped it off with two coats of matte poly.
Recommended Skill Level
Intermediate

Comments

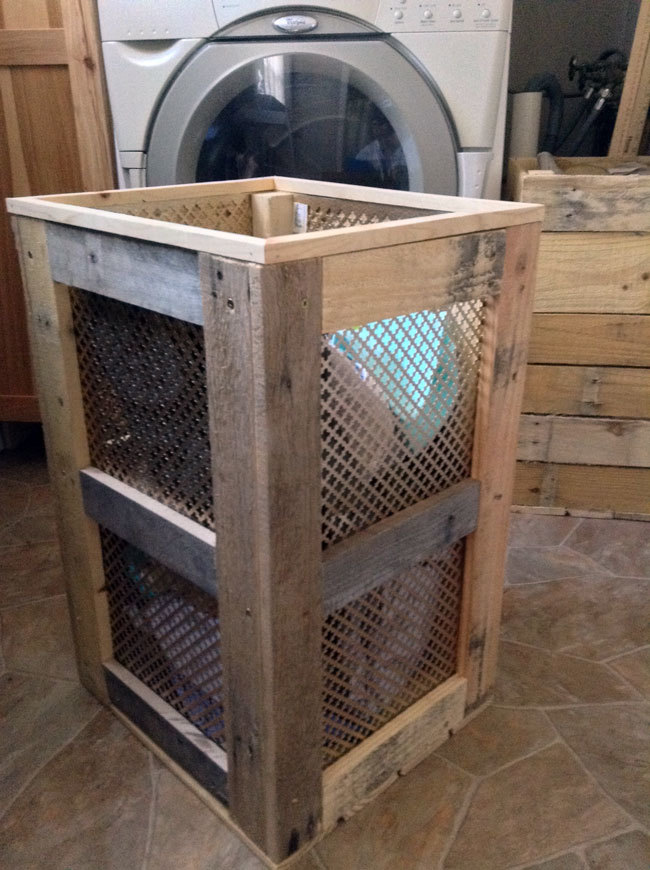
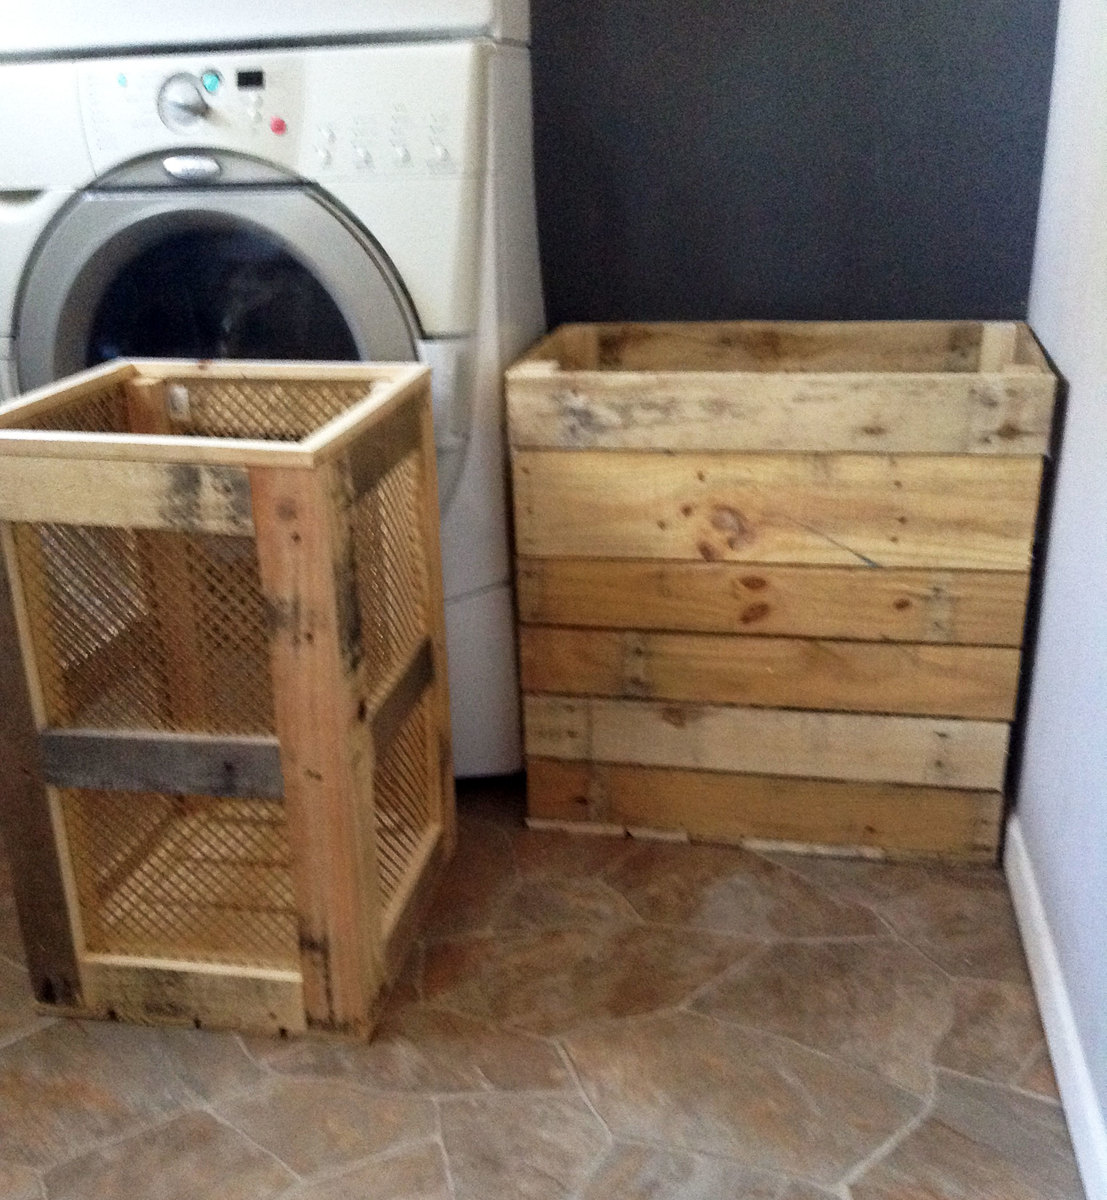
Pallet laundry bin

Submitted by LARMO on Fri, 07/20/2018 - 18:09

Built for our laundry room with pallets radiator cover  and casters attached to bottom all purchase from a local thrift store, with matching recycle bin.

Estimated Cost
$20
Finish Used
Natural
Recommended Skill Level
Beginner

Garden outhouse with composting toilet

Submitted by Anonymous (not verified) on Sat, 07/16/2022 - 17:48

The cool thing about Ana White plans is they are straightforward to modify to use materials you have on hand. Everything but the frame is either leftovers or from the barn.

Built from Plan(s)

Comments

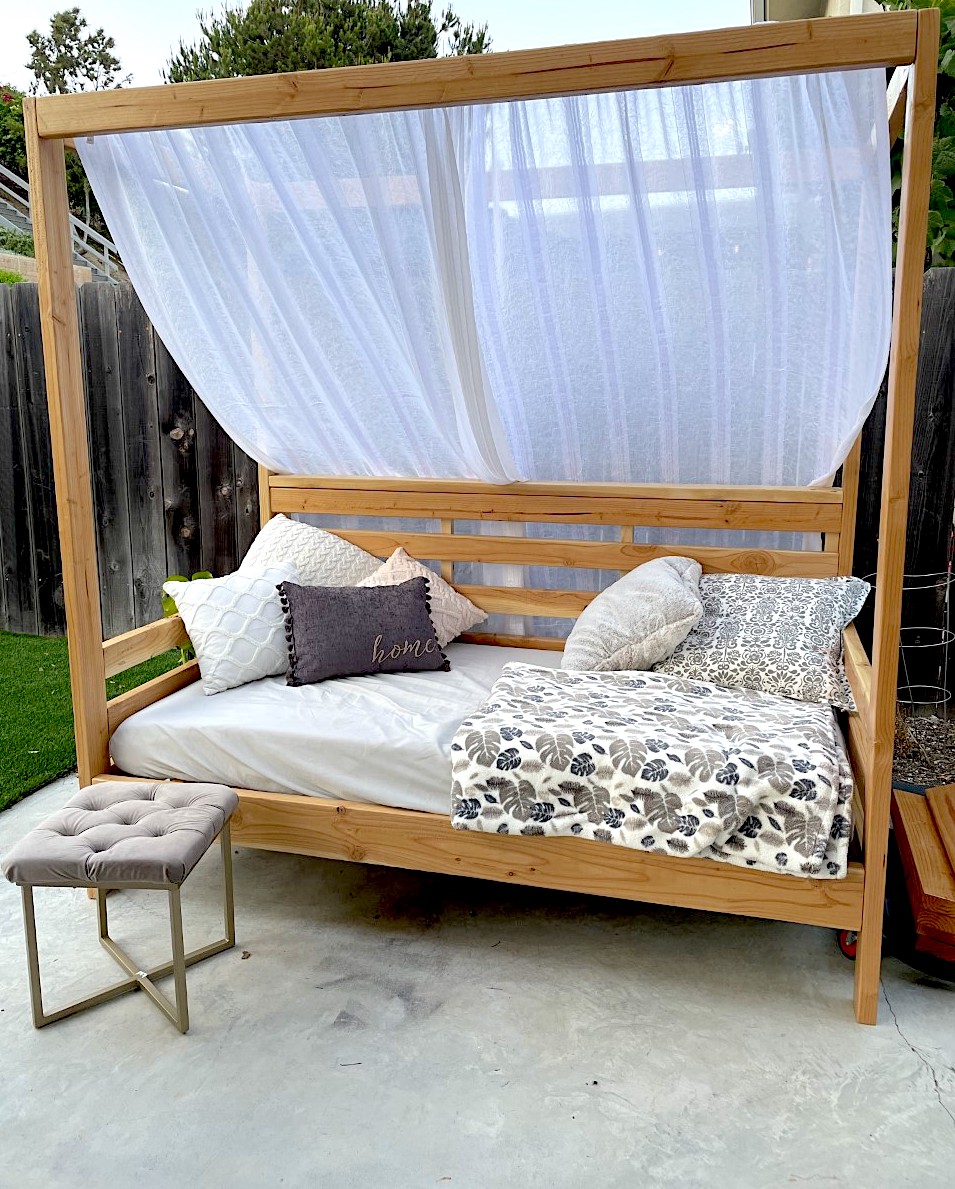
Outdoor Daybed

Submitted by Anonymous (not verified) on Mon, 08/08/2022 - 21:06

What a great project!! My private outdoor space is amazing. Thanks Ana!!

Built from Plan(s)

Comments

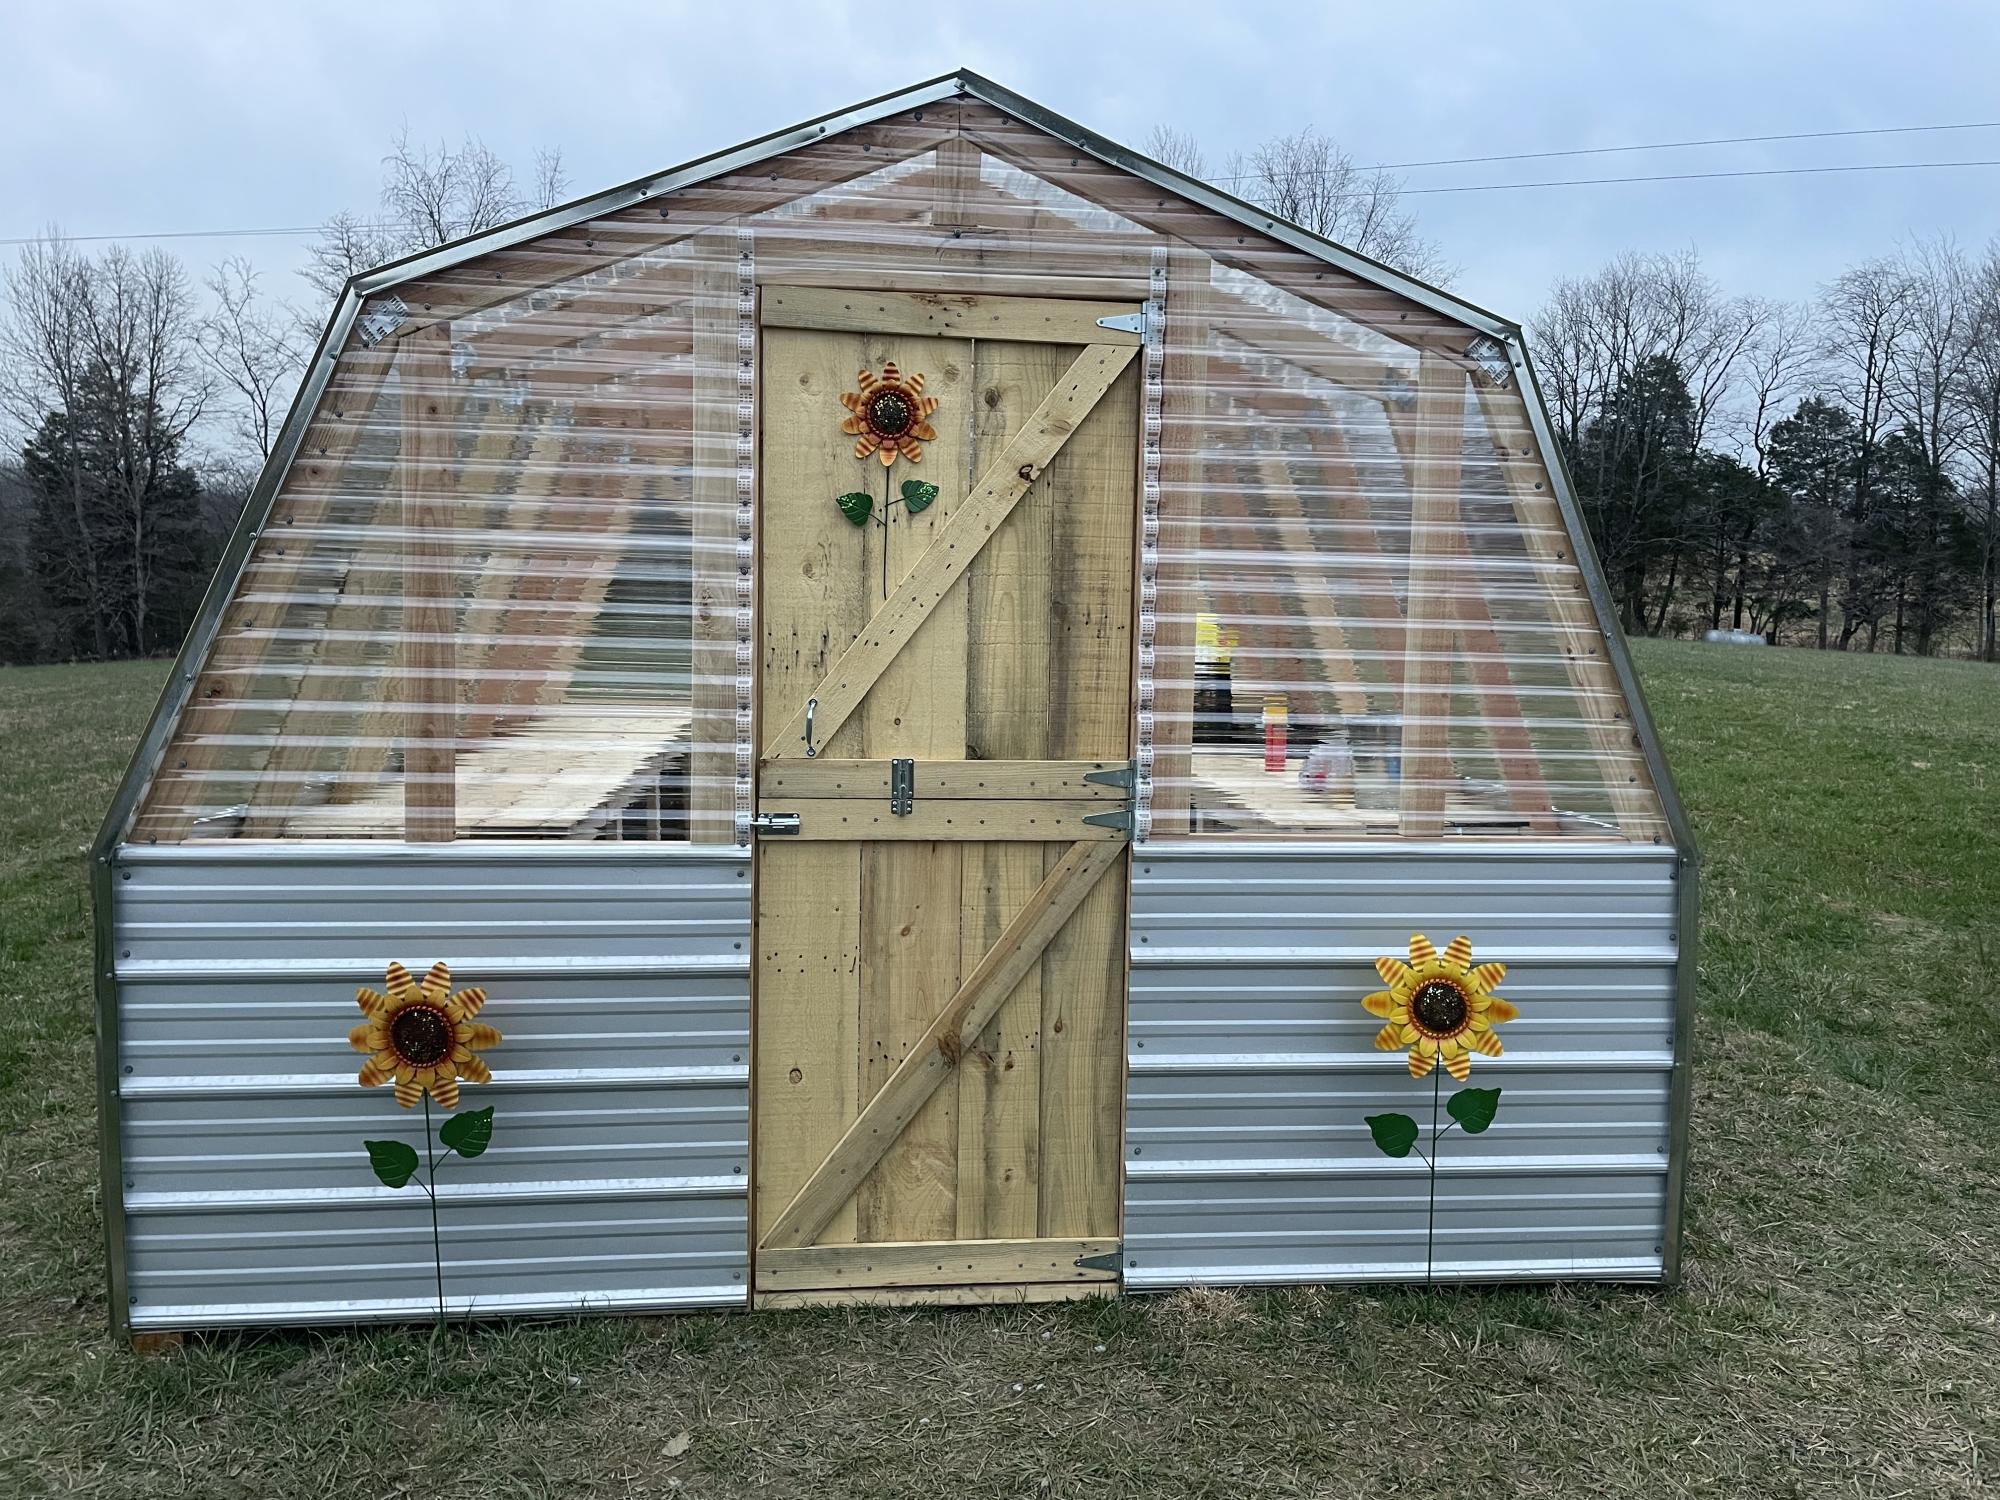
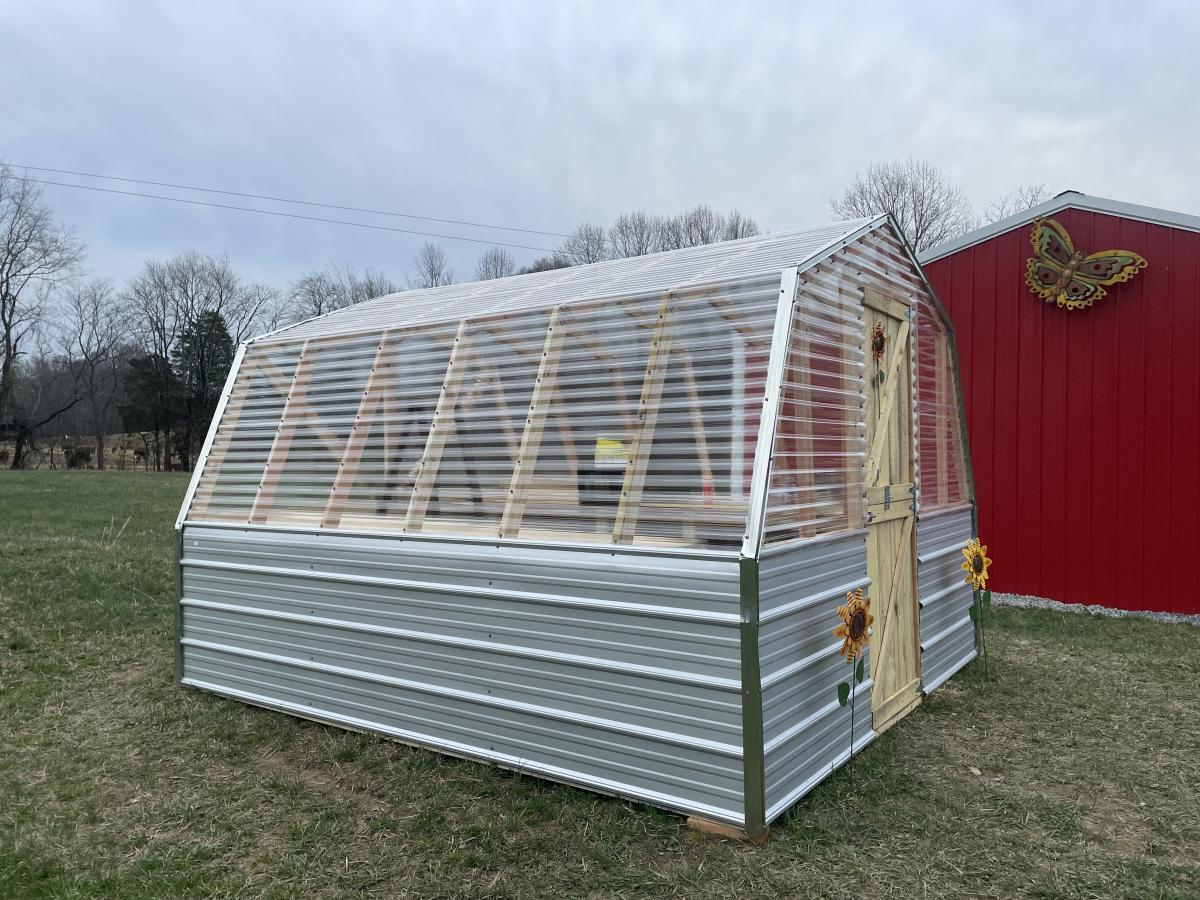
DIY Greenhouse

Submitted by Anonymous (not verified) on Fri, 03/03/2023 - 16:02

Thank you so much for the plans. We enjoyed building it. We love it!!!

Built from Plan(s)

Comments

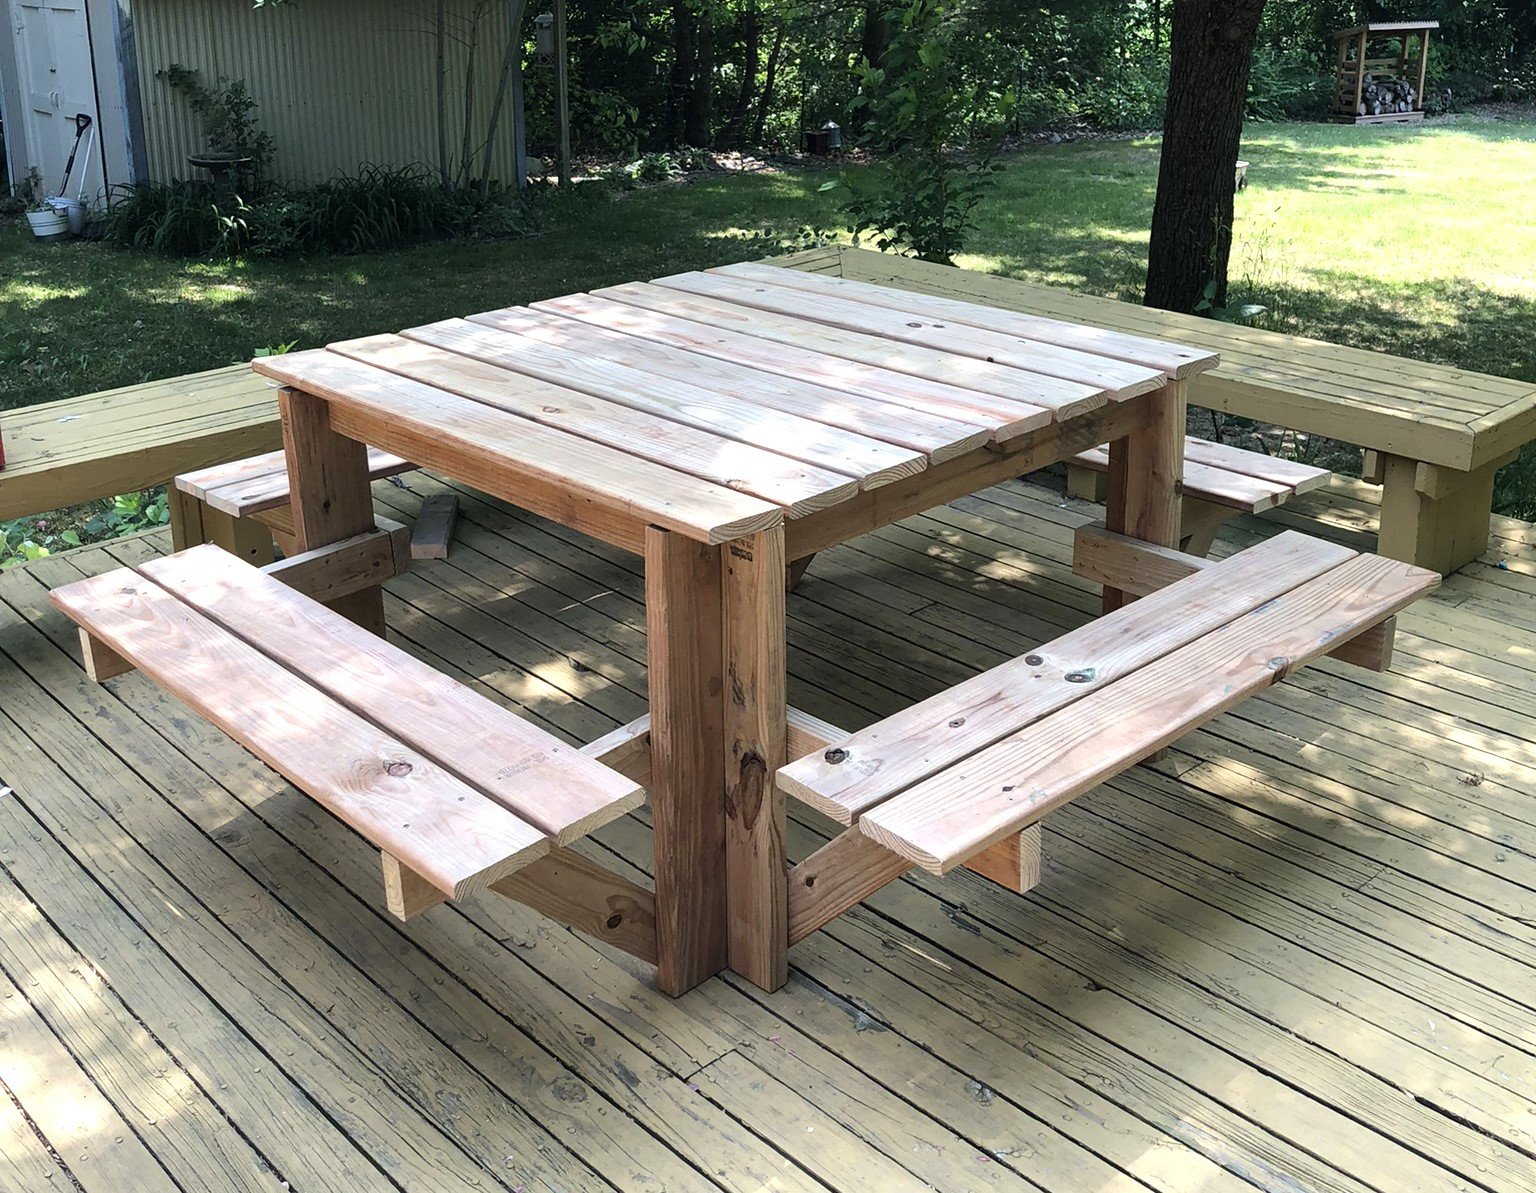
Square Picnic Table using Deck Boards

Submitted by Anonymous (not verified) on Fri, 07/07/2023 - 11:32

I used deck boards instead of 2x6 for the top and seats; this lightened the table overall while negating the need to sand and finish the boards.

I also used a cedar-tone treated board so staining wasn't necessary.

Kelly S.

Built from Plan(s)
Seasonal And Holiday

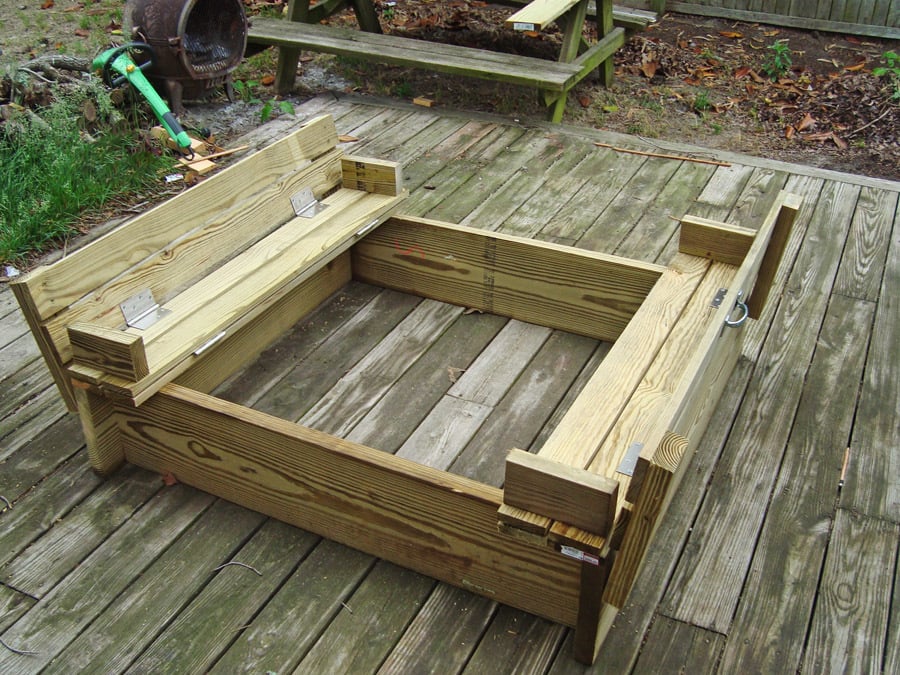
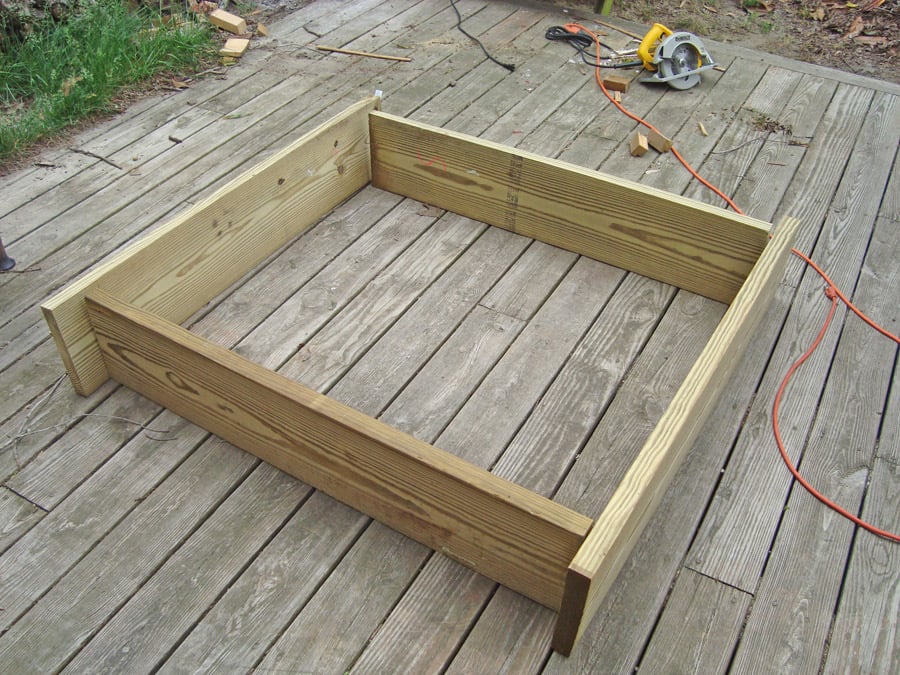
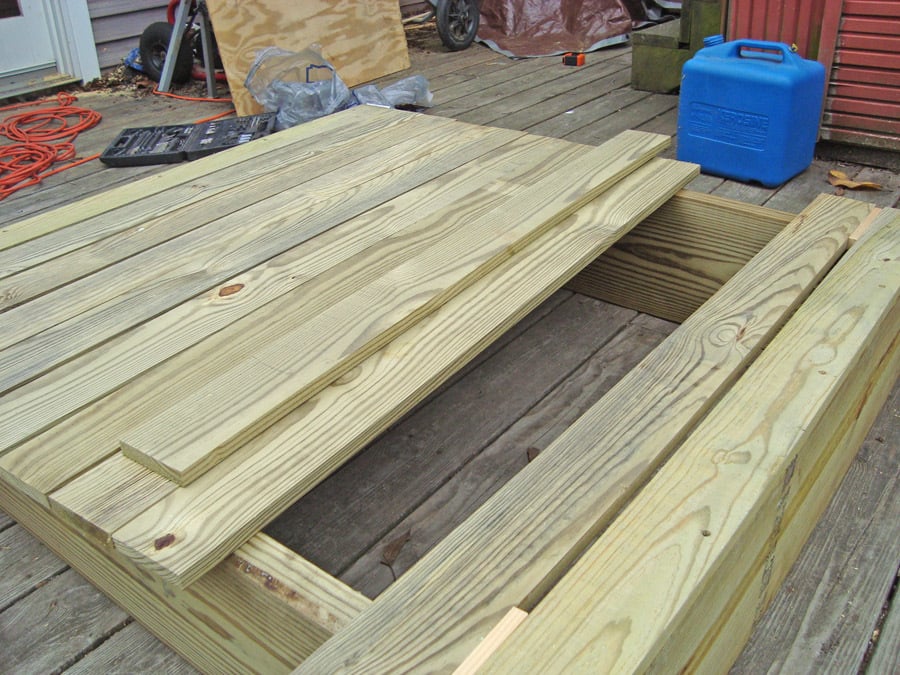
Sandbox with Built-In Seats

Submitted by Loral on Wed, 05/09/2012 - 15:32

This is a fun project even for beginners. If you have an interest in building a sandbox, and have some tools, I'm sure you can make this easy enough!

I used 2" X 10" wood for my sides instead of the 1" as the plans call for. This gives extra strength and more depth. When you use 2" wood, you will have to turn your 1 X 4's the other way to match the 47½" width, because with the added width of the 2 side boards, your new width is now 49¼". It's not difficult, you just have to match your 1 X 4 X 47½ boards to the proper width. It will turn out fine, they just won't match the plans or pics of those using 1 X 8's for sides.

Sorry, I'm delivering this to my grandson's house for his birthday present, so no sand, but use landscaping cloth under this sandbox, then fill with sand.

One other thing, I'm toying with the idea of matching the angle the backrest is at and re-cut new pieces of 7½" arm rests. I think that may look a little better than the rectangle blocks.

My added pics are as follows:
1. The side boards all cut, and sizing up the frame.
2. All other boards are cut; I laid them out for fit before screwing the pieces together.
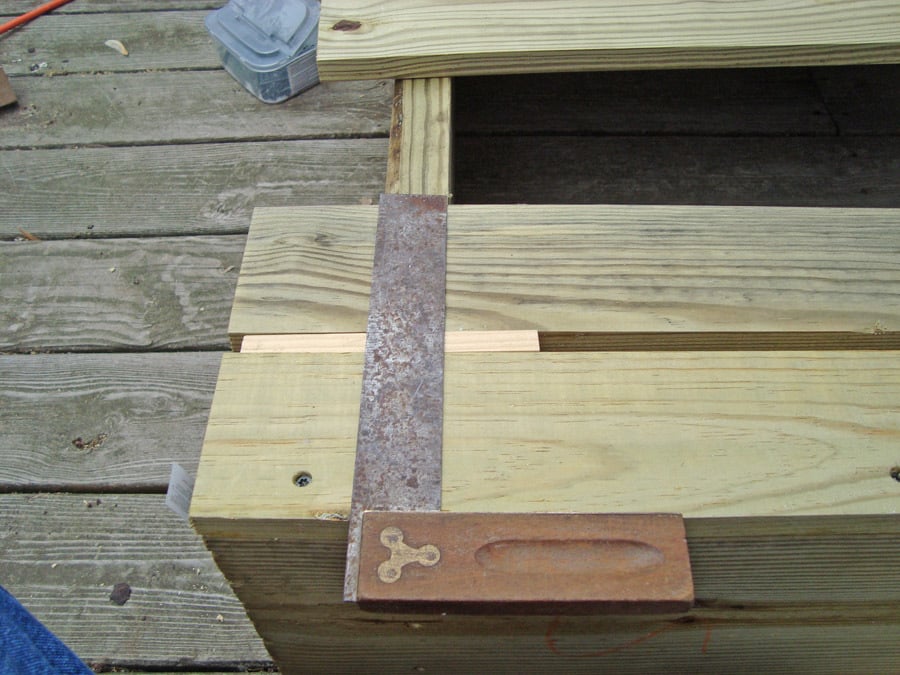
3. Using a square will help you keep everything at the correct angles. Also note in this picture and the next where I used two ½" pieces of wood I ripped to keep the ½" spacing uniform. Just rip any wood to the ½" width, make 2 pieces and butt against the next board on both sides, then screw them down. Makes it VERY easy to keep a uniform gap.
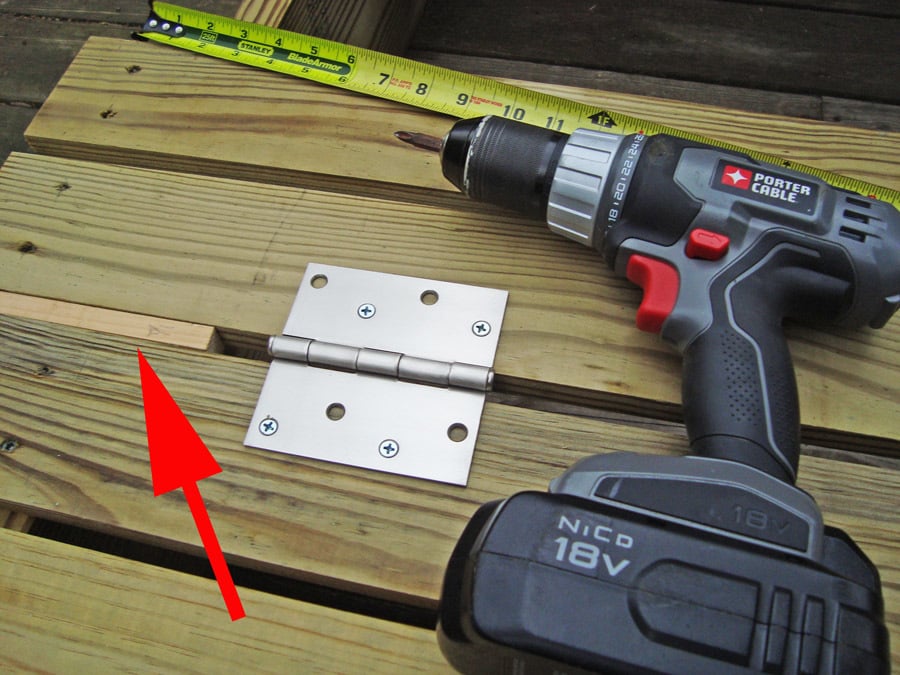
4. This picture shows me using the same "spacer" when putting the hinges in place. The red arrow points to the wood spacer.
5. The first bench is complete, and working fine!!

With the wood I used in my project, I used 2½" self tapping deck screws for the frame and attaching the 1X4's to the frame; I used 2" galvanized for attaching the 1X4's to any 2X4's; and for the hinges, I used ¾" wood screws. Using these sizes prevented the screws from coming through the other side.

I bought everything needed in this project at Lowe's and it was under $90 in costs; this is all the lumber (upgrading to 2 X 10's), hinges, screws, and handles.

Estimated Cost
$90 - Everything purchased new at Lowe's
Estimated Time Investment
Afternoon Project (3-6 Hours)
Finish Used
This is a gift, so I'll leave it to my daughter and son-in-law to use fence or deck stain to match their house. All pics are un-toned raw pressure treated lumber.
Recommended Skill Level
Beginner

Comments

Lady Goats

Wed, 05/09/2012 - 16:25

I was just going to tell you how to add a brag blog when I saw that you'd already done so! YAY! Your sandbox looks awesome! You guys are all making me wish I had a tolerable yard to put a full-sized box in!!!

Loral

Thu, 05/10/2012 - 13:49

Yeah, you made the plans easy to follow. It was a lot of fun. I spanned it over 2 days, but still was only around 4 hours of work.

I'm considering cutting the "arm rests" at an angle to match the slope of the back rest. I may play with that this weekend.

Thanks for all the help!

Also, what did you use to make the sketch type pics for the plans? I know you mentioned something about not knowing how to put the hindges on them. If I can help, I can probably do it for you in PhotoShop.... Just let me know.

Thanks again!
Loral

Farmhouse Stair Railing

Submitted by Anonymous (not verified) on Wed, 01/03/2024 - 08:44

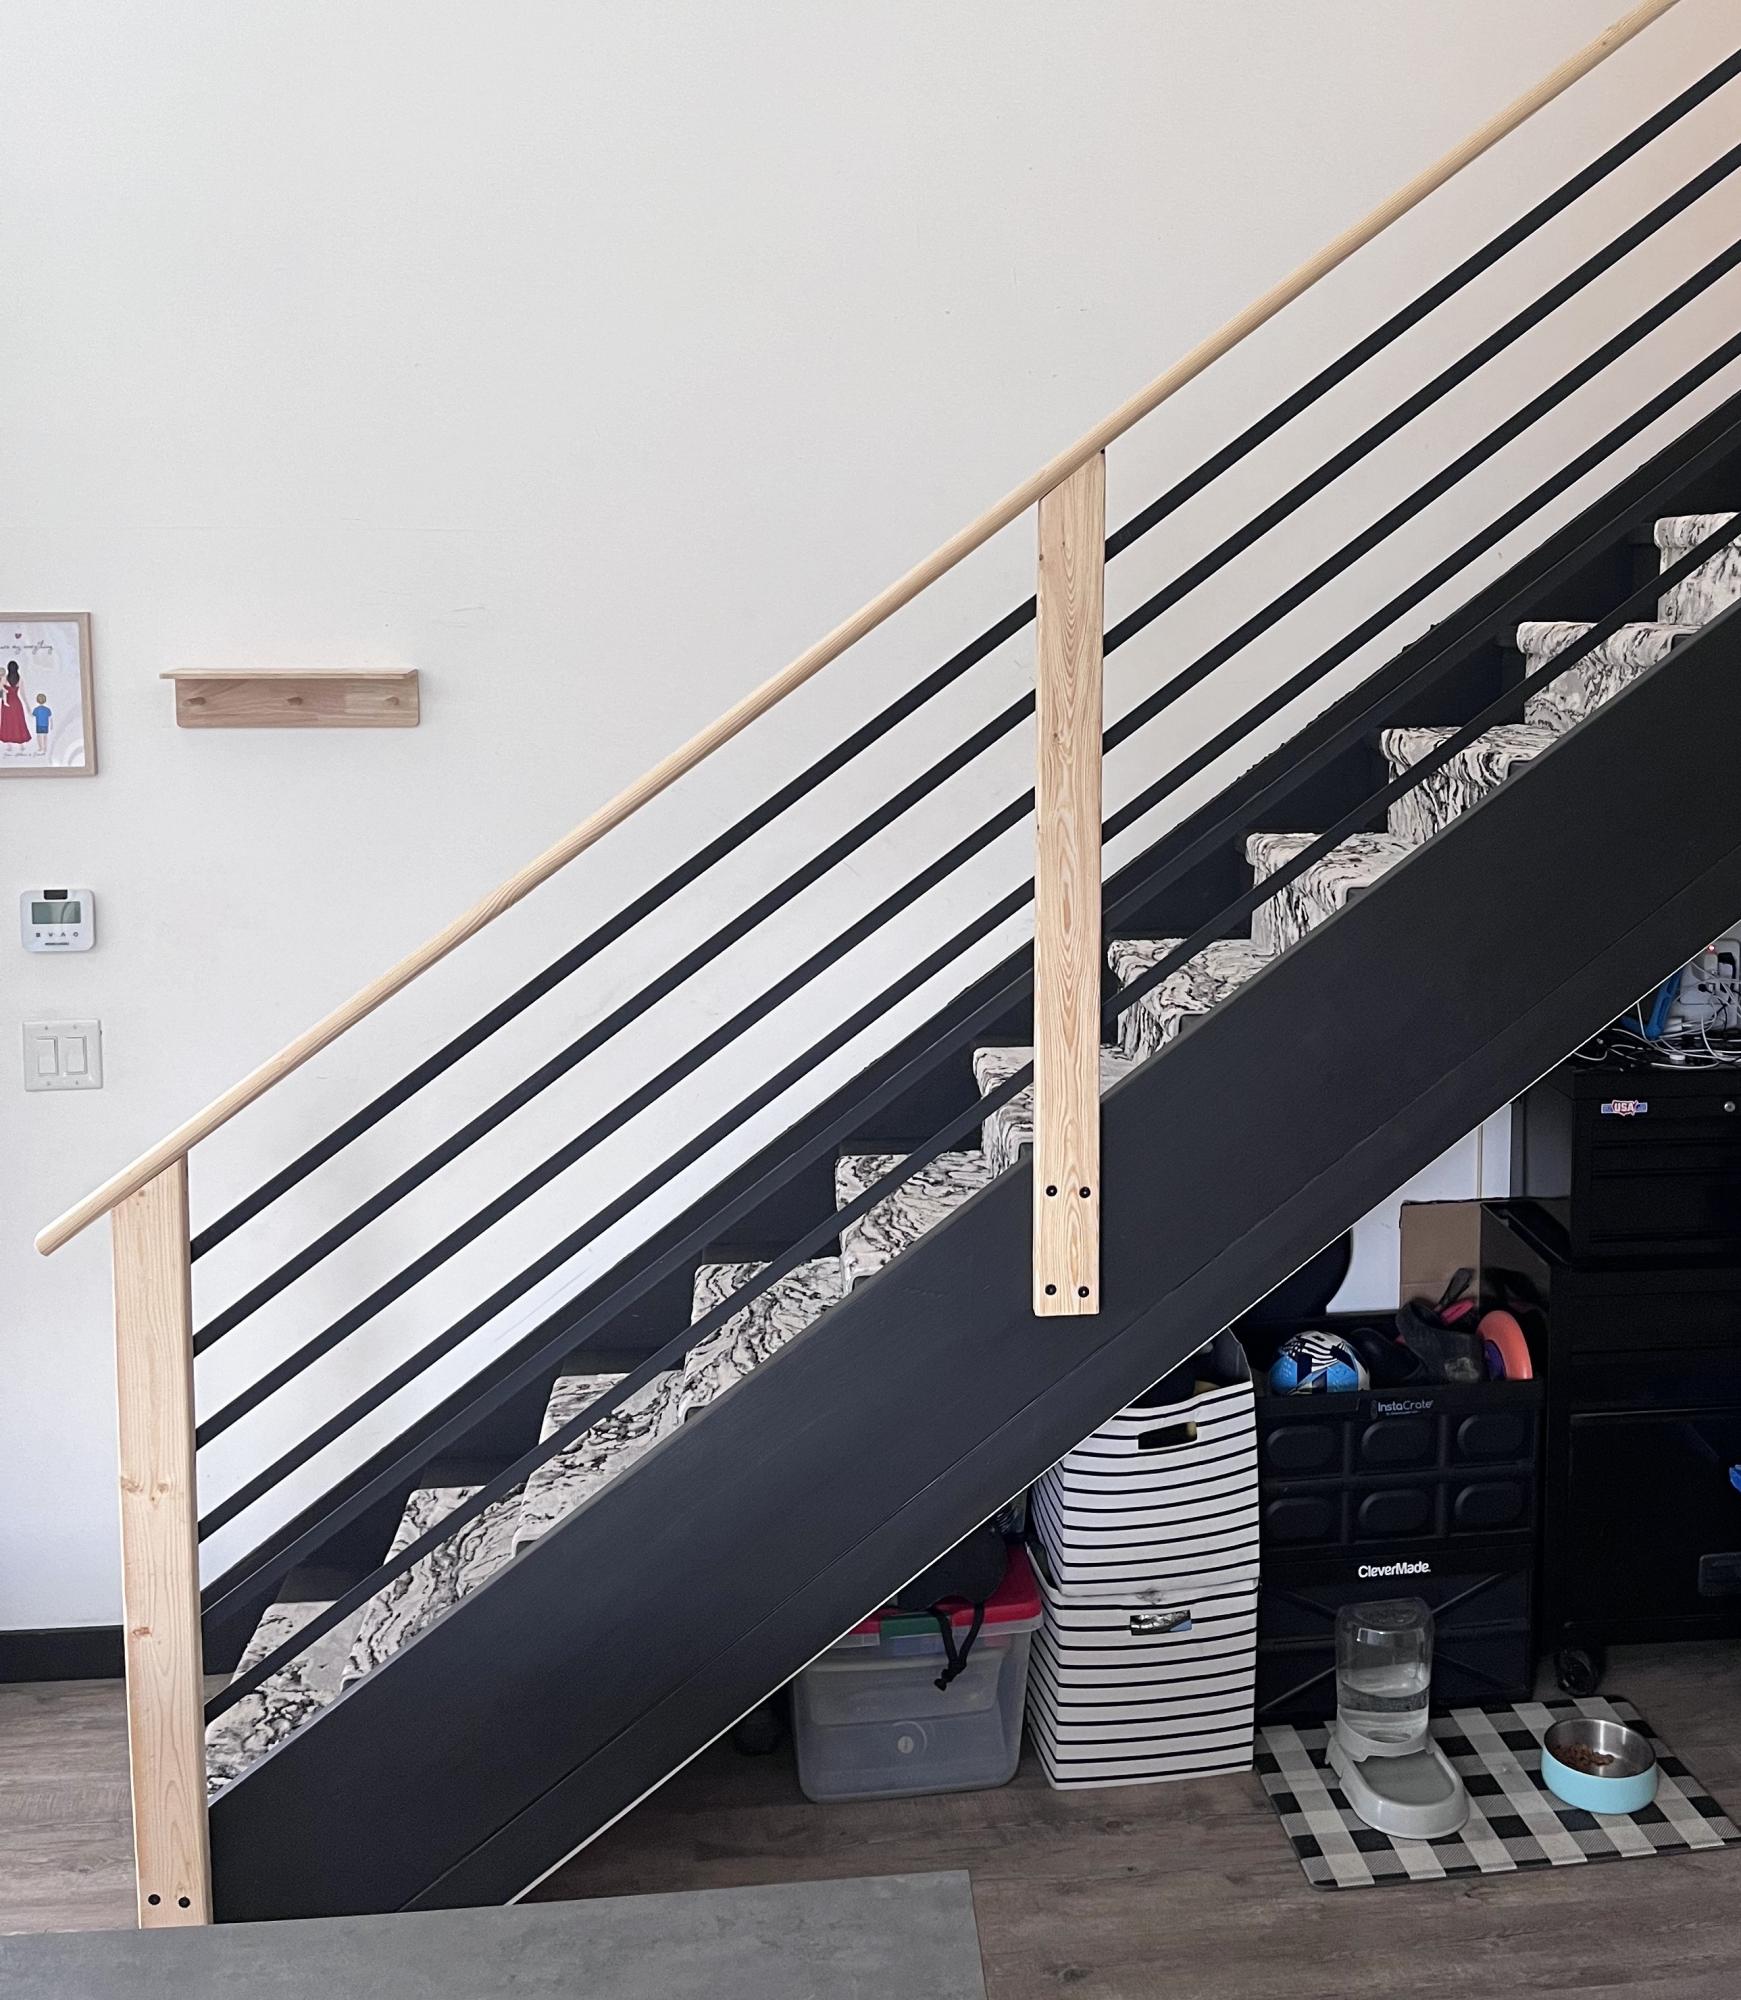
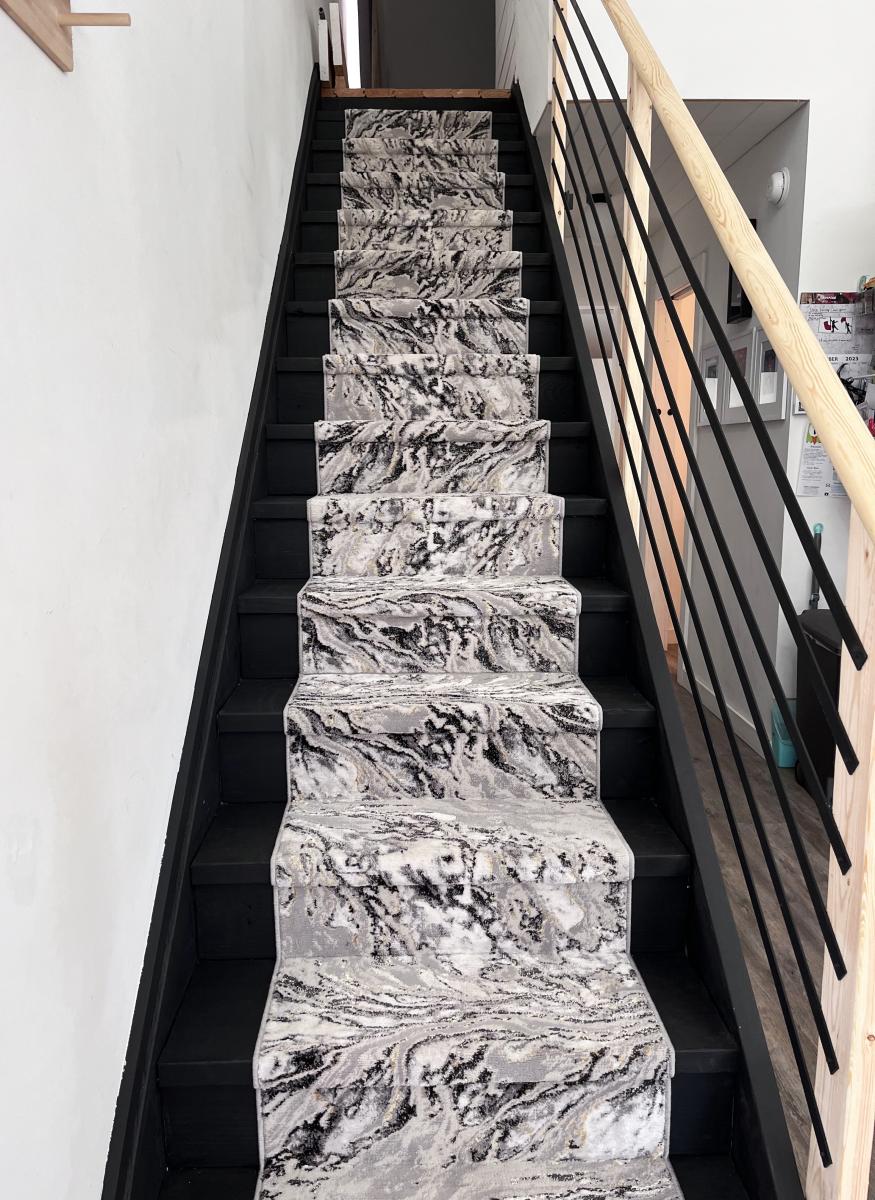
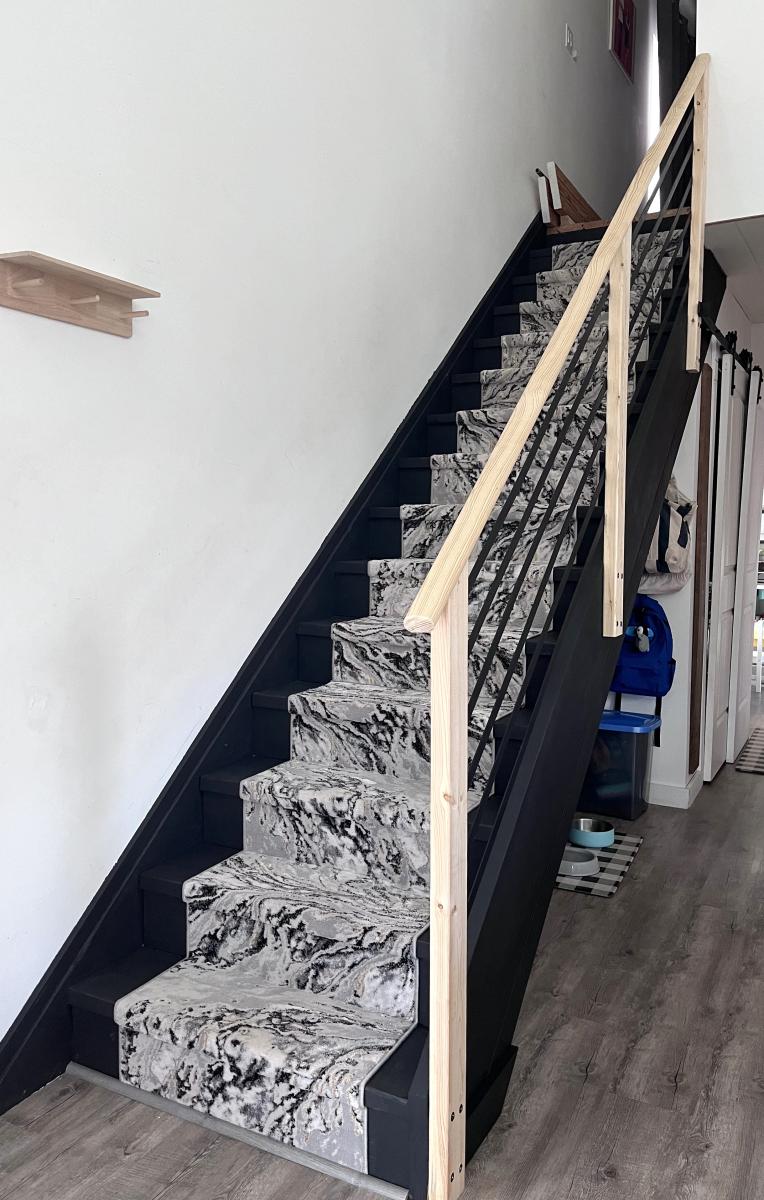
We built our house 5 years ago and I’ve disliked our stairs since then. They were never finished and were big and bulky compared to the rest of the house. These plans were the perfect fit. We switched the top 2x4 for an actual handrail, purchased from a big box store. We used pocket holes to install it and I couldn’t be happier. It’s now my favorite thing in the house. We plan on adding a loft and will use these plans for the railing.

@livingsmallerintheholler


Roll Away Workbench with Miter Saw Insert

Submitted by Anonymous (not verified) on Thu, 04/11/2024 - 10:43

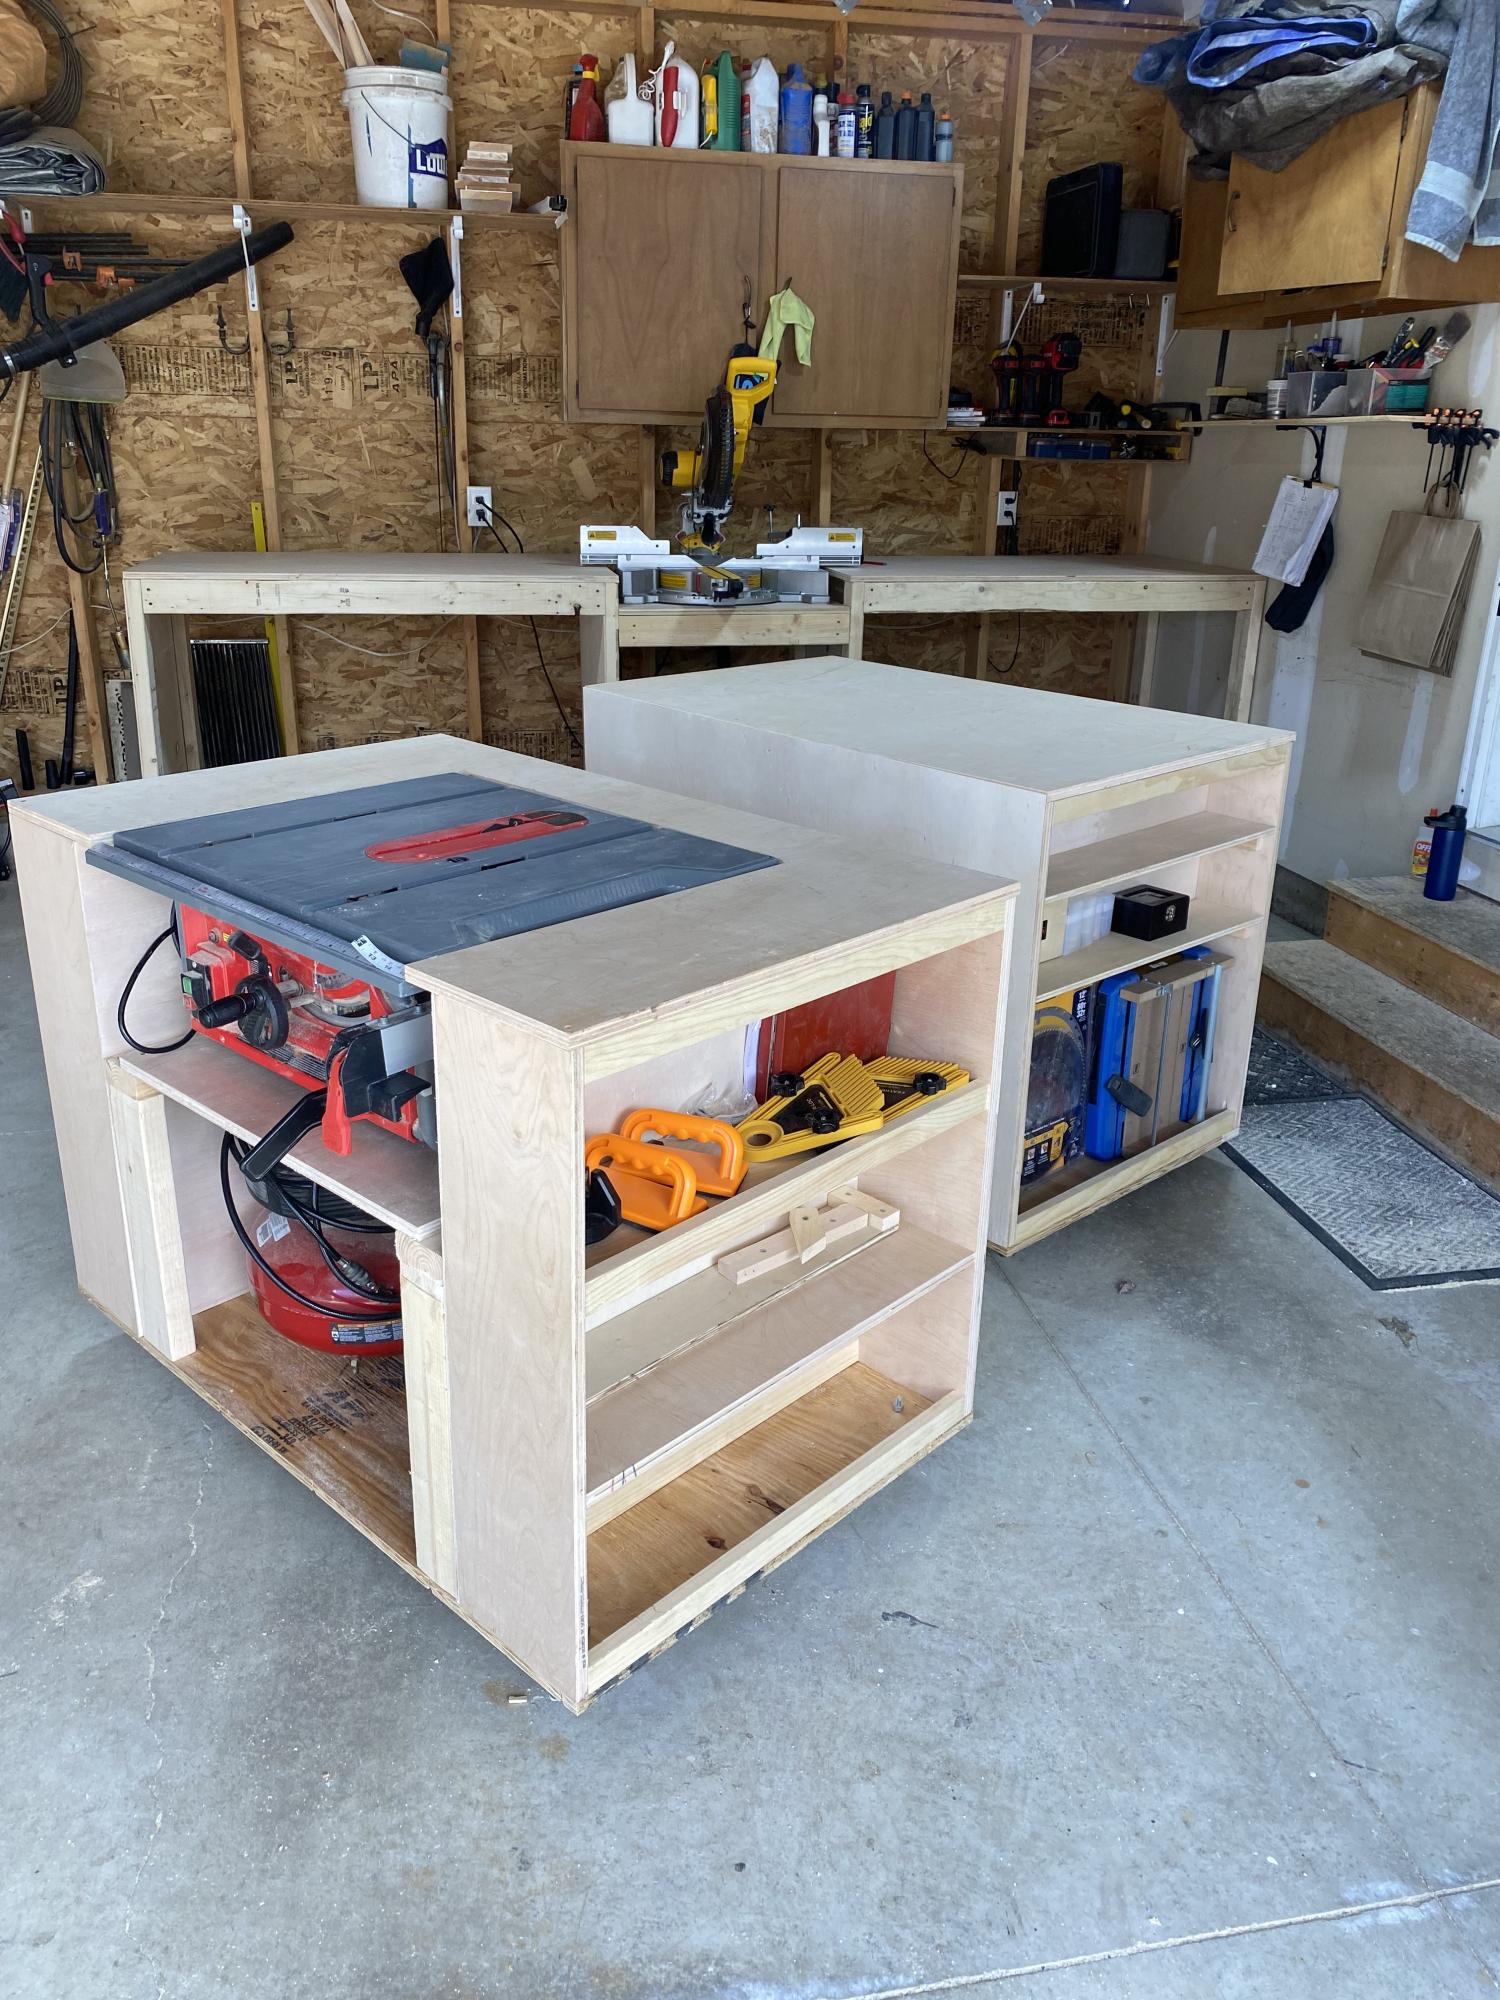
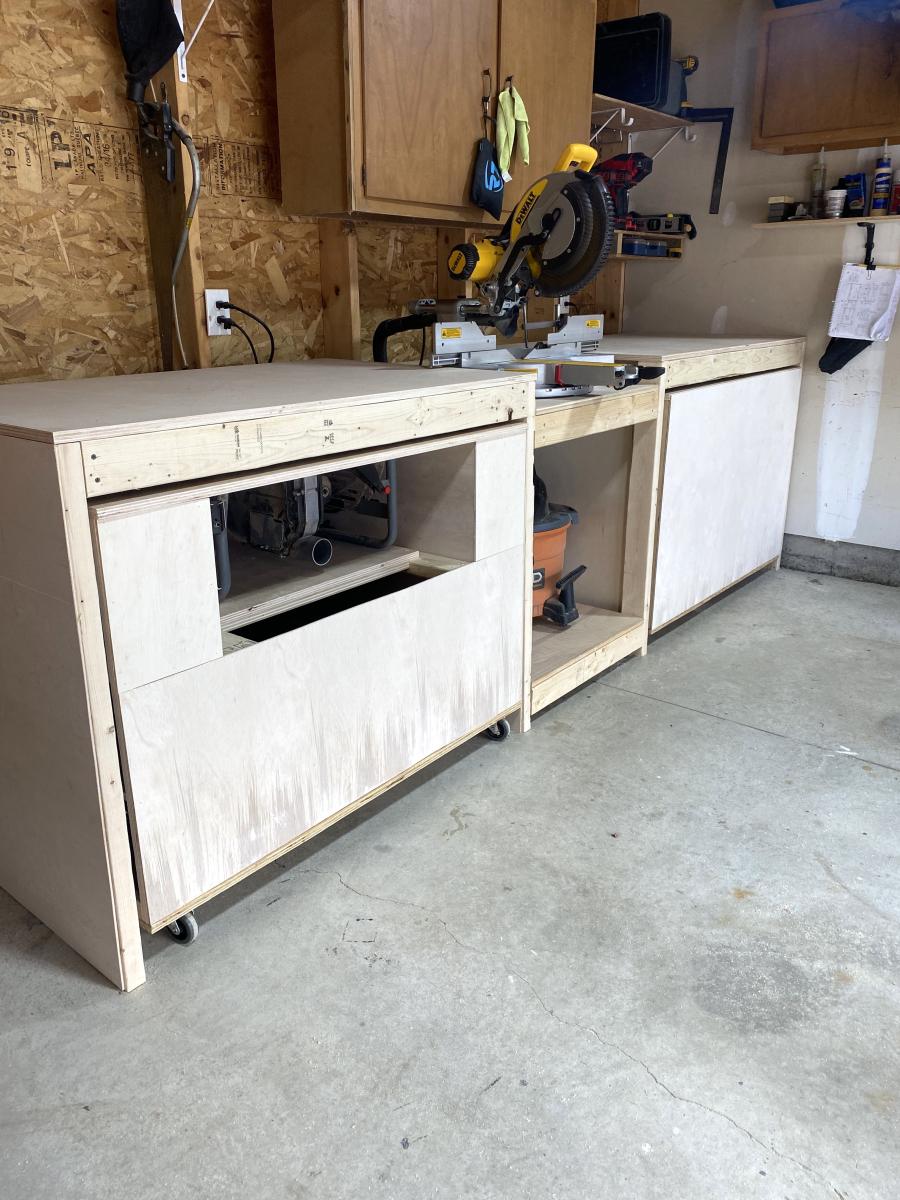
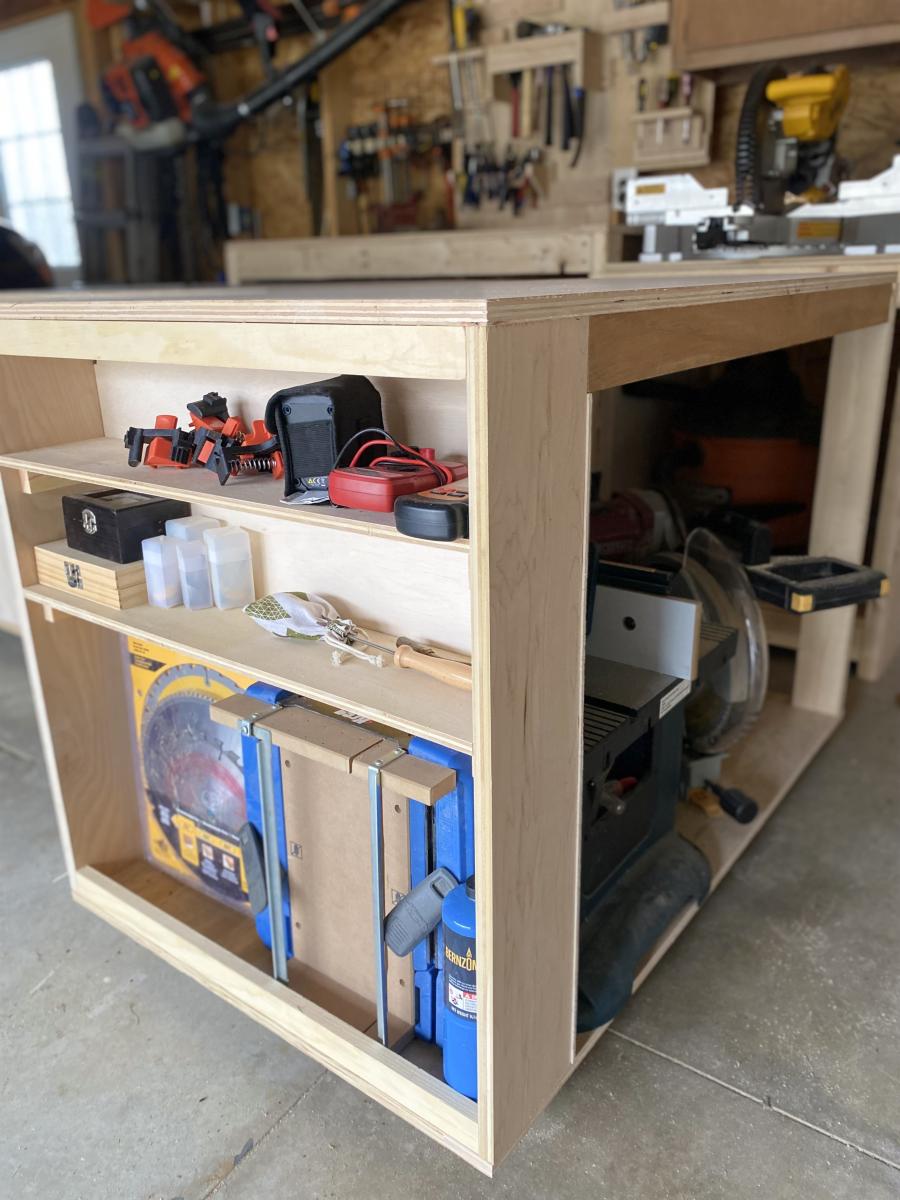
Modified these plans slightly for my needs. I kept the table saw open for easier dust collection and only had one side of shelving on the other bench to allow for storing larger items. I can’t get over how much storage in a small space you get with these and how multi functional they are.

Back