Factory cart coffee table
Awesome plan, used 10” boards and 6” wheels to add height. Also added hinges so that the top opens up for storage. Found some hardware to give it some personality.
I fell in love with the simplicity of this table. I had been wanting a new table for a good while and when I stumbled on Ana’s YouTube video of this table, I knew this one was easy enough for my husband and I to tackle! Thank you, Ana!!!!
Mon, 05/22/2023 - 15:32
Way to go, it looks amazing in your space! Thanks for sharing.
The cover is a tonneau cover for a pickup truck. It's for a 6.5' truck bed so if you notice, I had to ad a 2x4 and one more picket on top to accommodate the extra length.
The cover would add a ridiculous amount of money to the project but it was repurposed. I found it on a truck that was in an accident and going to the scrap yard. I think it it came out great and my grandson loves it.
John
This isn't an Ana White plan but I've learned so much from this site that I designed and built this garden tool rack. Its pine 2x4 construction. I love it!
It is 84" tall x 72" long x 26 wide (opening) and 48"wide for garden tool hangers.
Using scraps I originally purchased from a Re-Use warehouse on my island (O'ahu), I put together two book display ledges for my daughter's bedroom. They are made with 2- 1x2s (lip and bottom) and 1- 1x4 (back). I was able to make two 28 3/4" ledges from first cut to installation in the 3 hours my daughter had gone on a "field trip" with my mom and brother and surprised her with new book ledges when she got home. :)
I scoured the web unsuccessfully for months trying to find a cabinet big enough to store everything we needed to store. I wanted something huge and bright and simple, and so I decided to just build away. It's 8'4" long, 18" deep and 36" tall. Topped with a slab of Giallo Napoleon granite and painted a nice plain white. Took me only a few nights to build and paint, thanks to my power nailer and power paint sprayer. Thanks to a great deal on a remnant granite slab, this was just about $400 total start to finish. I winged the entire plan and didn't really use any plans in particular, though I have gathered many great ideas and tips from this site.
Sat, 08/13/2011 - 14:51
Wow - looks great! You would think it was done by a pro! You should be very proud of your finished product.
Tue, 12/04/2018 - 06:43
Trying to find cabinets like this. Did you buy them or build them?
Fun project
Thought I'd try two tone. A bit of a challenge after it has been assembled. Have to tape off, etc. The yellow ended up being brighter than I wanted so I decided to put stain over it and wipe it off for an aged look. The biggest challenge for me was getting the rounded ends, that the dowels go in, just right. Can be quite frustrating when you are a perfectionist but your skills aren't quite there yet. However, still happy with the outcome!
Love these plans! Made a modification and added backs to the chairs. Also, built ottomans to match the chairs which can also be used as additional seating.
Many compliments on the set. Thanks Ana!
I could not find ready made cushions for this project so I purchased outdoor fabric in the green and 2" high density foam at Fabricland which we doubled to make 4" thick cushions. The throw pillows I bought at Walmart. I will probably buy more foam and fabric and make cushions for the back as well. I find the throw pillows aren't quite large enough to protect your back from the wood.
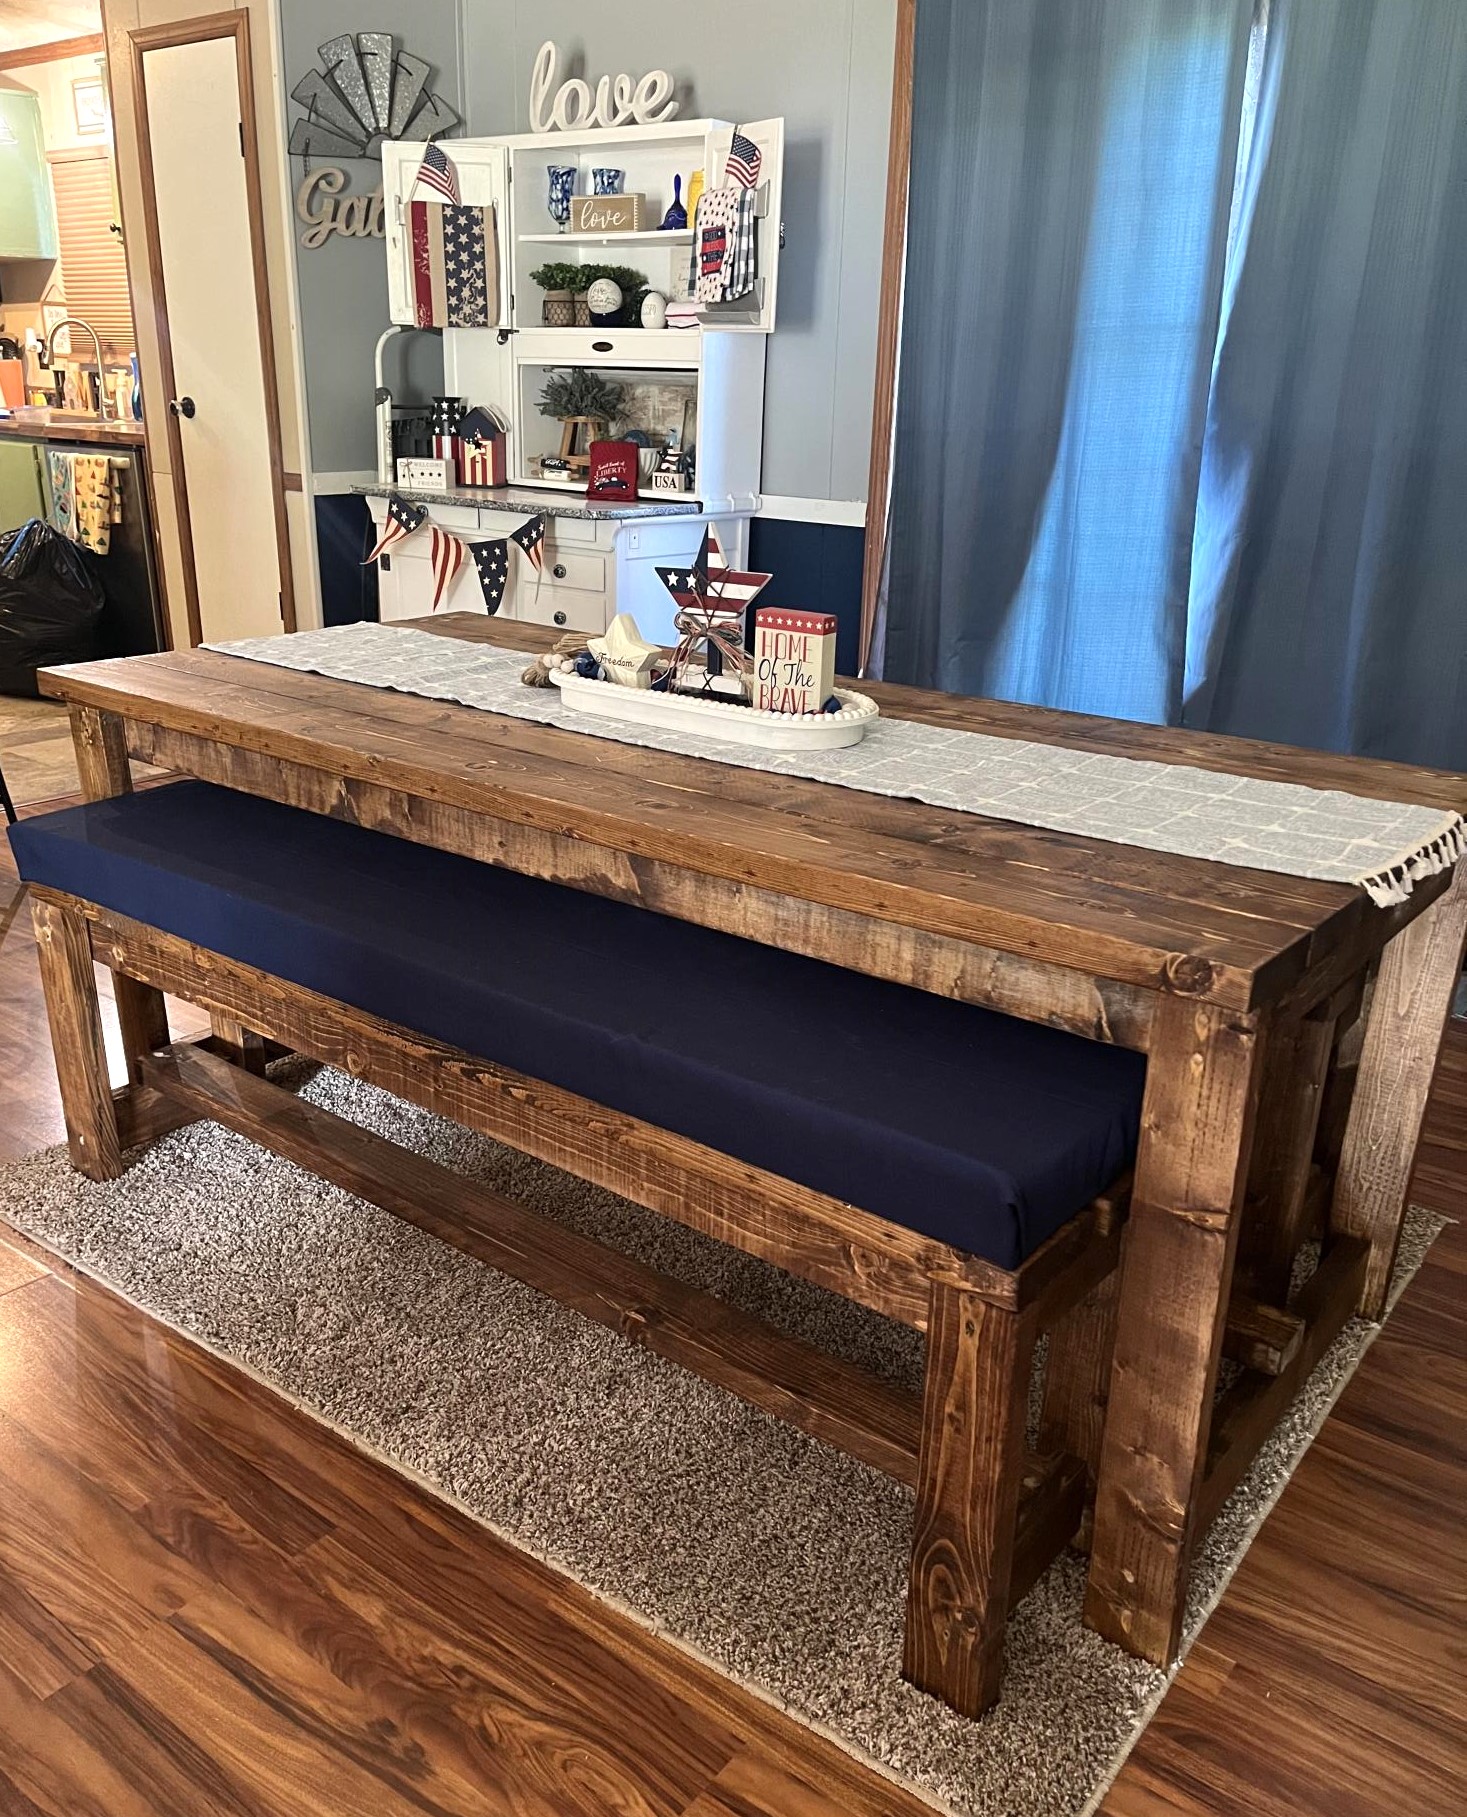
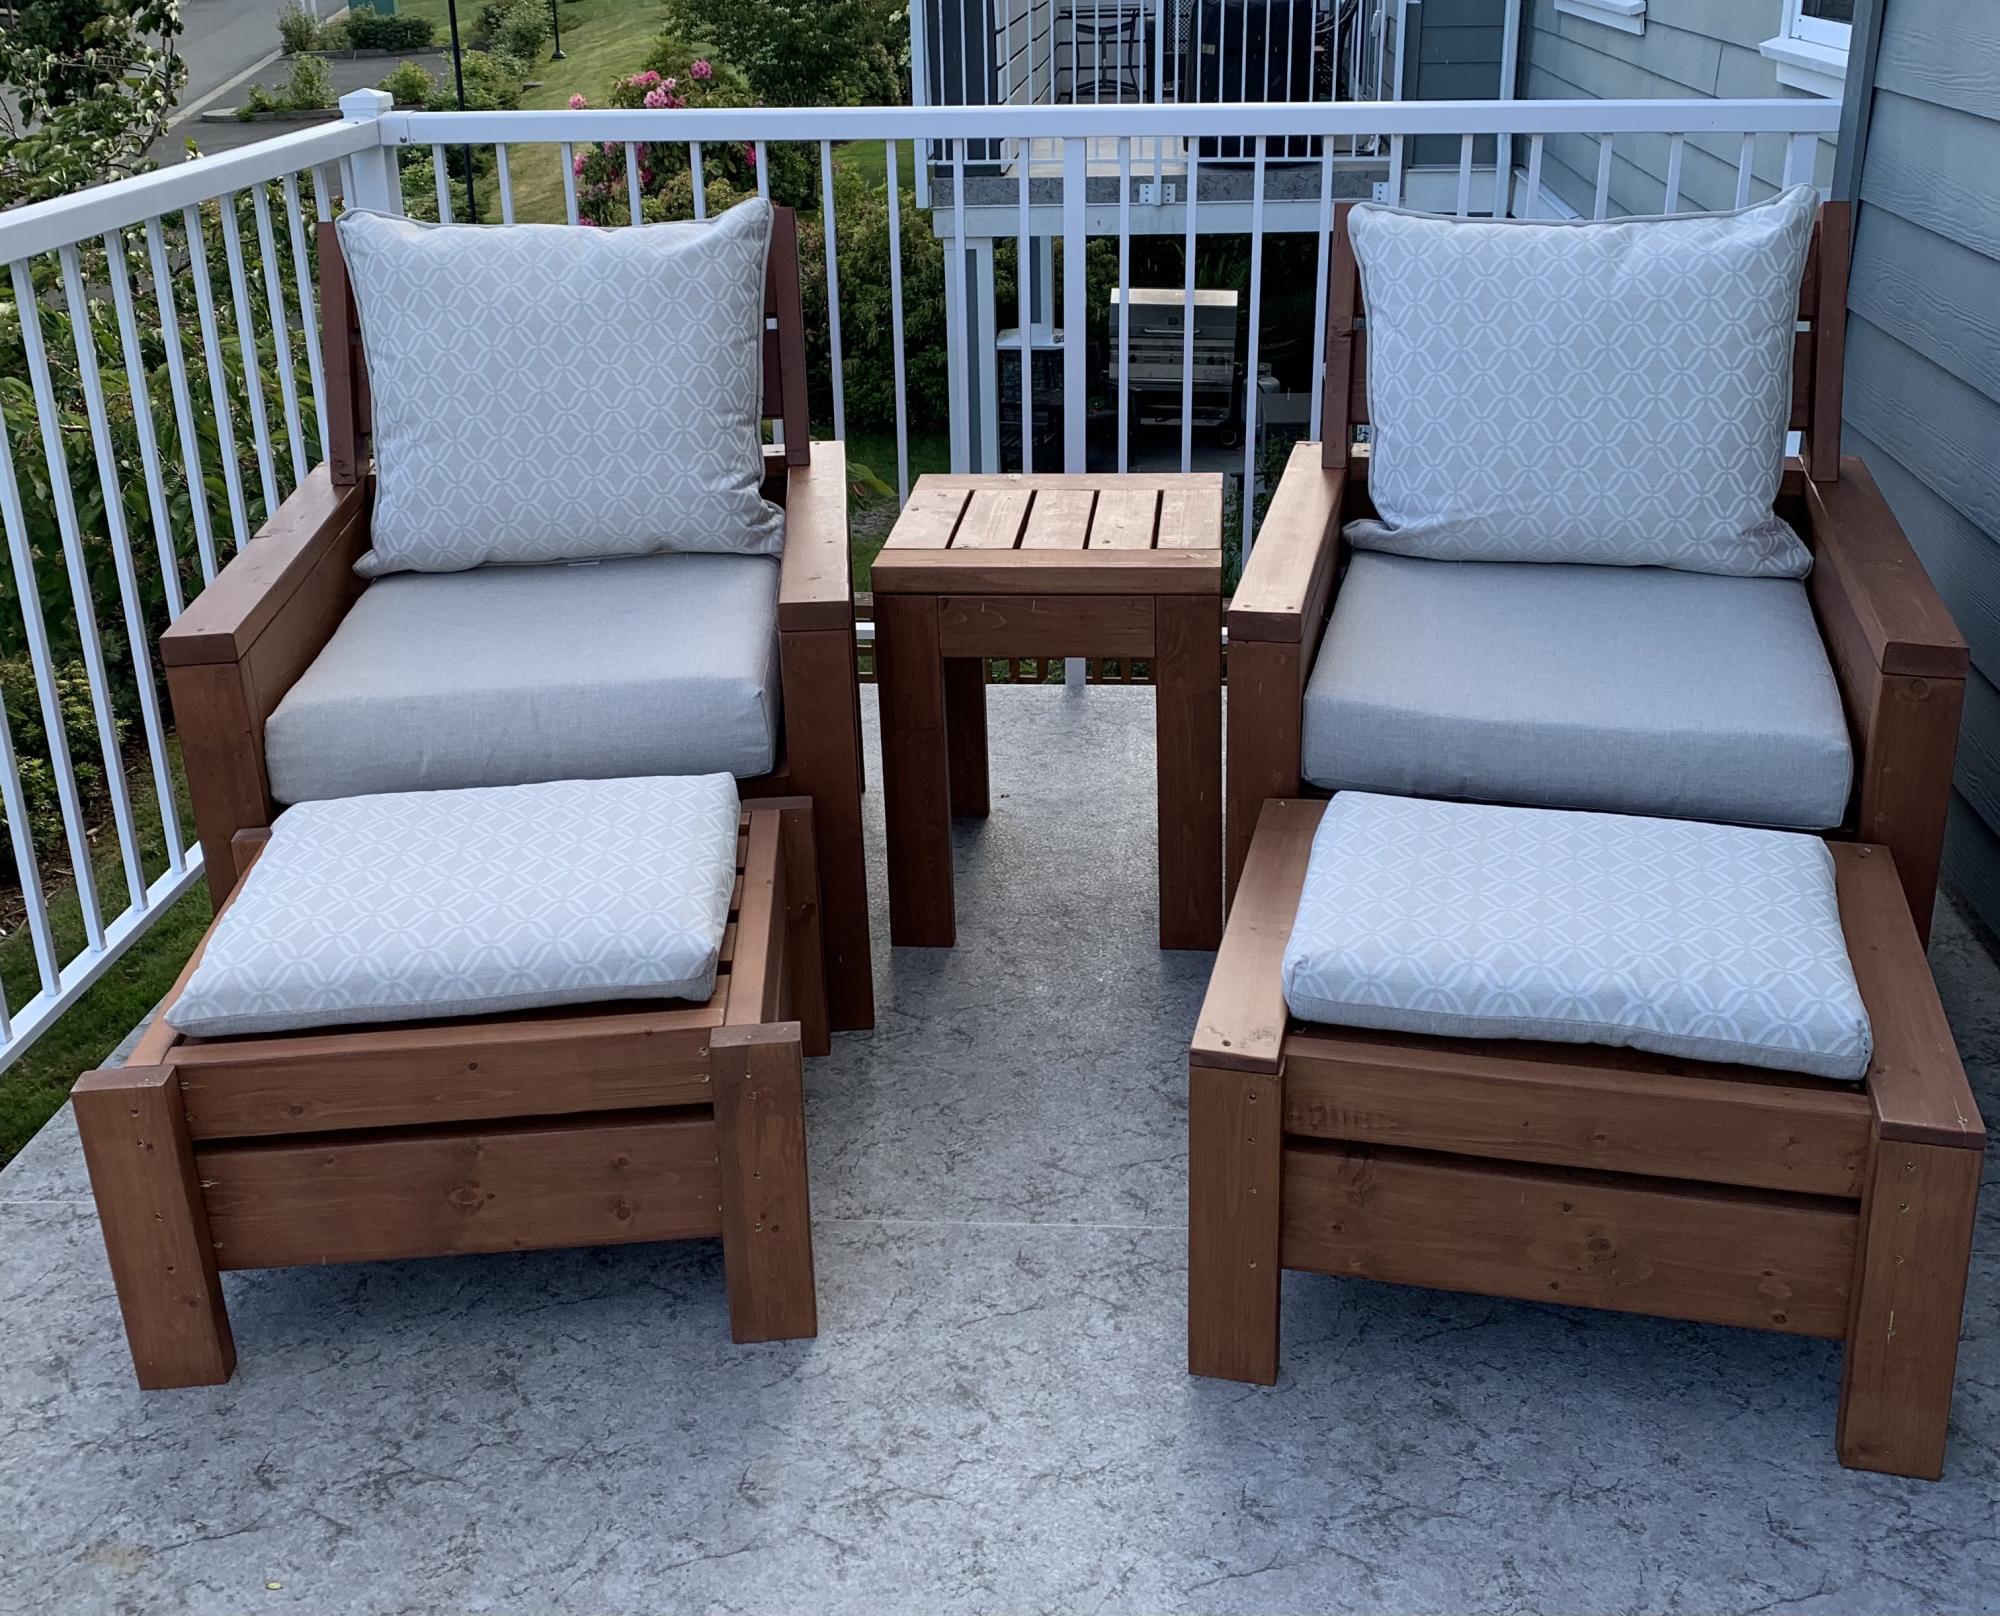
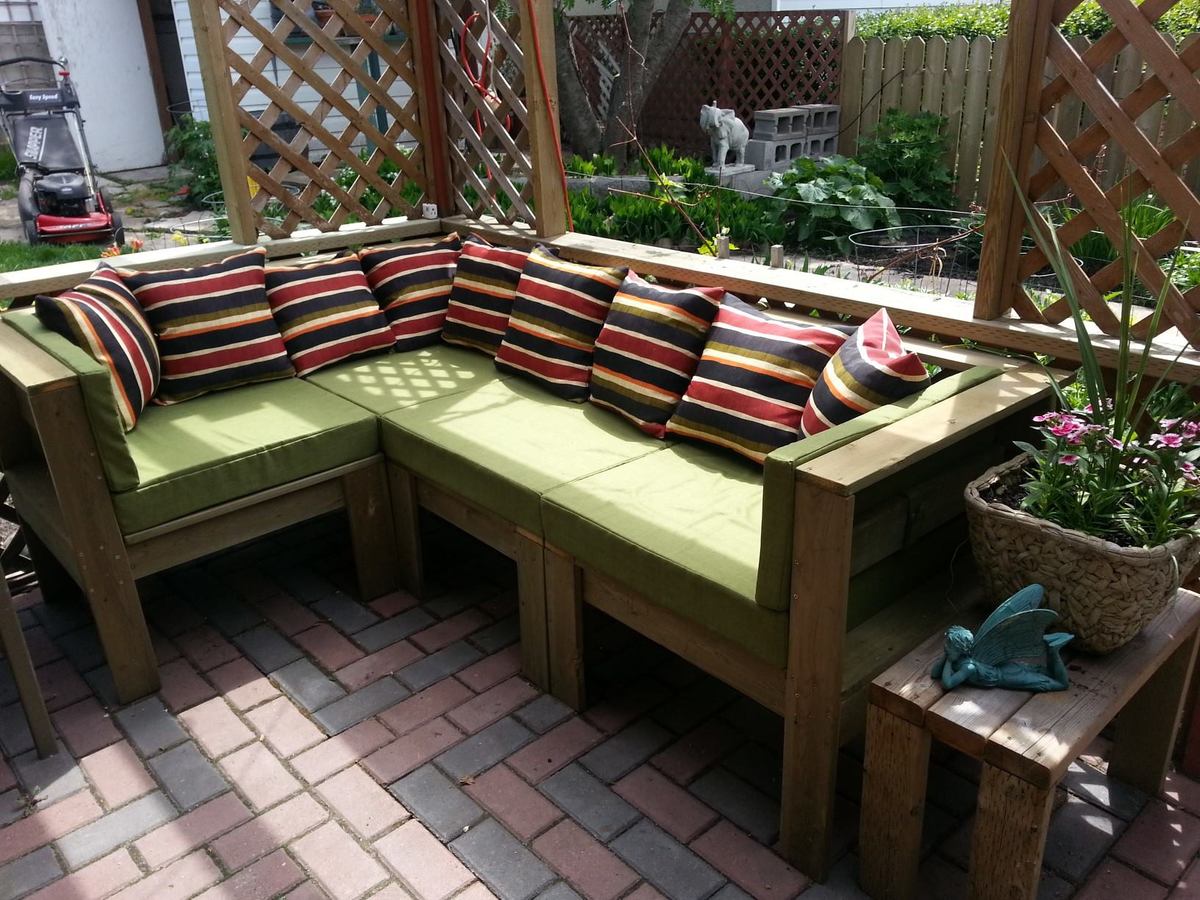
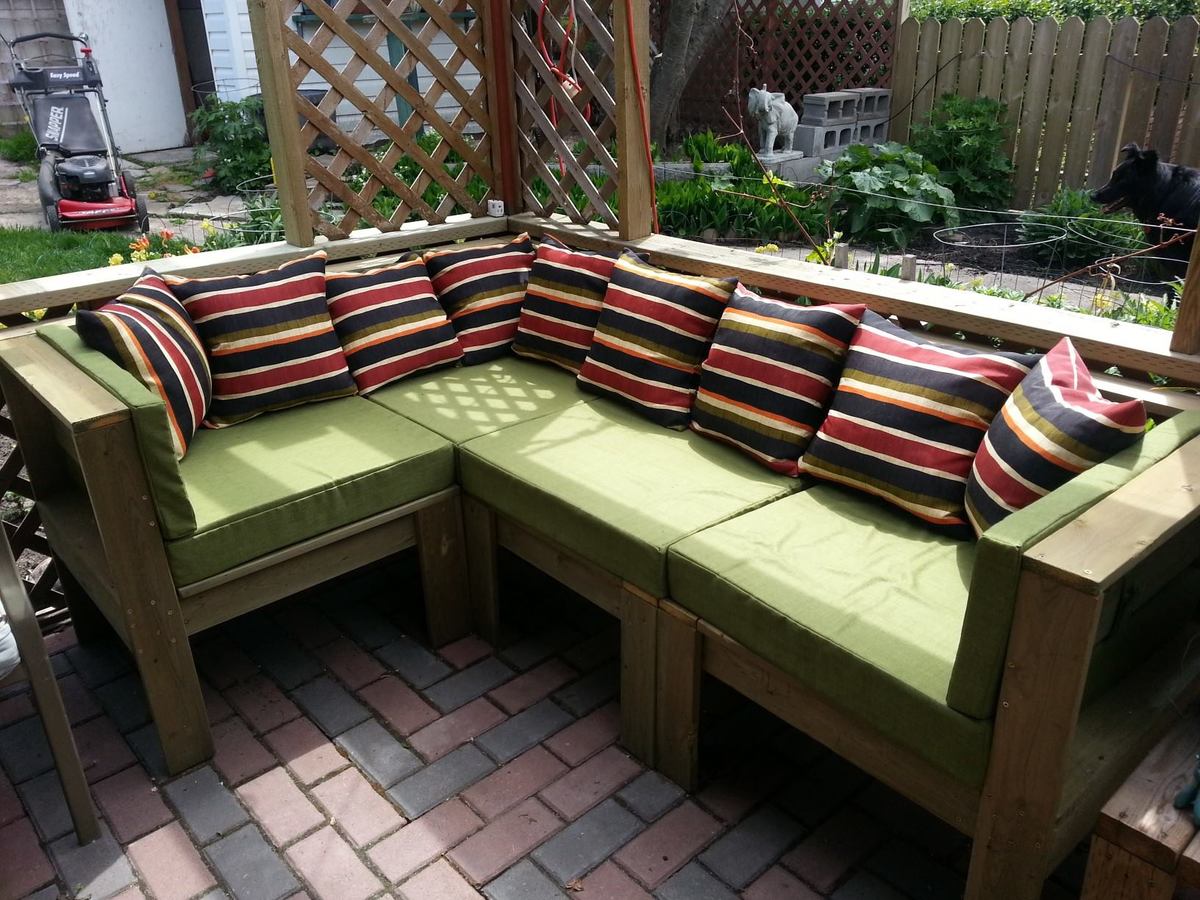
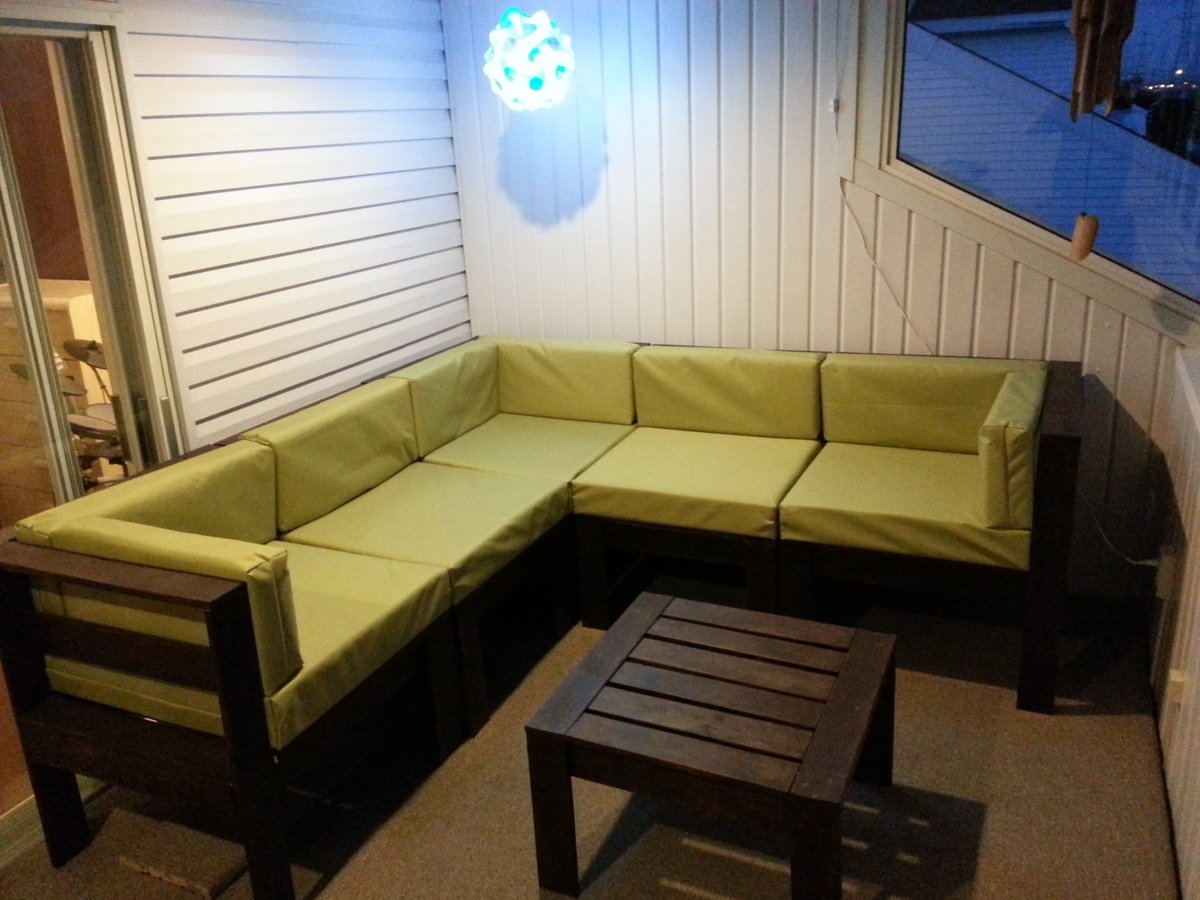
First ever woodworking project!
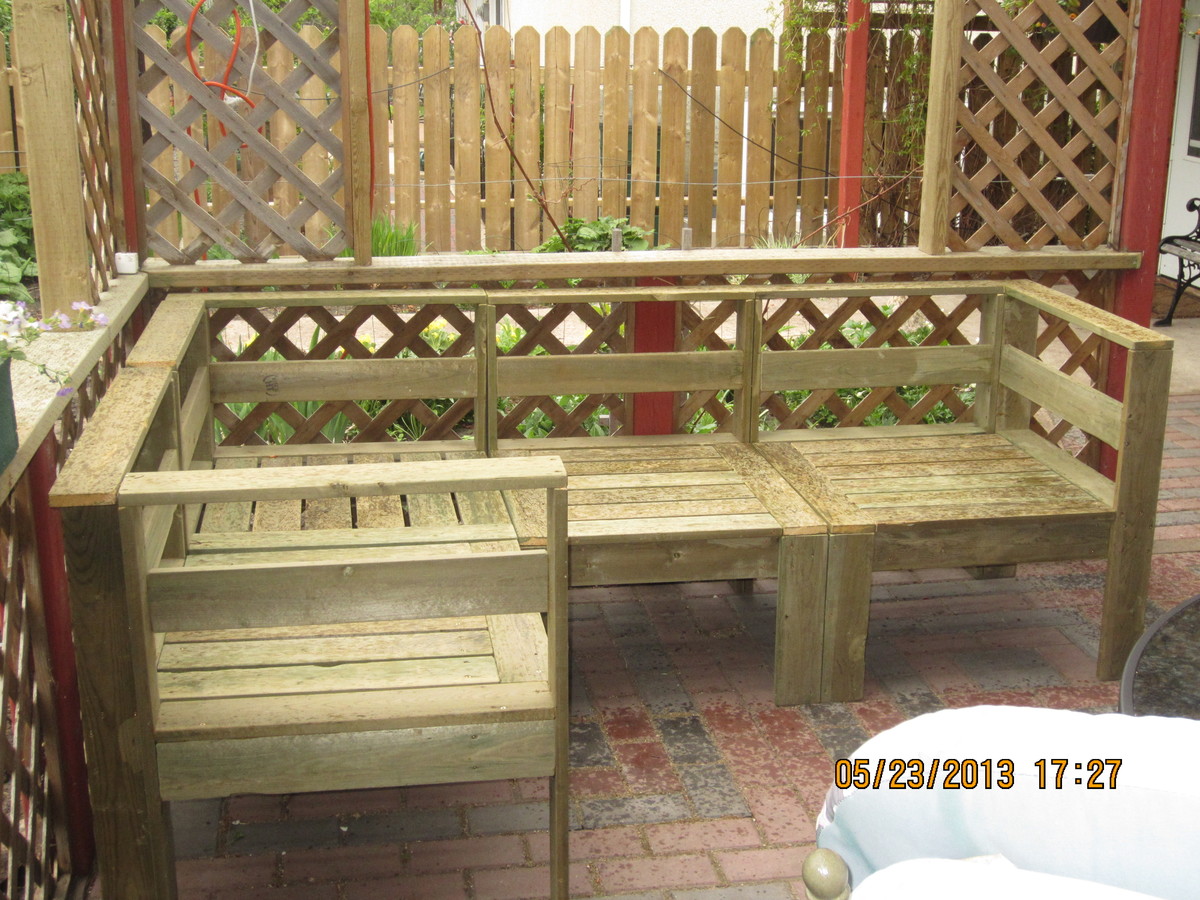
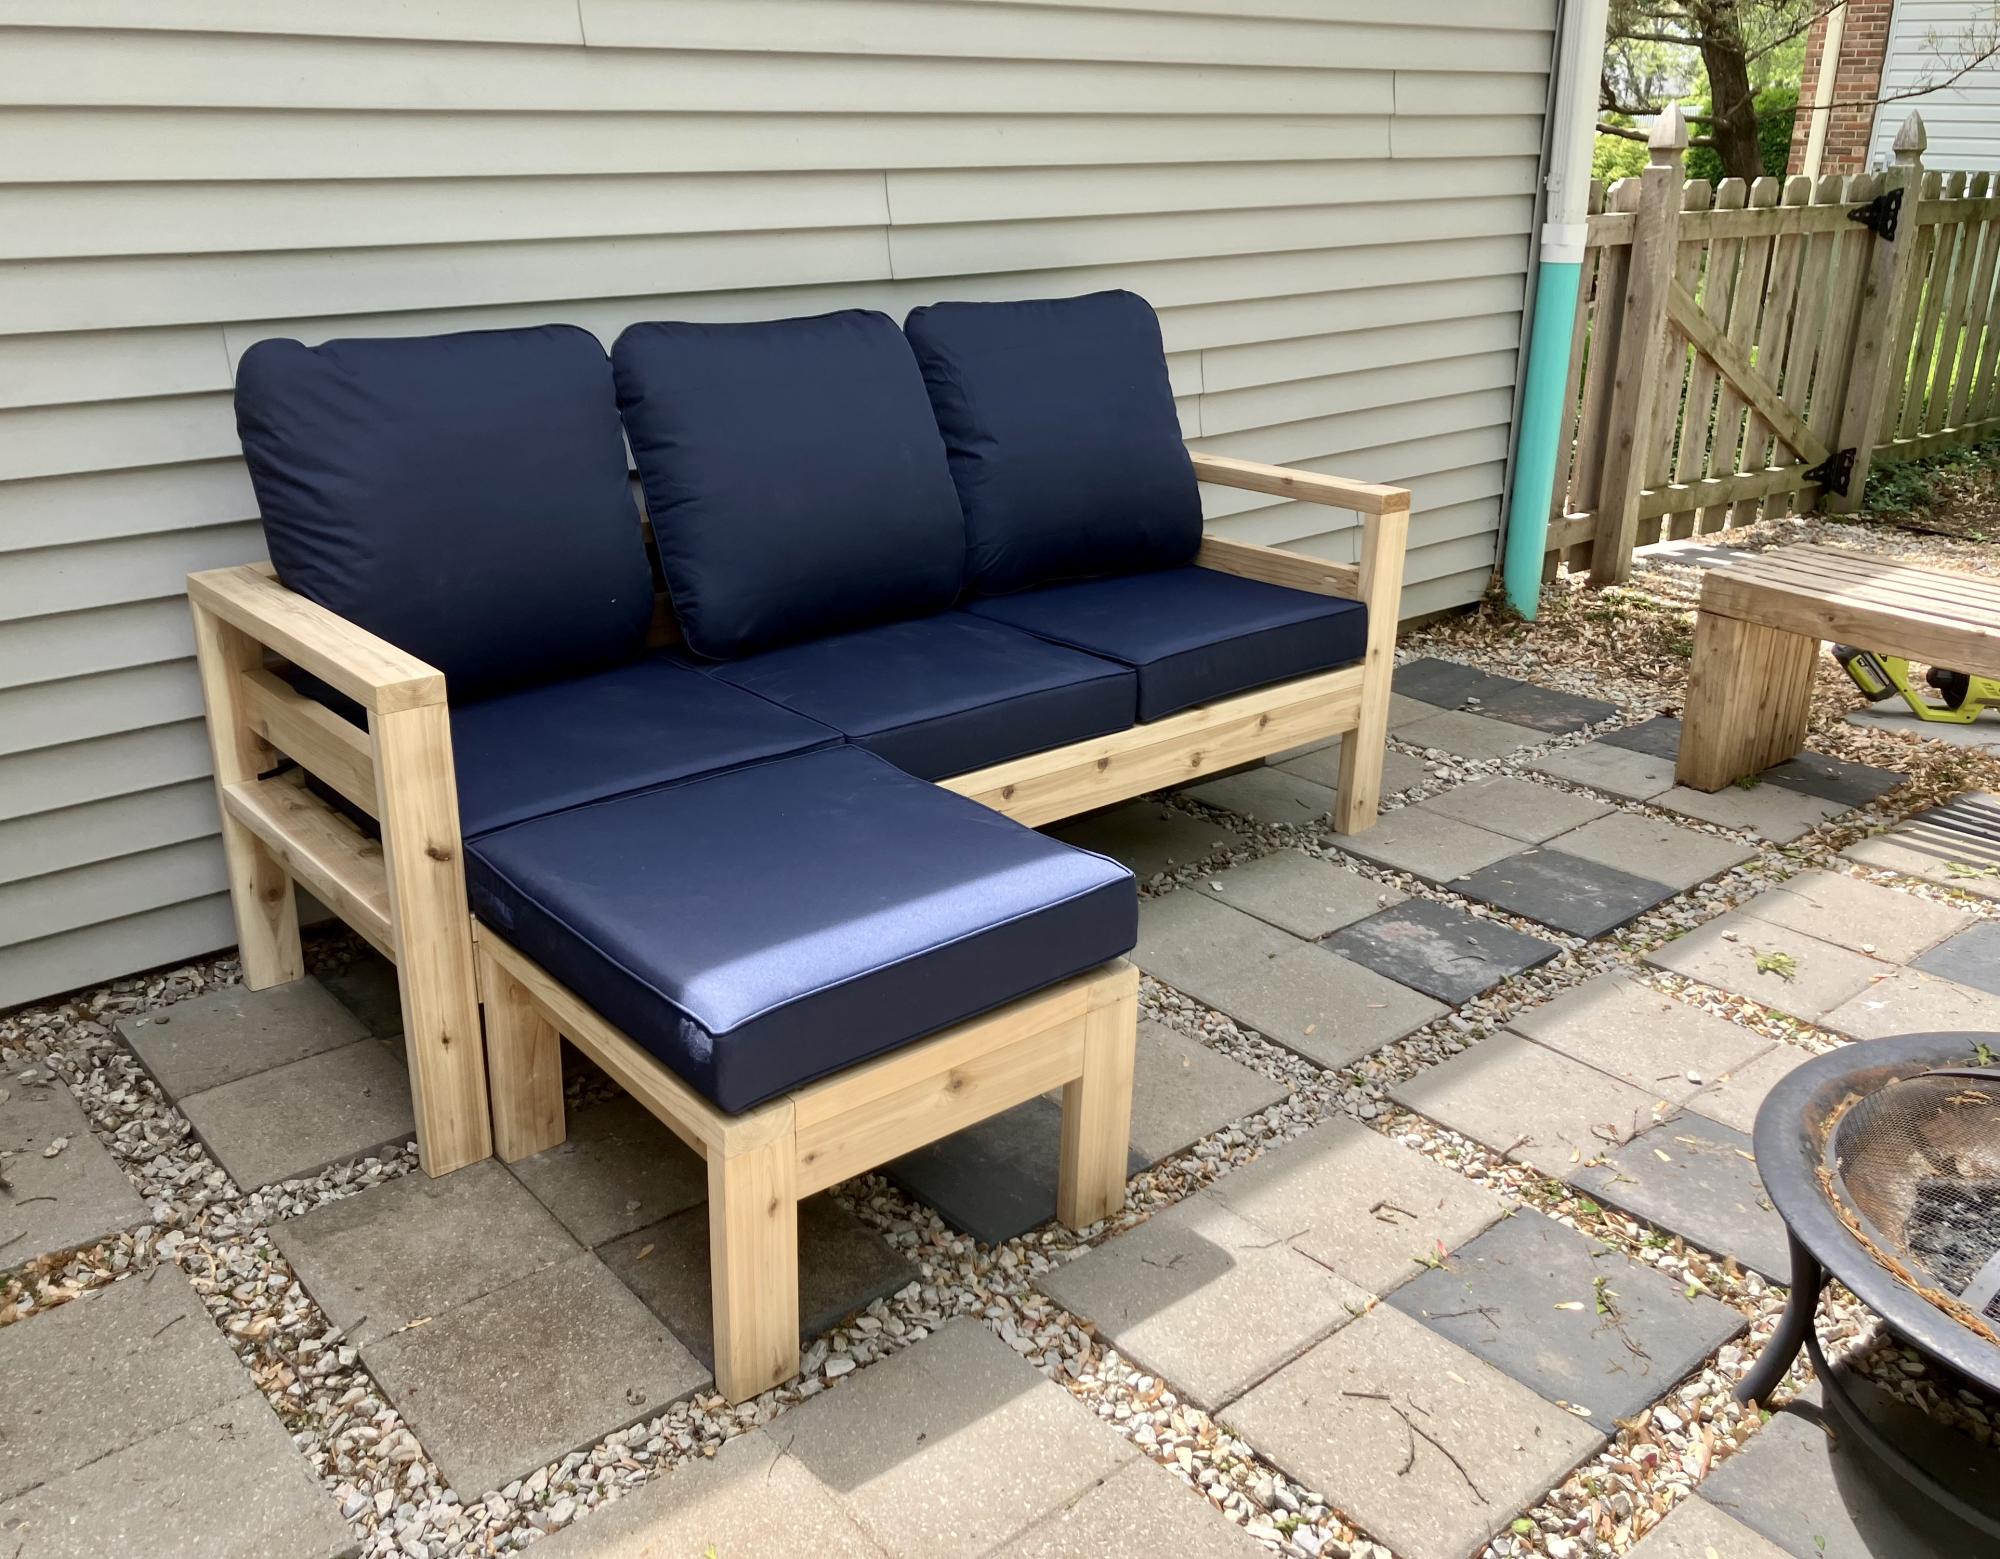
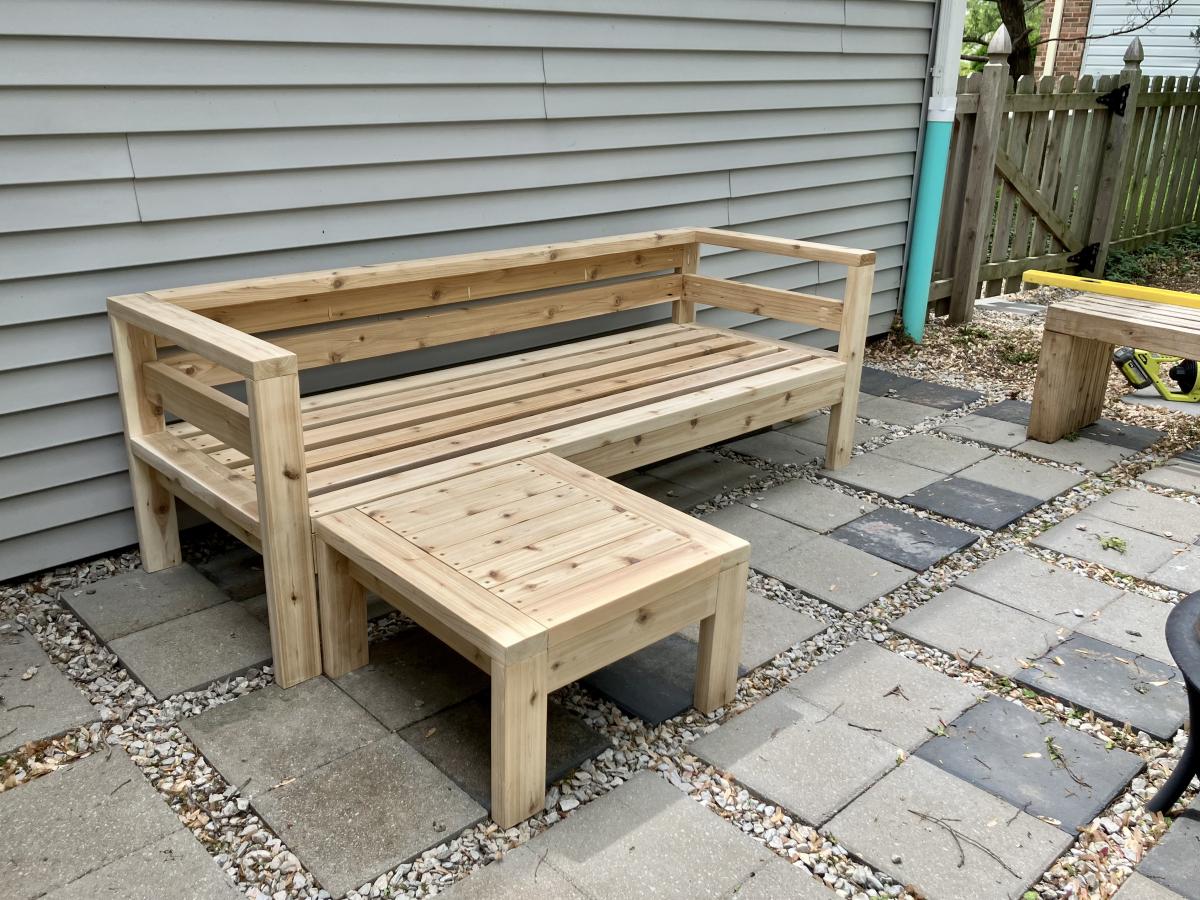
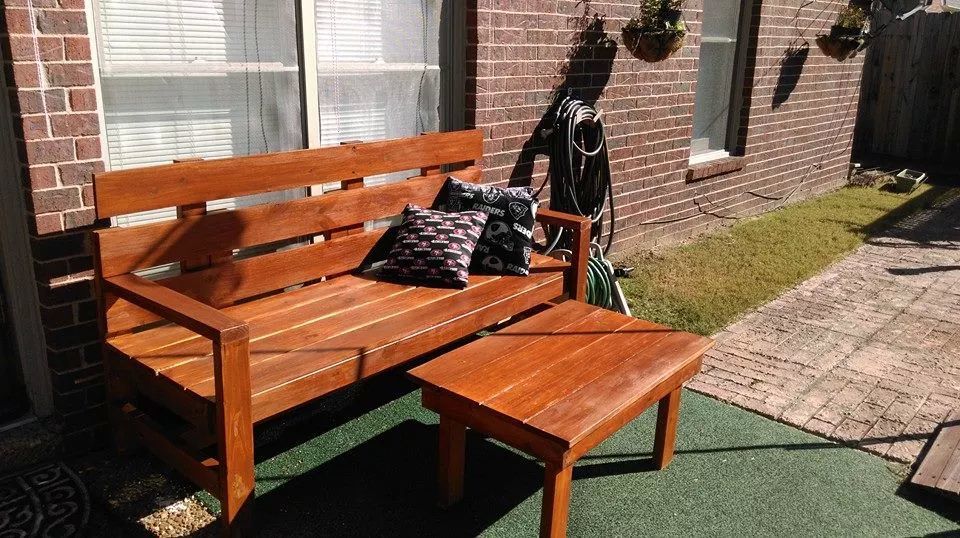
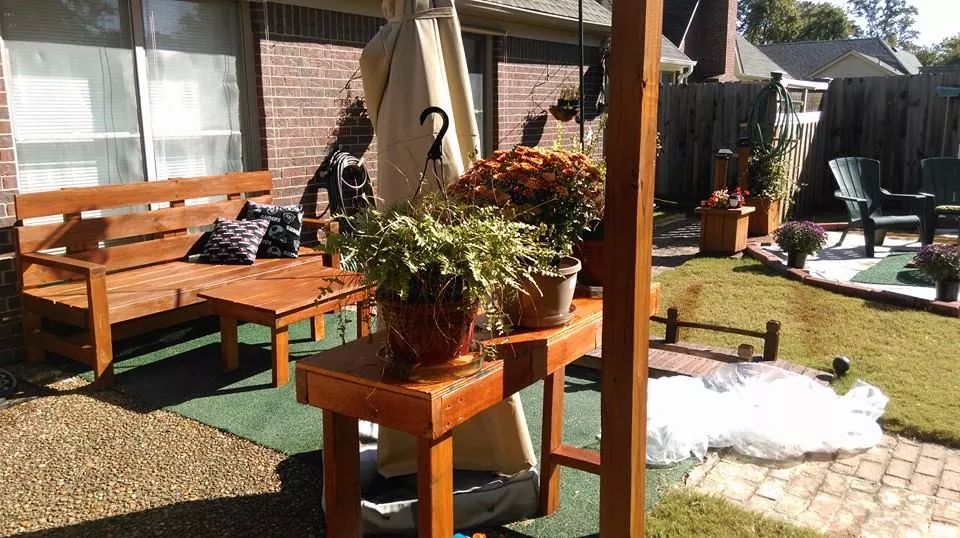
I wanted to add a sectional in my veranda, but all the models at stores around my place were at least a 1000$ and didn't had the proper dimension. The plan given on this website was ideal for my space, since my veranda is limited in space (was converted from a balcony, 7'x14').
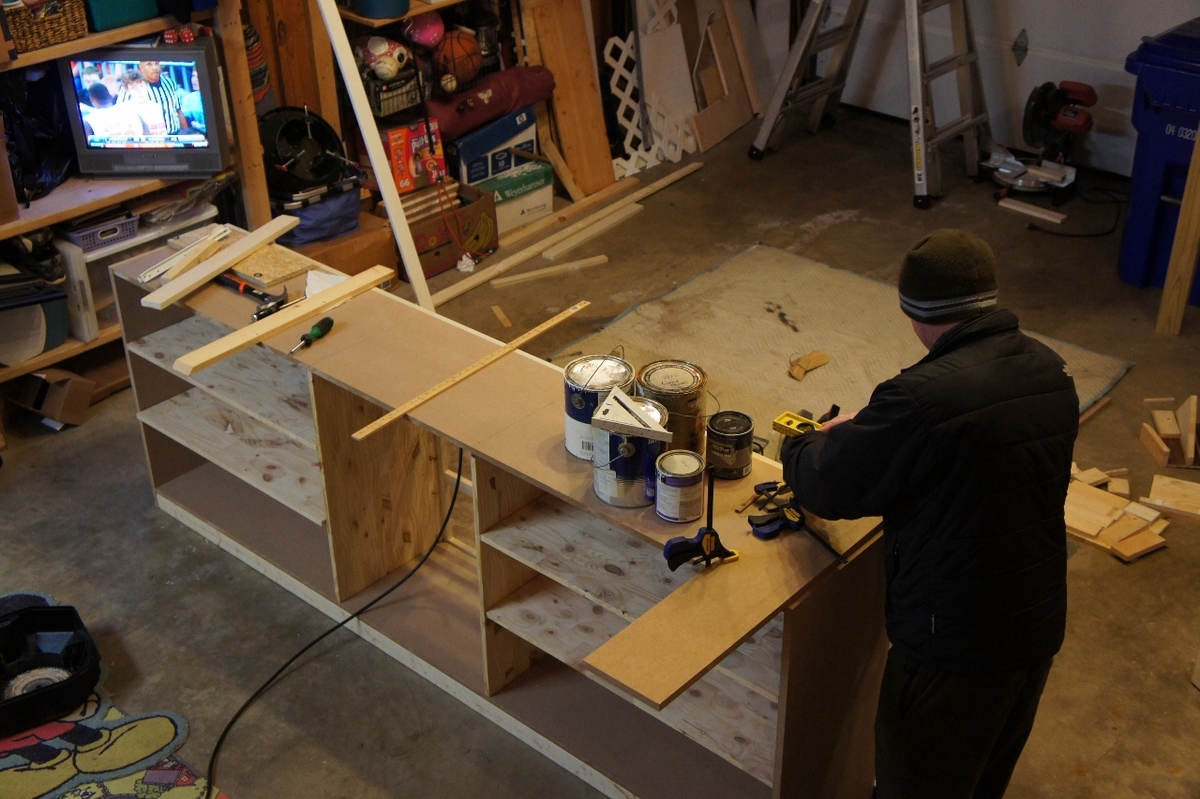
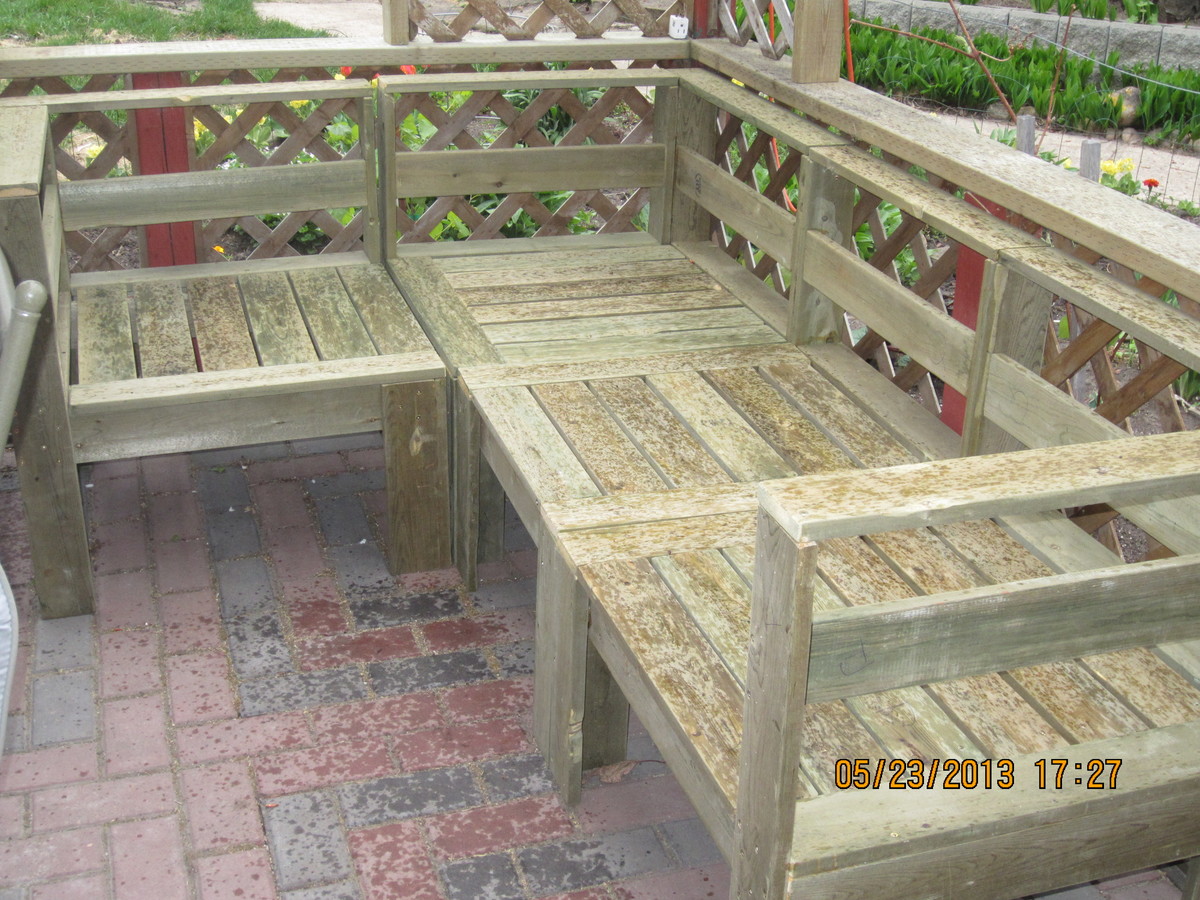
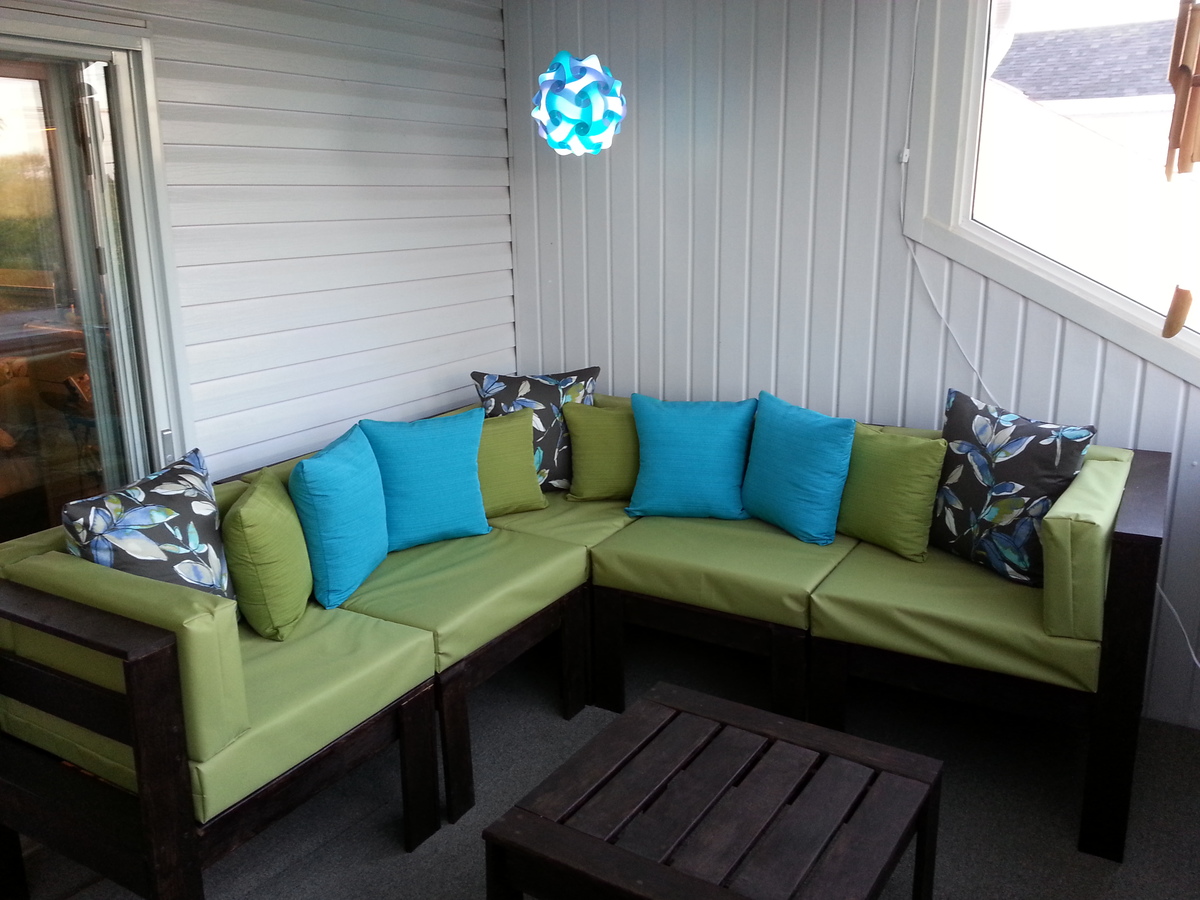
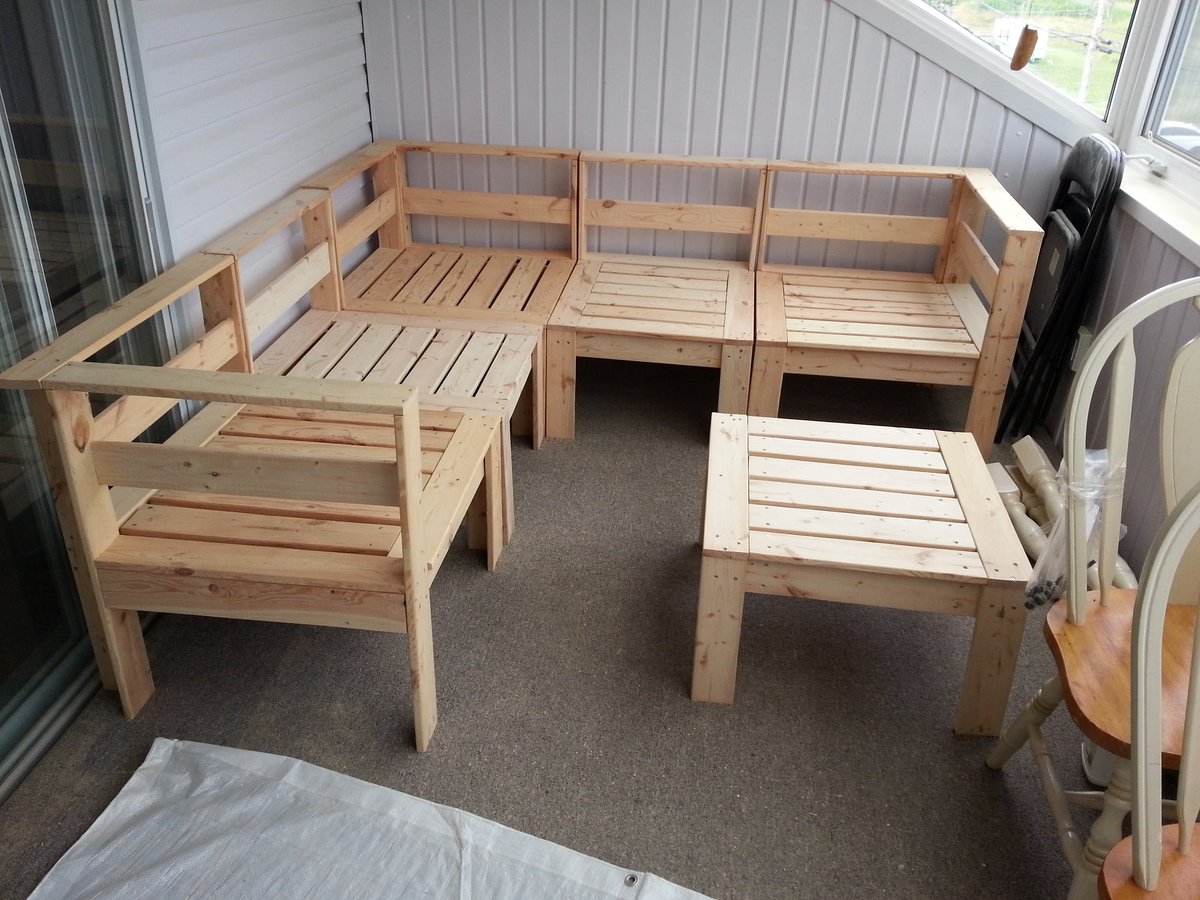
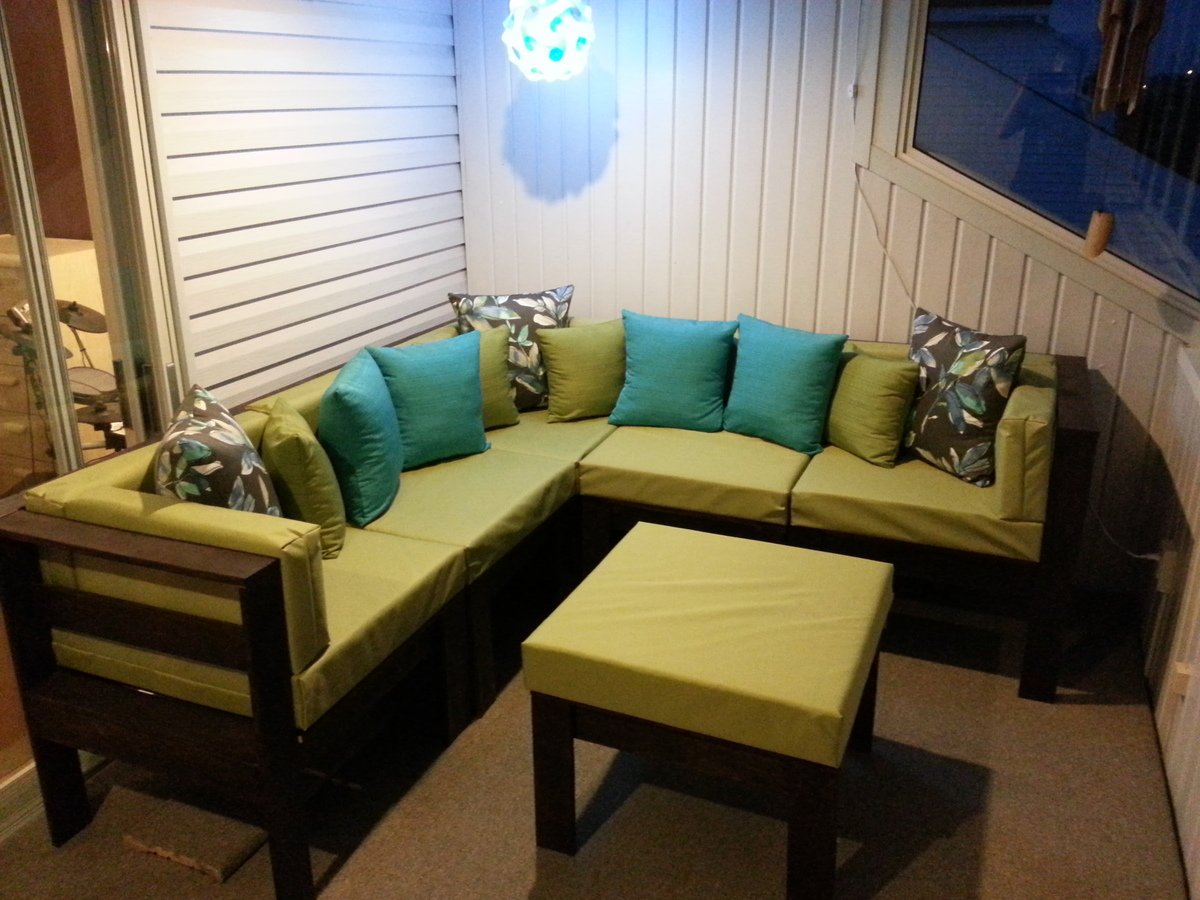
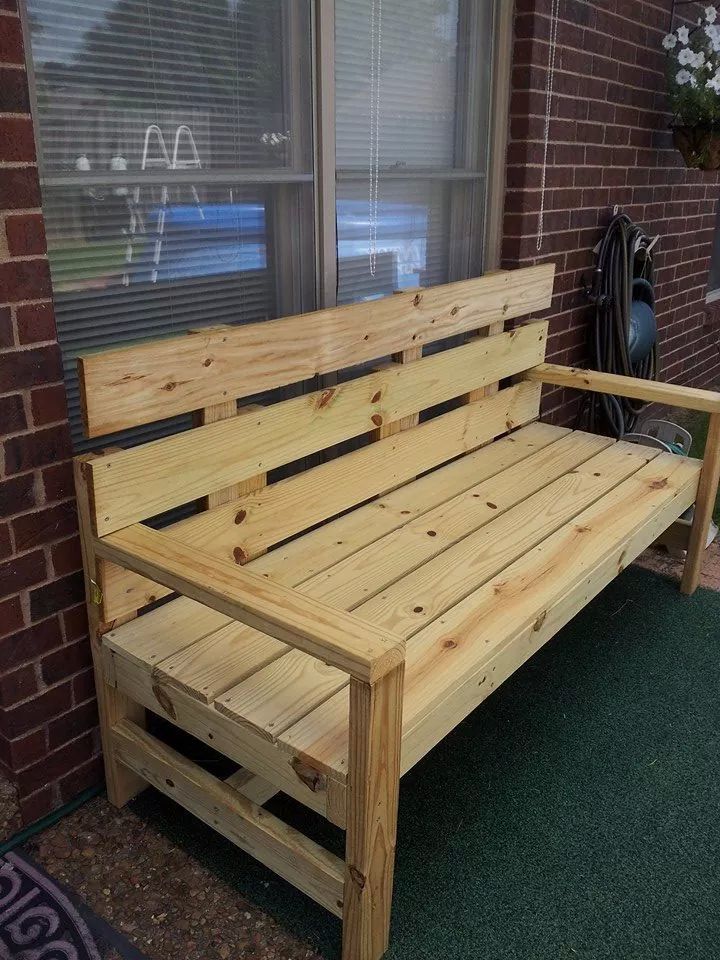
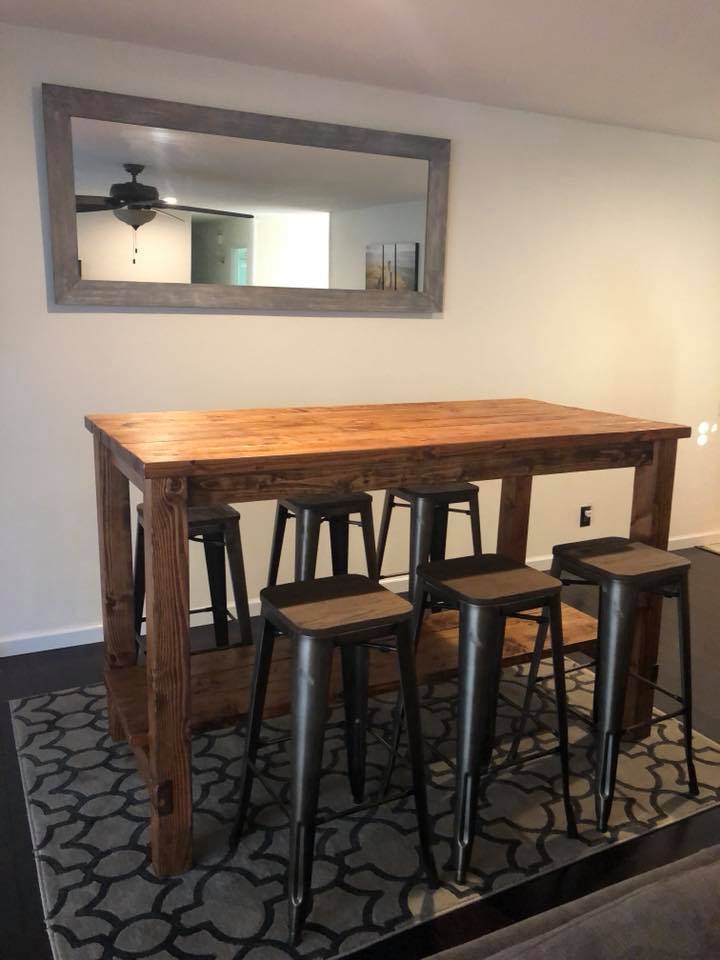
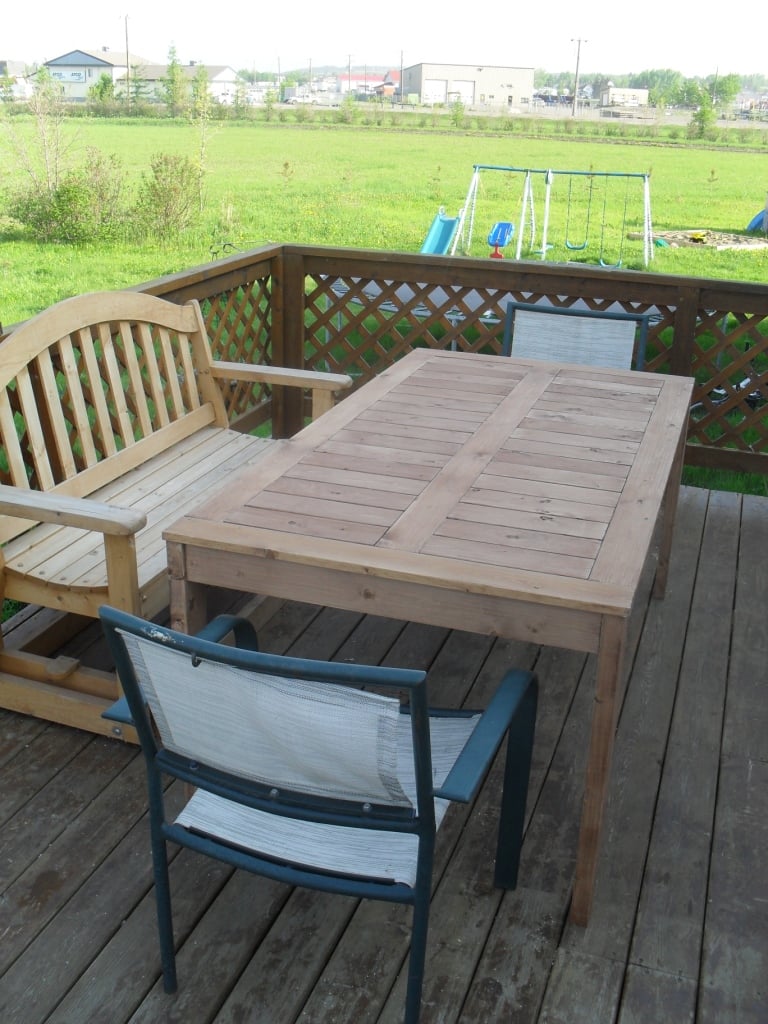
The whole project went slowly since I did it part time, but overall it went well. However, the entire project from A to Z was time-consuming since I decided at the beginning to do the wood working AND the sewing part, and I'm a beginner that doesn't have any experience in any of these fields. I did literally everything by myself, from cutting 148 pieces of wood with a rented mitre saw, sanding each single one of them, staining the assembled chairs and table after assembly, cutting various pieces of foam for my cushion with 72"x30" sheets of foam, and lastly do the sewing of all the green cushion AND the smaller squared cushions. That was a lot of things to learn for a first timer and fortunetely I was enough motivated to do them, and most importantly patient. I had the moral support of my girlfriend during the whole project and showing the progress of the project to my friends, family and coworkers did help a lot to keep me motivated to finish the project.
I learned a lot from this project, whether it's wood cutting, sanding, assembly, staining or machine sewing. These skills will help for future projects for sure!
Thank you very much Ana for helping me, with these simple plans, learn new skills that enabled me to create something amazing!!!
Ana White inspired Rustic X Coffee Table finished with dark walnut stain and Annie Sloan graphite chalk paint.
I used pocket holes to hide the screws. I made an ottoman out of the outdoor coffee table plans to my dimensions that can be used as a coffee table when we need it.
Needing a new bed frame because we upgraded our mattress to a king size. Looking for something simple and inexpensive. We came across this plan and loved the outcome!!!!!
I made this pantry to match some new kitchen cabinets that my friend ordered from lowes. He wanted me to make all of his cabinets but unfortunately I didn't have enough time, it was kind of one of those things hey I'm redoing my kitchen can you make this. This was all built and designed from a picture his wife found on pinterest with just the measurements for the space it needed to fit in.
Mon, 02/10/2014 - 10:25
Great job! We're planning a pantry build in the near future and yours is just lovely! I love the pull out drawers!
Mon, 02/10/2014 - 10:25
Great job! We're planning a pantry build in the near future and yours is just lovely! I love the pull out drawers!
Fri, 06/17/2016 - 18:39
HI -
My husband and I have been trying to find a DIY Pantry for our kitchen. We've looked everywhere and finally came across this! We love it and would like to try and build it. Do you have the plans available to share? I look forward to hearing back from you.
Fri, 11/27/2020 - 21:33
I tried the link for crafted perfection in attempt to get the plans for this. It led me back to this website. Is there ANY chance of getting the plans for this pantry PLEASE?
Thu, 12/24/2020 - 07:18
Where can I get the plans for this pantry -- Please advise.. Love your work..
Fri, 08/06/2021 - 14:55
Please send me the plans for the kitchen pantry!!
Wed, 09/01/2021 - 13:59
Okay, Ana, where are the Plans? You're killing me with this teaser! I'm not smart enough make something this great without serious plans like you usually produce. Help this old guy, please.
Wed, 03/23/2022 - 12:03
I would love to get these plans. We are in a new house and I need extra storage and this is perfect.
Thu, 08/11/2022 - 18:08
Hi Ana! Do you have plans? My daughter is moving and could always use more kitchen cabinets. She loves kitchen gadget everything!
Farmhouse style table using Ana-white plans and HoneyBear finish.
I made this bench just as instructed except I made the back legs taller (after the fact) for more back support.
My husband modified these plans by making it a 42" tall bar high table. He built it and I stained it with Dark Walnut Danish oil and it came out better than we imagined. Thank you for these awesomely cool DIY plans.
Wanted a Patio table and when I saw the plans on this site I really liked it; I just changed the plan a bit. Everything was screwed from the underside of the table, also I attached the legs with 2" lag screws.
I built this for my daughter and more or less followed the plan without changes. I wasn't able to get hold of 1x3 so had to rip 1x4s which was a little time consuming. In hindsight I would probably increase the depth of the desk as it's a little shallow but not a huge problem.
I primed with two coats of BIN Primer as there were a lot if knots in the wood and I heard this is the best to cover then. It was a lot more expensive but hopefully worth it. Finished with latex semigloss.
Fri, 12/30/2022 - 10:19
You did a fantastic job, it looks amazing in the space! Thanks for sharing.