Community Brag Posts

Garage Shelves

Submitted by scoricha on Mon, 01/09/2017 - 11:01

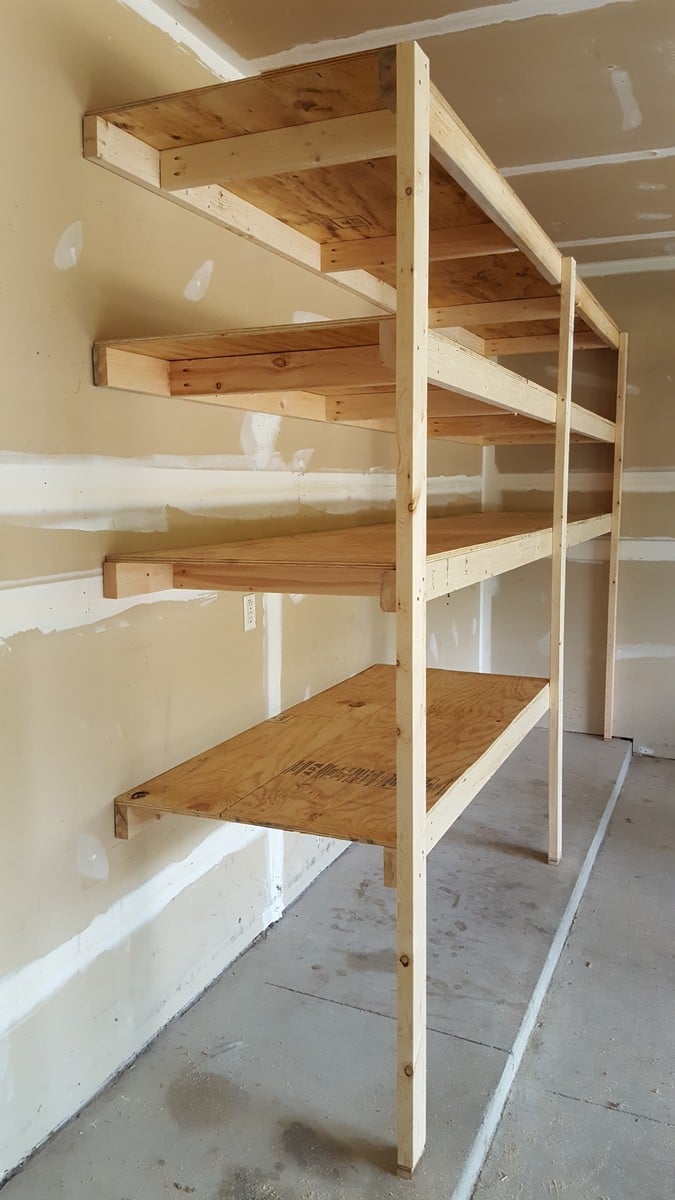
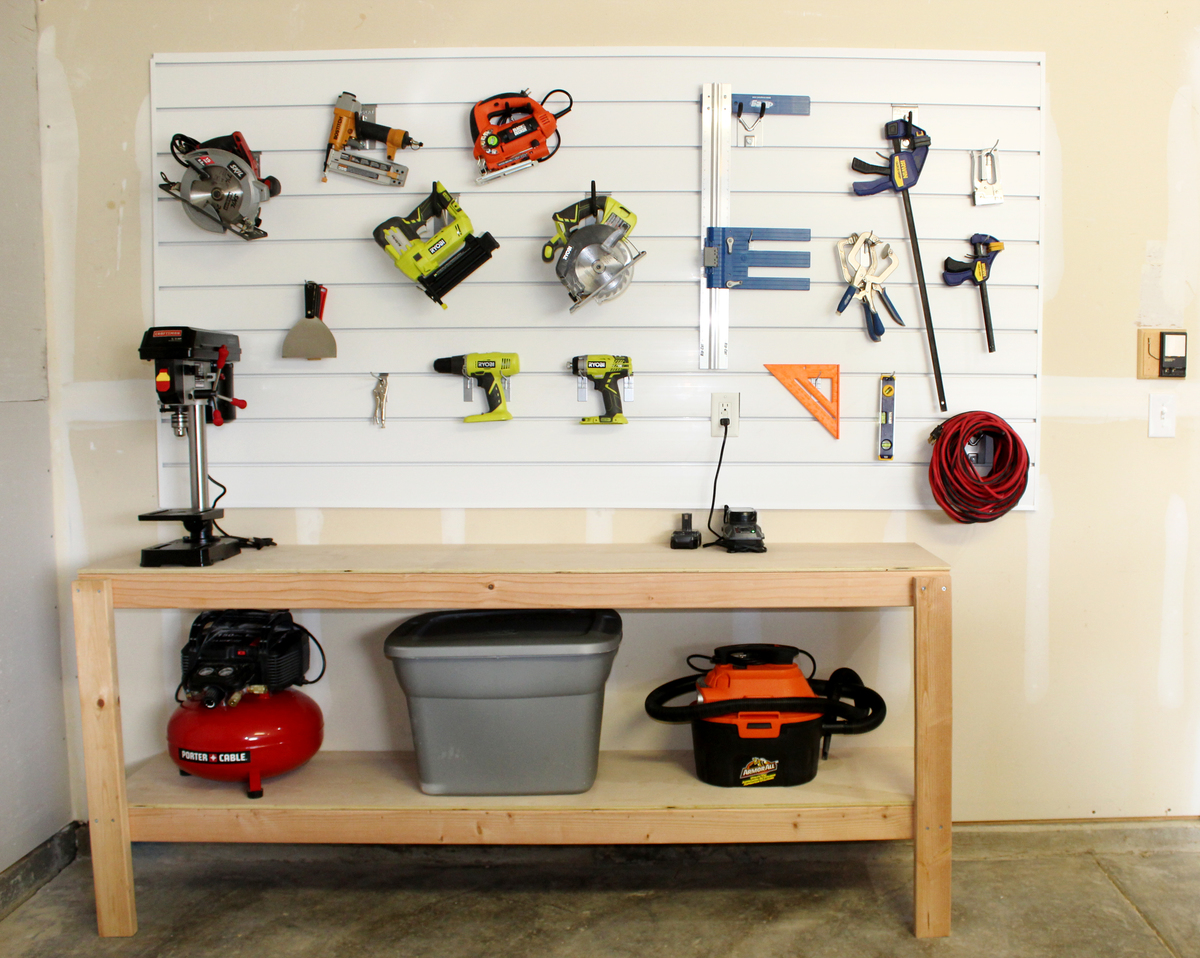
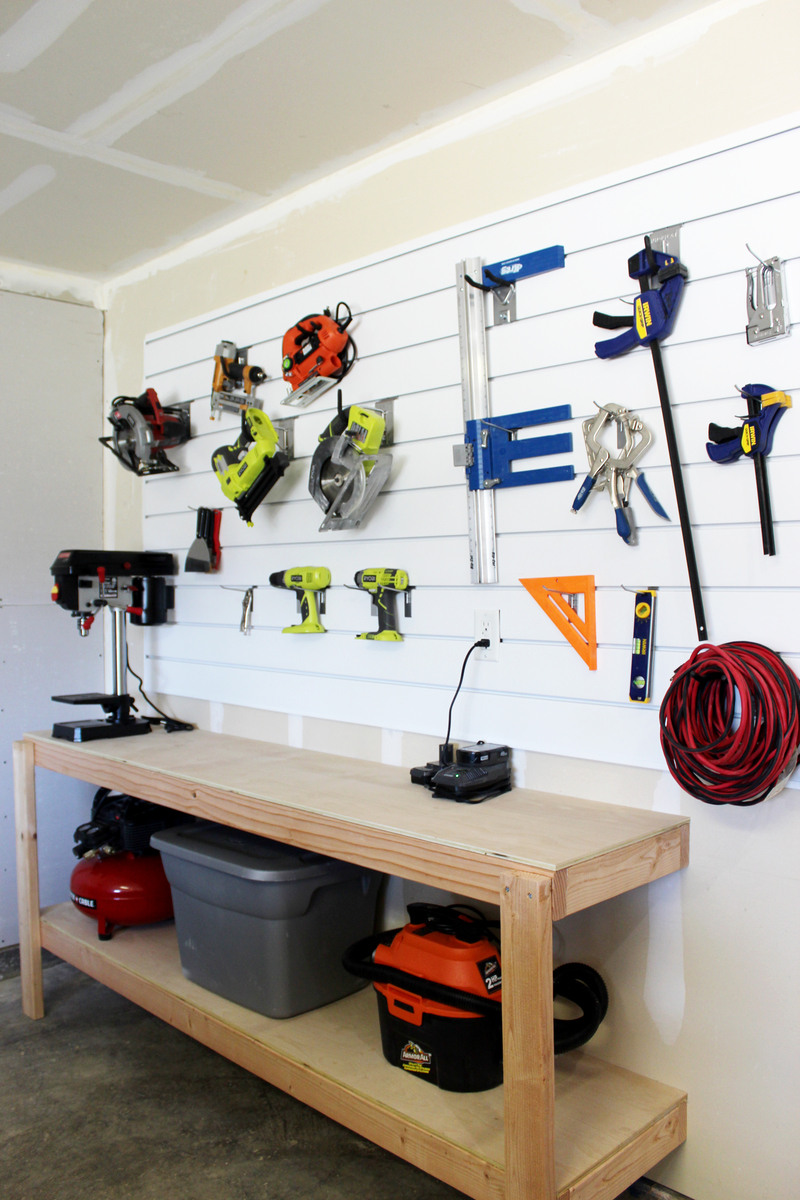
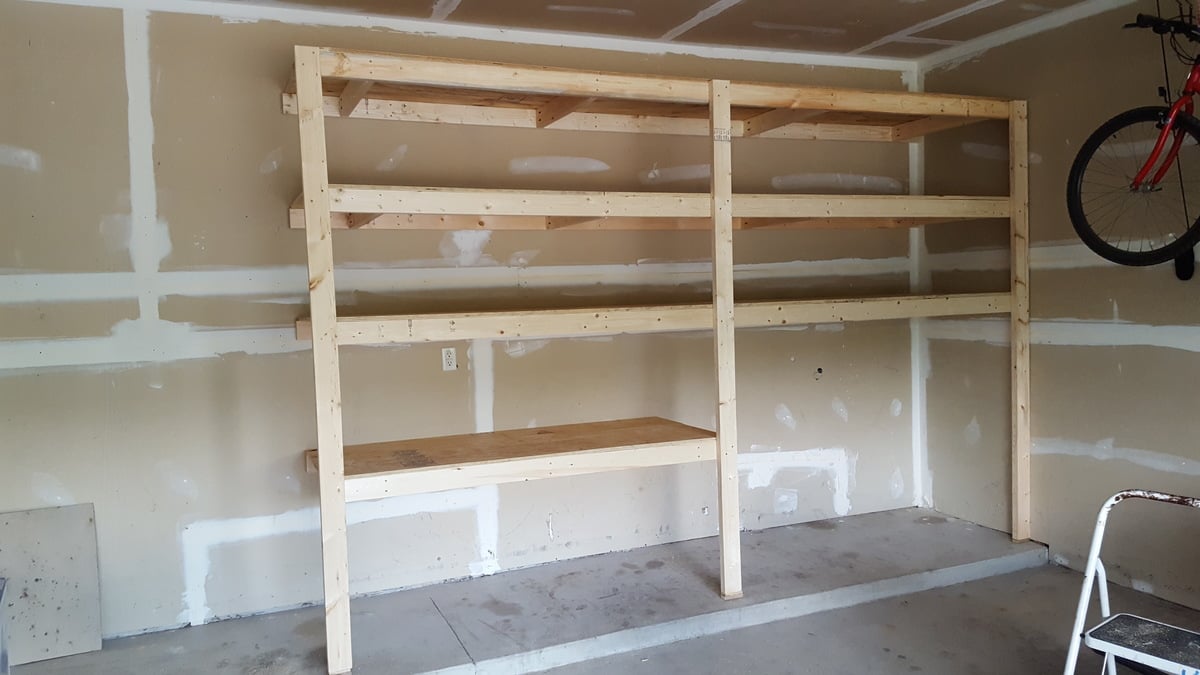
I am loving my new garage shelves.  They were my first woodworking project and very easy to do!  I left the bottom right side open to fit my outdoor table and chairs in the winter (I live in Michigan).  I also used thicker plywood than plan because my shelves are a bit deeper.

Estimated Cost
$130
Estimated Time Investment
Weekend Project (10-20 Hours)
Finish Used
none
Recommended Skill Level
Beginner

Shoe Dresser

I had this space in my mudroom that was a perfect spot to make a custom shoe dresser. I adjusted the plans I found on this website to custom make storage for shoes. Now this weird little space is functional.

Built from Plan(s)
Estimated Cost
80
Estimated Time Investment
Day Project (6-9 Hours)
Finish Used
Rustoleum chalk paint Serenity Blue, classic grey and special walnut Minwax
Recommended Skill Level
Intermediate

Comments

Light Wash Balustrade Coffee Table

Inspired by the RH Balustrade Salvaged Wood Coffee Table.

Built from Plan(s)
Estimated Cost
250
Estimated Time Investment
Day Project (6-9 Hours)
Finish Used
General Finish Milk Paint (color: Linen) custom wash. Finished with glaze in Van Dyke Brown.
Recommended Skill Level
Beginner

Modified Doll Bunk Bed

Submitted by dbwalk on Mon, 01/12/2015 - 20:19

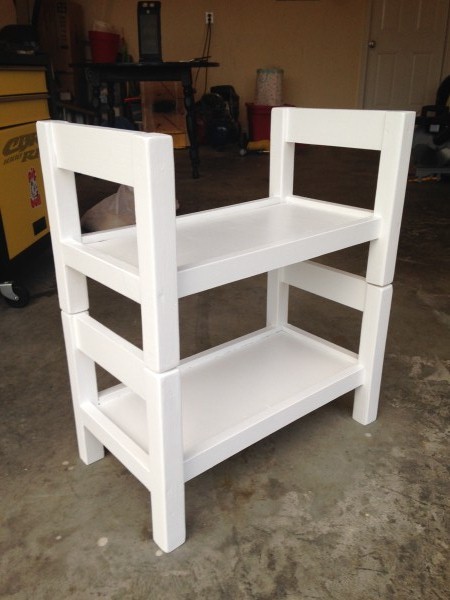
I made this bunk bed for a friend's daughters.  I modified the plans by using 2x2's for the bed posts instead of 1x2's.  It made it harder to hide the screws but in the end I think it looks better.  

Built from Plan(s)
Estimated Cost
About $20.
Finish Used
I painted the wood with white paint.
Recommended Skill Level
Starter Project

Dog Crate with a twist...

Submitted by AlexO on Mon, 05/08/2017 - 19:08

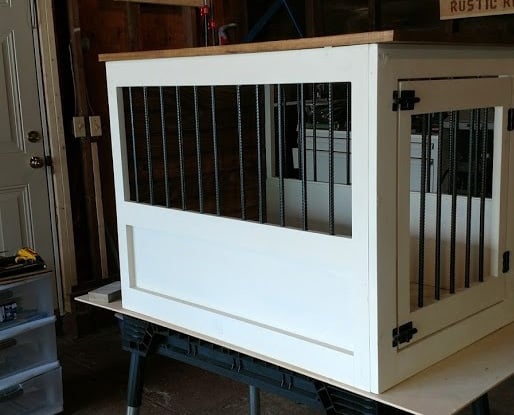
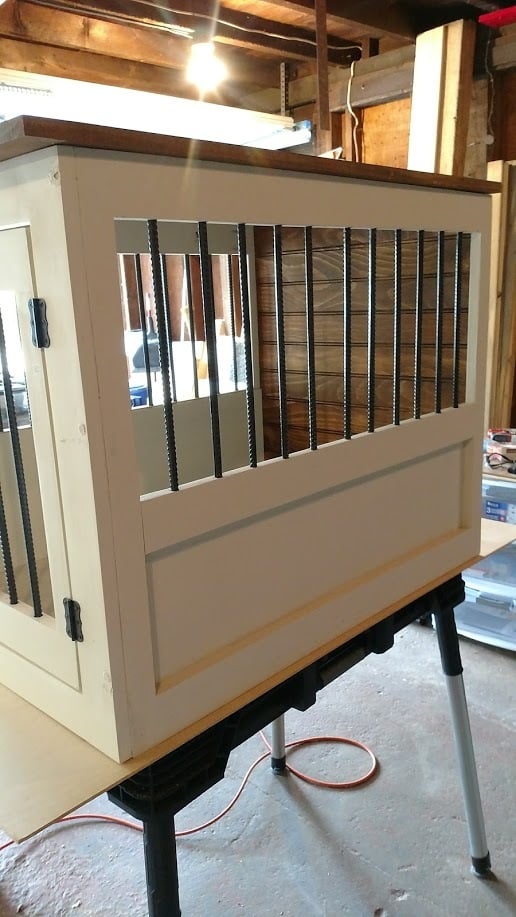
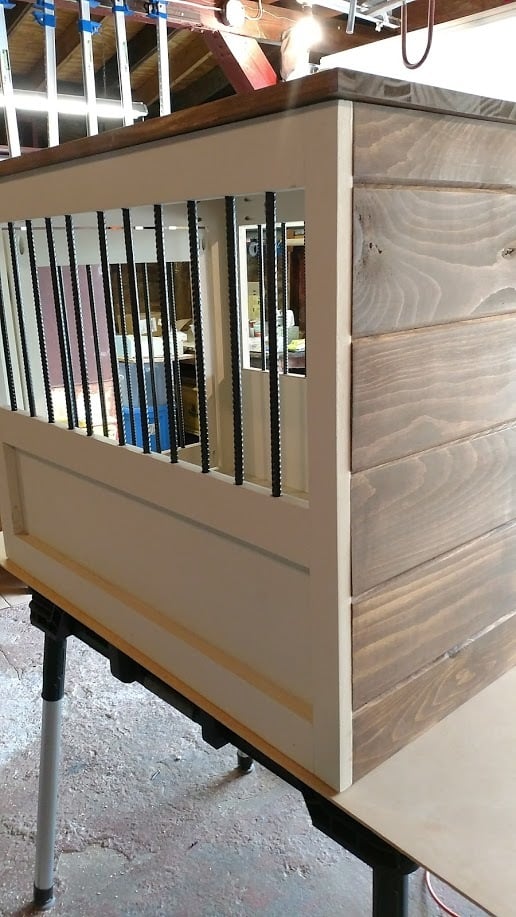
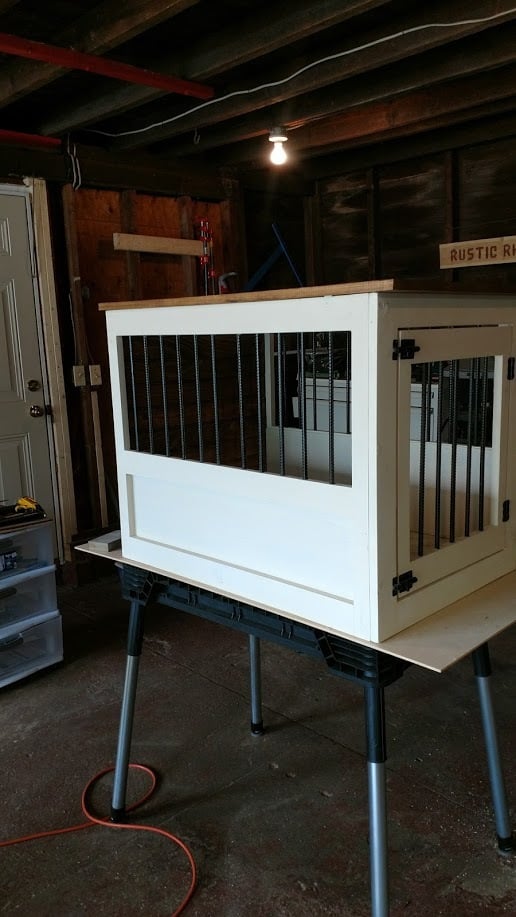
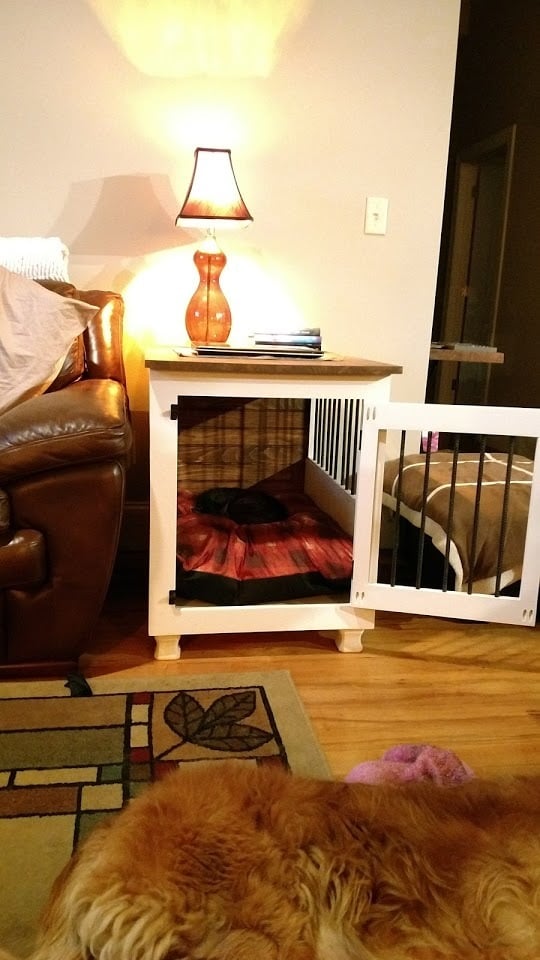
I really liked the Large Wooden Dog crate but wanted the sides to be lower and wanted to make sure there was no easy chew escape.  Not sure if you can see from the photo but the cats have taken over... Will need to make a larger one for the dog!

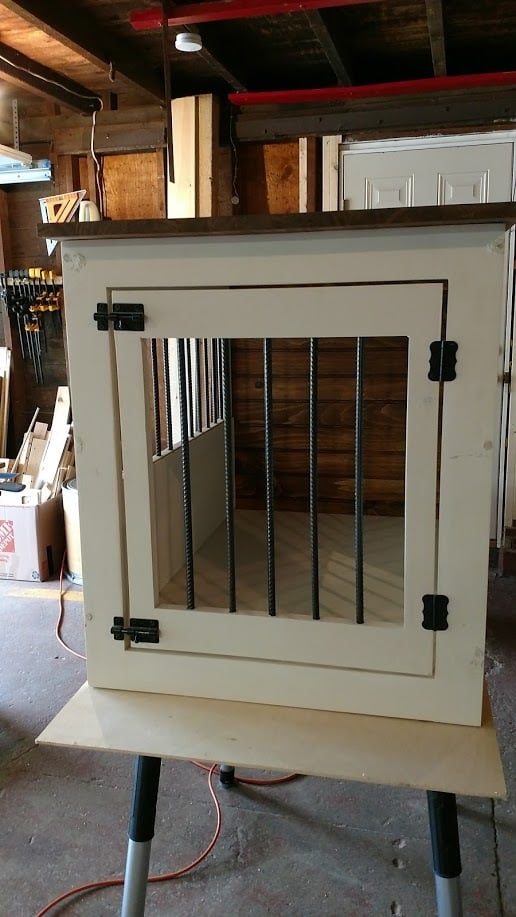
I followed the plan pretty much other than lowering the panel on the side and replacing the wooden bars with rebar.  The rebar was a bit of a learning curve getting the holes lined up perfectly but I figured it out and I think it came out pretty good!

Used all pine 1x3 and 1x2s.  Picked up a pine panel for the top and the bottom is a 3/4 plywood. Made our own chalk paint for the finish and sealed it with wax.

Oh, forgot, added tongue and groove pine for the back and finished it and the top with Antiguing wax.

Lots of fun and I think I will make a double one next!

Built from Plan(s)
Estimated Cost
Around $100 if you don't count all the practice pieces for the rebar!
Estimated Time Investment
Week Long Project (20 Hours or More)
Finish Used
Chalk paint and antiquing wax
Recommended Skill Level
Intermediate

Custom kids closet

Submitted by Jon Moore on Sun, 04/07/2013 - 19:36

I was inspired by the custom closets on this site and decided to have a go at it. My daughter is in high school, so I wanted something functional with a bit of teenage flair.

Of all the designs I researched, I loved Kristen's design (from Pink Toes & Power Tools here: http://ana-white.com/2012/02/closet-organizer) the most, but wanted to add a substantial shoe section and not lose any rod space in the process. I also needed one rod section to be longer than the other two to hang her dresses.

All in all a fun project where I used just about every tool I own:

Circular saw to rough out the plywood shelves and supports.

Table saw with a cross-cut sled (http://wnwoodworkingschool.com/5-cuts-to-a-perfect-cross-cut-sled/) to make the plywood pieces all perfectly square & an extra long rip fence.

Router (with jig) for the dovetail joints, detailing on the drawer fronts and rounding the leading edges of the shelves.

Power drill for mounting the drawers, drawer fronts and handles

Compound Miter saw for the various face framing pieces and the shoe moulding

Pipe cuter to cut the rods (also made a jig to both hold the rods in place while I mounted the supports and set it at the correct height and distance from the wall--used a planer in making this)

Orbital sander

Brad nailer during assembly (also made a jig here to set the plywood pieces on during the tower assembly to keep the back square while I used 90 deg clamps on the fronts).

Airless paint sprayer (I have learned that my wife does not like brush marks!)

Washers for spacing the drawer fronts (found this trick online and it works like a charm!)

Lots of clamps!!!
Estimated Time Investment
Week Long Project (20 Hours or More)
Finish Used
White paint
Recommended Skill Level
Intermediate

Comments

Bench

Submitted by Anonymous (not verified) on Mon, 06/05/2017 - 13:31

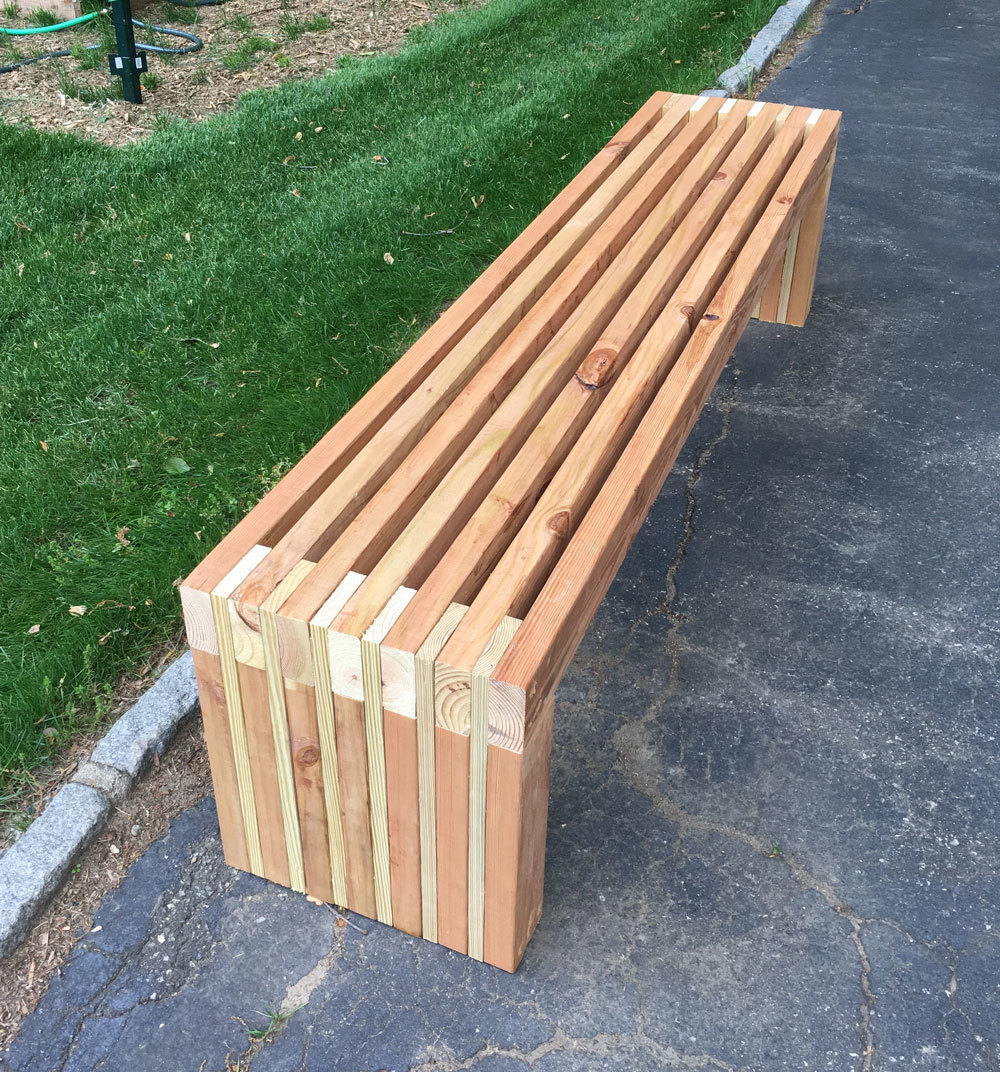
Great bench

Estimated Cost
$100
Estimated Time Investment
Day Project (6-9 Hours)
Recommended Skill Level
Beginner

Simple Square Outdoor Table

Submitted by hannant on Mon, 08/07/2017 - 15:10

Inspired by Finn's Dad's table, we decided to copy it since we wanted to build a table that would seat 8 comfortably. The most difficult part of this project was finding clear cedar for the top. It had to be ordered through our local lumber yard and we were not able to match boards. We built the frame out of treated pine and the 4 x 4 legs from average greade cedar found at Lowe's. We finished it with four coats of polyurethane. 

Built from Plan(s)
Estimated Cost
$300-$450
Estimated Time Investment
Week Long Project (20 Hours or More)
Finish Used
Zak Polyruethane marine satin
Recommended Skill Level
Beginner

Not quite the same

Submitted by cyfry77 on Sun, 04/10/2011 - 14:45

This was something I build a couple years ago, it's not the same as this plan, but very similar. When we moved in to the house, the slab was already poured, with 4x4s already in place, I just used what was there and my imagination for the rest.

Built from Plan(s)
Estimated Cost
$200
Estimated Time Investment
Weekend Project (10-20 Hours)
Finish Used
Purple outdoor deck stain. (Behr?)
Recommended Skill Level
Intermediate

Miter Saw Cart

Submitted by Nermell on Wed, 07/31/2013 - 16:51

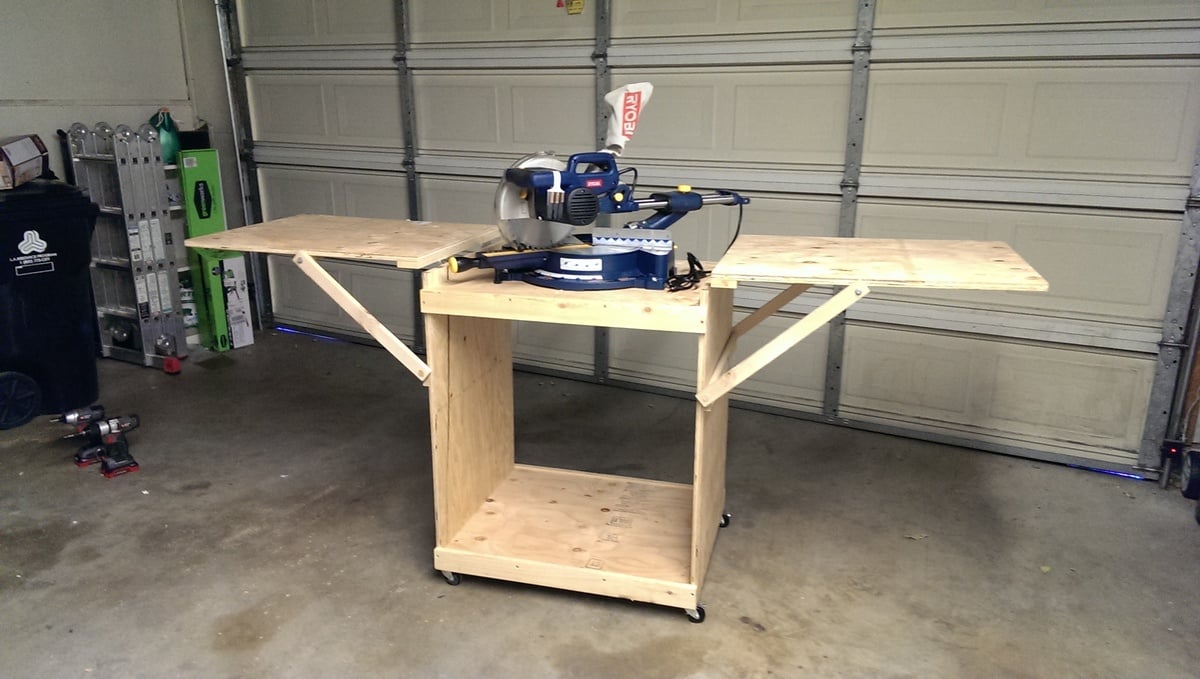
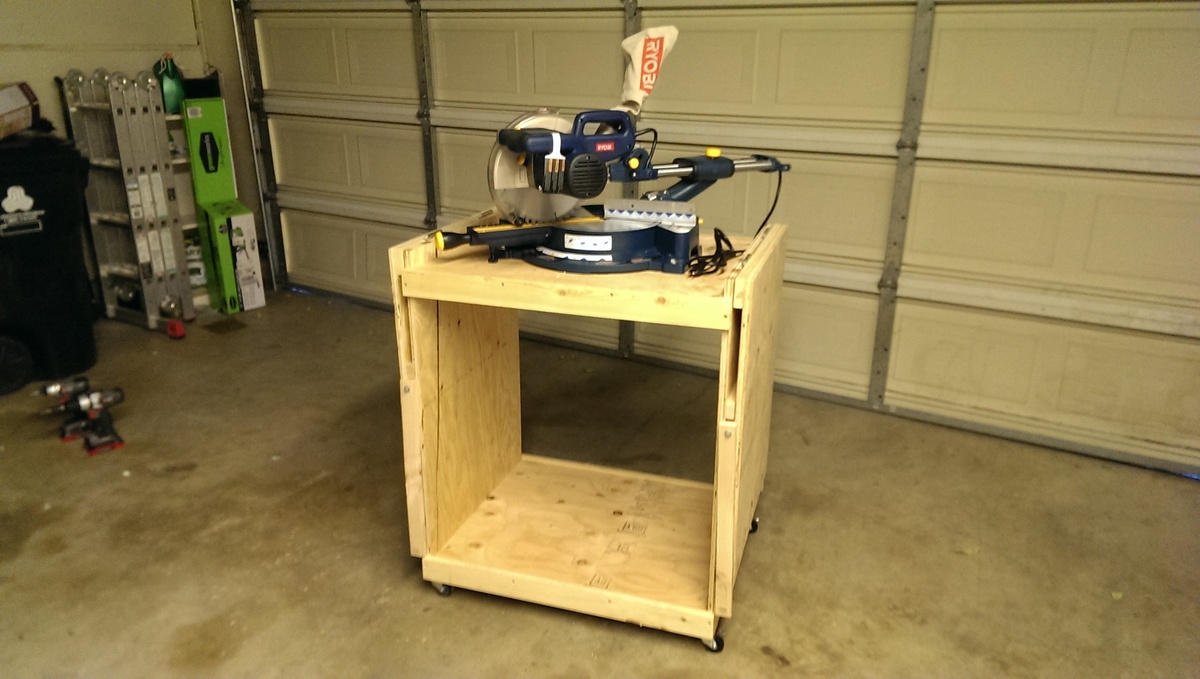
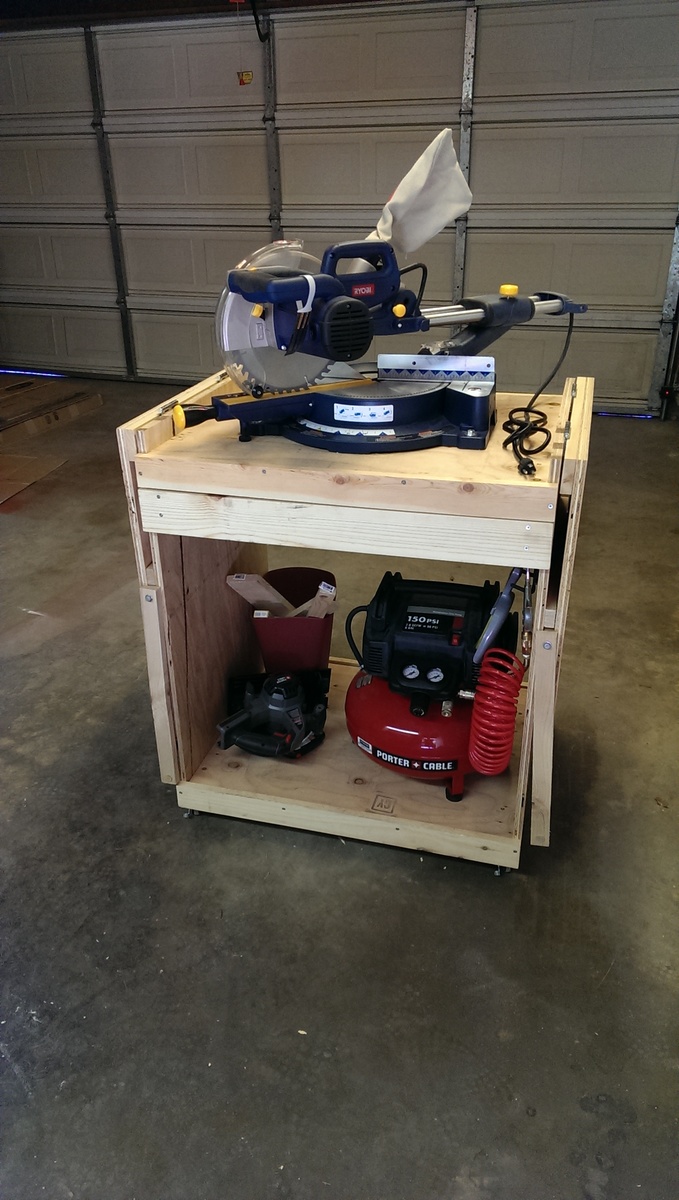
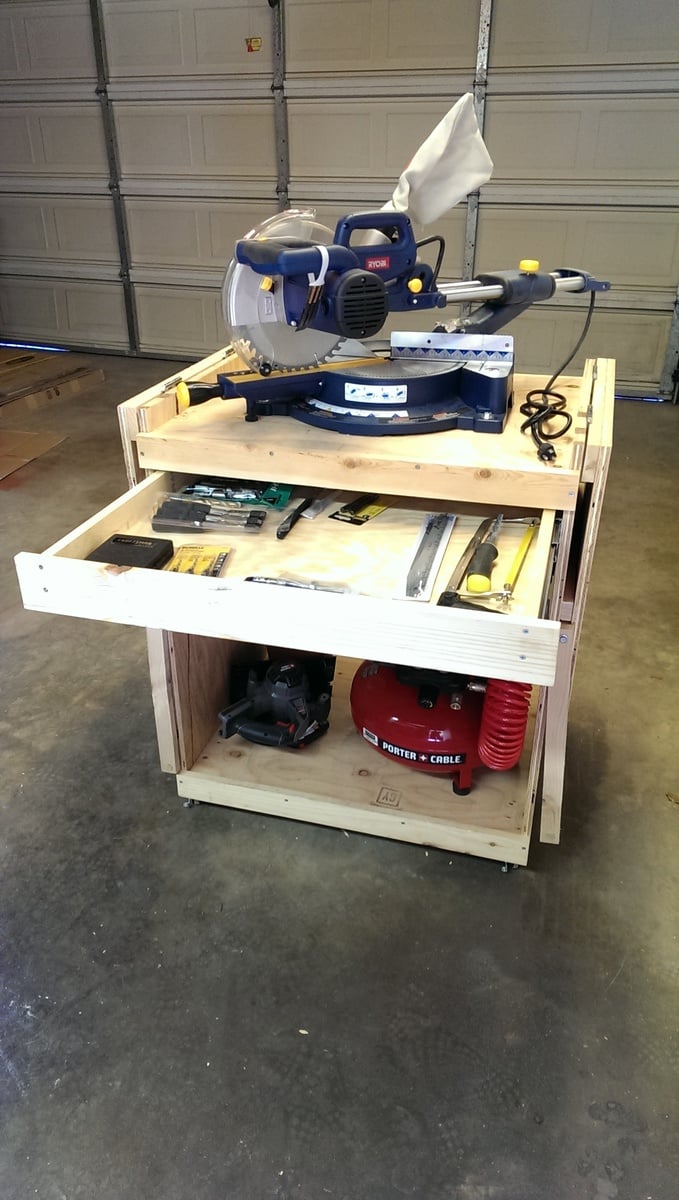
As a complete beginner in wood working (unless you count a year of woodshop over a decade ago), I decided that building a cart for the miter saw I just bought would be a great first project. So what did I do with that brand new miter saw? I left it in the box and made all of the cuts with a circular saw. Not sure what I was thinking there...

I mostly followed the excellent plan provided here but used wooden arms to prop up the wings in order to save on cost. I got the idea from the folding sling chair plan. It took quite a few screw ups and adjustments of the lower support bar before getting one of the wings level but I got it eventually.

Update 8/20/13: The miter saw has been a joy to use with the cart and the big flip up wings provide a ton of really convenient work space in addition to stabilizing 8 ft boards for cutting. I added a sliding drawer and some utility hooks for additional storage.

Built from Plan(s)
Estimated Cost
$70-80
Estimated Time Investment
Weekend Project (10-20 Hours)
Finish Used
none
Recommended Skill Level
Starter Project

Comments

davidmauer15

Thu, 08/01/2013 - 08:10

I originally just had a 2x2 and two blocks to hold up the wings on the cart. They kept falling out, so I replaced them with hinged arms, which were a pain to fit and install, but they work well. Your approach has the same advantage of hinging the support arms: the wood can't fall out and it looks way simpler to install than my system.

One hint if you try Nermell's approach: Flip the cart upside down when you fit and install the support arms. I did all kinds of complex sketches and measurements, then realized it was just faster to lean the support bracket at roughly 45 degrees, then I installed the two block (one on the side, one on the wing) to hold the bracket in place. Flip the cart over, and your wing will sit at a perfect 90 degrees to the sides of the miter saw cart.

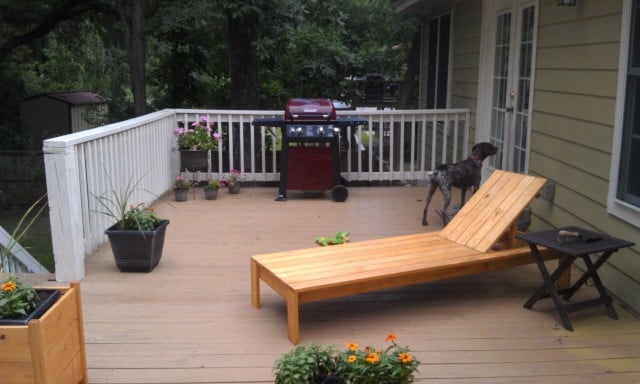
Lounger

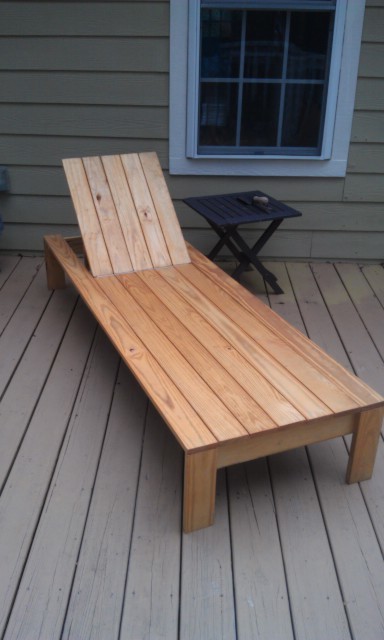
This was my 2nd wood working project. I found it was nice to have a 2nd set of hands to line up the top boards and put on the hinges. I did use a piano hinge for the back like another poster mentioned. It is smaller (not as thick) and helps keep the boards all even on the end when the back is lowered.

I really like the look of this lounger. I was worried that the boards on the edges would need more support, but they seem sturdy enough. If I notice them sagging later or starting to move, I will put some braces underneath.

Estimated Cost
$60.00
Estimated Time Investment
Weekend Project (10-20 Hours)
Finish Used
Olympic Maximum Stain + Sealant - Cedar Natural Tone
Recommended Skill Level
Intermediate

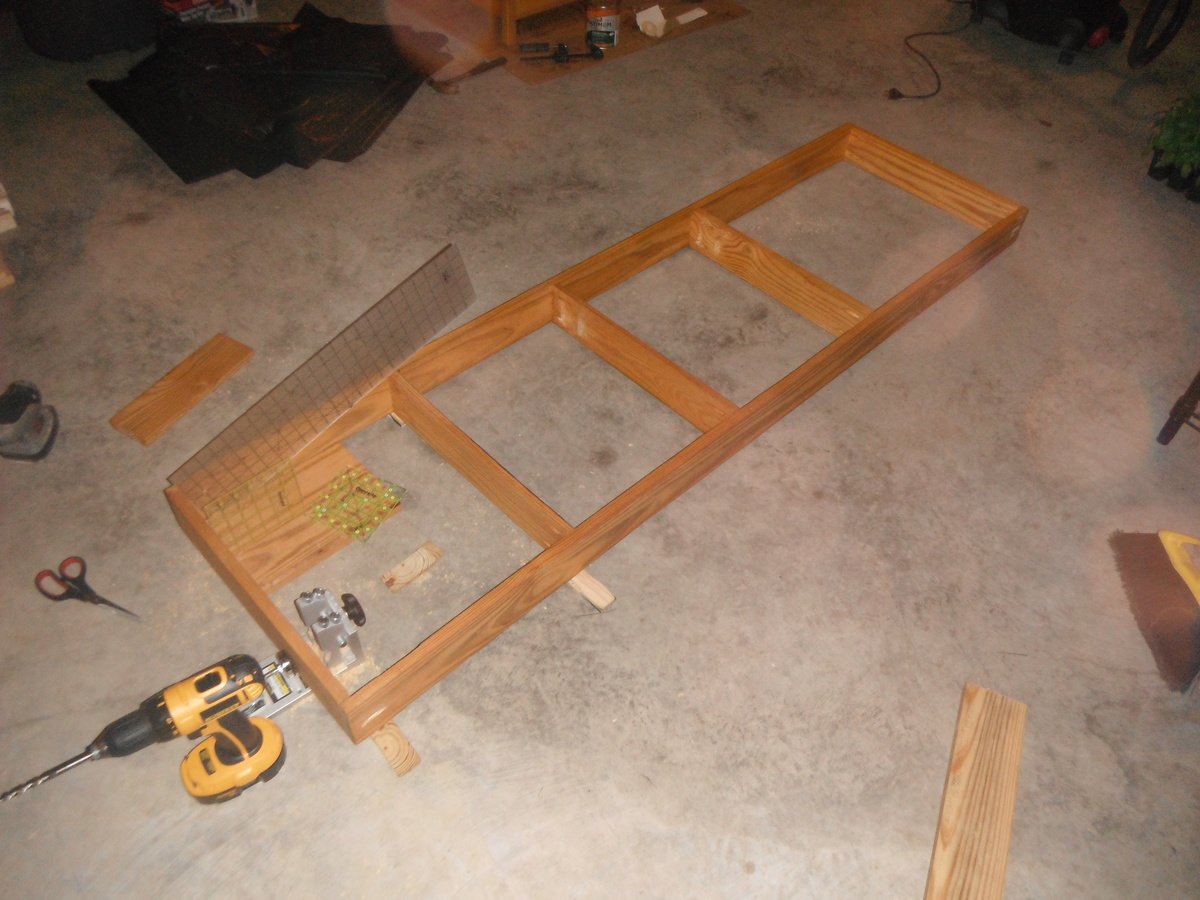
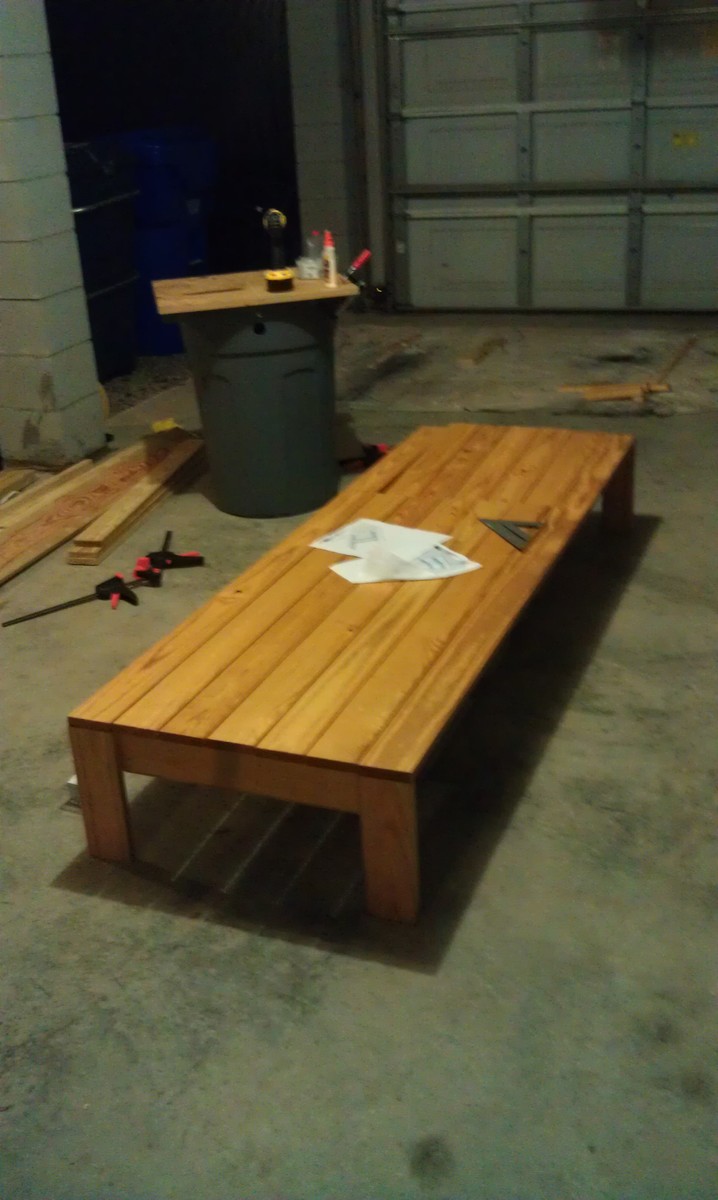
4x6 Truss Beam Farm Table

Submitted by Anonymous (not verified) on Thu, 03/10/2016 - 13:48

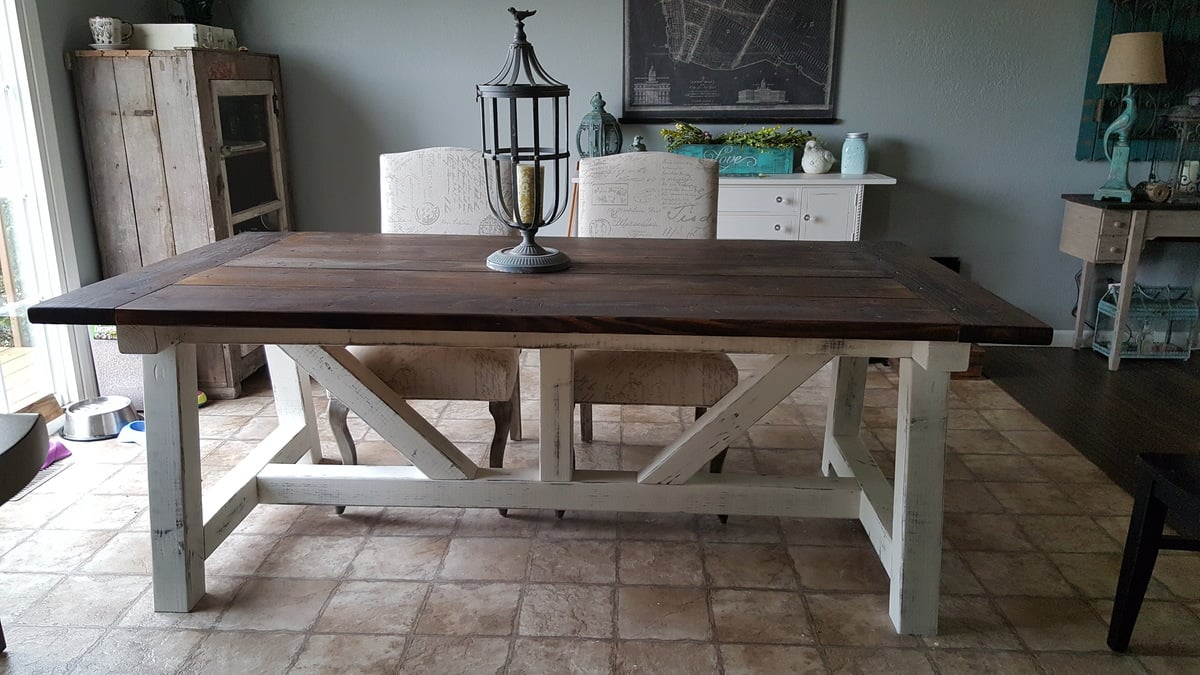
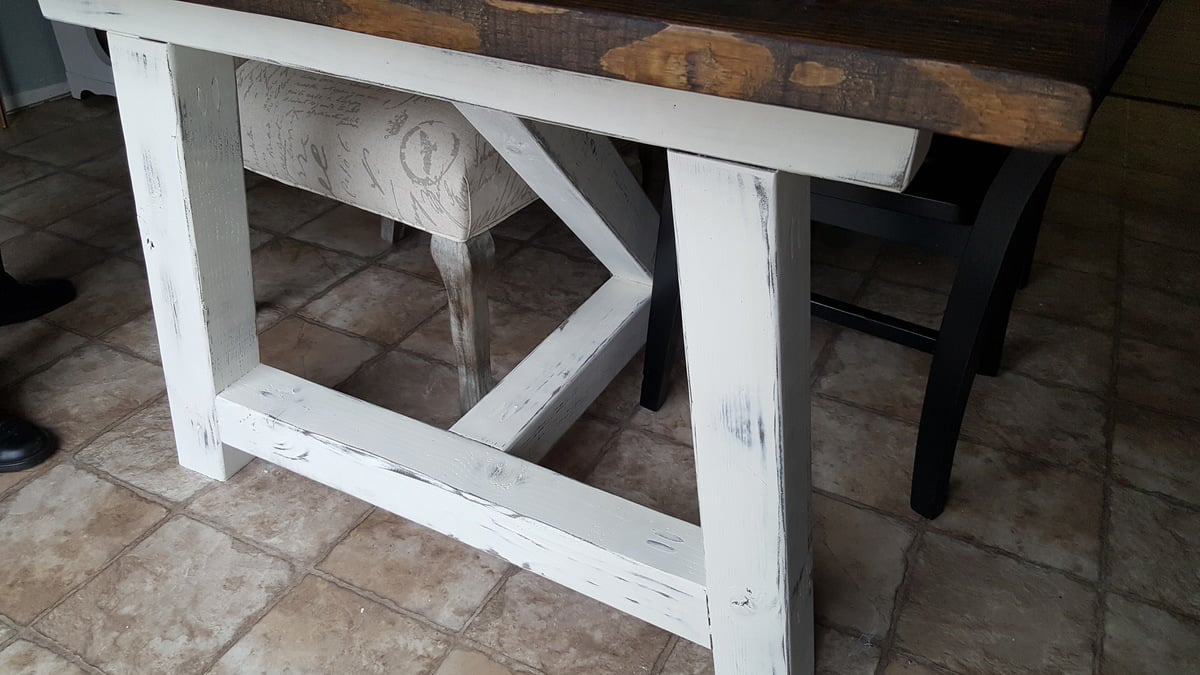
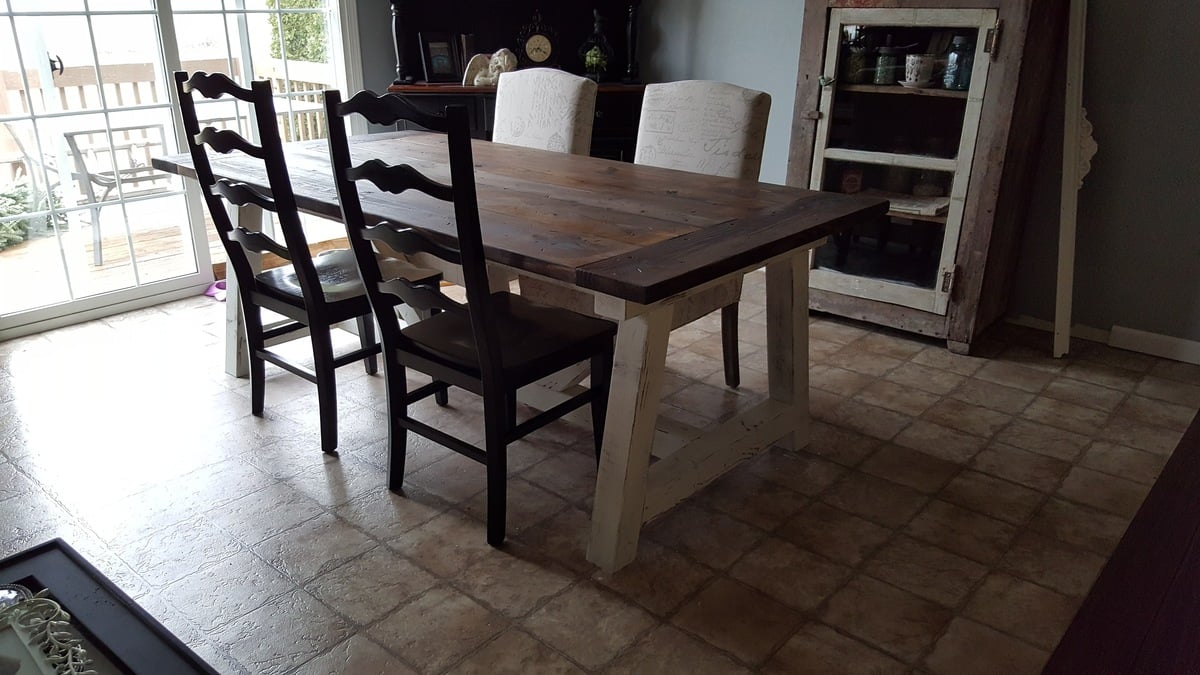
Easy project, had it done in about 8 hrs, staining and paid ting took another 4 hrs. Not bad at all.

Built from Plan(s)
Estimated Cost
175.00
Estimated Time Investment
Weekend Project (10-20 Hours)
Finish Used
Mike wax walnut and antique flat white latex paint.
Recommended Skill Level
Intermediate

Comments

adamwknox

Sun, 05/22/2016 - 06:16

The stain and distressed painting turned out fantastic. Do you remember which stain you used, or your process for the distressed white for the bottom?


Looking to jump into this project this weekend.

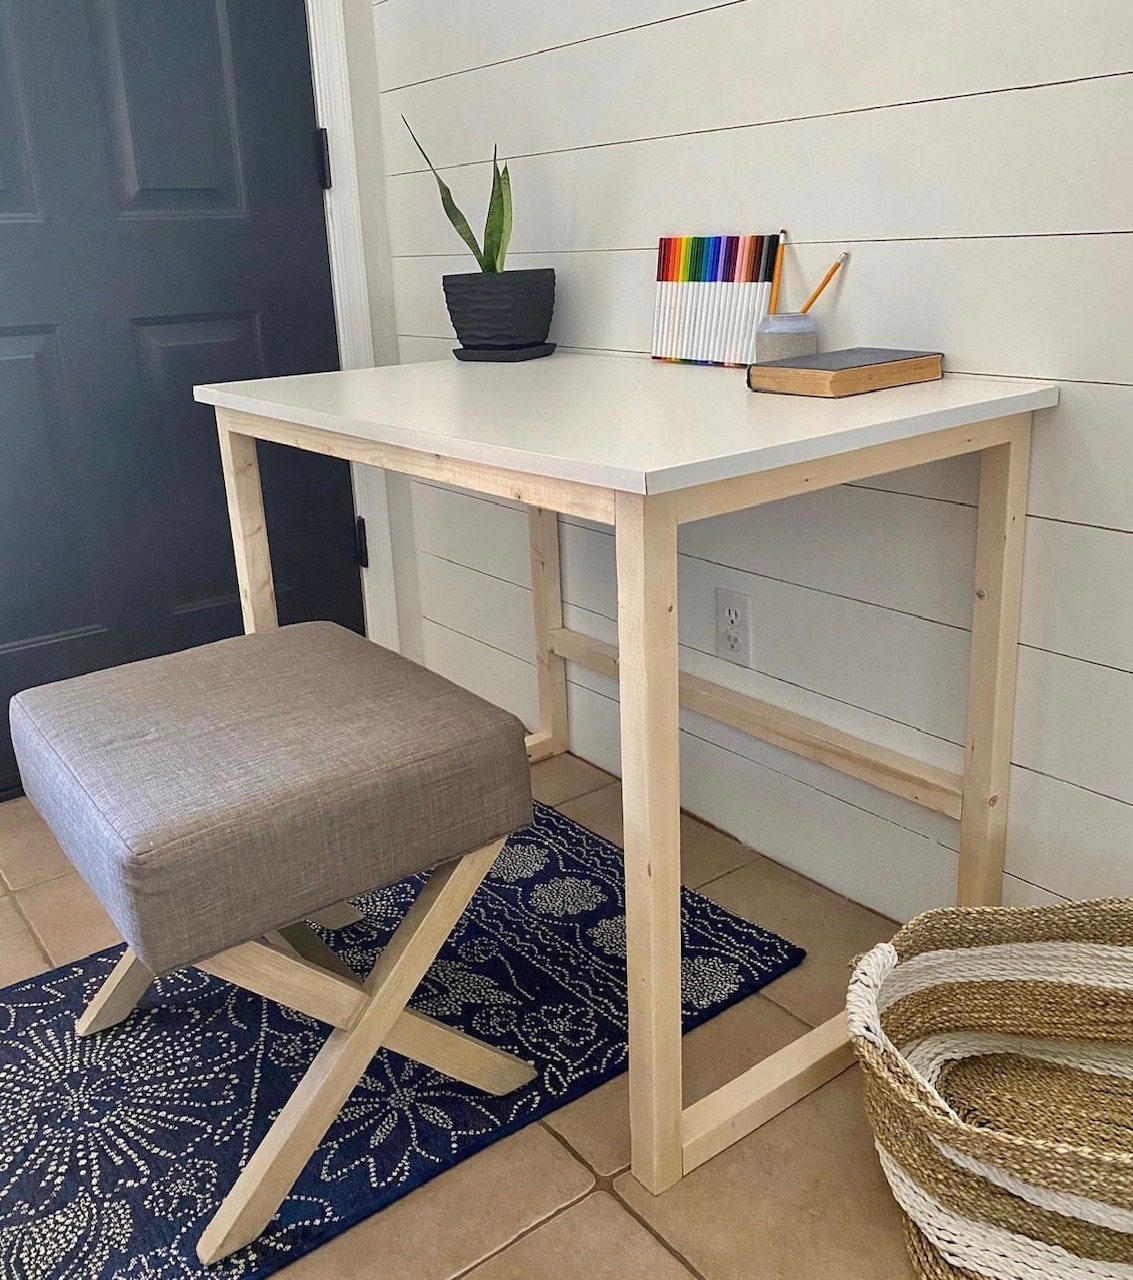
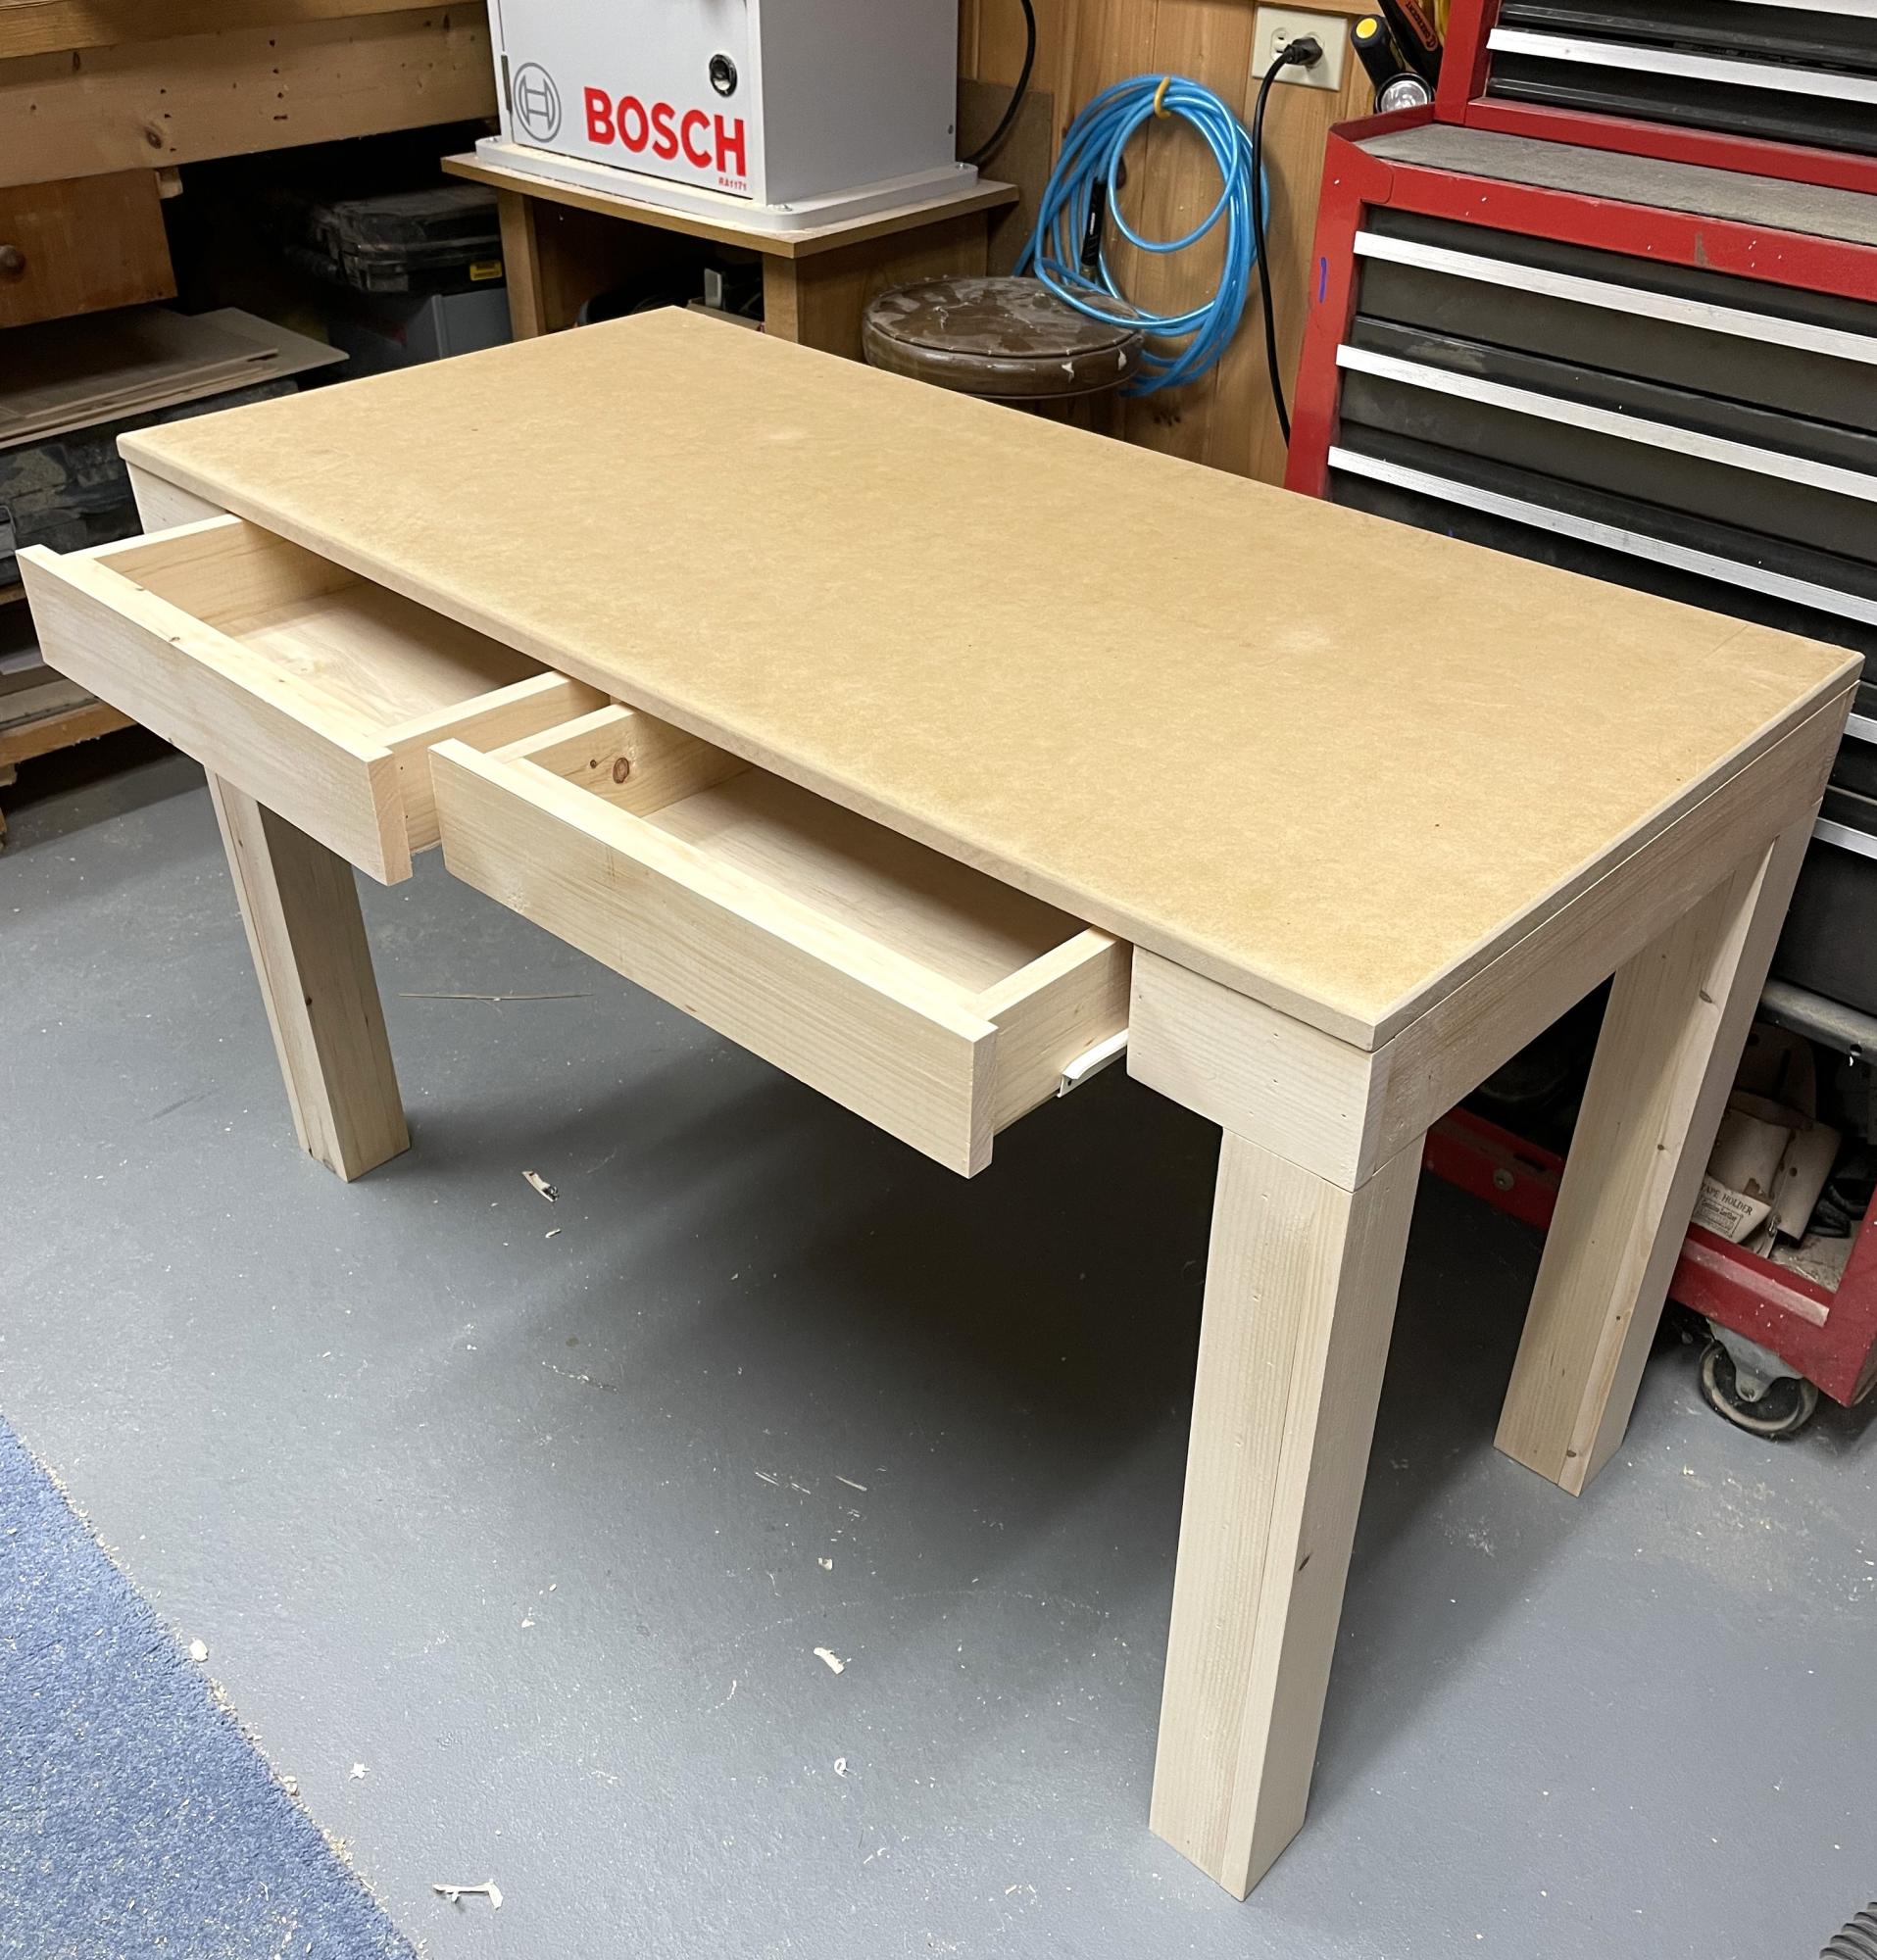
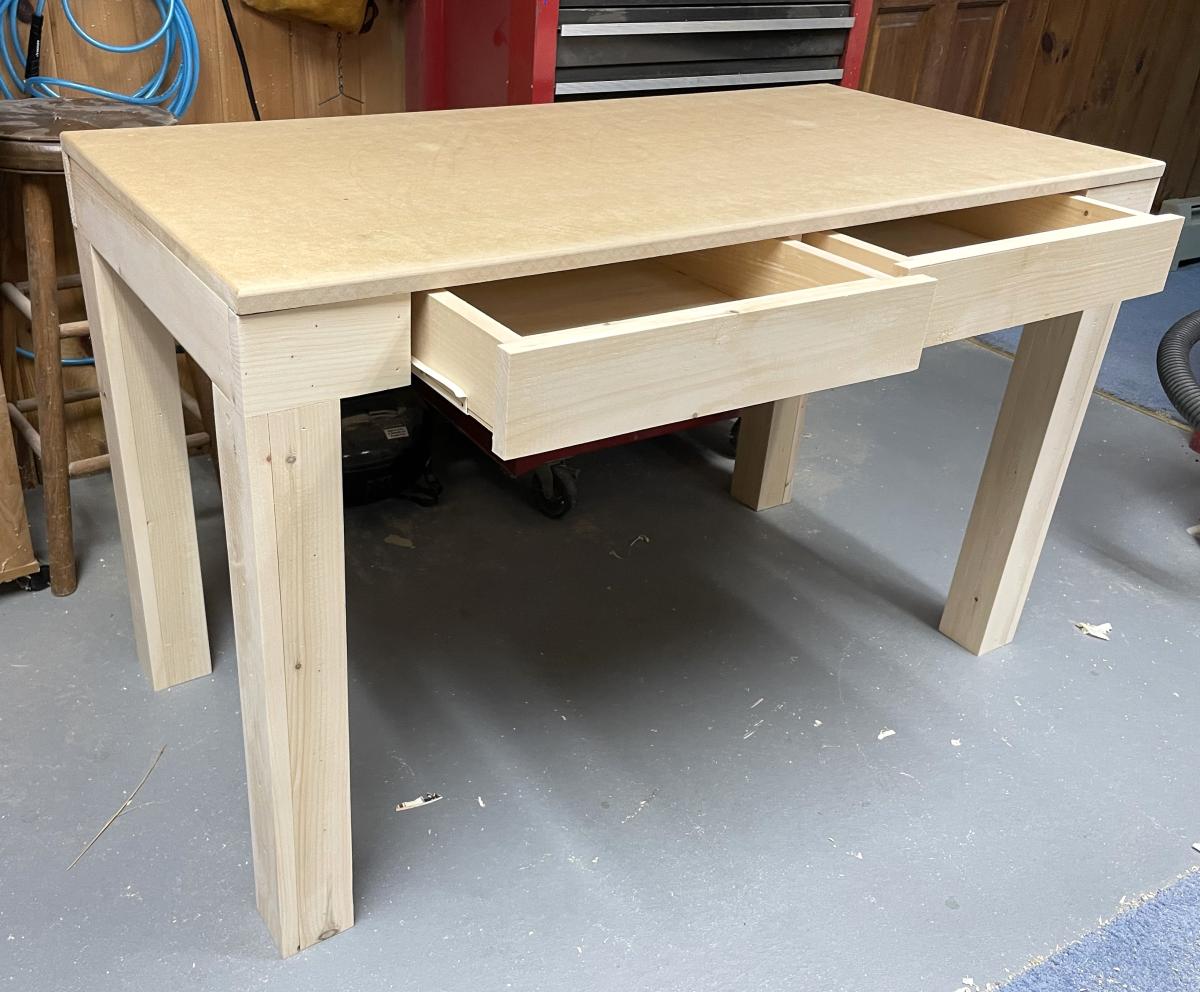
Desk with Drawer

Submitted by Anonymous (not verified) on Mon, 07/24/2023 - 12:45

Hi Ana
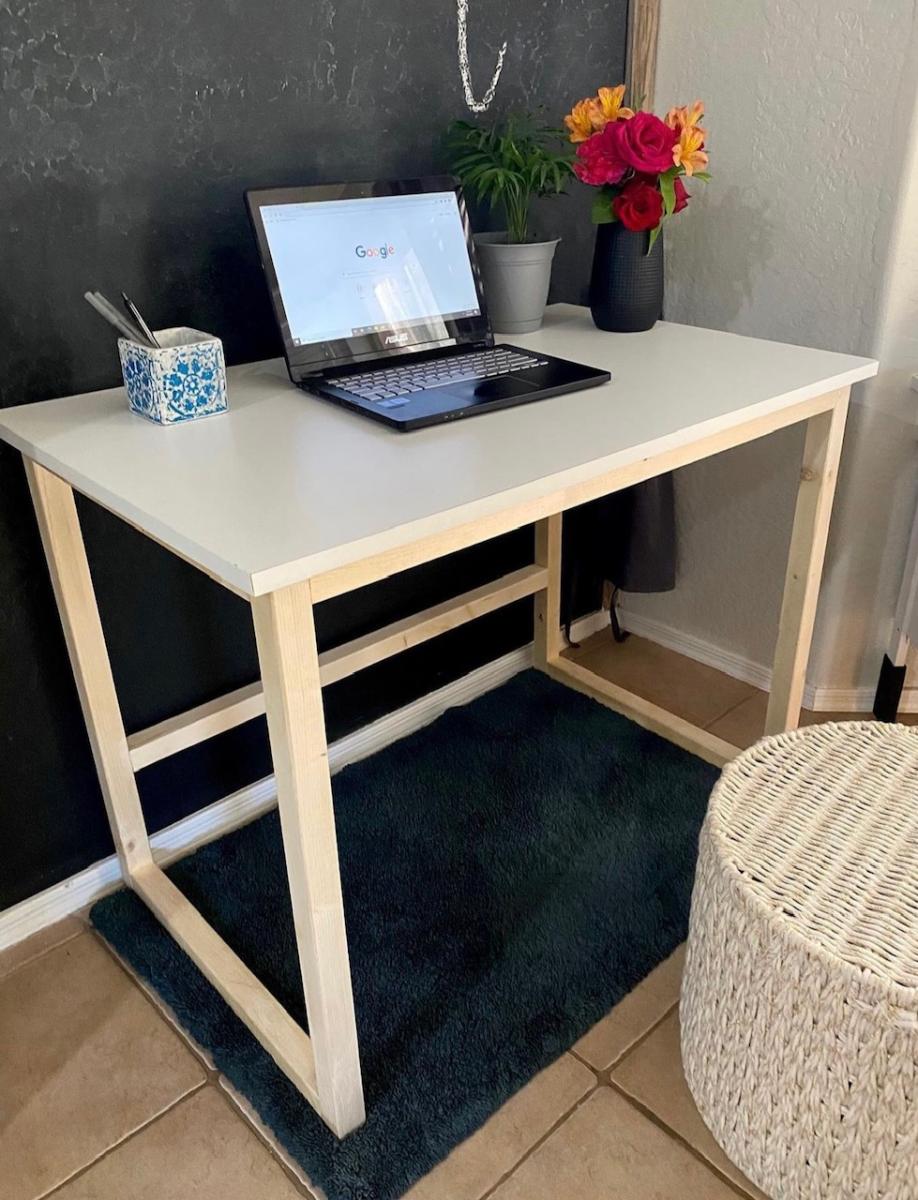
My granddaughter is starting first grade in the Fall. She needs a desk so I checked out your site and found this simple yet functional project. It worked up in no time. Now Gianna just needs to pick a paint color.

I also found a slight boo boo in the plans. See the marked up cut list.
Thanks for all you do.

David Grilli


Built from Plan(s)

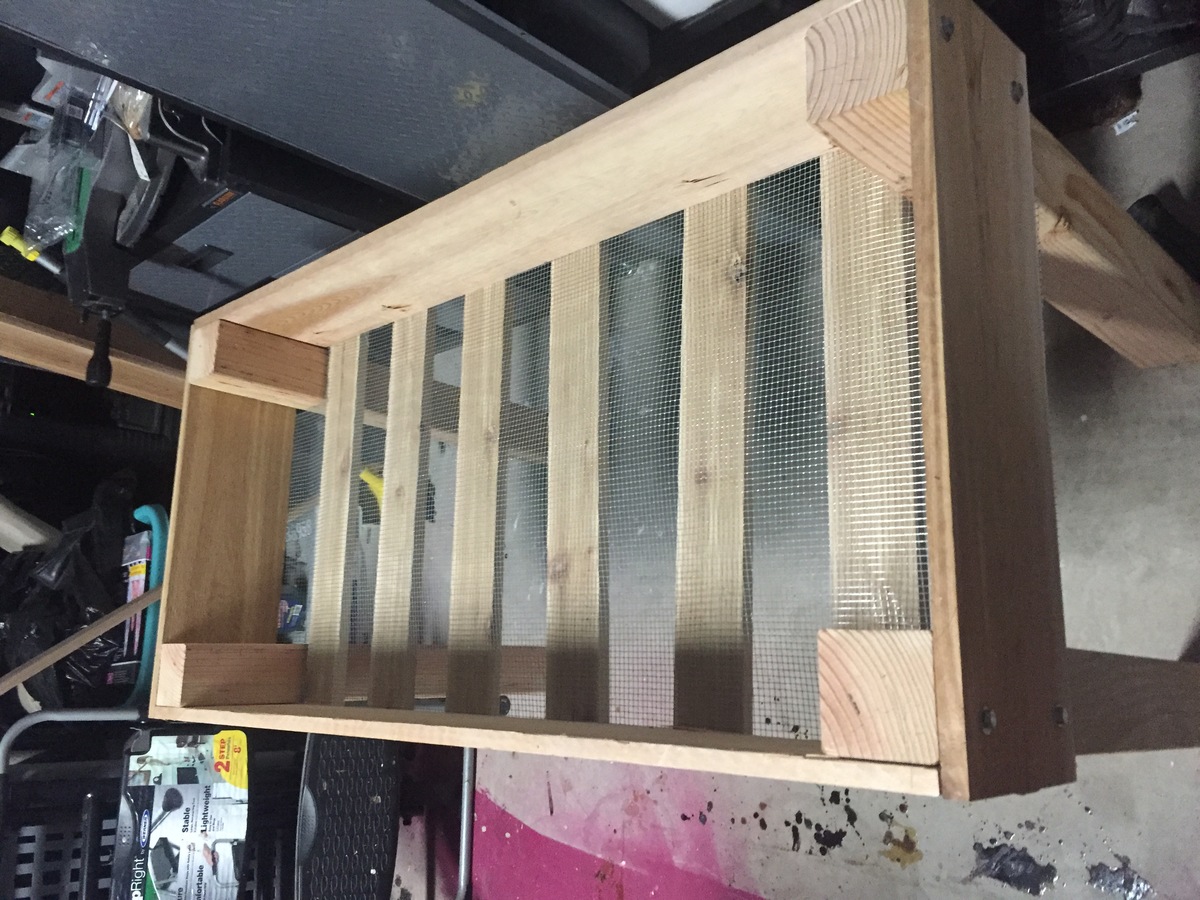
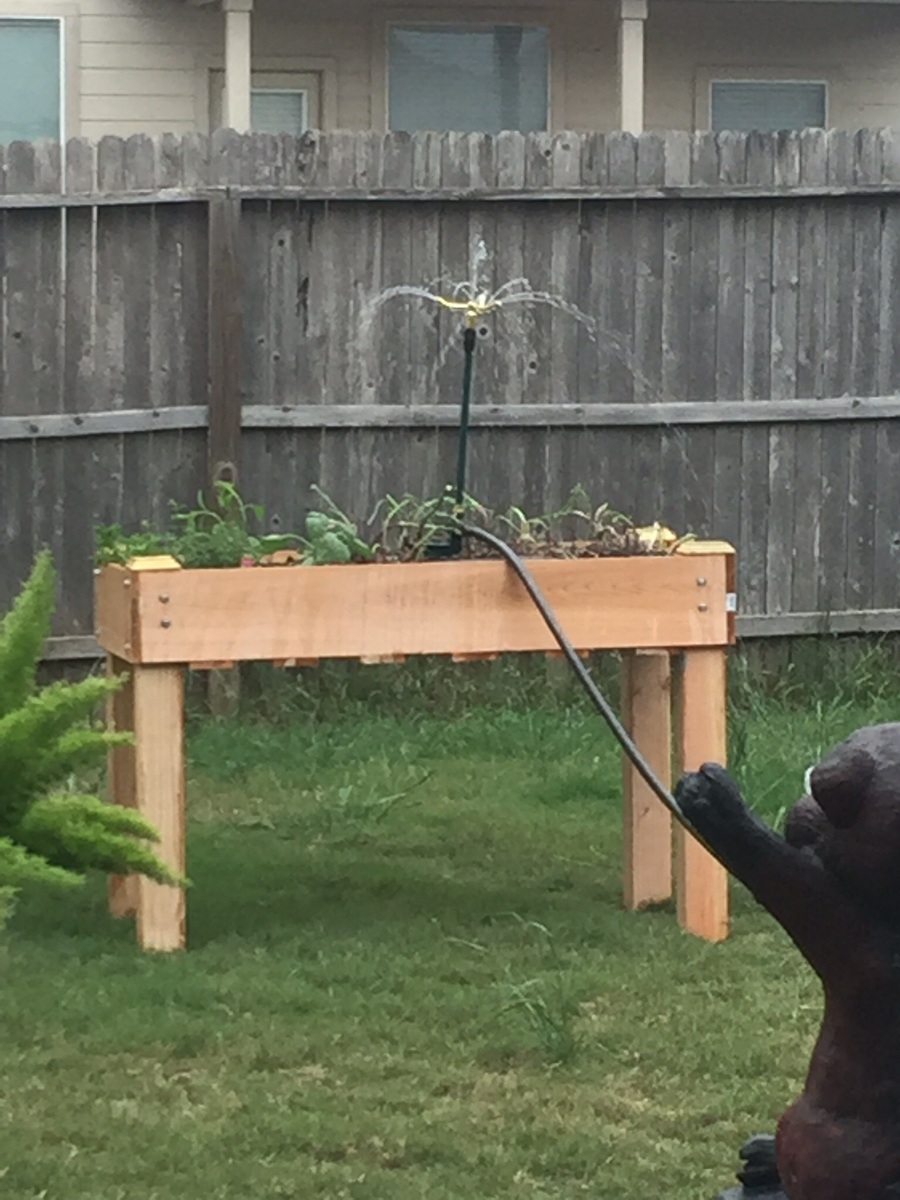
Garden box

Submitted by Anonymous (not verified) on Sat, 04/09/2016 - 21:42

Pretty easy plan to follow and very sturdy 

Estimated Cost
$60
Estimated Time Investment
An Hour or Two (0-2 Hours)
Finish Used
None
Recommended Skill Level
Beginner

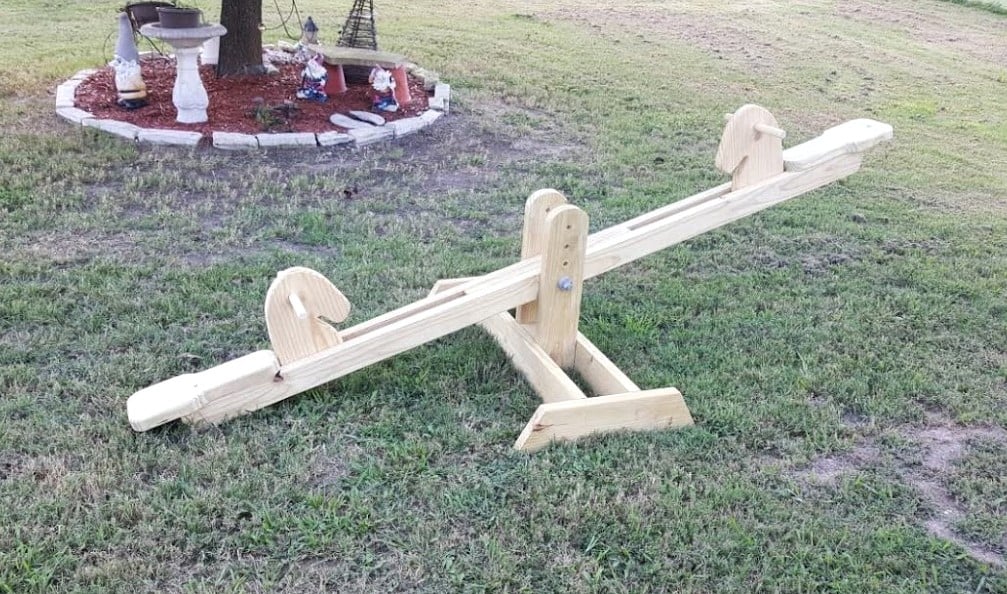
Custom Horse Handle Teeter Totter

Submitted by Anonymous (not verified) on Wed, 09/13/2023 - 09:28

This is the Seesaw I made for our Granddaughters, plans were easy to follow and the girls love it.

sawhorseworkshop

Built from Plan(s)

Comments

Mud Kitchen

Submitted by Noyehx4 on Mon, 07/20/2020 - 12:48

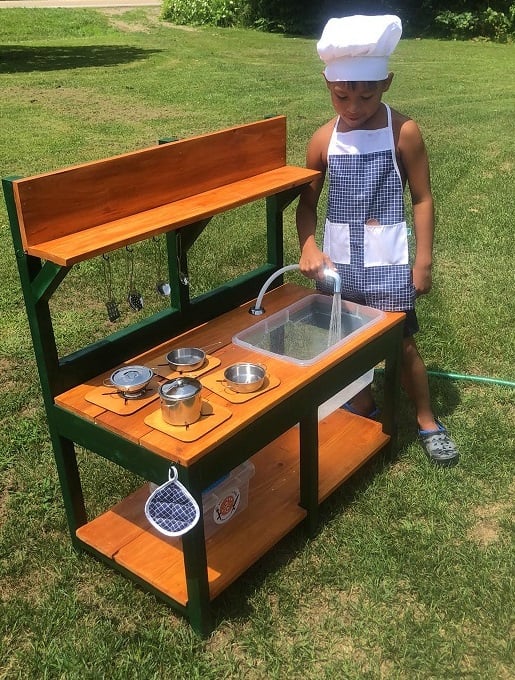
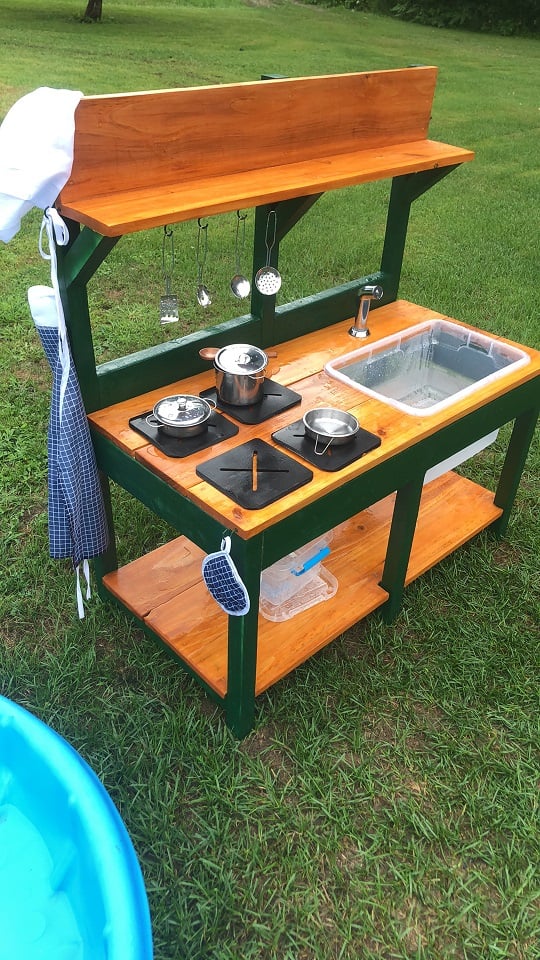
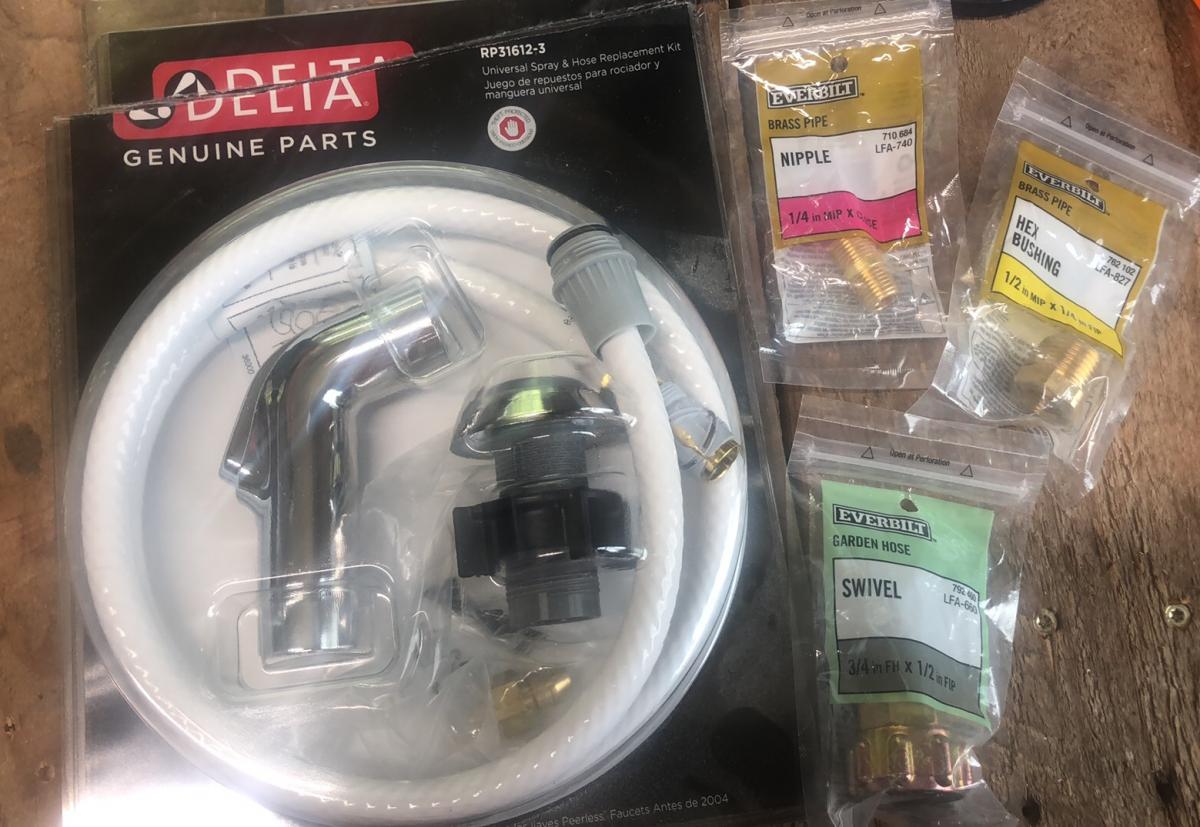
This was my first build, like ever. I am very proud! Props given to my hubby who is a carpenter by trade. I went back and forth on stains and paint colors at home depot. He didn't rush me and was awesome the entire time! He actually picked up the supplies, and is now a fan of the self tap screws! He thought he knew where everything in home depot was, but he had to ask to find those LOL. He wanted to use his new nail gun, but I wanted to follow the plans. The plans are awesome! We decided not to add an oven door just yet. Likely will soon. (Avoiding pinched fingers for now) I also have the knobs for the front, but it was hot and since I had only just stained them, they needed time to dry and second coat yet. (I kind of forgot about them once I finished them with my new dremel) We purchased the hose kit from the kitchen section at home depot. It came with everything, I searched market place and even posted asking if anyone had a used one for sale. No luck. This was $20 and came with everything, the guys at home depot showed me what adapters to get to ensure that it would hook up to our garden hose, and we grabbed those too and they worked perfectly! I messed up cutting one of the angles for the shelf the wrong way, but there was enough scraps for my husband to help me fix it. It was a fun build, and so rewarding to see our kids playing with it! I used my dremel 4300 and it wasn't powerful enough for the thicker wood, so my stove tops are thinner, but he actually enjoys setting them up and spraying them off the table with his hose! I painted the brass hooks green when we were painting the kitchen so they would match. The pots and pans came with the little tote and the apron chef hat and pot holder. It was a perfect finishing touch. *Edit to add photos kitchen hose kit from home depot, reading comments, others had a hard time finding adapters. I suggest taking what you have with you to home depot so they can show you what adapters you need. We needed three because we have a quick attachment on the end of our garden hose, (for our sprayer) now little mans mud kitchen can be connected and disconnected easily!
Built from Plan(s)
Estimated Cost
$75
Estimated Time Investment
Weekend Project (10-20 Hours)
Finish Used
Rust-Oleum Ultra Cover 2X Enamel Spray Paint and Behr Semi-Transparent Waterproofing Exterior Wood Stain and Sealer
Recommended Skill Level
Starter Project

Sweet Pea Bunk Bed

Submitted by Anonymous (not verified) on Thu, 02/09/2017 - 11:46

Sweet Pea bunk bed! I ended up making the lower half a playhouse since we had a play kitchen that fit perfectly inside.

Estimated Cost
350.00
Estimated Time Investment
Week Long Project (20 Hours or More)
Finish Used
Acrylic primer and semigloss paint
Recommended Skill Level
Intermediate

Comments

Our Lemonade Stand

Submitted by Anonymous (not verified) on Sun, 07/02/2017 - 14:42

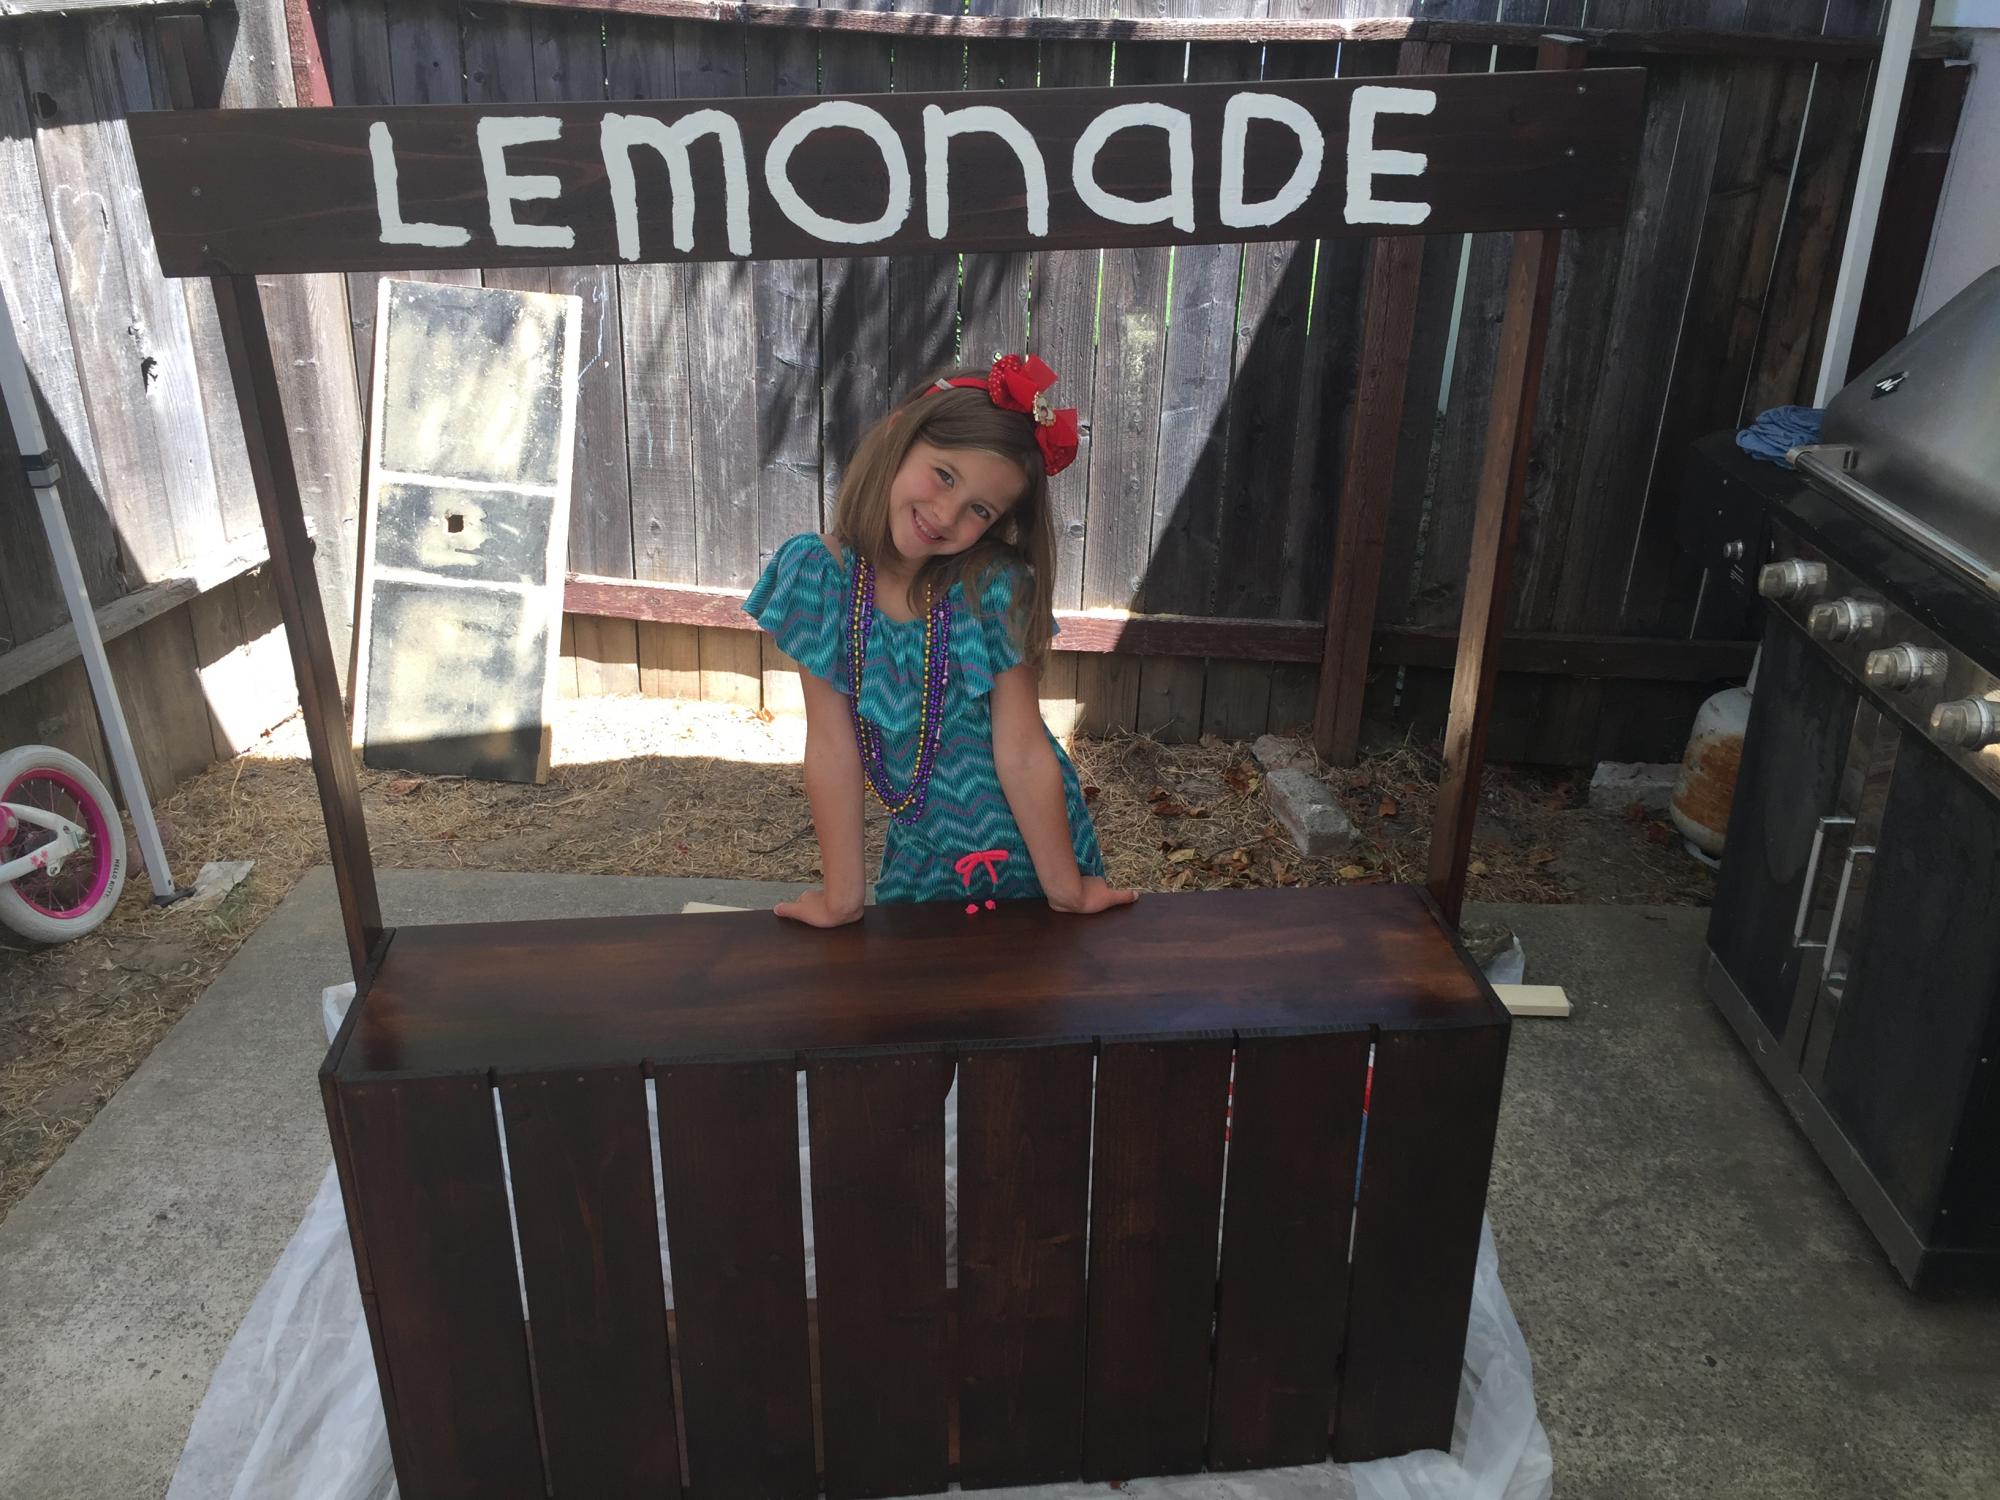
This was a fun project... i really enjoyed it! It was my first time staining, so I learned some things, and it got a lot of compliments from customers!

Built from Plan(s)
Estimated Cost
50
Estimated Time Investment
Day Project (6-9 Hours)
Finish Used
2 coats of Early American stain.
Recommended Skill Level
Beginner

Large Wood Storage Chest

Submitted by danicarby on Tue, 05/14/2013 - 07:25

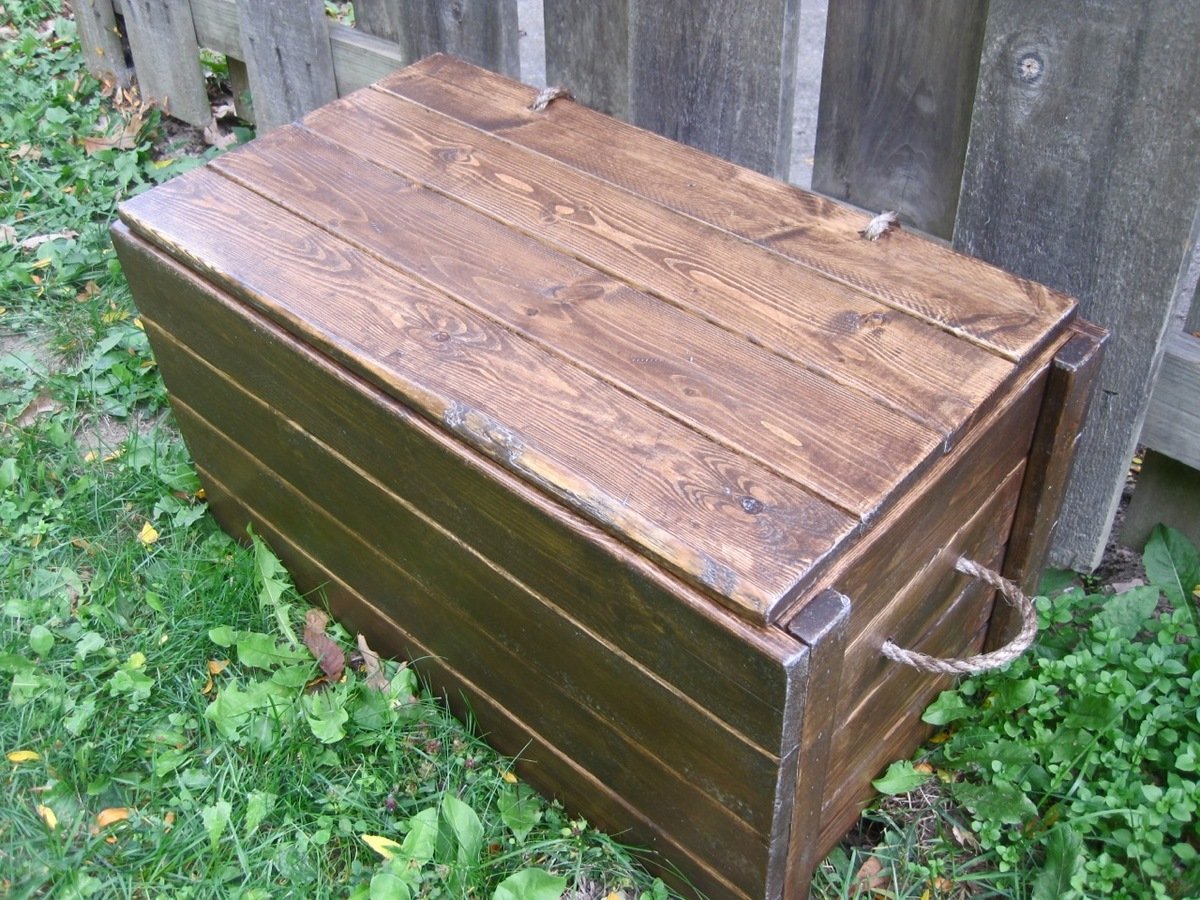
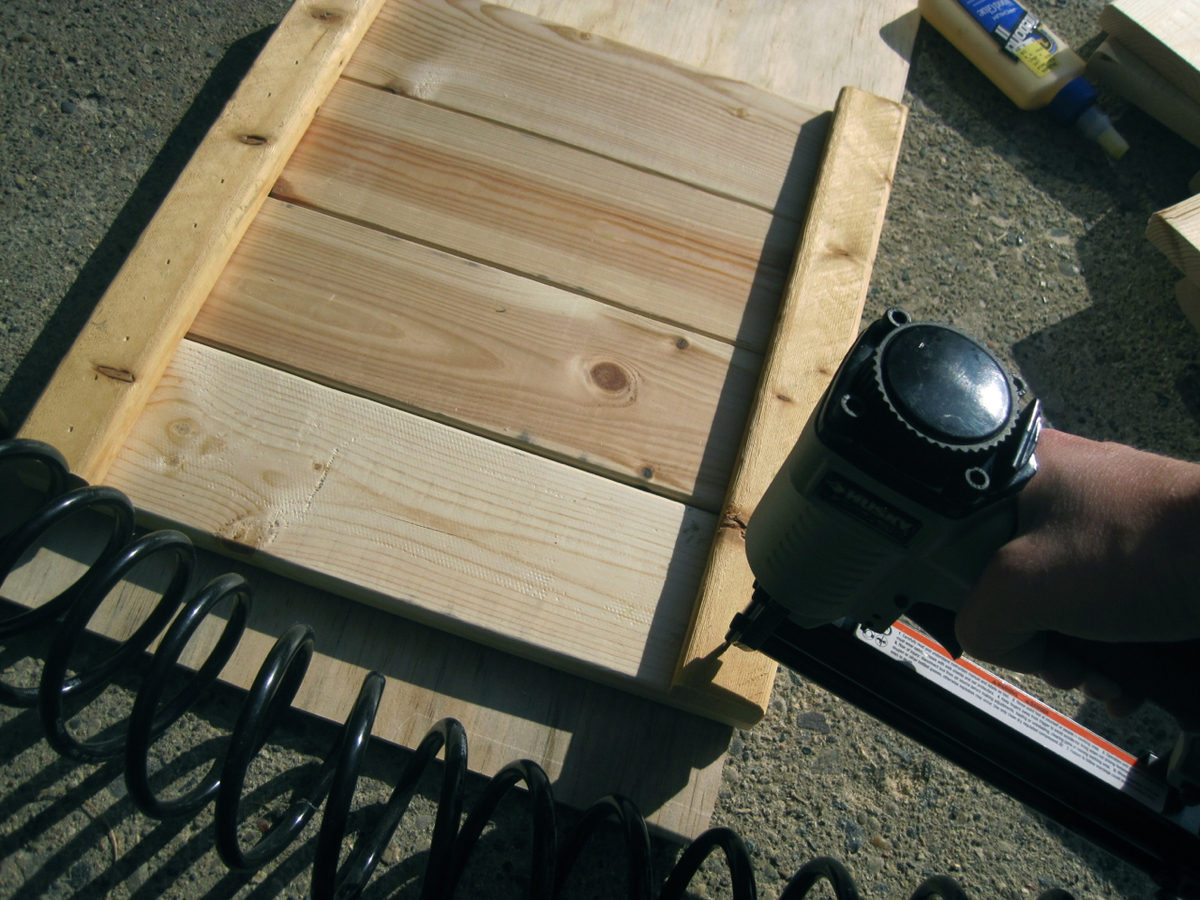
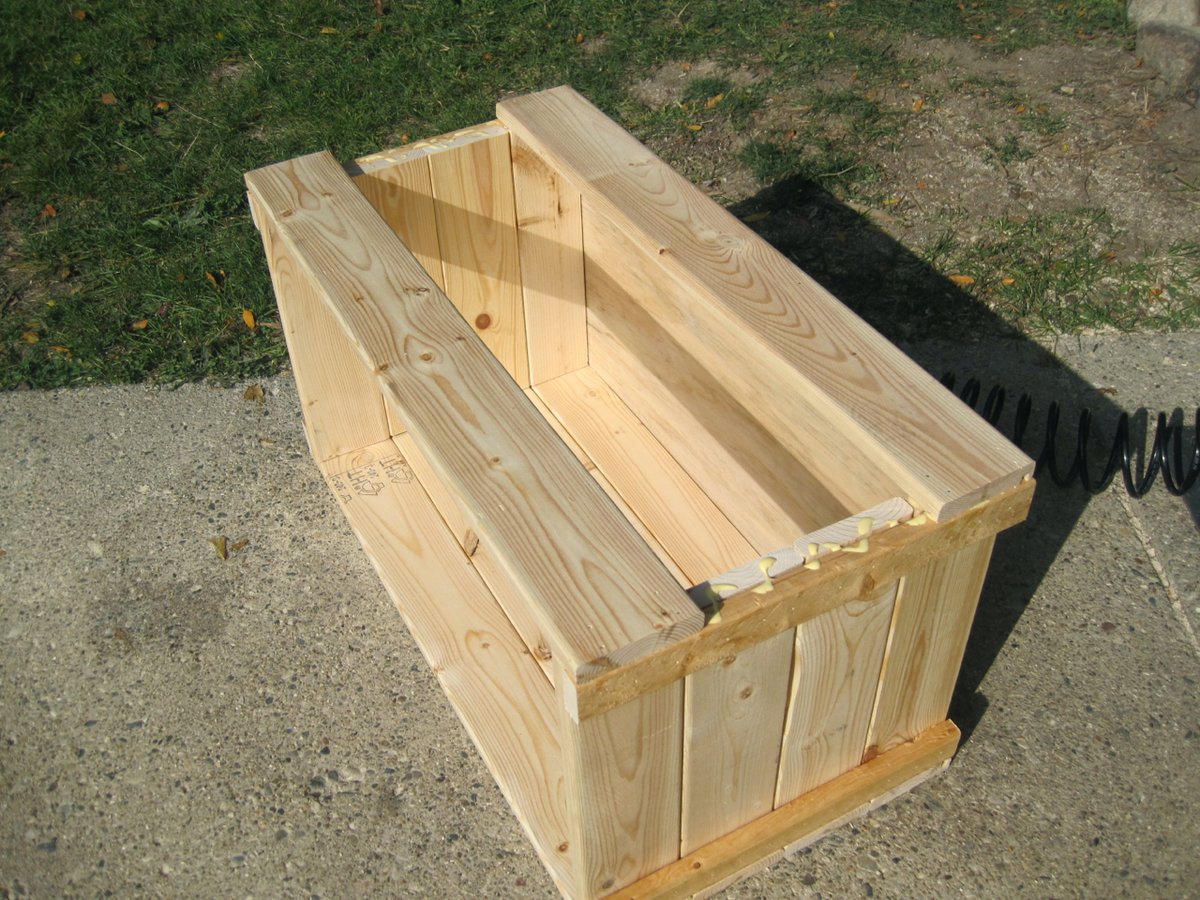
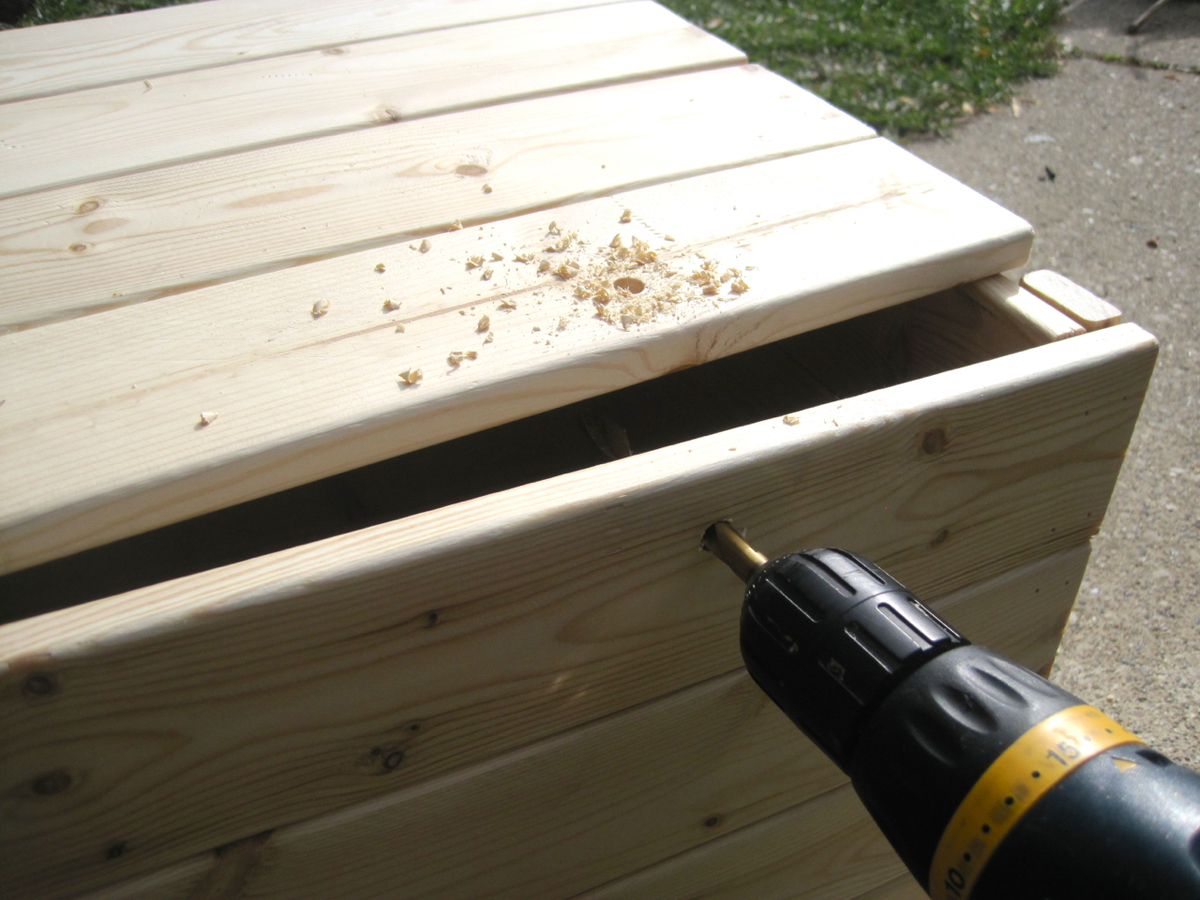
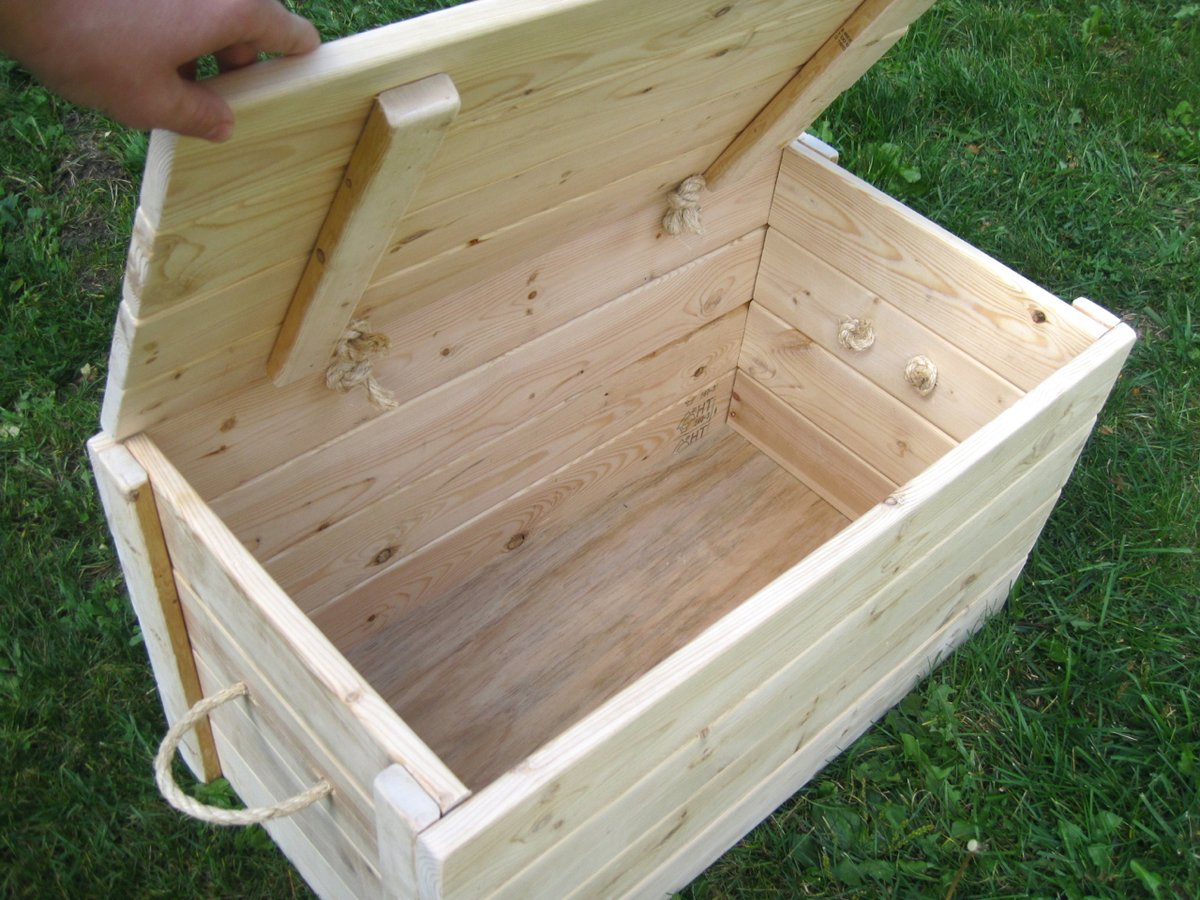
I wanted a large chest to store toys, books or blankets. I wanted it to be cheap to build and be rustic. This project turned out perfectly! I used 2" and 4"-wide furring strips and rope for the hinges and handles. I used 1/4" plywood for the bottom and made a groove with the router for it to slide into while assembling. I helped 16 girls make these who had no previous experience and they loved it!

Estimated Cost
$20-$40
Estimated Time Investment
Afternoon Project (3-6 Hours)
Finish Used
Mixwax Stain and Polyurethane
Recommended Skill Level
Beginner

Comments

benjaminrogers

Fri, 12/27/2013 - 06:21

Can you provide a lumber list for this? I know you said you used 2x4 but the lumber I see in the photo doesn't look like 2x4.

Thanks,

Ben

danicarby

Fri, 12/27/2013 - 07:17

Hi Ben!

I used 1x4's and 1x2's. I have a shopping list and cutting list on my blog. I can't post the link here but you can click on the link where it says "Blog Link" under "About This Project"

Let me know if you have any other questions!

Back