Greeting from from Queensland, Australia.
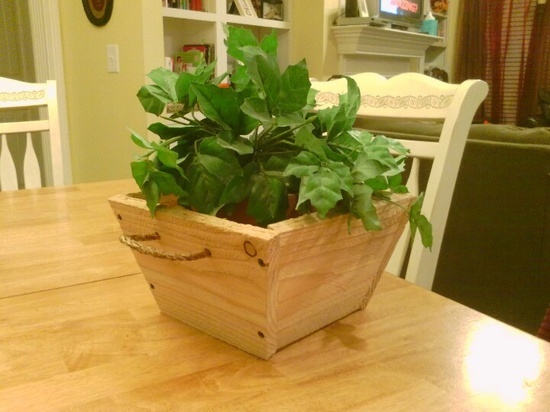
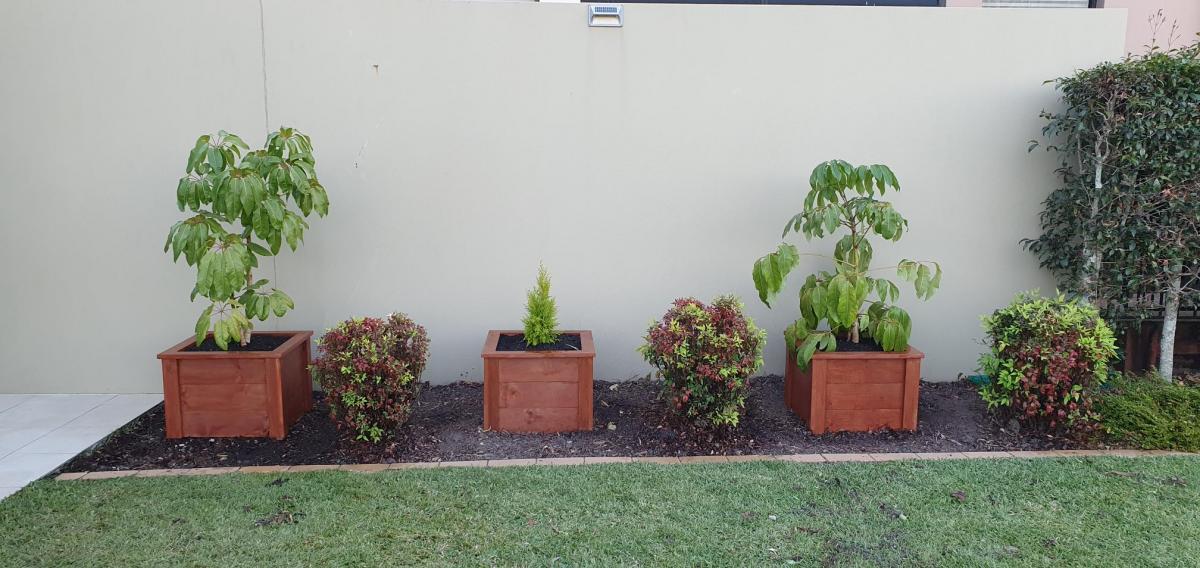
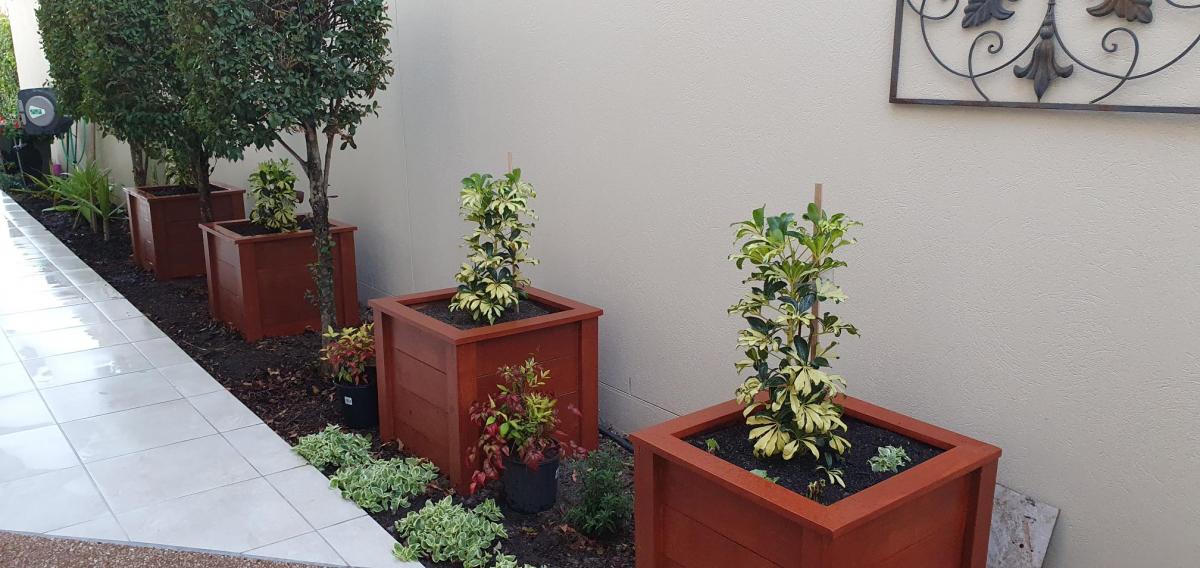
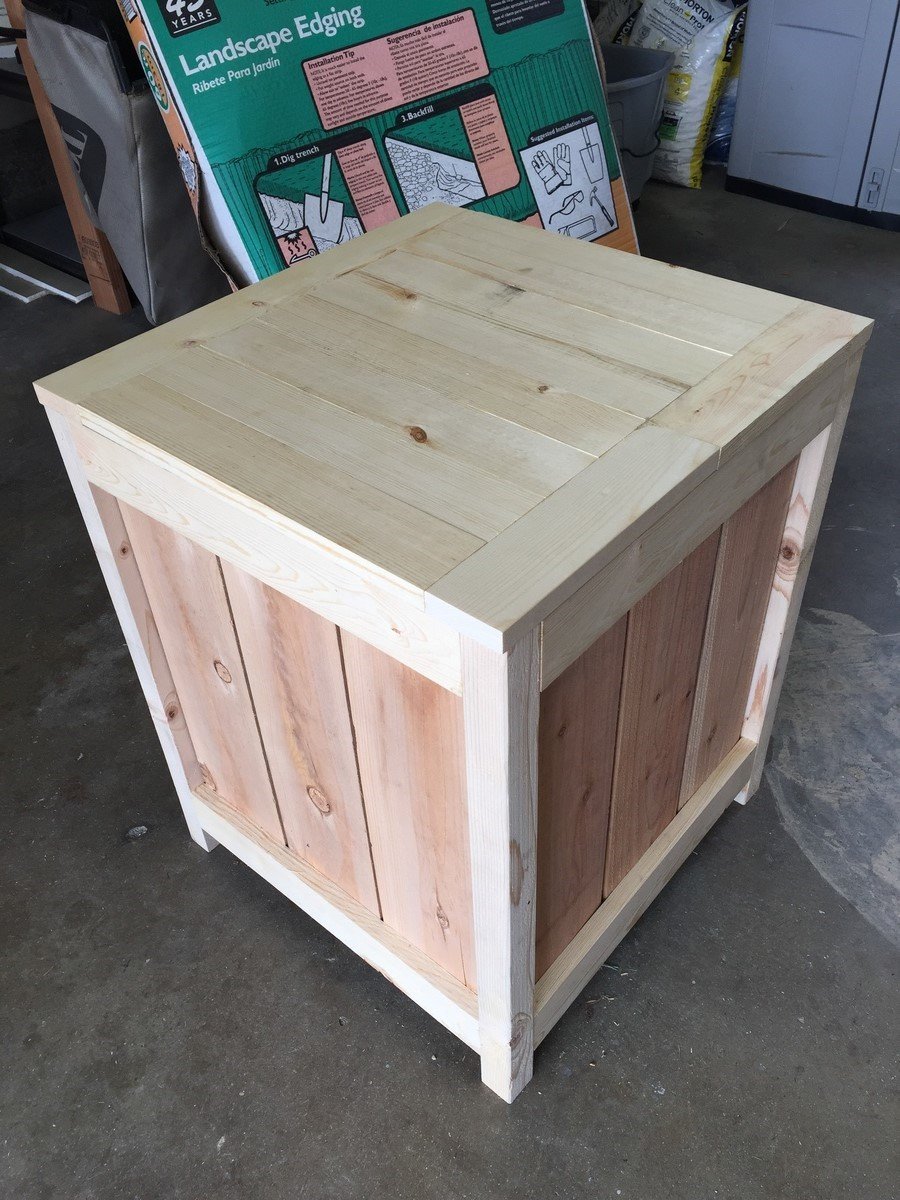
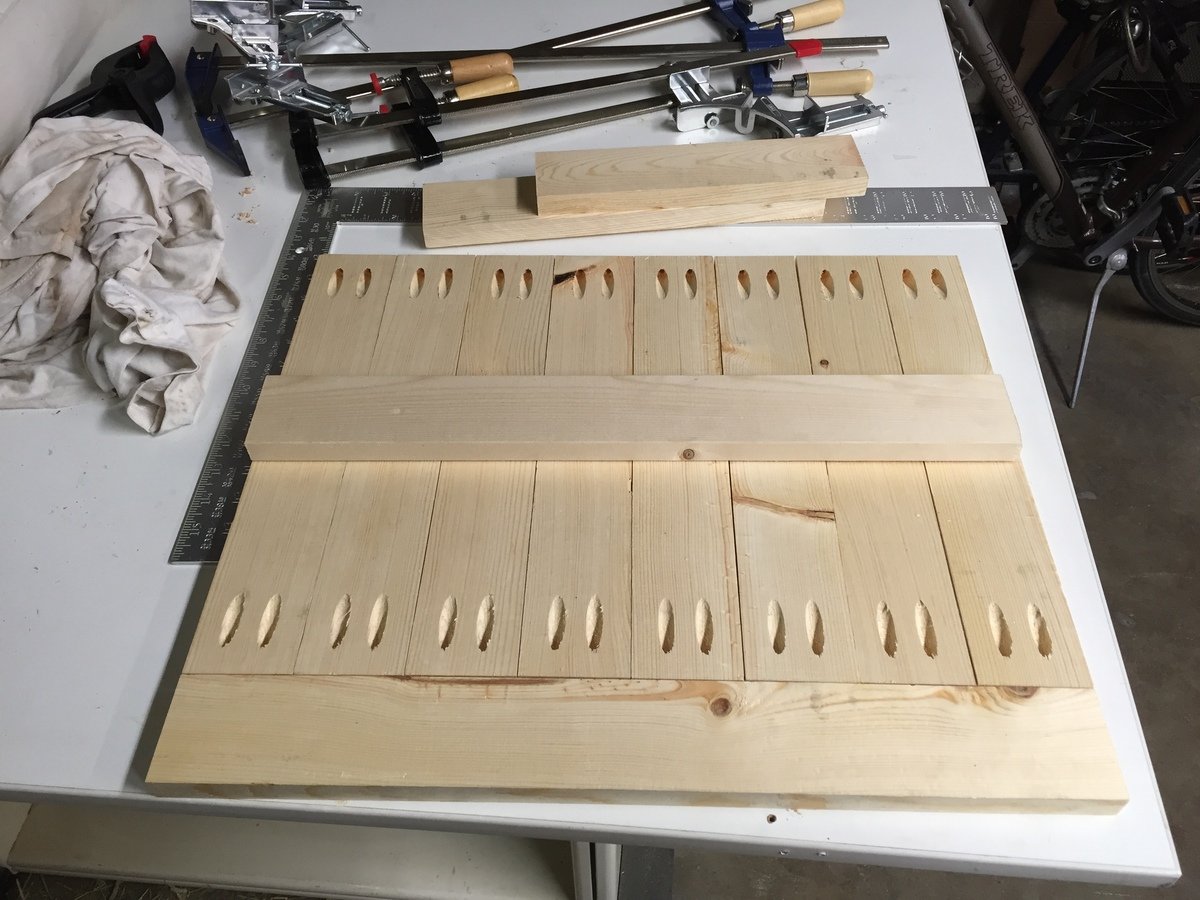
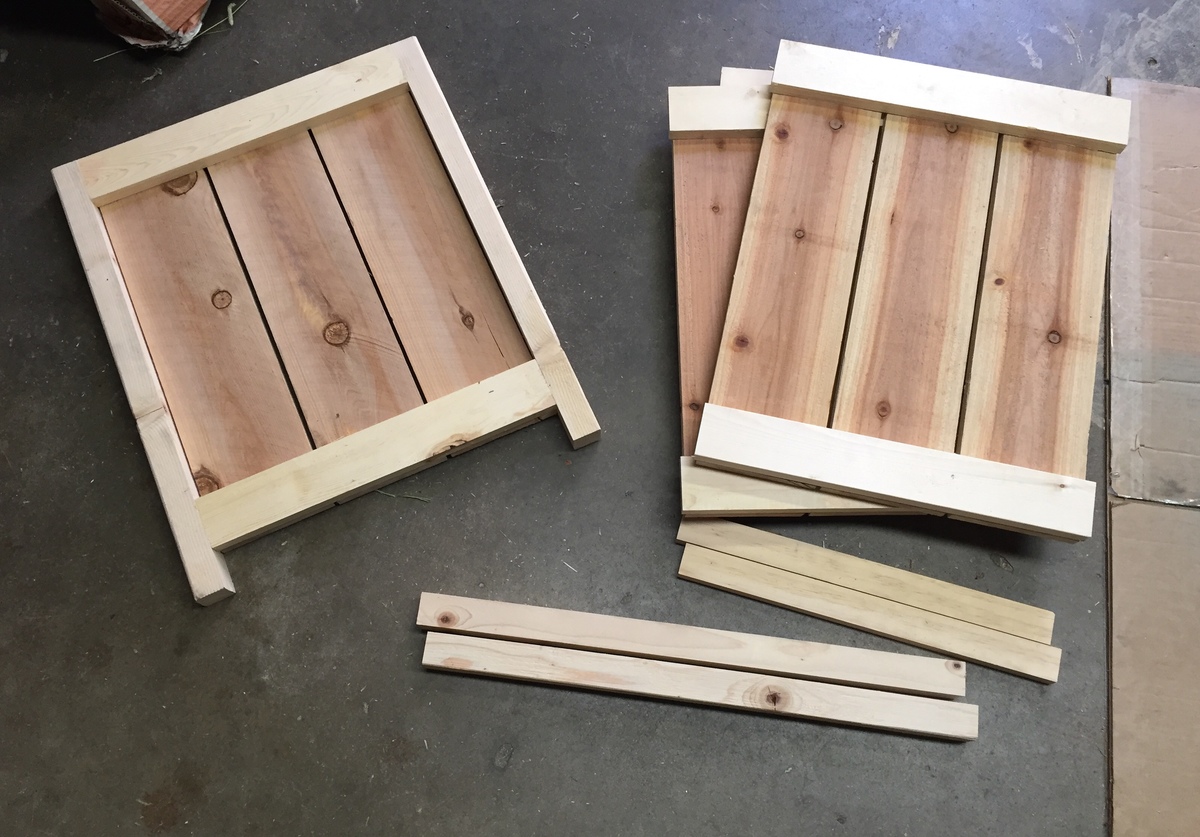
I decided to make a couple of wooden planter boxes for our garden at home, after watching Ana's video on the “Easy Build DIY Planter Box” made from cedar and painted white. I downloaded the plans, and then converted the measurements to metric. I did make a couple of alterations from what was shown in the video. Whilst I do not have a workshop at home, I attend a local "Men's Shed" where there is a large range of woodworking machinery available to use. Firstly, I used rough sawn treated pine 150mm x 25mm boards, which I dressed and cut down to size. The dressed timber looked great once I stained the boxes. Secondly, I have made the boxes without legs, so that they sit directly in the garden, and are filled with potting mix soil.
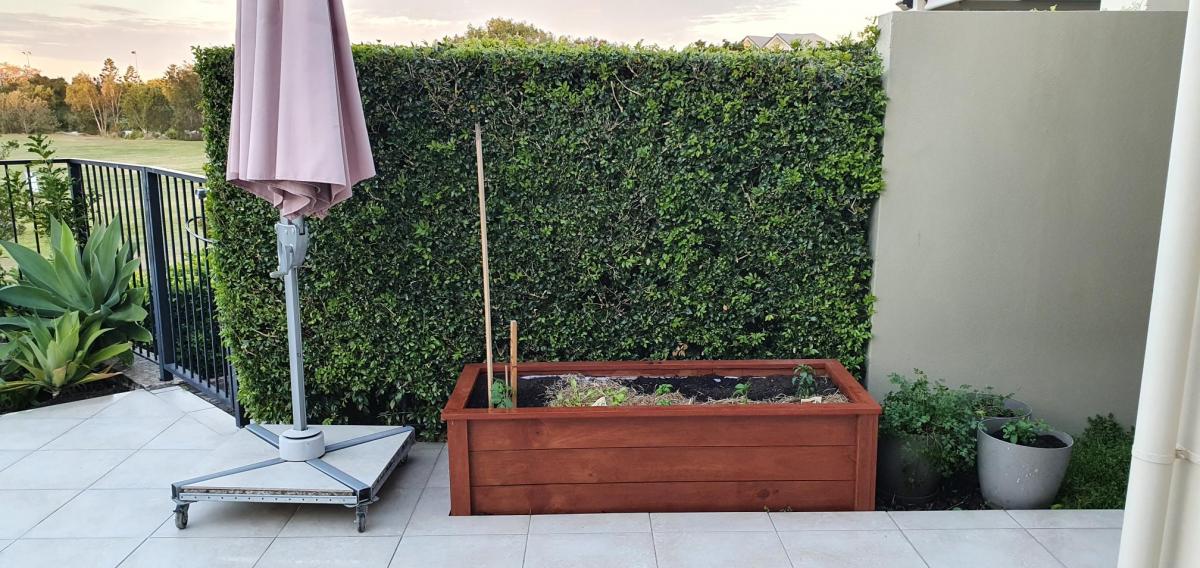
After making the first 2 planter boxes, my wife asked if I could make another couple. After that we decided another 3 planter boxes in a different part of the garden might be nice, so I made these the same. Then I made a longer planter box of the same style for vegetables and herbs.
Thanks so much, Ana, for the great plans and video, as well as the inspiration. Mind you, my planter boxes took a lot longer to build than the time you indicated in your video, but that is fine.
Cheers Noel


Comments
jnow8687
Sat, 08/31/2019 - 12:34
Extended base height
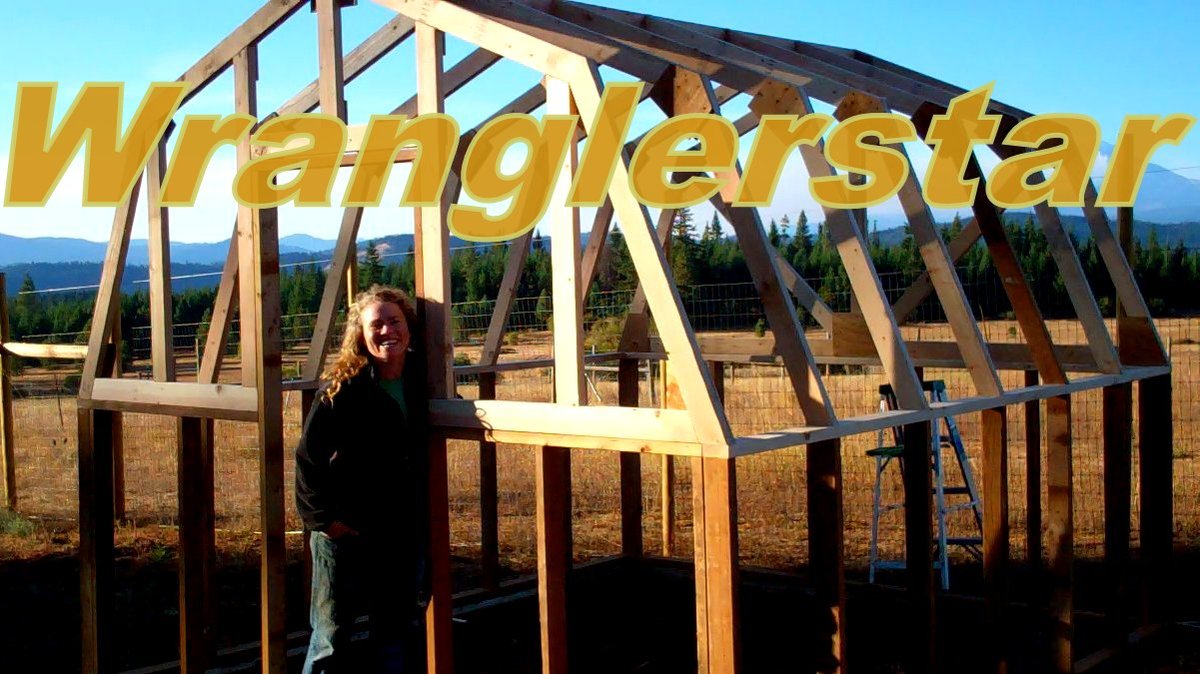
Did you extend the base height? I want a greenhouse to enclose trees that do not do well in the winter and I think I would like to raise the base height a foot or so.