Rustic Table
Built this table with some modifications from the rustic table plans. Made it 6ft and added the breadboard end. Fun project!
Built this table with some modifications from the rustic table plans. Made it 6ft and added the breadboard end. Fun project!
see the full post at:
http://crabandfish.blogspot.com/2012/06/fish-made-work-bench.html
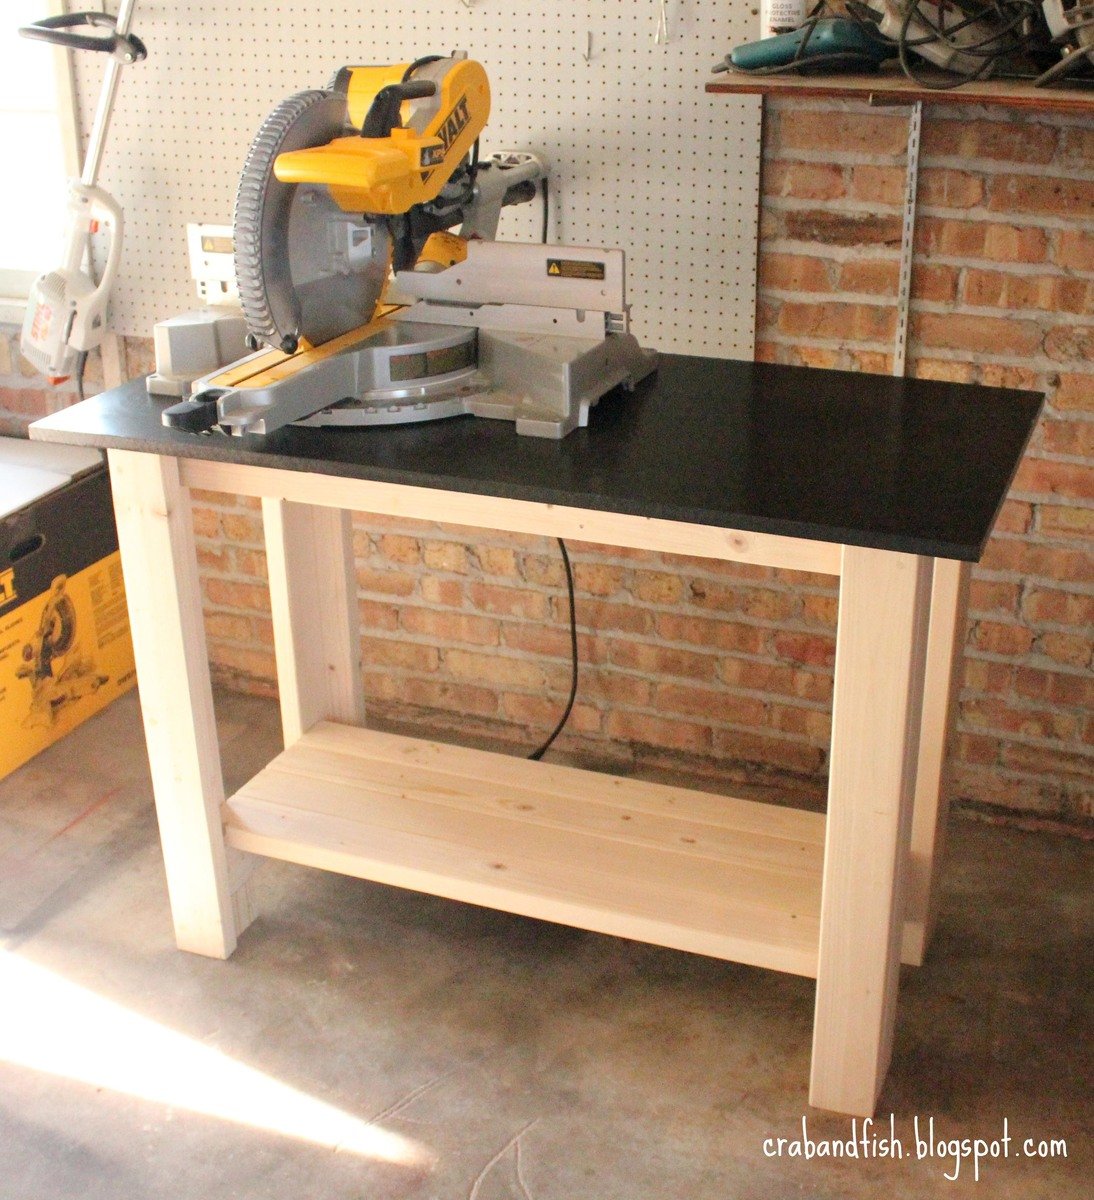
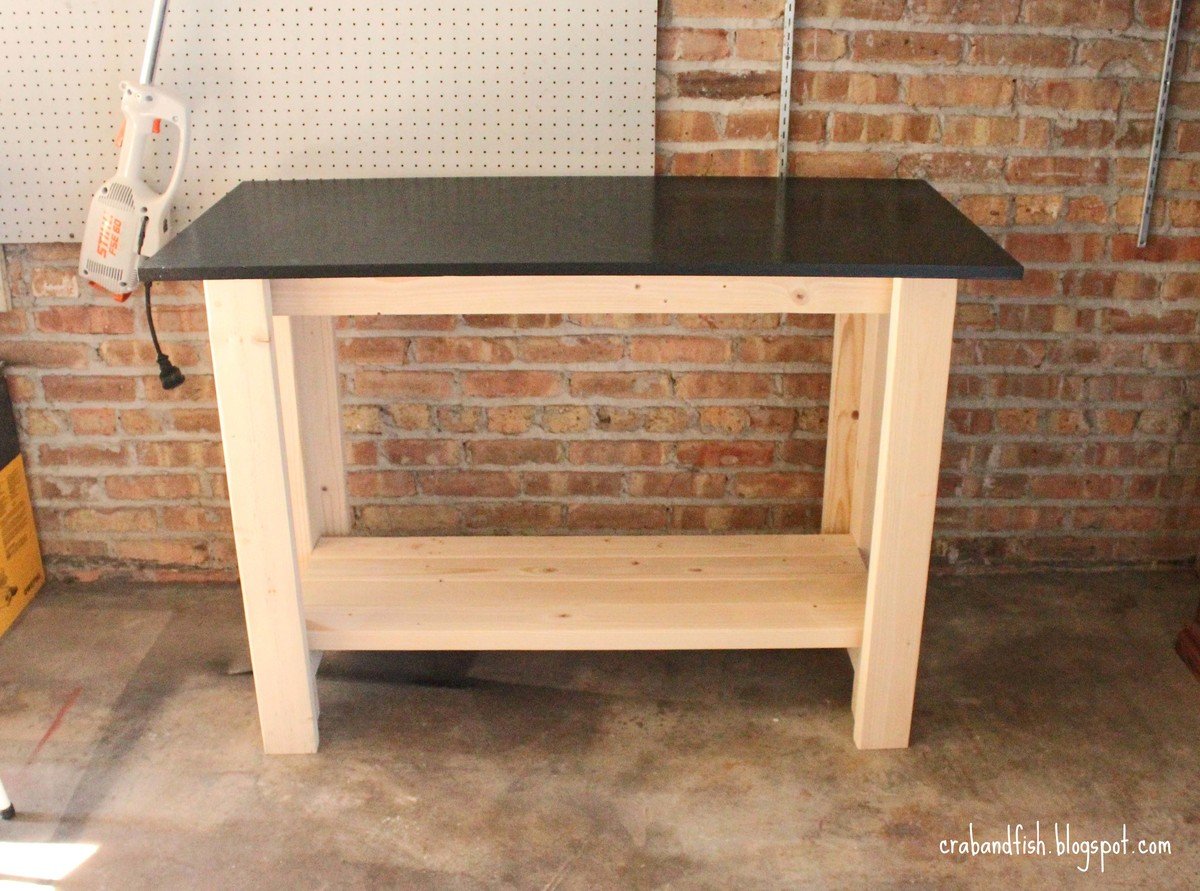
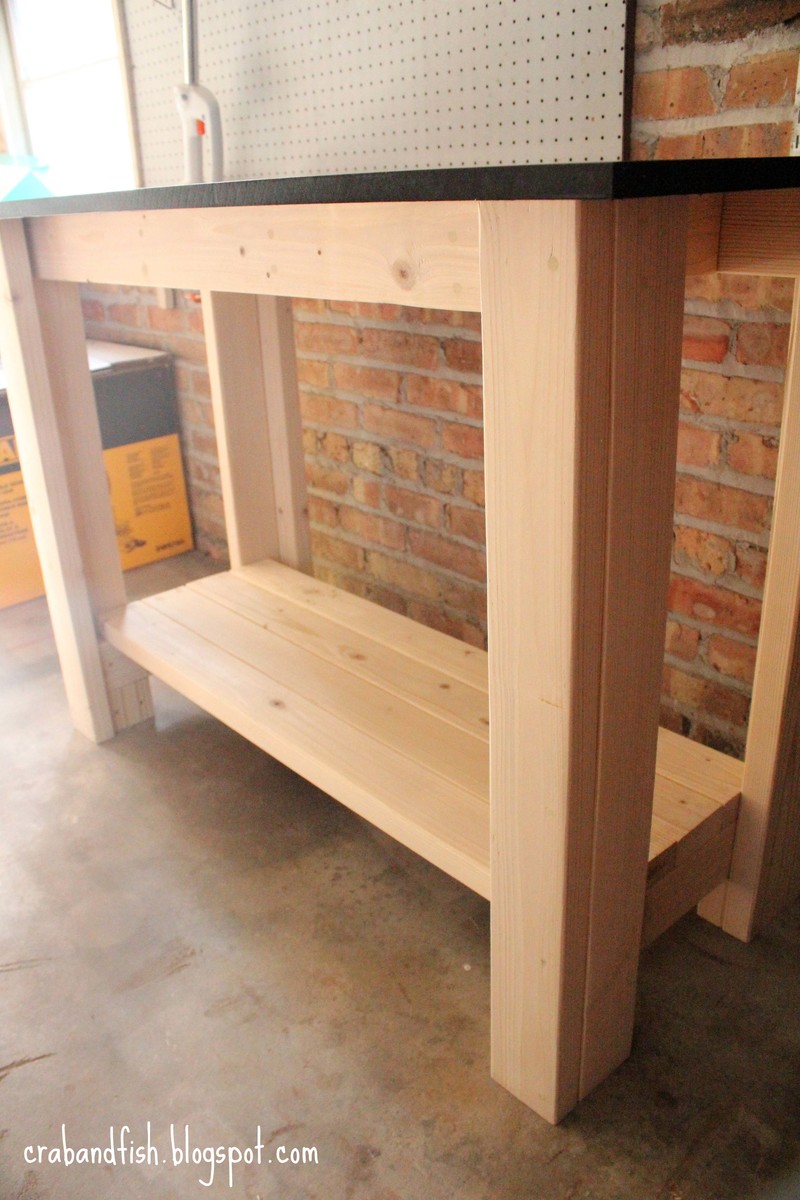
we bought our first home two months ago and have been doing a lot of small improvement projects. we decided to build your sturdy work bench in order to have a dedicated space for cobbling new projects together.

I recently moved to Boulder, CO and finally have a garage where I can actually work on projects. Since I moved here with practivally nothing, I decided I should build my own bed. This is probably one of the most ambitious wood working projects I've attempted. I also tend to be slightly anal, so I've probably spent way more time on this project than most people have or will.
After reading the plans and other Brag Posts, I felt I was ready to start. I ordered the Kreg Screws, and a few other supplies I would need for the Project on Amazon and was off to the races. Several trips to Home depot to get various pieces of wood, (since I wasn't going to fit it all in my Subaru in one go), I finally had most of the lumber for the bed frame. Let me tell you, it's not easy getting straight pieces of lumber (as mentioned before, I'm a little anal). I decided to go with oversized lumber, since I would have more usable leftover pieces for other projects.
I spent several hours after work during the week, and several more on the weekend, sanding down all the lumber with 60 Grit, then applied the first coat of Stain, to raise the grain. I was out of town for the weekend, and let the stained wood sit in my garage while gone. When I got back, I noticed a lot of marks which I didn't notice before staining. Some of these were from the belt sander I used to knock down really rough parts of some of the lumber. But most of the marks were because I put too much pressure on my random orbital sander.
Lesson learnt: Sanding takes time, and patience! DO NOT press down hard on the sander, if you don't want marks on your wood. These marks will be significantly more prominant after staining.
I decided to sand everything again, 60 grit, then 100, then 150. I gotta say, the wood feels so much nicer to touch and I'm glad I decided to re-sand. I spent a few hours after work to get most of the head board pieces done, but noticed that the 2x4 had warped beyond repair... I'm going to get the upper and lower 2x6 pieces ready to assemble with my kreg jig this weekend, and then decide if I want to add a 2x4 in the middle like the plans call for.
I decided to go with just 2x6s for the headboard, I used the Kreg Jig to put it all together, I also attached 4 supports made of some scrap Plywood I got from my neighbor for the headboard.
I stained it all with a Staining pad twice, then applied 3 coats of Poly with a brush. I didn't sand between coats since I was applying very thing coats and I had already sanded everything down with 150 grit.


Fri, 03/02/2018 - 19:17
Sick job dude! What stain is that? I like the color of it and might use it for mine. Did you notice a stain odor at all after applying the stain and covering it with the poly?
Fri, 08/09/2019 - 13:22
This bed is super gorgeous!! Thank you so much for sharing photos!
This was our first build alone. I've helped my dad build various things through out the years but was this first time me and my husband built something together.
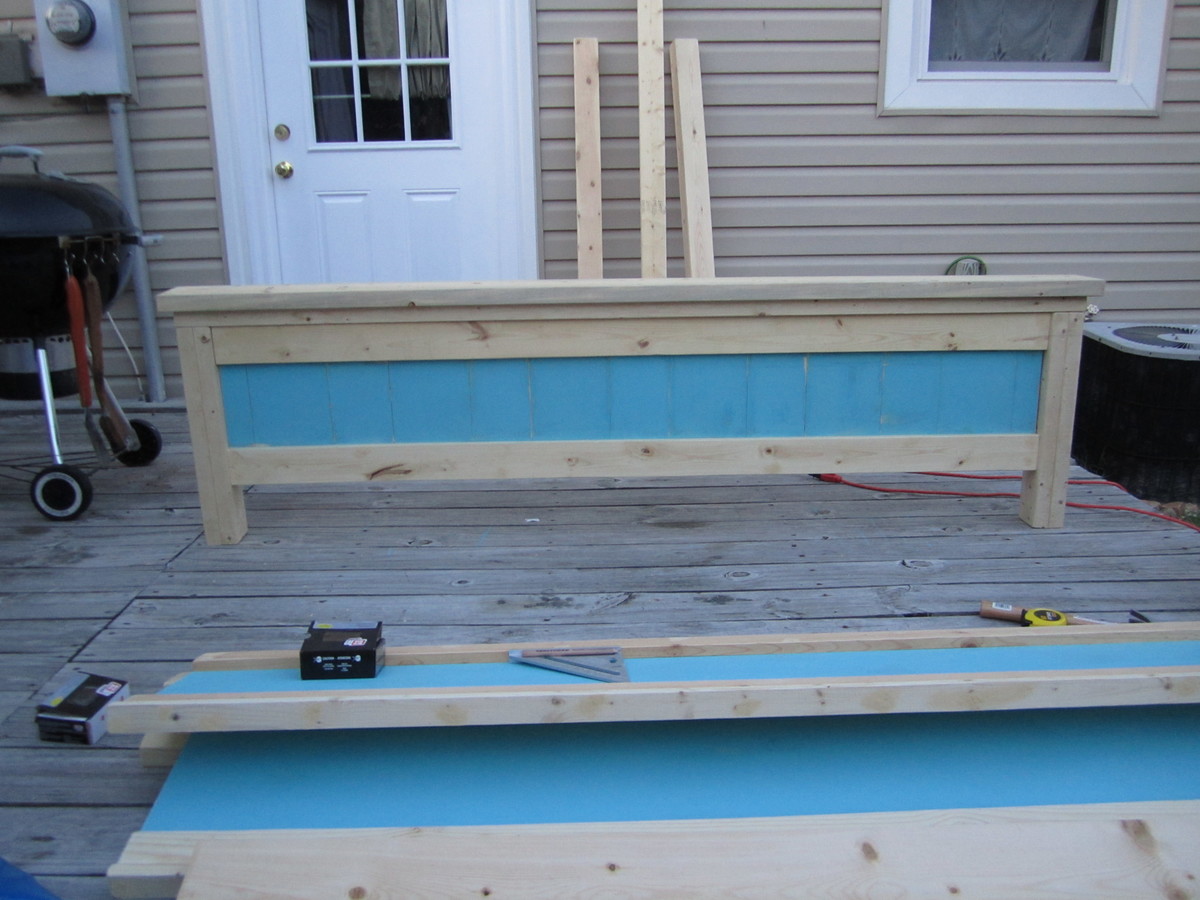
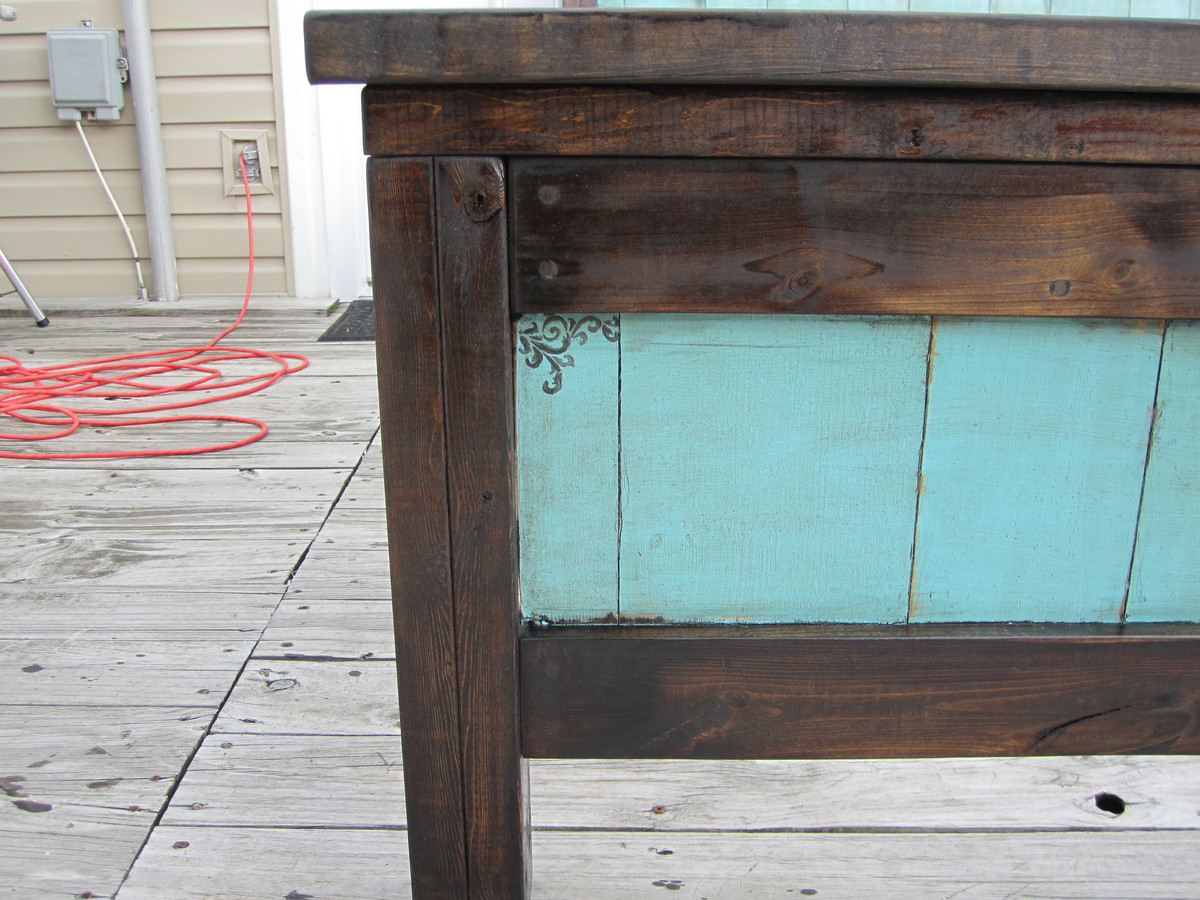
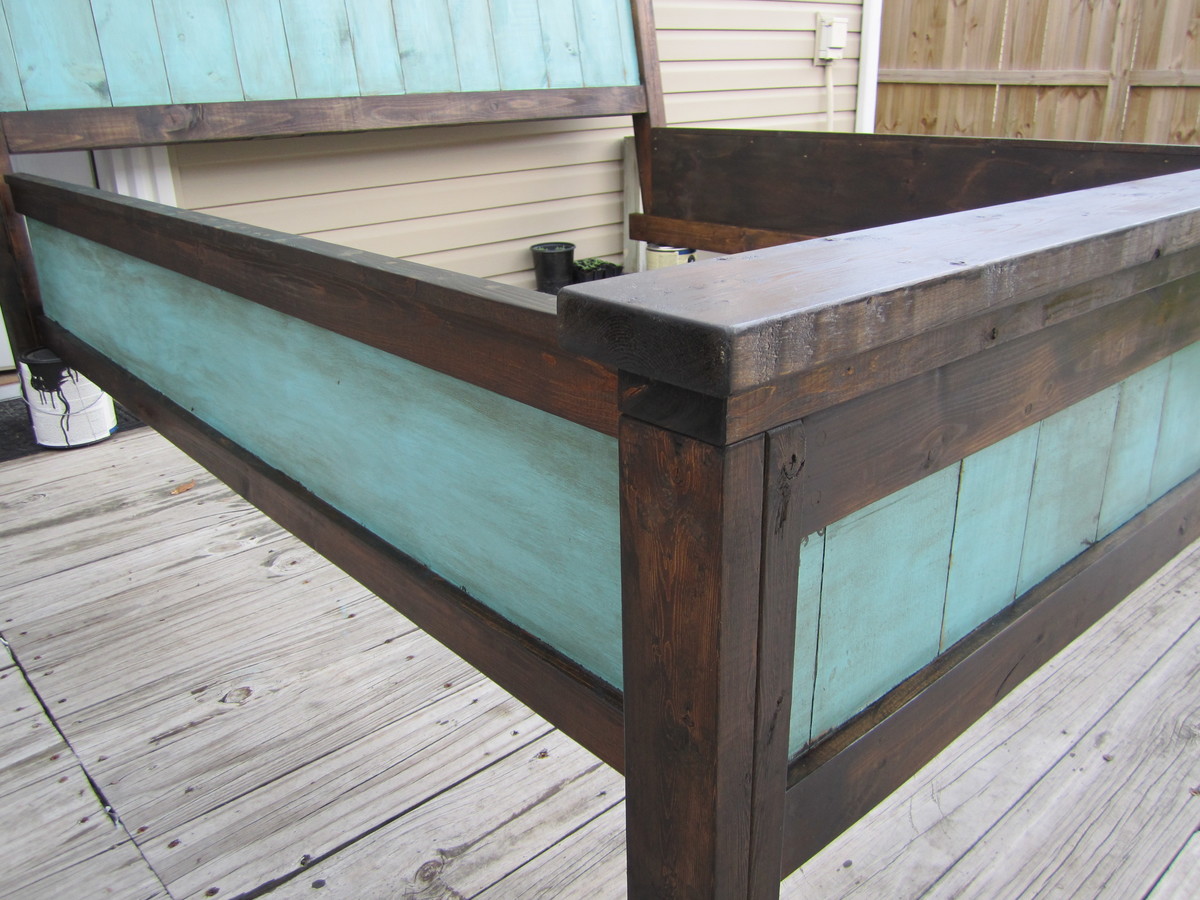
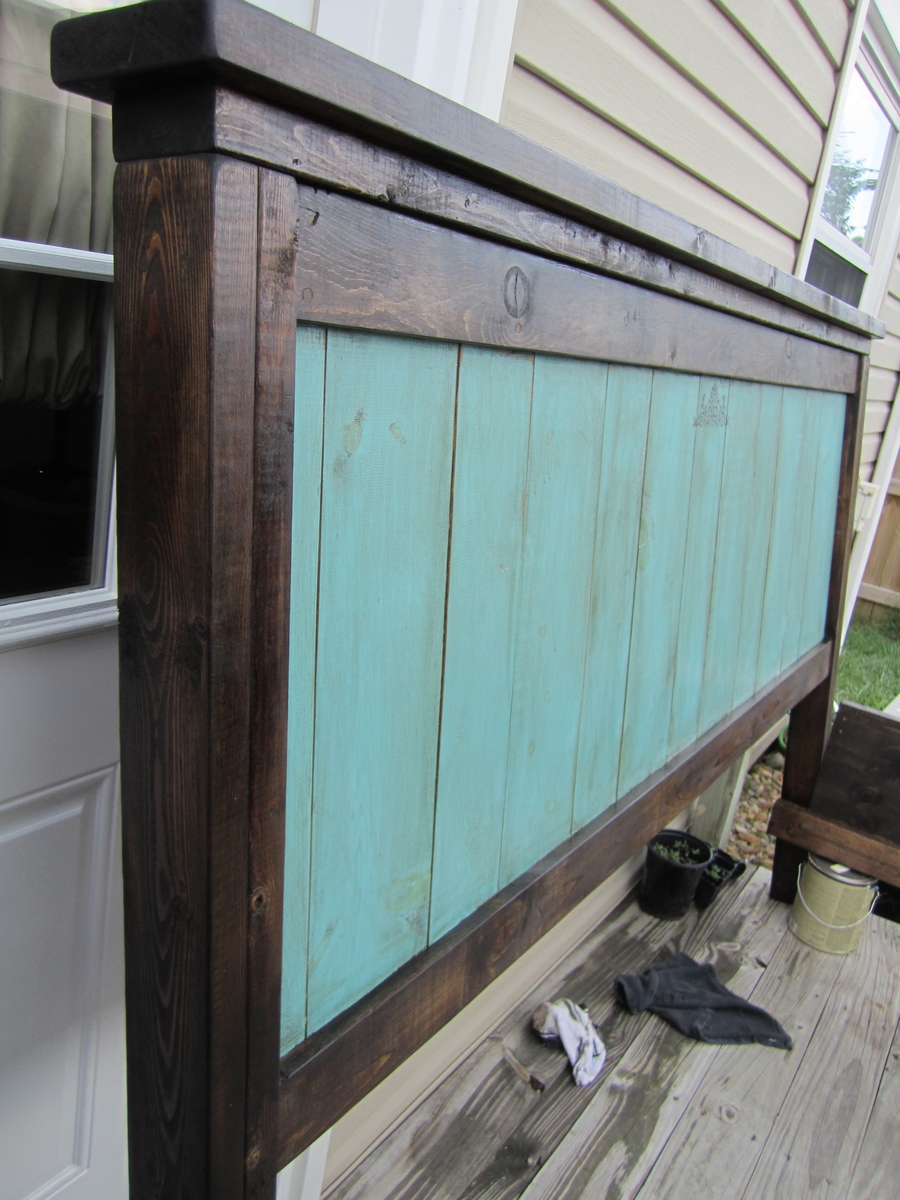
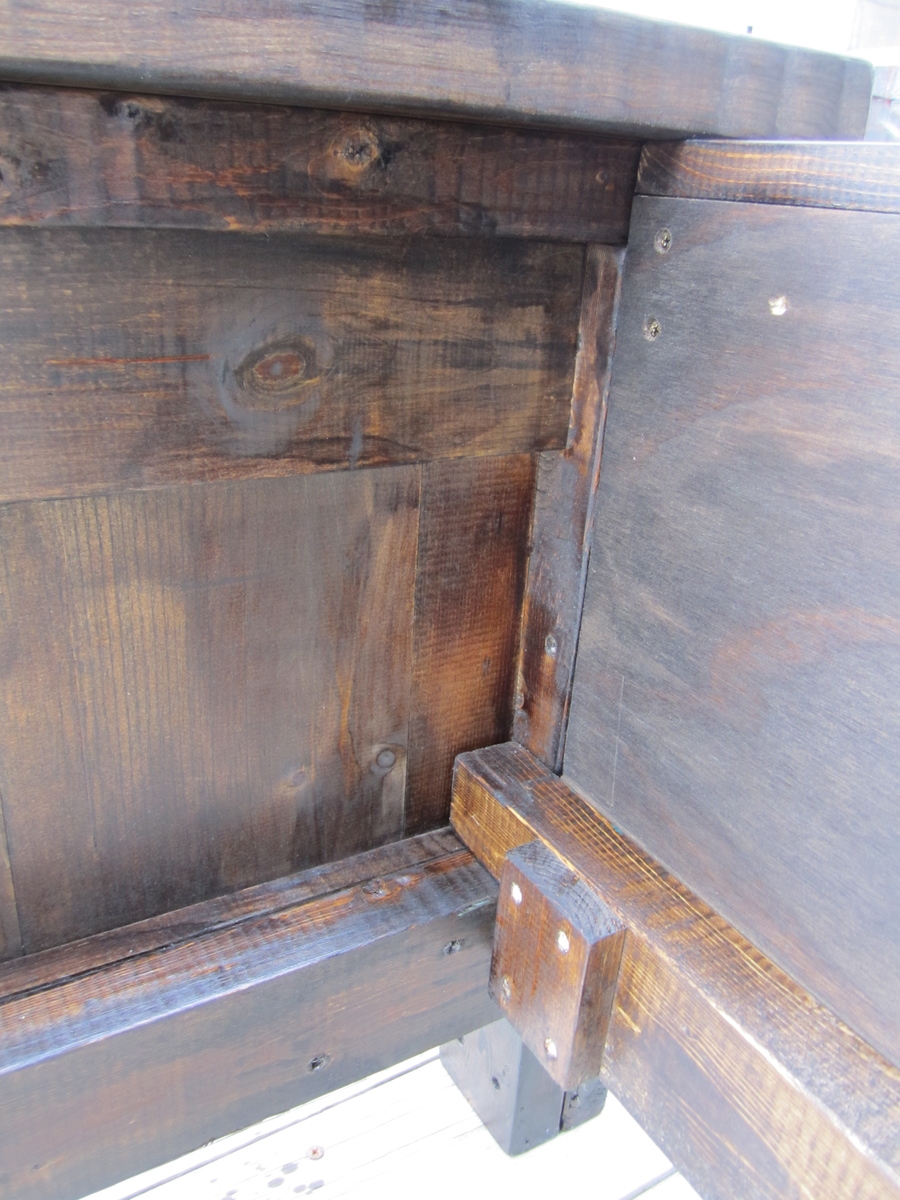
The bed plans were great and it went together easily. We couldn't find untreated 4x4 posts so we went with two 2x4 sandwiched together, and then we bolted the headboard posts to the footboards. The side rails are plywood trimmed with 1x3's and topped with a 1x2. We also used L brackets to attach the side rails to the head and footboards and addition to bolts on the headboard and 2" screws on the footboard. We needed to assemble the bed in a way we could easily disassemble because we are moving soon.
Wed, 08/15/2012 - 14:46
I LOVE the turquoise finish! It looks like a piece of jewelry for your bedroom!
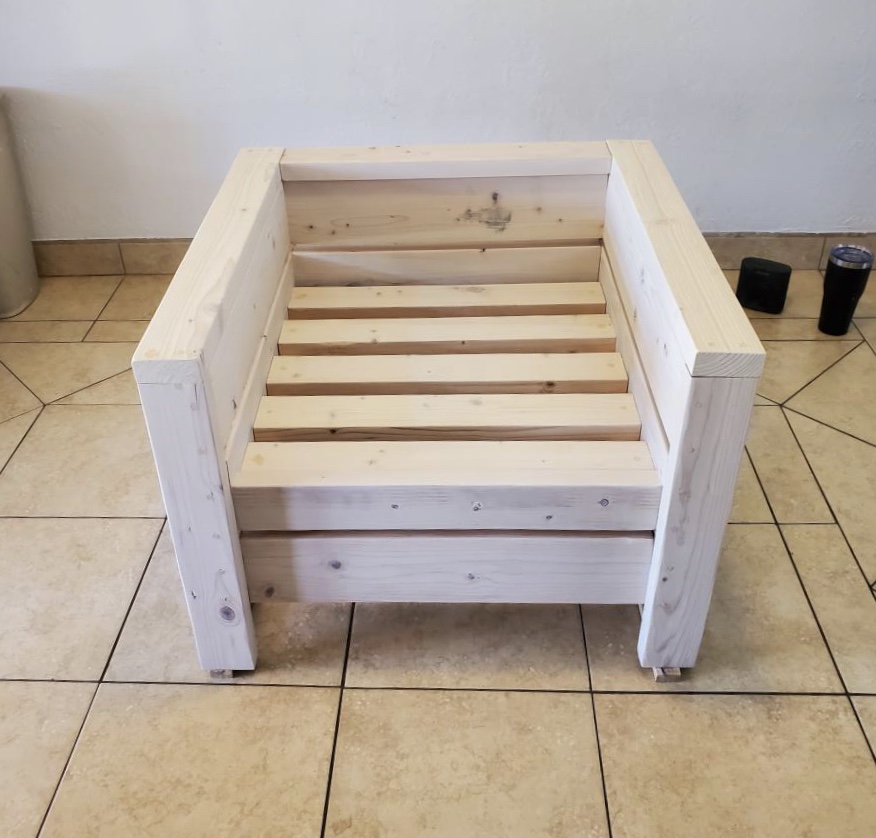
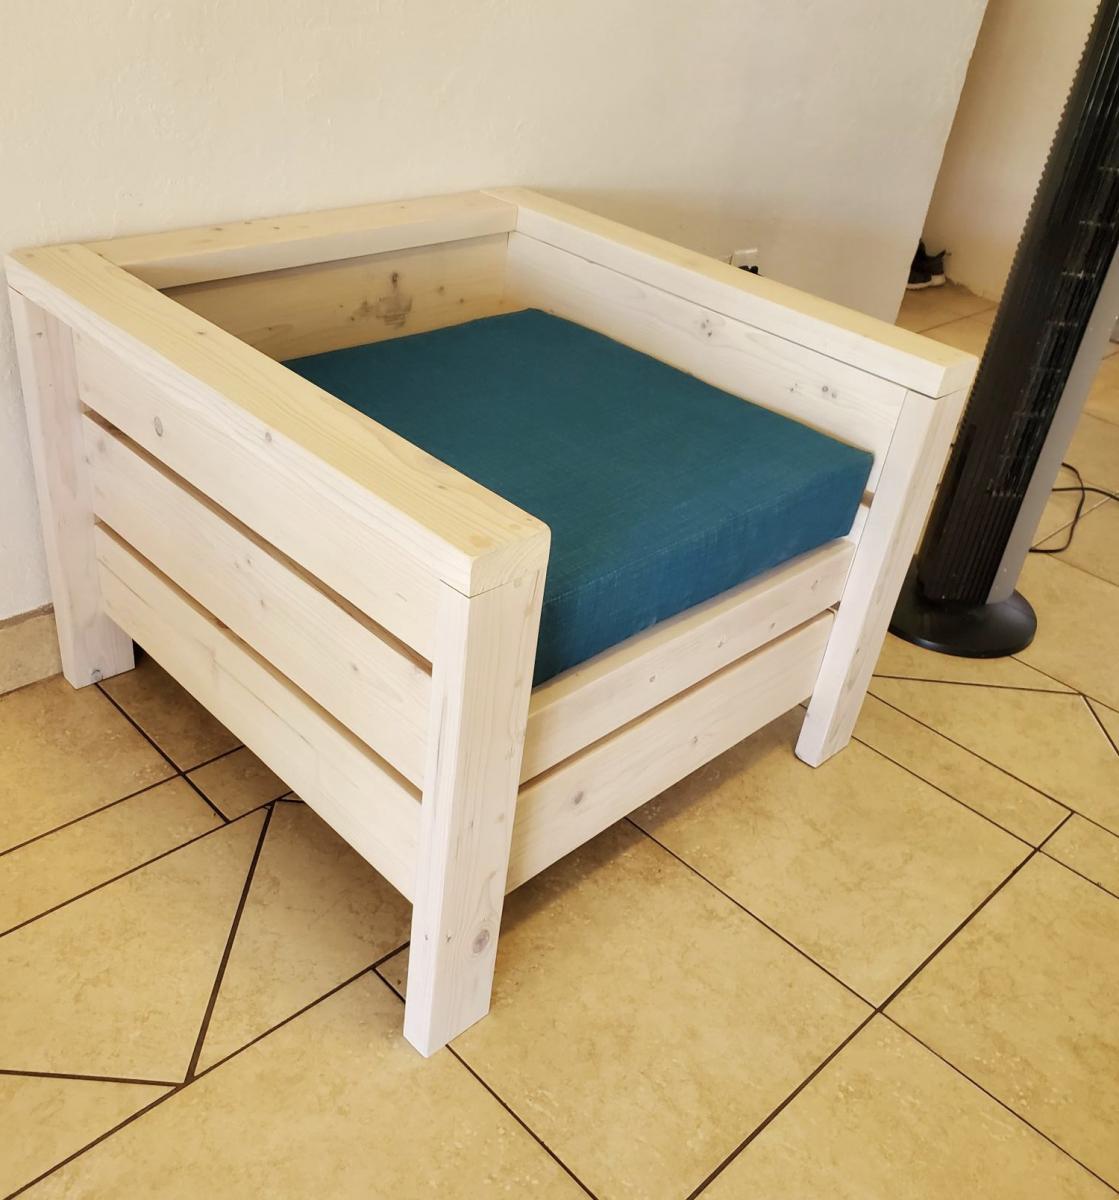
I just built this chair but I think I will be adding a back support for a larger cushion. The stain is a semi translucent white with a touch of grey.
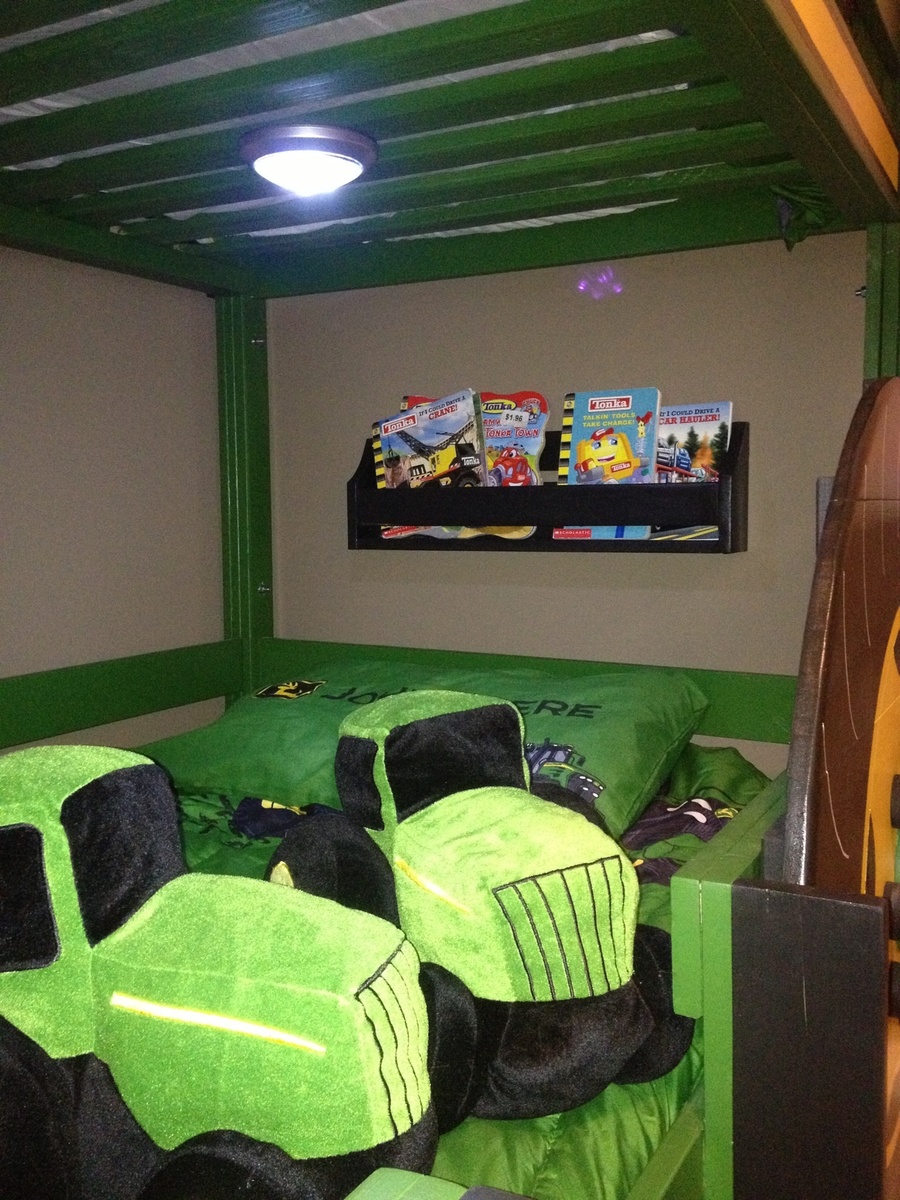
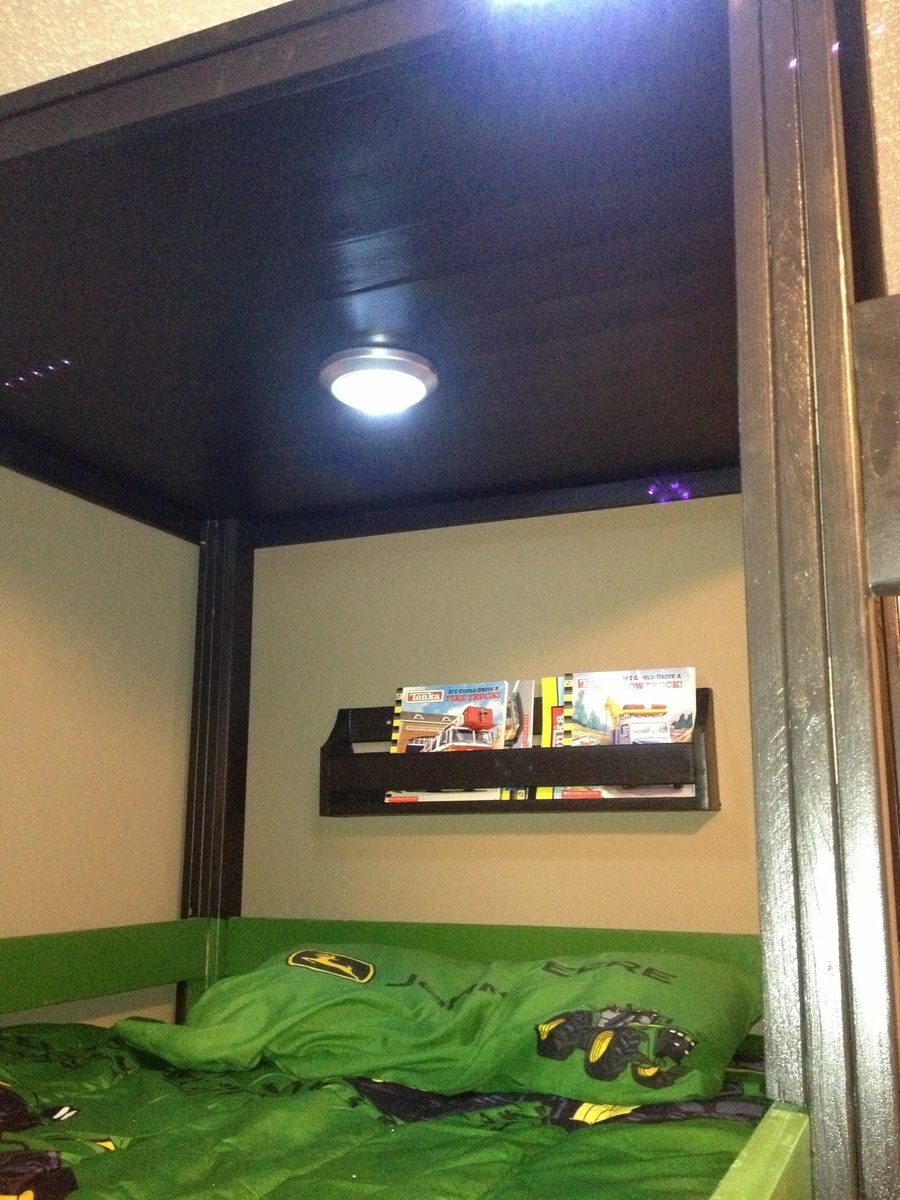
These flat wall bookholders are the perfect little shelves to add storage for books to my boys' new tractor bunk bed. What a great simple plan!
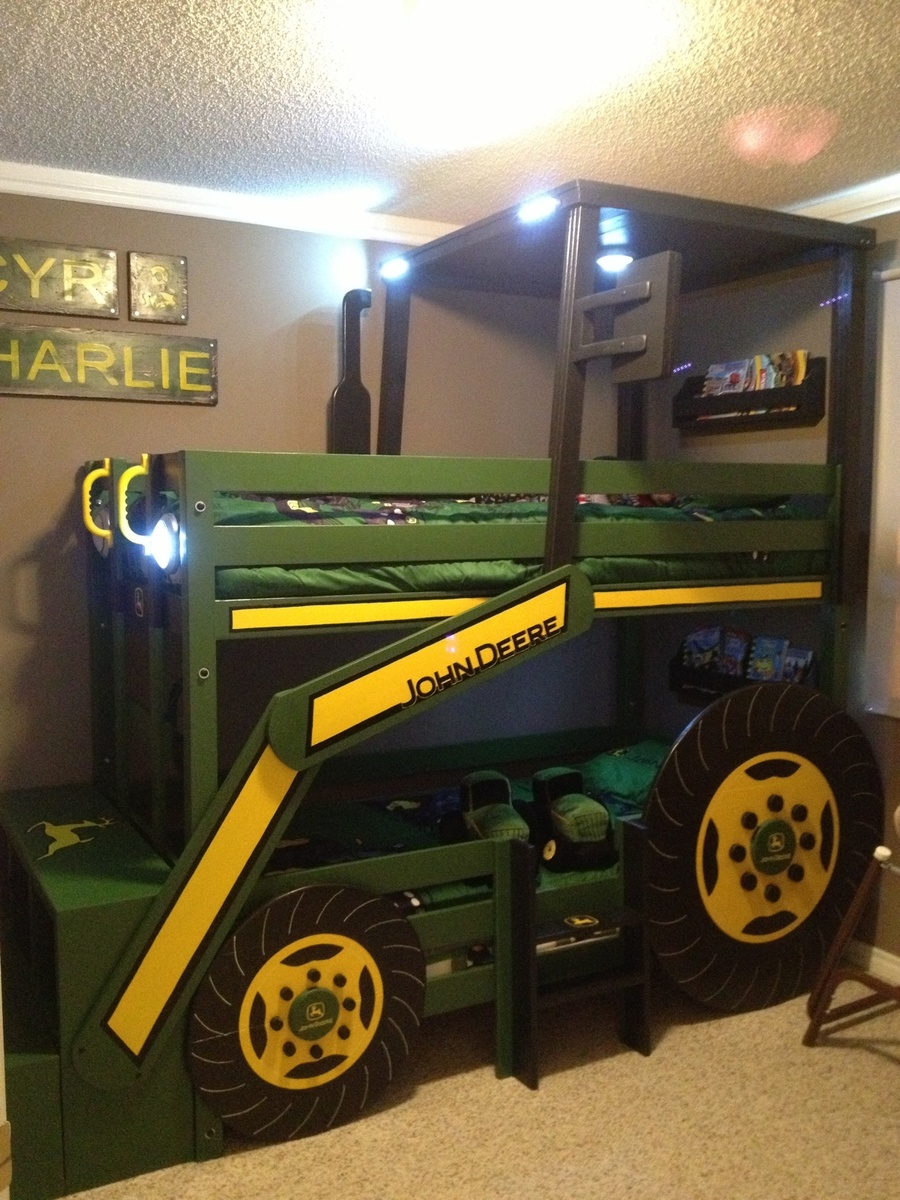
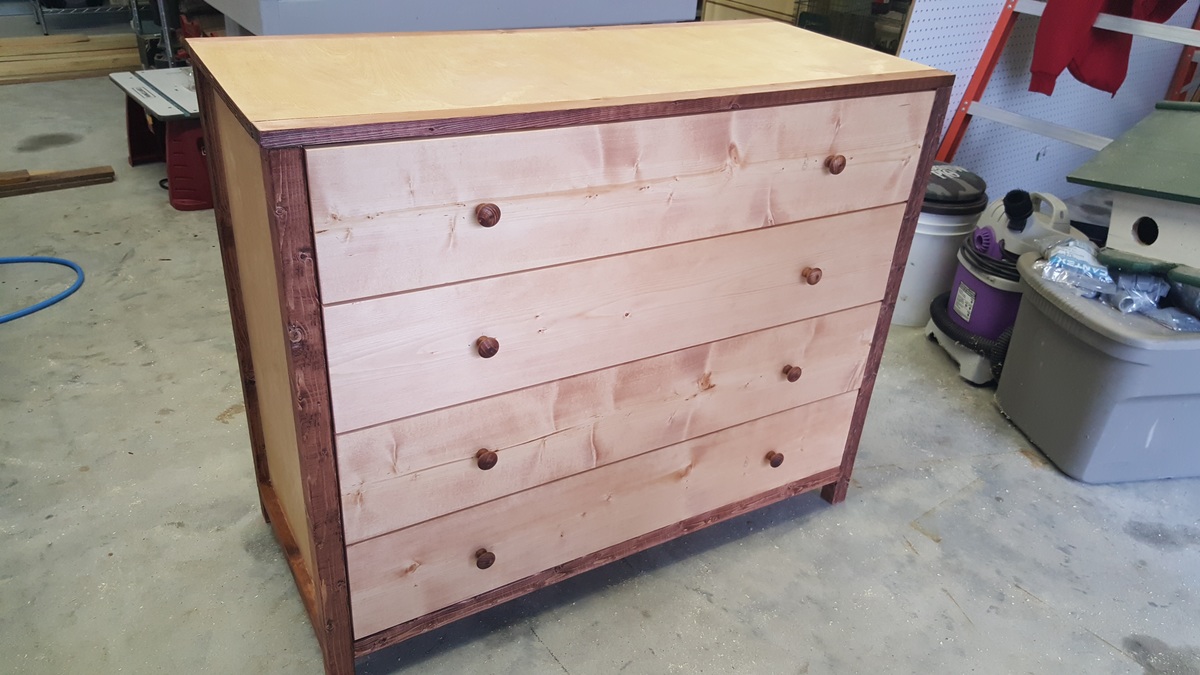
We didn't paint it, but I think it turned out well. We followed the plan almost exactly and it came out great!
Ana
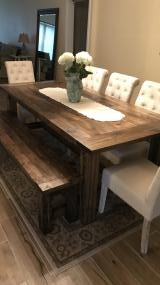
This is a farmtable that i made from your plans, along with the bench also made from your plans. Turned out pretty good, worked on it mostly on the weekends. Christmas present for my son and daughter-in-law. Your website is full of great ideas and plans, thank you.
Chuck
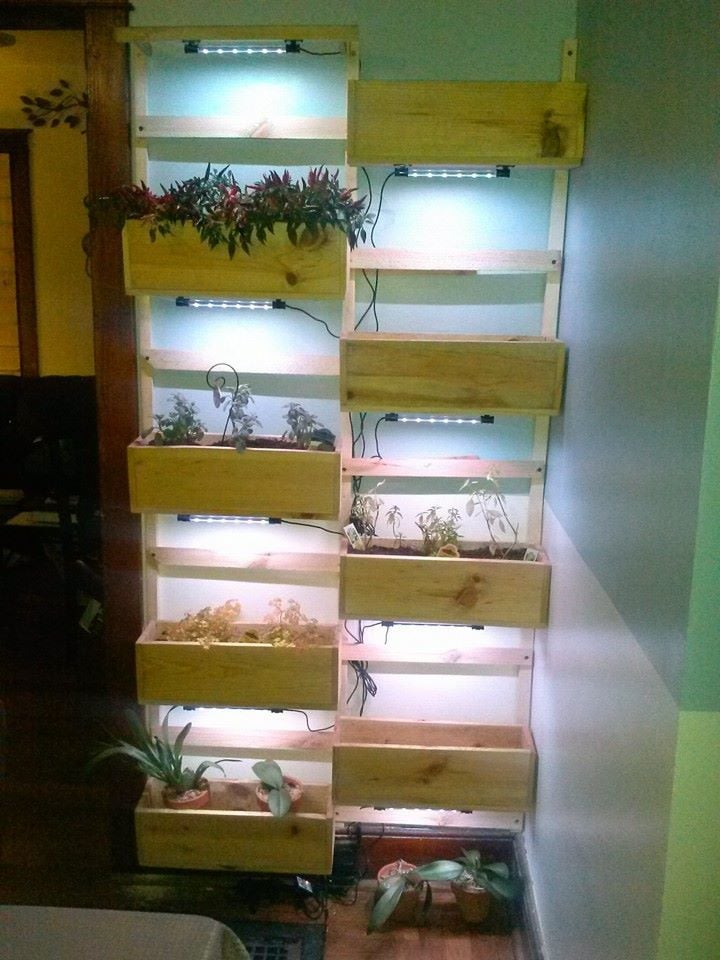
Found the plans for the little 3 tiered planter really interesting. I built a few of the boxes when my wife says "You know...." She has wanted a "living wall" for years, so I modified some of the sizes to make the boxes 18 inches long to accommodate my 37" inch wall. I added a french cleat to the back of each box, cut down a couple furring strips that I anchored to the wall and added the other half of the french cleat to the frame. Woot! Together in moments. The individual planters can be easily removed and rearranged. I added LED's to the bottoms of the planters for additional lighting and it's really a cool affect.
Mon, 04/20/2020 - 15:30
This is so cool! I love that you put lights on it. I will have to ask my brother if he could make me one, he's the one with the talent and the tools!
Modified width to fit the closet. Prep work of sanding and painting took longer than we thought it would; assembly inside the closet was simple but definitely a challenge in the small space. At 81", the top shelf was higher than intended so had to remove front slat in order to be able to use it - will make the next one slightly shorter. But love the final product and am now on a mission to get all the cheap wire shelving out of the house!
Loved this project! We had an old headboard so my wife came up with the idea to cut off the top posts and use them as legs.
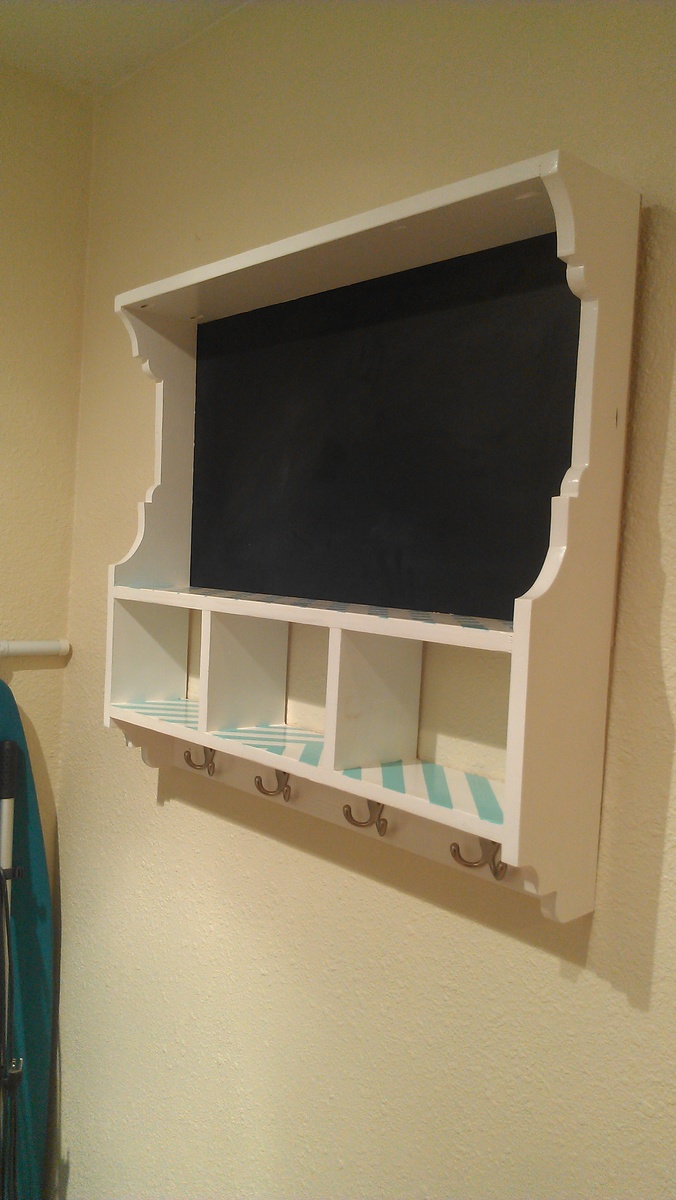
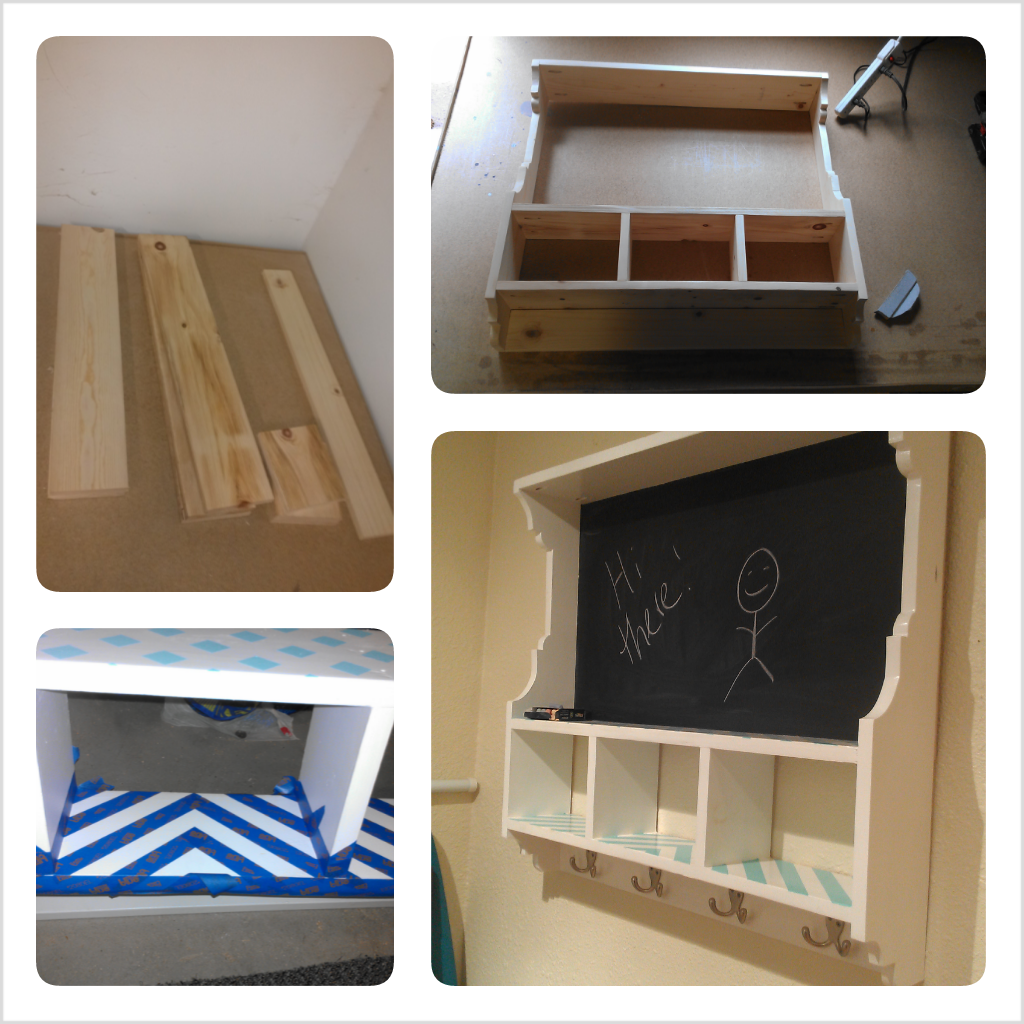
This cubby was my very first project! I just finished remodeling my kitchen, all that was missing was a place for my keys, dog leashes etc. My little house doesn't have a proper entryway so I created a "welcome station" with this cubby. The trickiest part was definitely cutting the sides, but I was able to get those tight circles with a little forethought and a lot of sanding :) I used leftover paint and samples from choosing colors for the kitchen, so it automatically coordinated with the rest of the decor.
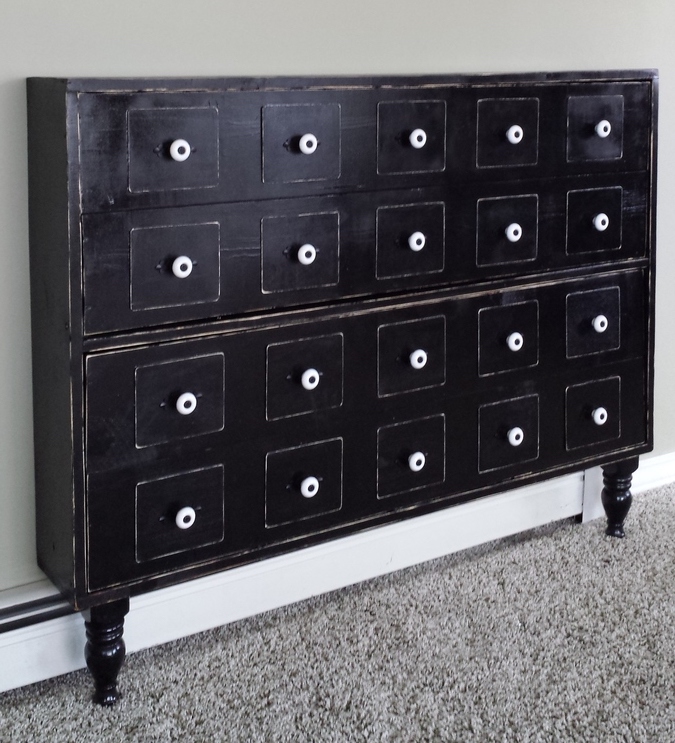
I didn't build this shoe dresser because I particularly needed one, but it looked so lovely that I couldn't resist.
- I modified the plans by building 3 bins instead of 2 so it could hold more shoes.
- I decided against the dowel stick and opted for hinges instead, which were surprisingly not too difficult to assemble. I found that I didn't even need the magnets after installing the hinges as the doors stay closed.
- I used 7" chains on both sides of each bin instead of a belt to make it extra sturdy.
- I added two back legs.
Et voila! This is the end result. I'm very pleased.
PS. Those flopping bins are a pain when you're trying to build!! An extra pair of hands is definitely recommended.


Fri, 07/05/2013 - 22:49
Pretty :) Good Job. Now if I only had the space for one thats 10 rows high :P I like the stain color too. Shanty 2 Chic always uses Rust-o-leum. I think its called dark walnut. Dont quote me though. I love the stain and spray paint combo colors they use.
~Melody
In reply to Nice Job by SoCaliforniaMel
Sat, 07/06/2013 - 20:00
Rust-o-leum, that's the one!
Yes, if only every woman could own a 10-row cabinet for all her shoes! :)
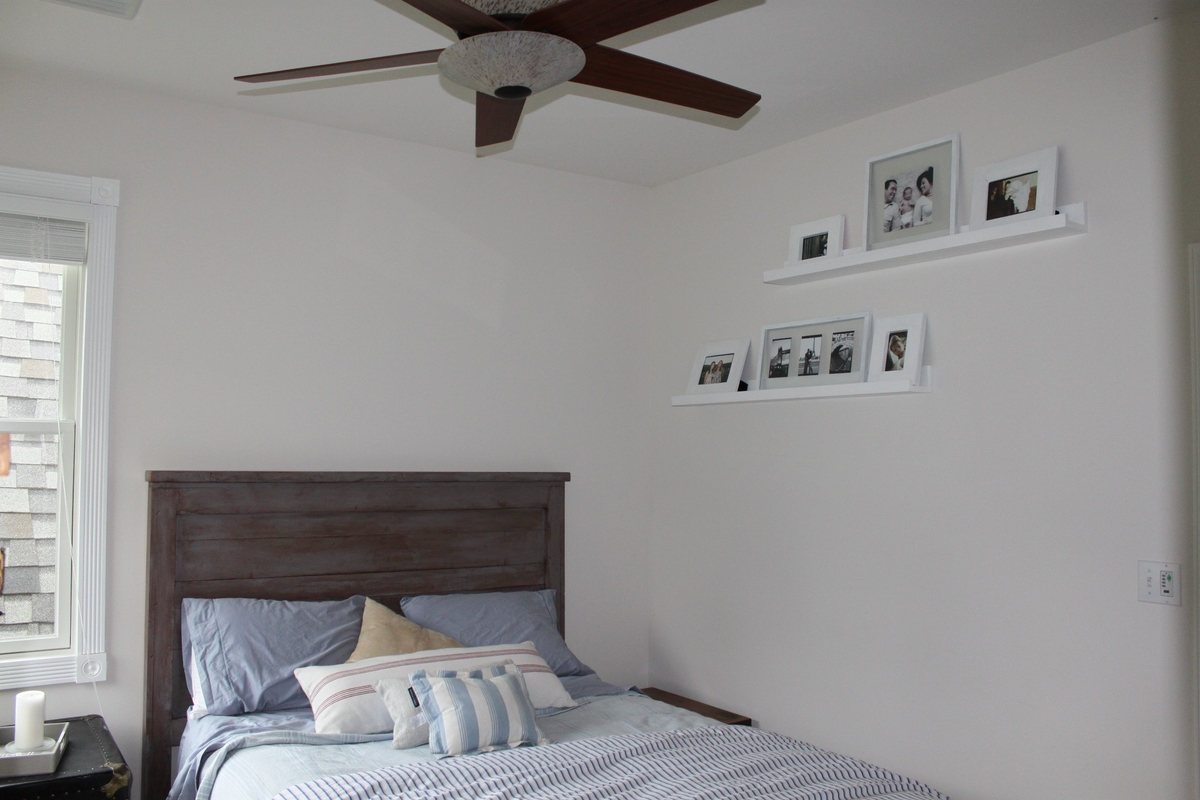
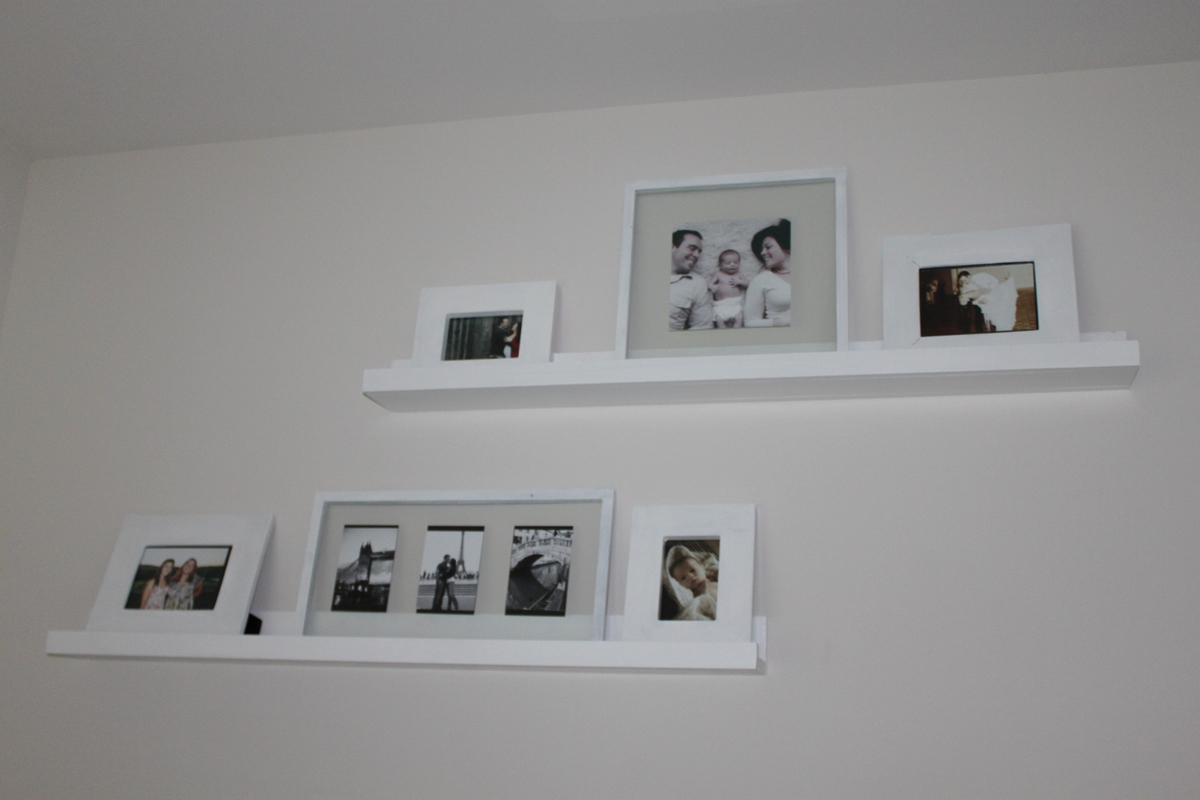
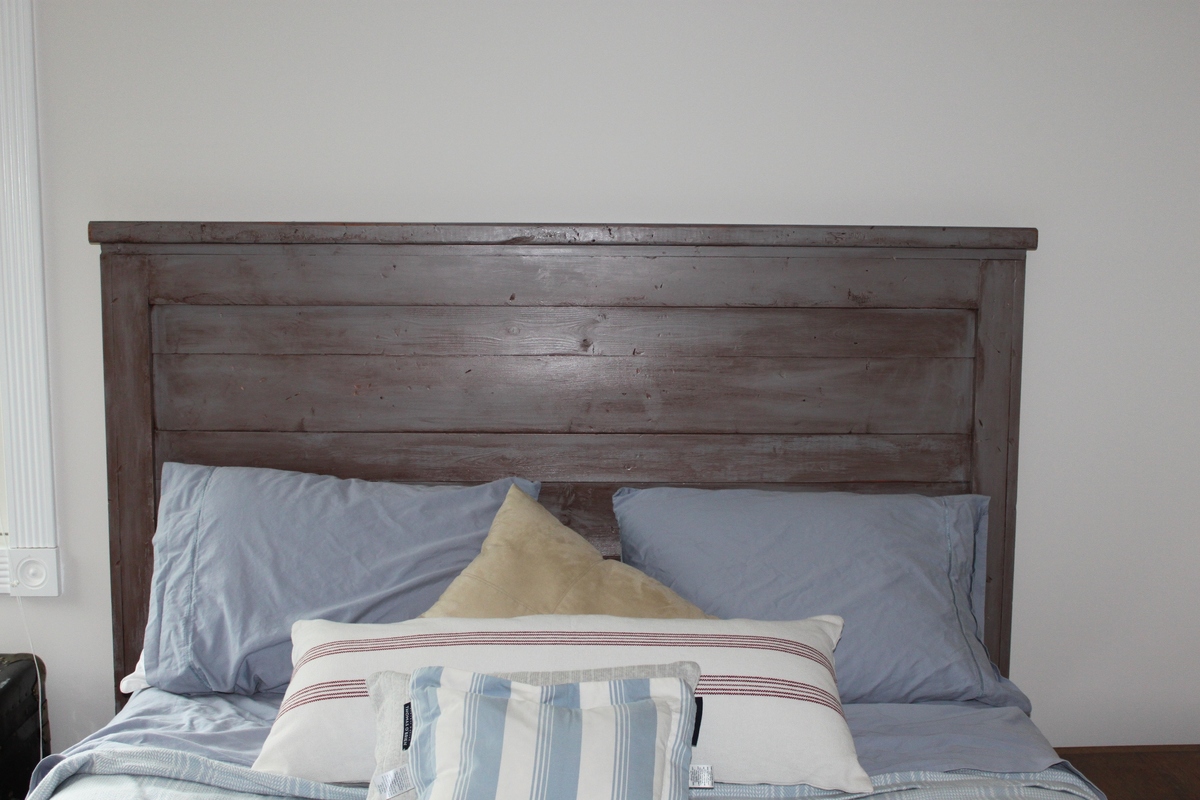
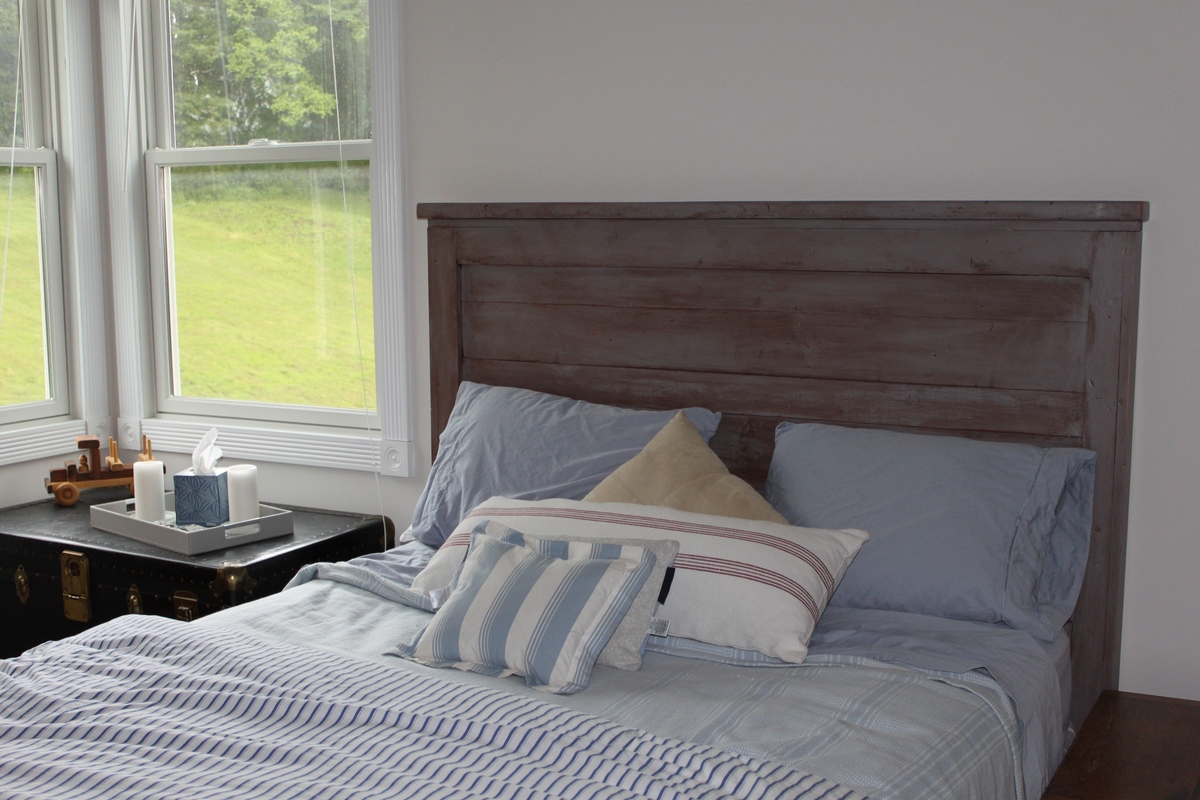
Our guest room had to be ready for some friends coming in town for the week. Before this room had no shelves and worse yet; no head board. Turned this boring room into...well a less boring room. In the picture are my first two projects; the Ten Dollar Ledges and the Reclaimed-wood headboard.
I found this fabulous vintage metal flat file cabinet at an antique store (Hunt & Gather Vintage Market, in Princeton, MA), but it didn't have a base or a top, so I went searching online for something that I could build. The Corona Coffee Table plans were going to be perfect! I just had to make a few adjustments:
LOVE how this table turned out! It's counter-height and the perfect centerpiece for my craft room.


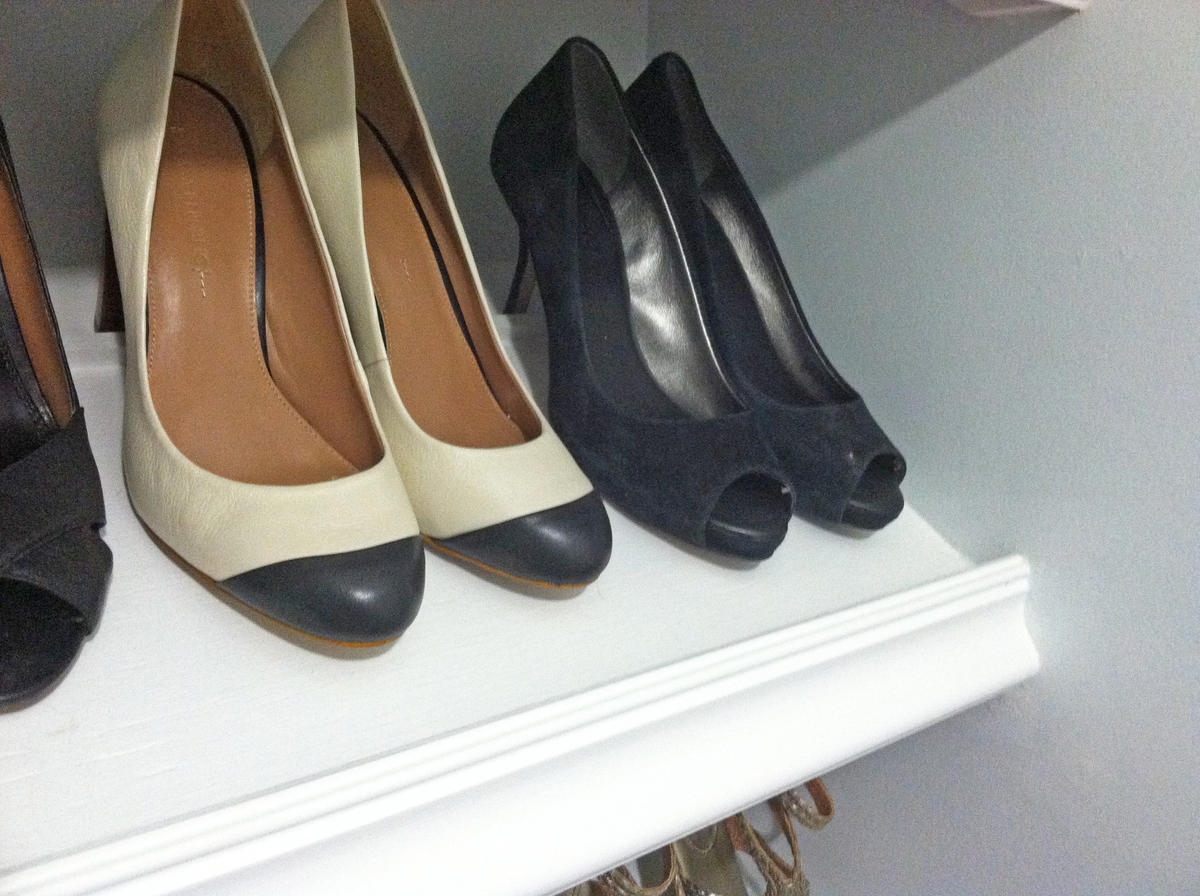
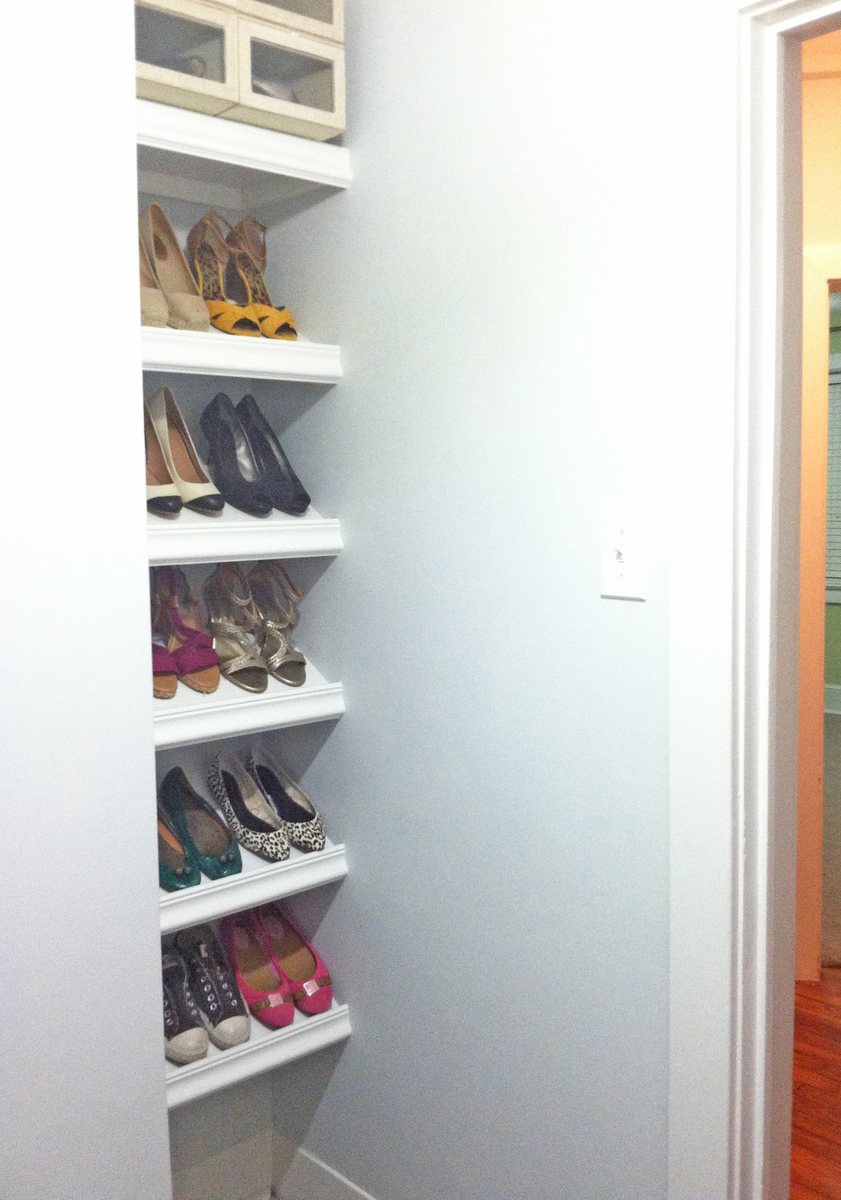
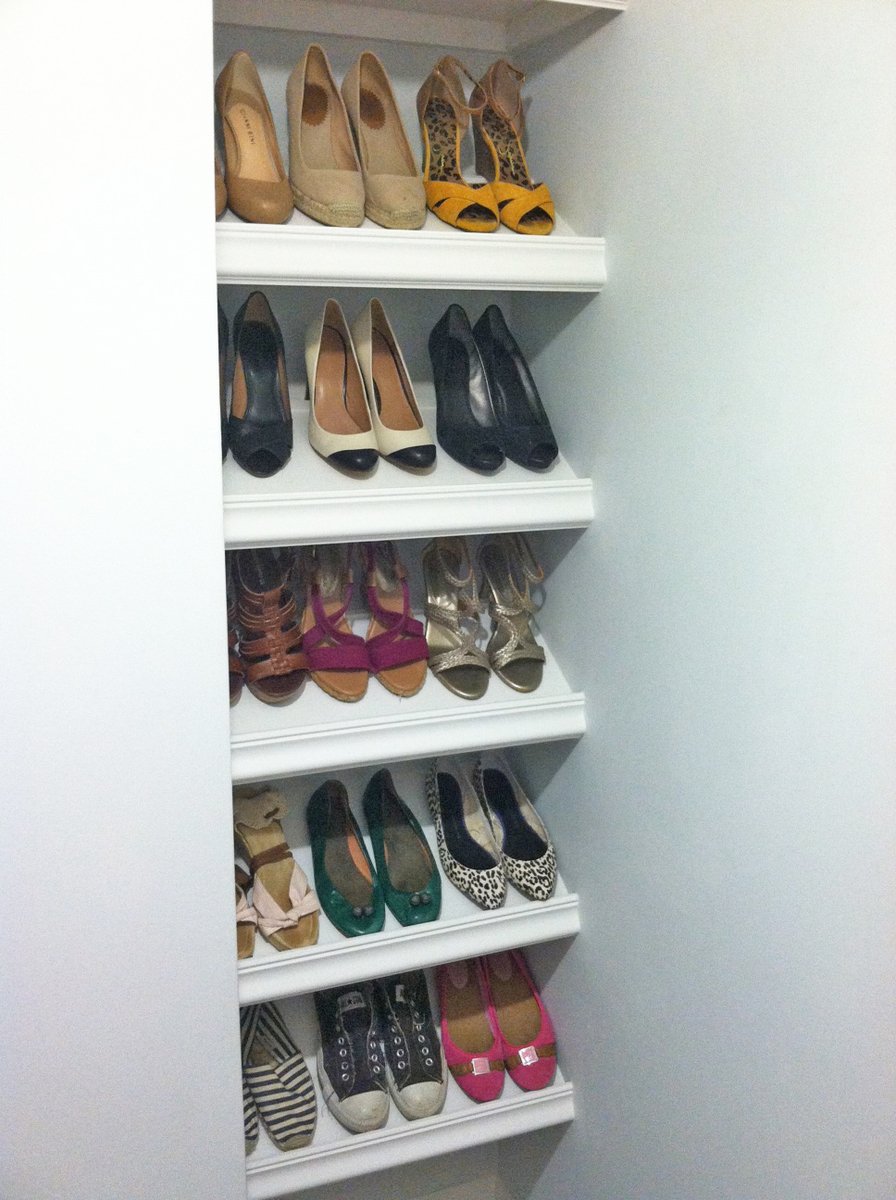
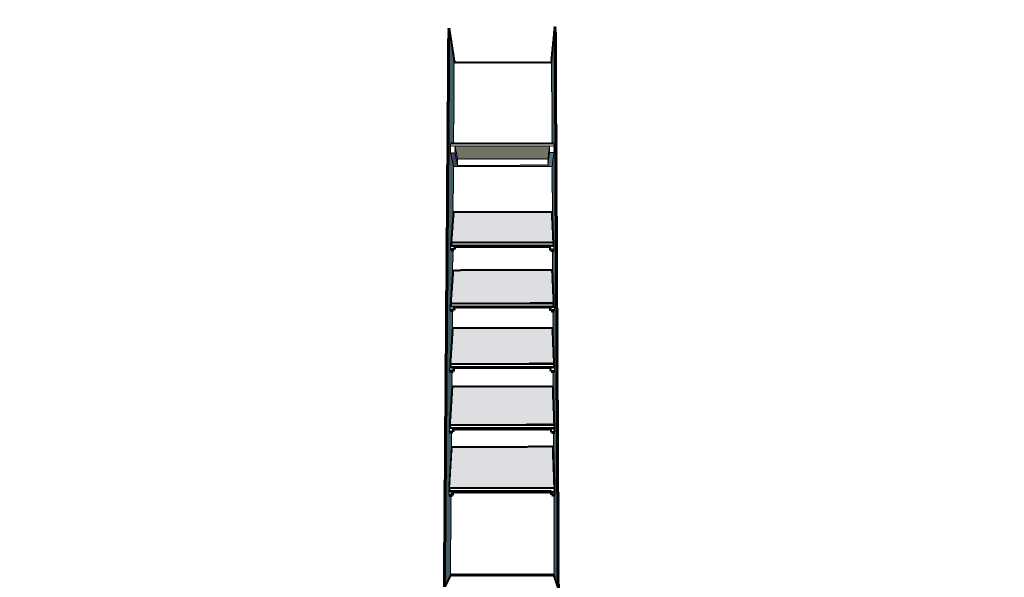
When we first bought our house, one of the things that appealed to me was the walk in closet off the upstairs foyer. A walk in closet in a house from the 20′s? That’s unheard of! I know I could have designed this in a way that fit more, but I switch out my shoes seasonally, and I personally wanted slanted shelves. Come on, they’re so much prettier! Shopping List 1 – sheet of 1/2″ plywood (4 x 8′ sheet) 2- Primed 1×2′s @ 8′ 1 – 1/2″ Square Wood Dowel (like this) 2- Chair Rail @ 8′ (like this) Kilz Paint Primer Behr Semi Gloss White Paint Indoor Caulk Wood Putty 2″ Screws 2″ Nails Cuts Plywood- 5 pieces at 23″ wide and 12″ deep. Cut either of the 23″ end at a 45 degree angle. Plywood- 1 piece at 23″ wide and 12″ deep 1×2′s- 10 pieces at 12″ with ends cut at 45 degree angle. Then measure 1″ down from the top of the front piece, and cut it straight across. 1×2′s- 2 pieces at 12″ 1×2′s- 1 piece at 21.5″ Wooden Square Dowel- 3pcs at 23″ Chair Rail- 6 pieces at 23″ How To Build 1. I first figured out how far apart I wanted my shelves to be. I don’t have particularly tall shoes, so I had the first shelf 17″ off the ground in the front, and then they were set approximately 12″ apart after that. I located the studs, and screwed in the 1×2′s on the walls directly into the studs. 2. I then added the wooden dowels to the tops of 3 of the shelves. I didn’t even nail these down, just used wood glue and caulk. I set the wooden dowel 2.5″ from the back of the shelf. 3. After that I dry fit the actual shelf on top of the 1×2′s. This was probably the hardest part because of course this house doesn’t have even walls. Why would anyone ever need even walls? What a silly concept. I ended up having to sand a lot of the edges to make them fit. Caulking will help fill in those gaps! I then nailed in the shelves to the 1×2′s from above. 4. I slowly worked my way up the wall. When I got to the top shelf, I knew that I wanted a flat shelf to store boxes of shoes. I also added an extra 1×2″ to the back wall just in case I really decided to stack those shoes high. I followed the same process as I did for other 1×2′s, and screwed this into the stud. Closet 1x2 All Shelves 5. Then I used the chair rail and aligned it at the bottom of the 1×2″ and nailed it to the front of the shelf. It sticks up higher than the front of the shelf, which is great for catching shoes that tend to slip down. 6. After this I, I ended up using wood putty and caulk to fill any gaps. They work miracles on wood. 7. Finally I just painted everything and viola! Budget 1 – sheet of 1/2″ plywood (4 x 8′ sheet) – $28.97 2- Primed 1×2′s @ 8′- $5.98 1 – 1/2″ Square Wood Dowel - $1.75 Chair Rail - $16.00 Kilz Paint Primer- already owned Behr Semi Gloss White Paint- already owned Indoor Caulk- already owned Wood Putty- already owned Screws- already owned Nails- already owned TOTAL: $52.70
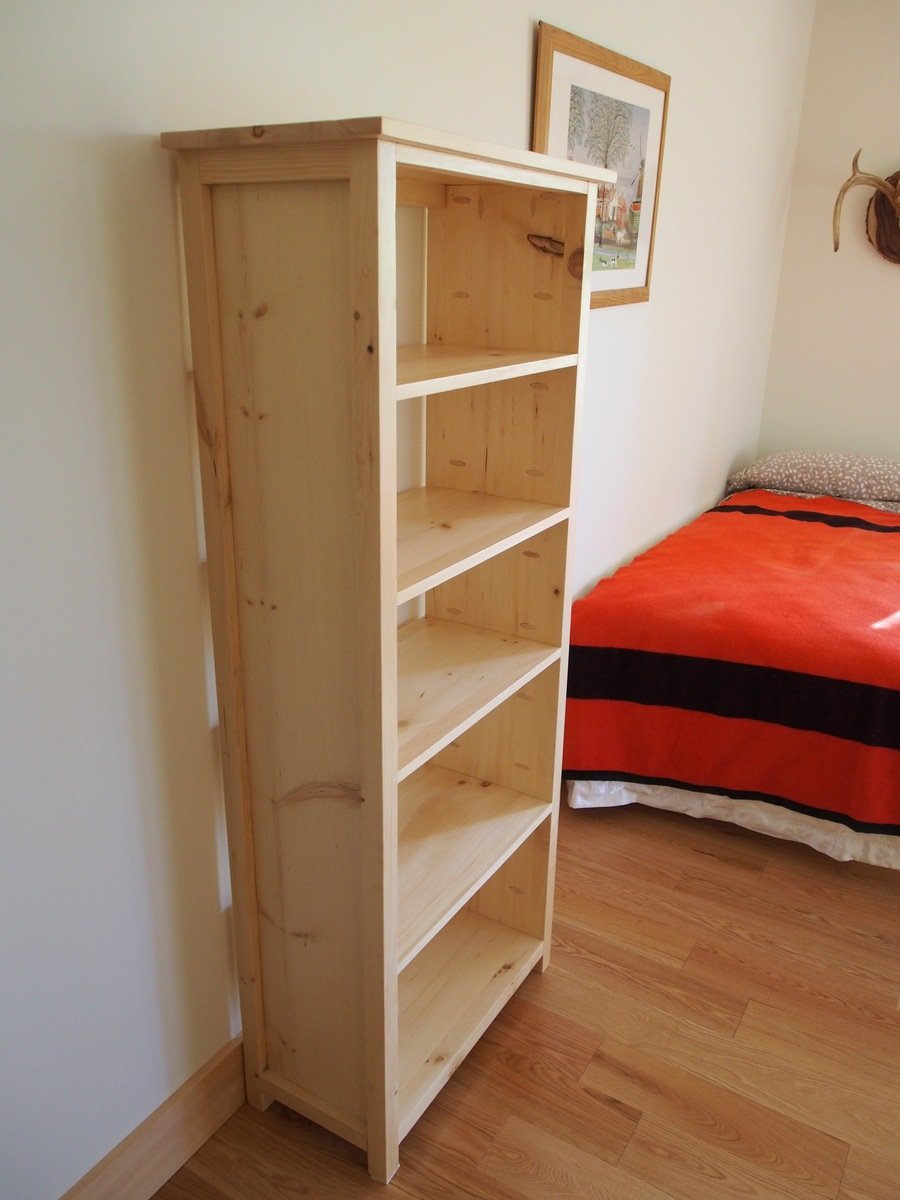
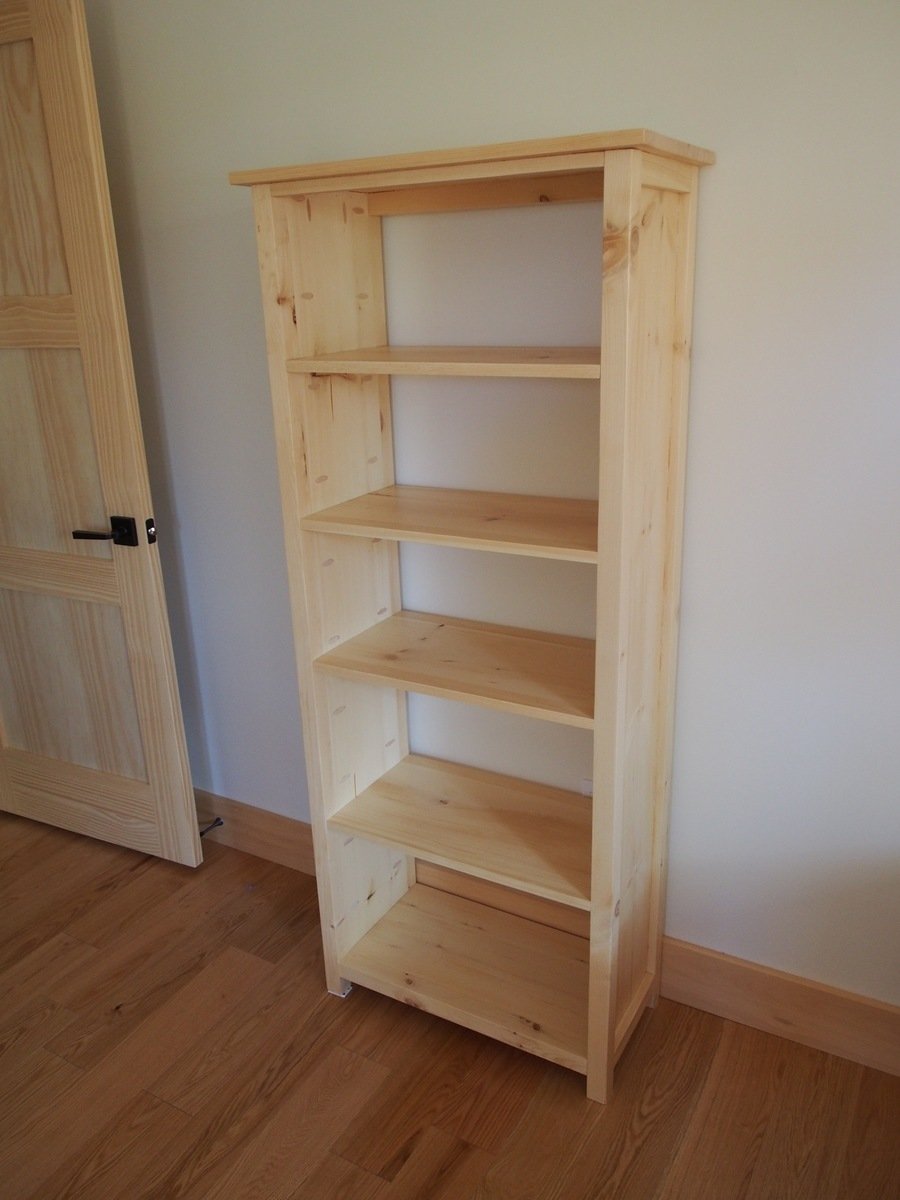
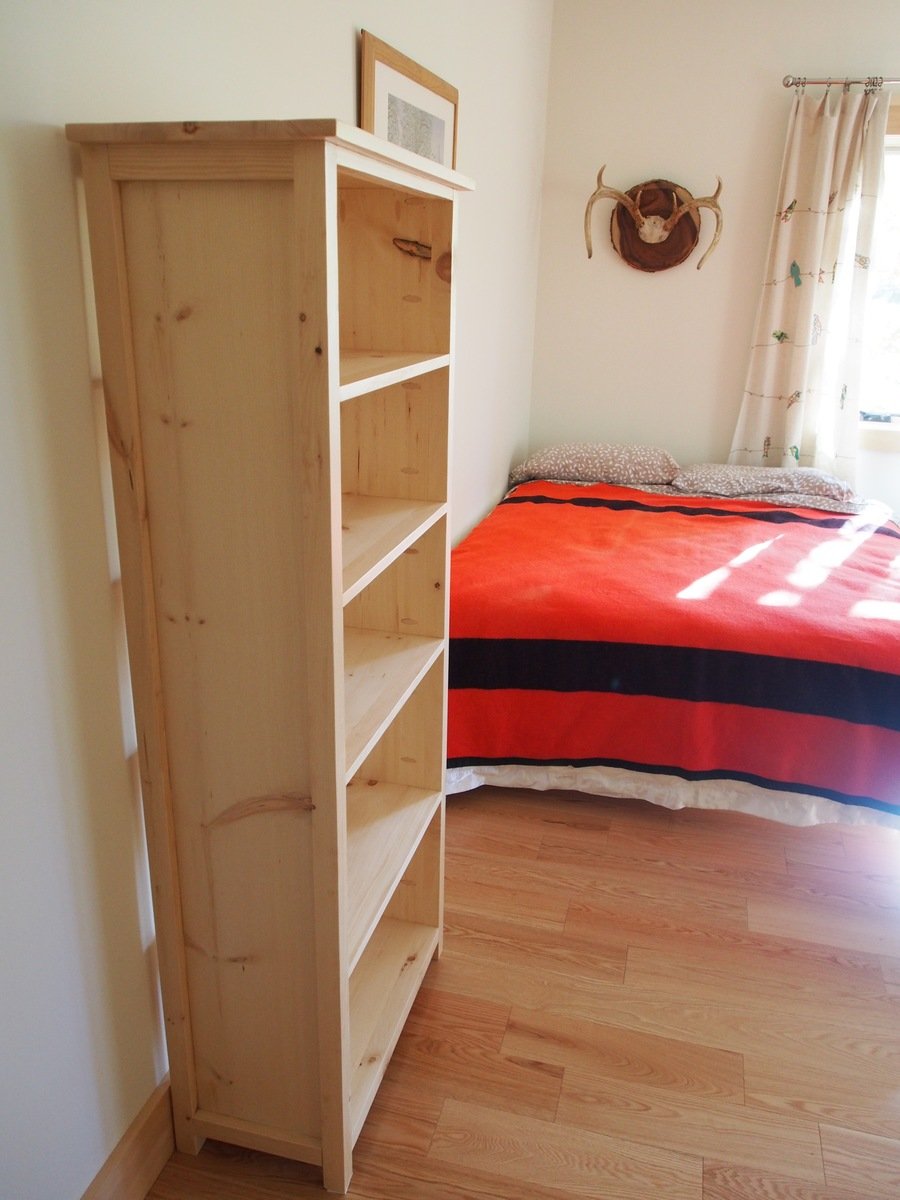
I used 1 x 10s to make the bookcase a little shallower, and left the back open. Thanks for the great plan.
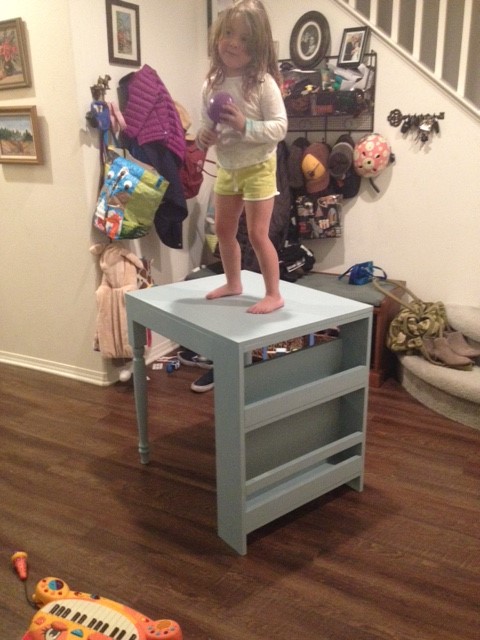
We love this little desk for my 3-year-old's room. She chose the light blue color and helped me paint it. We used Valspar chalk paint and wax and love the look. We didn't have room for the double-sided storage so we used pre-made table legs for the other side. Thanks again, Ana!
p.s. Sorry about the photos rotation. I have no idea why they are all sideways.
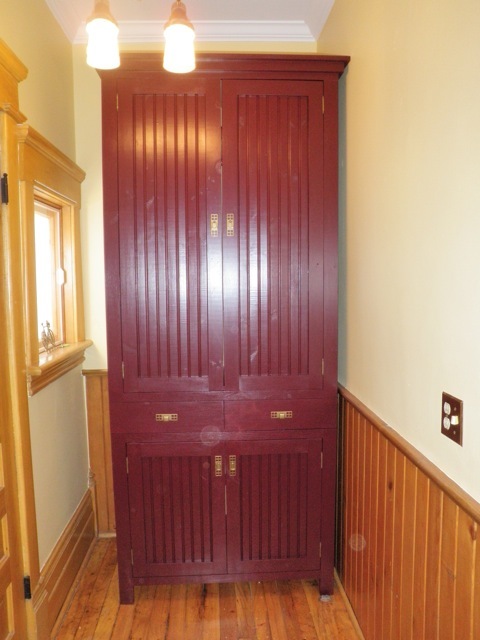
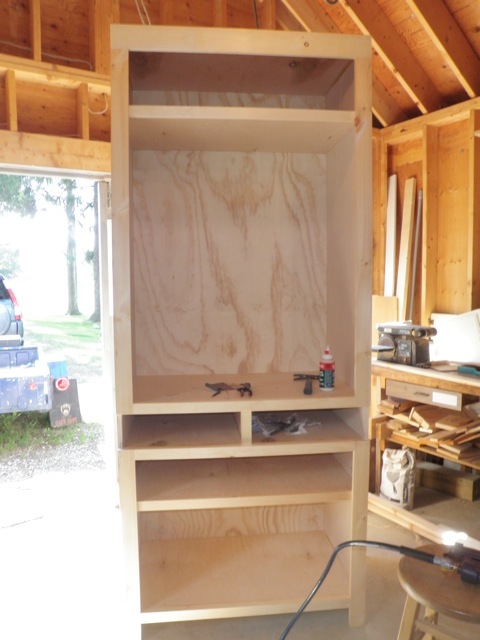
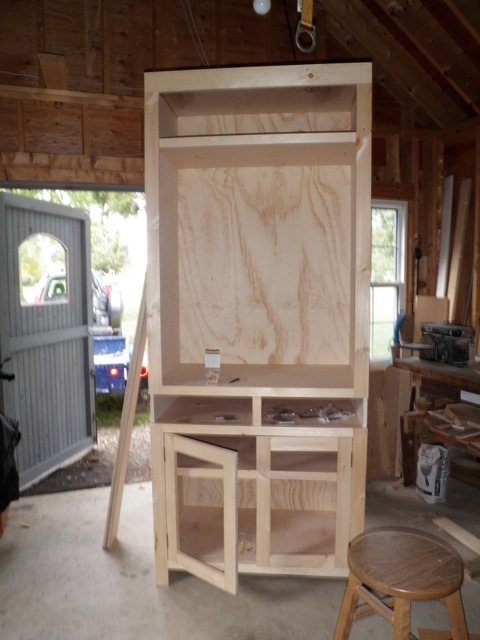
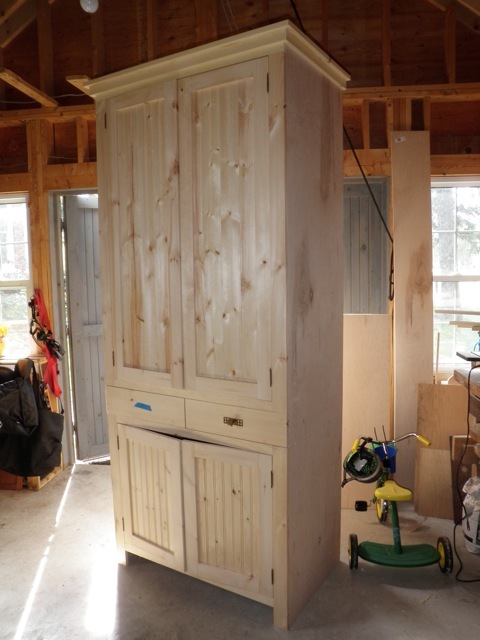
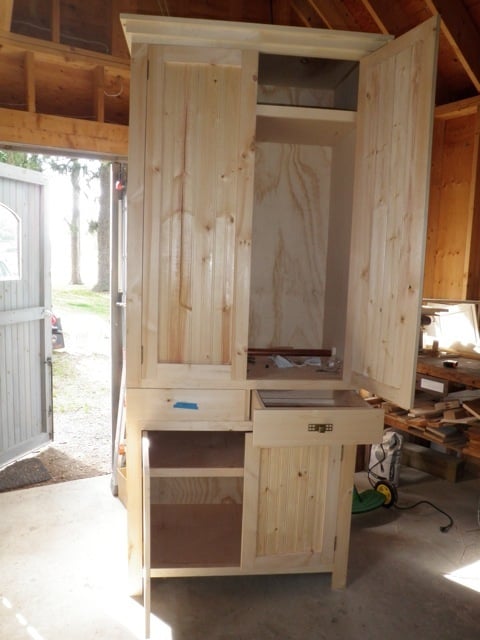
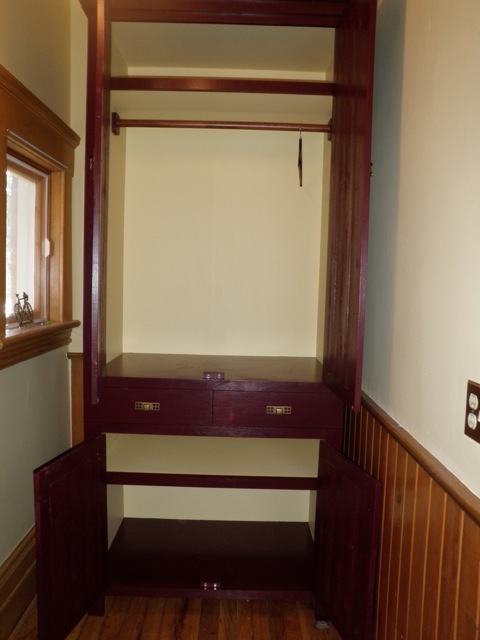
Our big old house doesn't have a front hall closet, so I decided to make the Nursery Armoire for our extra coats and shoes. Since our ceilings are so tall I decided to make it the full 96" that I could get out've the sheet of plywood.
I also modified the plan to adjust the door heights so that the top would make good coat hanging and the bottom can be used for shoes and boots. I also changed the drawers to be on the outside instead of behind the upper doors.
I used 3/4" plywood for the box and pine for the doors and trim.
For the doors I pocket holed the frames and then routed an edge on the backside and stapled pine paneling to fill out the middle. This matches doors I made previously to make cupboards in our full-wall brick fireplace (and the hardware matches too).
I did the top trim as in the plan, and I decided to leave the bottom plain.
It's quite large! But in the space a smaller one would've looked silly, so I'm glad I went with the height.
I decided to paint it so that I didn't have to fuss with staining, but went with the same paint as the walls for the backs and undersides of shelves to lighten it up.
Can't wait to fill it up! ....just have to give the dark paint one more go-over....
Mon, 11/07/2011 - 22:32
And it will add so much function to the space. Don't you love old houses ;)
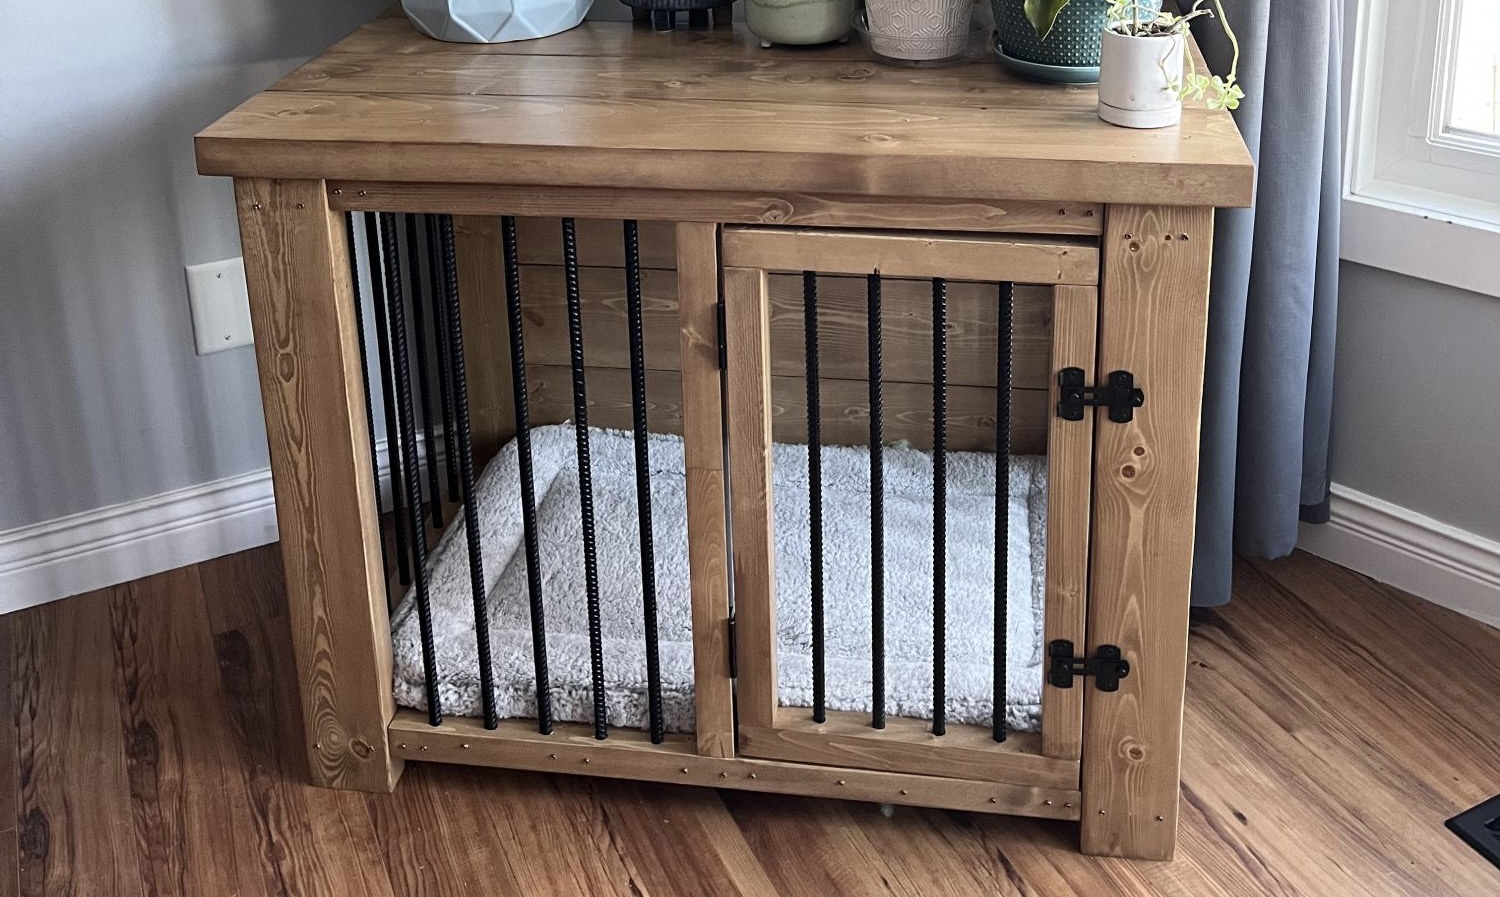
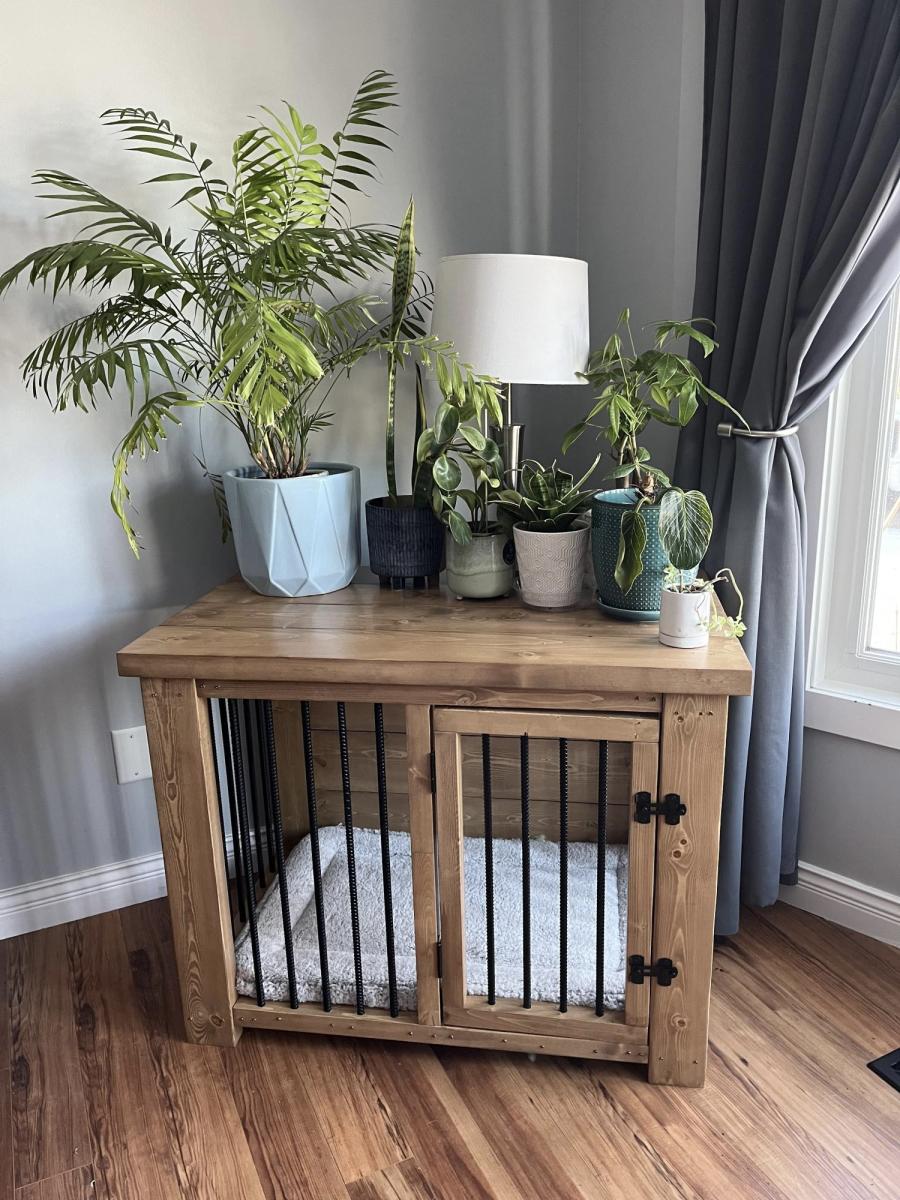
In January, I came across your plans for the farmhouse, coffee table. I made it, and loved it! I had been wanting a new spin on kennels for our dogs. And thought your coffee table transformed into a dog kennel would be perfect, and they are!!
Fri, 03/03/2023 - 11:53
Love the look, thank you so much for sharing!
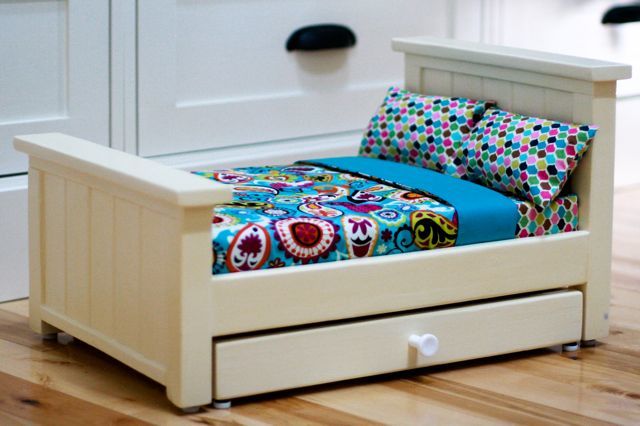
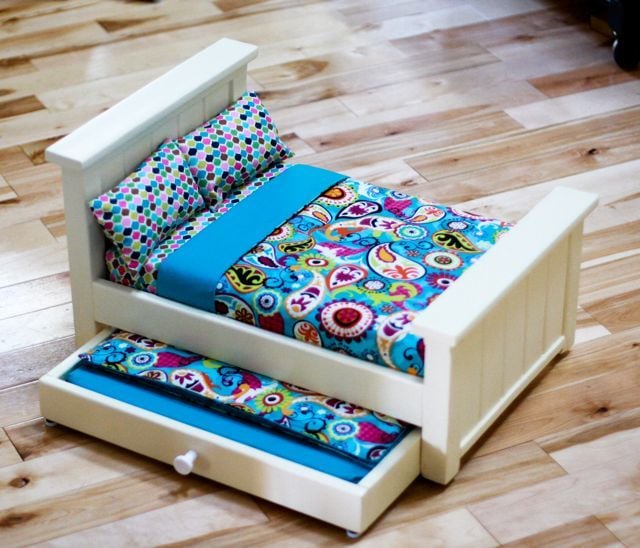
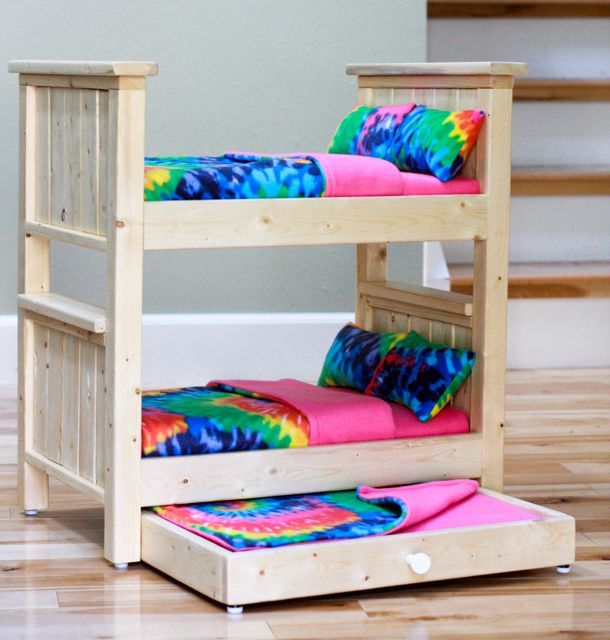
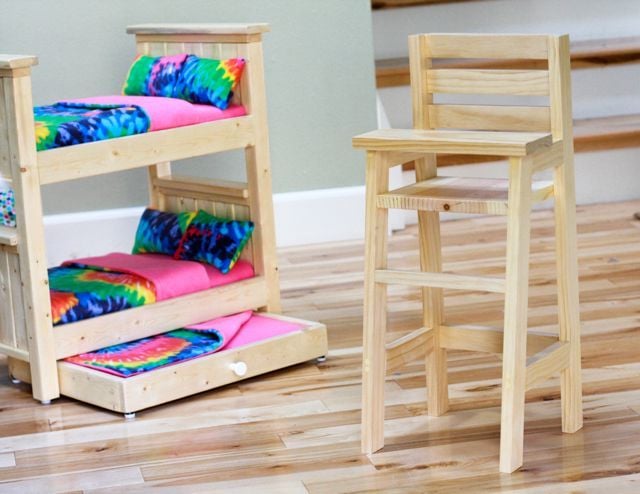
For these beds I modified the original farmhouse doll bed plans to accommodate a few more dolls. In the process, I discovered that, while doll furniture turns out SUPER cute, it takes me about the same amount of time to build a little piece as it does to build a big piece, especially when you consider the time it takes to sew the bedding.
I put these together mostly with nails and glue, but used my kreg jig to join the rails to the headboards and footboards.

Wed, 12/14/2011 - 23:05
Hillary you are so inspiring and talented!!! Love!
Thu, 12/15/2011 - 06:00
I love the mods you did on these. For the farmhouse w/trundle, I know you had to raise up the bottom and it looks like you did the headboard sized boards for the footboard and made the headboard w/even longer boards? Then for the bunkbeds, are those all headboard lengths for the head and footboards and then just very long 2x2s for the posts? I am never brave enough to mod anything just yet! I also absolutely love that bedding on the top pic! So bright and cheery!
In reply to Great job! by spiceylg
Thu, 12/15/2011 - 06:51
Isn't that bedding beautiful? I love it. The fabric is from Hobby Lobby. They have so many cute calicos.
Yes, you got the mods right. If I were to do the trundle again, I'd make the headboard longer so that it goes almost to the ground like the footboard, otherwise you can see the trundle.
The bunk was easy -- much easier than the other bunk plans all out of 1x2s. I've made them both now and the farmhouse one just comes together a lot faster (once you figure out the measurements).
Thu, 12/15/2011 - 09:57
I love Hobby Lobby but never think to check out their fabric! Silly me, I'll have to do just that! Okay, thank you for the info. I just noted the additional detail of the feet, how nice! If you don't mind, I'd love the measurement of the 2x2 for the bunks, simply because I'm lazy like that, lol!
Thu, 12/15/2011 - 10:27
The 2x2s are 22 3/4" and the slats in the headboard are 7". I think the bottom of the bottom headboard is around 2 3/4" or 3" from the bottom of the 2x2s. All the width measurements are the same as in the original plan. Also, I used lath strips for the mattress to rest on instead of a rectangle of 1/4" ply -- it seemed easier and I think it was cheaper, too.
Fri, 12/16/2011 - 08:00
You are so right about the time it takes.
I made a stuffed doll and her clothing for a niece, and I could have made myself two complete outfits in the time it took to sew one dinky doll dress.
Tue, 02/28/2012 - 07:40
Hillary how did you do the trundle for the farmhouse single bed. I read where you said you would do the headboard longer,but this is going to be my first build and I need a little more instruction to make the trundle and how long would you do the headboard. Thanks!!!
In reply to Trundle by lmhaney (not verified)
Tue, 02/28/2012 - 09:05
Hey. I made the trundle using 1x3 boards just slightly shorter than the size of the overall bed (so it would fit underneath). I used two 18 1/2" 1x3s and two 14 1/2" 1x3s. I built it using pocket holes on the 14 1/2" 1x3s, screwing into the 18 1/2" 1x3s. Then I attached two 1x2 cleats to the bottom insides of the 18.5" boards so that I'd have a place to set support pieces for the mattress. I attached the cleats with glue and nails, I think, but pocket screws would work fine, too. I used pine lath for the support, attached with glue and staples.
For the headboard, I cut my panel pieces at 7", I think, but I should have cut them at 9 3/4" so that the headboard panel would extend closer to the ground like the footboard panel does. Here is an abbreviated cut list:
footboard panel -- 5 1x3s @ 6"
footboard legs -- 2 2x2s @ 7 1/4"
headboard panel -- 5 1x3s @ 9 3/4"
headboard legs -- 2 2x2s @ 11"
All of the horizontal cuts are the same as the original plan as long as you are using #1 pine. If you are using #2 pine or furring strips, your horizontal cuts will need to be slightly smaller b/c your panel board will be slightly narrower than the plans expect.
Just be sure to screw the side rails of the bed in high enough to get the trundle underneath.
Hopefully that all makes sense! Good luck! Can't wait to see photos!
Sun, 08/05/2012 - 04:04
You think that the hardware store will cut all the peaces for me?
In reply to You think that the hardware by Aida (not verified)
Sun, 08/05/2012 - 06:29
They -might- cut it for you. But based on the experience of a lot of people here, and the advice of some Home Depot employees also on here, it's a mistake to have them do that.
You can do the cuts on your own though. If you can't afford a circular saw, or you're uncomfortable with them, you can buy a hand saw for about $25. It's no good for cutting plywood or MDF, but for solid wood it's hard to beat.
Mon, 08/06/2012 - 19:26
Nope, I don't think they will. And if they did you won't be happy with the outcome. Too many cuts and there's no way they'll get every cut right. You'd be better off finding a friend with a miter saw you could borrow for an hour to get all the pieces cut. Good luck!
Sun, 08/12/2012 - 08:27
Thank you........ I may have to stop been afraid of using this tools and just use it lol............love this bed and my daughter want me to make it for her........ I will post pictures
Tue, 10/29/2013 - 08:53
Just curious if you have ever thought of making these and selling them?? I have been looking for a doll bunk bed for my daughter for Christmas and love this bunk bed with trundle. So thought I would ask if you would consider making one and selling it!!
Sun, 12/08/2013 - 18:07
I absolutely love what you did with the trundle and the bunk bed. You are so talented! Thank you so much for sharing the measurements that you used to make the bunk bed and sharing tips. I am going to attempt to make one for my daughter. This will be my first woodworking project. I am crossing my fingers it goes well. Thank you! :)