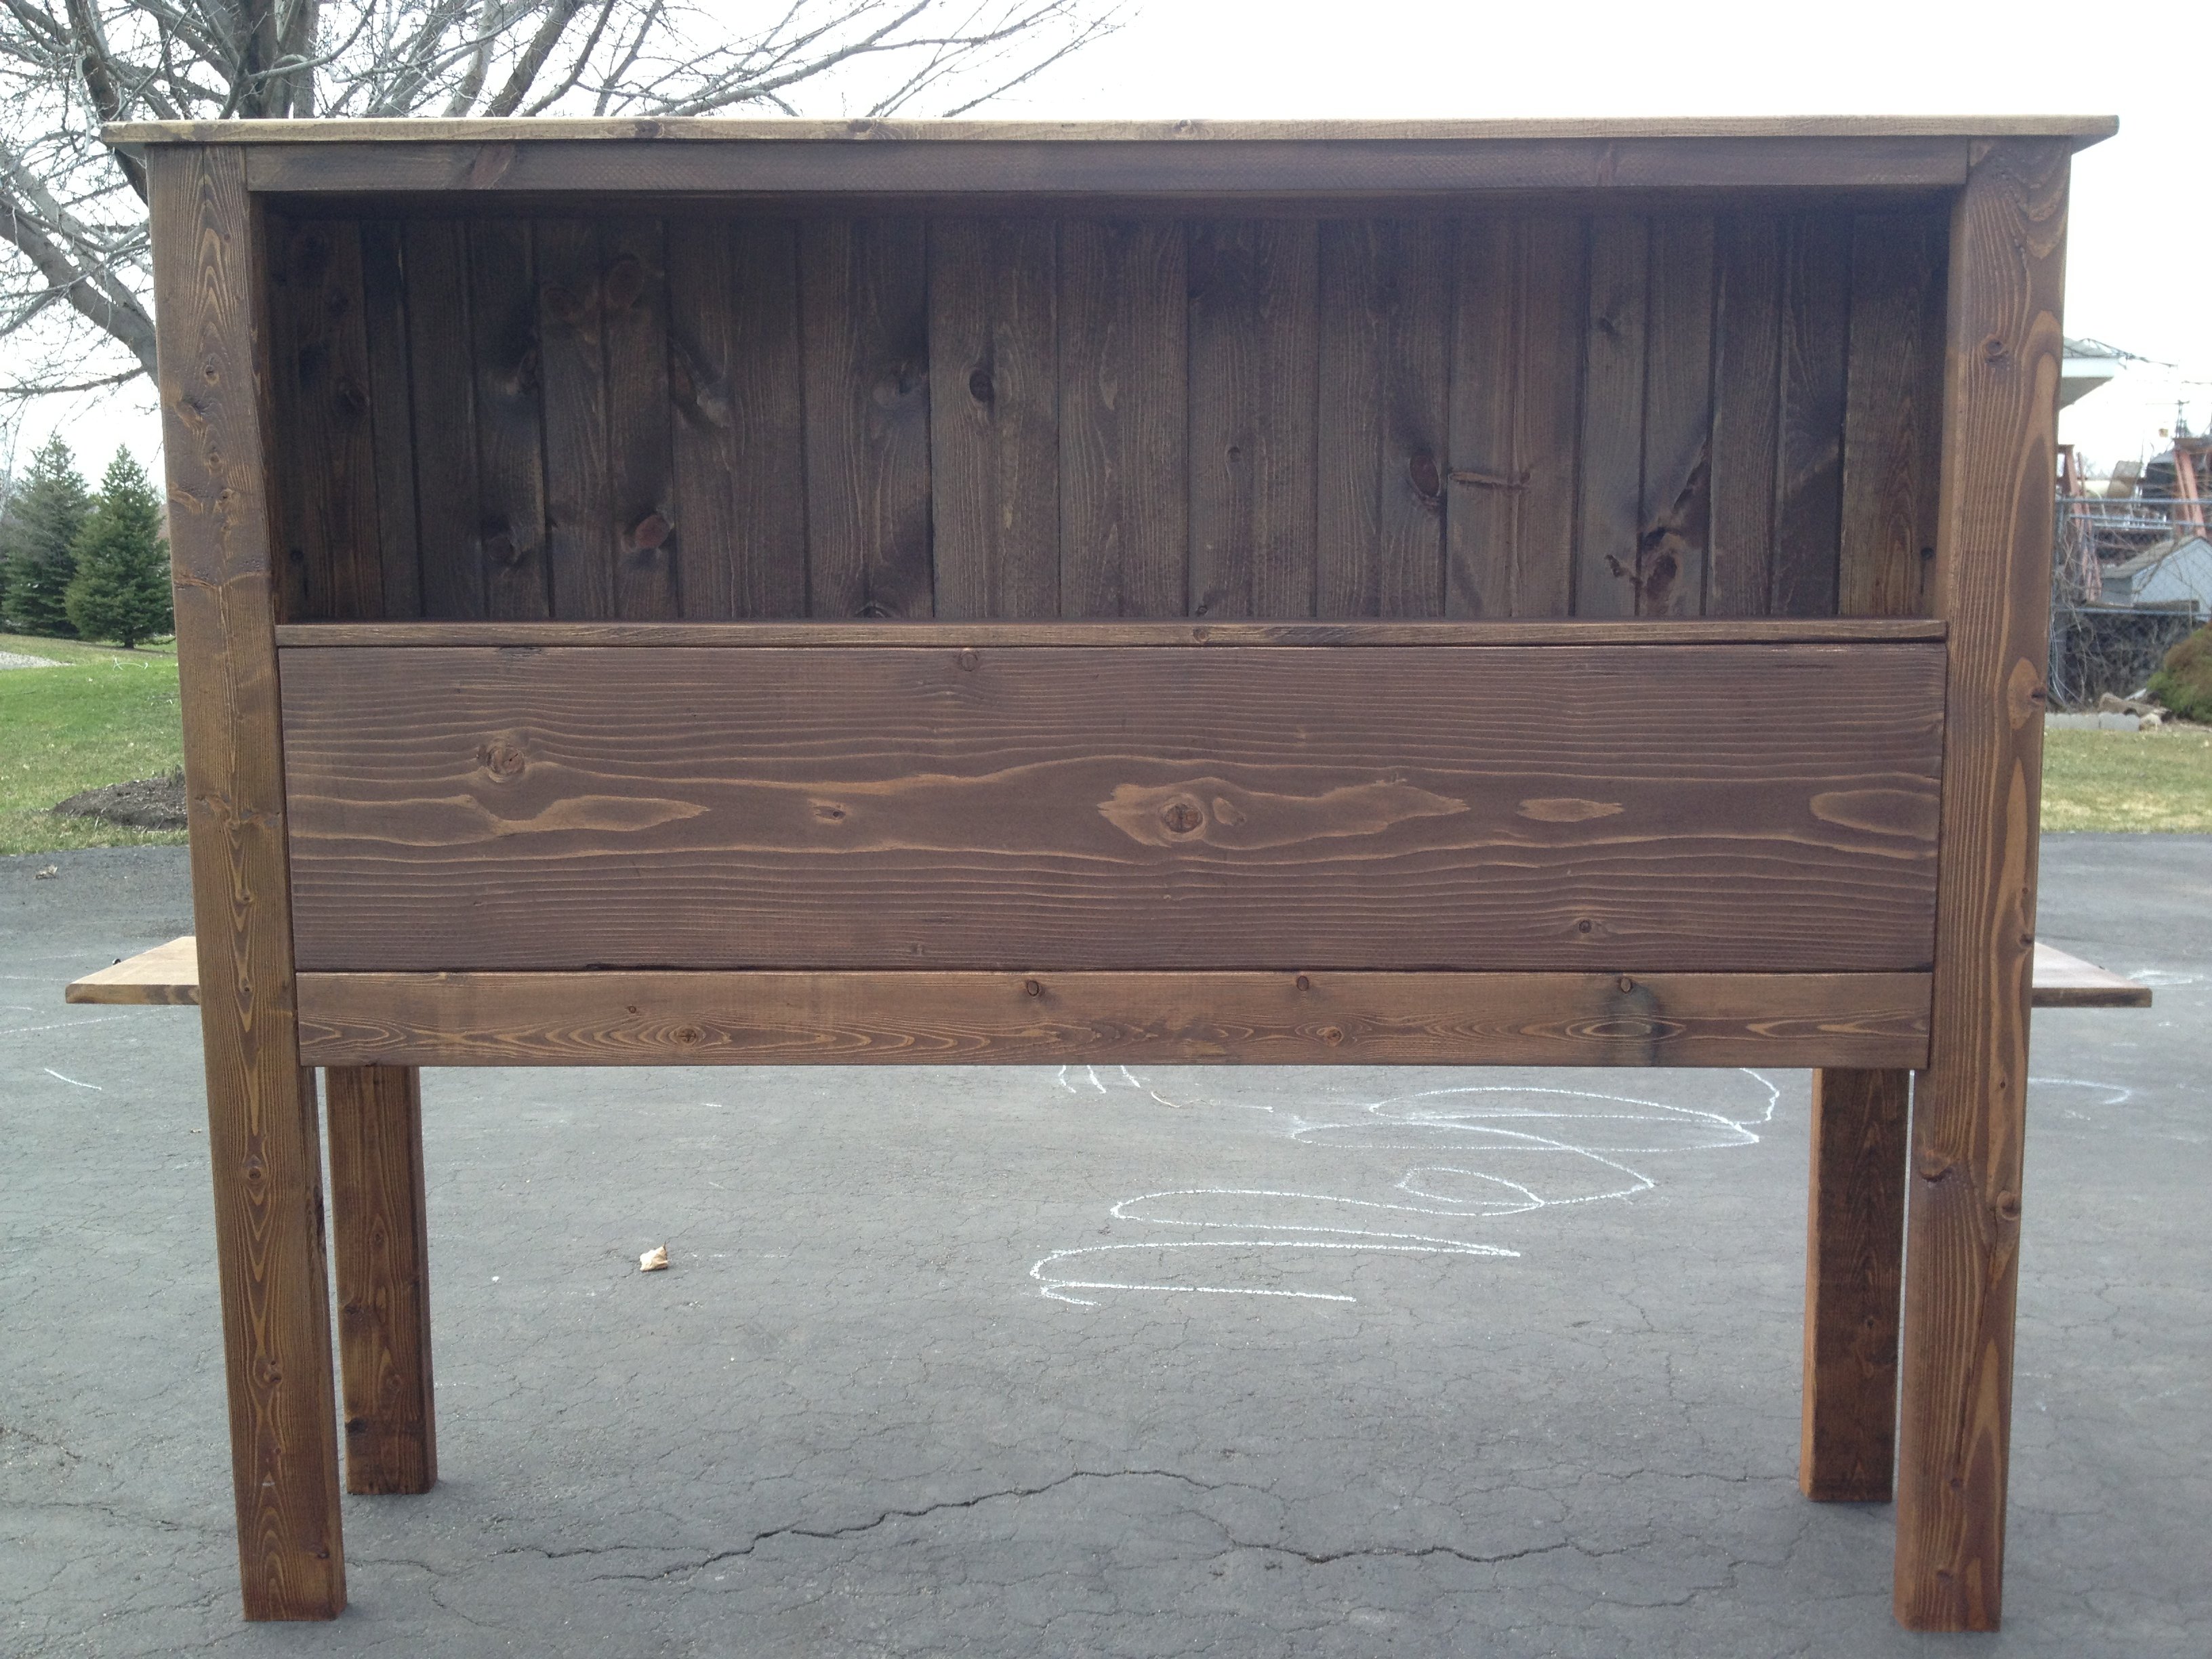
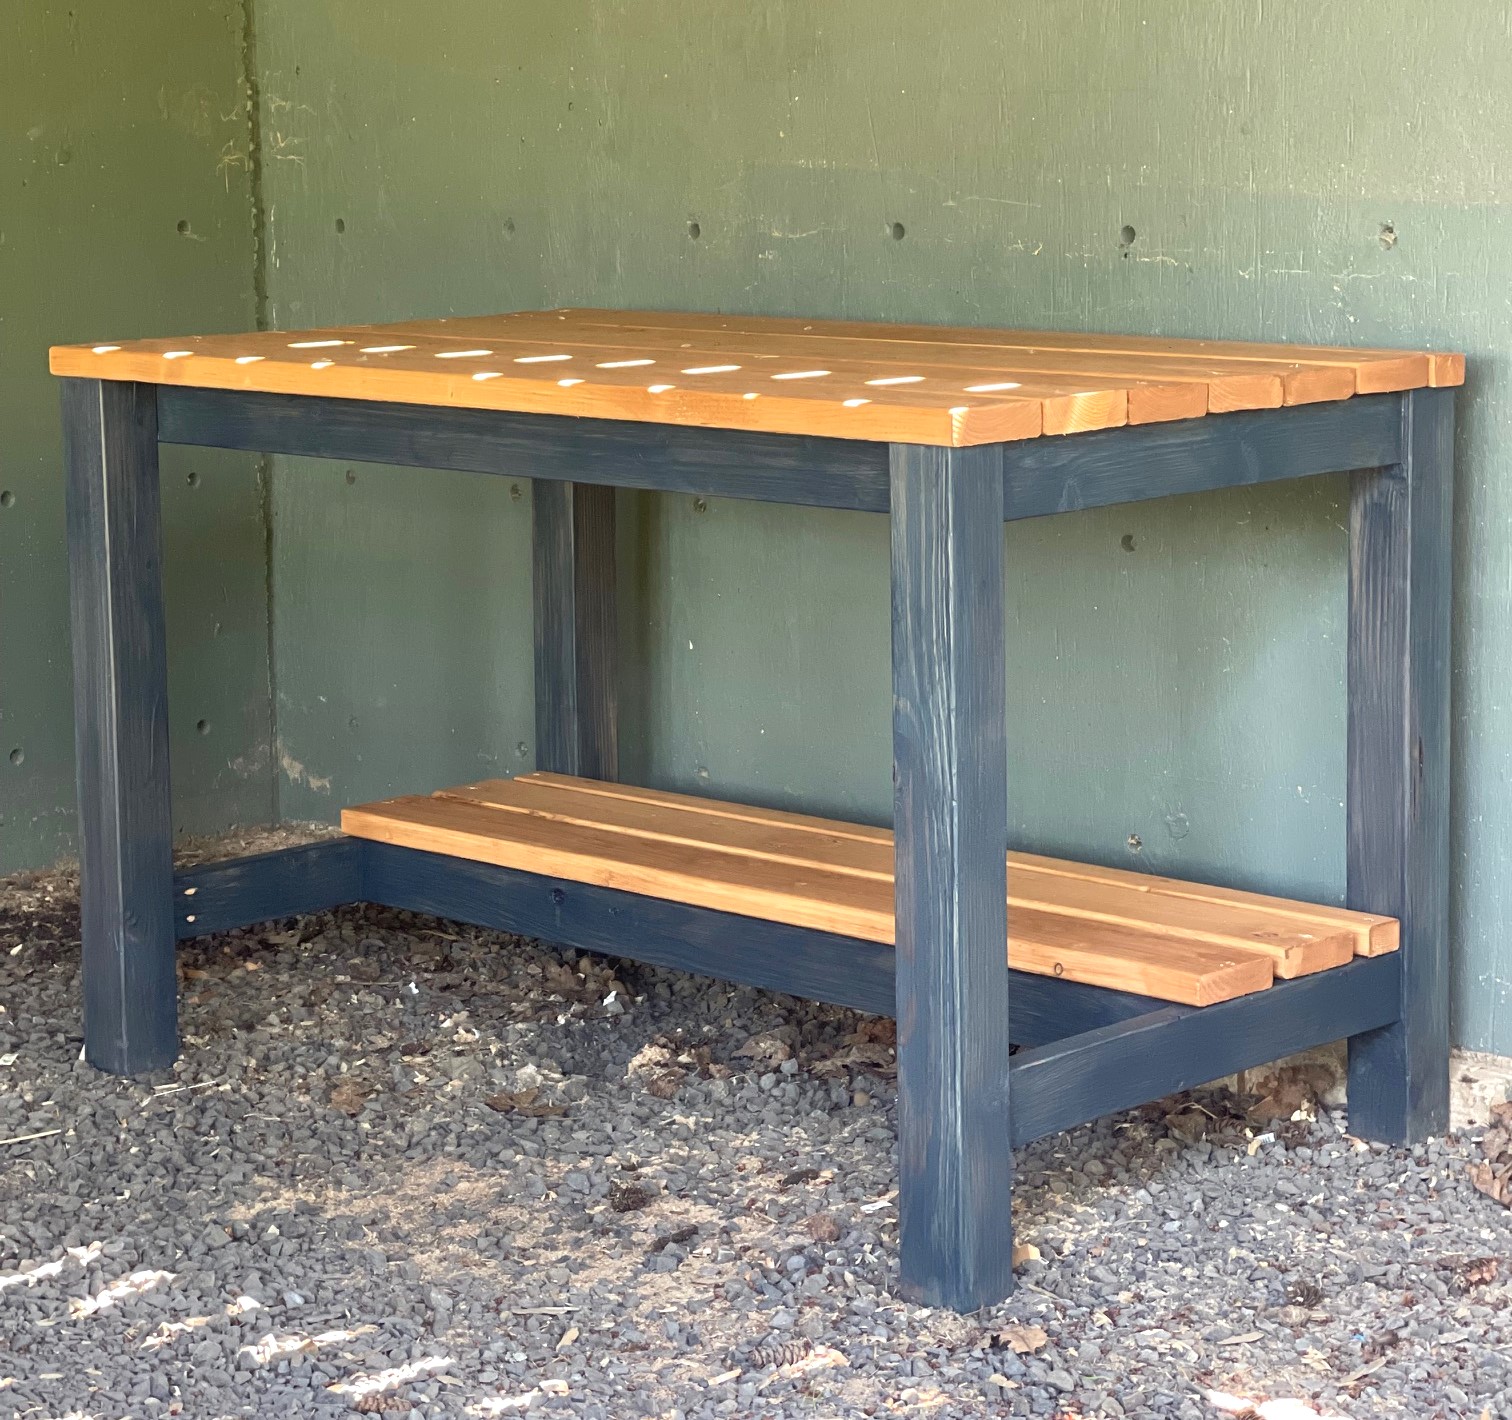
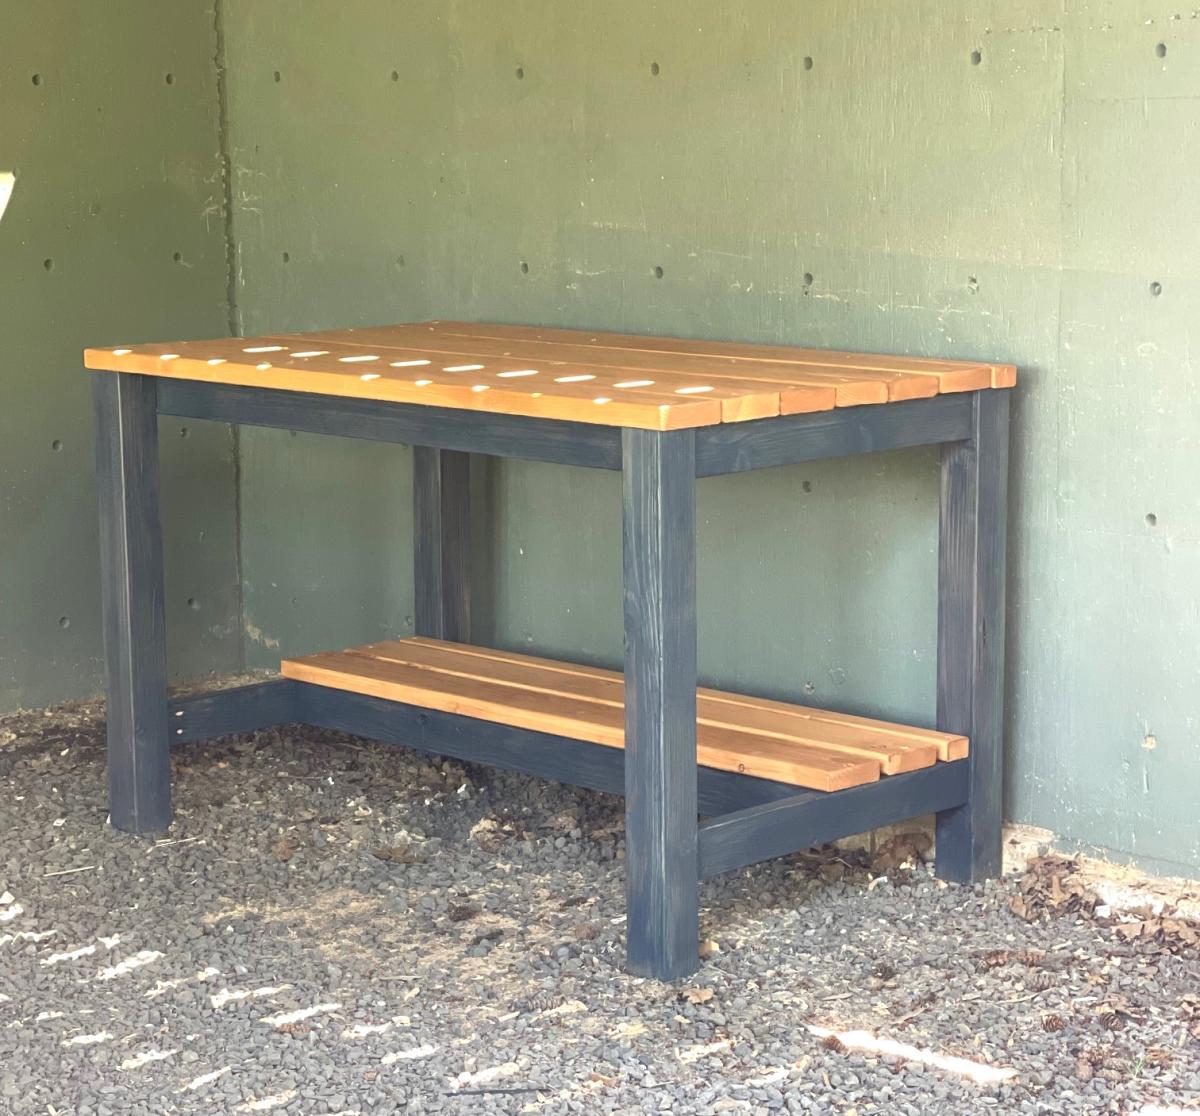
Farmhouse Craftsman Table
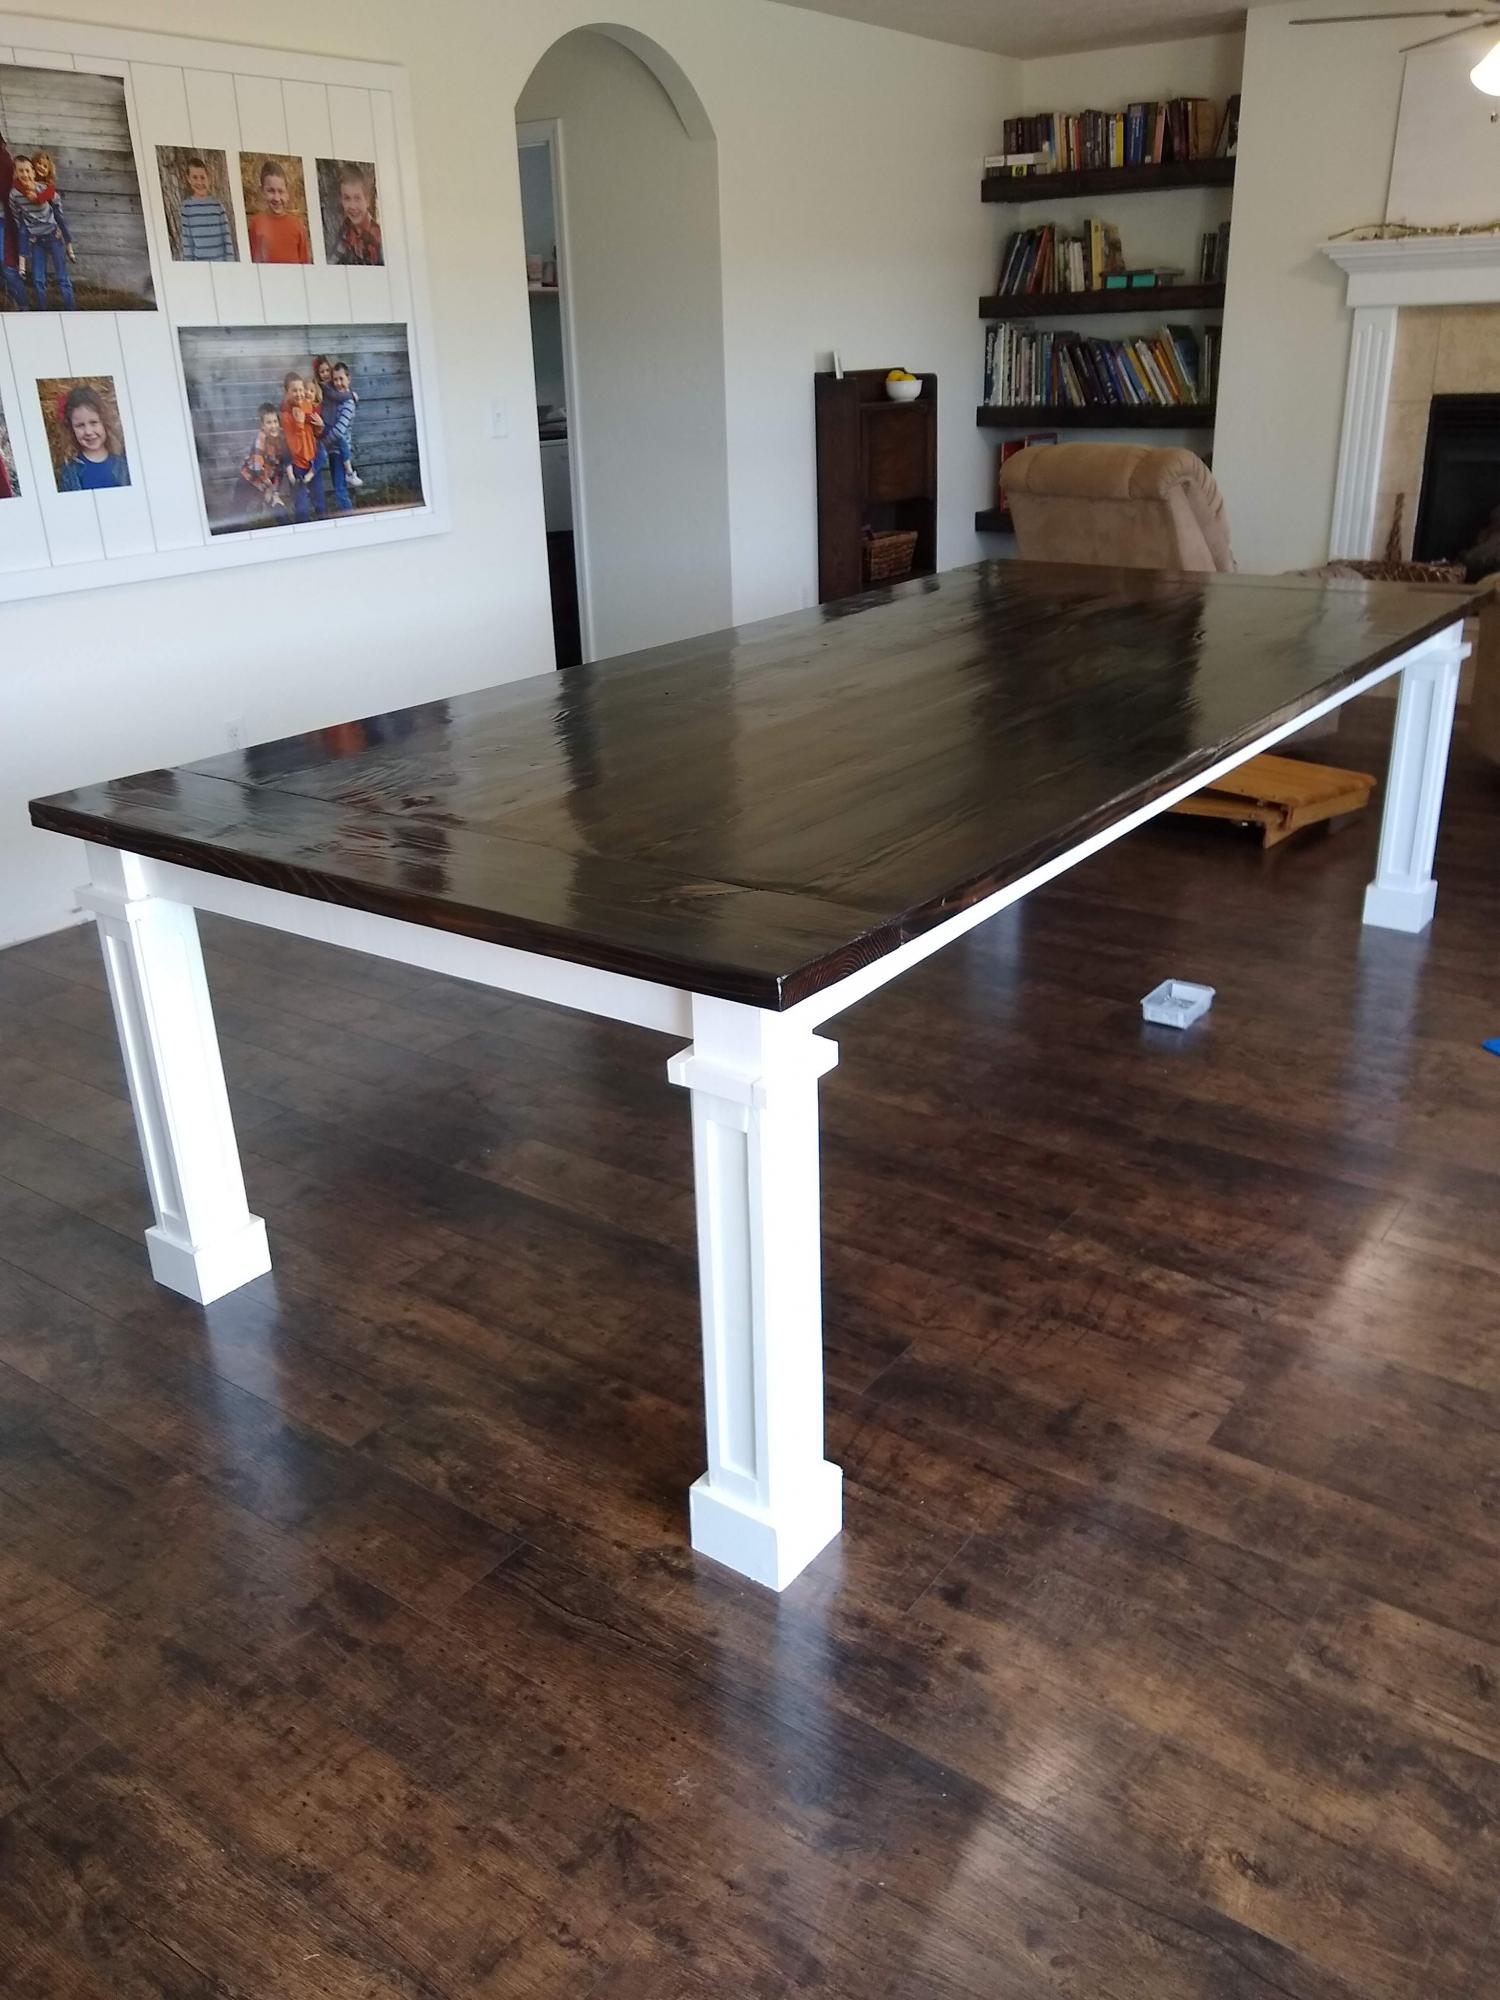
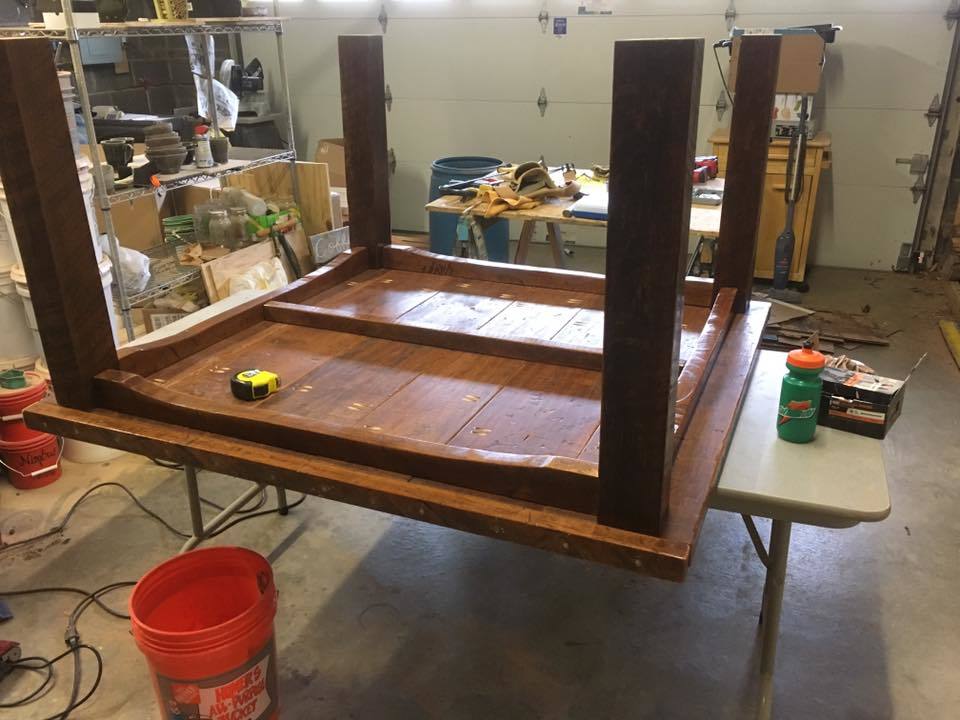
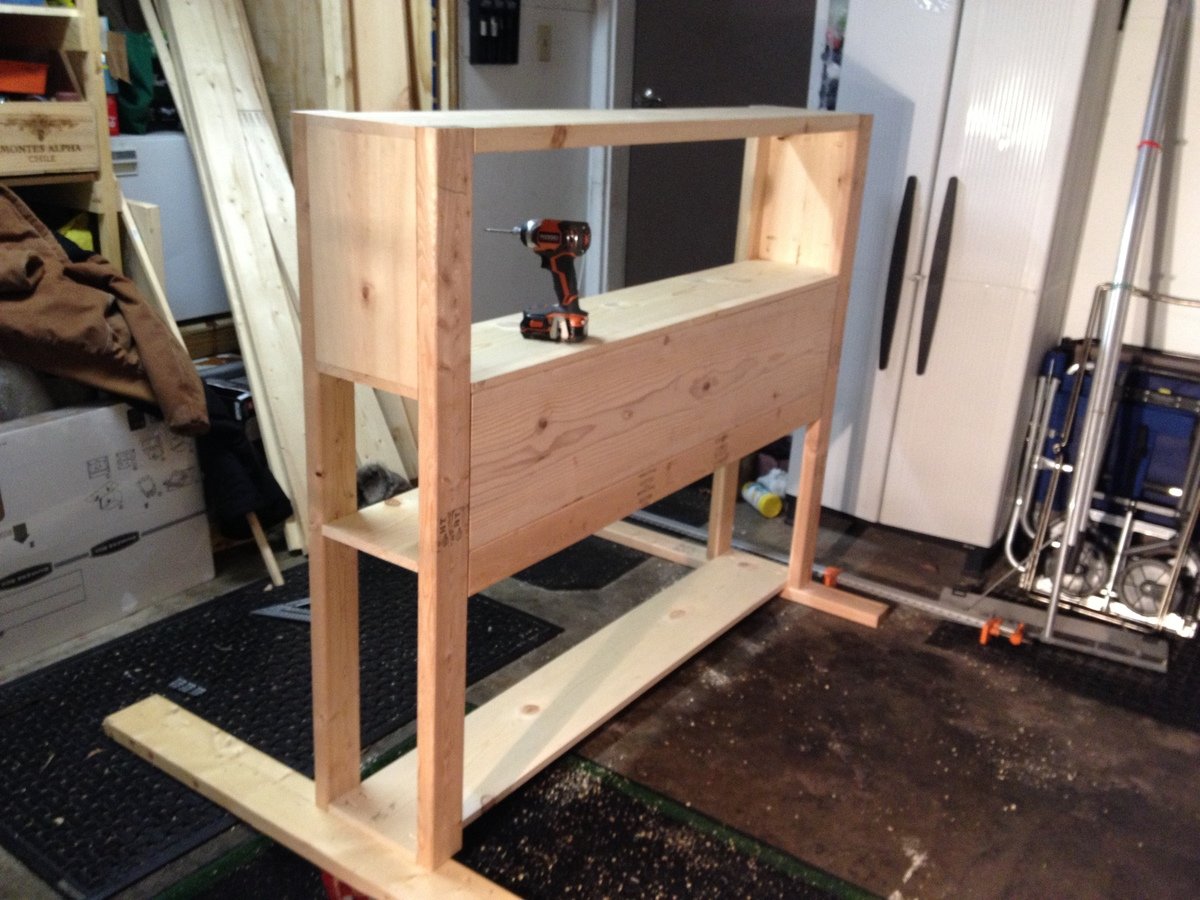
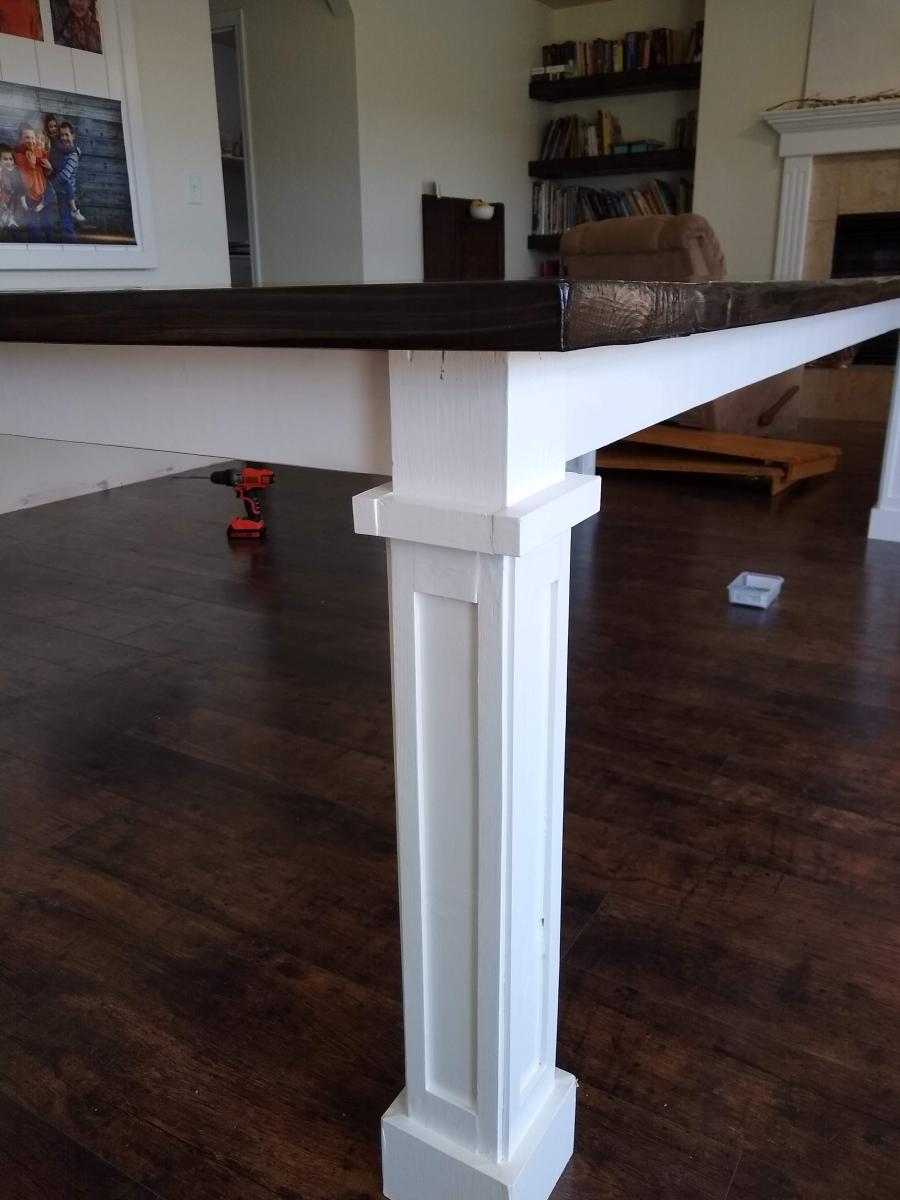
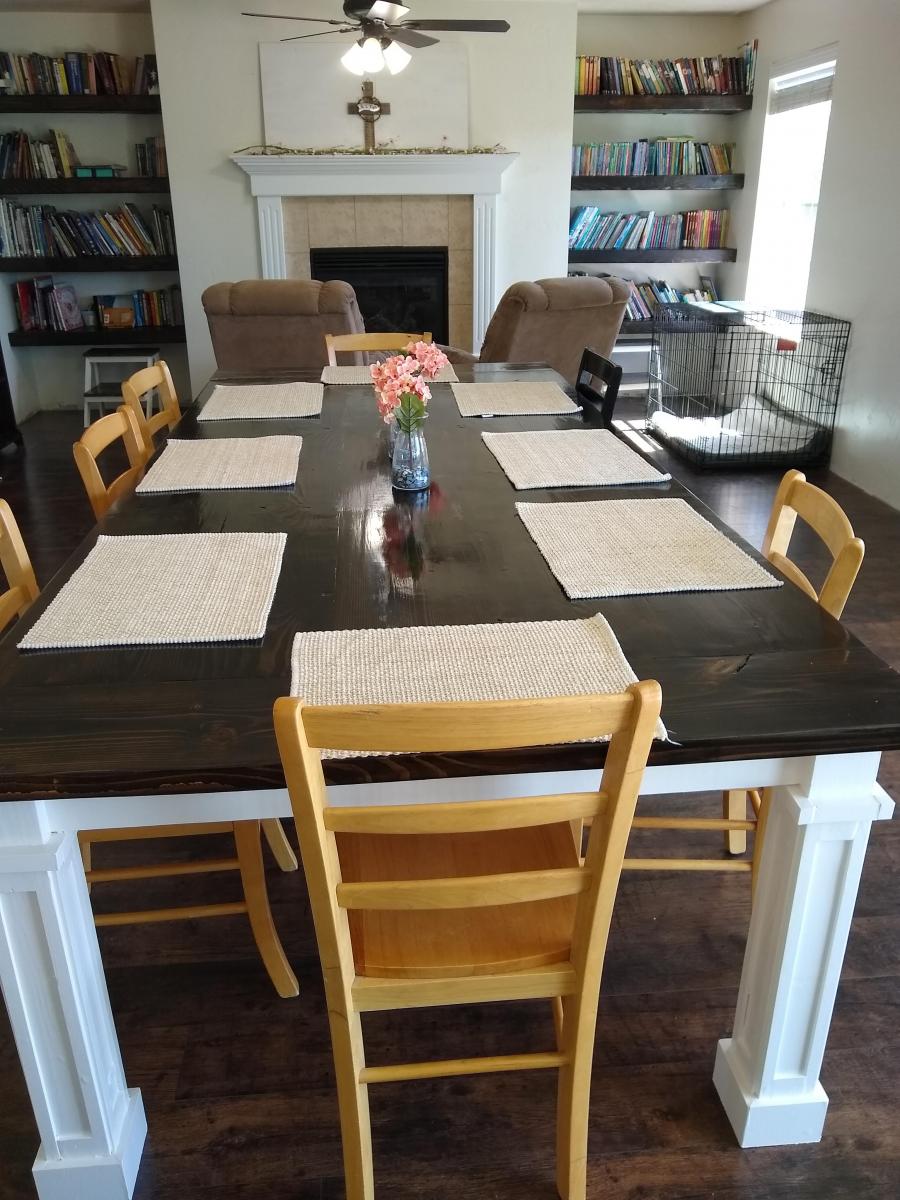
This was such a fun project! We changed up the dimensions, removed the stretcher so that we could put chairs on the ends, and added these fun craftsman removable table legs! I put tons of information of my blog!
Built from Plan(s)
Estimated Cost
150
Estimated Time Investment
Weekend Project (10-20 Hours)
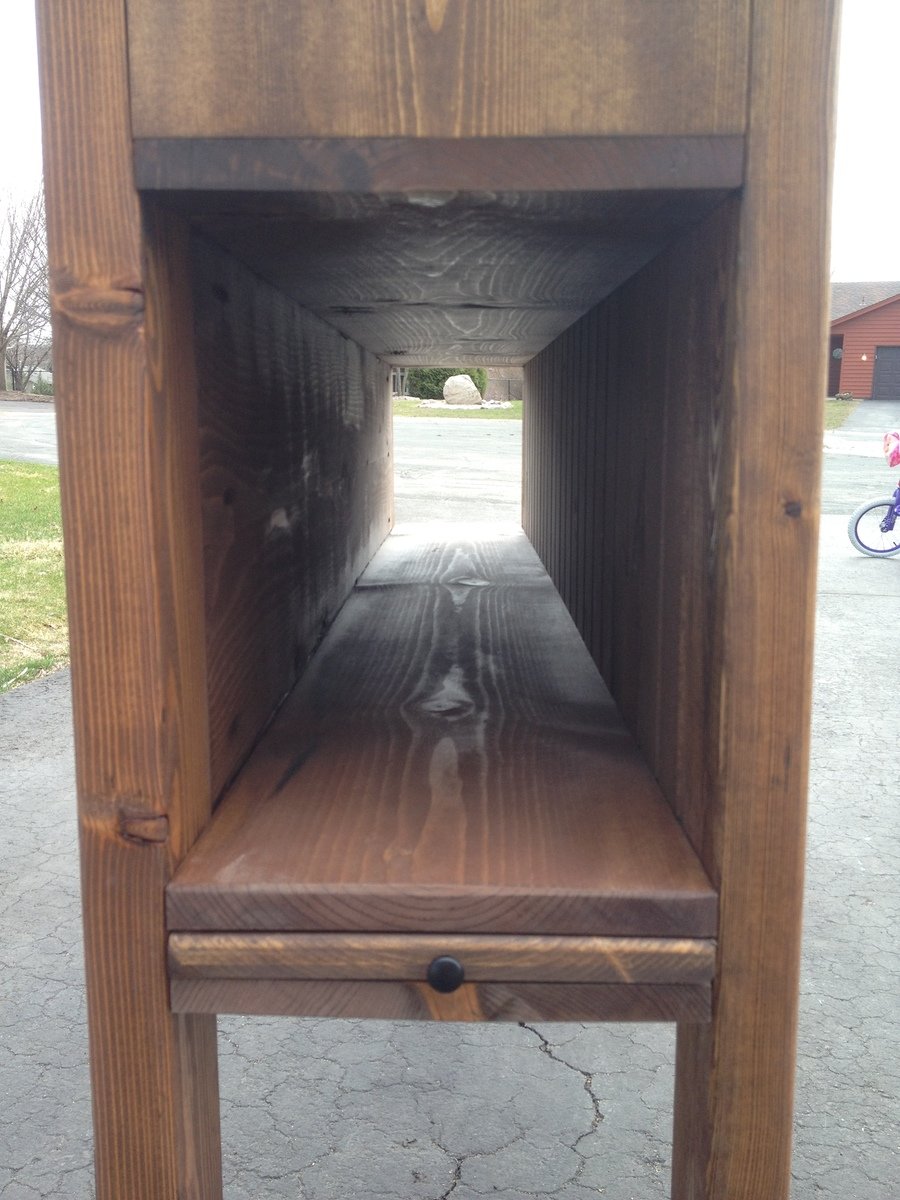
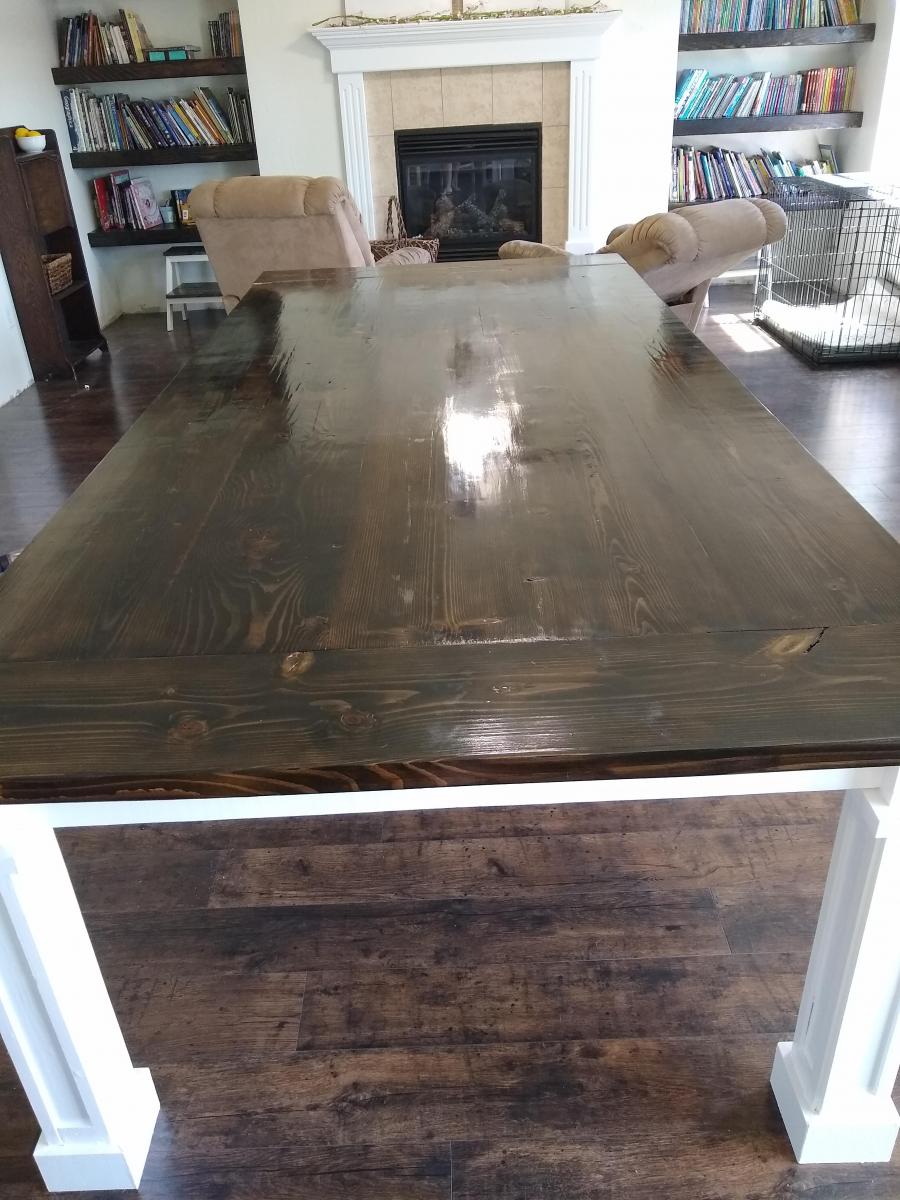
Finish Used
Minwax Ebony
Minwax Polyurethane in Satin
Minwax Polyurethane in Satin
Recommended Skill Level
Beginner