Community Brag Posts

Double Loft Bed

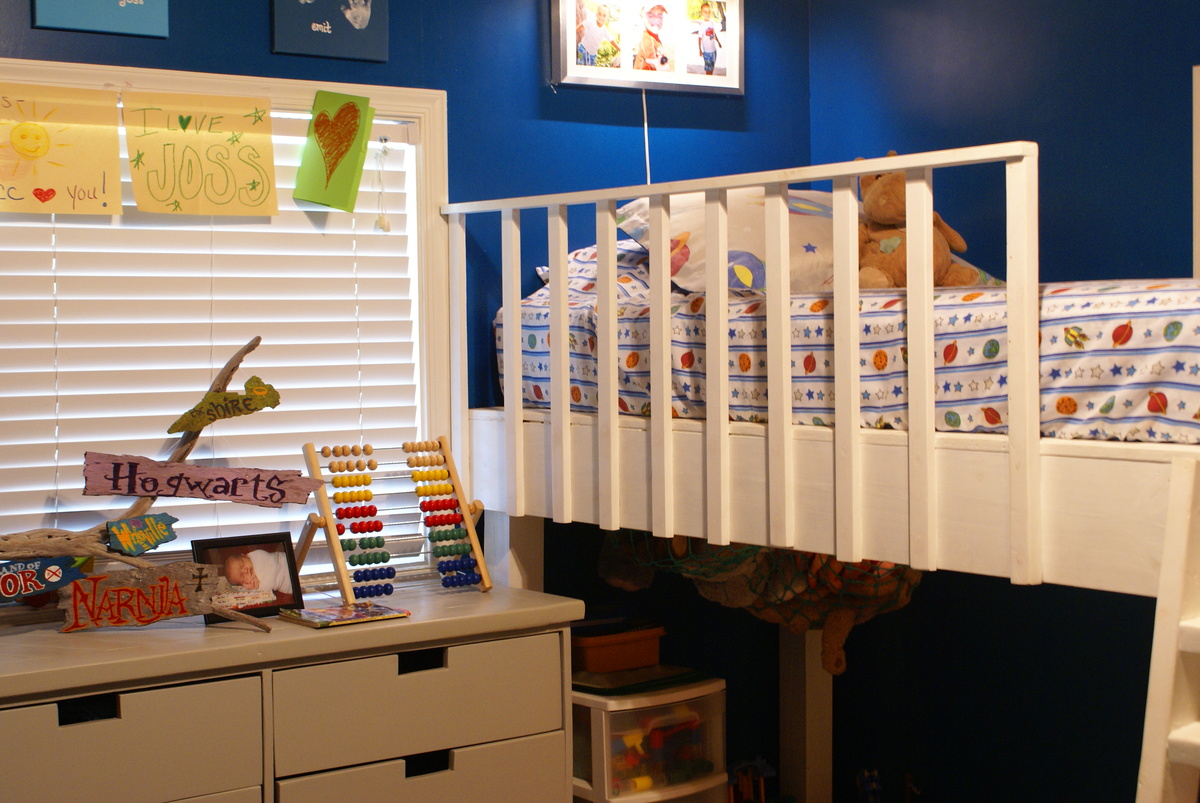
I saw the idea for this bed on Pinterest originally. It linked to a blog that had the step by step plan (http://www.thehandmadehome.net/2011/08/how-to-build-a-loft/). However, I would have never even approached the idea or project without a few of Ana's plans under my belt first. I have gained so much confidence in my building on this site, and will always be a HUGE fan here :) Thank you Ana for all the fantastic plans you continue to share!

I still want to finish out and make the under bed area more fun and creative with curtains and such, but we LOVE having the full floor in the room for our play area. My boys absolutely love their bed!!

Estimated Cost
Less than $150 (a little higher than usual because of where I live)
Estimated Time Investment
Afternoon Project (3-6 Hours)
Finish Used
The hardest part about this project was lifting the bed platform up onto the legs in order to secure them in place. We built it with very little room to spare against the wall, and it made it very tricky to get up into place with some of the window frames and such. Be sure to have friendly neighbors or friends helping out when you get to that part, and lift with your legs...not your back ;)
Recommended Skill Level
Intermediate

Comments

sgilly

Wed, 10/02/2013 - 13:07

I'll bet the boys are thrilled with this. It's great to have that extra play room!
I am curious, though, how the center of the loft bed is supported.

In reply to by sgilly

exuma_momma

Wed, 10/02/2013 - 18:38

Hey Sue, I went and found the old link to the plans for this and added it to the brag post. Or here it is also: http://www.thehandmadehome.net/2011/08/how-to-build-a-loft/ Underneath is a bunch of 2x4's spaced to support the platform, but the big 2x8's are the main strength. They are monsters! We've had a bunch of kids and adults up there for story time, and never once has it felt unstable or wobbly. Hopefully the link will help. It has way more photos that I have here.

bhoppy

Thu, 10/03/2013 - 16:24

Reminds me of the bed my dad made for my sis and I when we were little:-) SO sweet!

Ramholmes

Thu, 07/28/2016 - 15:47

I am going to attempt to make this bed in a couple of weeks for my daughters. The handmade home directions only show the rope ladder. We want to make the ladder similar to your pictures above. Could you tell me how you made yours please and thank you?

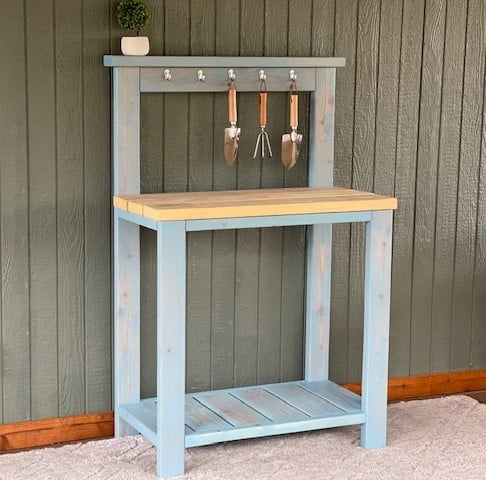
Compact Potting Bench

Submitted by vendo on Wed, 02/01/2023 - 12:43

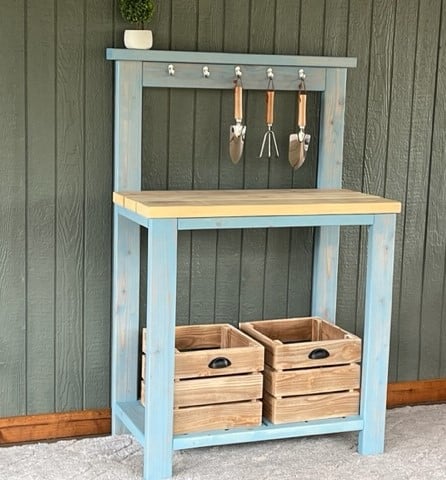
I used Ana's Farmhouse Potting Bench plans and modified it to be more compact and left out the x detail. I built it for under $40 in material. 

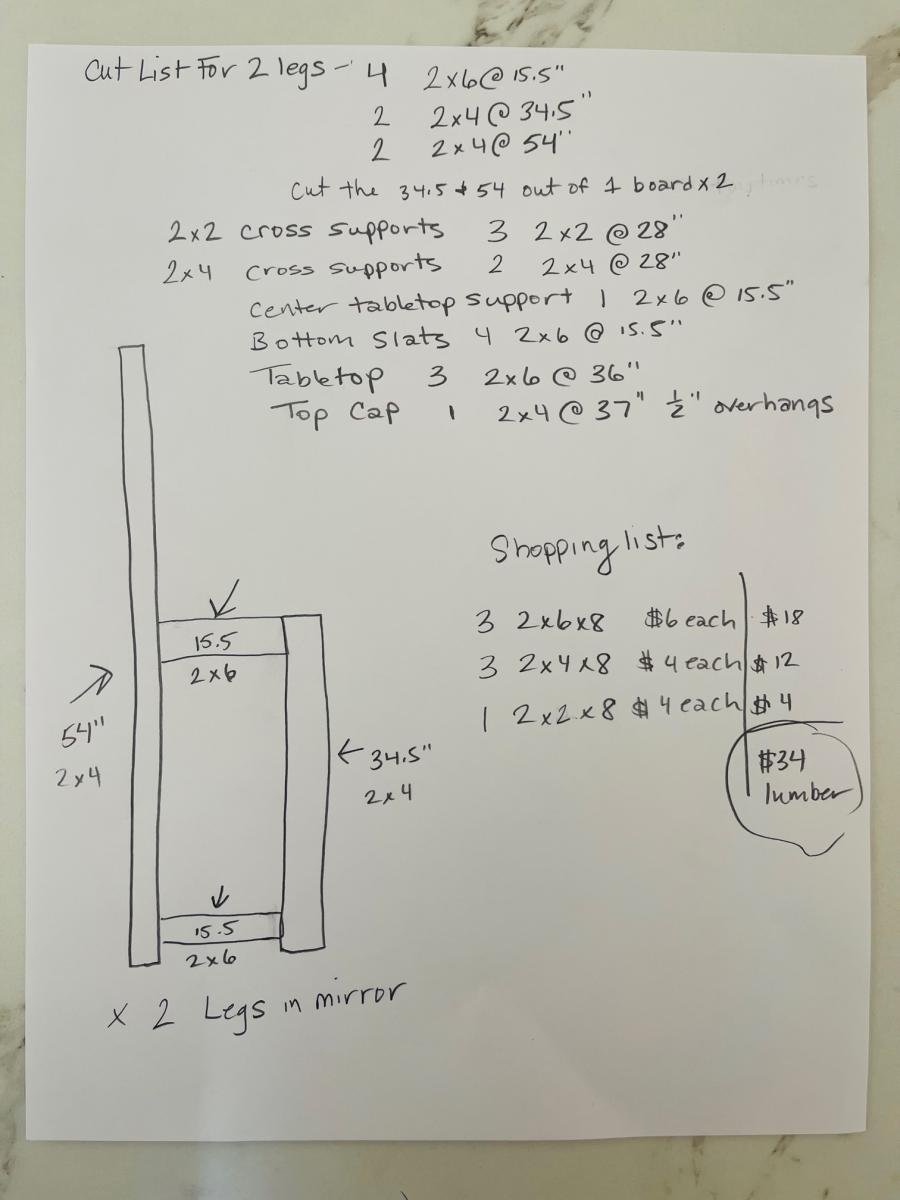
Modifications for Shopping and Cut List - Construction and placement is same as Ana's original plan, so make sure you look that over.

Shopping List 

3 - 2x6x8

3 - 2x4x8

1 - 2x2x8

Cut List

FOR 2 Legs
4 2x6 @15.5"
2 2x4 @34.5"
2 2x4 @54"
(cut the 34.5 and 54 out of 1 board and repeat)

2x2 Cross Supports
3 2x2@28"

2x4 Cross Supports
2 2x4@28"

Center Tabletop Support
1 [email protected]"

Bottom Slats
4 [email protected]"

Tabletop Boards
3 2x6@36"

Top Cap Board
1 2x4@37" leaving 1/2" overhangs

VIDEO OF THE BUILD PROCESS

Built from Plan(s)

Factory Cart Coffee Table with Storage

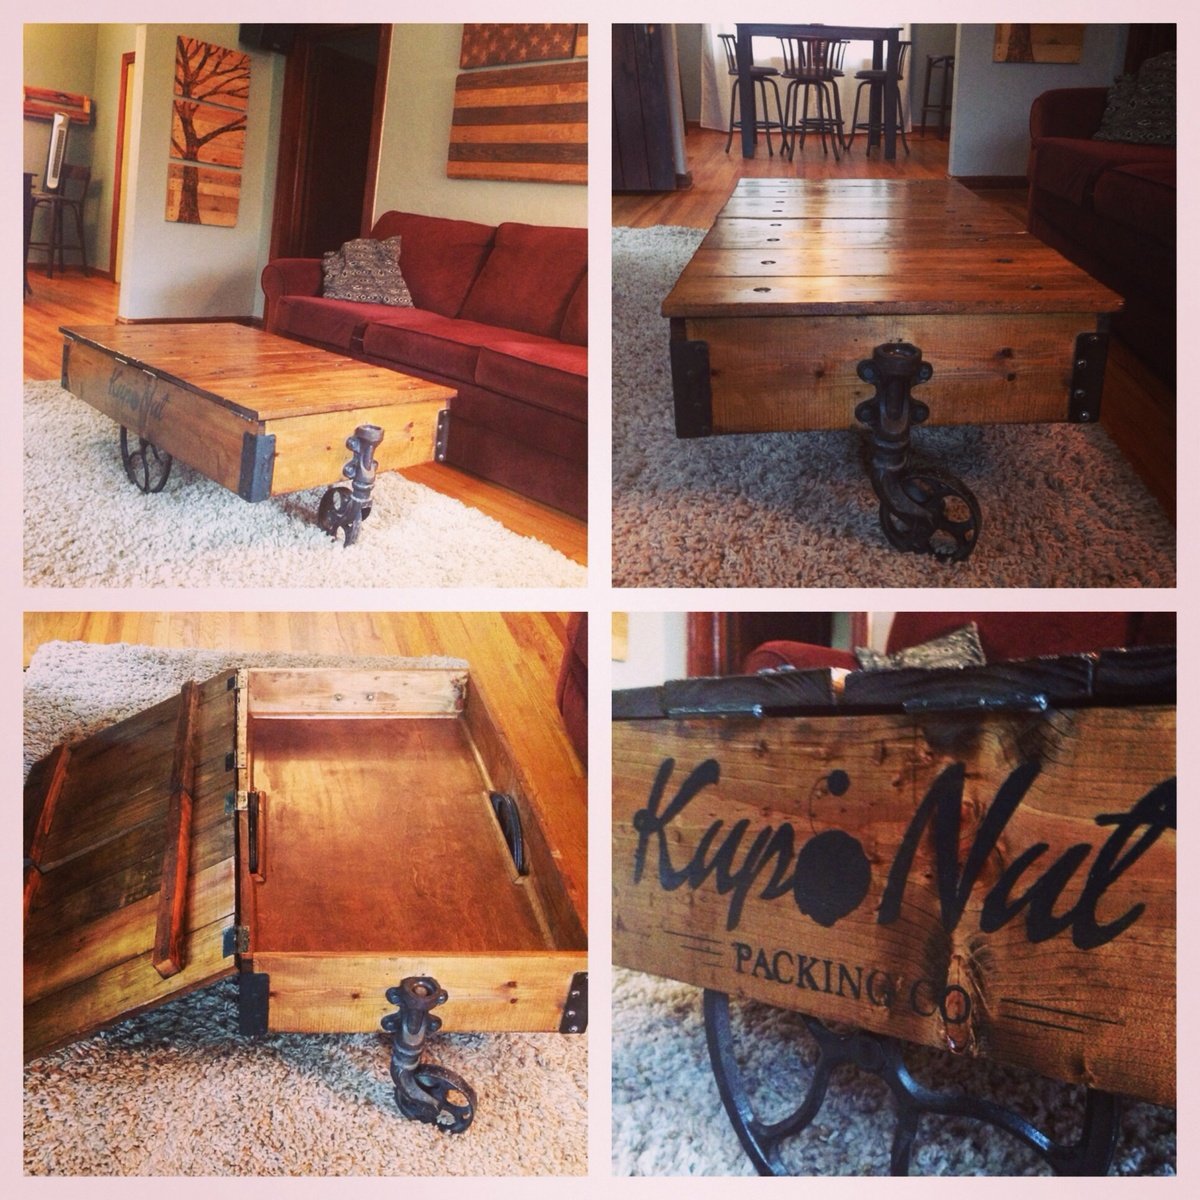
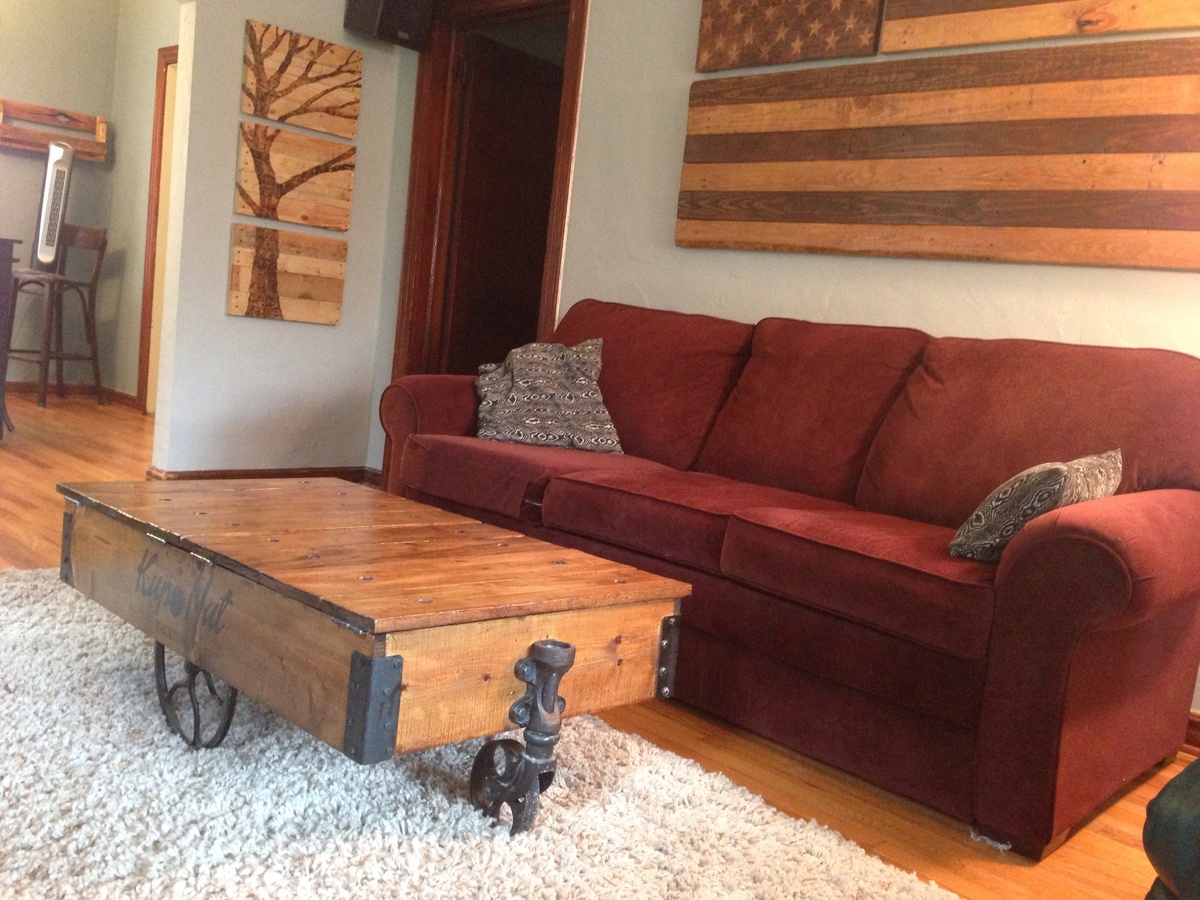
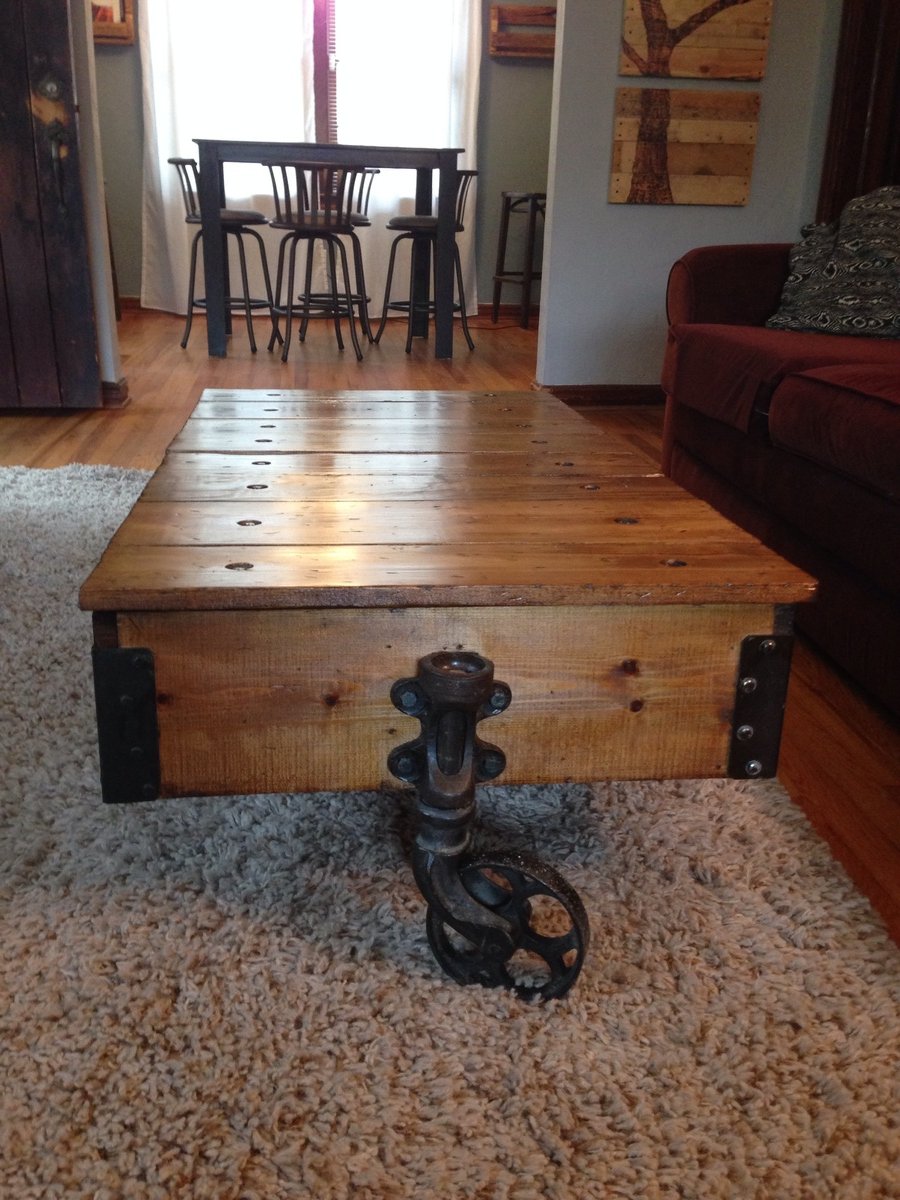
I have been longing to make a factory cart coffee table for years after seeing one in a local antique store in Jacksonville Florida. I started by following the dimensions from Ana Whites table and then decided to make the table top with the ability to open up into storage. I followed the plans and updated with hardware that I (painstakingly) pieced together from various sites online. I love the industrial feel the cast iron hardware brings to this adaptation and cannot wait to start building matching end tables. Thank you Ana for the inspiration!

Built from Plan(s)
Estimated Cost
$200
Estimated Time Investment
Week Long Project (20 Hours or More)
Finish Used
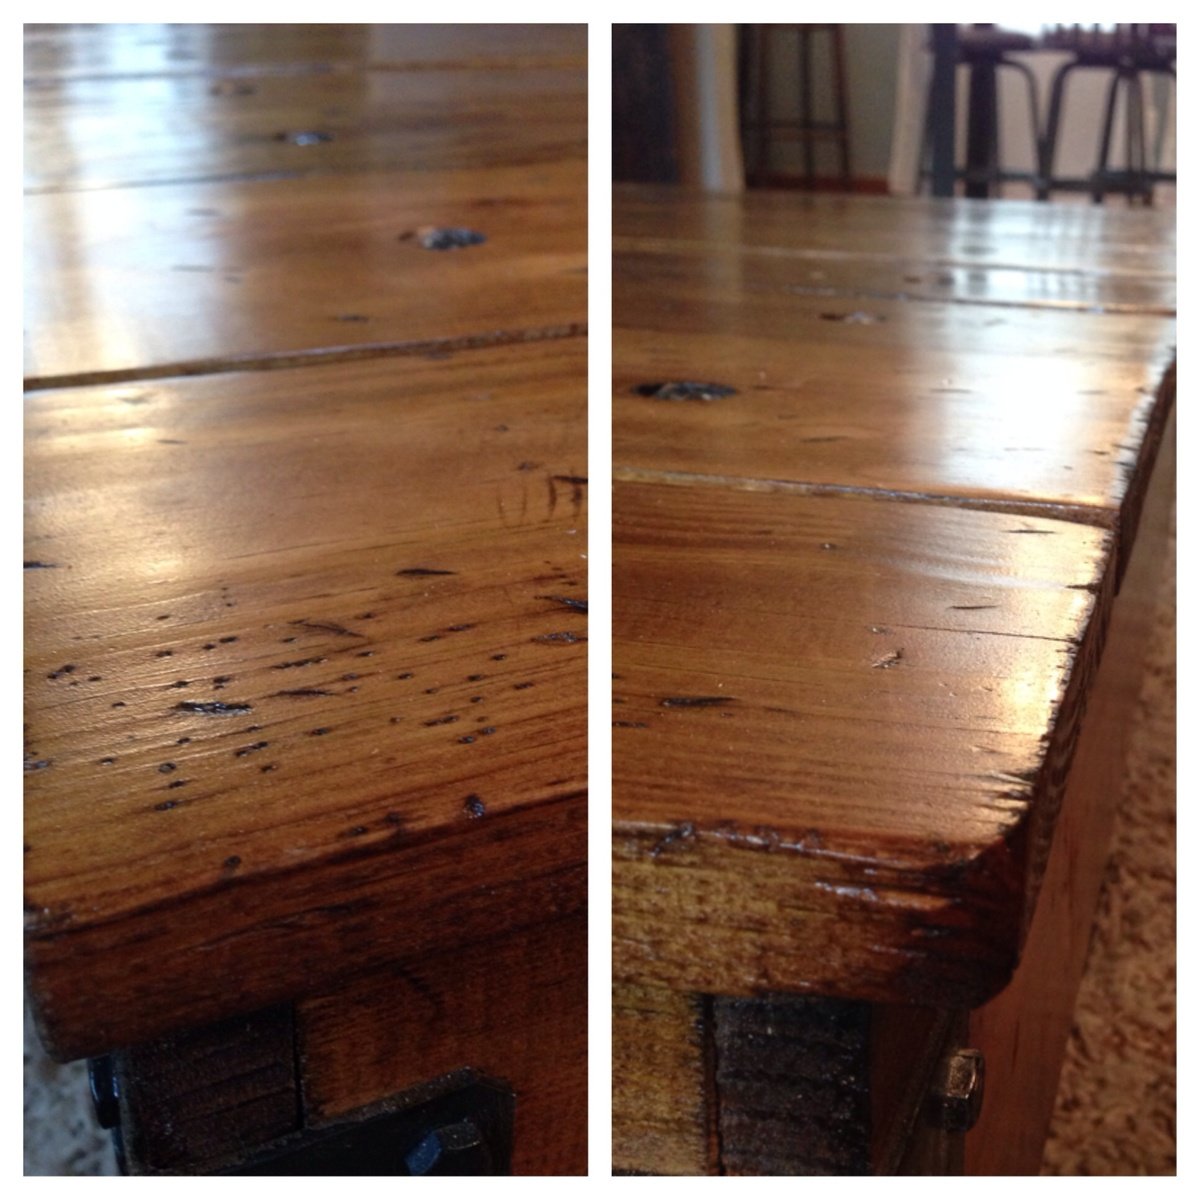
Minwax provincial stain for the primary and minwax espresso to detail the distressing and edges. Finished with 4 coats of minwax water based polyurethane
Recommended Skill Level
Intermediate

Comments

jahnkekong

Wed, 11/06/2013 - 17:11

Could you share any details about how you finished the wheels? I have a cart I am trying to refinish but stalling out on the cast iron parts. I really don't want to paint them, and I don't want them to rust.

Just noticed the Kupo Nut reference! I love it!

In reply to by jahnkekong

TongueAndTeak

Wed, 11/06/2013 - 19:16

Thank you so much for catching the Kupo nut reference! Haha I only felt it was fitting to add a little nerd flair :) rust oleum has a hammered black paint that also doubles as a rust inhibitor so it worked perfectly to touch up the cast iron parts and keep that rustic feel to the hardware. I finished with a clear top coat as I'm sure that I will end up constantly kicking the wheels by accident haha.

Cyber Sapp

Wed, 12/04/2013 - 18:45

I know you mentioned it was painstaking to find all of hardware, but can you share where you found the front casters? Also how did you put your stamp on it? I'm knew to woodworking so please excuse my ignorance.

In reply to by Cyber Sapp

TongueAndTeak

Wed, 12/04/2013 - 19:18

Hi cyber sapp! I was able to piece them together from eBay and etsy items. I searched for key words: "antique cast iron caster" or "factory/industrial cart wheel" and you should be able to find ones that work. I held out for the best deals I could. Be prepared to search quite a lot if you want to find the best deal.
As far as the decal is concerned, I created the template on illustrator and used it as a template to paint the decal on. I checked online and saw a few examples of transferring images on to wood that will probably be easier than hand painting. Hope this helps!!

Cyber Sapp

Wed, 12/04/2013 - 22:25

Thanks for the update. I made one similar to your modifications. I'm using storage too, I will share once I get the soft close installed. I'm looking for something that want slam fingers when it is closed. I also used Walnut to build it. It is solid like a tank with the hardwood, but came out pretty good. I made a few minor mistakes and now want to make one closer to yours.

Mandymoochops

Mon, 12/16/2013 - 23:30

What an amazing job you did, I'm still holding out for my end wheels too and you are so right about search search search. It doesn't help being in Canada with shipping costing so much for these too.

Love love love, well done

TongueAndTeak

Tue, 12/17/2013 - 21:23

Thank you very much!! I do not envy you right now as the search took me forever to find the right wheel that matched one I already had. I have had good luck in the past asking eBay sellers about changing to flat rate shipping options. Not sure if they have that option for shipping internationally but it never hurts to try! Keep up the good fight as the wheels REALLY pay off in the end.

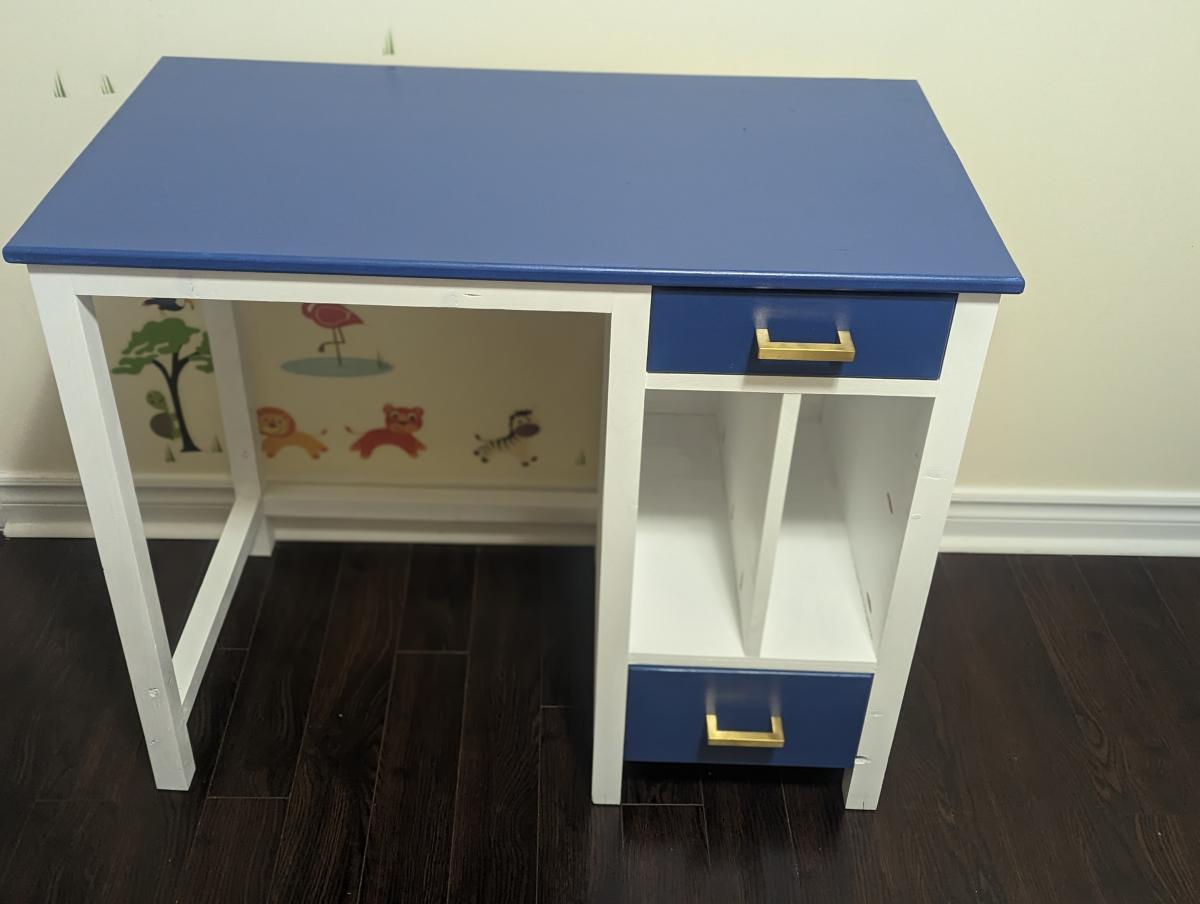
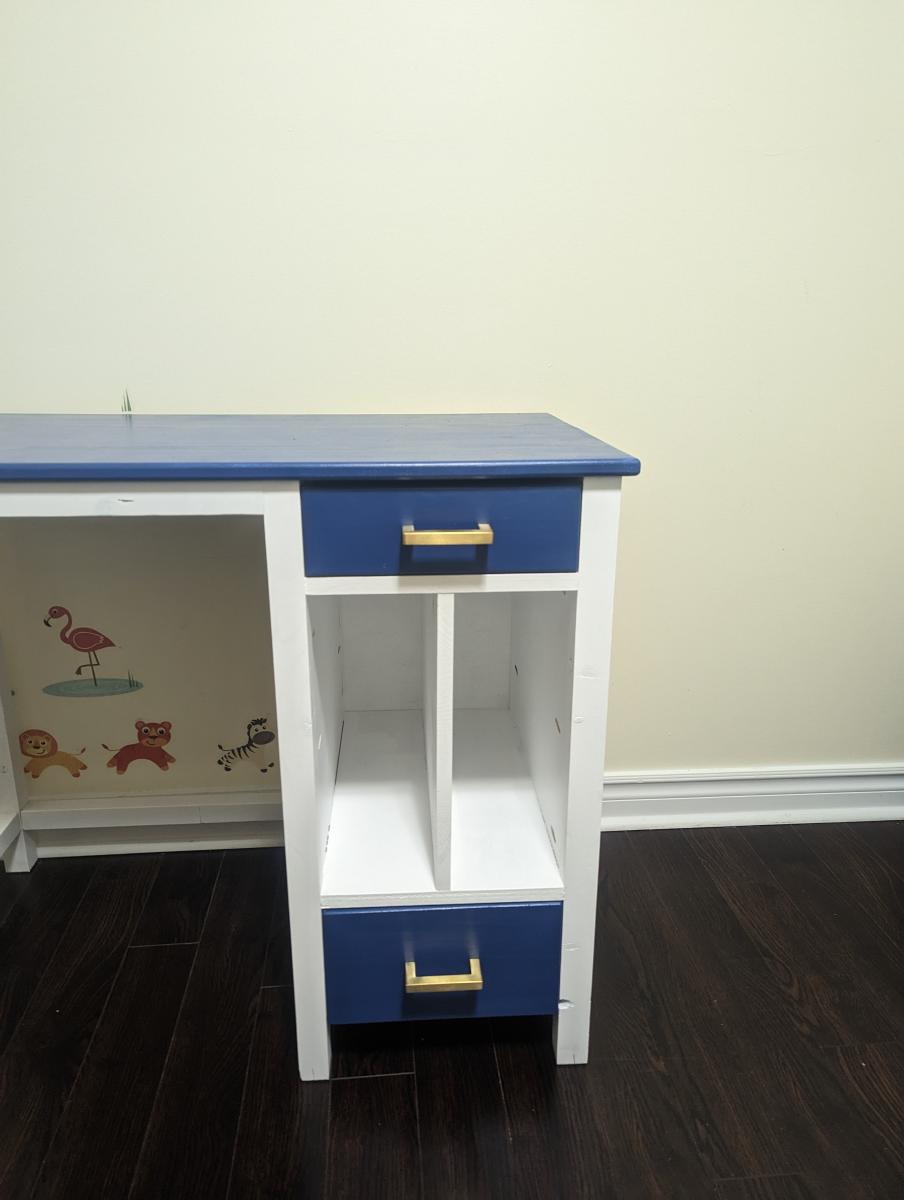
Kids desk

Submitted by shruti on Wed, 04/12/2023 - 13:13

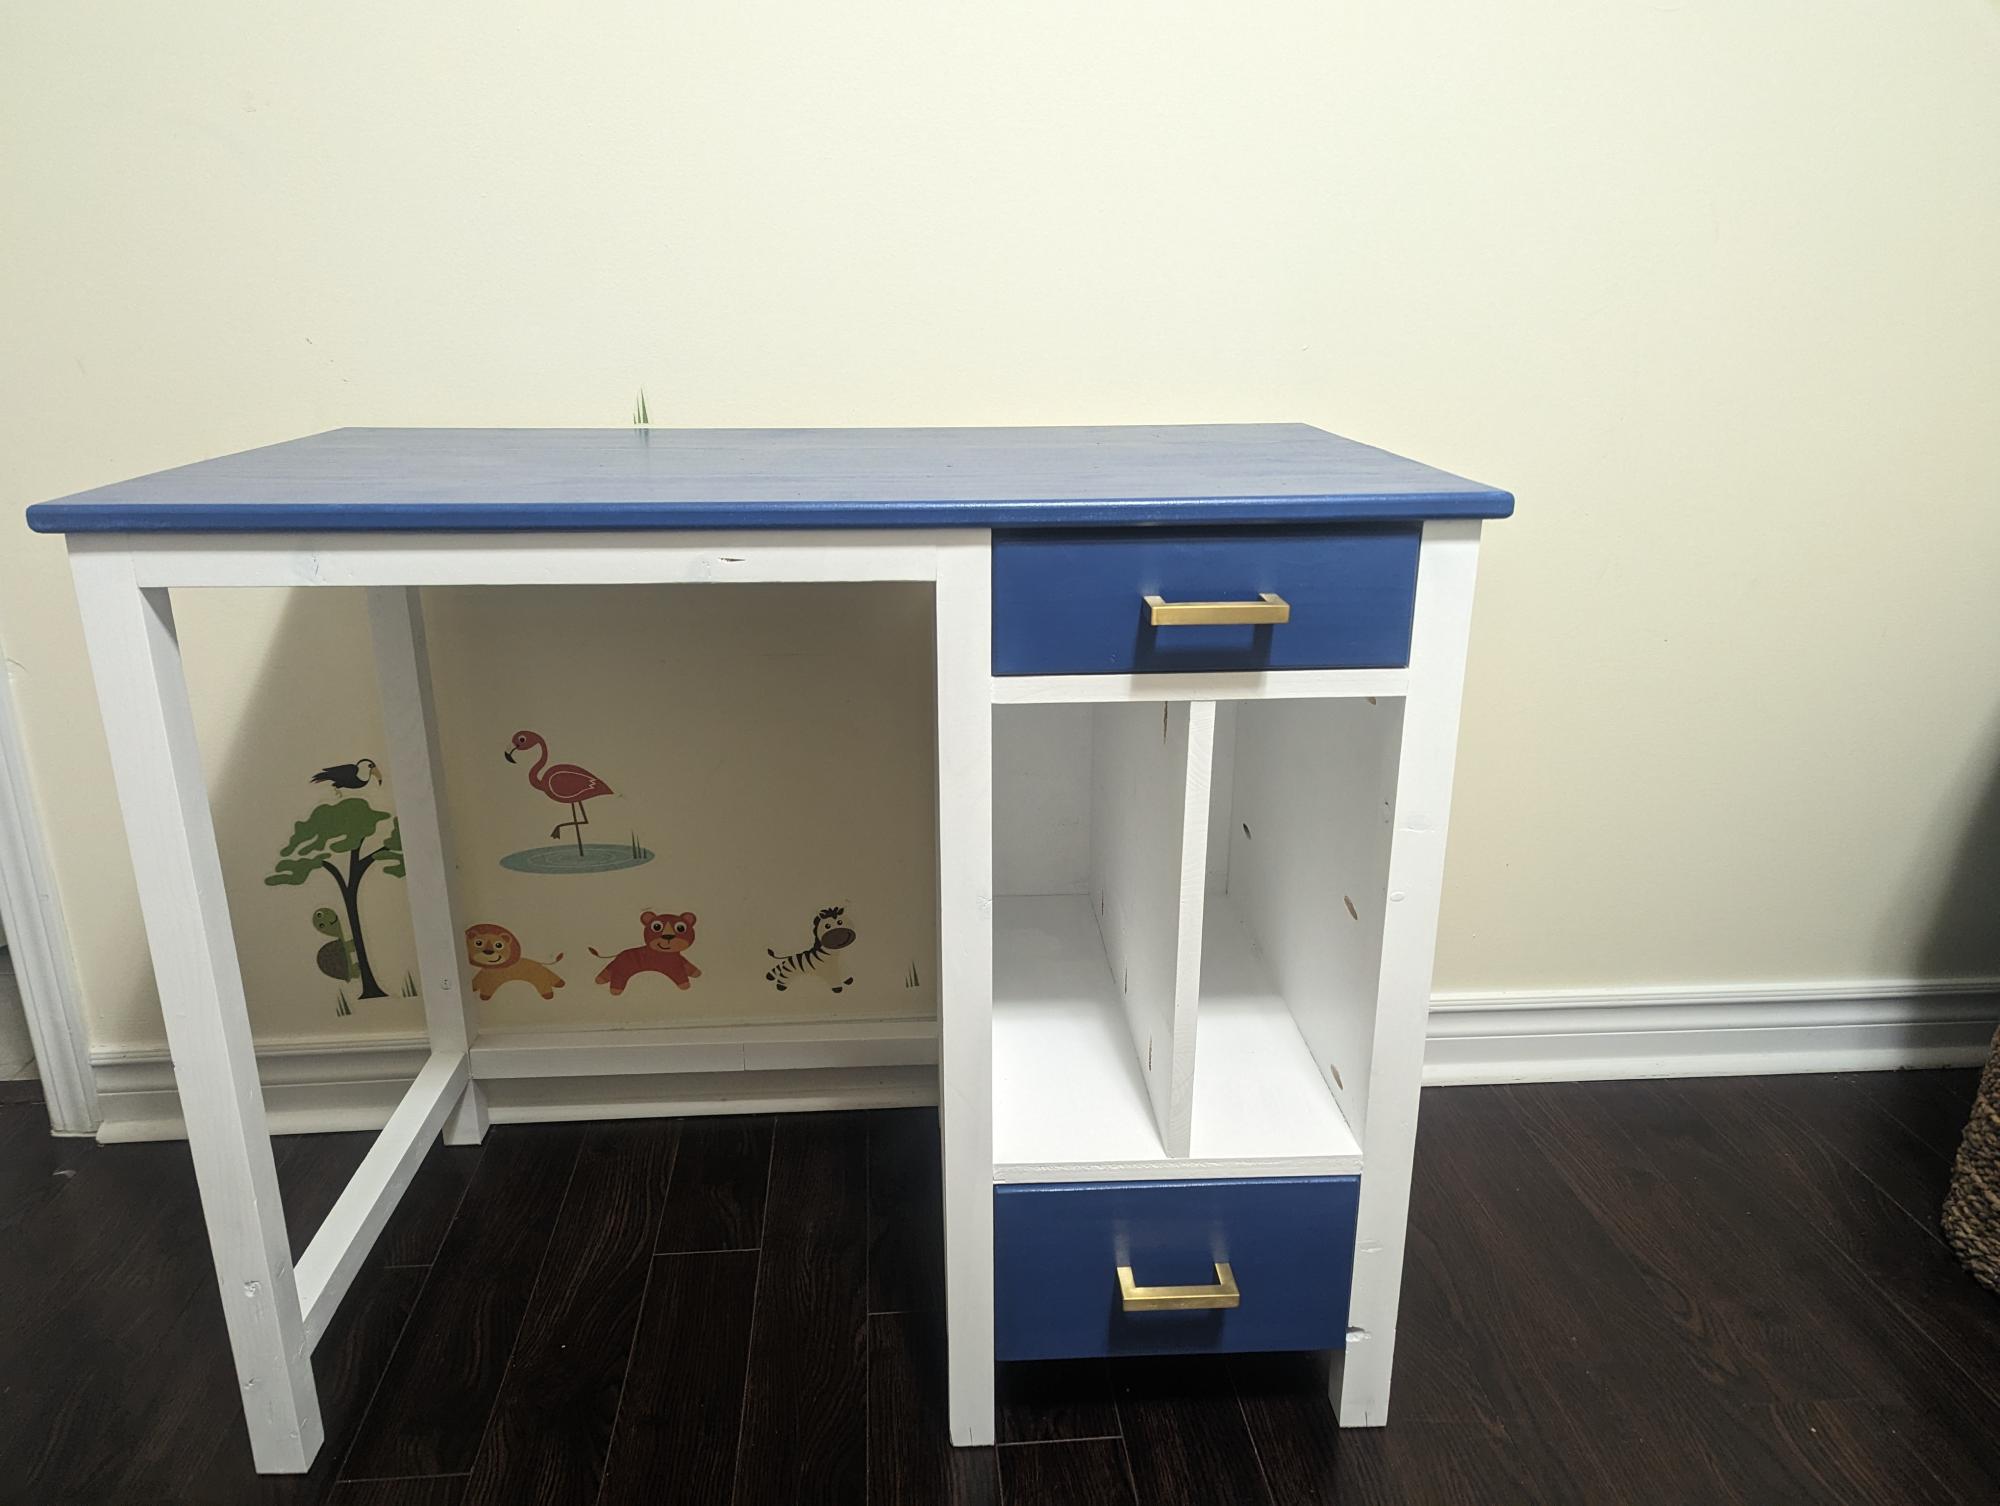
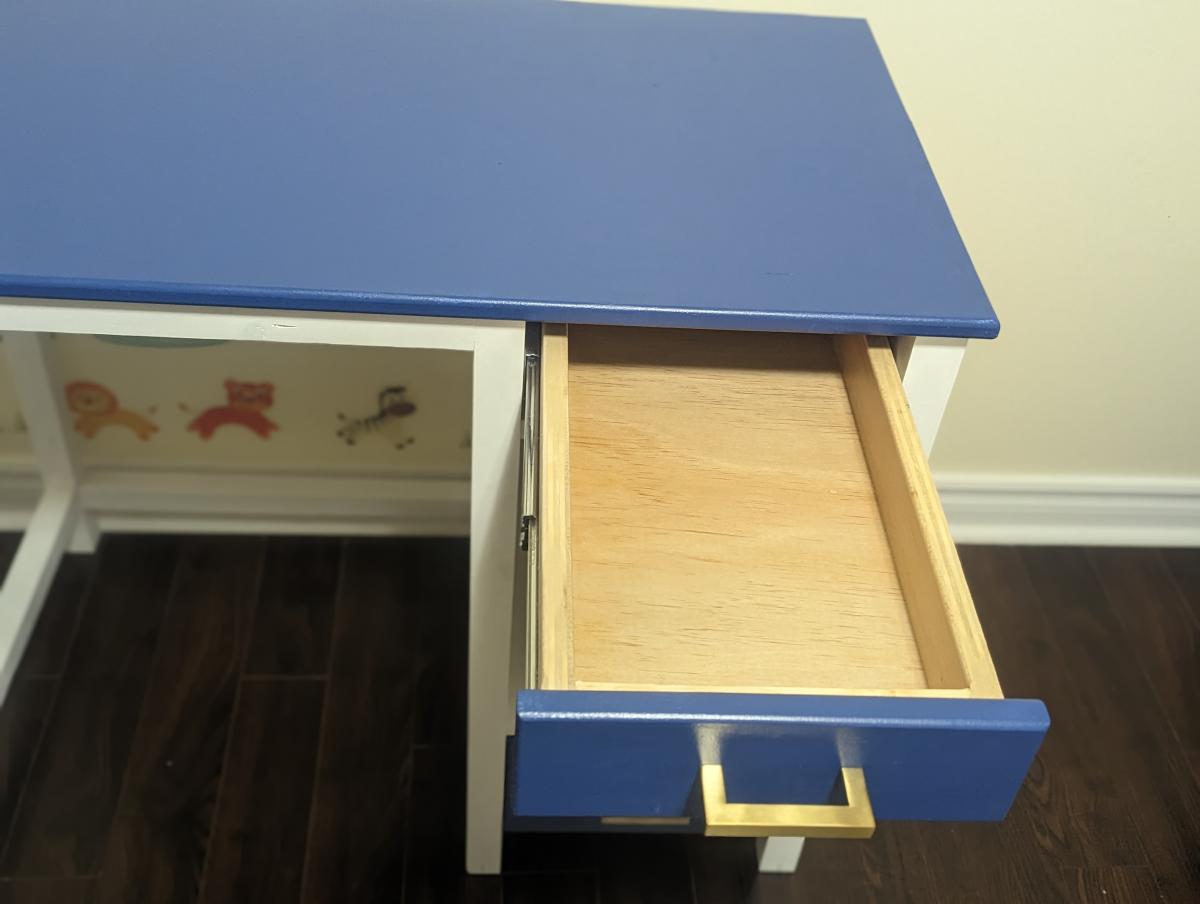
My daughter wanted a desk from a long time and this was a perfect plan!! I tweaked it a little as per our requirement and it came out be awwsome!! My daughter loves it :) Thanks Ana for the plan..

Comments

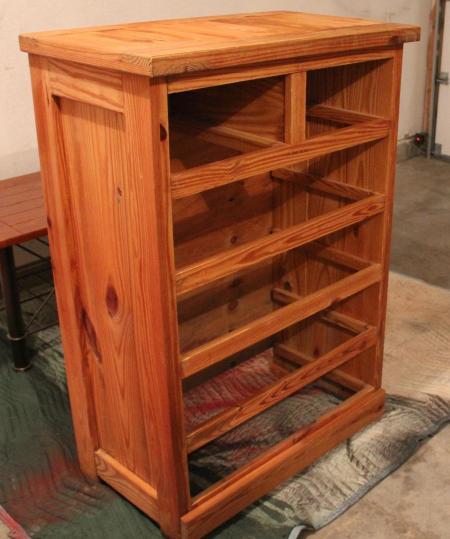
Tall Dresser

Submitted by mweir on Wed, 03/28/2012 - 20:35

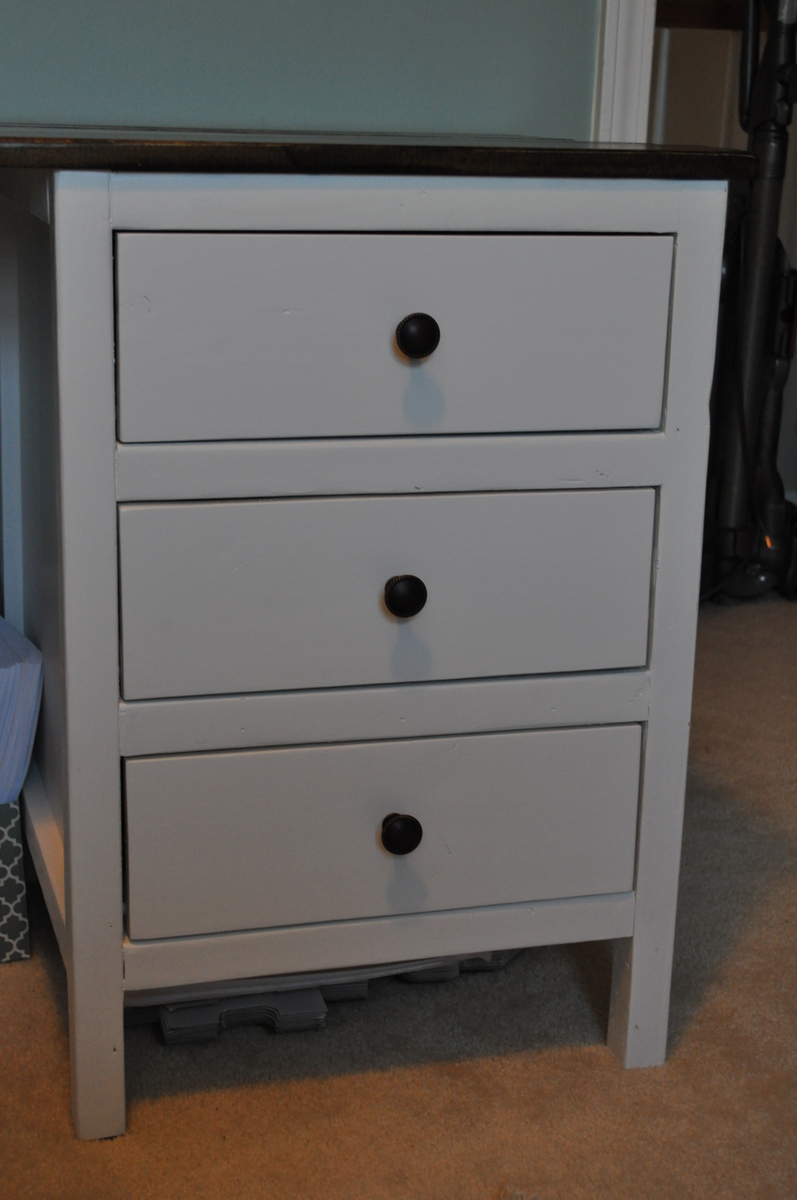
My wife Tracy and I wanted a dresser like this for one of the bedrooms in the new house. Well Tracy went to work looking for one on Craigslist and E Bay ( She is the best at hunting down a bargain). After only one day she found an add for a solid wood dresser for sale in our area. When I came home from work she let me know there was a project in the back of her vehicle for me.
I was very impressed with what she had found. This was a serious solid wood dresser. With me having a couple of days off prior to our trip to Cabo (and Tracy needing me out of her hair while she finished all the details needed for the trip) I started on this right away.
The dresser had never been finished, it was just raw wood. This was a plus for me because no stripping was needed. Just a little light sanding is all it required for prep work.
I discovered that the knobs did not match. After a quick trip to Menards the dresser was complete.
Total cost of our dresser $65.00
See more pictures at buildandsave-mike.blogspot.com

Estimated Cost
$65
Recommended Skill Level
Starter Project

Comments

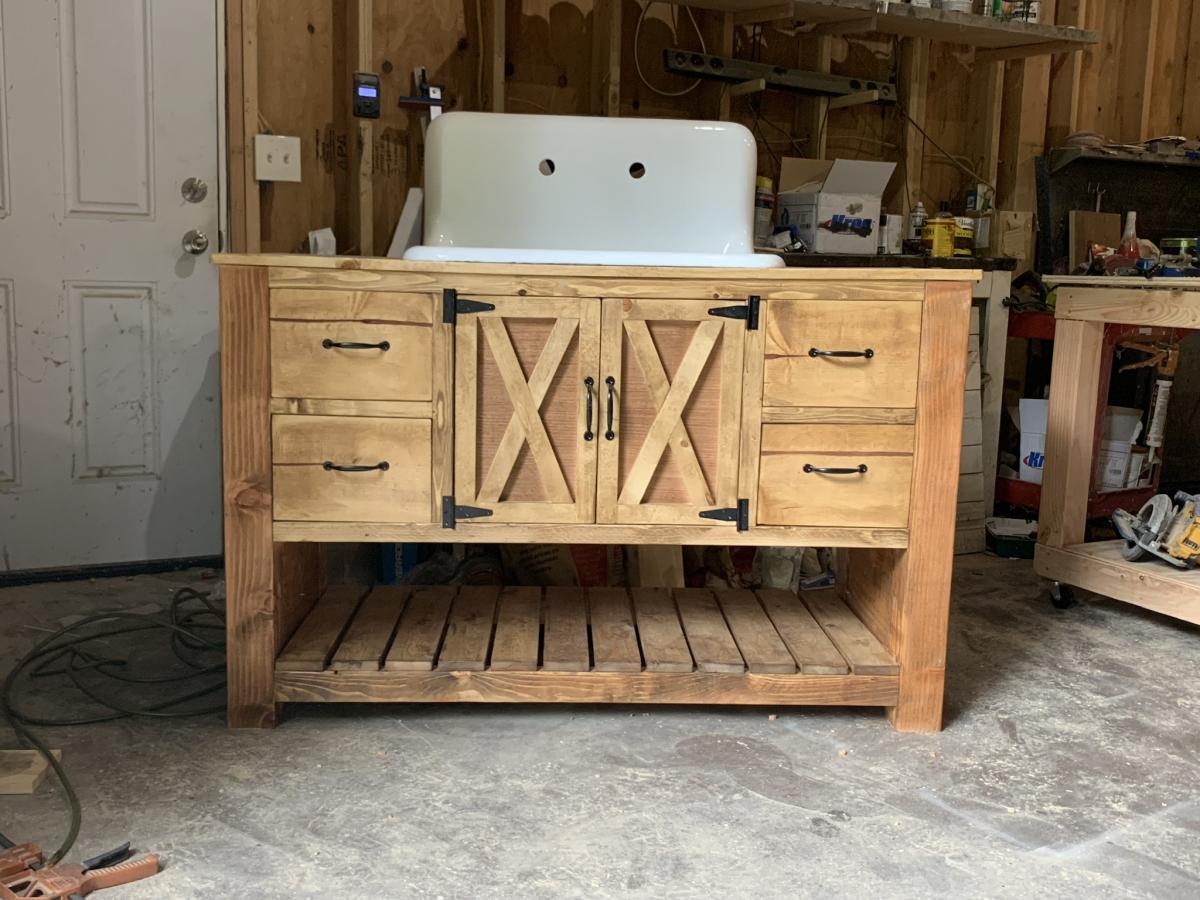
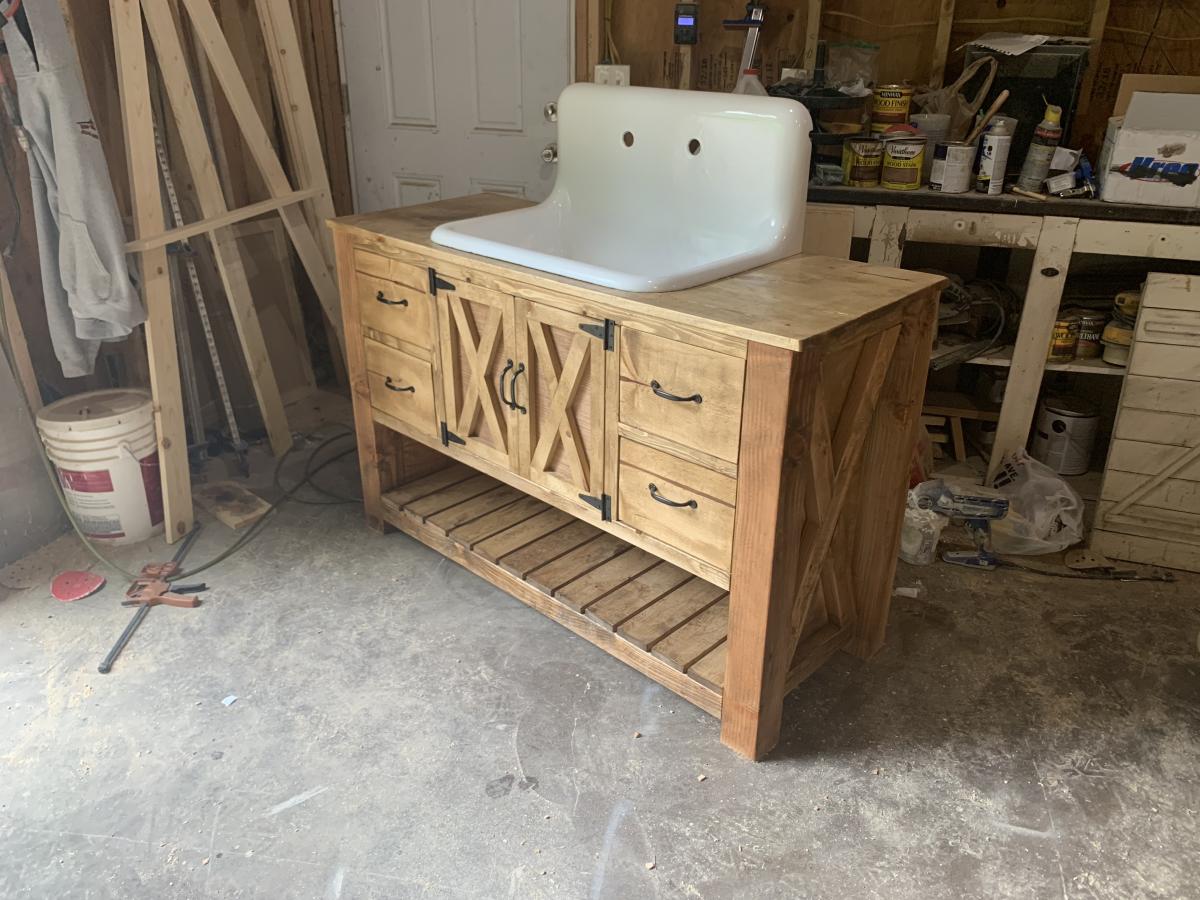
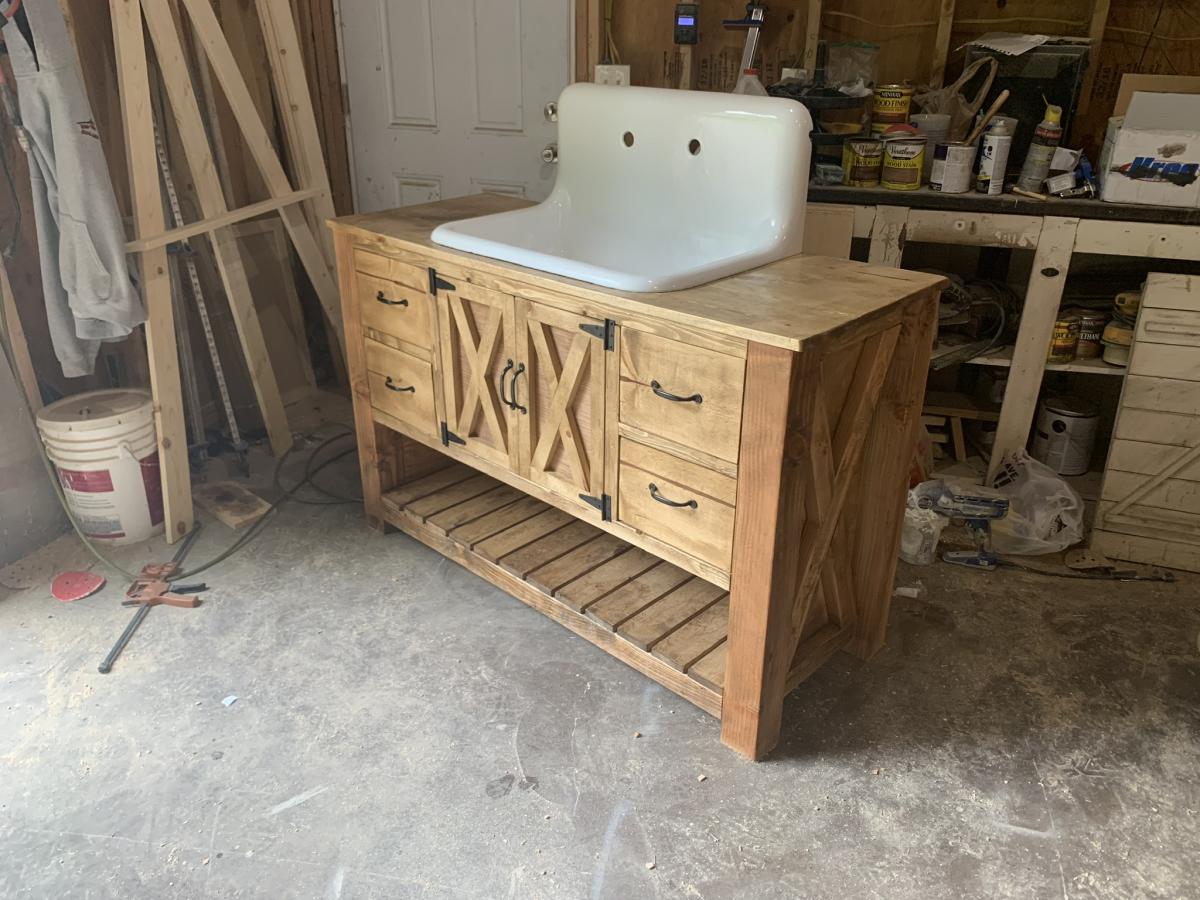
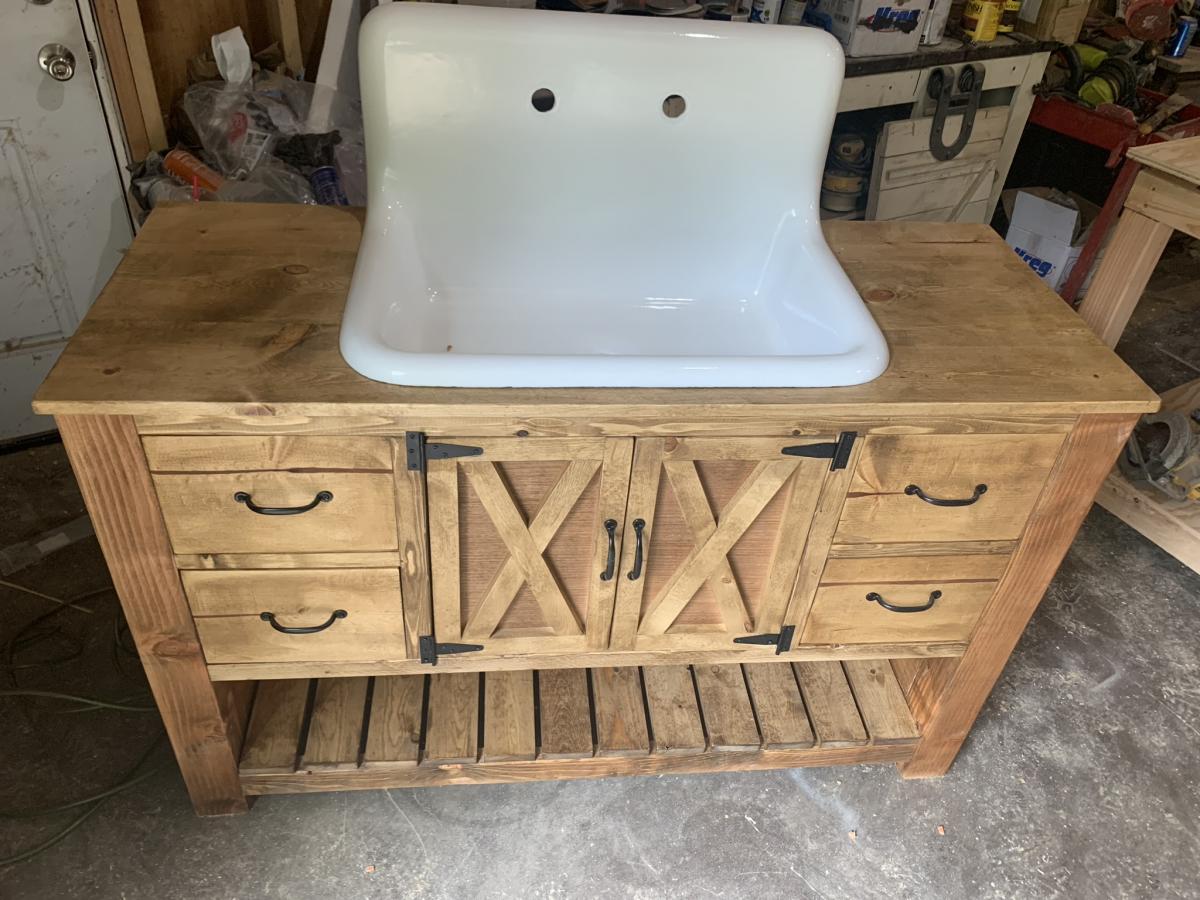
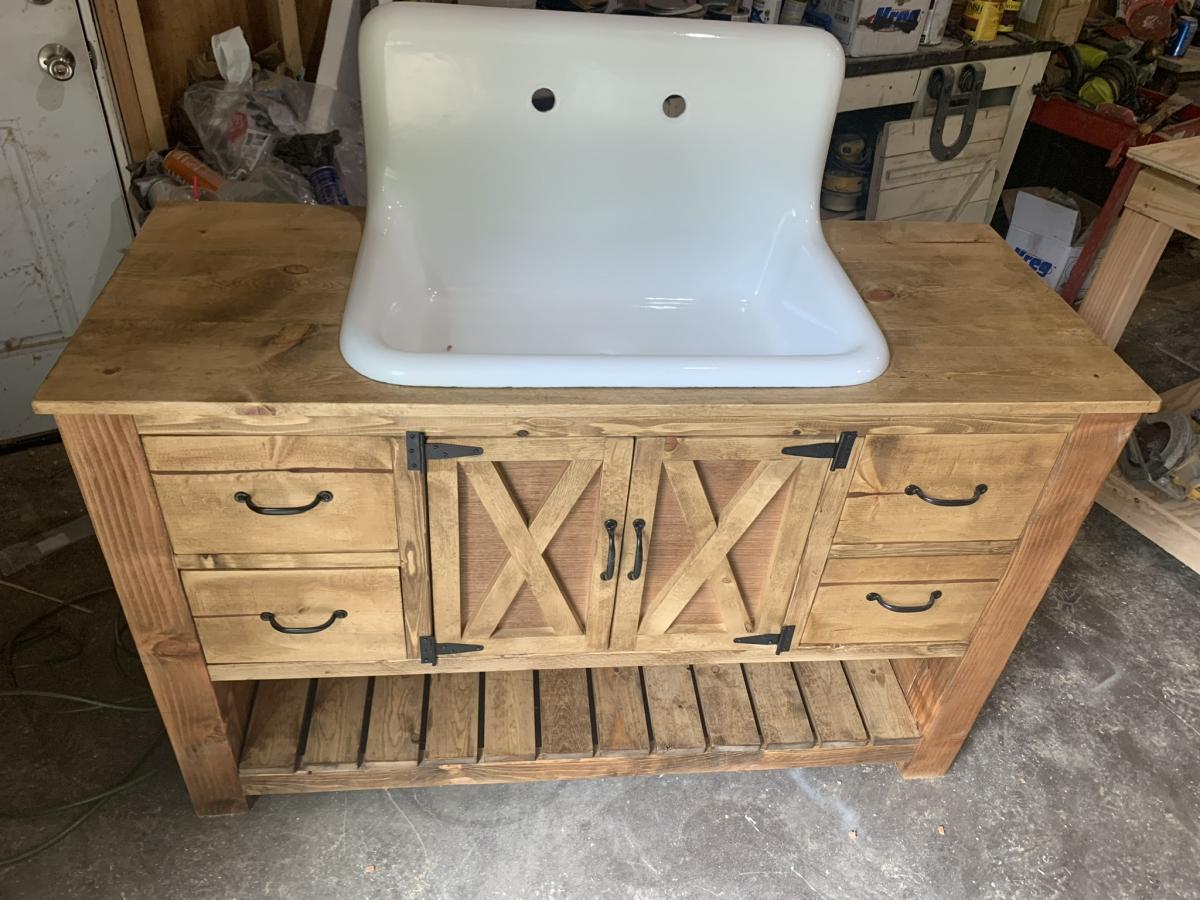
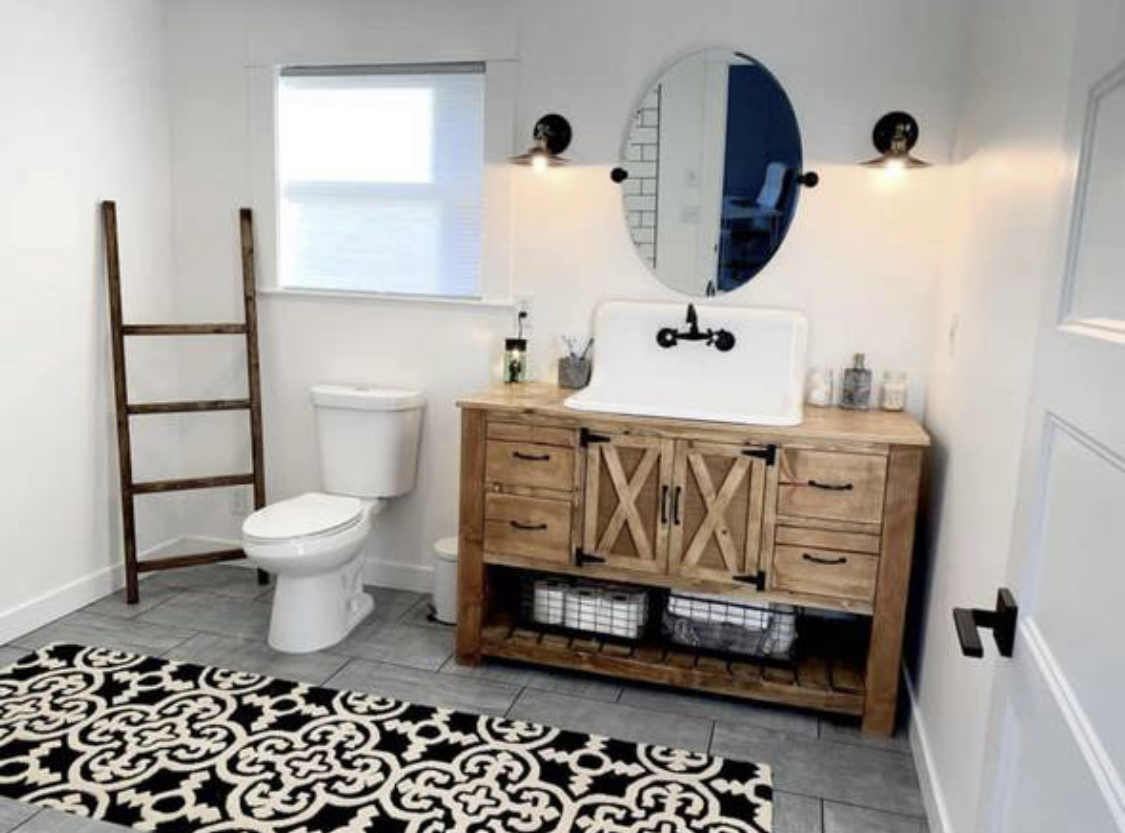
Bathroom vanity

Submitted by Anonymous (not verified) on Sun, 02/16/2020 - 21:40

Hand made bathroom vanity

Built from Plan(s)
Estimated Cost
200
Estimated Time Investment
Day Project (6-9 Hours)

Comments

kradams

Wed, 06/30/2021 - 23:28

I've been searching for WEEKS to find this vanity. I knew it existed somewhere but didn't know where. Please, PLEASE, post the plans for this. The video posted above it is for the pantry organizer. Thank you in advance!

kradams

Wed, 06/30/2021 - 23:35

What angles did you cut the "X"s at? They're cut at the top and bottom instead of the sides like the kitchen island plans show and I want to make sure that I cut mine at the correct angle. Thank you again.

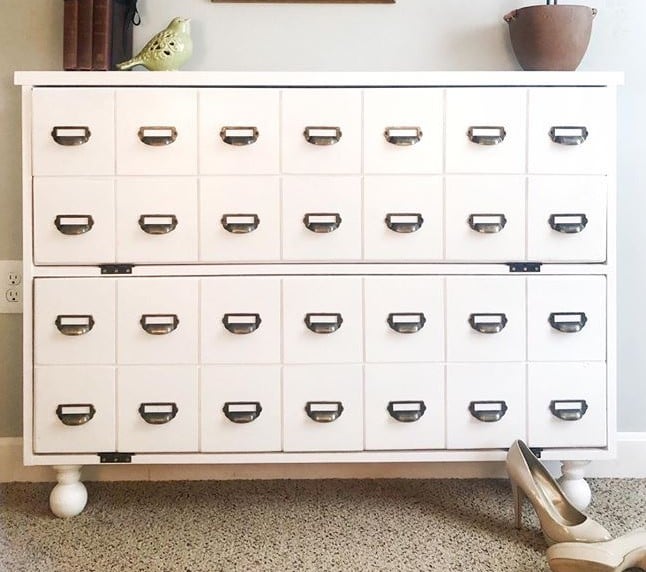
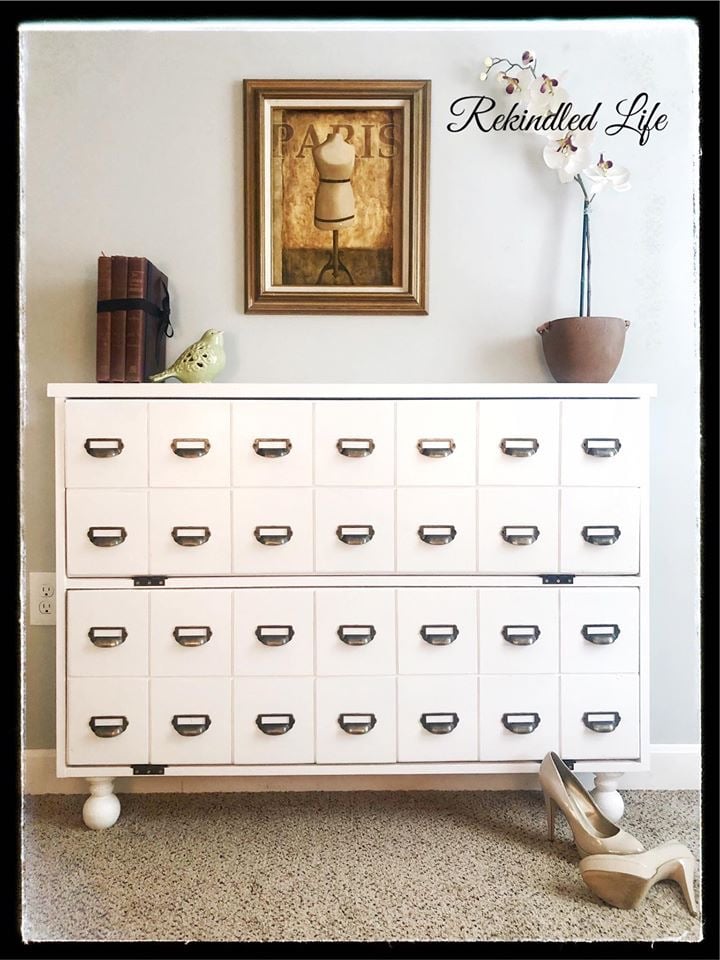
Card catalog shoe cabinet

Submitted by Anonymous (not verified) on Wed, 03/25/2020 - 15:43

I built the shoe cabinet but added card catalog handles. Also used deck railing toppers for the feet

Built from Plan(s)
Estimated Cost
$100
Estimated Time Investment
Day Project (6-9 Hours)
Finish Used
Benjamin Moore advanced

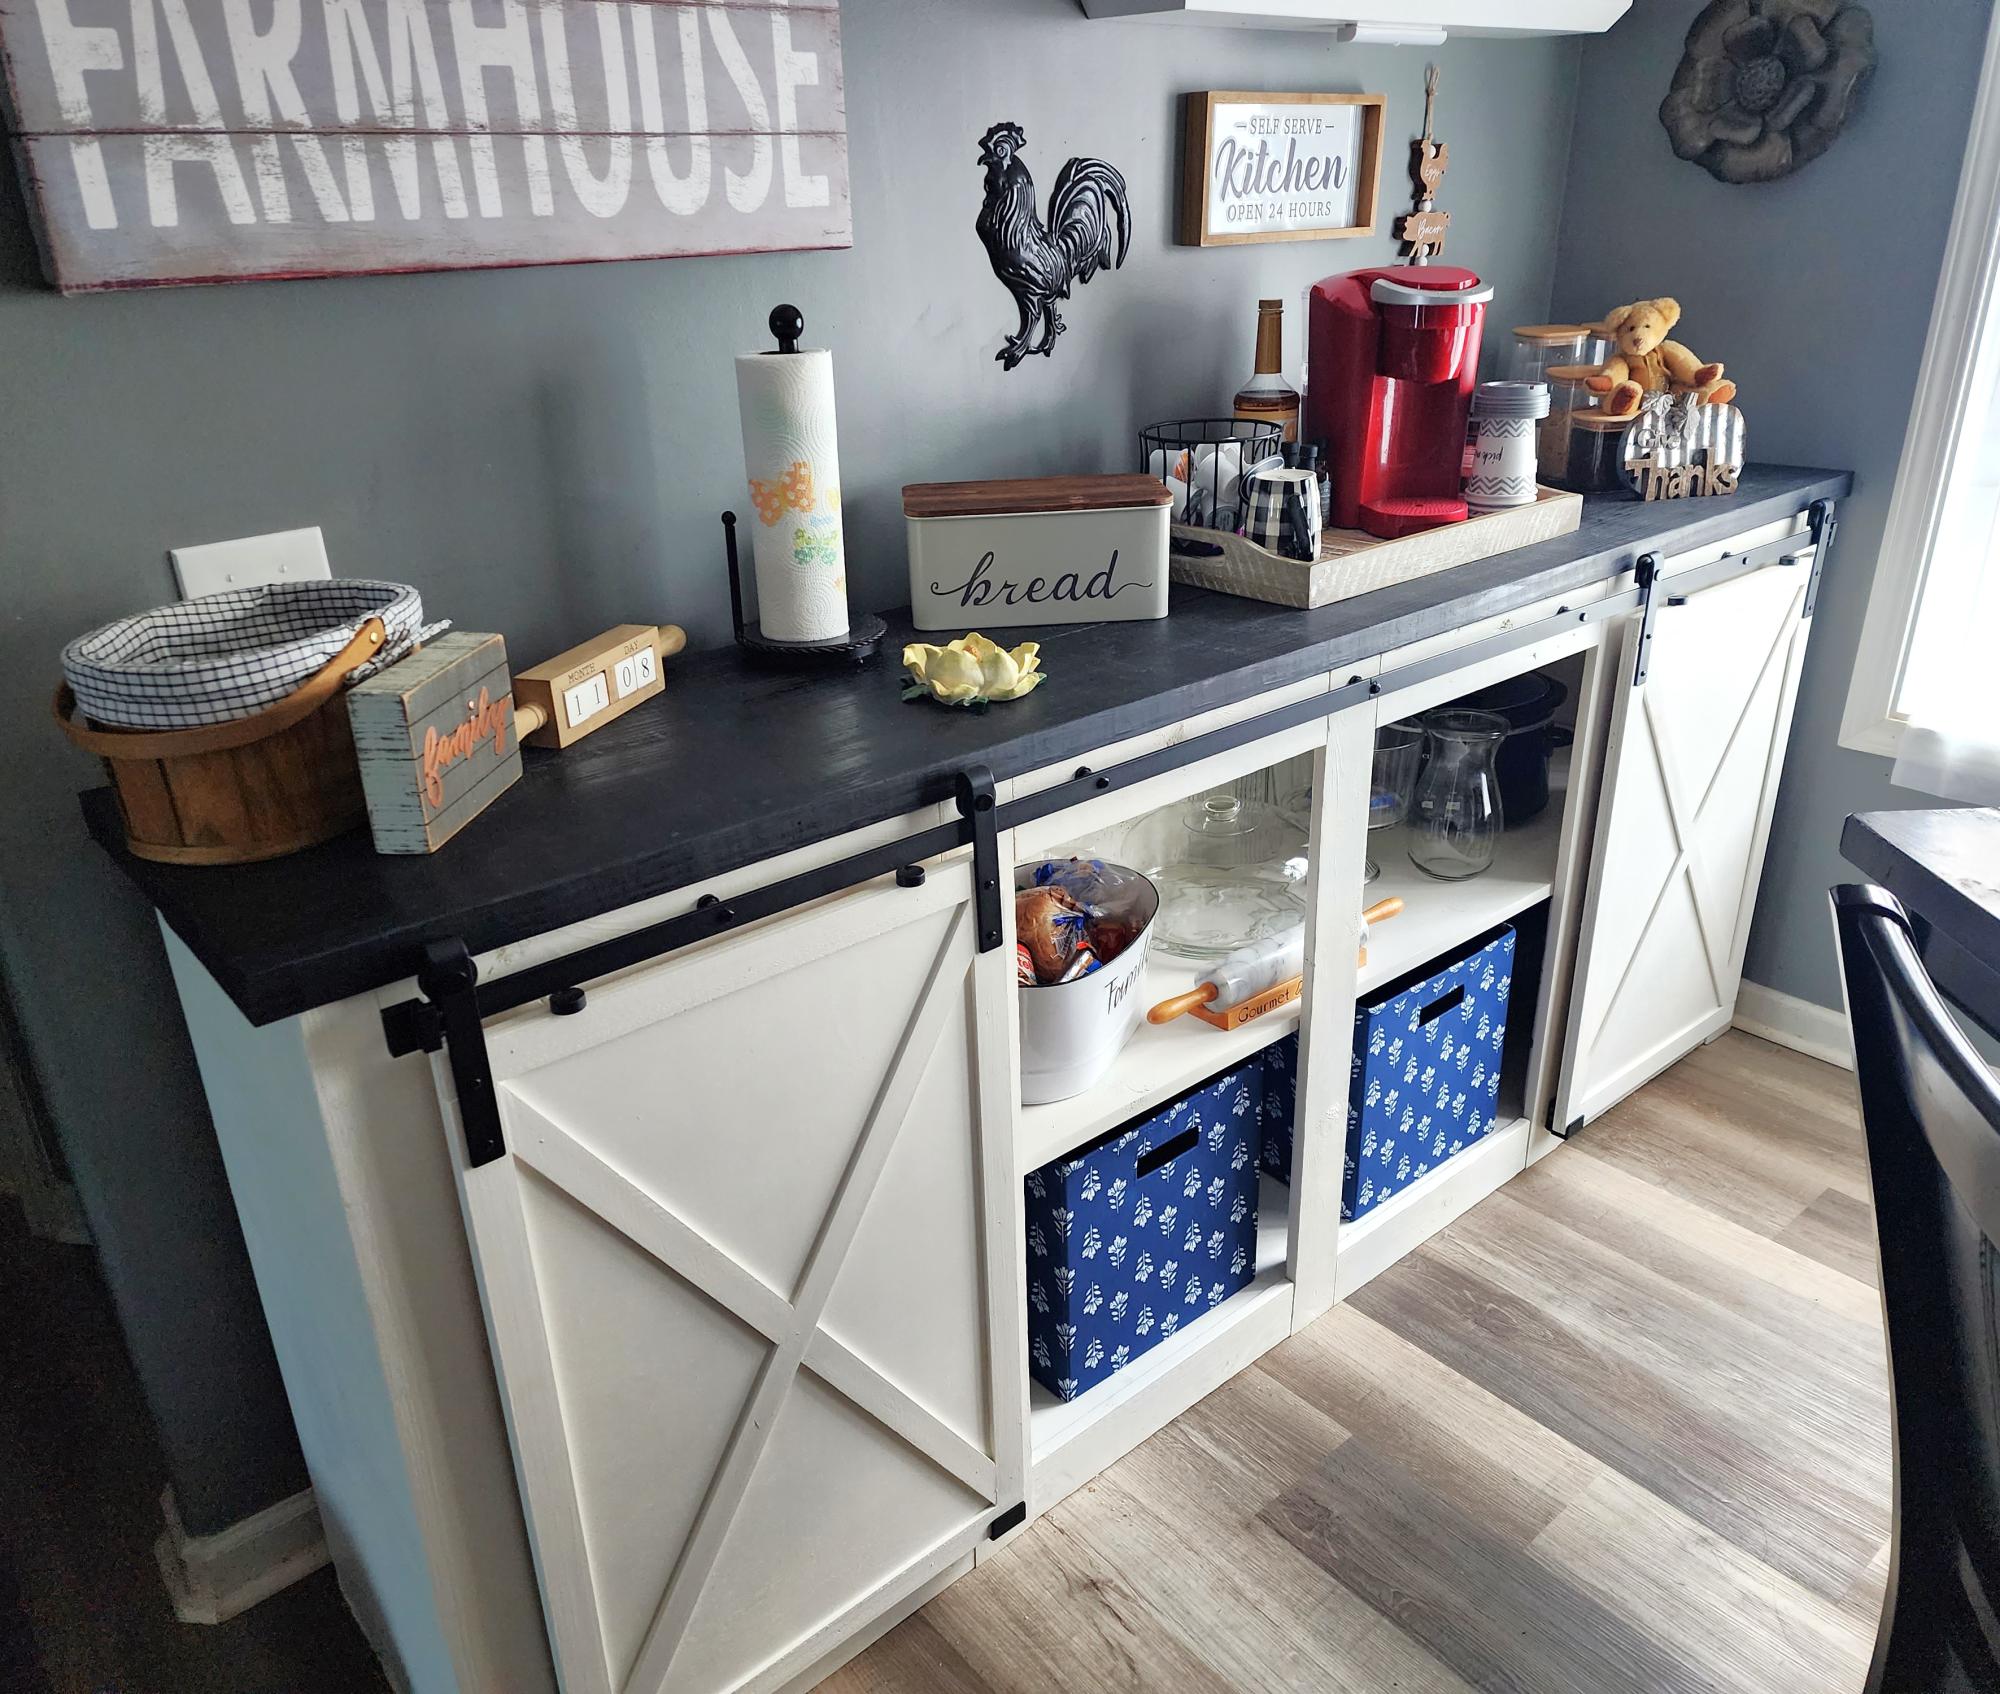
Coffe Bar Cabinet

Submitted by Anonymous (not verified) on Thu, 11/09/2023 - 11:45

Barn door console I turned into a coffee bar. Great storage space. Love the way it turned out.

Dee

Comments

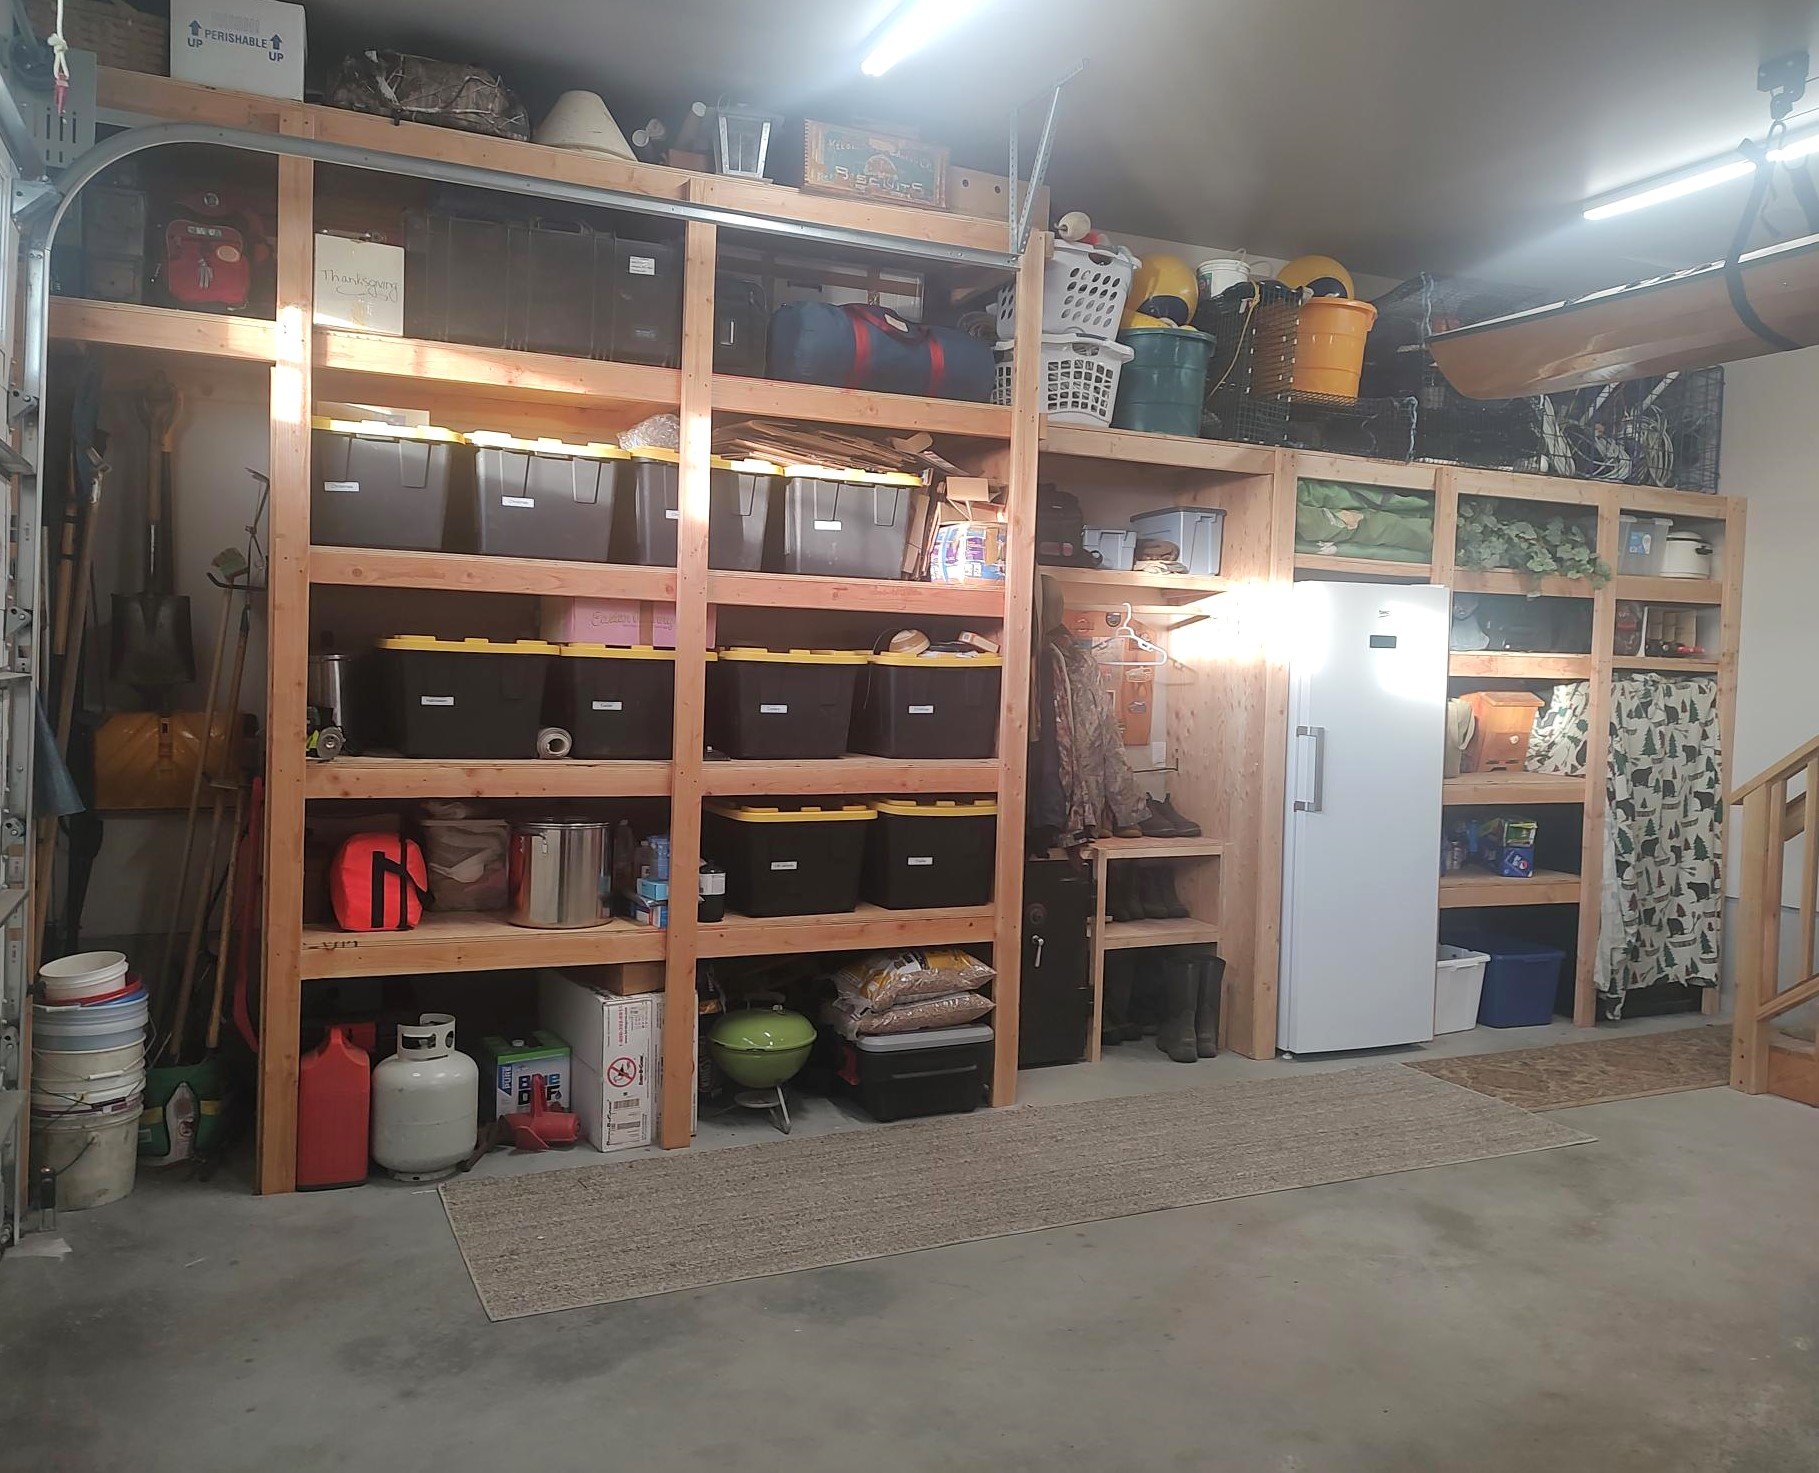
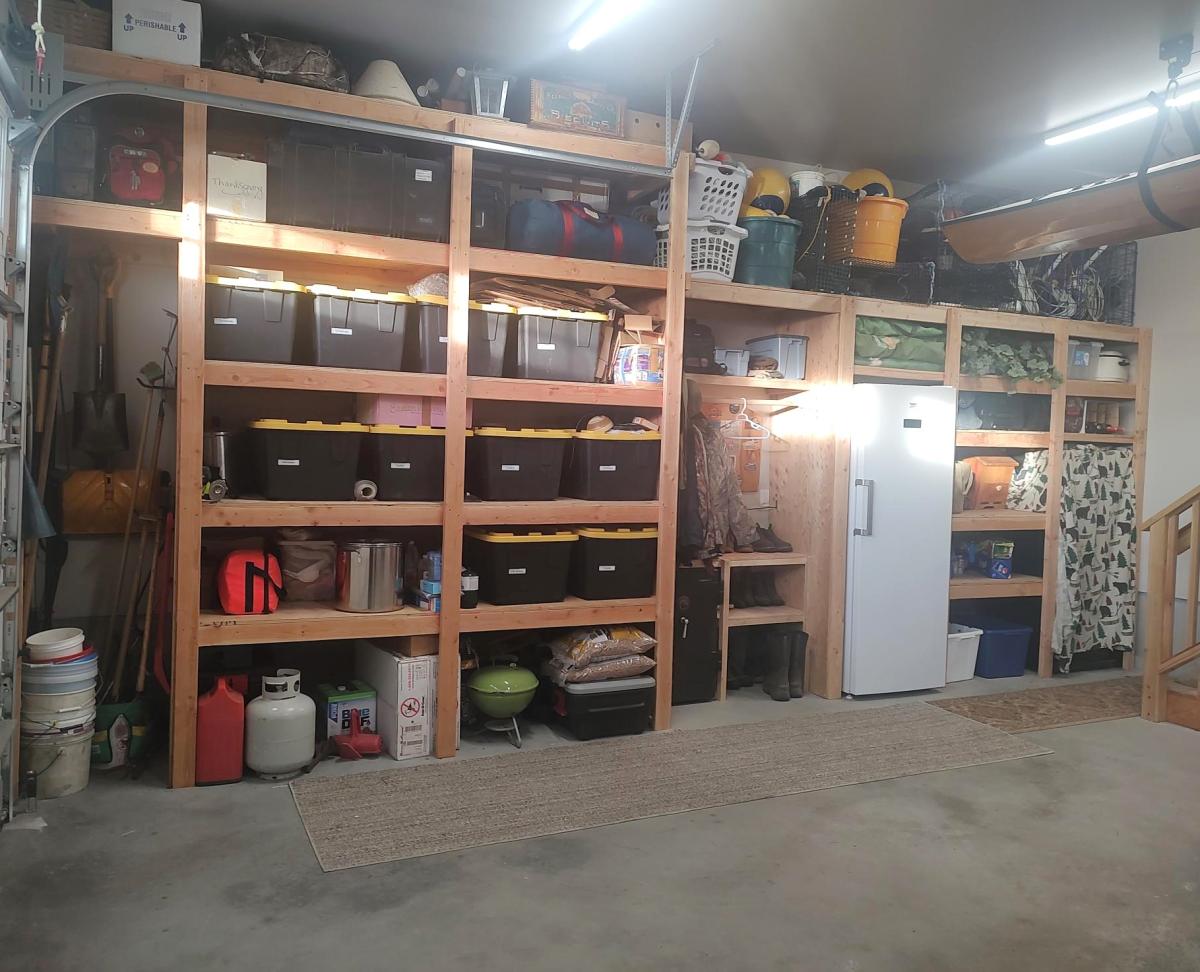
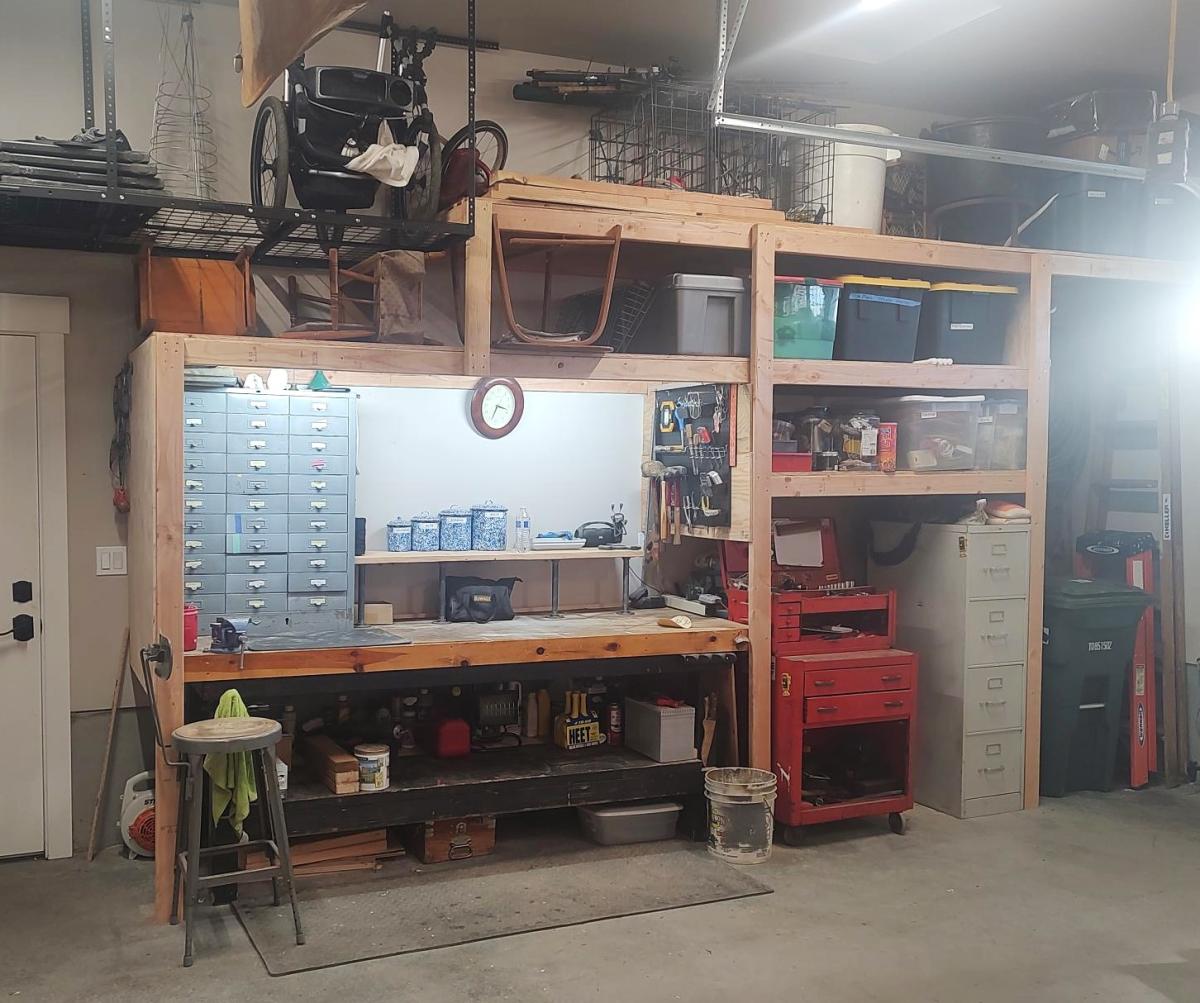
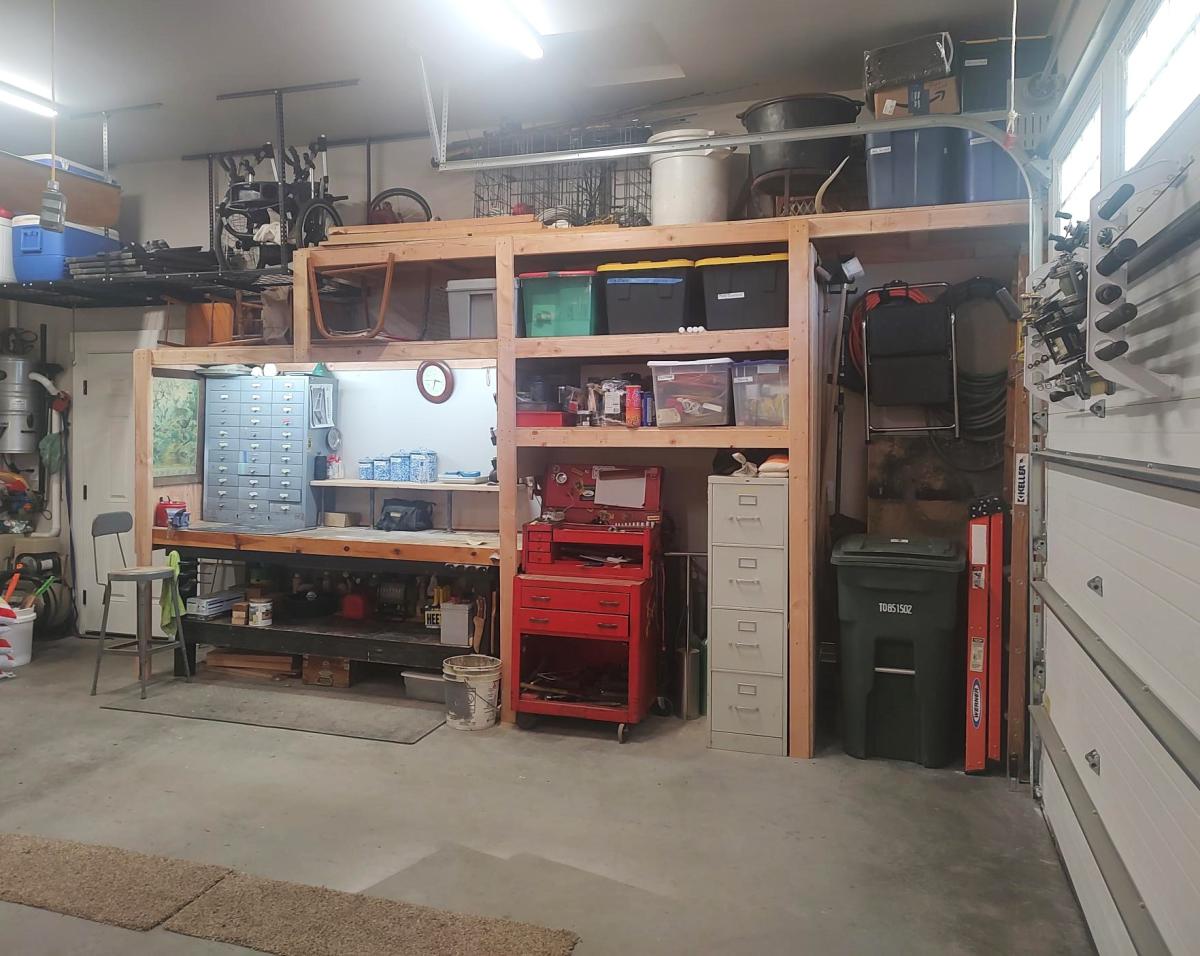
Custom Garage Shelves

Submitted by Anonymous (not verified) on Tue, 01/16/2024 - 17:19

I just finished shelves on both sides of my garage using your video.  I built a coat rack and boot rack.  I also made space for tall items like tools and ladders near the garage door.  I had to also build in a gun safe, freezer and my work bench.  Everything came together and now I have everything in bins on shelves. 

Gary Hoffman

Kids Tree Fort

Submitted by Anonymous (not verified) on Sun, 05/31/2020 - 09:27

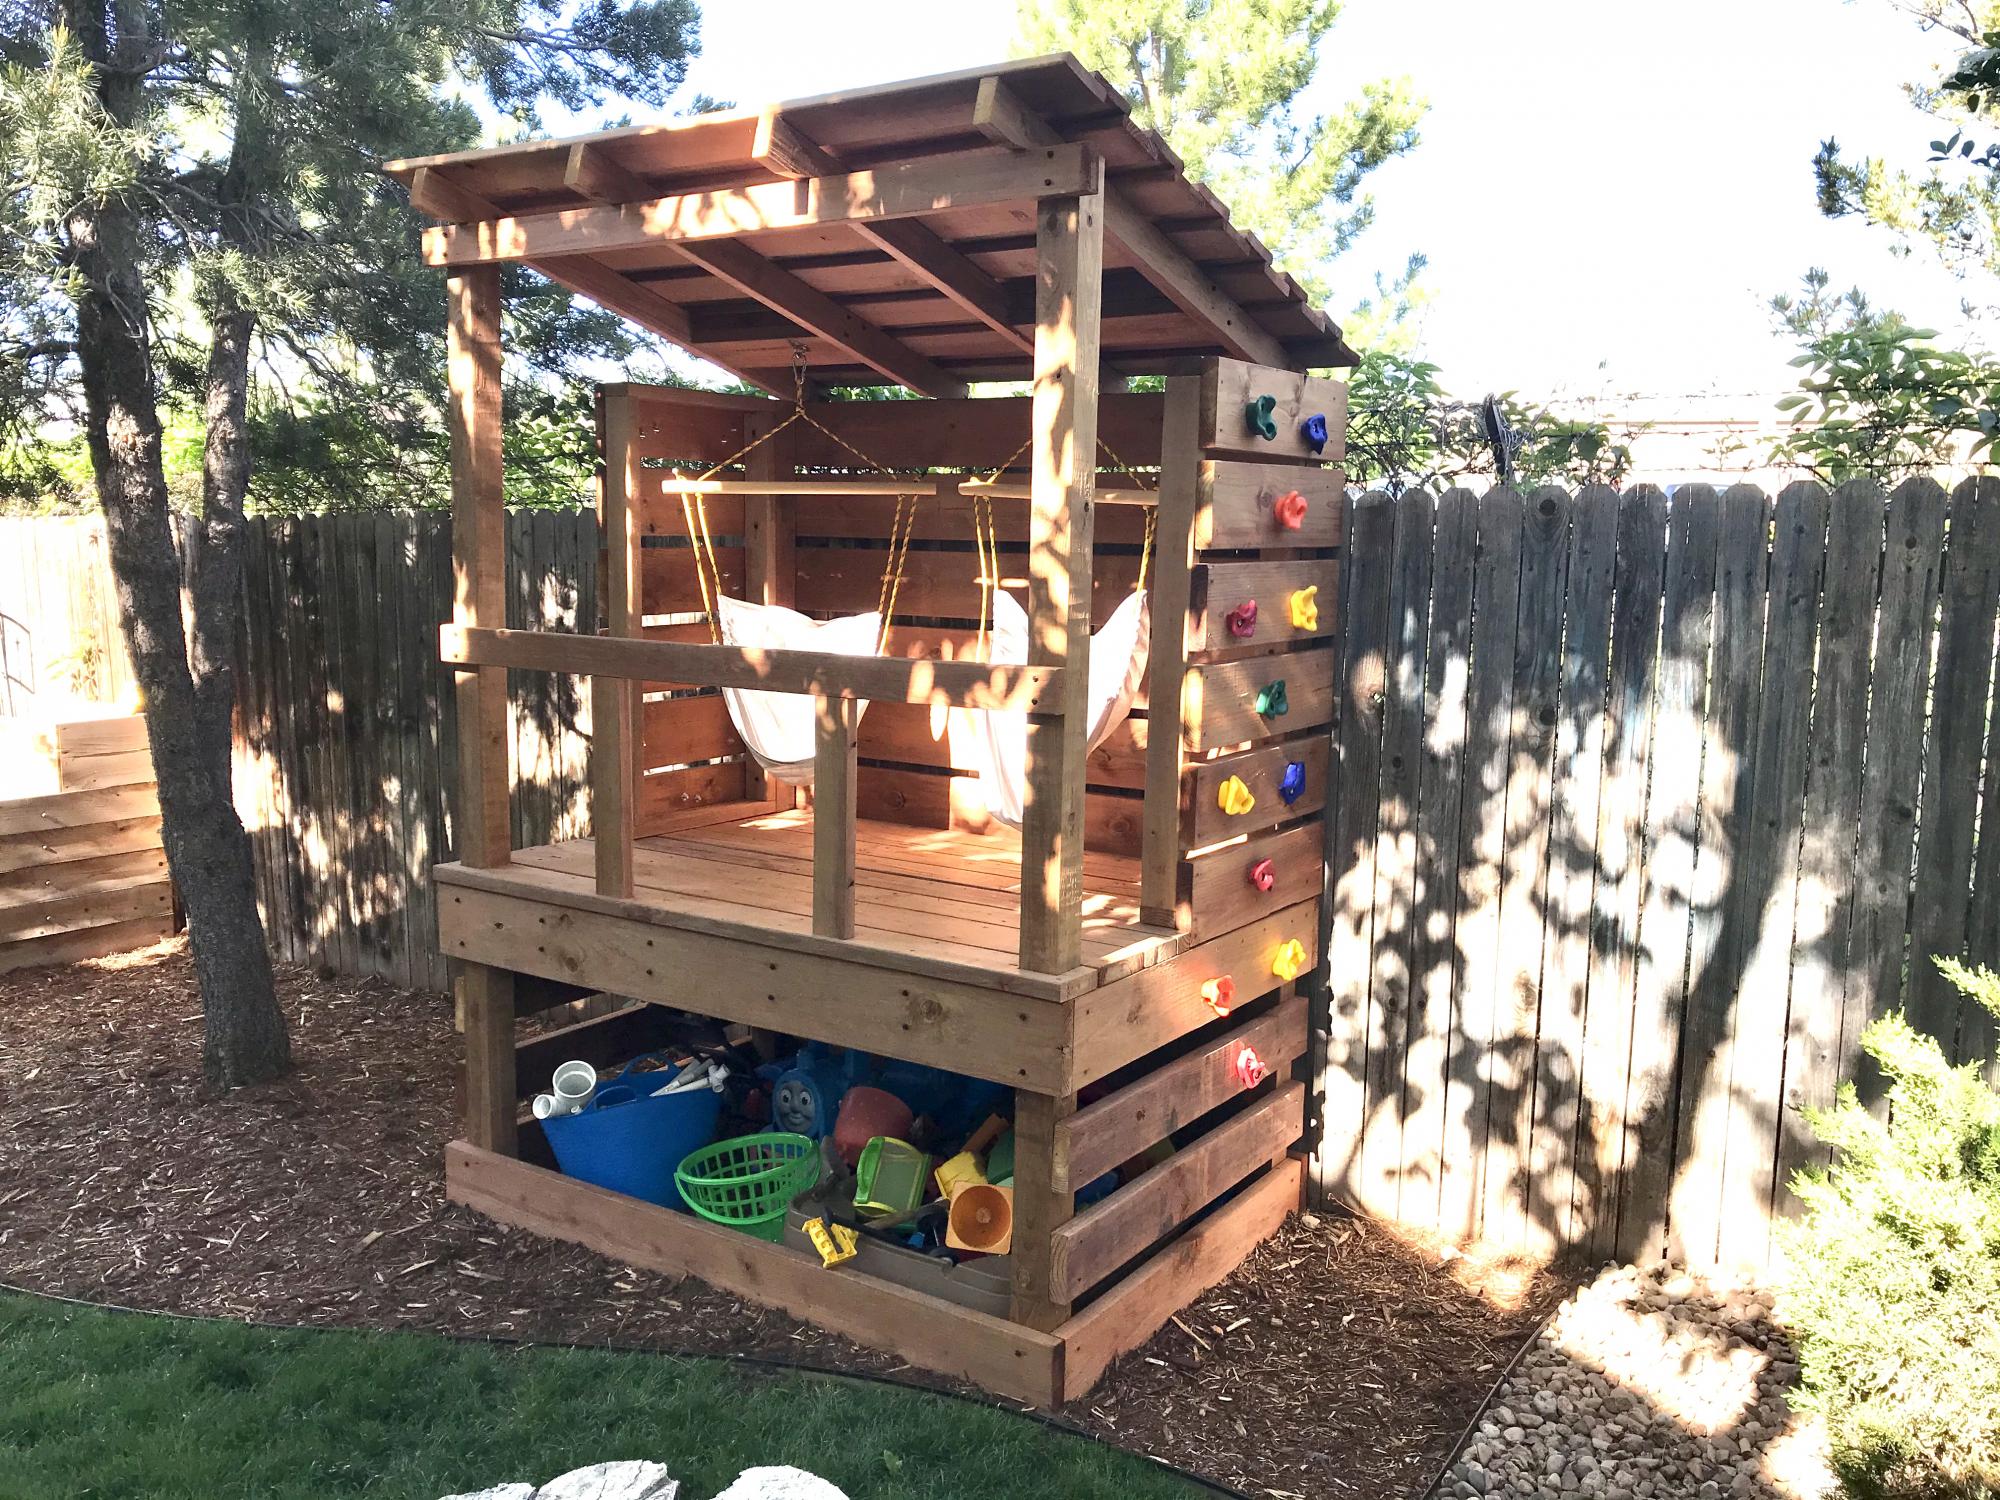
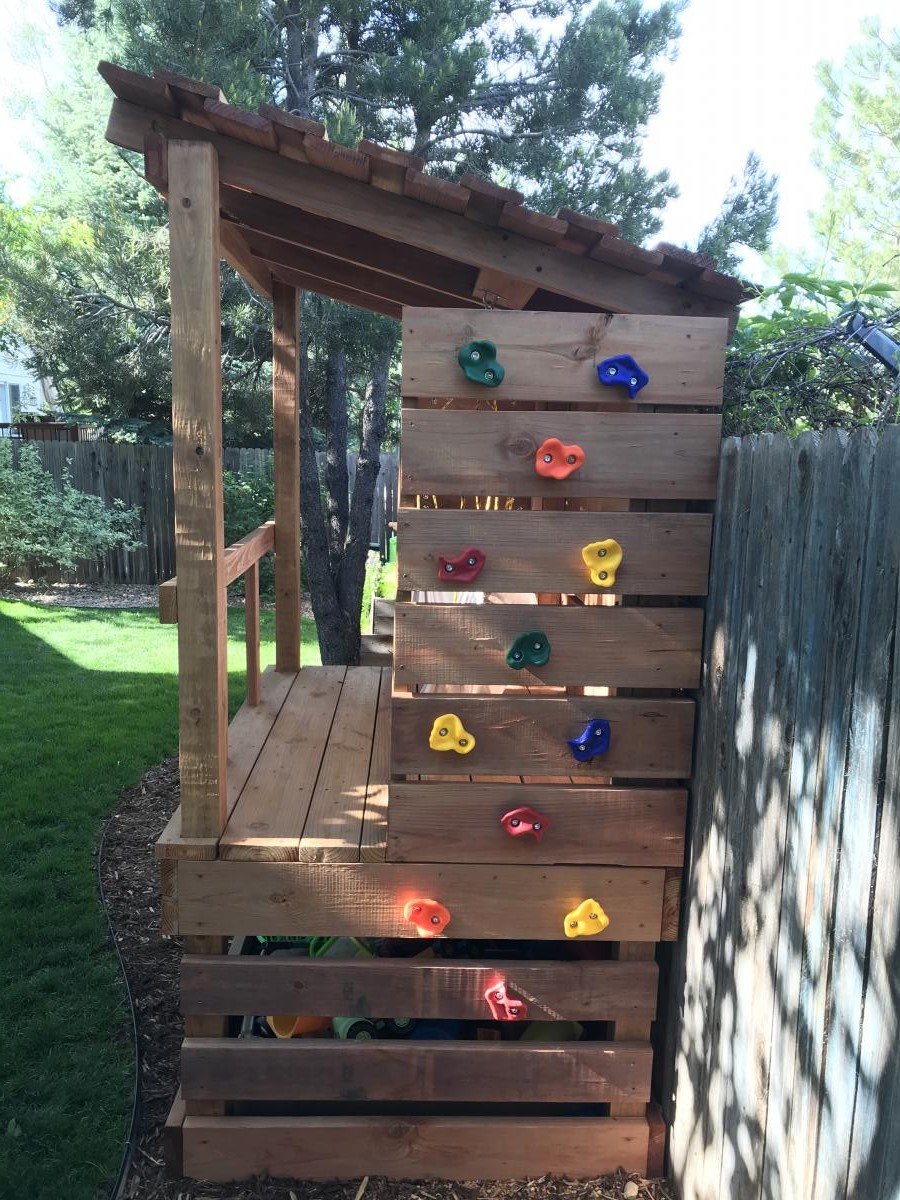
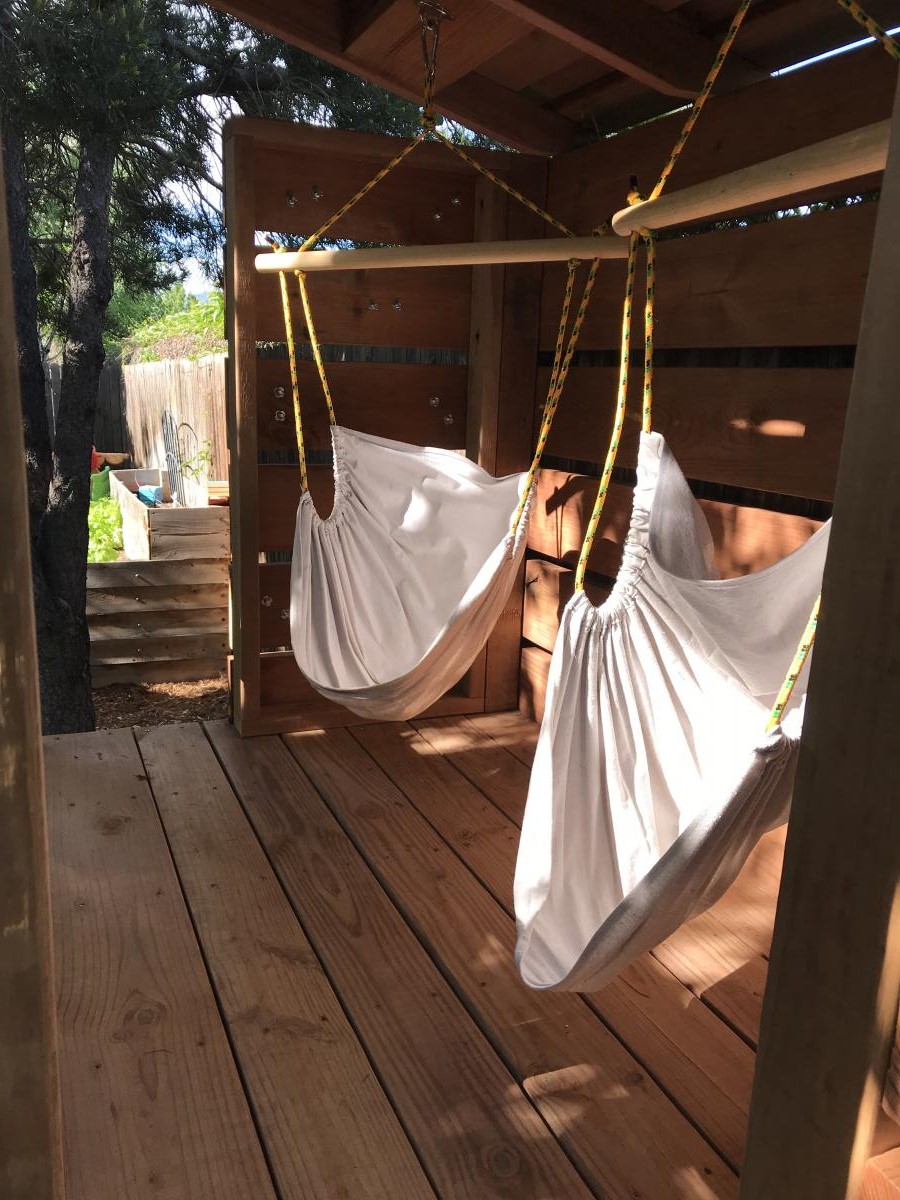
Built a fort for the boys with two climbing walls, a spot for their toys, and added some hammock swings

Estimated Cost
~$600
Estimated Time Investment
Week Long Project (20 Hours or More)
Finish Used
No stain, left natural
Recommended Skill Level
Advanced

Simple Outdoor Bench

Submitted by coolove on Sat, 05/24/2014 - 21:24

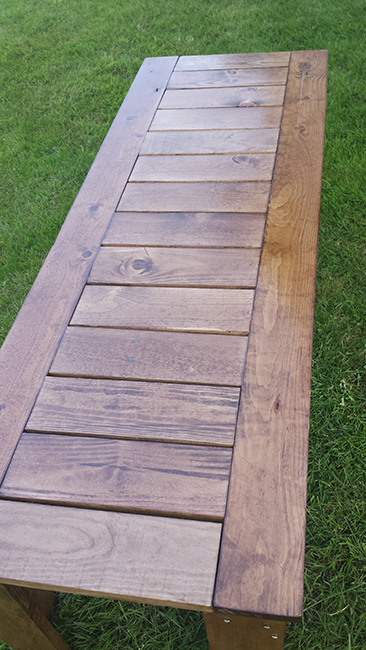
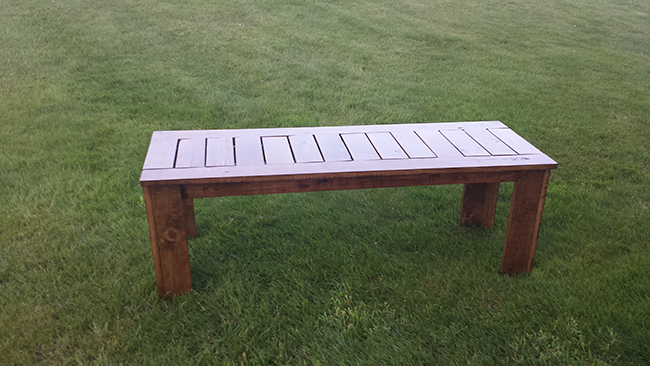
I wanted to make something for my mom so she could have a place to grow her herbs this year on the balcony for easier access instead of planting in the backyard. The project was stretched over a few days. Cutting on day one, sanding on day two, painting on day three and drilling and putting it together on day four.

With the exception of the legs, the entire bench was put together using the Kreg Jig mini. I added extra 1x4s to the legs. Though, next time I will change to either 2x4s or 4x4s for extra stability when sitting. I really love how it turned out. I almost don't want to put it outside.

Built from Plan(s)
Estimated Cost
$30 for wood
Estimated Time Investment
Weekend Project (10-20 Hours)
Finish Used
Varathane Dark Walnut and Cabot Semi-gloss Spar Varnish. The finish had been sitting in my garage unmixed for a few months. It came out a lighter color then I expected but I love the outcome.
Recommended Skill Level
Beginner

Comments

lbadger

Wed, 11/25/2015 - 16:28

I love how your bench came out! I am looking at doing something similar - two in sectional arrangement to use as project/work space seating and convert to spillover sleeping area (the table will lower to bench height). I have a question about stability.Even with the additioanl 1x4 are you finding this bench not very stable?

thanks!

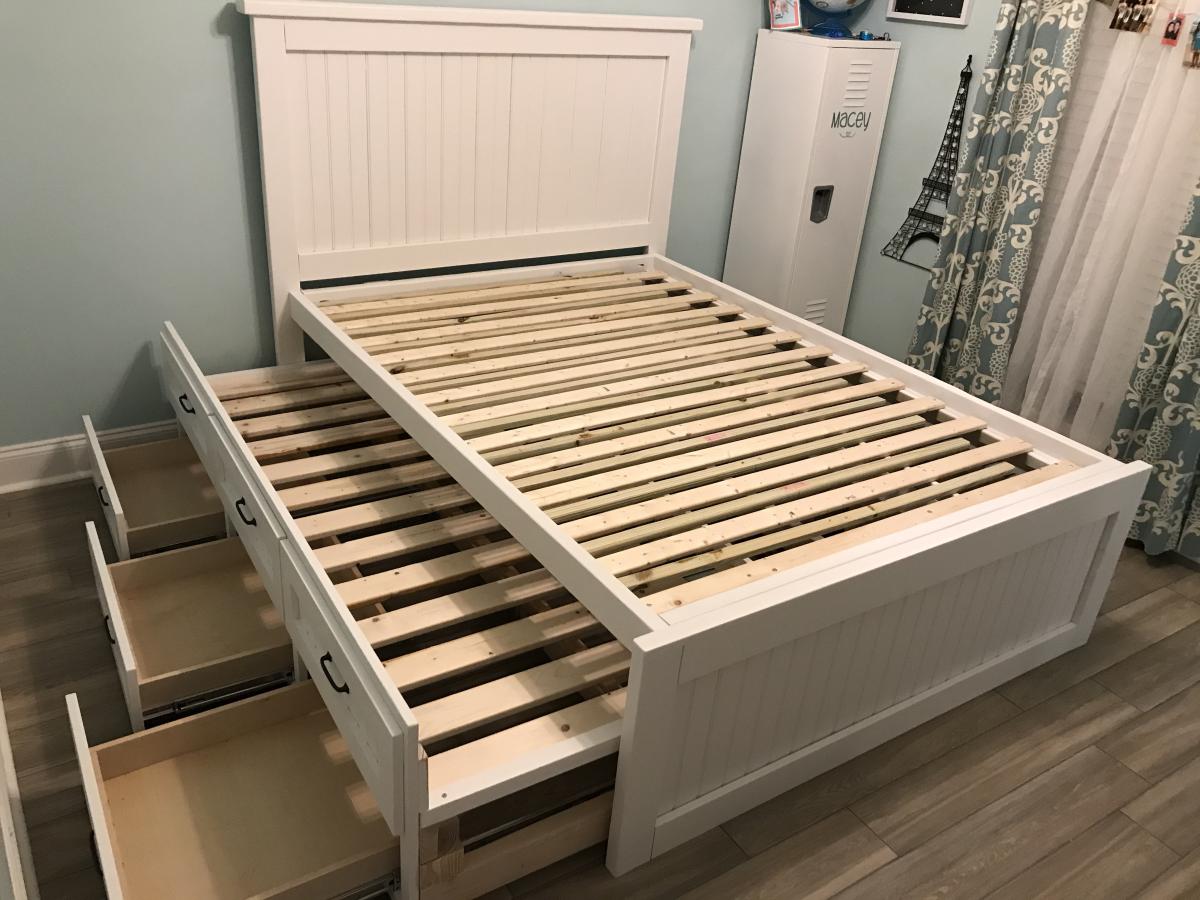
Full size storage bed with trundle

Submitted by ellehcim88 on Fri, 08/14/2020 - 15:14

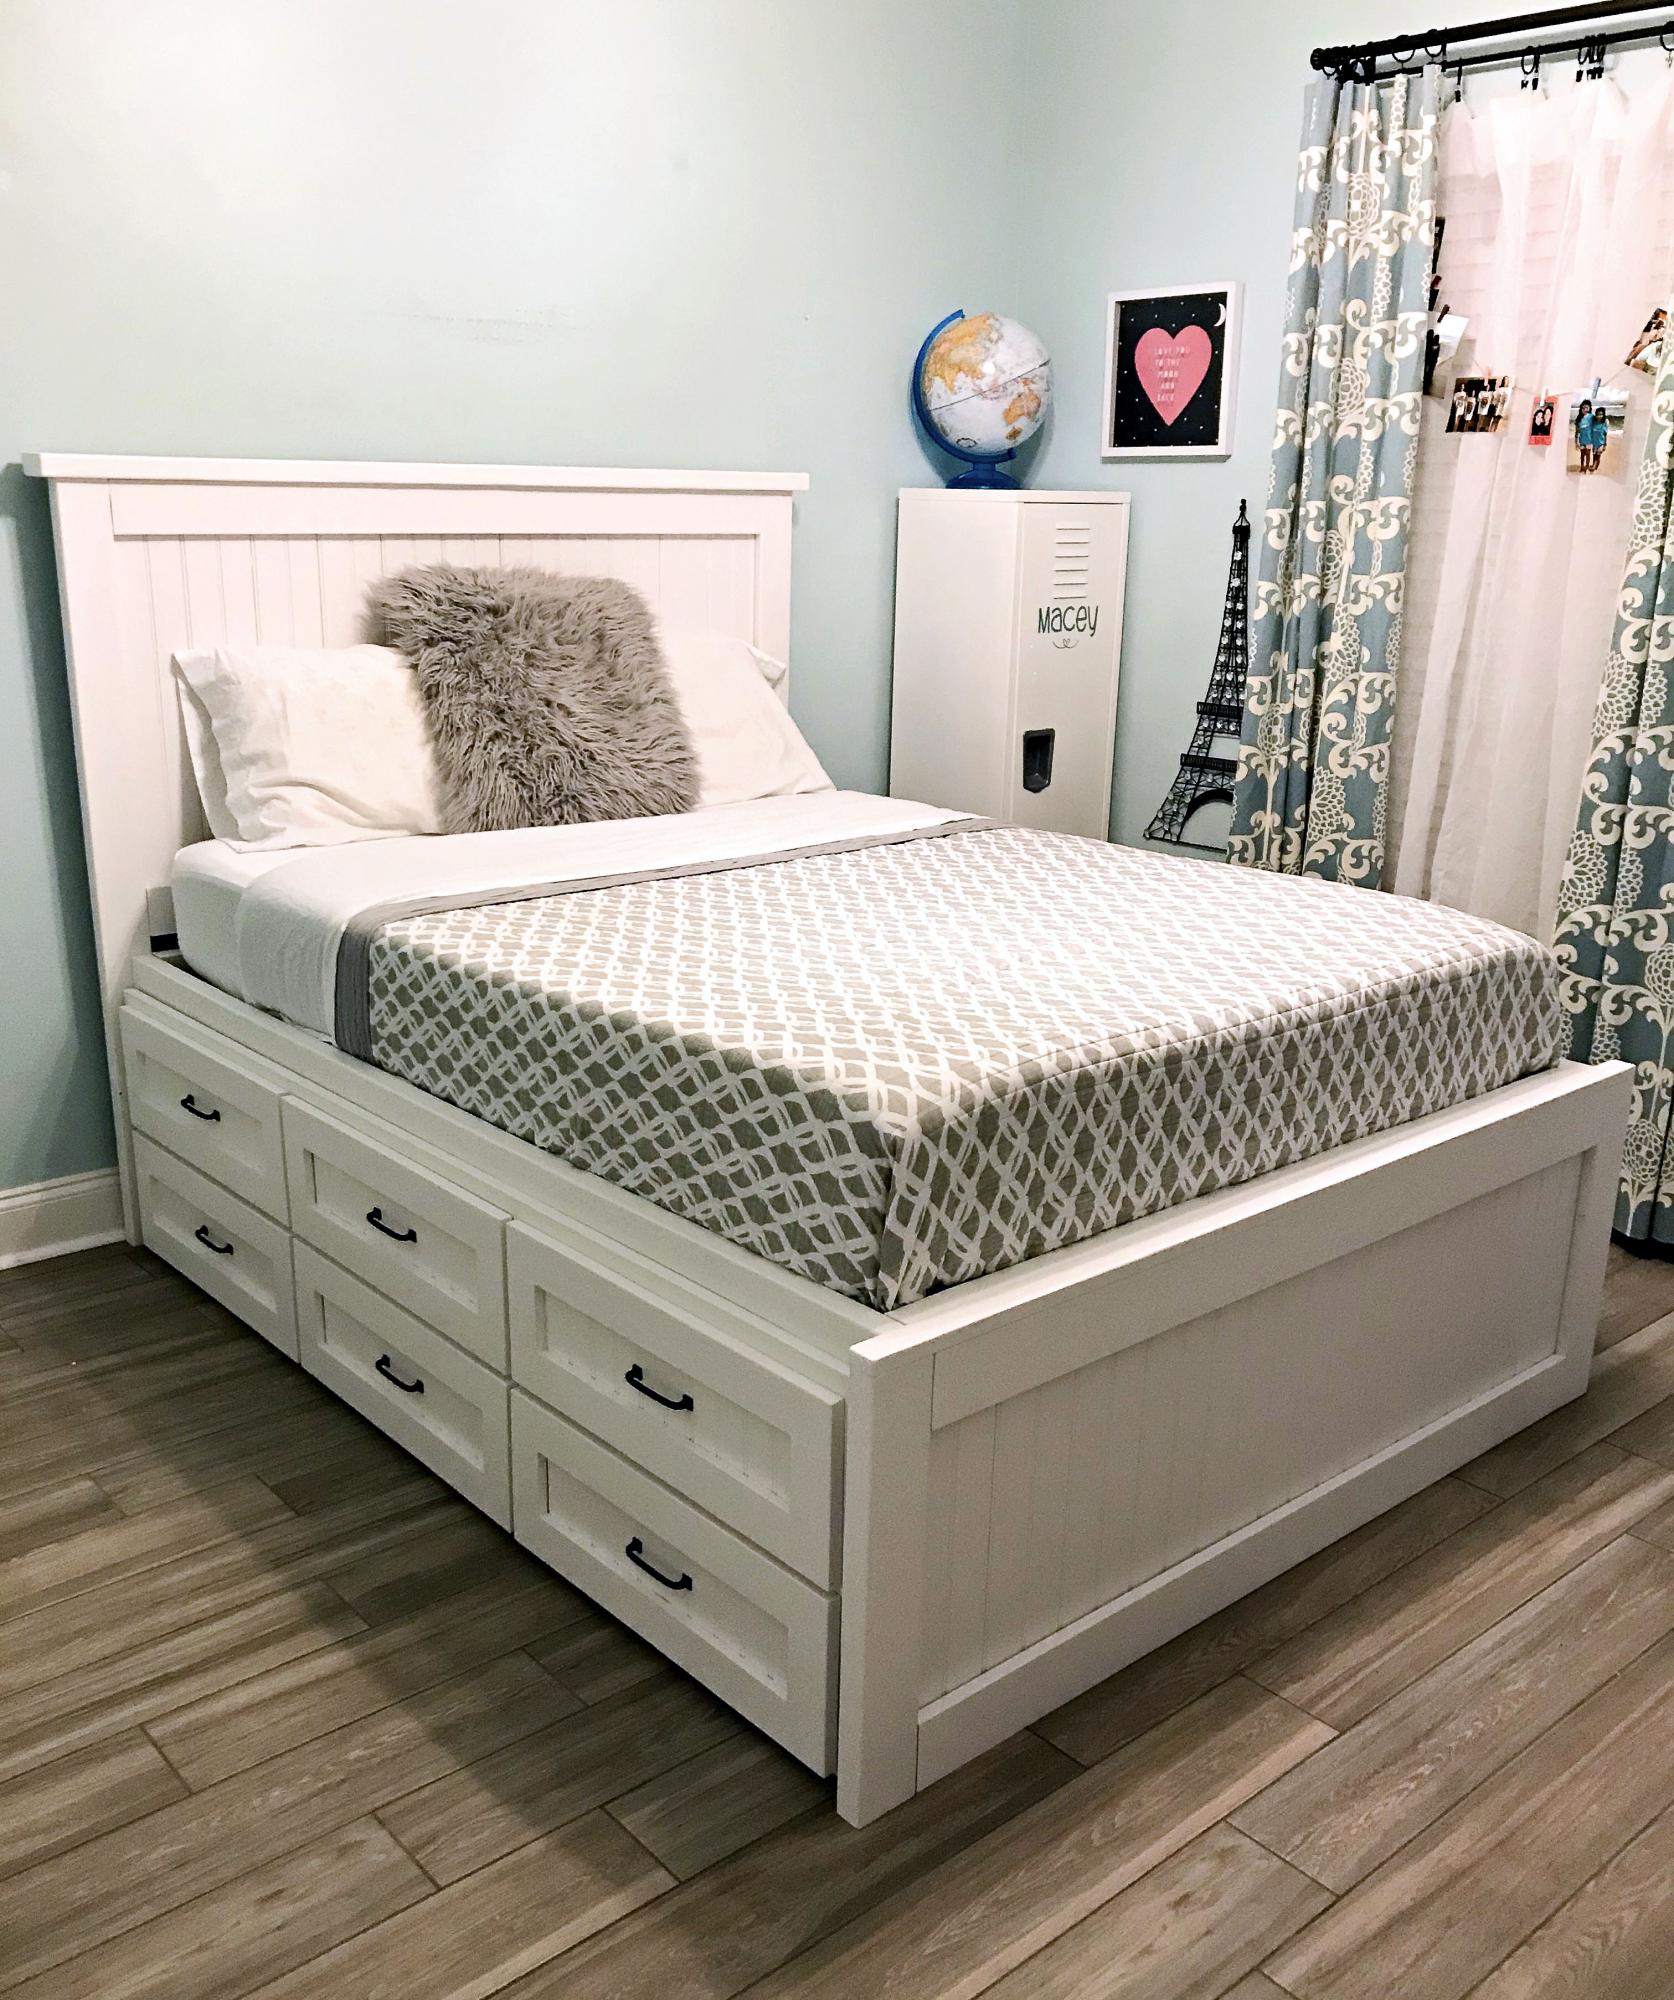
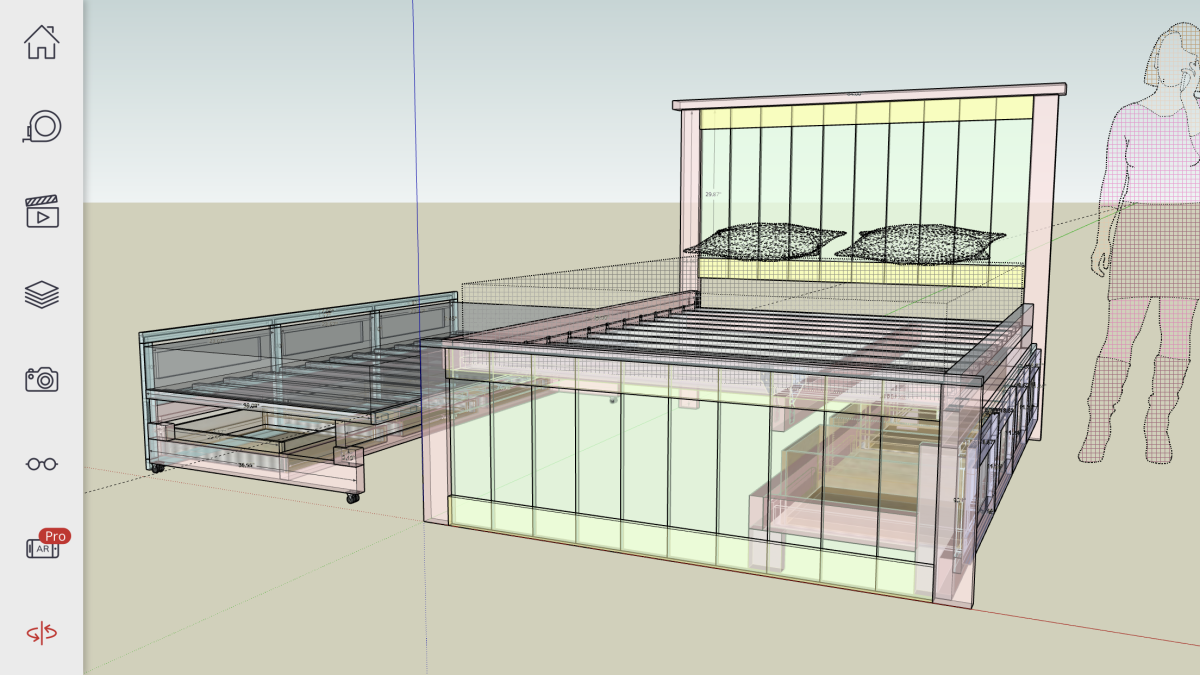
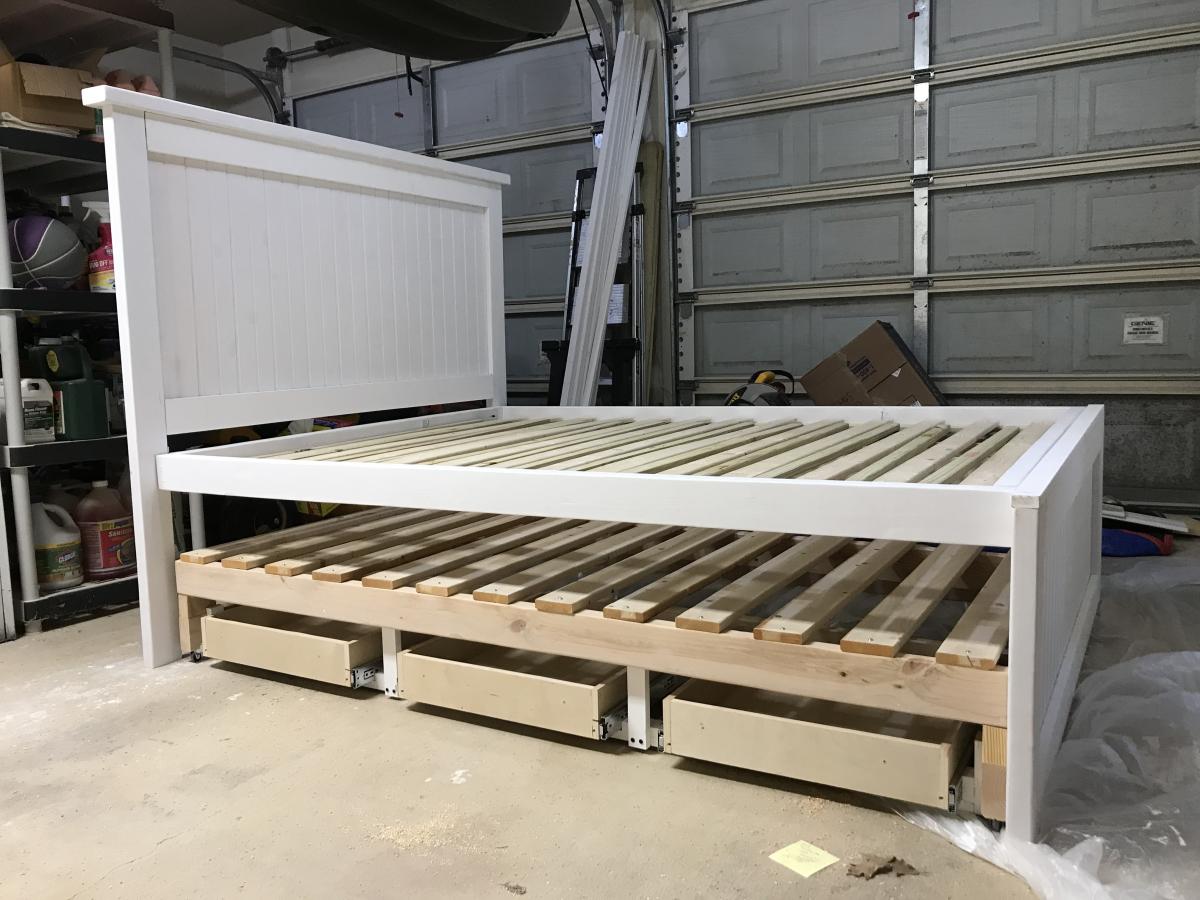
Full size storage bed with trundle. Three drawers and a trundle on one side and four drawers on the other. I started with the farmhouse design (headboard and footboard) and modified it to make it not so heavy and I designed the rest using SketchUp. See more photos in blog link.

Built from Plan(s)
Estimated Cost
$1000
Estimated Time Investment
Week Long Project (20 Hours or More)
Finish Used
White satin finish latex paint
Recommended Skill Level
Intermediate

Bed swing

Submitted by ltodd on Fri, 08/22/2014 - 20:11

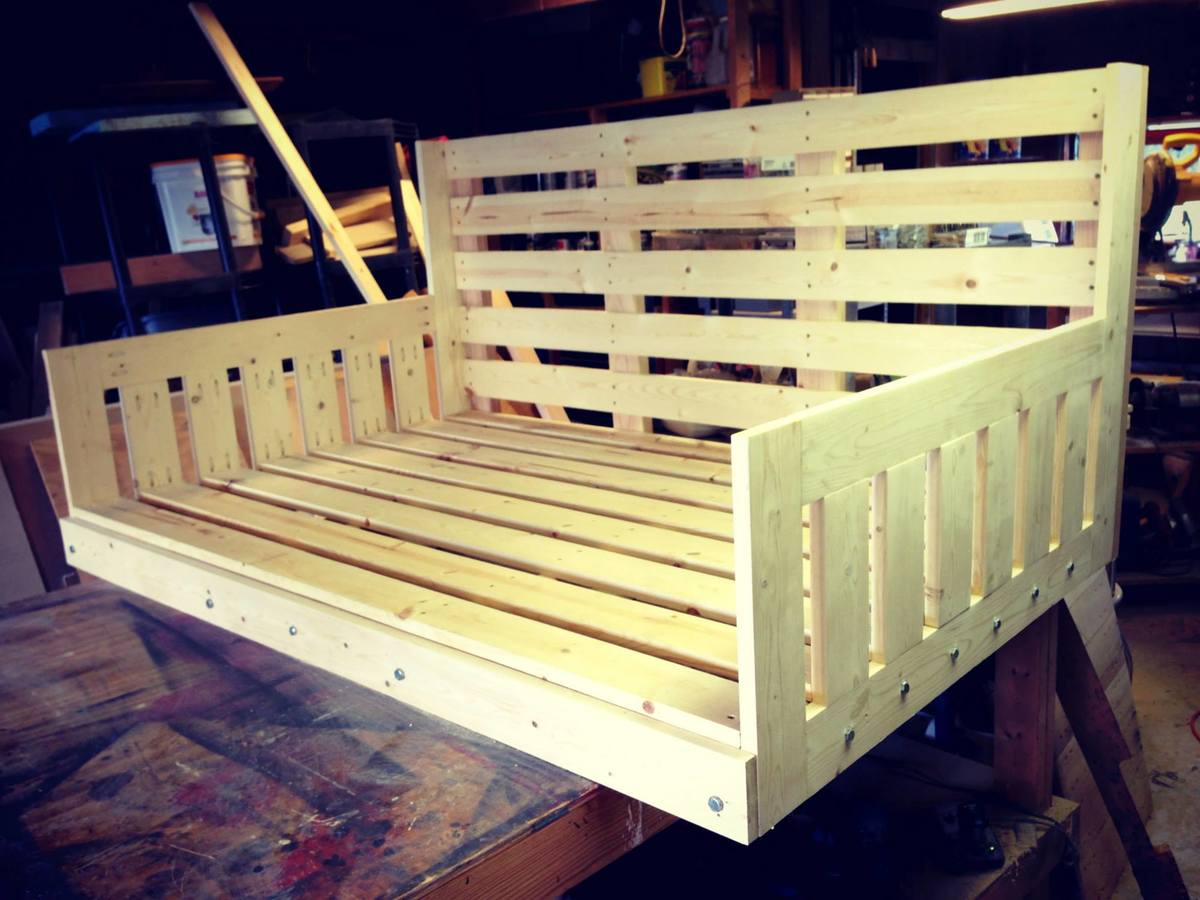
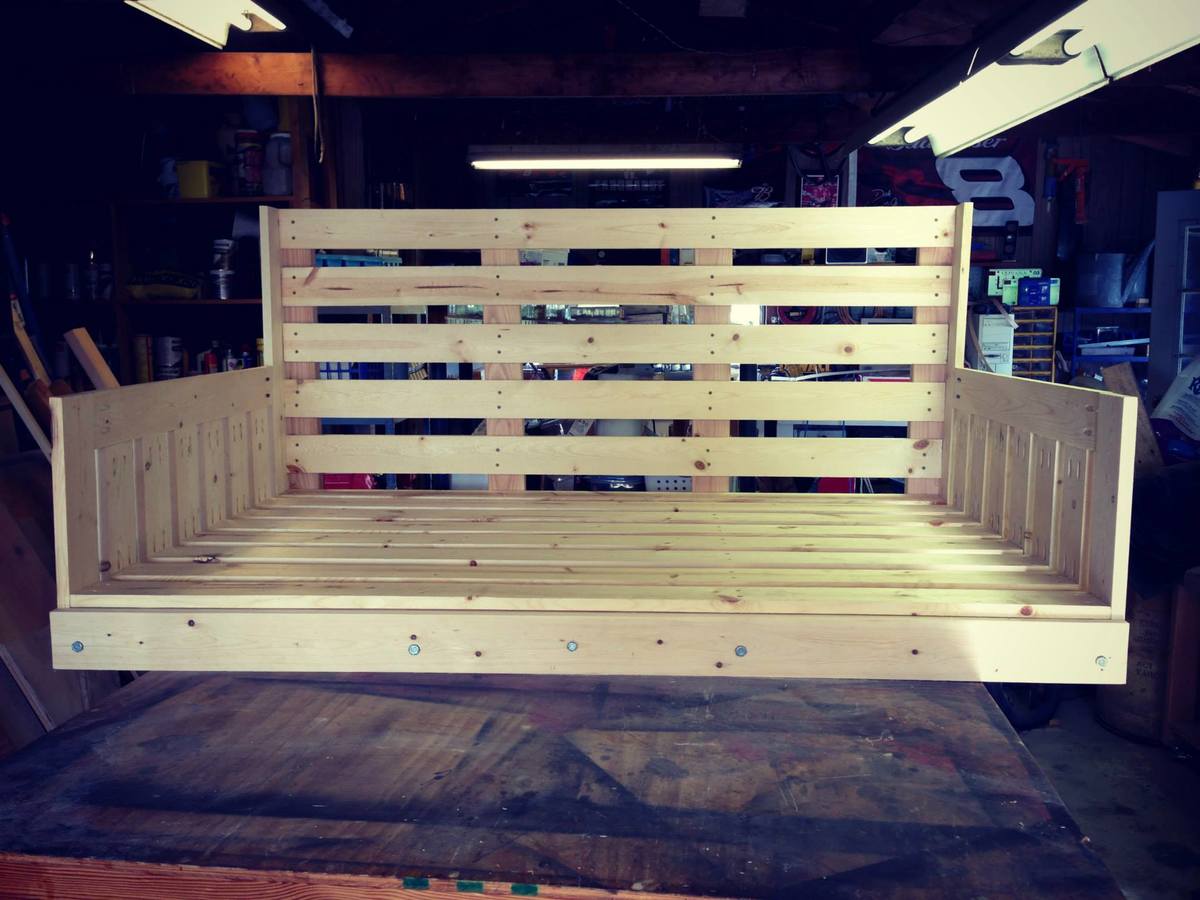
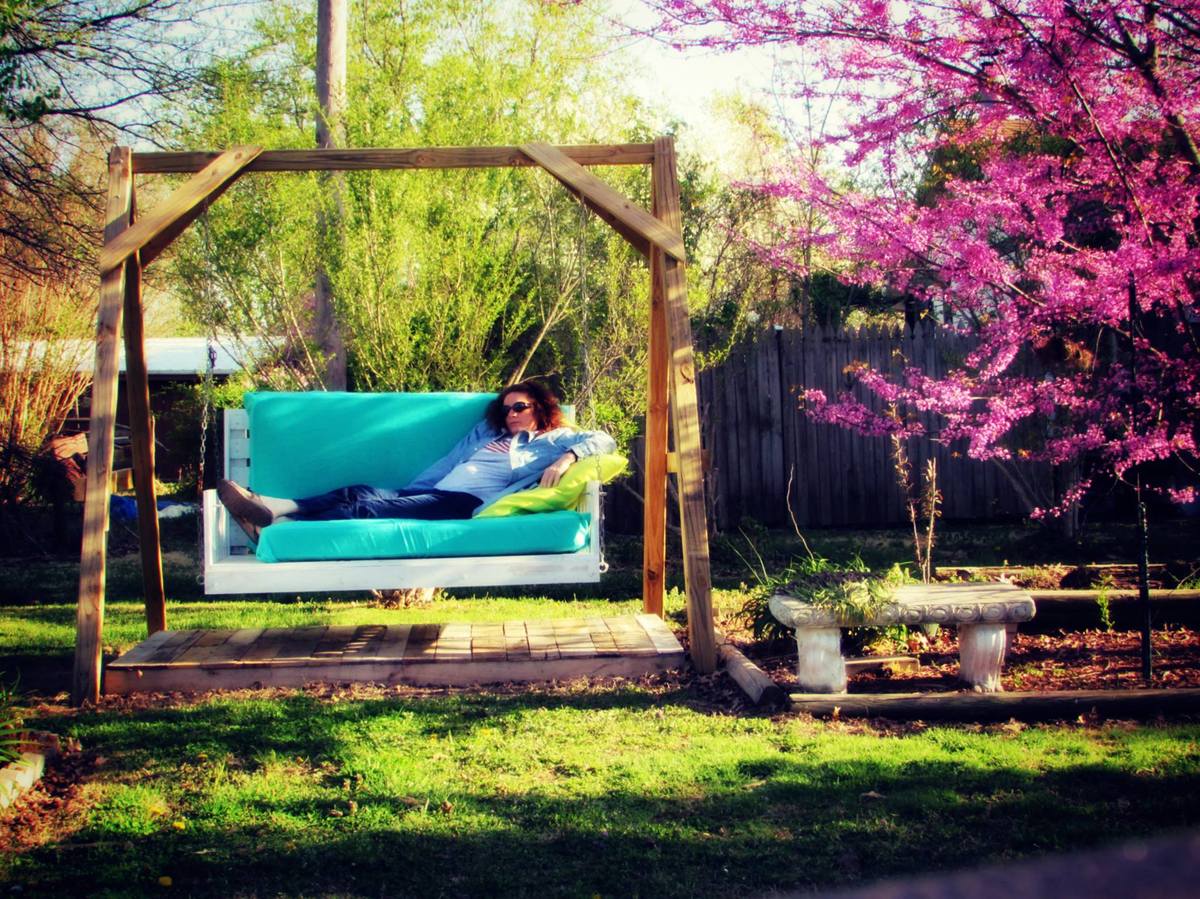
Don't get in this bed swing unless you have time for a nap. This is a modified version of the "large modern porch swing". Very comfortable to lie down and swing. The mattresses are 2 baby crib mattresses that I found really cheap at a yard sale and on Craig's list. I probably should have shortened it several inches to fit the crib mattresses, had I known in the beginning that was what I was going to use. I made the swing myself, but had help with the A-frame. My friends are envious.

Built from Plan(s)
Estimated Cost
$200
Estimated Time Investment
Week Long Project (20 Hours or More)
Finish Used
Painted with rustoleum white.
Recommended Skill Level
Beginner

Square Farmhouse Table

Submitted by eddingsr on Sun, 01/08/2017 - 13:17

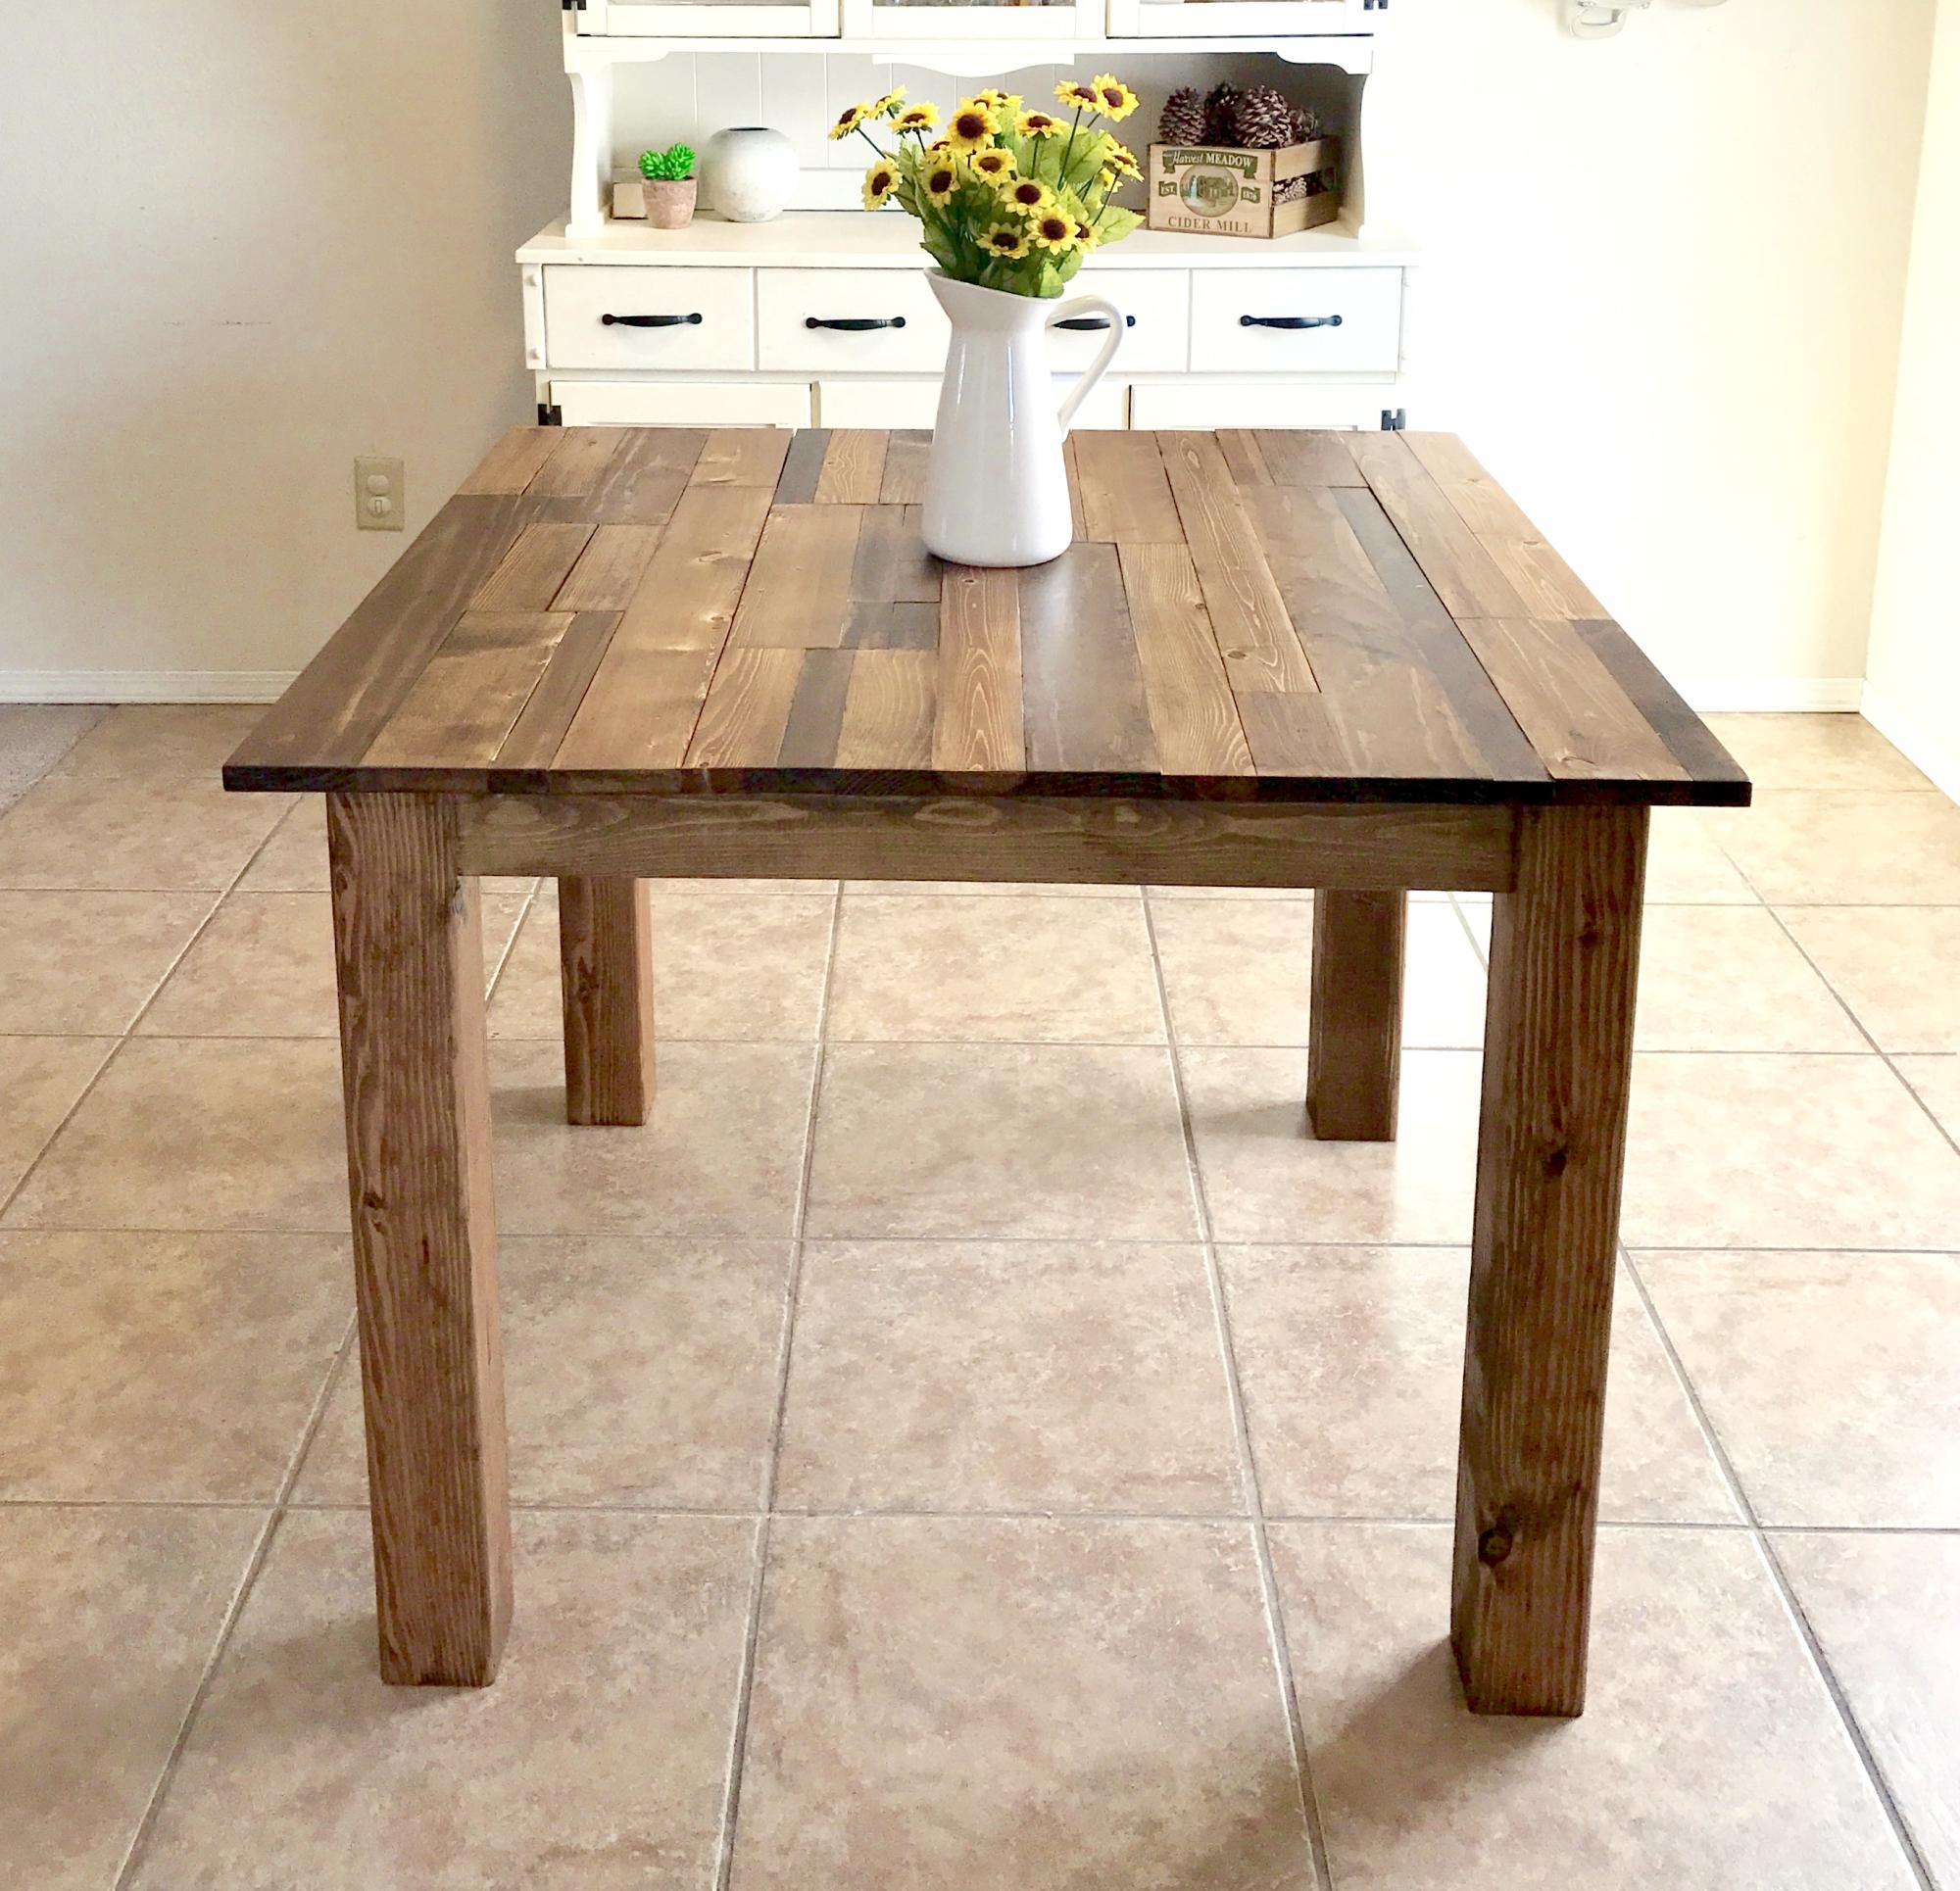
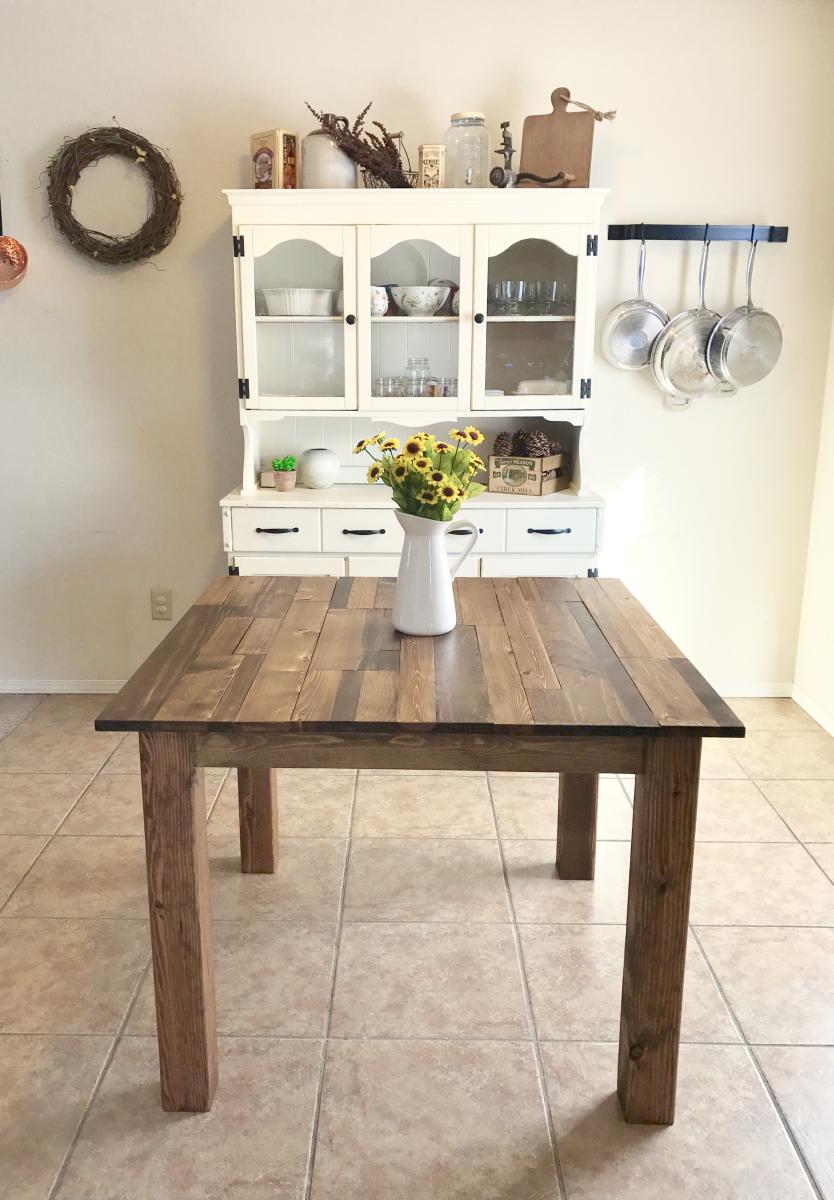
I built this table for a friend who wanted a rustic, plank-top kitchen table. She wanted a square table with 4x4 legs. Since I don't have clamps, I used pocket holes and wood glue for the table top. Also, I only have a 7&1/4" miter saw, which means the 4x4s were too thick to cut. So I made one cut in the legs, then flipped them and made another. It worked! :) I sanded down the sides of the table top with 80 grit. They needed to be evened up since some of the planks were a little longer than others. I back braced underneathe the top with (3) 1x3s. Then, I sanded all over with 120, vacuumed, then wiped it down with a damp towel. Fun build!! 

Estimated Cost
~$100 for lumber, screws, wood glue, sandpaper, and finishing products.
Estimated Time Investment
Week Long Project (20 Hours or More)
Finish Used
For the finish I used Minwax wood conditioner, then a coat of Minwax stain in Provincial. I went back and put a second coat of stain on a few of the premium pine pieces, because they soaked up the first coat really well, and I wanted some darker pieces on top. I let those soak for about 15 minutes. Afterwards I did 2 coats of Polycrylic all over, then a third coat for the top only. I dry sanded between coats with 600 grit sandpaper.
Recommended Skill Level
Intermediate

White Oak Farmhouse Table

Submitted by Anonymous (not verified) on Sun, 06/04/2017 - 15:27

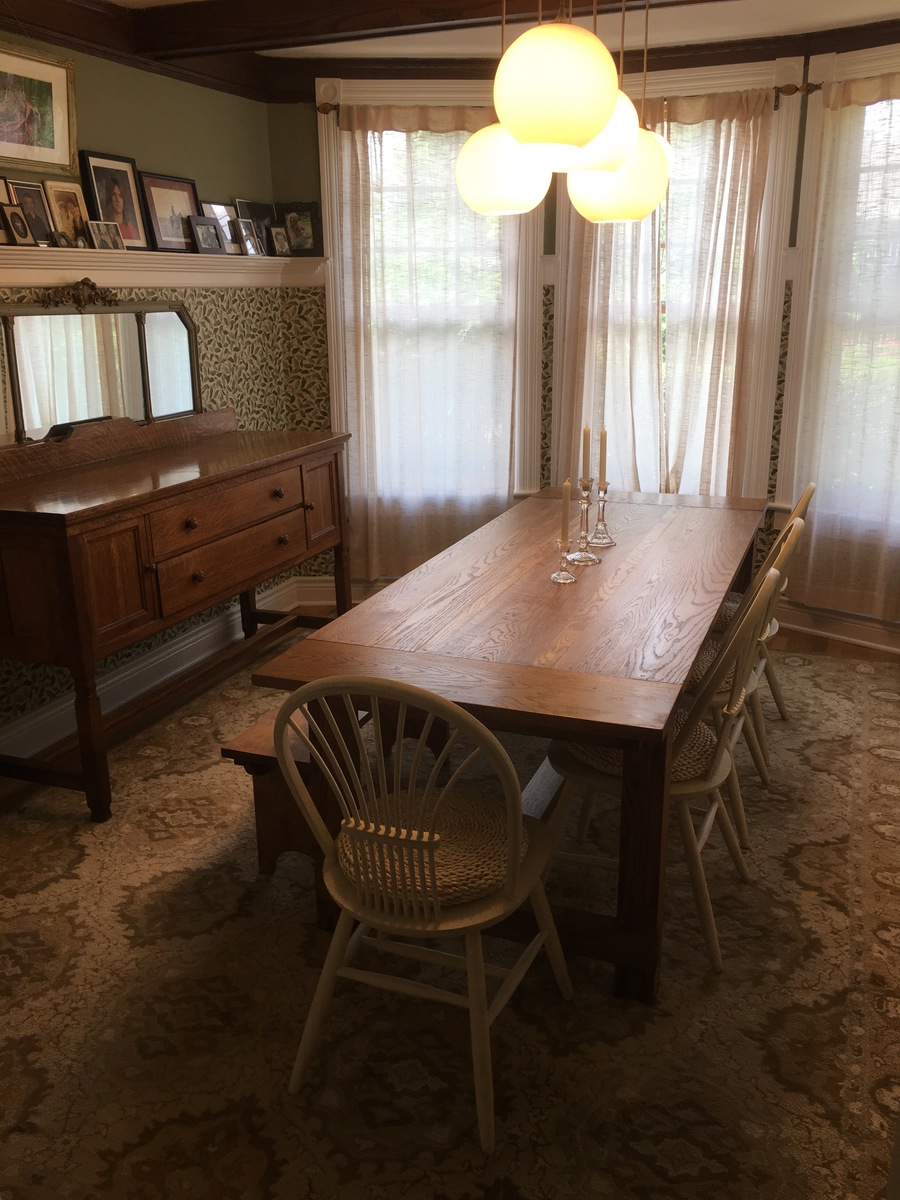
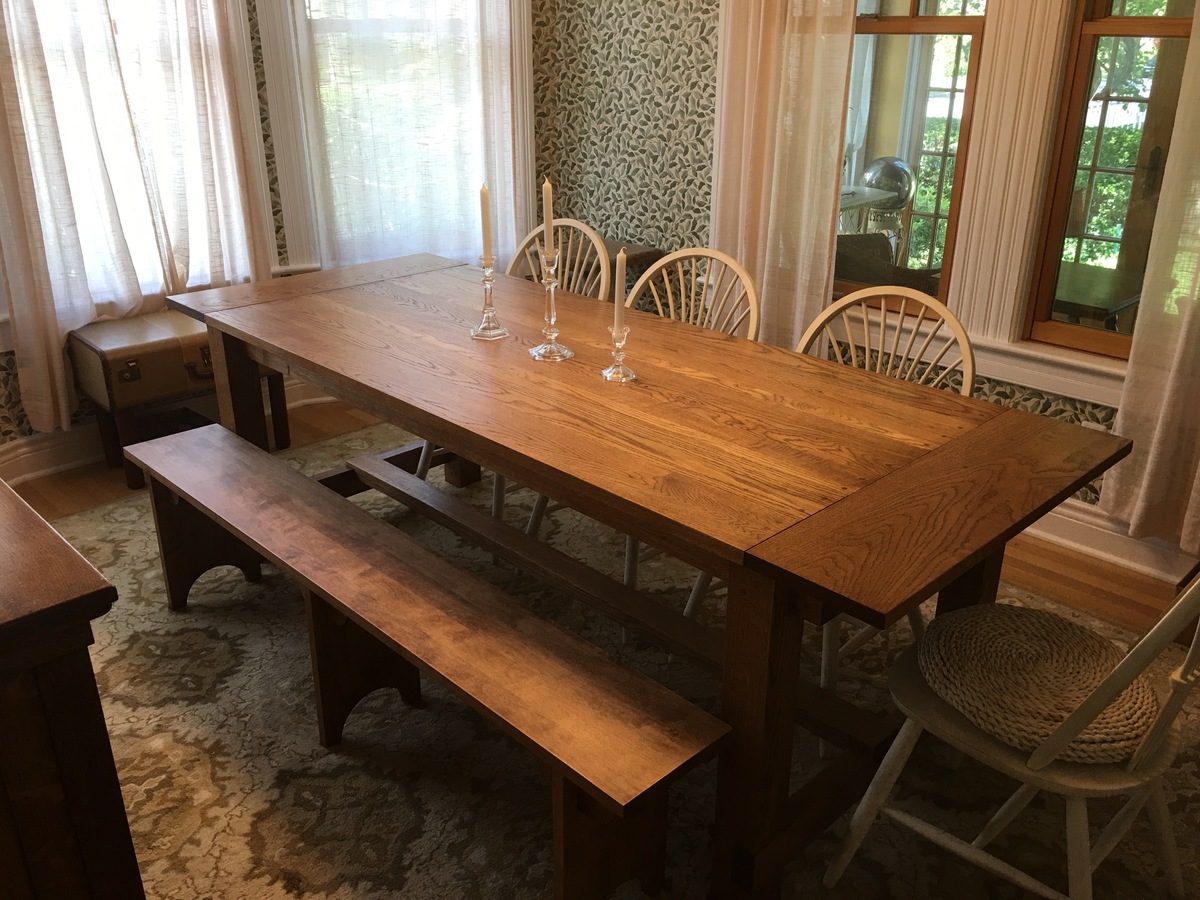
I built this using the Farmhouse Table plans, and we're thrilled with the results. My modifications included making the table longer and narrower to fit our dining room, and building it from some fantastic white oak from a local lumberyard called Boards & Beams in Fairfield, NJ. I used 5/4" thick boards of varying widths for the top, and created deeper overhangs at the ends by making the breadboard ends 10" deep. Unlike a more rustic version using pine, the lumber was extremely expensive, and the oak makes an already heavy table even heavier. Still, it is orders of magnitude less expensive than purchasing a custom table like this, and I only needed to "ship it" from my garage. 

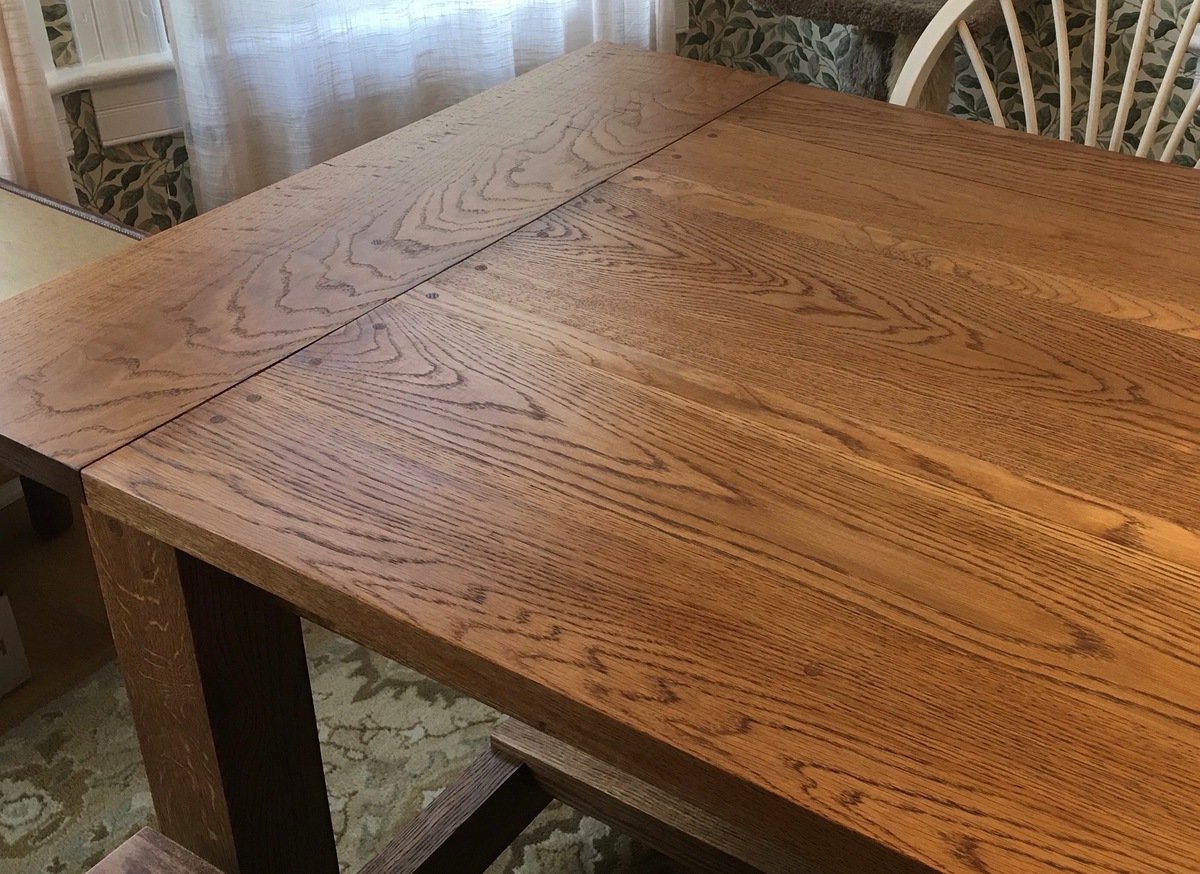
My idea was to match, as closely as my skills would allow, the antique buffet in the photo next to the table. Or at least to build something that would look good next to the buffet. My prior woodworking experience is limited to DIY carpentry and building plywood shelves and radiator covers. I am not a "mortise and tenon" woodworker (although I'd like to learn). The plans are excellent because this was the first "real" furniture I've ever attempted, and it is literally as solid as if it were carved from a single piece of wood. I rented a 12" compound miter saw from Home Depot to make most of the cuts in one day, which worked out extremely well. The visible screw holes I plugged with oak dowls. 

If you decide to build this (or anything) from a hardwood, here are a couple mistakes I made early on that you don't want to repeat. First, EVERY screw into every piece needs a pilot hole. If you have even the slightest thought that your screw is about to strip or break, it is. Second, higher-quality wood is often cut larger than what you find in a big box store. A 2 x 4, which might be 1.5 x 3.5 from Home Depot, can be 1.75 x 3.75. This really matters a lot, and so you have to measure your actual wood and re-calculate every measurement accordingly. The upsides, for me, included fewer warped pieces, less splintering, and greater ease of sanding and finishing.

Thank you very much for posting these plans and for your excellent "how-to" on cutting out the notches. 


Estimated Cost
$900 worth of wood and screws, $50 for saw rental, $15 worth of stain and poly.
Estimated Time Investment
Week Long Project (20 Hours or More)
Finish Used
Varithane "Provincial" stain, applied with a rag, followed by three coats of Minwax Wipe-on Polyurethane applied with a rag. I used less than 1 pint of stain for the whole table. The Wipe-on is less glossy than a brush-on. It really wants to go on in VERY thin coats. I may have done 4 coats on the top. In between coats, I sanded with wet-dry grits of 800-1000. The result is a very even finish (but not as even as a professionally applied finish) that you can still feel the grain through, and there are no brush strokes to deal with.
Recommended Skill Level
Intermediate

Outdoor truss table and benches

Submitted by Anonymous (not verified) on Thu, 07/06/2017 - 07:22

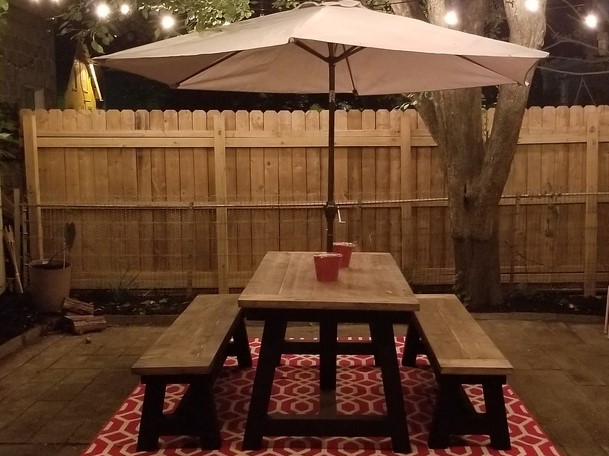
I needed an outdoor table and thought this design would look lovely on my patio. I used 2x8's for the table and bench tops, which meant I couldn't run them through my 6" jointer; so I had to plane them as they came from the store. This resulted in a fair amount of sanding once I assembled the tops with a kreg jig and glue. Plugged the pocketholes  and used an outdoor deck stain for protection. The stain over the plugged pocketholes looked interesting enough that I almost used those sides for the exposed tops, but ultimately decided on the cleaner finish. The 4x4 legs and apron are in a black matte exterior paint, and I used a 1 5/8" forstner bit for the umbrella holes. It's a fun project, and assembly doesn't take too long at all. My patio is now a great place for a morning cup of coffee while reading the paper and has already become the spot for neighborhood gatherings.

Estimated Cost
Expect around $300 for table, 2 benches, paint and stain.
Estimated Time Investment
Week Long Project (20 Hours or More)
Finish Used
3 coats marquees charcoal black matte for the truss legs and aprons. 80, 150, and then 220 sanding before 1 coat transparent walnut timber oil deck stain for the tops.
Recommended Skill Level
Beginner

First adirondack chair!

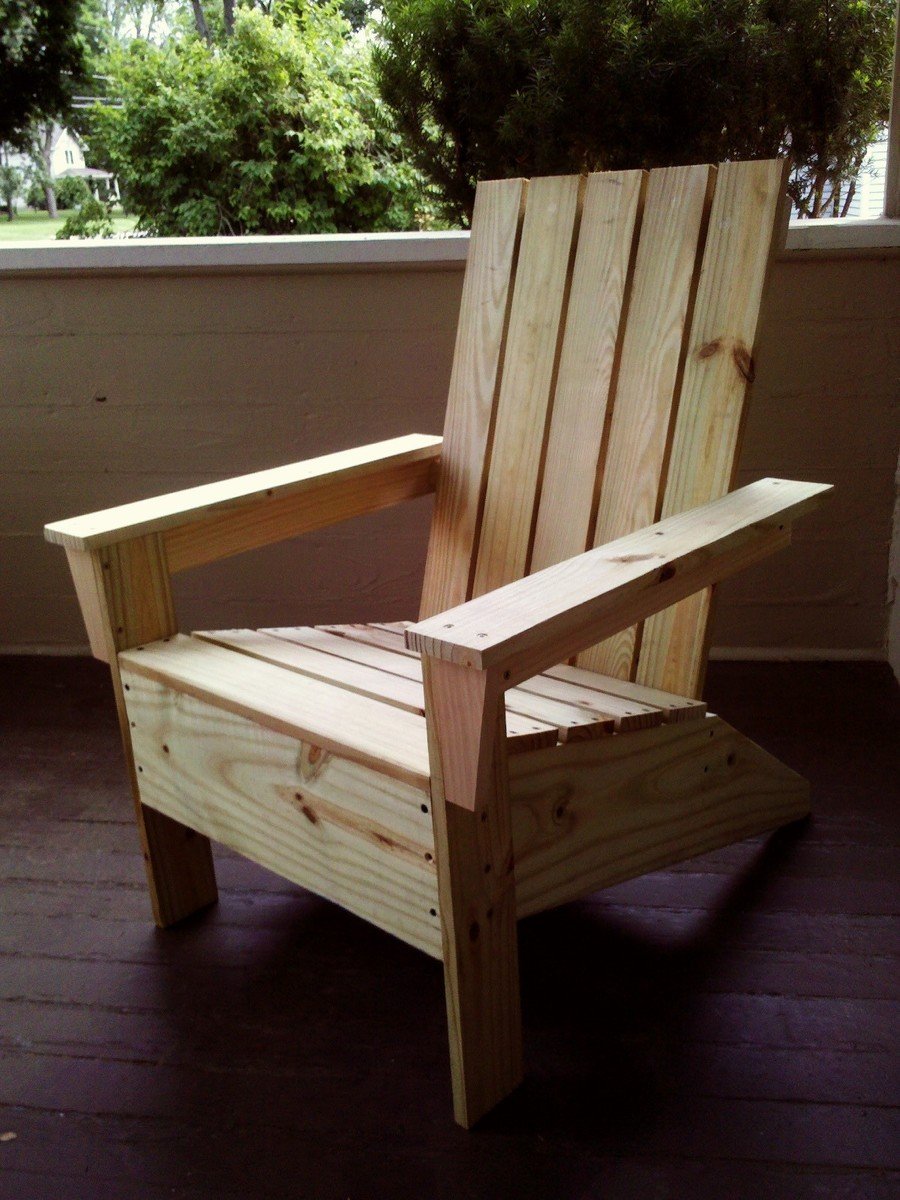
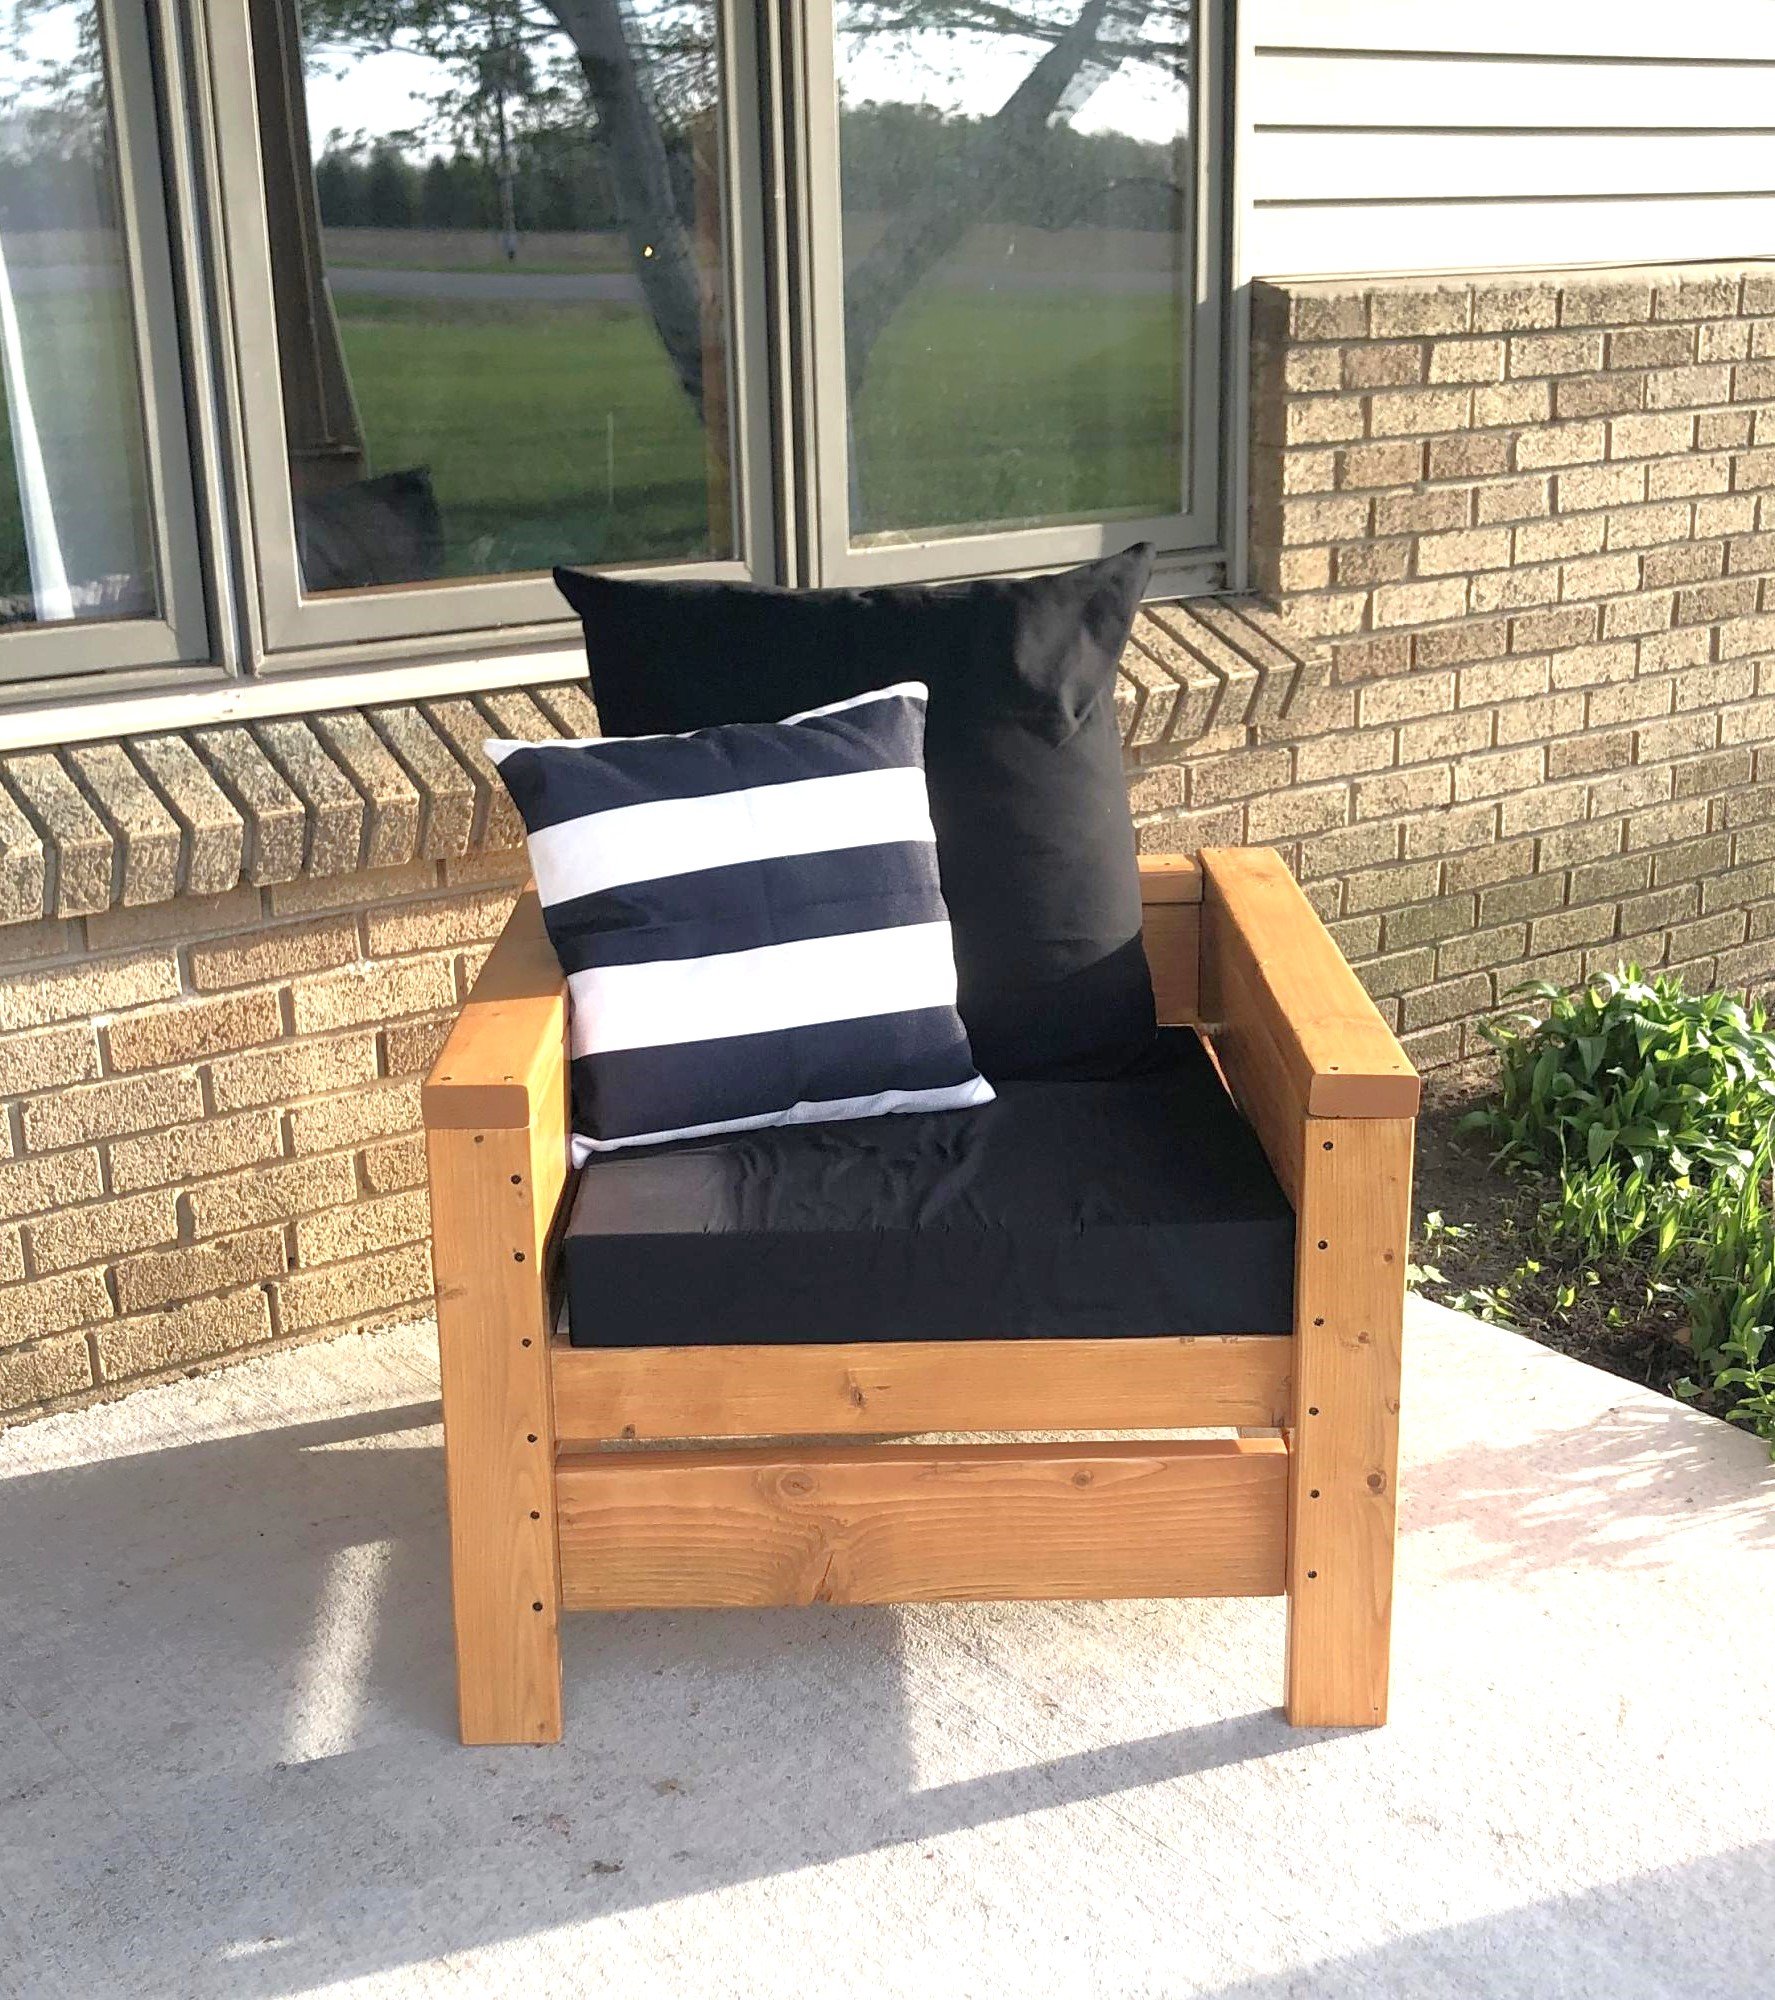
Got a chance this weekend to do our first (good!) woodworking project. Love the chair, gotta head back to Menard's to get some more lumber for chair #2!

Built from Plan(s)
Estimated Cost
$35
Estimated Time Investment
Weekend Project (10-20 Hours)
Finish Used
Haven't finished it yet--probably going to go with a light stain.
Recommended Skill Level
Starter Project

Planters!

Submitted by Anonymous (not verified) on Fri, 04/14/2023 - 03:50

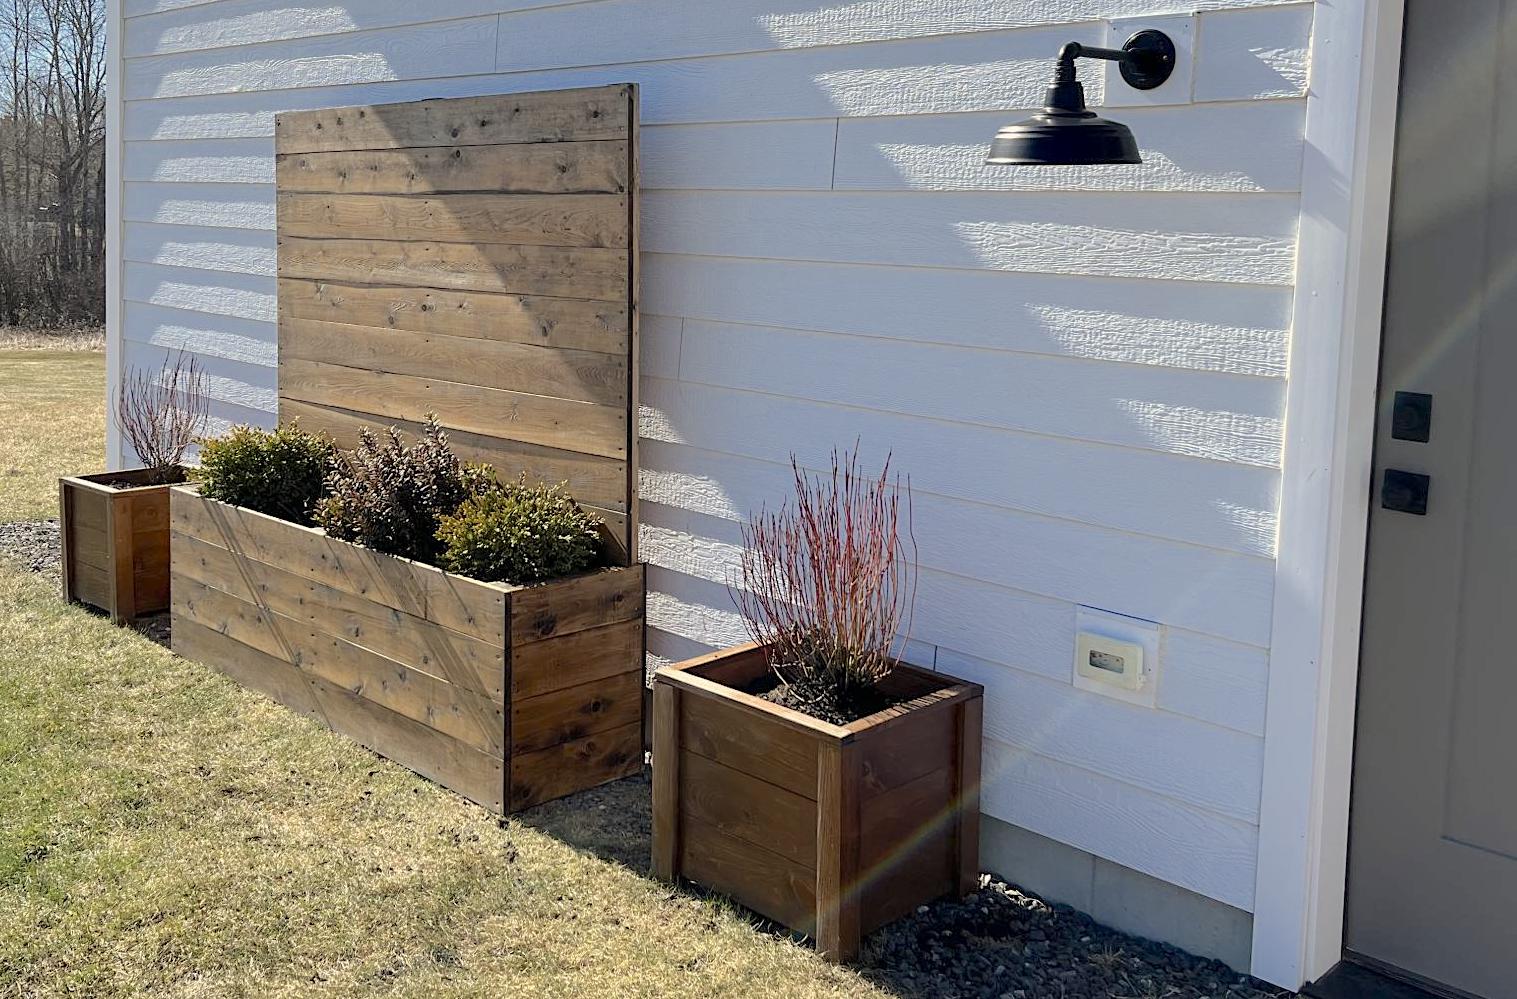
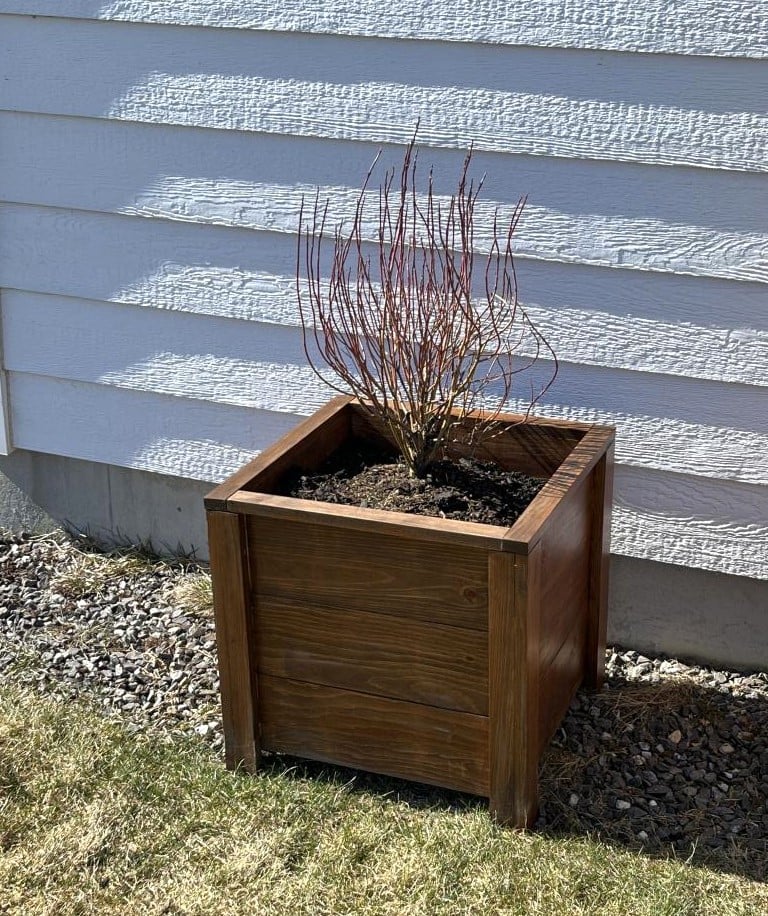
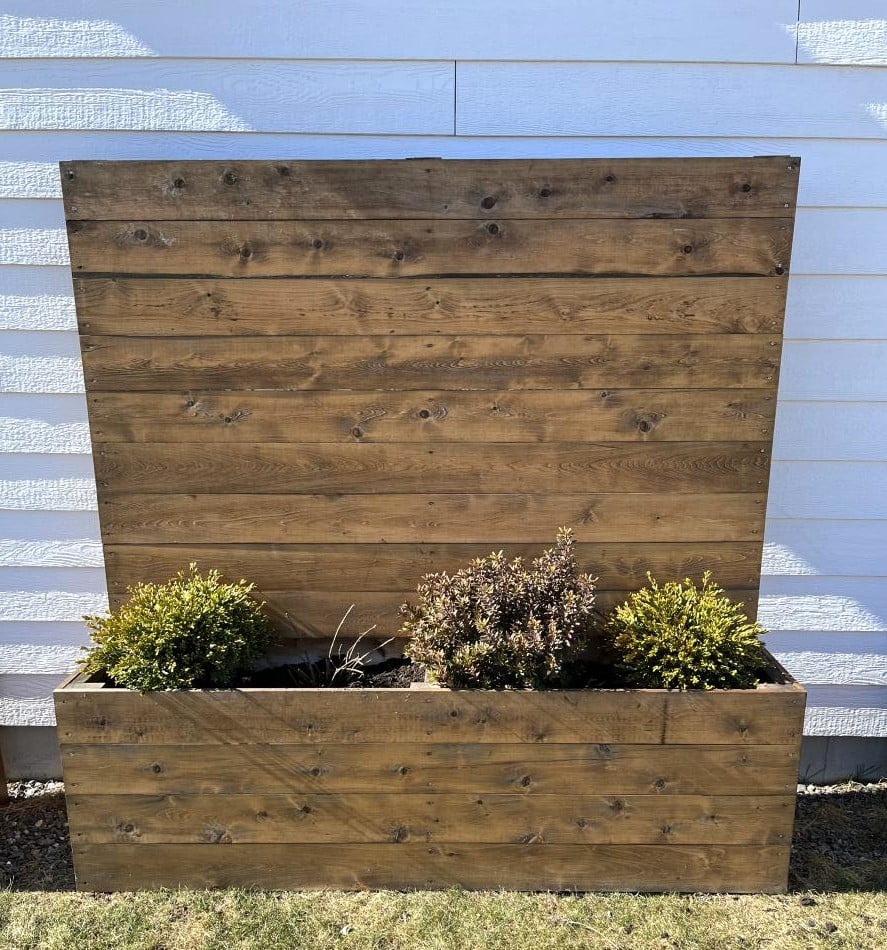
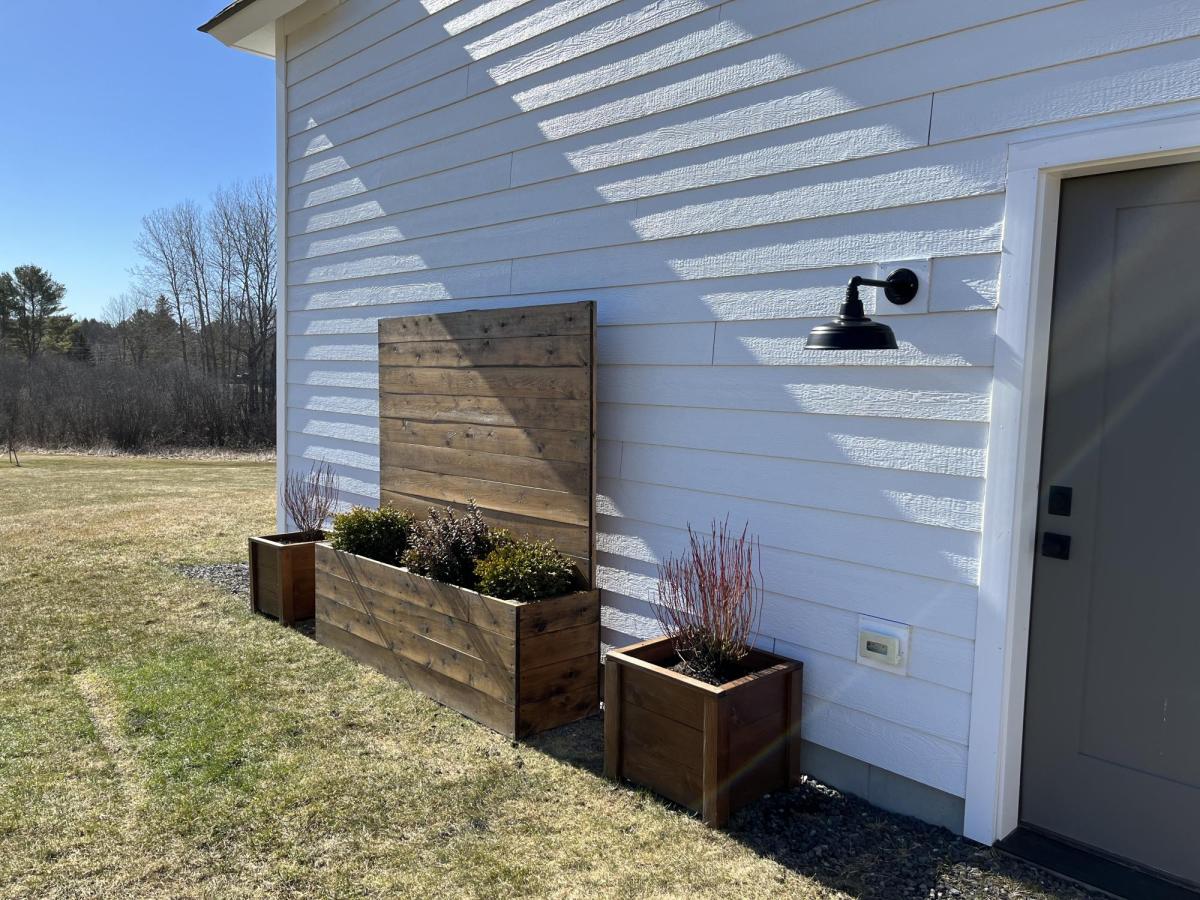
These planters are exactly what we needed to warm up this blank siding! The smaller planters are made from pine, the larger from cedar.

Comments

Seasonal And Holiday

Craft Room Build

This project was one that I've been planning for about 18 months- I had to wait until we moved back into our home to start the build, so I had plenty of time to think about how to maximize my storage space in this small room with a slanted ceiling. My husband had some time off from work and offered to watch our toddler during the day time- so that was all the motivation I needed to start this big build!

Overall, it took about a week from beginning to end. The cost was between $400-$500 for everything- including hardware, paint, supplies etc. Still a huge savings over what it would have cost us to purchase desk and storage units to work in this room (I priced them out at about $2000-$2500 - WAAAAY out of our price range).

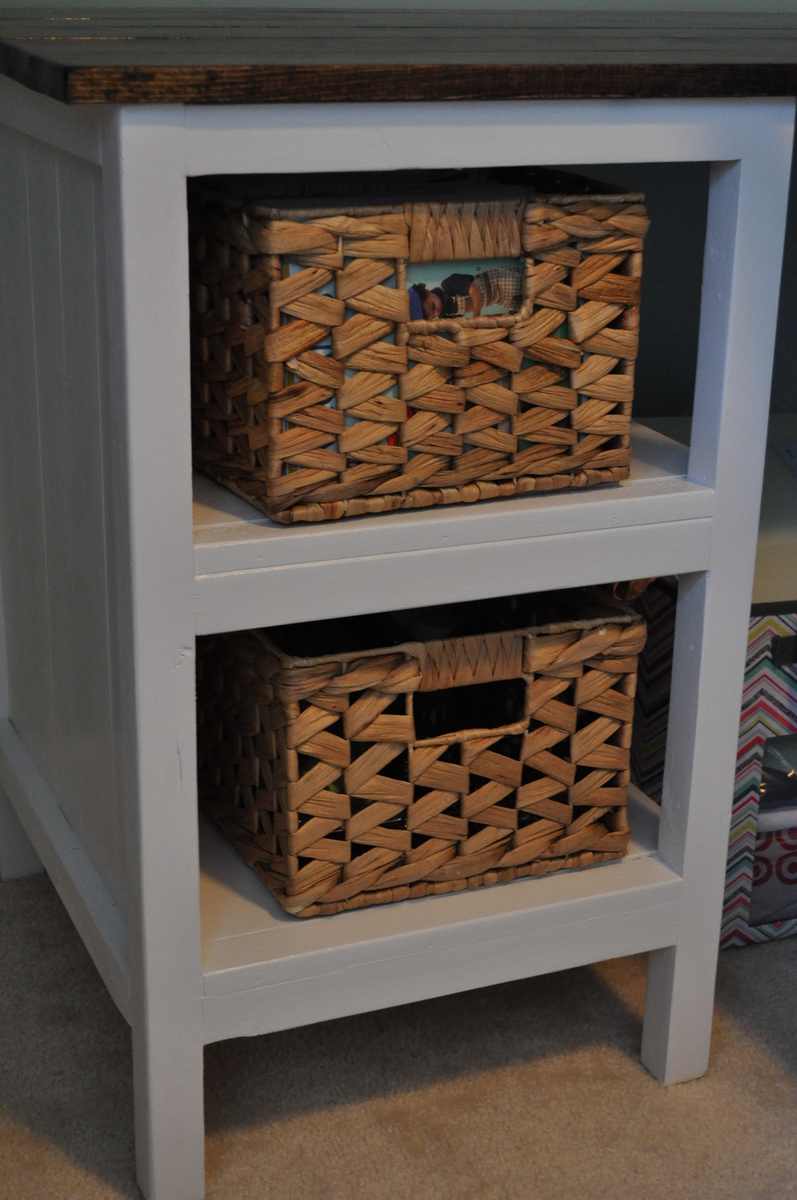
For the main desk unit I used the plans for the reclaimed look wood bedside table. I modified the height of the legs to 28" tall so that the sewing desk height was correct for when I'm sitting at my machine for hours on end. I also modified one of the units to be an open shelving unit, so that I could store my patterns and misc. sewing notions in baskets on the shelves.

The desk top was created by using six 1 x 4 whitewood boards joined with pocket holes. The corner joint is "woven" in a sense to give a unique look to the unit. I used 4 brackets in the corner (secured to the studs) to support the weight of the corner of the desk. I used Dark Walnut stain and then followed up with 3 coats of Poly (sanding in between each coat).

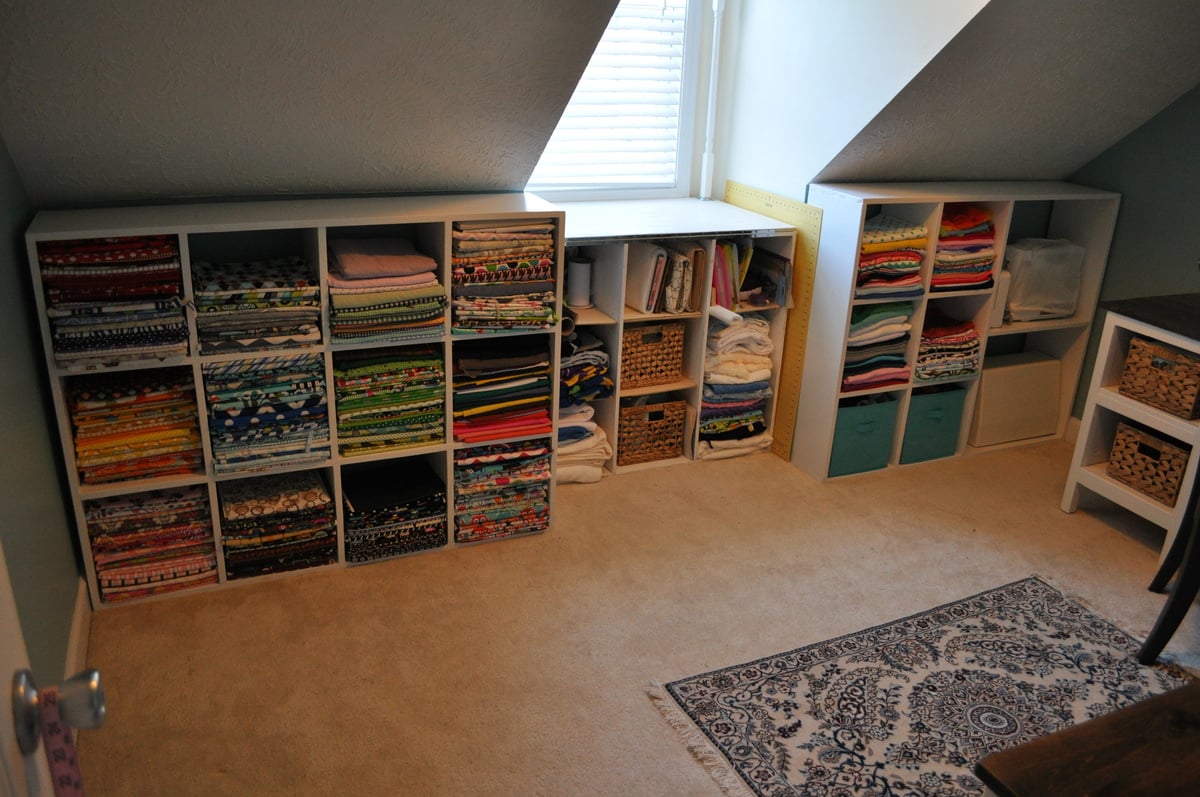
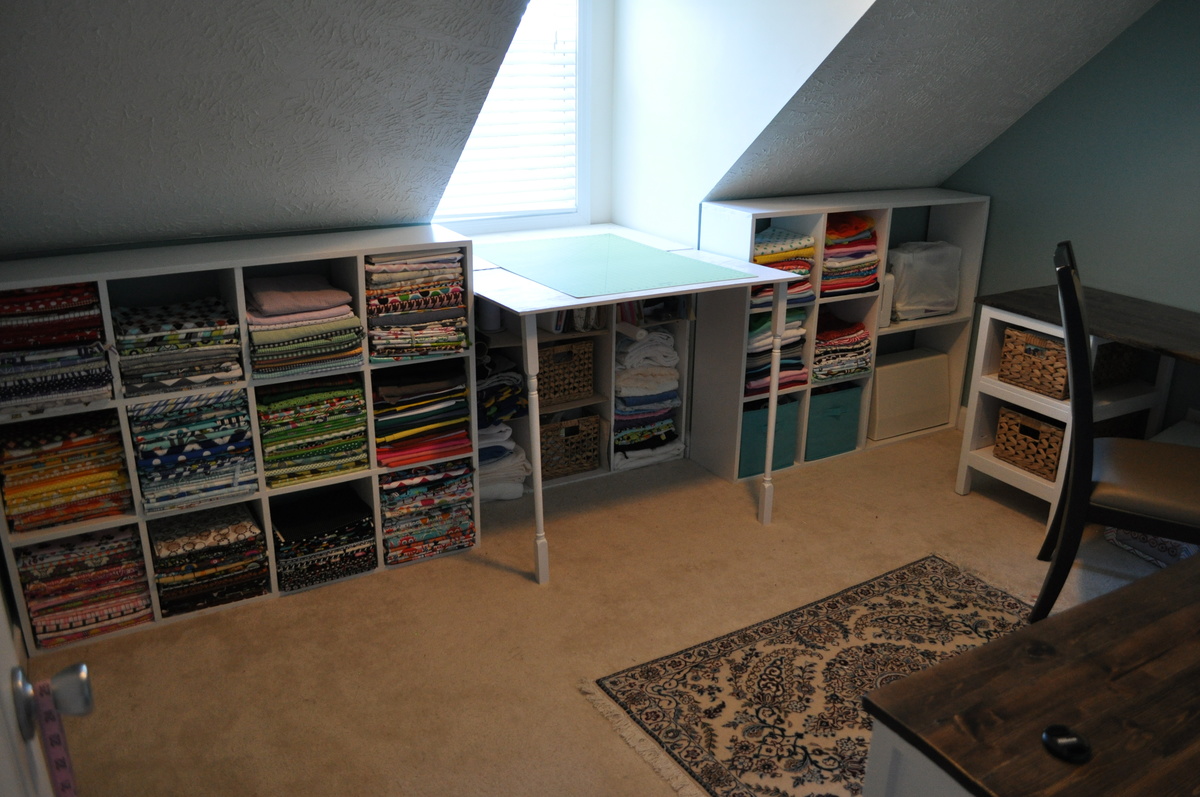
The two fabric/machine storage bins were made using the cubby bookcase plans as a base. Both plans were modified to maximize fabric storage with the small space- hence no face frame on each unit. The middle storage unit is one that was my first build a few years back, before I'd even heard of knock off wood- oh how it would have been so much easier if I'd known about this site back then. I added a plywood top with a piano hinge to fold out for a stand up cutting unit. For the legs, I simply went to the table/baluster aisle at my local hardware store and purchase some hardware to secure two balusters to the plywood top. Screwed them in on the outside of the window frame so I don't have to unscrew the legs every time I fold it up and away, cut the balusters down to the proper height and that was done!

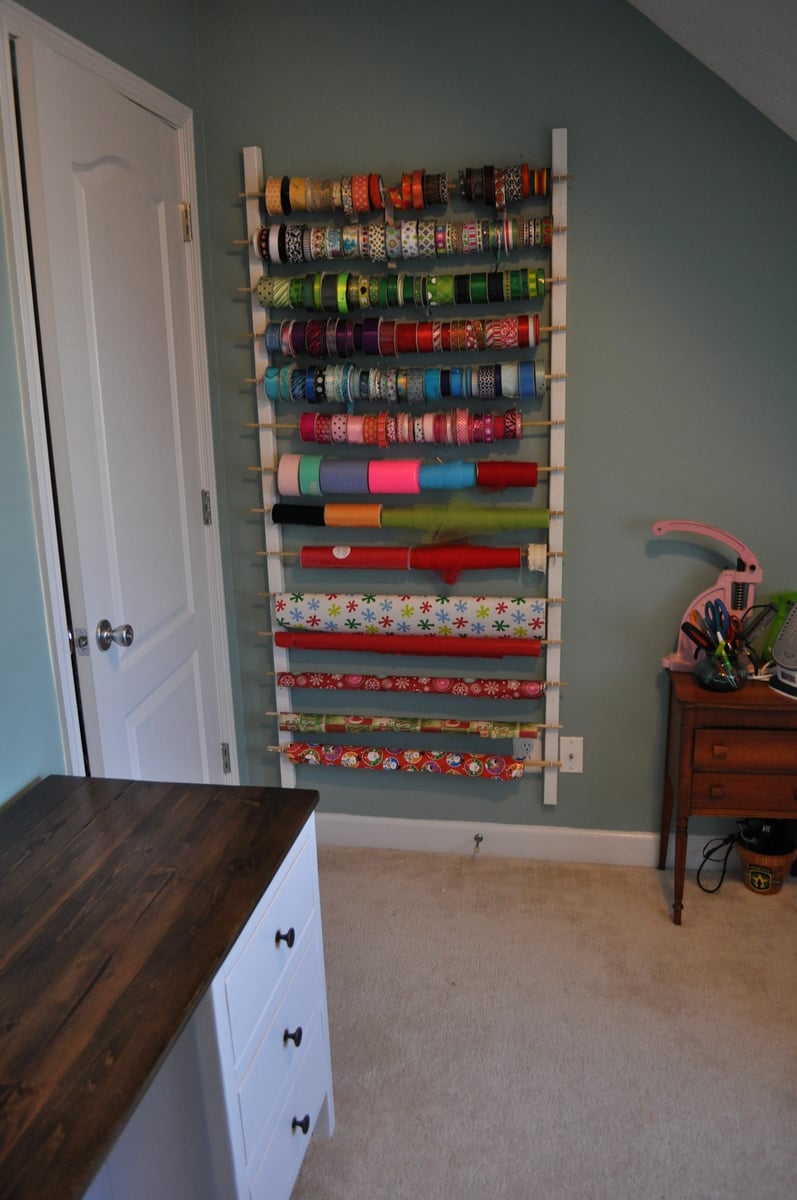
The ribbon/wrapping paper storage was super easy- just used some of my left over 2 x 2 furring strips, along with 14 dowel rods and 1 /14 screw in hooks. I pre-drilled the holes for the screw in hooks as well as the 3" screws I used to mount it to the wall.

The thread holder was a previous build of mine as well- just cut out LOTS of dowels that fit into the peg board and glued them in place. Added a little decorative trim to finish it, and painted it white.

Overall I could not be more excited about how this build turned out...aside from wood working, sewing is my next favorite thing (I have a small Etsy shop and do local craft fairs for fun). Having the stand up cutting station is a HUGE relief, as after 10 or so years in the Army, my knees and back are shot (who would have ever thought that jumping out of airplanes wasn't good for you!) The fabric storage is great and allows me to see all of my different fabrics so I eliminate over-buying (which I obviously have a problem with) and purchasing doubles.

I can't thank Ana enough for her website- I grew up with a dad that builds everything, but was always a bit intimidated when it came to building stuff for myself. Her plans really break everything down to the simplest level of instruction and make the building process stress free. This was my first time building a cabinet unit and I was very worried about the drawers not working, but I just followed along on the instructions and they came out perfect.
Estimated Time Investment
Week Long Project (20 Hours or More)
Finish Used
Valspar semi-gloss white
Minwax dark walnut with Rustoleum POLY top
Recommended Skill Level
Beginner

Comments

Ana White

Fri, 01/24/2014 - 10:05

I love this space, you did an amazing job with all of the builds! Thanks for sharing!

DecorSanity

Fri, 01/24/2014 - 17:11

You did an amazing job, way to go! I love to sew too, and I think building is a lot like sewing...but with saws and hardware instead of scissors and a sewing machine!

dgwheeler24

Fri, 02/07/2014 - 13:09

I would also like to see your corners up close.
Was your decision to not use a leg(s) for the support (and instead used the brackets) for a reason? Was it just easier?

I love the desk that size, but since we are military we move every couple years...I want to use legs for easier breakdown for transportation instead of something as permanent as the brackets. Not sure how far apart to space the legs for the support...

Add Metal Accents to Furniture

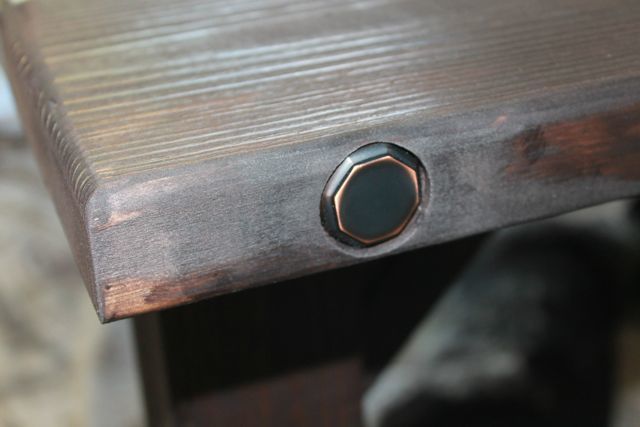
Here's a small tutorial on how to add simple metal accents to furniture. We used something as simple as door knobs at your local home improvement store to make it happen!

Check out the tutorial here http://sawgrasshome.com/?p=1443

Estimated Cost
$20 - $30
Estimated Time Investment
An Hour or Two (0-2 Hours)
Recommended Skill Level
Beginner

Comments

birdsandsoap

Sat, 04/14/2012 - 23:14

so clever. I love when others figure out how to do awesome things like this and then show me how! Thanks!

Kristen Davis

Wed, 03/25/2015 - 11:26

Hello,

I am very interested in this tutorial, "Add Metal Accents to Furniture", but it appears that the link provided, is a dead link. Do you happen to remember anything about this tutorial? Thank you!

Kristen Davis

Wed, 03/25/2015 - 11:25

Hello, I am very interested in this tutorial, "Add Metal Accents to Furniture", but it appears that the link provided, is a dead link. Can you please assist me in finding the direct link to this tutorial? Thank you!