See Saw Memphis red
Fun project to build, and more fun for the kids. Ages 7-3 have been loving it. I used pressure treated 2x4s since it would be outdoors all the time. Thanks for the idea.
DIY Home Closet Upgrade
This is a bay window standalone desk. The desk has an enormous top and fits snugly into the bay window. It did not have to be attached to the wall. There are four pieces in total: the top, 2 base units and a support that spaces the desks at 36" and further secures the top.
The base unites are built from the File Base Classic Wall Storage System and the top is glued up 2x12s that were planed down and straight edged.
easy build
I built two of Ana's "Modern Outdoor Chairs" and adjusted the plans to accommodate 24" in cushions. We're pleased with how they turned out and have gotten great use out of them. Thanks for the plans, Ana!
This is my DIY for a farmhouse bed. Inspired by Anna white and Pottery Barn. I wanted a sturdy look and used 4 x 4 posts and decided to make a king!
Check out my blog:
http://www.woodworkingfourdummies.com/blog/king-farmhouse-bed-diy
Cheers,
Ian
Coffee table
Mon, 06/12/2017 - 07:00
Beautiful work! I would love to know what kind of tools you used for the edging! A router?
Unfortunately I didn't have the chance yet to build these amazing chairs, but in preparation I figured out what the measurements would be in mm's so I thought maybe other people would like to use it as well :-)
My new fav stain. Minwax Expresso Polyshades in satin.
Followed the 2x4 desk design but had so many scrap pieces of 2x4 (from other projects) , ended up changing the direction of the table top.
Finished with Minwax gray and even though it looks blue , I like it...
Going to make some benches to match , weather pèrmitting :)
Didn't take long to build , just a couple of hours - staining was the killer. Needed 3 coats to get that rich dark even look.
Sun, 03/24/2013 - 13:20
I really like the way this came out. Looks very nice
We built this Farmhouse Bed in 1 weekend for less than $200!
Fri, 02/20/2015 - 19:26
Beautiful! Both the bed and bedside table turned out great!
Used rustic x coffee table design for base. Used paint scheme someone else used in brag post. Made giant cribbage board top from redwood slab. Majority of time involved sanding slab which came rough and finishing the polyurethane.
So a few notes... We added a base of 2x4 pressure treated wood footing around the entirety of the greenhouse which should help keep it from rotting? Blocks are an alternative here. Our lumber store didn't carry the right size of tin sheets so we added a 2x10 at the bottom which seems to work and still look okay. We picked up a 30" metal screen door there which should assist in keeping out the critters and allows us to lock out our small kiddos who might wreck the plants :) This is a great plan!!! Thank you so much! Oh - materials ran about $700 including screen door? We went through about 4 1-pound boxes of sheet metal screws and at least a large box of 3" screws?? and 2 small boxes 1.25"?? If you cut you pieces right you may end up with an extra 8' clear sheet of corrugated plastic? We spent about 20 hours building just the greenhouse but we had hauled a lot of stuff to the site by hand... We are new to carpentry and pulled this off so anyone can do this!! Dremel tool works for cutting plastic, but not as good as the tin!! Good luck and cheers!
This is a custom pool table we built recently and delivered to Jackson, Wy. Built from Big Leaf Maple slabs with Jatoba accents. This pool table also features a removable ping pong table top. We built it in such a way that the customer can use it as a large buffet table when hosting parties. We build custom pool tables that are customized to a customers specifications. If you have any questions please feel free to ask. Thank You!
Summer 2010 My first building project!
I did not intentionally leave the bottom shelf off. When I bought the lumber, I didn't realise you could buy 6' boards. So I ran a little short. Woops, lol. But I think I like it better this way.
I selected beginner project because it was my first project and it turned out great! the only thing I ran into was that I bought the wrong length of boards so I didn't have enough to finish the shelf. lol.
Watts Built on Wolfe Way
A friend wanted a tatty old chest freezer turning into a traditional looking ice cream cart for her business. The freezer itself was way to heavy and not really fit for purpose but, after a week of tinkering about with a couple of design changes here and there to accommodate the weight, I don't think I've done too bad a job.
The internal frame is Nordic fir, half lapped at the joints and secured in place with 38mm oak dowels, the cladding is 6mm birch ply finished with paint from the French chic Al fresco range, the writing proved a little challenging on the the eyes and my hands aren't as steady as they used to be but she's happy.
I've been working on this little dandy since before Ana posted her Cottage Loft bed. It took longer because of the 1x6's but I thought it would be cuter that way and more cottage looking. All of the 1x6 boards were fastened together with the Kreg Jig, and the house is sturdy and HEAVY! My intentions were never to use it as a loft bed but rather a playhouse for my two girls and a place to put all their stuff. My oldest has however fallen in love with it, so when I feel comfortable with her sleeping that far off the ground I would guess that it will become a bed. For those of you that are contemplating it a Kreg Jig and some kind of paint sprayer are absolute musts for this project, no way around it! And don't plan on completing it in a short amount of time, with babysitters and being a stay at home mom it took almost a month from first board cut to bringing it back in from the garage. I'll post more on my blog if you'd like to check it out!
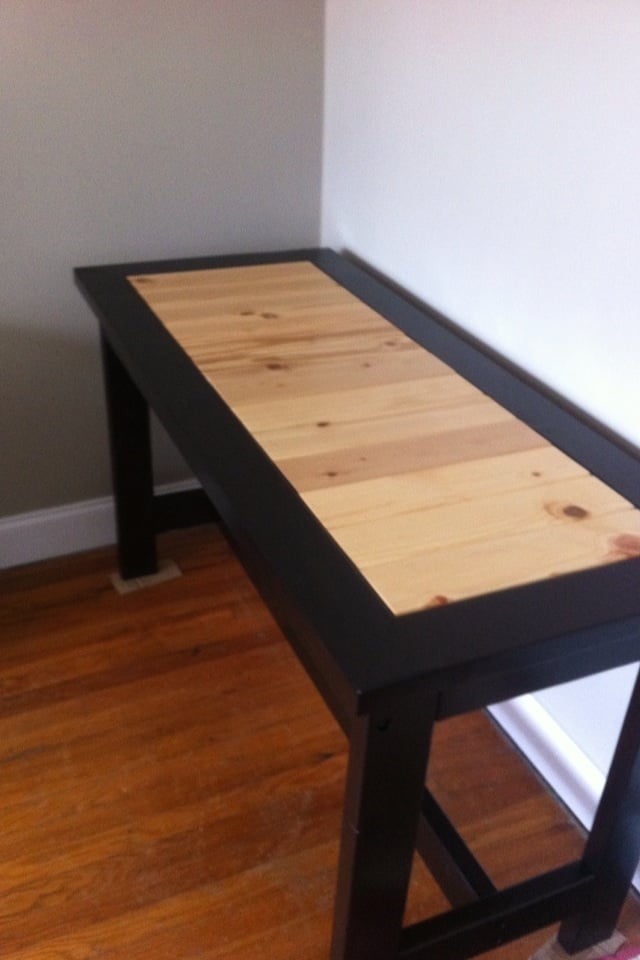
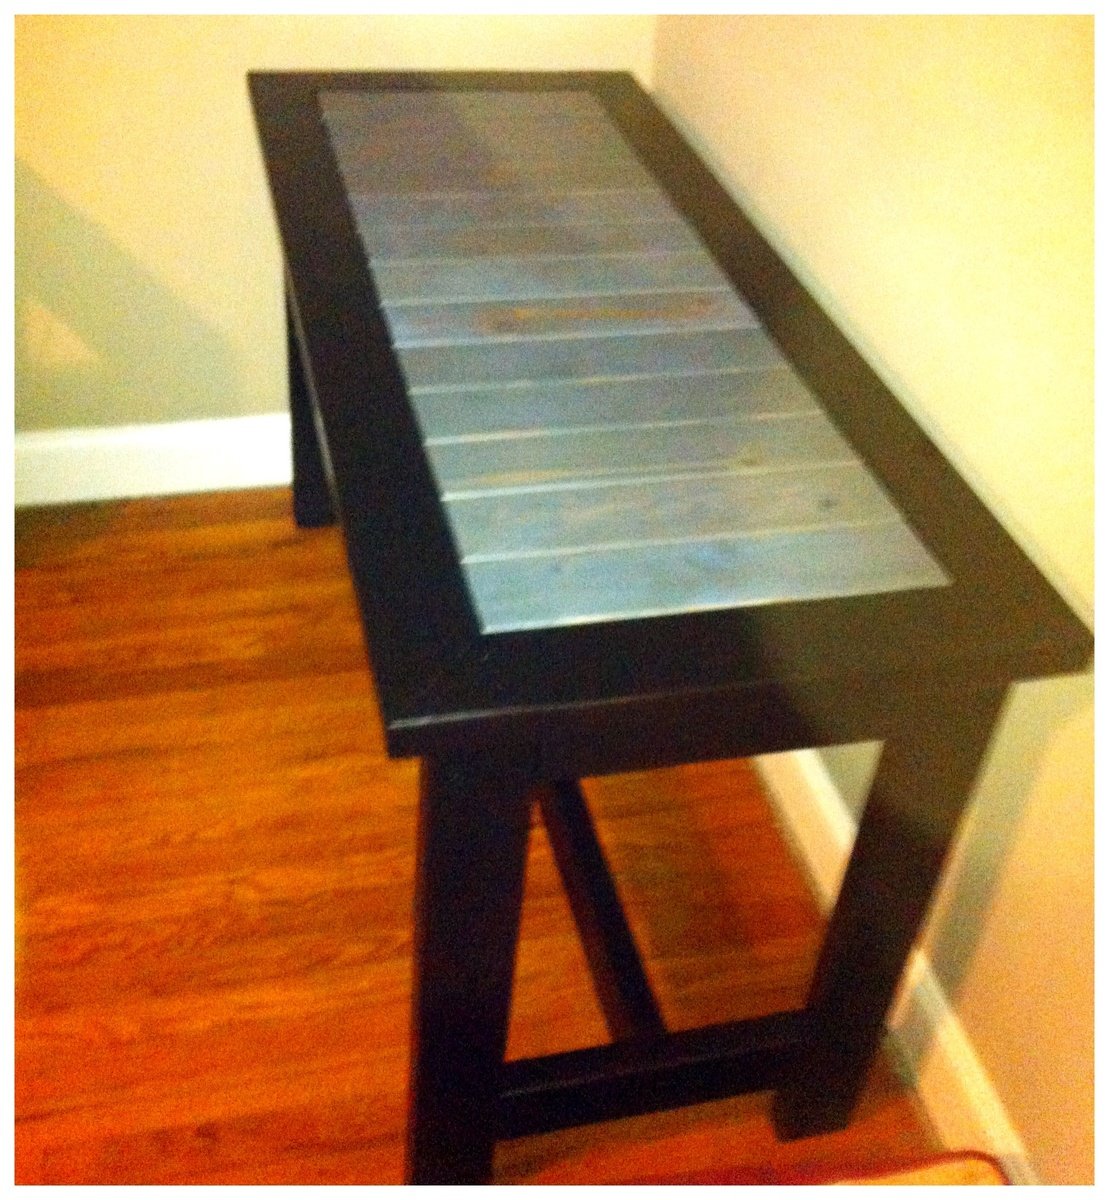
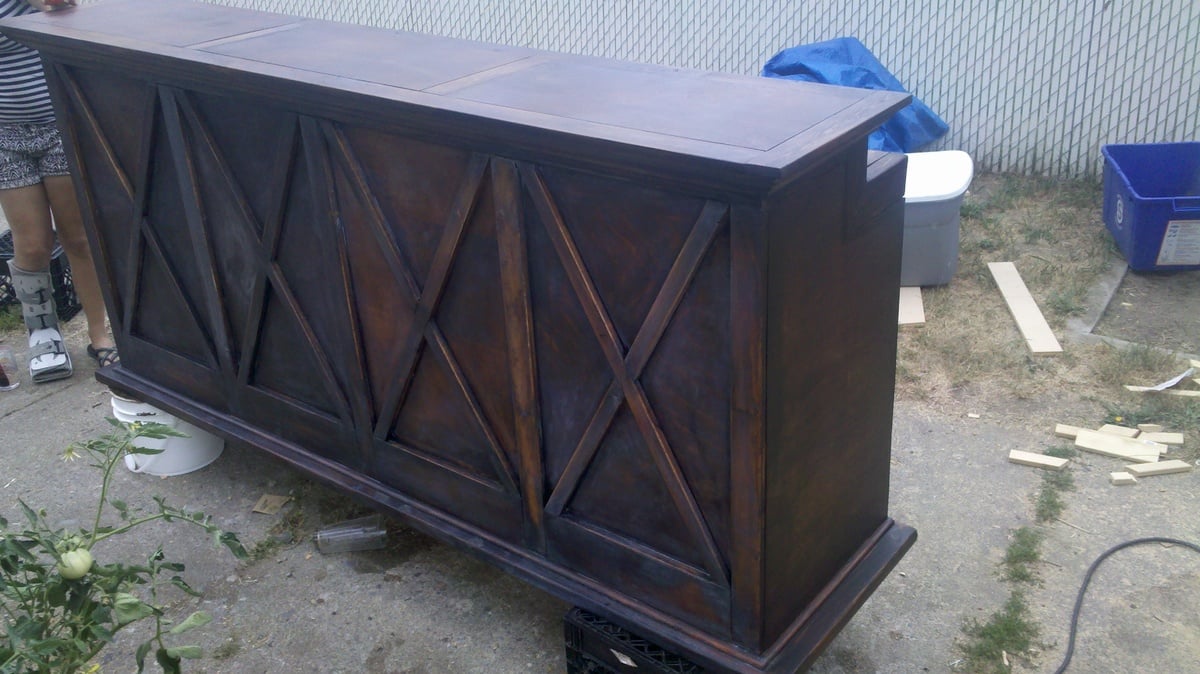
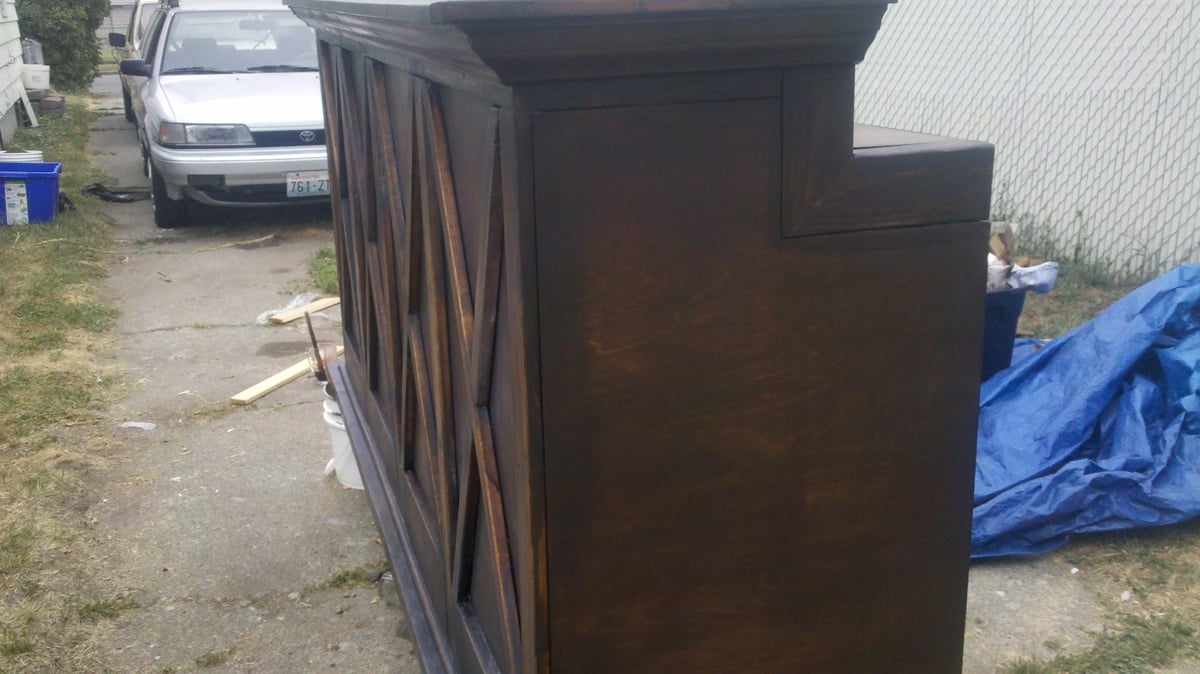
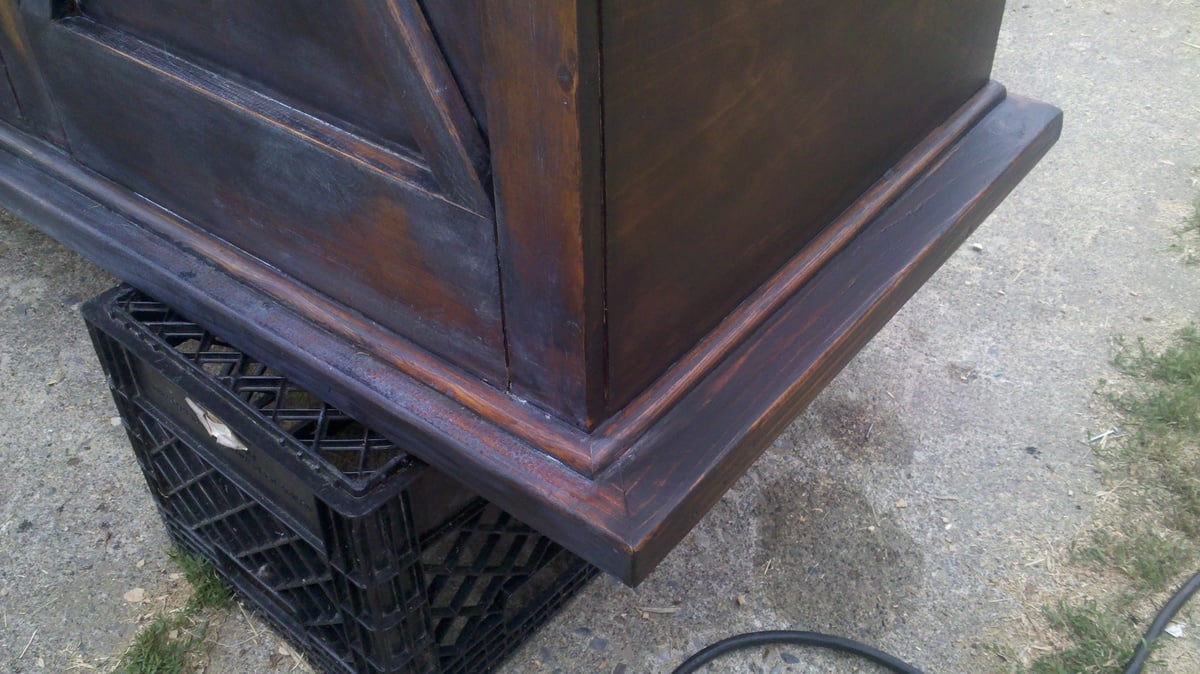
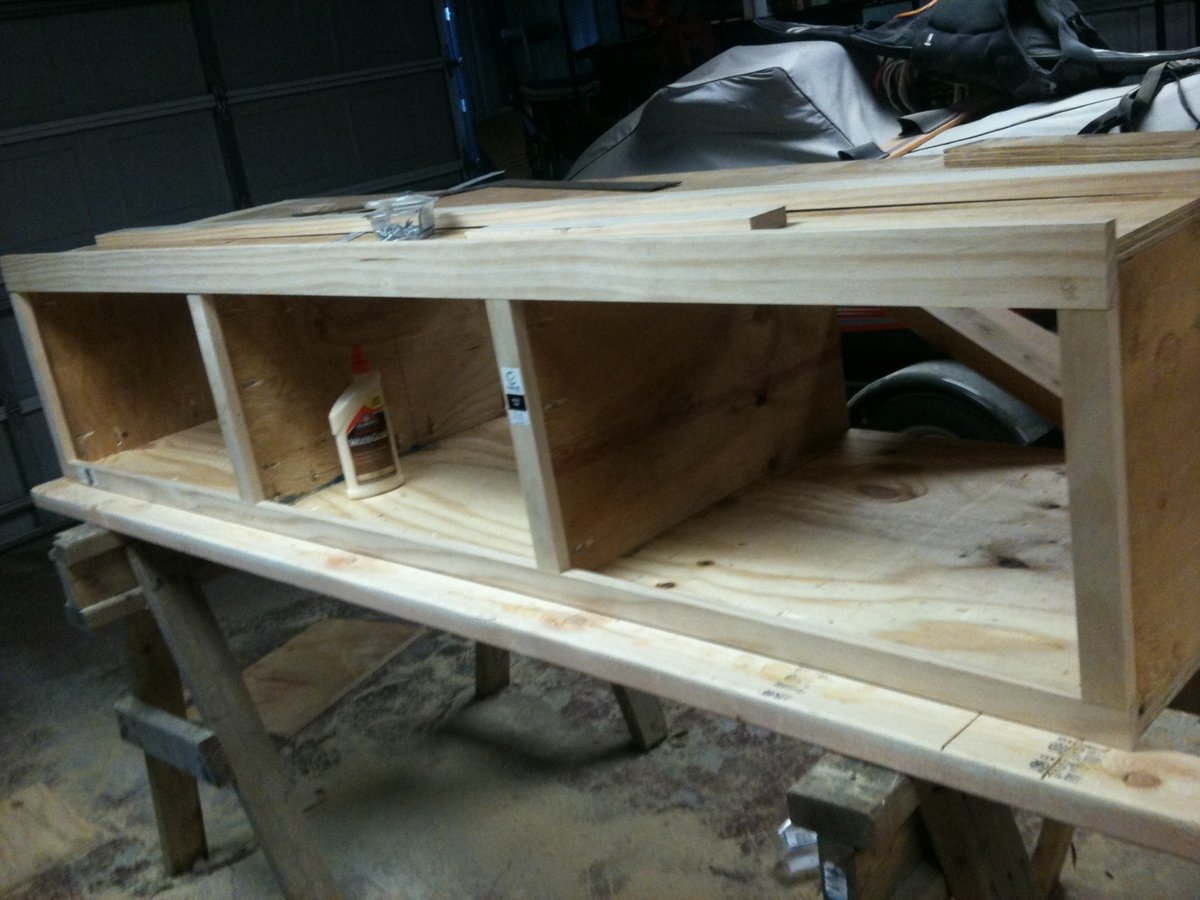
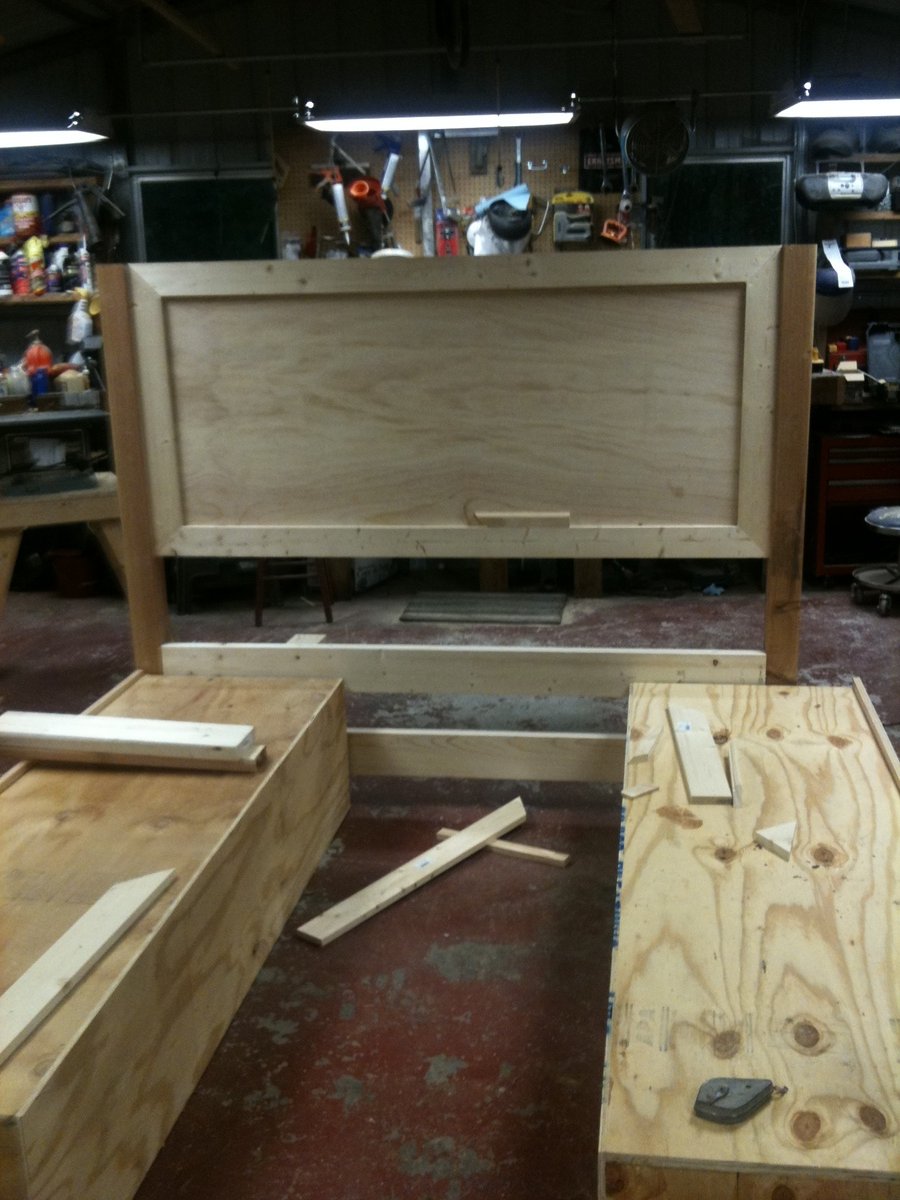
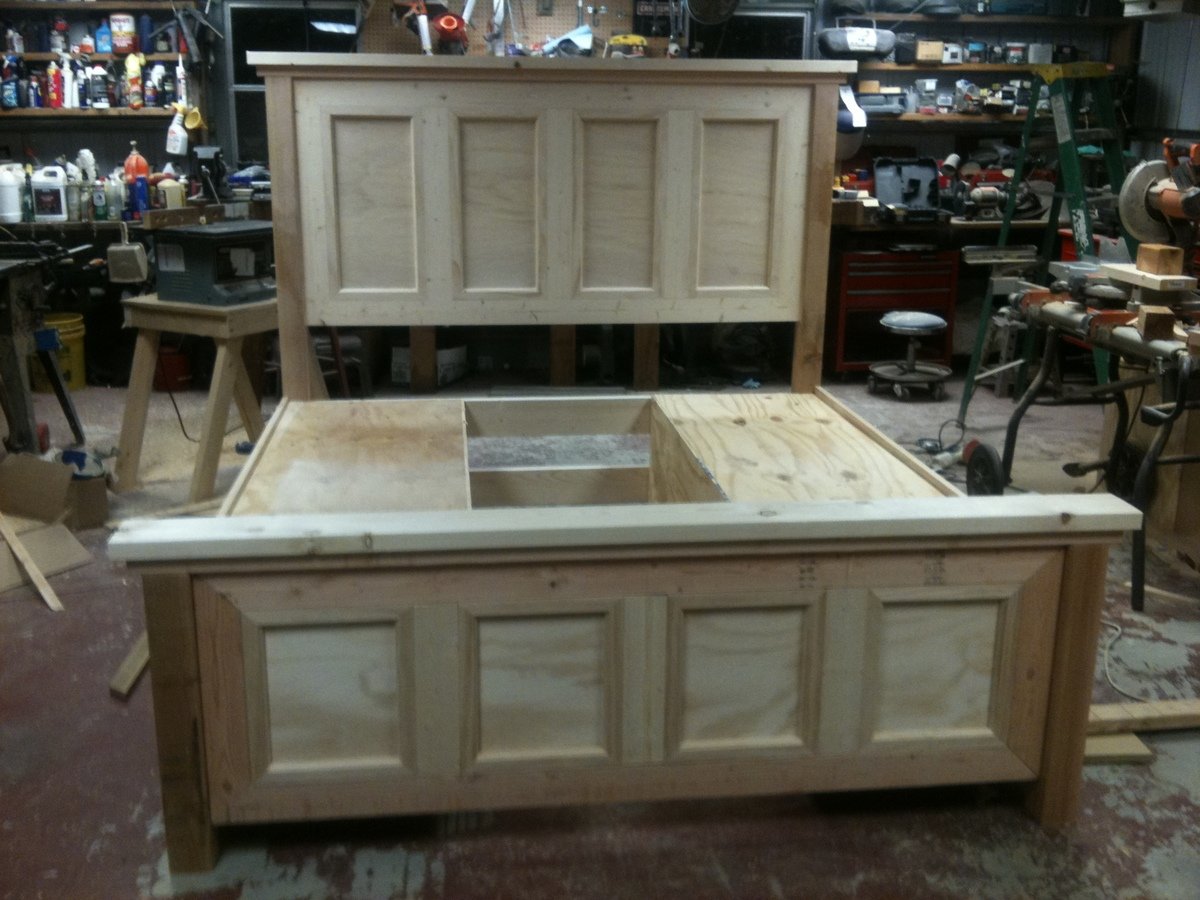
This is our first original design! We had a request for a custom bar/retail counter for my mother in law's children's re-sale store and this is what we came up with! After we found a ridiculously awesome deal on 3/4 inch hardwood plywood (the only down side was that it was already cut into 2ft by 4ft pieces) we quickly got to work. Using our trusty Kreg Jig we turned 4 pieces of plywood into one large piece to create the front of the bar. From there we attached 1x3s and 1x2s to cover any seams that were caused by the different plywood pieces.
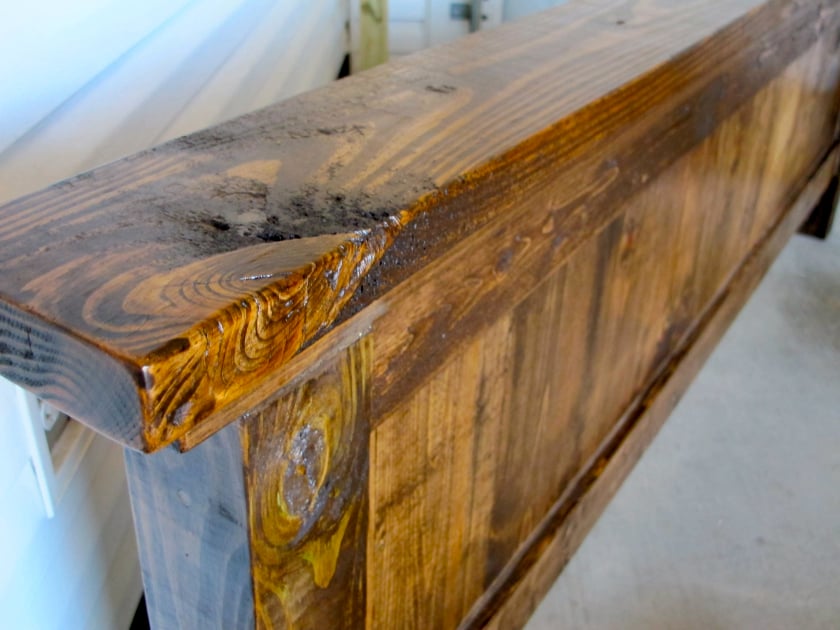
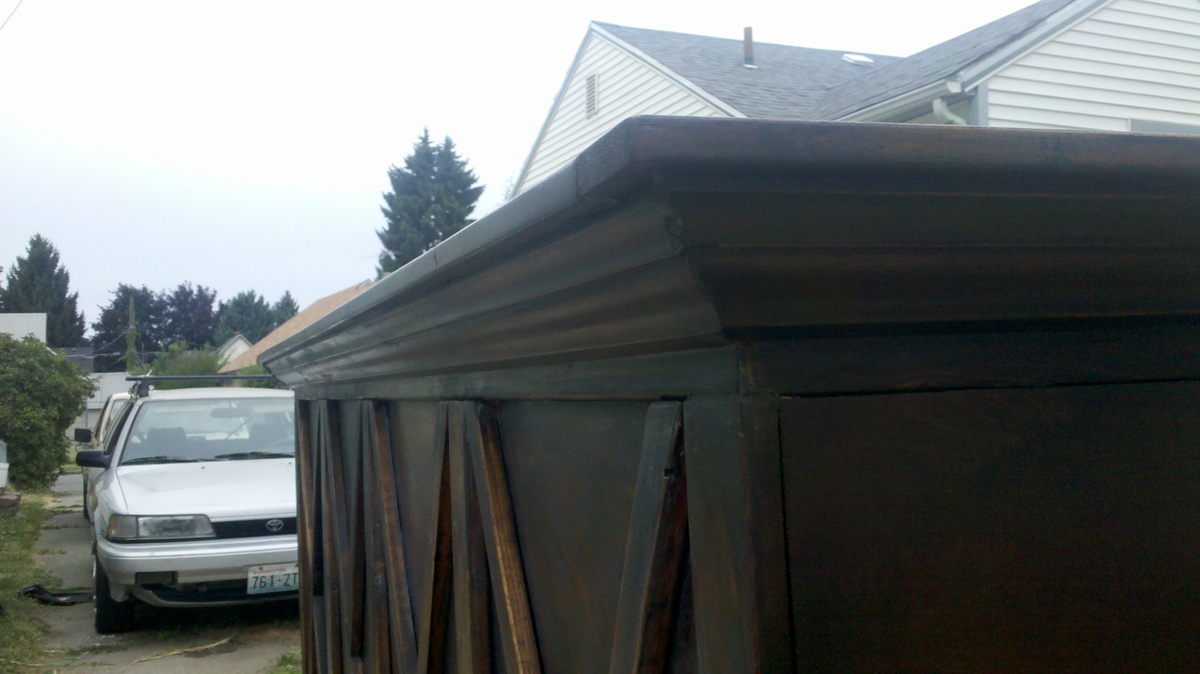
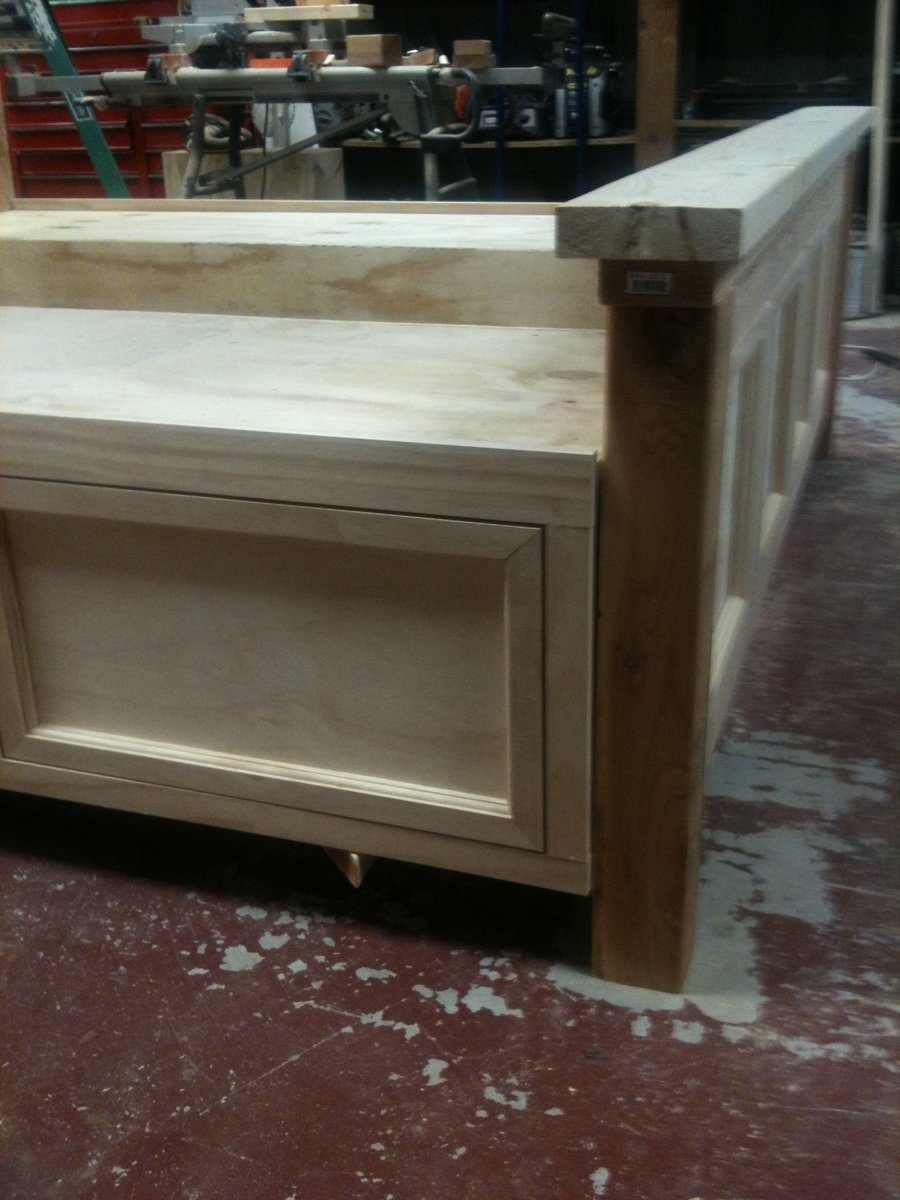
The finish was kind of a struggle but I love how it turned out in the end. It looks like the piece was made 100 years ago and definitely has a lot of soul. I started with Early American but it made the wood too red. So from there, I layered on Kona stain, lime wax, and dark wax and this is how it turned out! Which was not exactly what I was going for, but I LOVE it!
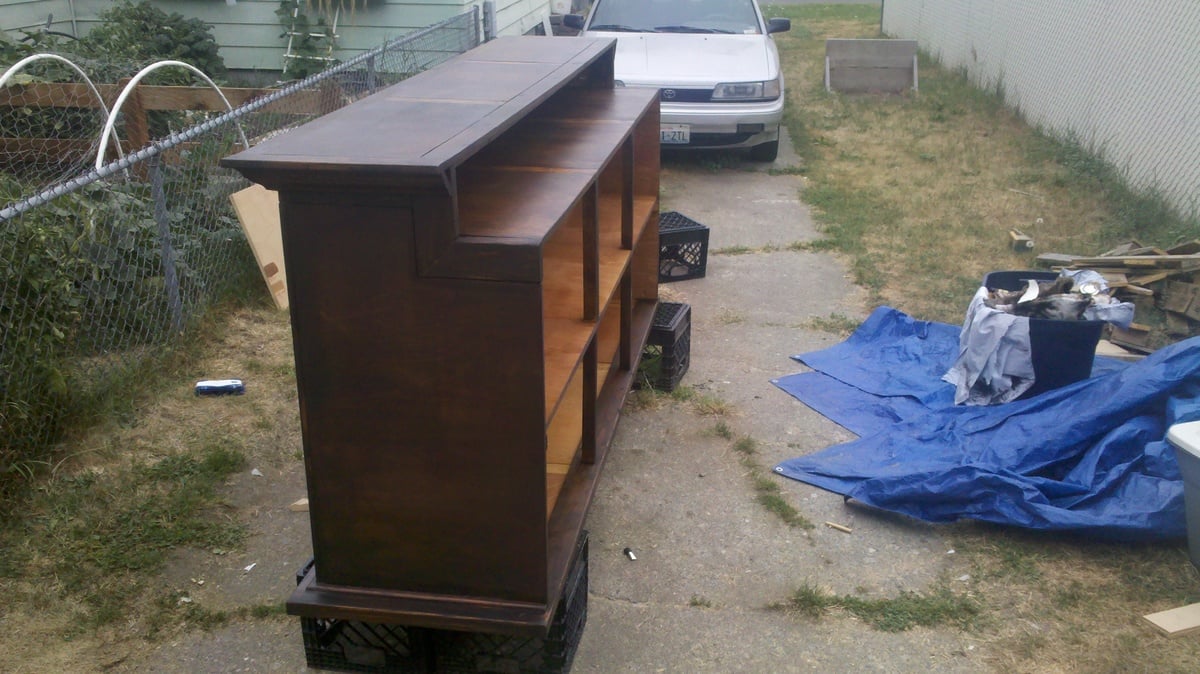
We are so happy with how it turned out. It is being picked up by its new owner tonight and I'm soooo sorry to see it go. We're happy that the piece will be functioning beautifully in the store with TONS of storage in the back. We're very proud of this one.
oh and it cost us about $130 for all lumber and finish materials.
Thu, 08/15/2019 - 12:41
Wow!!! This is amazing! I'd love to draw up plans if you are open to that!
Since moving and finding Knock Off Wood, we decided now would be a good idea to try some gardening (again...after failed attempts!) These beds are so simple but beautiful out in the yard and for the first time I actually have vegetables growing. We used the cedar fence posts just as Ana suggested.
My husband designed this after the farm house bed. I wanted panels on the head board and foot board to "dress it up a bit" and storage drawers. He did a wonderful job. I don't think I have ever had a more prized piece of furniture. Now to find some tall night stands.
Thu, 07/23/2015 - 07:56
is there anyway to get the plans from him? for the adjustments and cubbies he made?
Wed, 09/23/2015 - 11:54
Any chance you or your husband would share the adjusted plans to include the storage under mattress?
Thank you so much! love your site and your work!
Thu, 01/21/2016 - 21:52
Hi Ana!
I was wondering if you had the plans available for this bed with the drawers underneath and the head and foot board ?
:) thank you!
vanessa
Wed, 09/25/2019 - 10:40
Ana,
Can you provide plans with pics for this bed? My wife wants it and I got tasked with doing it.
Sun, 06/07/2020 - 06:27
Do you have the plans for this in a King size bed with the drawers? This is a beautiful bed!!
thank you!
Tue, 01/26/2021 - 12:26
I would love to have plans for this bed with draws for a California king bed if at all possible.
I had to modify these plans to use what I had on hand. I used left over cedar fence pickets (planed down and sealed) and adjusted the size to fit all my outdoor cushions. Overall dimensions are 49" wide x 28" deep x 26" high. I also used 2x4's instead of 2x2's because that is what I had in my shop. I added 1x3's around the top to fit snugly instead of using hinges (again trying to use what I had on hand). We get A LOT of rain in the summer so hopefully the cushions will stay dry. I also added some screen left over from the screened in porch to the bottom before adding the "floor" to keep bugs out. I just stapled it to the frame before adding the floor boards. I did add a piece of treated 1/4" plywood under the top in hopes of keeping the rain out.
Comments
[email protected]
Sat, 06/21/2014 - 09:46
Plans
Do you have plans for this and a materials list?