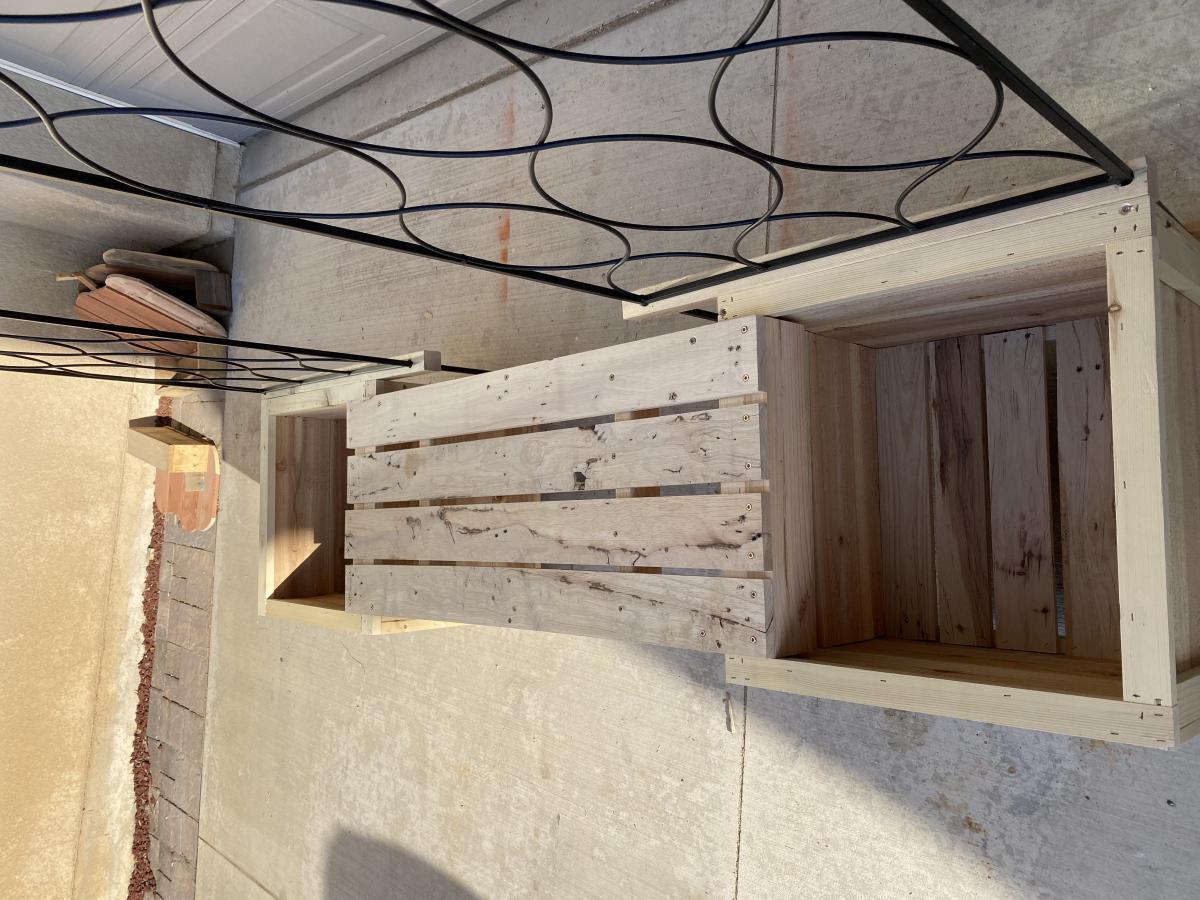
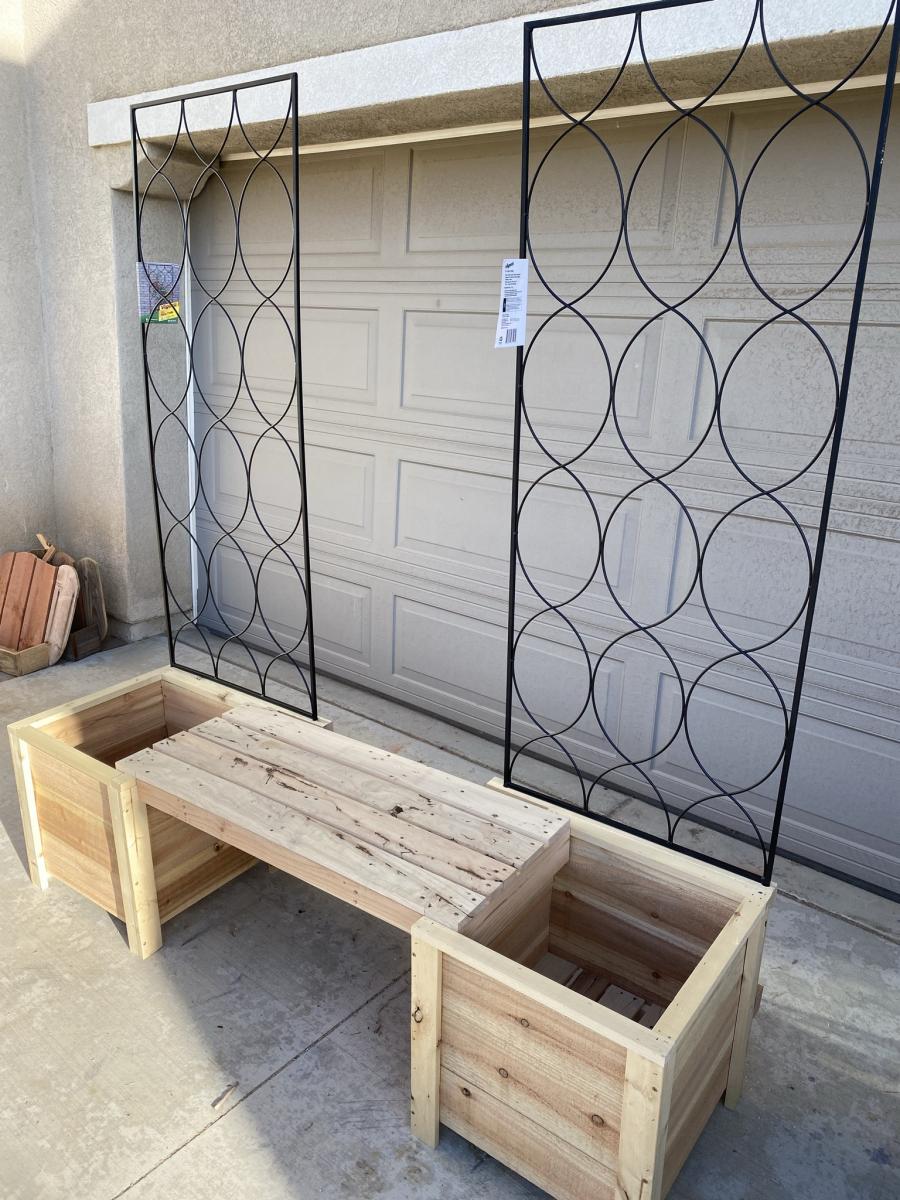
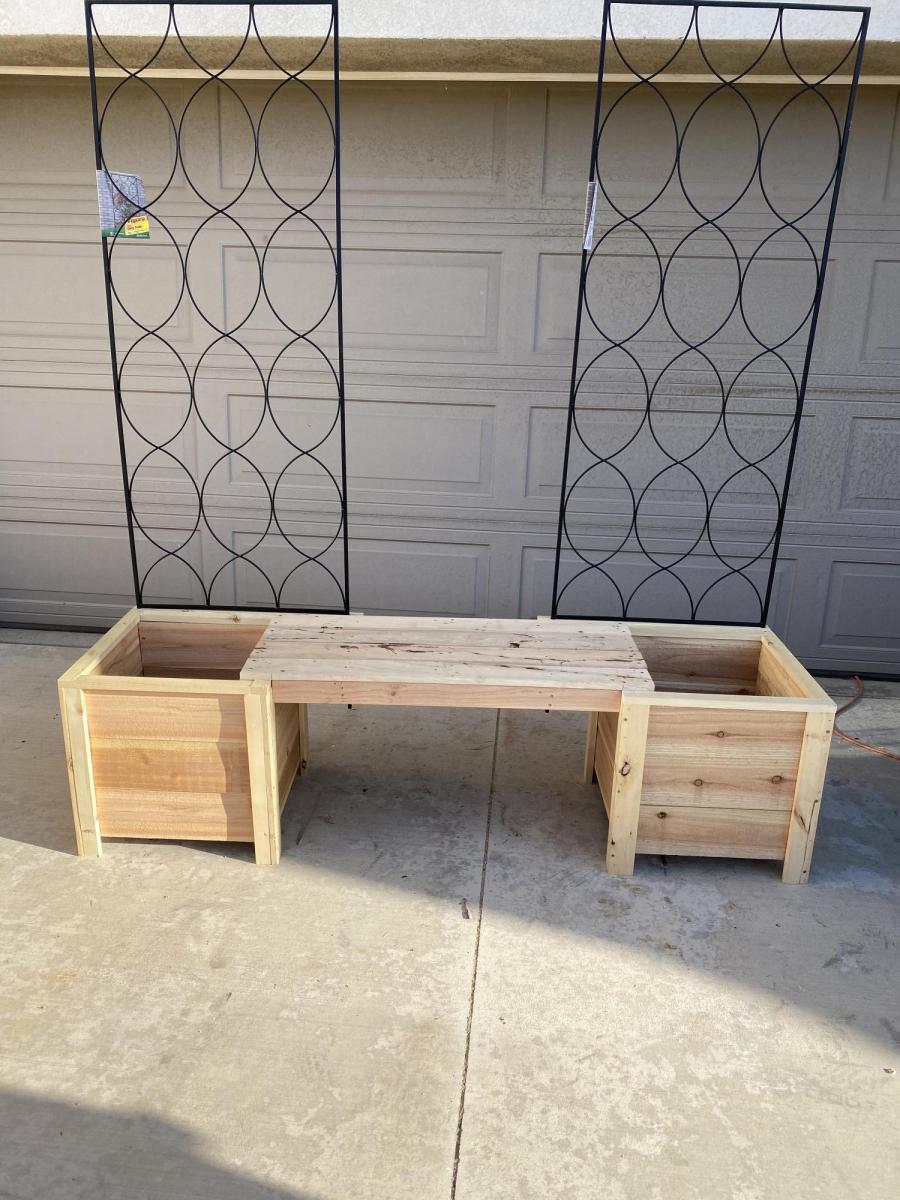
Community Brag Posts

$1.18 Bird Feeder

Submitted by jaime19861 on Mon, 05/26/2014 - 11:11

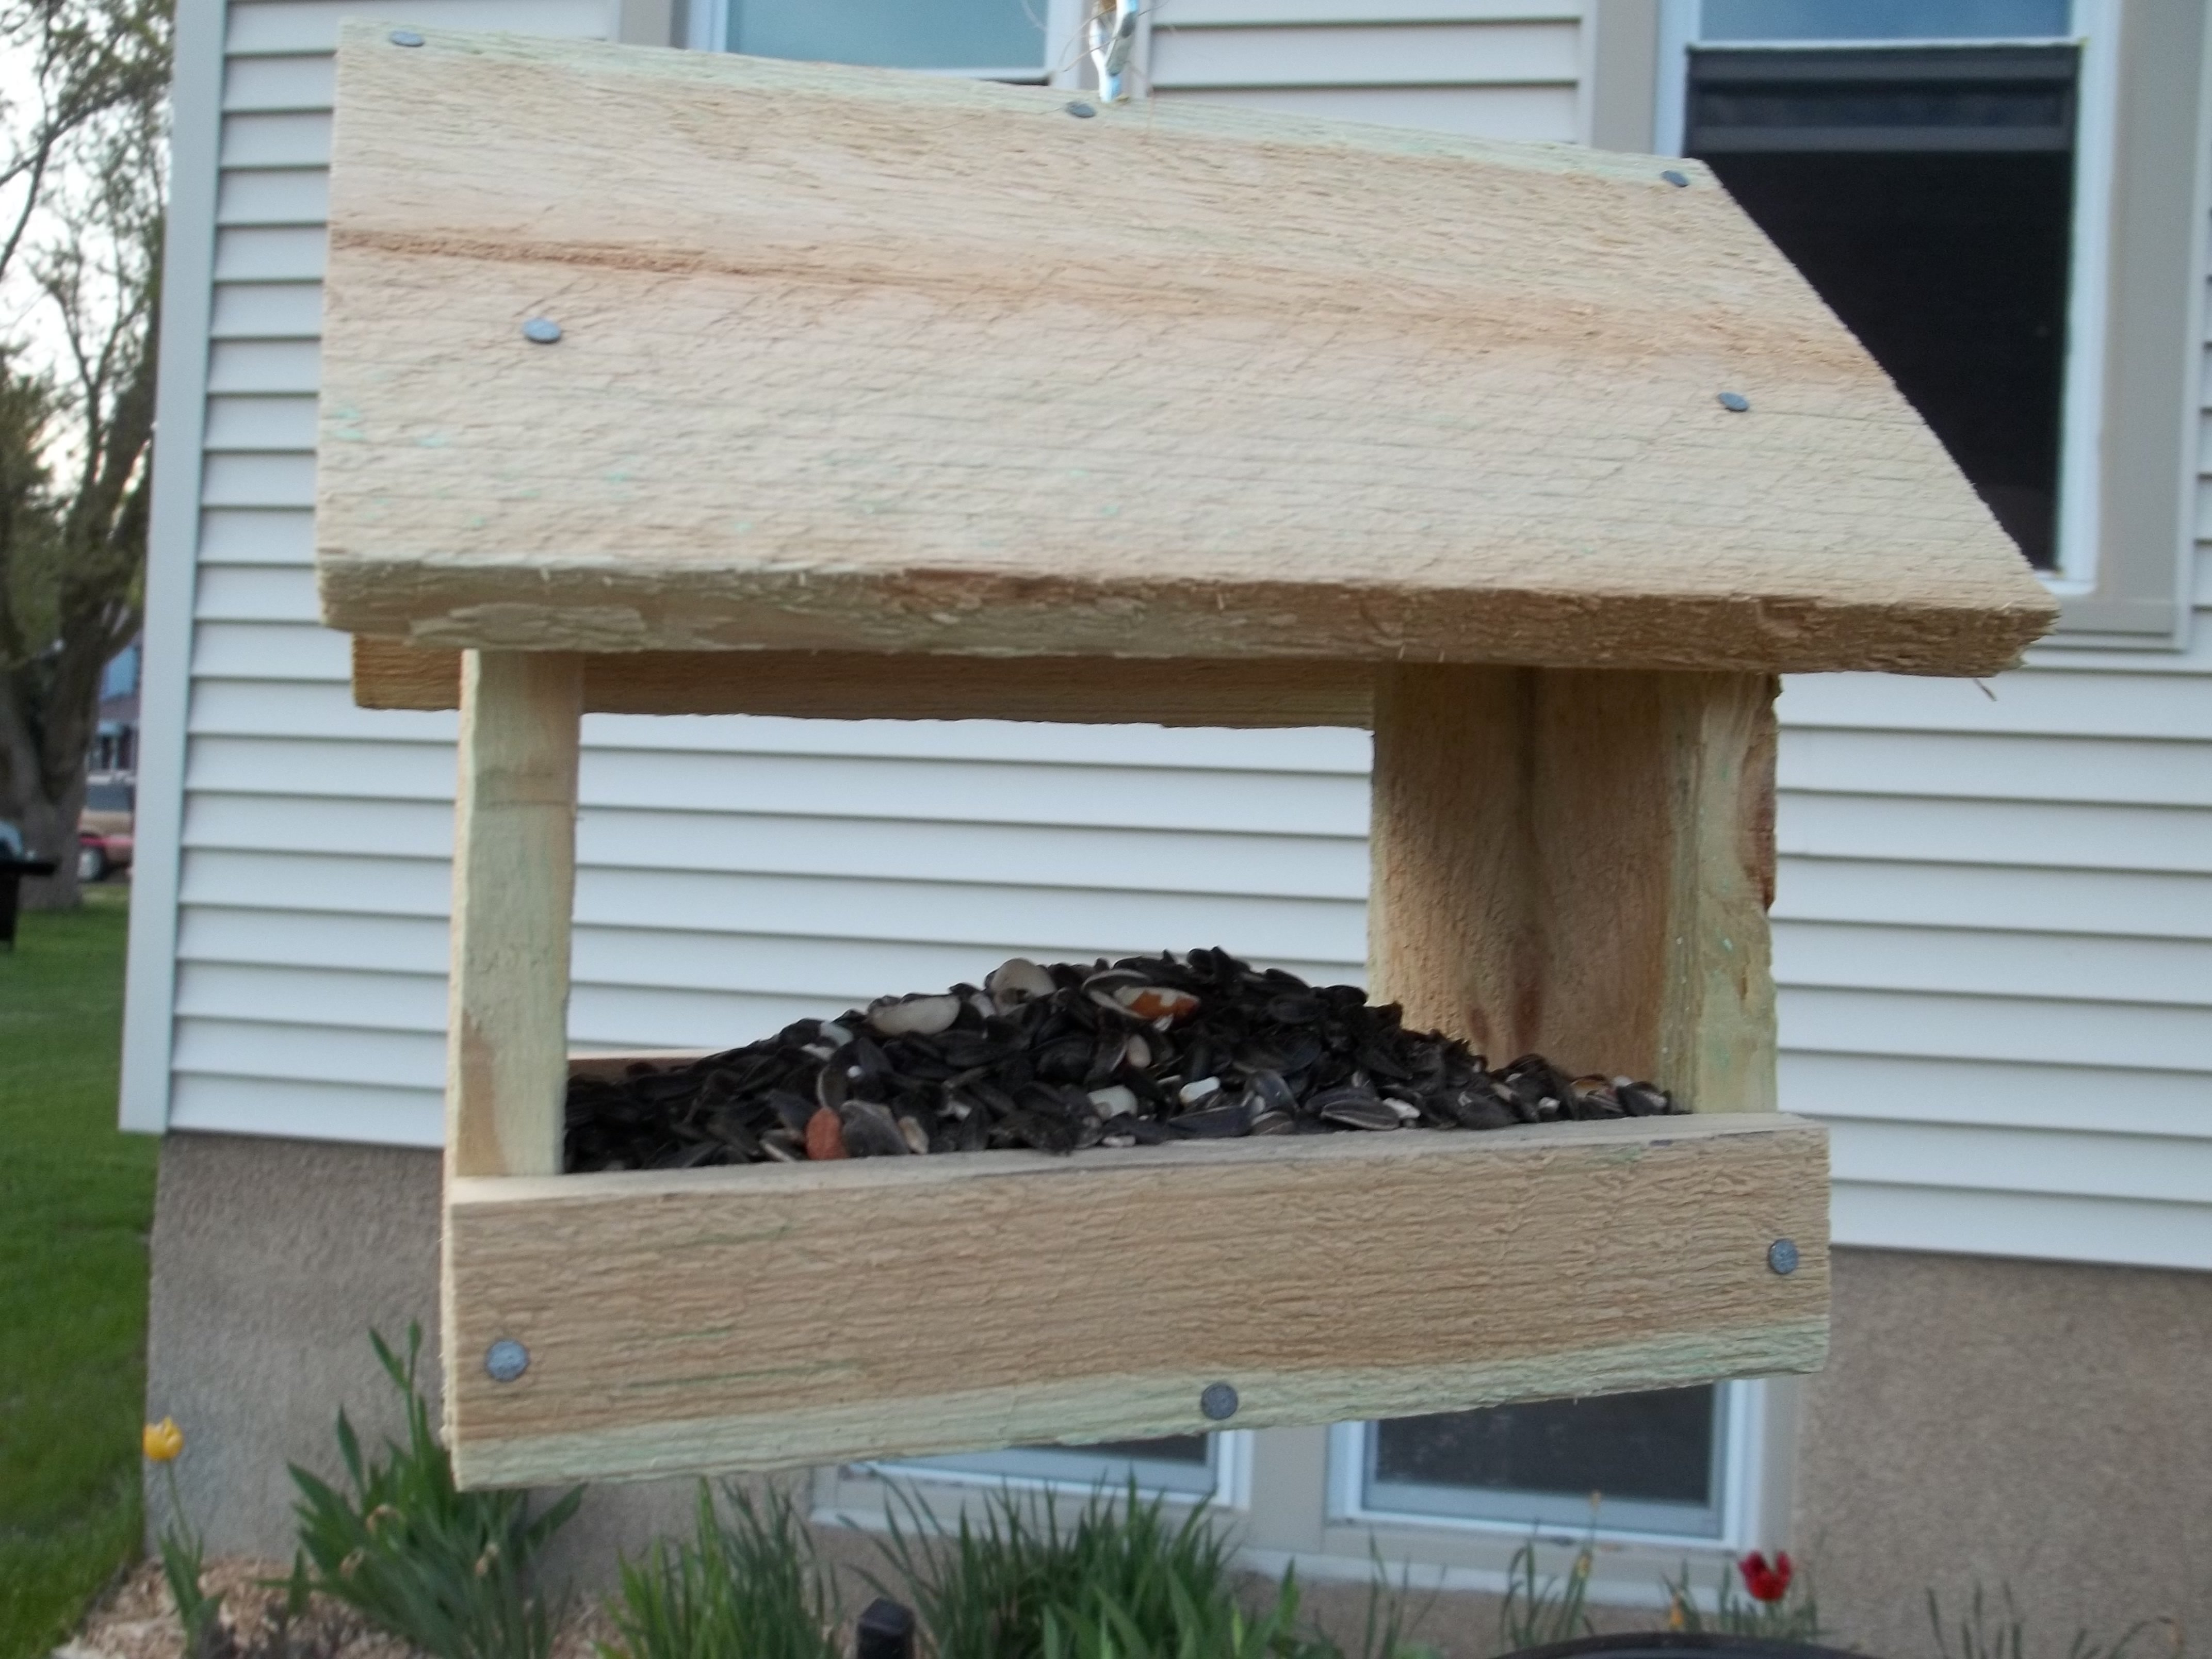
I have been trying to attract more birds. I built and put up some more birdhouses, added a bird bath, and wanted to add some more feeders. I found this quick and easy plan and I had to build it.

This took me less than an hour to build. I bought my picket from Menards when it was on sale for $1.18. That's not a bad price for a bird feeder!

You can see the steps I took to build this on my blog.
http://jaimeofalltrades.blogspot.com/2014/05/make-bird-feeder-for-under…

Built from Plan(s)
Estimated Cost
2.00
Estimated Time Investment
An Hour or Two (0-2 Hours)
Recommended Skill Level
Starter Project

Comments

jessehawks

Sun, 03/01/2020 - 17:05
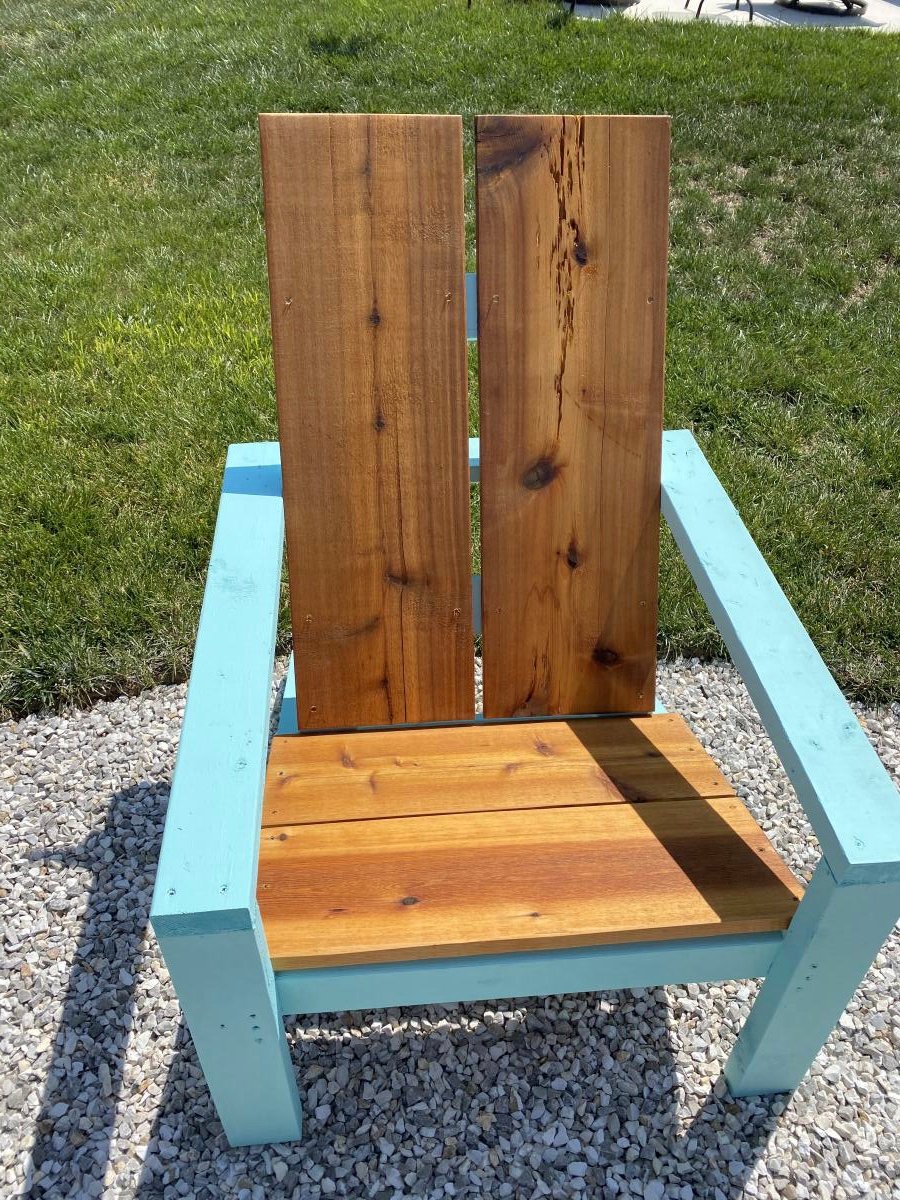
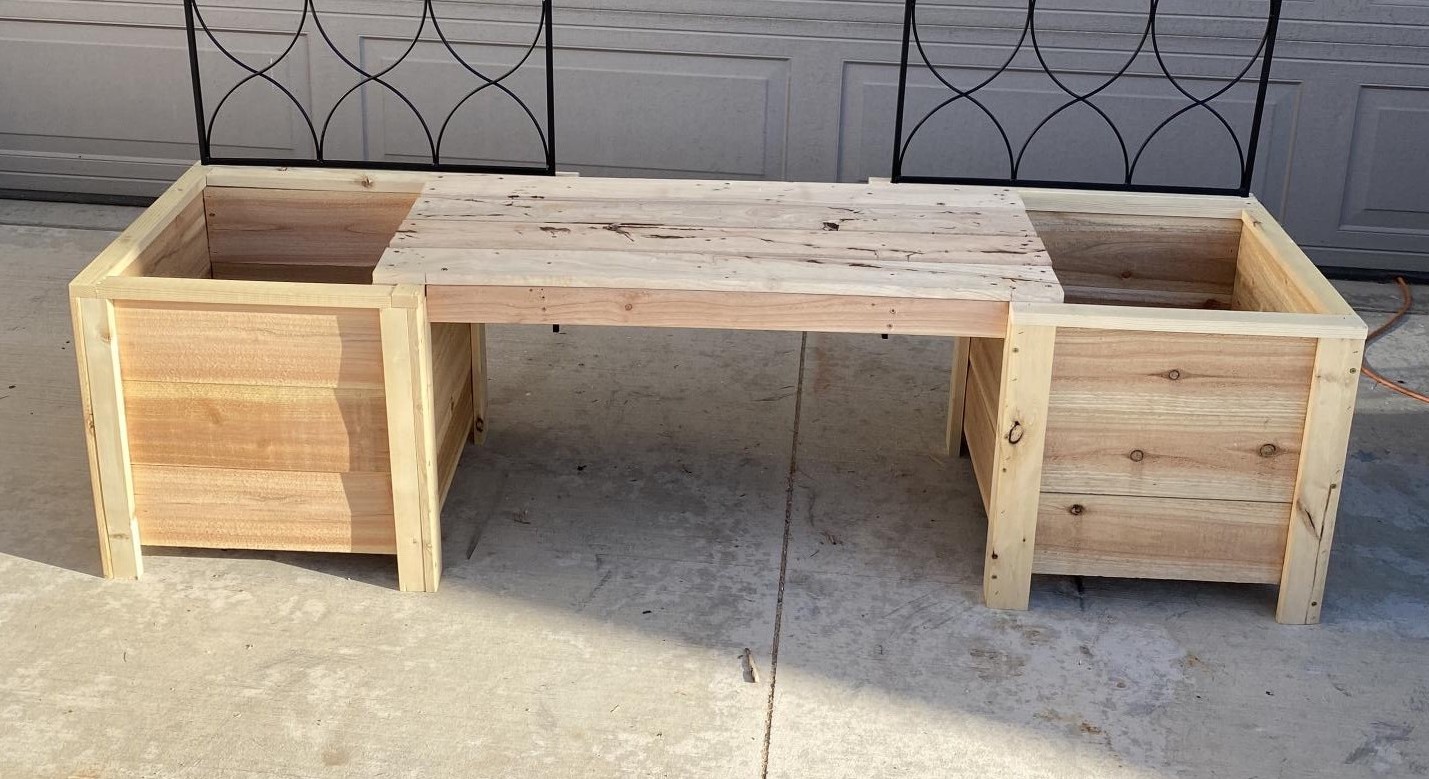
I can tell just from looking at this wood it was treated with a copper based chemical (note the green/blue blotches) while cedar is a good natural resistant wood these can sometimes be treated a well check for those greenish blotches around the Heartwood lines, chemical won't penetrate the tree sap in the wood and builds up along these lines. *I've worked in the pressure treated industry as a chemical tech for 3 years, and industry as a whole for more than 7.

Roll Away Workbench with Miter Saw Insert

Submitted by Anonymous (not verified) on Thu, 04/11/2024 - 10:43

Modified these plans slightly for my needs. I kept the table saw open for easier dust collection and only had one side of shelving on the other bench to allow for storing larger items. I can’t get over how much storage in a small space you get with these and how multi functional they are.

DIY Garden Box with Trellis

Submitted by JenFarrell on Mon, 06/30/2014 - 07:13

We wanted a small garden to fit on the back patio stones and this plan fit well. We reduced the height because we have 3 small children to "help" water the plants. The trellis was hoping that we could extend the amount of produce we could grow. They're very heavy, sturdy and straightforward to build. Thanks very much!!

Estimated Cost
$120
Estimated Time Investment
Weekend Project (10-20 Hours)
Recommended Skill Level
Beginner

Home is Where the Shelves Are

I built five of these bookshelves for my living room. I wanted them to fill the one wall, so I just divided the length of the wall by five to determine how wide to make each shelf. Also, because I was building several to be pushed together, I didn't want the bulk of 2 by SPF, so I used laminated pine shelving. Two eight foot boards were needed for each shelf, and that left very little waste. I love how they turned out. I blogged more about them (including dimensions) here http://skonkers.blogspot.ca/2014/07/home-is-where-shelves-are.html

Built from Plan(s)
Estimated Time Investment
Afternoon Project (3-6 Hours)
Finish Used
I primed, then painted with CIL Artesian White
Recommended Skill Level
Beginner

Potting Bench for Father's Day

Submitted by GretchenM on Wed, 07/16/2014 - 09:49

I started with the potting bench by Between Naps. I made it longer and taller (for my dad). There is a tool holder along one side and I added a sink, for washing the veggies newly harvested from our garden. We ran the water from our house faucet and will blow out water for winter. All that's left is running a pipe from the drain to leach out across the perimeter of the garden. Most of the lumber was given to me (pressure treated even). And I bought the sink from a junk guy for $50. My dad was so impressed and I think it may be my best present project ever. I can't believe I made that! Oh yeah, the end caps have solar lights, nighttime gardening! Ya never know!

Estimated Cost
175
Estimated Time Investment
Day Project (6-9 Hours)
Finish Used
None. Get this where you want it before screwing shelf and counter boards or putting in sink; it's really heavy.
Recommended Skill Level
Intermediate

Comments

jvos

Thu, 07/17/2014 - 12:05

That is awesome! I want a sink for my garden (and a cooktop for outdoor canning) so I am very jealous. :)

Wranglerstar Greenhouse

Thank you Ana for the excellent plans. We have been talking about this for months and are excited finally have a greenhouse. We live in the mountains and this will help extend our growing season. Please tell Ram thank you from the Wranglerlerstar family.

Built from Plan(s)
Estimated Cost
$750
Estimated Time Investment
Week Long Project (20 Hours or More)
Finish Used
stain
Recommended Skill Level
Advanced

Comments

jnow8687

Sat, 08/31/2019 - 12:34

Did you extend the base height? I want a greenhouse to enclose trees that do not do well in the winter and I think I would like to raise the base height a foot or so.

Farmhouse Queen Bed

Submitted by frmoody on Tue, 07/28/2020 - 17:35

I have built two of these modern farmhouse beds. One from the original farmhouse bed plans and one from the updated plan. This bed was basically the original plan but with the headboard and footboard built with horizontal boards. I did not like the revised farmhouse bed plans and the sides were way to heavy and more complex than they had to be. The were also supported only by pocket screws but I did block underneath each end to add more support. For the slats I also purchased #1 prime 1 x 4's as opposed to construction grade. They were nice and smooth and no need to sand or paint.

Estimated Time Investment
Week Long Project (20 Hours or More)
Finish Used
Customer just wanted a very light white finish so I used a diluted white paint more as a wash and then a couple of coats of matte varathane.
Recommended Skill Level
Intermediate

Comments

mmade

Sat, 02/20/2021 - 21:02

I love this! It’s exactly what I want. It’s like the mix of Ana’s two different farmhouse bed plans. I like the horizontal boards instead of the vertical and I didn’t want the ledges on the side trails. Thanks for showing me the way. :)

Simple White Patio Sofa

This was one of my favorite DIY projects. It's so much more affordable than buying patio furniture, and the building instructions make it sturdy as ever.

I built this with my fiance, who you'll see in the image of the in-progress bench. It was a snap for us, since we have a fair amount of experience building our own furniture. With the right tools, this project can take only two days, including wait time in between coats of paint and varnish.

We made our sofa to fit the cushions we found, and thus, the sofa is actually 84" wide, instead of 72" wide. By doing this, we also eliminated the need for a love seat, and instead are in the process of making two chairs to match this sofa. All in all, our patio will seat 6, which is what we were aiming for.

TOOLS
The most important part of making this an easy, fun project is having the right tools. I highly recommend you purchase or borrow:
- Compound miter saw
- Kreg jig
- Square head screws (stripping these is nearly impossible)

Estimated Cost
$300 (including cushions)
Estimated Time Investment
Weekend Project (10-20 Hours)
Finish Used
Exterior satin white (stay away from spray paint, since it's less efficient and more costly)
Exterior spar varnish in aerosol can for extra outdoor protection
Recommended Skill Level
Intermediate

Comments

Modern Adirondack Chair, Super Sized

Submitted by Anonymous (not verified) on Fri, 08/21/2020 - 10:39

Am a big fan of Ana's work, and have used several of her plans in prior builds including the more traditional Adirondack chairs. Those stayed with my old house, and I wanted something different for my new house. Really liked her Modern Adirondack design with the floating arm rest. However, plans are like recipes to me--a guideline. I wanted the back boards to run up and down, and I am a bit more robust than the lovely and petite Ms. White, so they would need to be wider after I built the first one at 19 1/2" wide per plan. The next three I made 22" wide and that worked well without throwing off the geometry and angles of the other parts. Since I ran the backboards up and down, I needed some cross beams for stability and to give an attachment point for the middle of the boards. Cut some 2x4s at 15" wide, drilled pocket holes in both ends, and attached in between the back supports with the pockets facing up to be hidden by the back boards. All of the 2x4s were leftover cut-offs from the houses being built in my neighborhood. Since the frames were free, I splurged and went with cedar boards for the backs and bottoms. With the wider frames, I had to use 1x12s ripped down to 10 3/4" to get the right look (about a board's width in between). Needed some color, so I painted the frames Teal Seaglass from Menards. Cedar was stained with a natural deck stain from Sherwin Williams. I experimented with salt paint (mixing unsanded grout with the paint) to give a heavily textured and weathered finish but this was unecessary--the wood was distressed enough and I am a terrible painter. It also toned down the color so I skipped that step and just went with 2 coats of plain paint. It looks like outdoor furniture should up close. As always, am pleased with Ana's plans. Thank you for doing all the hard work!

Estimated Cost
about $200 for all 4 chairs due to cedar and paint
Estimated Time Investment
Weekend Project (10-20 Hours)
Finish Used
Paint - Pittsburgh matte exterior with Dutch Boy coloring Teal Seaglass
Stain - Sherwin Williams Superdeck stain, Natural finish
Recommended Skill Level
Starter Project

Comments

Seasonal And Holiday

Corona Coffee Table - Rectangle

Submitted by Anonymous (not verified) on Fri, 12/23/2016 - 20:52

A couple of years ago I built the farmhouse dining table with matching bench, so when I showed my wife a picture of the Corona Coffee Table, she was all about it.  I lengthened the coffee table by about 6"-8" inches to fit our space better.  The entire table is yellow pine.  I used 2x6 for the top. Ordered the legs from Osborne, $30 each plus shipping (searched for other supplier to compare pricing, but had no luck finding that leg anywhere else).  For aprons I used 1x4.  Instead of plywood for the base I used 1x4 furring boards (the furring boards were only aprox. $1.50 each for 1"x4"x6', and they had rounded edges which helped add more texture when completed). For the middle and end pieces of the base I use 1x6.   Assembly was completed using wood glue and the Kreg Jig for pocket holes.  Top was stained using an old t-shirt with aprox. 5 coats of Early American stain,  2 coats of Jacobean, then 2 coats semi-gloss poly spray.  Base finished with 2 coats of Spa White by Amy Howard chalk paint (Annie Sloan competitor sold at Ace Hardware, seems to work the same, still costs around $30+ per quart).  At this point  my wife took over. She roughed up the base with my sander, applied the clear wax that protects the chalk paint, then she went back over the sanded edges with brown wax to complete the aging.     

Built from Plan(s)
Estimated Cost
$250+. Could be built for less if needed
Estimated Time Investment
Weekend Project (10-20 Hours)
Finish Used
Early American & Jacobean for top.
Amy Howard chalk paint for base
Recommended Skill Level
Intermediate

Modern Outdoor Collection

Submitted by Anonymous (not verified) on Tue, 10/27/2020 - 16:06

Great plans - thanks so much! Started with two chairs, and kept going...

MODS: Once built, we felt there wasn't enough back support, so added a 2x4 then 4x4 on top. Also added a 2x2 in back of the seat bed, so our 25" x 25" seat cushions didn't float around.

Recommend paint gun vs. painting by hand.

Estimated Time Investment
Weekend Project (10-20 Hours)
Finish Used
Two coats of Behr waterproof stain + sealer (BM swiss coffee)
Recommended Skill Level
Beginner

Comments

Seasonal And Holiday

The Simple Bed (Full-Size)

Submitted by JReed on Mon, 01/21/2013 - 12:17

We had been looking for a headboard for our son for the longest time, but could never find anything we liked in the shade we needed in the stores. Fell in love with this bed, thought it was one of the more "boyish" styles that I've seen which was what I wanted for my son. Asked my husband if he thought he'd be able to build it, he said he'd try and voila! We, however, modified the plans a bit and only made a headboard, but overall, I love it!

Estimated Time Investment
Weekend Project (10-20 Hours)
Recommended Skill Level
Beginner

Twin over full bunk bed with stairs

Submitted by Anonymous (not verified) on Sun, 01/03/2021 - 10:00

Liked the plan took way longer to sand and get everything cleaned up than it took to build.

1x3 slats for under the bed.

Made it extra high just full 8’ boards for the posts and added extra railing and dropped a 12” twin in.

It’s super sturdy, used scraps to add a headboard where the stairs are.

Turned out well

Comments

Customized Triple Pedestal Farmhouse Table

Submitted by Spurrell on Sat, 12/27/2014 - 10:24

As a newly blended family of seven  people, we needed a dining room table that would accomodate our family comfortably.  With nothing suitable available locally and our joint interest in homemade projects, we searched for a plan we could work with.  We were thrilled when we found this plan, which we customized to the dimensions of our dining room. We adjusted the length to 9' and the width to 33" and went with a plank and breadboard end top.  We used a Tudor colour Minwax polyshade stain with a satin finish for the top.  To achieve the worn look of the pedestals we used a torch to burn the wood, primed it with a primer sealer, painted it with furniture andcabinet paint (Armadillo) for durability, then scuffed/sanded the desired areas with a durable 60 grit sandpaper.  Making the table ourselves allowed us to use a colour scheme which matched the chairs we had purchased.  We will add, it was more time consuming than anticipated, but well worth it!  We LOVE our new table!! 

Built from Plan(s)
Estimated Cost
Total cost was less than $200.00 CAD.
Estimated Time Investment
Week Long Project (20 Hours or More)
Finish Used
Top:
Minwax Prestain Wood Conditioner
Minwax Polyshades Satin - Tudor
Pedestals:
Primer Sealer
Sico Furniture and Cabinet Paint, Melamine finish - Armadillo
Recommended Skill Level
Beginner

Comments

Farmhouse Console Table

Submitted by jburke3424 on Sat, 01/30/2021 - 17:43

Wife wanted it done without the middle shelf. Easy project! Love the plans.

Built from Plan(s)
Estimated Cost
$100
Estimated Time Investment
Afternoon Project (3-6 Hours)
Finish Used
Modern Oak Stain with Indoor Poly.
Recommended Skill Level
Beginner

Comments

Provincial Colonial Hybrid (Mortise and Tenon) end table

Submitted by Anonymous (not verified) on Mon, 05/01/2017 - 17:35

I built this for my girlfriend who specifically likes french provincial finishes but colonial farmhouse structure. There is absolutely no metal/screws in this build, frame assembled with mortise and tenon joinery and drawer is assembled with splines. I finished traditionally with a danish oil treatment for the top, and the frame/drawer was painted with Aubusson Blue chalk paint, corners sanded, then graphite washed, then waxed with a traditional paste wax and hand buffed. This is the first time I've built without pocket screws or modern finishes and I am hooked! It did take me four times as long though, so it's not for every project. Just the ones that are for someone special ;)

Estimated Cost
TOTAL: $207

Select pine: $110
Danish oil: $8
Paint/graphite wash/paste wax: $74 (plenty left for other projects)
Drawer pull (Rockler): $15
Estimated Time Investment
Week Long Project (20 Hours or More)
Finish Used
Danish Oil, Aubusson Blue chalk paint, graphite wash, soft clear paste wax
Recommended Skill Level
Intermediate

Planter Boxes

Submitted by Anonymous (not verified) on Mon, 10/04/2021 - 12:53

I made the boxes from plans, but added bench and trellis from my own design.

Built from Plan(s)

Comments

Seasonal And Holiday

Sweet Pea Cottage

What's a mom to do when she can't choose between the cabin bed, the little cottage loft bed and the sweet pea garden bed? Head over to google sketchup and sketch up a set of plans incorporating favourite aspects of all three beds! This one had been in the planning stages for over a year and I’ve called it “Sweet Pea Cottage”. It took me about 3 months to build in my spare time and I couldn't be happier with how it turned out. Of course our daughter loves it as well! Who wouldn't want to sleep in their own little house bed! :) I used spruce and 3/4" purebond plywood for the main build. To give the plywood panels a planked look, I cut the front into various size rectangles so I could run them through my table saw using a 1/4" dado blade before assembling the pieces together with pocket holes. The roof panels and dormer are 1/4" plywood glued and screwed to a frame and then I used construction adhesive to adhere the dormer to the front roof panel as well as adhere the cedar shakes. Painted with Behr Pure Ultra White and topped with a satin polyacrylic. I left the cedar shakes raw but if I built it again, I think I would top them with some sort of flat or matt sealer as the rough texture makes dusting them a bit difficult. One of the first questions I get is "how difficult is it to make the bed?". Surprisingly it's not that hard. Because the bed is so open on each end and we have it set up in her room with access on three sides, it's easy to manoeuvre the mattress a bit to change the bedding.

Comments

April1360

Thu, 02/17/2022 - 08:15

I love this bed. I would like to make one for my Grand-daughter. Do you have plans for this cute bed? I just signed up today so I wasn't able to see the comment section. I'm sorry if this has already been asked.

Back