Community Brag Posts

Modern Craft Table *tweaked*

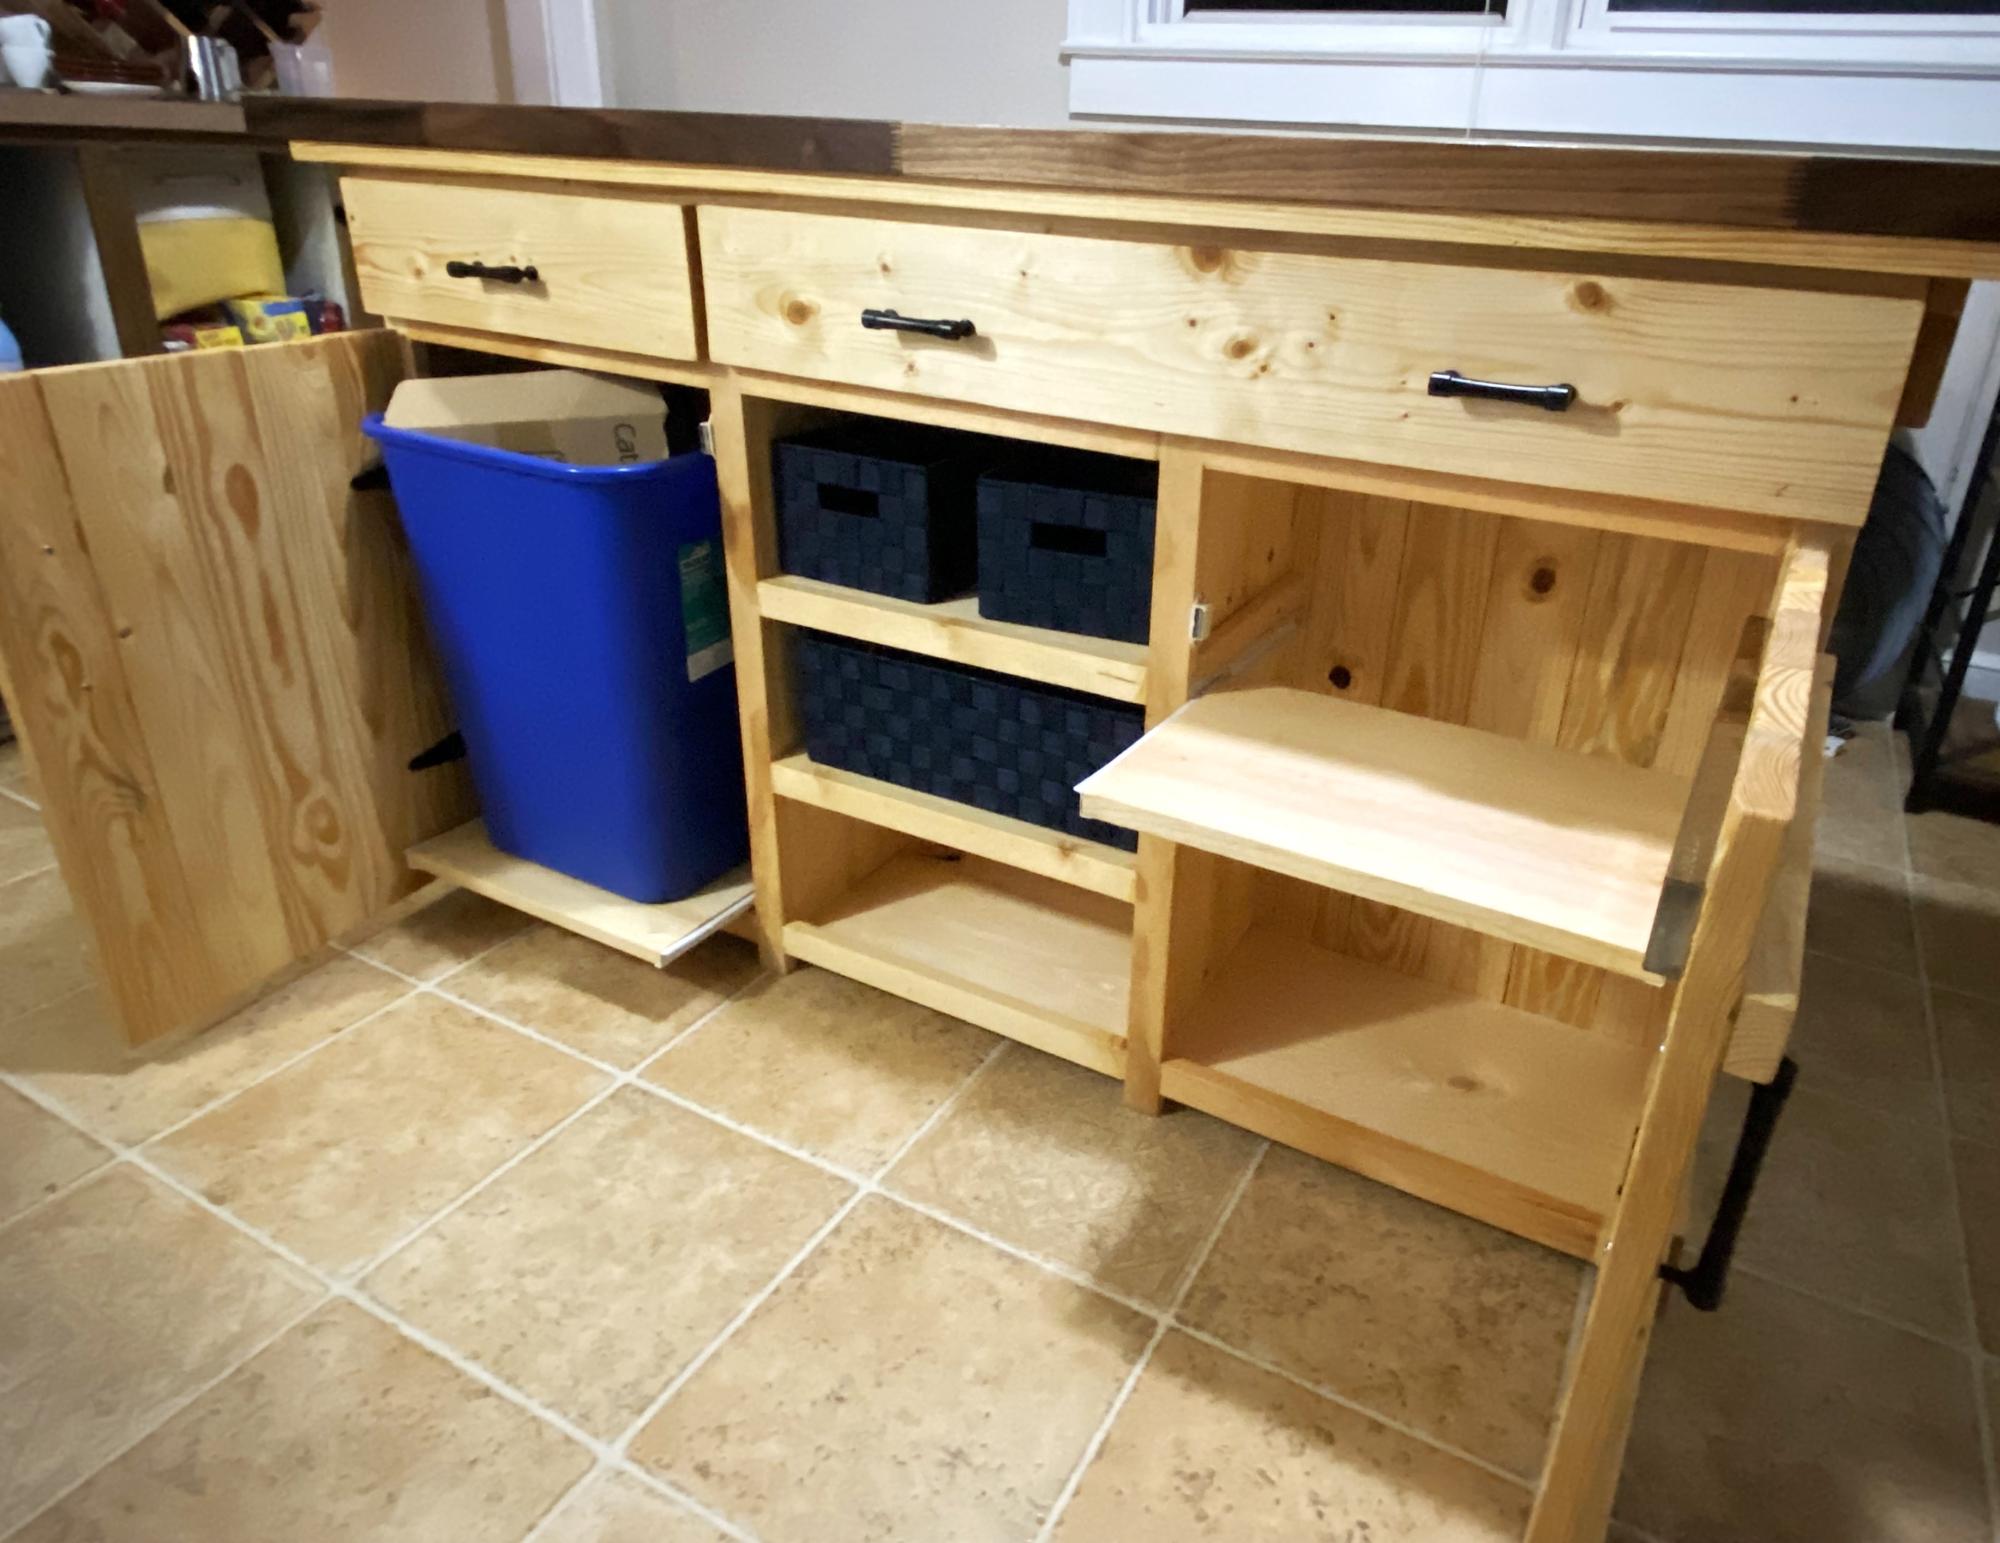
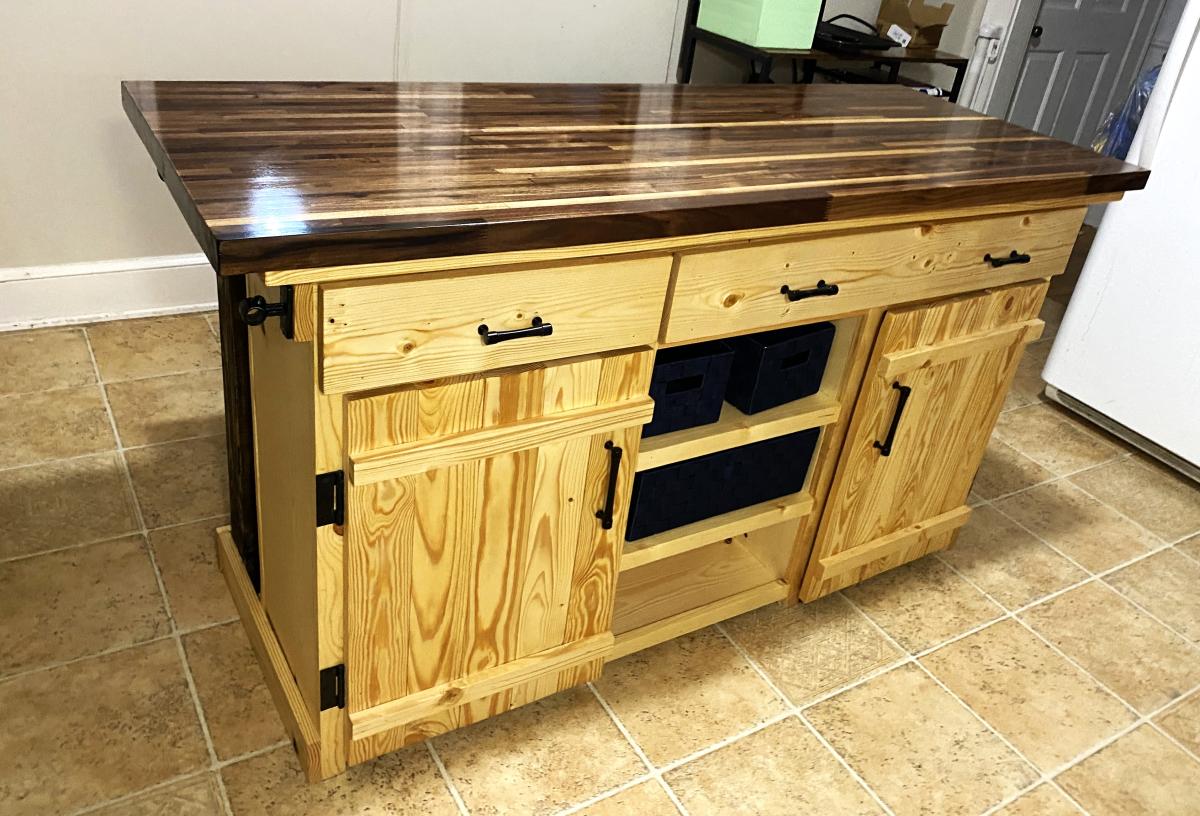
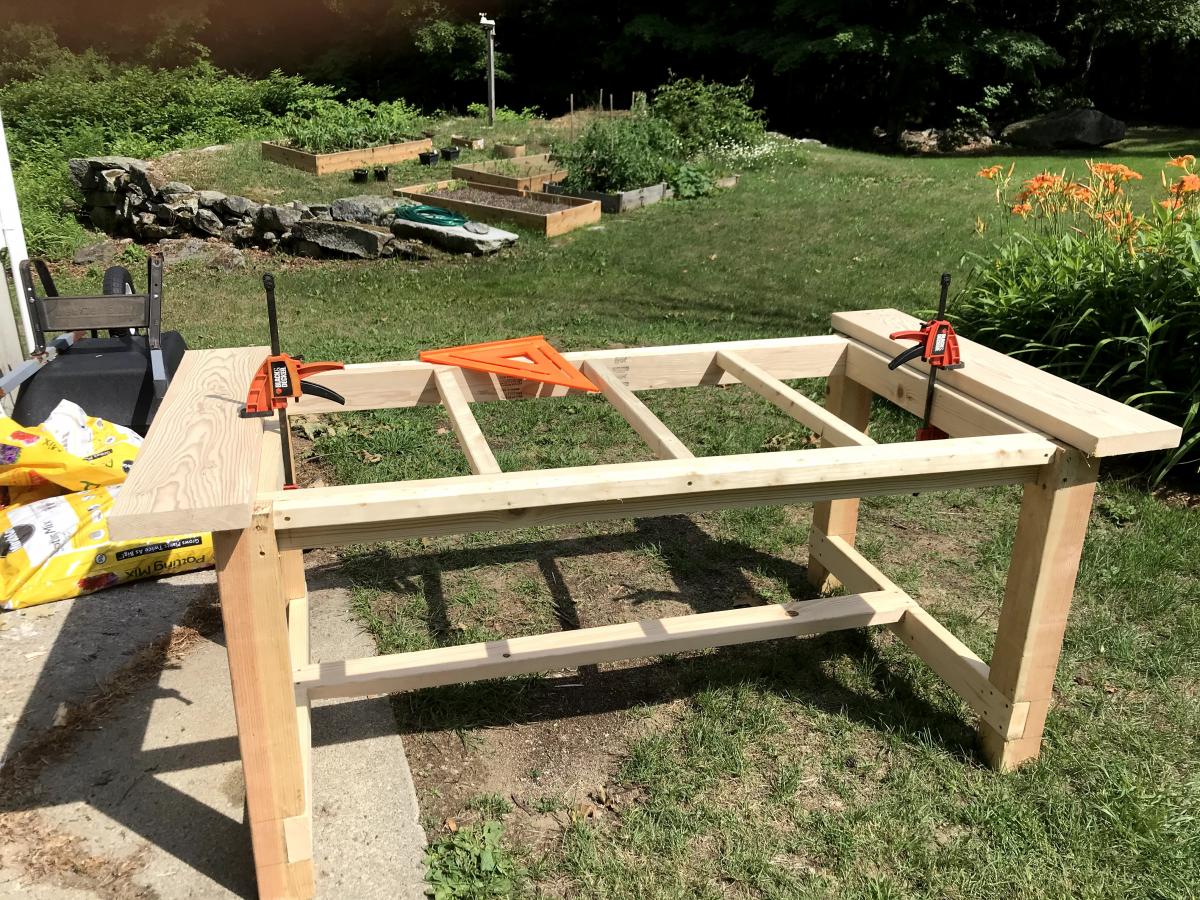
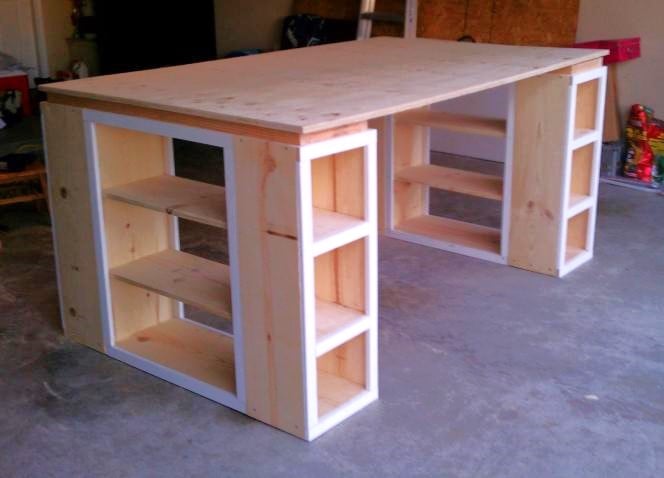
Completed Modern Craft Table! We tweaked the plans a bit because I was looking for a larger table top. The top now measures 48" x 76". We simply did this by adding an extra set of cubbies to the other side of the shelves. Absolutely LOVE how this turned out! All I need now is 4 counter height stools built and lots of shelves to complete my craft room! Will be sure to post those once they are completed!

Built from Plan(s)
Estimated Time Investment
Weekend Project (10-20 Hours)
Finish Used
Ultra White Latex Paint
Recommended Skill Level
Beginner

Comments

Ana White

Thu, 11/17/2011 - 01:10

Darn I was so excited to see you craft table! I apologize that your brag post did not show images. If you can send me images at knockoffwood(at)gmail.com I'd be happy to post. Thanks so much for submitting a brag post. Ana

Guest (not verified)

Sun, 03/04/2012 - 07:31

I LOVE LOVE LOVE your craft table. I want one! Looks like my husband wil have to get busy! Thanks for sharing!
Kristina
Houston, TX

Kimmy (not verified)

Tue, 03/20/2012 - 17:51

Is this the pic of the one you did ?? I am wanting a bigger table top too. I have waited years for just the right table and this is it.

Kimmy (not verified)

Tue, 03/20/2012 - 17:51

Is this the pic of the one you did ?? I am wanting a bigger table top too. I have waited years for just the right table and this is it.

Kimmy (not verified)

Tue, 03/20/2012 - 17:54

Is this the one you made ? I want a bigger table top as well. But I don't see the extra cubbies.

Kimmy (not verified)

Tue, 03/20/2012 - 17:54

Is this the one you made ? I want a bigger table top as well. But I don't see the extra cubbies.

naildoctors

Tue, 05/29/2012 - 00:05

This is great!! I am planning something similar, but what is your idea or the plan you used for the middle support to keep it from sagging over time? My idea is to run another cubby in the middle from side to side. What do you think?

Laura Mulholland (not verified)

Mon, 01/21/2013 - 09:54

I love the modern craft table, just what I have been looking for, do you share instructions, dimensions, etc.? thanks, Laura

HapETexanGal

Thu, 05/12/2016 - 15:14

I'm loving this and would love to have FIL build it for me but the plans look like its for the regular modern craft table but not the tweaked?  Also is there support for the middle?  Can you send me a link for the tweaked supply list please, can't seem to find it.  Love what you do!

King Size Farmhouse Bed

Submitted by Anonymous (not verified) on Thu, 10/03/2019 - 13:02

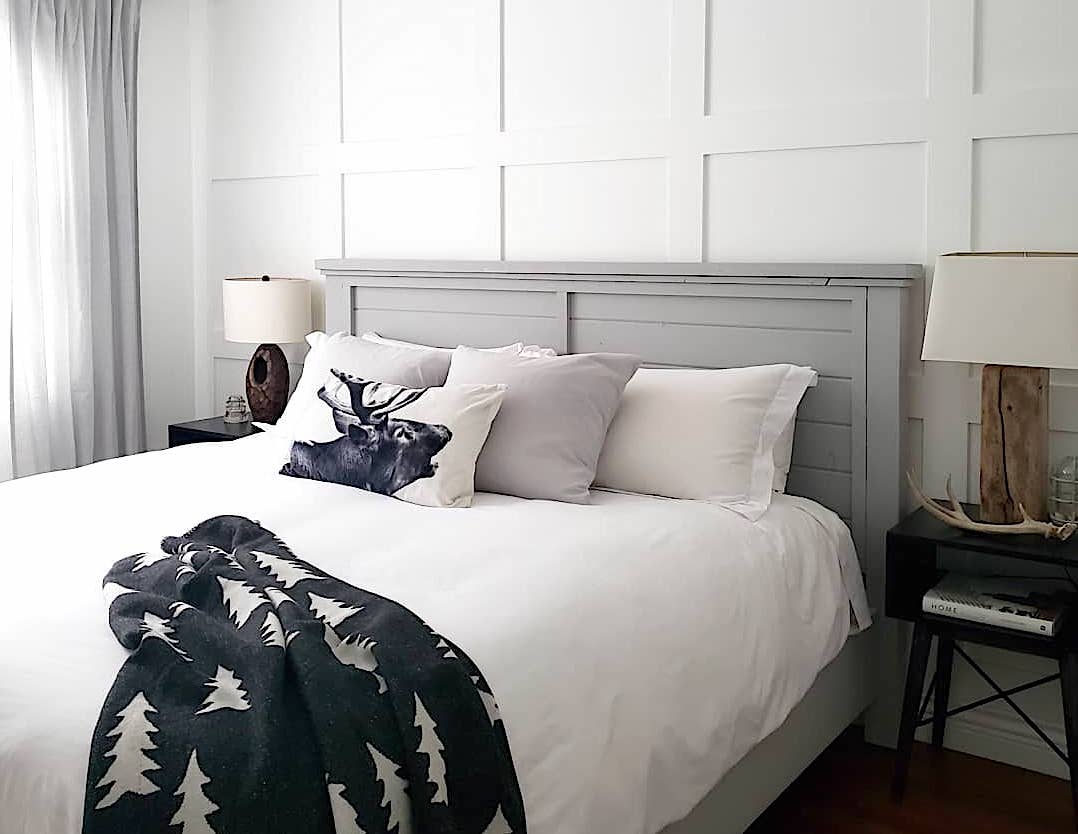
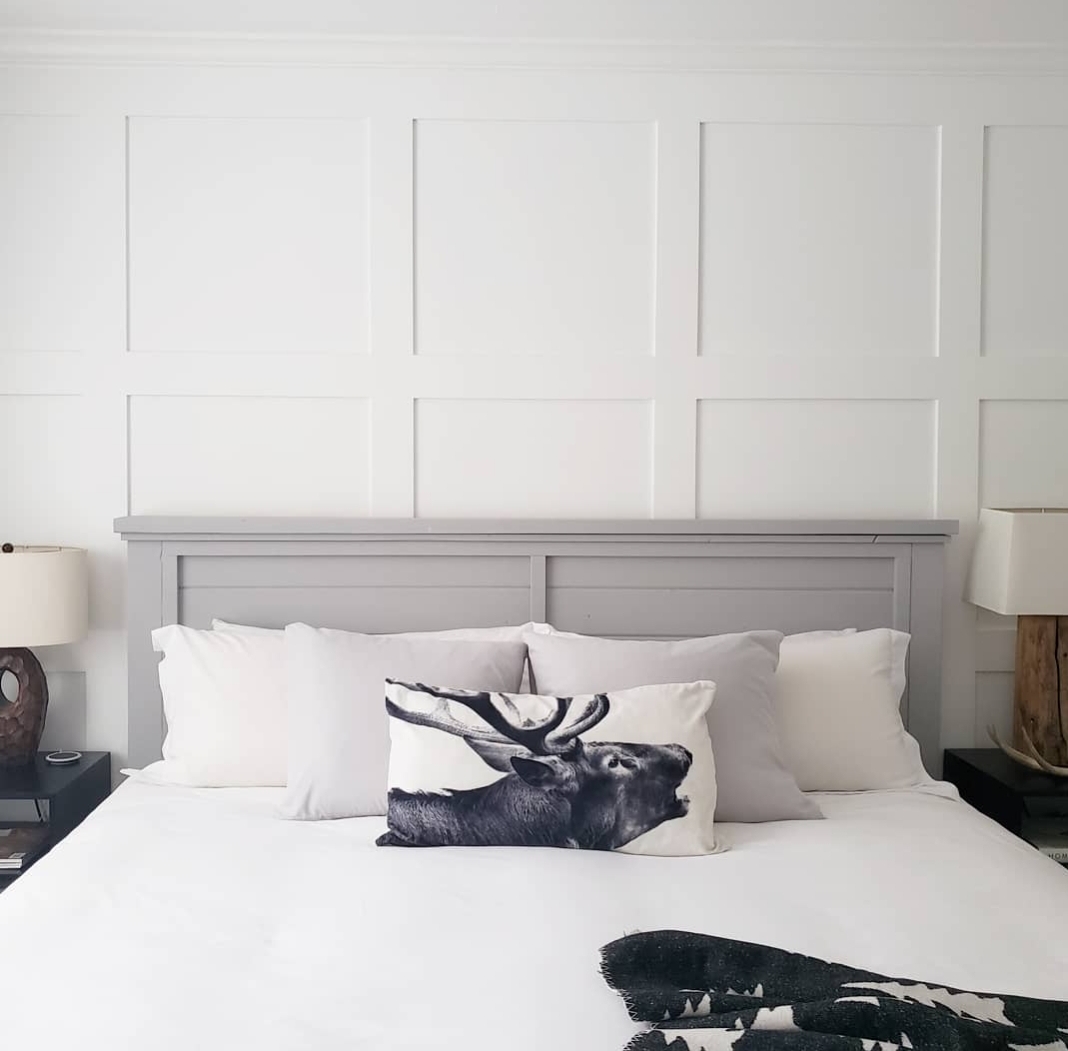
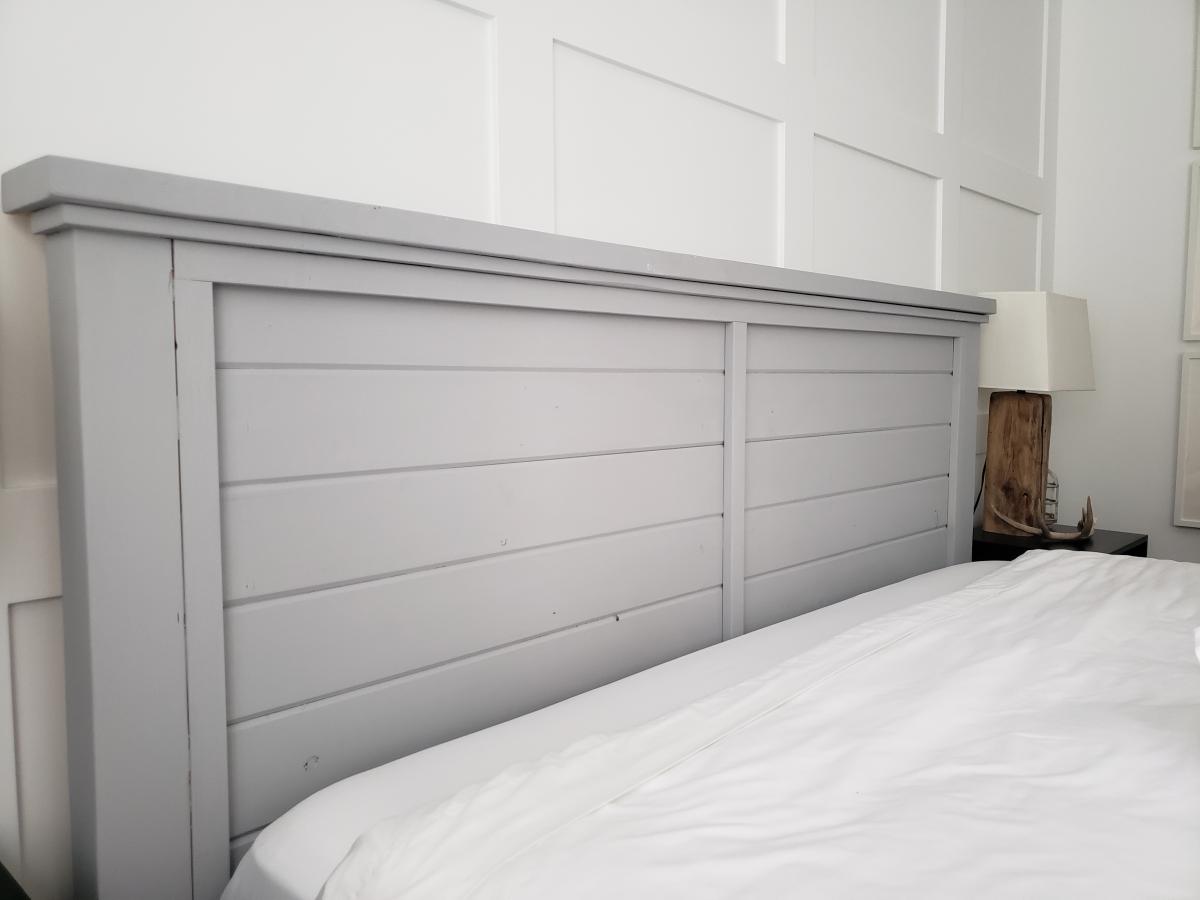
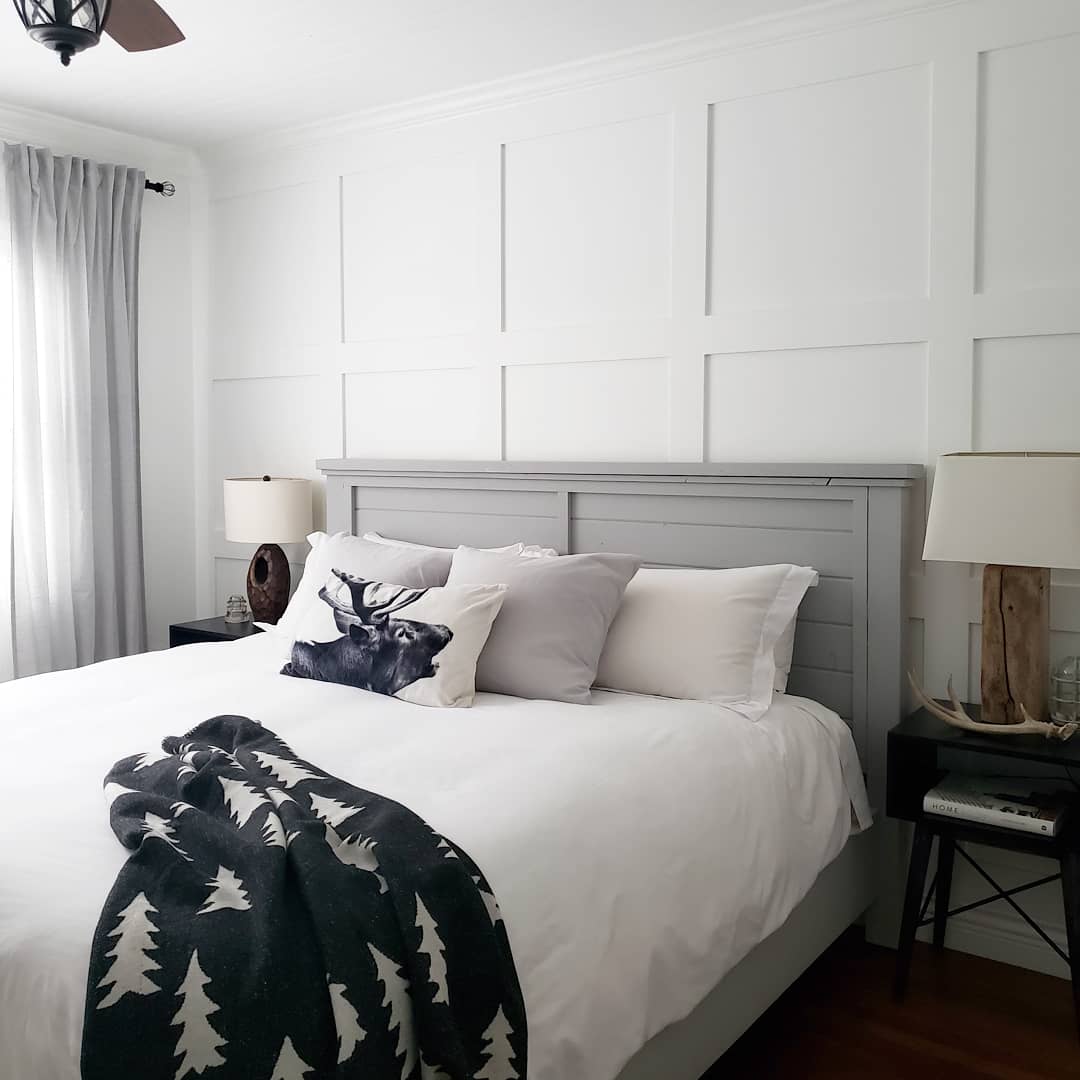
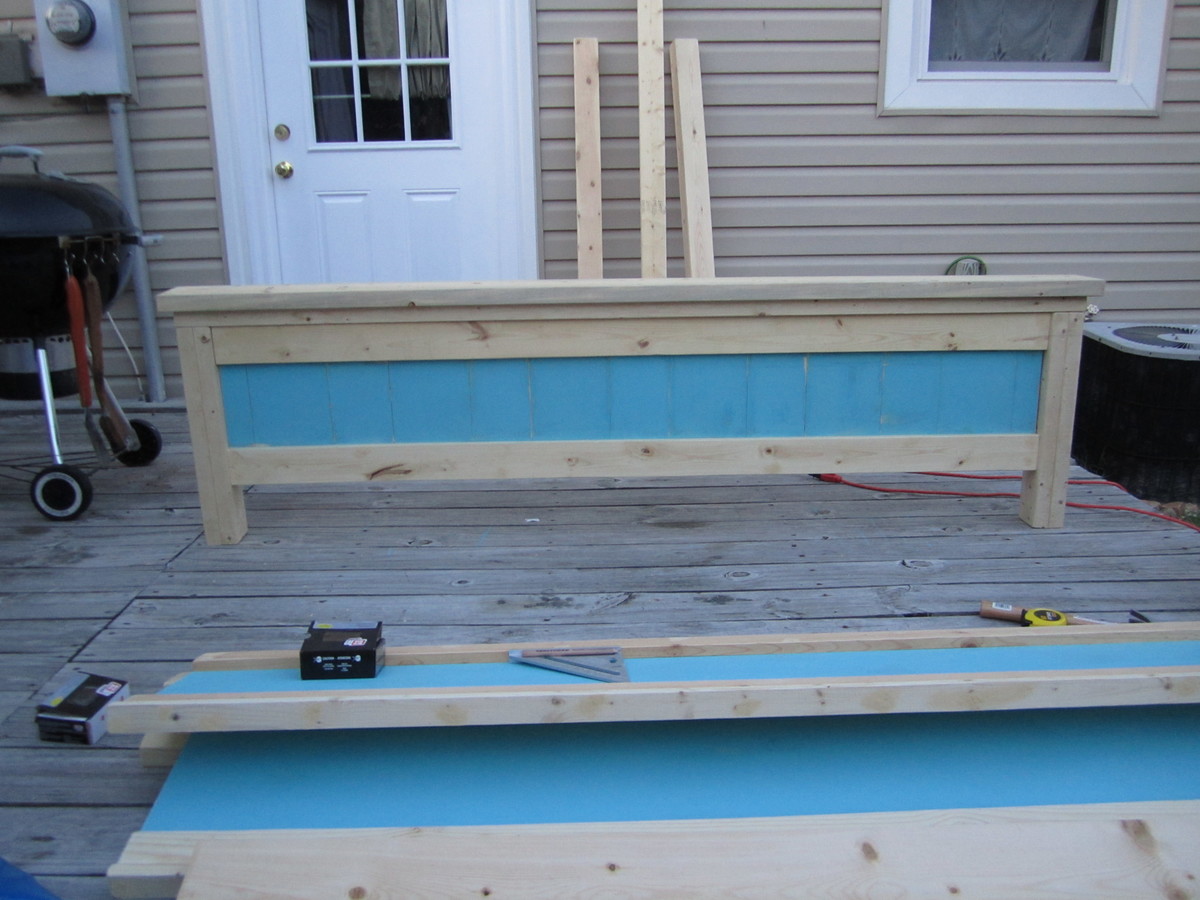
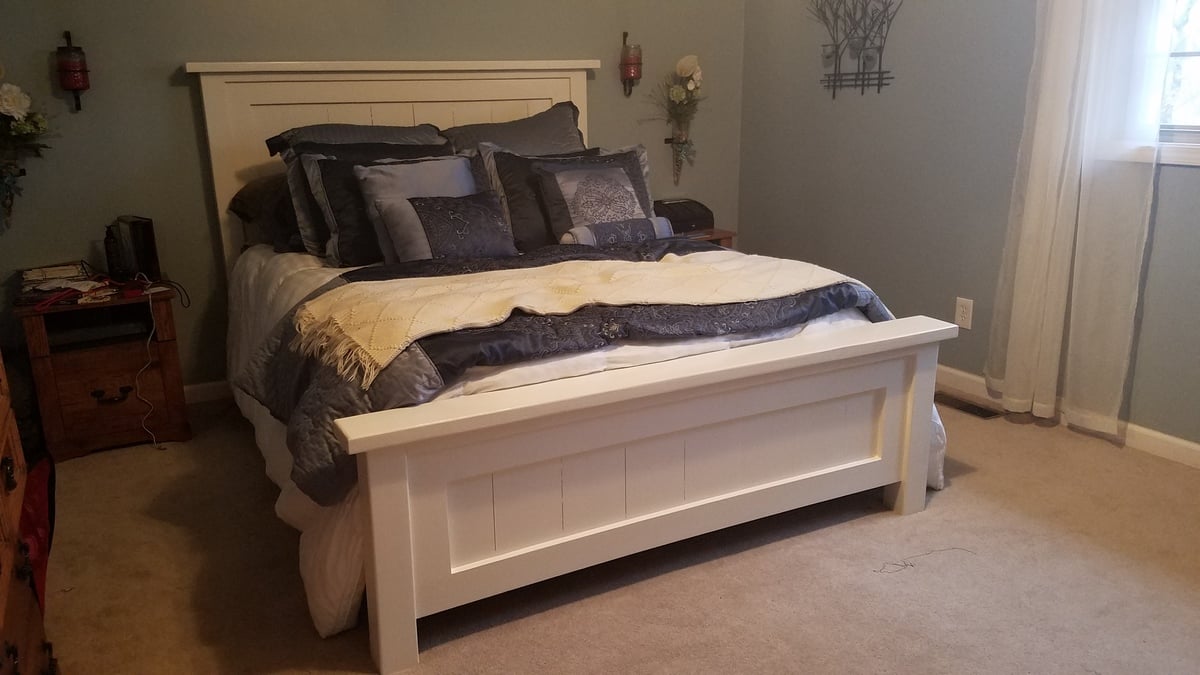
This farmhouse bed is a combination of Ana White's Farmhouse Bed/Modern Farmhouse Bed plans as well as some slight modifications. I modified the bed using materials already on hand and leftover from past jobs. The 4x4 posts are 2 - 2×4s glued and filled together. The headboard was made using 2x2's and tongue and groove boards. The side rails, foot board and matress supports are 2x10's since this was old material from a job site my husband was on. I opted for no footboard to make the bed feel less bulky. The finish was done using chalk paint in a light gray, giving it a more modern look.

Estimated Cost
$200
Estimated Time Investment
Day Project (6-9 Hours)
Finish Used
The bed is a painted finish using Rust-Oleum Chalked in Aged Grey. The paint dries quickly allowing for two coats to be applied on the same day. Between coats, I lightly sanded the paint to remove any roughness. I find chalk paint to be durable and easy to apply. I opted not to apply a clear coat as our bed doesn't see a lot of wear and tear.
Recommended Skill Level
Beginner

Comments

Modern Park Bench

Submitted by TaylorMade on Tue, 03/08/2016 - 18:42

HI Ana! Just wanted to tell you thank you for sharing all your knowledge. I really got inspired reading your book and looking through your website. I was quite intimidated but I finally completed my first build. It feels amazing and I am so grateful for your help! XO Sarah Taylor

Built from Plan(s)
Recommended Skill Level
Intermediate

Comments

West Elm Bed Knockoff

Submitted by Anonymous (not verified) on Fri, 07/14/2023 - 13:00

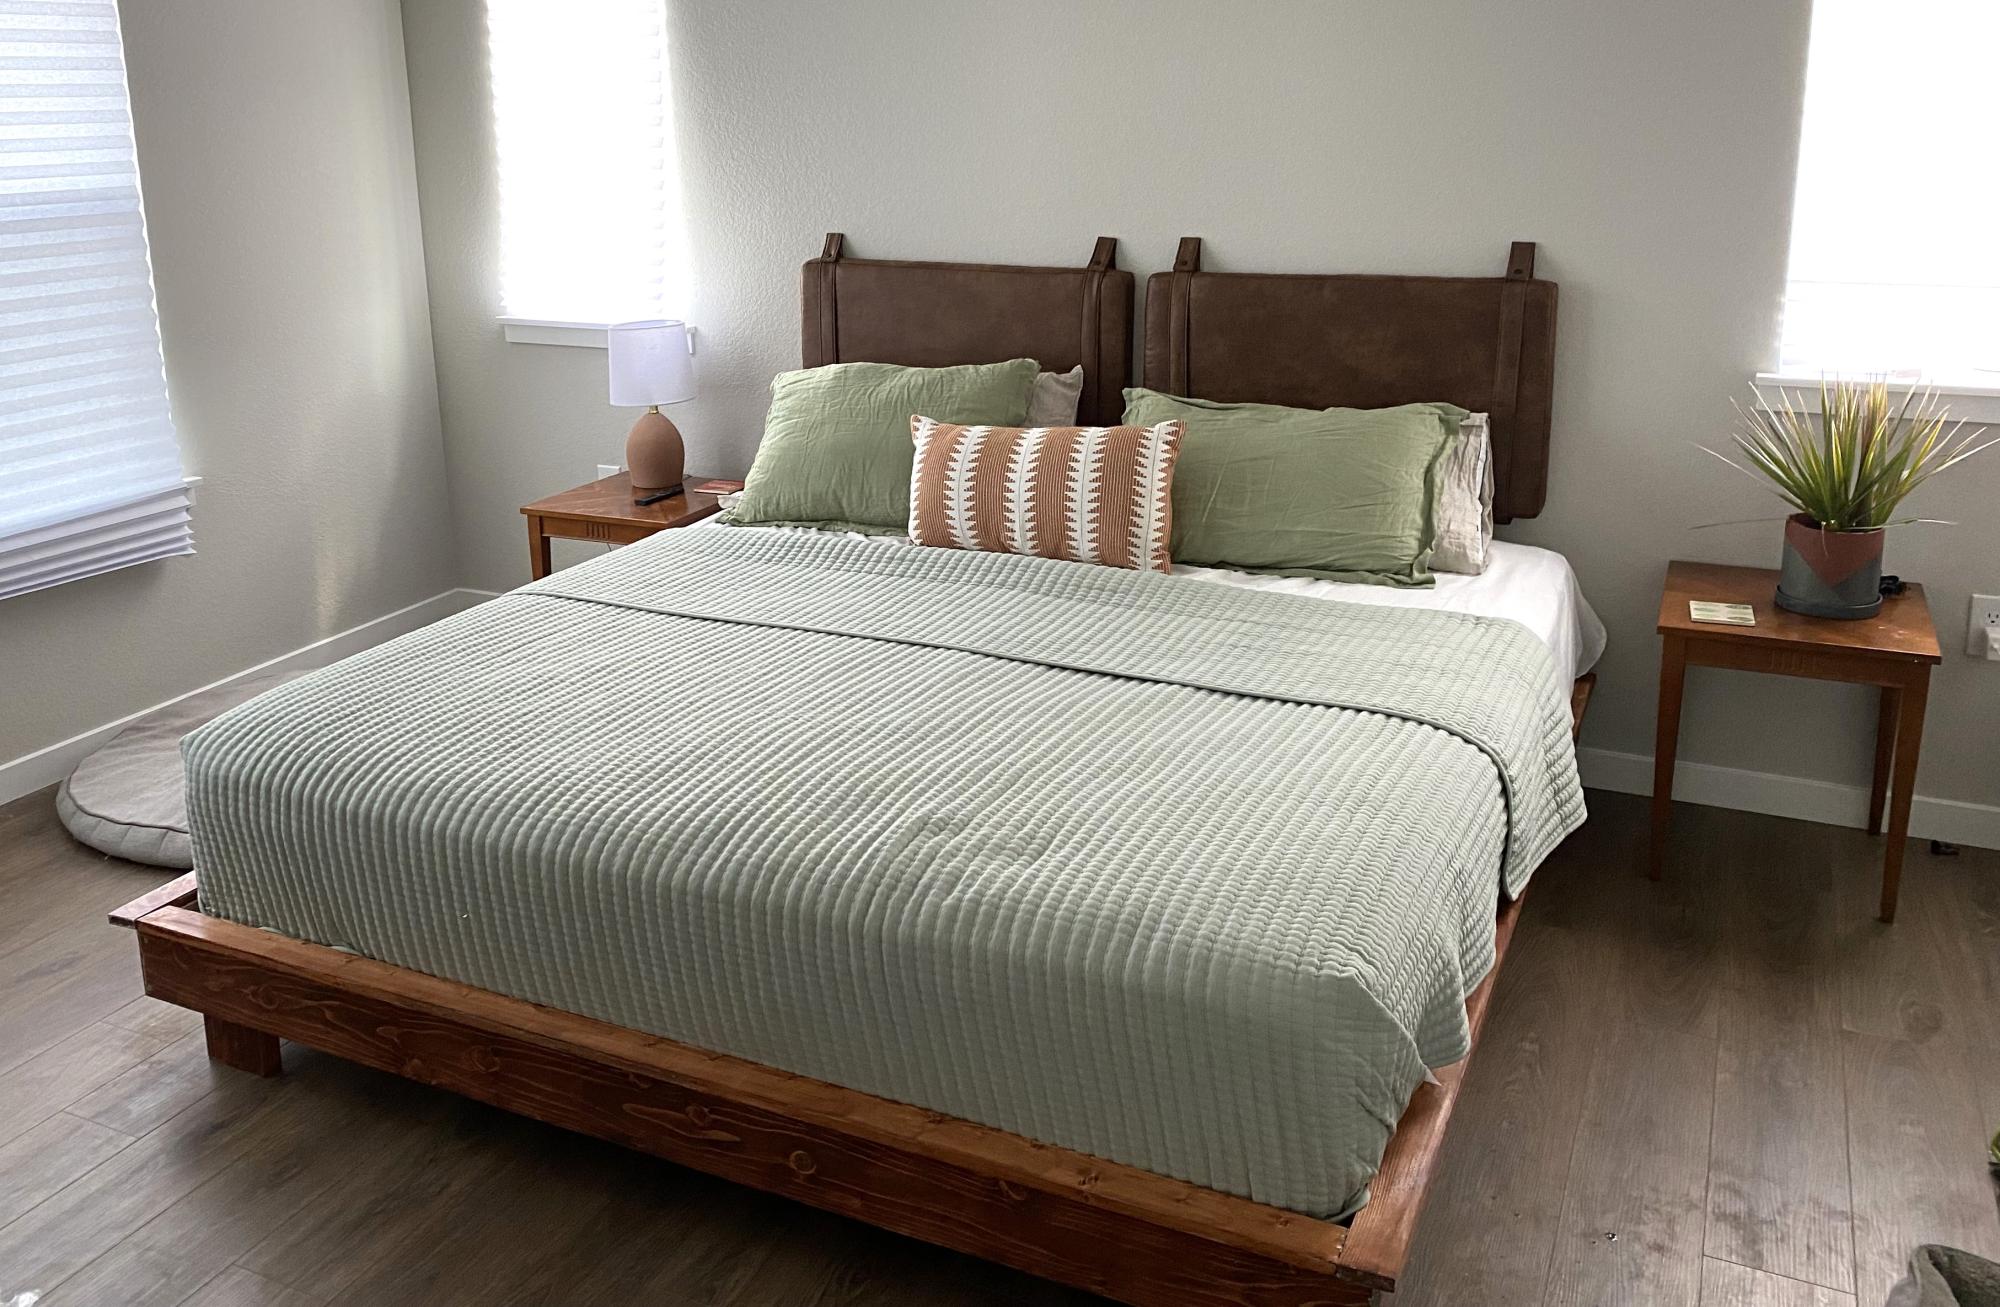
We paired this bed frame with Nathan James upholstered headboard to replicate our favorite Airbnb we stayed at in Telluride. That bed was a $1300 from West Elm. Minus the tools, this bed came in around $500 for everything (including bedding).
Wood: Douglas Fir
Stain: American Walnut

Built from Plan(s)

Purple chicken ark w/ retractable wheels

Submitted by Anonymous (not verified) on Sat, 05/07/2016 - 16:59

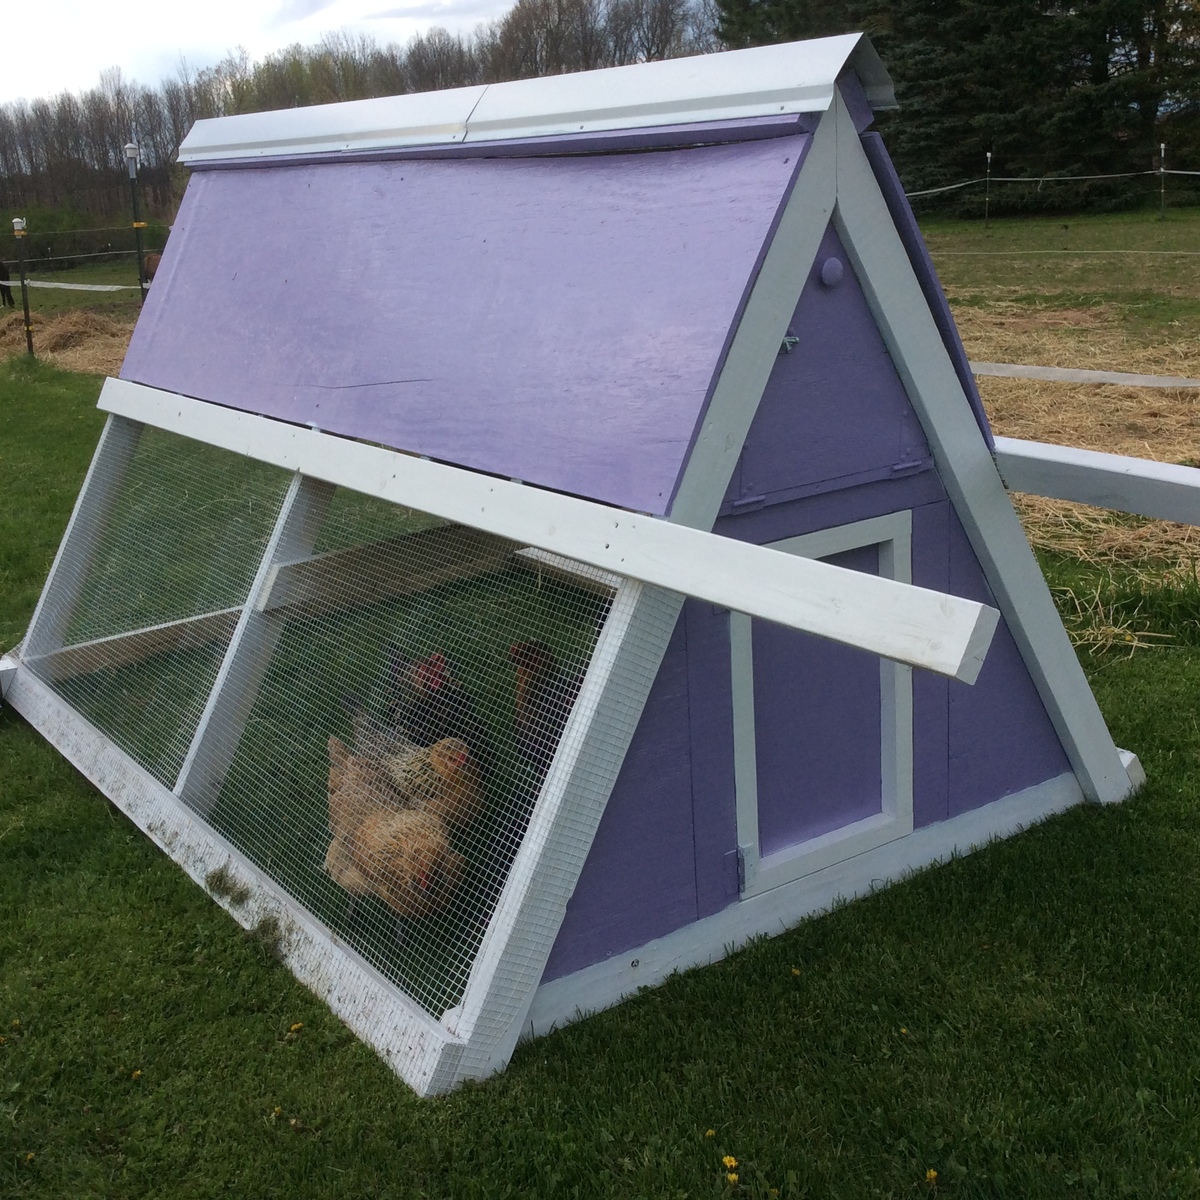
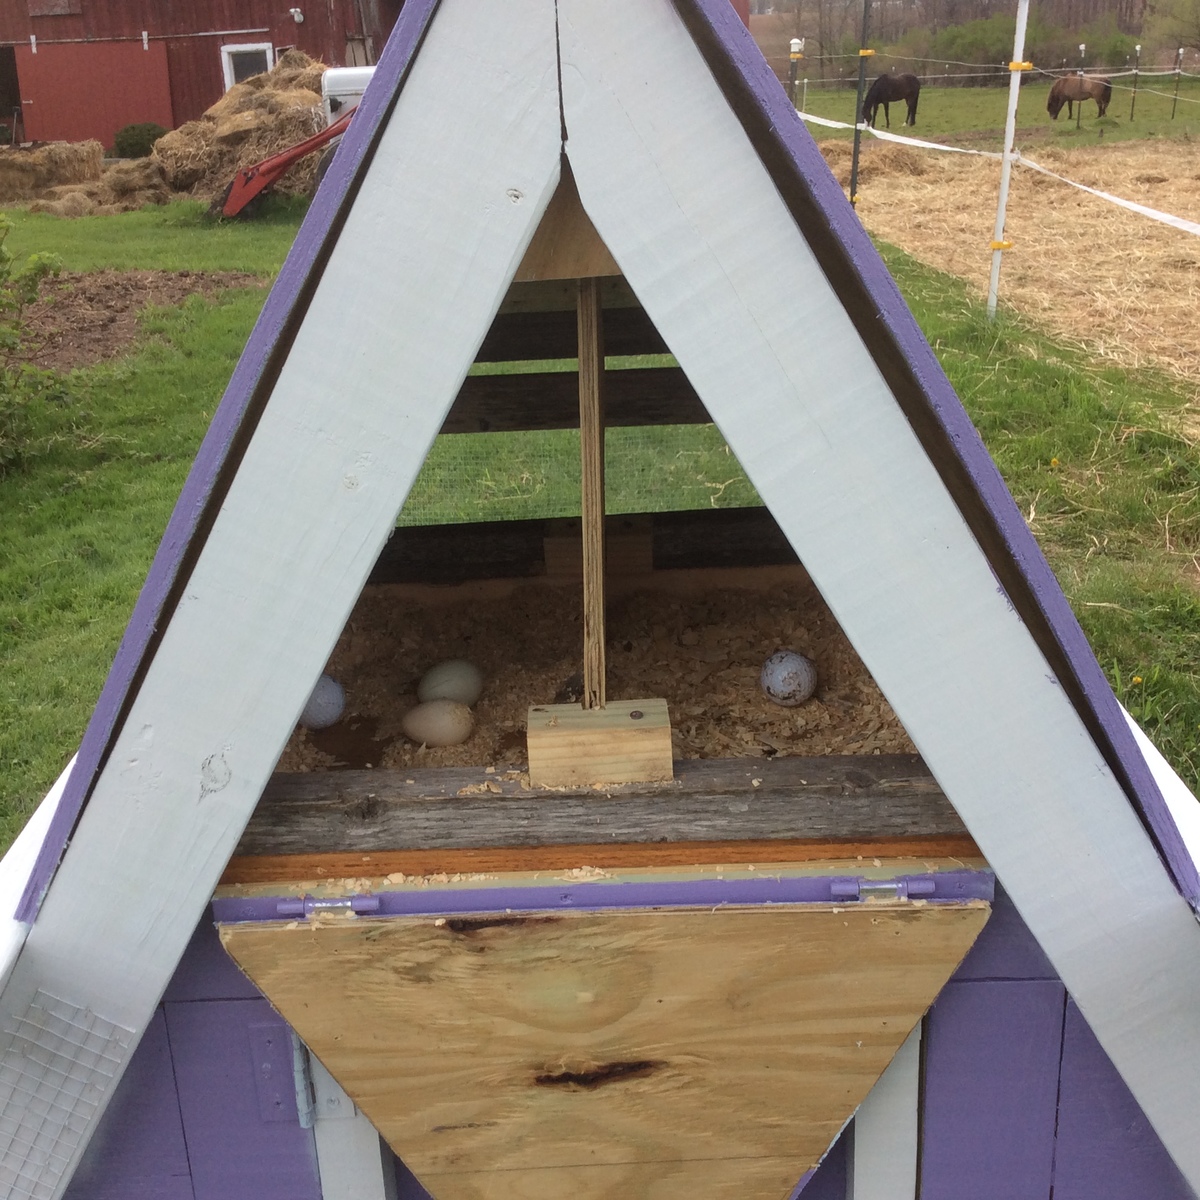
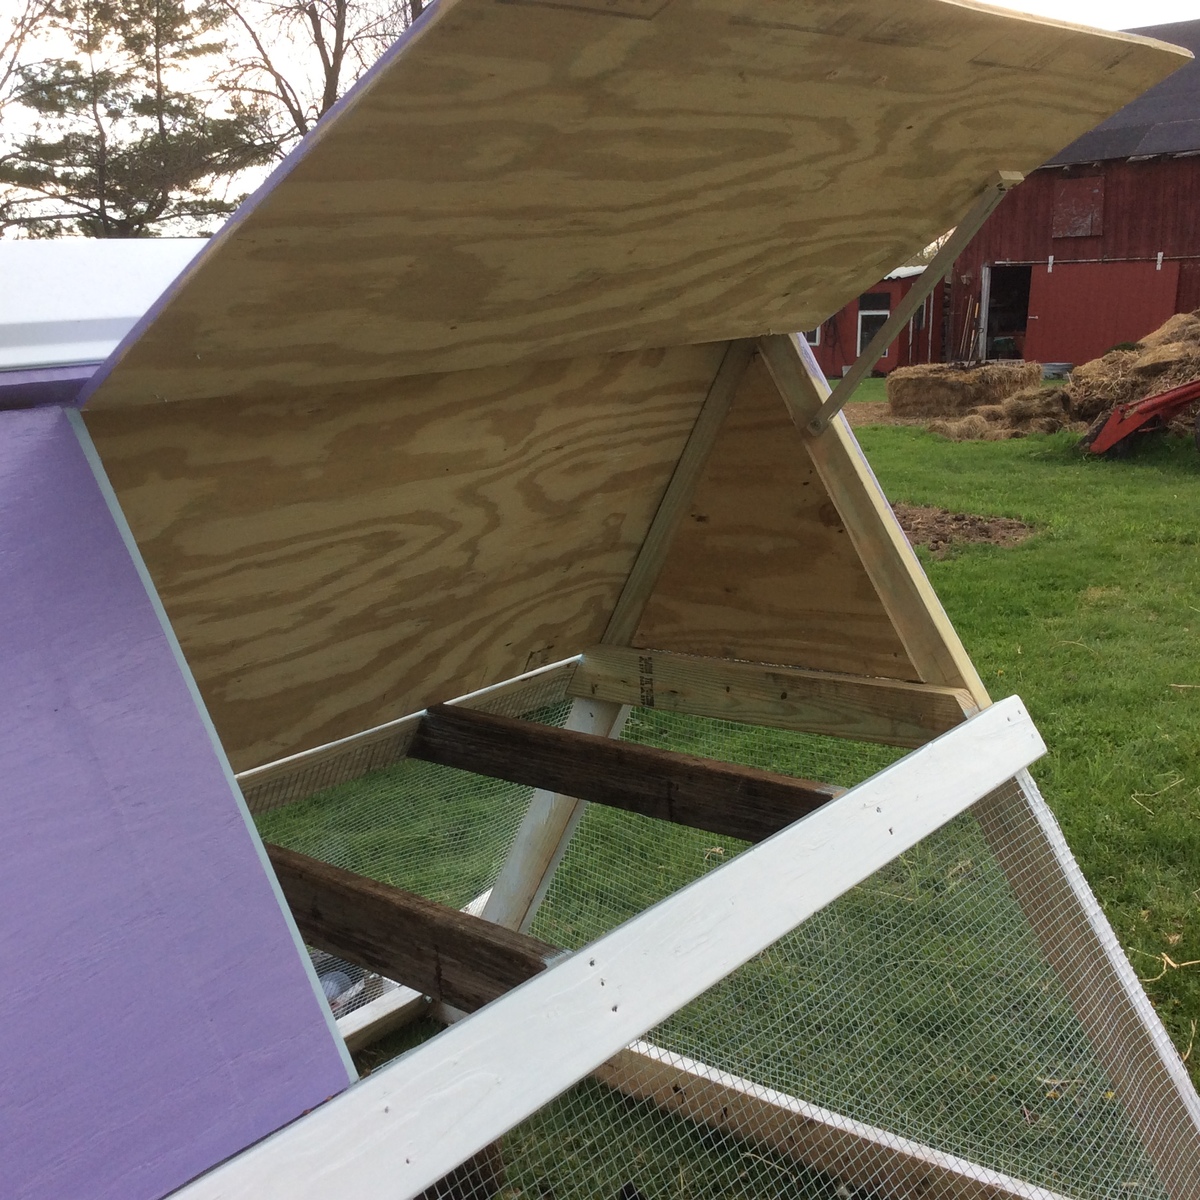
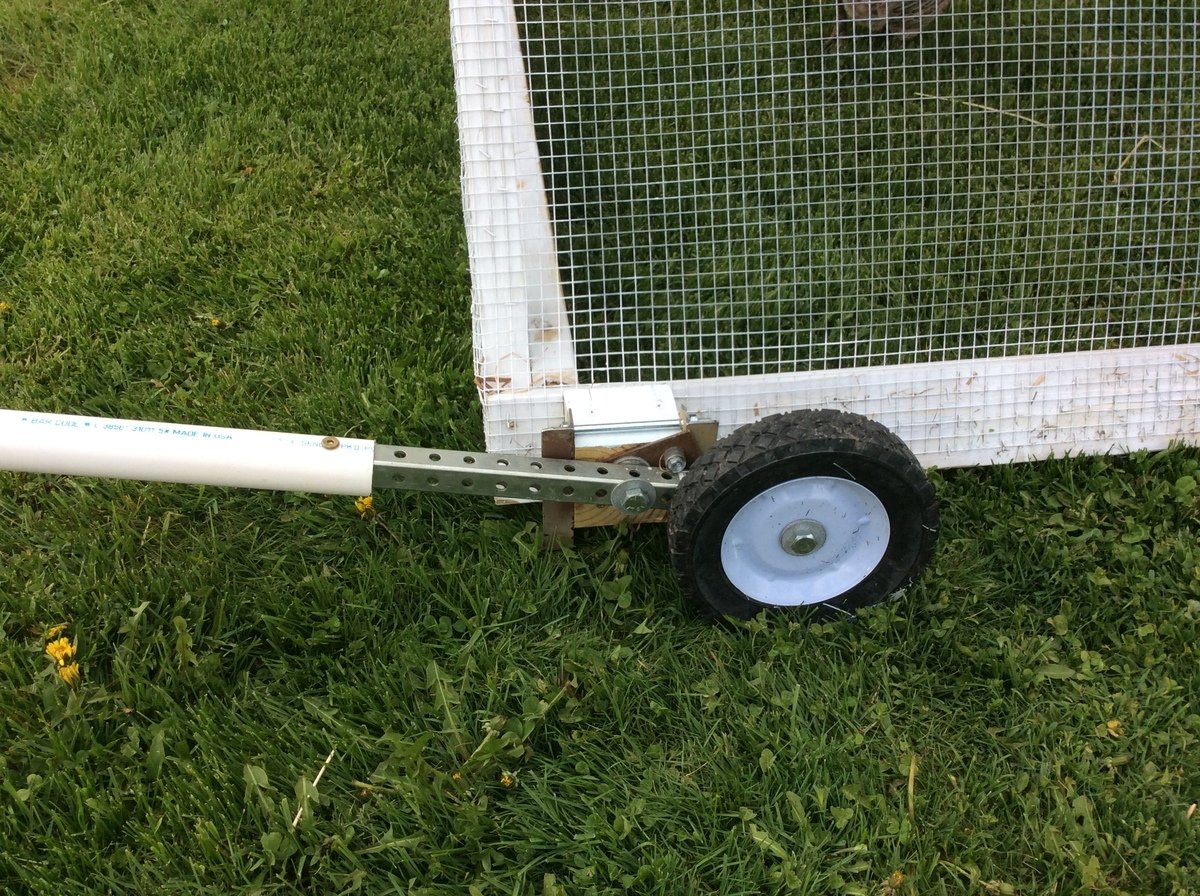
We worked on this project on and off for a couple weeks.  60 degree angles were the hardest part.  Decided against adding upper coop floor to minimize cleaning.  Coop will only be used seasonally.  End coop is very heavy, so wheels were a must.  Scoured internet and found simple retractable lever design with bolts to adjust wheel height.  Very happy with project, thank you Ana!

Estimated Time Investment
Weekend Project (10-20 Hours)
Recommended Skill Level
Intermediate

Farmhouse Writing Desk

Submitted by Anonymous (not verified) on Fri, 10/06/2023 - 08:58

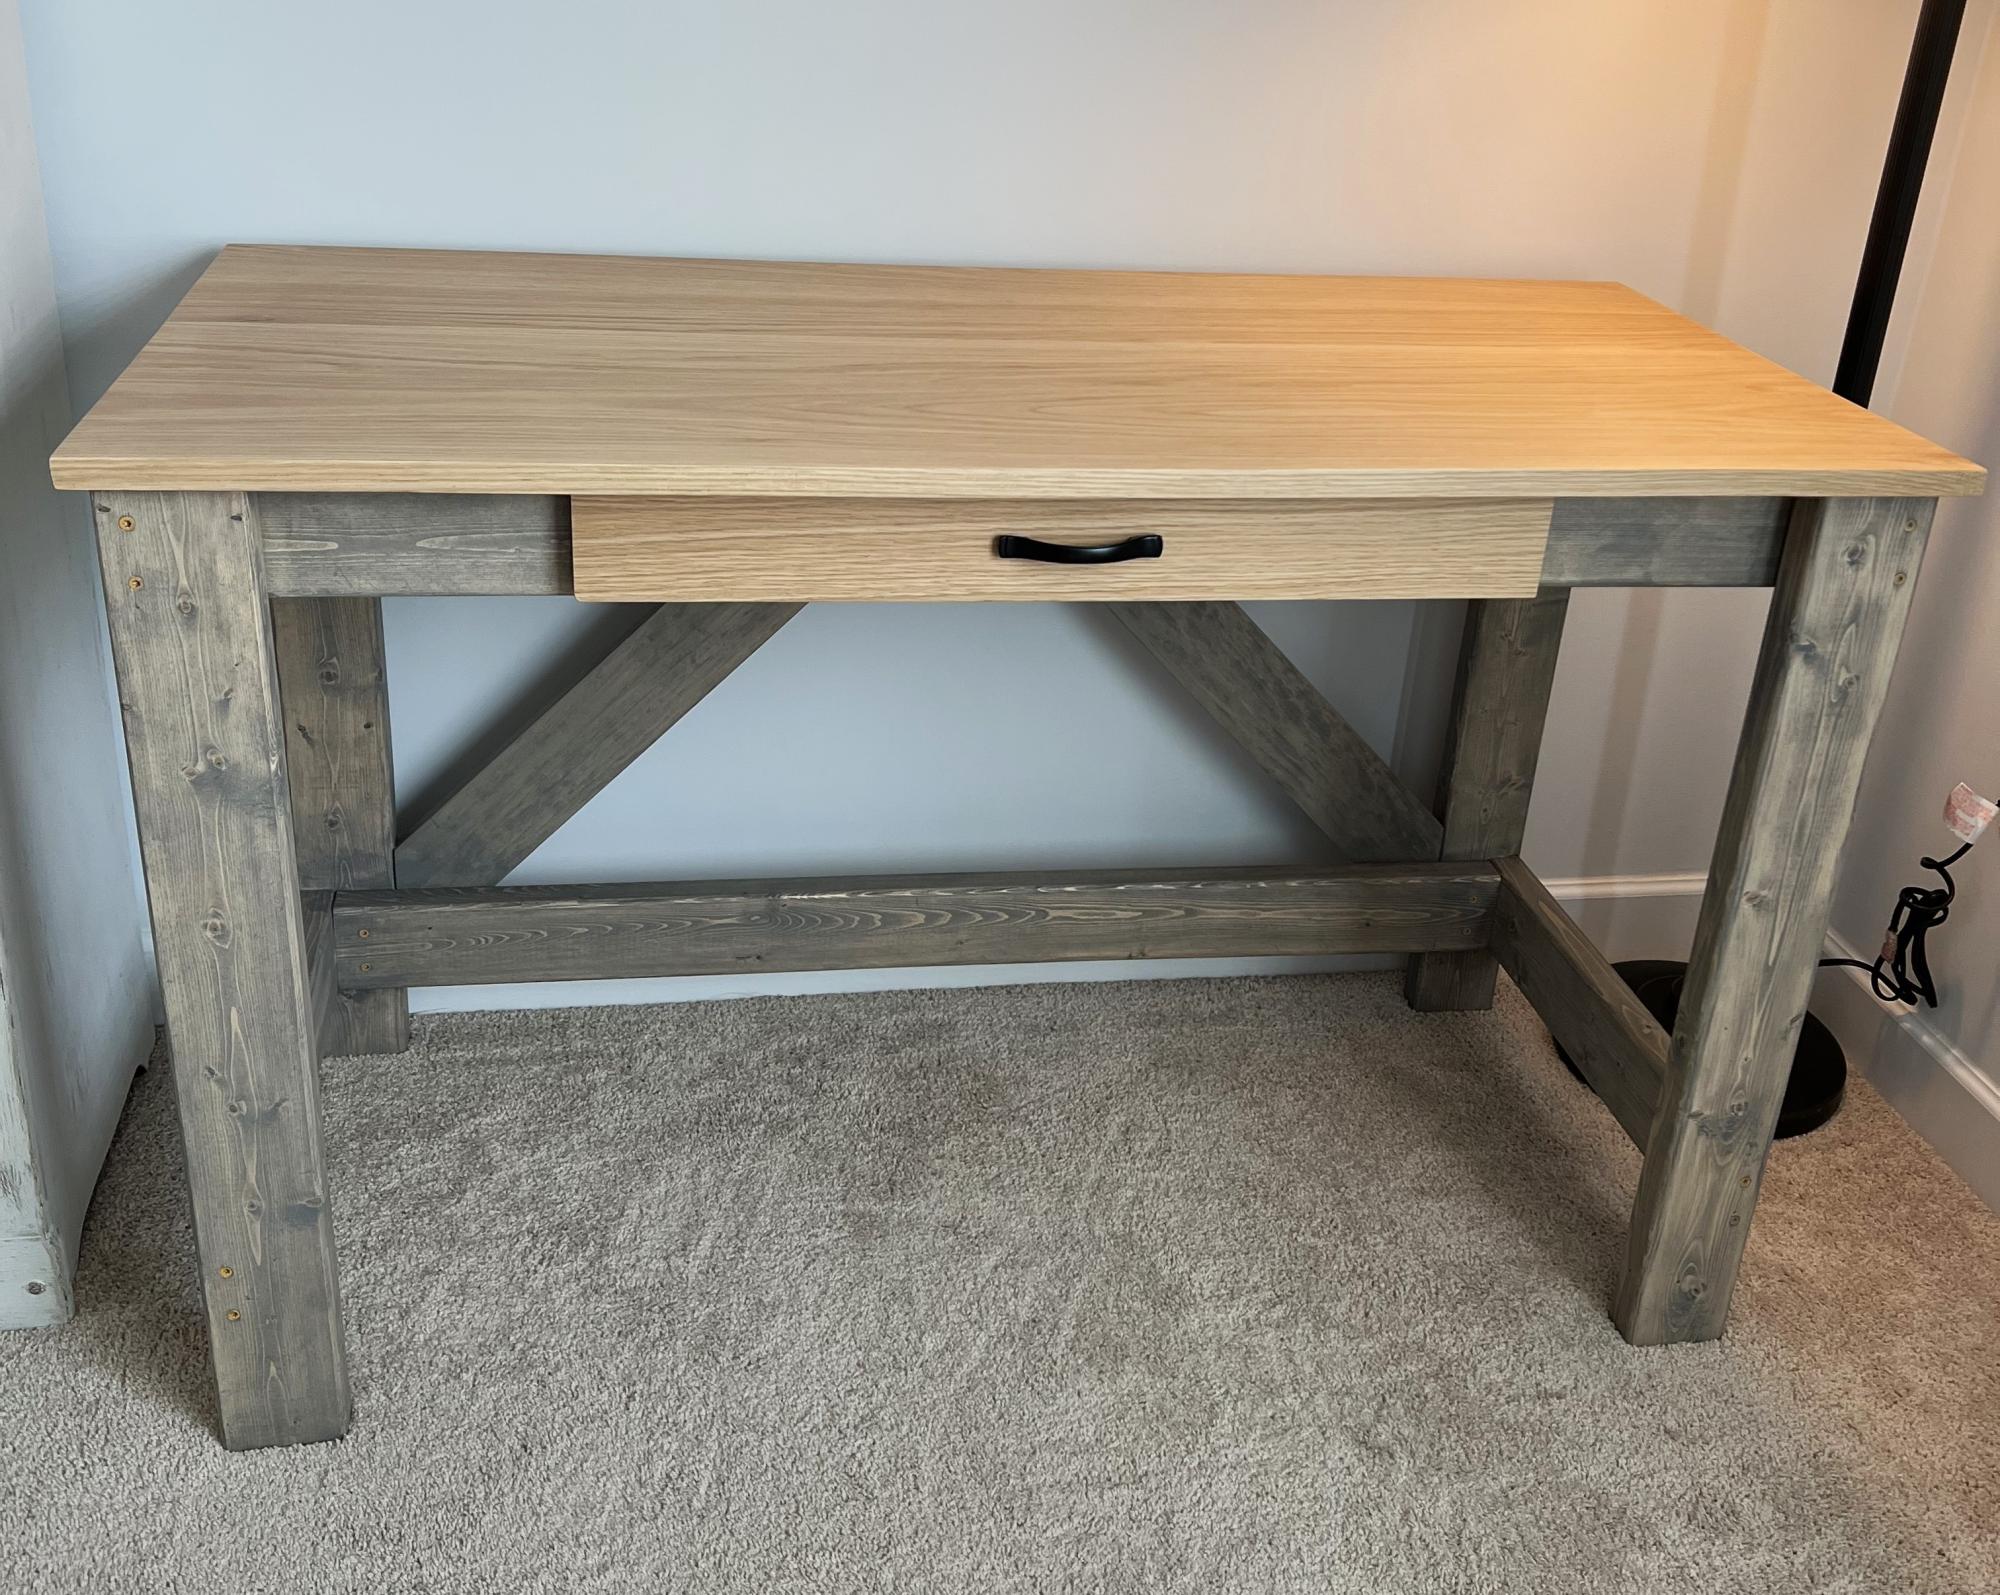
Brookstone desk with a white oak top and drawer that I built for my 8- yr old son. It is a very fun build.

Jerry from NC

Built from Plan(s)

Comments

mistycoruscate

Fri, 05/17/2024 - 02:11

Having a comfortable desk is very important to me. A comfortable desk helps me focus and increases my productivity. Plus, the best book review writing service gives me easy access to professional help to polish my resume and make it stand out. So if you're serious about landing that dream job, investing in a good desk and using Skillroads' services is a winning combination!

LuckyGirl

Fri, 05/17/2024 - 10:45

As a student, having a comfortable workspace is crucial for productivity. A farmhouse writing desk not only adds charm to my room but also provides a functional space for studying and writing. Plus, with the help of reliable essay writing services like the one recommended on https://www.clevescene.com/sponsored/the-best-essay-writing-service-202… I can focus more on my studies without worrying about looming deadlines. It's all about creating a conducive environment for academic success.

Providence Table

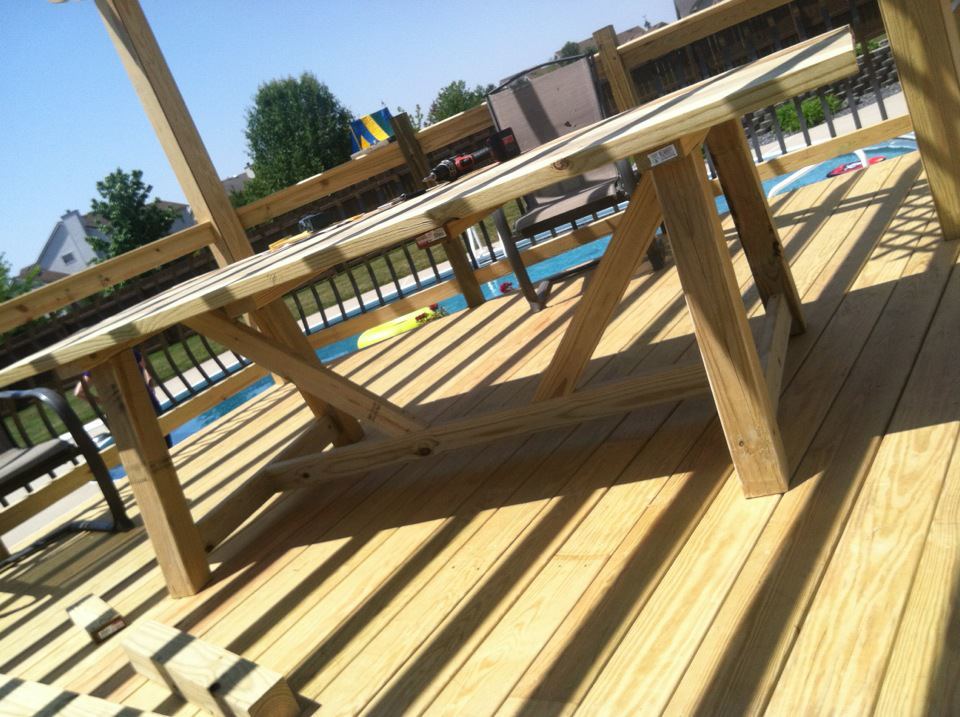
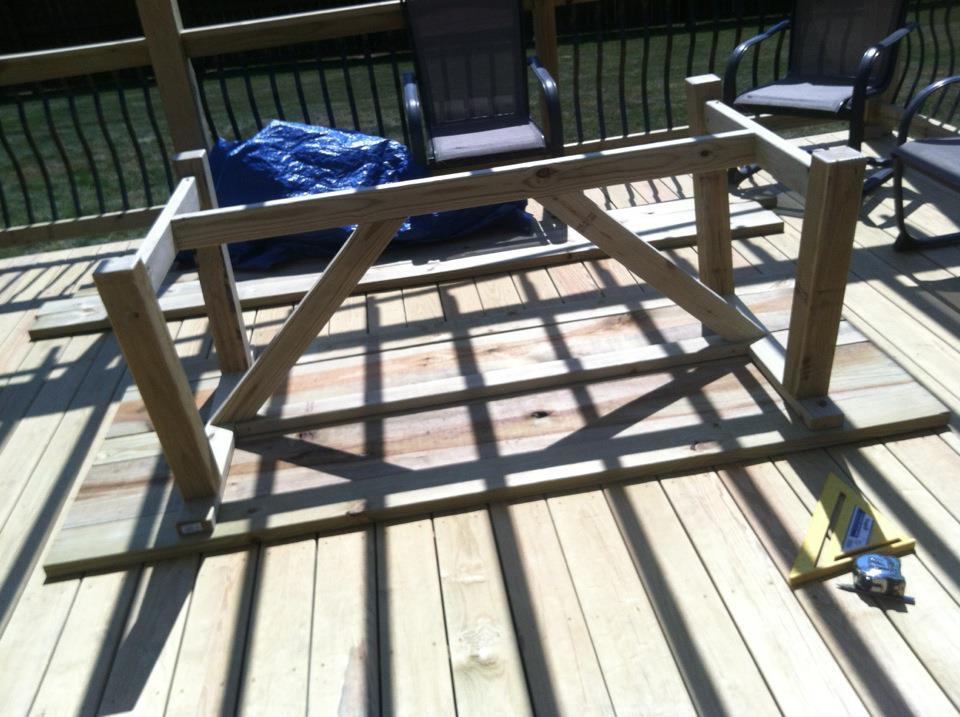
Here is my Providence Table made from scrap wood we had left from building our deck. I am not thrilled that it is made out of pressure treated wood but it is what it is. I used 2x6 mixed in with 2x10's for the top, 4x4's for the legs and used a 1/4 router bit for all the edges.

Built from Plan(s)
Estimated Cost
free from scrap
Estimated Time Investment
Afternoon Project (3-6 Hours)
Finish Used
It is still drying out but the plan is to paint the legs white and the top a stain color.
Recommended Skill Level
Intermediate

Comments

Cedar Planter Outdoor Speakers

Submitted by Hoosierdoc on Fri, 06/10/2016 - 10:53

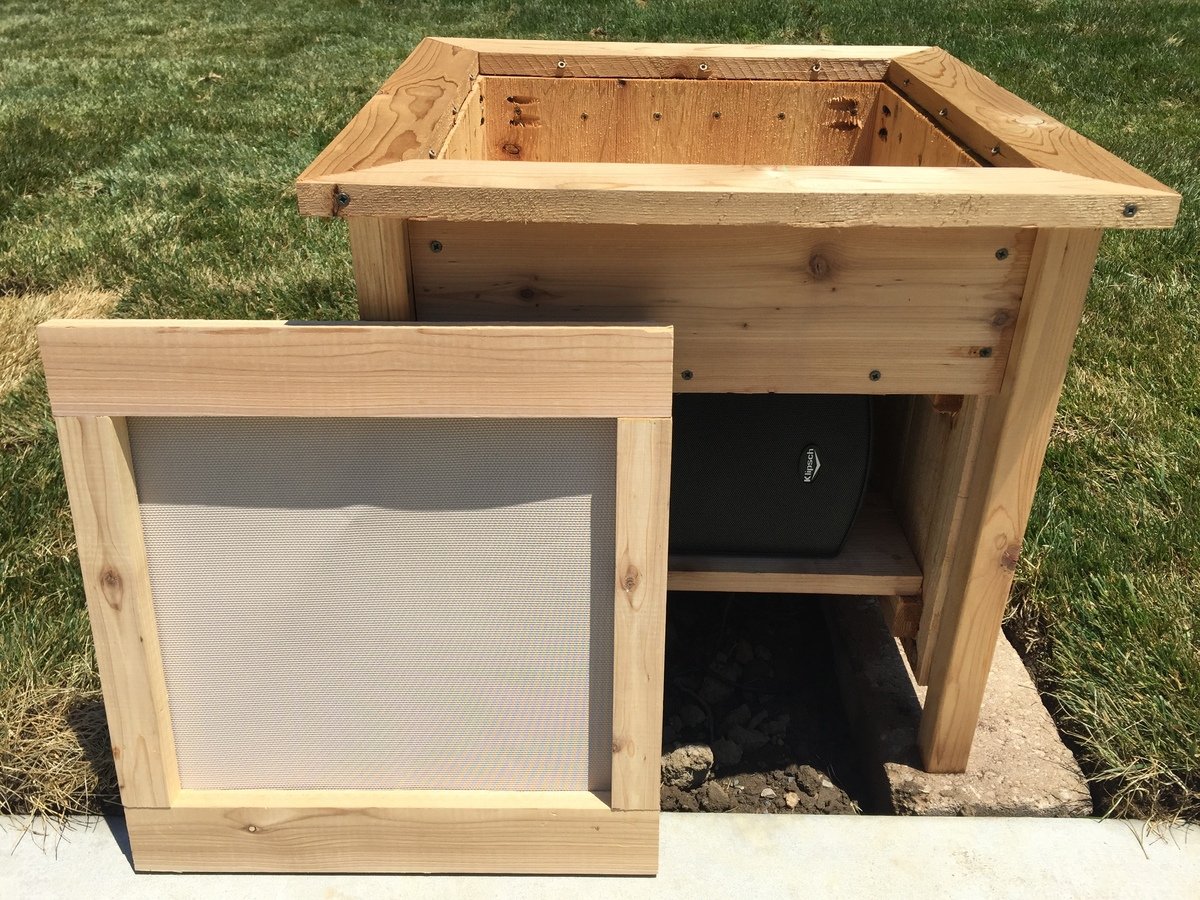
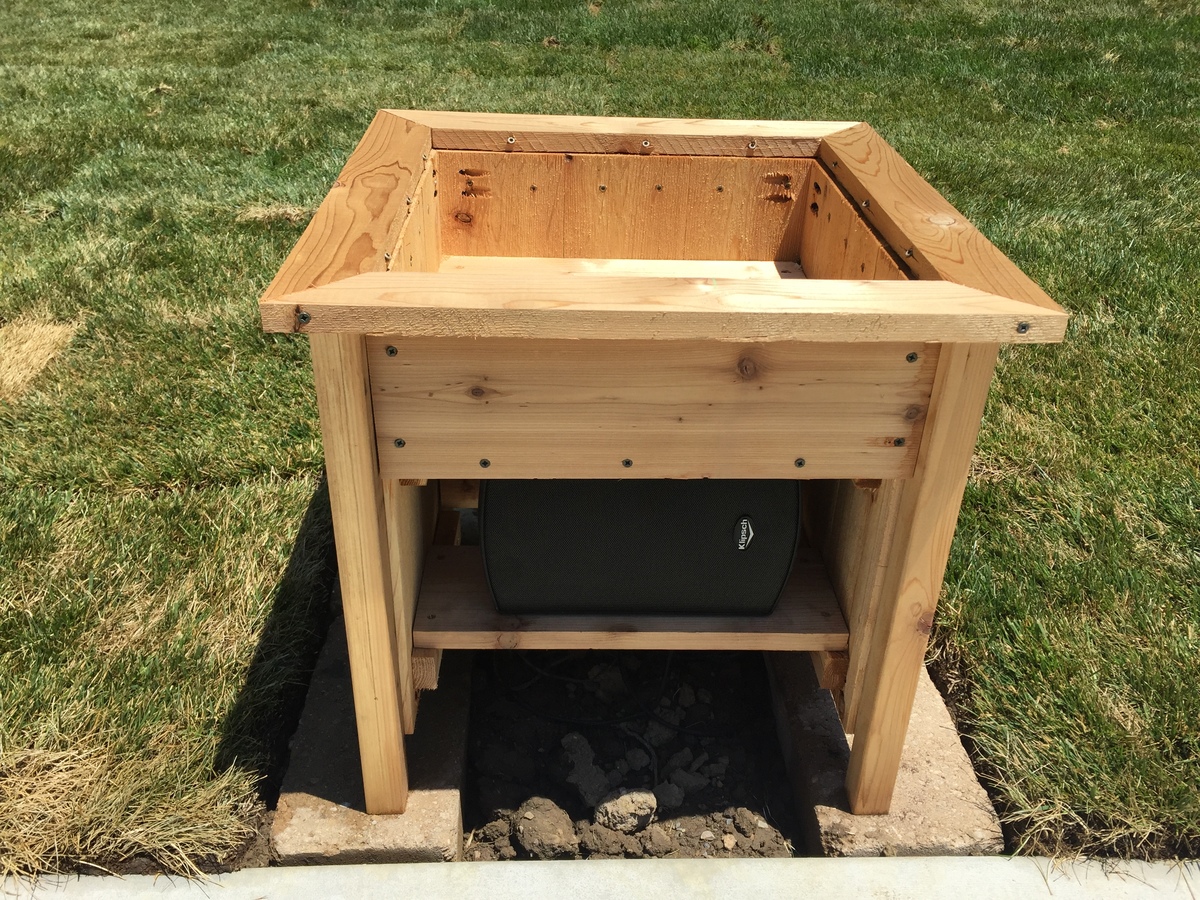
We just put in a pool and I needed something to hide a pair of outdoor speakers. I used Klipsh AW-525 speakers.

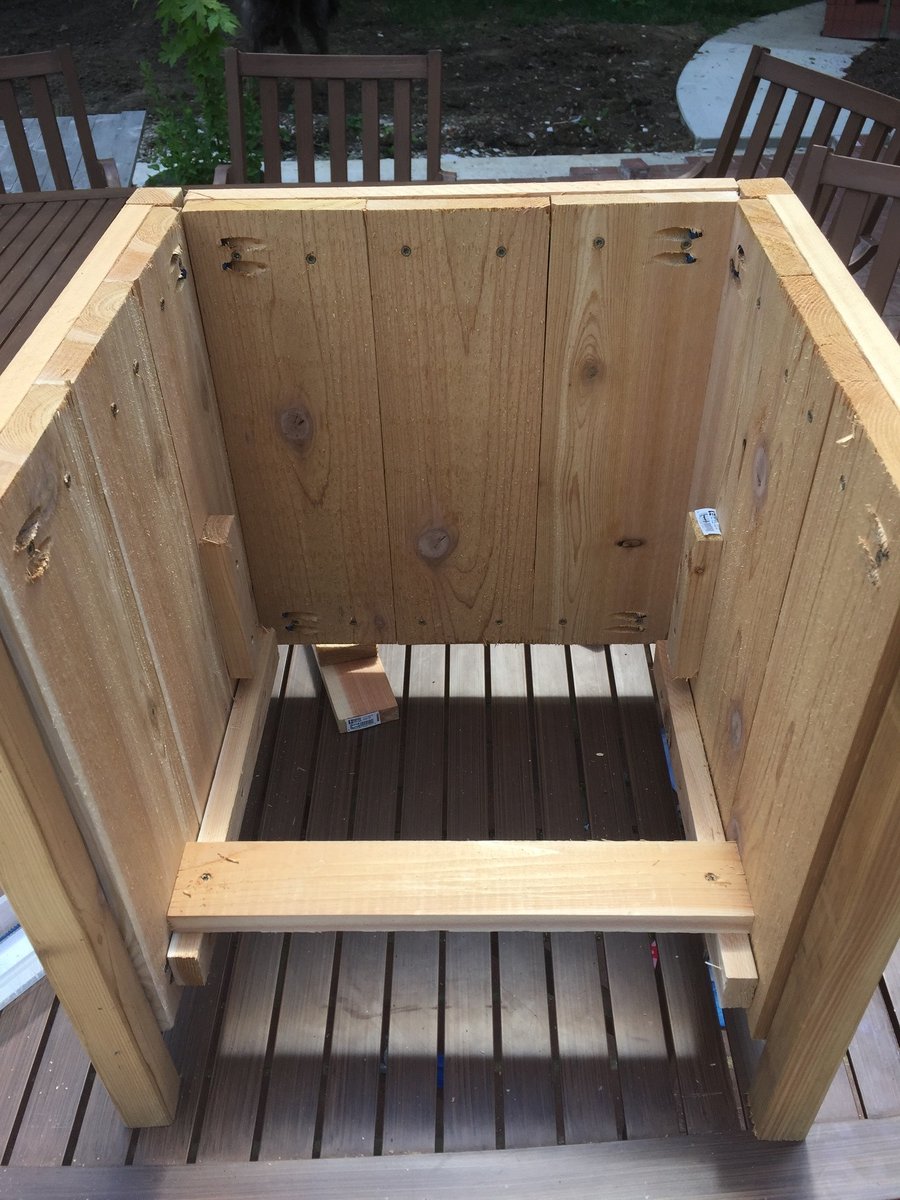
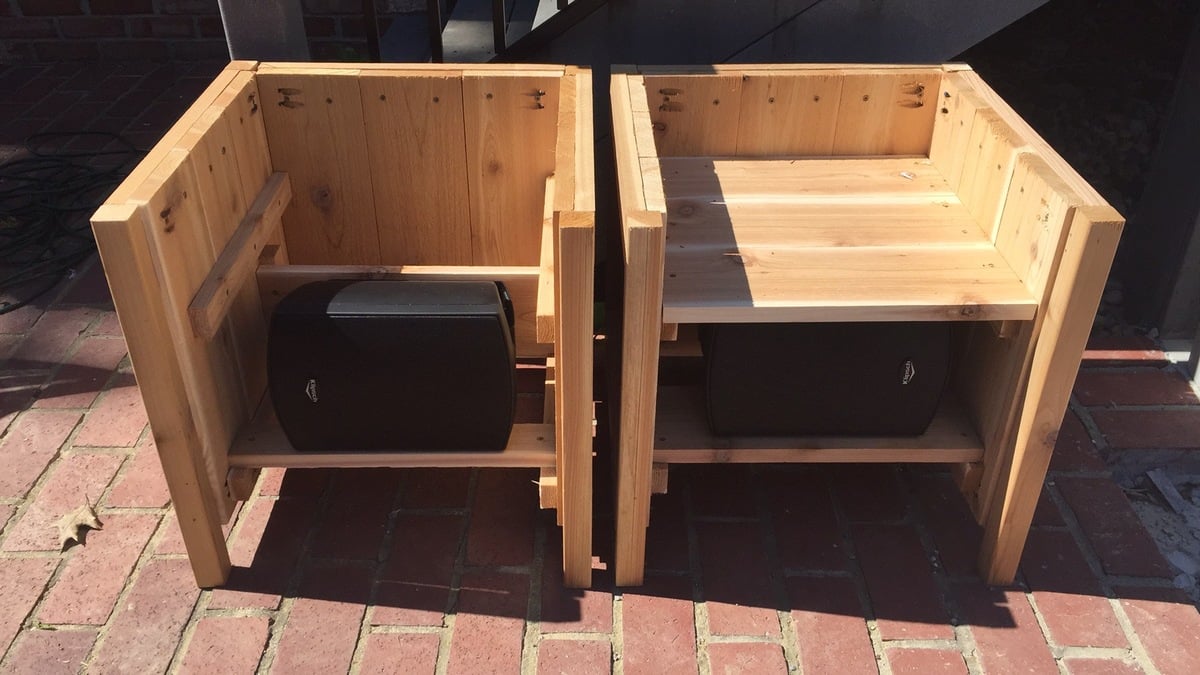
Basically I raised the bottom of the planter enough to fit the speaker under and had to add a few framing pieces to secure the speaker mount to. The mount attaches to a vertical board and the weight rests on a horizontal board. The wiring comes up from below.

The front panel uses vinyl mesh from Sailrite.com to hide the speaker but allow sound out. Imm planning to hang it with magnets if it doesn't distort sound too much.

Built from Plan(s)
Estimated Time Investment
Afternoon Project (3-6 Hours)
Recommended Skill Level
Beginner

Comments

Rustic Modern 2x6 Platform Bed

I recently moved to Boulder, CO and finally have a garage where I can actually work on projects. Since I moved here with practivally nothing, I decided I should build my own bed. This is probably one of the most ambitious wood working projects I've attempted. I also tend to be slightly anal, so I've probably spent way more time on this project than most people have or will.

After reading the plans and other Brag Posts, I felt I was ready to start. I ordered the Kreg Screws, and a few other supplies I would need for the Project on Amazon and was off to the races. Several trips to Home depot to get various pieces of wood, (since I wasn't going to fit it all in my Subaru in one go), I finally had most of the lumber for the bed frame. Let me tell you, it's not easy getting straight pieces of lumber (as mentioned before, I'm a little anal). I decided to go with oversized lumber, since I would have more usable leftover pieces for other projects.

I spent several hours after work during the week, and several more on the weekend, sanding down all the lumber with 60 Grit, then applied the first coat of Stain, to raise the grain. I was out of town for the weekend, and let the stained wood sit in my garage while gone. When I got back, I noticed a lot of marks which I didn't notice before staining. Some of these were from the belt sander I used to knock down really rough parts of some of the lumber. But most of the marks were because I put too much pressure on my random orbital sander.

Lesson learnt: Sanding takes time, and patience! DO NOT press down hard on the sander, if you don't want marks on your wood. These marks will be significantly more prominant after staining.

I decided to sand everything again, 60 grit, then 100, then 150. I gotta say, the wood feels so much nicer to touch and I'm glad I decided to re-sand. I spent a few hours after work to get most of the head board pieces done, but noticed that the 2x4 had warped beyond repair... I'm going to get the upper and lower 2x6 pieces ready to assemble with my kreg jig this weekend, and then decide if I want to add a 2x4 in the middle like the plans call for.

I decided to go with just 2x6s for the headboard, I used the Kreg Jig to put it all together, I also attached 4 supports made of some scrap Plywood I got from my neighbor for the headboard.

I stained it all with a Staining pad twice, then applied 3 coats of Poly with a brush. I didn't sand between coats since I was applying very thing coats and I had already sanded everything down with 150 grit. 
Estimated Cost
$100-150
Estimated Time Investment
Week Long Project (20 Hours or More)
Finish Used
Stain: Minwax Oil based Dark Walnut - 2 coats with a staining pad
Varnish: Satin Water based Indor Polyurethane by Varathane - 3 coats with a brush.

http://www.homedepot.com/p/Minwax-1-qt-Wood-Finish-Dark-Walnut-Oil-Based-Interior-Stain-70012/100376185

http://www.homedepot.com/p/Varathane-1-qt-Clear-Satin-Water-Based-Indoor-Polyurethane-200241H/100169146
Recommended Skill Level
Intermediate

Comments

username.

Fri, 03/02/2018 - 19:17

Sick job dude! What stain is that? I like the color of it and might use it for mine. Did you notice a stain odor at all after applying the stain and covering it with the poly? 

OutDoor dining table

My wife and I were looking for a larger table for our deck and after searching and seeing that everything out there was 300 dollars and up for something decent I decided I would try building something. This table was perfect for our needs and looked easy enough for me to put together. The most time consuming part was staining all of the boards as I went but it was totally worth it in the end. I also deviated from using screws and used my nail gun along with some glue to put the top frame together and the slats on but I did use some 2inch deckmate screws to attach the legs. One problem I did run into was I was about half a board short on the slats which wasn't a big deal just ripped one on the table saw, not sure if I miss measured or what but either way. We love our table and will entertain around it for years to come.

Built from Plan(s)
Estimated Cost
Around 80 Dollars
Estimated Time Investment
Day Project (6-9 Hours)
Finish Used
I used a Behr deck stain that was solid the color is called Russett and I did with a 3inch brush.
Recommended Skill Level
Beginner

Farmhouse Bed

Submitted by ValBryant on Wed, 08/15/2012 - 14:24

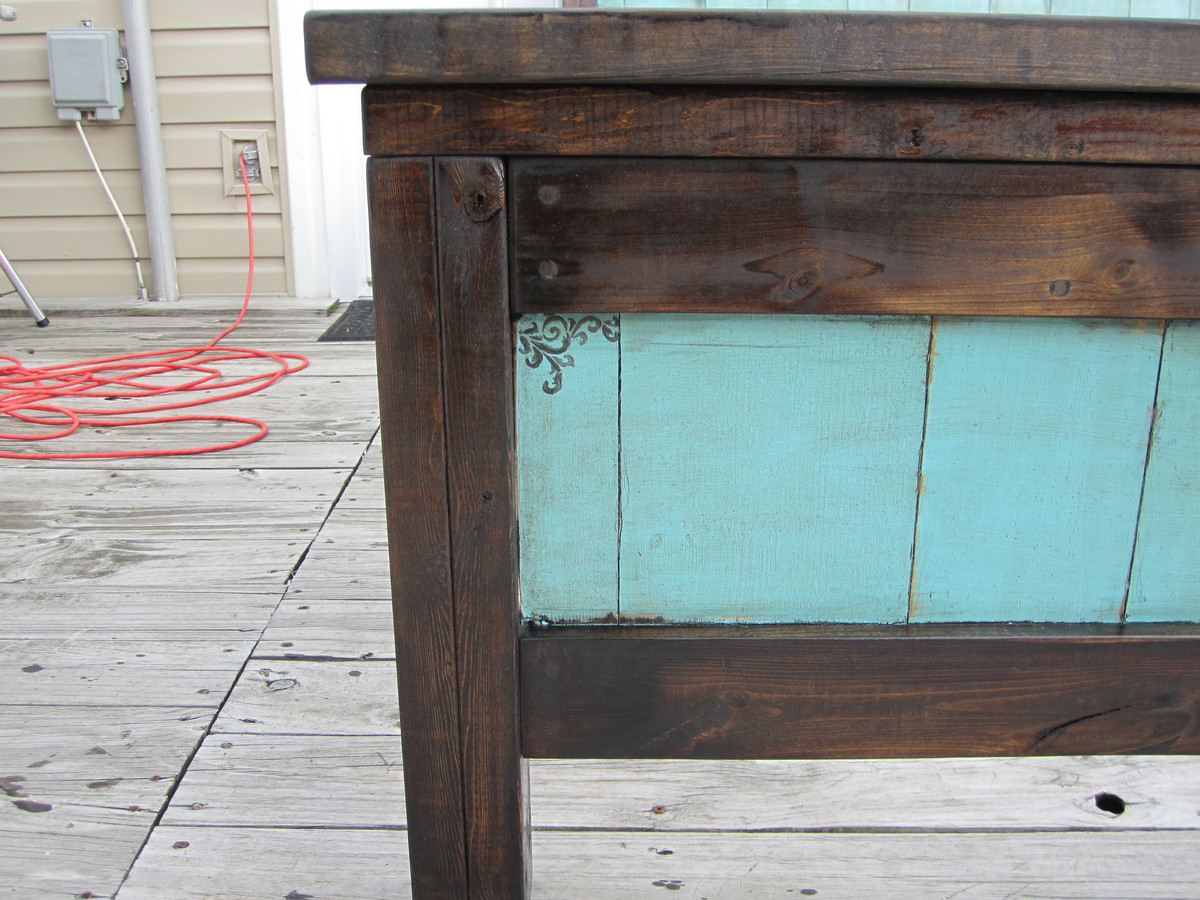
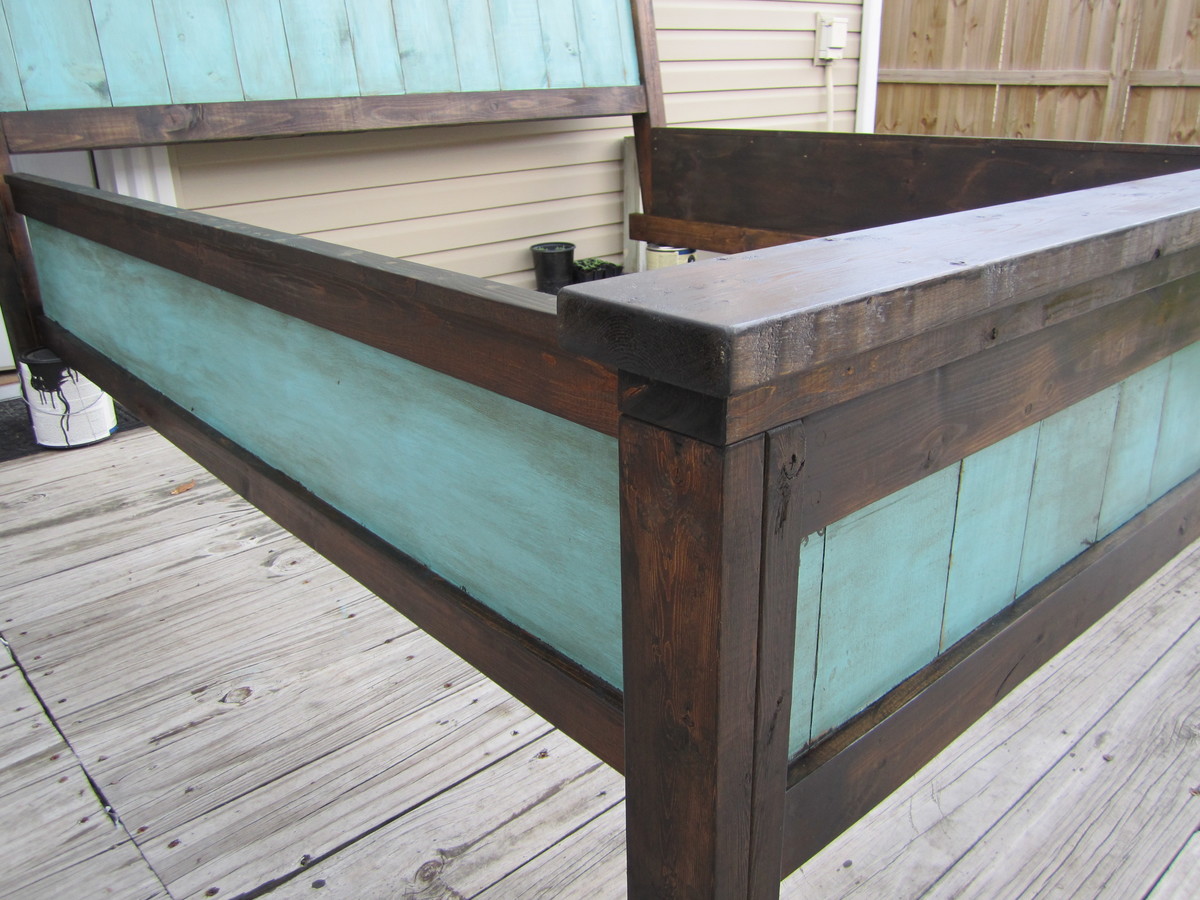
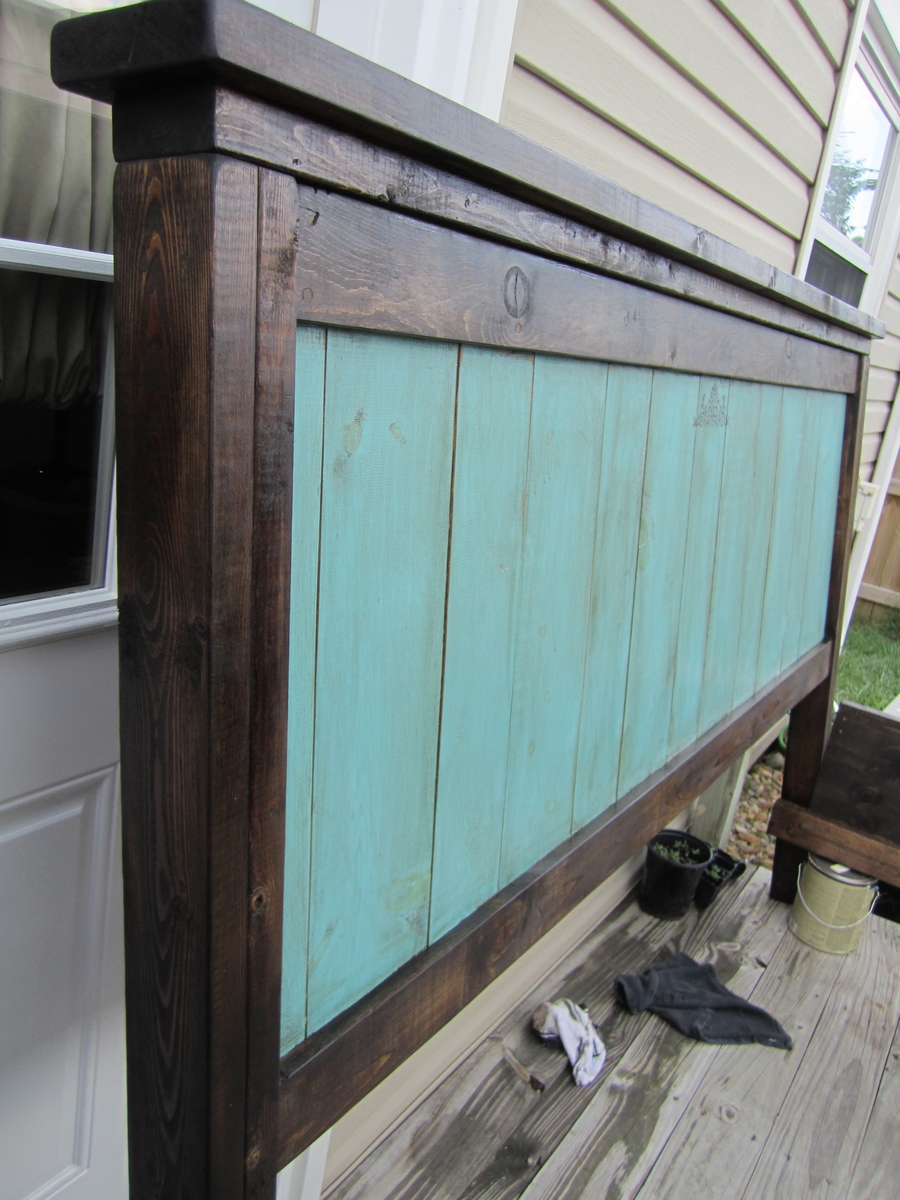
This was our first build alone. I've helped my dad build various things through out the years but was this first time me and my husband built something together.
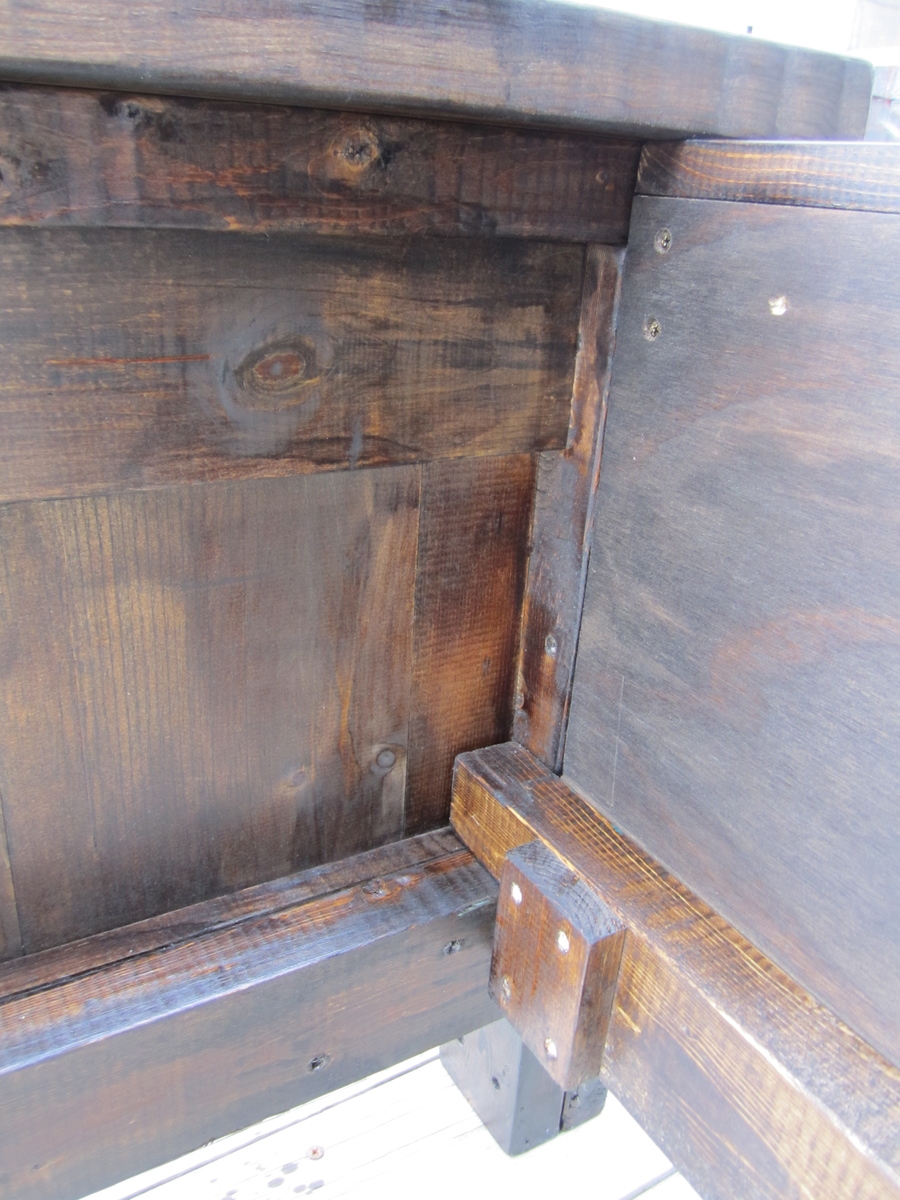
The bed plans were great and it went together easily. We couldn't find untreated 4x4 posts so we went with two 2x4 sandwiched together, and then we bolted the headboard posts to the footboards. The side rails are plywood trimmed with 1x3's and topped with a 1x2. We also used L brackets to attach the side rails to the head and footboards and addition to bolts on the headboard and 2" screws on the footboard. We needed to assemble the bed in a way we could easily disassemble because we are moving soon.

Estimated Cost
160+
Estimated Time Investment
Weekend Project (10-20 Hours)
Finish Used
I followed one of Ana's featured finishes, distressed turquoise with chocolate glaze.
I used dark walnut stain and Valspar's semi-gloss Sea Exposure, and Valspar's Glaze.
Recommended Skill Level
Beginner

Comments

4x4 Truss Beam Table

Submitted by Anonymous (not verified) on Mon, 06/22/2020 - 14:44

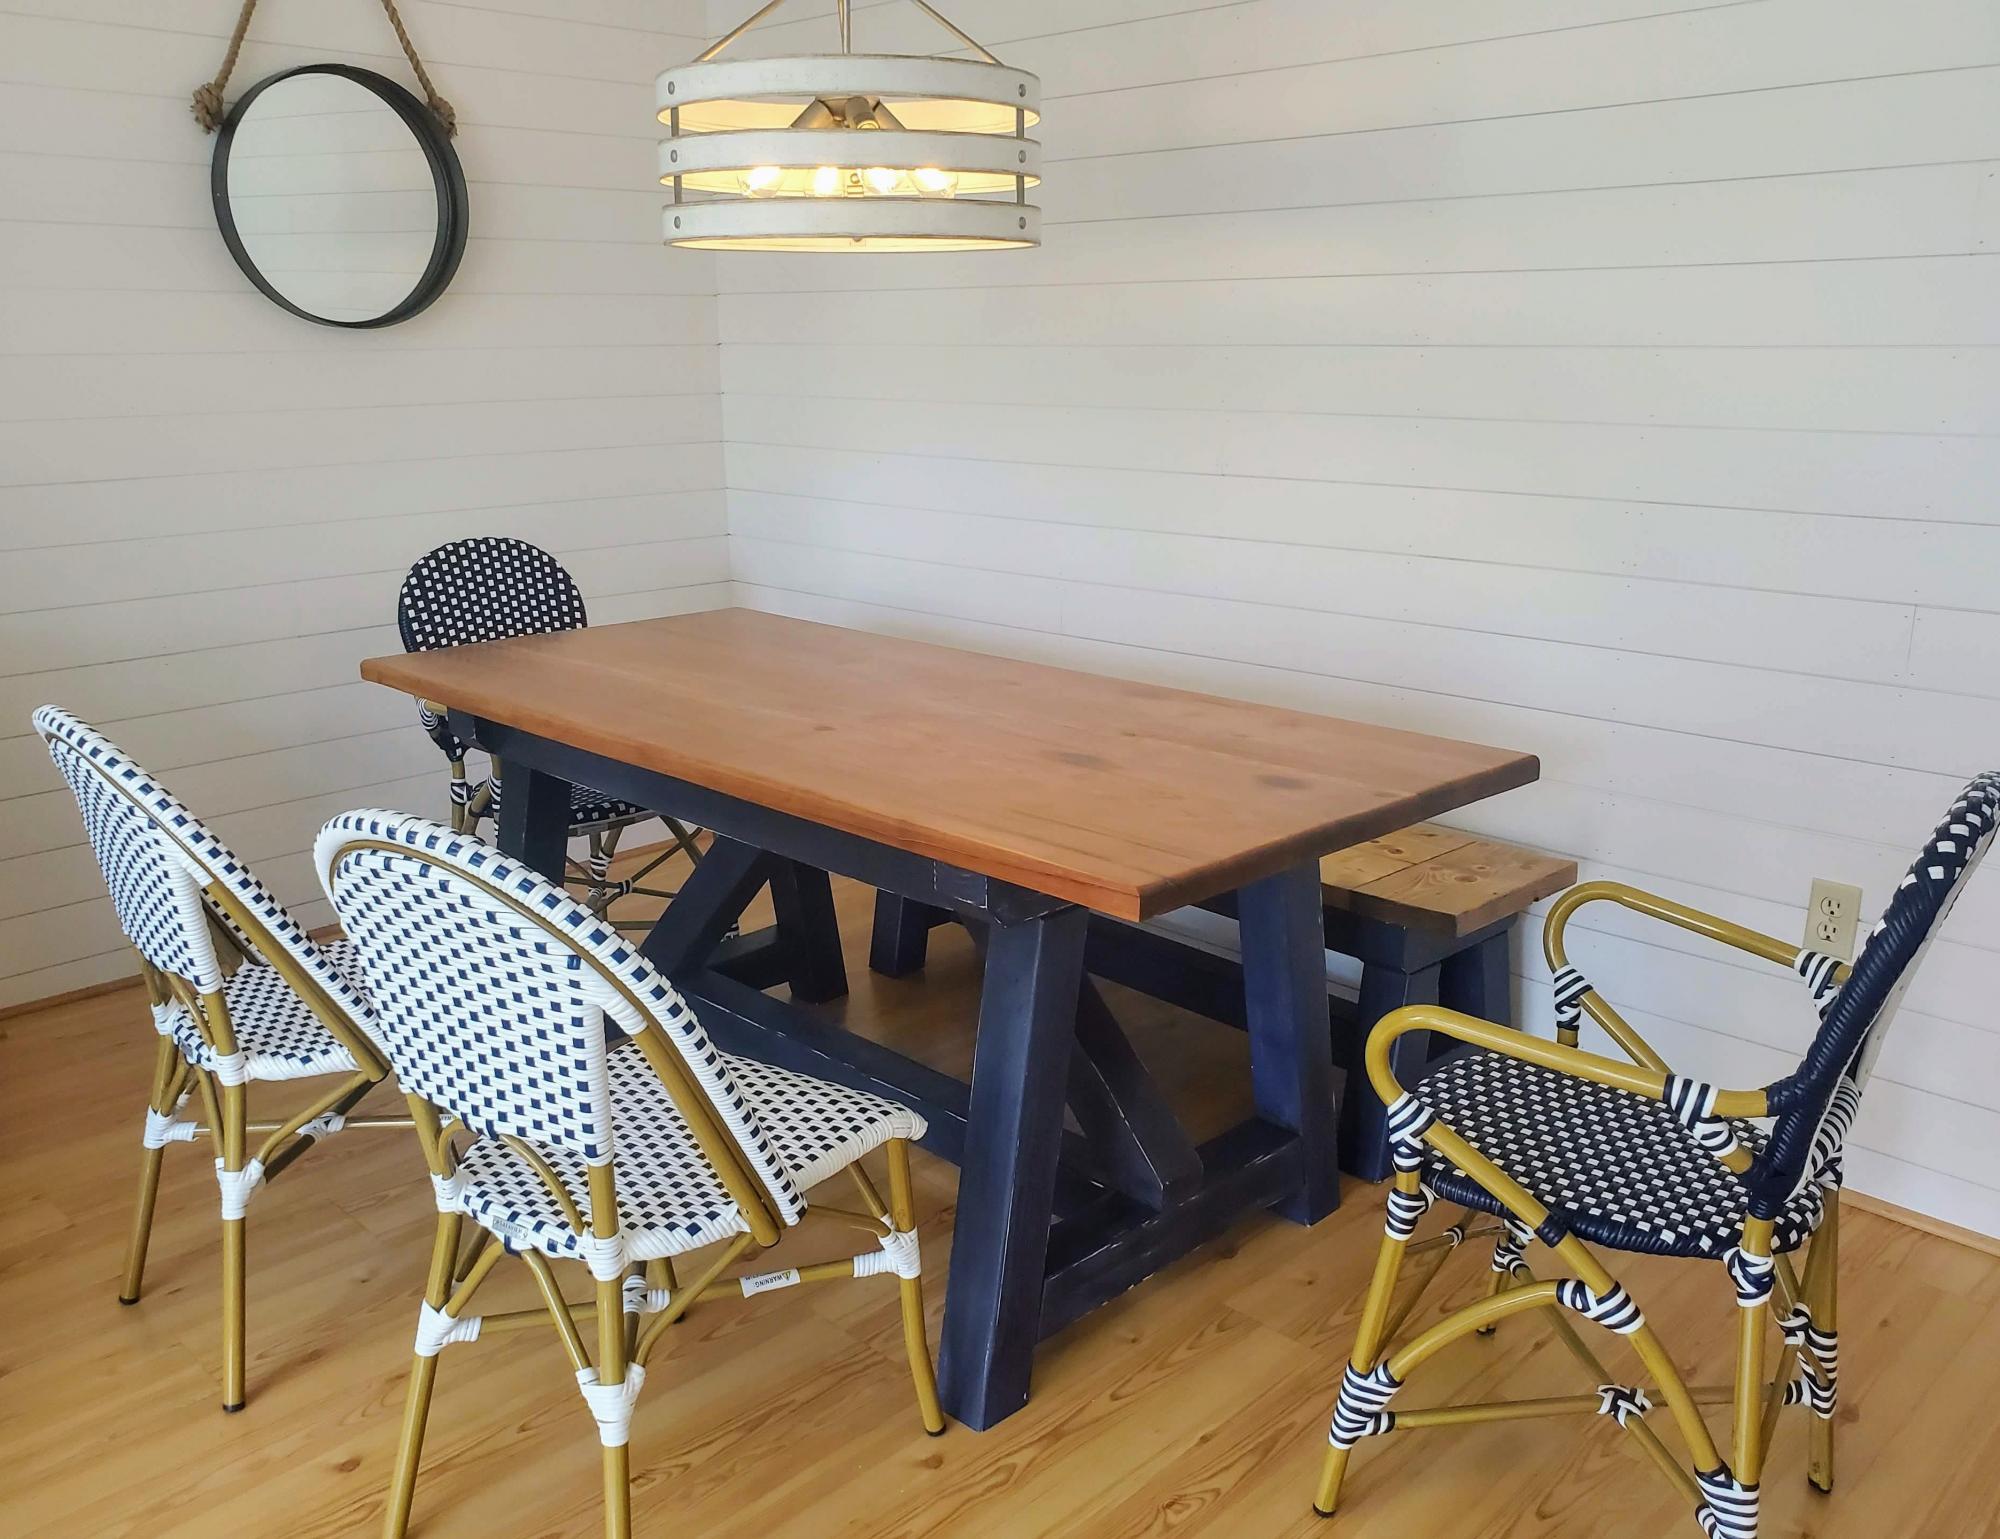
I followed this plan to create our new dining table and bench. I went with a distressed chalk paint for the base, and the top is made from 100 year old douglas fir barn rafters. They look great with our blue/white cafe chairs. Thanks for the great plan!

Estimated Cost
$400 (mostly from purchasing the reclaimed rafters)
Estimated Time Investment
Week Long Project (20 Hours or More)
Finish Used
Behr Chalk Paint and Dark Wax on Base, combination of Special Walnut and Oaked Grey stain on Top, matte poly
Recommended Skill Level
Intermediate

Sand Box

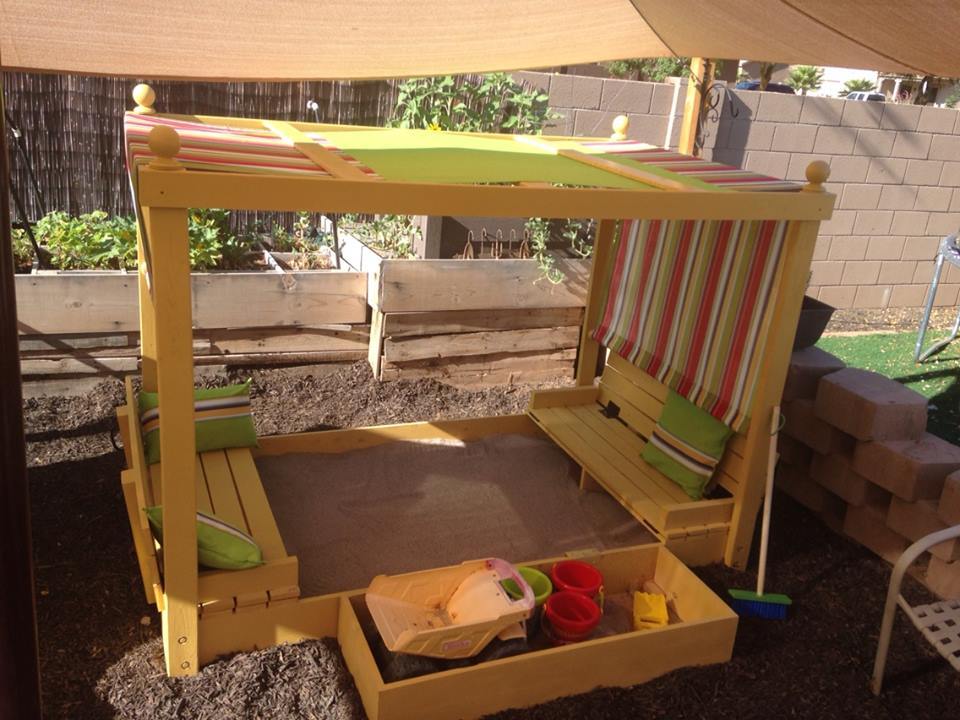
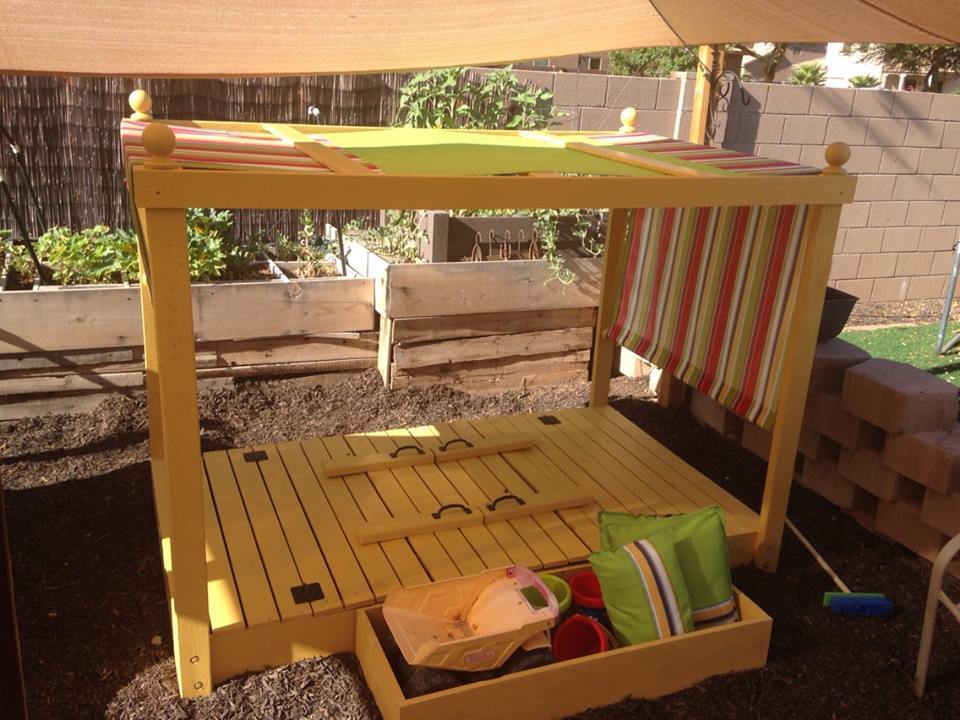
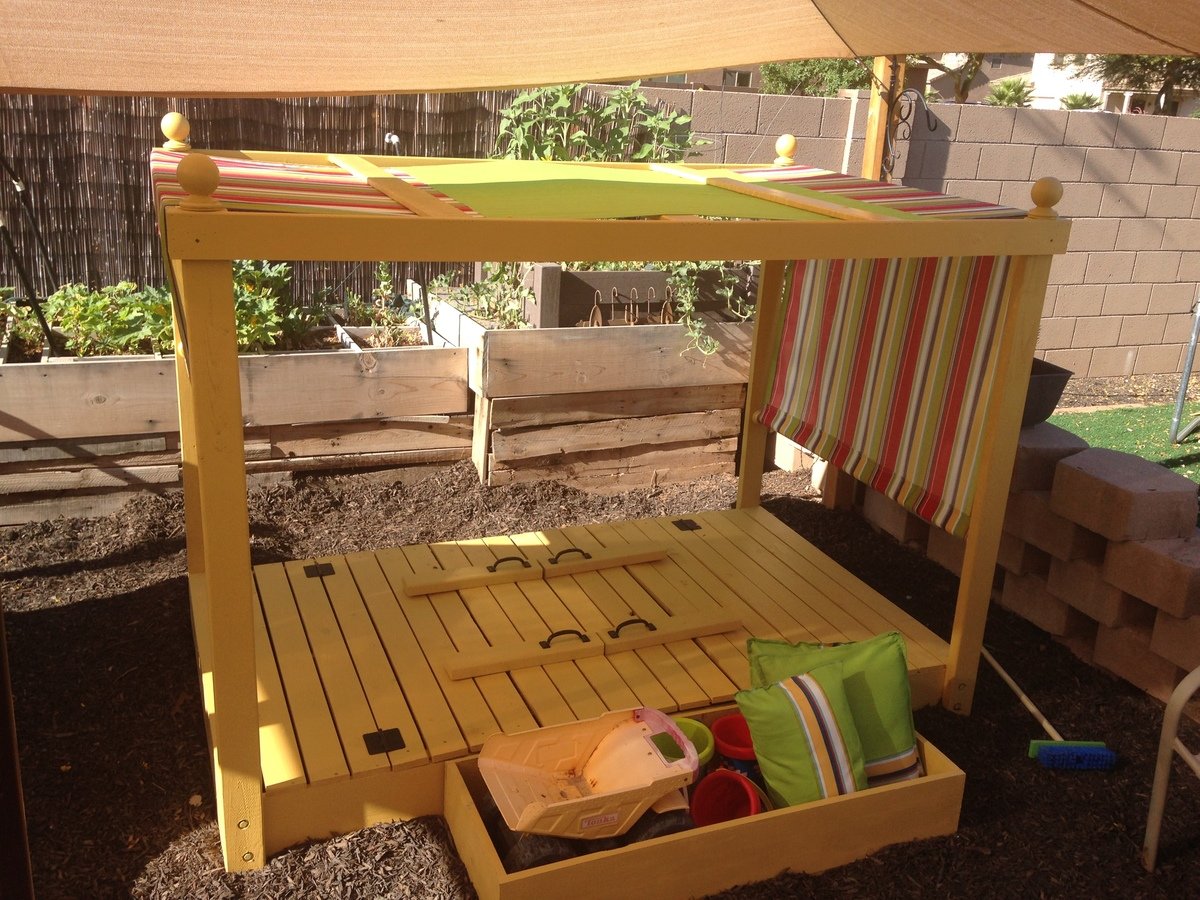
We adjusted the plan and created a 4x7 sand box with toy box and canopy. We are in love with the way this has turned out!

Estimated Cost
300
Estimated Time Investment
Weekend Project (10-20 Hours)
Recommended Skill Level
Intermediate

Comments

Floor to Ceiling Canned Food Storage

Submitted by Anonymous (not verified) on Fri, 04/19/2024 - 13:56

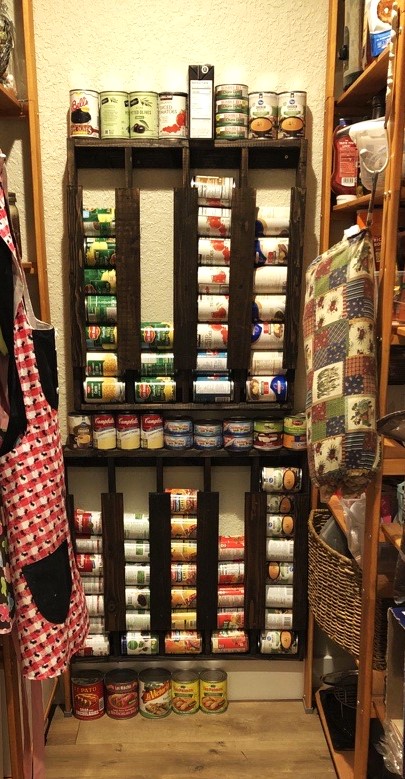
Loved these plans. Top unit was built exactly to specs. Bottom unit was built to accommodate one column of cans. I have also built one for my sis-in-law and will be building one more for this pantry. Love this project!

Leah

Built from Plan(s)

Fold down laptop desk

Submitted by Taa-daa on Wed, 09/21/2016 - 21:42

Inspired by Ana's Flip down wall art desk. It has different dimentions since wall space was limited. I used a magnet as a lock, added upholstered back, dowel for storage and extended the bottom part to add some strength. It is very handy!


Built from Plan(s)
Estimated Cost
30$
Estimated Time Investment
Afternoon Project (3-6 Hours)
Finish Used
spray paint and home made chalk paint
Recommended Skill Level
Beginner

Comments

Farmhouse Table - No Pocket Holes Plan

Submitted by mcronin on Sun, 07/19/2020 - 07:48

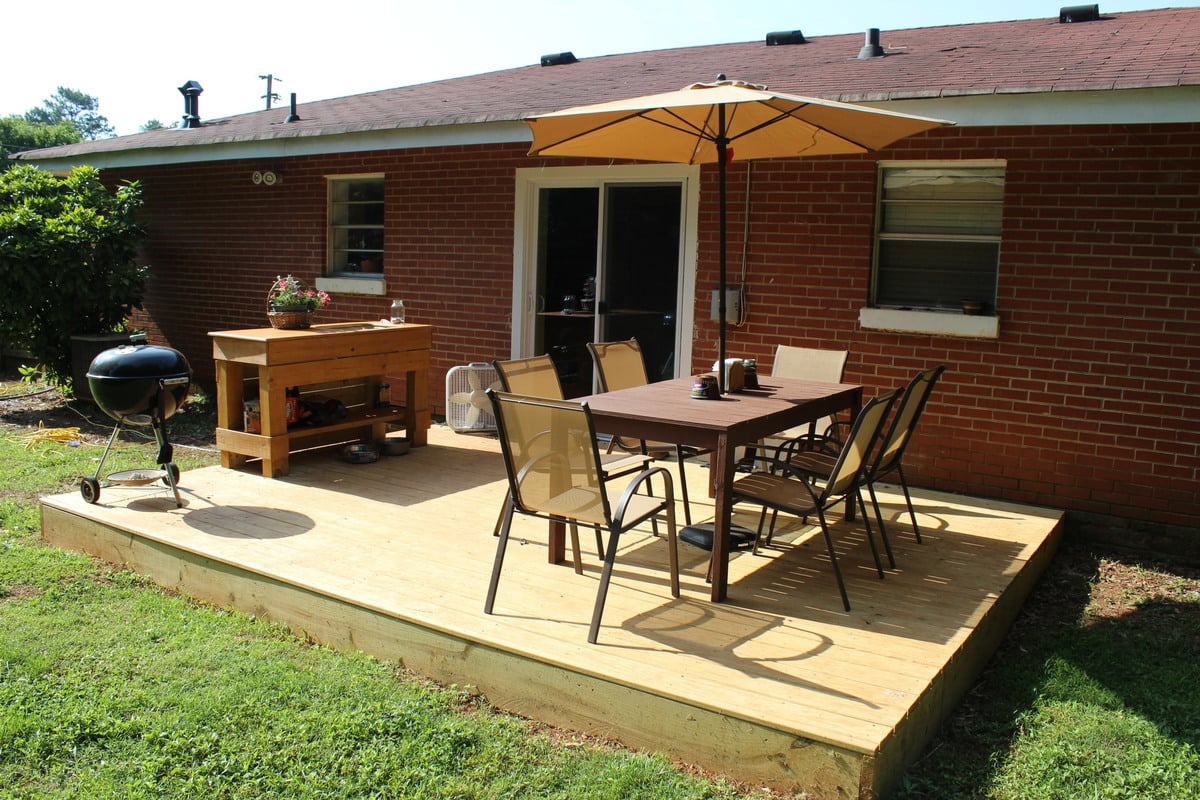
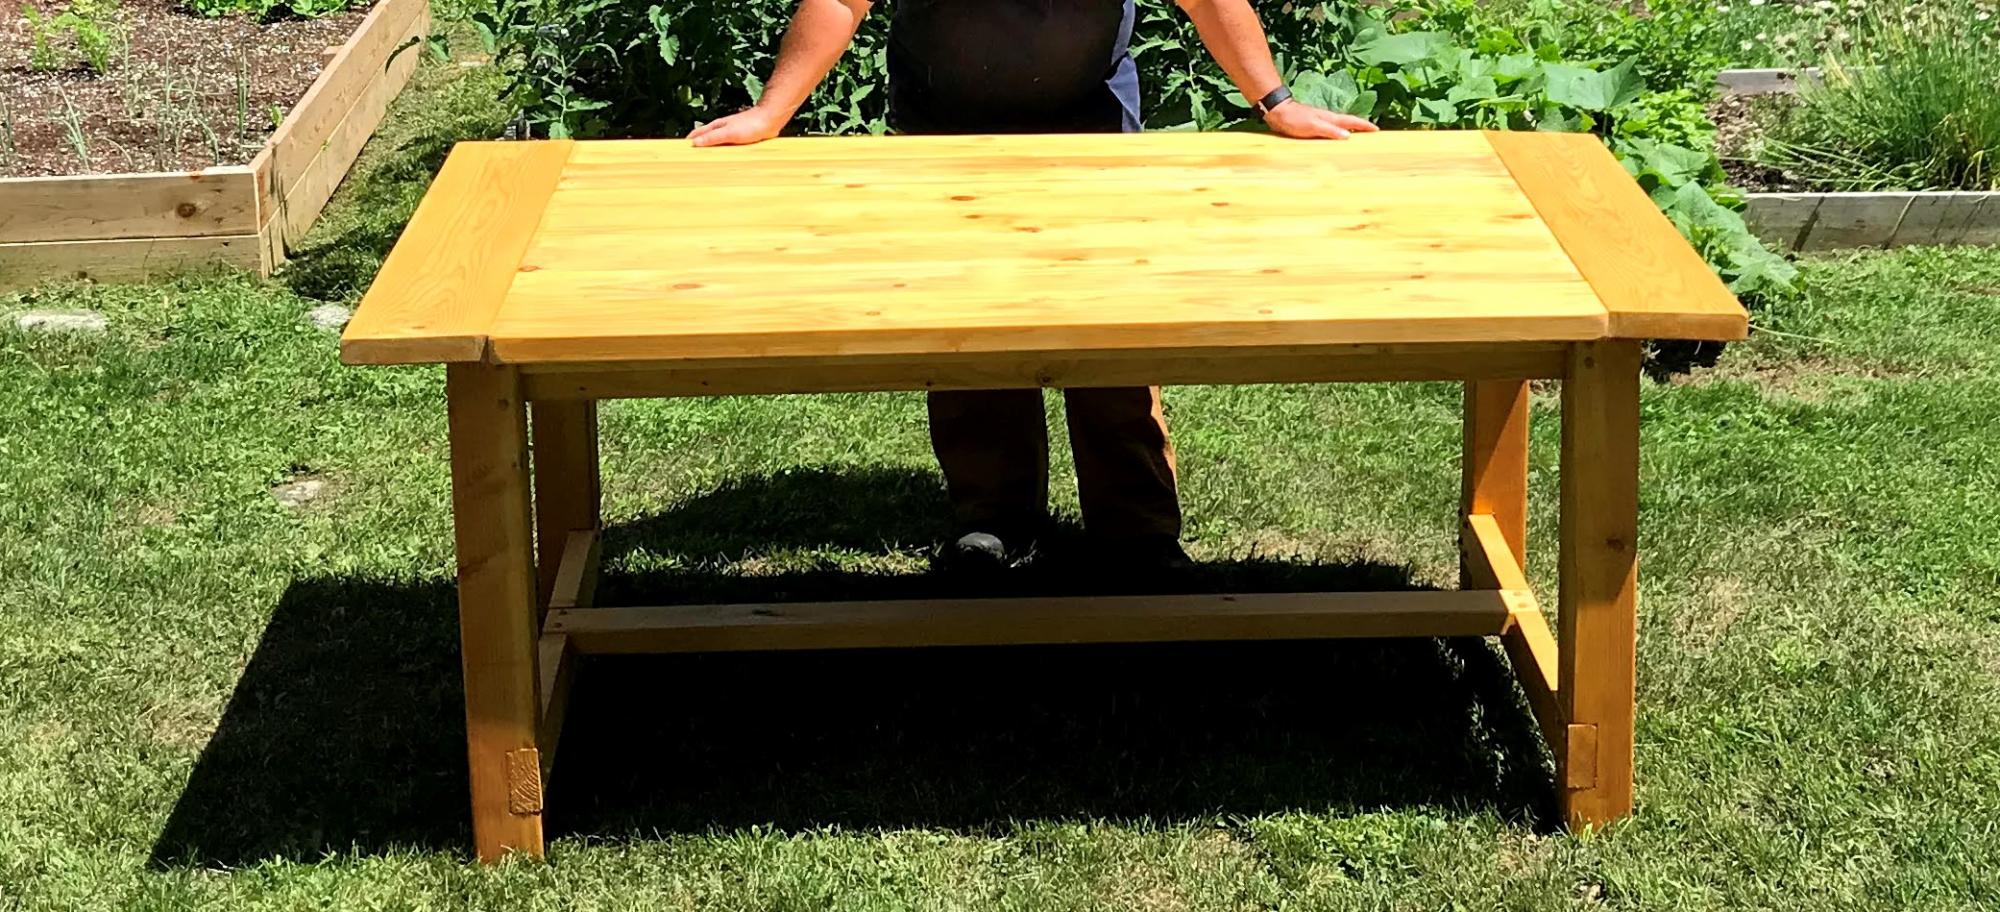
The published plans for this were great. This was my first attempt at a project like this. I have always liked the idea of dining at a large table outdoors and the farmer's style is appealing to me. I adjusted the length to fit my deck, but also made a few changes for aesthetic purposes. I notched 4x4s rather than join a pair of 2x4s for the legs. Added caps to the screw holes rather than filler and used pegs to secure the top planks in addition to screws from the bottom. The frame and top were stained/sealed with Cabot Australian Timber Oil.
Estimated Cost
$200.00
Estimated Time Investment
Week Long Project (20 Hours or More)
Finish Used
Cabot Australian Timber Oil, Natural
Recommended Skill Level
Intermediate

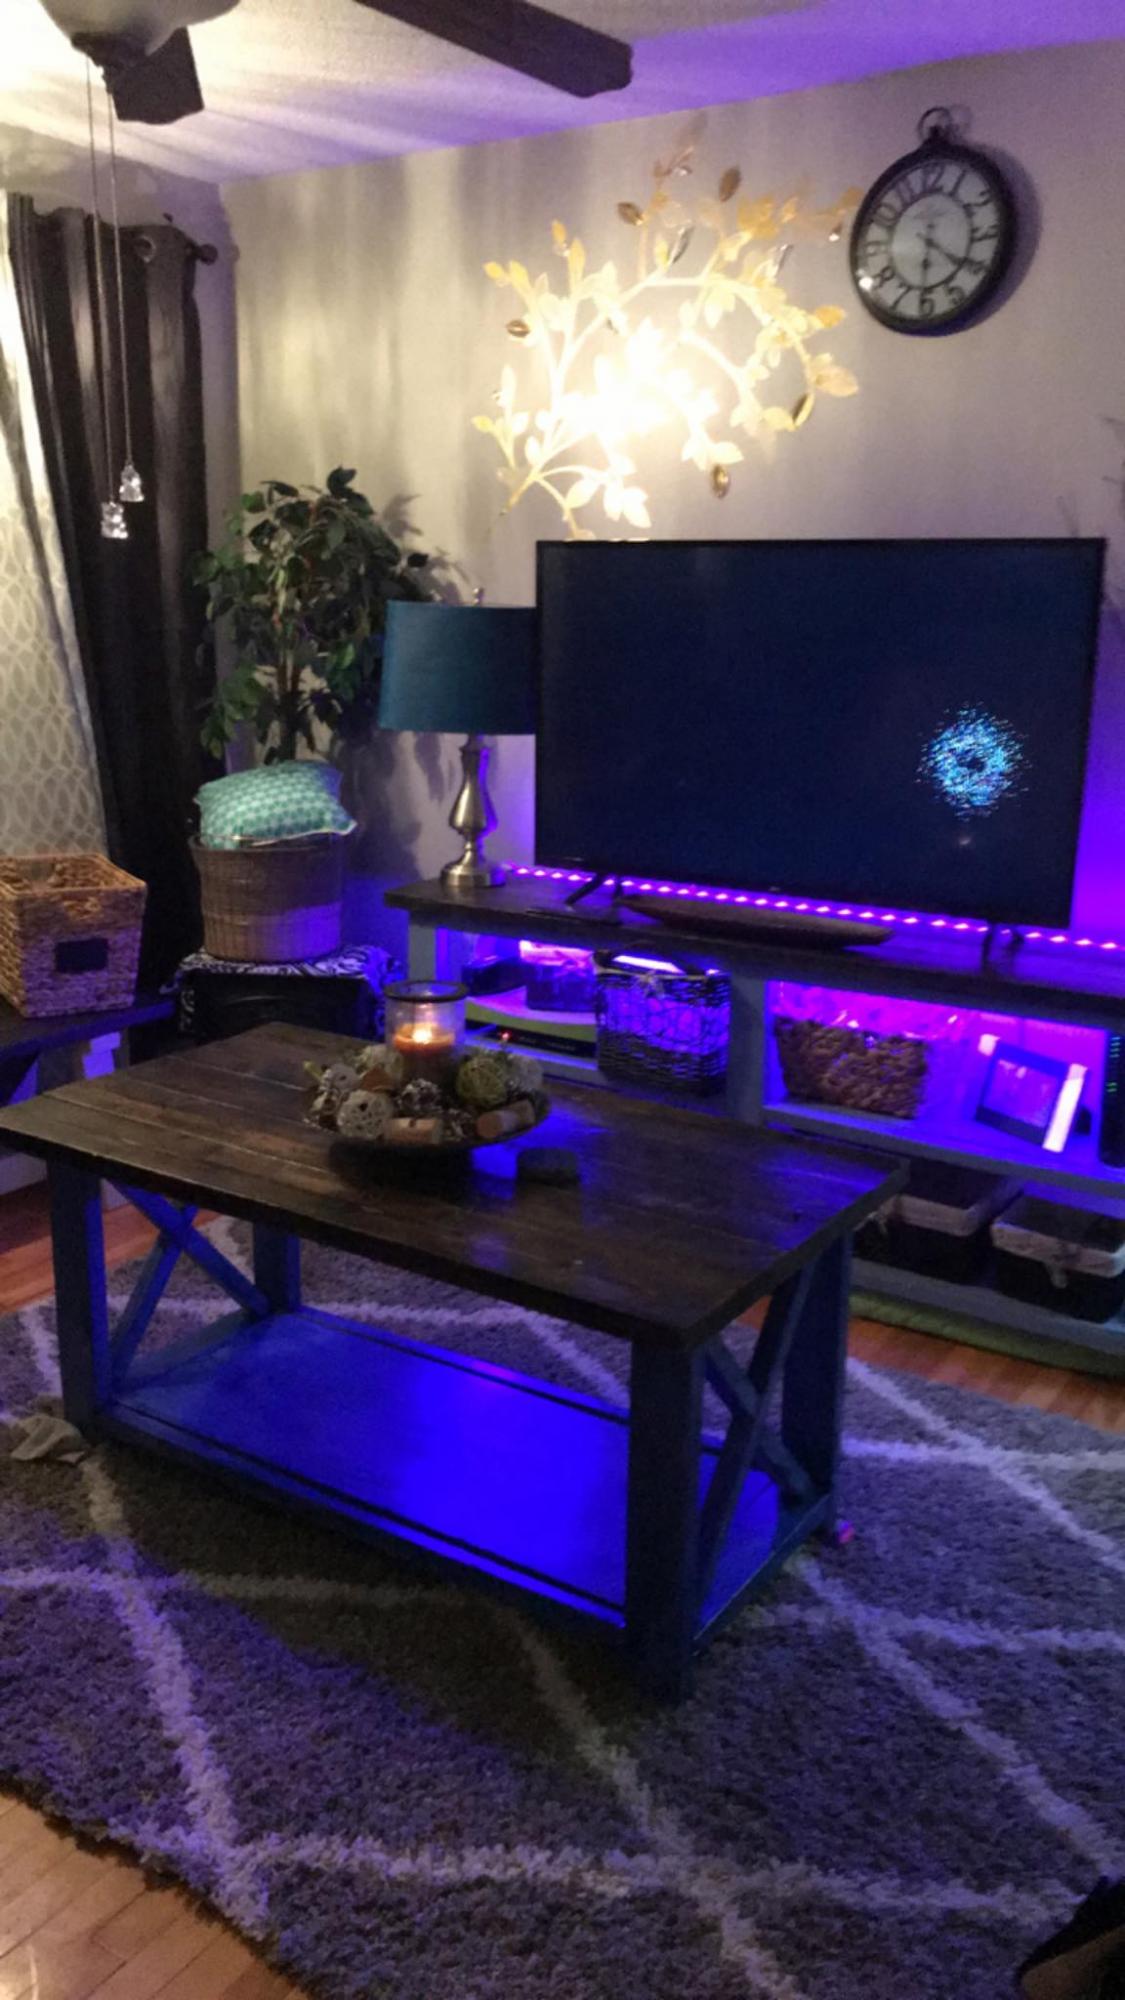
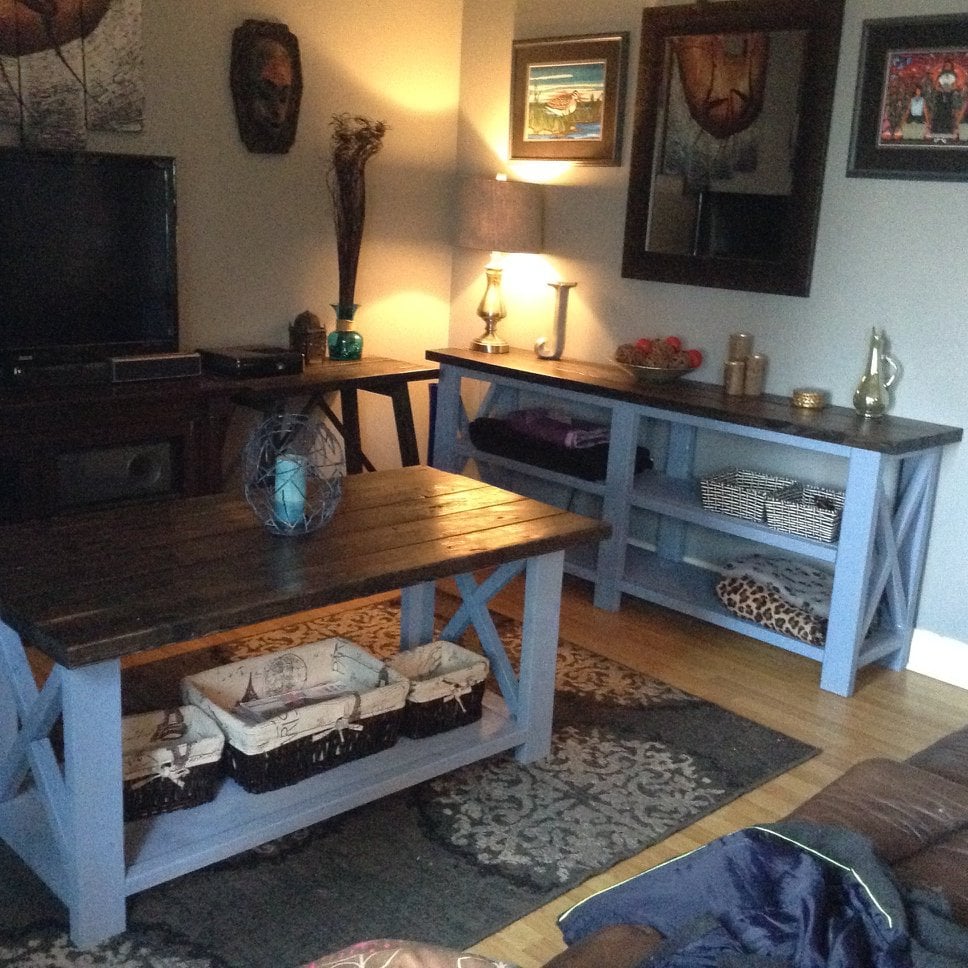
Rustic x coffee table and rustic x console table

Submitted by Anonymous (not verified) on Fri, 07/24/2020 - 10:31

Made exactly as according to Ana Whites plans. Easy to build and very pretty once completed

Estimated Cost
180
Estimated Time Investment
Weekend Project (10-20 Hours)
Finish Used
Espresso with varathane and lacquer on top and base is a light blue stain
Recommended Skill Level
Beginner

Chunky Leg Bed

Submitted by thehallway on Fri, 10/26/2012 - 08:46

I built this bed for my sister's new house. I used aspen for the visible boards and furring strips and regular lumber for the rest. The only change from the original plan is that I used 1x6s for the legs so it would sit higher off the floor.

I painted it with Rustoleum Painter's Touch Metallic in Oil Rubbed Bronze and I really like how it turned out. I didn't use any primer, so you can almost see the wood grain which gives it the illusion of being stained. It also has a metallic sheen in the right light, but it's very subtle. The only downside is the metallic gives it a rough texture. I contemplated putting a couple coats of poly over it, which I may do later.

*Picture was taken with her old full size mattress

Estimated Cost
~$200 including headboard
Estimated Time Investment
Day Project (6-9 Hours)
Finish Used
Rustoleum Painter's Touch Metallic in Oil Rubbed Bronze
Recommended Skill Level
Intermediate

Comments

Francoise

Fri, 10/26/2012 - 19:44

Looks so gorgeous, the combo of headboard and frame, the chunky legs and the paint job is attention grabbing. It's a cohesive whole.

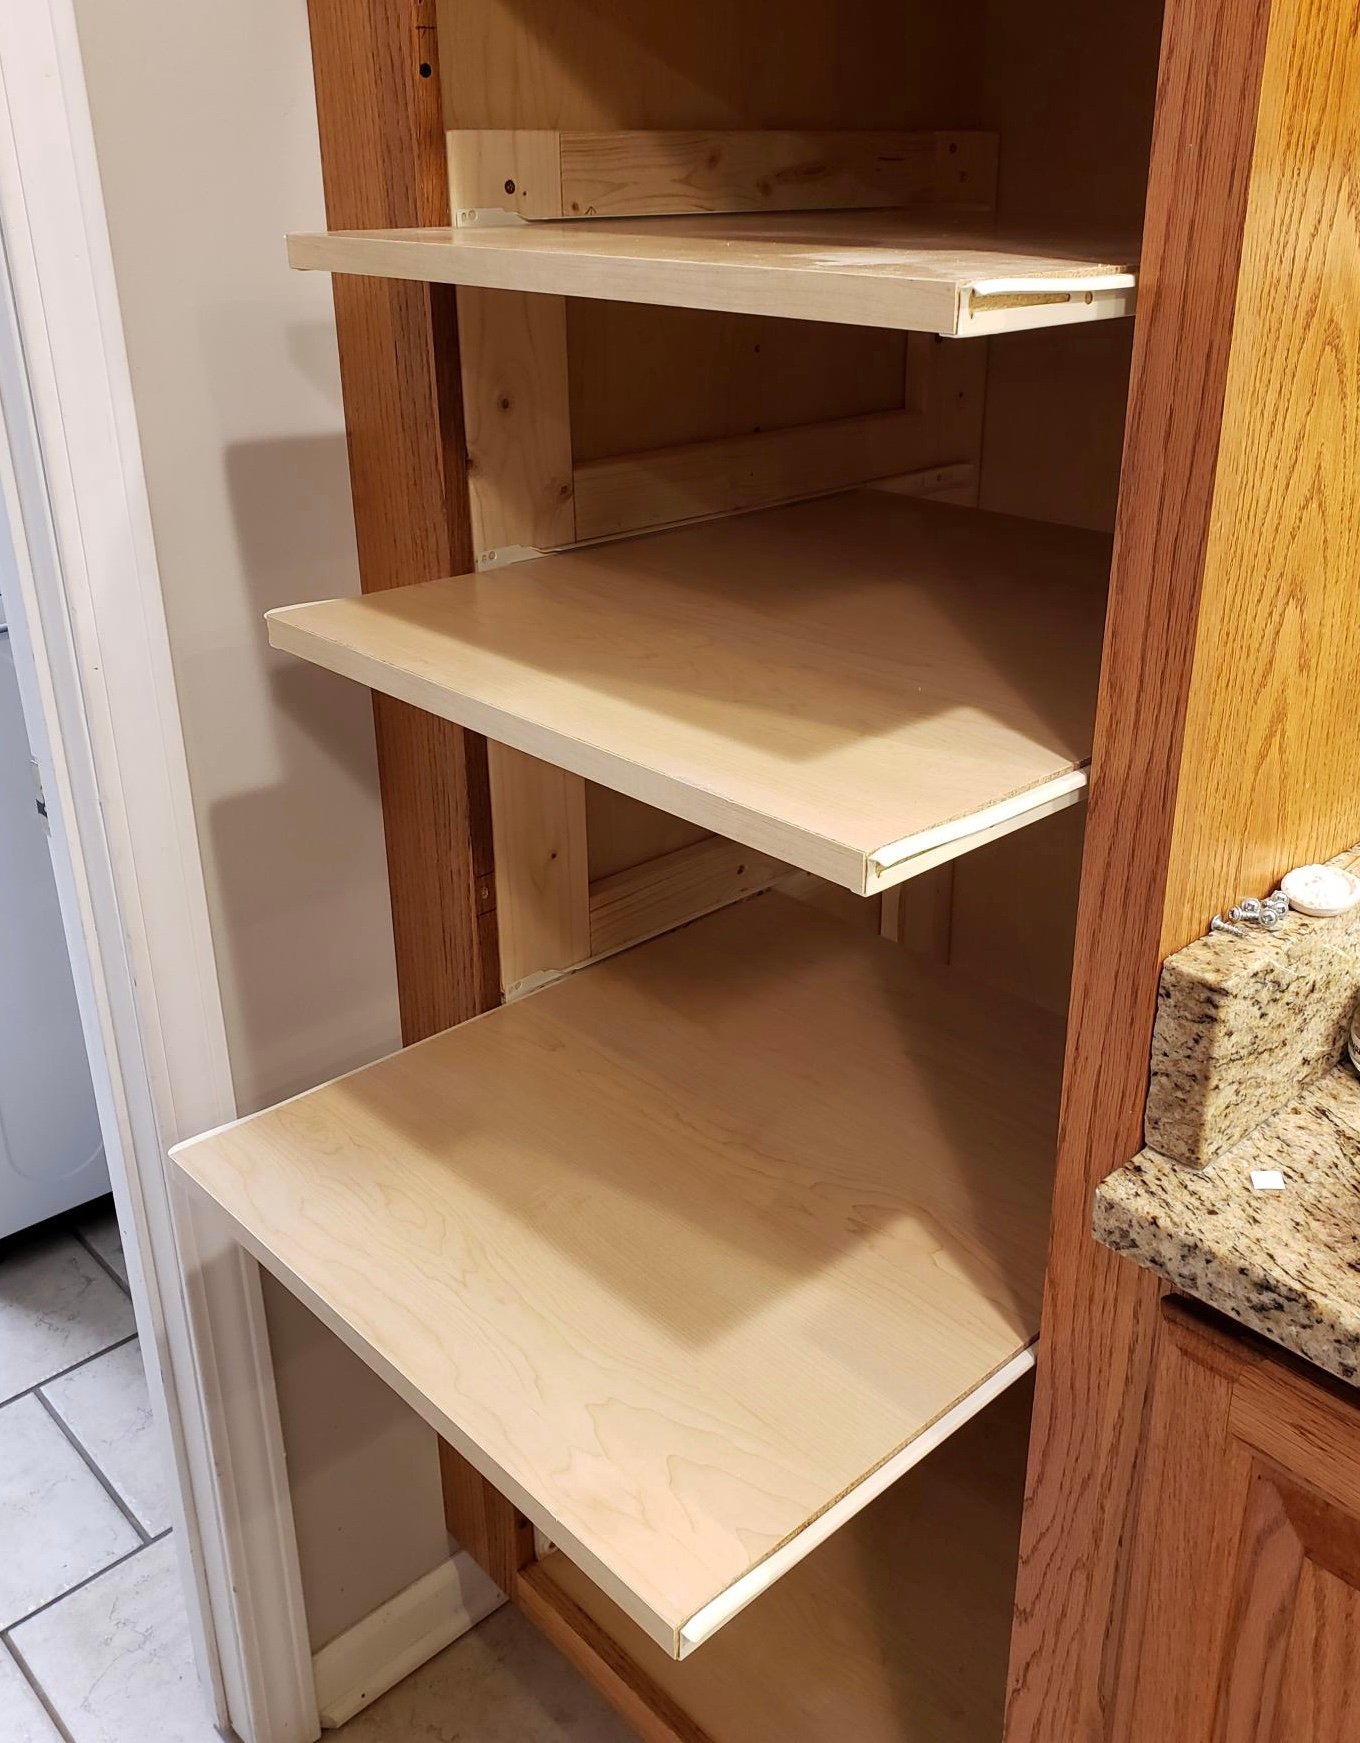
Pull-out Shelves

Stationary shelves are such a hassle, especially in a deep pantry cabinet! Now I can actually SEE the contents of my pantry cabinet. Thanks for the inspiration and tutorial to get it done!

Estimated Cost
$50 for 5 shelves & framing, new hinges.
Estimated Time Investment
Day Project (6-9 Hours)

Comments

Our.family.morgans

Submitted by Anonymous (not verified) on Tue, 01/24/2017 - 07:18

Thanks ANA for the plans!!

Built from Plan(s)
Estimated Time Investment
Week Long Project (20 Hours or More)
Finish Used
Primer & paint
Recommended Skill Level
Beginner
Back