Community Brag Posts

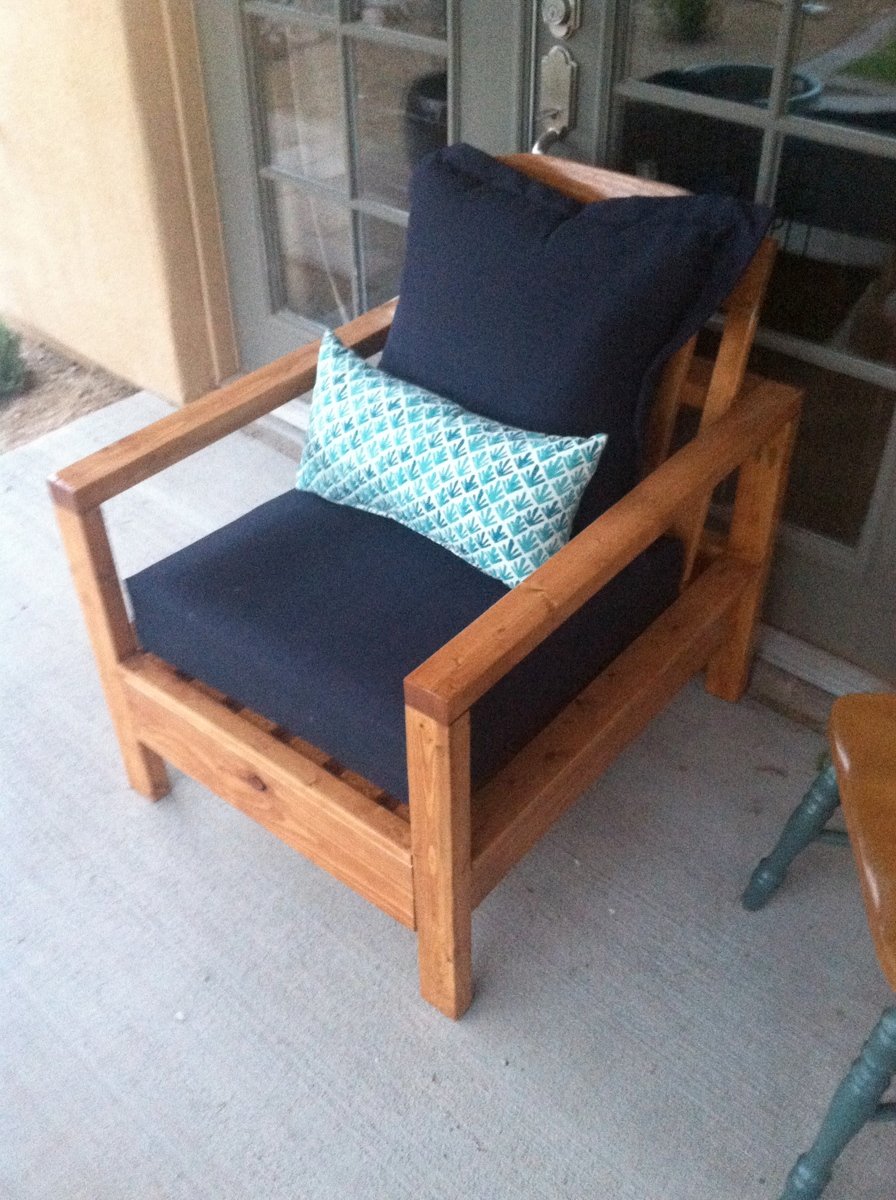
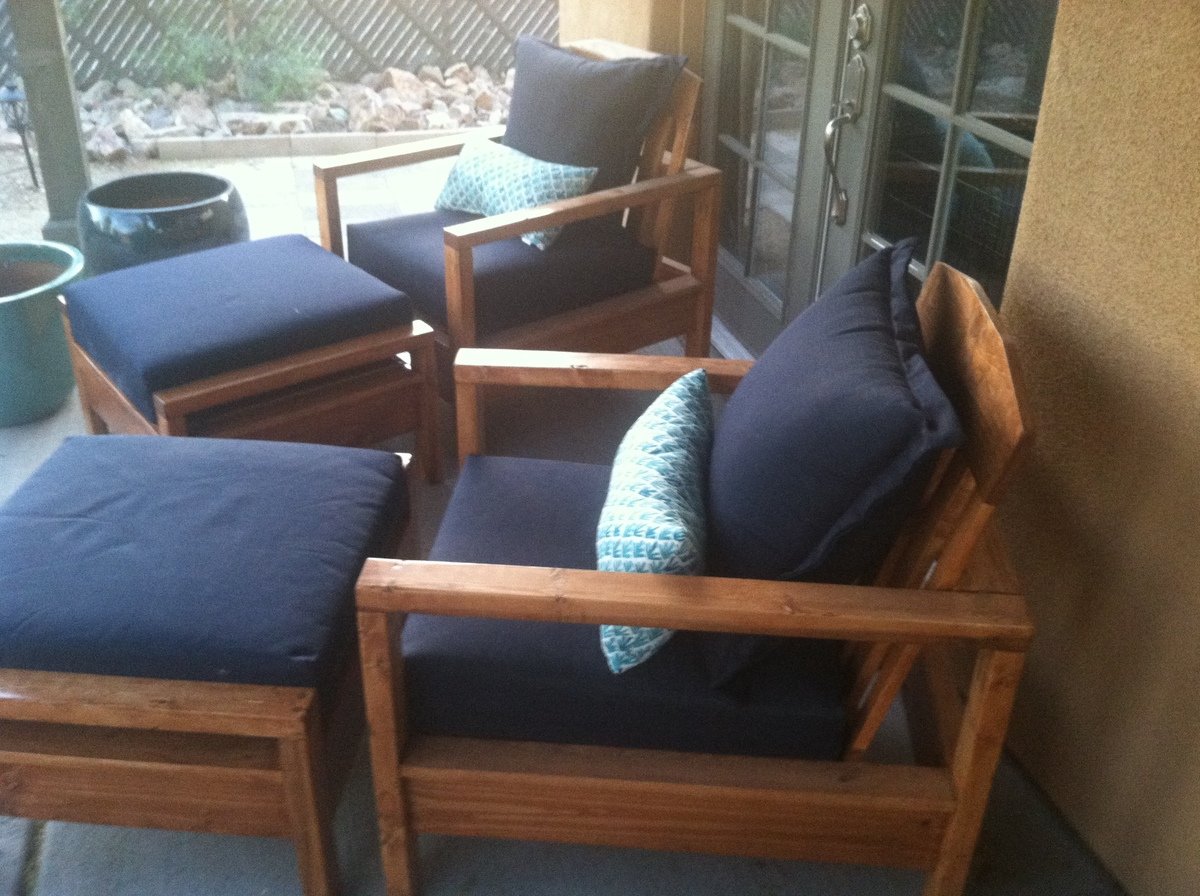
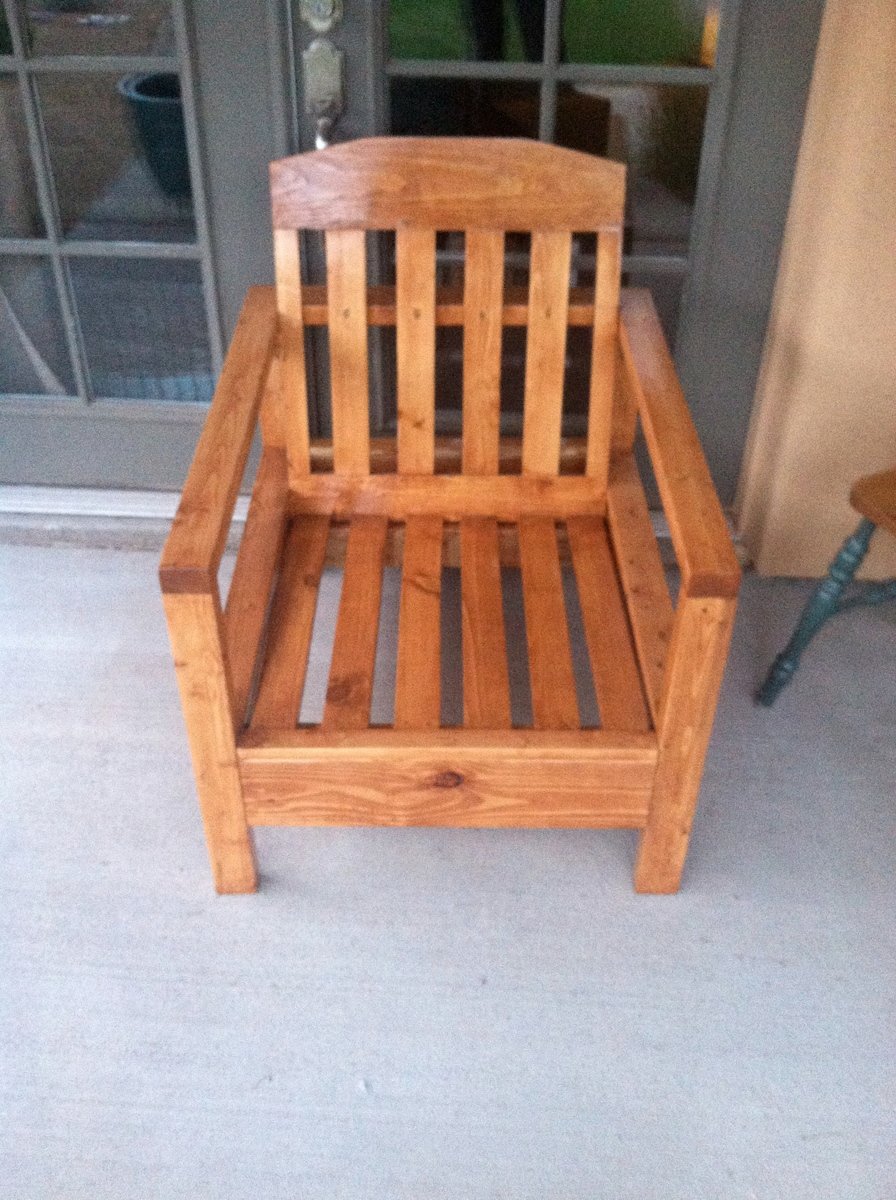
Simple White Outdoor Chair

Submitted by klray on Wed, 05/21/2014 - 21:47

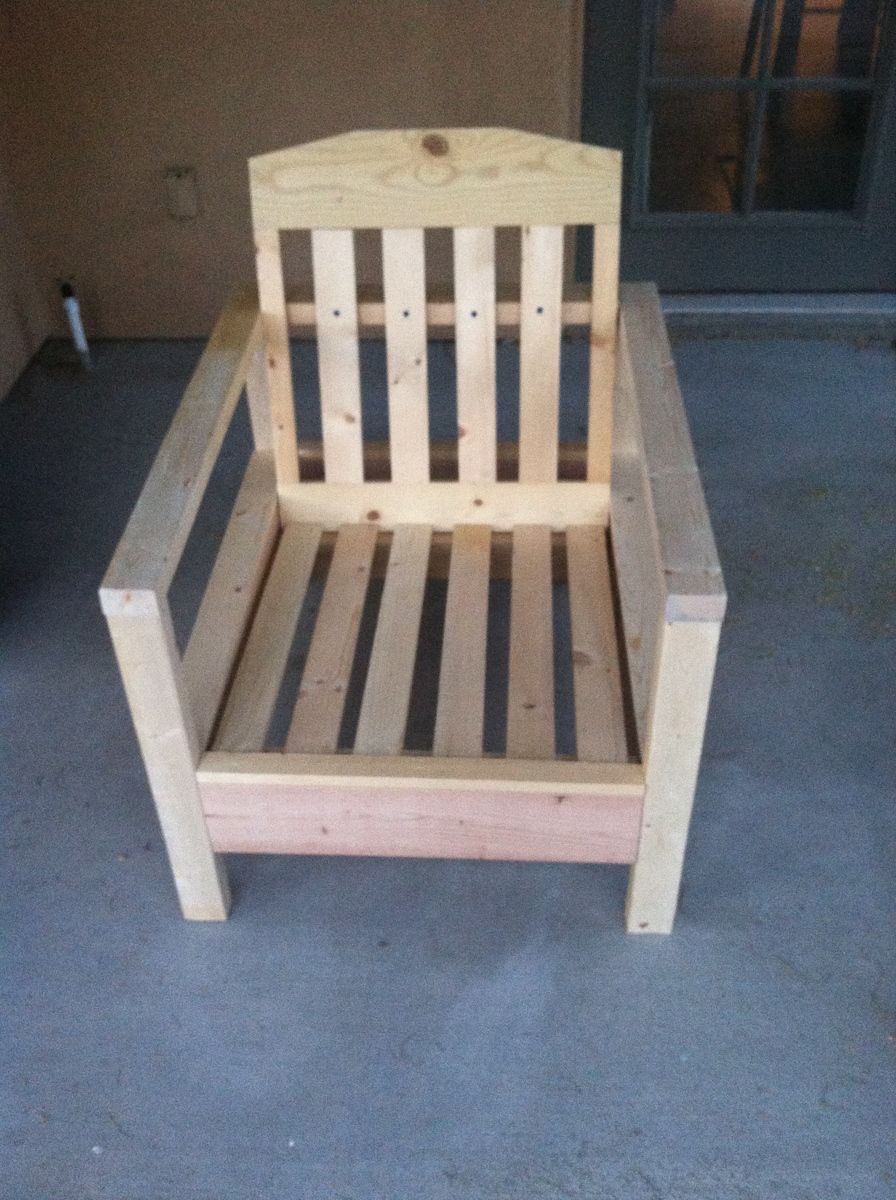
These chairs followed the simple white outdoor chair instructions. There were a few adaptations. I used 2x3s instead of 2x2s for the legs, like in the simple white outdoor loveseat instructions. I purchased my cushions from Target, and their dimensions are different than the cushions used in the instructions, so I changed some of the chair dimensions. I created the pattern for the ottomans, but it is very much based on the simple white outdoor chair instructions.

Fun project and happy with the results. Staining instead of painting probably made the project take twice as long.
Finish Used
Minwax Ipswich Pine - 2 coats,
Deft Exterior Polyurethane semi-gloss- 3 coats
Recommended Skill Level
Beginner

Comments

sojaco

Thu, 05/22/2014 - 13:37

Your chairs are gorgeous - I feel compelled to go copy your handiwork immediately. :)

Would you mind sharing a link to the Target cushions you used? They look great on your chairs.

klray

Sat, 05/24/2014 - 10:56

Thanks!

Threshold Outdoor Deep Seating Cushion:
http://www.target.com/p/threshold-outdoor-deep-seating-cushion/-/A-1508…

Threshold Outdoor Deep Seating Back Cushion:
http://www.target.com/p/threshold-outdoor-deep-seating-back-cushion/-/A…

Just a note on the cushions, they are beautiful and highly economical, but that also means they likely aren't as supportive as cushions 2 or 3 times their price and the covers do not have a zipper, so you can't wash them. That being said, I am happy with cushions.

CreativeChaos

Fri, 05/23/2014 - 07:44

I built these chairs and love seat last summer and have sat on them wishing I had ottomans! You inspired me to build the ottomans. I have the same Theshold cushions from Target and they are great! Good job!

klray

Sat, 05/24/2014 - 11:09

Thanks!

The only tricksy part about the ottomans for me was attaching the "armrests". There isn't enough room to use the pocket hole screws after attaching the side aprons. I tried screwing the "armrests" to the legs before the aprons, but that just caused problems. In the end I screwed the side aprons and legs together and then screwed the "armrests" down from the top. I used wood filler to fill in the holes above the screw heads. So it isn't quite as clean looking, but worked for me.

amorg11

Mon, 06/08/2020 - 10:36

These chairs came out amazing!!! The only struggle was to find inexpensive cushions but worth every penny. Have had so many complements. Love them! Your instructions are so detailed!

jkess44

Tue, 06/09/2020 - 13:33

These look great! we just put together a section and would like to move on to the chairs. I was hoping to find ottoman plans, do you have the plans you used? If so can you please share?

Cedar Outdoor Sofa

Submitted by Anonymous (not verified) on Sat, 10/08/2016 - 18:58

Made an outdoor sofa inspired by Ana White's plan. I made a few modifications including using 2x6's, hiding more of the non-pocket hole screws, using HD pocket holes in more areas and building an incline for the backrest. Cushions are Sunbrella from Lowe's.

Estimated Cost
about $550
Estimated Time Investment
Weekend Project (10-20 Hours)
Finish Used
MinWax Spar Urethane. 2 coats with sanding in between coats using 220 grit
Recommended Skill Level
Intermediate

Comments
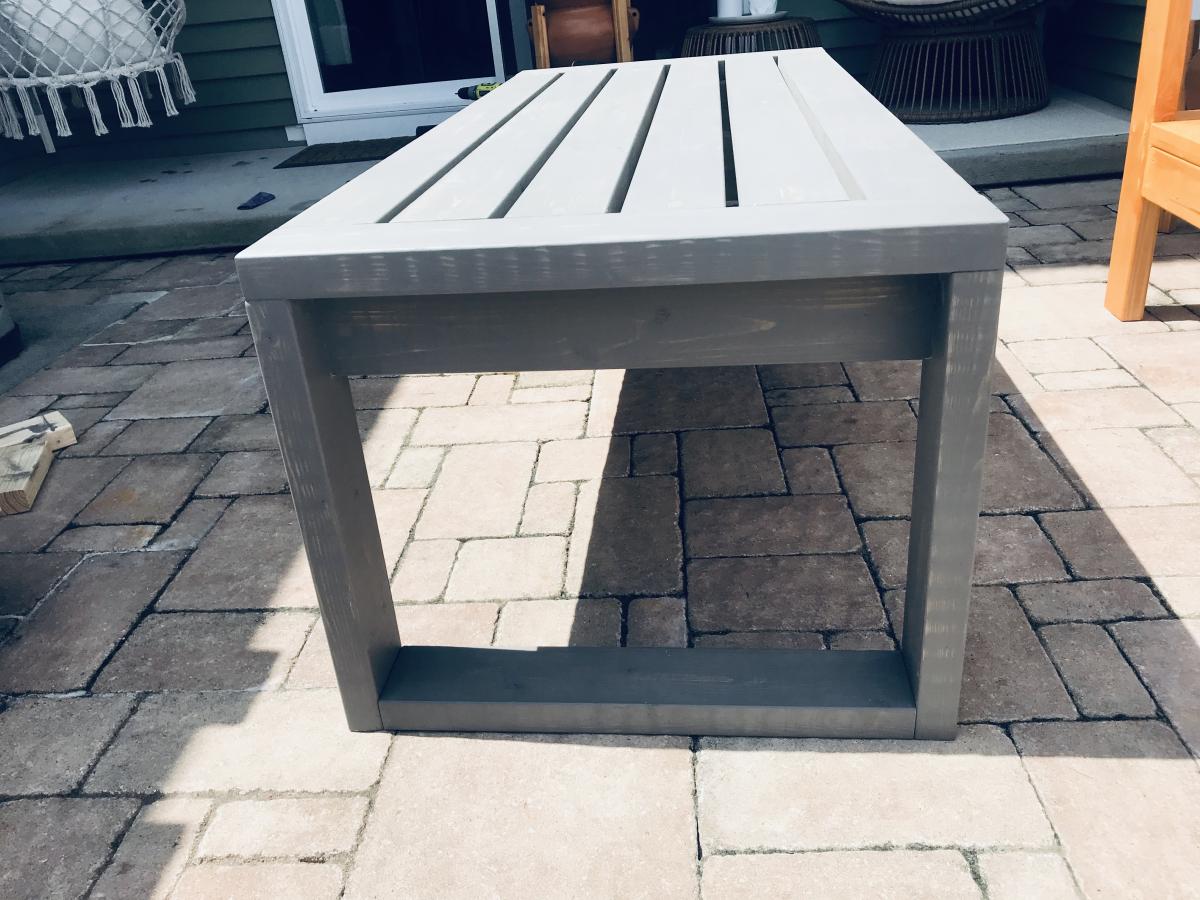
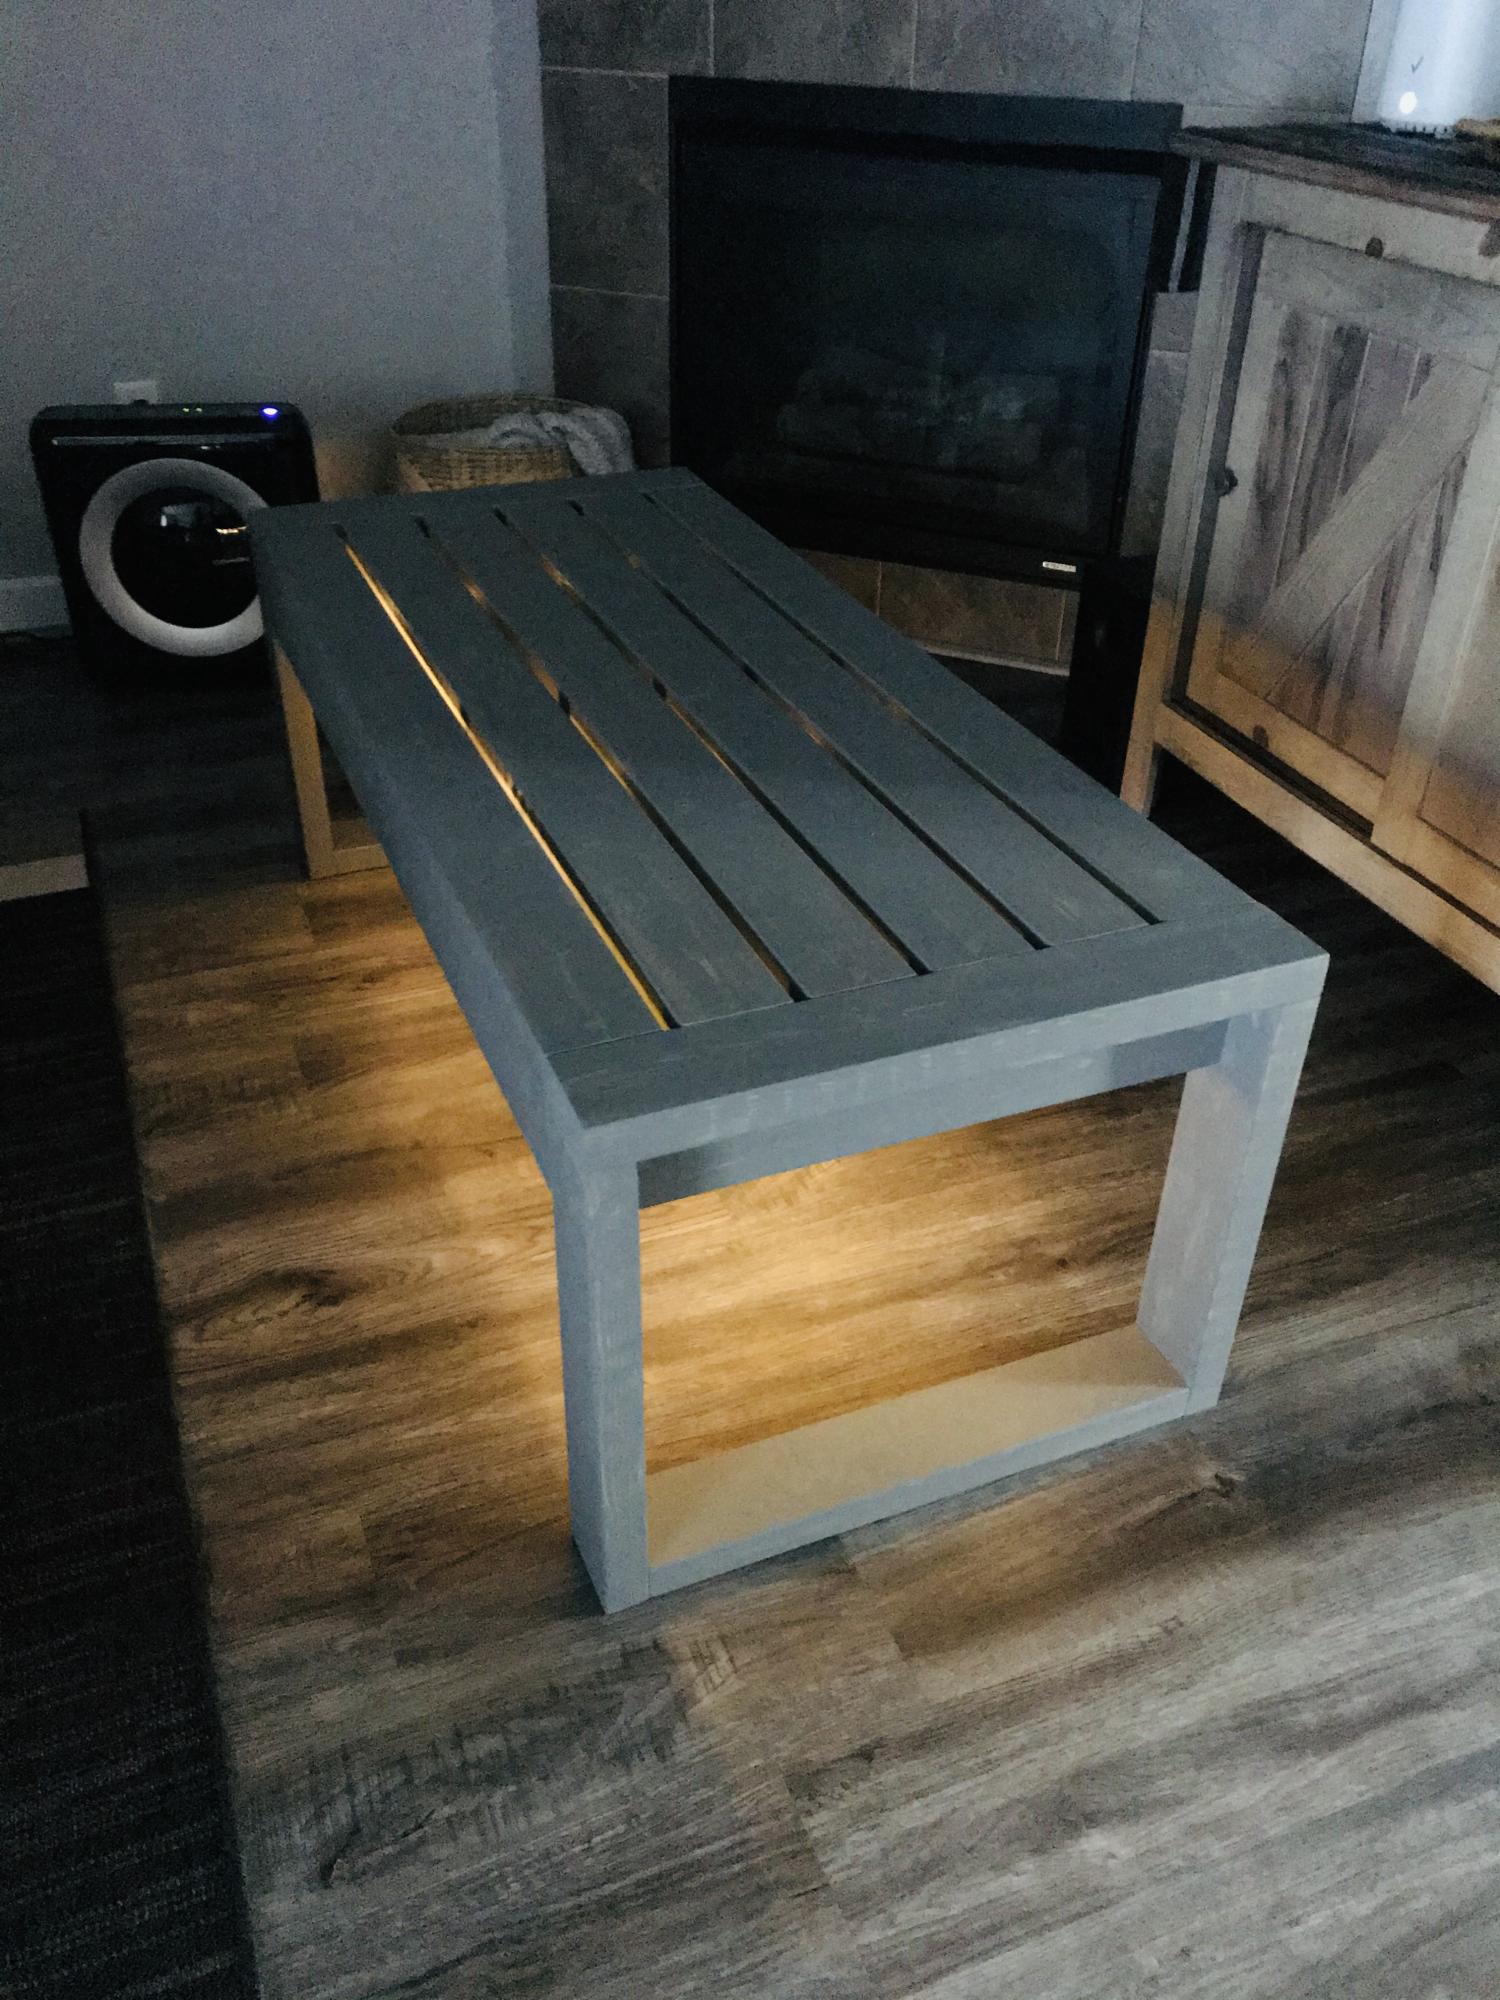
Patio table

Submitted by Anonymous (not verified) on Mon, 07/27/2020 - 21:37
Modified some measurements and squared the legs. Also added LED lights under it for night mood setting.

Built from Plan(s)
Estimated Cost
$50
Estimated Time Investment
Weekend Project (10-20 Hours)
Finish Used
Used Stain + Sealer from Behr brand. Color is called Pewter.
Recommended Skill Level
Beginner

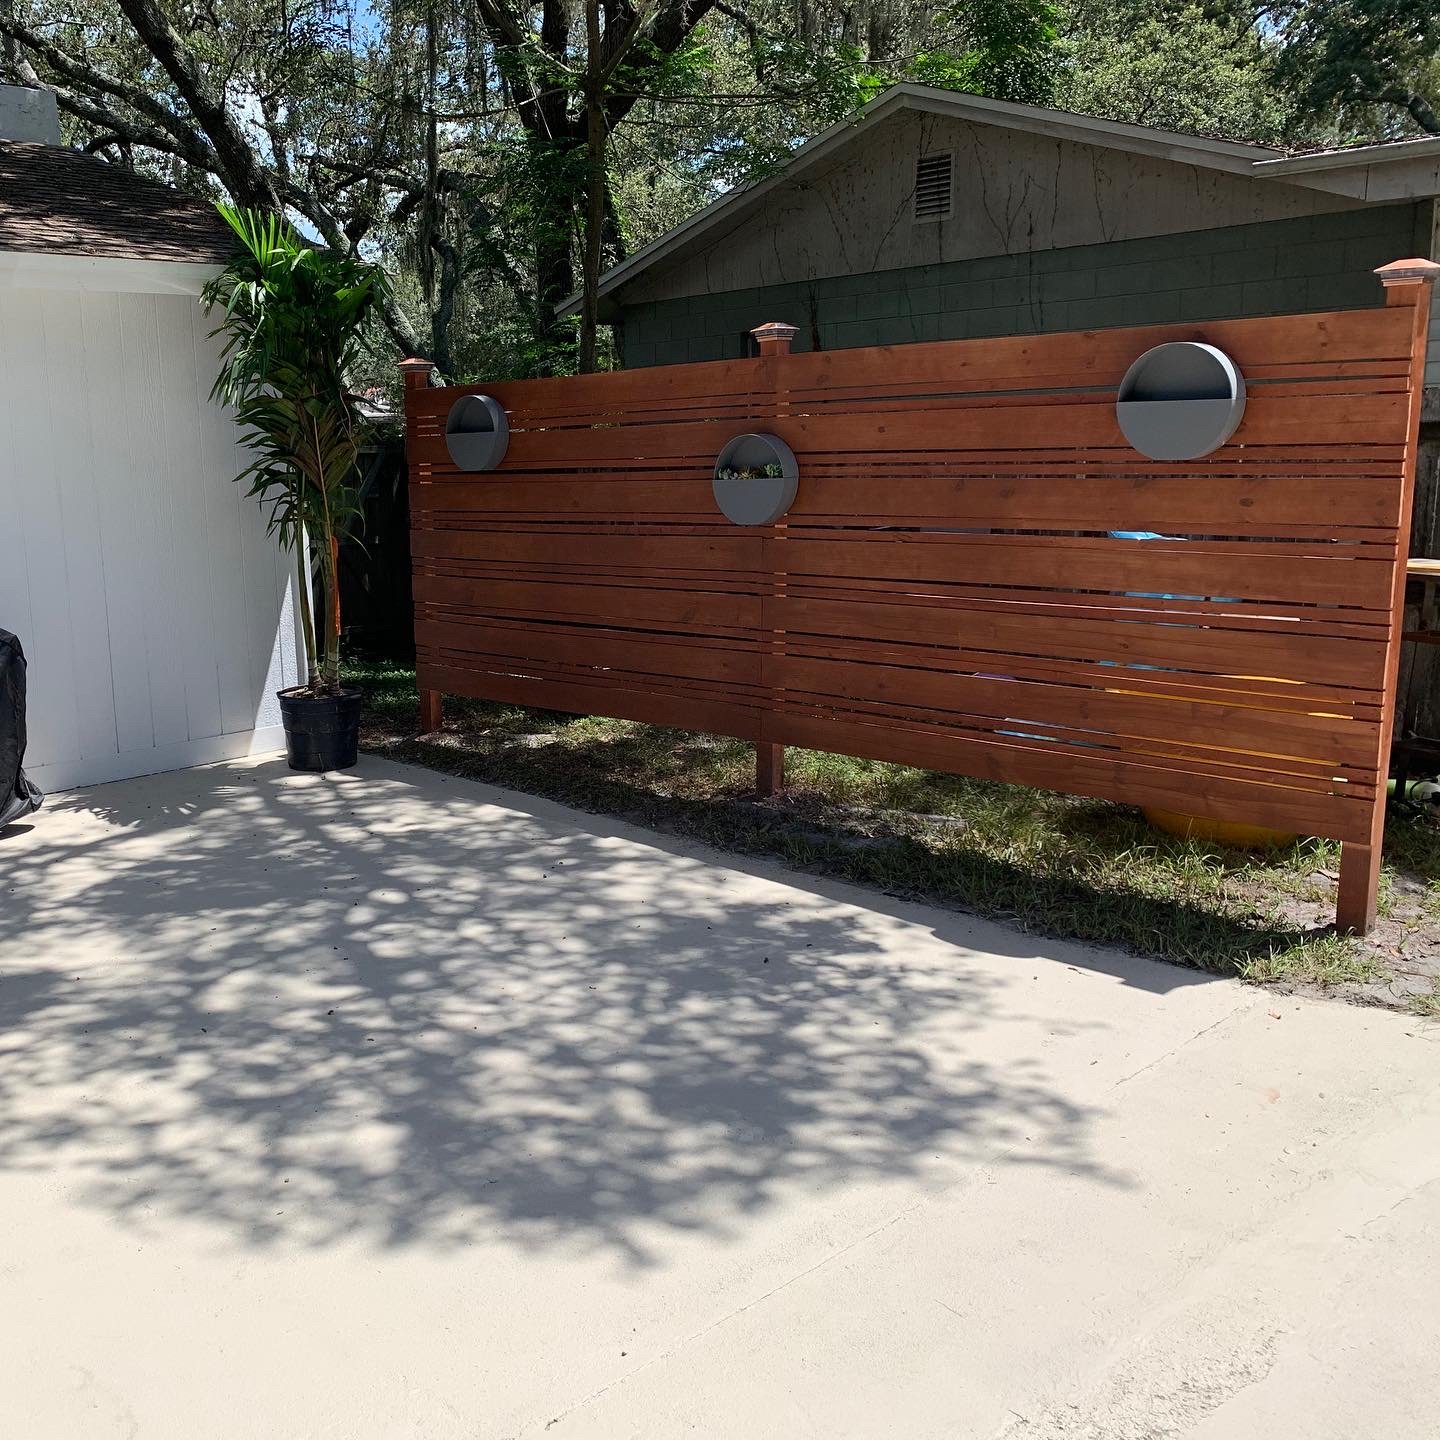
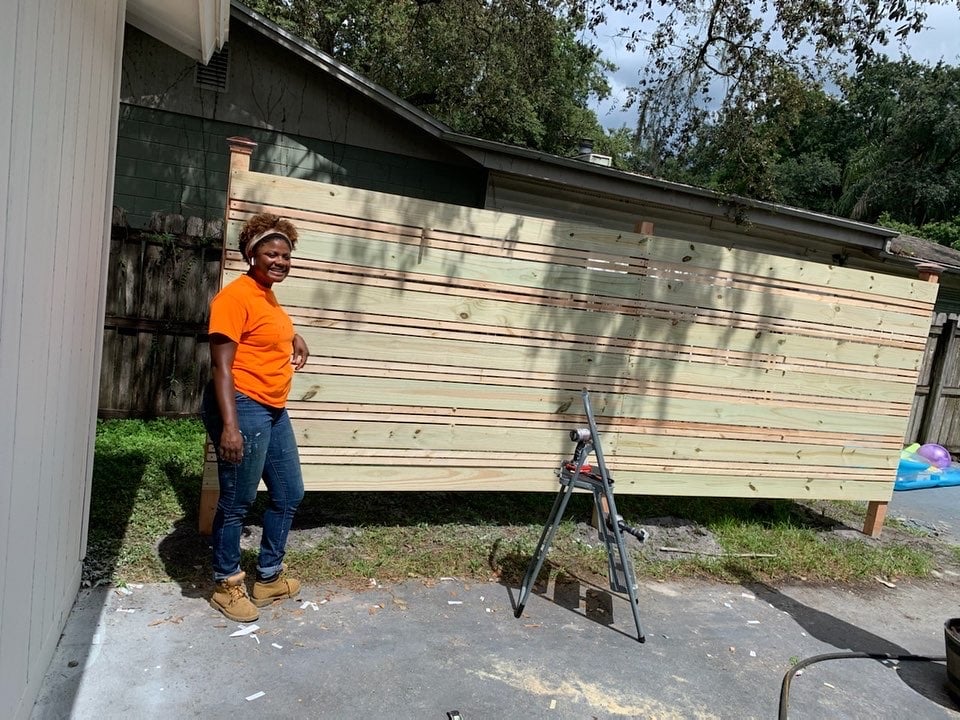
Outdoor Privacy Wall

I built this wall to give us a little privacy when our family wants to lay out and go swimming. Also, to hide our neighbor’s ugly fence! The length for all pieces are 8’ long for no cutting and the widths are 1x2, 1x6, 4x4 with 3/4” spacing and about 100 or so deck screws. I modified the pattern from a photo of a fence I seen on HomeDepots YouTube.

Estimated Cost
140
Estimated Time Investment
Afternoon Project (3-6 Hours)
Finish Used
Thompson Waterseal - Semi Transparent - Autumn Brown
Recommended Skill Level
Beginner

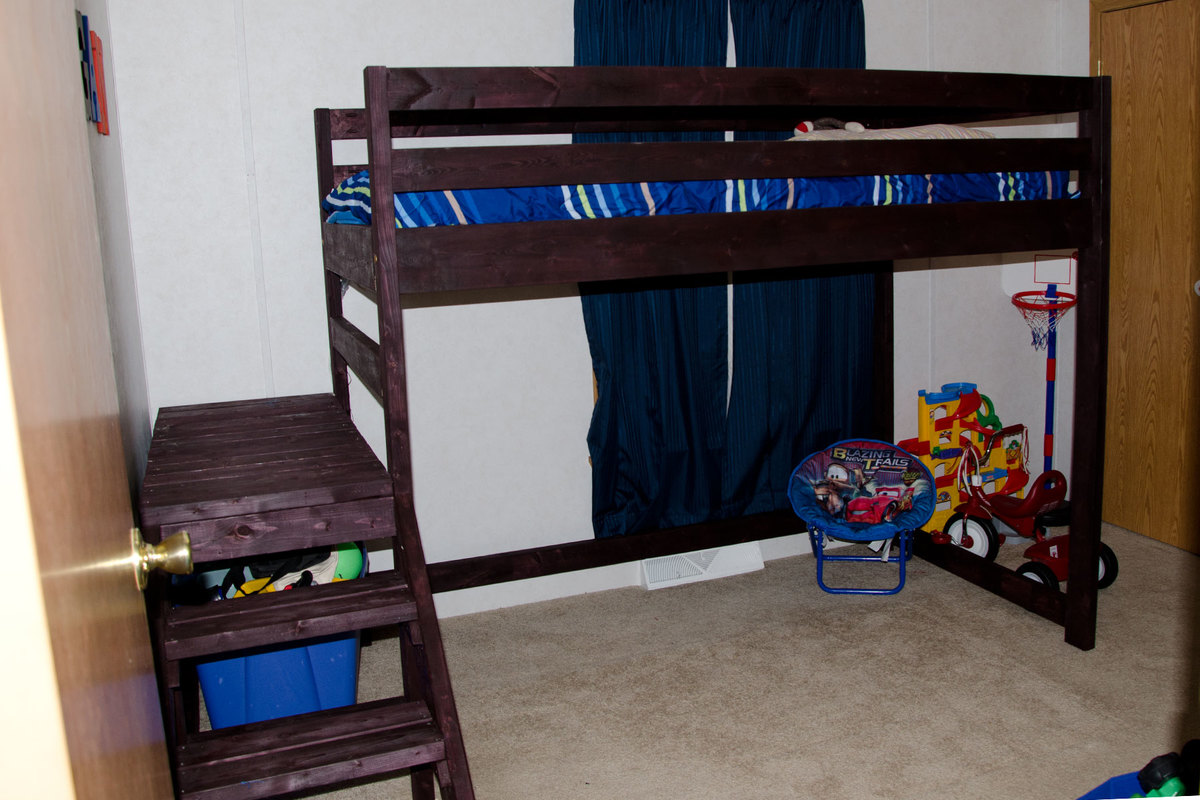
Camp Loft BEd

Submitted by Anna H on Wed, 11/07/2012 - 17:09

My son has a very small room so this bed is perfect! It gives him much need play space. He loves it! It was super easy to build. I added a support across the back to make it even more sturdy. Thanks Ana for another great plan!

Estimated Cost
$80
Estimated Time Investment
Weekend Project (10-20 Hours)
Finish Used
Rustoleum Black Cherry Stain
Recommended Skill Level
Beginner

Olivia's Toybox Bench

Submitted by Anonymous (not verified) on Sat, 03/11/2017 - 13:35

The box is pretty similar to Mimi's bench with a few dimensions changed. I also fully framed out the inside to make sure adults could sit on it if need be. The arms and backrest took a lot of just staring and "pondering". I like it and everyone else seems to love it. Thanks Ana and Mimi. 

Built from Plan(s)
Estimated Time Investment
Week Long Project (20 Hours or More)
Finish Used
White prime, latex, finally aerosol. I need to learn more about the paint process because I was completely unsatisfied with the latex.
Recommended Skill Level
Intermediate

Madison Dresser with a new look :)

Submitted by lubsies on Wed, 03/15/2017 - 08:52

Hope you like it! We used Duck Egg Chalk Paint and a dark walnut stain for the top and legs. We also put in drawer slides instead of doing it the normal way the plans said. (That was harder than we expected but the pay off is well worth it.) Knobs are from Hobby Lobby and we wrapped them in twine to brighten them up!

Built from Plan(s)
Estimated Cost
$350-400 total
Estimated Time Investment
Week Long Project (20 Hours or More)
Finish Used
Duck Egg Chalk paint and clear wax

The top is Dark walnut stain and satin poly
Recommended Skill Level
Intermediate

Comments

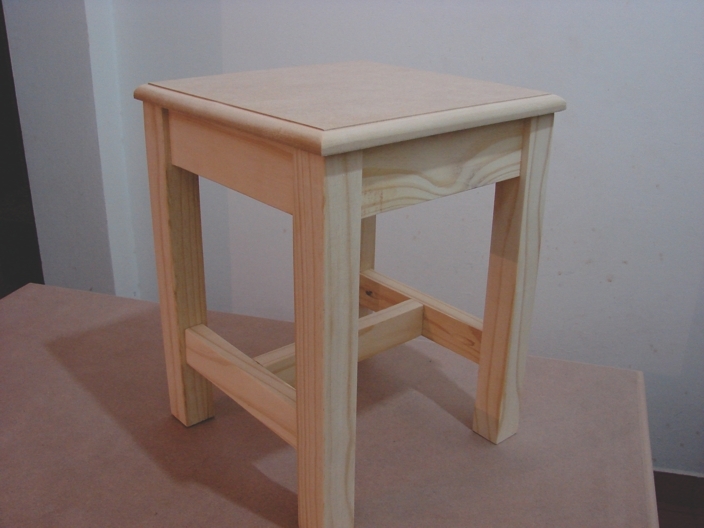
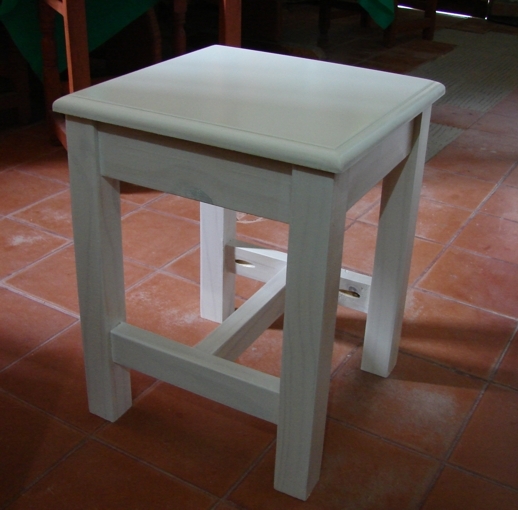
My adirondack stool

Submitted by serfe61 on Tue, 12/16/2014 - 11:08

In my country there aren't  Kreg jigs; i.e. no Kreg jig, no pocket holes. I obtained a Kreg Jig mini and this is my first build (really, I made four of them)

Built from Plan(s)
Estimated Time Investment
Day Project (6-9 Hours)
Finish Used
Acrylic paint and water-based polyurethane
Recommended Skill Level
Starter Project

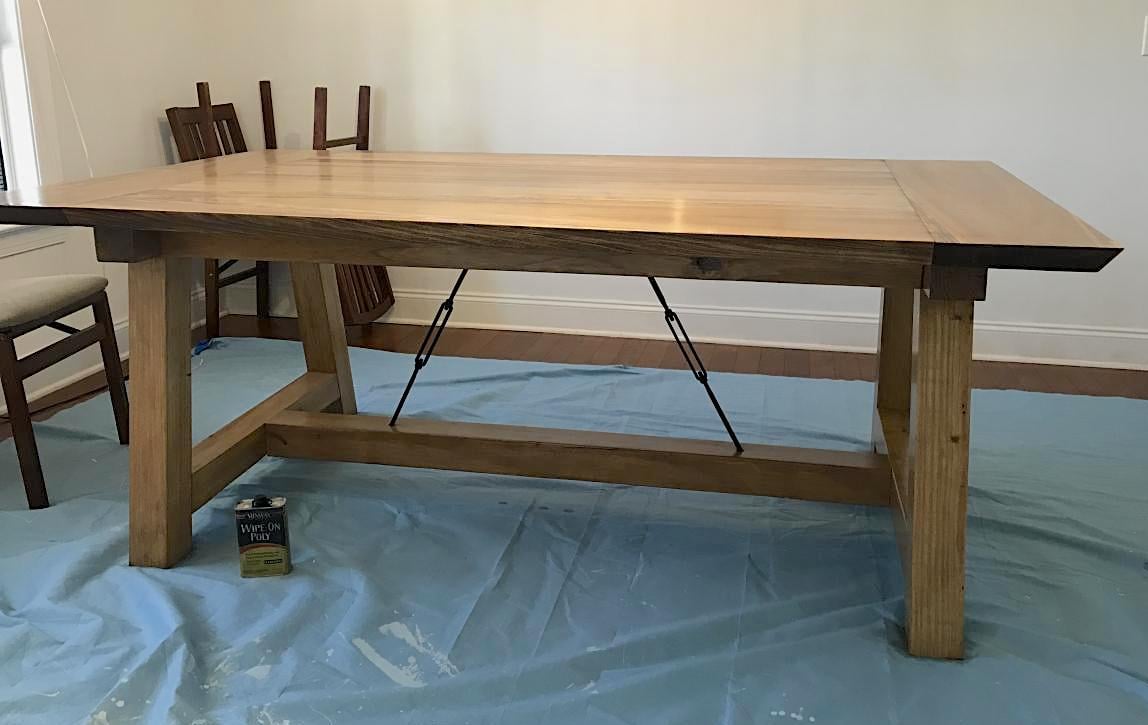
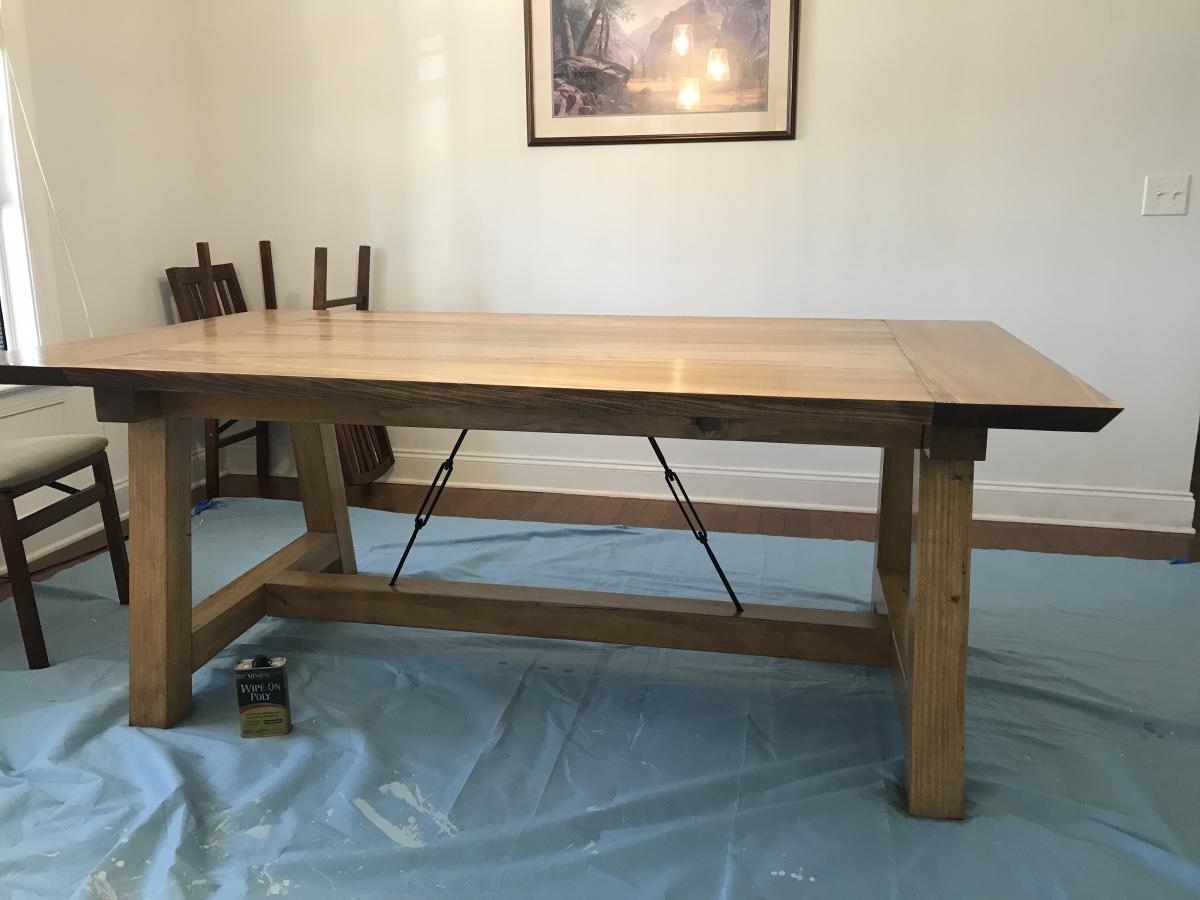
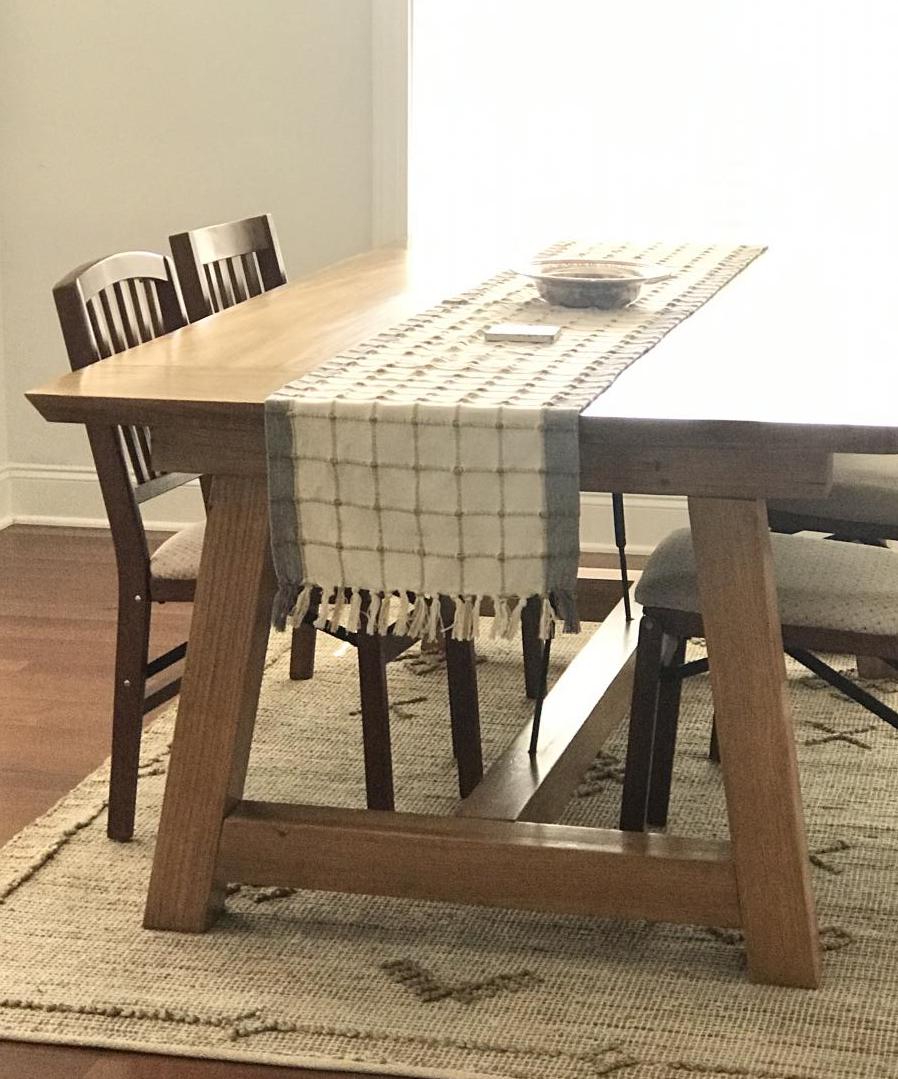
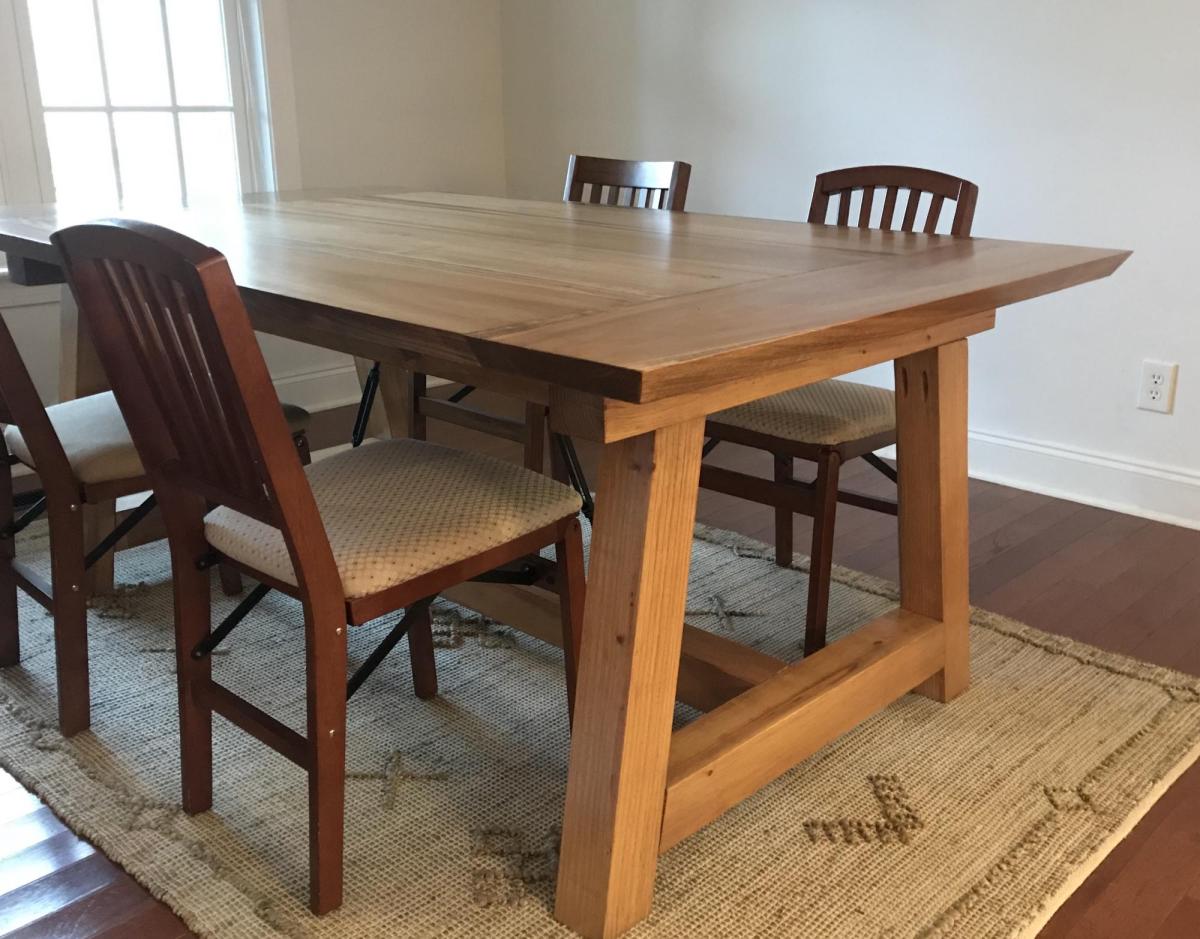
Farmhouse Table with Industrial Hardware

Submitted by Anonymous (not verified) on Sun, 01/17/2021 - 11:26

My hubby and I used the tressle table plans to make this awesome table. We changed it up, adding the turnbuckles like a Pottery Barn table that we wanted. I think this turned out way better!

We used yellow pine for the lower portion and poplar for the top.

Built from Plan(s)
Estimated Cost
200
Estimated Time Investment
Week Long Project (20 Hours or More)

Comments

Potting table

Submitted by OlgaB on Tue, 02/02/2021 - 17:15

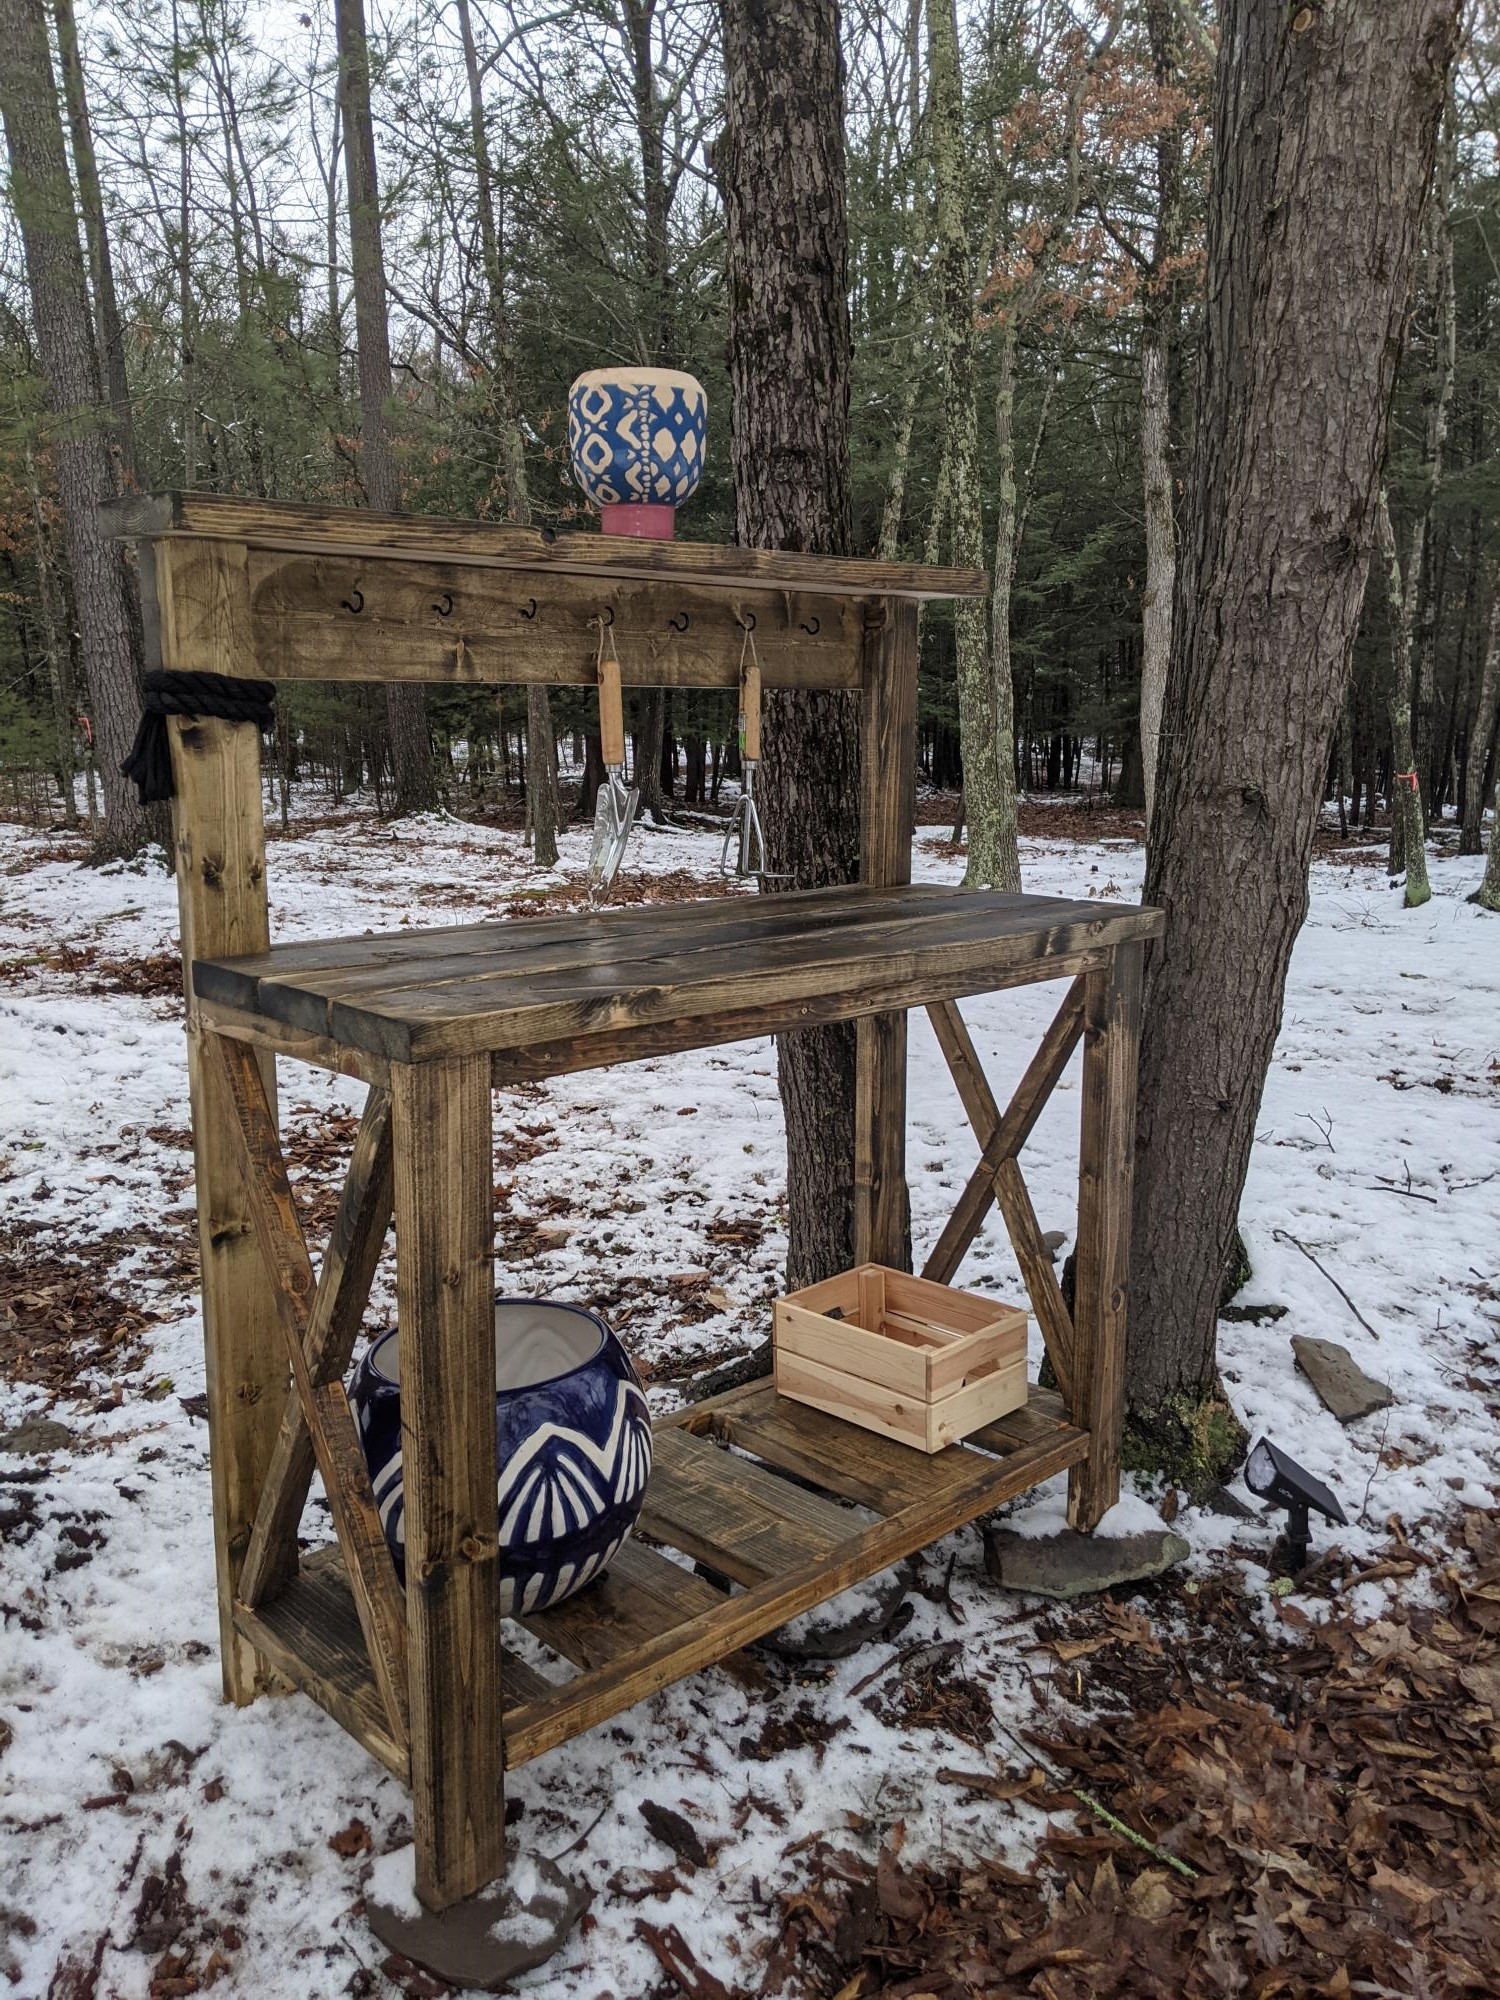
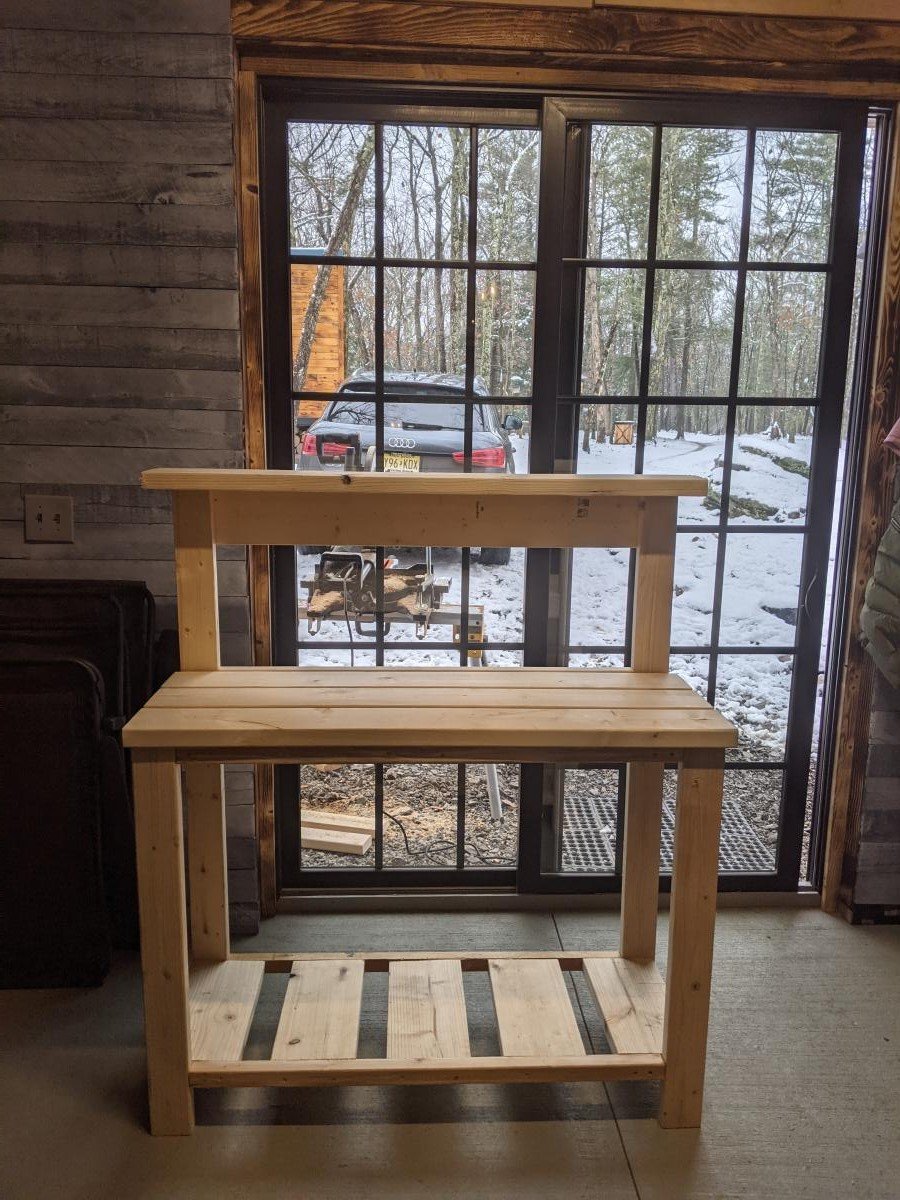
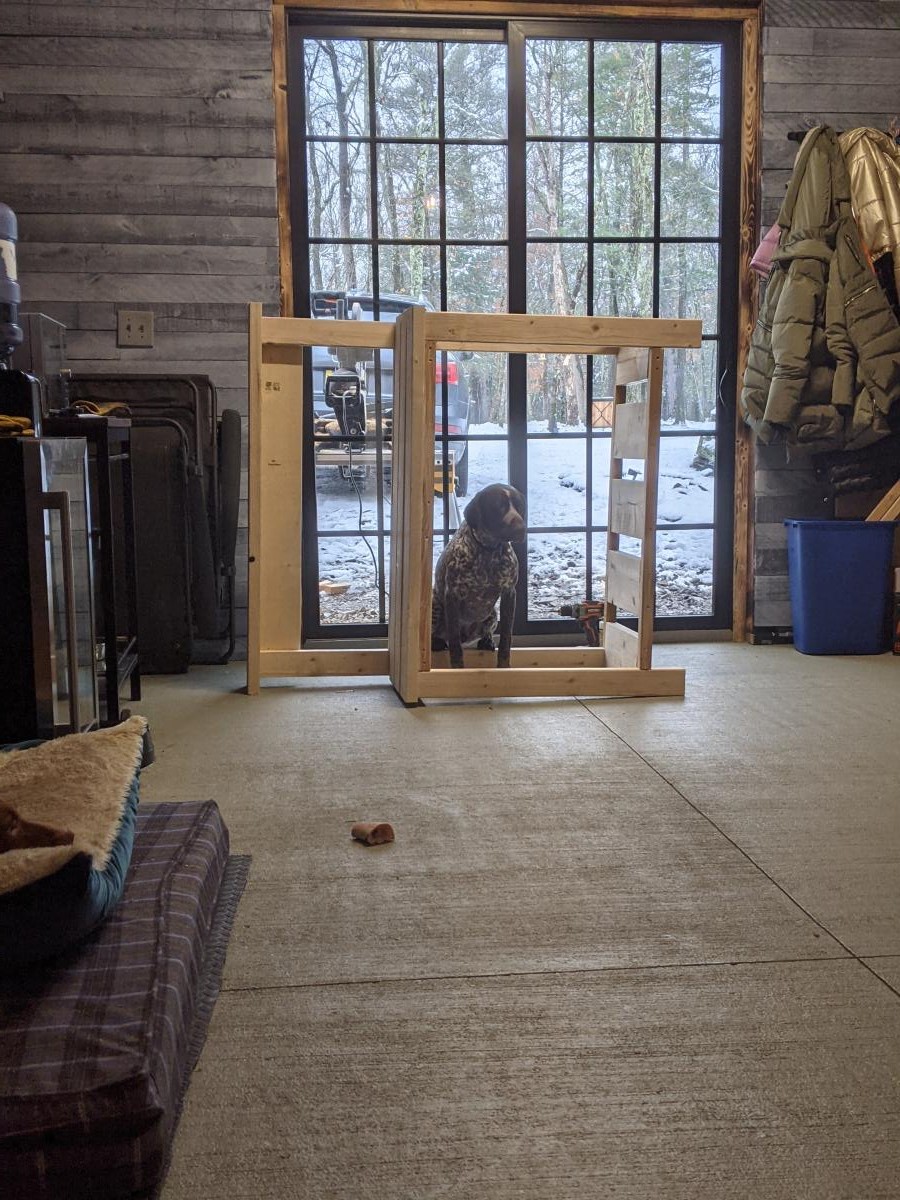
Potting table, was easy to build, very strong and stable because of the size of the wood used. It's a big table -- an entire dog fits inside :)

Built from Plan(s)
Estimated Cost
150.00
Estimated Time Investment
Afternoon Project (3-6 Hours)
Finish Used
Ready Seal, Burnt Hickory
Recommended Skill Level
Beginner

Comments

Ana White Admin

Wed, 02/03/2021 - 10:32

I love your comment about an entire dog fitting inside, get that dog a work belt, lol! What a wonderful project, love the woodsy setting for your photo! Great job:)

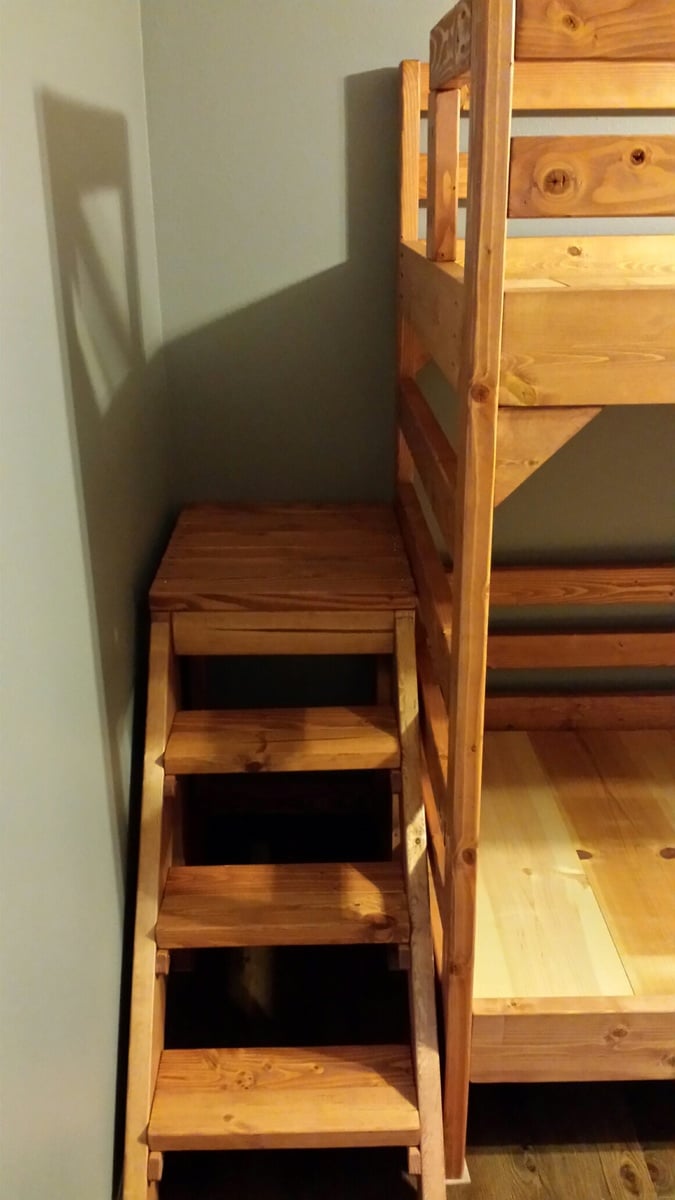
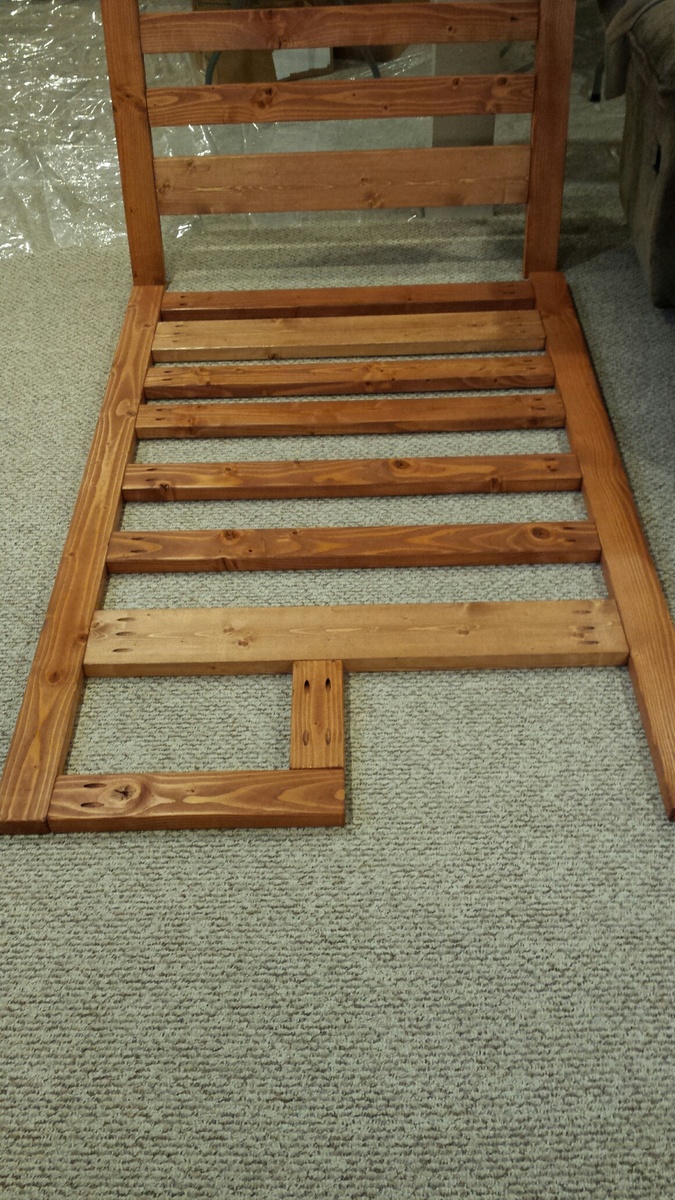
Modified Camp Loft Bed with Stairs into Bunk Beds

Submitted by tarzan21 on Sun, 02/08/2015 - 11:46

Using the Junior Height Camp Loft Bed plans...

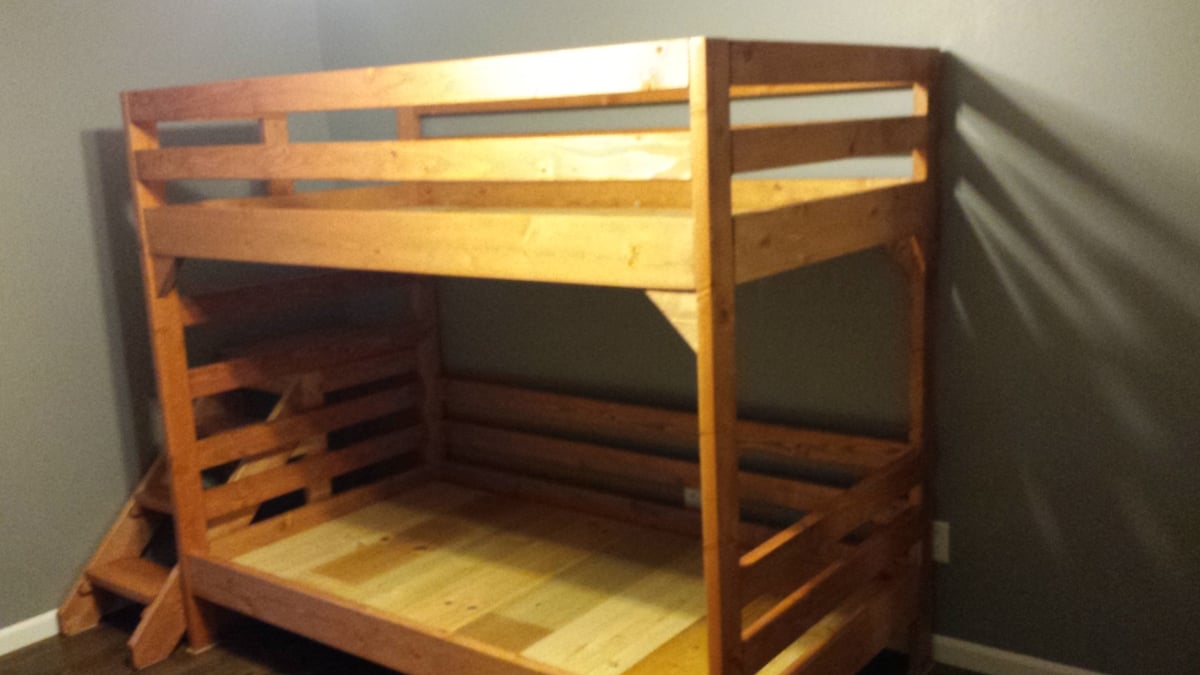
I raised the height from 65 to 67 inches to better accomodate a bottom bunk.  Added bottom rails and extra 2X4s for the head board.  

I shortened the width and length of the stairs to better fit in the room, and in doing so, made a small mod to the post by the stairs to prevent the boys from falling down the stairs.

Kids Love them

Estimated Time Investment
Week Long Project (20 Hours or More)
Finish Used
Minwax Cherry Wood and Satin Poly
Recommended Skill Level
Intermediate

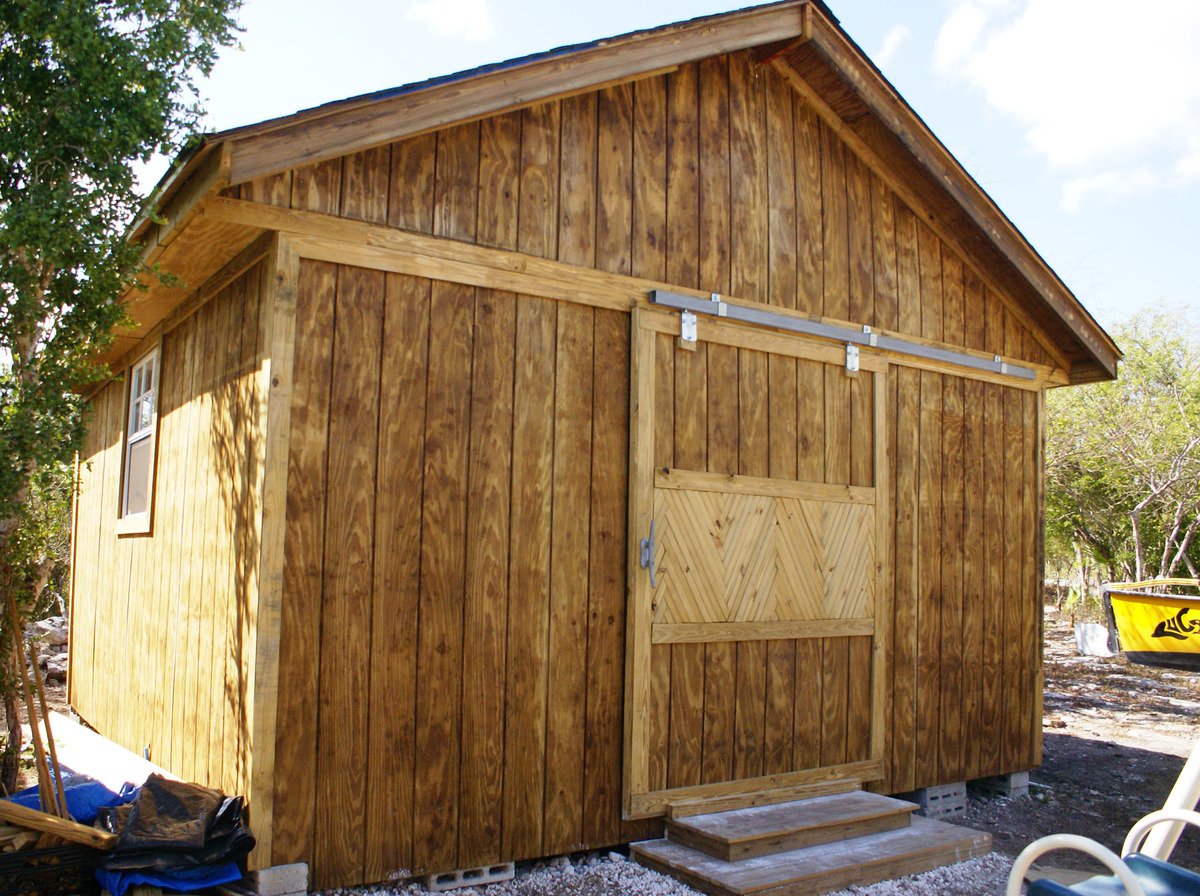
16' x 16' Storage Shed

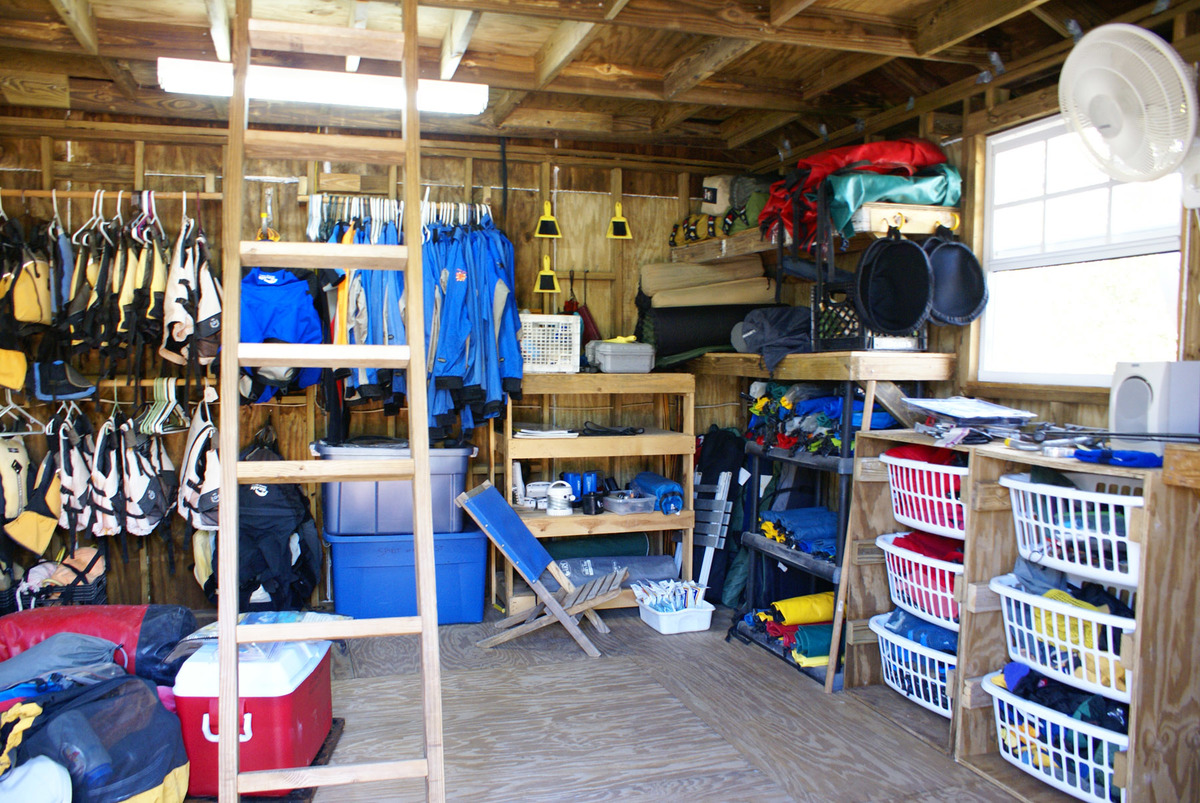
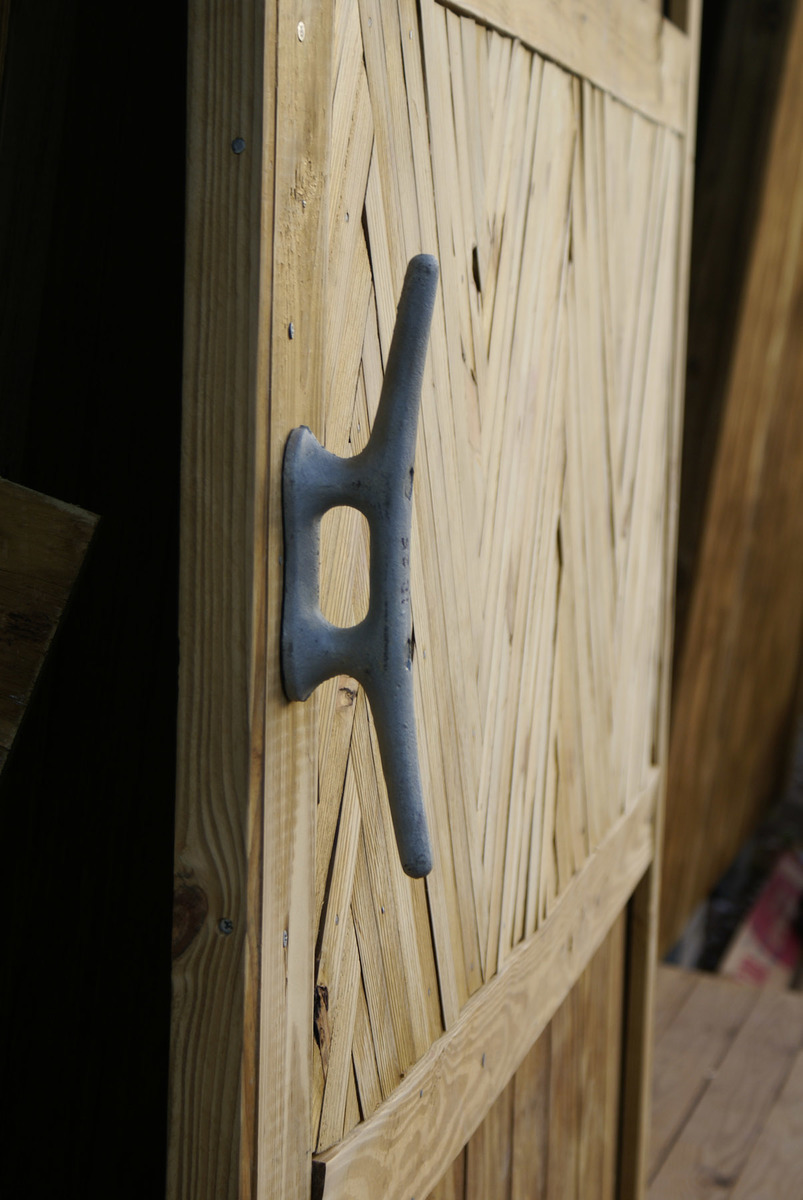
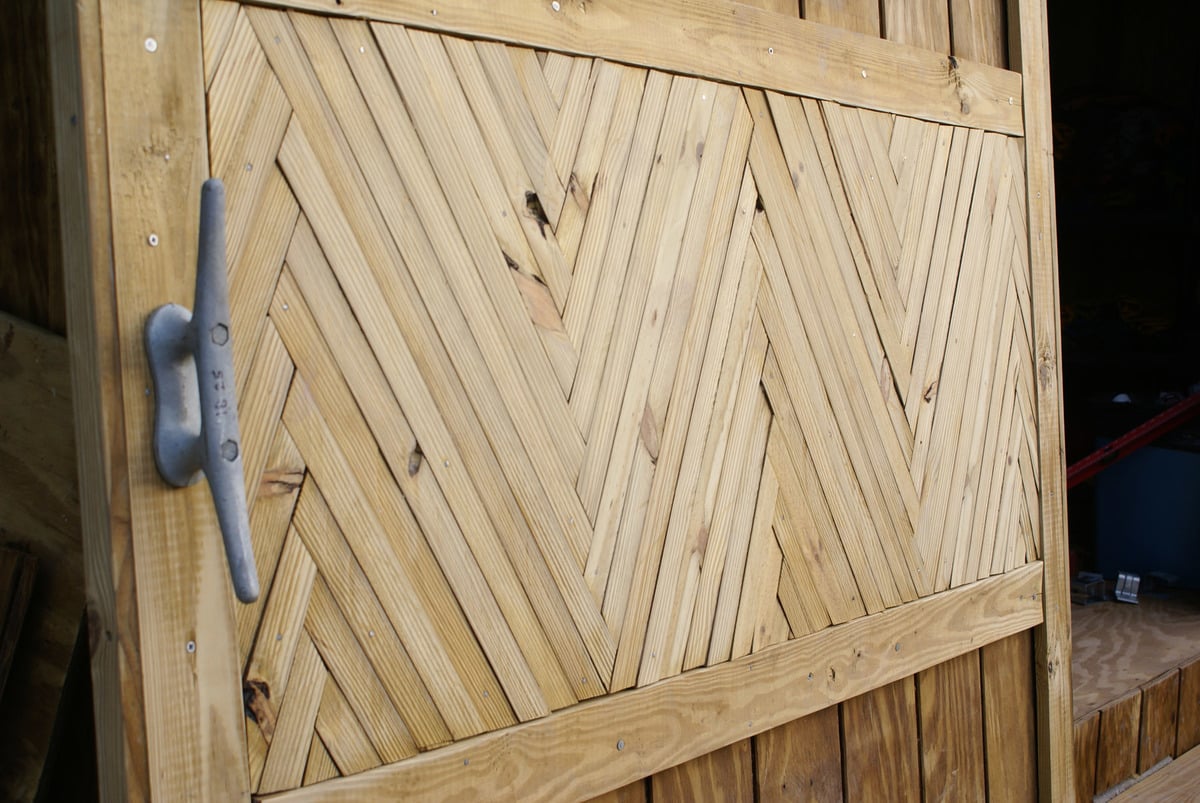
Thanks to the tips and tricks we picked up from Ana here, we were able to build our very own storage shed. We use it for storing our kayaking, sailing and camping gear for our company down here in the Bahamas (which is still a bit unorganized in the photo). It works so much better than what we had before in multiple kit sheds. We even have a loft up top for extra storage, electricity in there with a fan, fridge and lights... MAJOR UPGRADE :) We still need to paint it and finish a few things, but we are very thankful to have it up and being used.

My favorite thing is the door handle (a boat cleat) sliding barn door and the herringbone design for 'eye candy' :)

Thanks go out to Ana and her wonderful site! I would have never attempted this without the foundation I built here!

Estimated Cost
$4,000 (living on an island in the Bahams so it's a bit higher here)
Estimated Time Investment
Week Long Project (20 Hours or More)
Finish Used
Still need to paint it!
Recommended Skill Level
Intermediate

Comments

jbayer80

Sun, 04/14/2013 - 20:37

What did you use to make the sliding door? Can you upload pics? I really want to make one for my bathroom but all the hardware I find is really expensive.

spiceylg

Mon, 04/15/2013 - 11:30

Great job and love that you also incorporated her laundry basket dressers!

mistievn

Sun, 05/05/2013 - 11:19

It looks amazing! Would you happen to have plans to share? We are in need we do not even have a garage. This would be perfect.

In reply to by mistievn

exuma_momma

Sun, 05/05/2013 - 13:58

Not really any plans that would help. We just drew some rough sketches up some paper and kind of went from there. Between Ana's site here and this book: http://www.amazon.co.uk/Building-Shed-Build-Like-Pro/dp/1561586196 we just pieced things together with the space and money we had. The book just helped me a lot to plan it out, and then all of the building techniques Ana has taught me on here came in handy. It's a group effort :) Hope this helps!

$2 Farmhouse Table

Submitted by Handy Andy on Tue, 04/19/2011 - 14:29

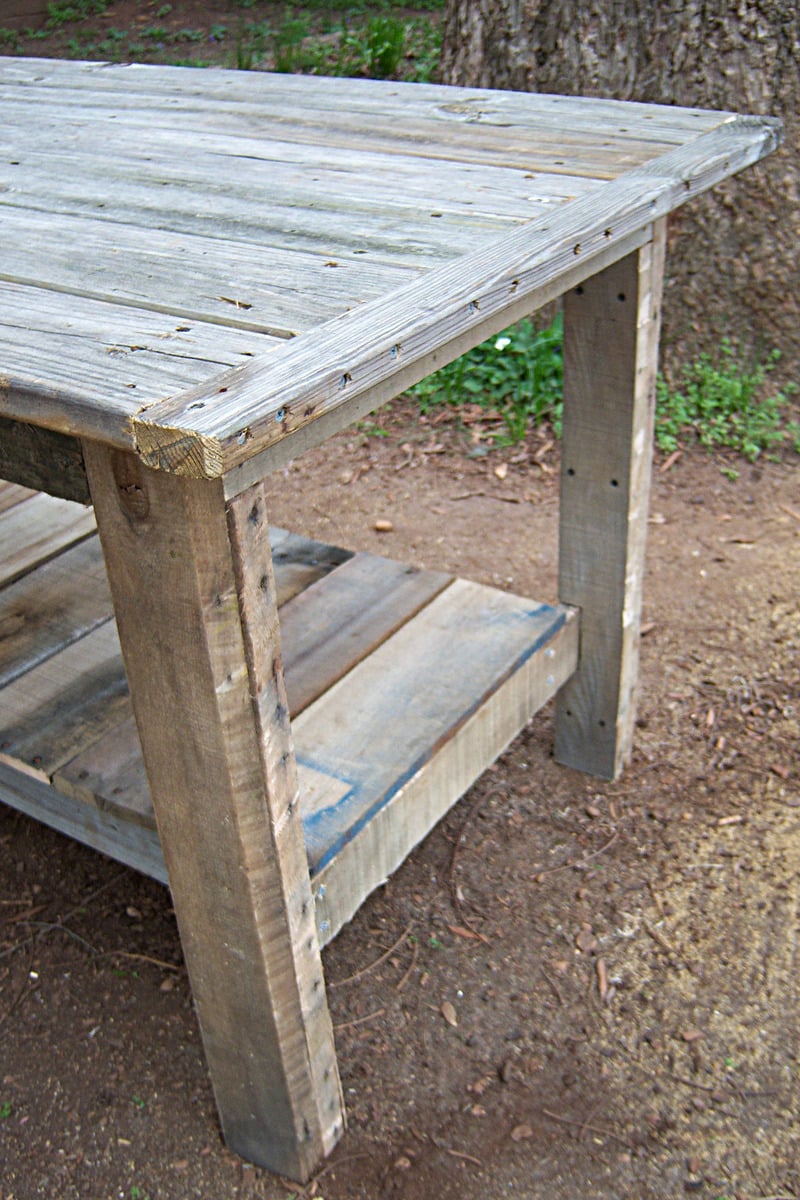
I am starting to work on more and more projects and I'm limited with space. I needed a worktable that could double as a backyard dining table (should the occasion arise). We have been planning to build the farmhouse table for a while now, so this was a great opportunity to build a prototype. I did some repair work for a friends deck and she gave me the leftover decking material. This became my table top. I purchased 4 2x4's at our local Habitat for Humanity ReStore for 50 cents each (this was the only money spent on this project). While I was at the ReStore I also picked up 4 pallets (they are free). After cutting them apart, the 2x4s from the pallets became the table legs and the 1x4's & 1x5's from the pallets became the shelf underneath. The shelf has been great for holding extra tools while I'm working on projects. My daughter likes to stack her toys on it too! This was a super quick and easy build. My wife even suggested we just refinish it and bring this one inside!

As always, I have to give thanks to Ana for such great plans!

Estimated Cost
$2
Estimated Time Investment
Afternoon Project (3-6 Hours)
Finish Used
We haven't yet decided on the finish, we might just use a clear coat and call it done!
Recommended Skill Level
Beginner

Book shelf with reading nook

Submitted by Knathu121 on Fri, 01/05/2018 - 20:24

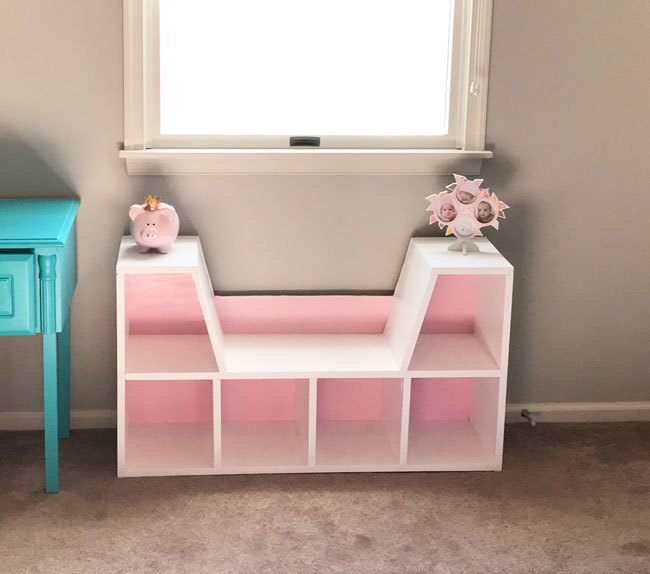
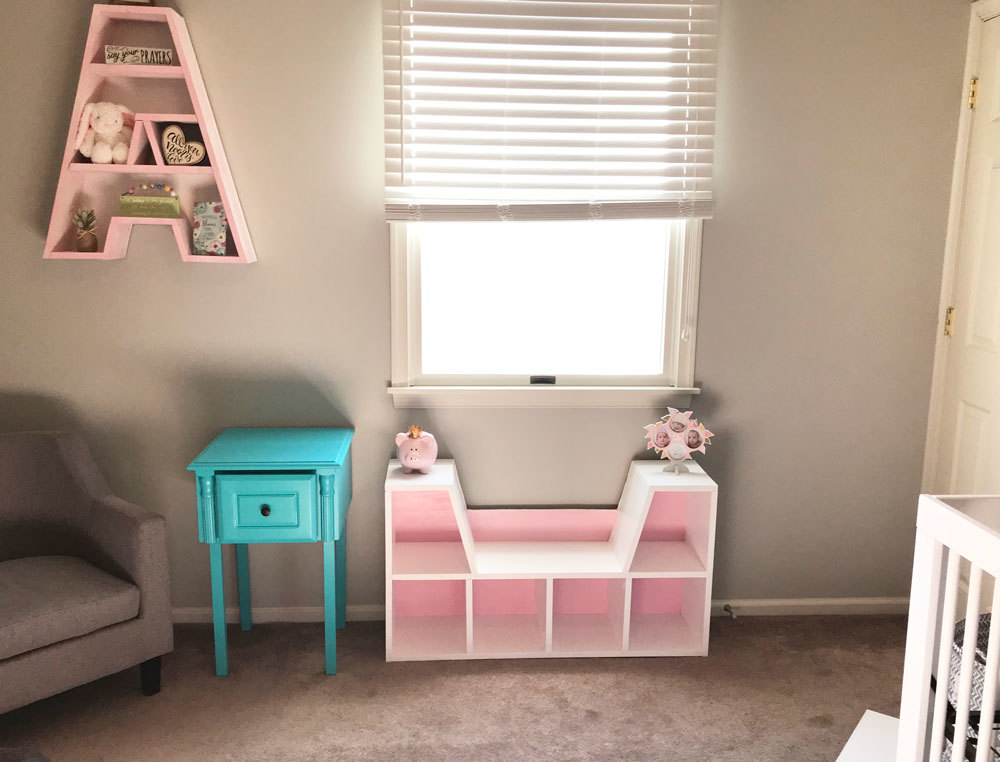
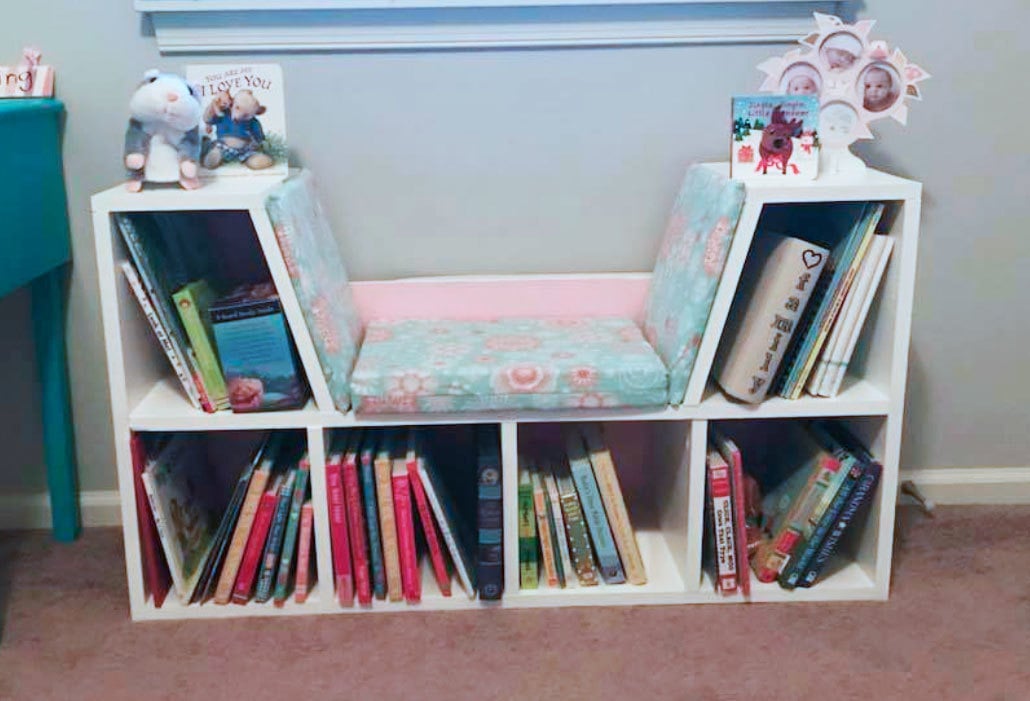
I made this book shelf with a reading nook for my daughters nursery. I found one you can buy online for $250 and decided I could make it for much less. I used 1 x12’s and the cushions were made by my mother and grandmother. All together it cost about $65 to make. 

Estimated Cost
$65.00
Estimated Time Investment
Afternoon Project (3-6 Hours)
Recommended Skill Level
Beginner

Comments

Ana White

Sat, 01/06/2018 - 11:41

This is adorable!  I love the entire room!

We've had a couple of people ask for plans.  If there aren't any available, would you be willing to let us draw some plans up from your photos?  Thanks! Ana

Knathu121

Sun, 01/07/2018 - 09:11

I don’t have my cut list anymore but rough dimensions are as follows;

height - 23.5” 

width 44.5

depth- 12”

I tried accounting for the width of the wood in order to make each square on the bottom 10x10 and the 2 middle shelves to be 12 inches high and the bottom on the middle shelves to be 10” wide. I wanted to have at least 20” for the seat while also having 2 wide enough shelves at the top to be able to put things. Sorry but I don’t have the angles of the 2 side walls for the sitting area. I know that’s a pretty rough explanation but with the things I’ve seen you make I’m sure you can make do!


Knathu121

Sun, 01/07/2018 - 15:43

I don’t have my cut list anymore but rough dimensions are as follows;


Height - 23.5”

width 43.75”

Depth - 12”


I tried making dimensions to account for each box on the lower level to be 10x10 and the boxes in the middle to be 12” high and 10 inches wide. I wanted the seat to be at least 20” but I miss calculated the angle cut length and my seat is less then 20”. I can’t remeber the angle I used for the walls (sorry!) but I wanted to make sure that the top shelf was wide enough to put stuff on it. I know this is a rough explanation but based on the incredible stuff you make I’m sure you can work it out and make some pretty awesome plans!

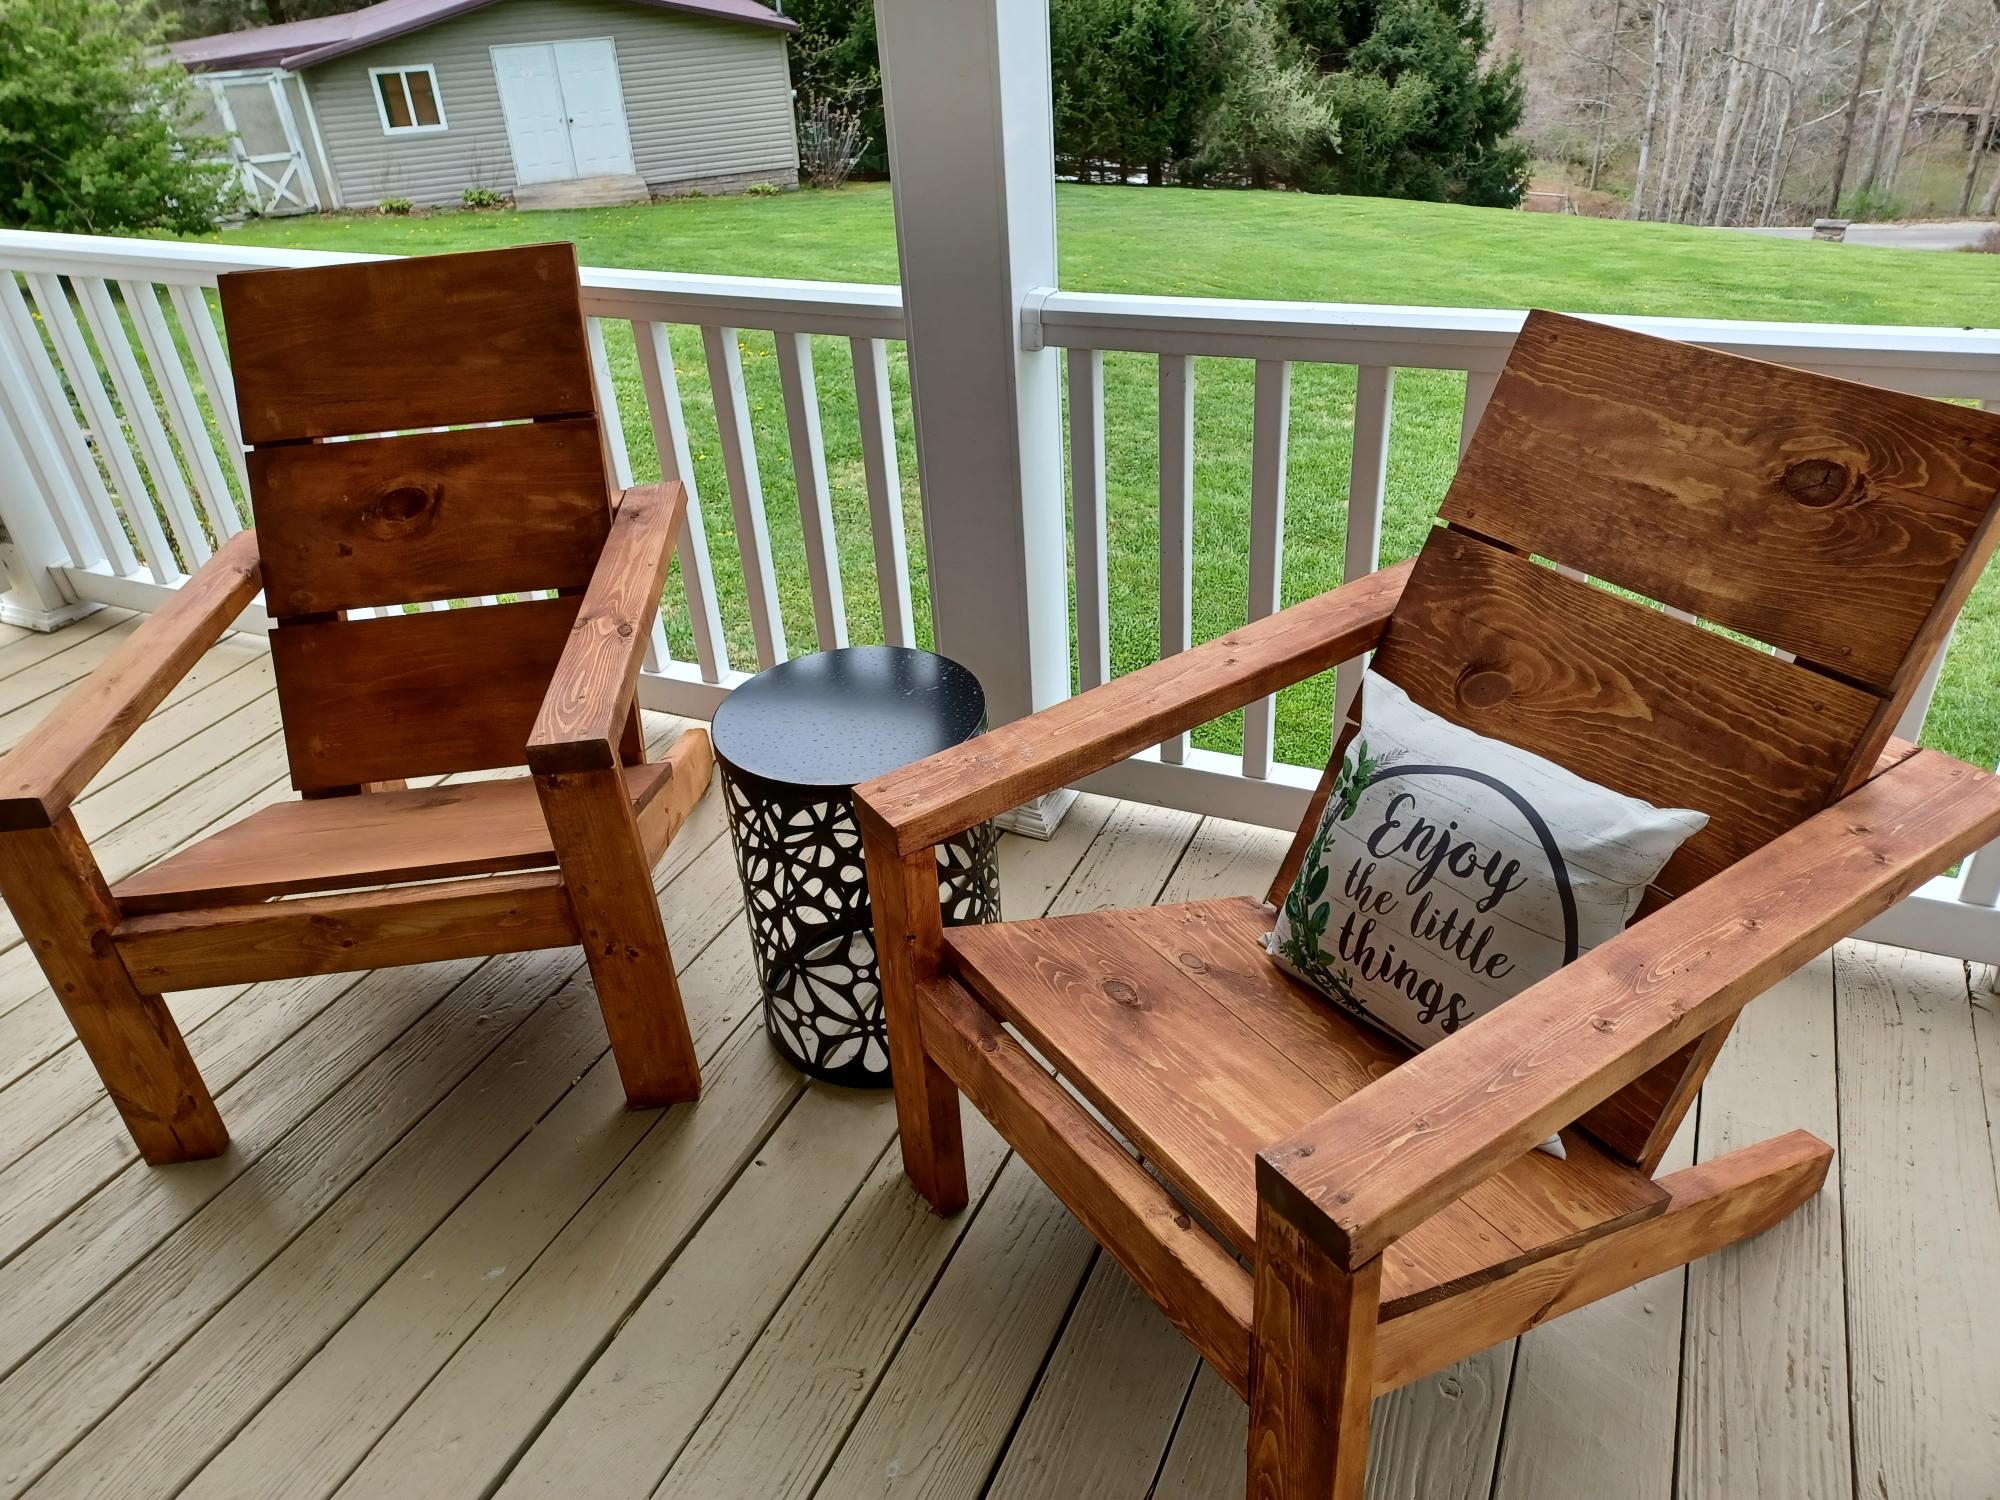
Modern Adirondack Chairs

Submitted by Anonymous (not verified) on Sun, 04/24/2022 - 12:05

I made these from your plans thanks for sharing your ideas with us.

by Jeff

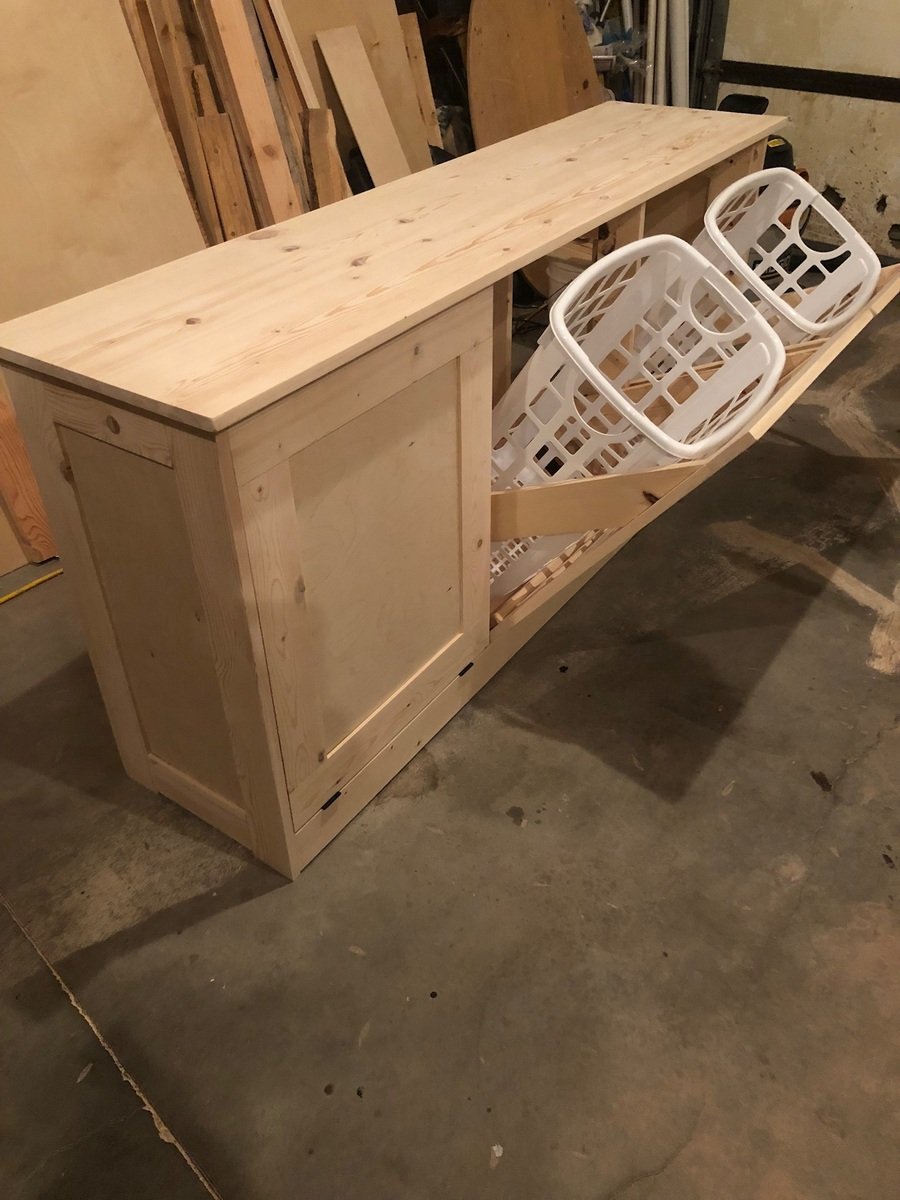
Laundry bins

Submitted by wy2ak on Mon, 05/07/2018 - 19:57

This was a build from a picture and made to fit into a space we have in the laundry room. Used the Kreg jig for much of it. 

Estimated Time Investment
Week Long Project (20 Hours or More)
Finish Used
Will be painted and distressed
Recommended Skill Level
Intermediate

Comments

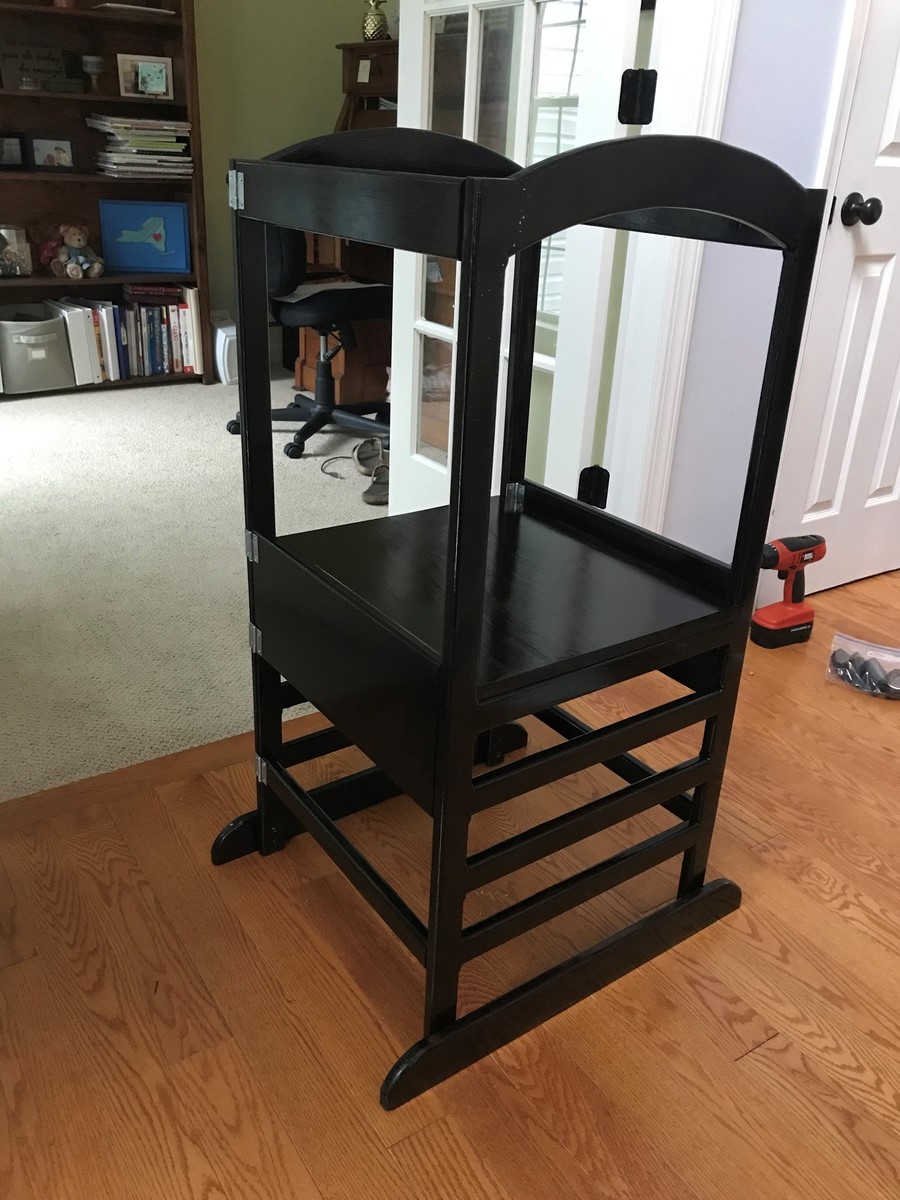
Little helper tower

Submitted by Luvin_wood on Sat, 09/15/2018 - 12:55

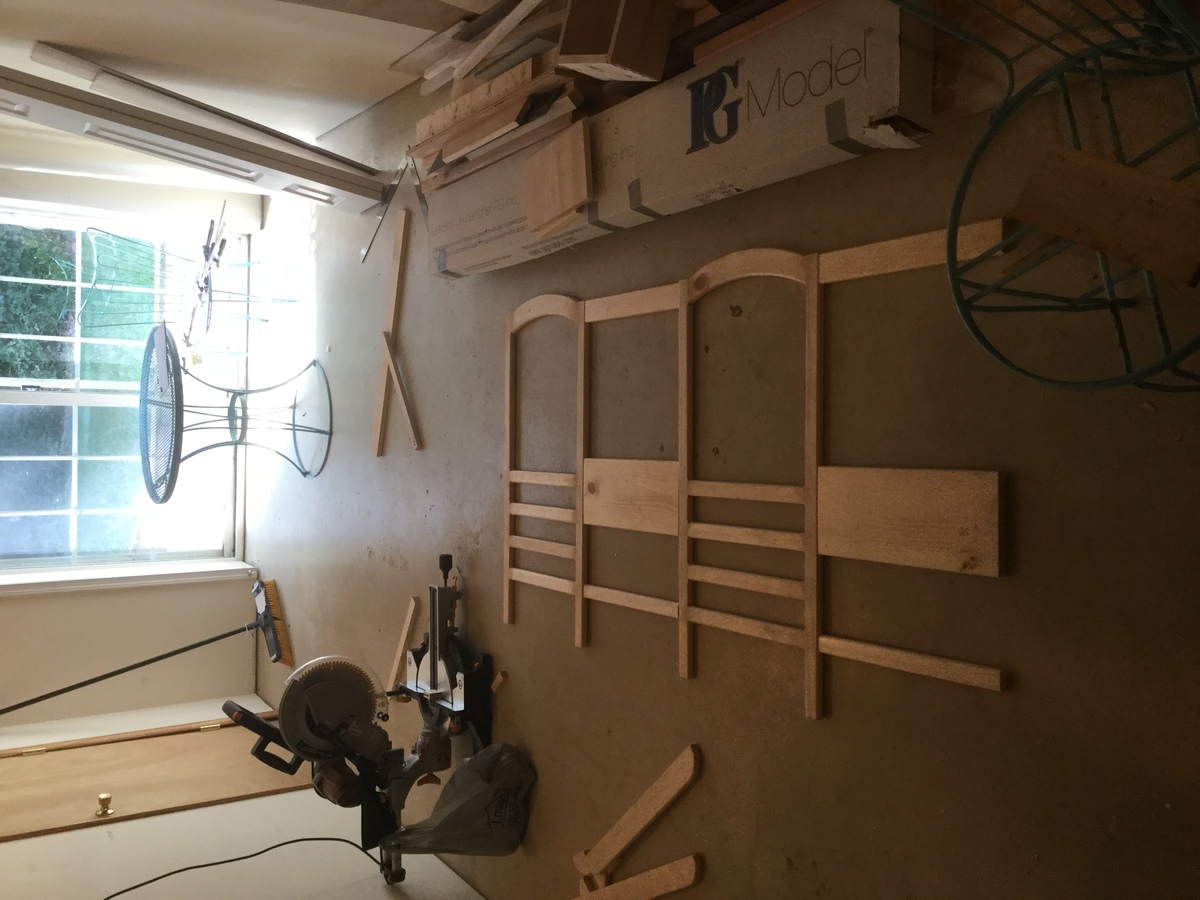
I made this for a friend who has two little ones that are less than two years old. Although I enjoy the ease and convenience of the Kreg jig, I wanted to try something more difficult for this. So for the sides I used mortise and tenon joinery for the ladder rungs and top arches. The only screw I used we to place the hinges and attach the feet. I also didn’t like the gap in the platform that would have been caused by my 1x8 actually only being 7.5 in wide, so I made my own platform by joining the edges of two pieces of wood (one was 11 inches and the other was 6 inches wide). After clamping and lettting the glue dry, I trimmed up the platform to size. Due to the modifications the project took well over 20 hours, but was a fun challenge. 

Built from Plan(s)
Estimated Cost
100 dollars
Estimated Time Investment
Week Long Project (20 Hours or More)
Finish Used
Minwax Poly shades espresso gloss
Recommended Skill Level
Advanced

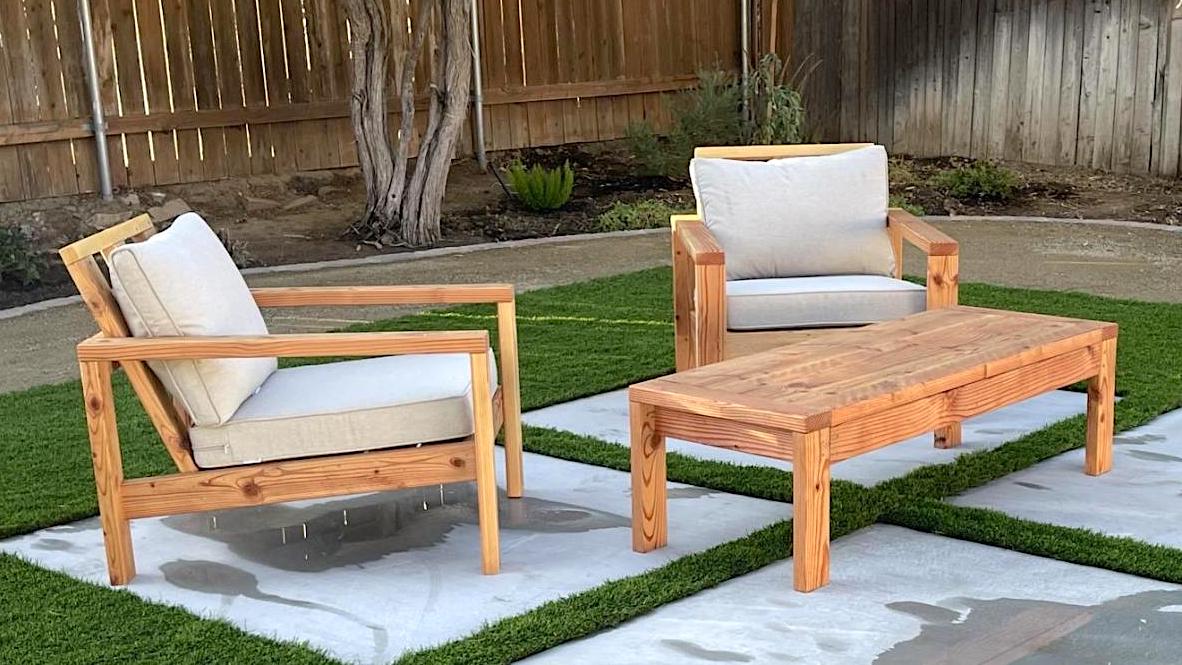
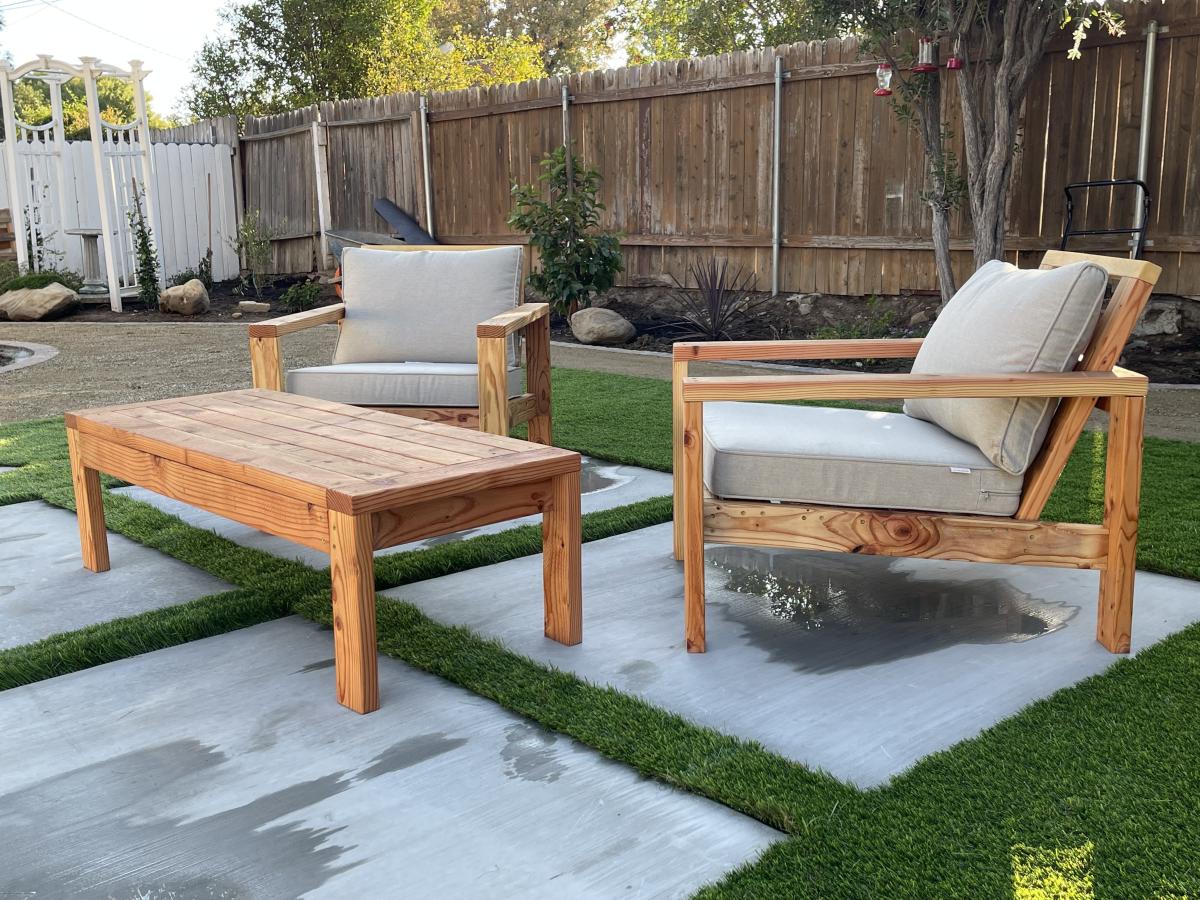
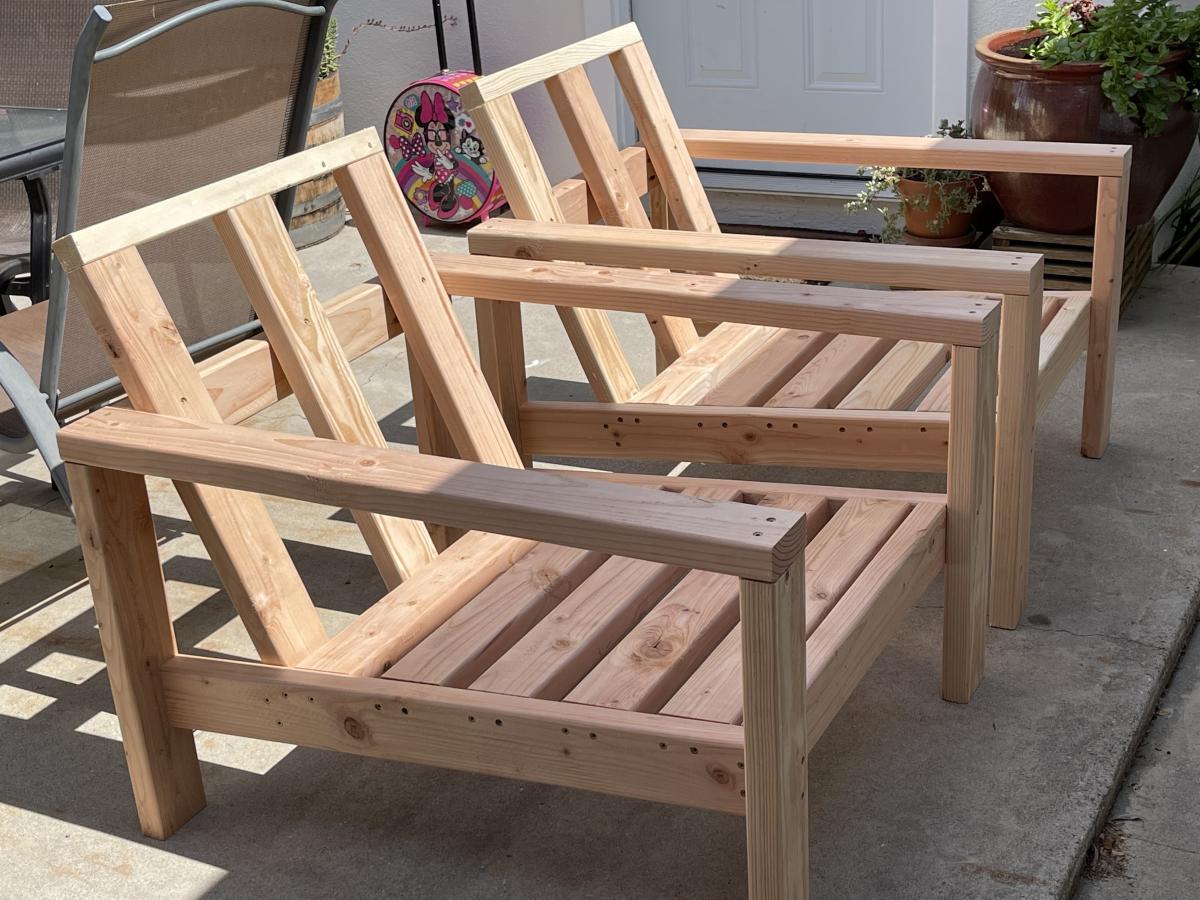
Outdoor chair frames and coffee table

I built a set of chairs and a coffee table for our newly designed outdoor area. These look amazing and people love sitting on them and hanging out outside our house.

Comments

Seasonal And Holiday

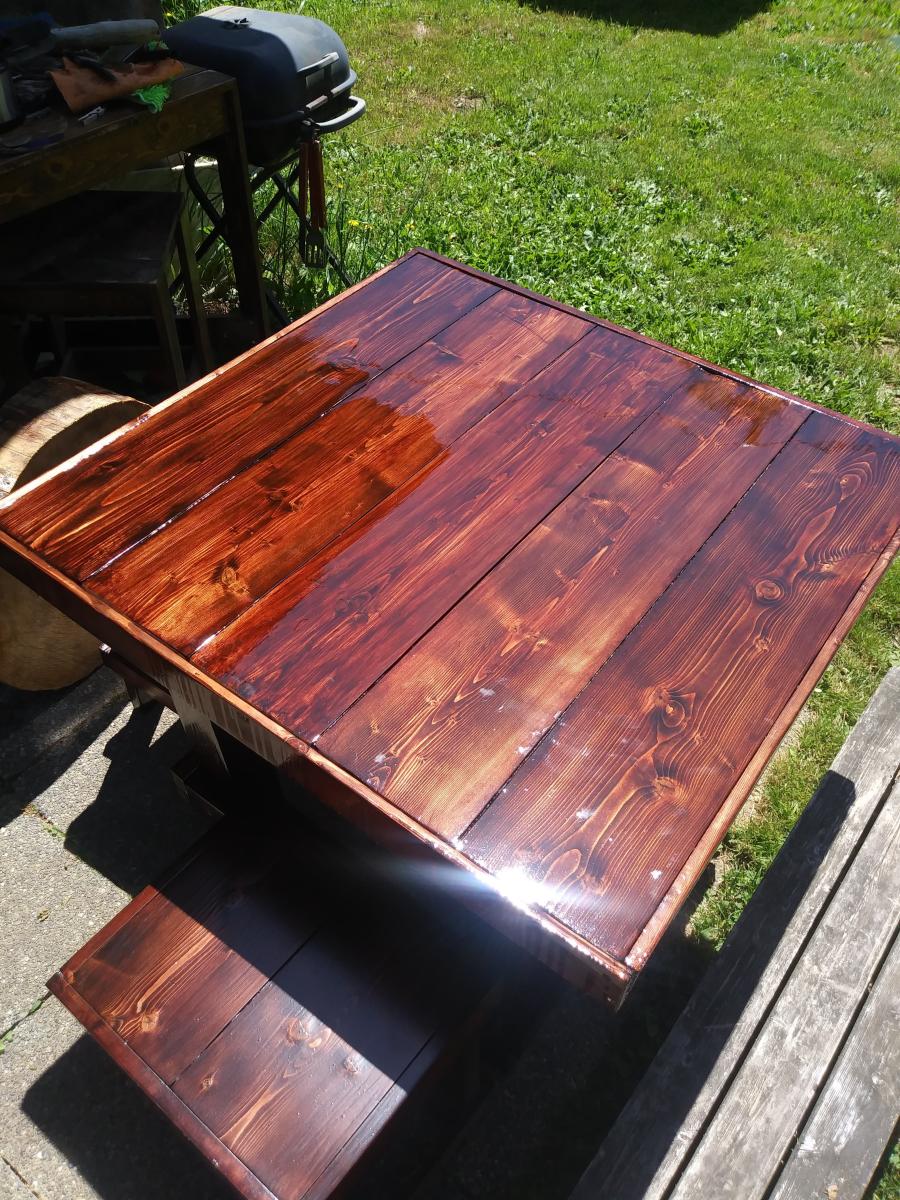
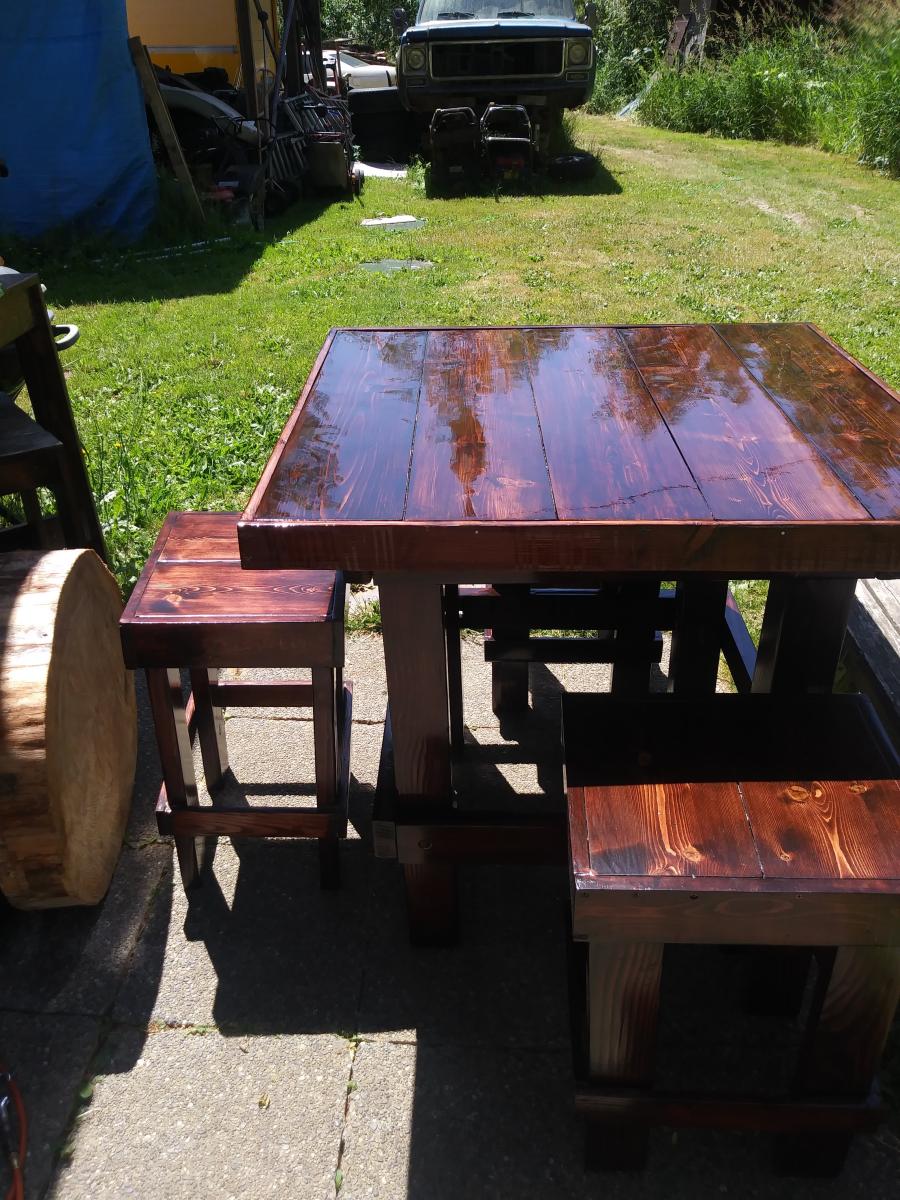
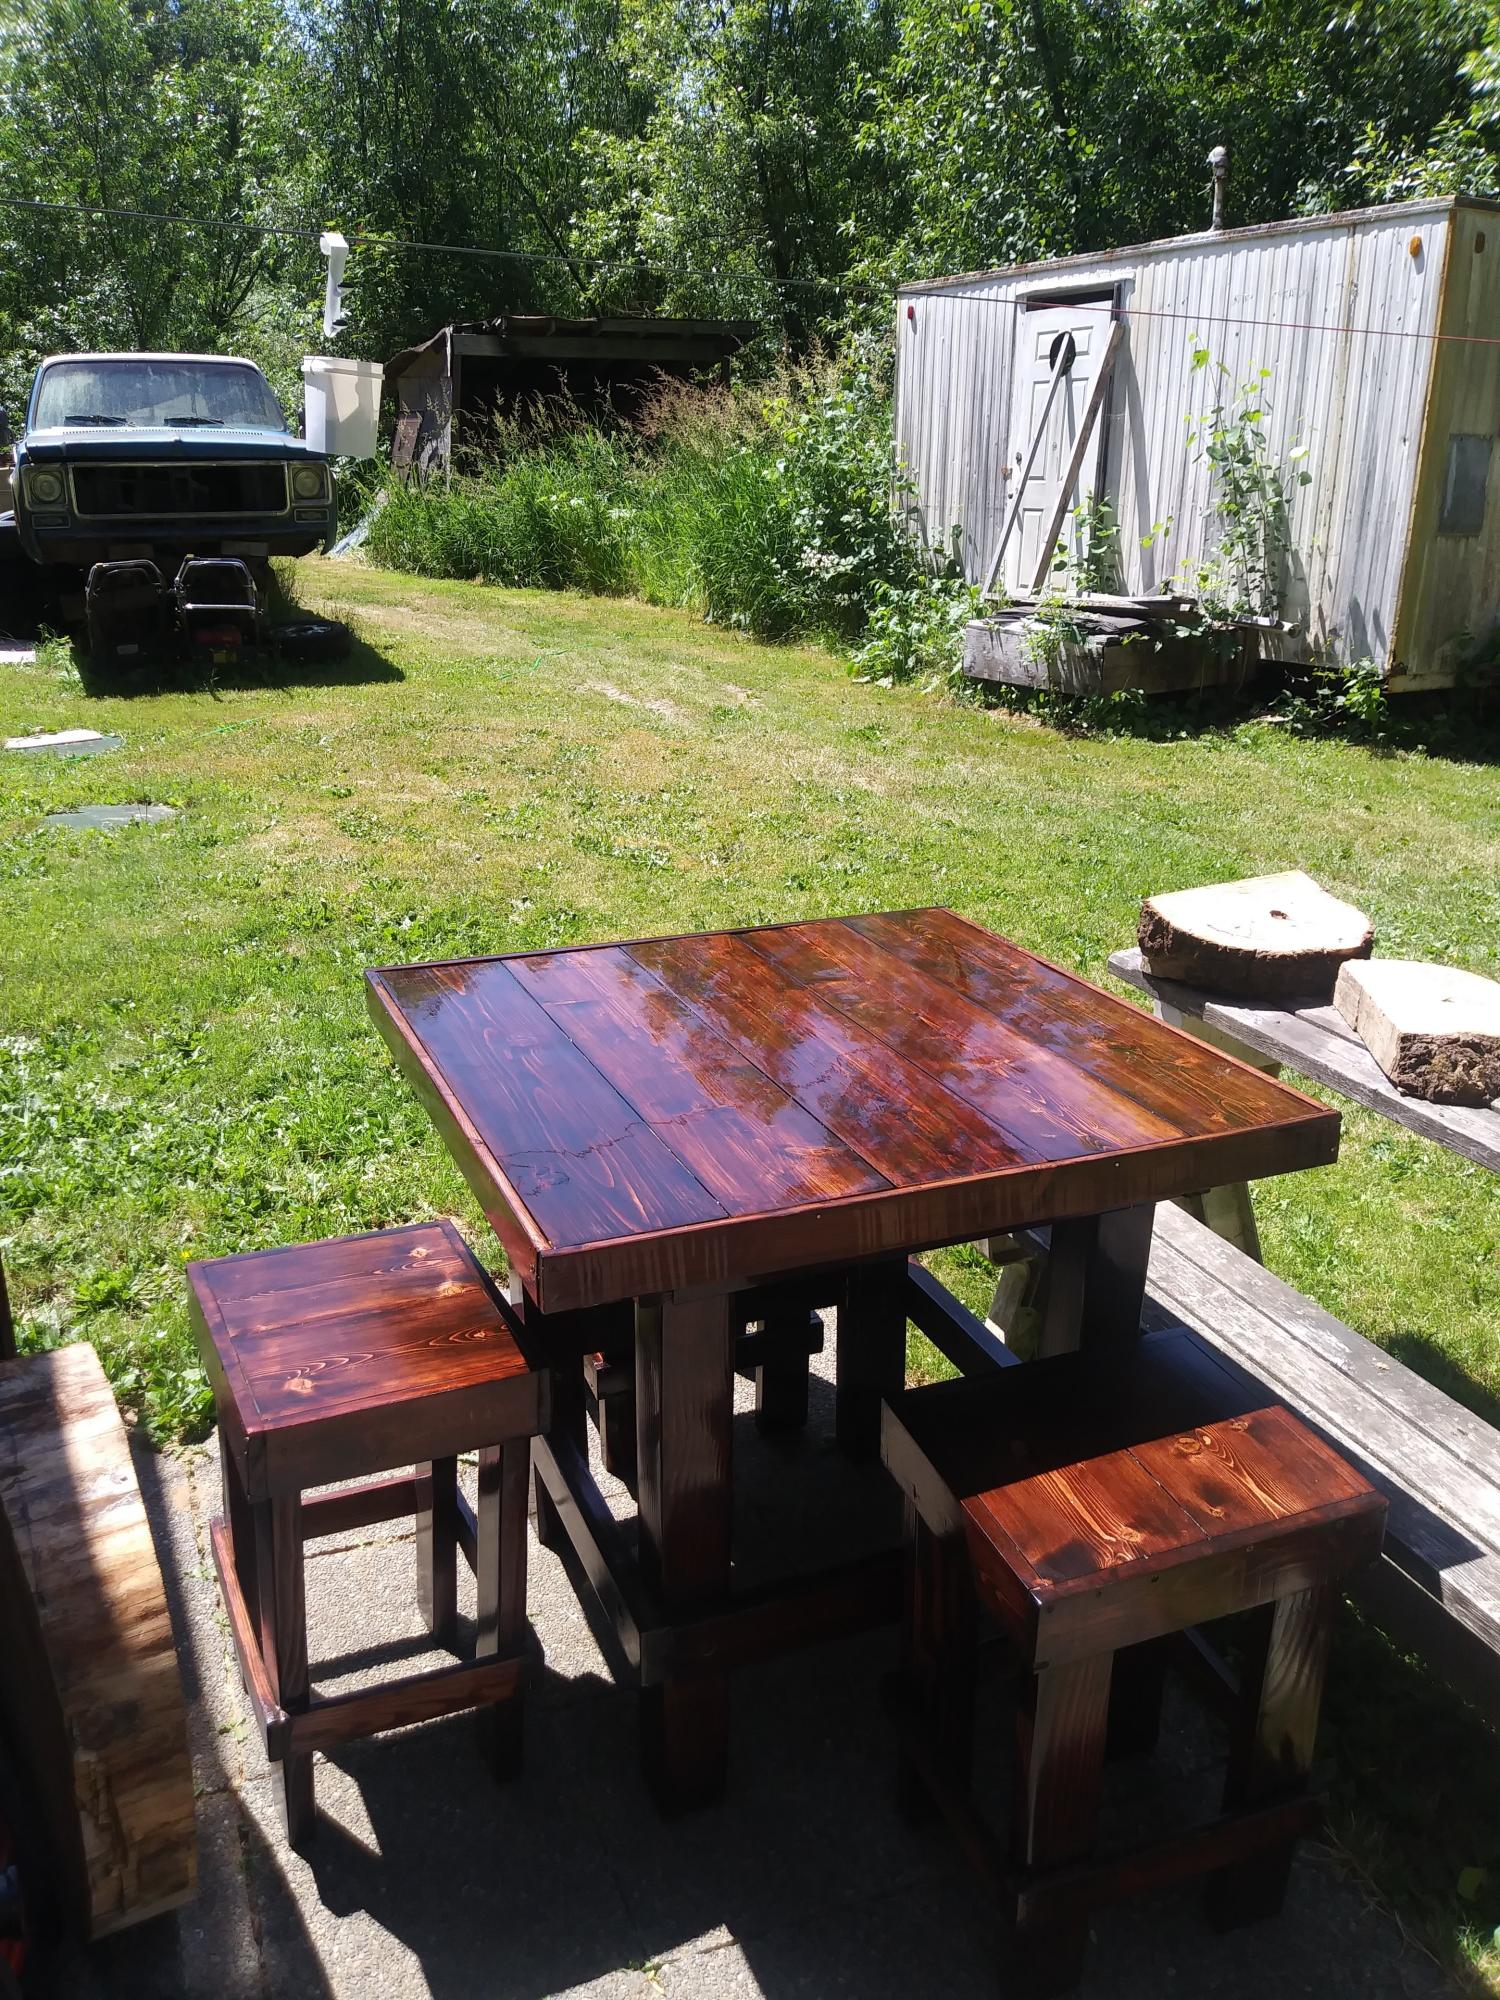
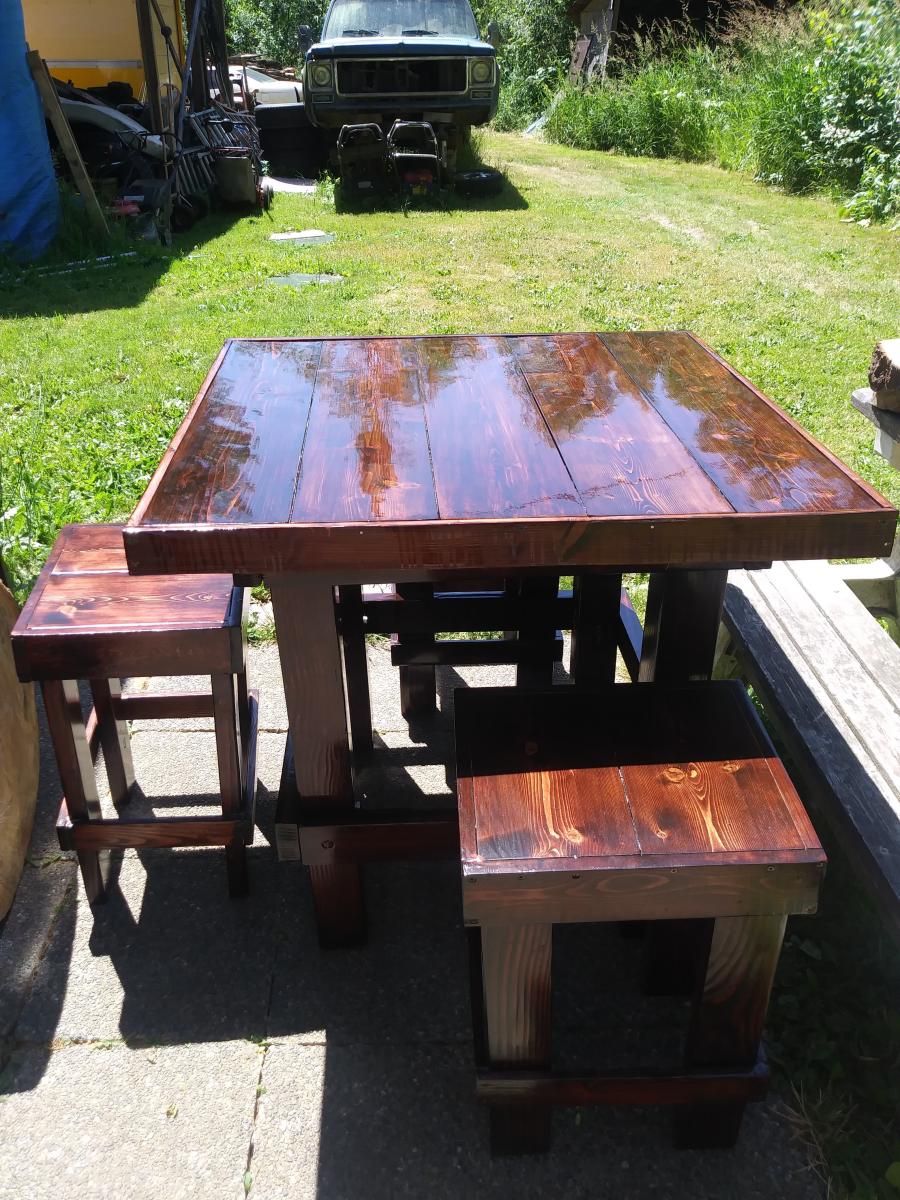
Pub style farmhouse table

Submitted by Anonymous (not verified) on Sat, 01/14/2023 - 09:51

Made this for my daughters family spent hours upon hours on that finish!

Comments

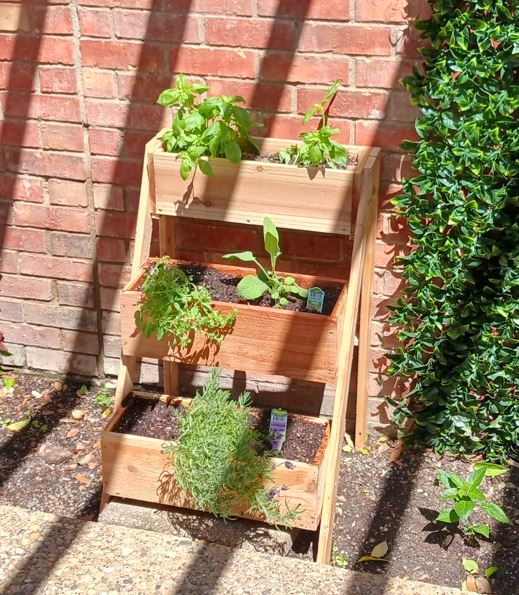
Cedar 3 tier planter

Submitted by Anonymous (not verified) on Sun, 04/30/2023 - 09:33

I made the boxes a little wider than the plans called for but still came out great. I'm very happy. Thanks Ana for the inspiration.

Comments

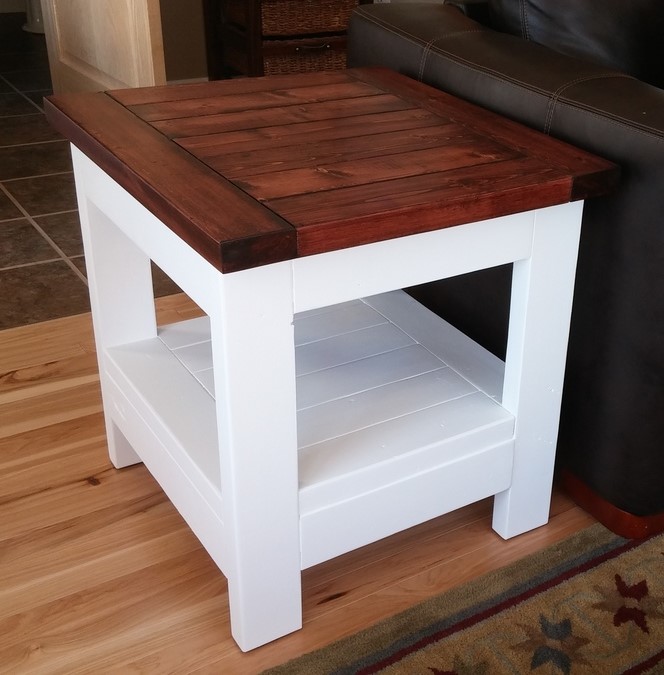
Tryed end table with shelf

Submitted by Anonymous (not verified) on Mon, 02/15/2016 - 12:18

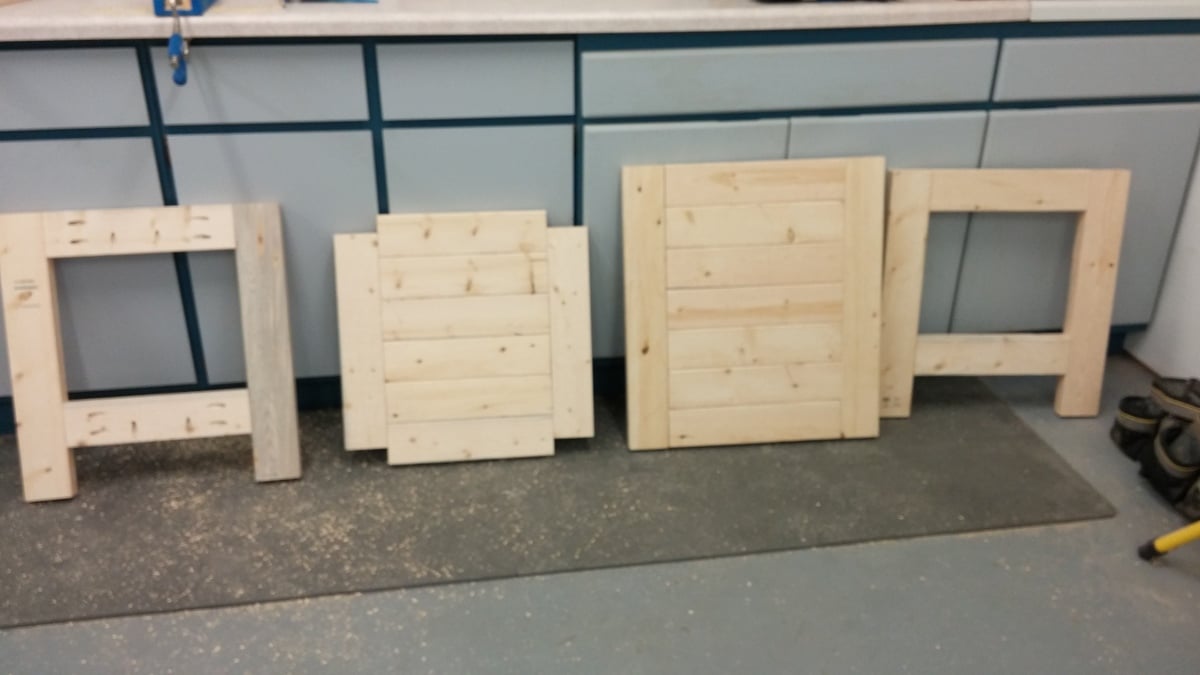
Top 22.5" x 24.5" Base 21"x21" Total height 24"

Built from Plan(s)
Estimated Cost
$25
Estimated Time Investment
Weekend Project (10-20 Hours)
Finish Used
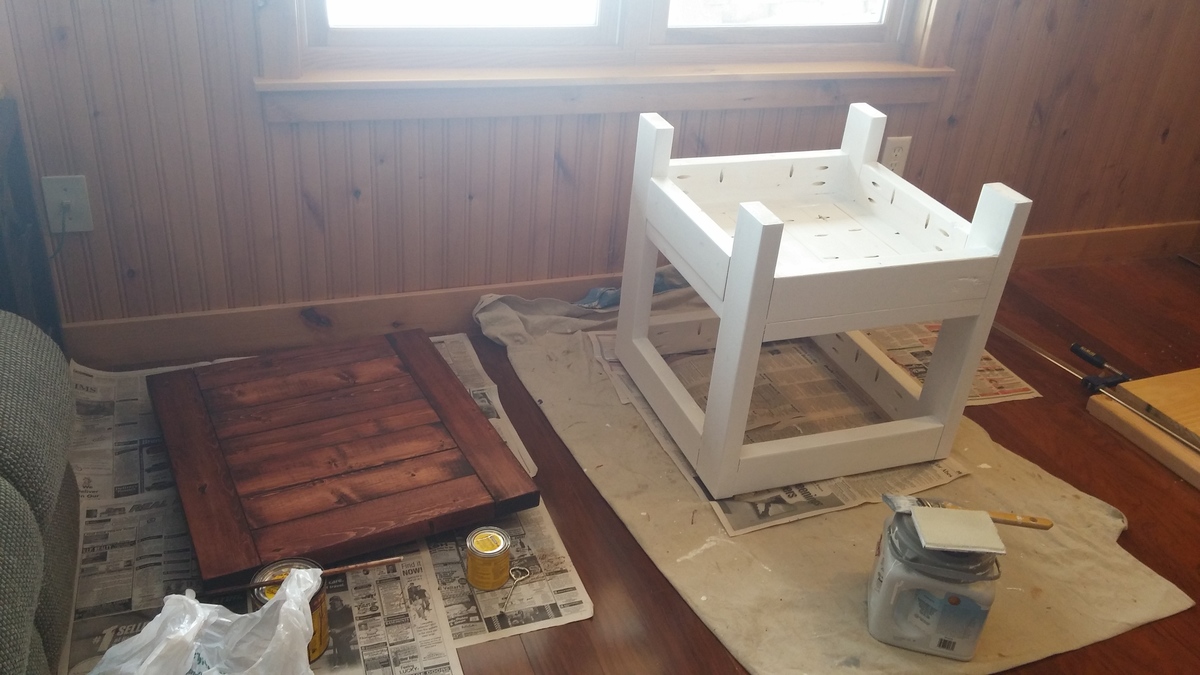
Top finished with minwax red mahogany and polyurethane.
Base finished with Dutch boy trim paint.
Recommended Skill Level
Beginner