Community Brag Posts

Radio Flyer Garden Sink

Submitted by mji0707 on Tue, 05/12/2015 - 19:54

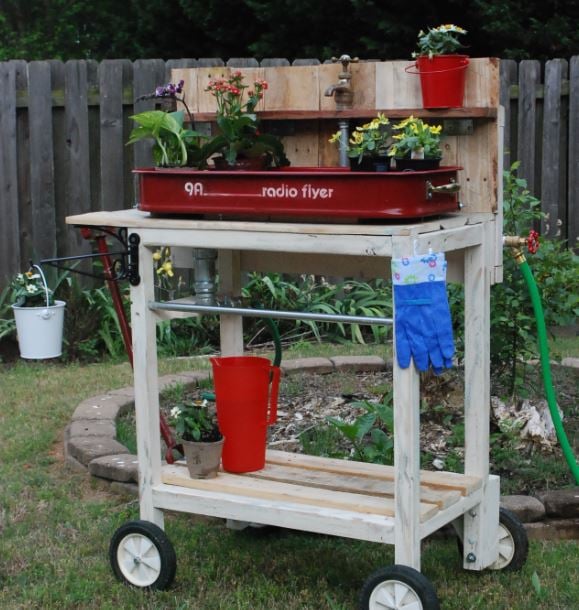
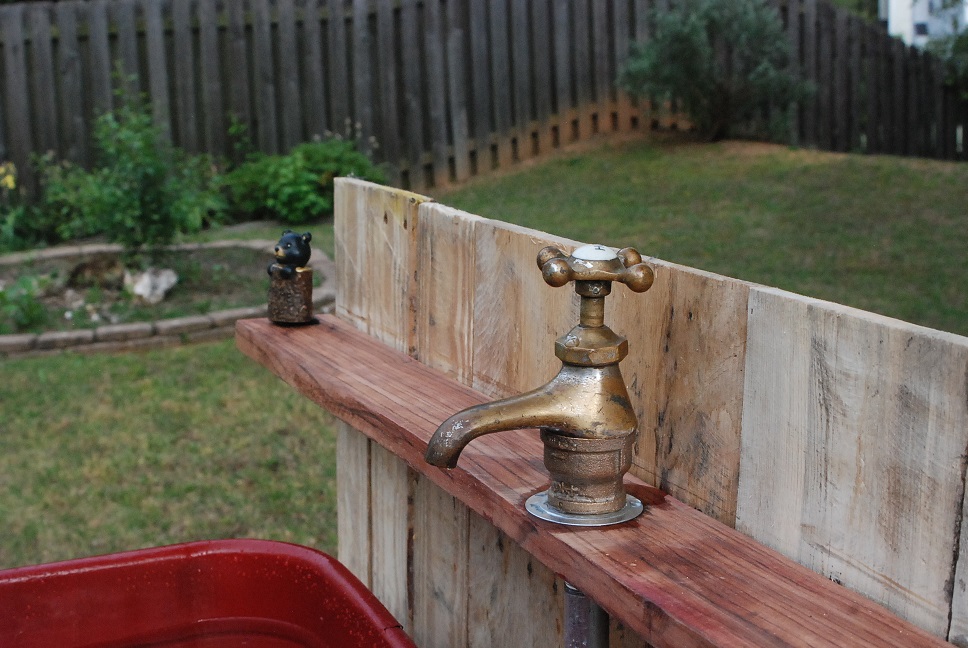
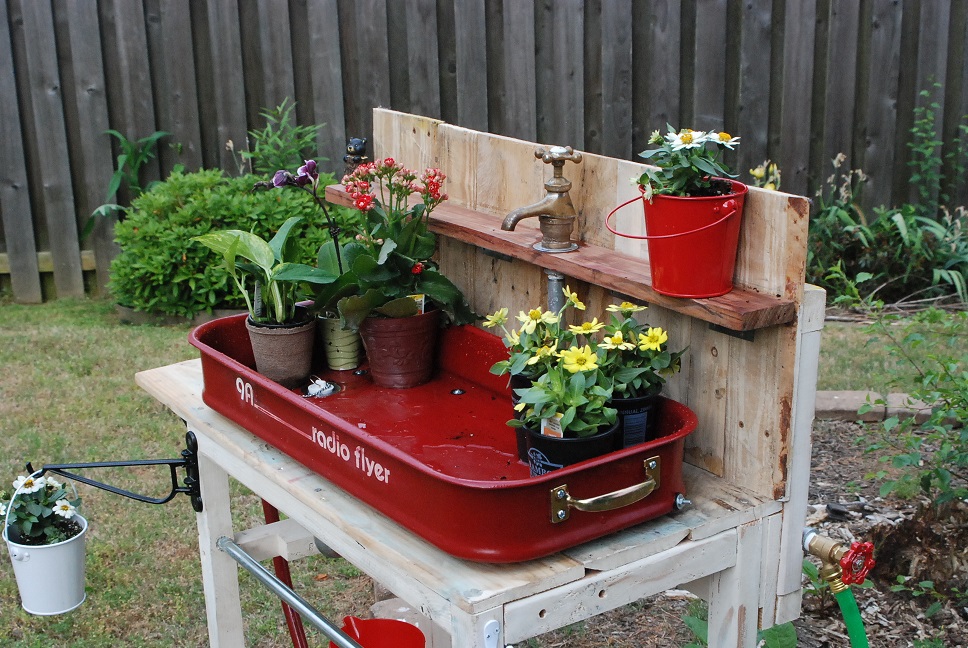
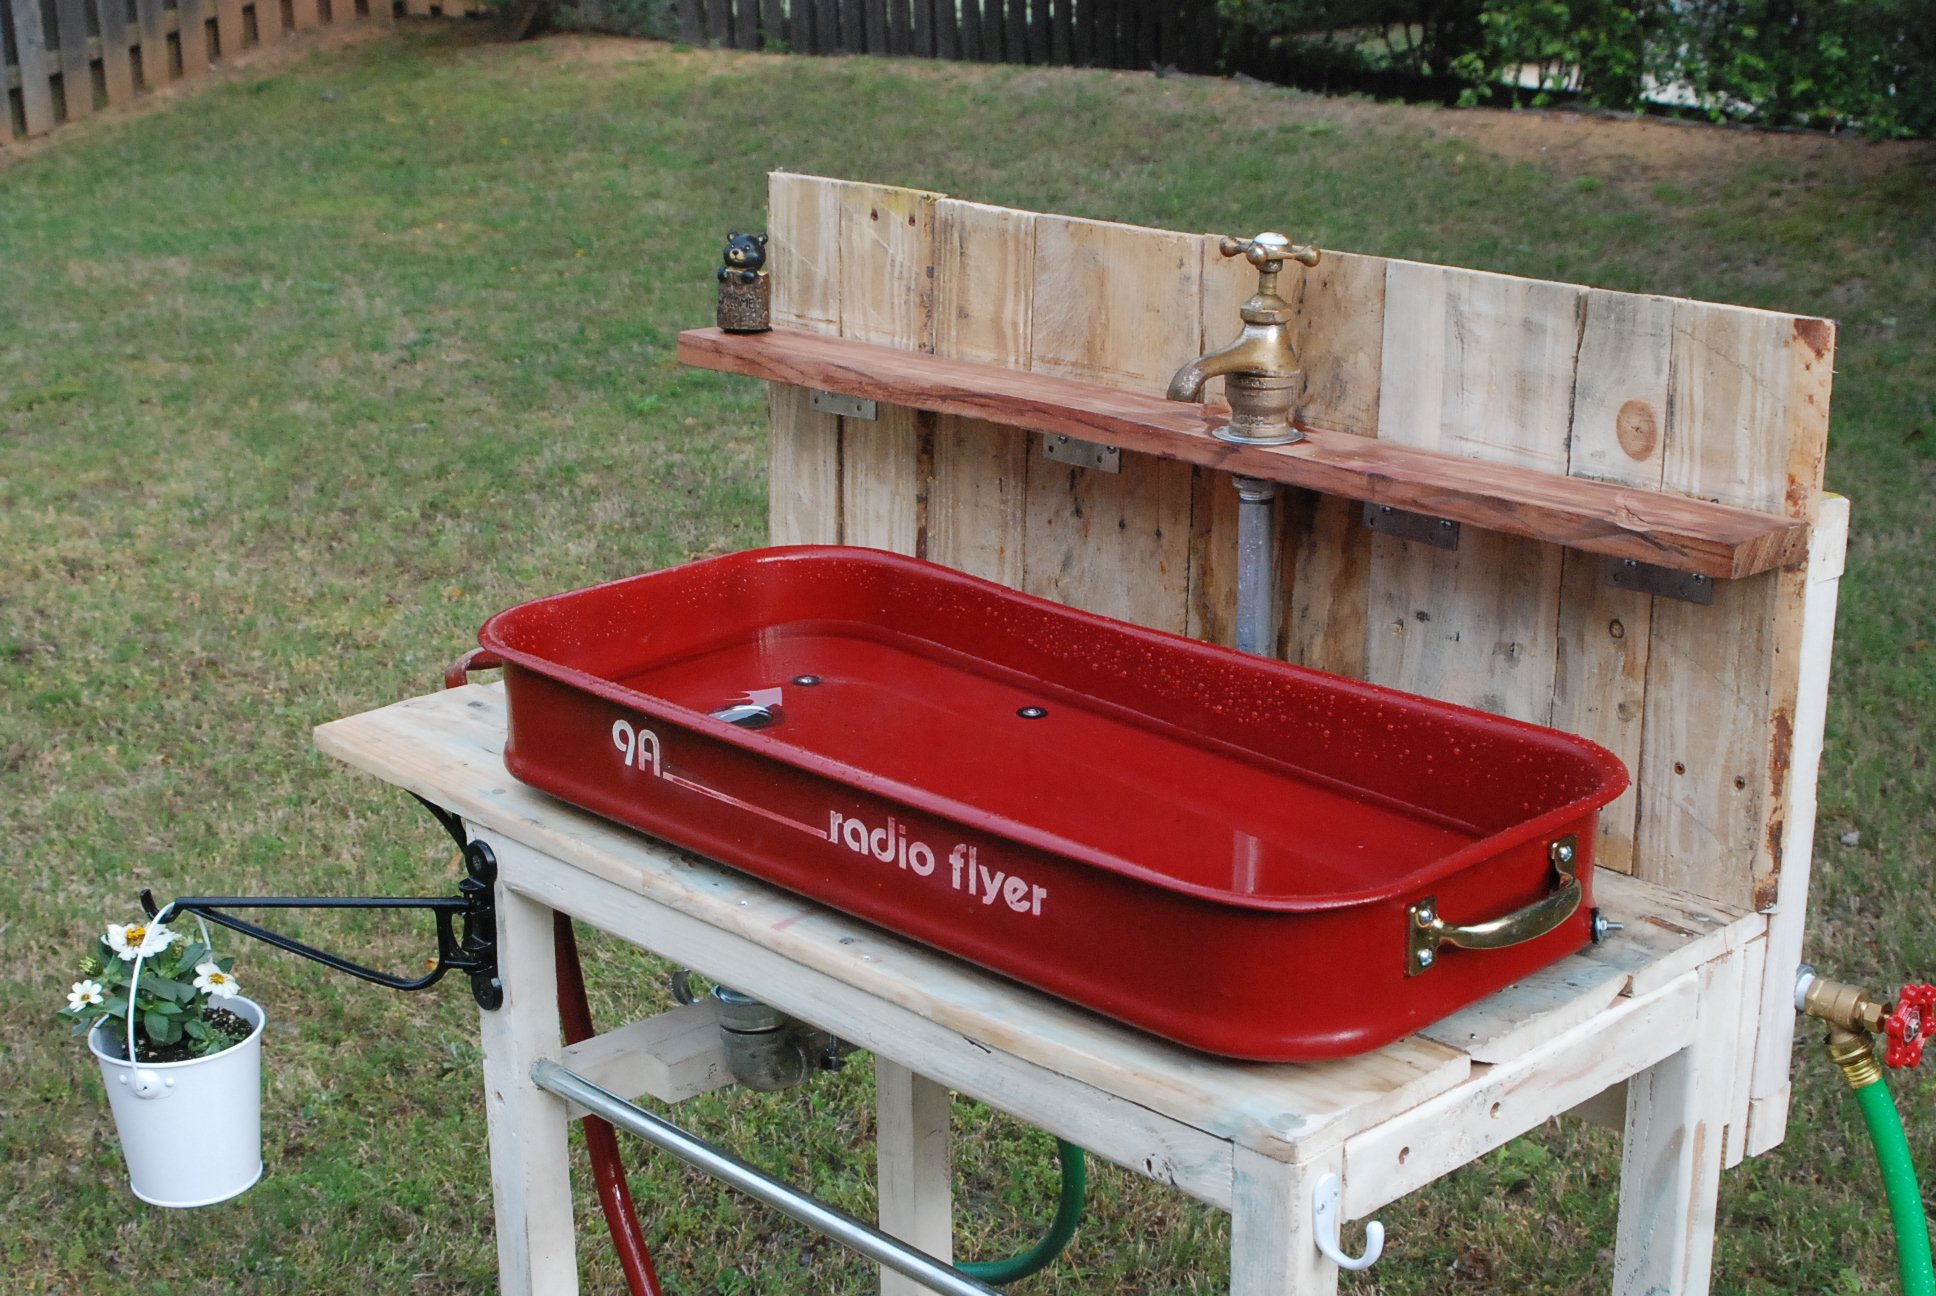
Was looking for something to do with an old Radio Flyer wagon.. Saw some great pics on Ana's site for garden ideas and thought this might have the right shape to make a water feature.. beats making a flower potter out of it. -And it does in fact work.. The original plan was to use a simple chrome hook-style faucet but found a great brass antique on ebay for under $10 which really set the tone for its look.

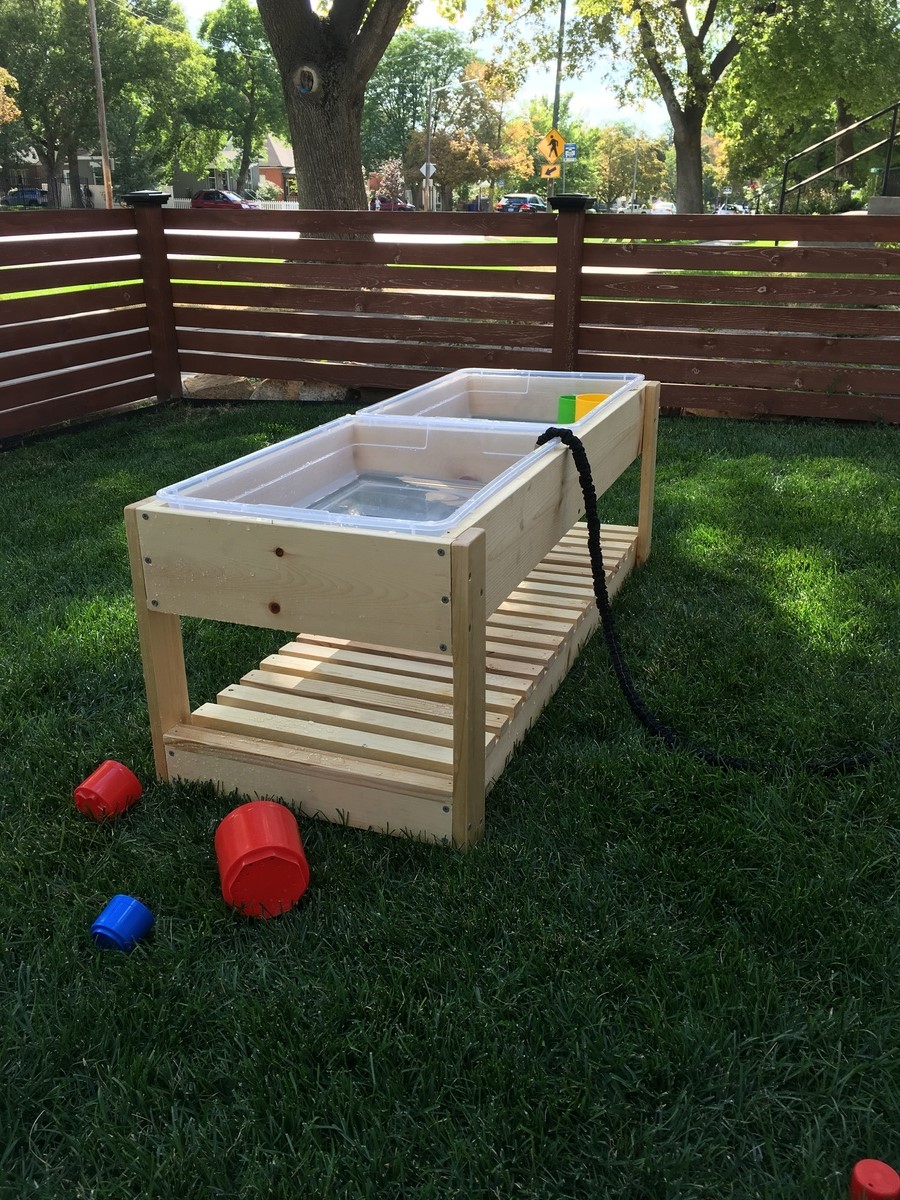
The inside of the wagon is double-coated with Rustoleum clear sealant, over-layed with a red top coat. The wheels and handle are original and the hanging bar across the front is from conduit. The wagon is attached to the stand only around the drain by 2 1/2"x 1/4" machine screws. The brass handle on the right end is so the wagon can be tilted to drain settling water. The drain is a standard 1 1/4" sink kit that connects to a compression coupler. Both the feeder and drain line have hose connections.

Built from Plan(s)
Estimated Time Investment
Week Long Project (20 Hours or More)
Finish Used
The wagon was rusted when I found it. I sanded the inside just enough to remove the loose rust debris. To get the tub water-tight I gave it two coats of Rustoleum clear sealant spray. That left it foggy-loooking so I sprayed it over again with rustoleum red paint. The wood frame has two coats of antique white with a light covering of parafin. I used a grinder to scuff up the paint and then used a buffing wheel on the power drill to smooth out the wax. The pallet wood is untreated other than removing the old nails.

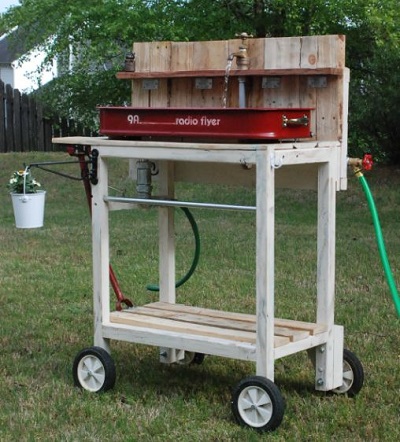
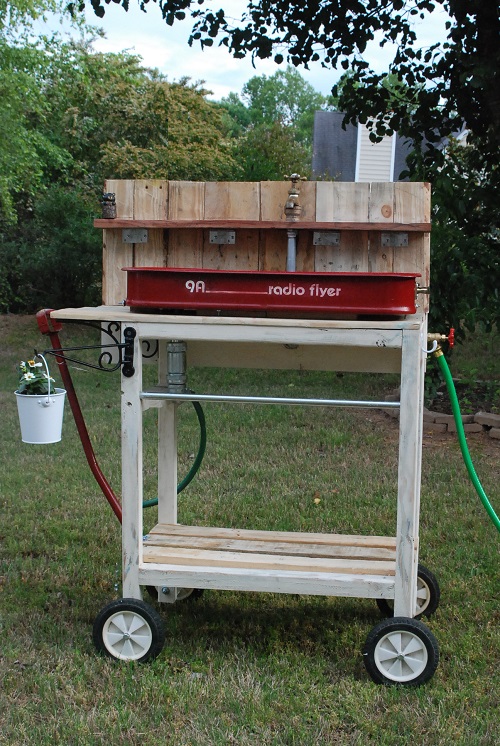
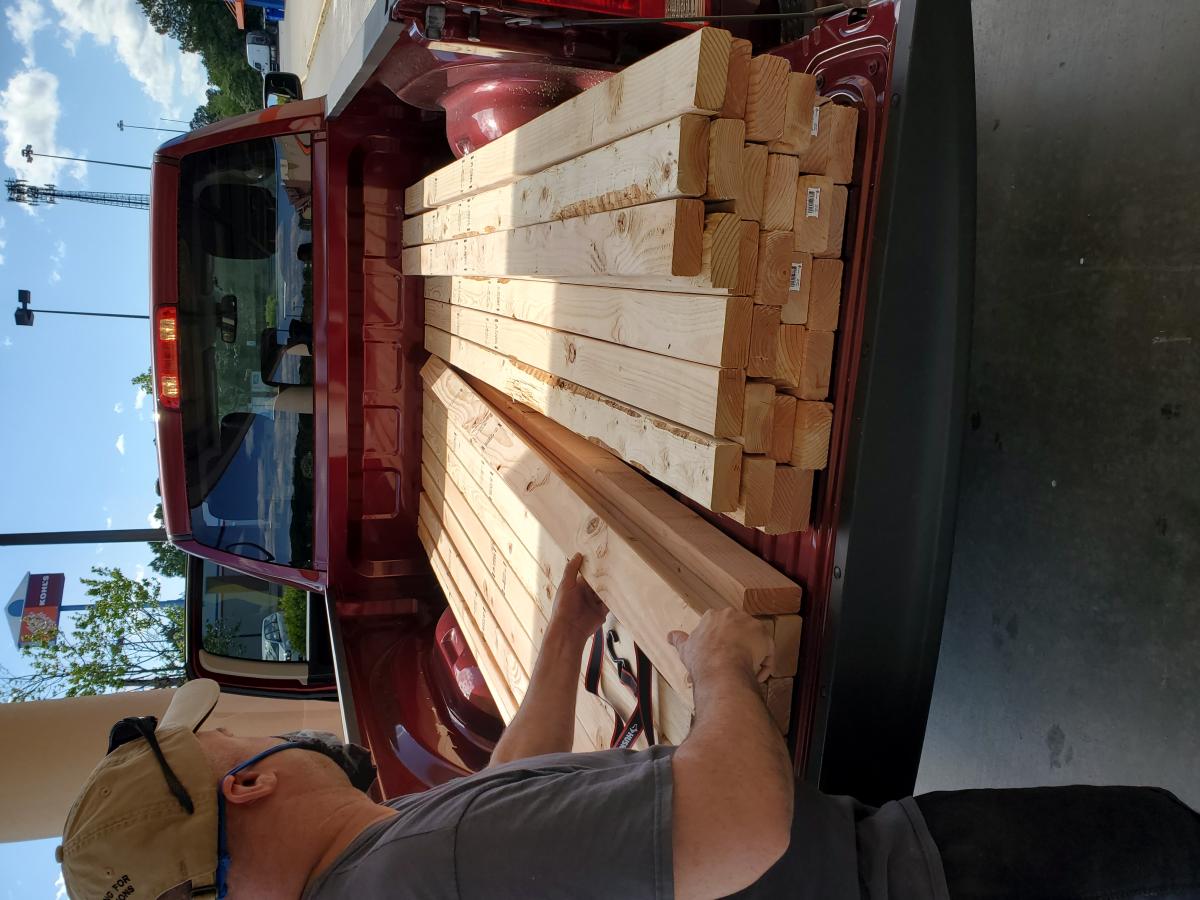
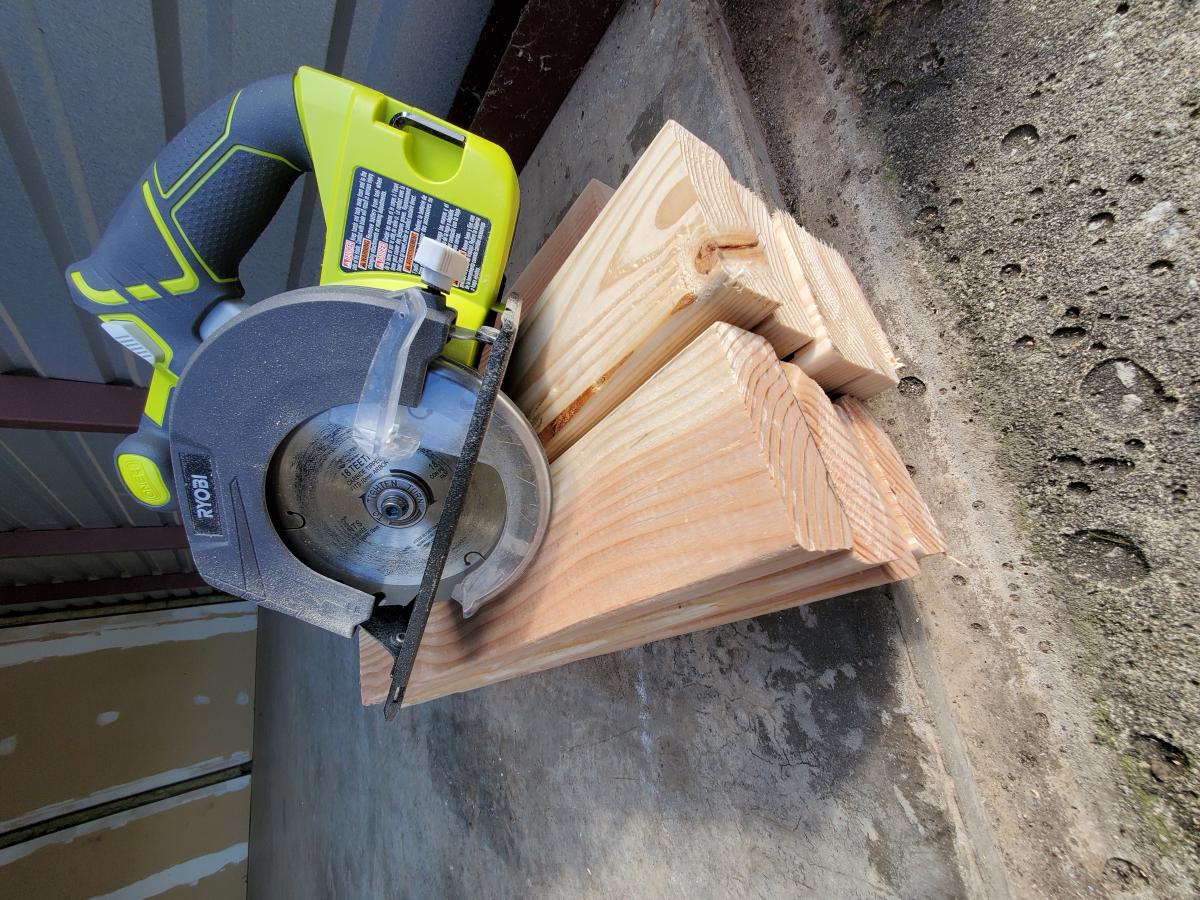
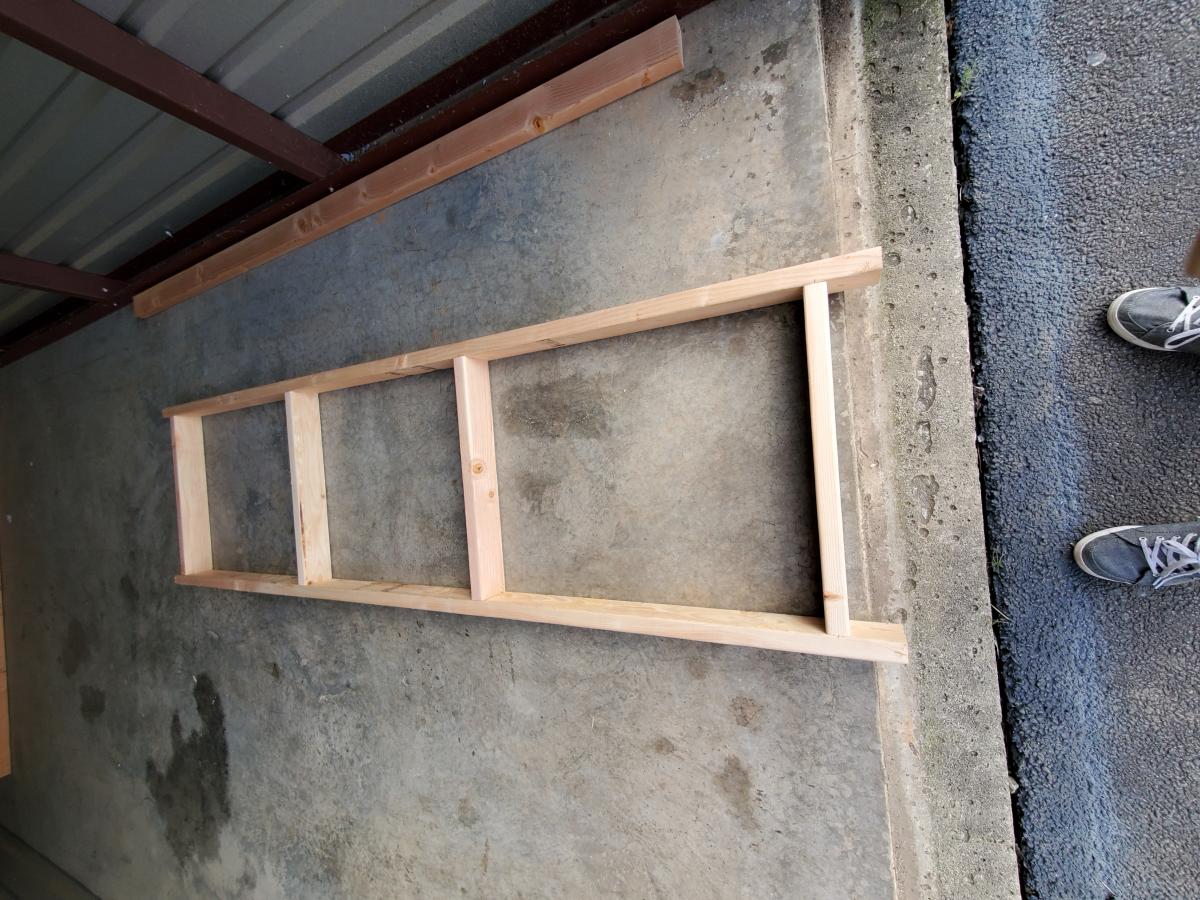
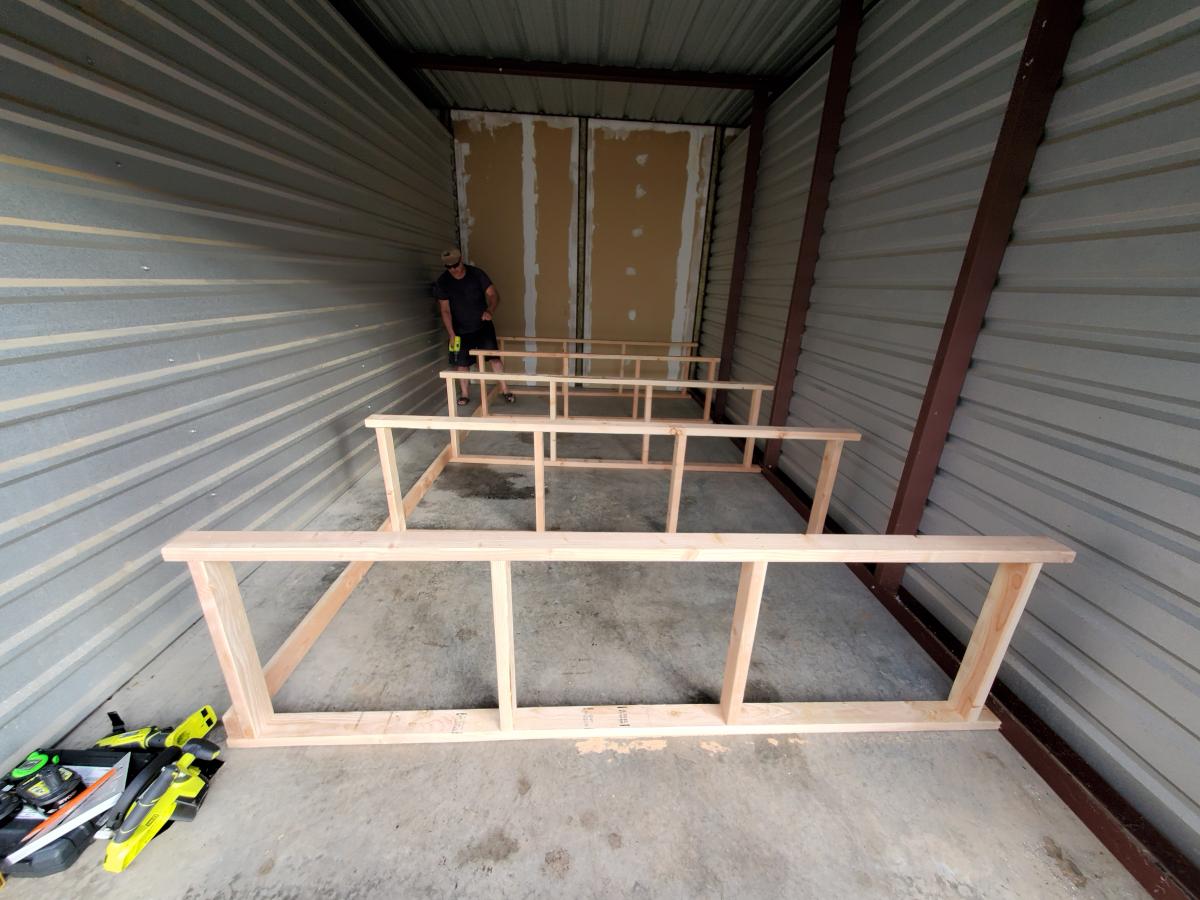
For advice, I would definitely say to be cautious of the amount of weight that hangs off the back of the cart. I used the extra pieces of 2x4 to build a frame to tie the pallet wood into. Combined with the feeder-line plumbing It added so much weight that i had to move the back wheels out to give it stability.

Much thanks to Ana's site and community for ideas. And I gotta give credit to the crew in the H/D paint dept in Alpharetta, GA for the sealant paint recommendation.

enjoy the pics!
Recommended Skill Level
Beginner

Farm table and two benches

Submitted by kllyhdsn on Sat, 12/23/2017 - 11:00

We made this table and two benches from the plans! We used 3” self tapping deck screws because we couldn’t find any in the 2-3/4” mentioned in the plan. Love the result! We used danish oil in medium walnut.

Estimated Cost
$150
Estimated Time Investment
Weekend Project (10-20 Hours)
Finish Used
Danish Oil in Medium Walnut
Recommended Skill Level
Starter Project

Garage Workshop Bench

This was my second project, with so many more projects in mind, figured I needed to get started on a Workshop bench. This was a fun and easy project and such a great plan.

Comments

Shoe Dresser with Extras!

Submitted by Anonymous (not verified) on Sun, 04/24/2022 - 11:30

We added a bit to your shoe dresser plan. We ended up building into the wall since it had the perfect little indent and put a baby cabinet in the middle so we had access to the outlet. 

by Angela

Built from Plan(s)

Ultamate Roll Away Workbench

Submitted by Anonymous (not verified) on Fri, 05/13/2022 - 15:54

Adjusted the shelves slightly. Love the roll away portion.

Comments

Ana White Admin

Sun, 05/15/2022 - 11:55

This is gorgeous, thank you for sharing! Just shared on our facebook page, we'd love to give credit if you'd like to respond with your name:)

Octagon Picnic Table

Submitted by Anonymous (not verified) on Thu, 05/26/2022 - 18:07

Just completed the Octagon picnic table. I added a couple of features to mine, namely a center hole for an umbrella and support blocks around the center point under the table to lock in the umbrella post on the lower base. Finished it in time to have lunch AND dinner on it today. This took from Monday through Thursday morning for me, but some of that time was me waiting for supplies along the way. In reality, I think this can be built in one day, with paint/stain curing overnight and final set up on the morning of day two.

Comments

Reading Nook turned Tent!

I made this for my boy who's turning four tomorrow! (Sep 1st) He loves building forts and I don't mind rearranging the furniture, but set up and clean up is so time consuming, we'd both rather spend more time playing. This is an indoor tent, but I took it outside for pictures. Aside from the obvious difference of adding doors and a back, the changes I made from the original plans are: using an 8 foot 1x3 so the tent is 4 feet deep instead of 3. Instead of stapling the fabric on the 1x3s at the bottom, I wrapped the fabric around and used velcro so I could remove it for washing. I sewed a tube of fabric and attached it at the top to make removal easier. Time Investment is so long because of the sewing involved for the tent. If you have an Ikea near you, they've got this stuff called glaze paint (more of a stain, I think) in all different colors - it doesn't need a top coat (unless you want it shiny), it's solvent free and, are you ready? $6 for 12.something ounces, MORE than enough for this project. To make it even easier if you're using fabric instead of curtains like me and you've got the room, cut a 8ft 1x3 in half so you've got two 4ft pieces. Most quilting cotton at fabric stores is 44-45 inches wide selvedge to selvedge (the ends that don't fray) and if you follow the plan according to where to drill for the top bolt, you'll need 4-4.25 yards of fabric, depending on whether you are going to use velcro or staple. I would use 4.25 if using velcro, the fabric can go right over the top bar and over the other side if you don't want to sew a tube like I did. If you don't want to sew at all, use iron-on hem tape on the cut edges and iron on velcro. Make sure of placement of the velcro before ironing on. More pictures on my blog =)

Built from Plan(s)
Estimated Cost
$50 - wood, bolts, stain, material for tent (everything)
Estimated Time Investment
Weekend Project (10-20 Hours)
Finish Used
Green Ikea glaze paint
Recommended Skill Level
Intermediate

Comments

Rustic Farmhouse Table with Distressed Finish

Submitted by petesveen on Tue, 10/15/2013 - 13:06

When I saw Ana's plans I had to make this table for my home. I like the rustic look, and so I distressed the wood using a steel wool and vinegar solution. I modified the top by using four 2x8's and one 2x10. Otherwise everything is the same. It turned out great and everyone who has seen it at my home loves it.

Built from Plan(s)
Estimated Cost
$130
Estimated Time Investment
Weekend Project (10-20 Hours)
Finish Used
Brushed one coat of steel wool and vinegar. Then brushed on 2 coats of Minwax semi-gloss. Next, I sanded using 400 grit. After sanding, I wiped on a very thin 3rd coat of poly using a clean rag.
Recommended Skill Level
Beginner

Comments

Kabarie

Mon, 11/04/2013 - 14:00

The finish you chose just sold this table to me. Love it love it! Great job!

beccalc1981

Fri, 09/05/2014 - 05:55

So very very new to all this wood working but very excited to get started! I LOVE the finished look of this table. I had never heard of steel wool and vinegar, but just googled and can't to try it! Thanks!

charchav

Wed, 11/25/2015 - 07:14

I Love this Table . You should just come to our house and make it for us.LOL

I was just wondering what type of wood did you use? We live in the south east and cant find any Douglas Fir wood. what other wood would you suggest?

thanks Char

Misha1dibbs

Tue, 08/09/2016 - 07:12

The table looks fantastic. I know you built this two years ago. How has the top of the table held up? I am currently working on this table, and I am debating weather or not to use the kreg pocket screws or to use 7/16ths dowels for the body and mortise and tenon joints for the breadboards. However, that is more work than the kreg screws. If the kregs hold up well, than I would rather do that. Anyway, the table looks fantastic.

Daffodil Yellow Potting Bench

Submitted by CathyS on Sun, 10/27/2013 - 18:53

I'm so happy to have found your site! I've been wanting a potting bench for a while. Today the Hubs and I built this one in Daffodil Yellow! It is only partially painted, but I already love it! The hubs wants to build a modified one for his heavy electronics equipment. Thanks a Bunch!

Built from Plan(s)
Estimated Cost
$40
Estimated Time Investment
Afternoon Project (3-6 Hours)
Finish Used
Daffodil Yellow paint
Recommended Skill Level
Beginner

Farmhouse Table

Submitted by Anonymous (not verified) on Thu, 10/03/2019 - 10:02

Received the wood from grandfather who had it rough sawn in Henry’s valley PA. I cut it down and made a more rustic top to go along with the standard base from osbourne and local lumber shop. Added the final touch with in memory of grandfather after his recent passing, at the time.

Built from Plan(s)
Estimated Cost
$200
Estimated Time Investment
Week Long Project (20 Hours or More)
Finish Used
Base was gel stain with homemade chalk paint. Top was general walnut stain
Recommended Skill Level
Beginner

Comments

Greenhouse

Submitted by Anonymous (not verified) on Mon, 06/26/2023 - 13:04

I saw this greenhouse built on the Justin Rhodes YouTube channel and immediately wanted my own. My husband was a champ at making my dream come true!

Built from Plan(s)

Comments

nifof17547

Tue, 04/09/2024 - 01:43

What a great idea! Building your own greenhouse can be a rewarding and cost-effective project. With the right planning and choice of materials, you can create a sturdy structure that will last you for years to come. In fact, a greenhouse is a great way to take care of your health because the crops grown there are undoubtedly of higher quality and healthier for you. Speaking of health, if you want to improve your health, consider using natural supplements such as mullein. Mullein supplements are known for their potential respiratory benefits and can promote overall well-being. You can find organic mullein supplements https://www.amazon.com/USDA-Organic-Mullein-Drops-Lungs/dp/B0CKBPTPRL on Amazon. Adding them to your daily diet can complement the peaceful environment of your greenhouse. So, whether you are a gardening enthusiast or just starting out, remember to take care of both your plants and your health!

Seasonal And Holiday

Extra Large Chalkboard Sign

Submitted by Anonymous (not verified) on Fri, 09/15/2023 - 08:30

Extra large chalk board for church coffee shop. Made from plywood 90 x 40 (cut by Home Depot), chalk board paint, pine boards for frame. Used stencils for most lettering. The board on right is attached with Velcro strips so it’s removable so that I can change out every season. Super easy to build.

Sheri Robertson

Freestanding Garage Shelves

Submitted by Jeanna on Mon, 04/27/2020 - 08:07

This was our first real DIY from scratch project. We somehow made it a bit too tall and so have not put the top shelf planks on. Over all we are pretty happy with it. This was in a rental storage unit. We plan to give it another go in our garage too.

Estimated Time Investment
An Hour or Two (0-2 Hours)
Finish Used
None
Recommended Skill Level
Beginner

Water table for 1 year old

Submitted by Anonymous (not verified) on Fri, 09/02/2016 - 15:42

Shortened the legs to 17" and used 1x2s on the shelf because that's what we had on hand. Sealed with Thompson's aerosol clear waterseal. 

Built from Plan(s)
Estimated Cost
$38
Estimated Time Investment
Afternoon Project (3-6 Hours)
Finish Used
Thompson aerosol clear waterseal
Recommended Skill Level
Beginner

Easy Jewelry Box

Submitted by JoanneS on Tue, 08/28/2012 - 16:12

I built this jewelry box out of scraps as a prototype to test out my Easy Jewelry Box plan, which is inspired by the Willy Bookcase and Master Closet System drawers. When Mom saw it unfinished, she liked it and called dibs on the first one! Well, since this one is now for Mom (and the lumber was free), I went ahead and spent some extra $ for hers – used the self-adhesive felt for the drawer and box bottoms, some embossed felt to line the drawers, added adjustable drawer dividers, and solid antique brass knobs – ‘glammed’ it up a bit. It is painted and stained to match her bedroom furniture. For Mom, I even stained the inside of the drawer box. :)

The build was easy, and took less than 2 hrs. I did both stain and paint for the finish on this one, and it took about 2 hrs to do that. I’m planning to make several more of these in different finishes, and give them as gifts.

Estimated Cost
$30
Estimated Time Investment
Afternoon Project (3-6 Hours)
Finish Used
Paint: Territorial tan by Ace, Stain: Minwax Wood-Sheen in Plantation Walnut, with a few drops of black added in, followed by 2 coats of Minwax polycrylic in satin over the stained parts.
Recommended Skill Level
Beginner

Comments

JoanneS

Tue, 08/28/2012 - 16:15

“Shop” your scrap bin before buying your lumber for this project, you may have enough left overs already on hand. Probably would cost about $20 for whitewood boards, birch ¼” ply, regular felt and unpainted wooden knobs, and you’d still have some left overs. One sample size paint (~4 oz.) was more than enough for one box. The 7/8” unpainted knobs are great, and they only cost $1.49 for 2 (found these at Ace). These solid brass mini knobs ran about $4 each. The 2 sticks of moulding for the optional drawer dividers cost me about $12, but these pieces are more than enough for 4 boxes. For the ¼” plywood – one 2’ x 2’ piece is enough for 3 boxes. I’ll be making several. :)

Thank you for the plans and inspiration for our project!

Submitted by Anonymous (not verified) on Tue, 01/17/2017 - 17:00

I just wanted to say thank you for the awesome plans. We modified the dimensions a bit to match our couch. 

Thank you again!

Dori and Geoff

Built from Plan(s)
Estimated Cost
$250
Estimated Time Investment
Week Long Project (20 Hours or More)
Finish Used
I used the Minwax furniture wax for the top. It was my first time using this and it turned out amazing. I would very highly suggest using this in a very well ventilated space. (I didn't and that was a very smelly afternoon in the house.)
Recommended Skill Level
Intermediate

Comments

Simple Modern Toy Boxes

Submitted by papamike on Sat, 10/03/2020 - 16:58

I made two of these. One for each granddaughter at the time. (Since then I have another granddaughter and a grandson.) Made with solid oak everywhere except the top. I made the top with oak plywood for strength. I edged the lid with oak. These were the first projects I ever made where things had to fit tightly together and the beginning of my woodworking hobby.

Built from Plan(s)
Estimated Time Investment
Week Long Project (20 Hours or More)
Finish Used
Each family wanted a different finish, one a more natural oak and the other a weathered gray stain. I used Verathane stain and satin finish polyurethane on both.
Recommended Skill Level
Intermediate

Comments

Chicken shed

Submitted by diegaeb on Wed, 10/07/2020 - 08:32

I had started this project last year in September and finished it finally 2020 in March because I get my chicken then.
I did modify the chicken coop a little bit due to the material I got.
The instructions and most of all the cutting list I like best!

Antje

Built from Plan(s)
Estimated Time Investment
Week Long Project (20 Hours or More)

Comments

Vegetable Rack with Slide Out Trays

Submitted by Anonymous (not verified) on Sat, 12/12/2020 - 05:12

This is the application of the "Vegetable Rack with Slide Out Trays" from Ana White.
I just added a door and some mosquito net, to avoid midges in summer.

Estimated Cost
100€
Estimated Time Investment
Week Long Project (20 Hours or More)
Finish Used
A mix of coconut oil and wax.
Recommended Skill Level
Beginner

Comments

Art Studio Loft Bed

Submitted by Auntie LAD on Tue, 02/26/2013 - 08:26

After I built my nephew's AT & T Park bedroom, I had to figure out what to create for my 5 year old niece, Maggie. She loves drawing, so I settled on an "art studio," where she can work and display her art.

The bed was created using Ana's Camp Loft Bed Plans. I narrowed the stairs by 4 inches as one of the other posts had done. I also put shelves under the stairs like another post I read on this site.

I built a small drafting-type desk for underneath using my new Kreg Jig (Man, I love that thing!). I also made some curtains to pull shut in case Maggie wanted to escape from the world. Chairs, storage containers, flower light, and leaf above bed are from Ikea.

I bought some cheap picture frames, and put a bulletin board in one and a chalkboark in the other for above the bed, and the string hanging across the front of the bed is from Target. It actually has clips to hang artwork.

I painted the bed using Ana's antique finish with the Minwax pen. It came out fantastic.

Estimated Time Investment
Weekend Project (10-20 Hours)
Finish Used
Antique White paint from Home Depot with Minwax pen finish.
Recommended Skill Level
Beginner

Comments

spiceylg

Tue, 02/26/2013 - 10:00

Your niece and nephew must be over the moon! Another awesome build!

Back