Community Brag Posts

Barn Door Pantry Build

Submitted by Anonymous (not verified) on Sat, 03/18/2023 - 14:54

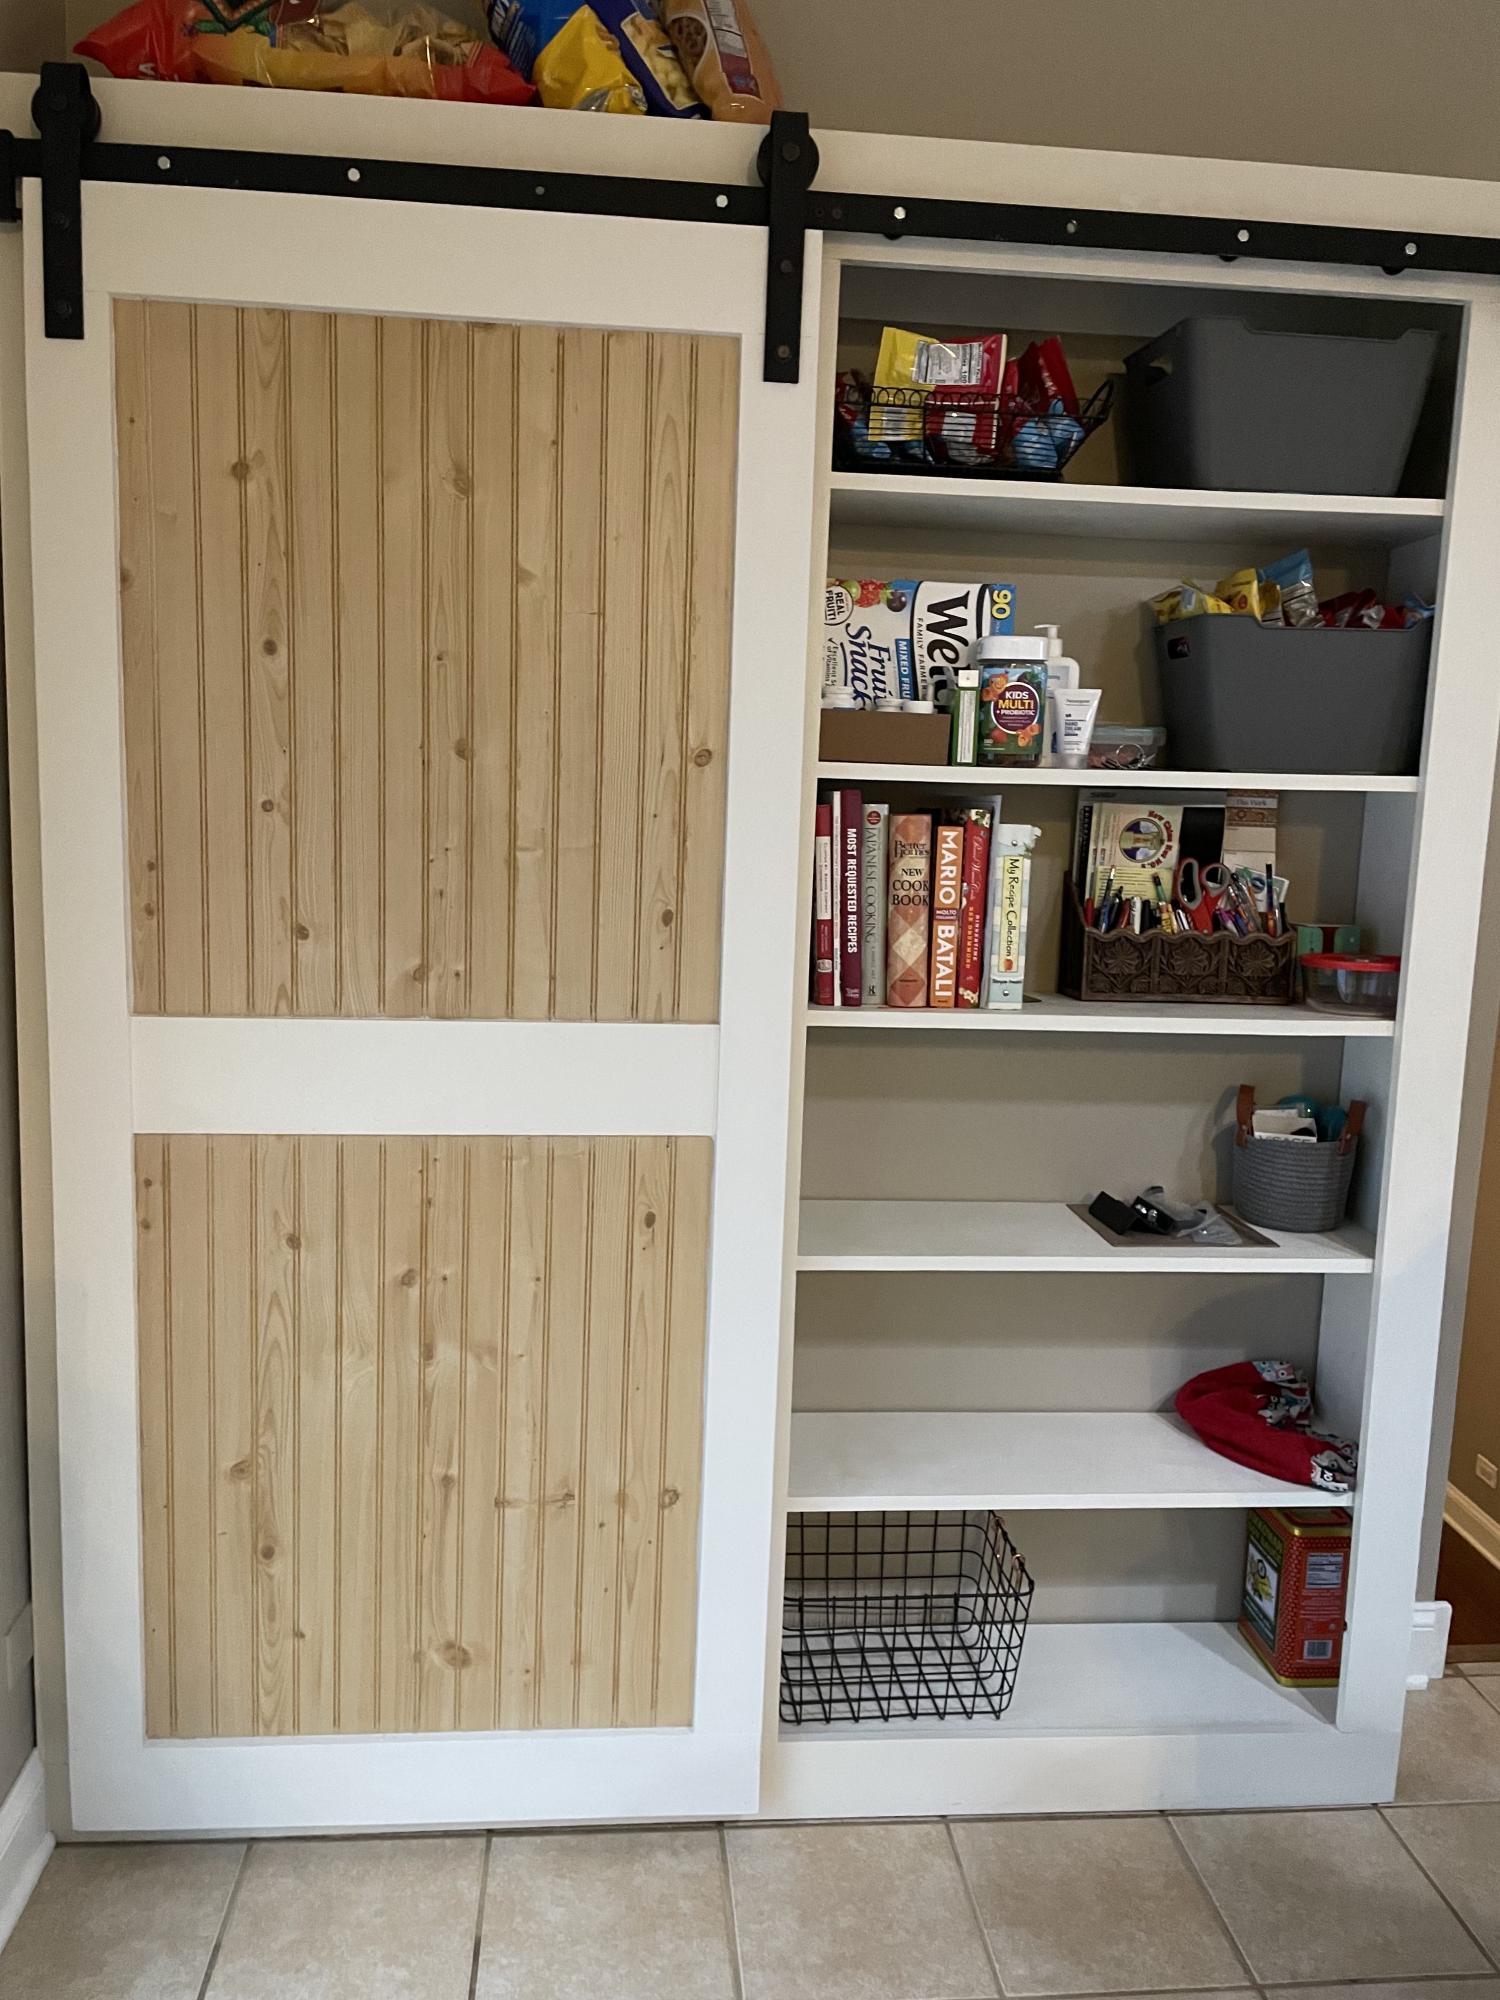
Using the Barn Door Pantry plan, I partially built this in my shop then took it apart and transported it to my son's house where we reconstructed it. This is a massive project and I recommend that you have enough room (and help) to build it and move it. The door is built with 1/2 inch plywood, framed with 1 by 4's with bead board inserts.

Built from Plan(s)

Comments

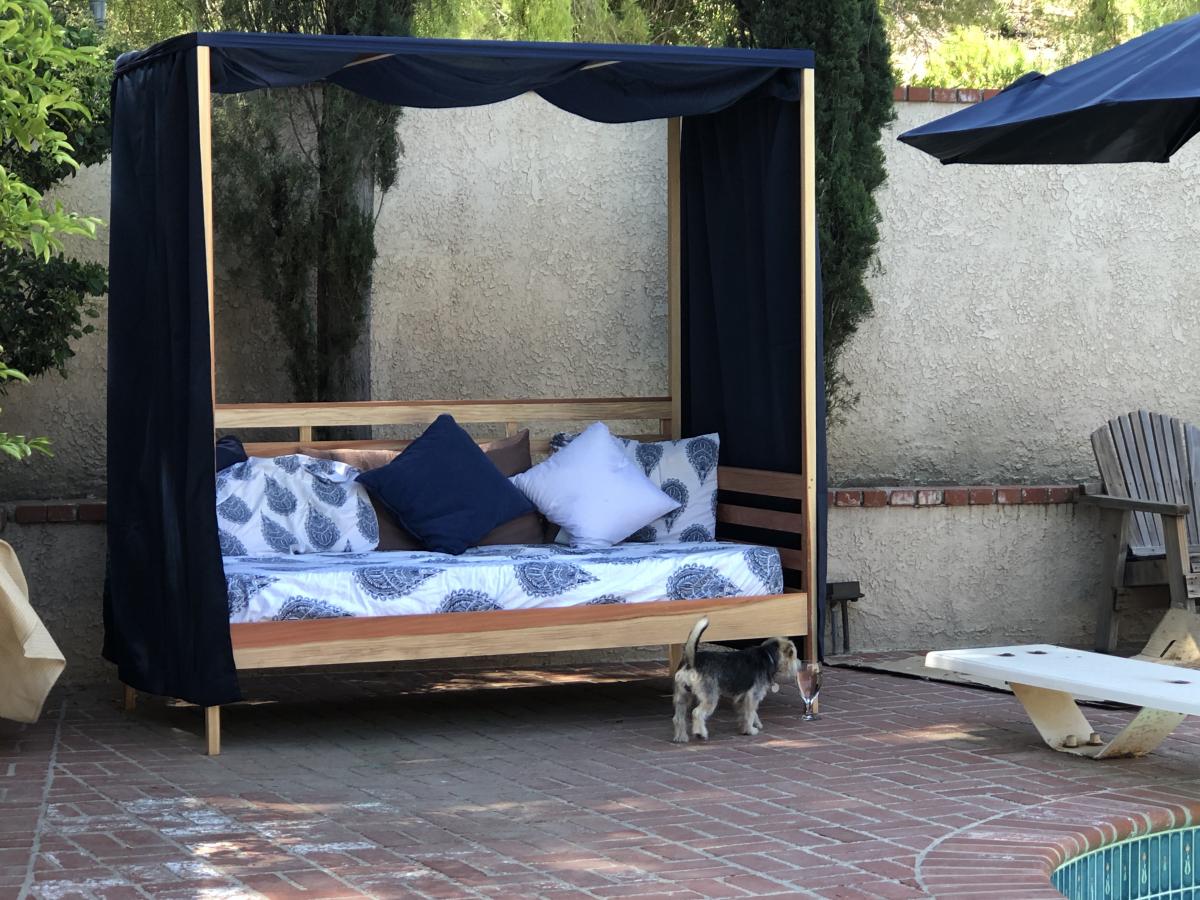
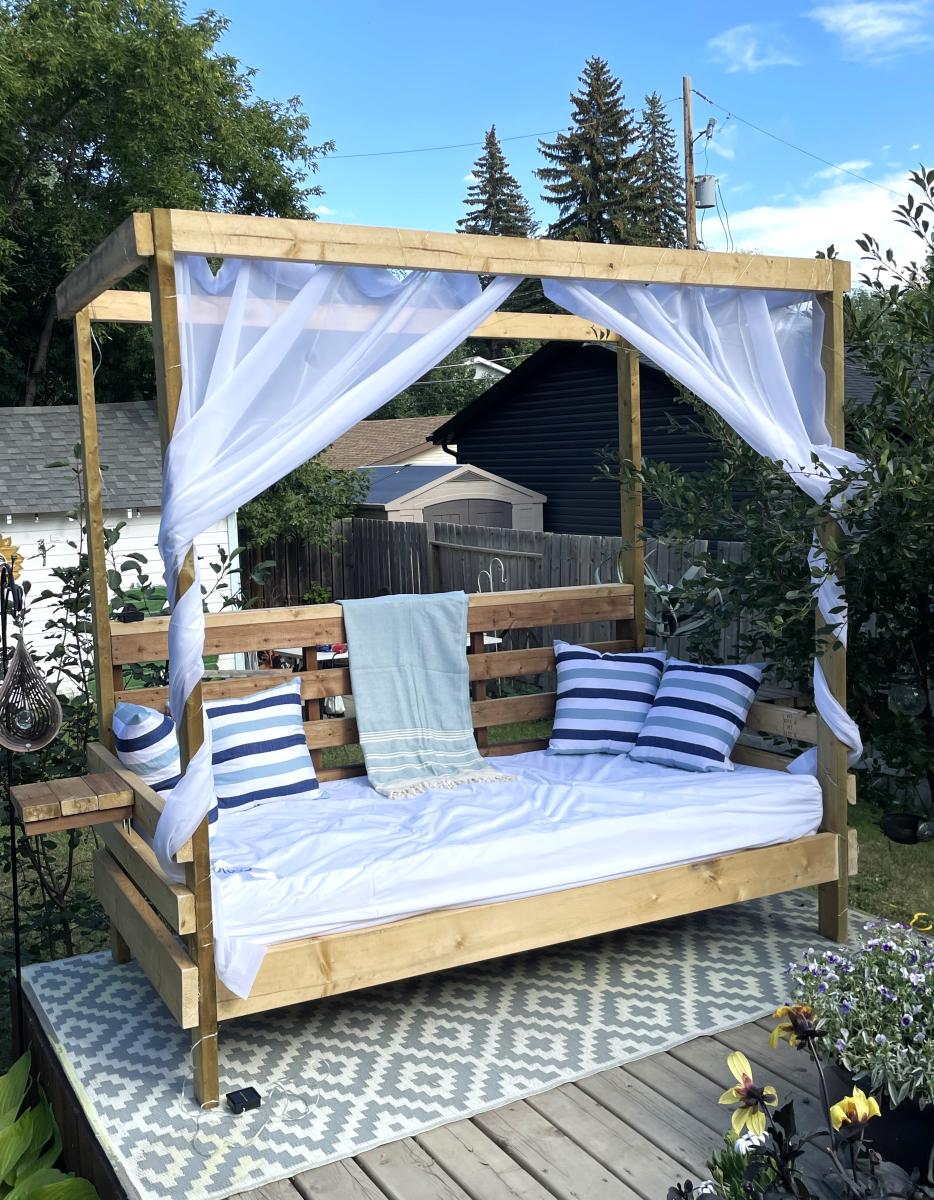
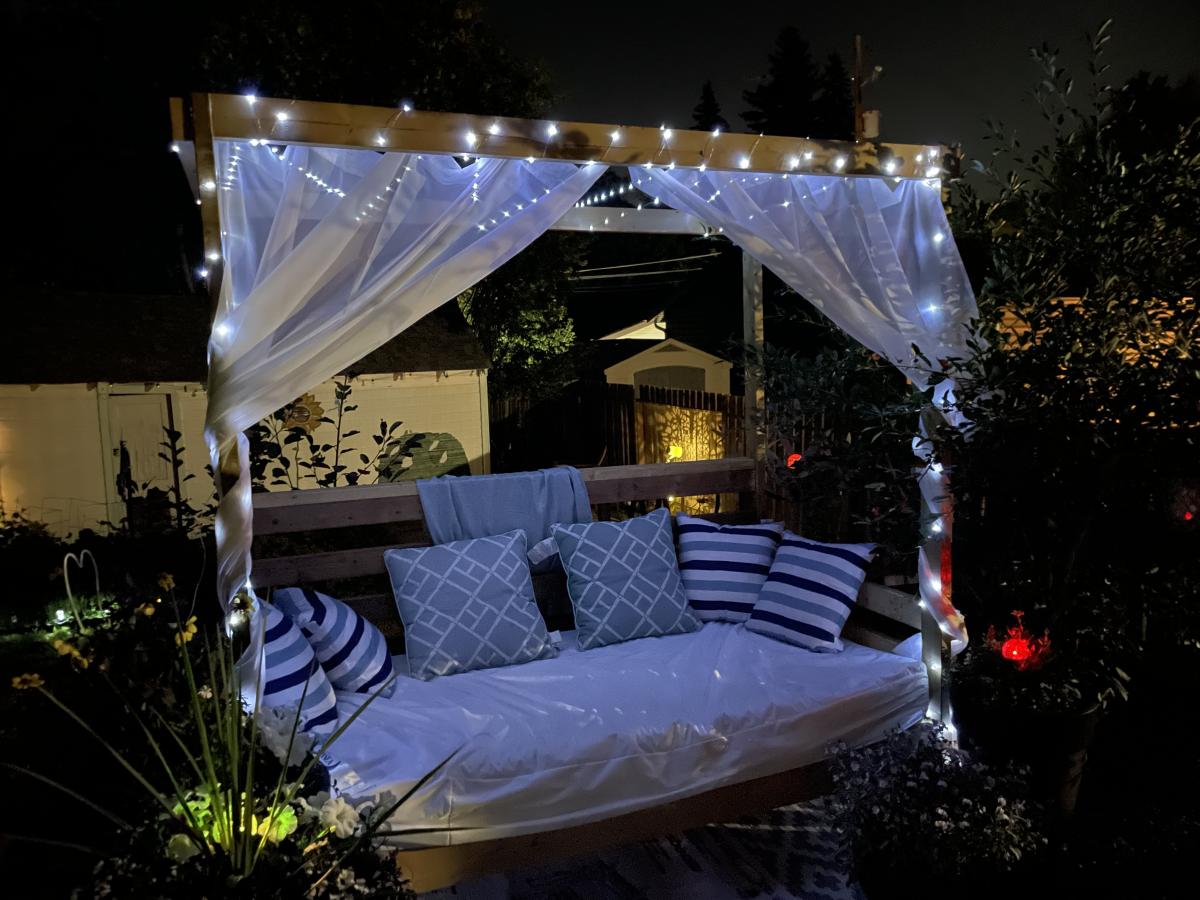
Outdoor day bed

Submitted by TamTamW on Wed, 07/03/2019 - 09:28

Loved making this. Used old sun curtains and a sheet for extra splendor. 

Built from Plan(s)
Estimated Time Investment
Weekend Project (10-20 Hours)
Finish Used
None.
Recommended Skill Level
Beginner

Comments

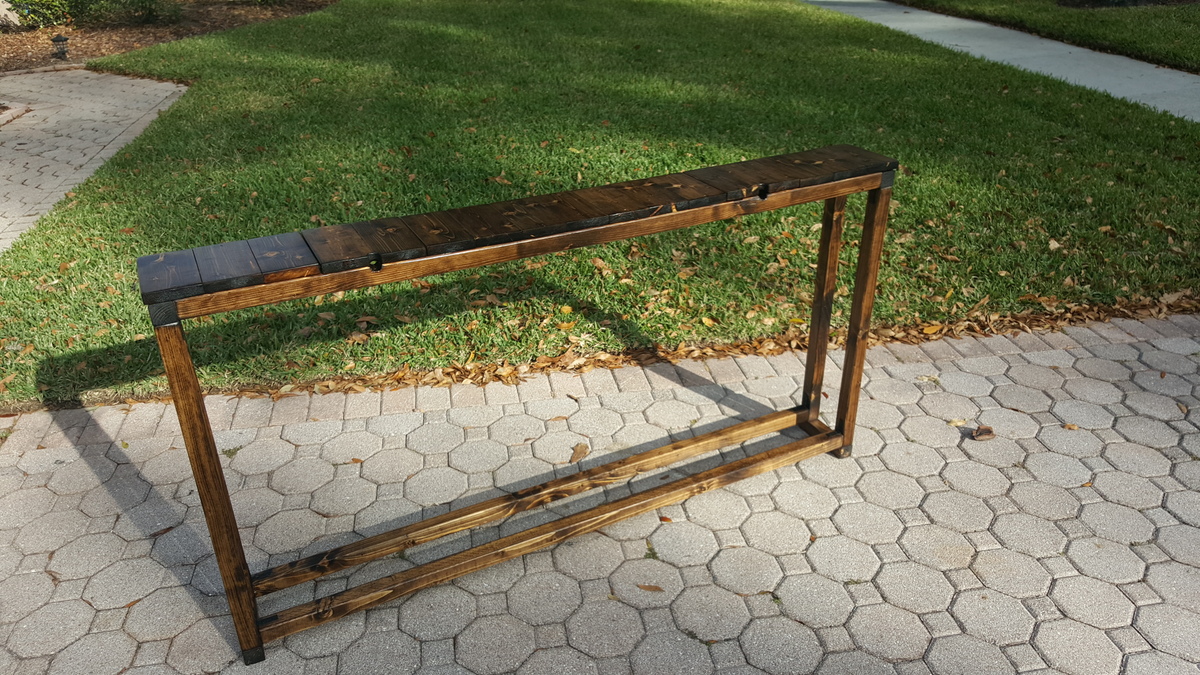
Slatted Sofa Table

Submitted by raybwright on Sat, 02/13/2016 - 09:36

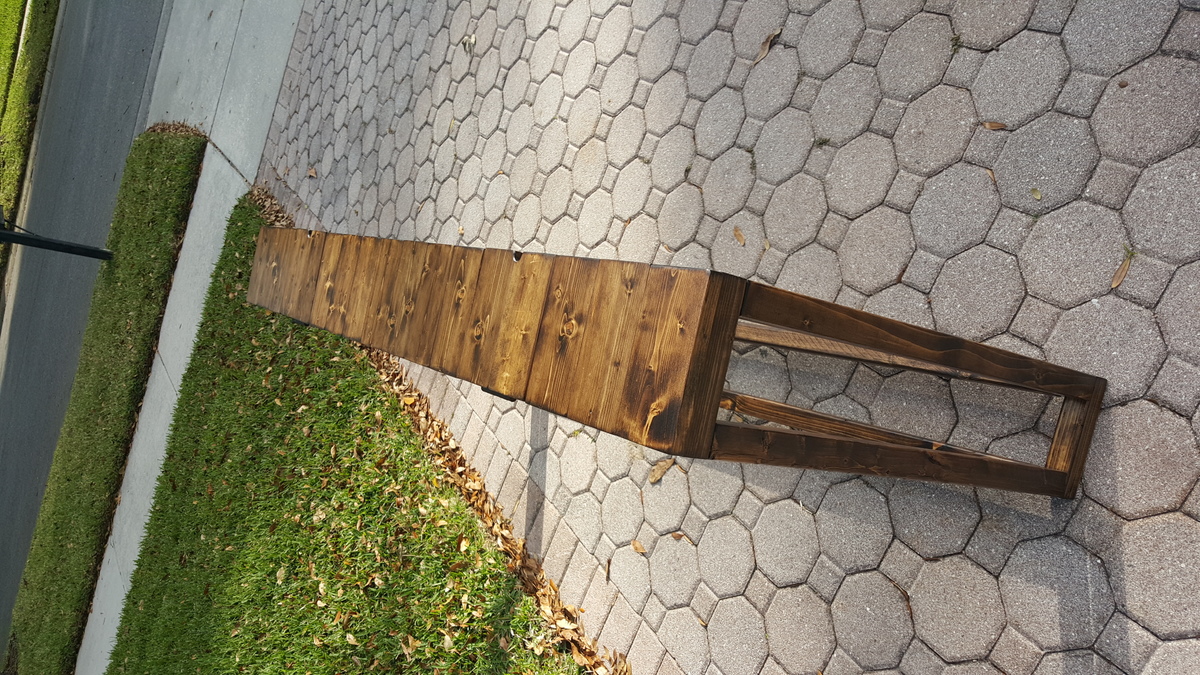
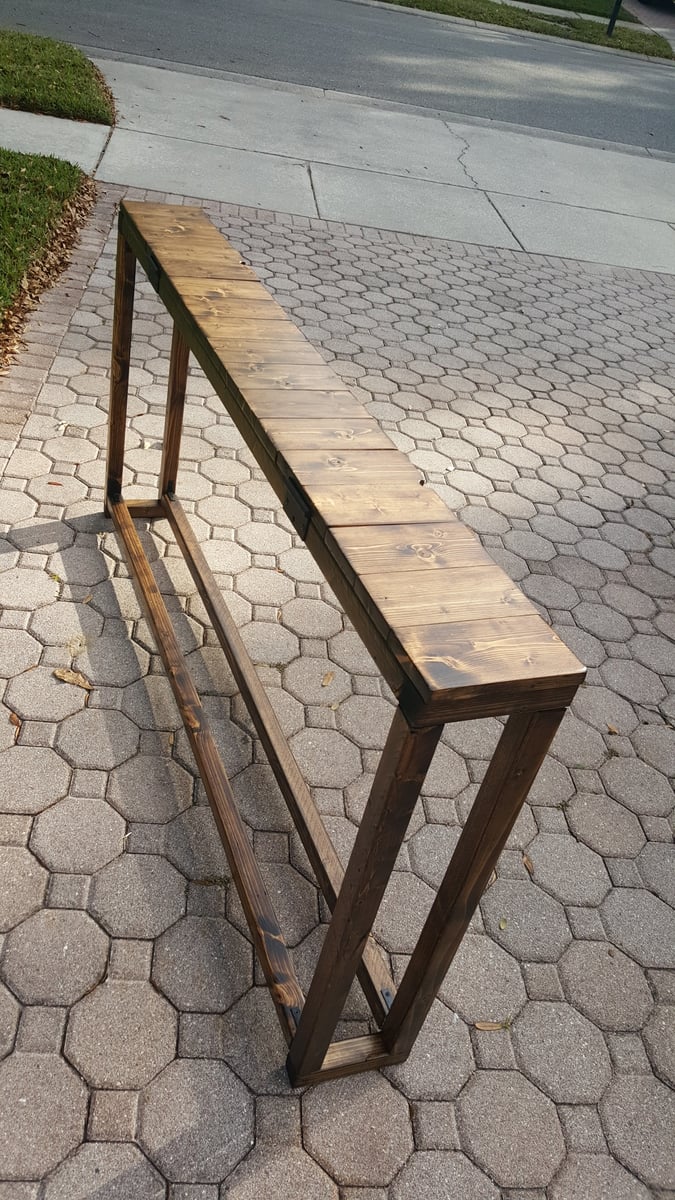
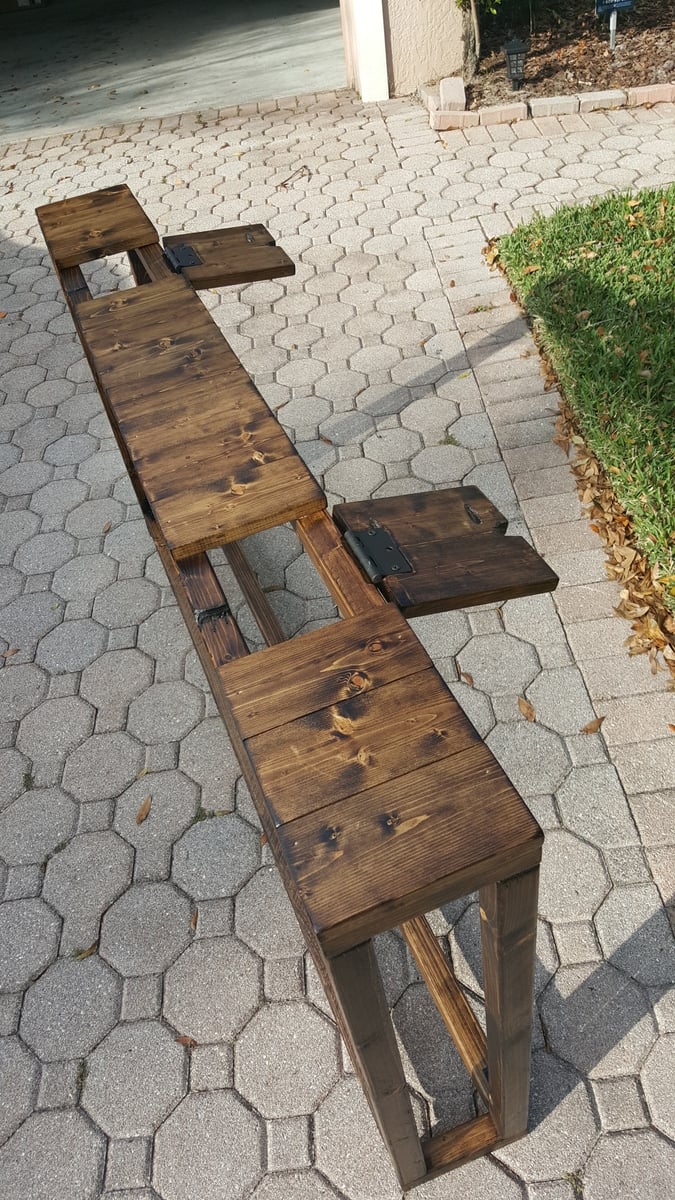
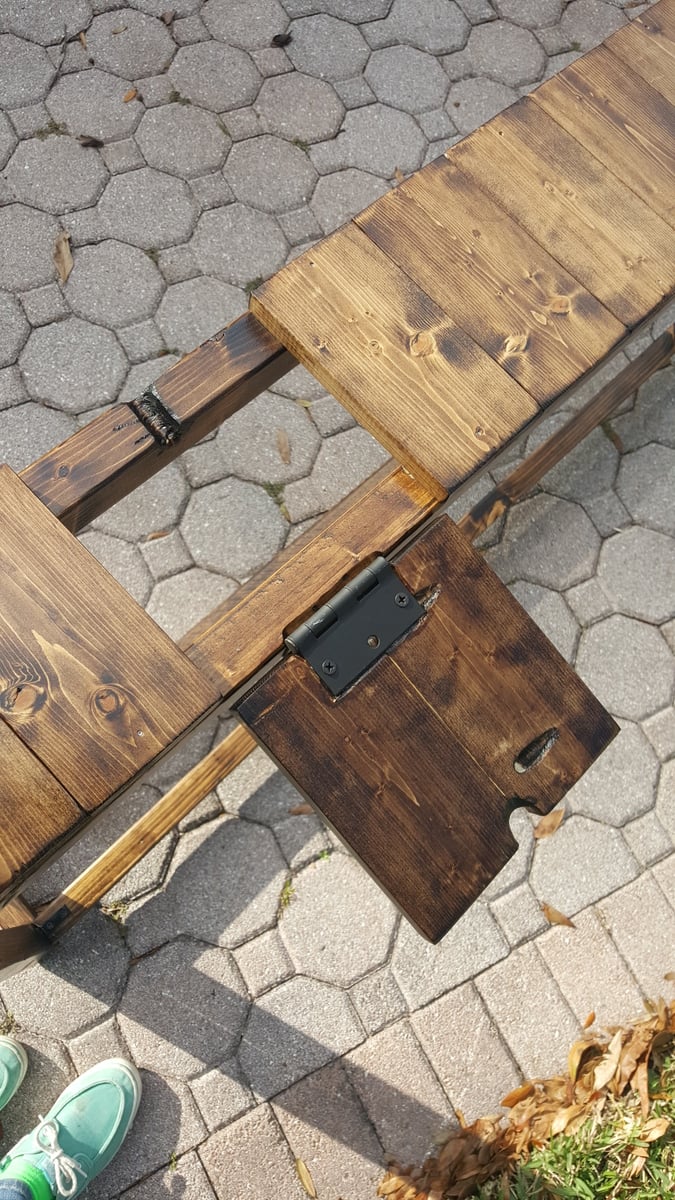
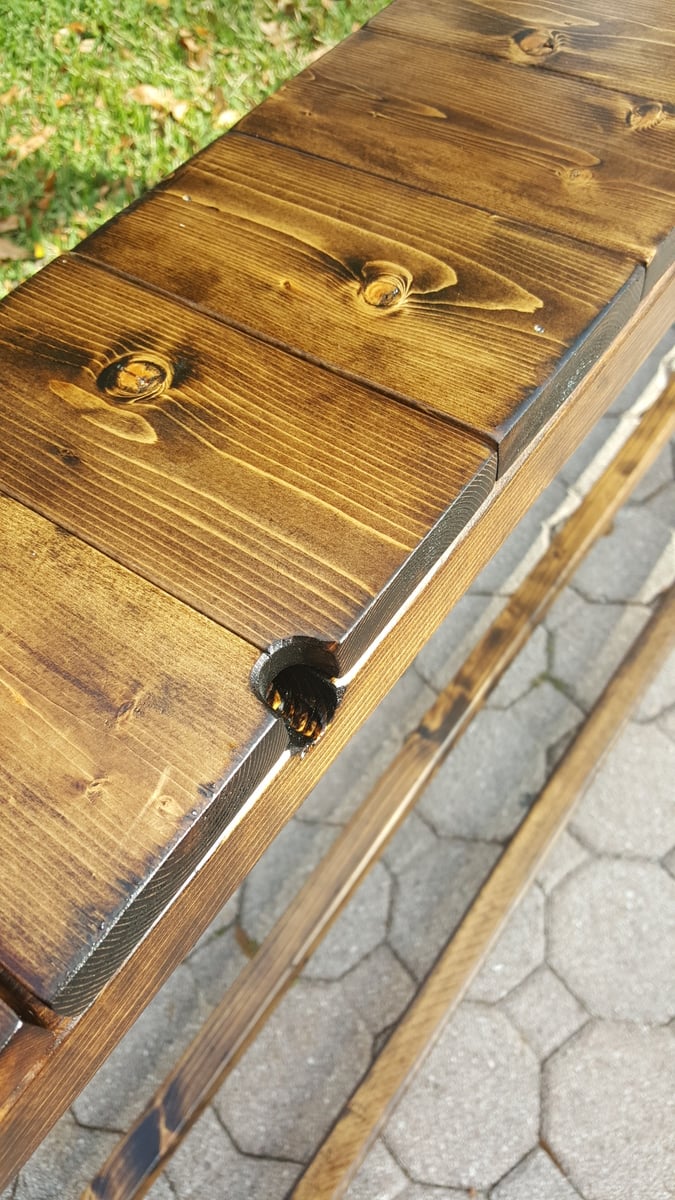
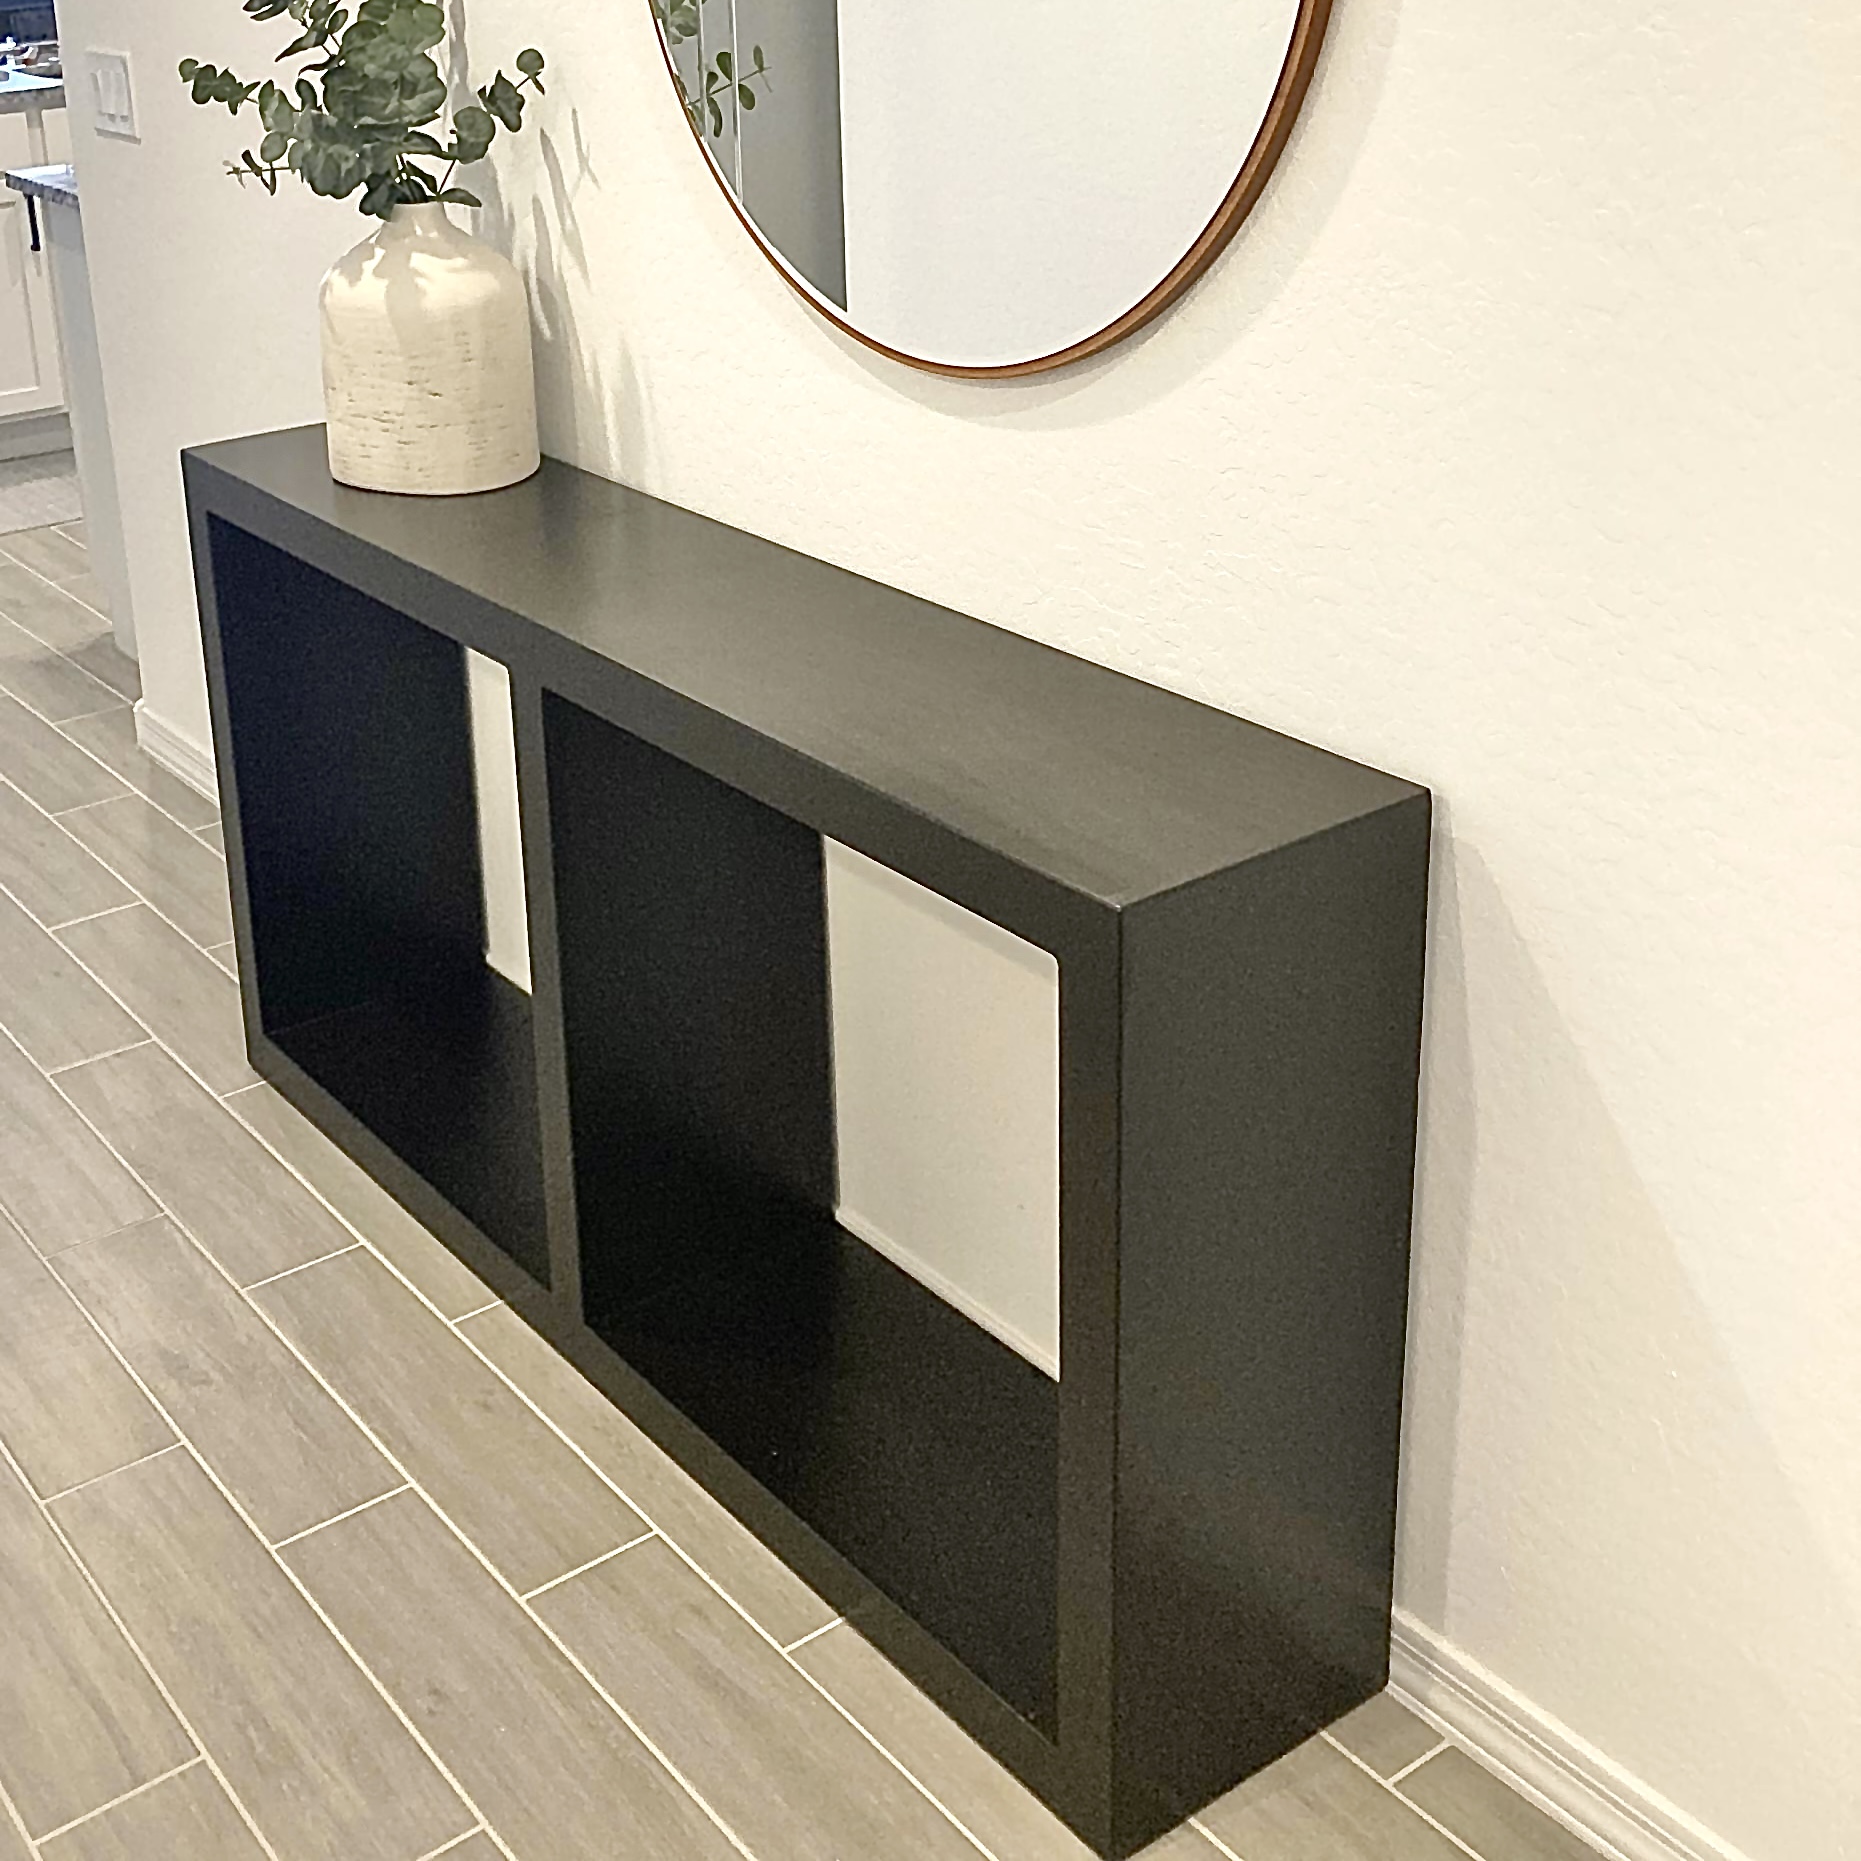
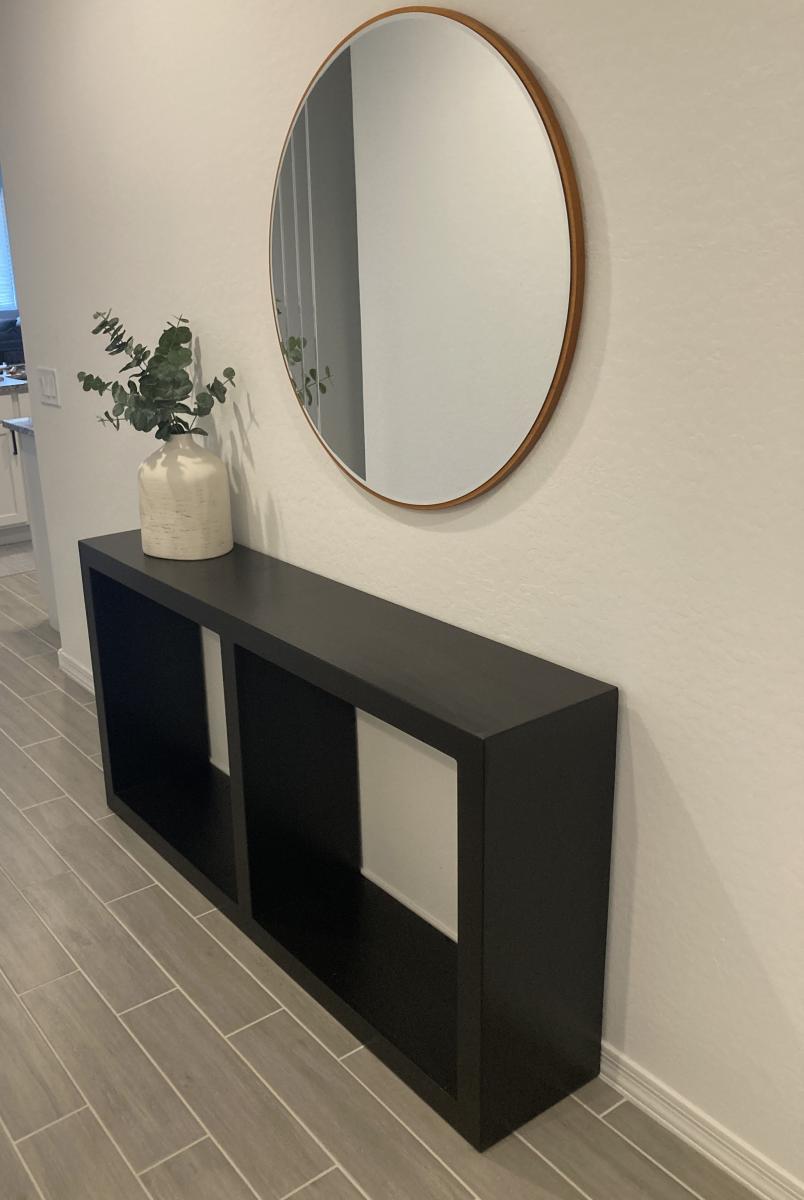
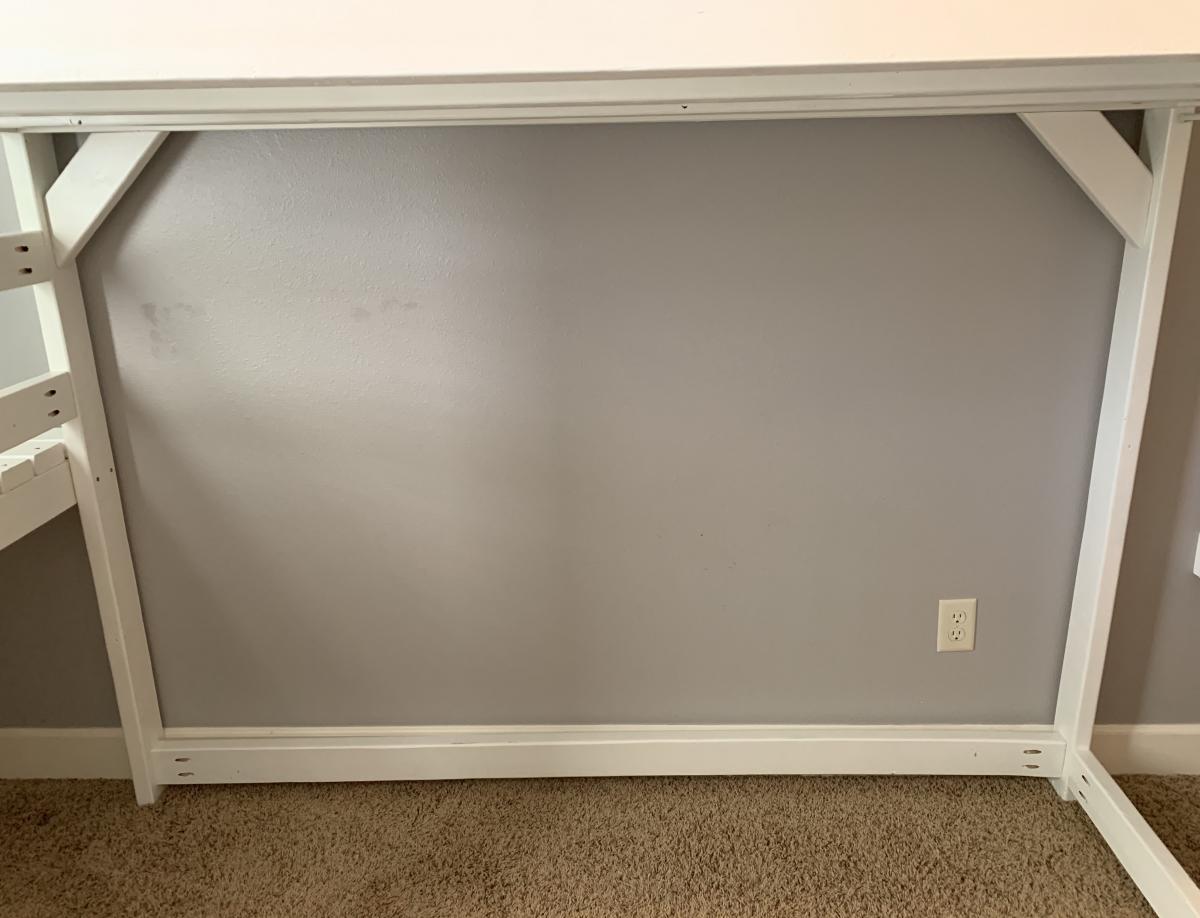
I based this design of the simple Sofa Table by Jenna Sue. Instead of a 2x8 across the top, I opted to use 1x4s side by side. This slatted look matched some of the other items in the house and to allowed me to create two hinged sections. These sections allow for easy access to wall plugs and include small notch for the cables to come through.

Estimated Cost
$35
Estimated Time Investment
Weekend Project (10-20 Hours)
Finish Used
Minwax Wodd Finish Dark Walnut Stain with Minwax Clear Satin Polyeurethane
Recommended Skill Level
Beginner

Potting Bench

Submitted by Anonymous (not verified) on Mon, 06/12/2023 - 04:33

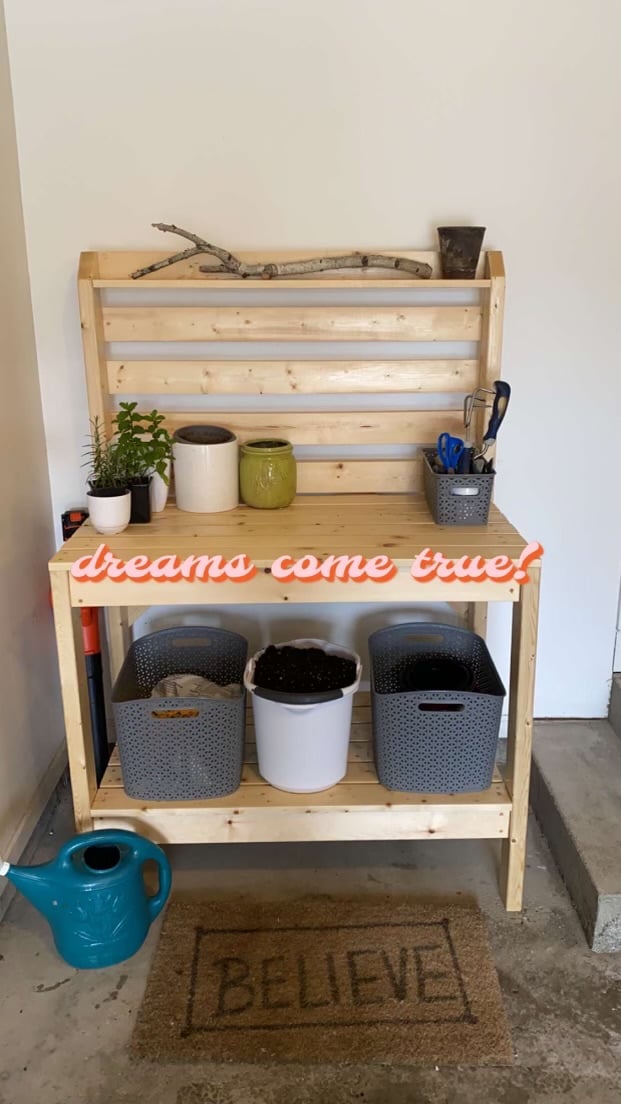
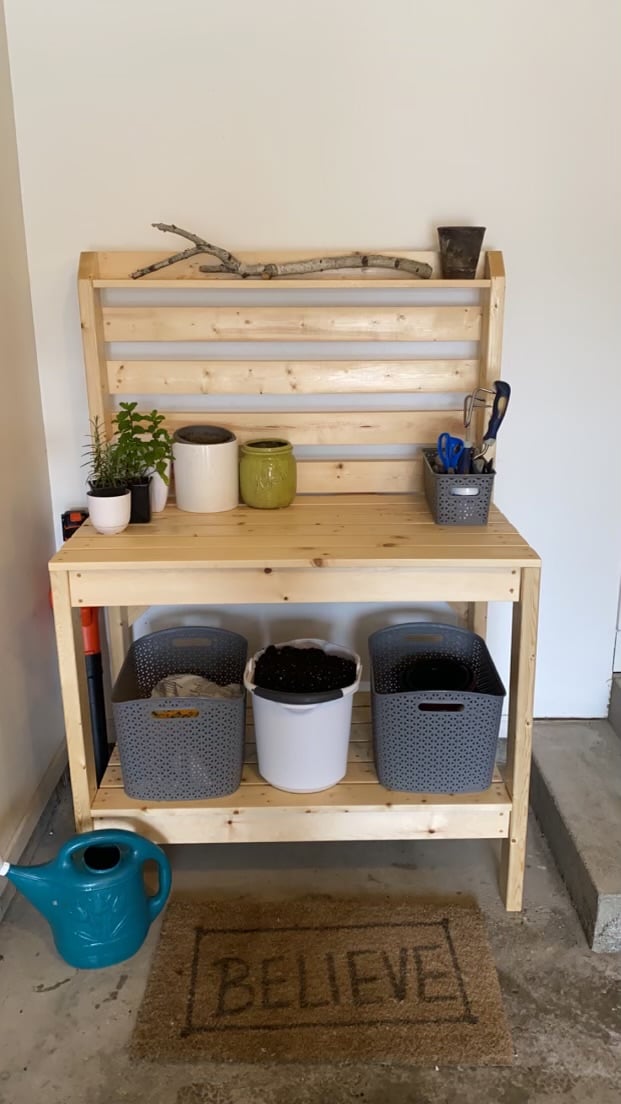
A friend asked if I could make a potting bench for her. She wanted something simple, functional and attractive. My first thought led me to Anna’s site and I found these plans. My friend is so happy with the design and is over the moon with happiness. Thank you!

Comments

Dining Table and Chairs

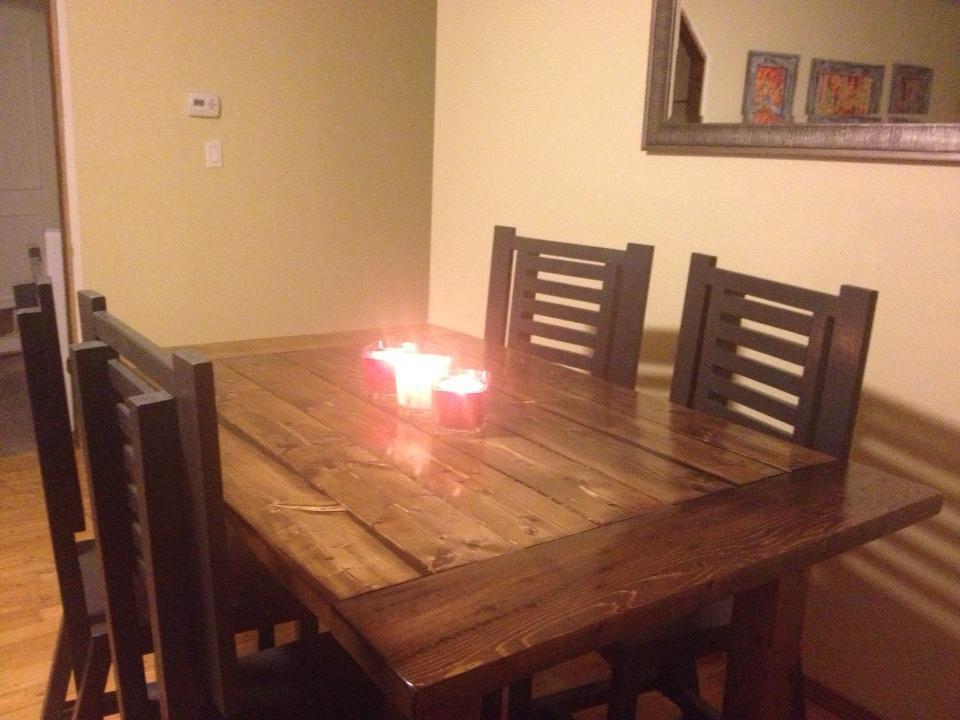
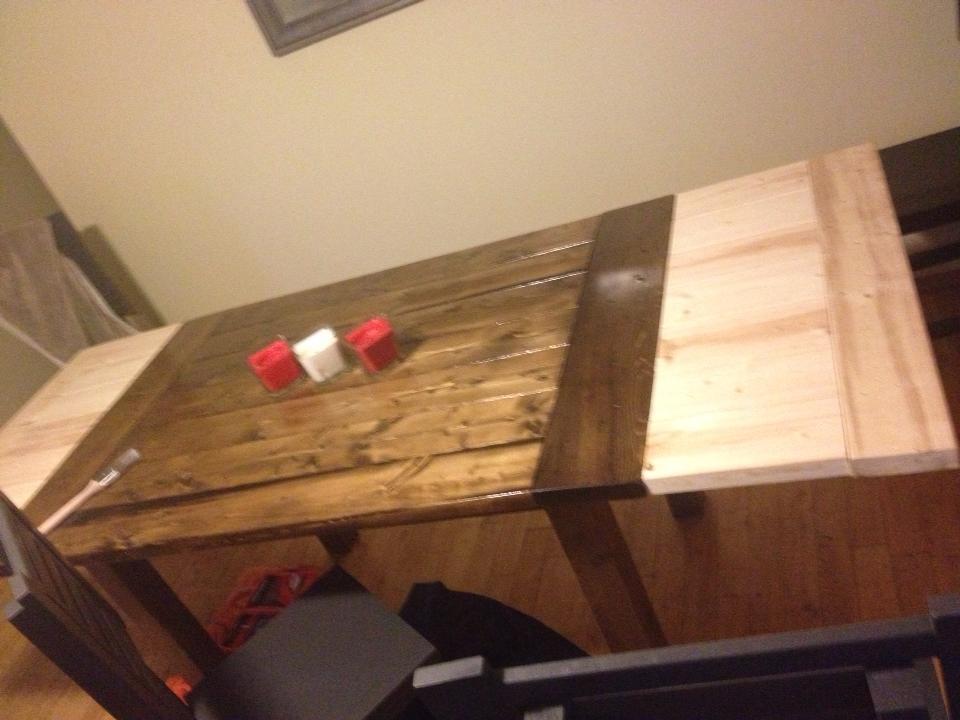
This was my first table - I added extensions by notching out the end 2x4's and making extensions that slide into the pockets. There were a few mistakes I made that will be corrected when I build my next.
I modified the length of the table down to 5 feet long, but with the extensions in it goes up to 8'. The table is also 34" tall due to a giant husband and Great Dane. The chairs were likewise modified in height and I made the backs a bit fancier using 1x2's and a nail gun.

Estimated Time Investment
Week Long Project (20 Hours or More)
Finish Used
Chairs are painted and waxed, table is stained and polyurethaned. When I do my next table it will be waxed.
Recommended Skill Level
Beginner

Twin Loft Beds for Twins

Submitted by annierey on Thu, 10/31/2019 - 16:33

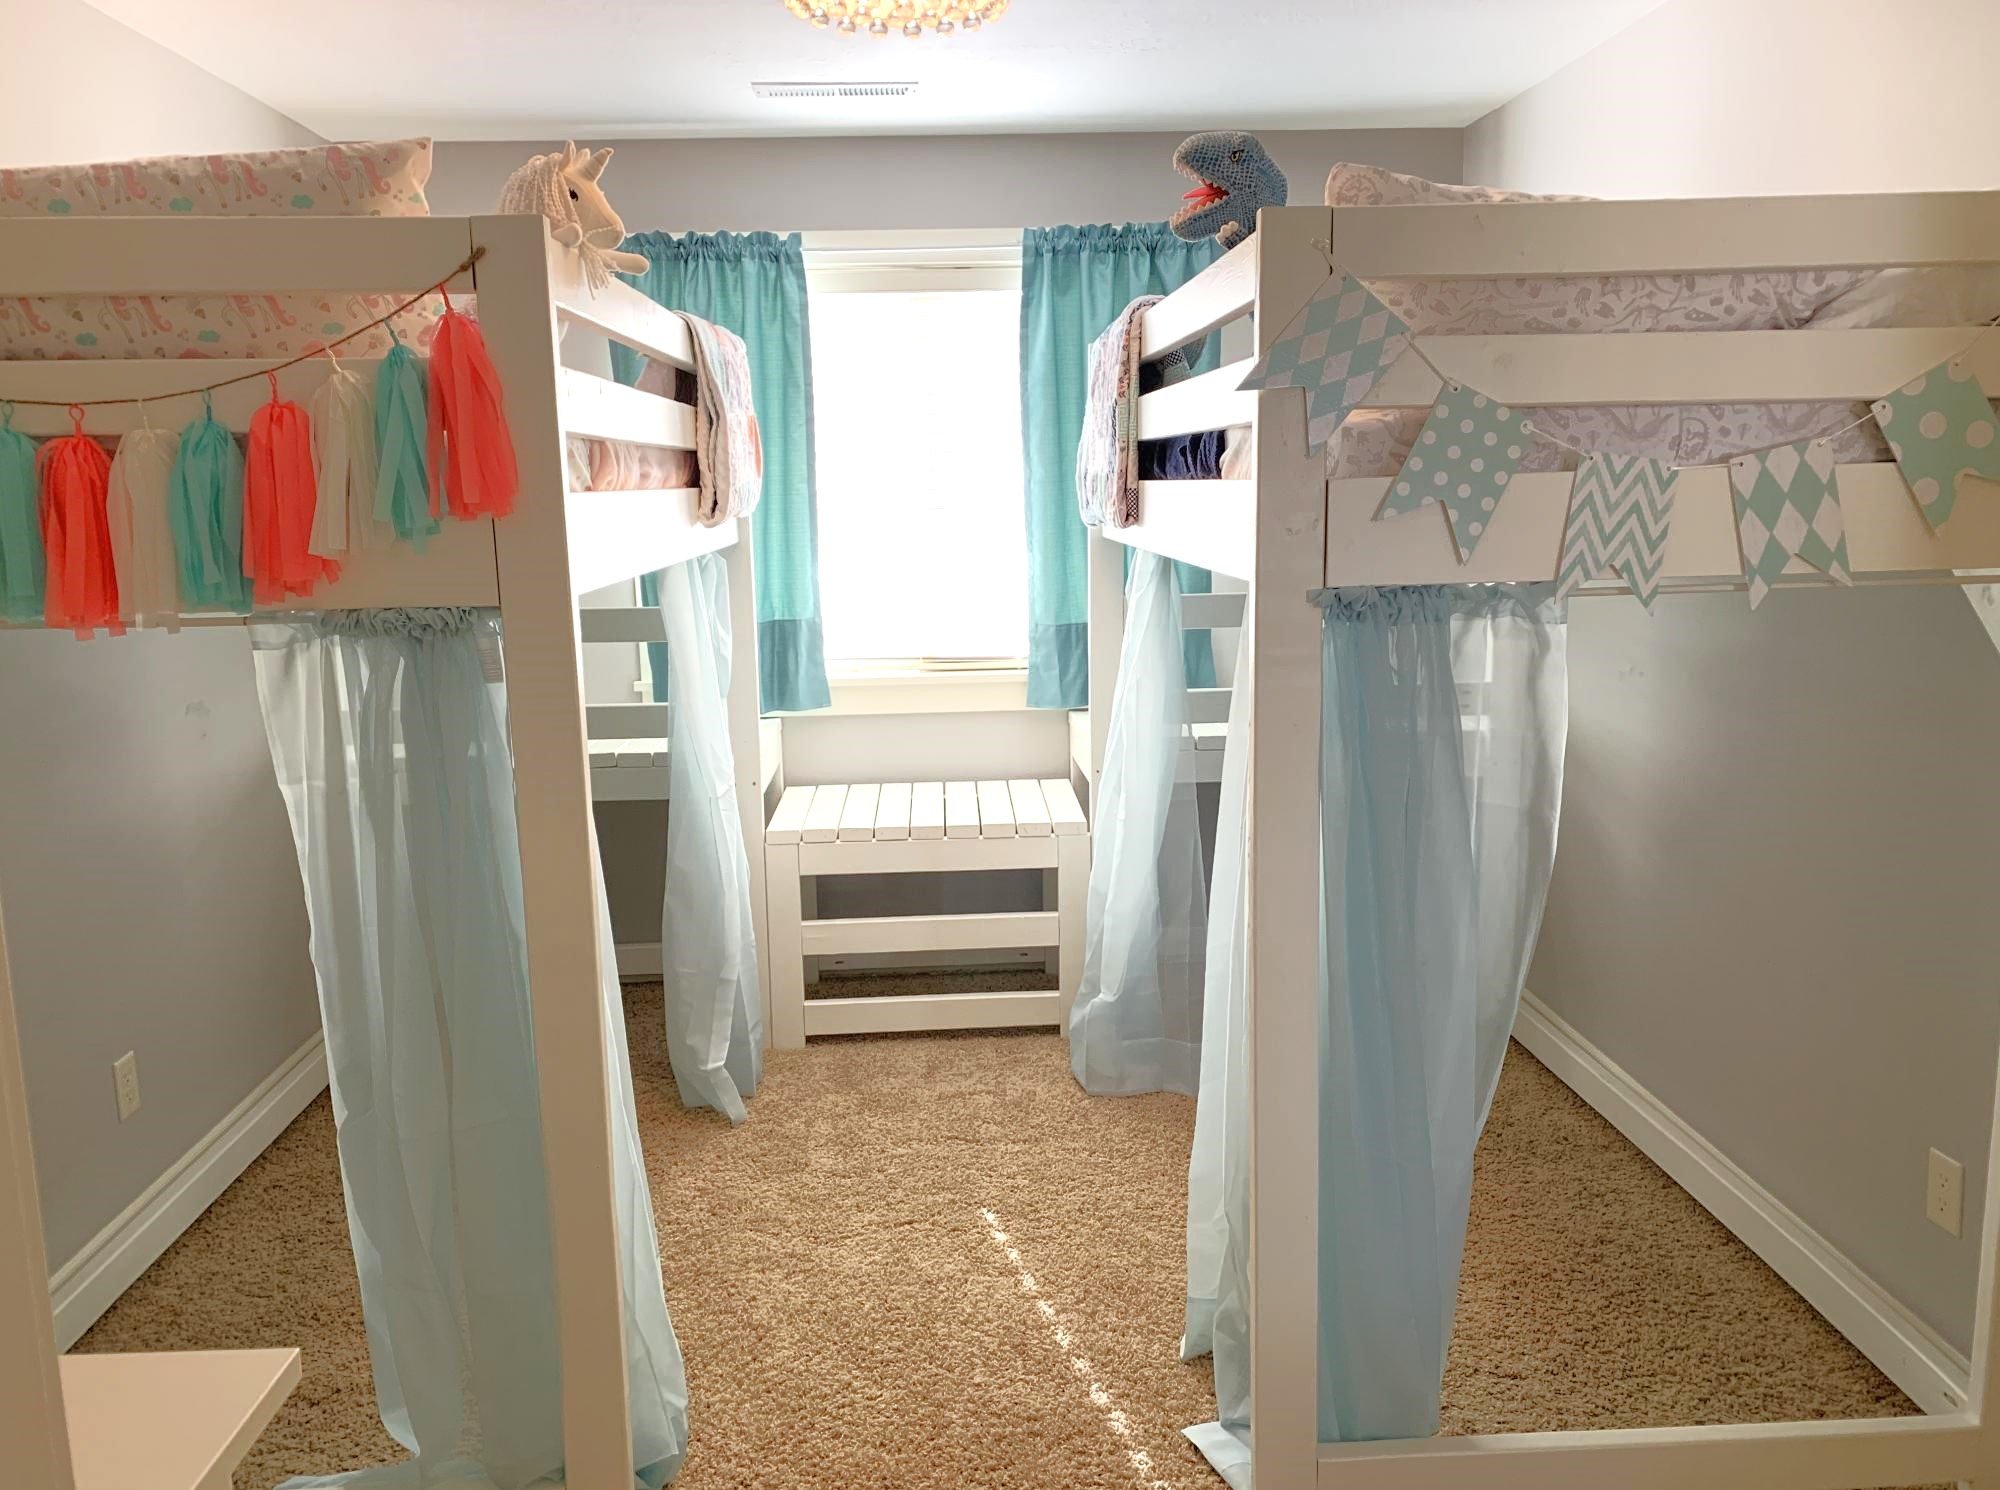
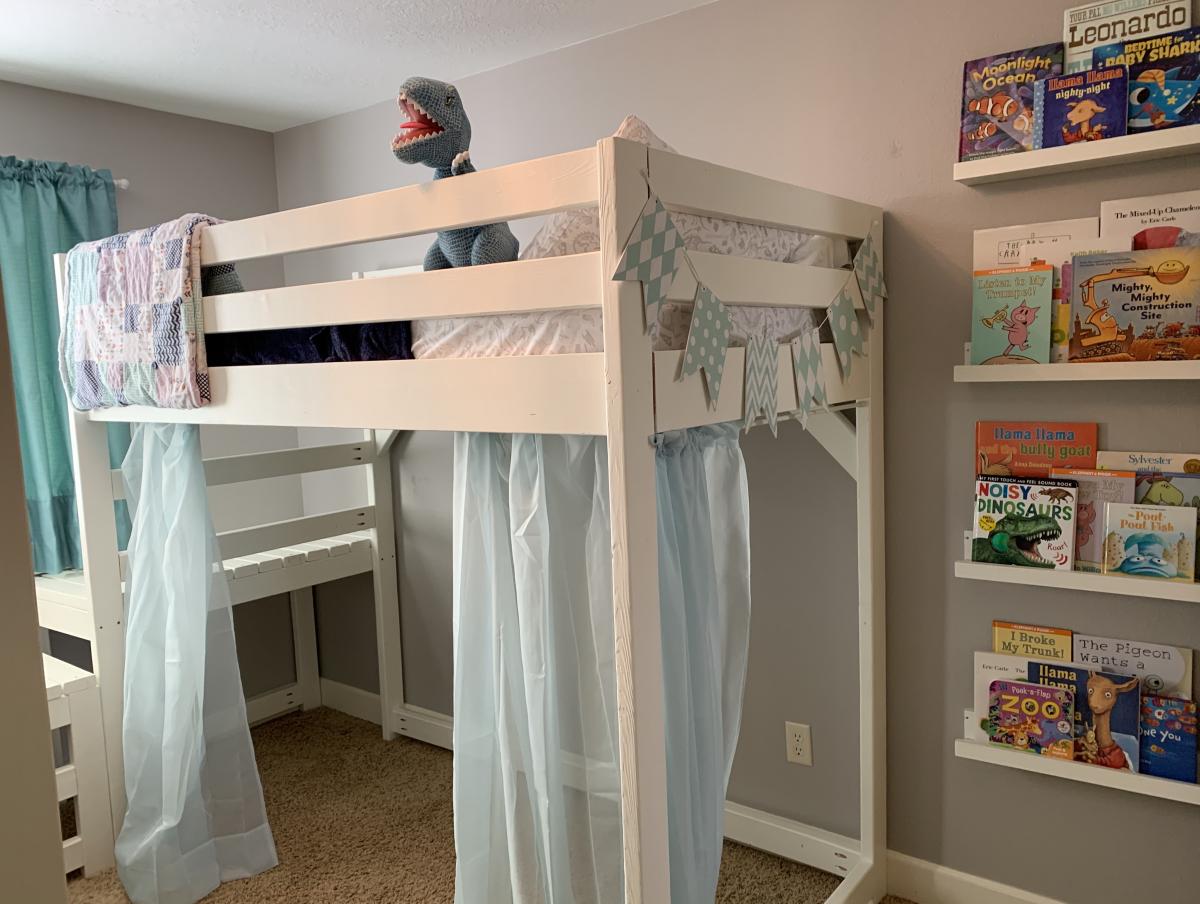
My twins just turned four and were still sleeping in their toddler beds, so it was time for an upgrade.  They still want to share a room so we knew we needed to maximize space and open up some room for them to play.  We chose the Camp Loft Bed but raised the height to 72" (with 53" of headspace) so we might be able to add a desk underneath when they get older. 

Essentially, we made two loft beds with the platforms but omitted the stairs.  Then we built a slightly lower platform to put between the two beds, which acts as a step down.  Then instead of making stairs that jut out into the room, we added two 2x4s as ladder rungs to the lower platform.  This also acts as a tunnel for the twins to crawl under to go between each other's play spaces.   This also makes it so the beds can be easily separated if we ever need to put them in separate rooms. 

When it was complete we noticed one of the beds was a little wobbly, so we added diagonal braces in the corners and another 2x4 across the length of the bottom to help stabilize it.  We also chose to use 1x4 pieces of pine as the slats for the mattress to lay across, but they didn't feel like they would support our weight if we wanted to read to them in bed.  So we added two more 2x4s underneath the slats the entire length of the bed, which has added a ton of support. 

We stopped keeping track of exactly how much it cost, but it was close to $400 for both beds combined.  And it took most of my husband's free time for two weeks, but most of that was painting two coats of paint on every piece before assembling.  First he cut all the pieces to size, drilled the holes with a Kreg Jig, and then painted.  To make the painting more efficient, he put a bunch of screws into boards so he could paint all the exposed sides of the lumber, flip, and leave them to dry.  Then we assembled the beds in their room. 

The twins love their new beds, and we love how much more space they have to play in their room!  We were worried the room would feel too crowded but with the openness of the plan and the space that was opened up underneath, we think it turned out great!  Now we can move in a bunch of their toys and reclaim some of our house!  Thanks for the great plans!
Estimated Cost
$400
Estimated Time Investment
Week Long Project (20 Hours or More)
Finish Used
Two coats of white paint/primer
Recommended Skill Level
Beginner

Square Turned Leg Farmhouse Kitchen Table

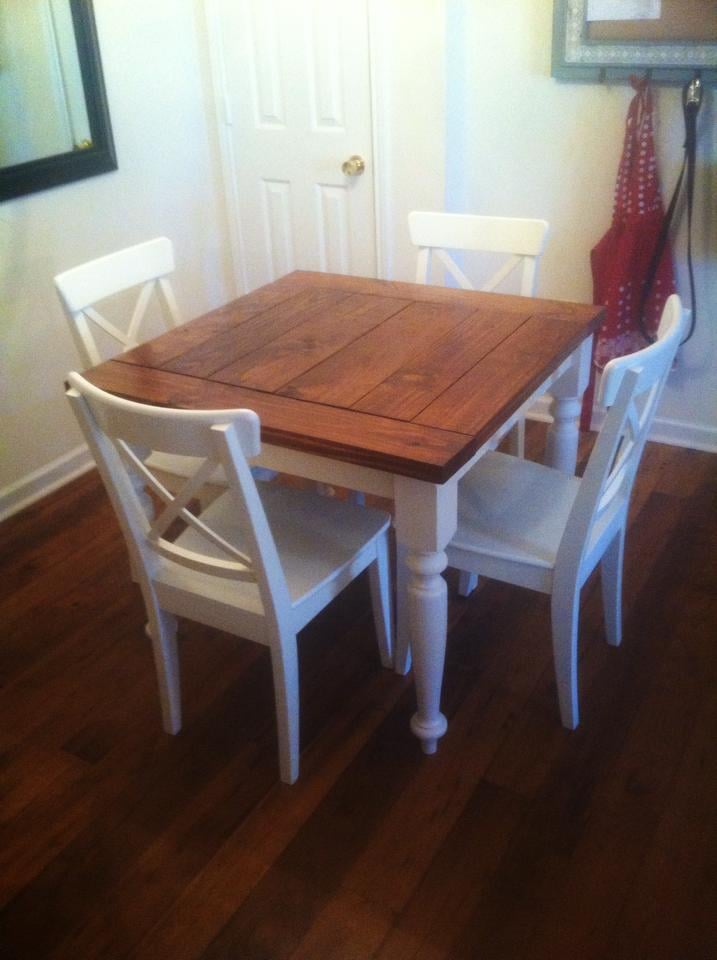
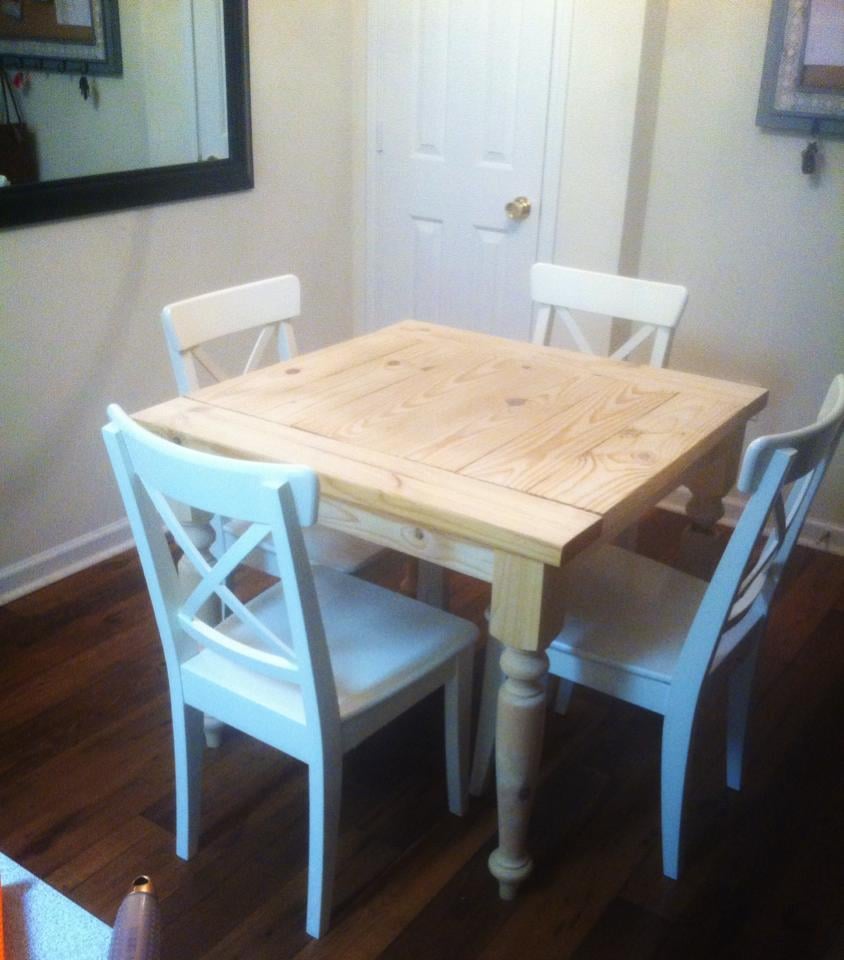
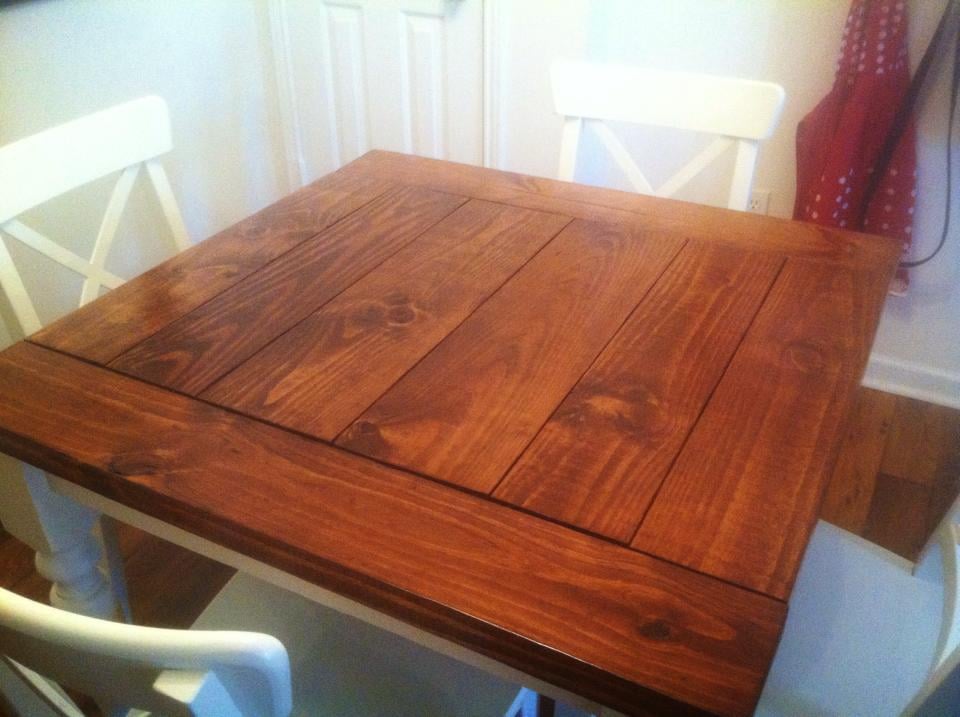
I had to do a 3ftx3ft square table since our eating area in the apartment isn't big enough for a dining table, but I really like how it turned out :) I also added breadboard ends because I can't stand how the cut ends look. I got the legs from osborne wood

Built from Plan(s)
Estimated Cost
$160
Estimated Time Investment
Weekend Project (10-20 Hours)
Finish Used
Minwax English Chestnut, Antique Beige Paint, and Helmsman Clearcoat
Recommended Skill Level
Beginner

Comments

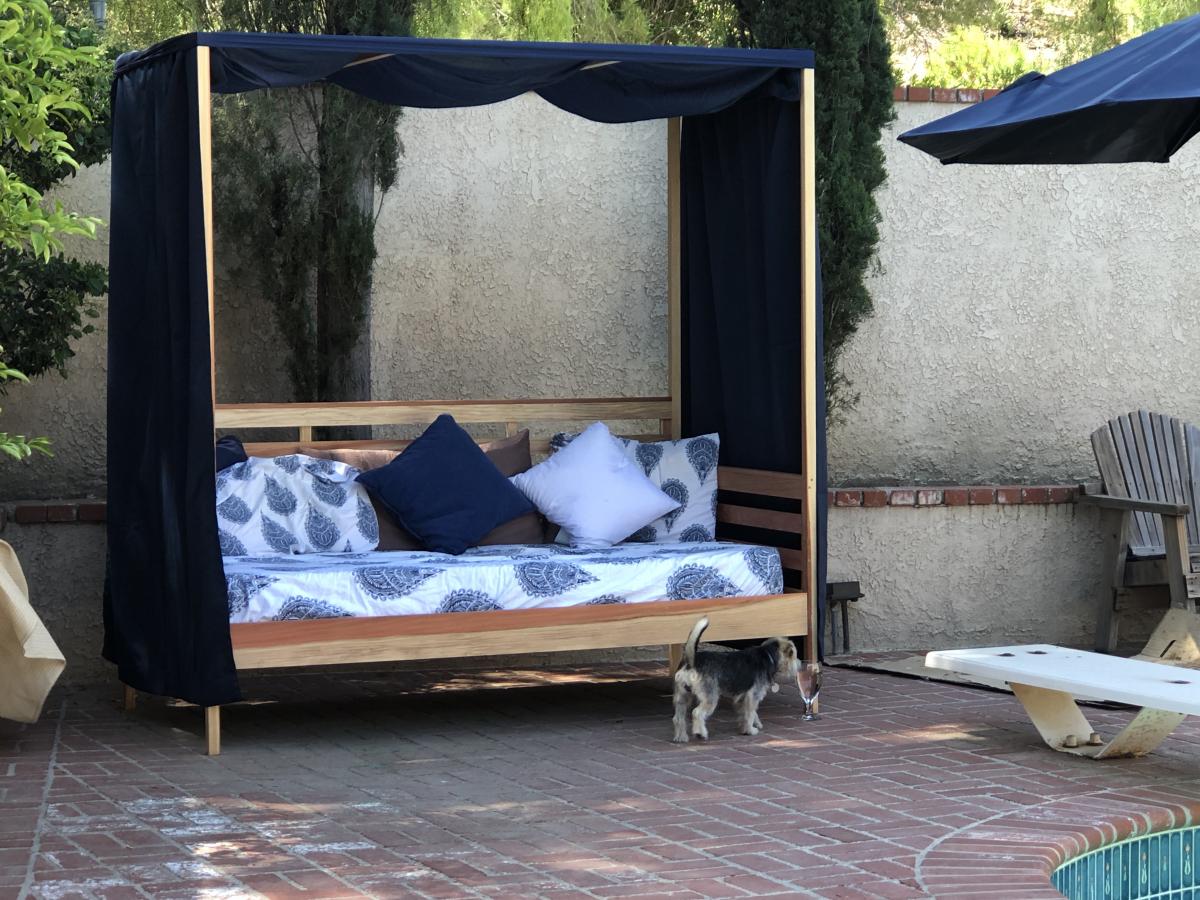
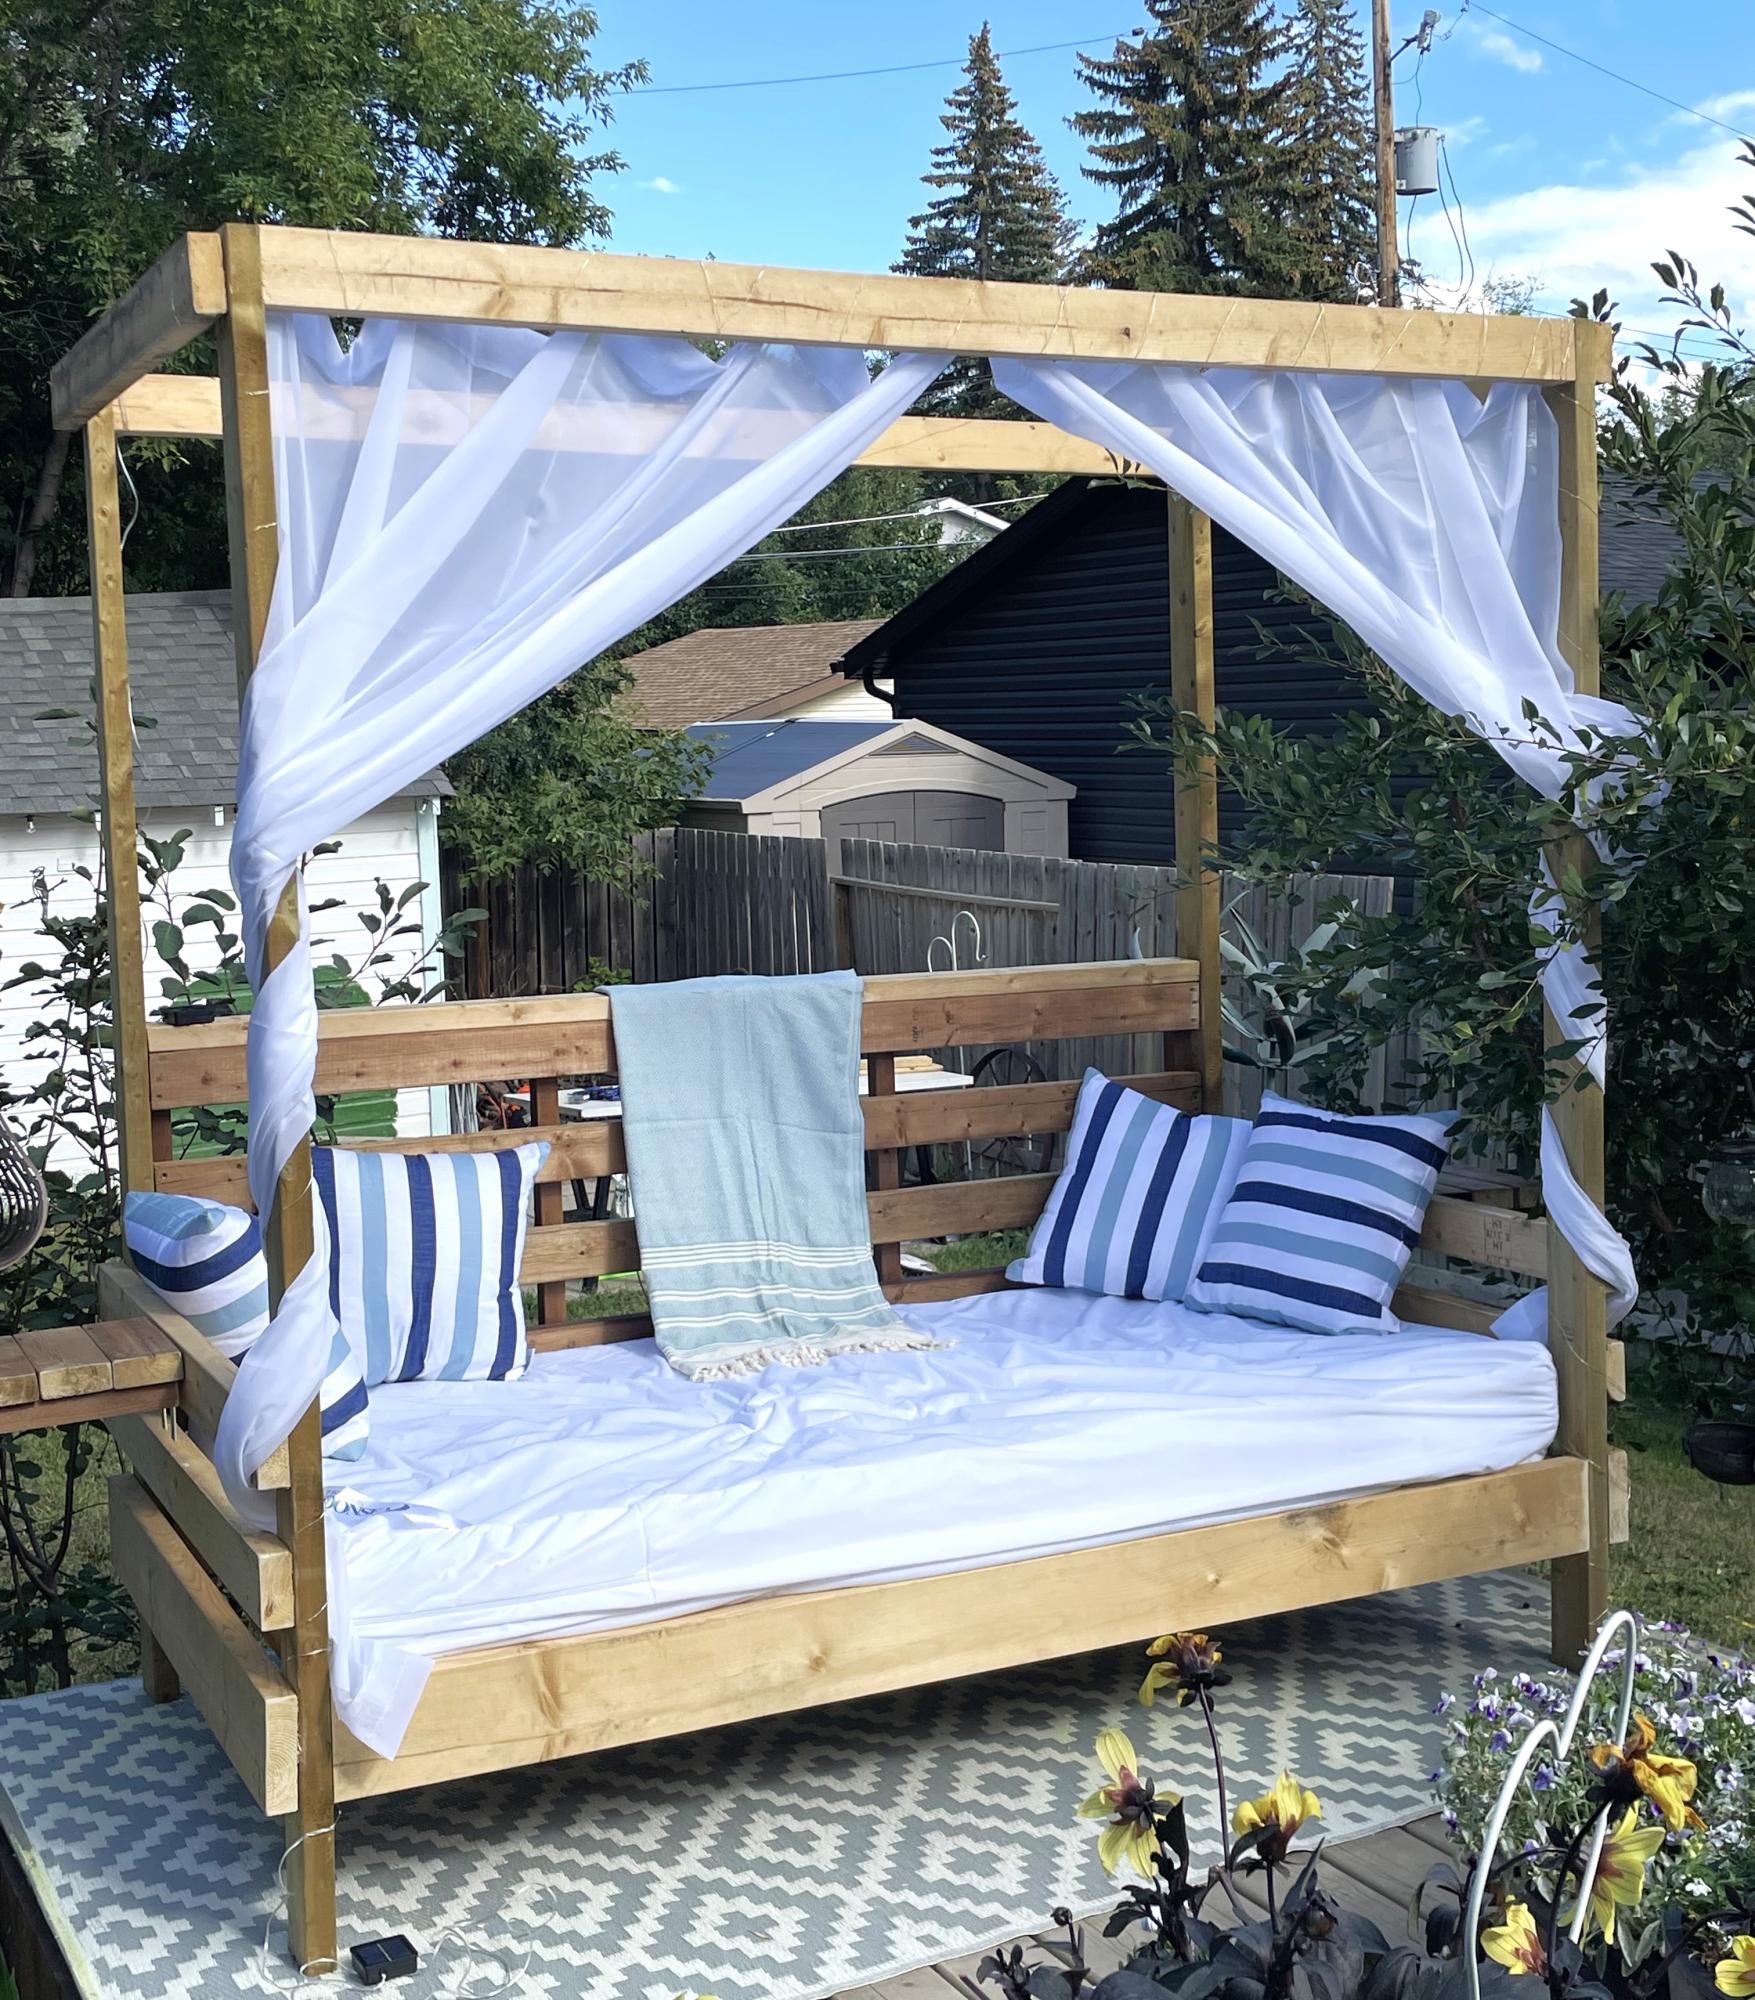
Outdoor Canopy Daybed - First Project!

Submitted by Anonymous (not verified) on Fri, 07/28/2023 - 14:16

This was the first time I ever built anything - before this is hardly used a drill. It was big for a first build, and I did it entirely alone aside from a few text messages with questions. I added a couple little end tables to it for a book and a drink, and it’s now my favourite outside summer spot.

Facebook user @robyn.marie.3572

Built from Plan(s)

Twin Farmhouse with Trundle

Submitted by mommaerika on Wed, 04/25/2012 - 09:52

This is the twin farmhouse bed and the matching trundle. We chopped about 8 inches off the headboard since we were not using a boxspring for our mattress. Other than that it's as written. I'm so thrilled to free up space in our girls' room!

Estimated Cost
$200 - 250 give or take for both
Estimated Time Investment
Weekend Project (10-20 Hours)
Finish Used
Primer, 2 coats of basic white semi-gloss paint, and poly.
Recommended Skill Level
Beginner

Comments

t00court

Fri, 08/22/2014 - 16:27

This is exactly what I'm looking for!
My husband and I would like to begin building this ASAP. Could you please clarify for me that the original measurements for the Twin Farmhouse bed and the trundle bed will certainly be able to accommodate one another? I just want to make sure it'll fit! I think I saw someone else comment that they changed some of the measurements to make a trundle bed fit underneath, but they didn't go into detail.

We also won't be using a box spring.

Thank you for your help!

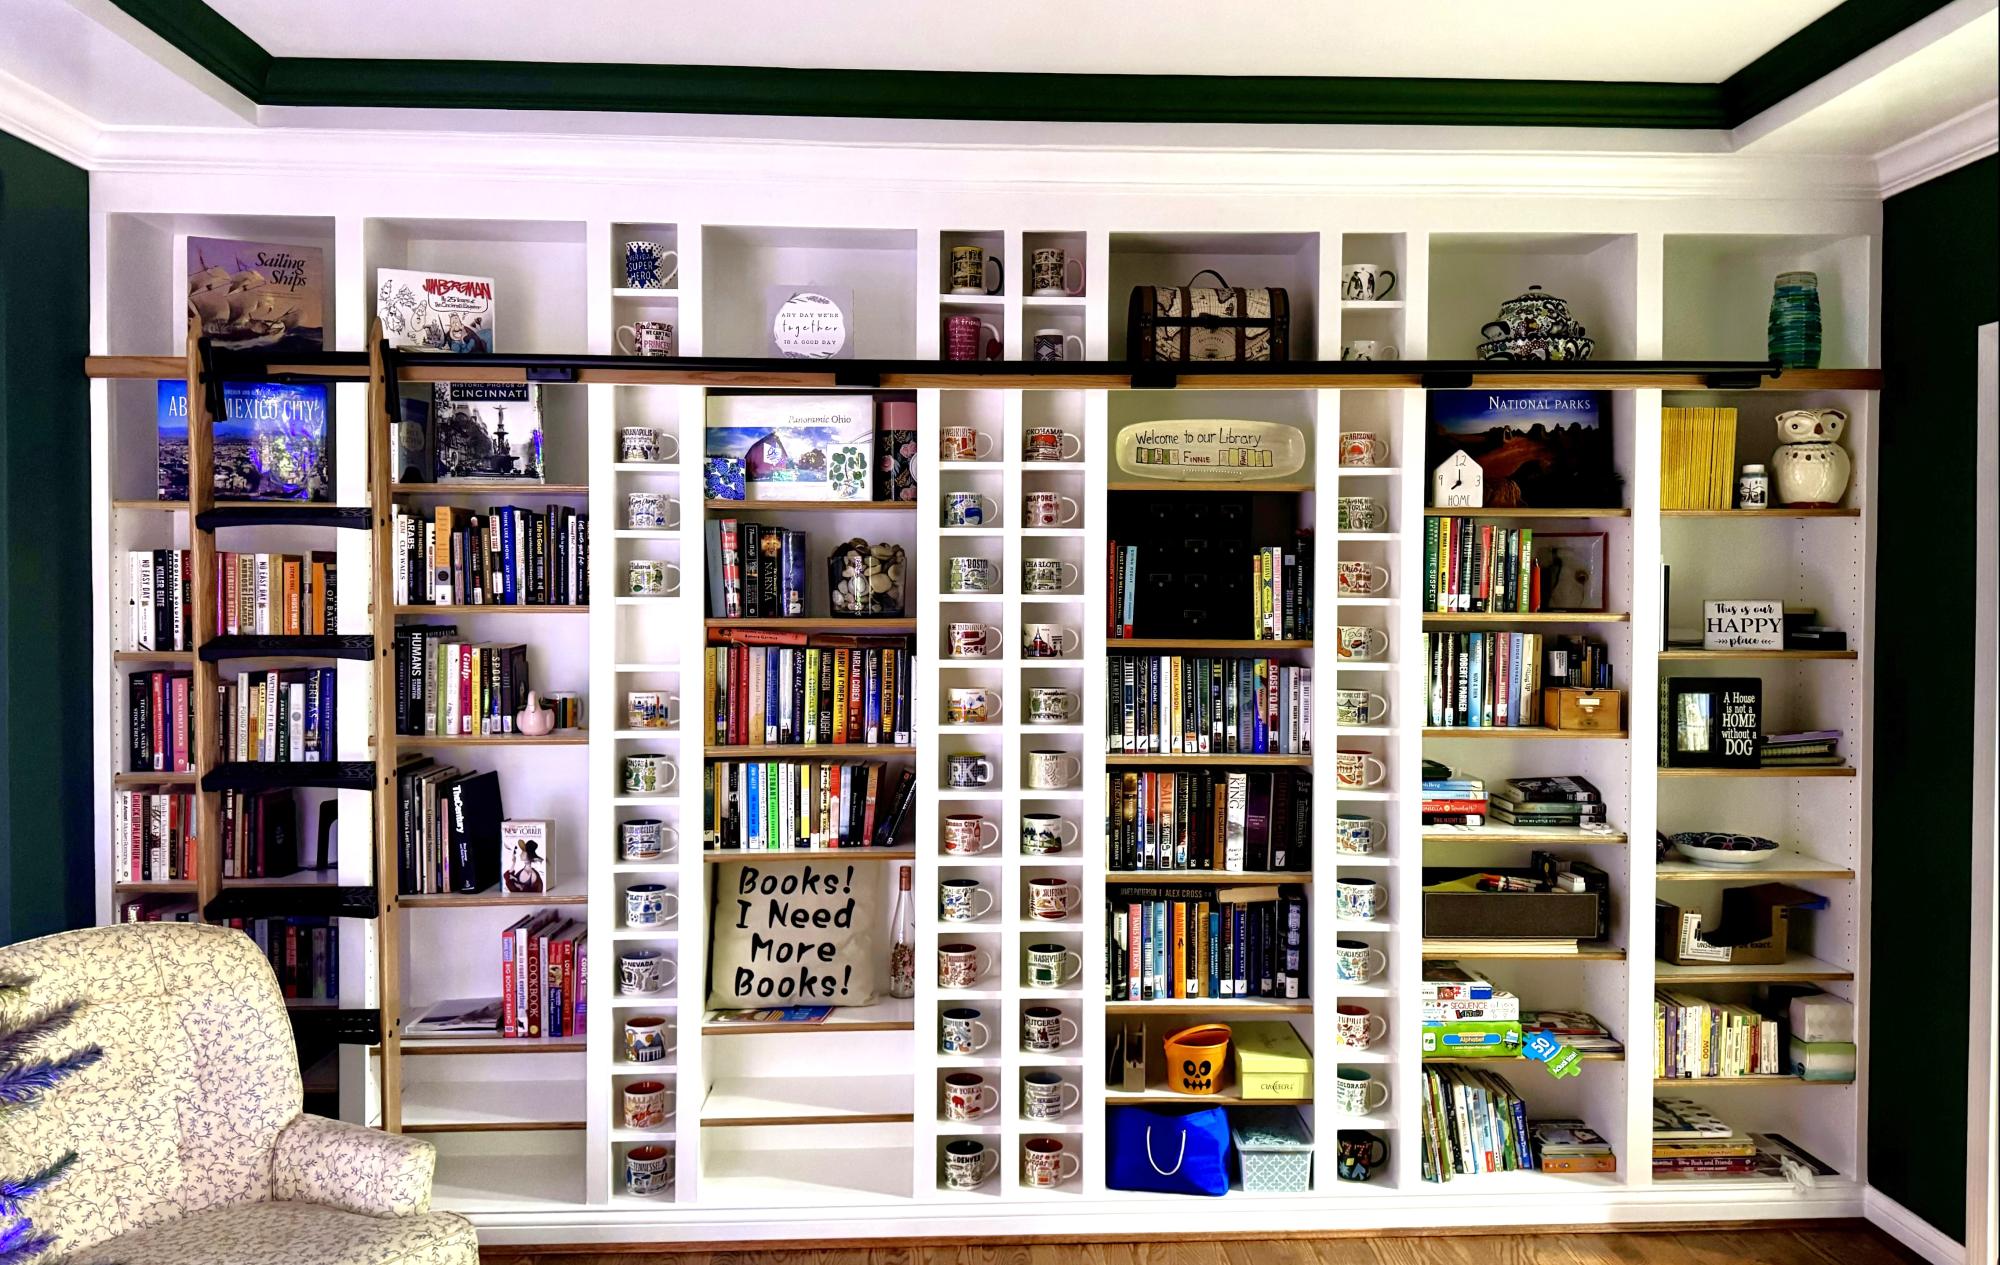
Custom Bookcase Wall

Submitted by Anonymous (not verified) on Thu, 11/16/2023 - 09:19

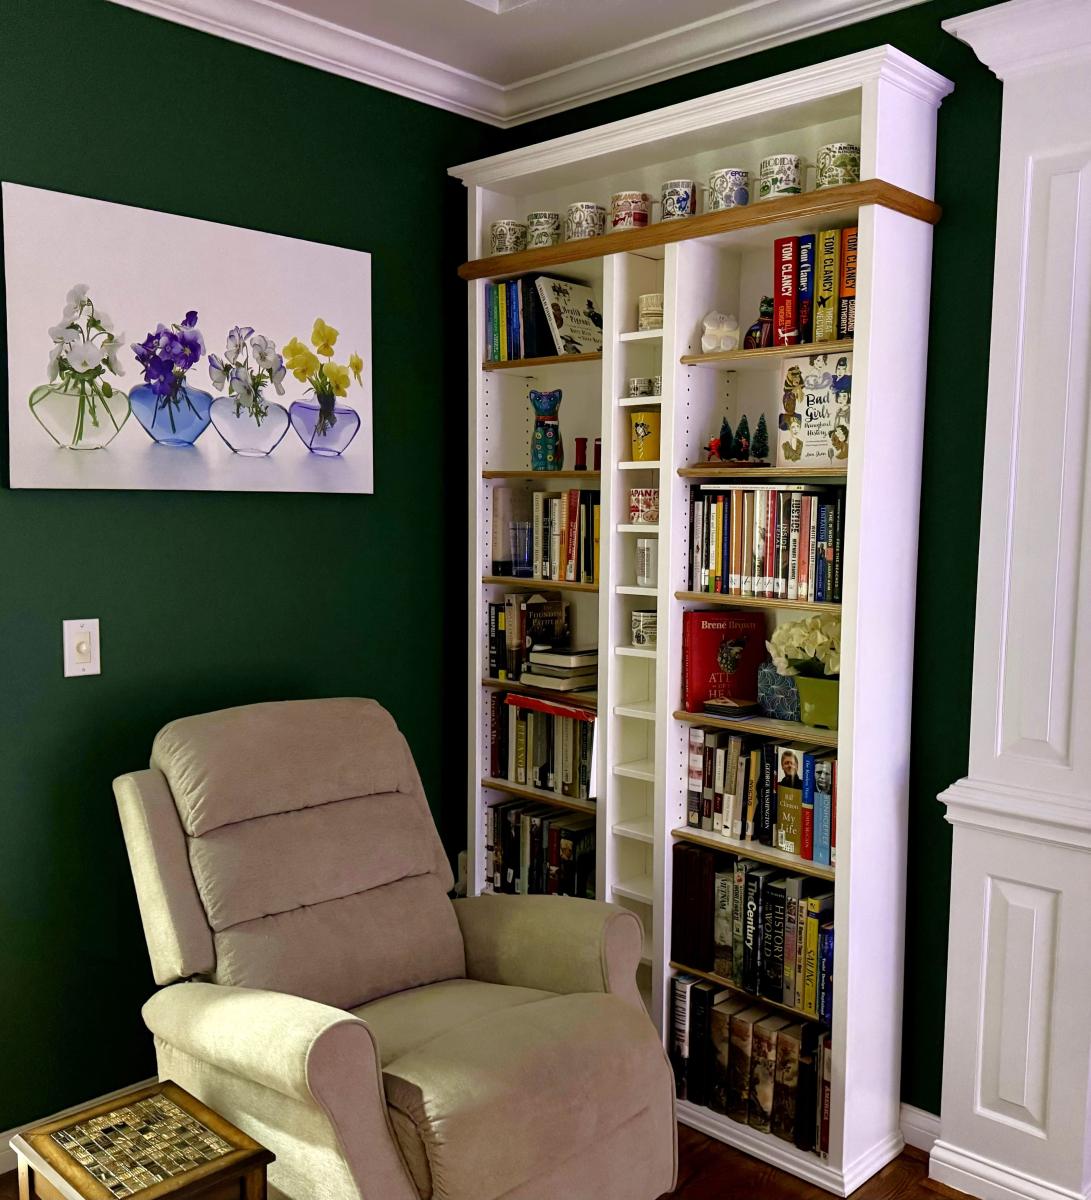
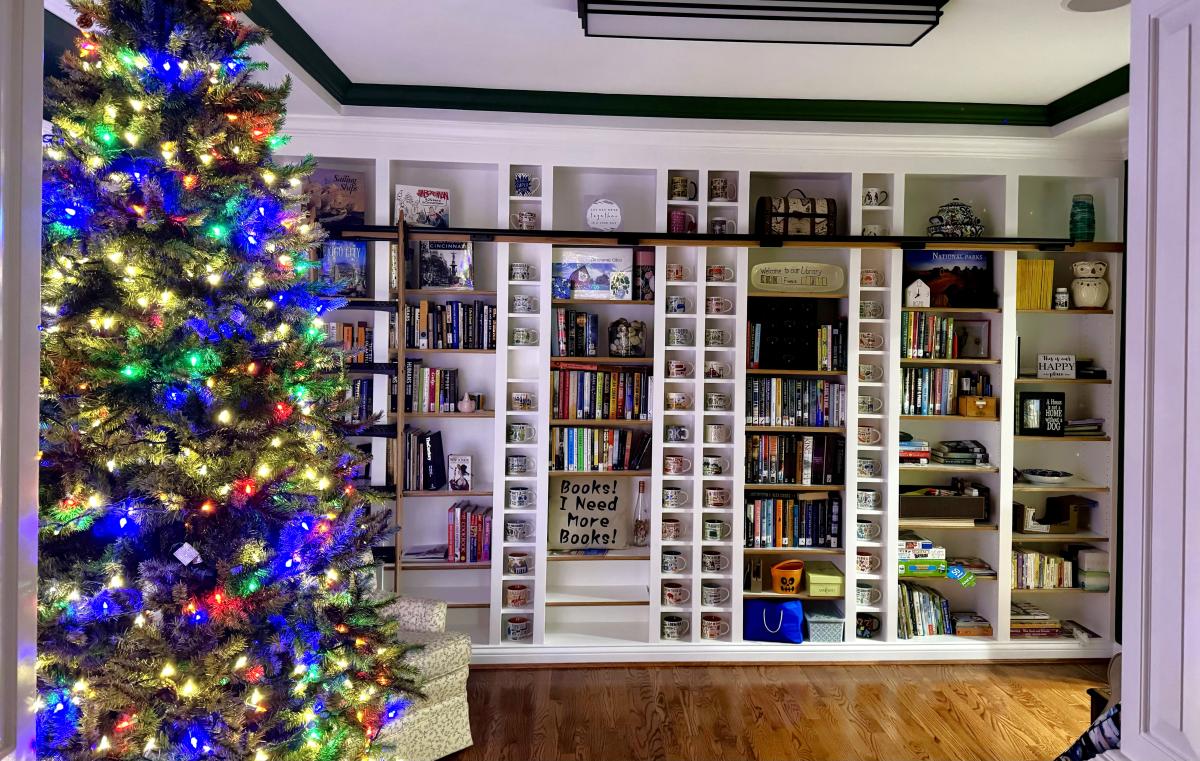
These bookshelves are modified from the Extra Wide Console Bookcase Plans from your website. They were constructed using 3/4 inch plywood for the bookcases, 6” MDF boards for the cup cubbies, and 1/2 inch plywood for the shelves. Purchased a jig from Rockler to drill the 1,000+ shelf holes and built the rolling ladder from oak using the plans and parts from Rockler. What began as a plan for a simple bookcase morphed into selling the dining room furniture and converting the room (which we had only used once in over 2years) into a library that we enjoy every day!

Built from Plan(s)

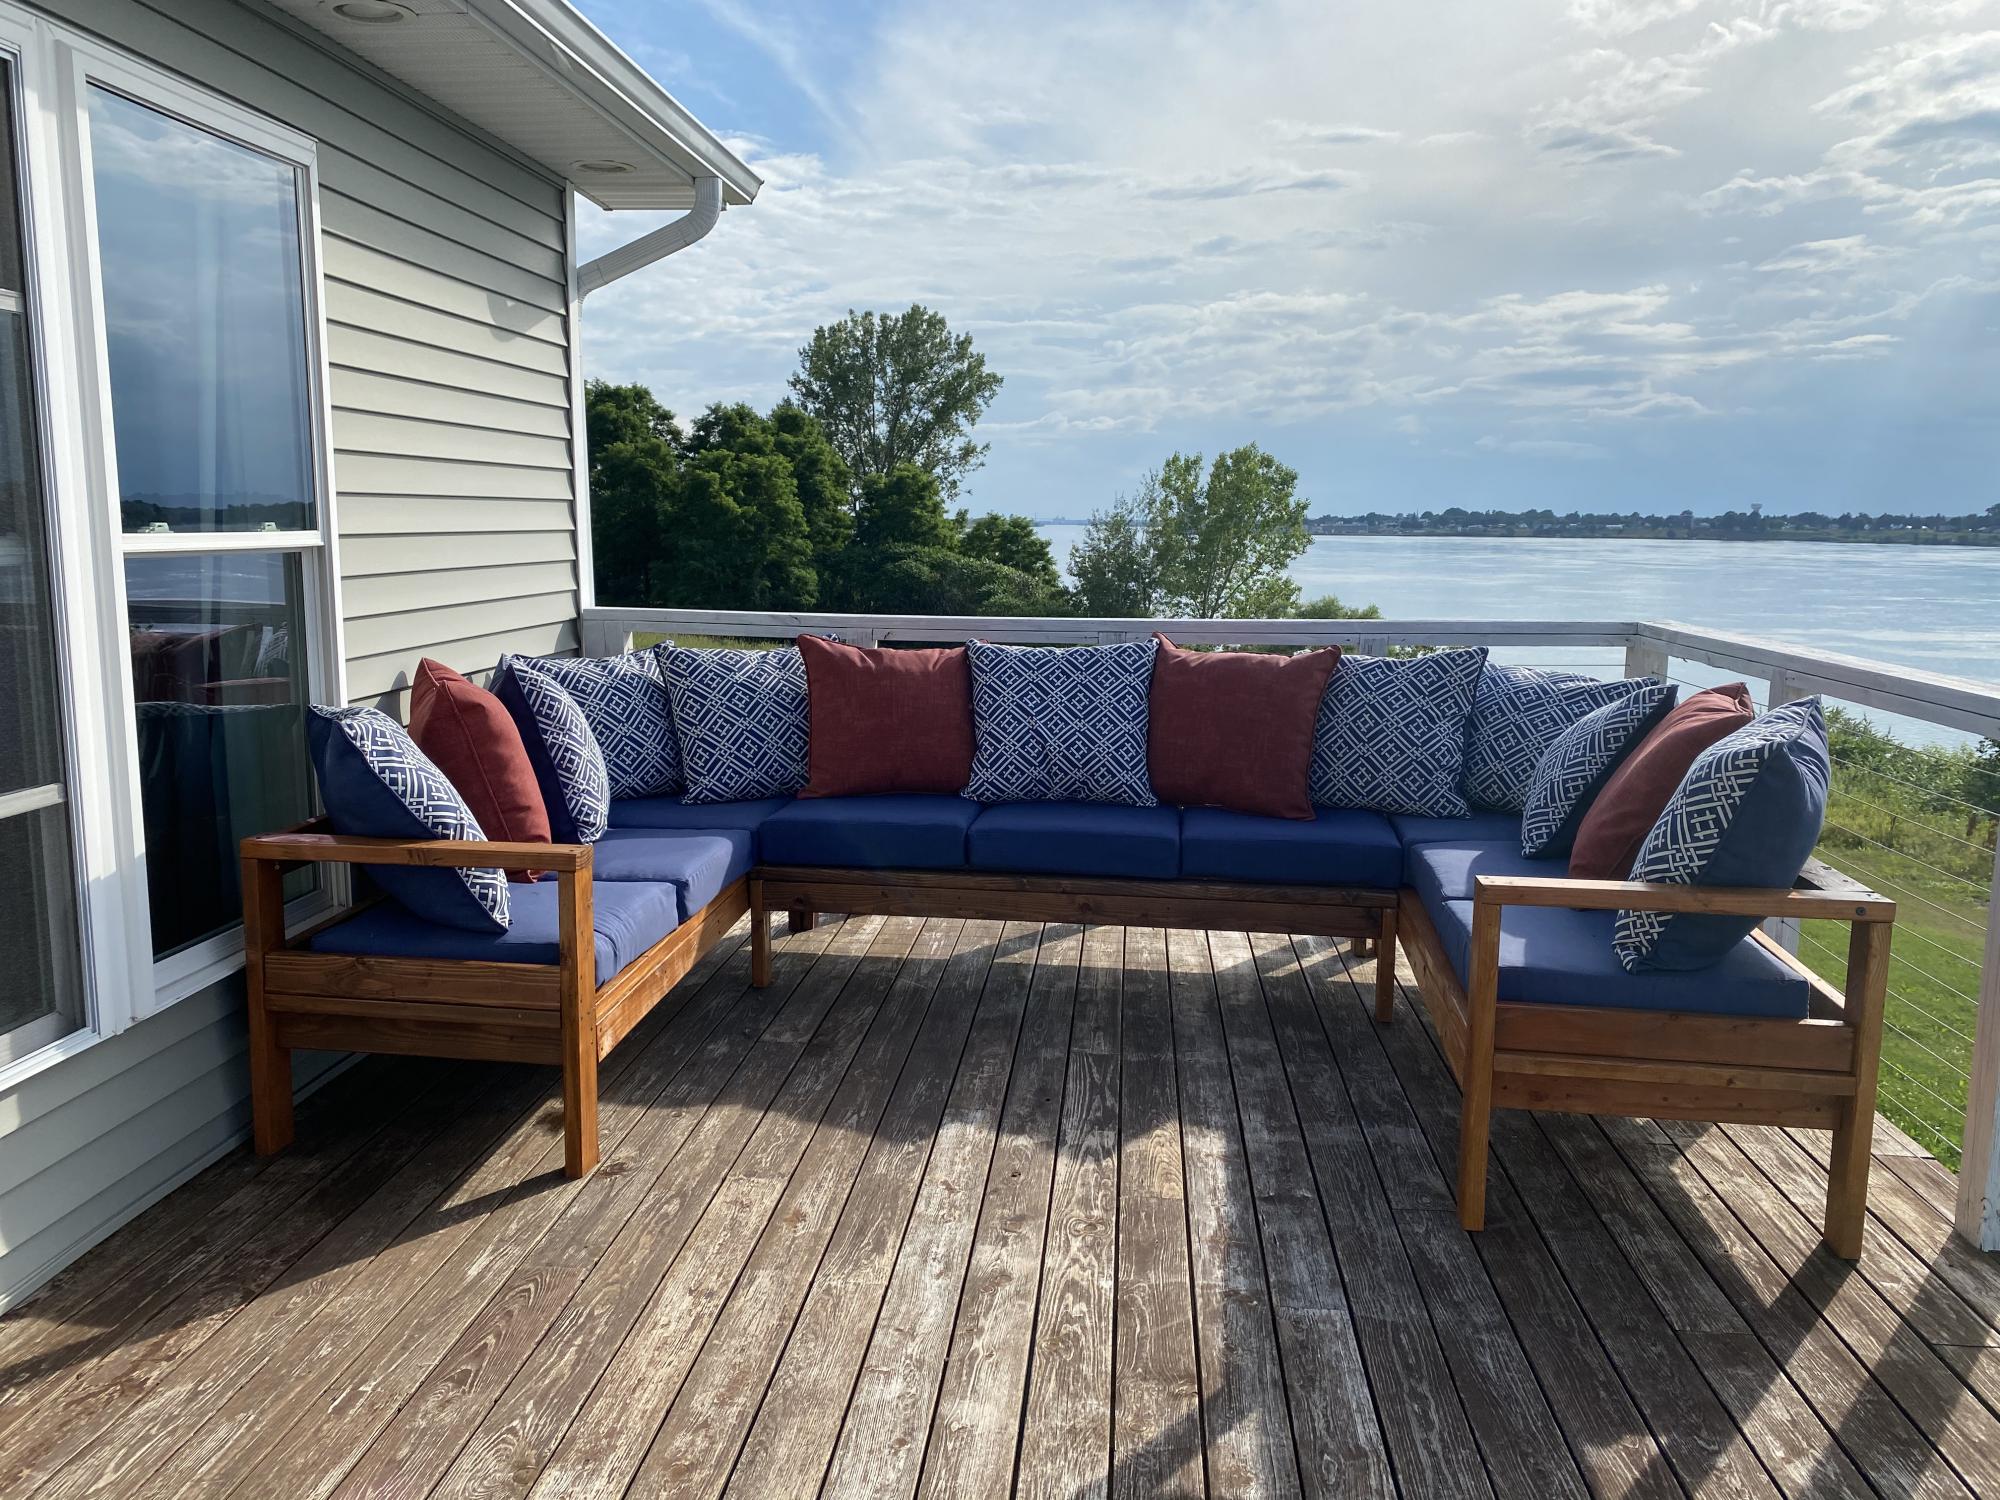
Outdoor Sectional Set

Submitted by suzyq7811 on Mon, 05/12/2014 - 17:33

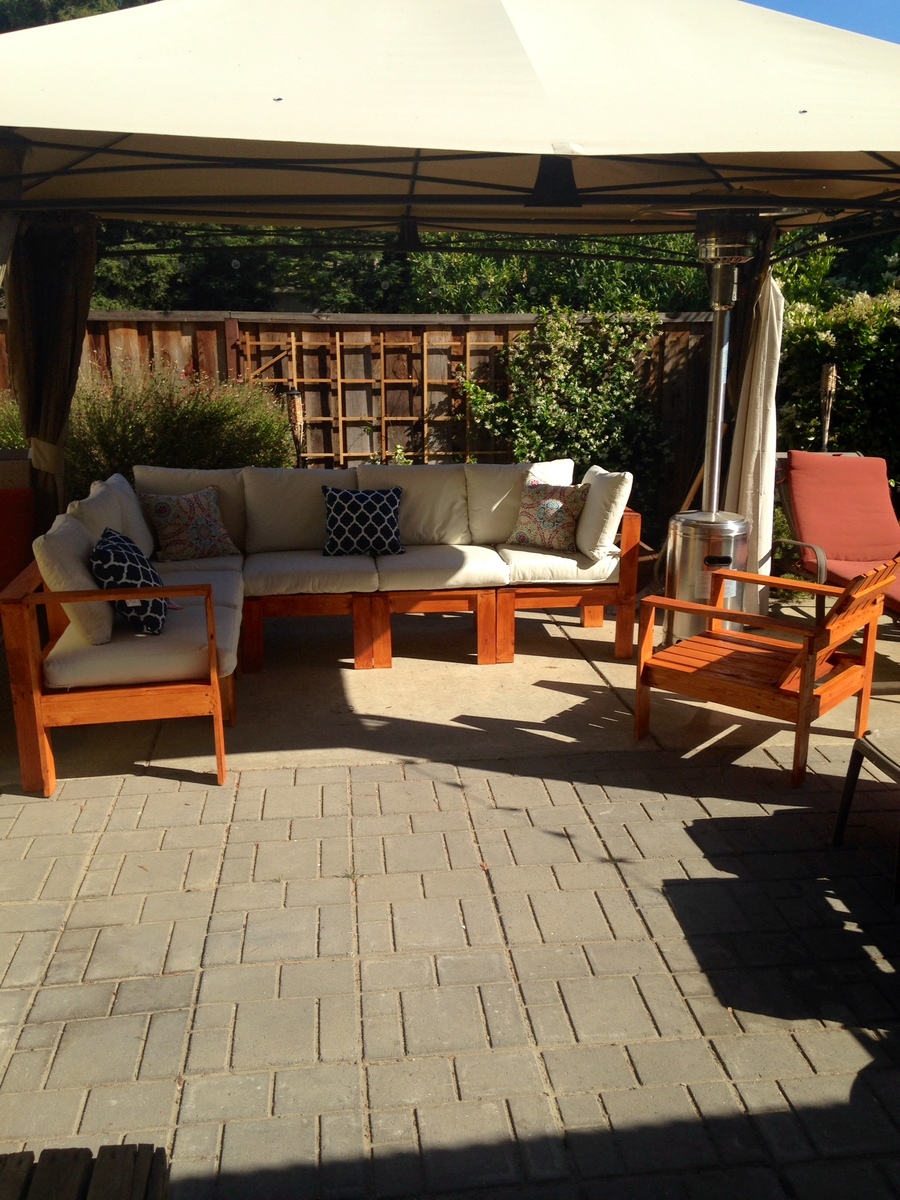
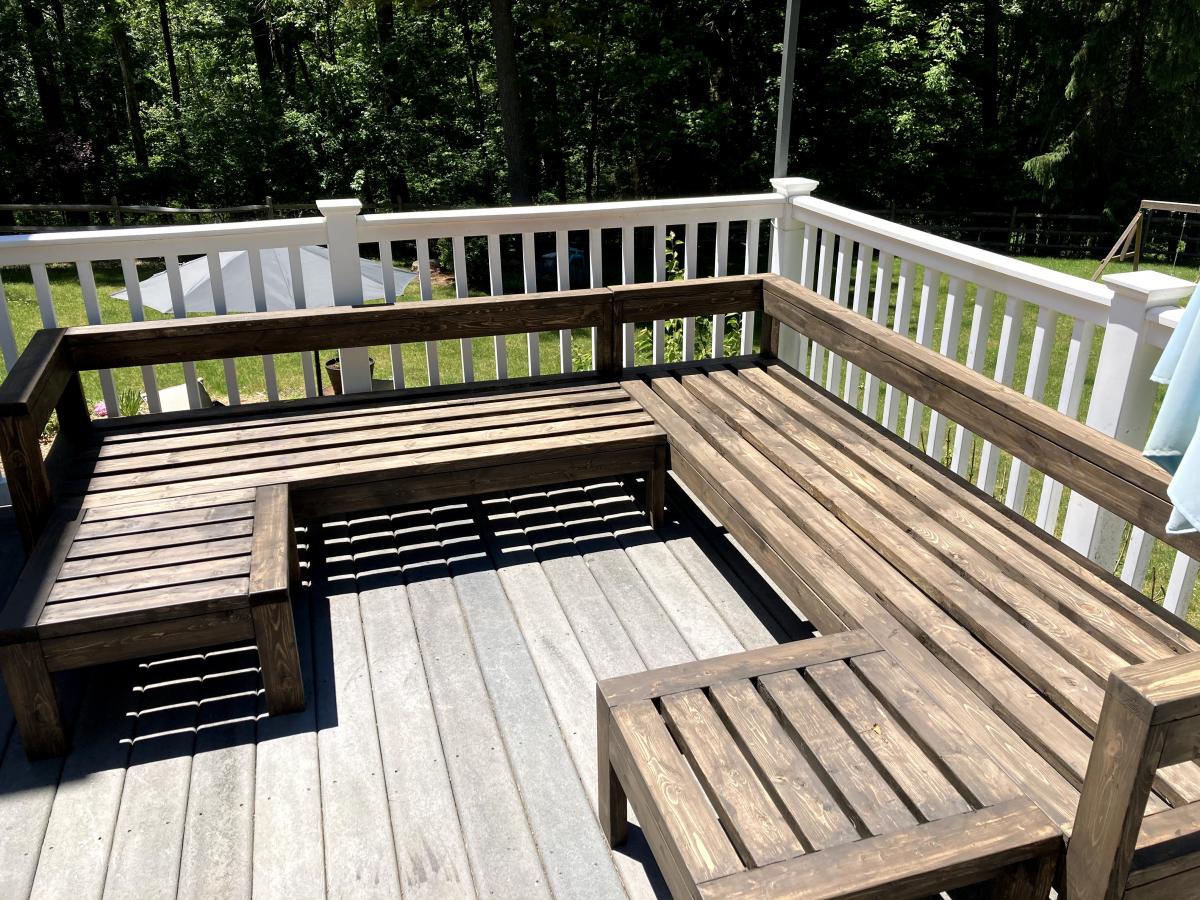
Not as easy as everyone else said online. I had never used a kreg jig and it takes a bit more practice than I had patience for. one thing to note is the instructions screw lengths are for if you are NOT using a kreg. If you use a kreg, use the screw lengths they suggest. I used a deck stain and purchased the cushions on sale at Ikea ($22.50 per cushion)

Estimated Cost
$200-600
Estimated Time Investment
Weekend Project (10-20 Hours)
Finish Used
Deck stain with water repellent included. Cheapest cushions I could find were at Ikea by far.
Recommended Skill Level
Beginner

Garden Enclosure

Submitted by Anonymous (not verified) on Mon, 03/04/2024 - 09:33

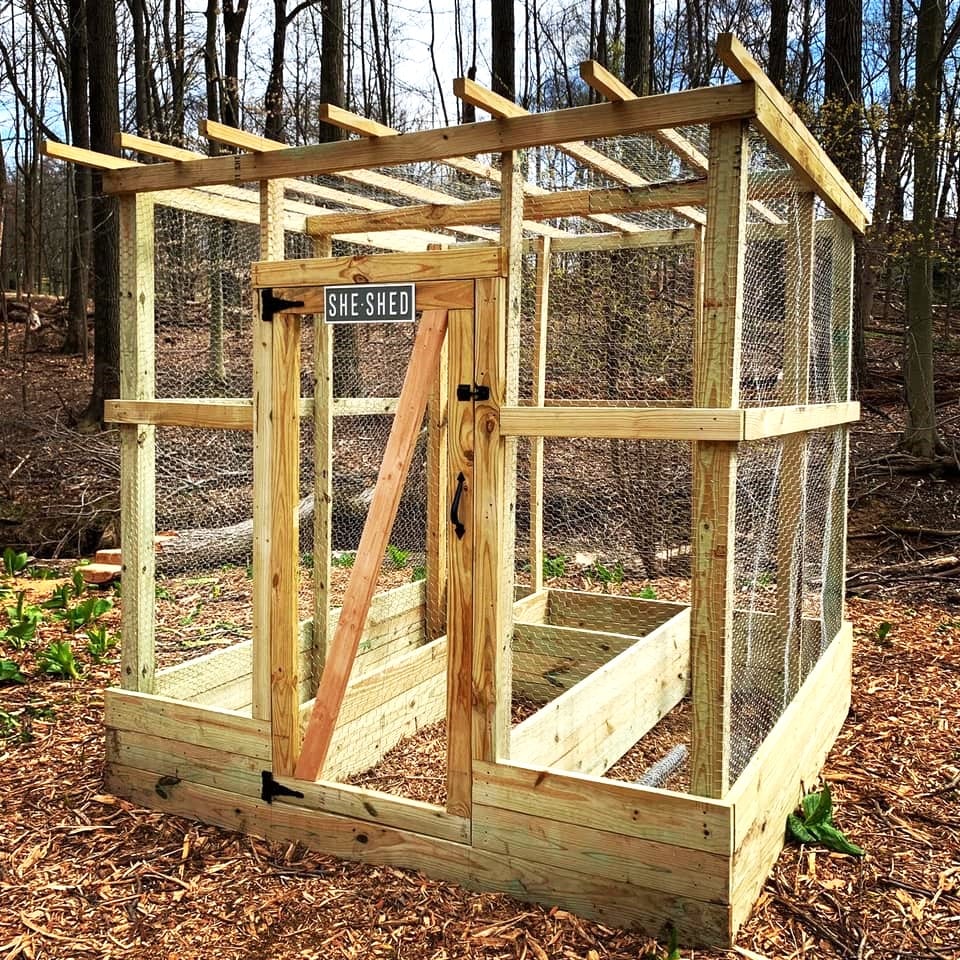
This is our riff on your plans. Two seasons in and not a single animal has breached our fortress.


Jan Perrone Greco on Facebook

Built from Plan(s)
Seasonal And Holiday

2x4 Outdoor Sectional with Matching Ottomans, Chairs & Table

Submitted by cqueiruga on Fri, 06/12/2020 - 21:01

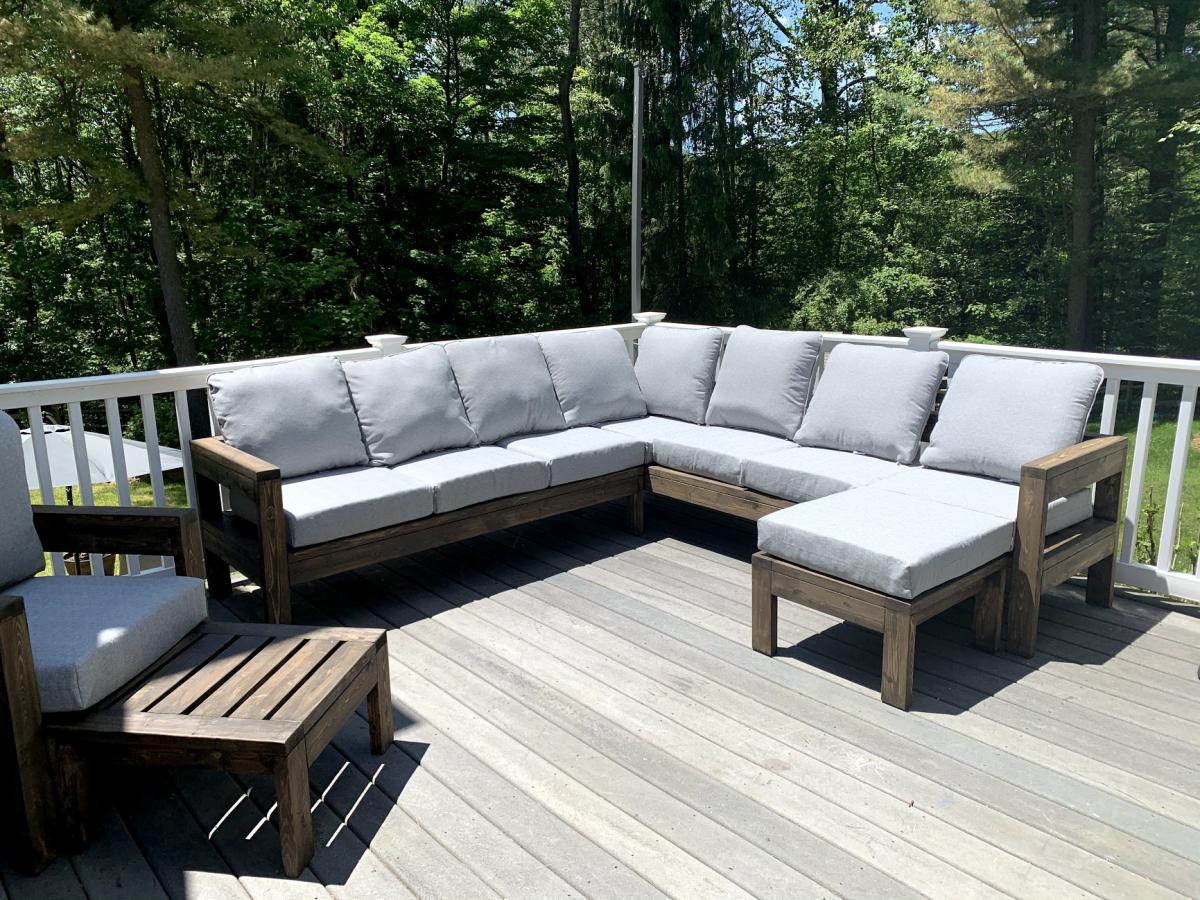
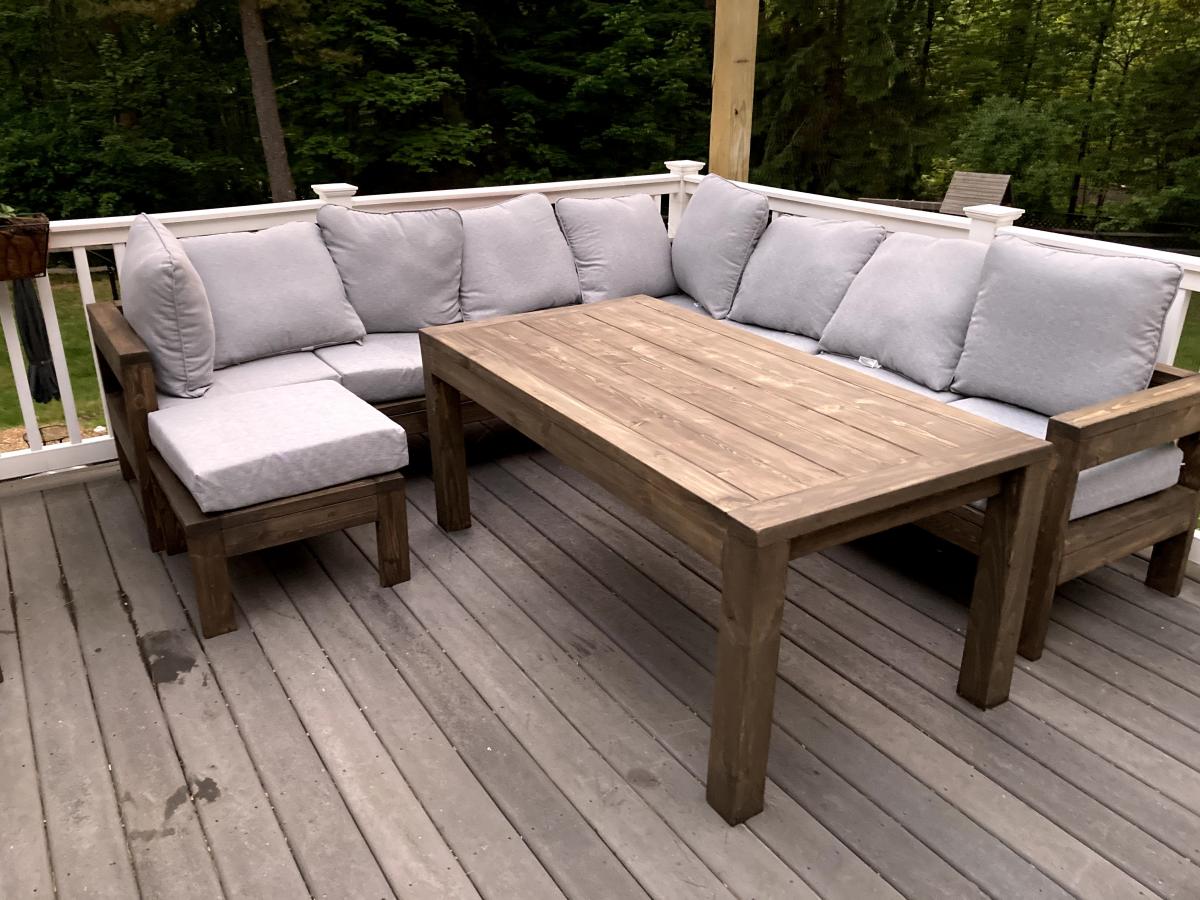
We were looking for outdoor furniture for our deck, and for the size and amount we needed it would have cost us at least $2000. We really like the idea of having an outdoor sectional that we can also use for dining, and we had trouble finding a set we liked. We found Ana's plans for the 2x4 Outdoor Sectional, and i loved the look. After seeing what others have done with the plans, I thought I would be able to modify it to get everything we needed for much less cost than buying a set.

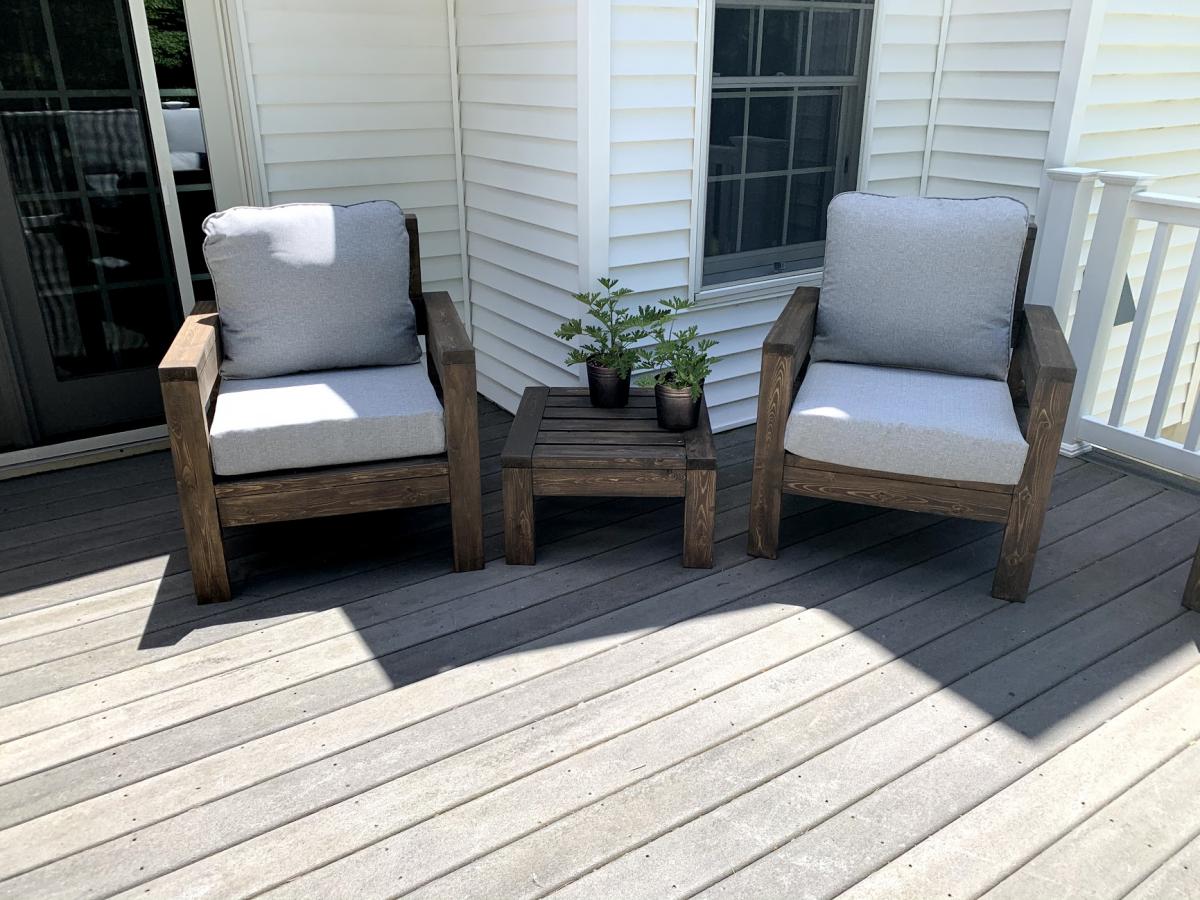
We ended up extending the size of the 2x4 outdoor sofa by one 24" section, for a total length of 96". I then used the same design to make two outdoor chairs, just reduced the length to 24". I modified the 2x4 outdoor coffee table plans to create two ottoman's that can be moved around to make the seating more lounge style Finally, I modified the coffee table plans to make a 5 foot outdoor dining table. All in all, it took about a week and I couldn't be happier with how it turned out!

Estimated Cost
$800 ($200 for wood, $600 for cushions)
Estimated Time Investment
Week Long Project (20 Hours or More)
Finish Used
Valspar Semi-Transparent Antique Oak Stain
Recommended Skill Level
Beginner

Comments

jwood4

Mon, 08/02/2021 - 09:44

Looks amazing! What method did you use (pocket holes, dowels, deck screws, etc) to join the visible portions like the arms?

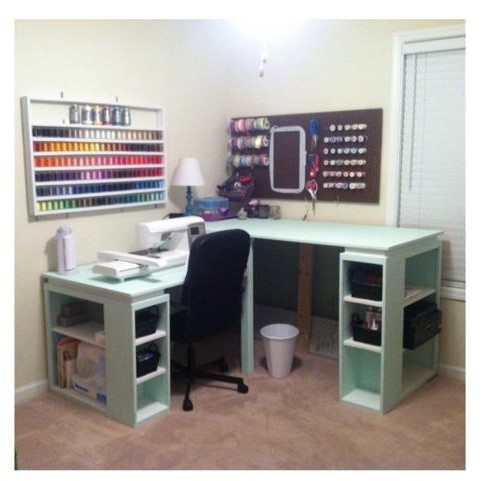
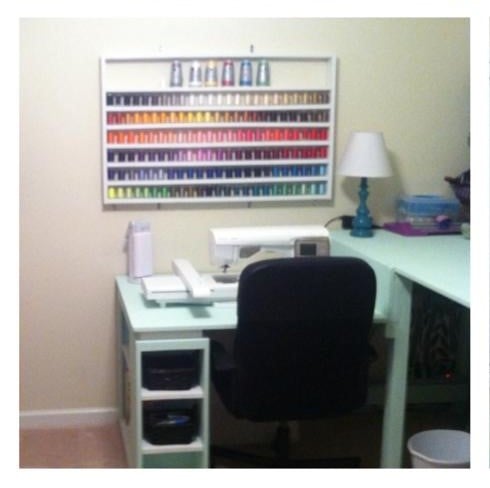
Sewing/cutting table

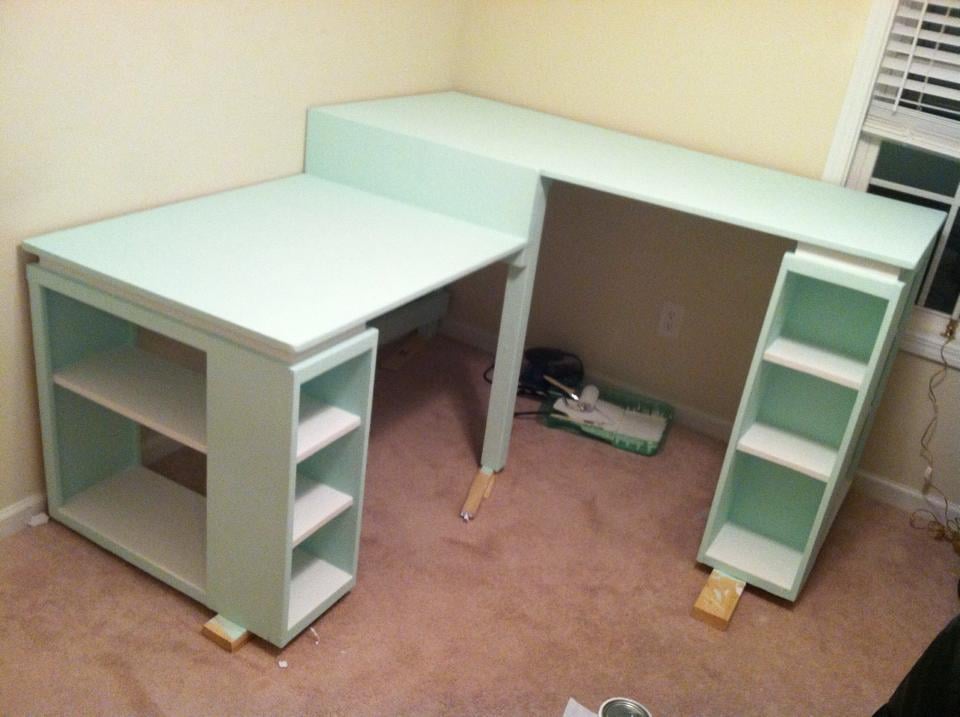
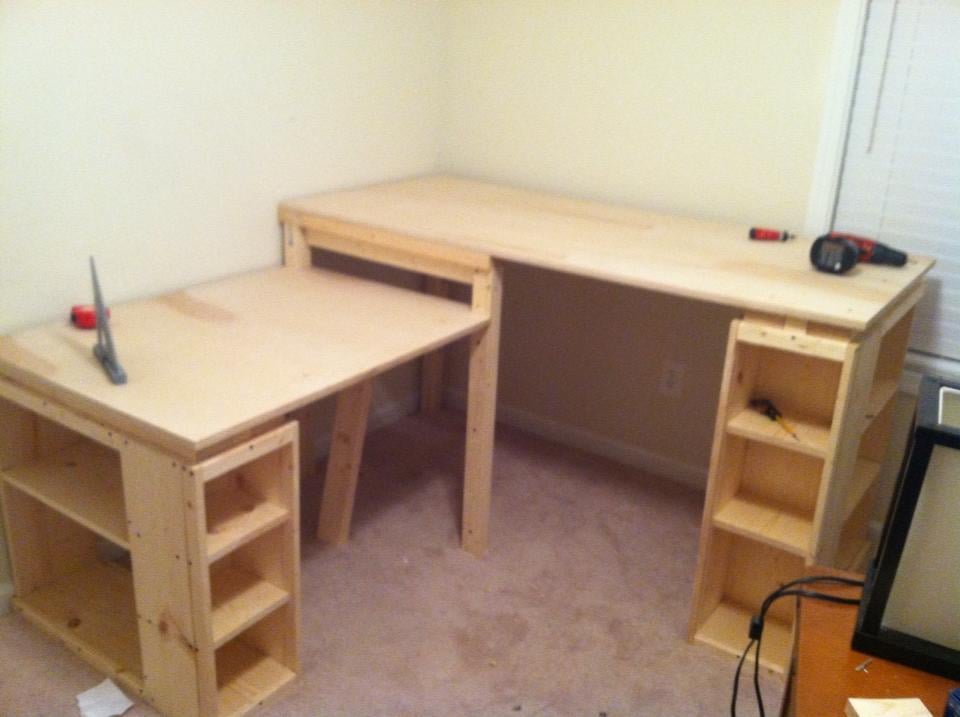
Submitted by drc3924 on Thu, 06/19/2014 - 19:53

This has become my dream sewing/craft desk!! This project took about a week from start to finish (with work days in between). The shorter portion of the desk is used for my machine and sewing. The taller portion is used as a cutting table. The plans (dimensions) were tweaked some to get the perfect heights for me :).

Built from Plan(s)
Estimated Cost
$200
Estimated Time Investment
Weekend Project (10-20 Hours)
Finish Used
After sanding I painted 1 coat of interior primer the about 2-3 coats of mint flat interior paint. I decided not to add a clear coat just because I wanted to use my amazing desk ASAP!!!
Recommended Skill Level
Intermediate

Comments

tamaralyn79

Wed, 03/25/2015 - 06:31

Your desk is GORGEOUS!!!! It's exactly what I've been looking to build for my space. I would love to know how you modified the plan to make it.

TaylorMade1205

Wed, 03/25/2015 - 07:23

I also wanted to comment on the thread shelf you build, that is really awesome, you can see all your colors right in front of you. Mine are in a drawer and I have to pull the whole thing out to see what I need. This is really giving me ideas.

kchess

Fri, 09/04/2015 - 08:45

Would you please send the plan instructions (with measurments).  It is perfect for me as I sew and embrodery both and have two machines.  

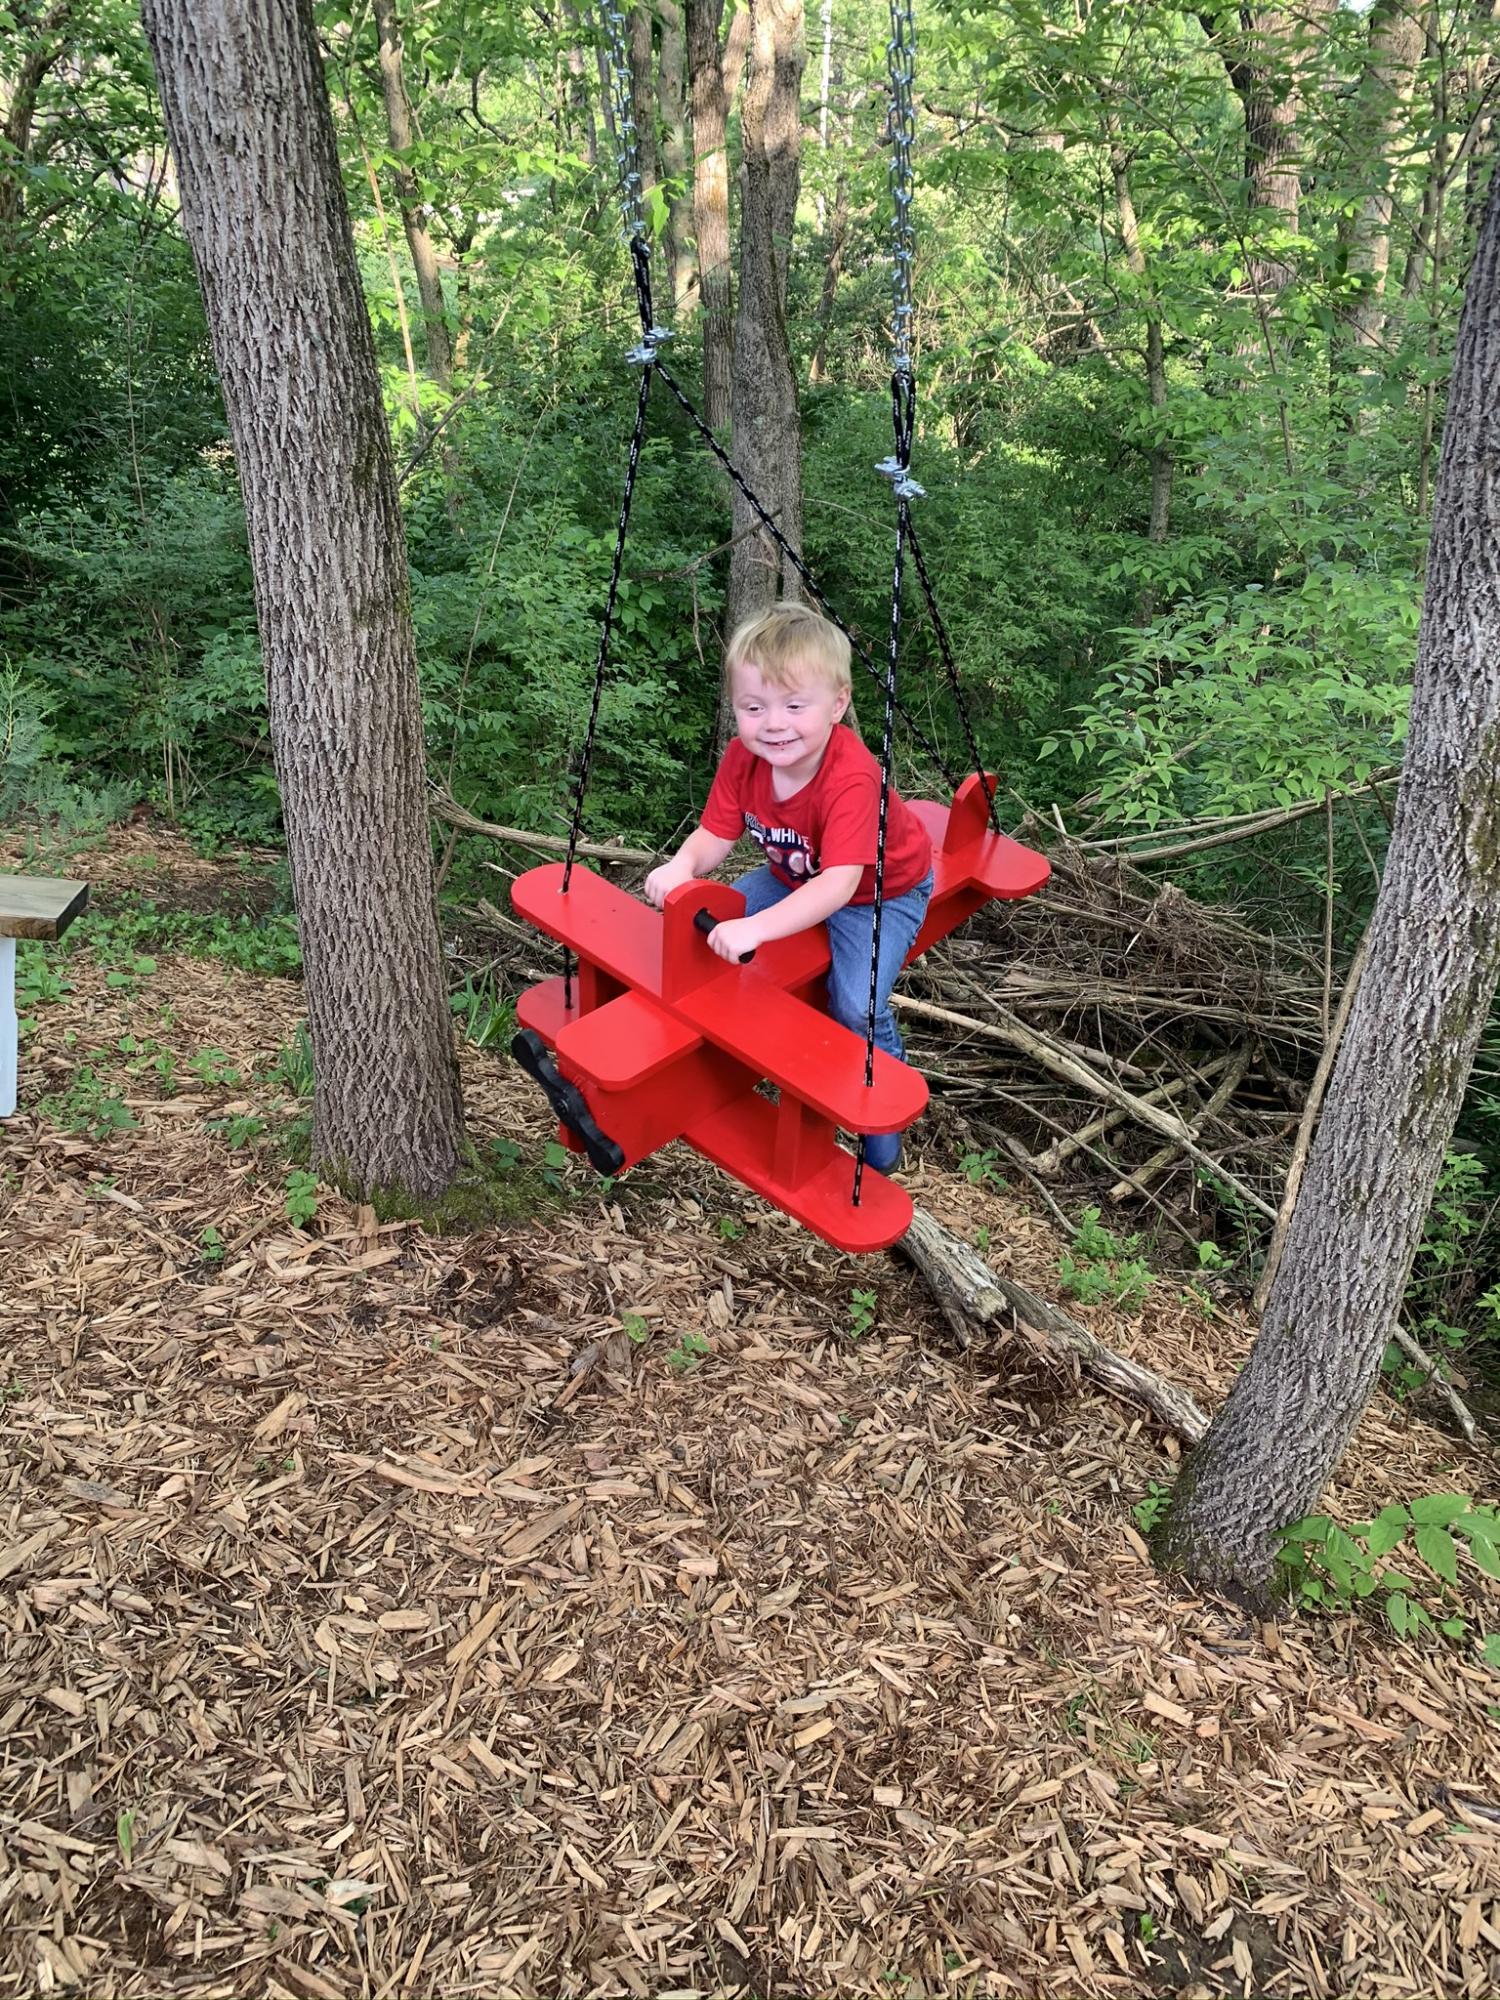
Airplane swing

Submitted by boneill on Mon, 07/06/2020 - 20:35

Super fun swing for my son

Built from Plan(s)
Estimated Cost
$50
Estimated Time Investment
Day Project (6-9 Hours)
Finish Used
Rust-Oleum Apple red gloss paint , Rust-Oleum flat black (for propeller / handle )
Recommended Skill Level
Beginner

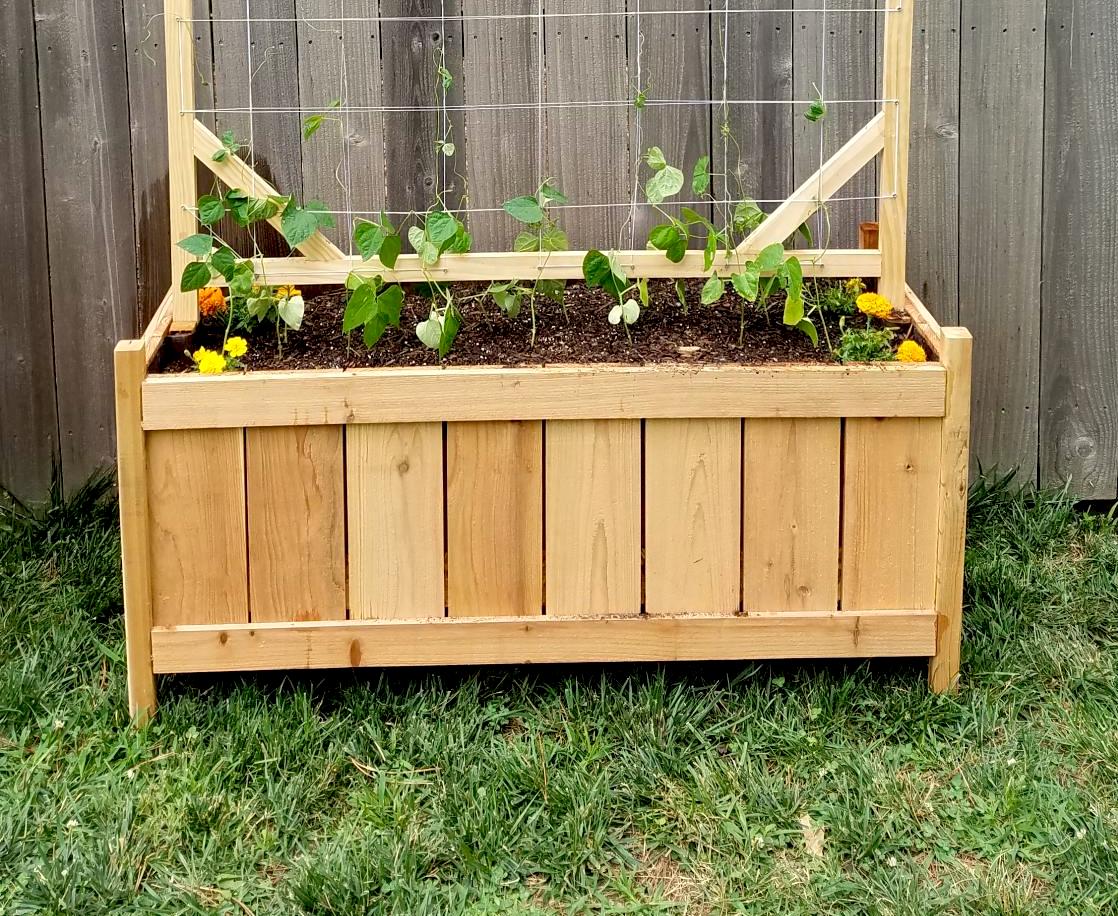
Cedar Planter for Pole Beans

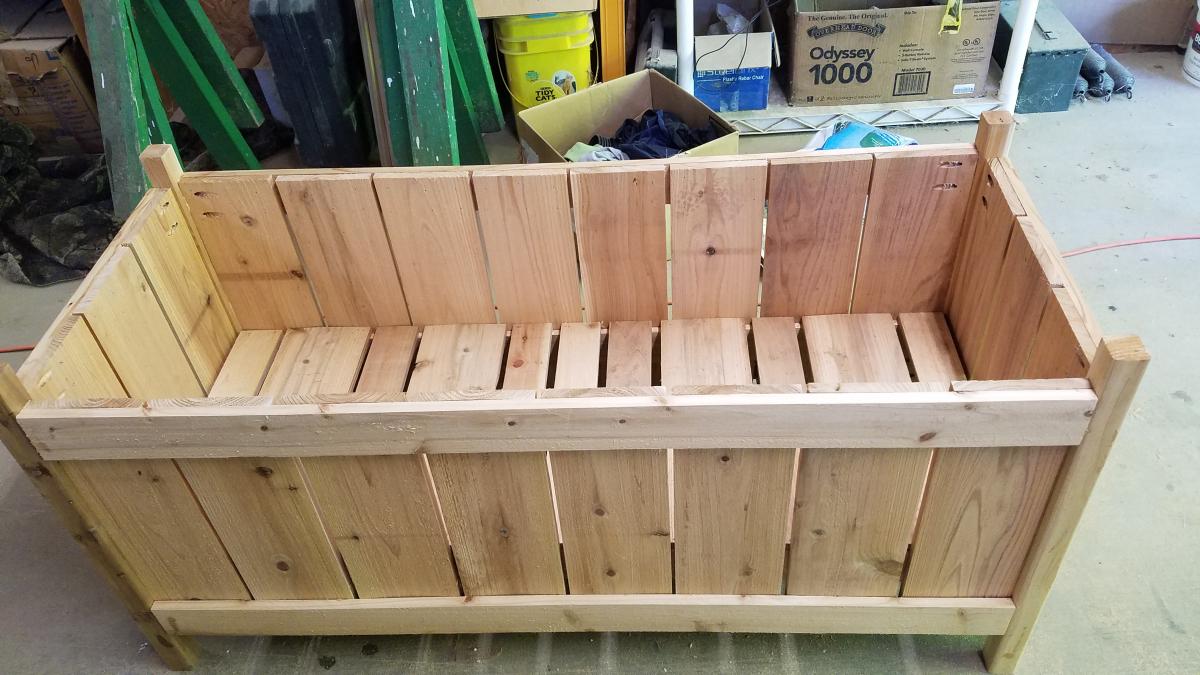
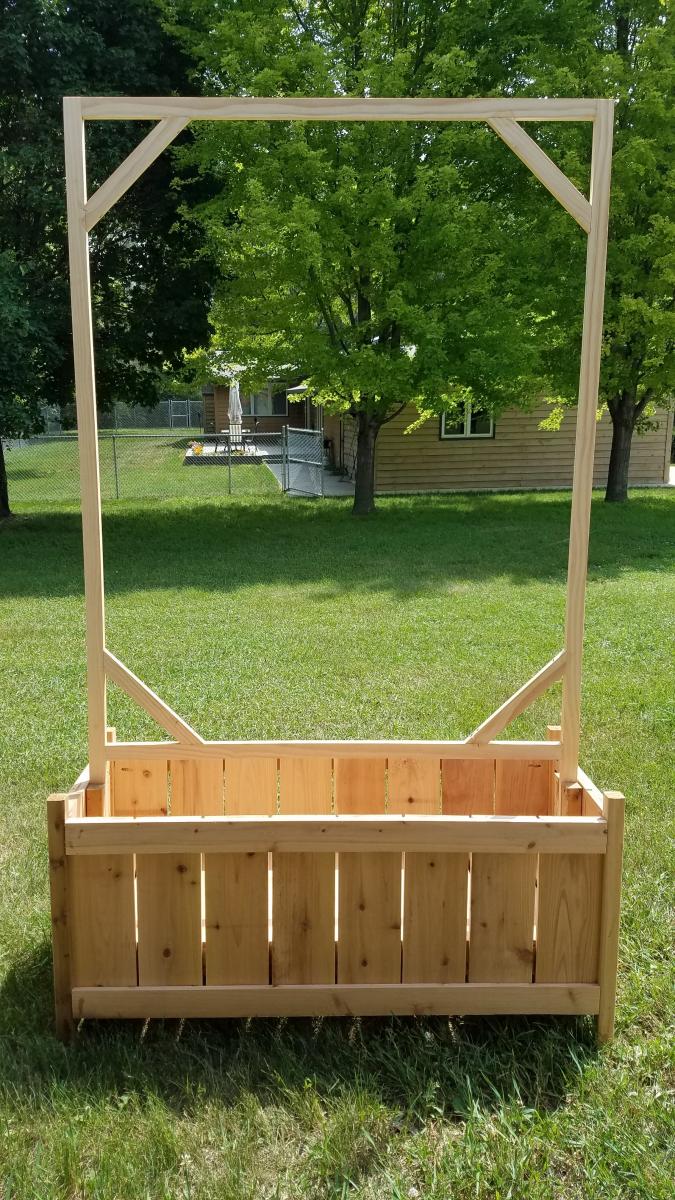
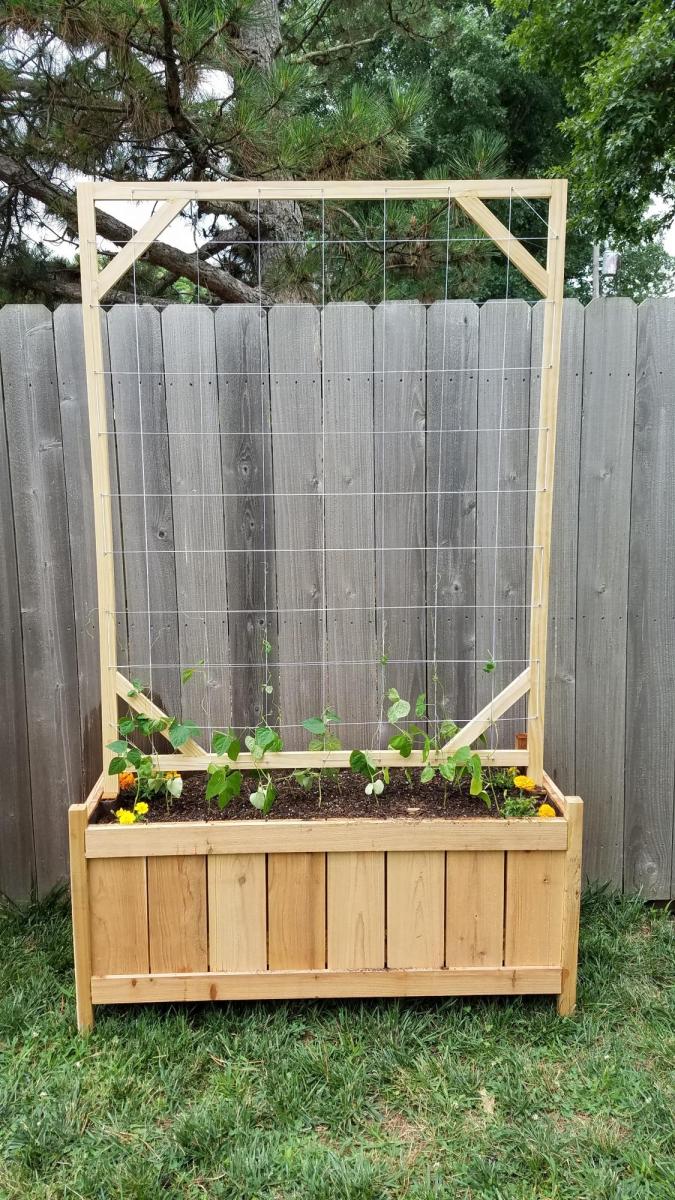
Submitted by swhitead on Mon, 07/20/2020 - 10:41

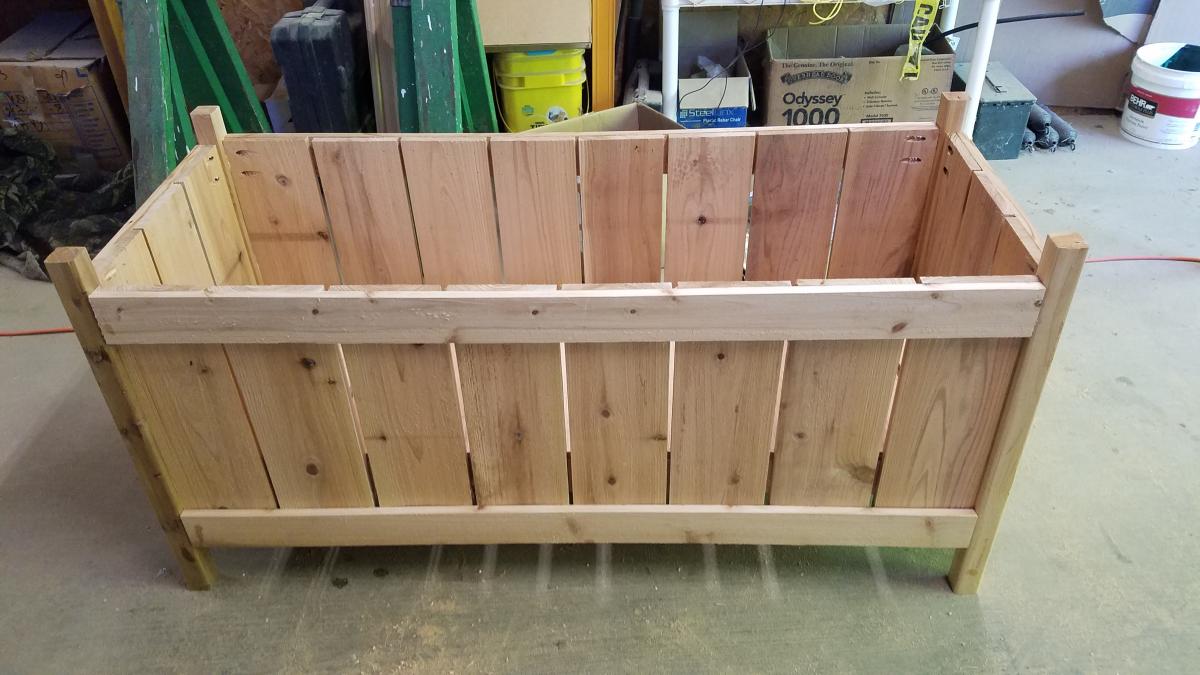
Increased width of box to 46" by using 8 fence boards instead of 3. put base at 12" down, lined box with landscaping fabric to hold dirt. Created trellis with 1x2 boards with 10" long corner braces, spaced screws 6" apart around edges and weaved cotton thread to create the trellis. Used 12" scraps of 2x2 to create a "slot" inside the center of the planter to support the trellis. Added container mix and green pole beans started in egg cartons earlier in the spring.

Built from Plan(s)
Estimated Cost
$35
Estimated Time Investment
Day Project (6-9 Hours)
Finish Used
None
Recommended Skill Level
Intermediate
Seasonal And Holiday

Clara Table and Four Dollar Stackable Chairs

Submitted by BrandonH on Tue, 01/01/2013 - 17:36

I built these for my son for Christmas. They were very easy to build (the 2nd chair turned out much better than the first, however!) and I am very pleased to have discovered this site. Thanks!
Built from Plan(s)
Estimated Cost
$30
Estimated Time Investment
Day Project (6-9 Hours)
Finish Used
Three coats of flat paint (Valspar color: Summer Solstice) with two coats of Minwax Polycrilic as a top-coat.
Recommended Skill Level
Starter Project

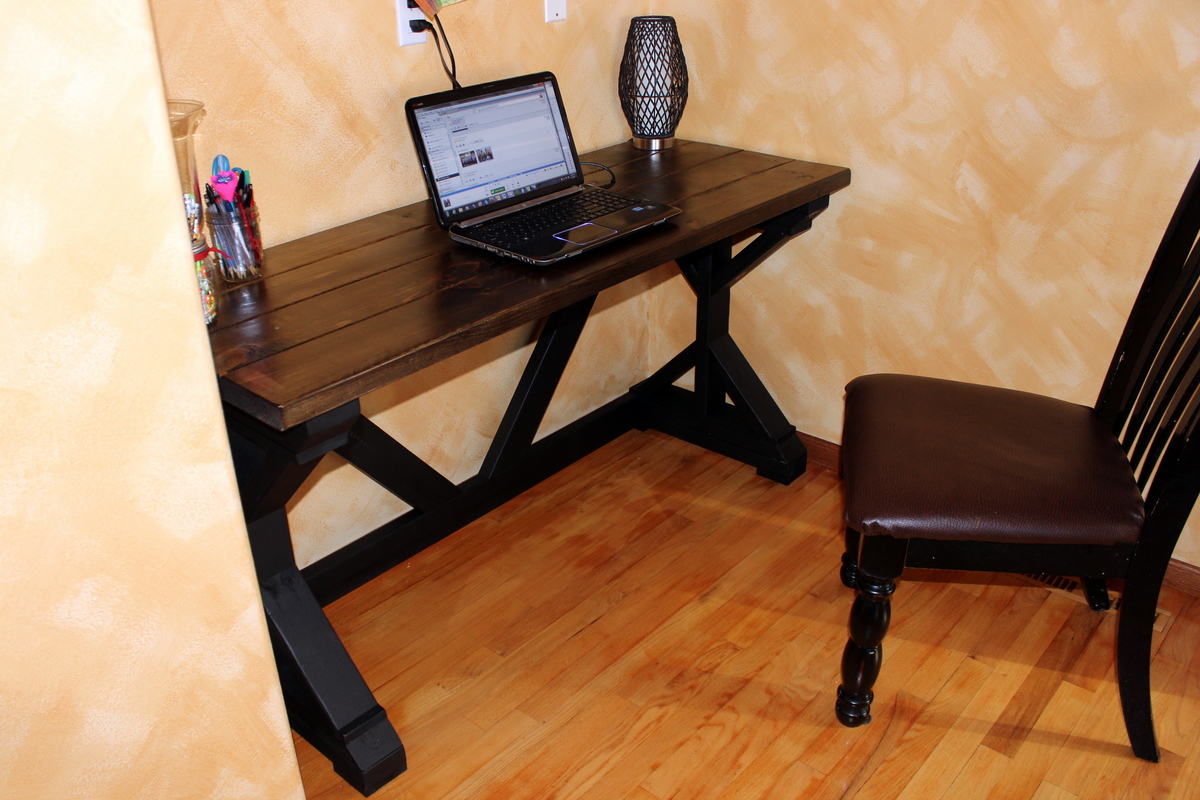
My First Build -- the $55 Fancy X Desk

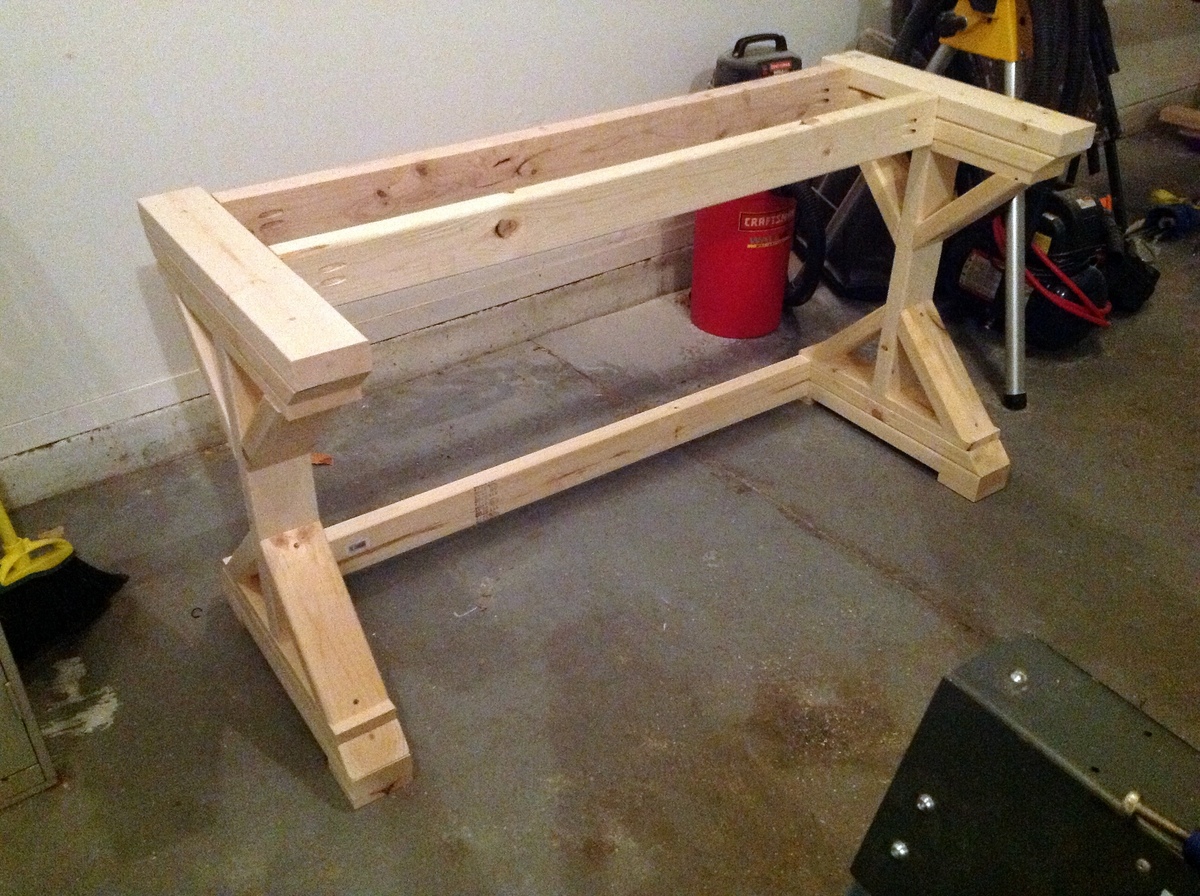
This was my first build EVER. I had never even used a saw before, so if I can do this, so can YOU!
The original plans call for this desk to be 72" in length, but my space only allowed for a 60" desk, so I cut the 3 braces that go along the back down by 12", as well as the 2x6s that make the desktop. The cross-braces in the back were also cut down, but I did that by measuring for fit (as demonstrated by Ana in one of her videos where she made the x-bench).

I described this as a weekend project ONLY because of the time I had to allow between coats of paint, etc. I built it easily in one day (with kids at home!).

This was a GREAT experience and I am HOOKED! Thanks to Ana and Shanty-2-Chic for designing this!

Built from Plan(s)
Estimated Cost
$35
Estimated Time Investment
Weekend Project (10-20 Hours)
Finish Used
I painted the base with flat black paint, and the top of the desk with Minwax Jacobean stain (primed with the Wood Conditioner first, and finished with the Polcyrilic Spray that Ana recommends).
Recommended Skill Level
Intermediate

Comments

Lianna (not verified)

Tue, 01/08/2013 - 08:27

I hope to build this desk this week! Your post timing is great! AND your end result is gorgeous!!!

berryrach89

Thu, 01/10/2013 - 19:31

I absolutely love this. I've been searching for a new desk and I think I want to copy yours. Love it.

Jodye (not verified)

Fri, 01/11/2013 - 00:35

Well done...I too have been contemplating giving this ago. Our out door glass table exploded due to the heat here in Australia on monday...never going glass again...did I mention the nightmare clean up job :-((
Im building the big version....Im excited..you did it so I can too!

Basement Play Gym

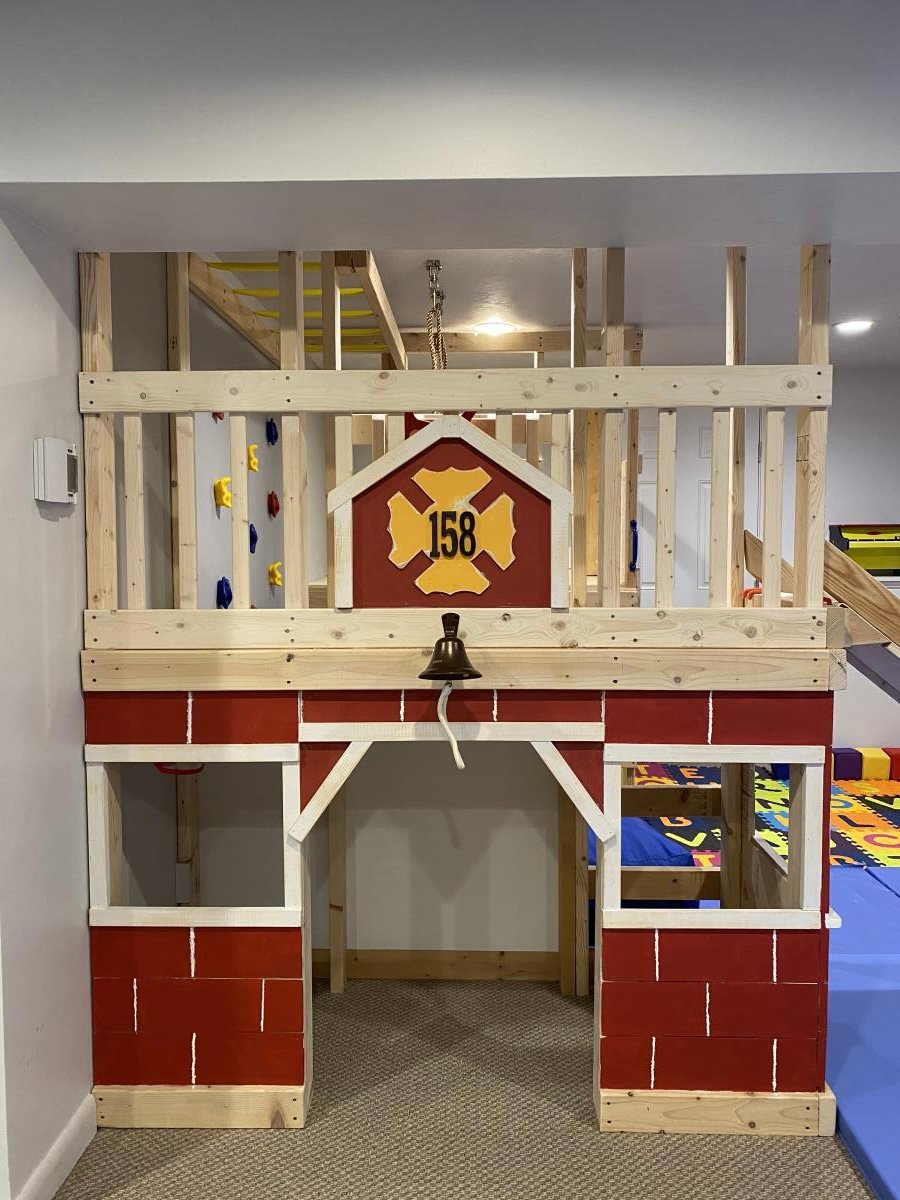
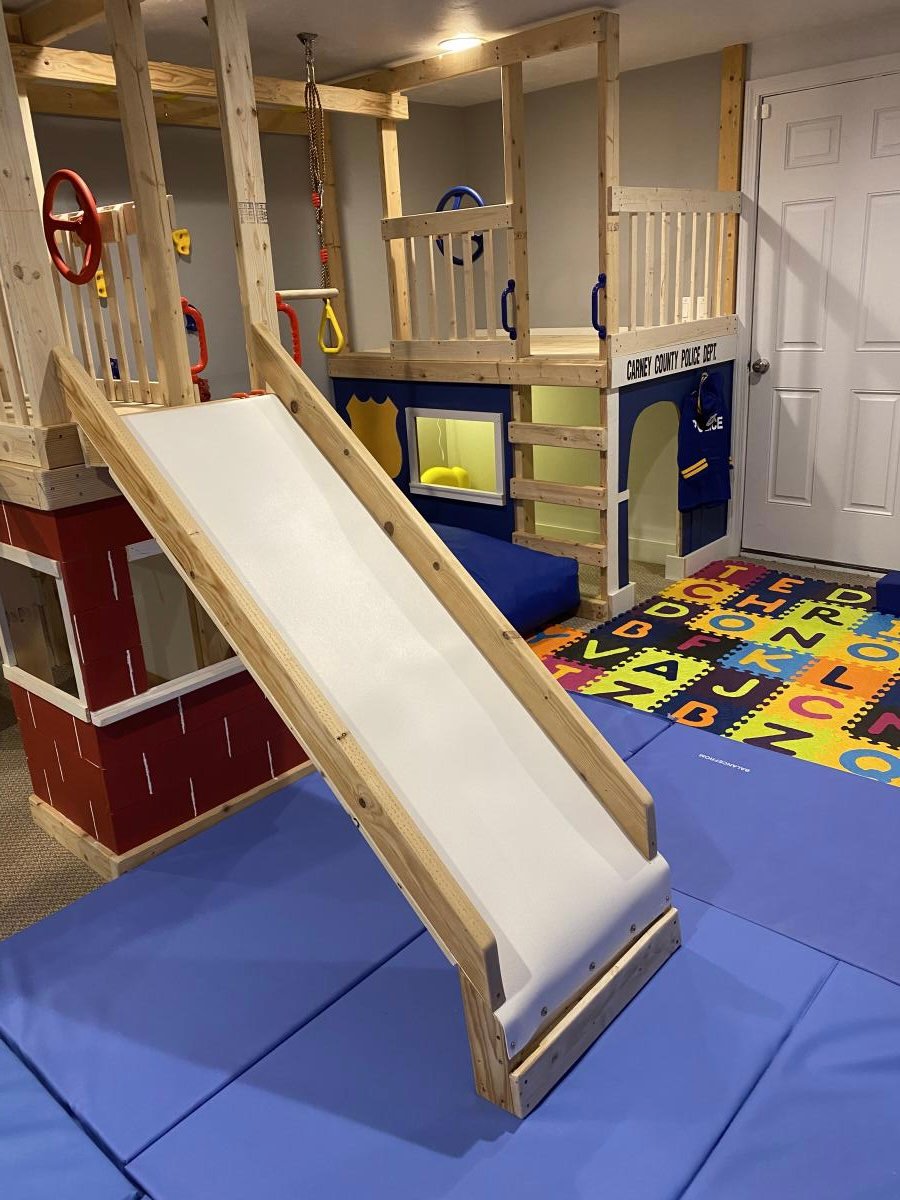
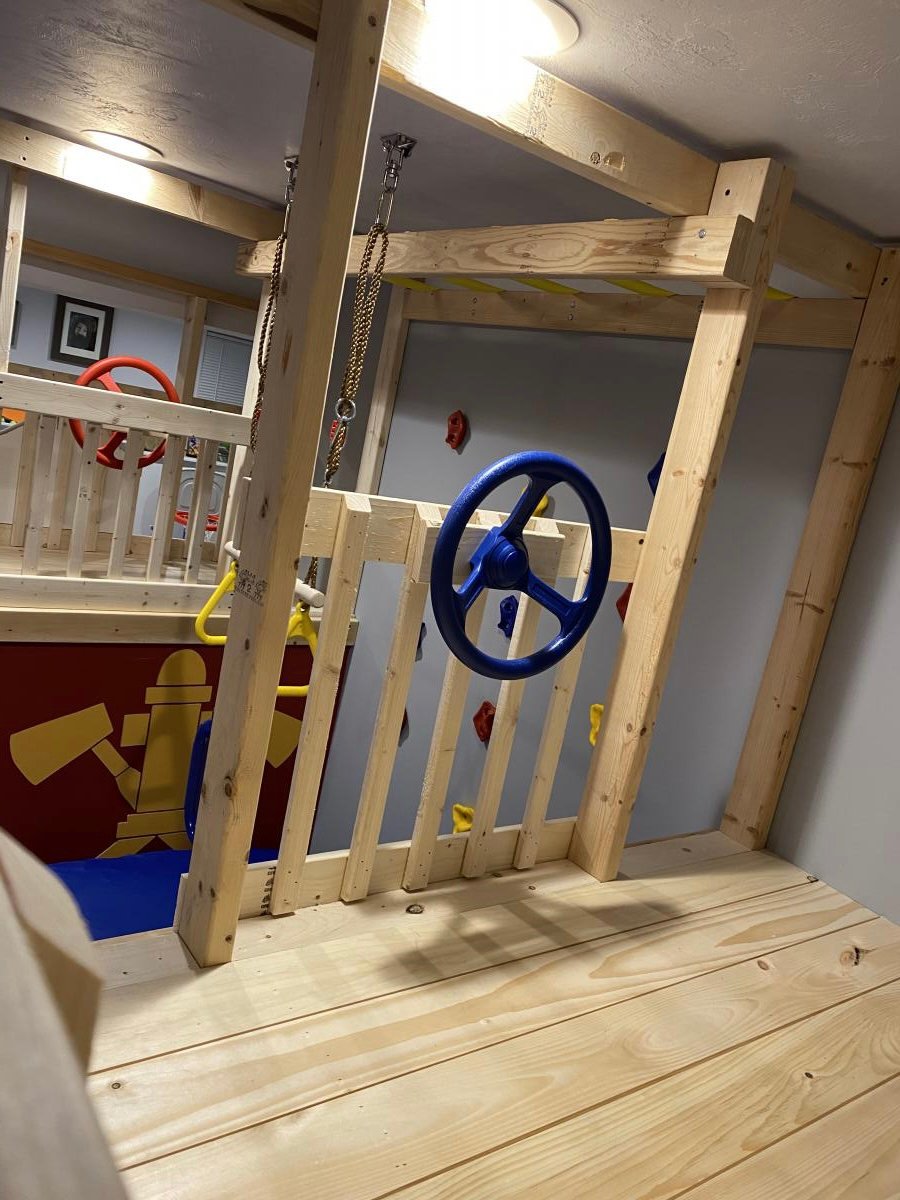
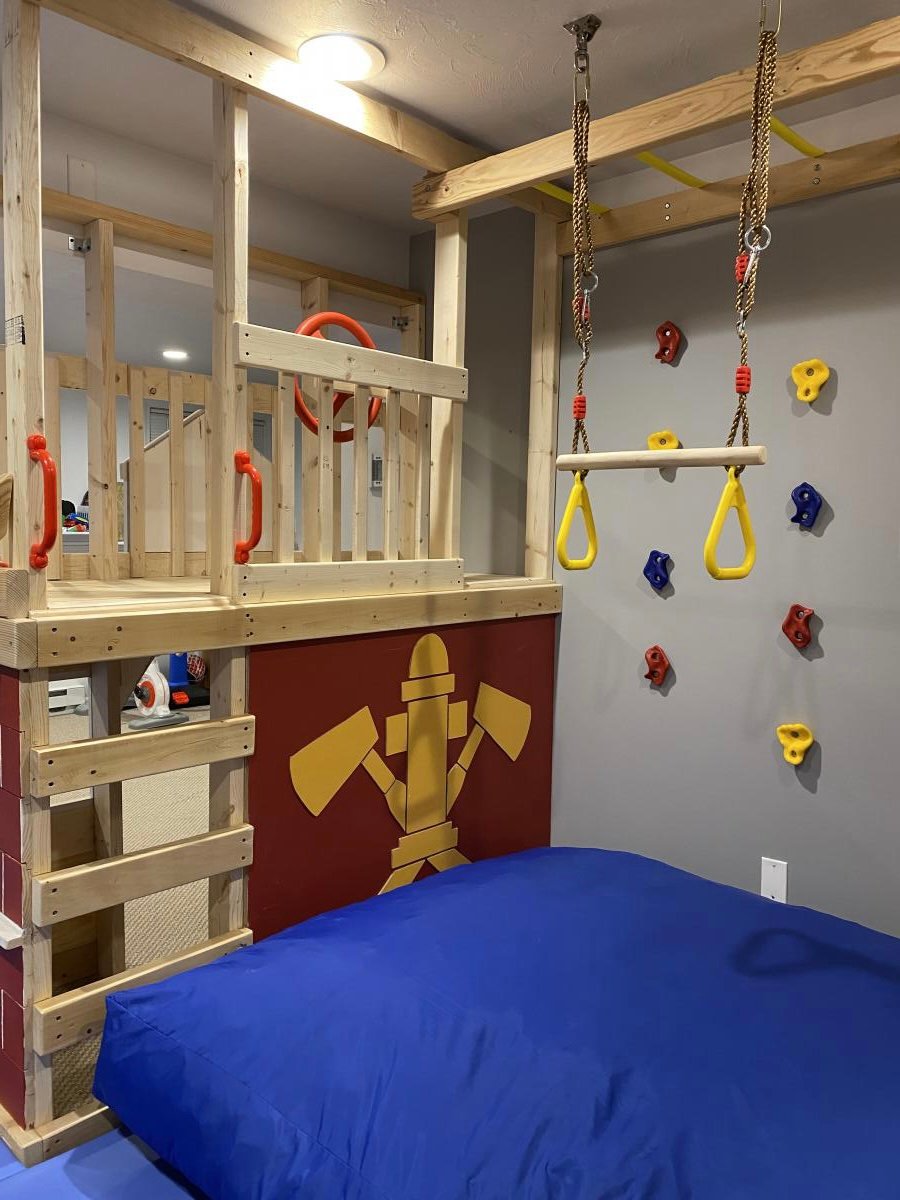
Submitted by Anonymous (not verified) on Fri, 01/08/2021 - 05:51

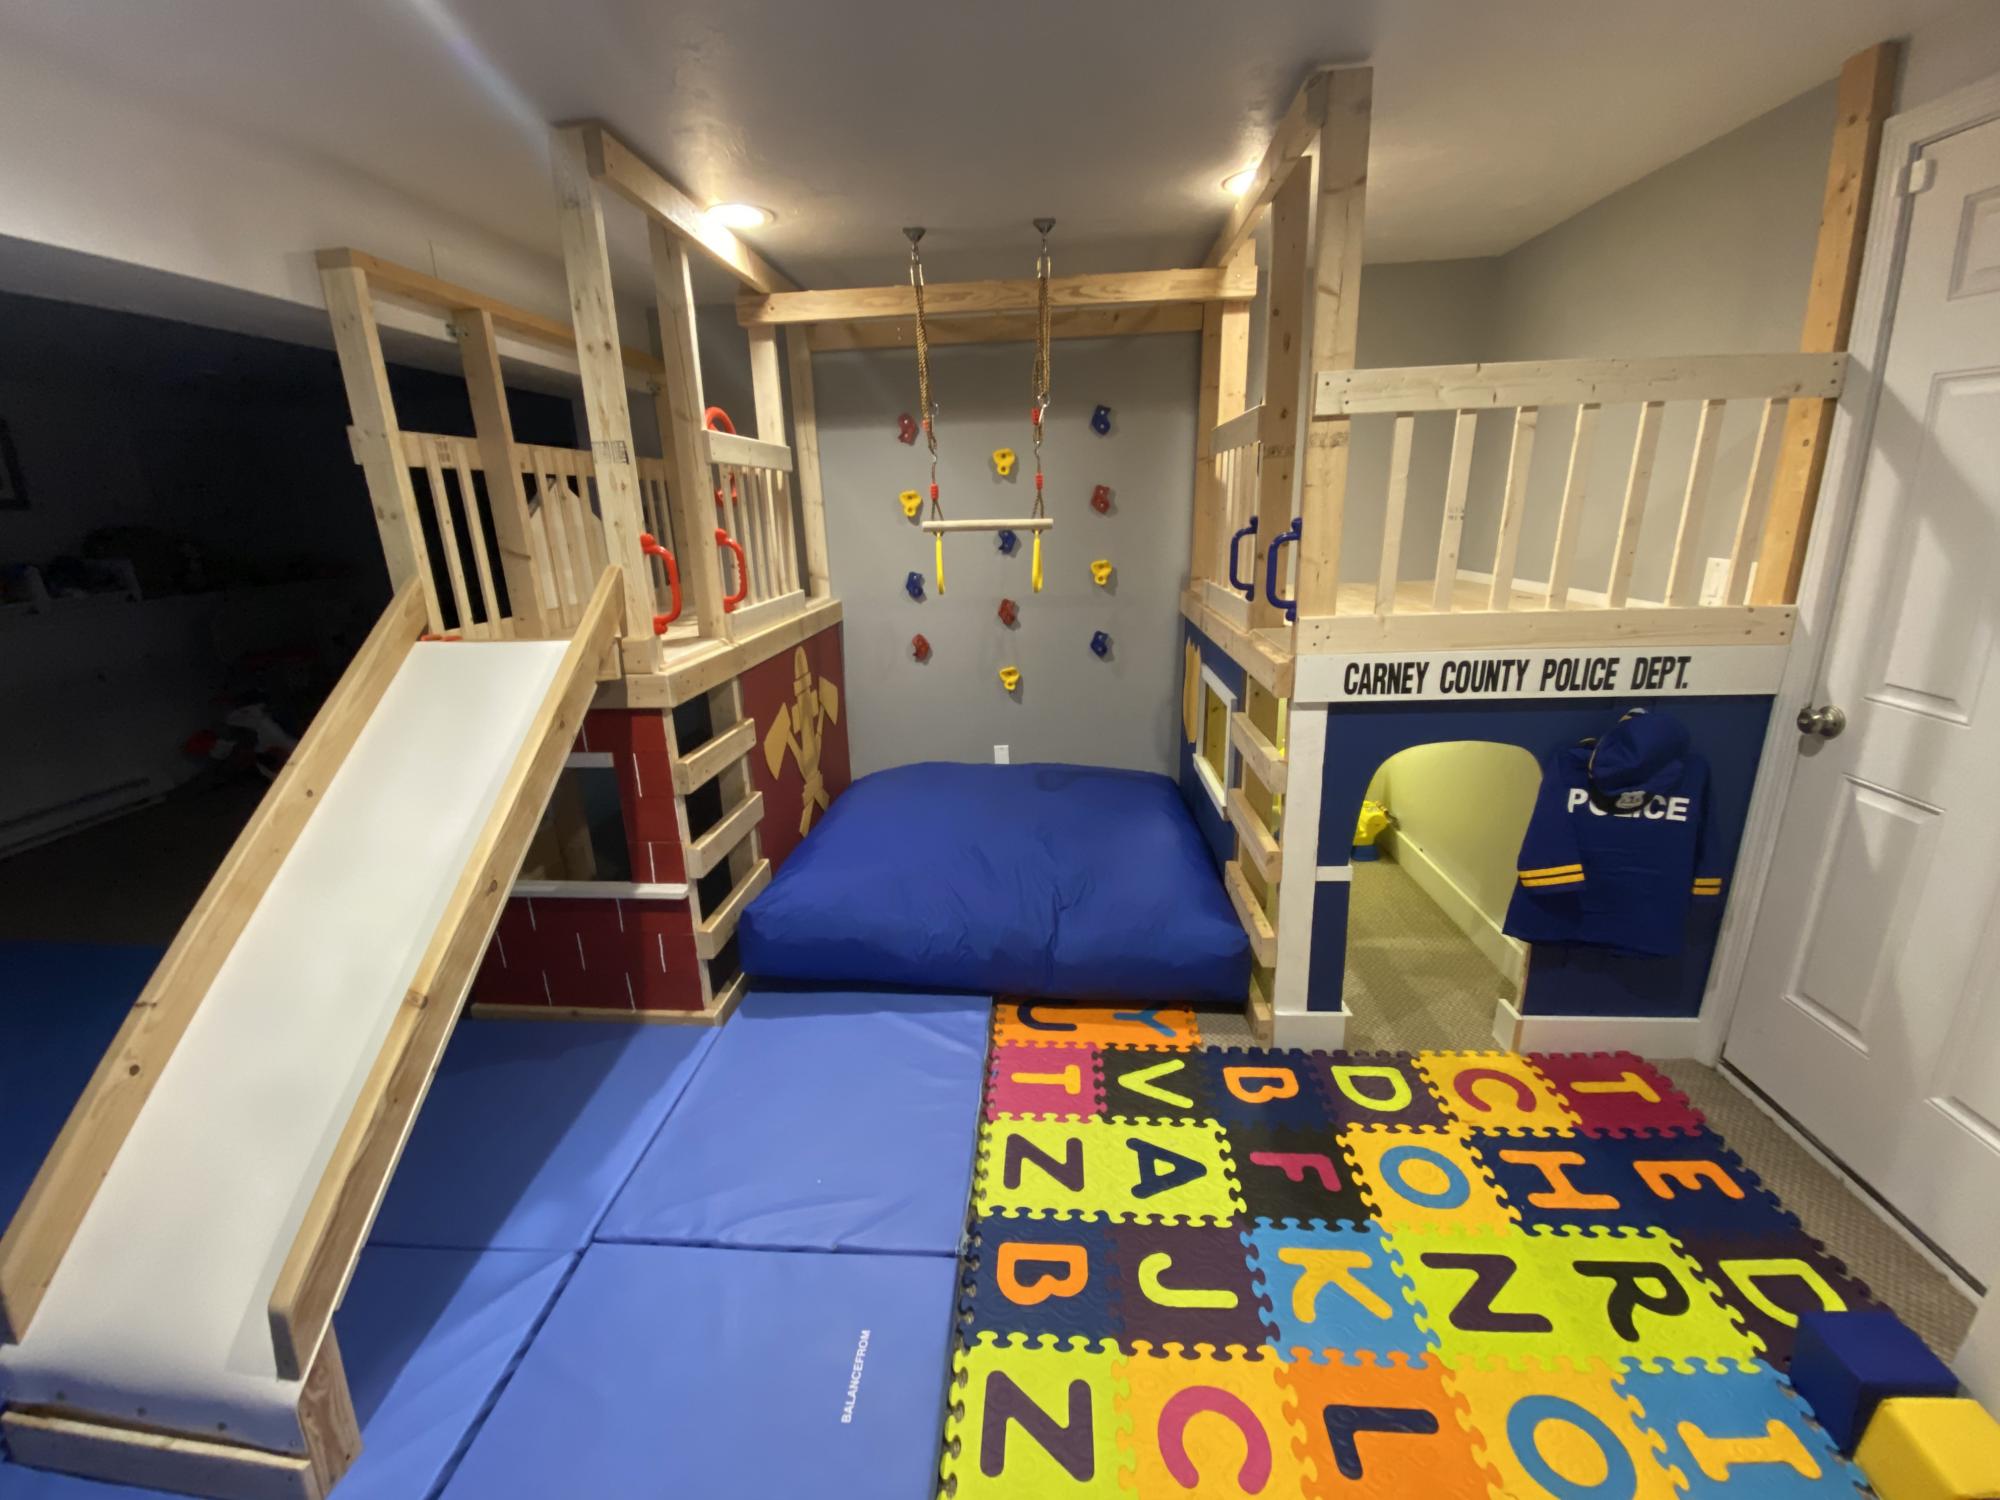
With Christmas approaching and the realization that my three young boys had way too much “stuff”, I enrolled the help of my dad to build this amazing basement play area. When I found Ana’s plans for the play gym with monkey bars, I knew we were in business. I modified the design to fit our space and we were off. Such a fun build and my boys absolutely love spending time down there. Thanks so much for your continued inspiration and the confidence you give us mamas to build with the big boys, Ana!!

Estimated Cost
$1000
Estimated Time Investment
Week Long Project (20 Hours or More)
Recommended Skill Level
Intermediate

Comments

Back