Community Brag Posts

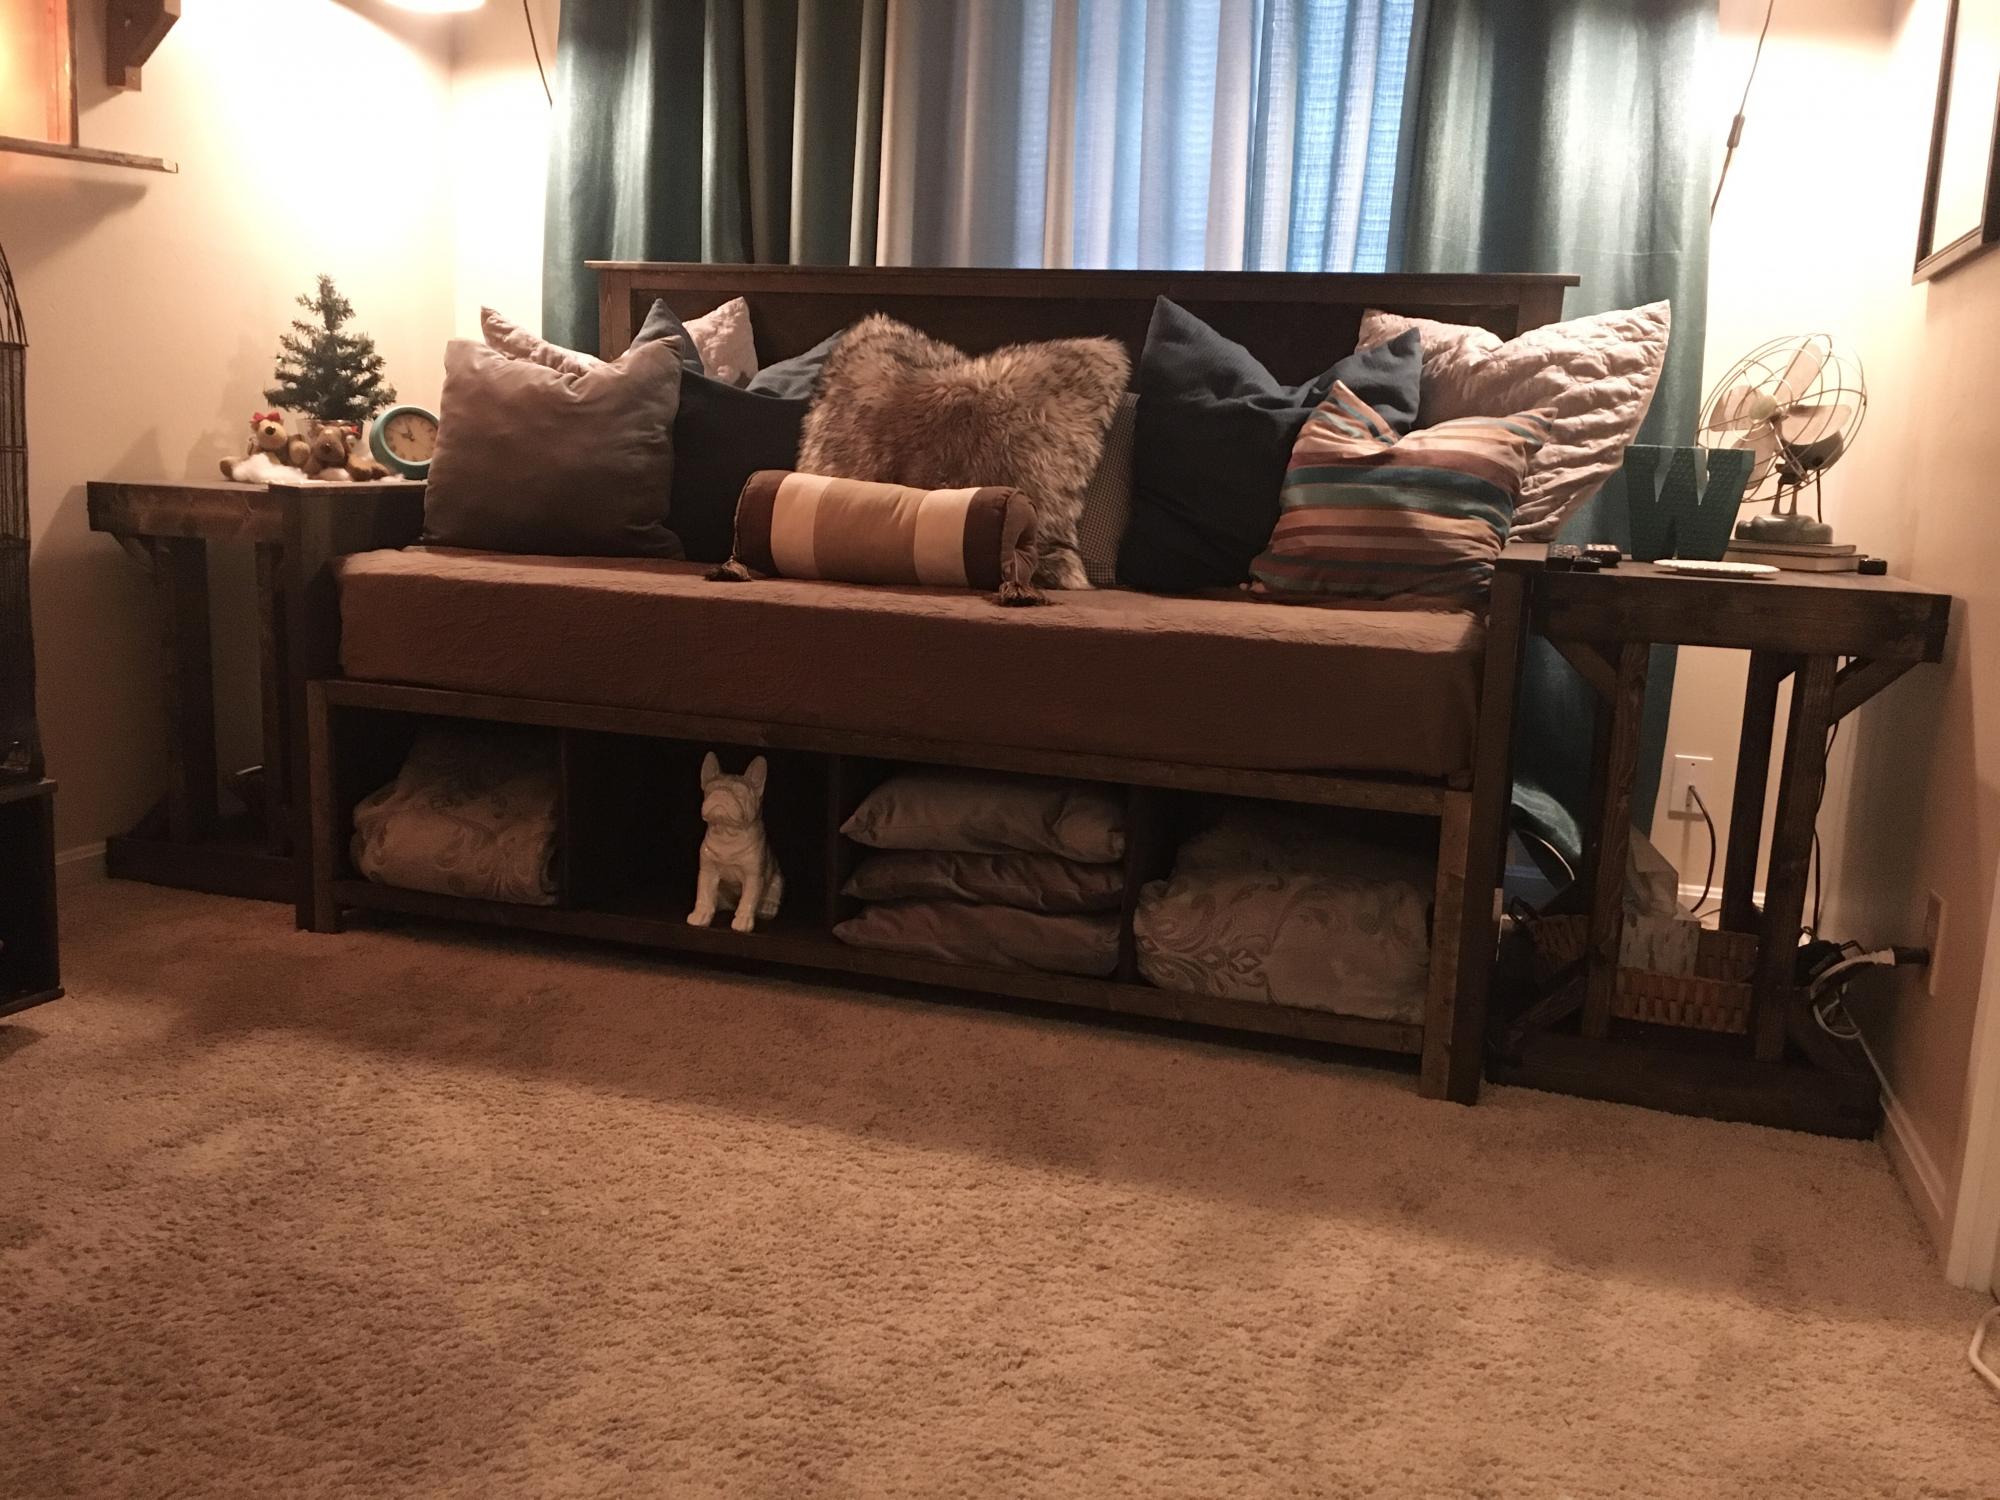
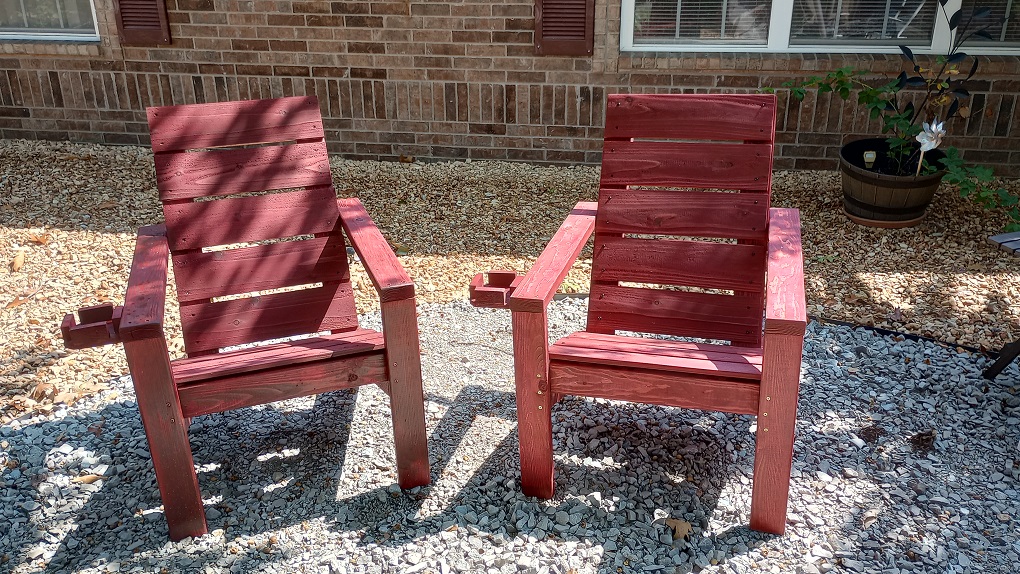
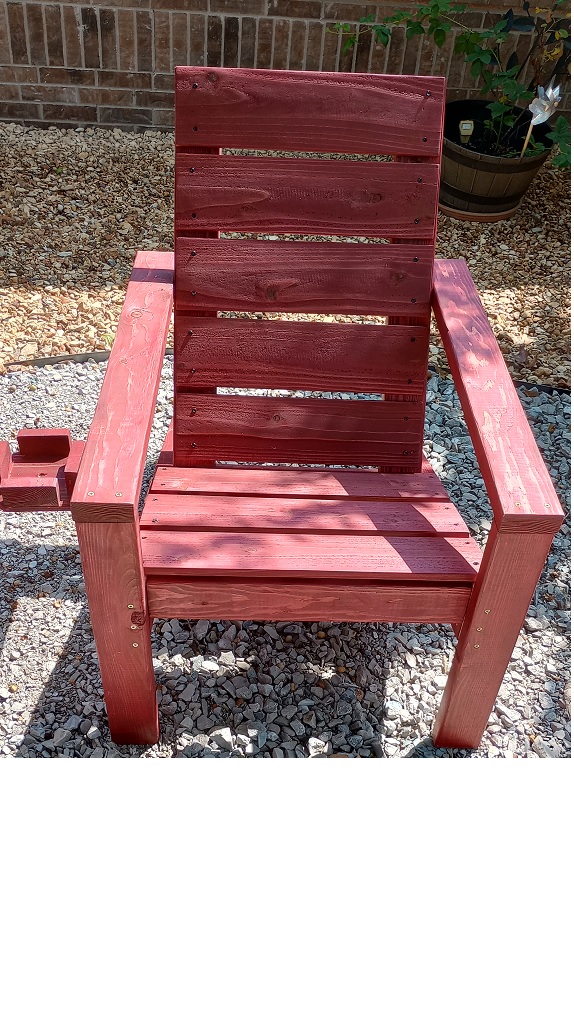
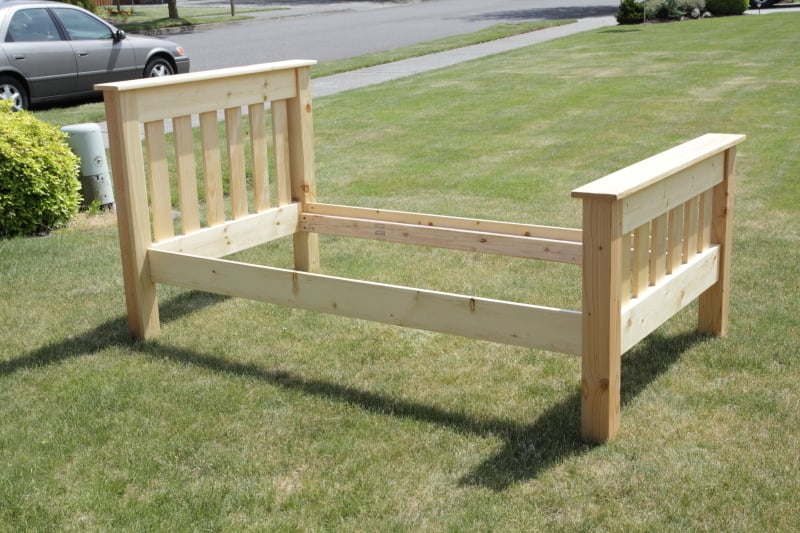
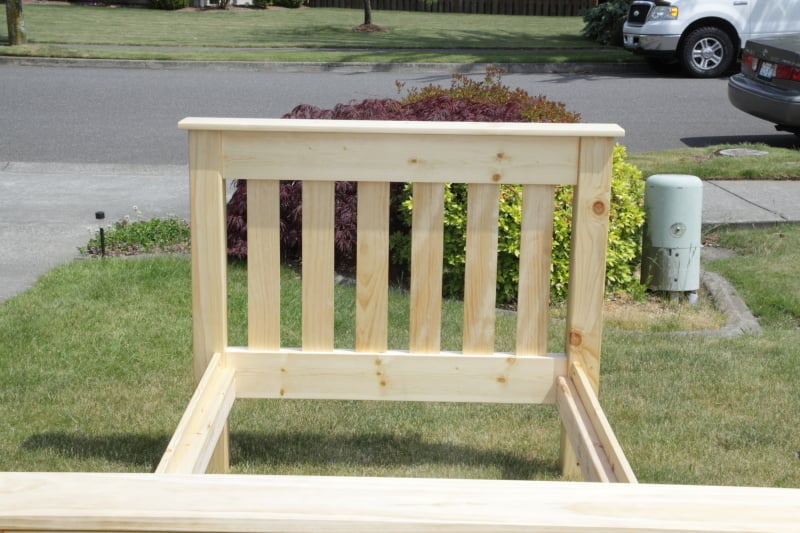
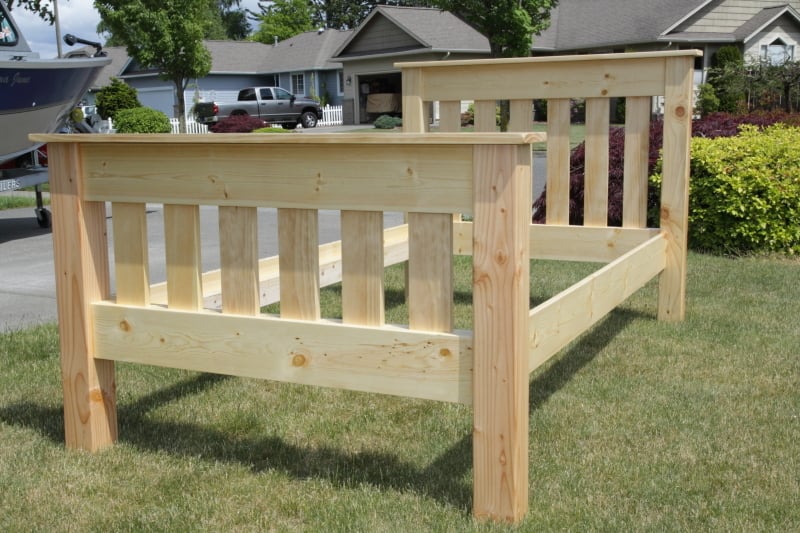
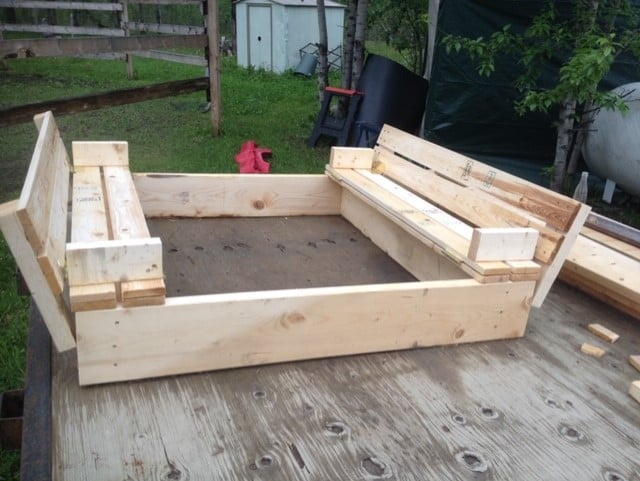
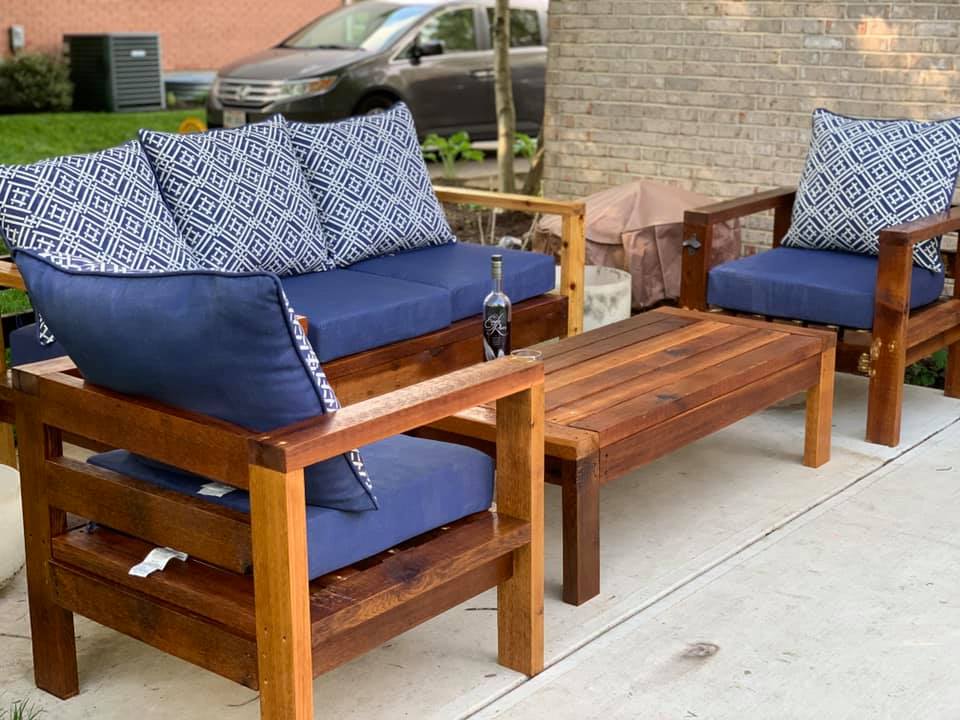
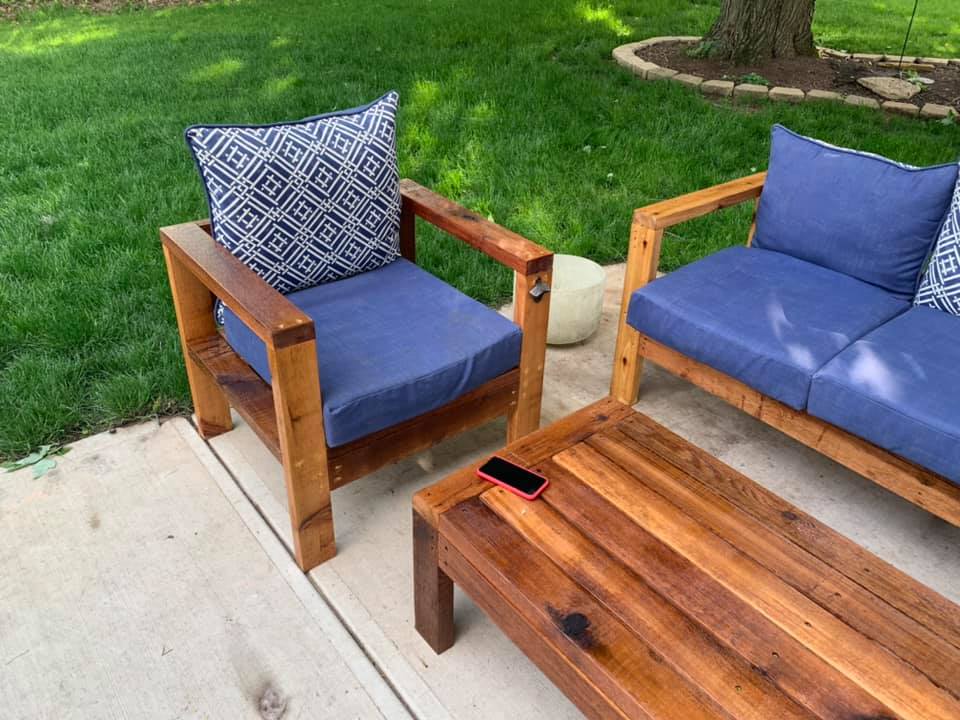
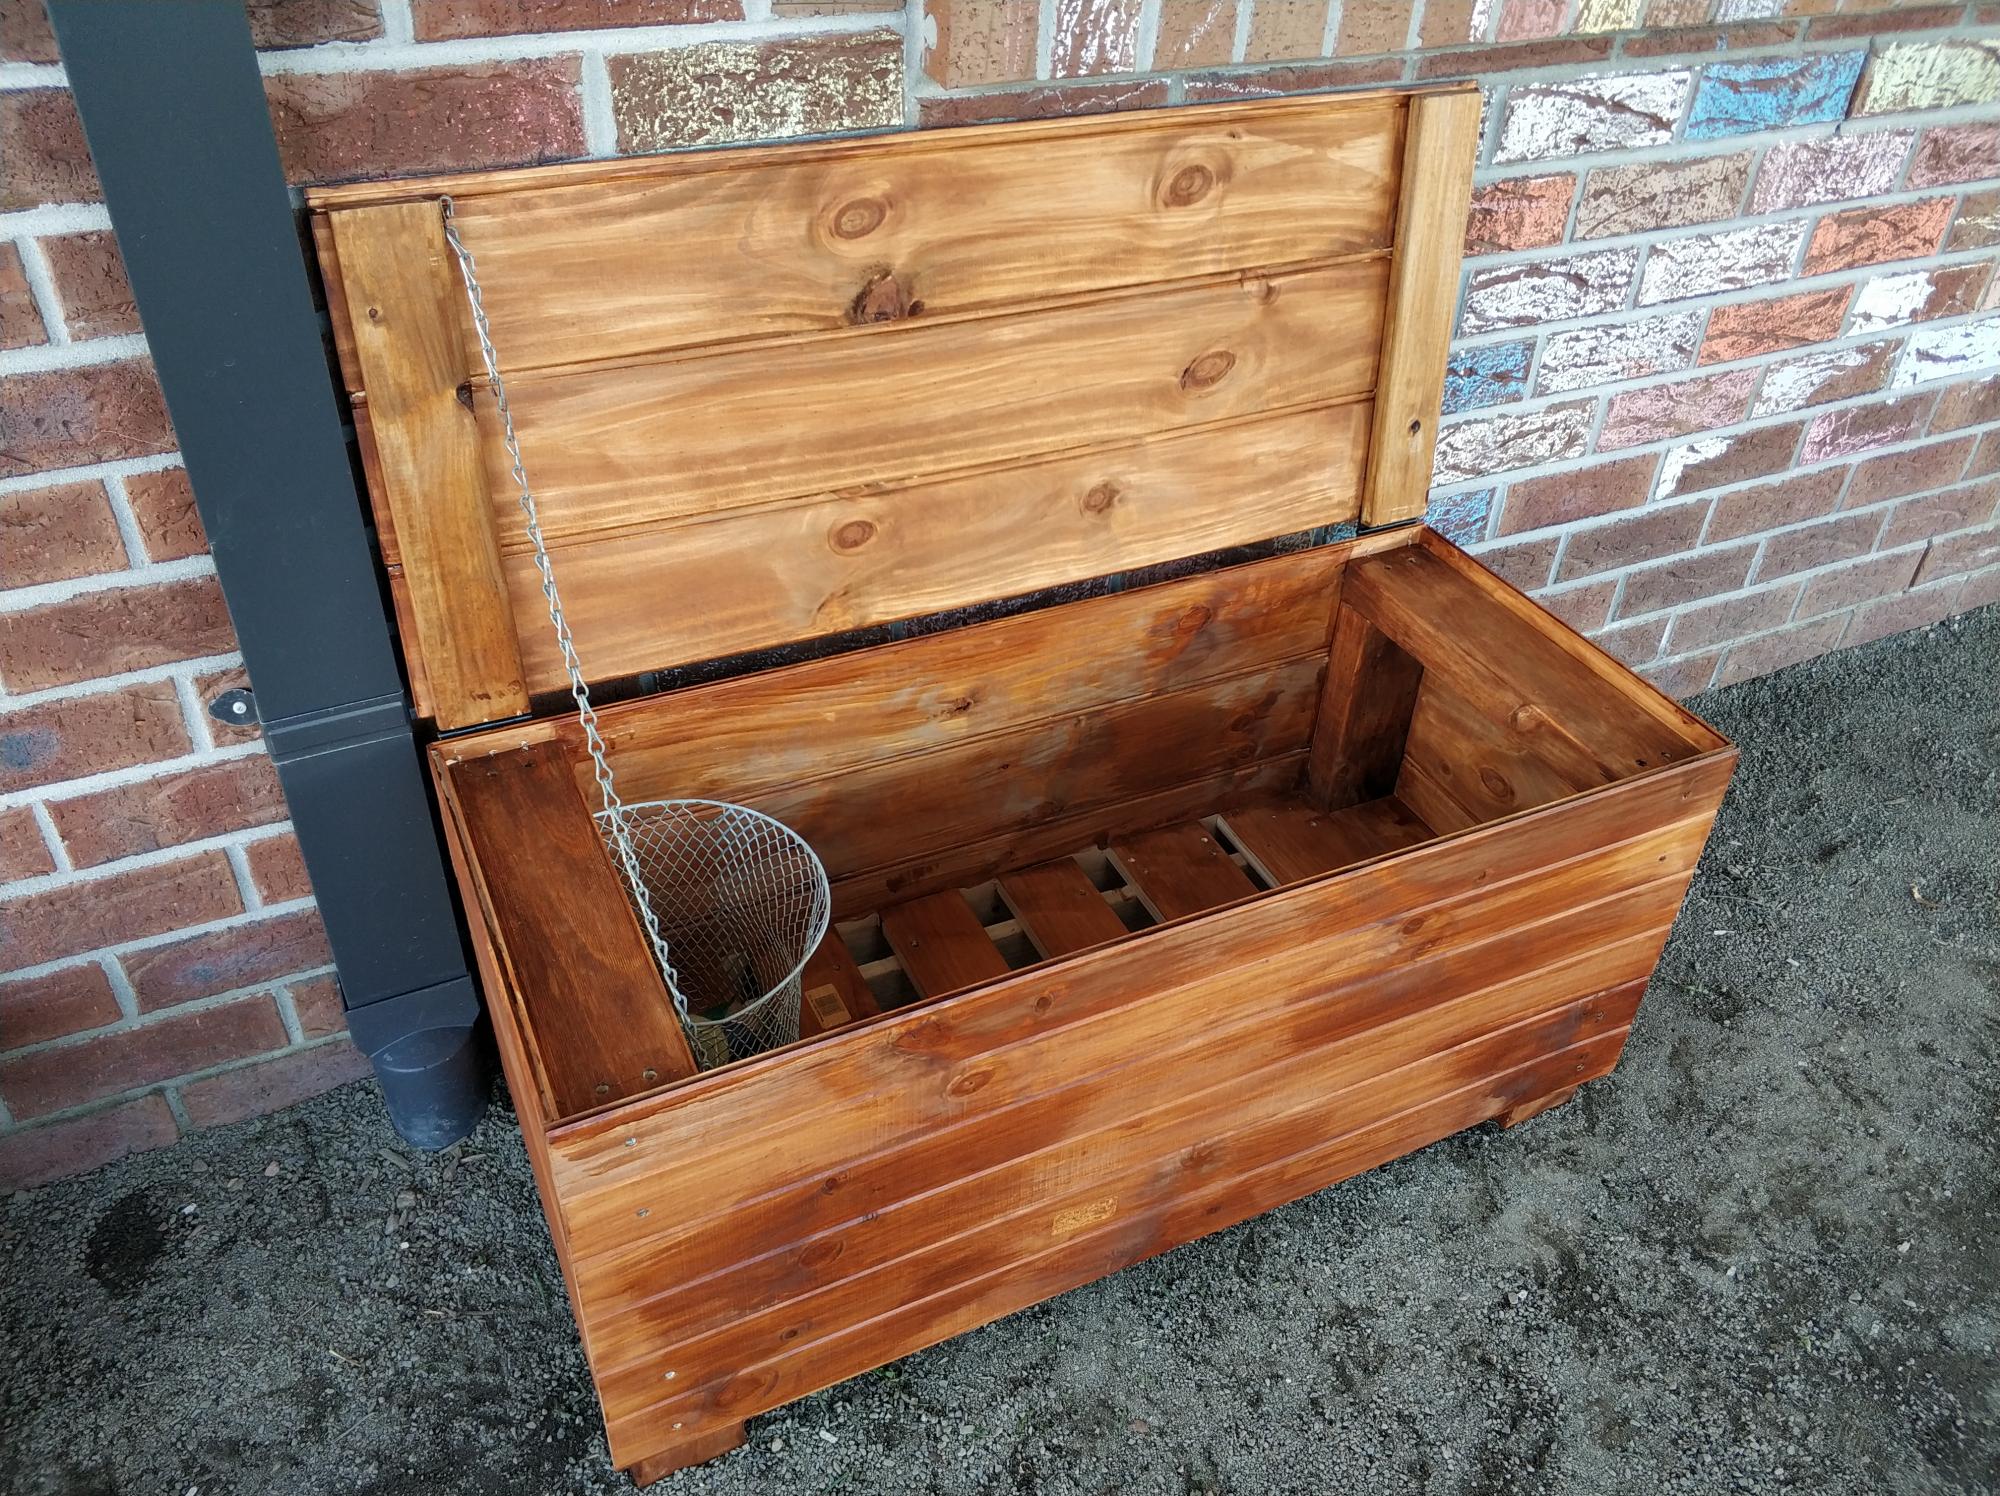
Reclaimed Wood Outdoor Sofa

Submitted by Anonymous (not verified) on Sun, 07/30/2023 - 14:43

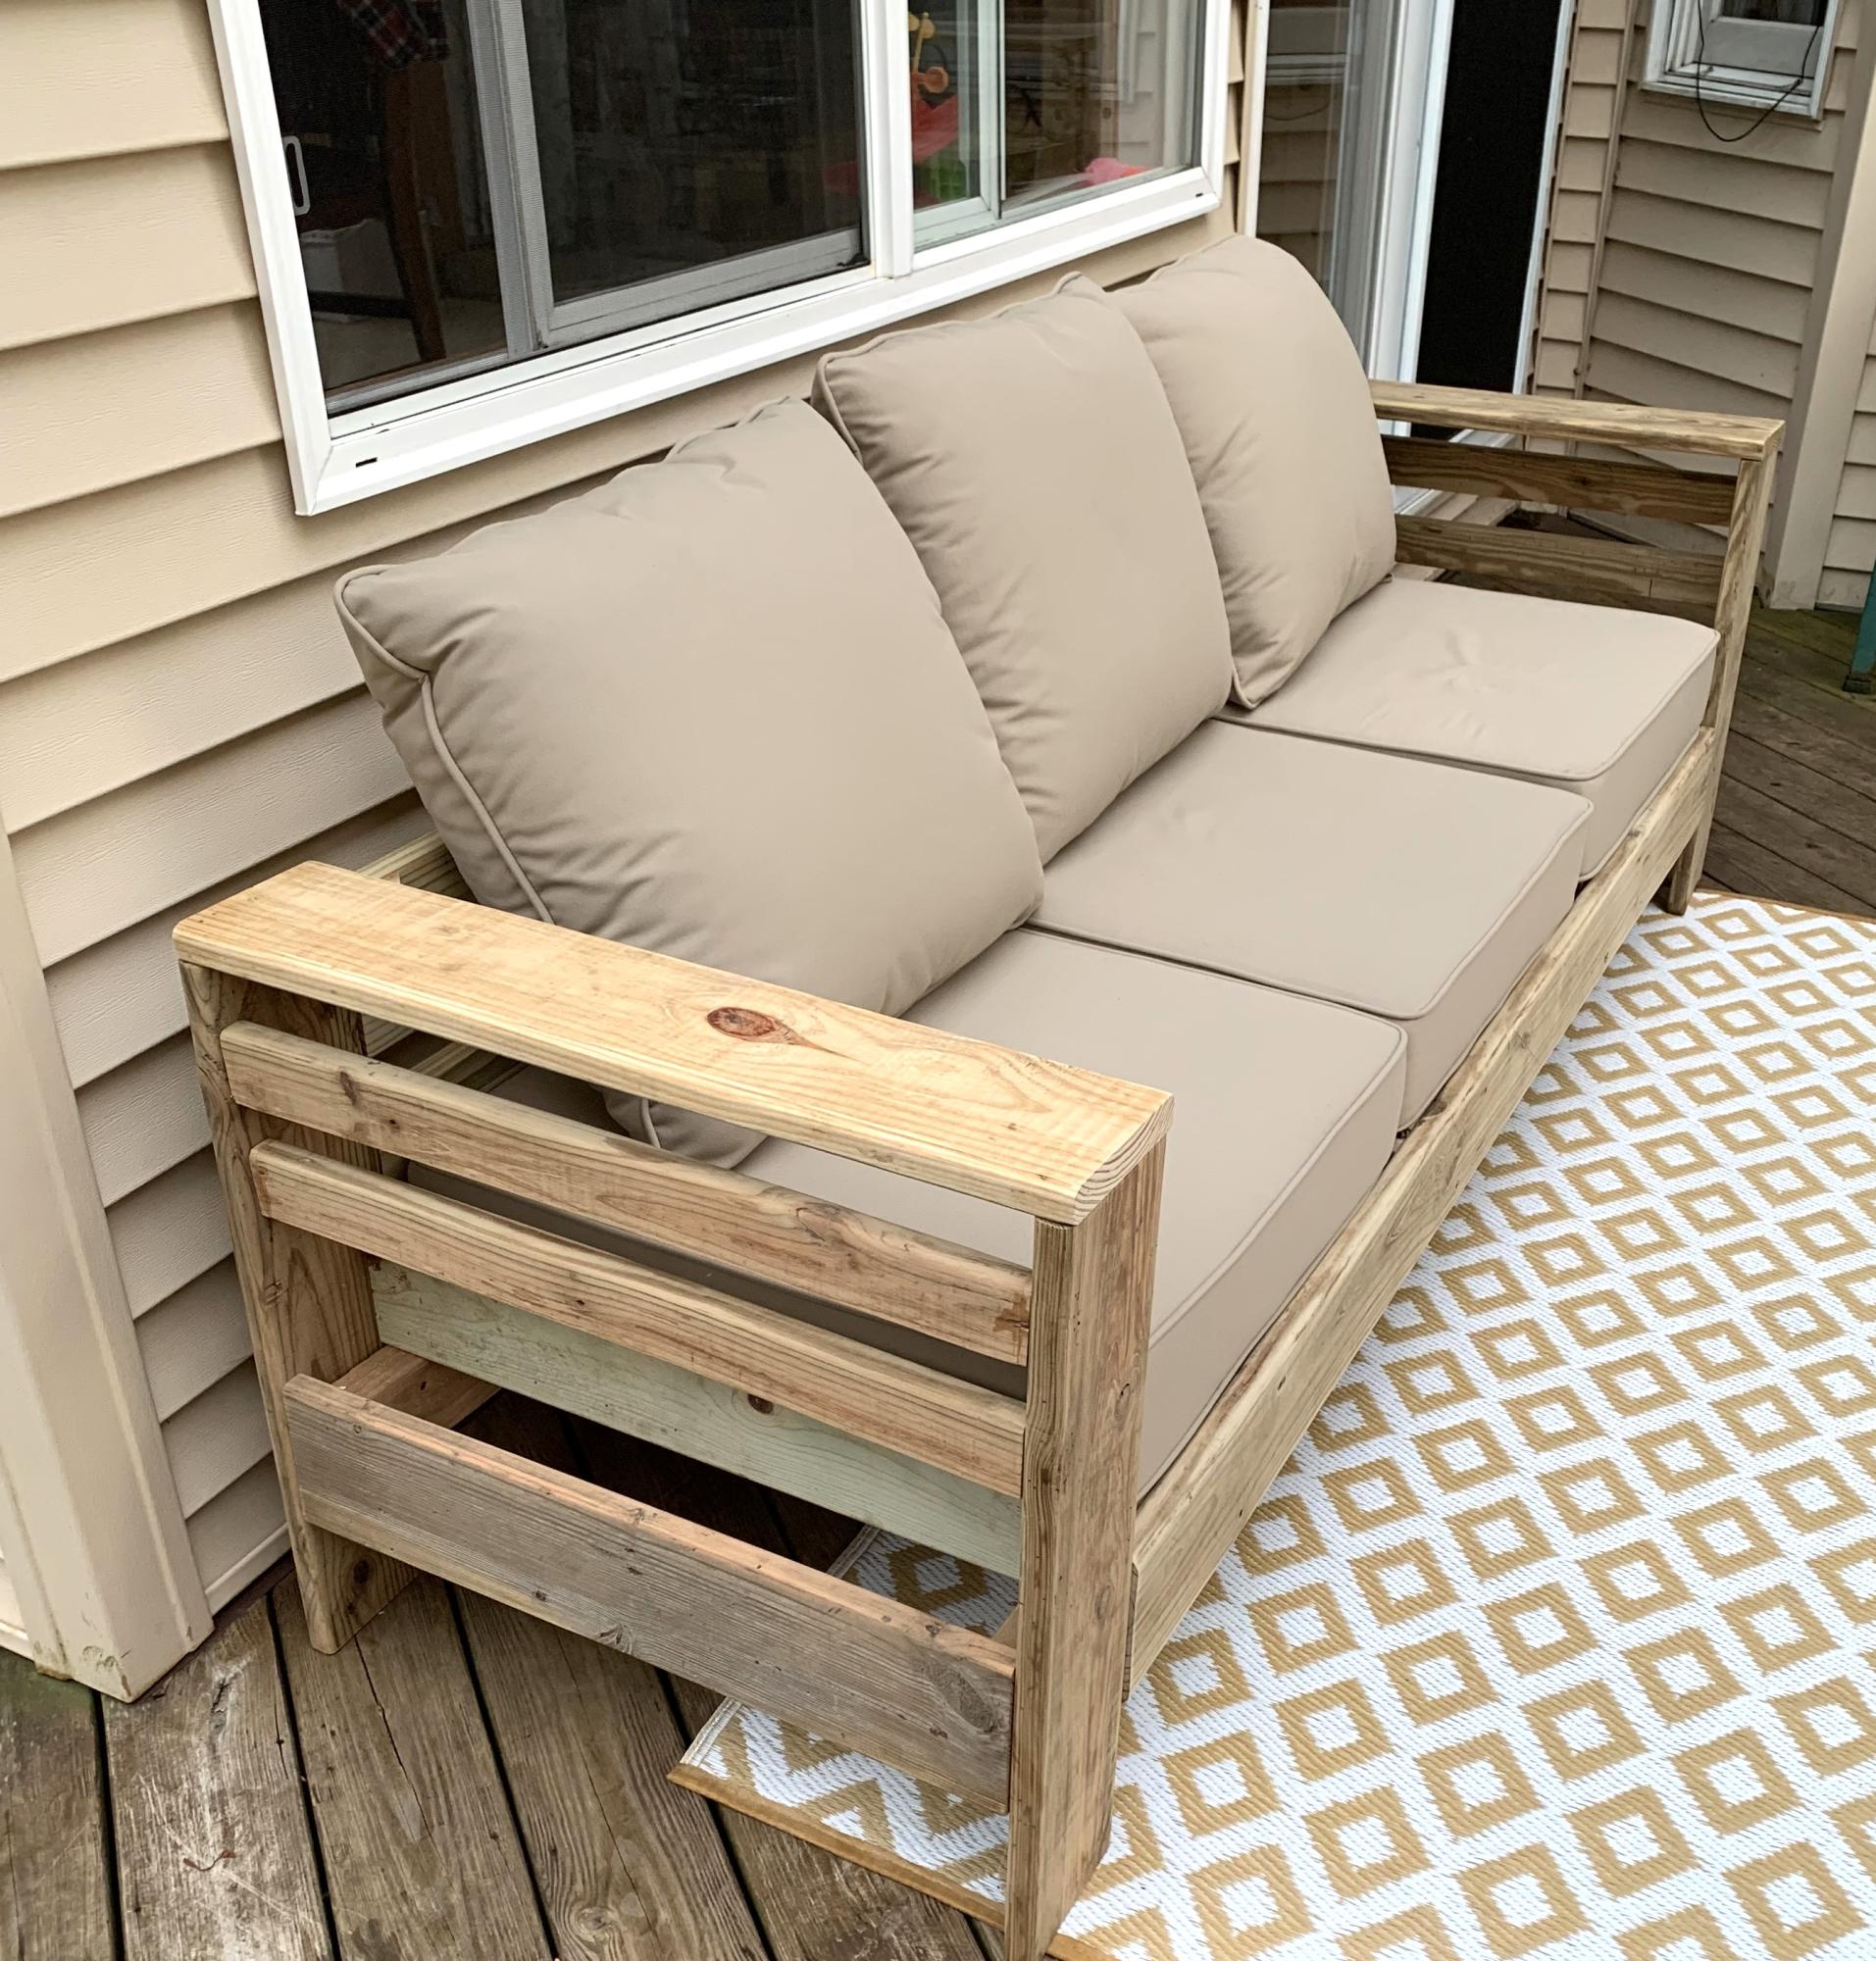
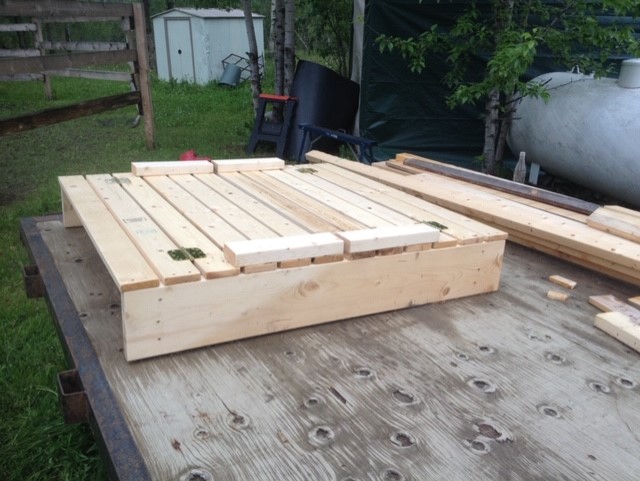
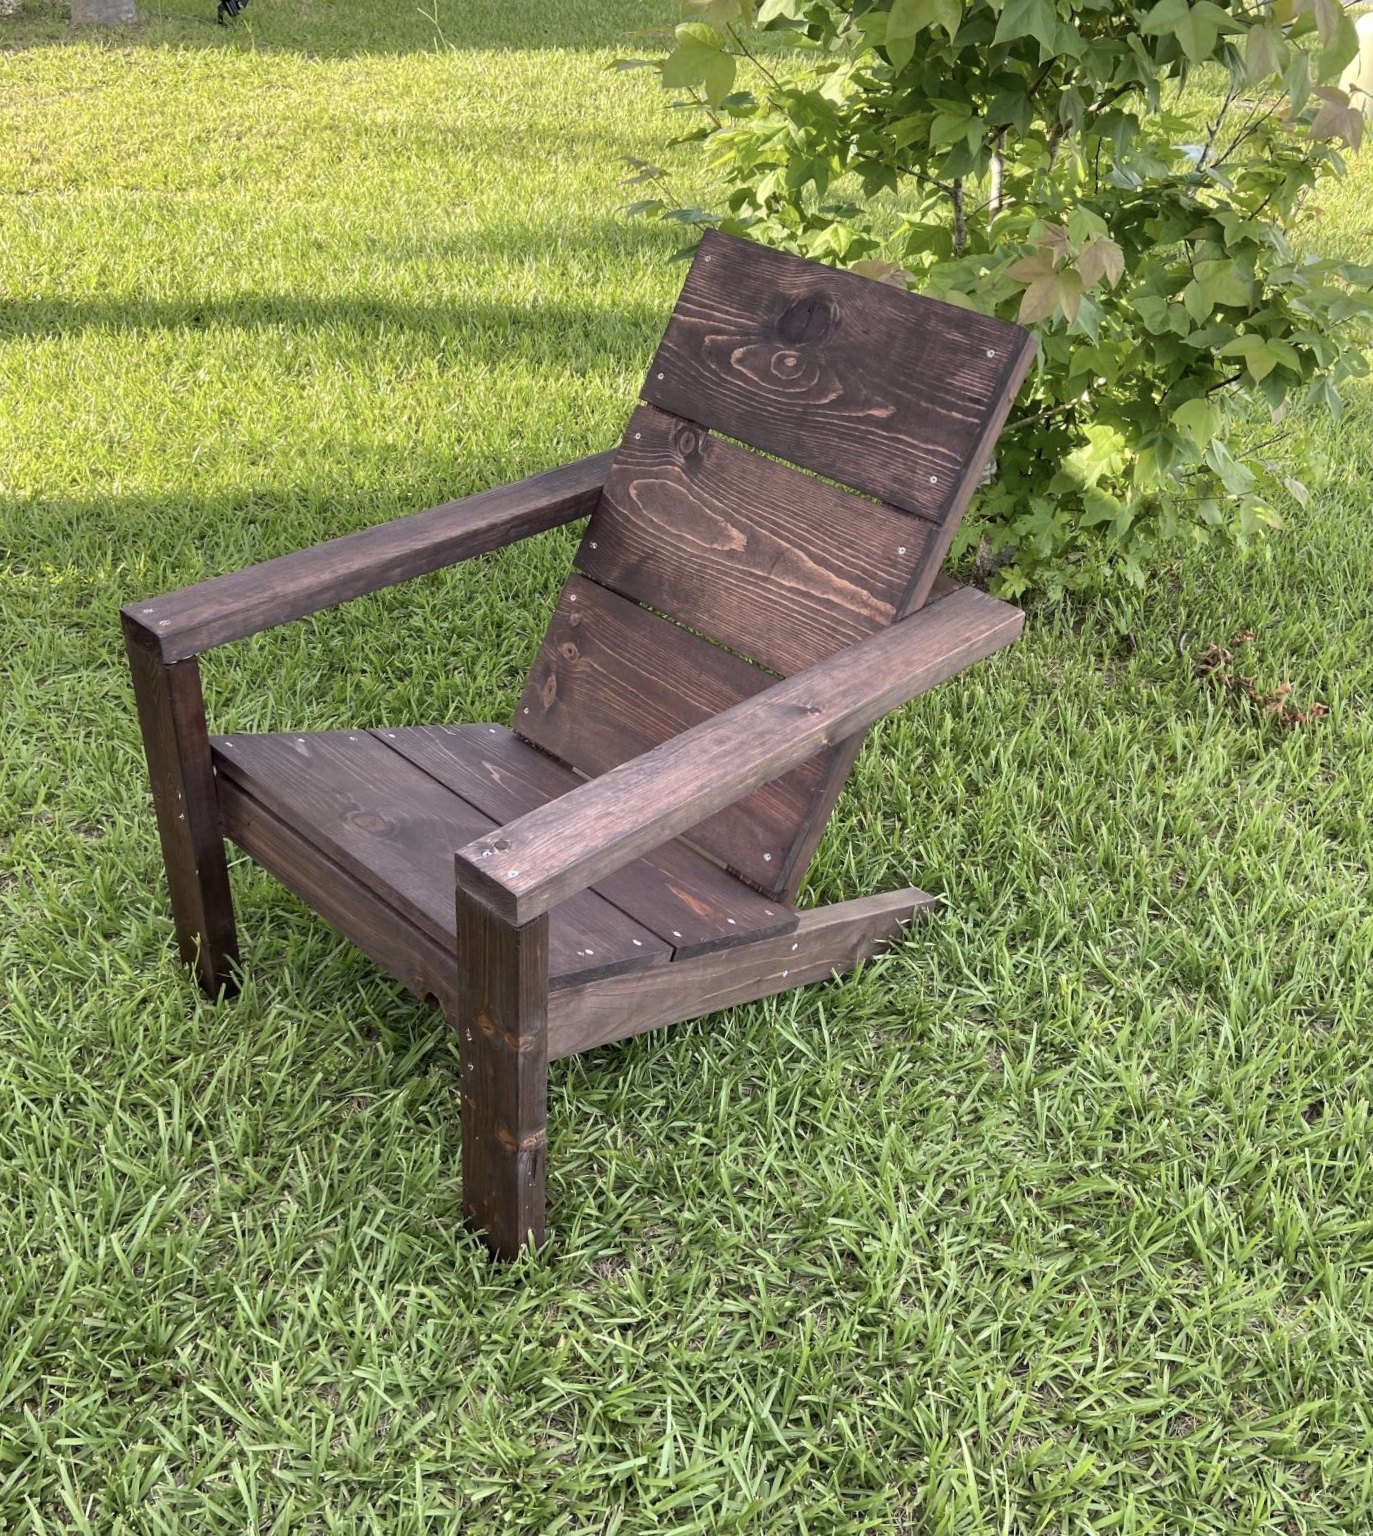
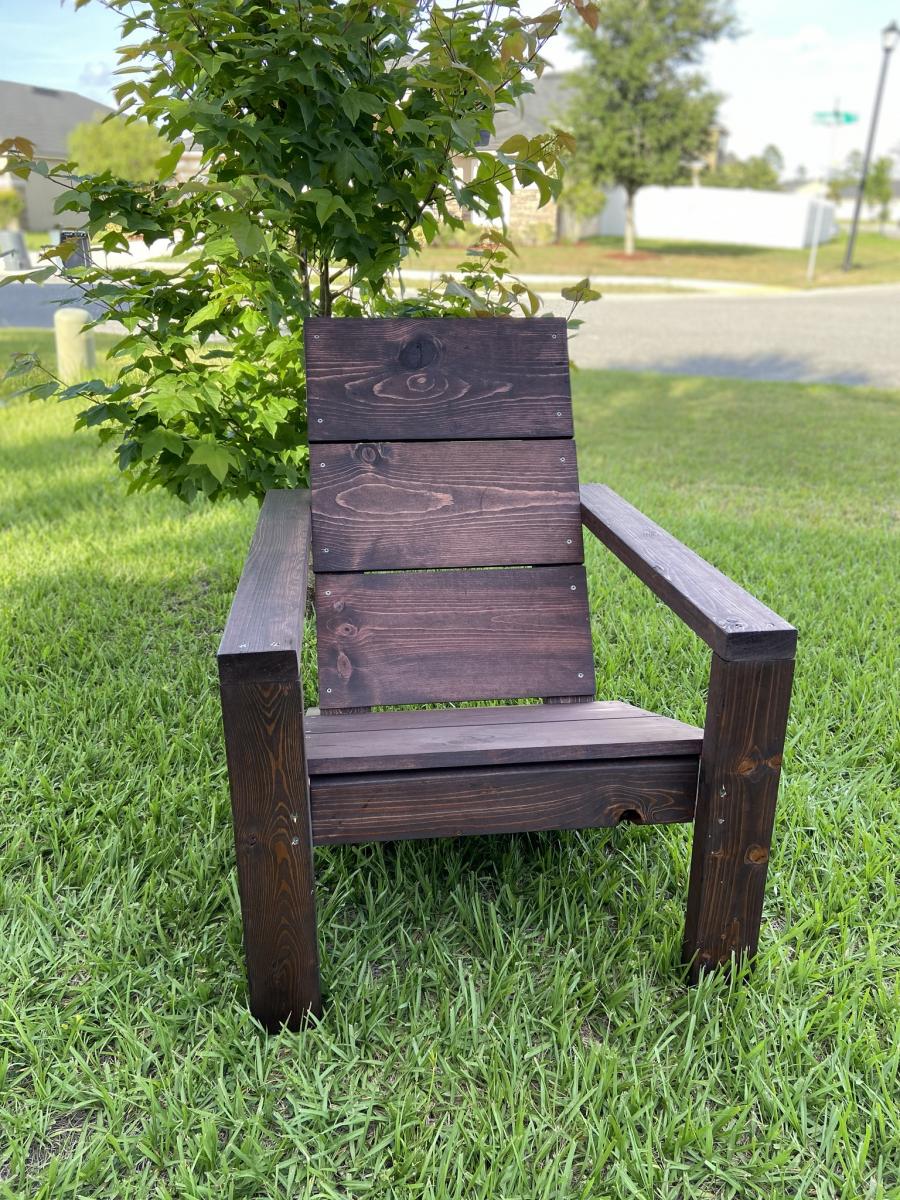
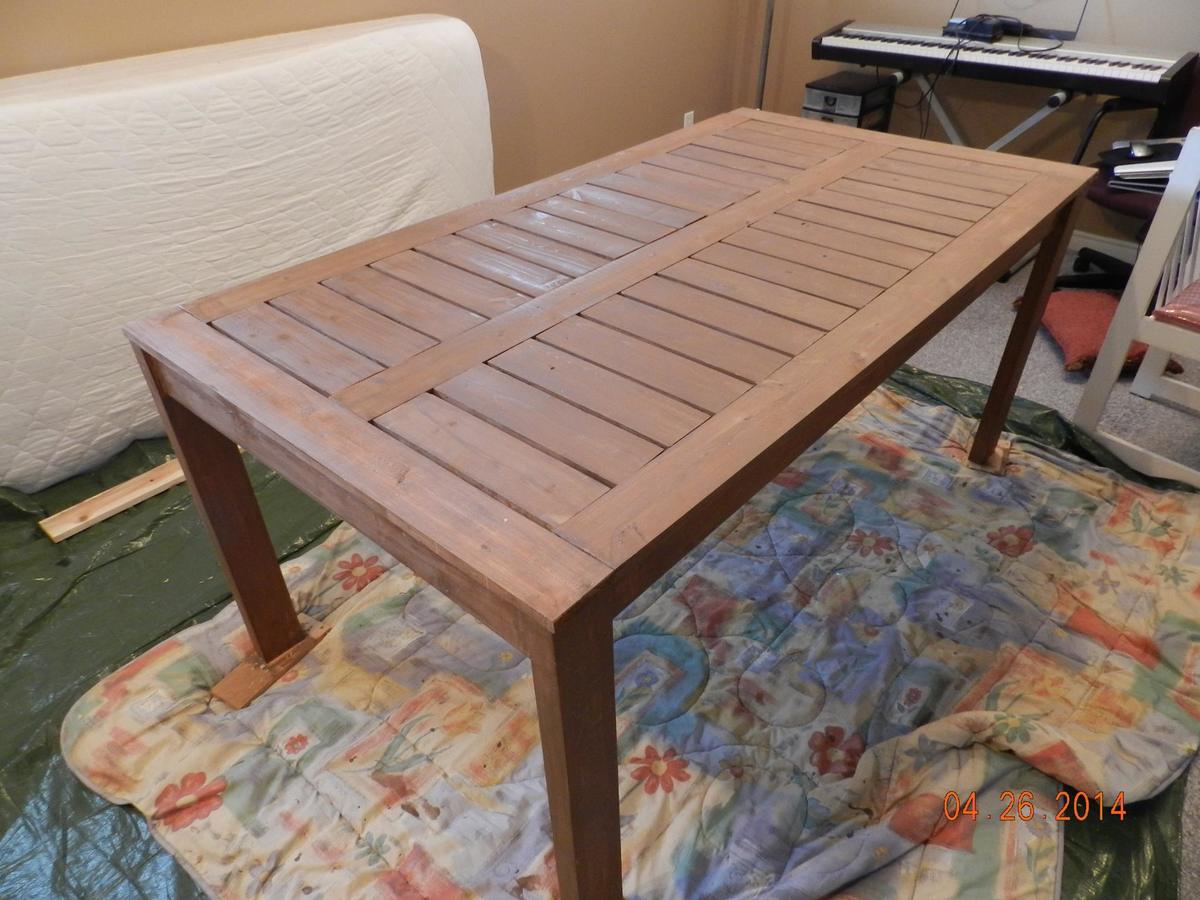
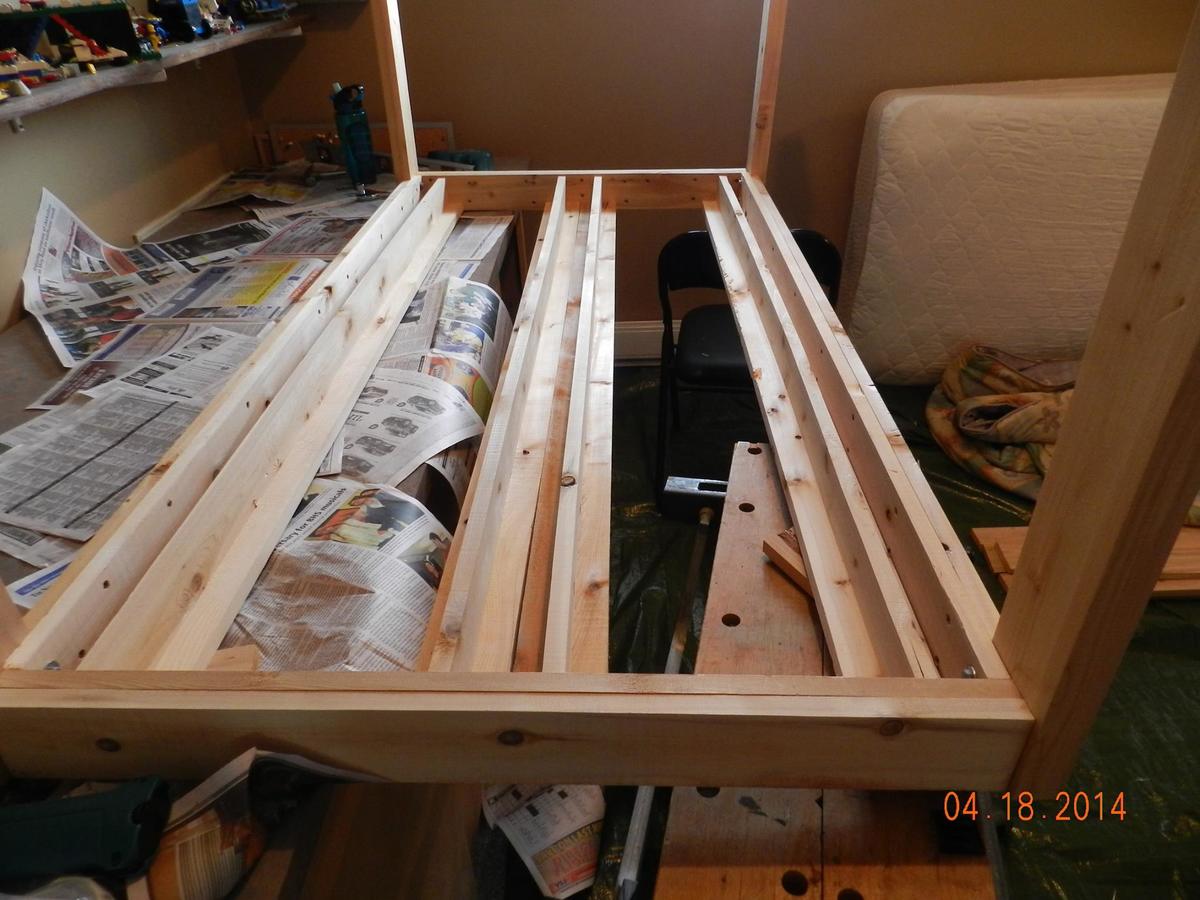
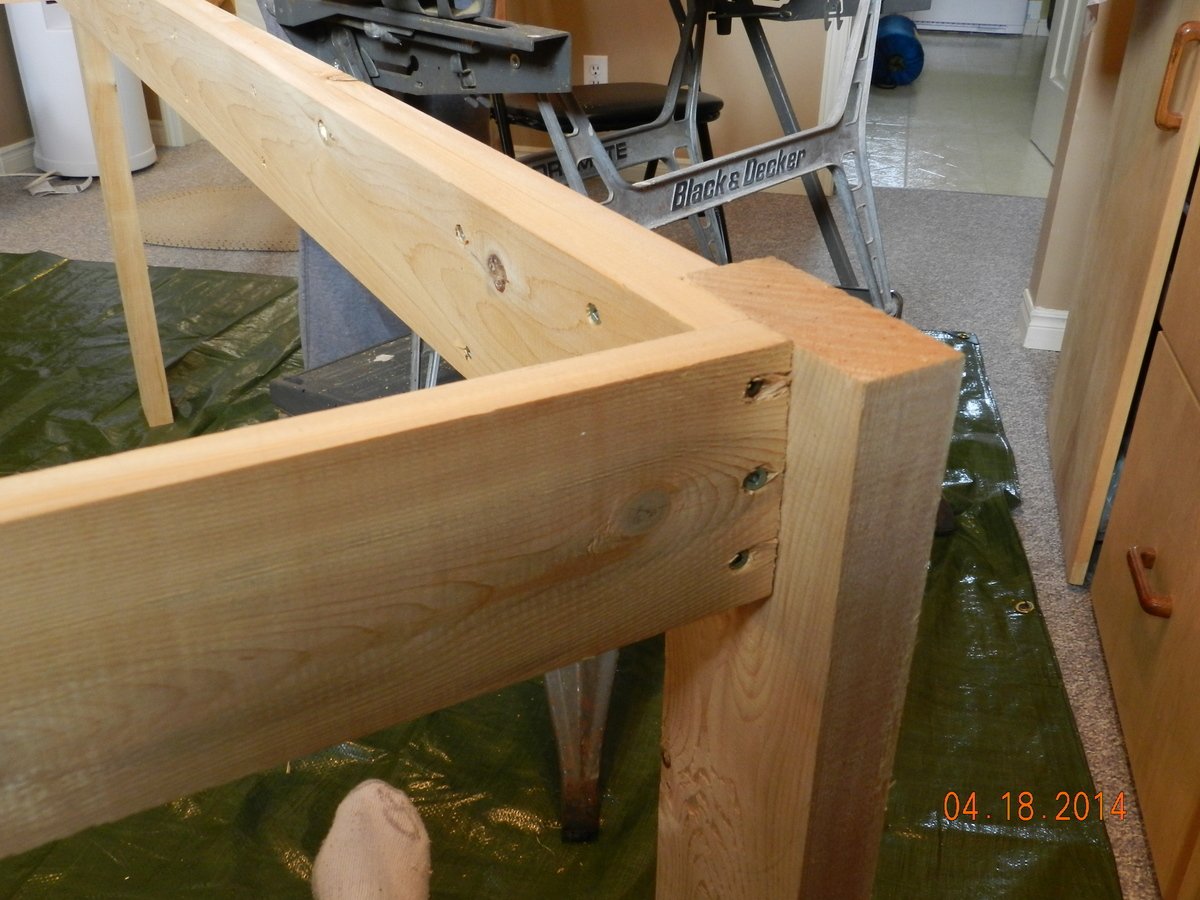
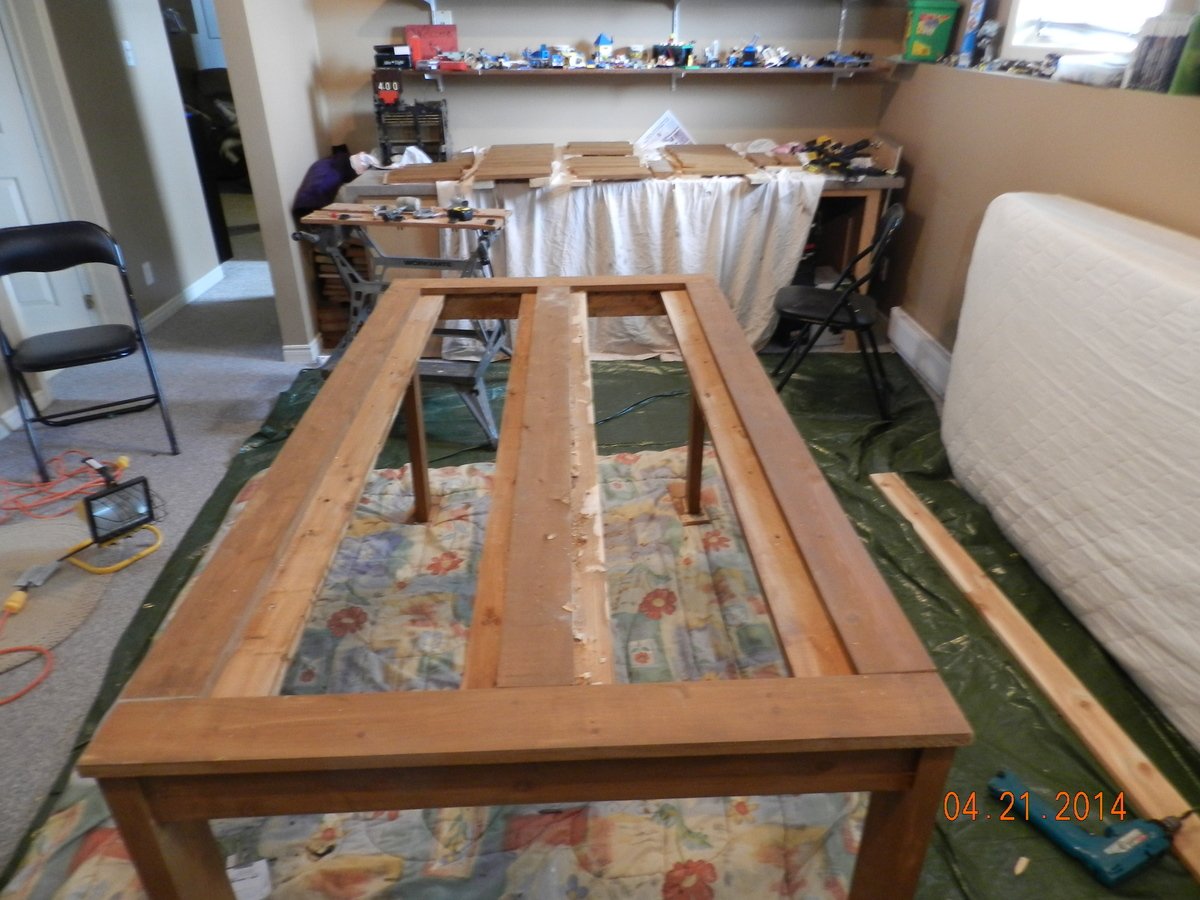
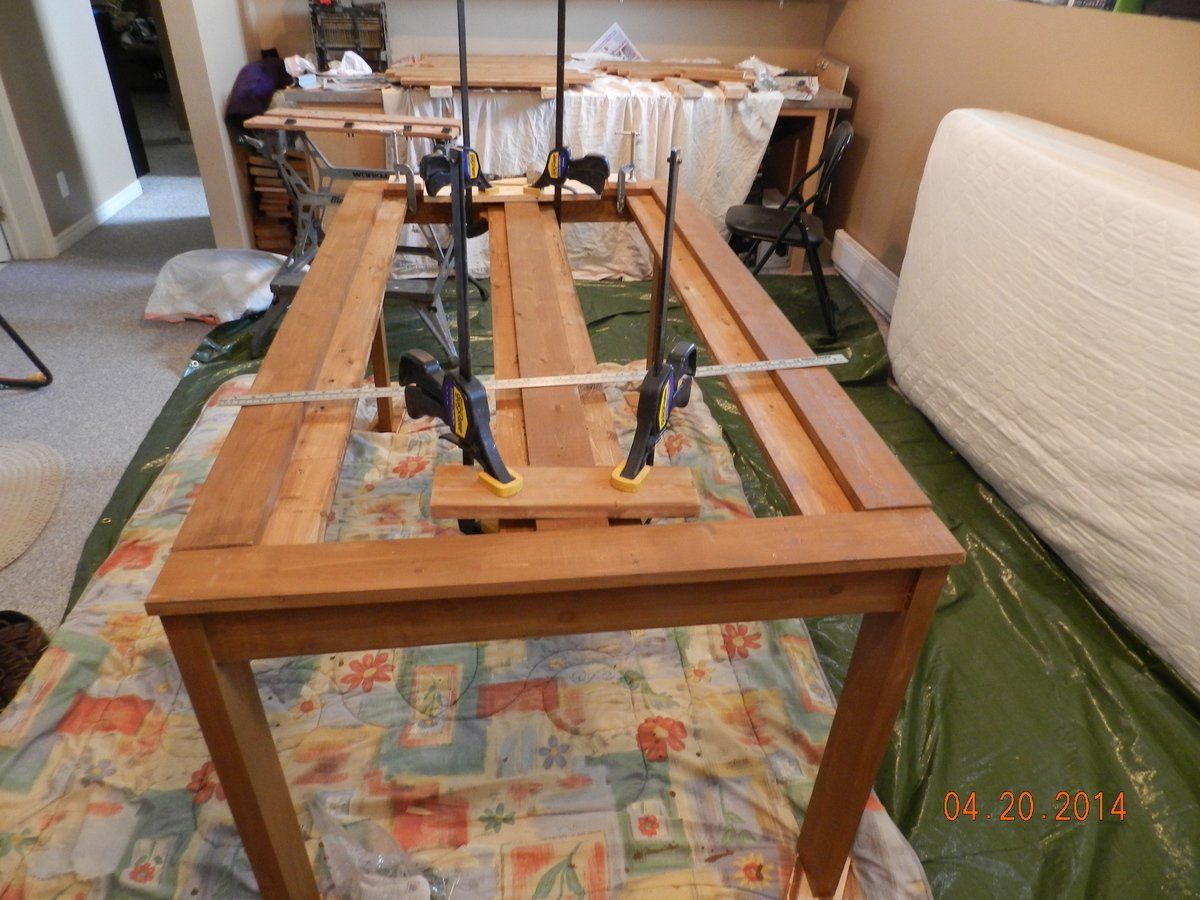
We had a small deck with many rotted boards. The contractor who demoed it, knowing my interest in diy projects, sorted out any usable boards. I loved the idea of an outdoor sofa, so altered your beautiful pattern to accommodate decking boards - I literally only had to purchase 2 boards for the entire project! I’m so thrilled with how it turned out! Thank you!!

Camey Brown

Built from Plan(s)

Daybed and side tables

Submitted by Anonymous (not verified) on Tue, 12/17/2019 - 06:56

My husband made this for our granddaughter when she comes to visit. Then we saw the side tables, adjusted the height and poof the best room ever!

Estimated Cost
$300.00
Estimated Time Investment
Weekend Project (10-20 Hours)

Essential Adirondack Chair - Brad's Mod

Submitted by Anonymous (not verified) on Fri, 09/08/2023 - 13:09

I modified the design to better suit my senior body.
I added 3 inches to the seat height by using 2x6s, made it 1 inch wider, and added clunky drink holders.
I also used cedar fence boards for the seats and backs because I like the look.
I went with Barn Red Stain and Thompson's Water Seal for the finish.
Thank you for this design. They are quite comfortable.
The cost was less than $40 each.

Shiplap Fireplace

Submitted by Anonymous (not verified) on Fri, 09/22/2023 - 08:13

So excited for my new living room space thank you for your great tips!

Kandis white DeCarlo

Comments

Under Stair Pantry

Submitted by Anonymous (not verified) on Sun, 10/15/2023 - 18:40

Our tiny cottage pantry is complete! We followed Ana-White's 2x4 Storage Shelving modified to fit.

Materials:
Paint: Behr Whisper White
Vinyl tile: Armstrong Terracotta Clay
Ceiling: Beadboard
Plans: Ana-White 2x4 Storage Shelving (modified)


Built from Plan(s)

Platform inspired bed frame

Submitted by KL728MX on Sun, 02/23/2014 - 15:01

I had searched for a nice bed frame for the longest time. I wanted something that would last and the prices in furniture stores or antique shops were crazy. I found the plans for the platform bed/headboard and modified them a little. I used 2x12's for the frame and set my 2x6's down inside for my box spring. 2x6's for the headboard and trimmed it the same way as in the plans. I love it. Thanks for the plans Ana.

Built from Plan(s)
Estimated Cost
125
Estimated Time Investment
Day Project (6-9 Hours)
Finish Used
Rust oleum dark walnut. I didn't put polyurethane on it so it would have an older look.
Recommended Skill Level
Beginner

Comments

Jmar2038

Fri, 05/30/2014 - 18:40

Love your inspired bed! What size mattress is your frame for? I am looking to make a frame just like yours for a queen size bed. Do you have your measurements or are they pretty similar to the original post? Complete beginner here, any help is much appreciated!!

Green House

Great little project from your site!

I put PVC to the ground vs the metal siding and added a heat sink in the middle with some old computer fans.

Built from Plan(s)
Estimated Cost
$1,300
Estimated Time Investment
Weekend Project (10-20 Hours)
Finish Used
PVC
Recommended Skill Level
Intermediate

Comments

Niccador

Sat, 05/23/2020 - 17:23

That PVC heat pipe intrigues me. Can you share a little more about it? I'm assuming it pulls hot air from the upper vent, and cools it down via the section of pipe below ground, sort of like a natural A/C. Keeps things from gettting too hot during the summer months?
Kinda looks like you'd frequently trip over it though. I'd probably have run the lower exhaust right up by the edge of the door frame, or a corner.

Simple Bed Twin

Submitted by GMWW on Mon, 05/28/2012 - 19:22

Total cost was under $200. The wood was a combination of select pine, Douglas fir. I used Minwax clear finish. Instead of slats I used plywood. This is going into the spare bedroom. We are quite pleased.

Built from Plan(s)
Estimated Cost
$200.
Estimated Time Investment
Weekend Project (10-20 Hours)
Finish Used
Minwax wood conditioner and Minwax clear Polyurethane fast drying.
Recommended Skill Level
Intermediate

Comments

GMWW

Fri, 06/01/2012 - 20:45

Yes it comes apart. A total of four pieces. Headboard, footboard, and the two sides. Also a fith piece if you count the plywood base for the mattress. The sides are screwed in at each of the corners of the head and footboards.

PSUlion01

Mon, 05/12/2014 - 19:01

Thinking of building this for my son as we move from crib to bed. Just curious how sturdy and strong the bed is? From the pictures it doesn't look like there's much wood where the rails attach to the head and footboard. Did you use pocket holes and screws? Any comments on how it's held up, what you might do differently? Also any idea if it'll hold a kid and parent for nightly story time?

Thanks...nice work!

GMWW

Wed, 05/14/2014 - 15:22

It is in our guest room and does not get much use. However, it is screwed in at the corners not with pocket screws because the rails were too close to the edges. I chose to screw them in starting farther back and at a 45 degree angle to send the screw deeper towards the center of the four posts. It is very strong. Another suggestion would to purchase bed hardware. Hardware can be found online or in a hardware stores for attaching rails to bed posts. I've used such hardware for fixing commercial beds I've purchased.

Hope this helps.

ShaunSmith

Sun, 11/02/2014 - 08:26

You did a beautiful job of making that bed. Any chance you could tell me where you put all the screws?  We have a Kreg Jig but are completely stuck on where to put the screws in without seeing them (because we'd like to stain).

GMWW

Tue, 01/20/2015 - 15:25

Sorry it took so long to answer. Where I put the screws depended on how the bed was going to be placed in the room. In our case, the headboard was going to up against a wall. Therefore the screws were on the wall side of the headboard. The footboard of the bed had the screws on the mattress side. Kreg sells pocket hole plugs that work very well. Glue them in after you screw the head and foot boards together and sand them before finishing.

The sides of the bed that are attached to the head and foot boards and screwed in too. I had to screw them in at a sharper angle to get enough sideboard material but deep enough into the head and foot boards in. Use the longest screws possible for strength without going all the way through the four corner posts.

GMWW

Tue, 01/20/2015 - 15:37

Sorry I had to take a look again at the underside of the bed. I actually used the pocket hole screws on the sideboard to attached to the foot and headboards cross pieces if that helps.

GMWW

Tue, 01/20/2015 - 15:50

Either way described above will work. See added photos of plugged finished pocket holes and underside attachment to foot-board.

Sandbox with Seats

I built this sandbox for my kiddo's because we have cats! It was great. Easy to build, great plans for it.

Built from Plan(s)
Estimated Cost
$50 CAD
Estimated Time Investment
Afternoon Project (3-6 Hours)
Finish Used
Minwax 2-in-1 in Natural
Recommended Skill Level
Beginner

2x4 Modern Adirondack Chair

Submitted by Anonymous (not verified) on Sat, 05/16/2020 - 06:52

This was my first project.....my husband does woodworking projects all of the time but this one I picked out and he helped me. I really love how it turned out. We love the darker stain and can’t wait to do our second one!! We only had to purchase the wood for seat and back. We already had screws and 2x4’s.

Estimated Cost
$22
Estimated Time Investment
Afternoon Project (3-6 Hours)
Finish Used
Red Mahogany
Recommended Skill Level
Beginner

Modified Simple Outdoor Dining Table

Submitted by DD5.1 on Sat, 04/26/2014 - 20:00

I didn't make any changes , his orginal design was great. Hope these pictures help others. I tried to link to the modified-simple-outdoor-dining-table but wasn't able too.

Built from Plan(s)
Estimated Cost
120
Estimated Time Investment
Weekend Project (10-20 Hours)
Finish Used
make sure you stain as you go
Recommended Skill Level
Beginner

Comments

DD5.1

Sun, 04/27/2014 - 14:06

Found the plans "modified-simple-outdoor-dining-table" and I built it. Very nice table, I posted more pcitures to help others

DD5.1

Sun, 04/27/2014 - 14:06

Found the plans "modified-simple-outdoor-dining-table" and I built it. Very nice table, I posted more pcitures to help others

Better Than I Hoped!

Been working from home for the past two months due to the health crisis. To stop from going crazy from being at home with my wife and four kids, I decided up pick up a hobby - here's where my homie Ana enters! I didn't want the sectional for my patio, but certainly the couch, chairs and table. The only mistakes had were my own (using wood putty, not sanding it well), but the plans were spot on. The only real issue I ran into was the cedar wood I used wasn't 1.5 x 3.5, but 1.75 x 3.5. This caused me to make additional cuts were I otherwise would not have needed it. Other than that, just remember to make the longest cuts first... I ended up needing to buy about five additional boards because it.

Estimated Cost
$350 (I used cedar, which is much more expensive)
Estimated Time Investment
Day Project (6-9 Hours)
Finish Used
Minwax Spar Urethane, clear
Recommended Skill Level
Beginner
Seasonal And Holiday

BLUE BENCH

Submitted by spustay74 on Mon, 06/16/2014 - 05:26

This was my wife and I's first Ana White project. We are now hooked, and loved spending time together building something we will enjoy for years, and our dog mindy of course was the first to test our beautiful bench out!

Thanks Ana,

Steve & Courtney

Built from Plan(s)
Estimated Cost
80$
Estimated Time Investment
Day Project (6-9 Hours)
Finish Used
Rustoleum Spray paint, Clear coat sealer. If we did it again, we would use regular exterior paint instead of spray paint.
Recommended Skill Level
Beginner

Comments

Wranglerstar Greenhouse

Thank you Ana for the excellent plans. We have been talking about this for months and are excited finally have a greenhouse. We live in the mountains and this will help extend our growing season. Please tell Ram thank you from the Wranglerlerstar family.

Built from Plan(s)
Estimated Cost
$750
Estimated Time Investment
Week Long Project (20 Hours or More)
Finish Used
stain
Recommended Skill Level
Advanced

Comments

jnow8687

Sat, 08/31/2019 - 12:34

Did you extend the base height? I want a greenhouse to enclose trees that do not do well in the winter and I think I would like to raise the base height a foot or so.

Kids Toy Outdoor Storage Box

Submitted by MattCad on Sat, 08/01/2020 - 20:28

First time making anything half decent and it turned out ok. Followed the Cedar Box plans with a few adaptations. I live in regional Australia so used different materials, also extended the length. Used an app on the phone to convert the measurements to as close as I could. Worked out well, a few teething issues but does the job.

Estimated Cost
70 AUD
Estimated Time Investment
Day Project (6-9 Hours)
Finish Used
Intergrain Merbau Stain
Recommended Skill Level
Beginner

Comments

Ladder Garden Planter

Submitted by sbenington on Sun, 01/24/2021 - 13:40

Finally! The cedar pieces for this planter have been cut for a few months, and I assembled it a couple weeks ago. Unfortunately I had to use a lot of wood filler & glue to hide imperfections so it was painted to match our house trim. My strawberry runners from last season were begging to be moved. They should love this new home. I'm learning! Next project is an outdoor coffee table. --Susan

Comments

Rural School Bus Shelter

Submitted by Medeek on Thu, 02/28/2013 - 09:02

Rural Bus Shelter with 3/12 shed roof, designed to keep your kids out of the elements as they wait for the bus. Shown with log siding and 2x trim. Can be constructed on a slab on grade or remain portable with pressure treated runners and wood floor as shown.

Upgrade further with electricity and insulation for those really cold and dark climates (ie. Washington, Oregon, Alaska, B.C.).

I will make the plans for this shelter freely available to all that are interested.

Estimated Cost
$1200
Estimated Time Investment
Week Long Project (20 Hours or More)
Finish Used
Very good idea to stain and treat the siding which will greatly increase its longevity and attractiveness.
Recommended Skill Level
Intermediate

Comments

corner shelf

This was very easy to make. Stained with minwax dark walnut. It's very sturdy too.

Built from Plan(s)
Estimated Time Investment
Day Project (6-9 Hours)
Finish Used
Minwax dark walnut
Recommended Skill Level
Beginner

Comments

Back