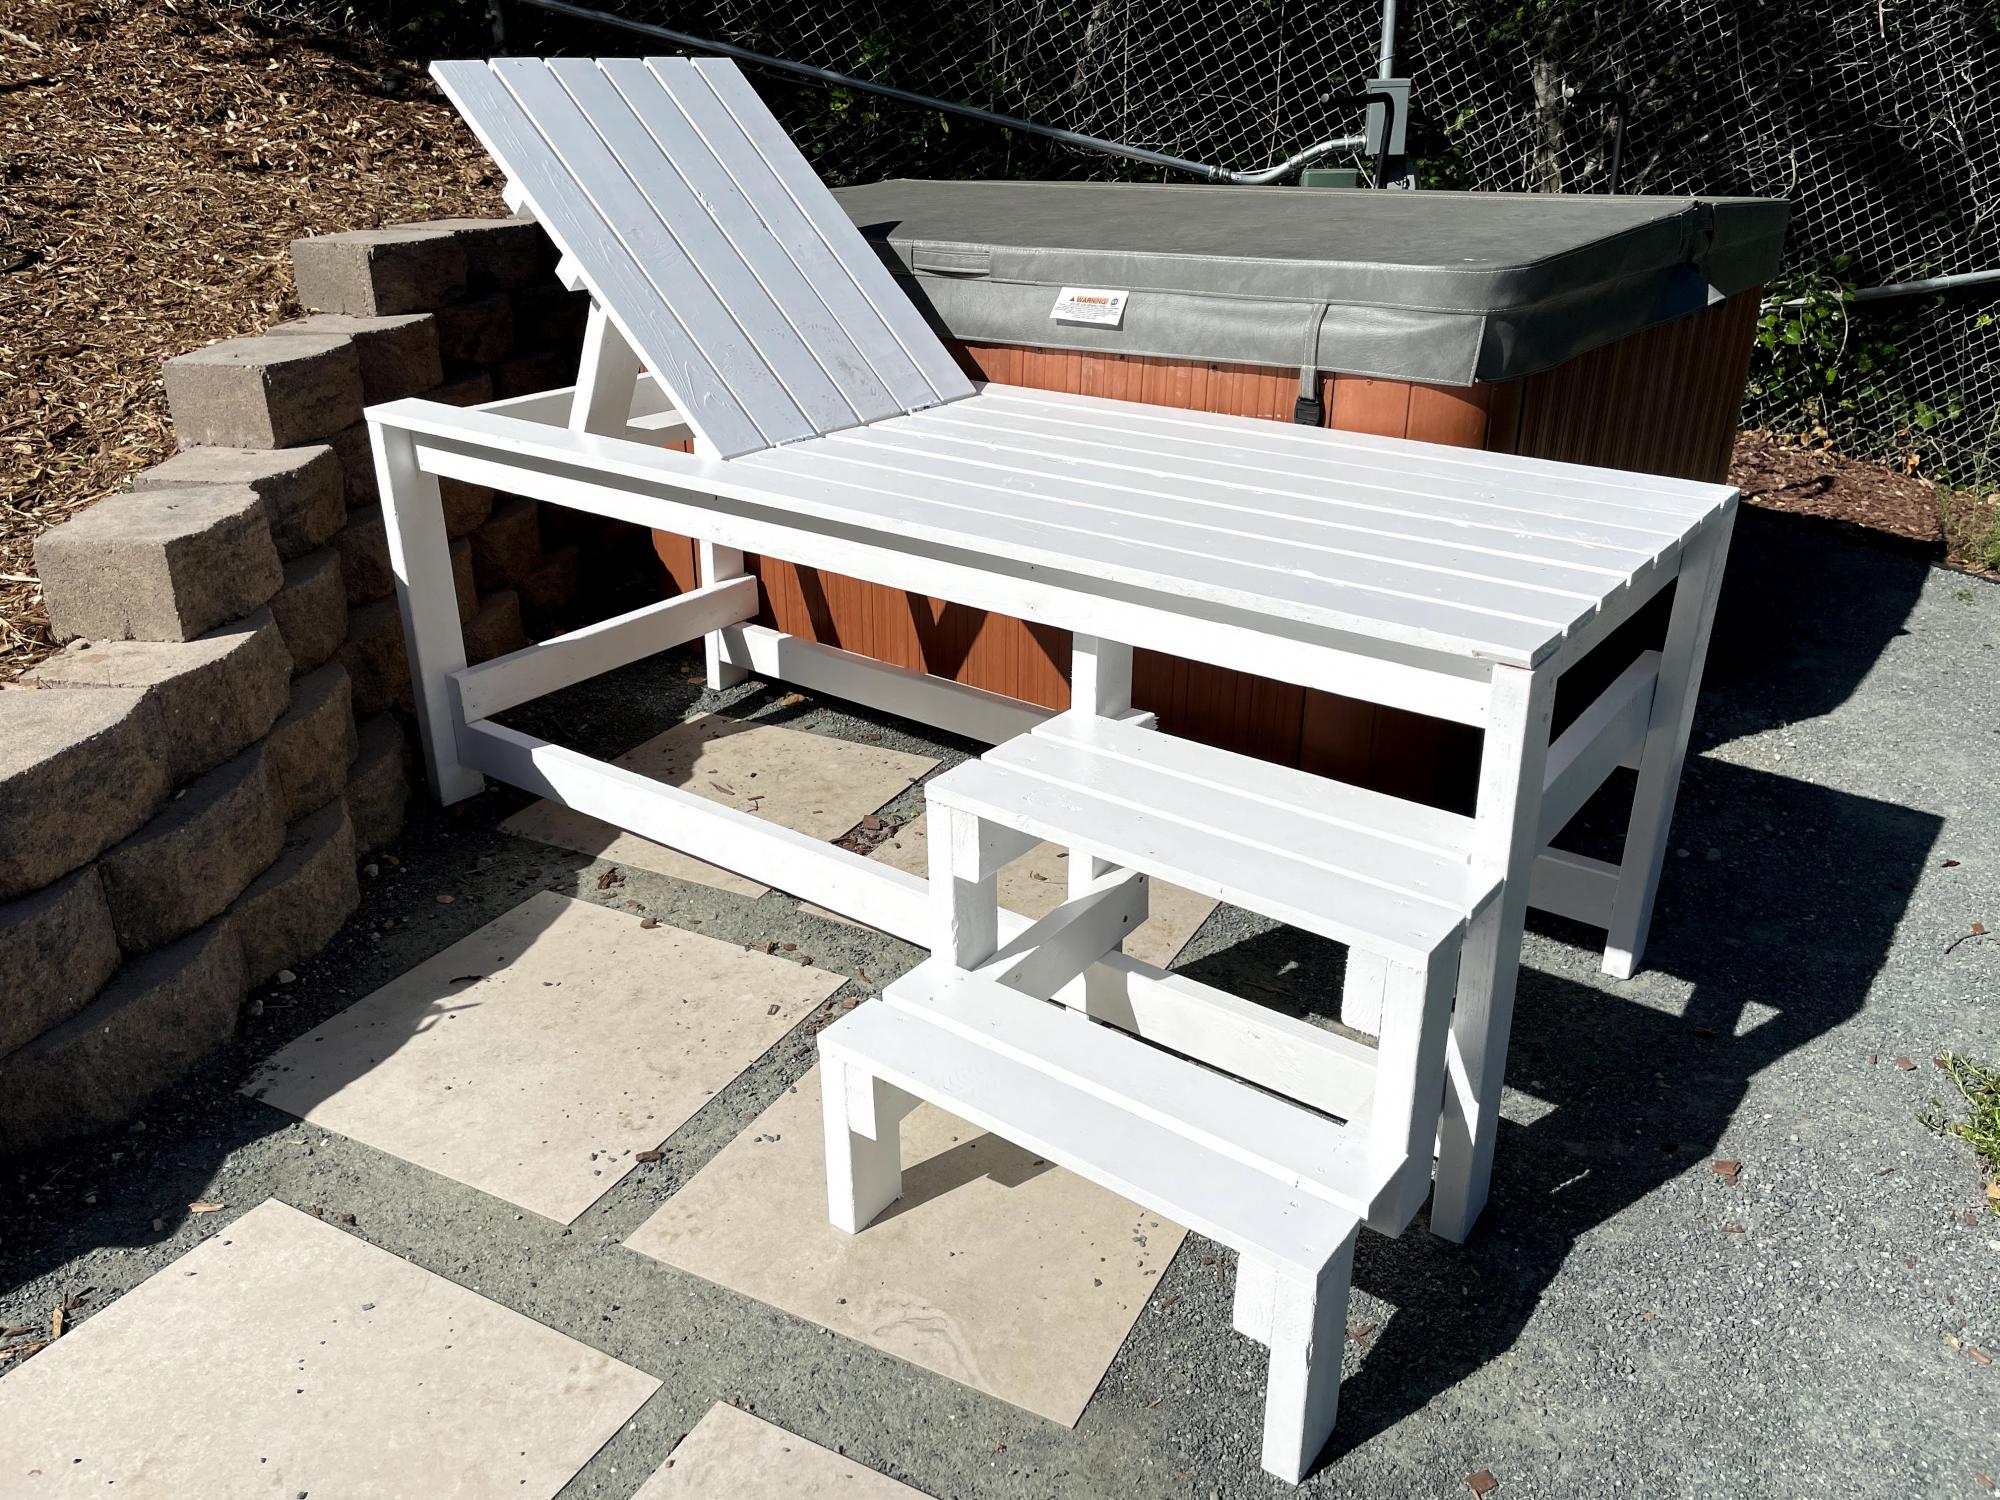
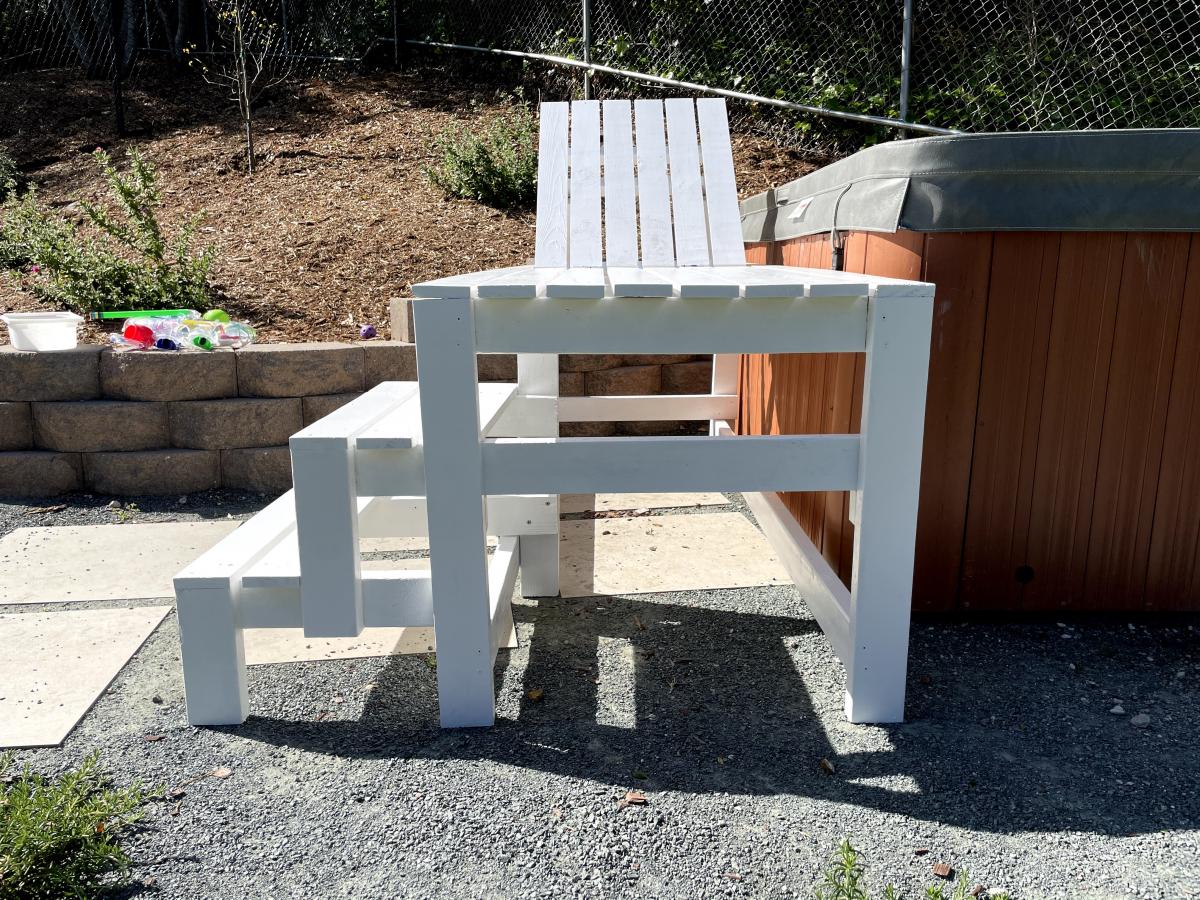
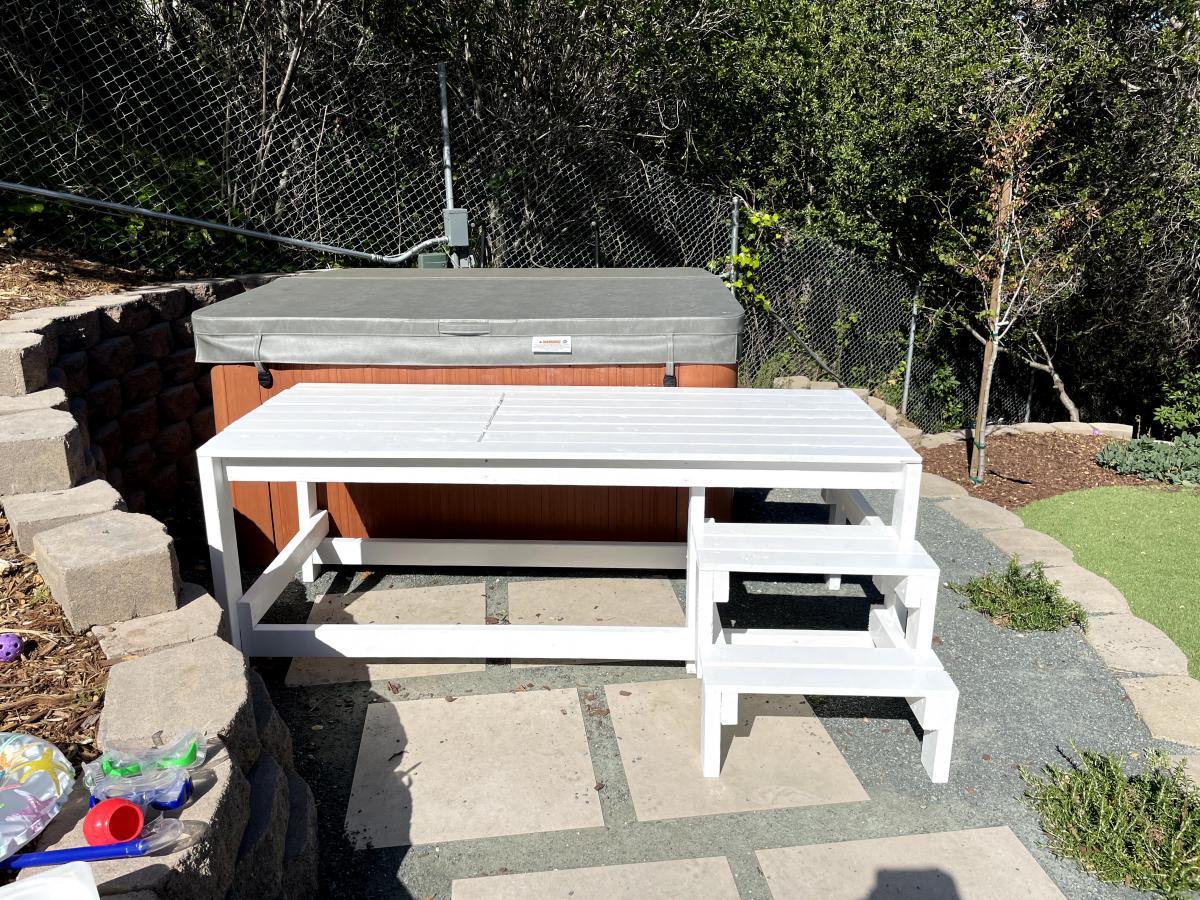
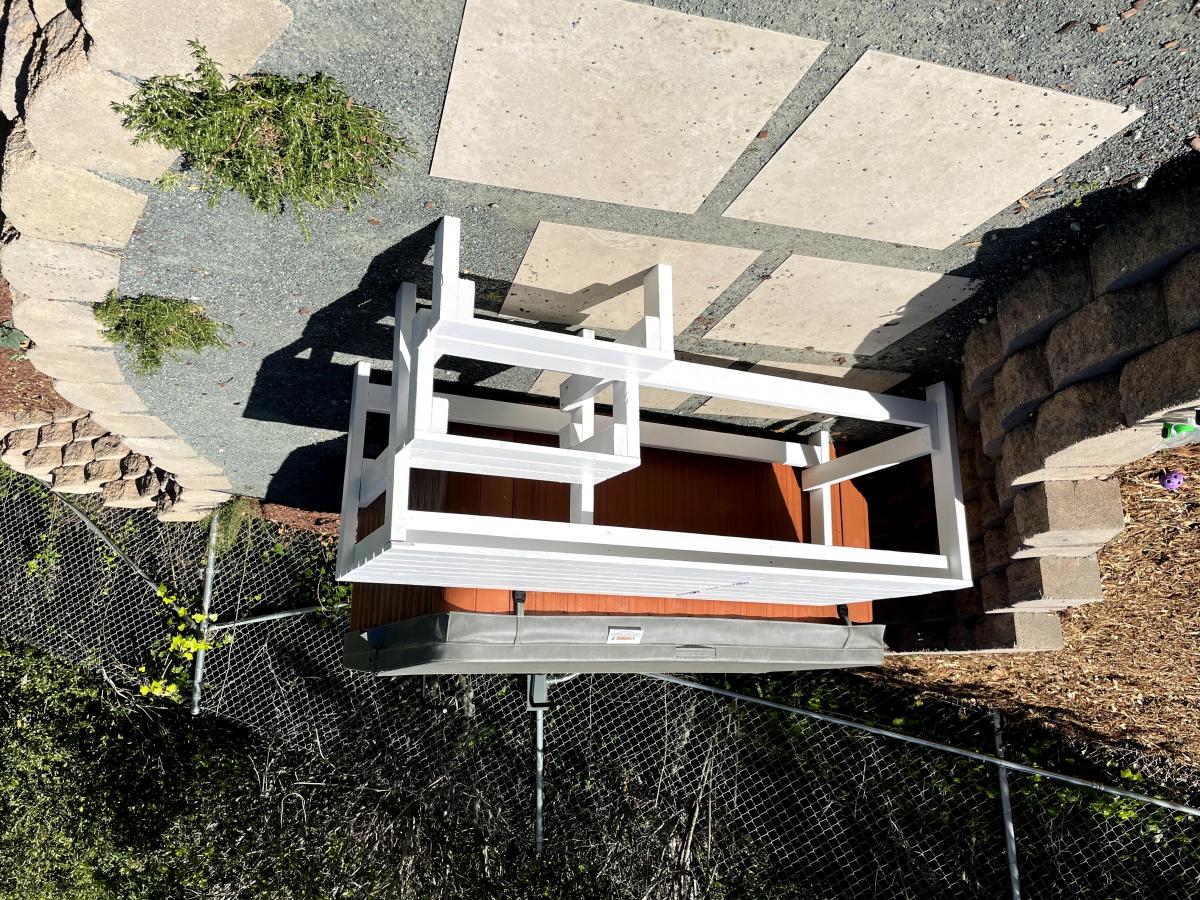
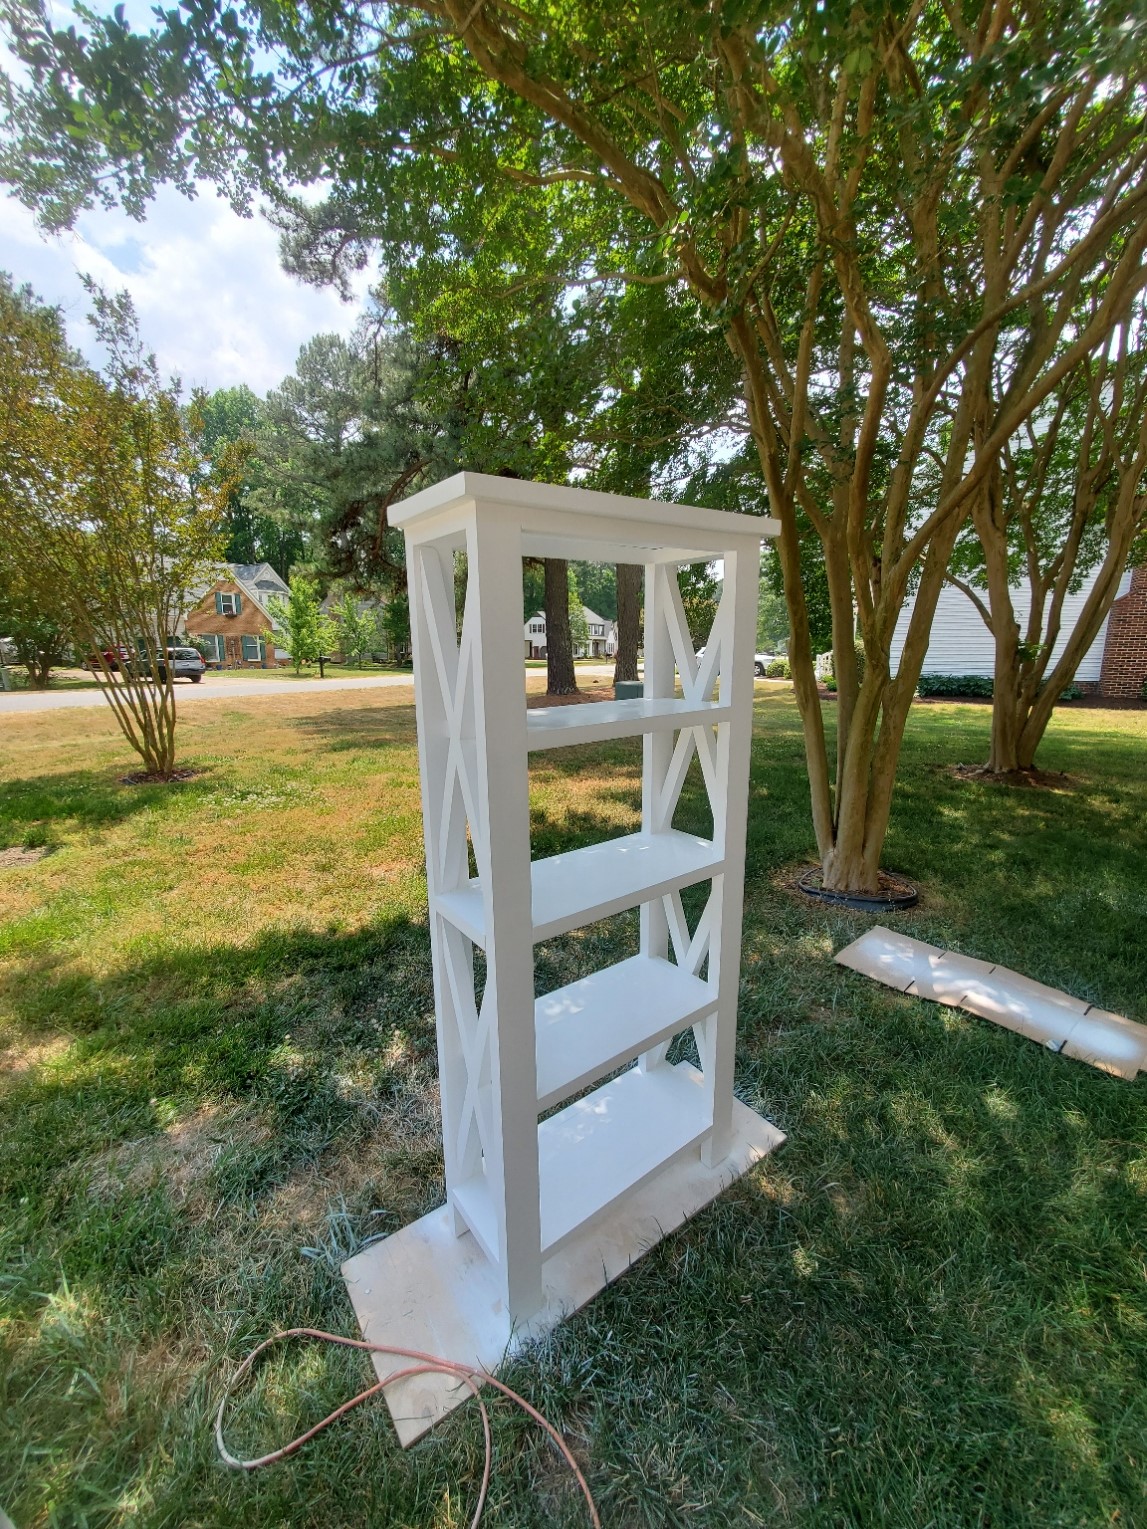
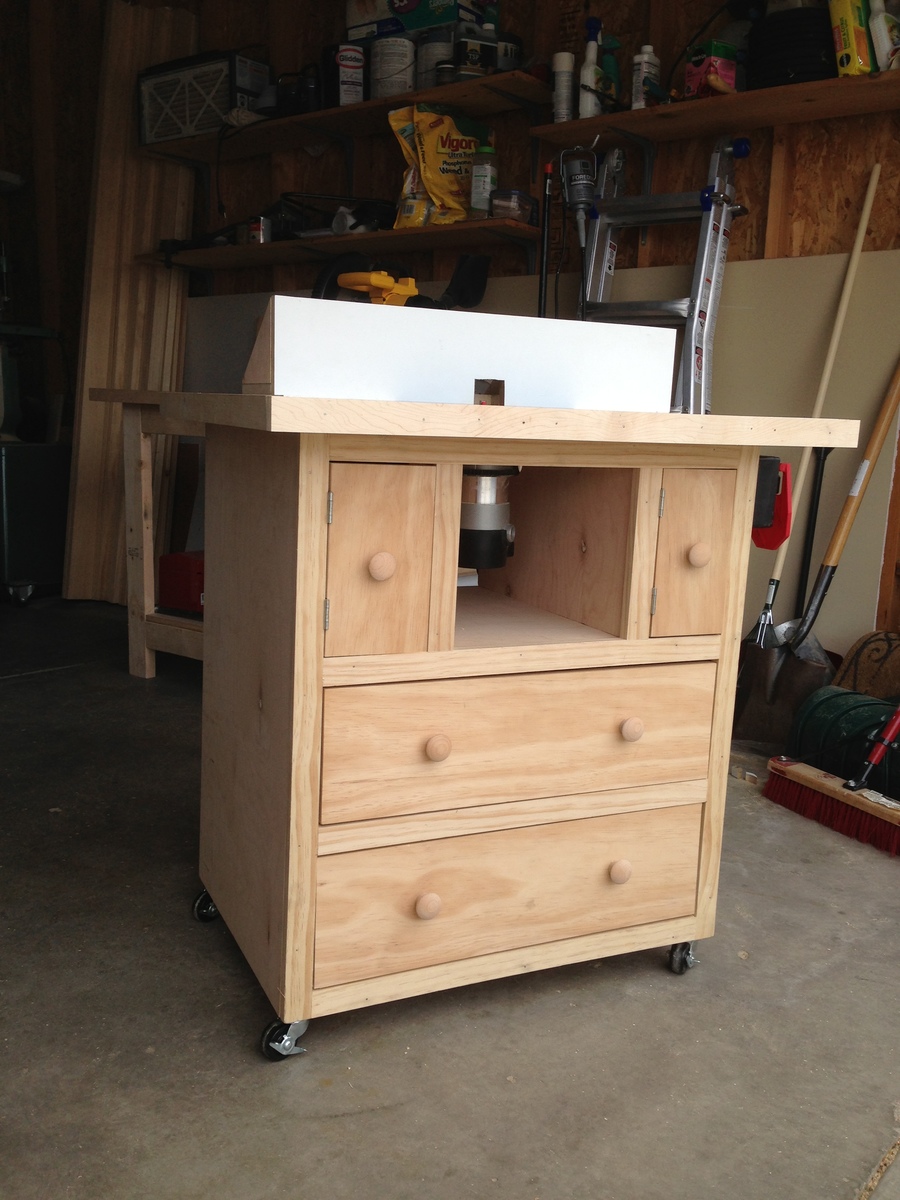
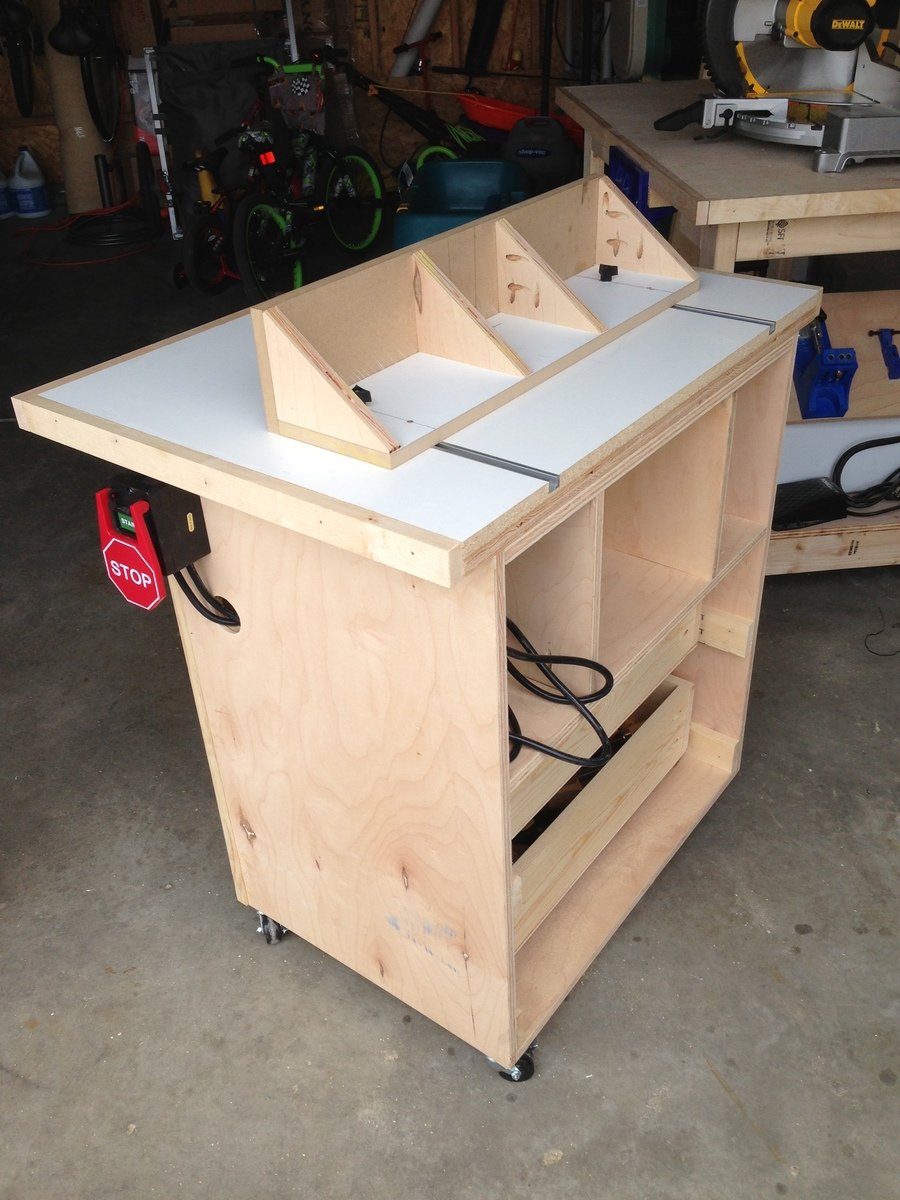
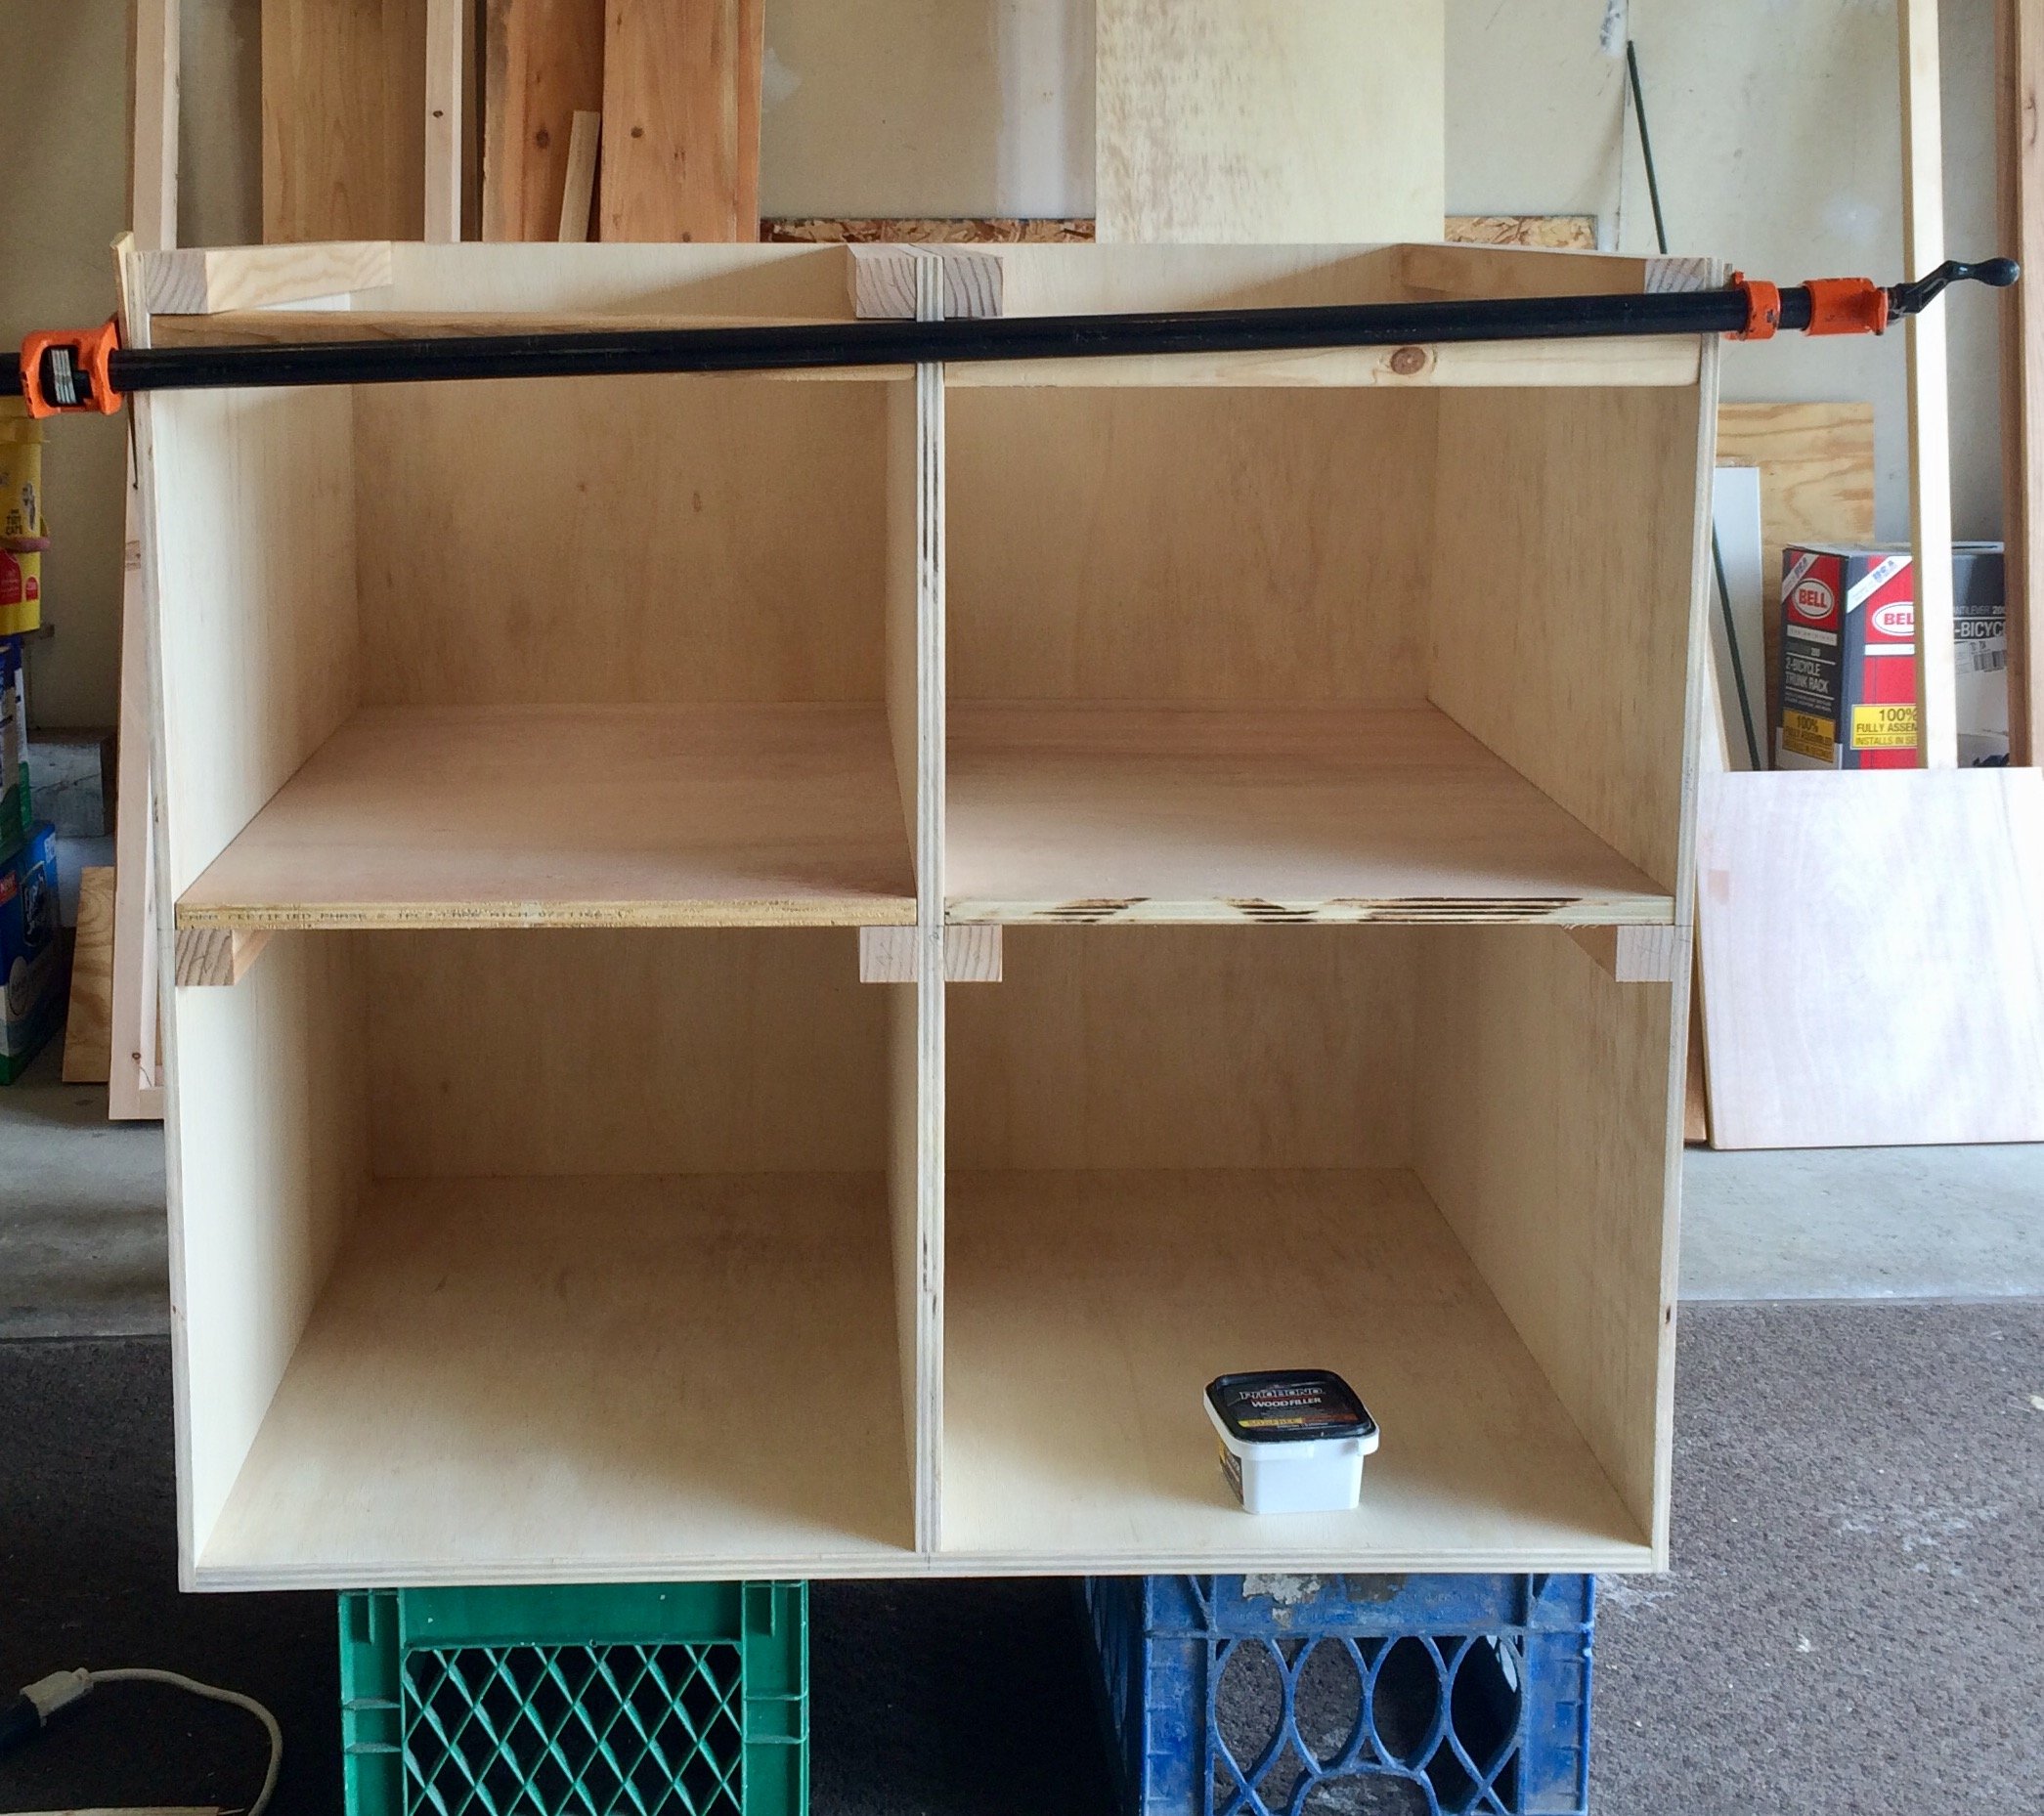
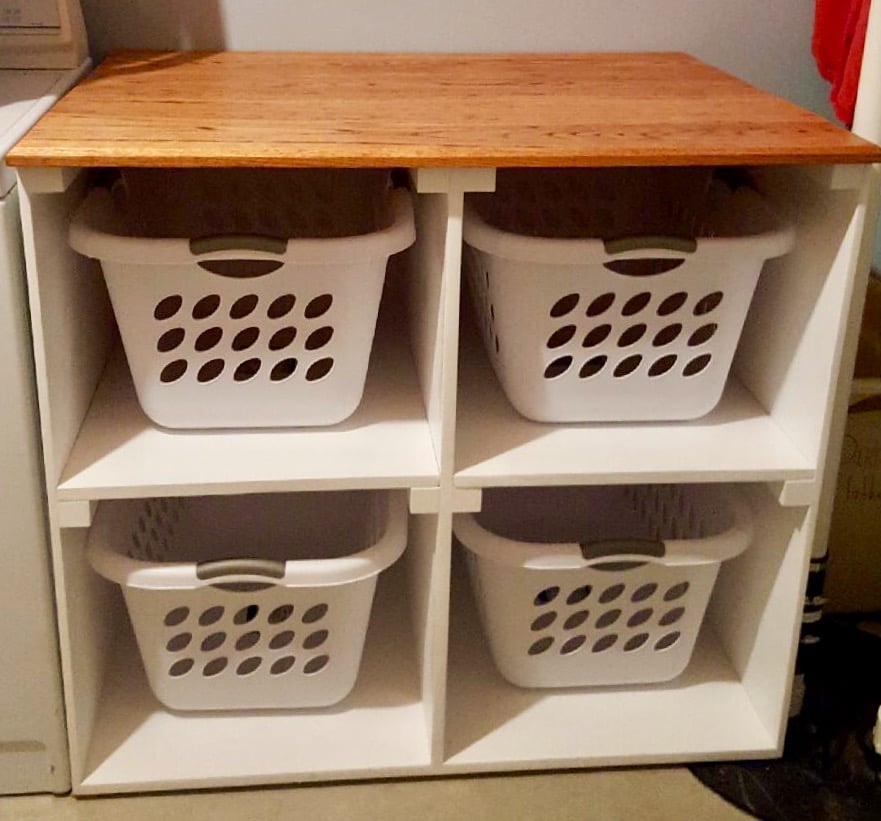
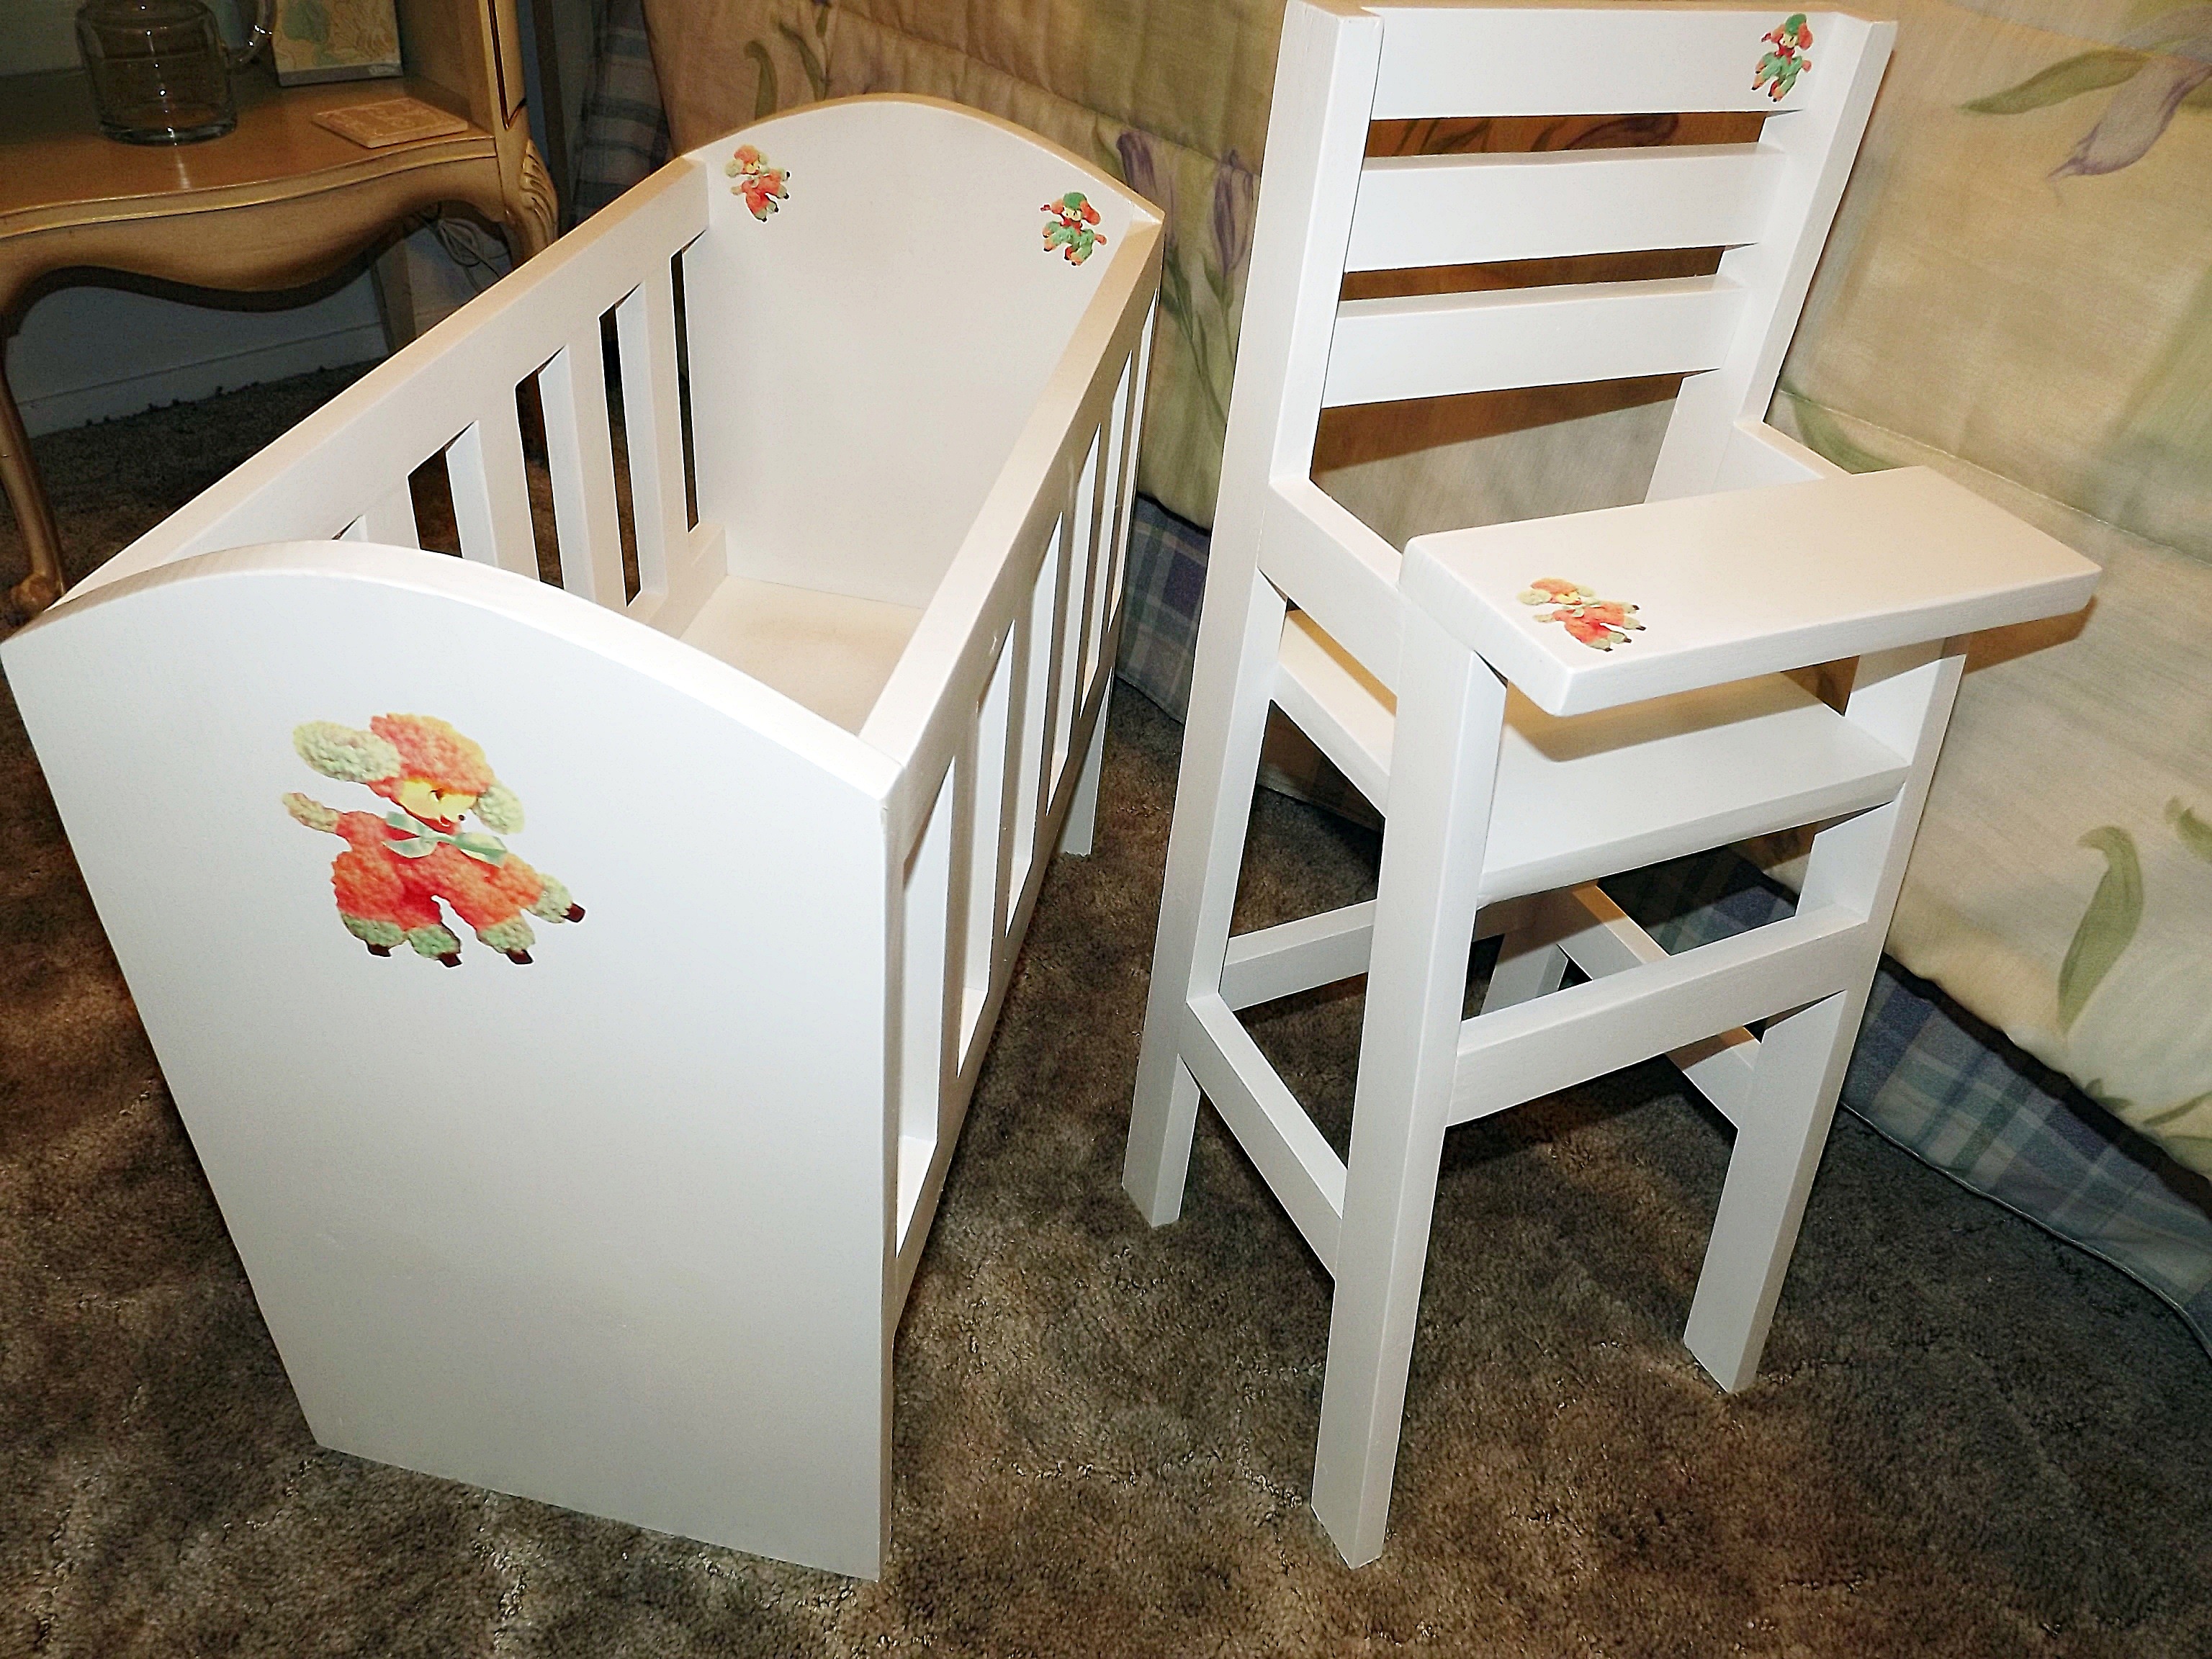
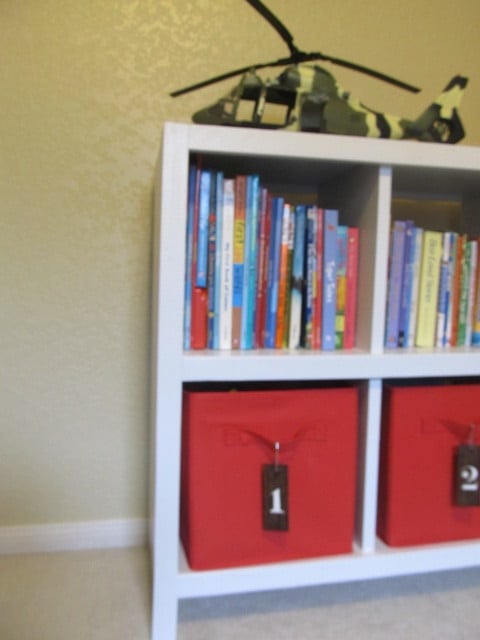
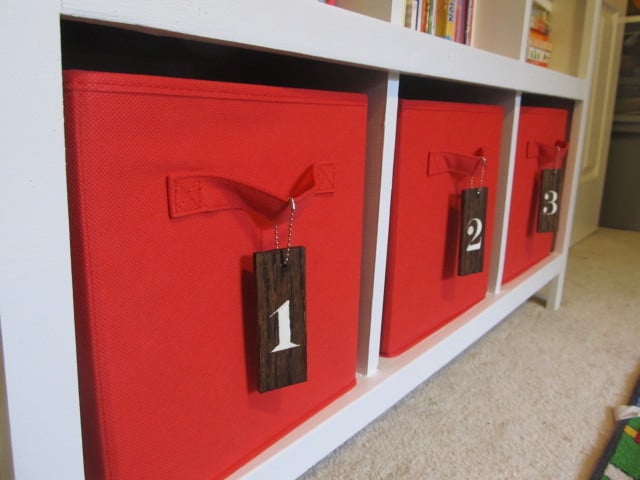
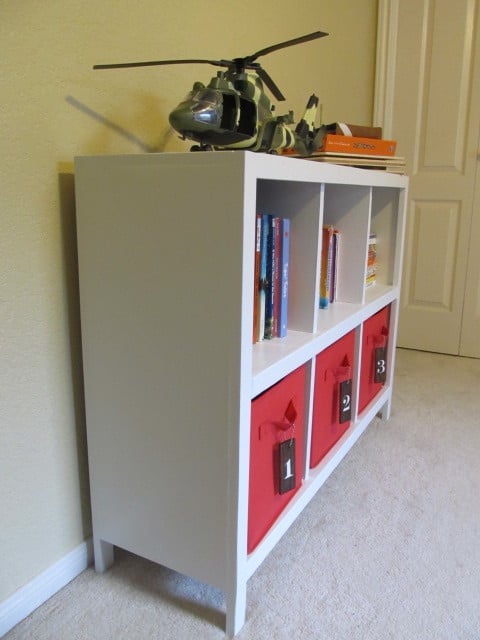
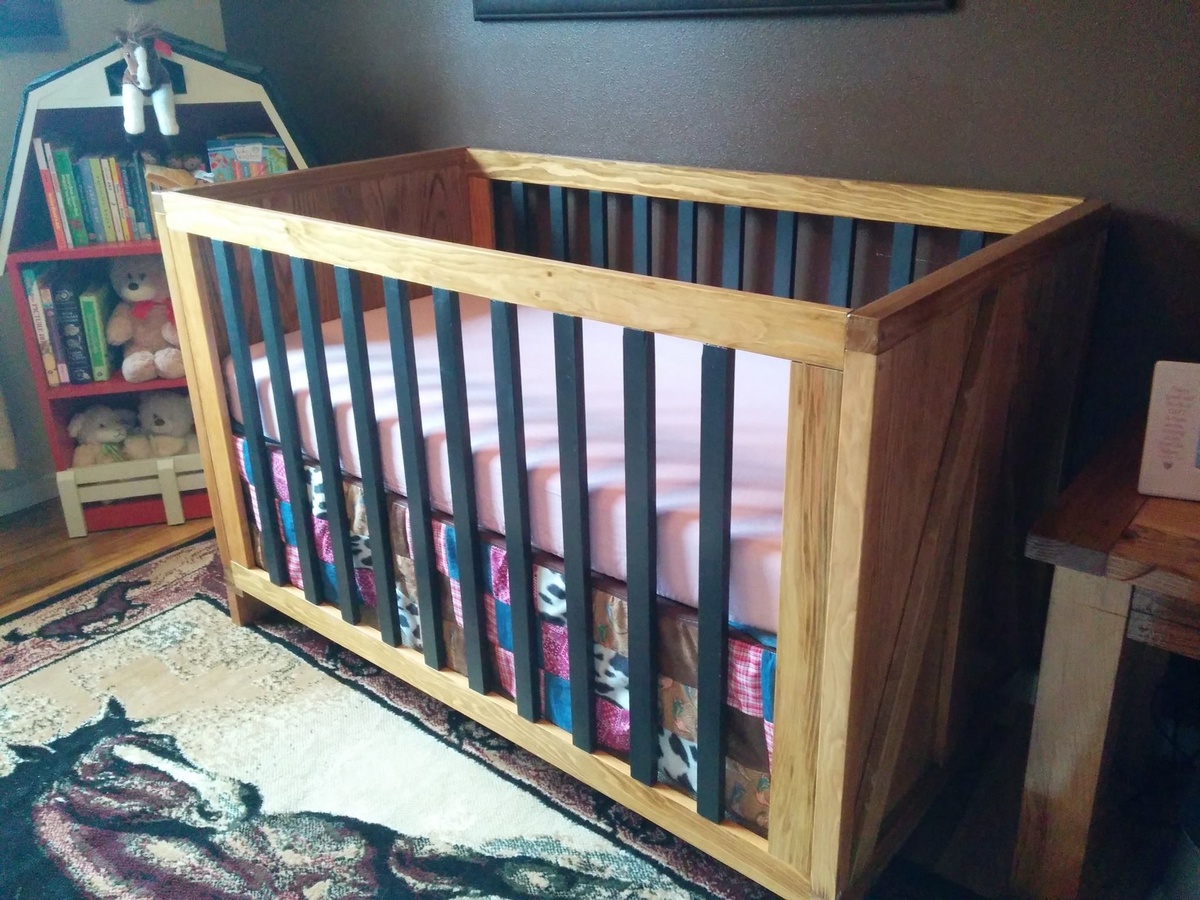
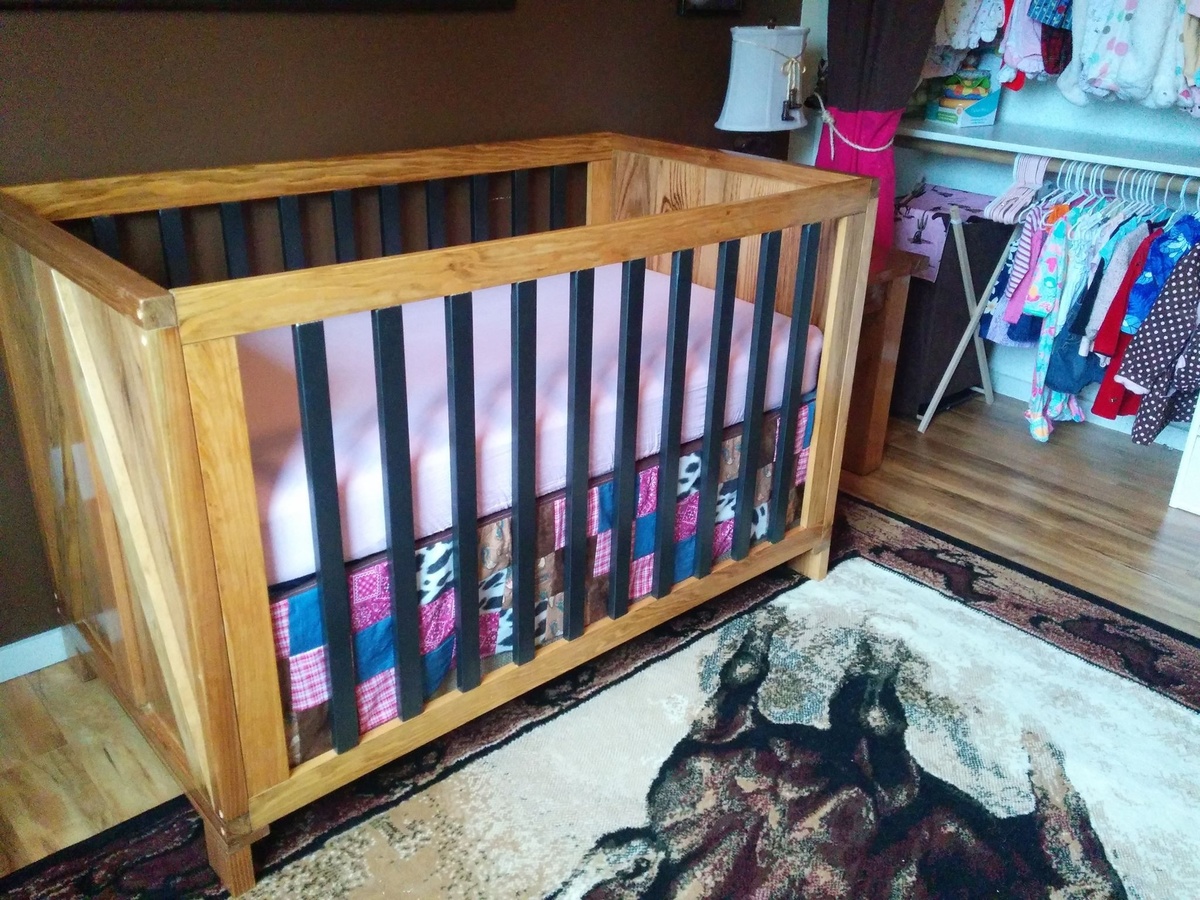
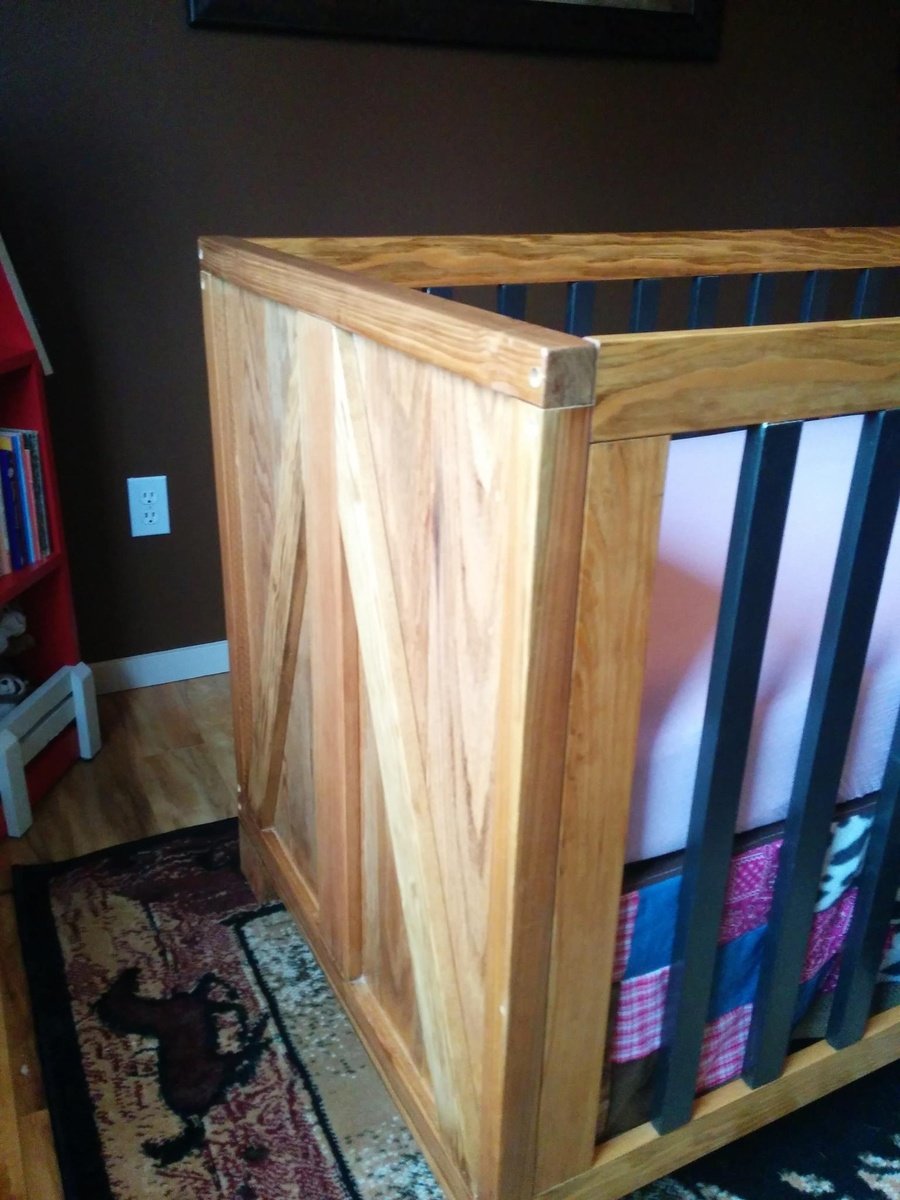
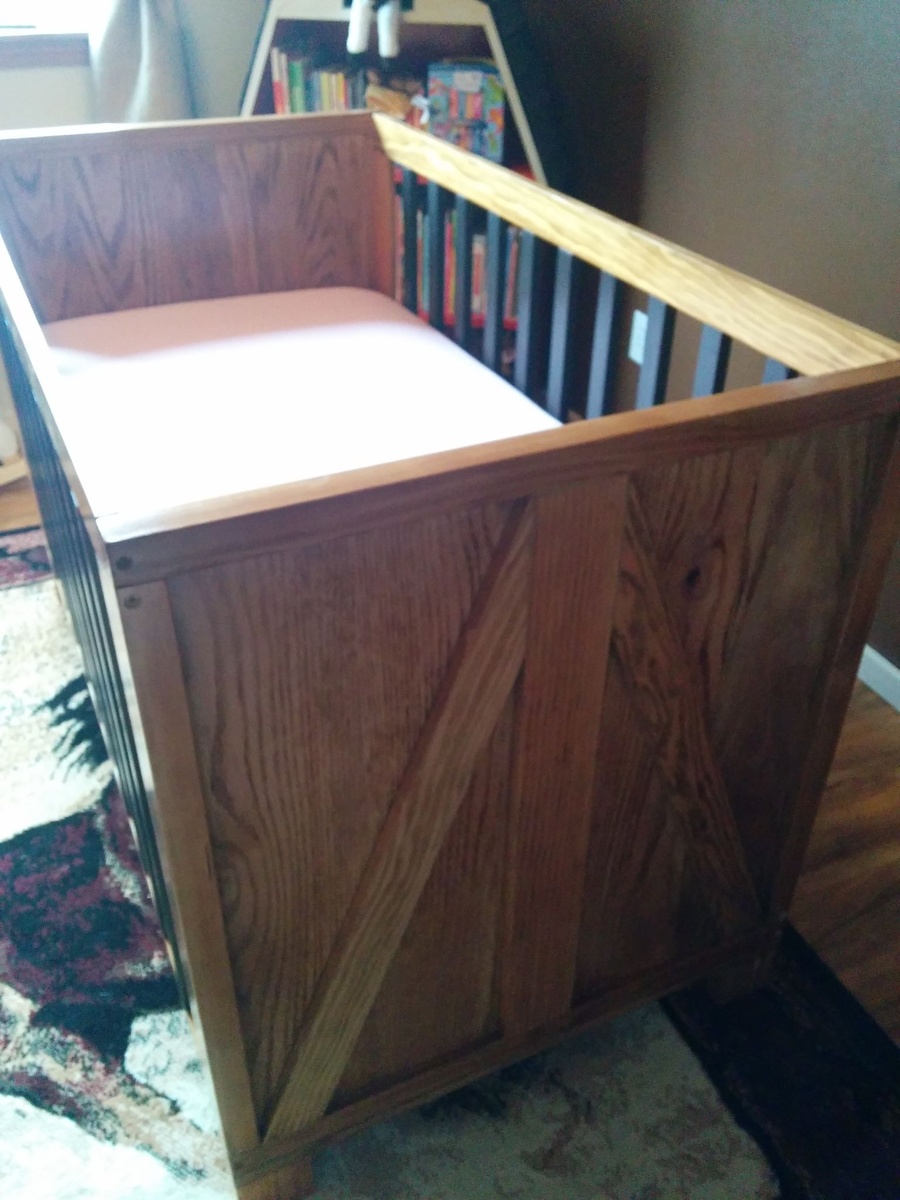
Modified Laundry Basket Dresser
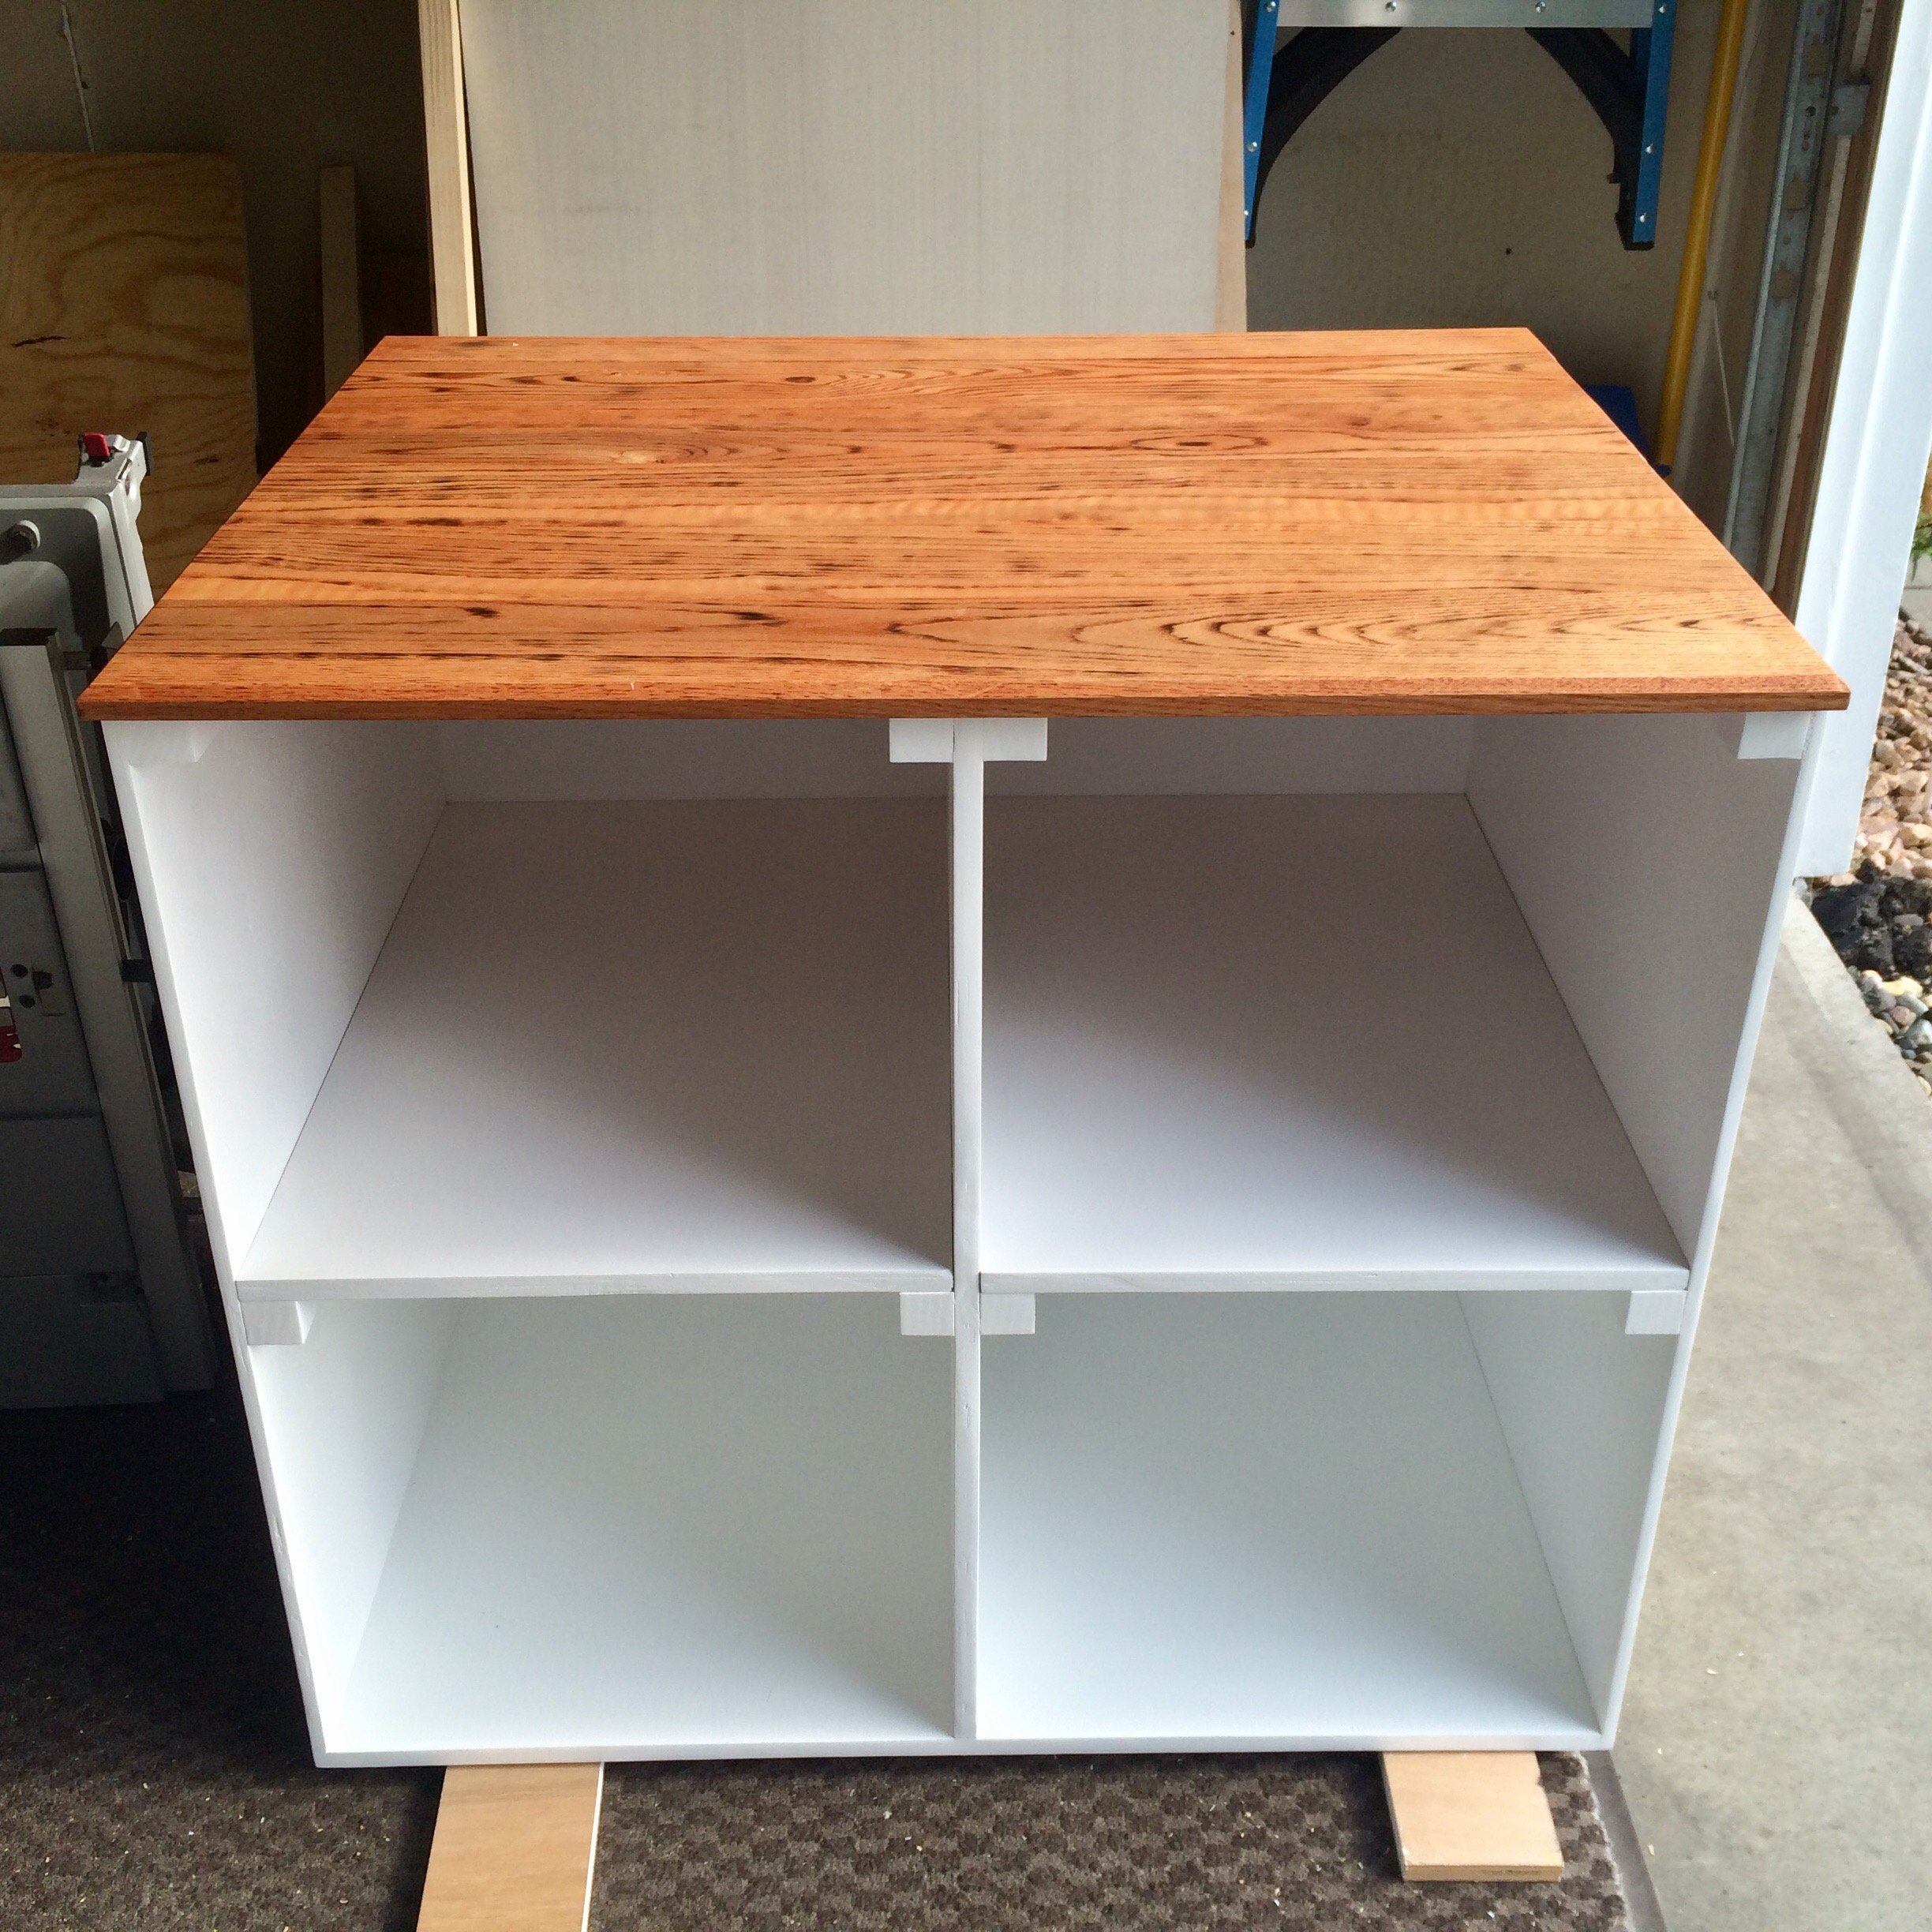
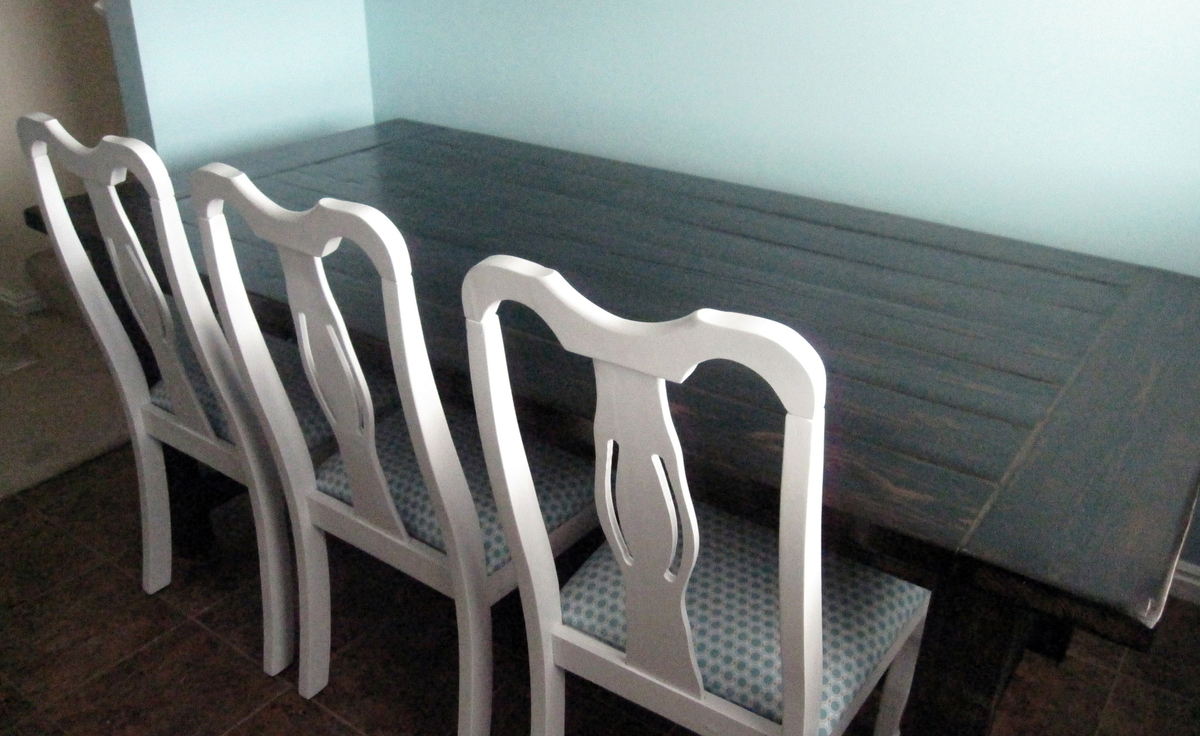
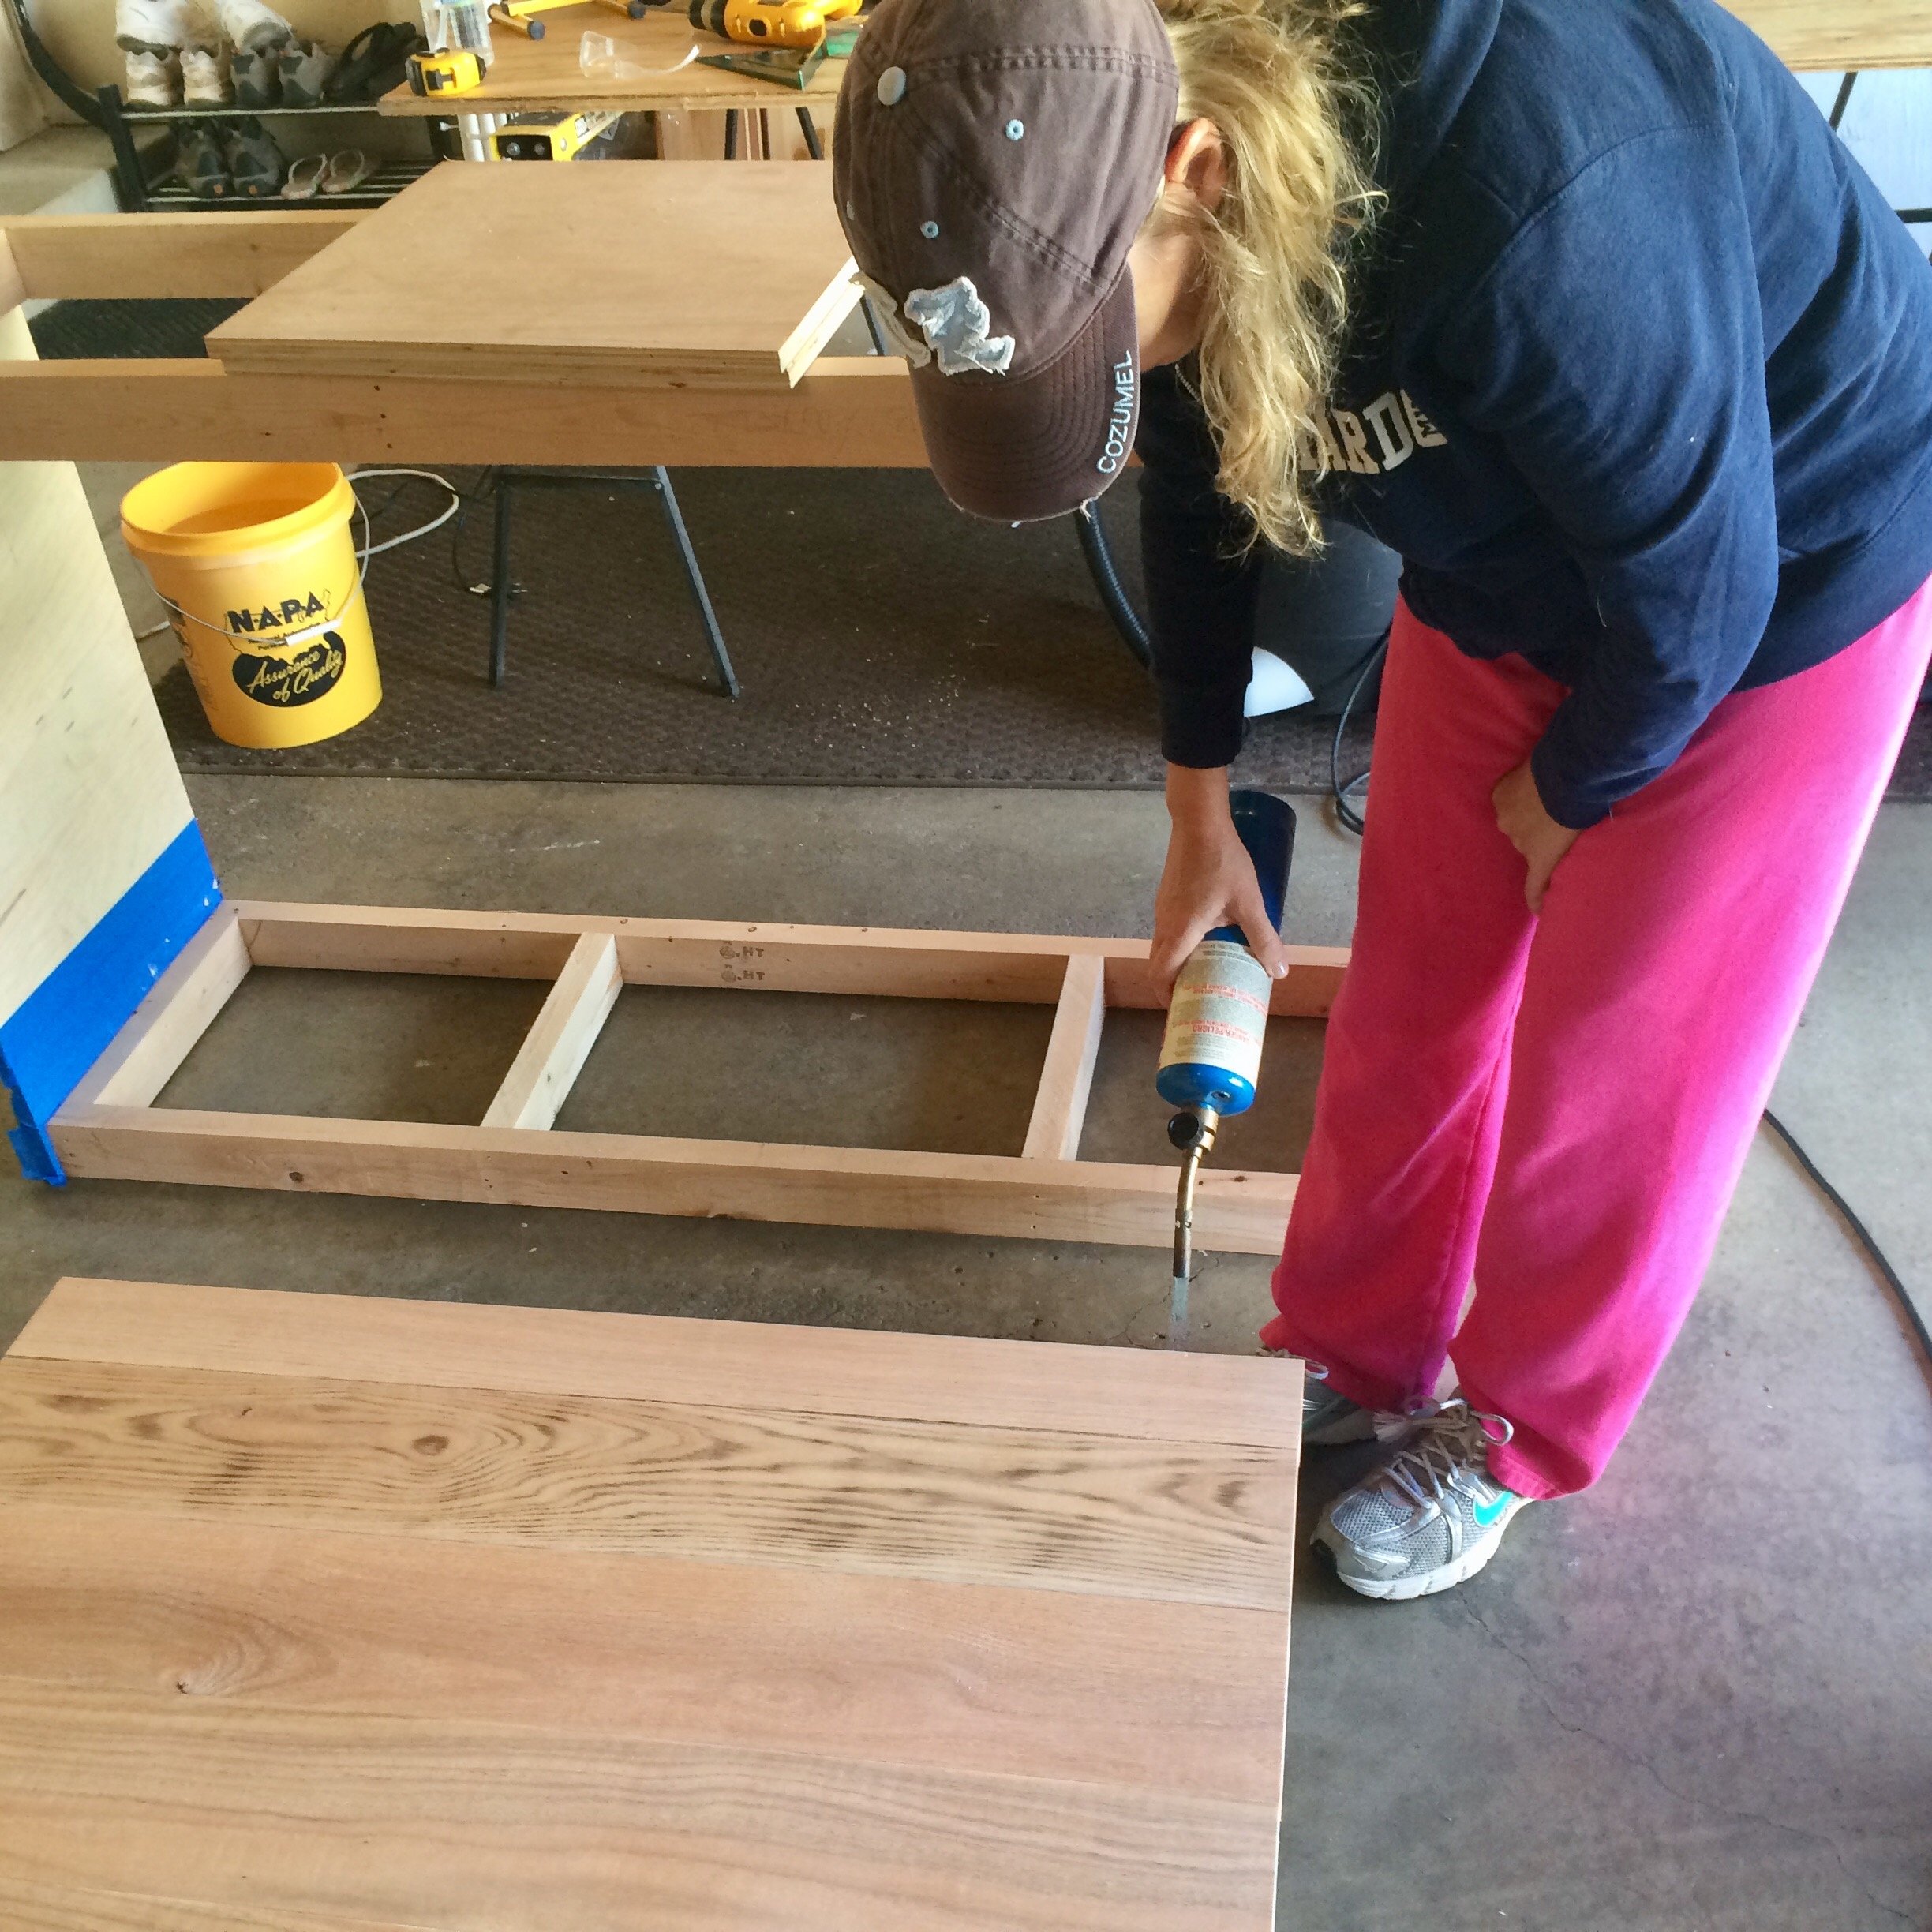
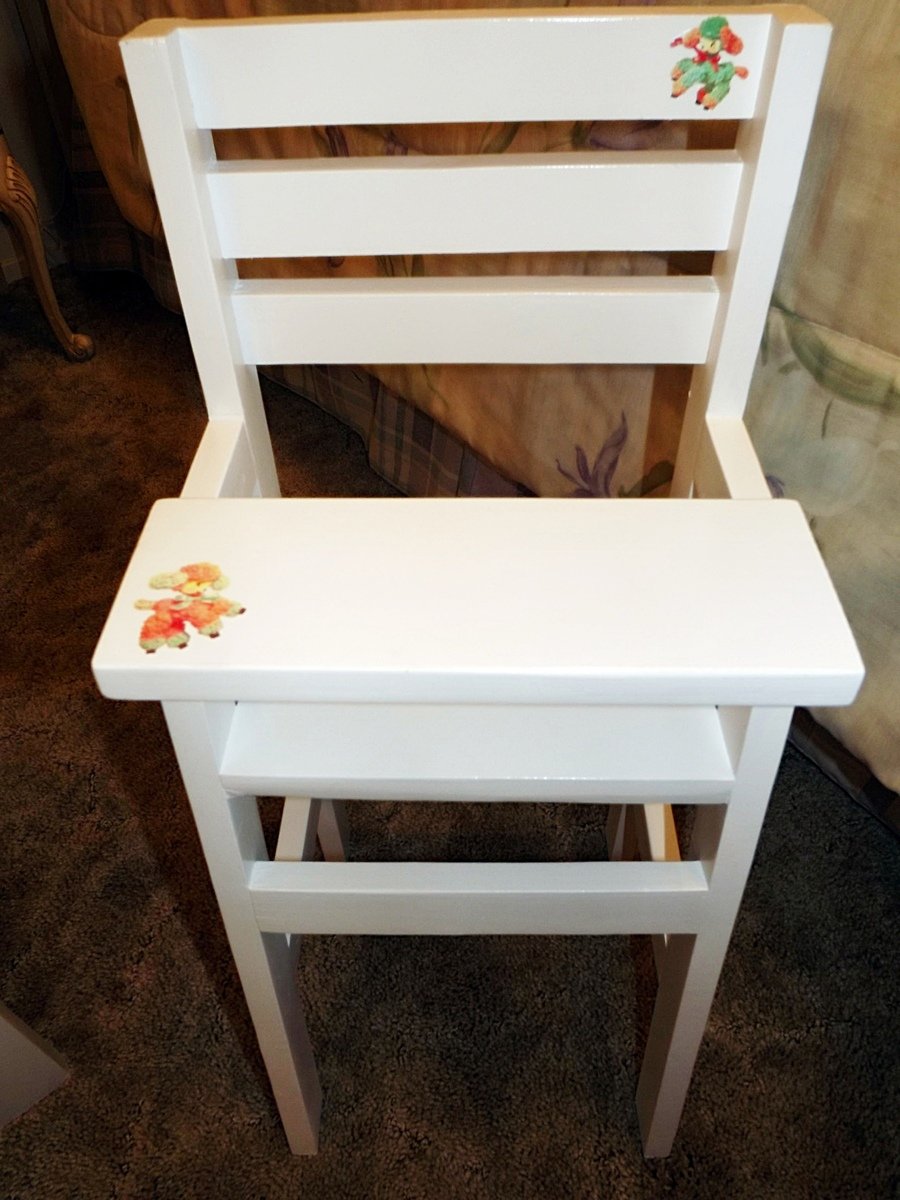
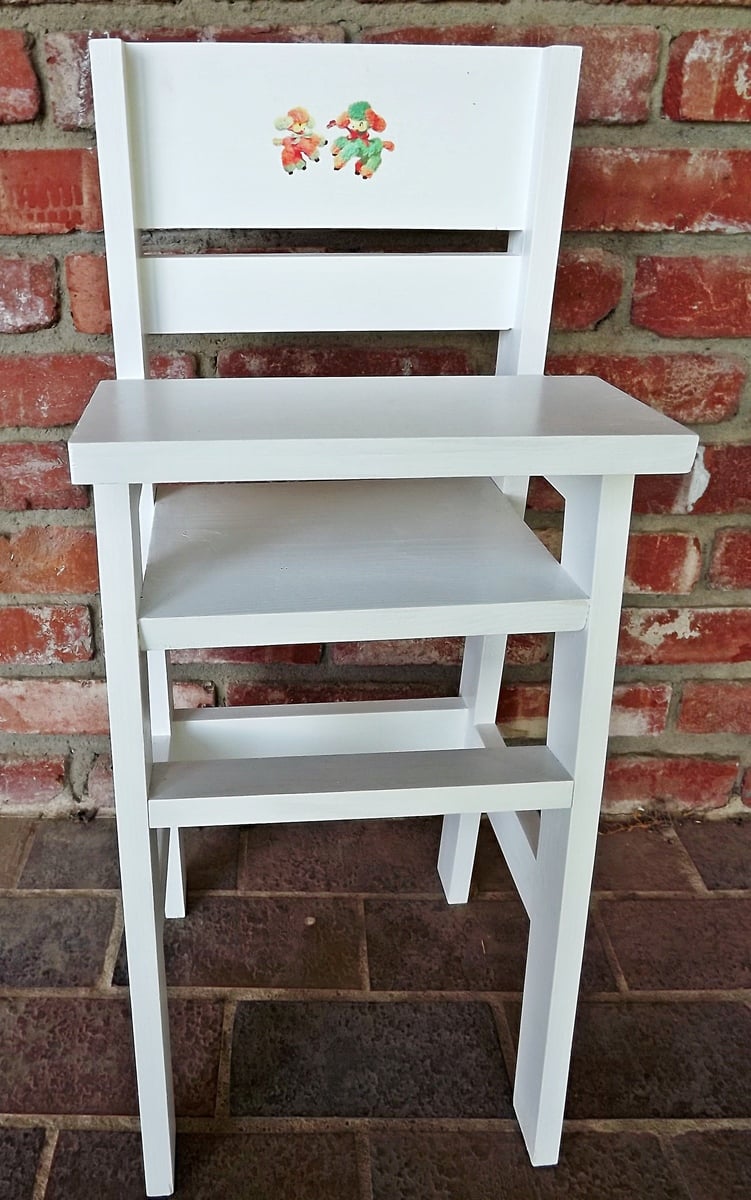
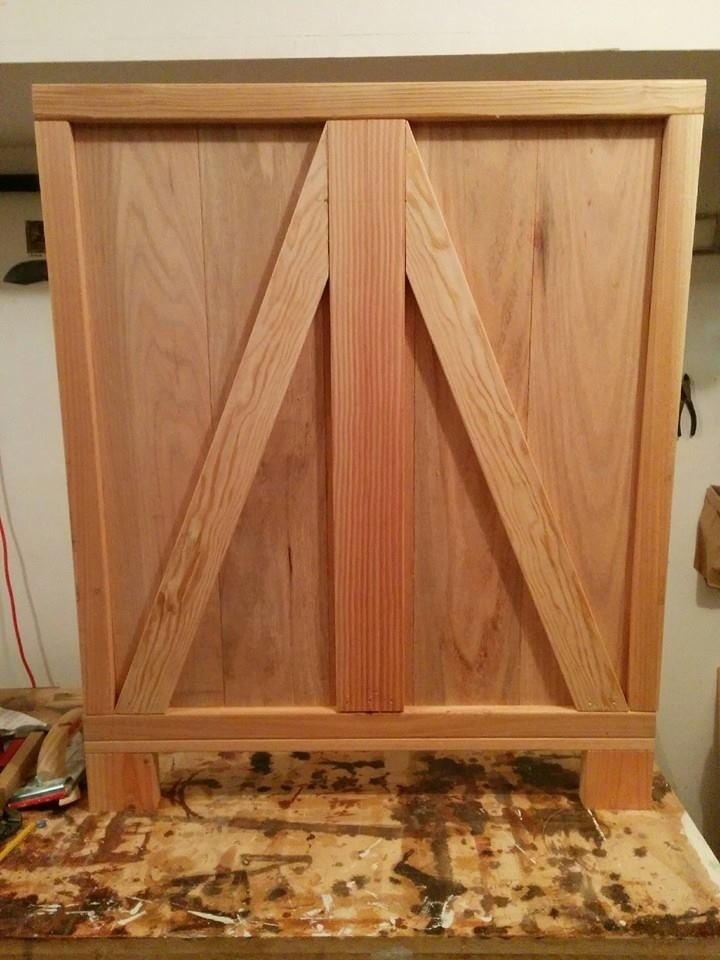
We modified this just for more stability around little ones. I also torched the Oak top so the grain would be more prominent and routered the edge.
I built this book shelf for my daughter.
I made both the top and the bottom shelves an angled.
I used a finishing nail punch to emboss the name.
I mixed 3 different color stains to match the other furniture.
Used 2" caster wheels from Home Depot.
I have three granddaughters and four great-nieces. I was able to find vintage 50's baby doll cribs for the older two, but not for my youngest granddaughter. I was so excited when I found Ana's doll crib, realizing that I could make the beds and high chair sets for all of the girls. I wanted to use water-slip decals to make the beds look vintage like the older g'daughters', and I found this great website: www.decalcottage.com. I wanted each set to be slightly different, so for the first two sets for sisters, I followed Ana's plans exactly for one, and using the idea from another brag post, used just a rectangle for the ends.The high chair backs are also slightly different. I have since made two more sets which I'll post later, but they all have vintage lambs on the beds and high chairs. It has been so much fun!
Built this picnic table for our twin foster nephews for their 2nd b-day. It was a hit!
I have been searching for something to replace my son's plastic Fisher Price bookshelf/toy box for some time now. He had so many books on the shelf it was sagging. I came across this plan and thought it was perfect. I love that the shelves are tall enough for his bigger books to stand up. I picked up three red totes at Target to hold his smaller toys on the bottom. This plan was easy to follow and I had no problem when putting together the frame of the bookshelf. I did however have some problems when it came time to put in the dividers for the shelves. They are not evenly spaced, but I don't think you can even tell. The best part is my son loves it and that is the most important. It is easy for him to go over and pick out a book whenever he wants.
I finally finished my DIY Modern Adirondack Chairs! Frame made with 2x4 cedar lumber and seat and backs with 1x10 pine planks. Stained with Benjamin Moore Aborcoat silver grey semi-transparent stain with a clear coat. Used a free diy plan by Ana White with some slight modifications to make the chair back higher. Cost was a bit higher than expected but lumber has gotten more expensive during the Covid time.
Thanks Ana for the design and the YouTube video. I watched it at least 20 times!
The crib was our last build project for our daughter's cowgirl nursery. My husband knew he wanted to build the crib long before we knew we were pregnant.
As a mechanical design engineer, he found crib dimensions online that put together a design of what we wanted in CAD. We wanted the end panels to look like barn doors. We also wanted the slat sides to look like the metal on a horse stall. This gave us the overall look we wanted for our cowgirl room!
We also built together a side table, closet system, barm bookshelf, and dresser/changing table. I cannot take any credit for the crib. This was all my husband's work. Excited to bring our daughter home to her complete nursery soon!
Sat, 08/30/2014 - 20:57
Such a lovely, heartfelt build! It's beautiful, and bound to be an heirloom. Great job!
Sun, 08/31/2014 - 12:51
What a beautiful build. He did a great job, and you can sleep soundly knowing it is safe since he is an engineer! I also love the barn bookshelf in the background of the pics.
Love this shelf. We found we had to pre-drill holes since the wood we used was very dense, but in the end it was still a 1-day project (including buying wood and running other errands). It was perfect for our storage room since we really wanted a shelf to store totes, but didn't want to spend a lot on a room we never go in. In the end we spent $80 on wood, which is far less than comparable metal shelves for $160-$180 elsewhere. In addition this thing is STURDY. Thank you Ana!!
based on the loft plans. like other mods, I made the step a bit different. more vertical.
no screws. all bolted together. 3/8" bolts. the posts for docks were made from cut trees. neighbor did the sewing from my design. posts are 2 2x4s glued and dowel and cut down in size to be different. Everything overdone. vertical dowels are supposed to make it ship like. the galley is a bookcase. the nephew and my in-laws love it. way too much time went into it.
Ana, thanks for these plans! They inspired me to make my first bed build. I also want to thank all of you that added brag posts! They gave me ideas for some of the modifications that I made. I did this build by mixing your Queen Farmhouse and Queen Farmhouse Storage bed plans. I also added a number of modifications to suit my own preferences. The drawer boxes I changed by building a faceplate (I didn't want the plywood ends exposed), and by increasing in depth to maximize some additional storage. Since I increased the drawer sizes, I went with the euro roller bearing slides. I increased the foot-board height to be slightly higher than the mattress. I also designed the footboard to have a removable inner section with hidden latches on the inside. I did this because I wanted to make use of the "dead space" between the drawer boxes. I then used this space to house a hidden drawer, that is approx six feet deep (I couldn't help myself-I love hidden drawers 
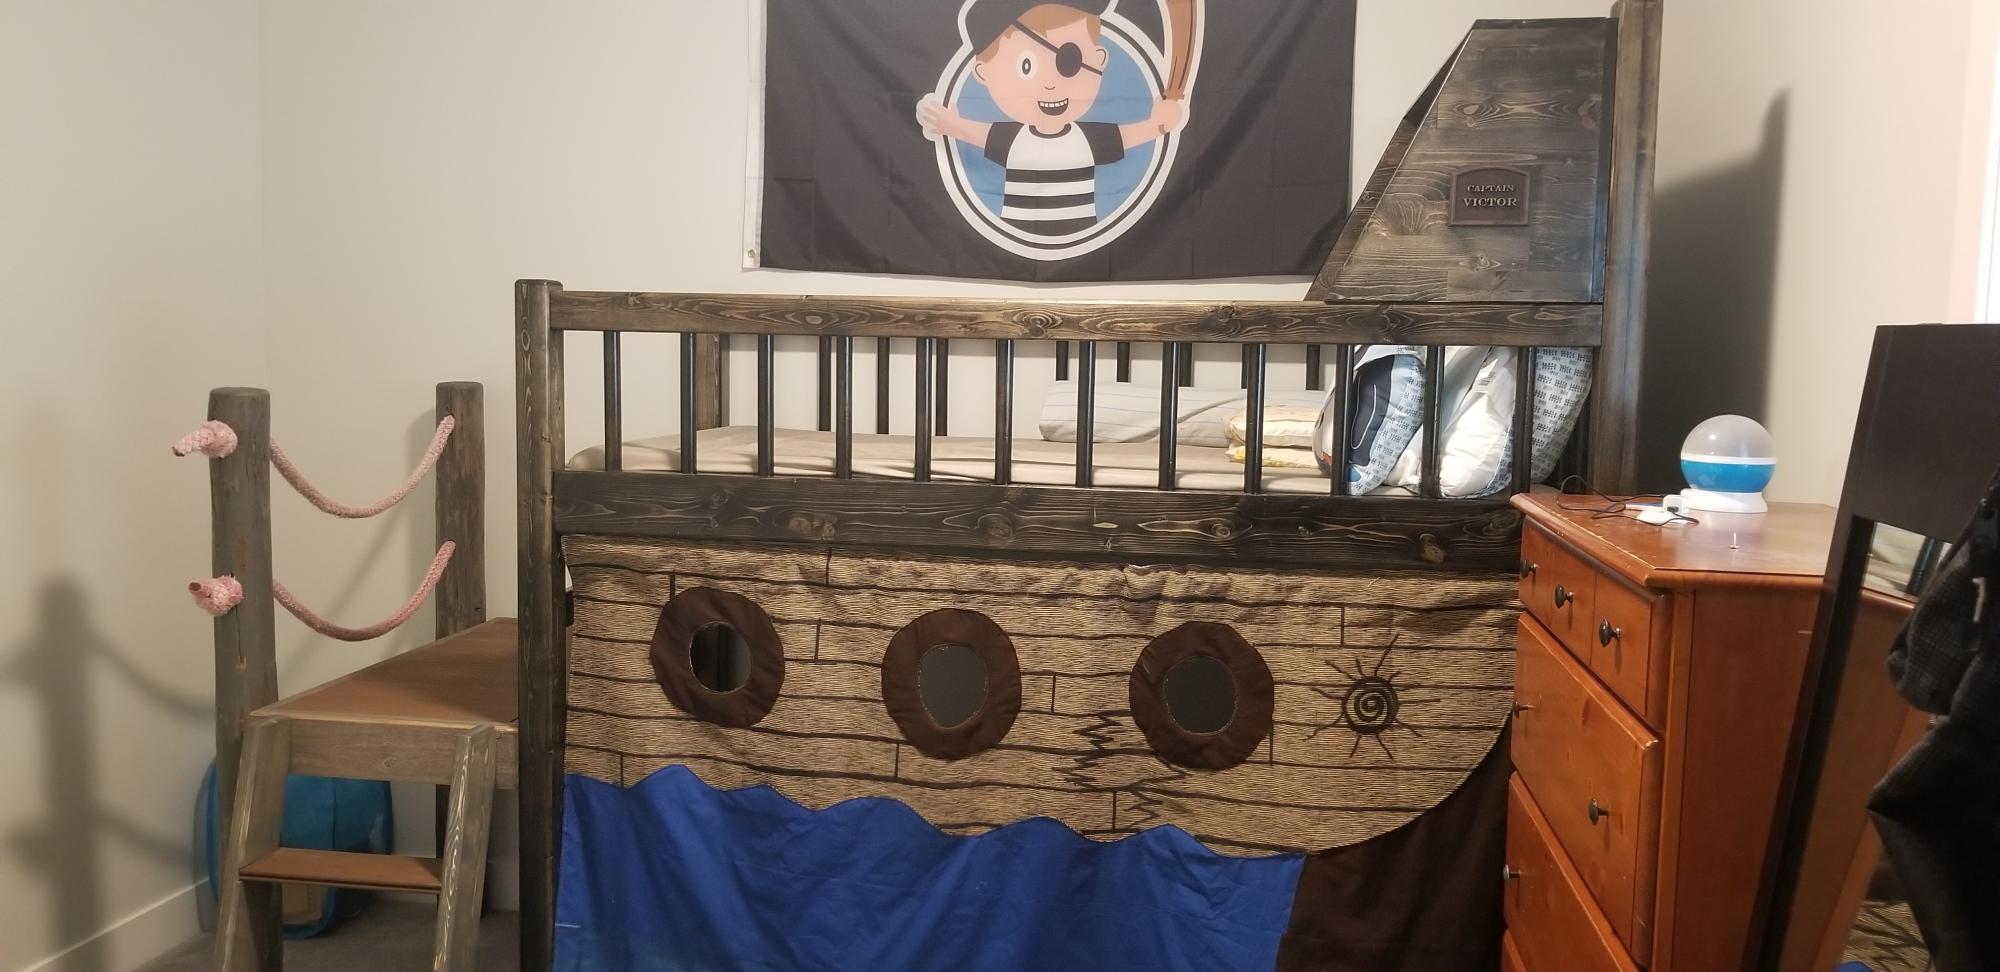
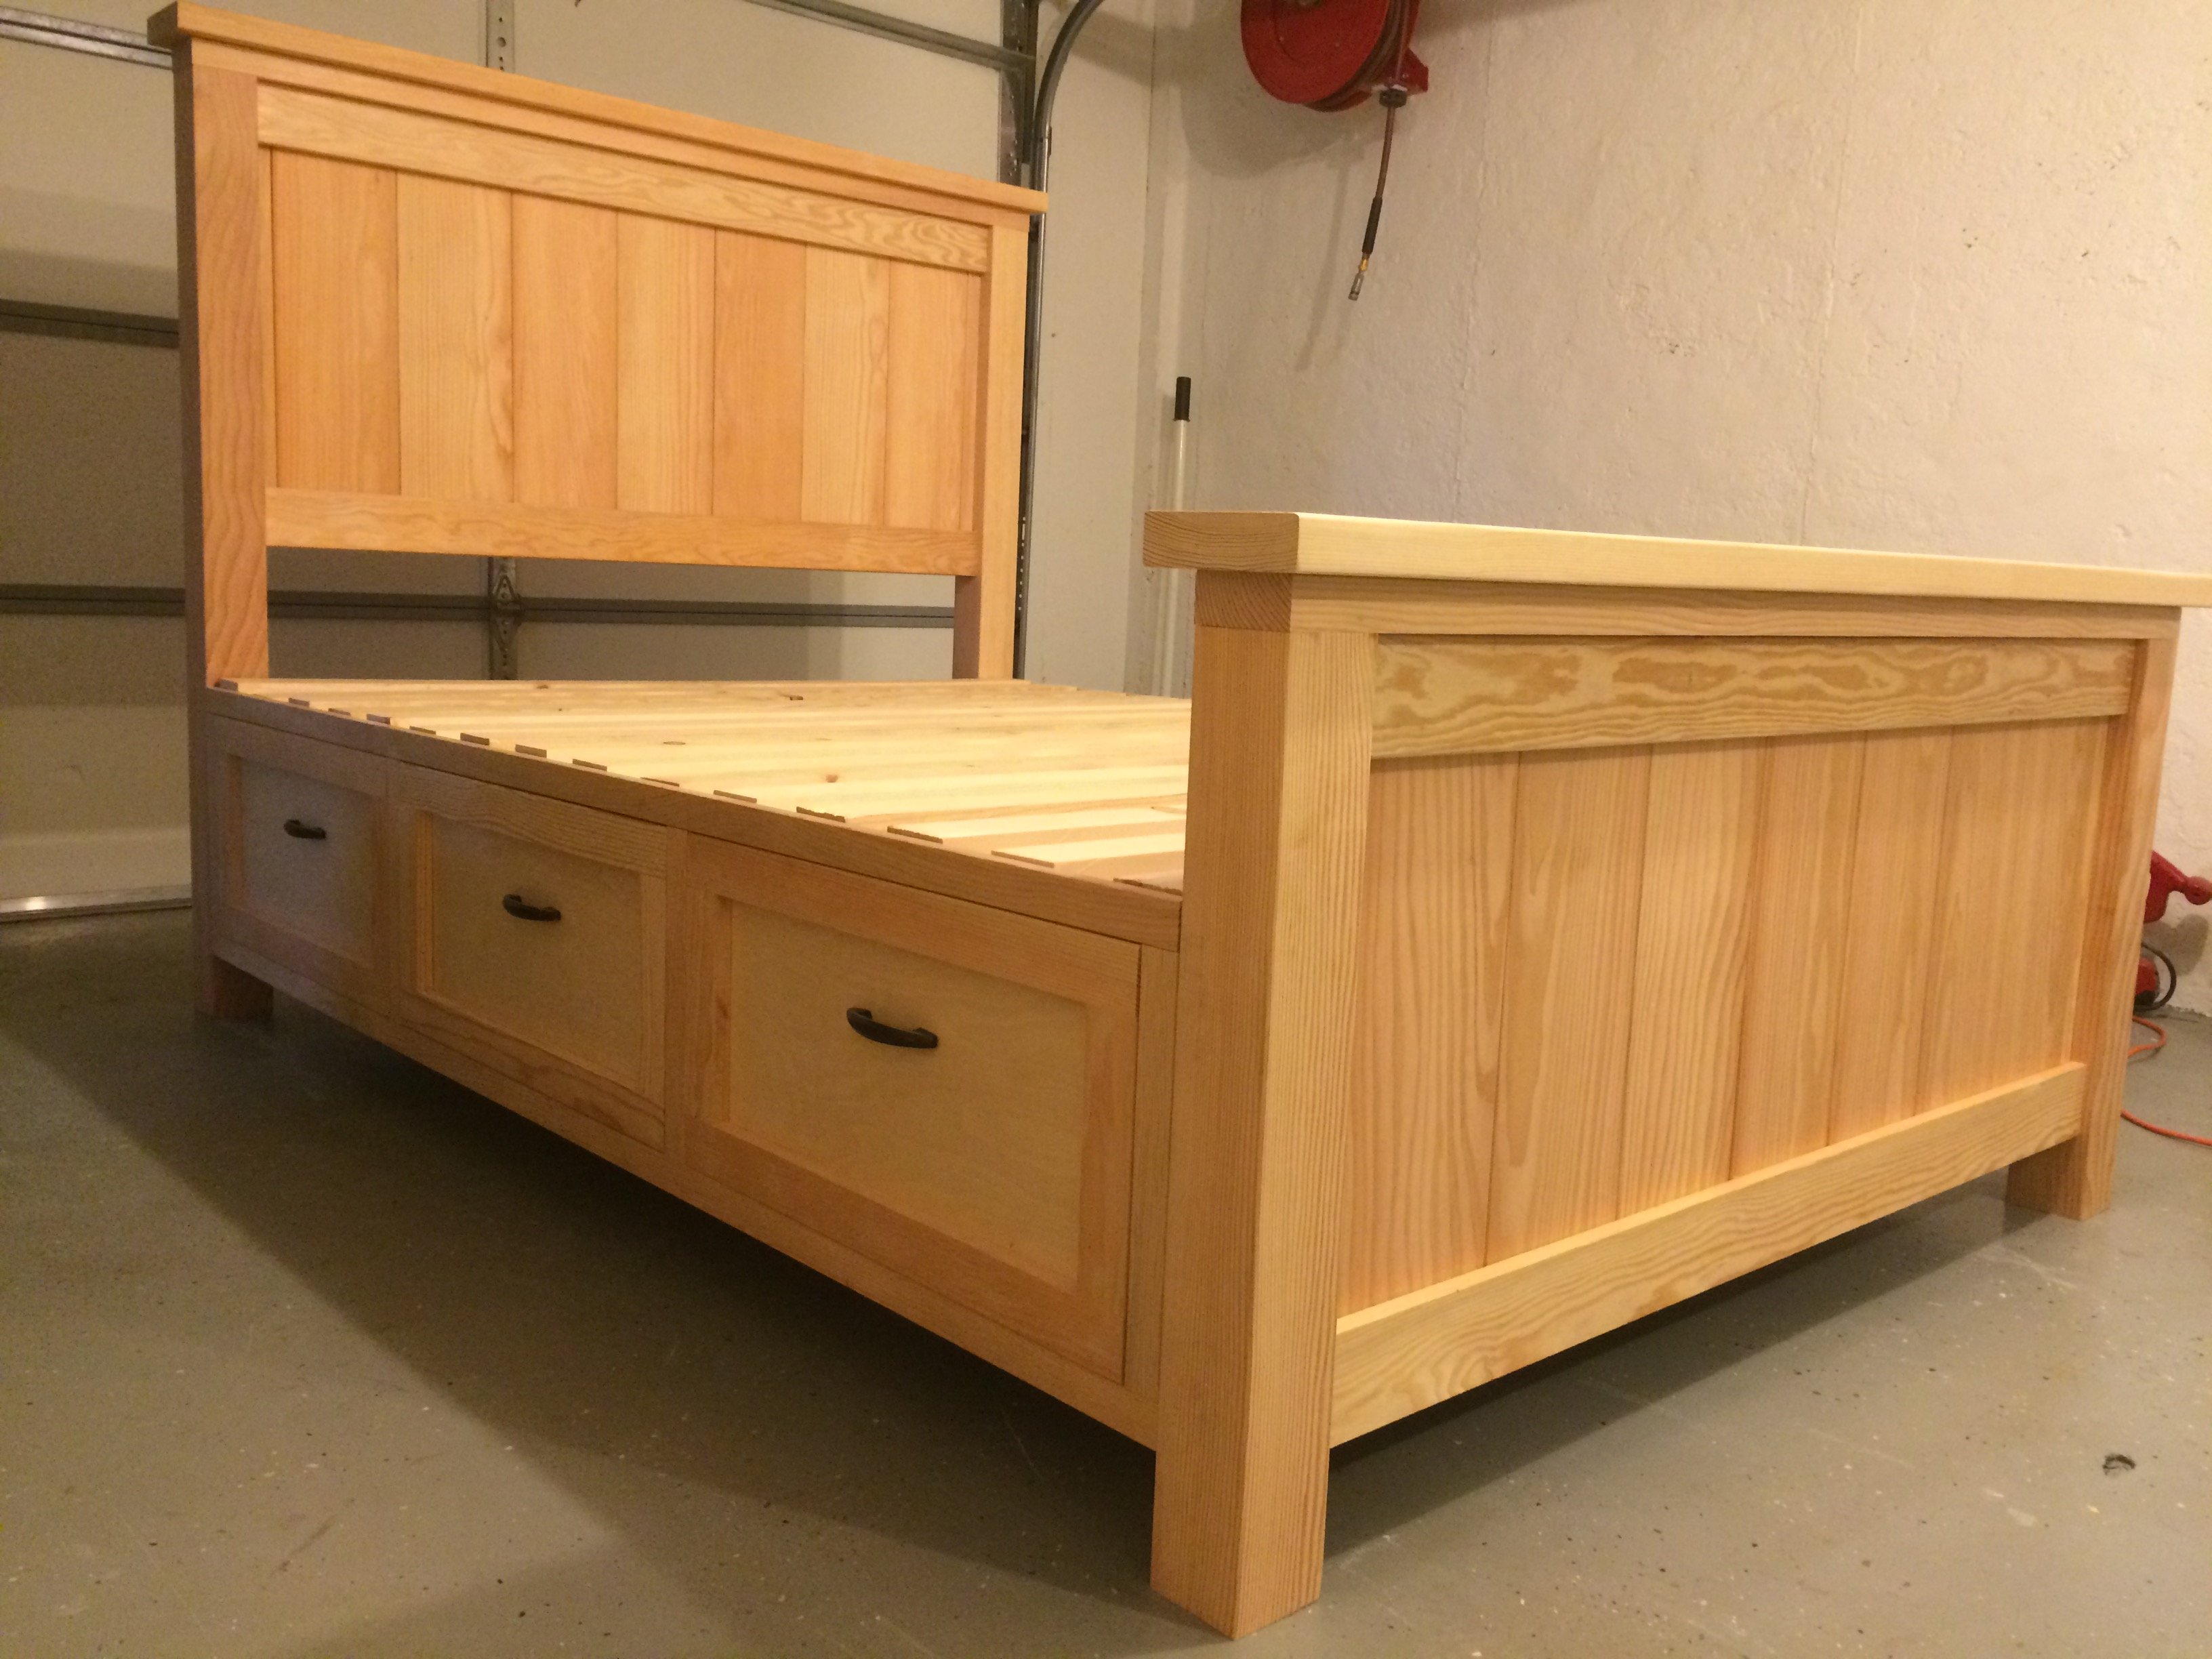
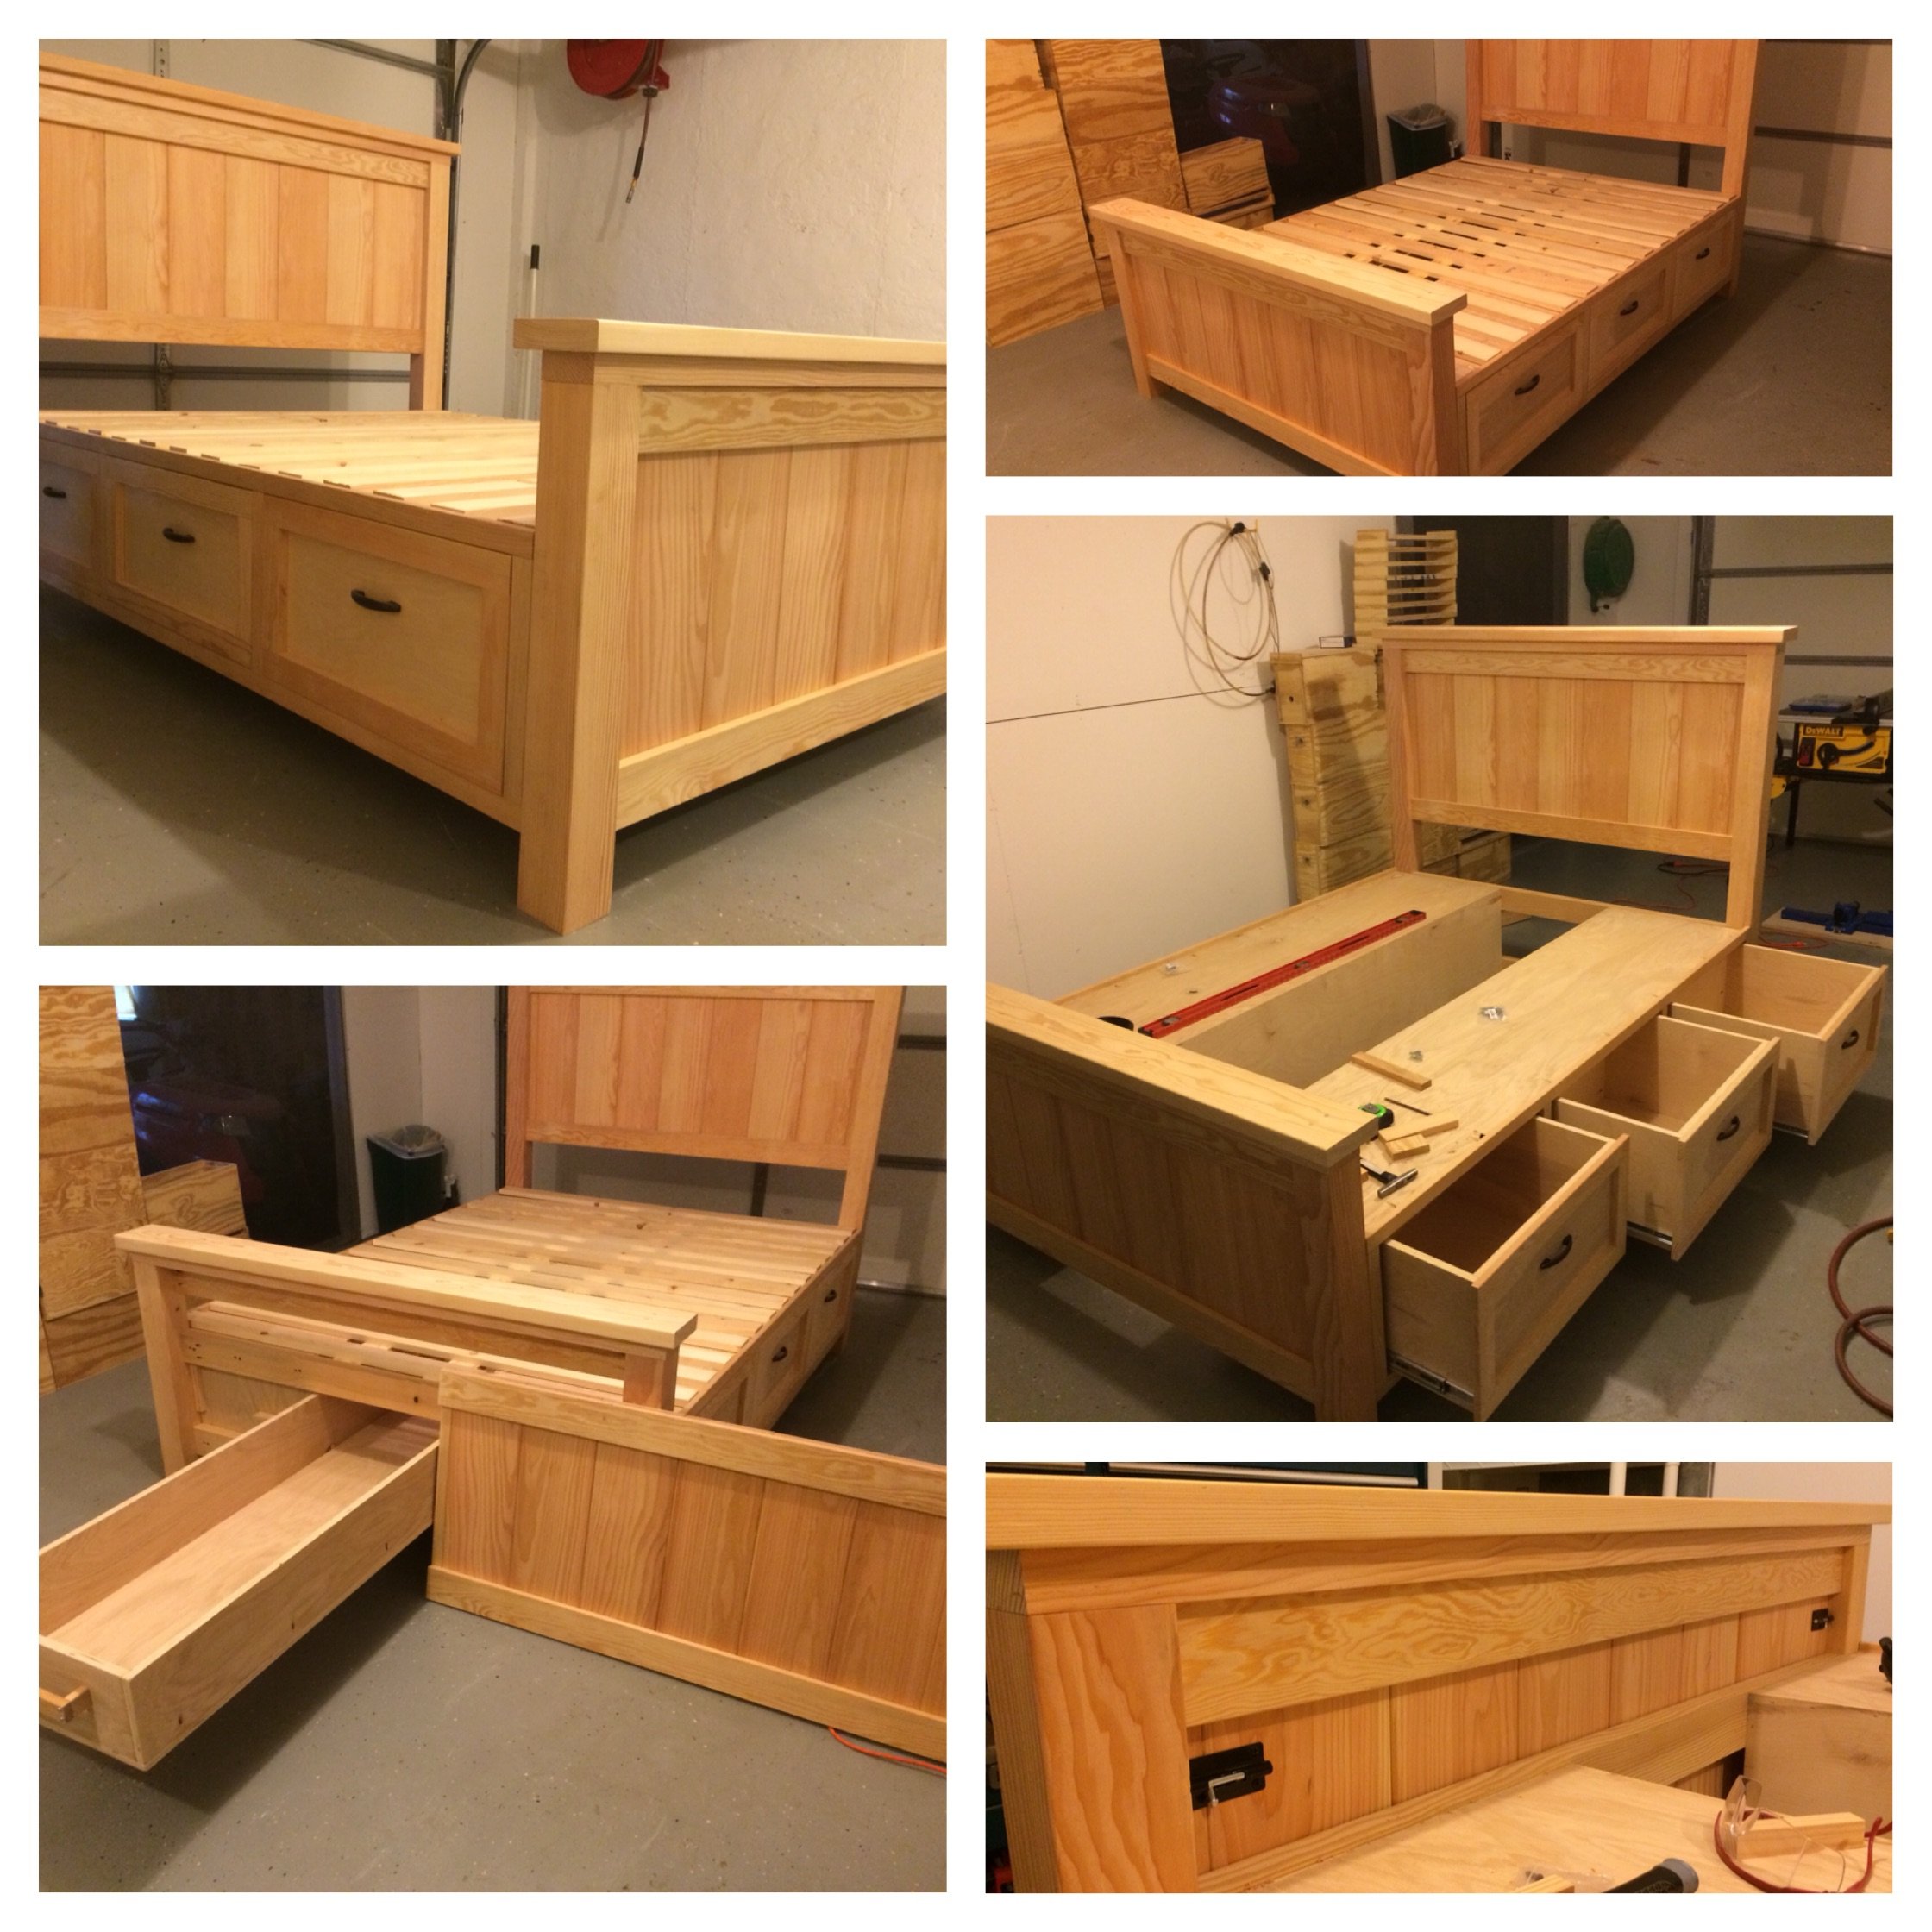
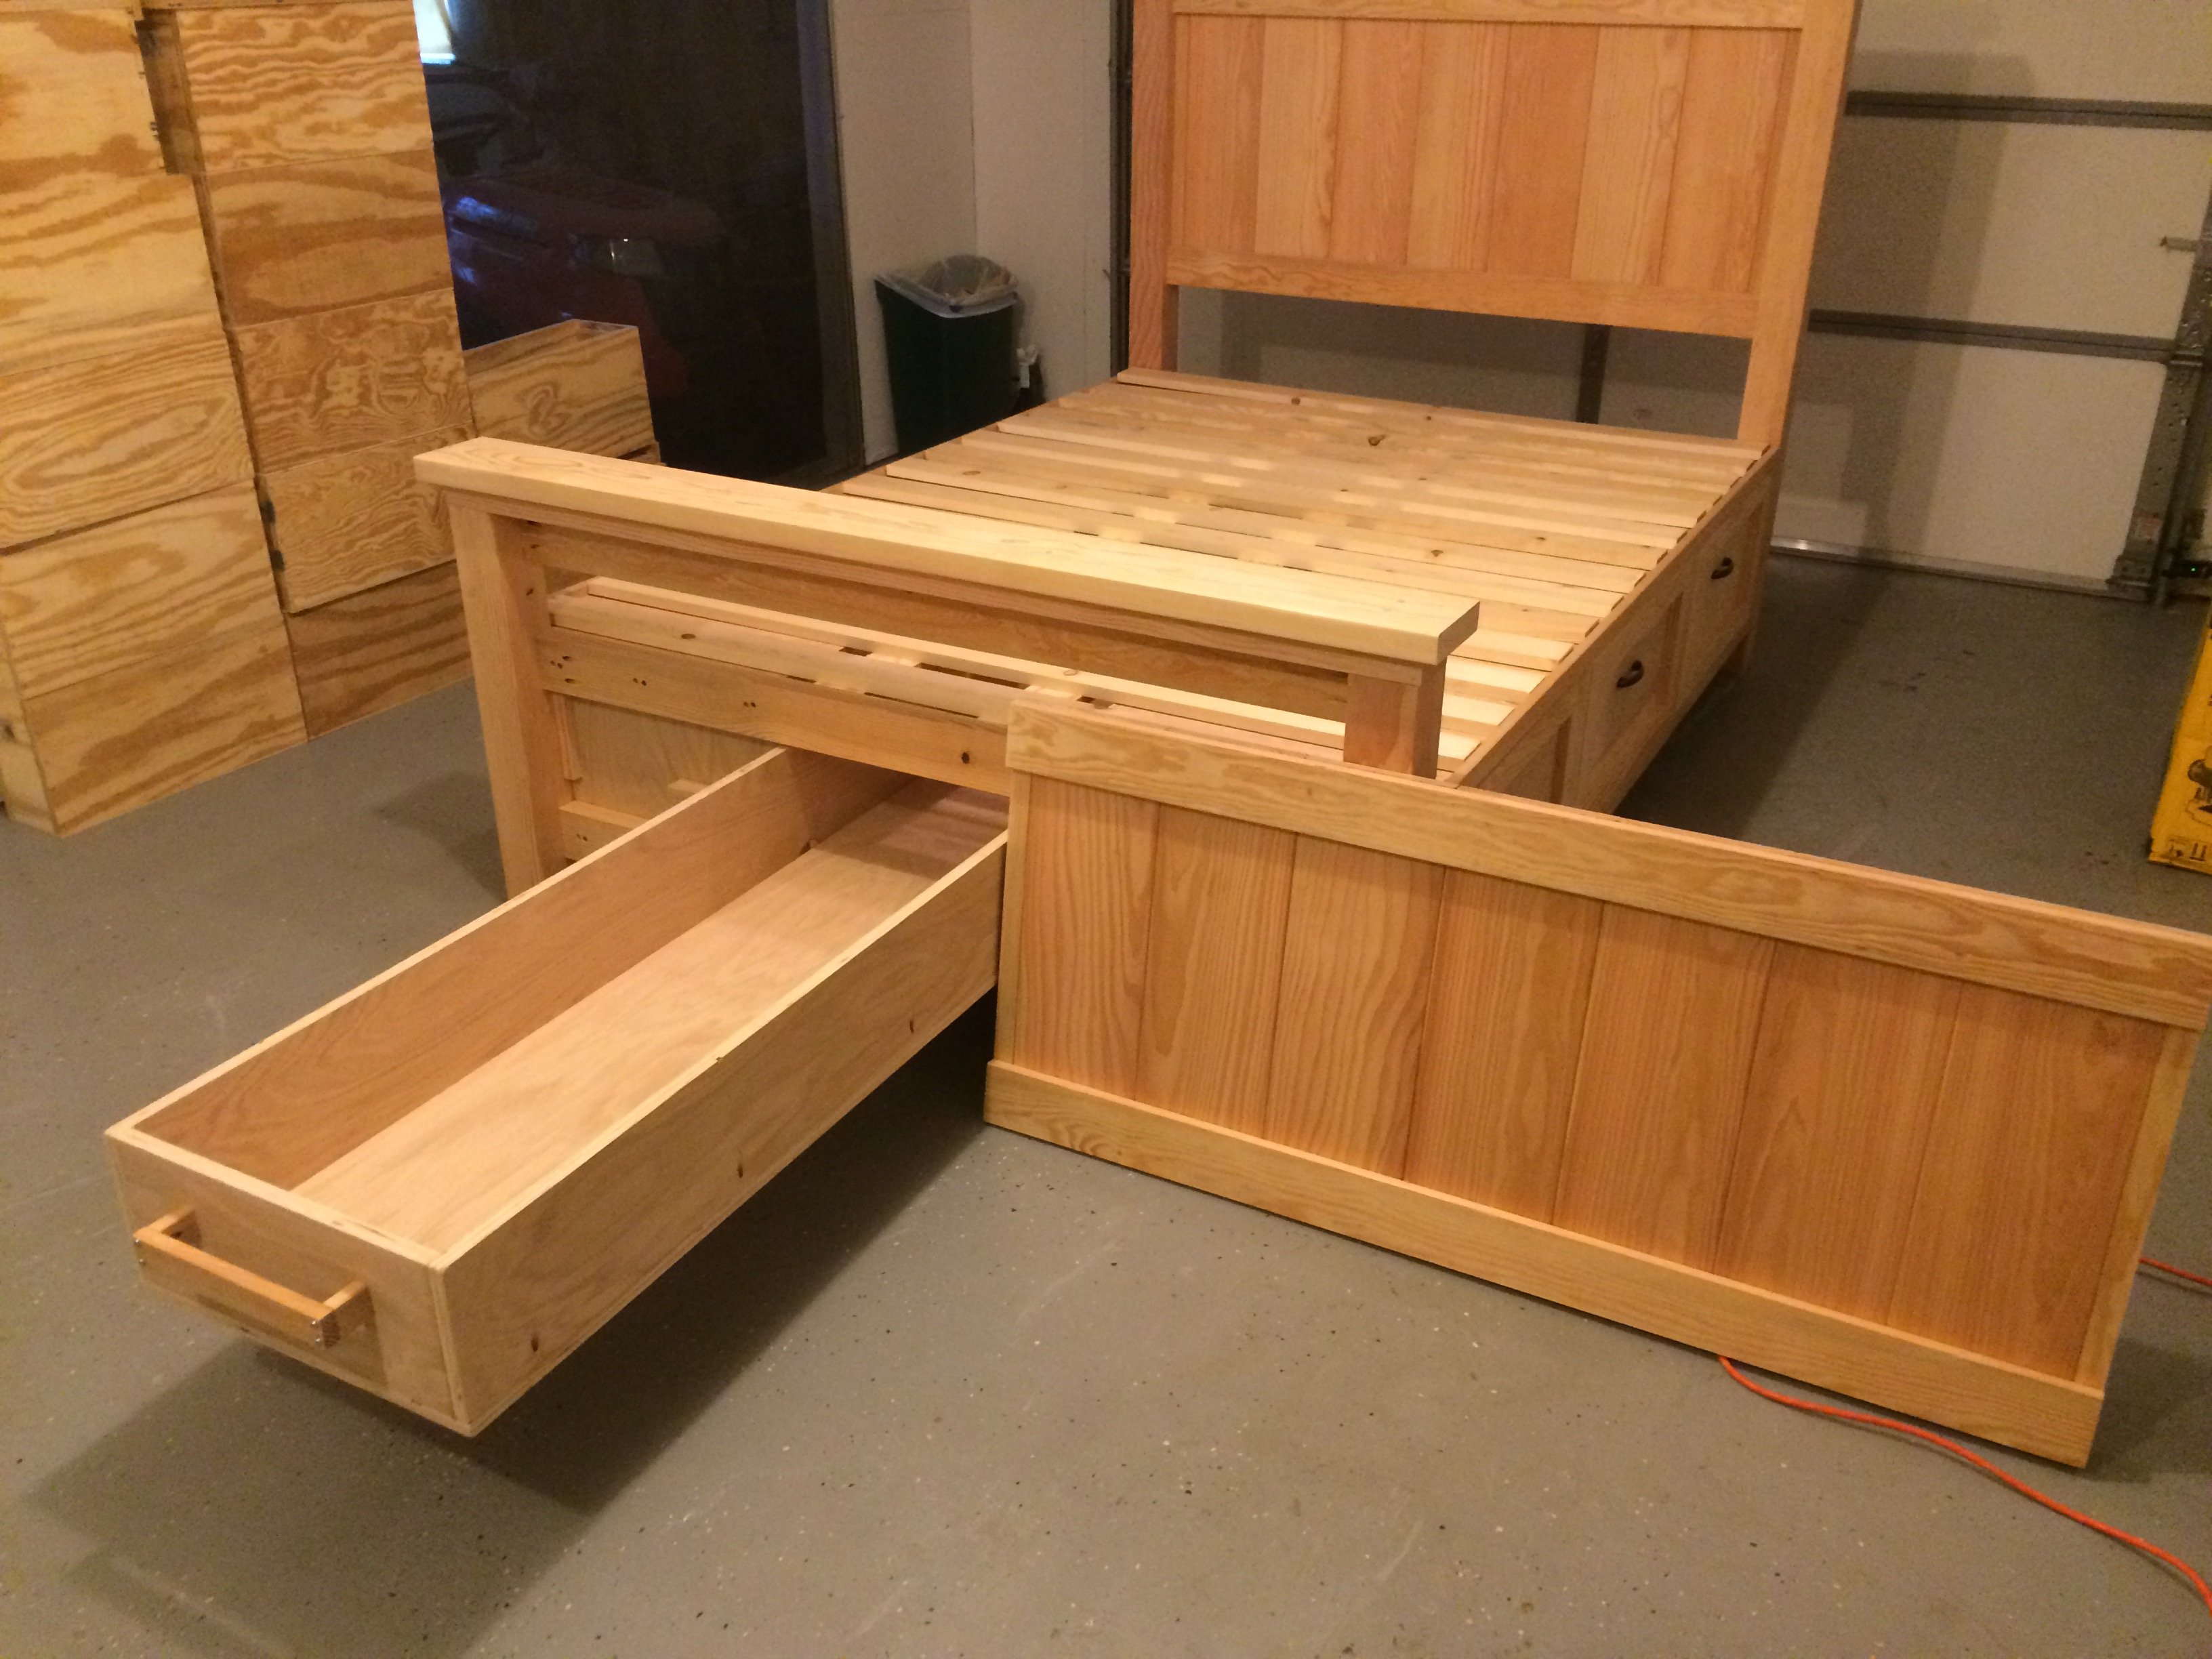
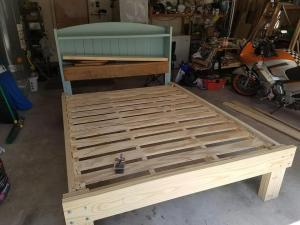
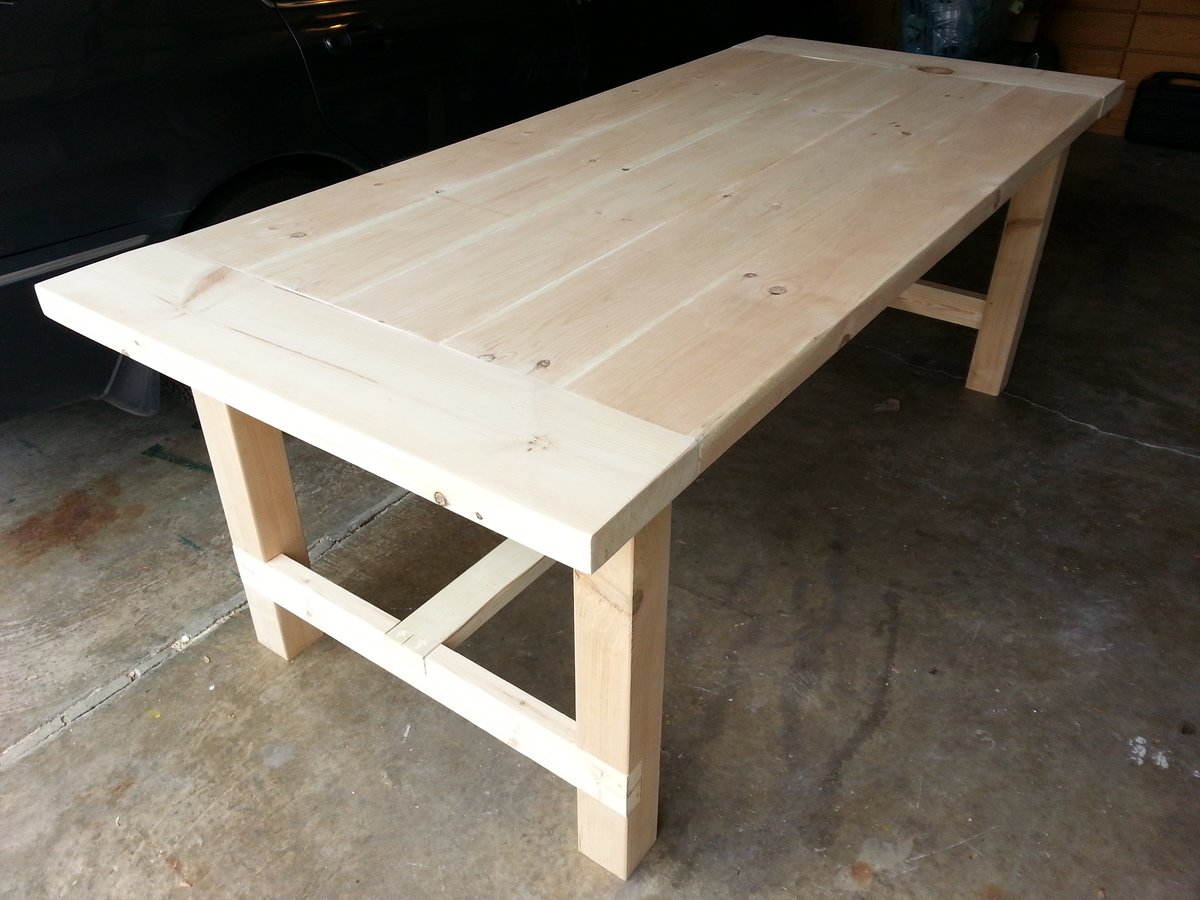
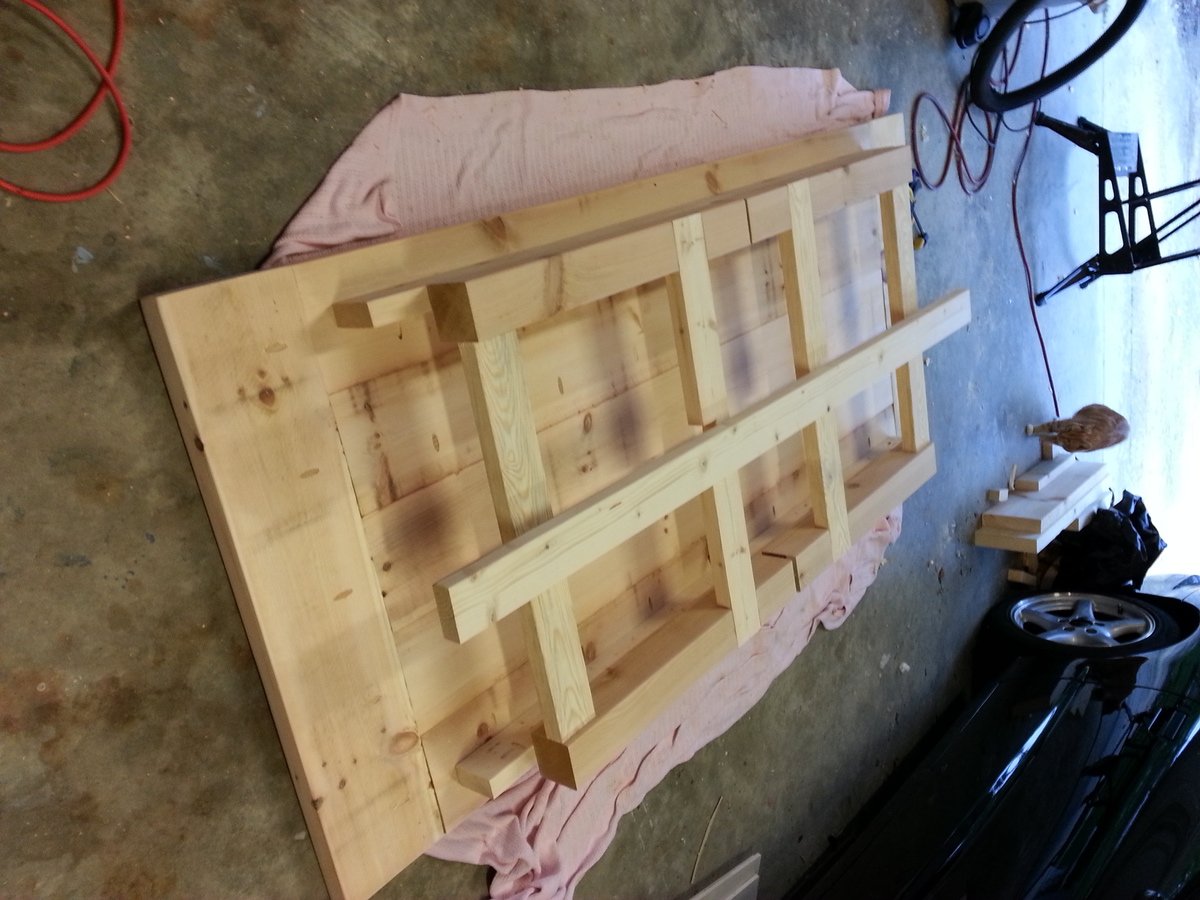
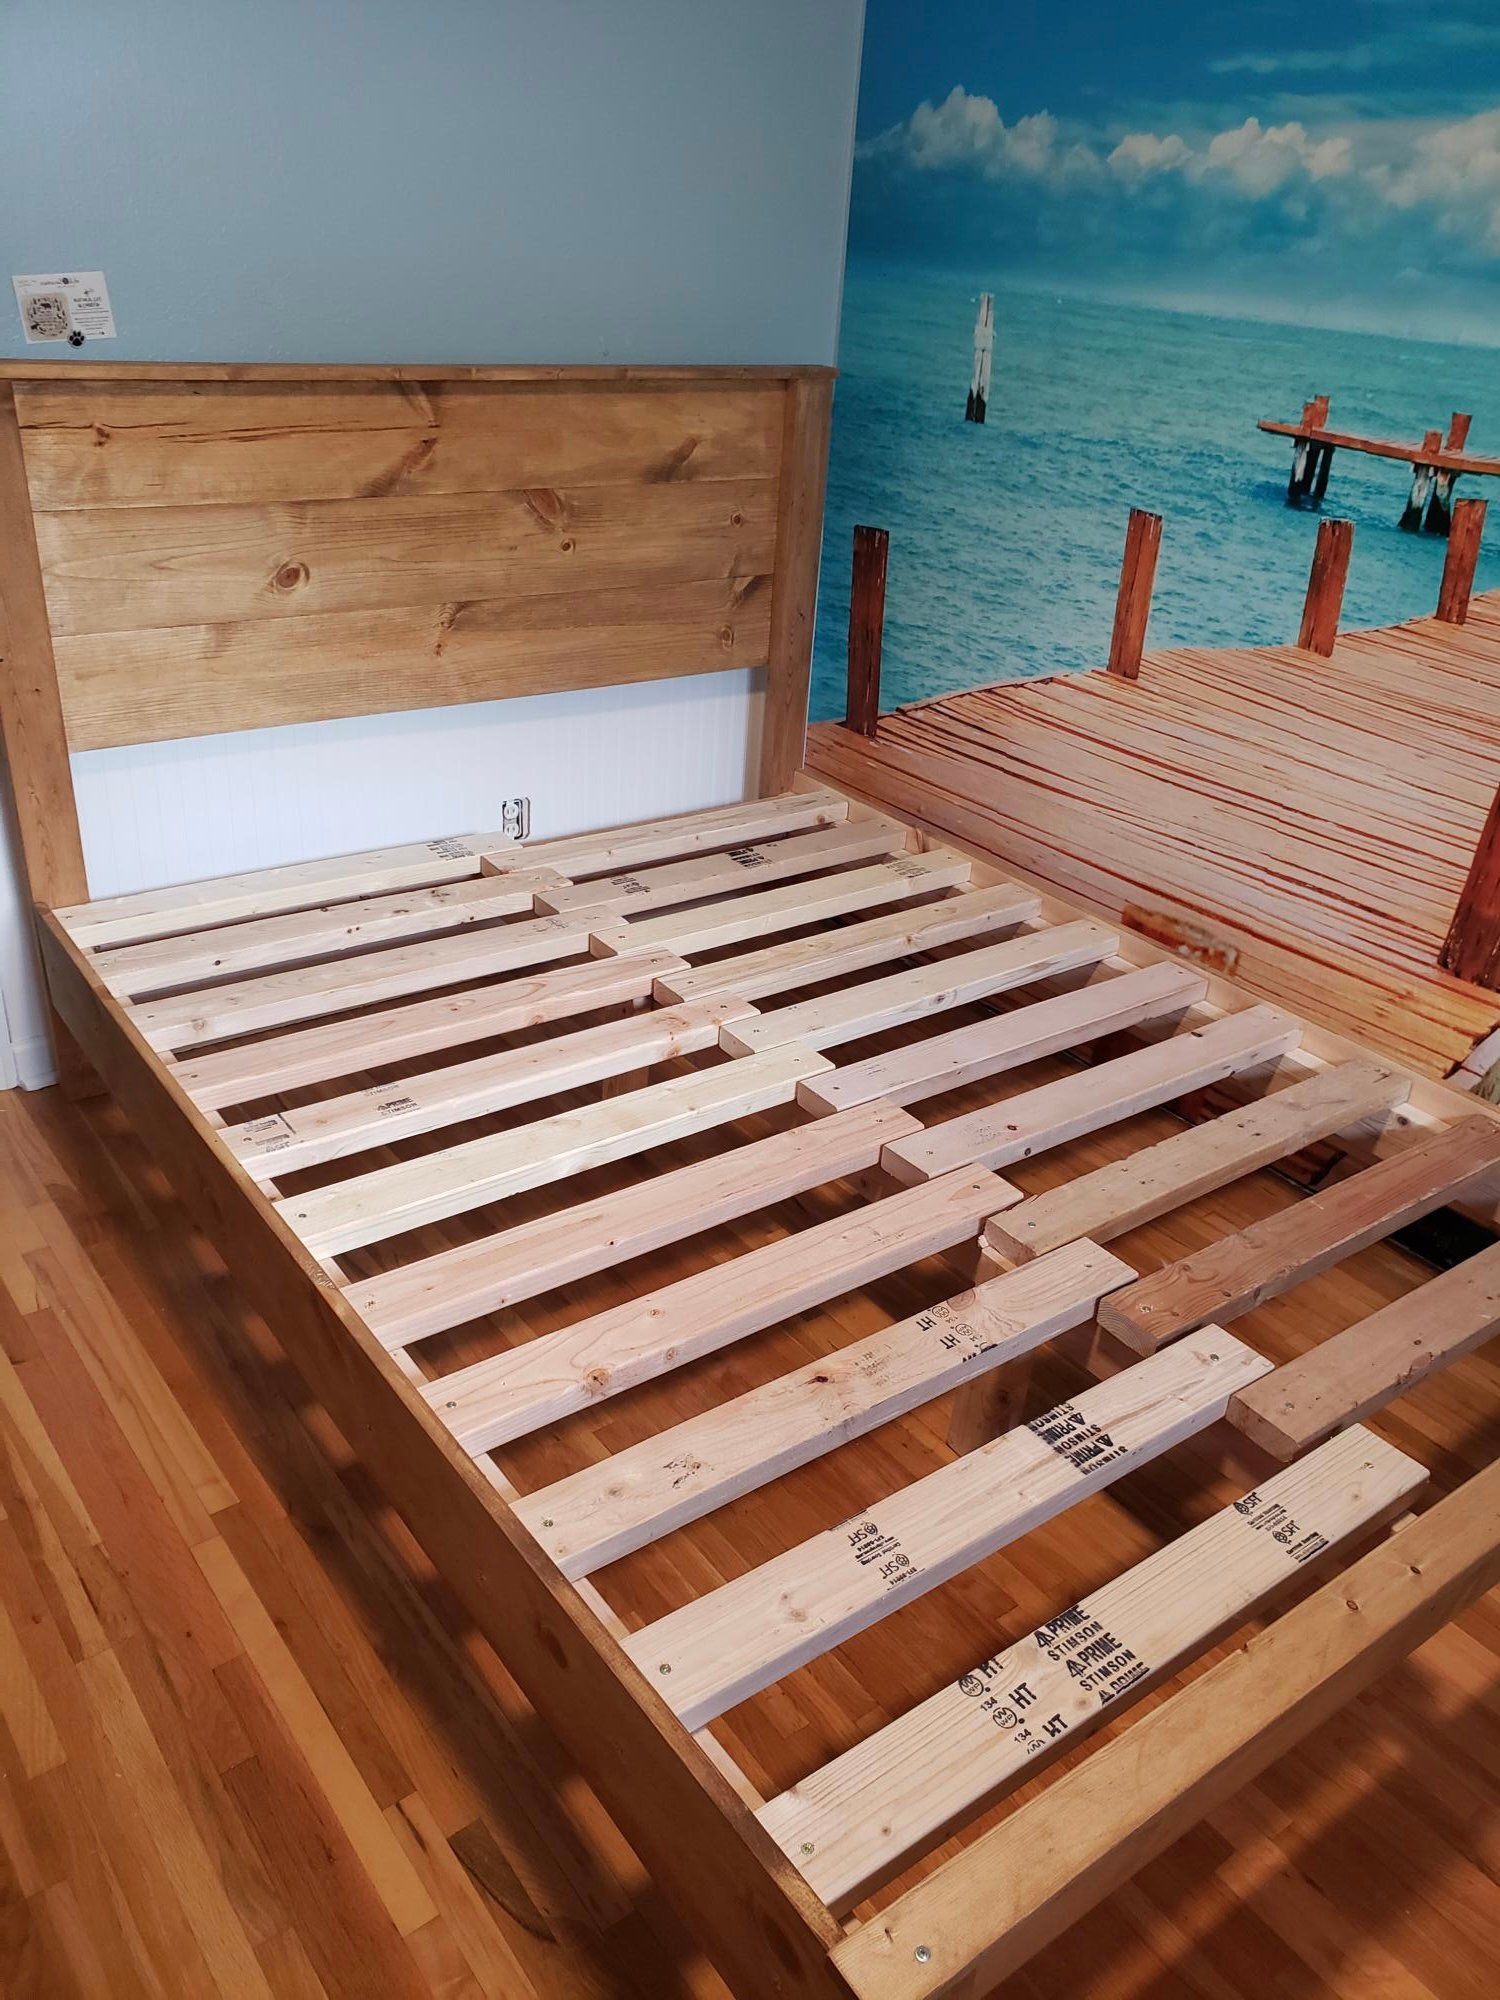
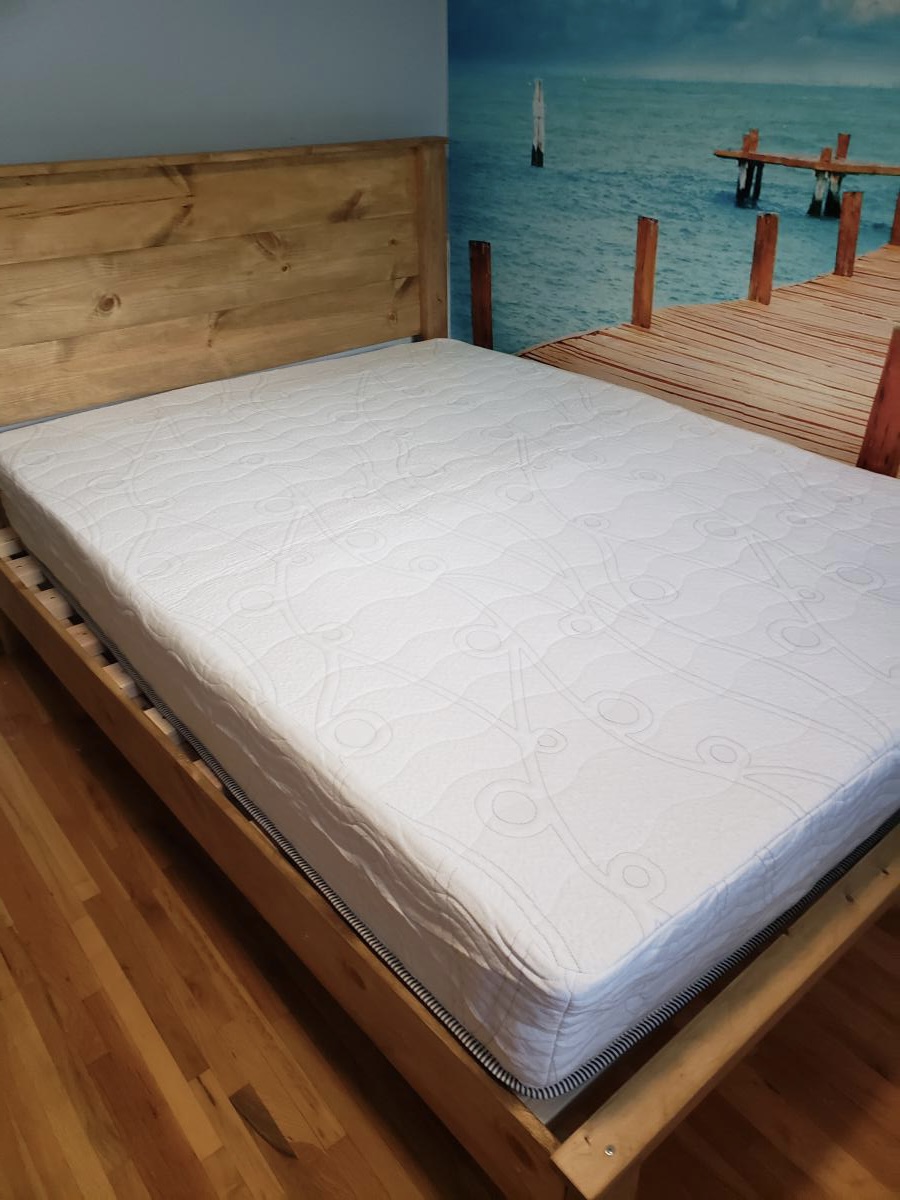
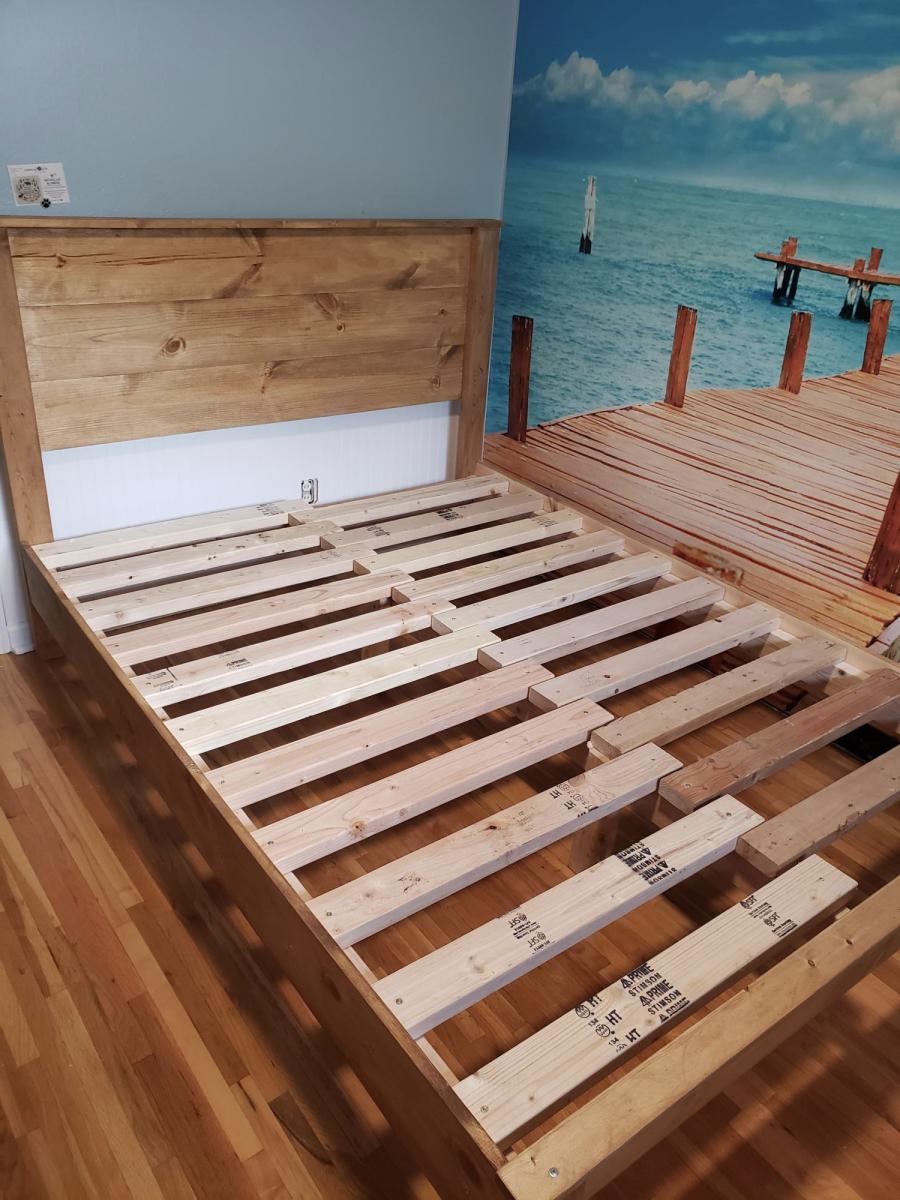
). Because I added the hidden drawer, I changed the opptional center support to 4X4 blockes that were pocket screwed under the center of the boxes. I ended up using birch plywood and fir for this build. For my first bed build I'm fairly happy with how it came out. Thanks again!
Thu, 12/11/2014 - 07:41
This is your first build and you did all of those awesome modifications?! Really impressive and it looks perfect! Congrats and welcome to the community!
In reply to Seriously?! by spiceylg
Sun, 12/14/2014 - 06:03
Thanks for the compliments! It was a fun learning experience. Making all the modifications definitely slowed down the build, but also made it more rewarding!
Fri, 12/12/2014 - 13:18
I just started my bed (mostly out of Baltic Birch) and am wondering where you were able to find such nice 4x4s. Your bed is gorgeous! No luck here. I bought redwood, but really wanted fir for the sharper edges. It's my first project, too. I also bought same drawer slides, but the soft close. Didn't want the slam. I figure building it will be the easy part compared to procuring nice 4x4s! Hope you can help!
Sun, 12/14/2014 - 06:01
Thanks! The 4x4s I found at a place called Better Living Building Supply. They had a pretty nice assortment of fir, including the 4x4s, so that is why I chose it for the build. Finding the 4x4s slowed down my start on the build. Our local Lowes only had them in treated pine.
Sat, 09/05/2015 - 20:47
Thank you for the pictures, the bed turned out Awesome. I was wondering about the latching system for the foot of the bed. Do you think a piano hinge on the lower would work too? Also on the center drawer did you use rollers or is it just friction? Can't wait to start the build.
Thanks
Mon, 02/15/2016 - 14:11
This is excellent!!! I really like this, so much in fact that the wife is going to have to get used to it too. lol But really, GREAT work! Any chance you could post a pic and or comment about how you attached that removeable end? i think this is the best part! Cheers!
Wed, 10/24/2018 - 23:21
How can I get / purchase the plans for the construction of the bed ?
Tue, 12/10/2019 - 08:42
Beekeeper, Awesome build!!! Have you posted your altered plans anywhere? I'm very interested in your build, I was wondering about some aspects of it and how you approached it. Plans would clear it up instead of bothering you with all my questions.
Mon, 11/16/2020 - 15:42
Bed turned out awesome. I was wondering if you have the plans for the bed with a list of supplies it took to make this bed. I so want this bed it's just what we are needing
Great job
I built this new workbench for my garage to accomodate my table and miter saw and to add some stowaway storage and I cant tell you how much I love it, especially with being able to pull the tables out to make an outfeed for the tablesaw. I altered theplans a bit to shorten the entire length by nearly 1.5 feet and instead of the board mounted tool space I added my bench vise to this gap and use shelved underneath for storage. The plan was simple to follow and allowed me to build a bench that all of my neighbors talk about now! Thanks so much Ana!
I saw the lounger that Ana posted https://www.ana-white.com/woodworking-projects/modern-single-outdoor-ch… and thought it would be really nice to have that near the hot tub. Combine that with the need for some kind of platform for the kids to get in and out of the hot tub and voila! The Chaise Lounge with Steps for Hot Tub.
All I did was extend the 2x4 legs to 28" to give the lounger enough height to act as a platform. Raising it required an extra set of 2x4s lower down for lateral stability. The steps used a similar approach of 2x4s for the legs and cross supports with 1x4s for the tread.
Thanks for all the plans, Ana!
used Ana's plans, just modified the width and depth.
Fri, 05/28/2021 - 12:35
This is officially DONE!, just waiting for the paint to dry. Turned out heavier than I thought it would. Next time would try to use thinner materials. The X's weren't too bad, but were still a PIA. ... thats why most of them live in Texas
My wife has been asking for new dressers for the boy's room for a while now but every time we go out shopping for them I am very disappointed in the quality of what is available. So I decided to make them myself. I have not made any furniture before and needed a few tools to help me out and thought what better way to get both the practice and the tools then build my own router table.
I searched the web for plans and found these great ones. I loved these plans but wanted to make a couple of changes anyway. I decide to build the table top as well as the cabinet and decided to make it a little taller to fit me better. Due to the changes and making the table top it took me 2 days to finish, 1 day for the cabinet and 1 for the top and to put it all together. (Not having used a router before it took me a while to get the template just right to cut in the insert.)
It works great and looks great in my shop. Now on to the dressers.
Sun, 04/21/2013 - 10:55
I need to build one of these!!
Yours looks very nice!
Farmhouse dining room table built for my mom. Unstained.
Table top is 2" White Pine Boards, legs are cedar, and everything else is whitewood studs. Left the leg assemblies and stretcher board unattached for the two hour transport to Charlotte. Attached them with screws and some glue upon arrival. Loved the plan and finished in two days!
Steps:
1) Cut the boards to the specs below or adjust to your space
2) Kreg Jig the cut boards along each of the sides (length wise and on the ends) for attaching and making a box.
3) Make 3 separate boxes, don't assemble until you move to location. I used 4x4 cedar posts in the corners of the base box to add stability. I used 2x2 pine in the front corners of boxes 2 and 3 for stability. Install these after the dirt has been added so you can hammer in as a stake, attach with screws on front and sides. I created 2 stakes for boxes 2 and 3 and added to the front to prevent bowing when the dirt is added.
Box Dimensions:
1) (base) 70.5" L x 46 W x 4 cedar boards high
2) 70.5" L x 32 W x 2 cedar boards high
3) 70.5" L x 16 W x 2 cedar boards high
Our kitchen has been pretty much the same for the last 4 1/2 years but this last fall we started to undertake a huge do-it-yourself remodel. We painted our cabinets, replaced the sink and floors and even painted the counter tops! You can check out the transformation on our blog.
Now that our kitchen was looking so good we decided we needed some awesome furniture to match.
This is where the great Ana White and her wonderful blog stepped in. We were able to build some beautiful high quality furniture at an awesome price! This was the first time I actually had matching and completed furniture in my kitchen and I have loved it.
We built the farmhouse table, bench and the extra tall bar stools with some modifications.
Thank you Ana! Your plans are so easy to follow, they make me feel like a master carpenter! I still cannot believe I built this myself. I look forward to building more this year!!
When we became accidental chicken owners, we had to build a coop fast. I found the plans for Ana’s replica of the Williams Sonoma chicken coop and got to work. They were very easy to follow and easy to modify to fit our own needs and aesthetic. We decided to enlarge the coop and remove the planter in the original plans to accommodate more chickens while keeping the original footprint. Instead of plywood, we used cedar reclaimed from an old fence we had recently replaced. We also enlarged the rear door to make clean-out as easy as possible. I cut pieces of polycarbonate to fit inside the door and windows to winterize the coop when temps drop below freezing. The run is designed to follow the shape of the coop and is large enough to give our 5 chickens plenty of space to roam when they aren’t free ranging in the yard. The planter box runs the length of the chicken run, providing plants to munch on inside and shady vines that will eventually cover the outside.
Sat, 01/01/2022 - 12:14
This is so awesome, I love the raised beds and chicken run too!
Using a couple of the Ana White Plans and YouTube videos, converted a run-down, Carpenter Bee infested chicken coop into a functional greenhouse with running water and electricity.
This is a modified version of Ana's park bench. Had a large deck, with plenty of room for a sectional.
I basically built two benches. One with an extended back (to create the back for the side of the second), and modified the front leg to sit under the frame, to allow the second bench to sit flush. I used lag bolts to attach them together on the seat base. Using lag bolts allows it to be easily taken apart for moving.