3 hook coat rack
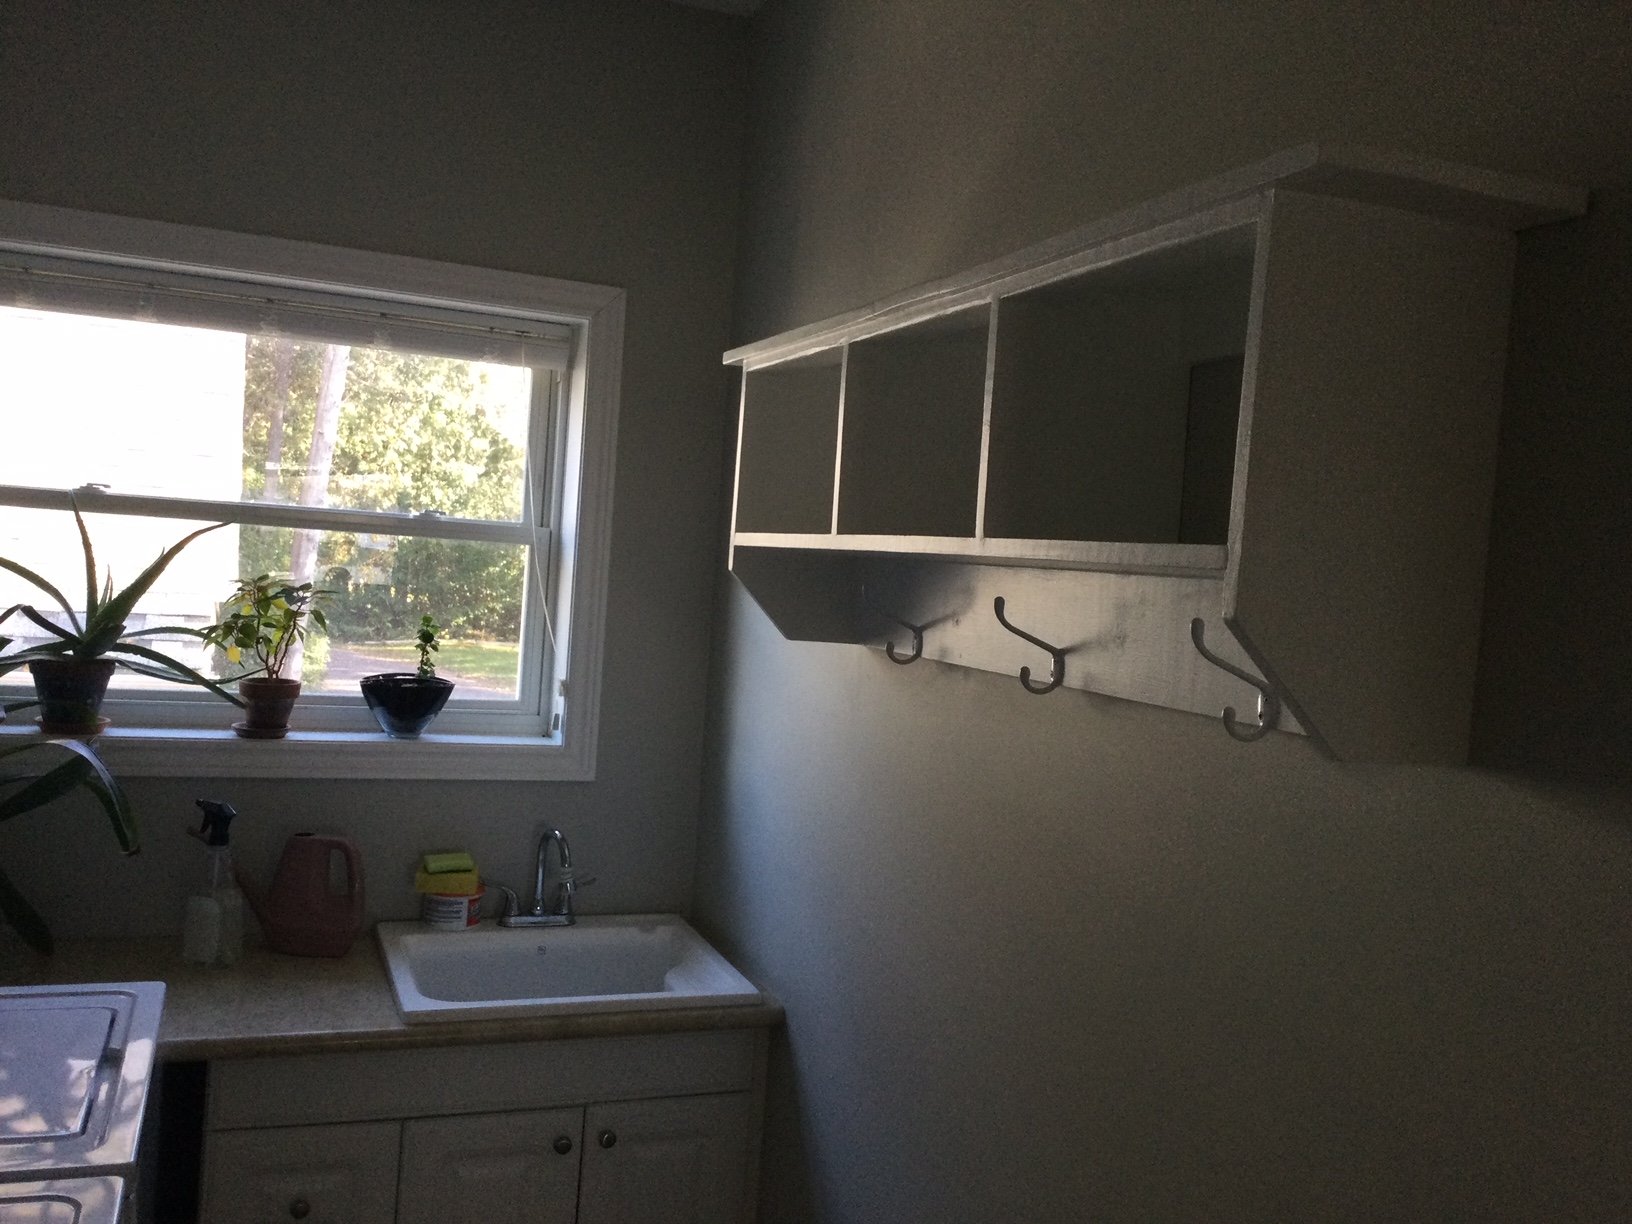
Thank you for this - I just made it slightly longer.
Built from Plan(s)
Thank you for this - I just made it slightly longer.
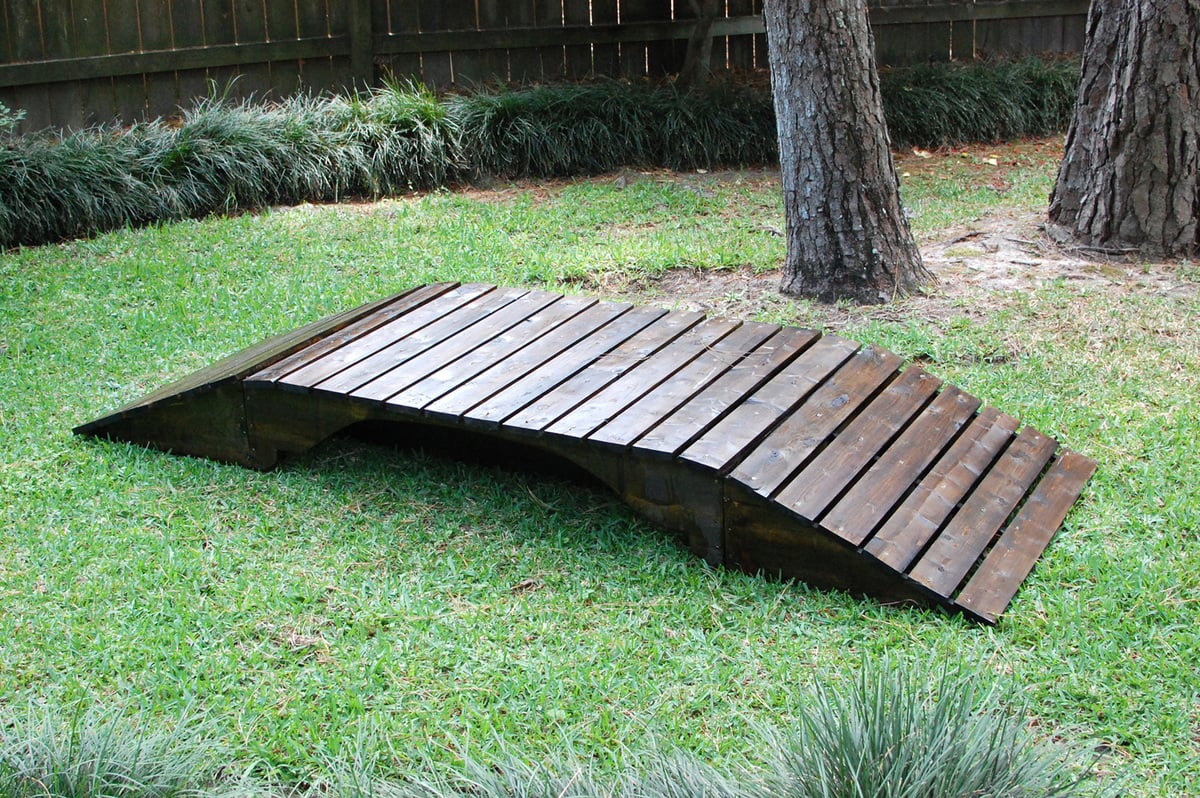
I wanted to make a footbridge for my mom so she wouldn't get muddy when she crosses a small drainage ditch when goes walking on the trails behind her house. I didn't have a plan and this was my first build and I loved it! I just wanted to give everyone an idea of something to build. Can't wait to build more.

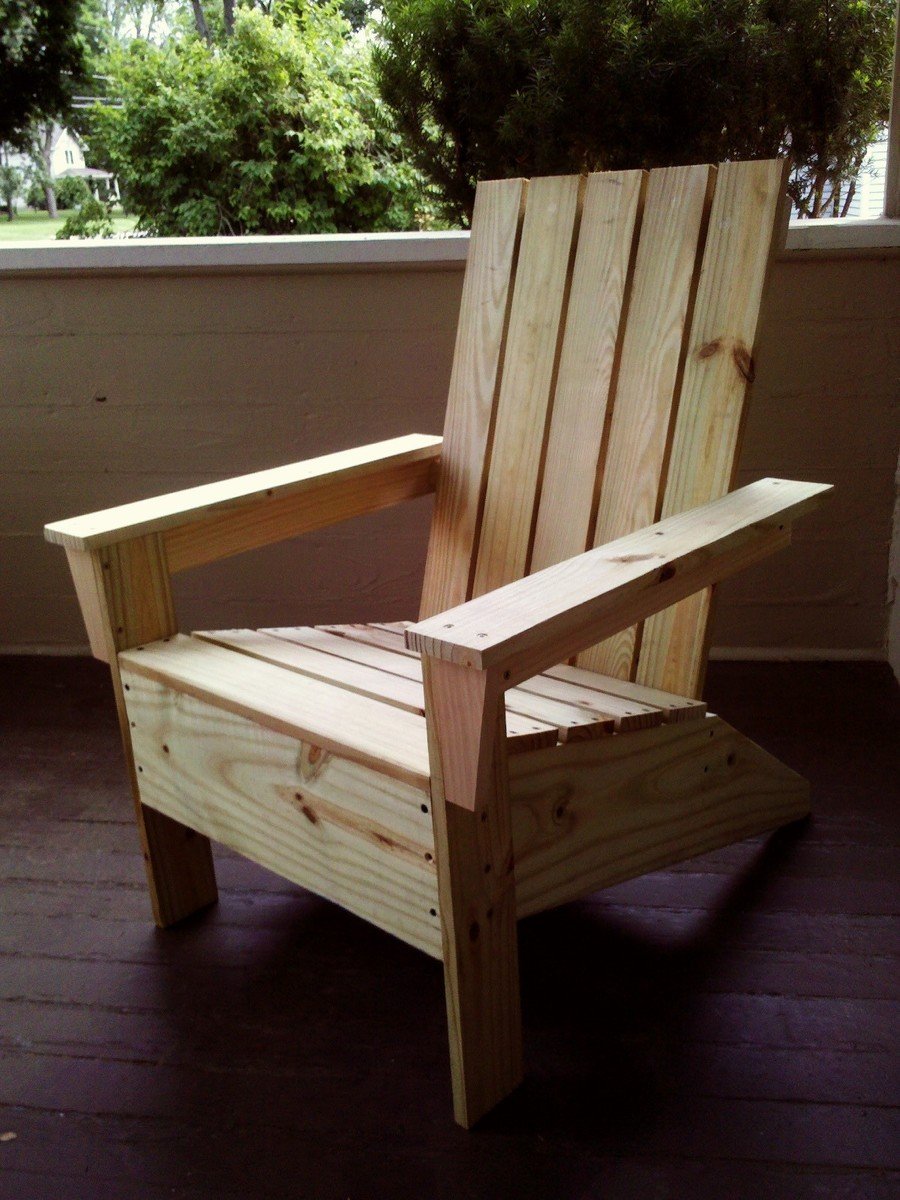
Got a chance this weekend to do our first (good!) woodworking project. Love the chair, gotta head back to Menard's to get some more lumber for chair #2!

I built a set of chairs and a coffee table for our newly designed outdoor area. These look amazing and people love sitting on them and hanging out outside our house.


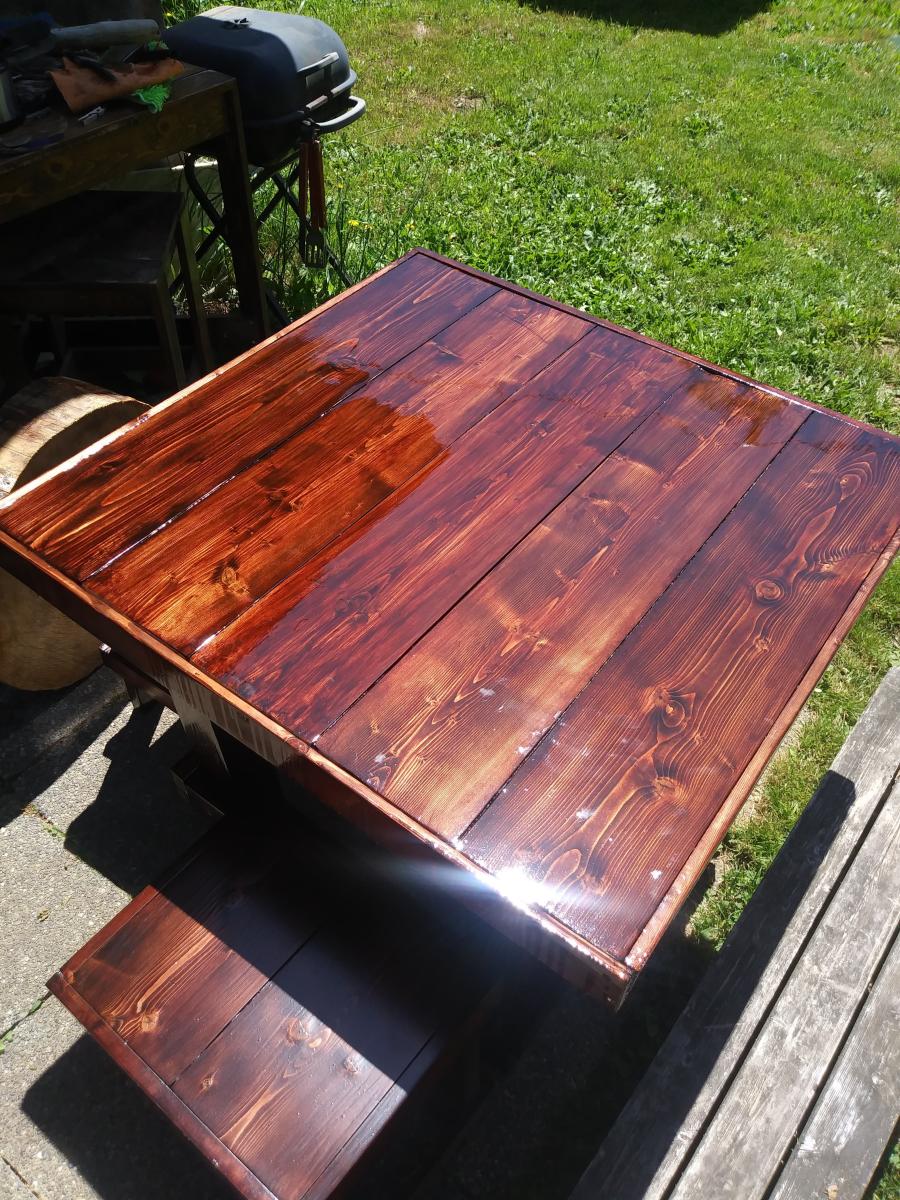
Made this for my daughters family spent hours upon hours on that finish!
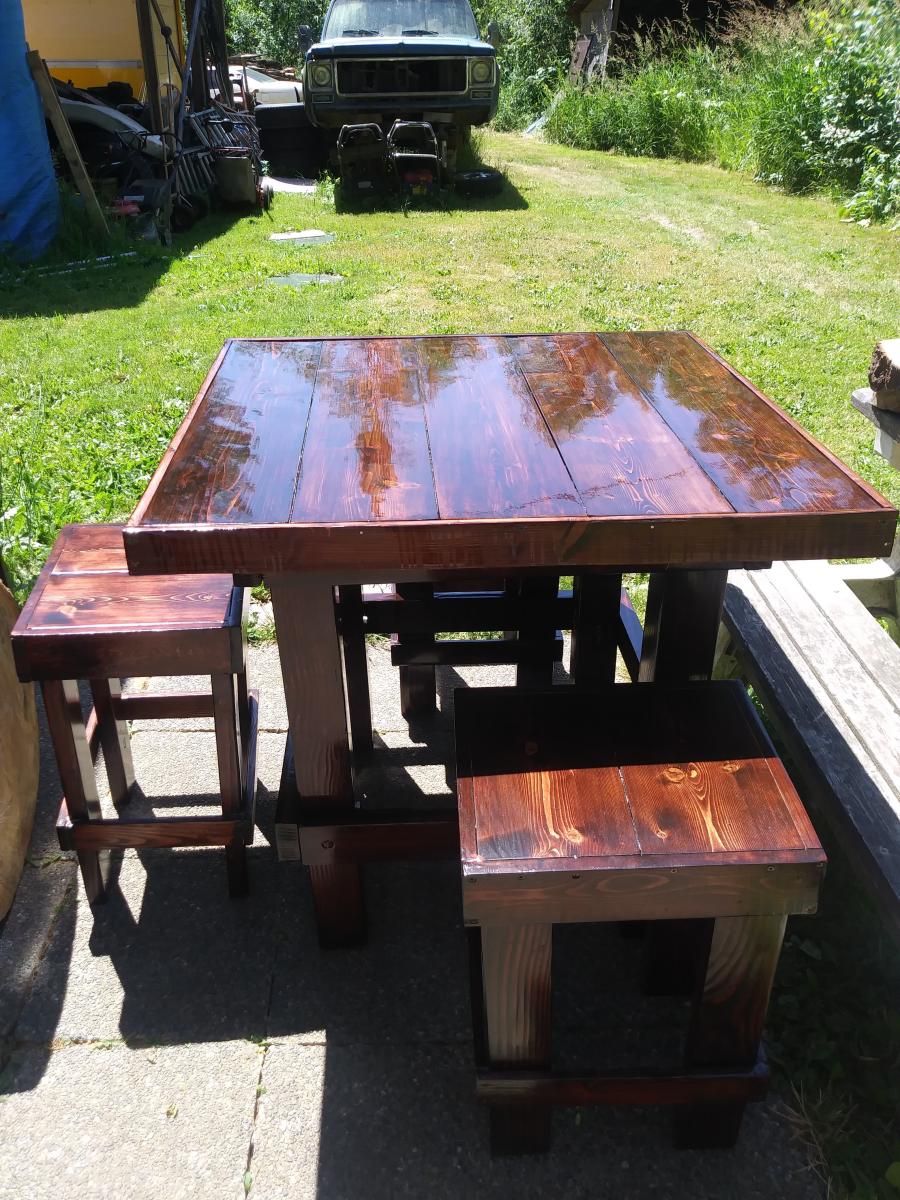
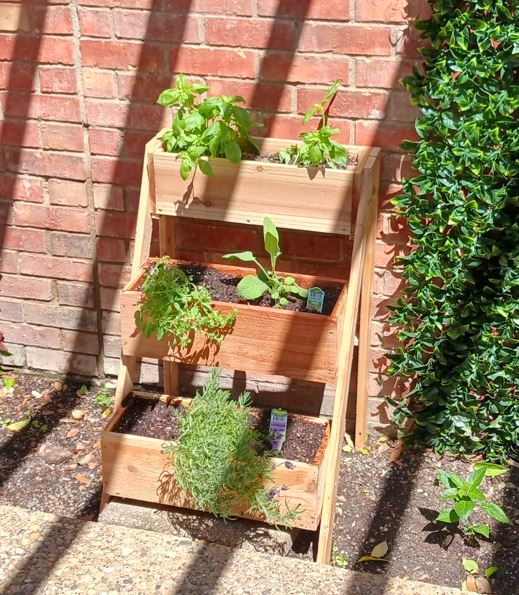
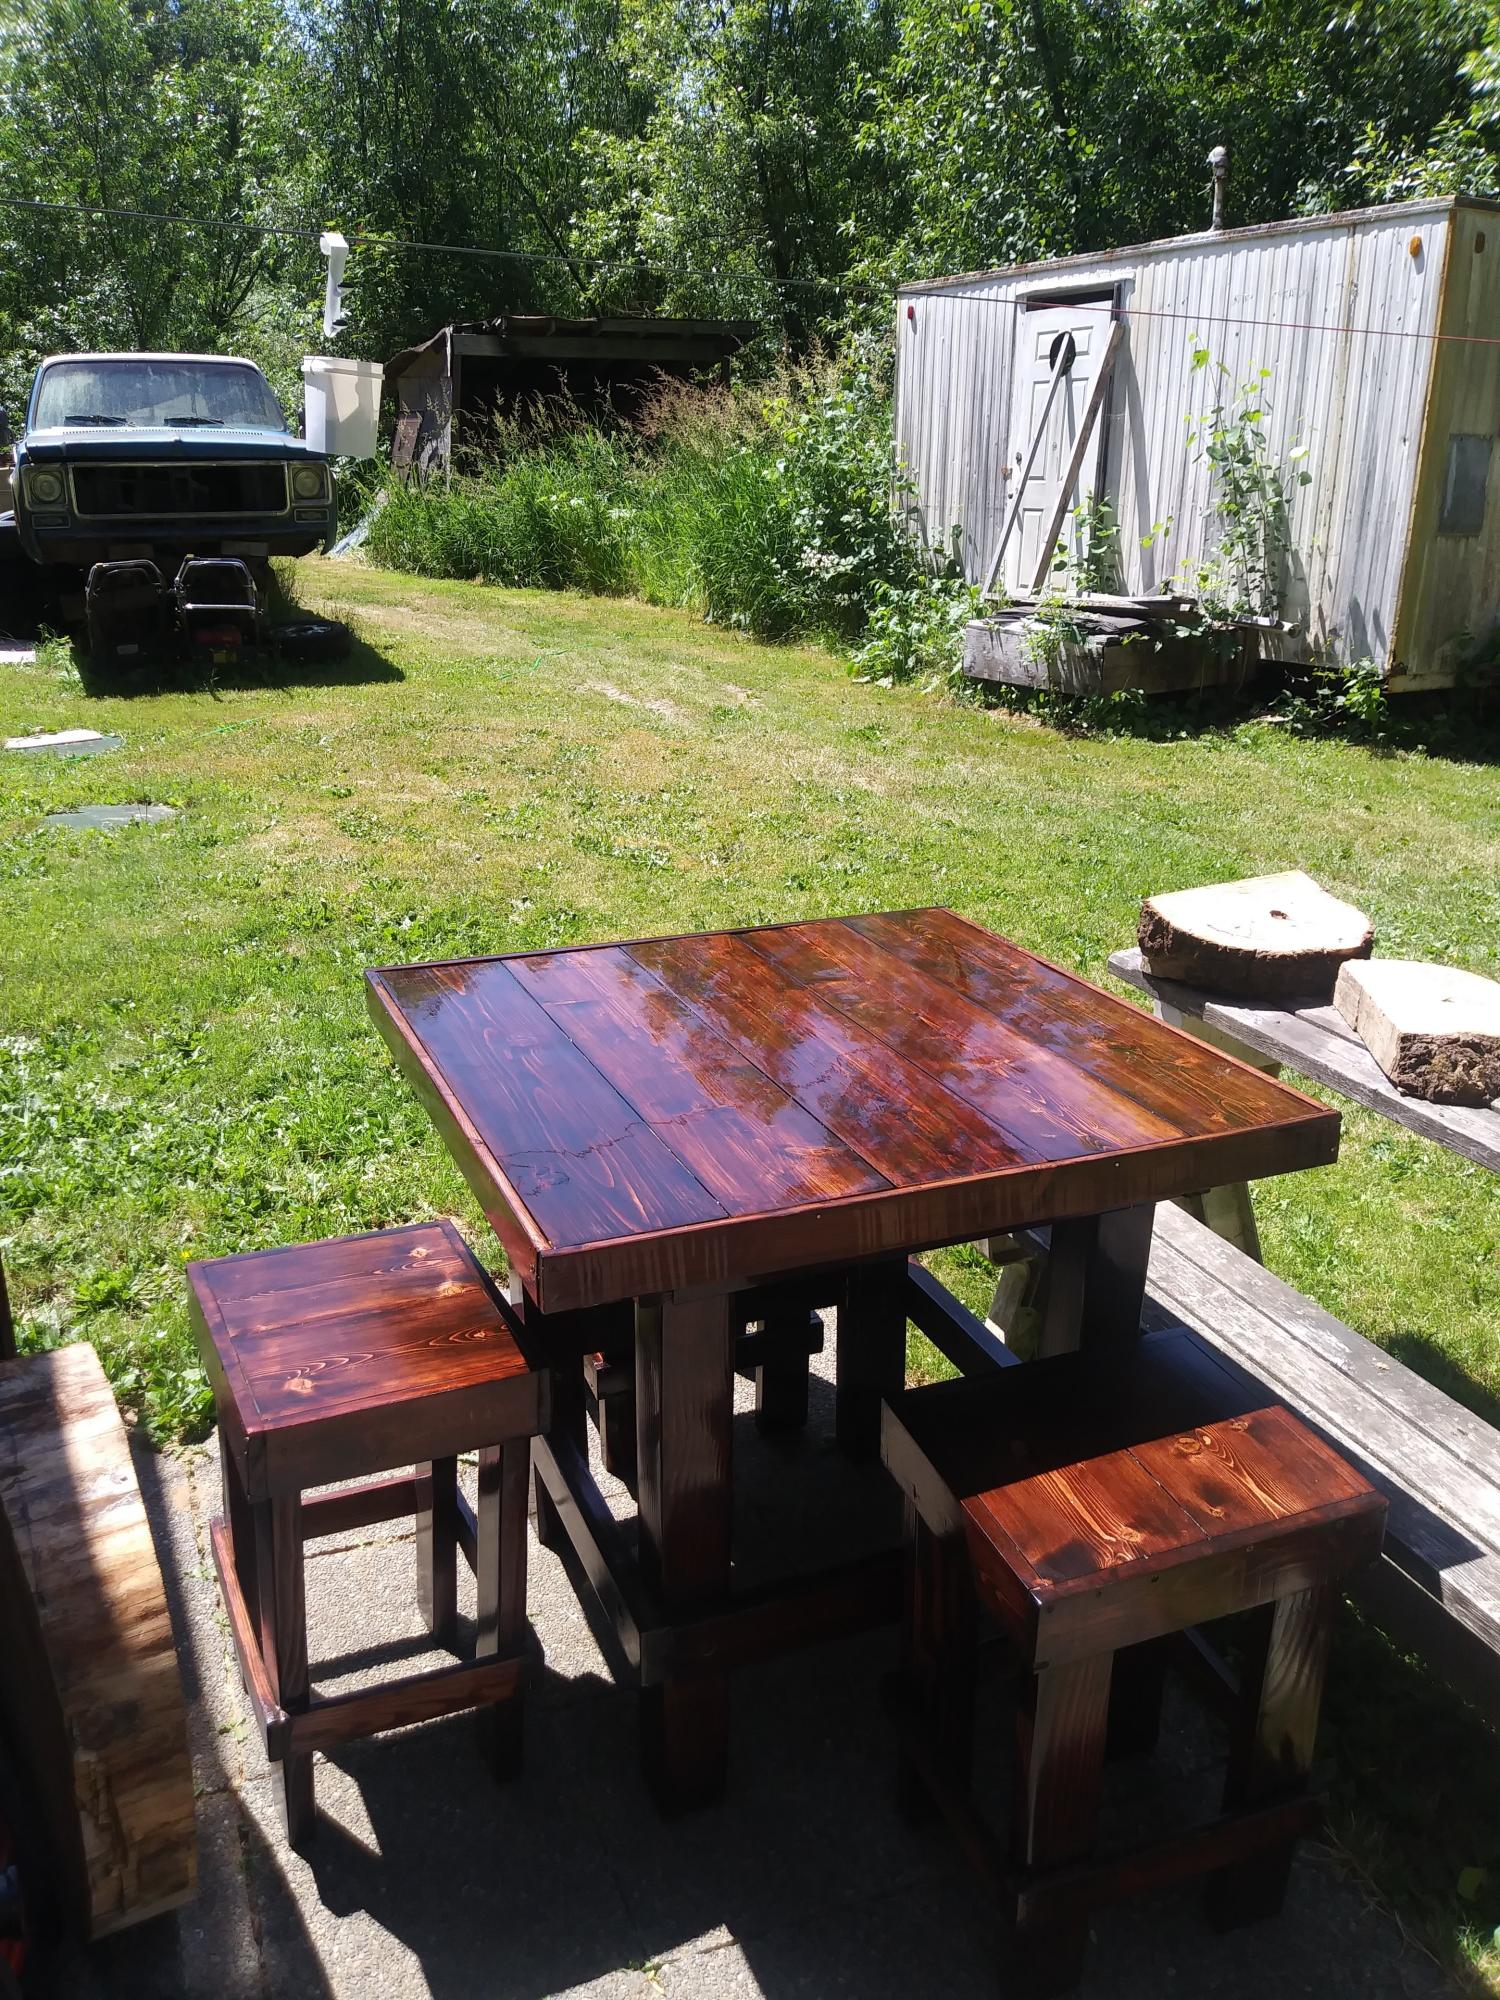
I made the boxes a little wider than the plans called for but still came out great. I'm very happy. Thanks Ana for the inspiration.

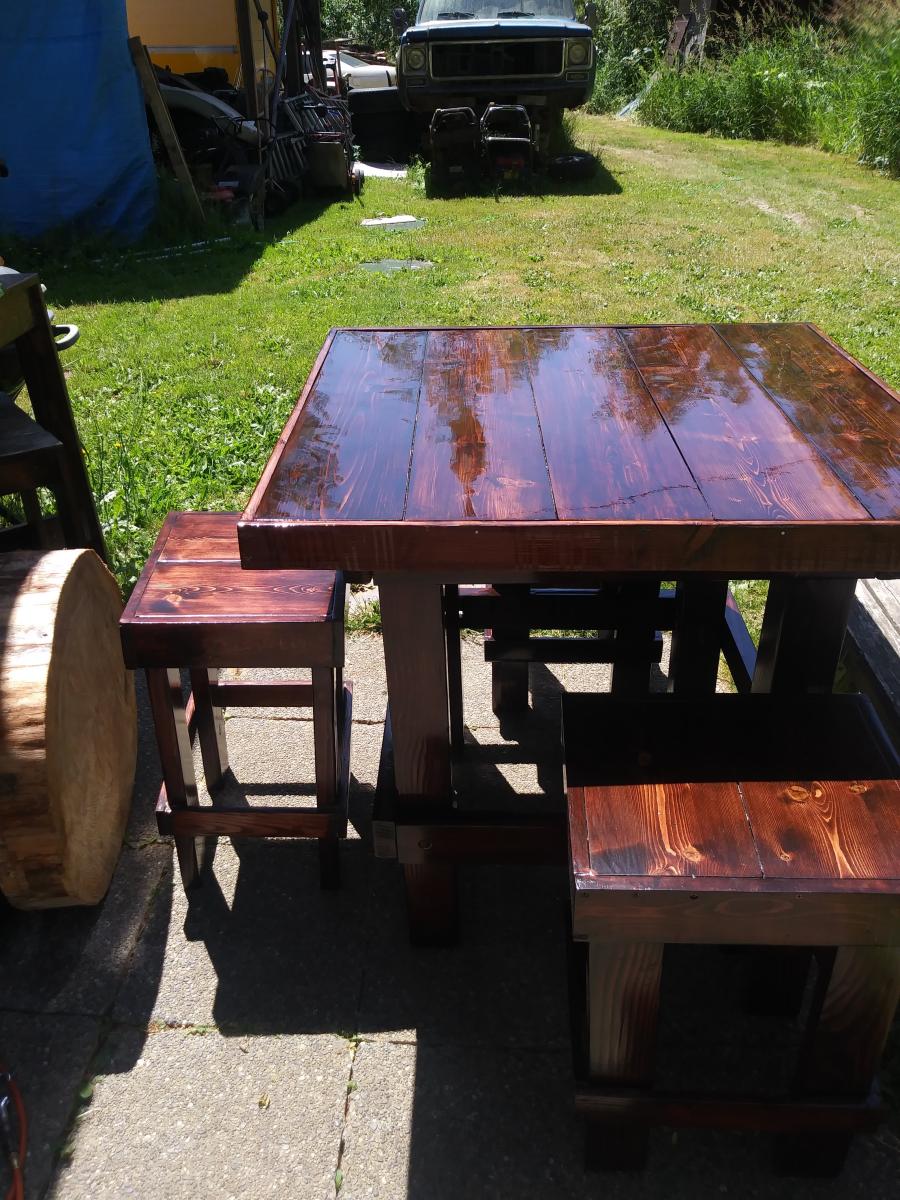
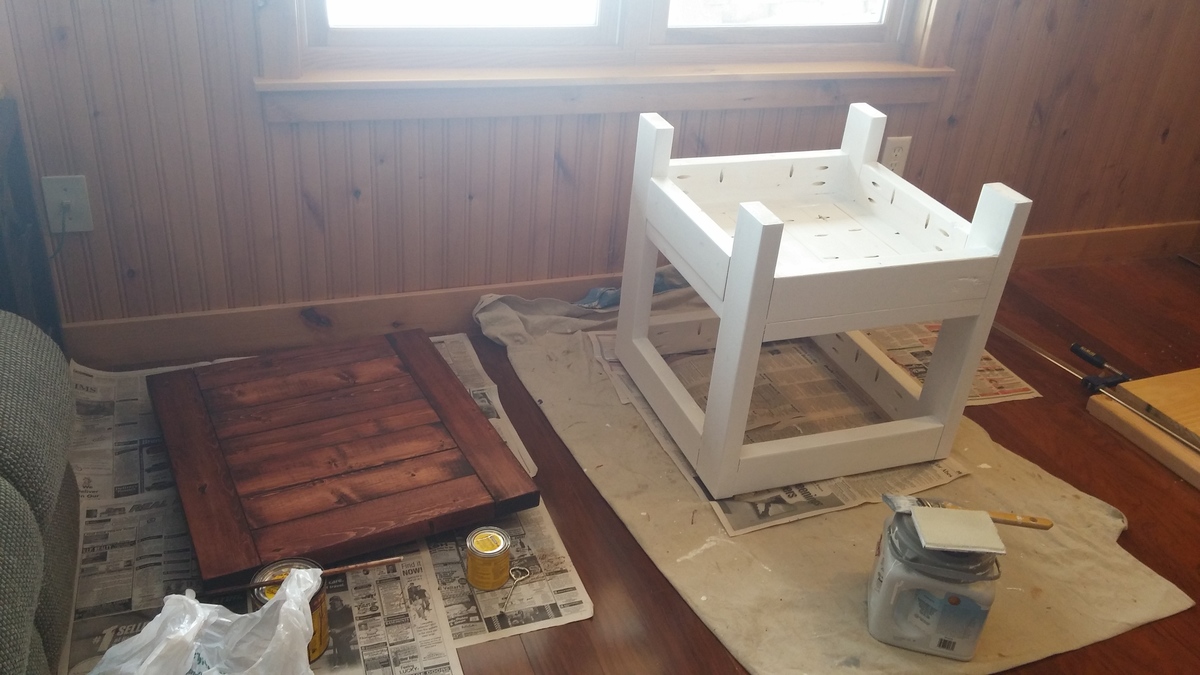
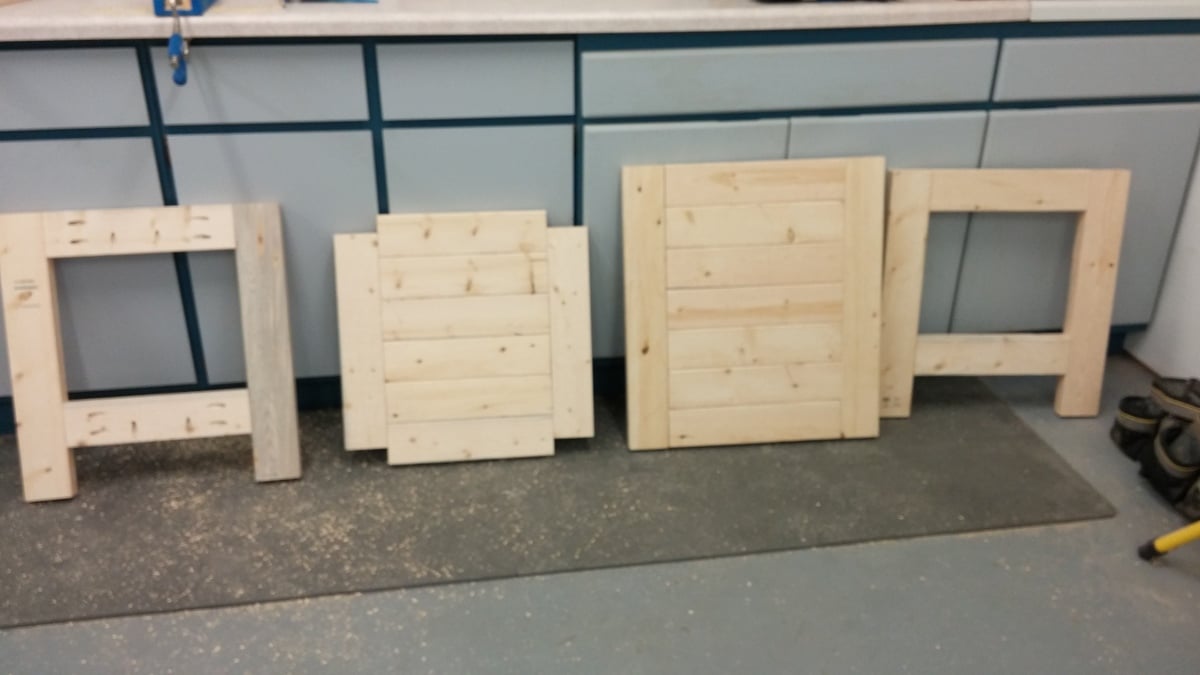
Top 22.5" x 24.5" Base 21"x21" Total height 24"
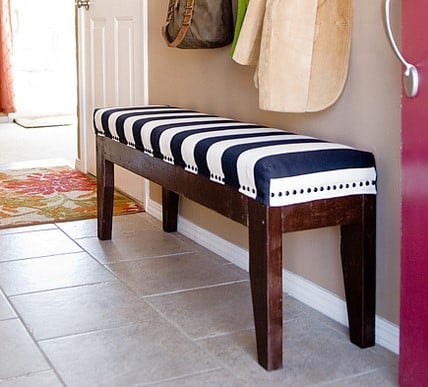
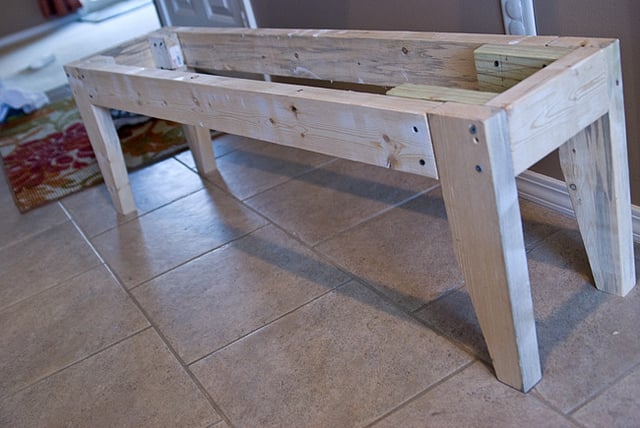
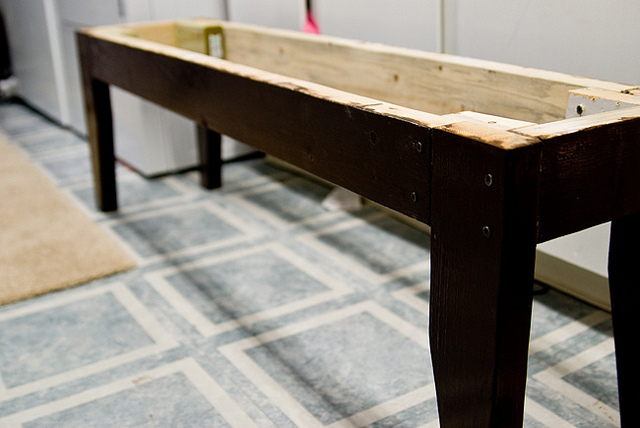
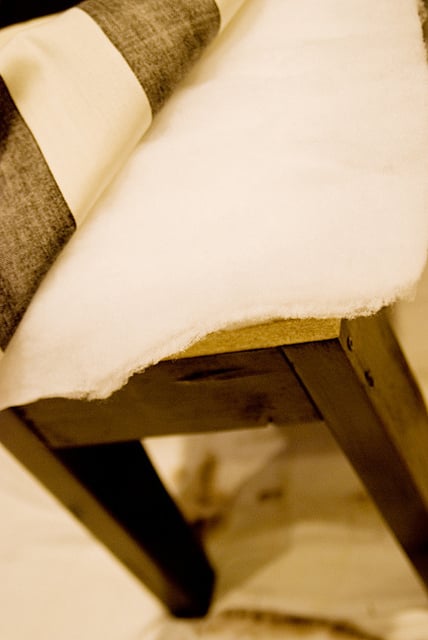
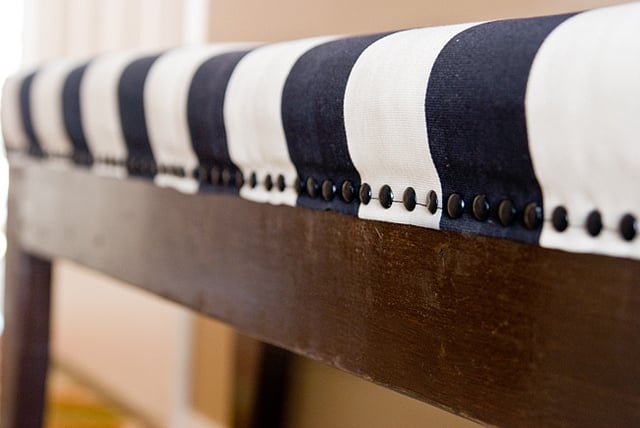
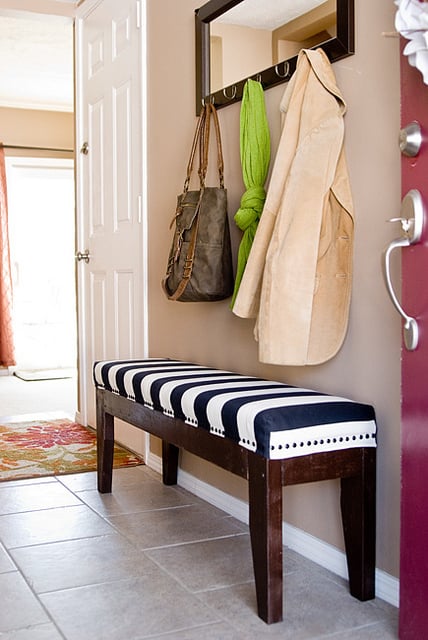
Wonderful project! Very fun. Built a bench from scrap 2x4s (left in the garage by our home's previous owner, so they were free!) and a piece of MDF shelving. Perfect for our entryway. The bench itself was incredibly easy to build. The hard part, in my opinion, was finishing it. So many pretty things to choose from! I used a piece of 2-inch foam plus a double layer of batting for the top, some striped upholstery fabric, and 160 nailheads to finish it off. Love it.

Tue, 02/14/2012 - 12:45
This really came out nice, and lovely selection of fabric.
Sun, 02/19/2012 - 12:54
Love it! Wondering if I could build it and have some type of slipcover on it. (house with three kids under 5 years old does not go well with permanent upholstery! haha)
Fri, 03/09/2012 - 09:06
If you check out Ana's original plans for the Easiest Upholstered Bench, you'll see that she DID use slipcovers! You could make different ones for each season, or for holidays like Christmas or birthdays...
Wed, 10/30/2013 - 08:36
Hi Katie, I am having a difficult time finding fabric (hard to believe)! did you get yours online? How wide are the stripes? most fabric I am finding is not wide enough to cover the top and sides. Thanks for the help! Great build!
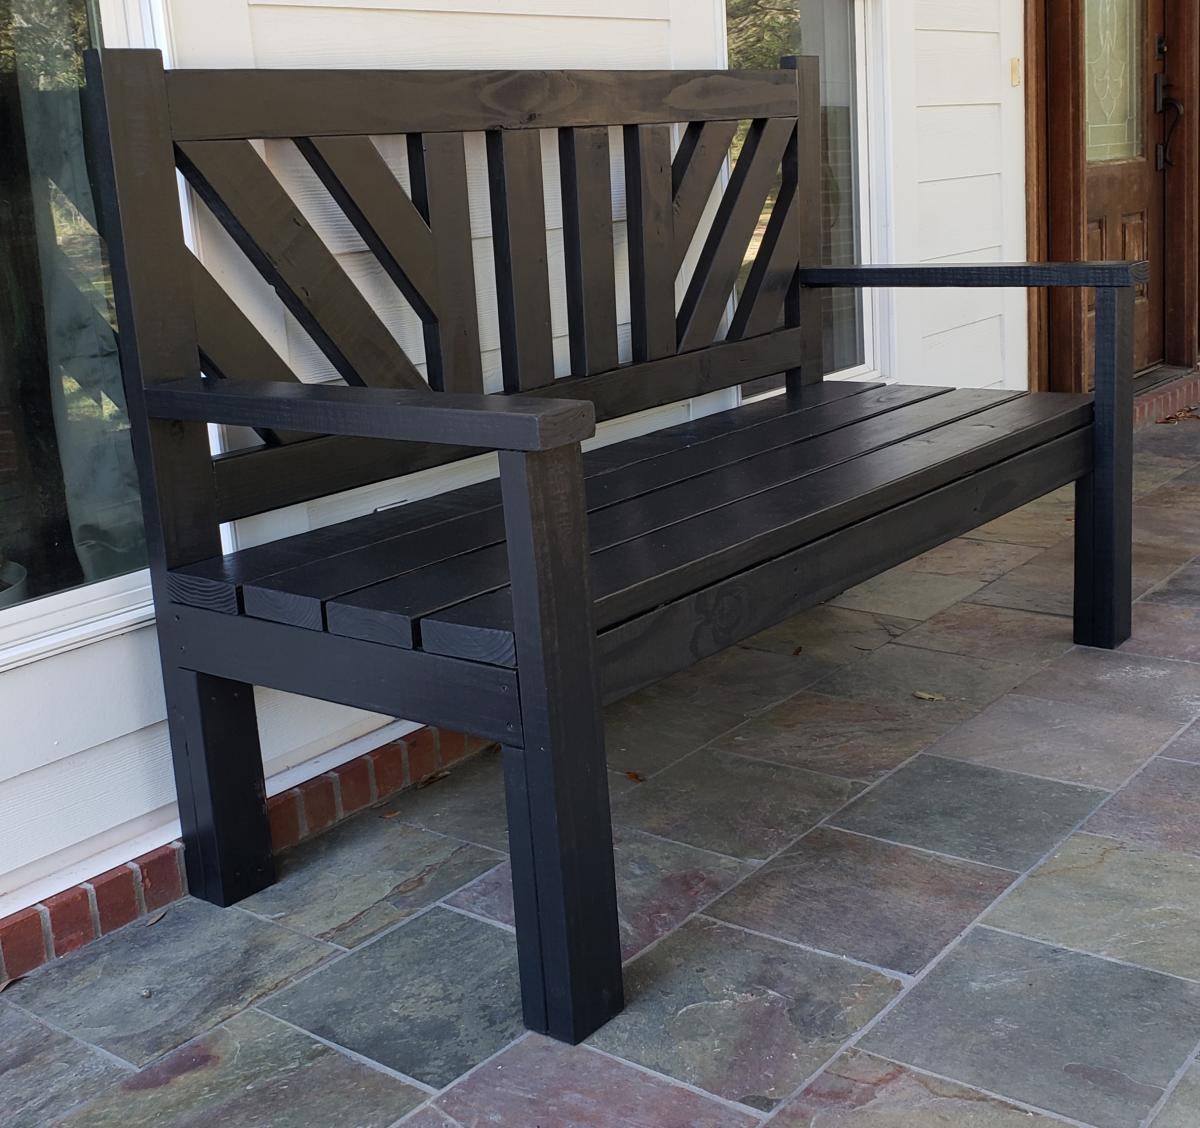
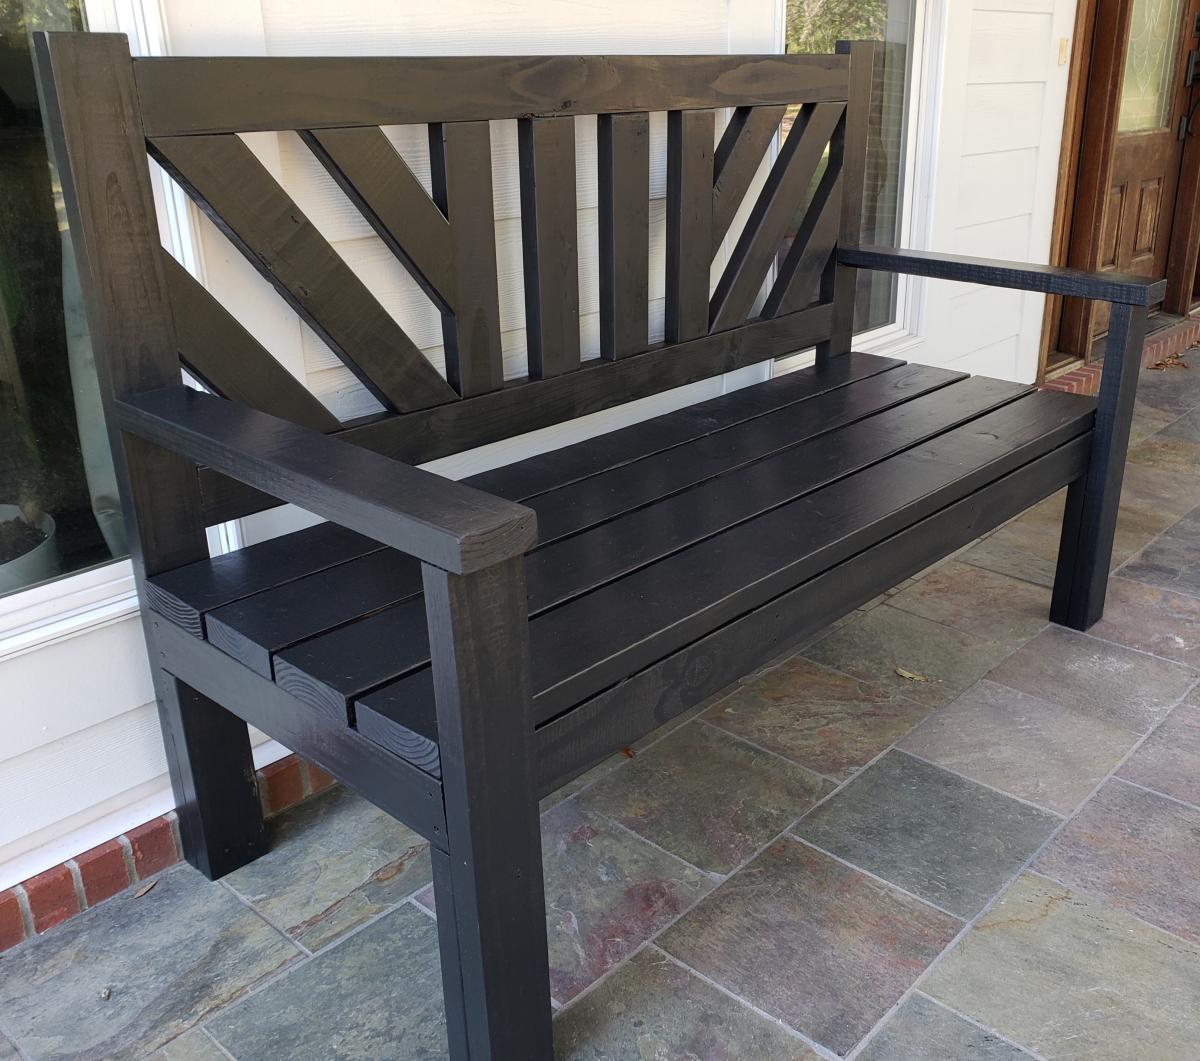
I used untreated pine for this project and painted with benjamin moore exterior paint.
I modified the back a little and I love how it turned out. I also added an extra brace against the back of each leg that fits under the seat for more support.
Very easy to build. I love the plan.
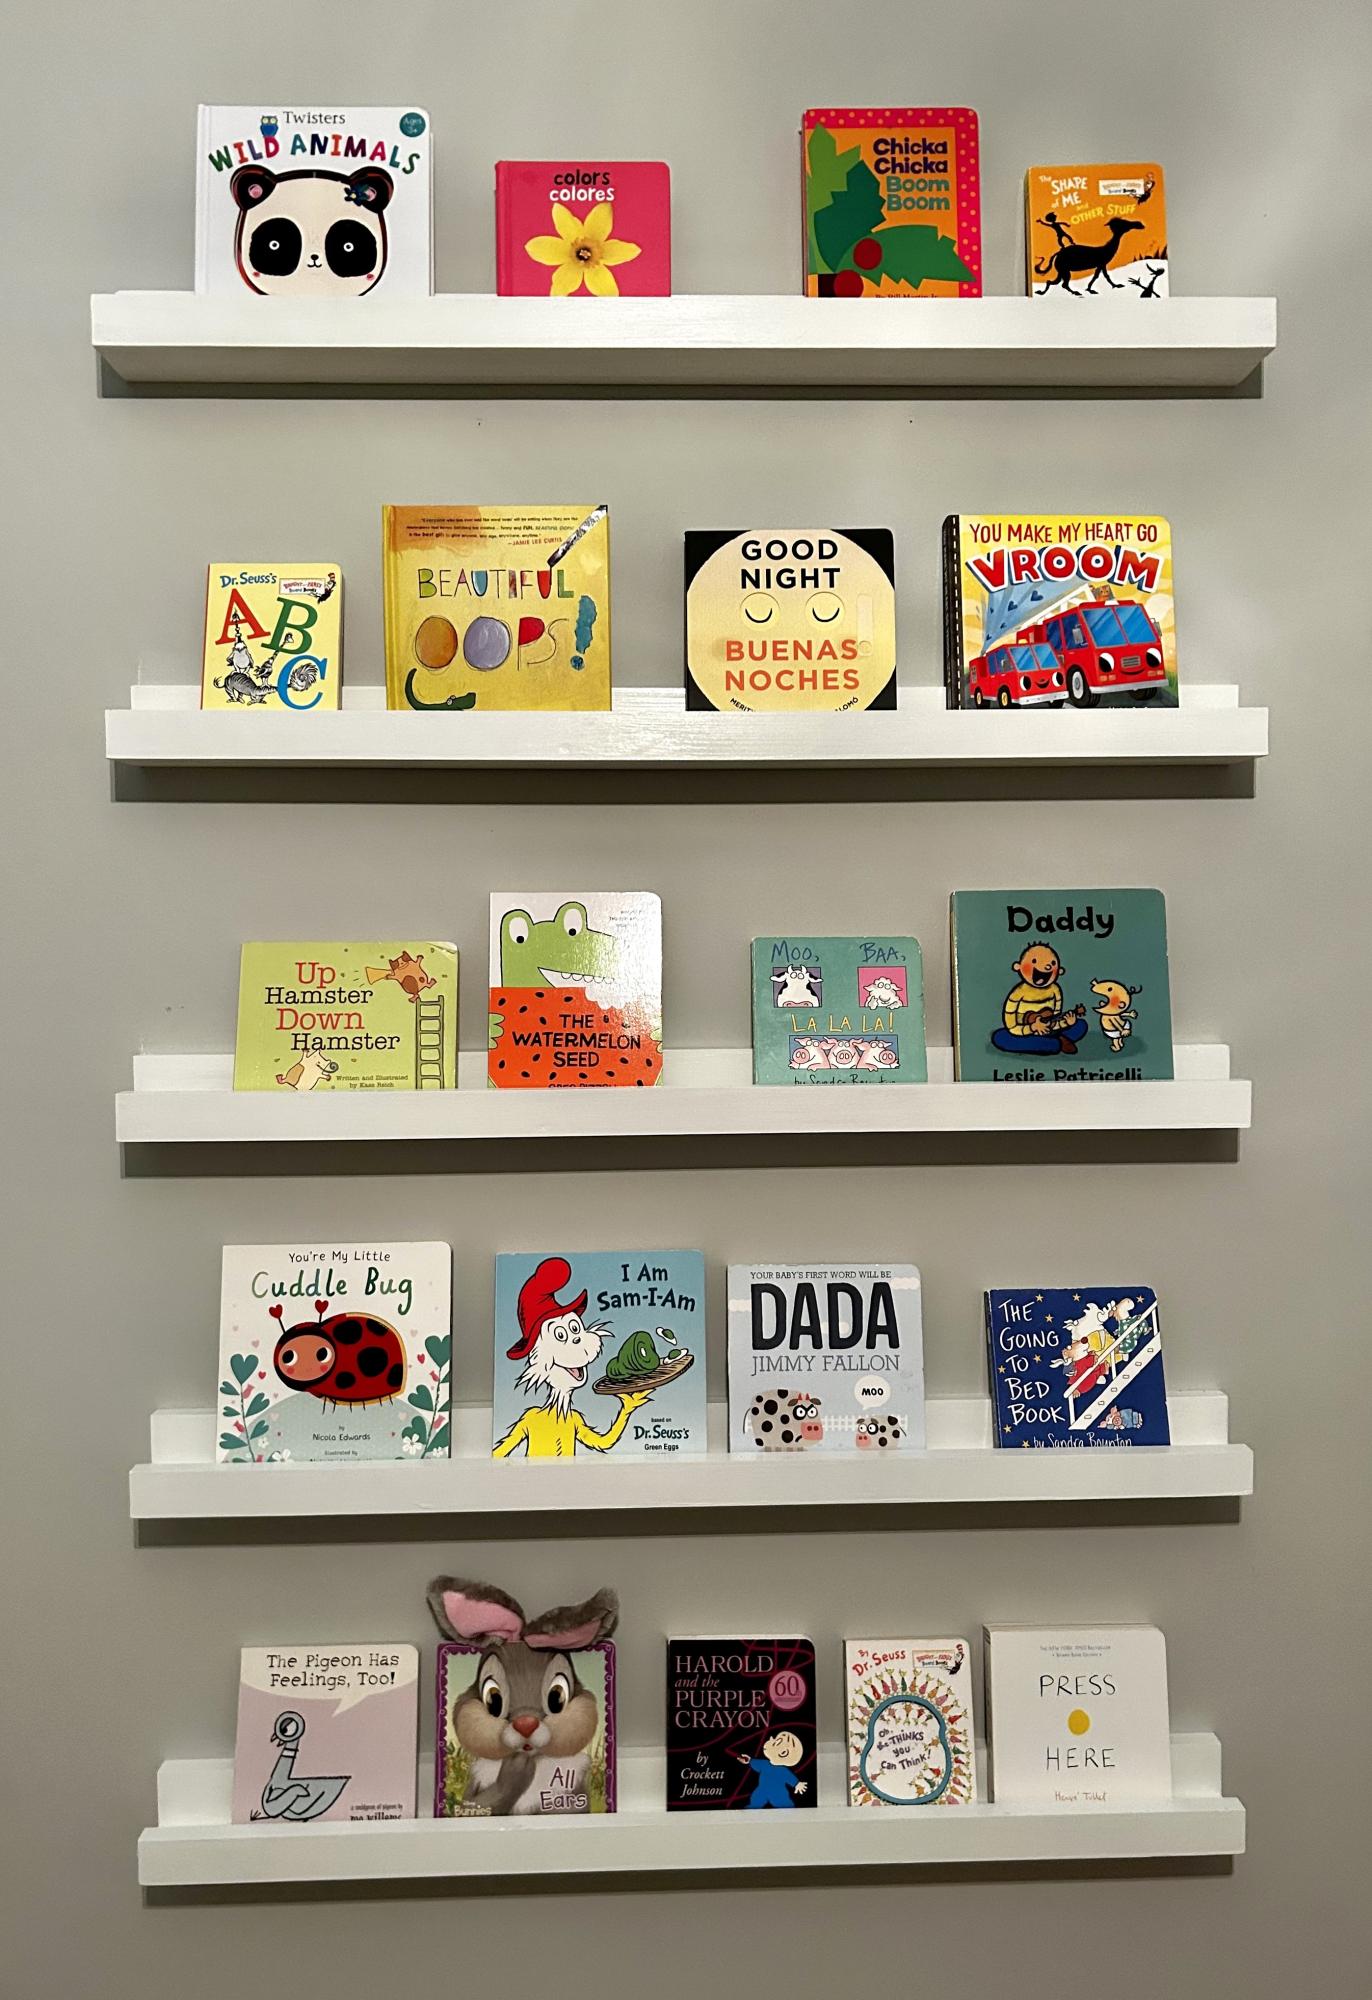
Nursery photo ledges. Shortened the shelf depth using a 1 x 2 instead of a 1 x 3.
Mon, 04/08/2024 - 01:07
I love the idea of book cornices for the nursery! Reducing the depth of the shelves is a smart modification that makes them more suitable for children's books. It is very important to customize the furniture so that it perfectly suits your needs. Using 1 x 2 instead of 1 x 3 will give you a more customized solution. Books are a storehouse of knowledge! Speaking of knowledge, for students looking to adapt their learning process, platforms like Edubirdie https://essays.edubirdie.com/assignment-help offer reliable assignment help services. Edubirdie can help you tailor your academic assignments to your specific requirements. It's all about finding the right option for your needs, whether it's organizing children's books or tackling academic assignments. Great job on the customization!

Mon, 05/06/2024 - 14:40
A very cool ledges for books, especially useful for those who like to read like me. Moreover, I dream of writing a book myself. For this I must develop strong writing skills, often refined through literature review tasks. Yet, these assignments very complex for me. I prefer turning to professionals https://literaturereviewwritingservice.com/ for help. It provides students with the help needed to succeed in crafting compelling writing papers.
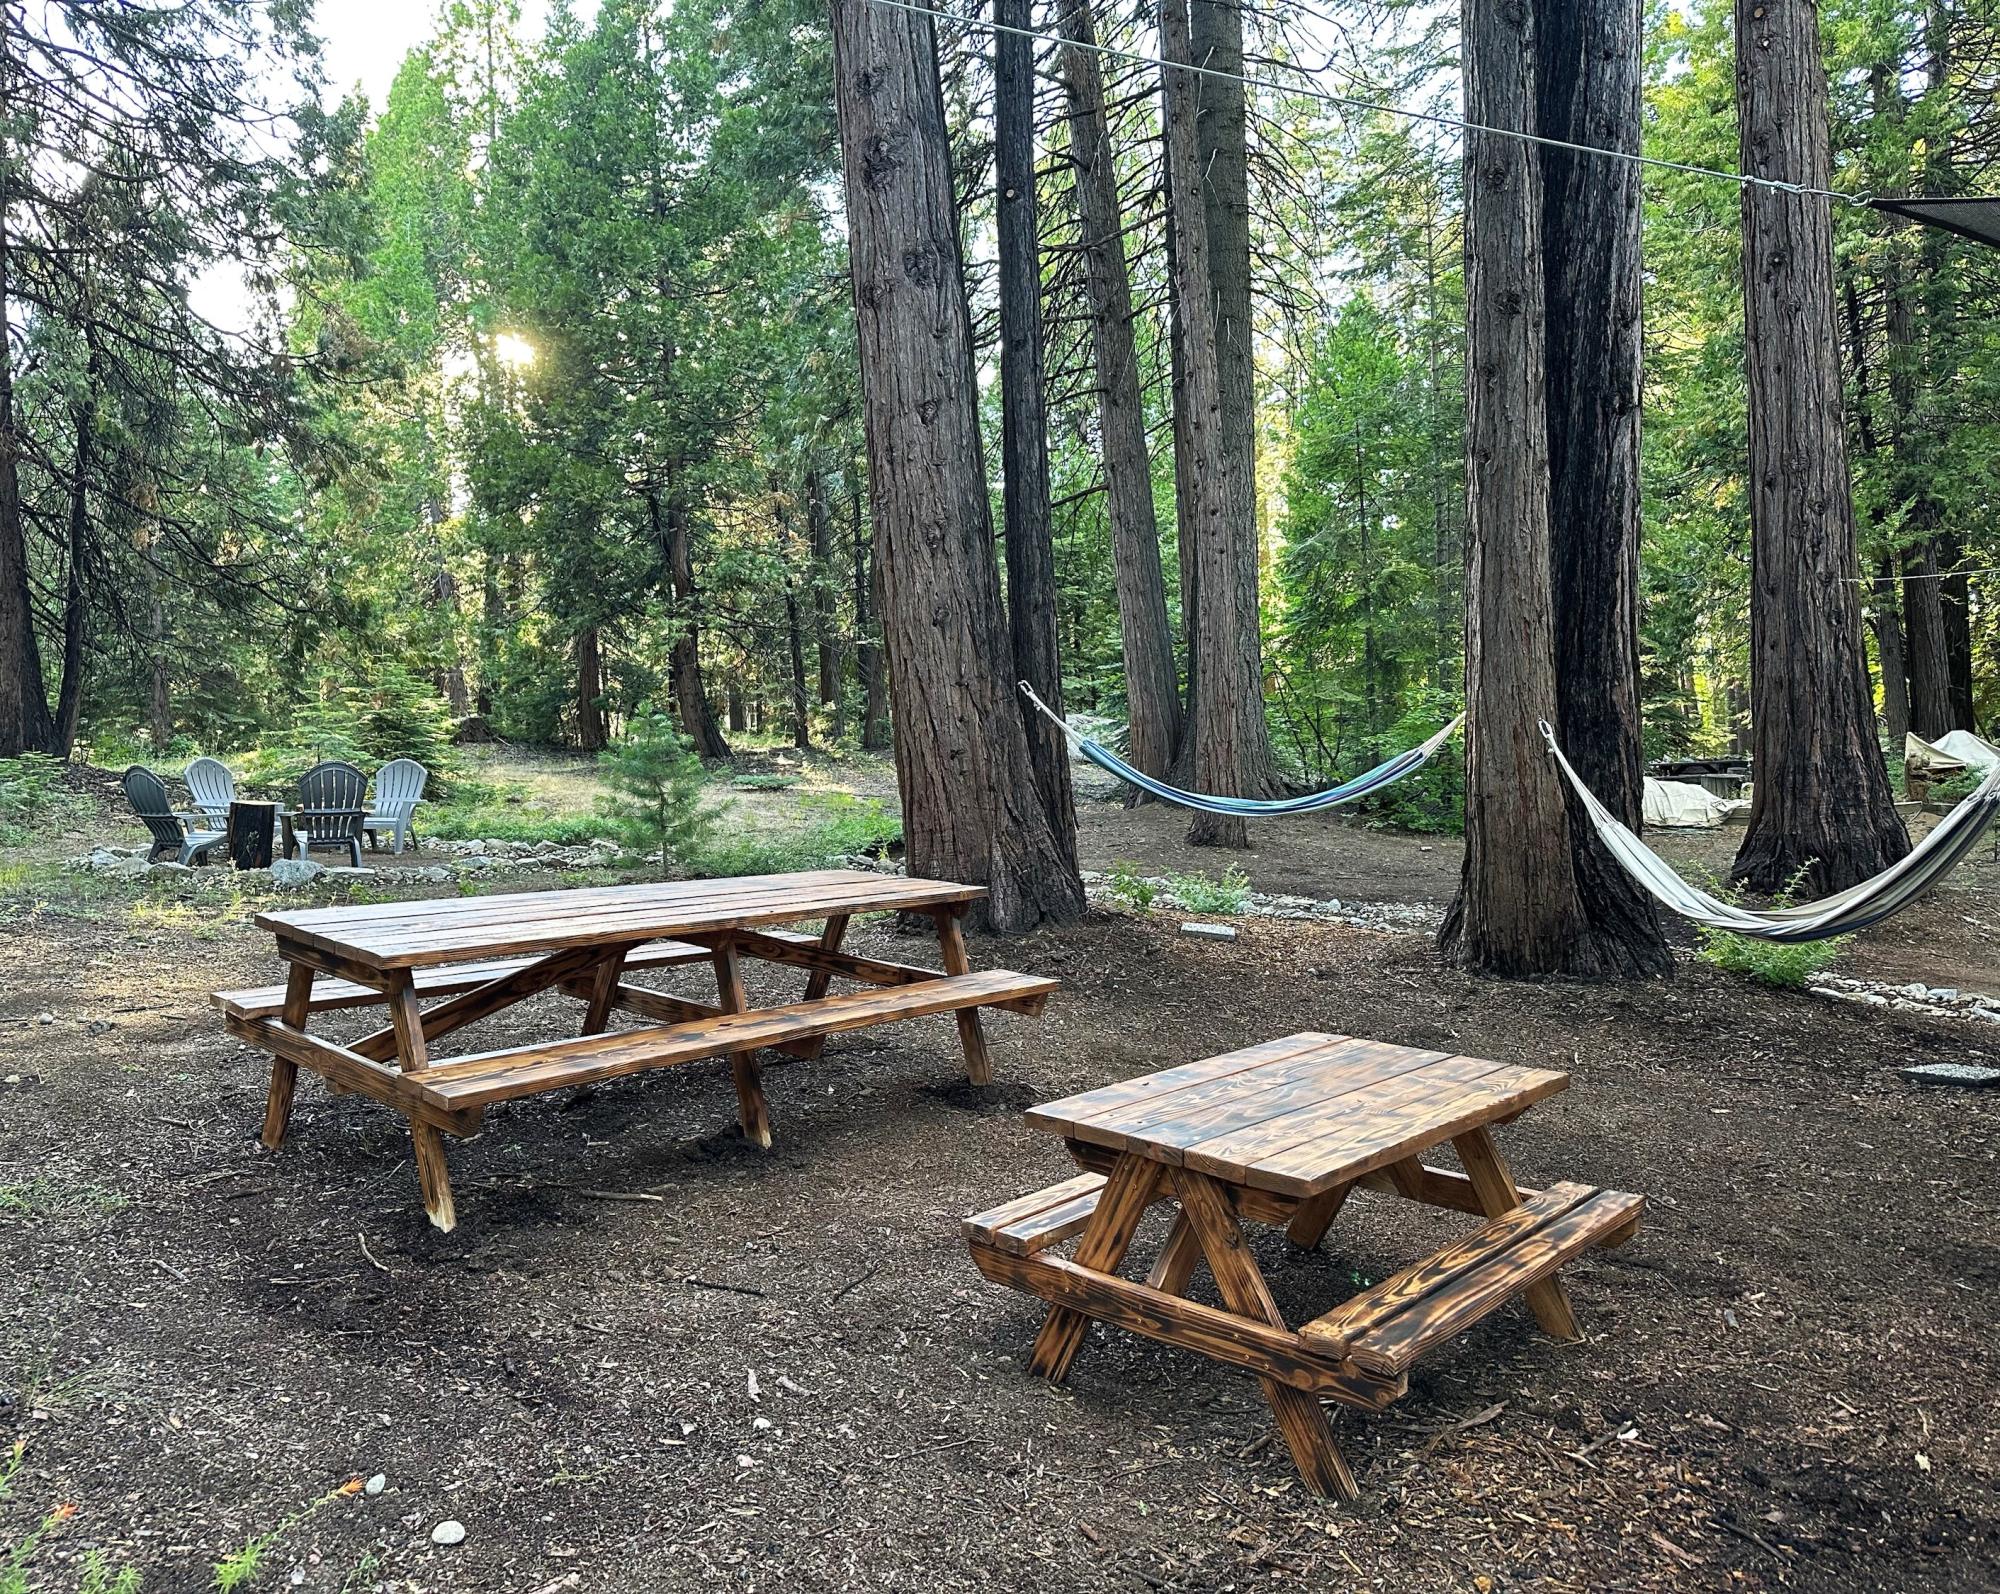
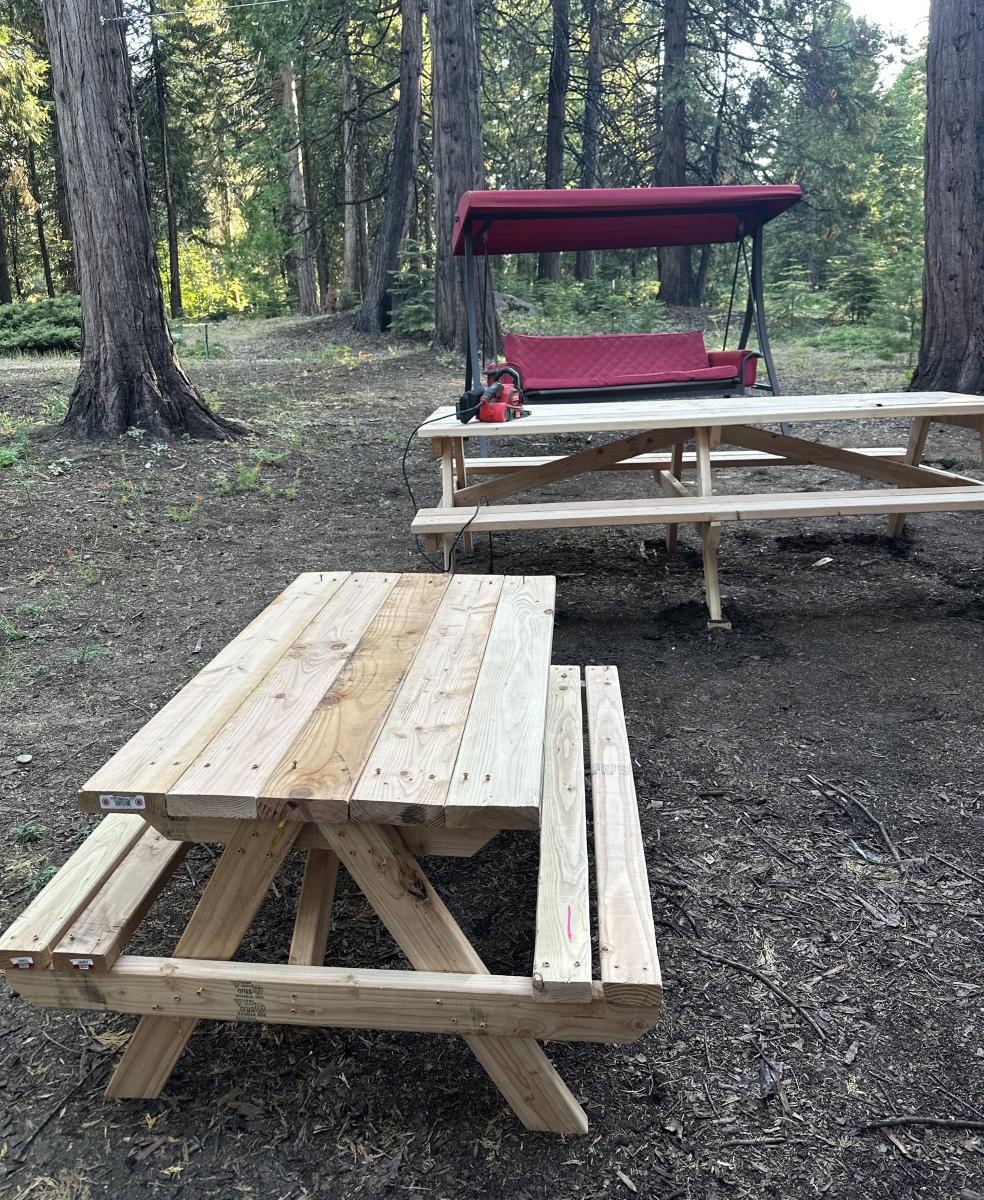
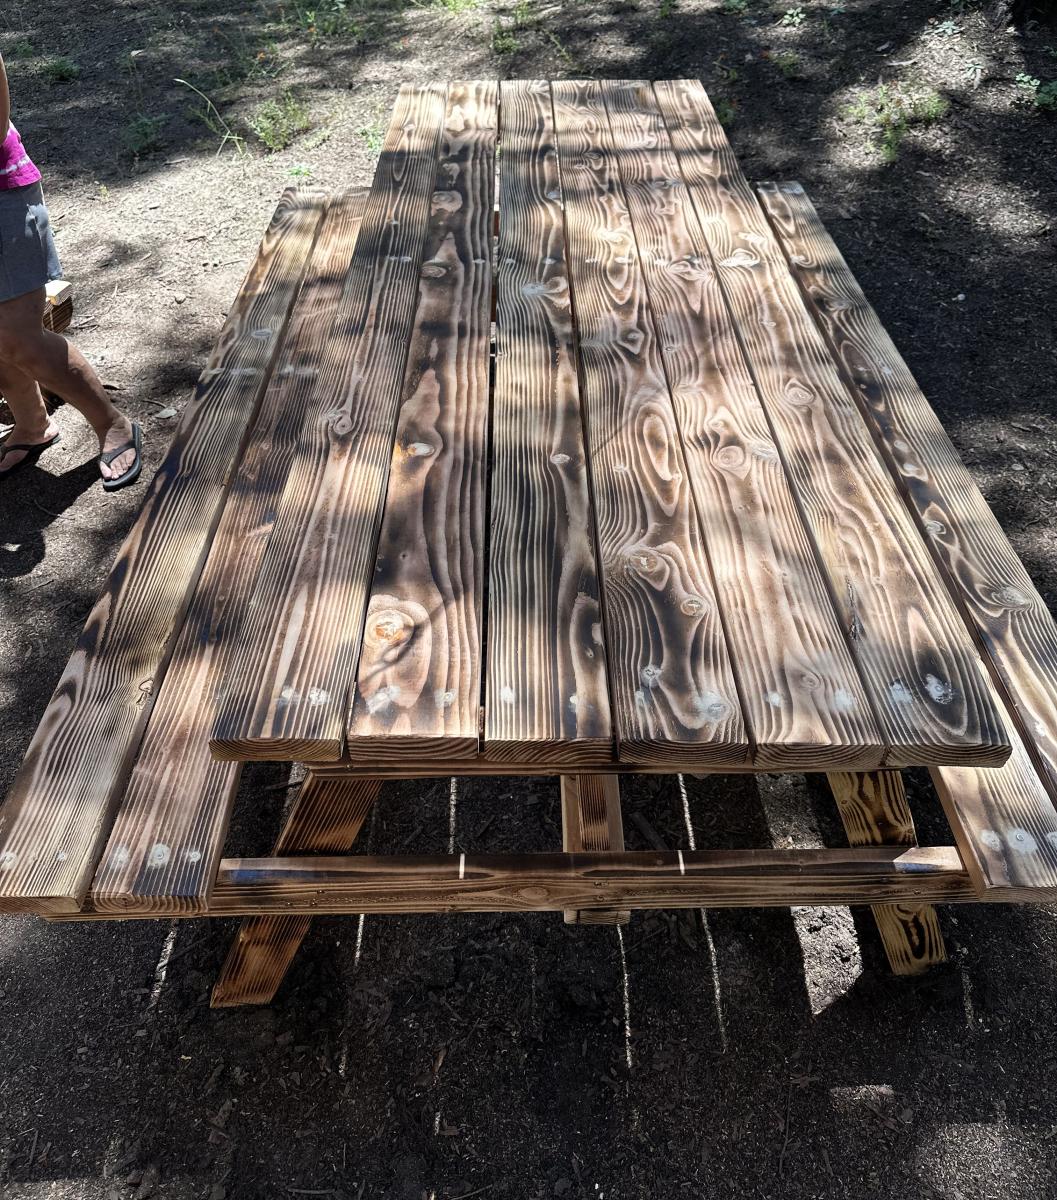
We have an Airbnb at a nearby lake. We built the large and kids picnic tables so our guests can enjoy the outdoors!!
Elaine Freitas
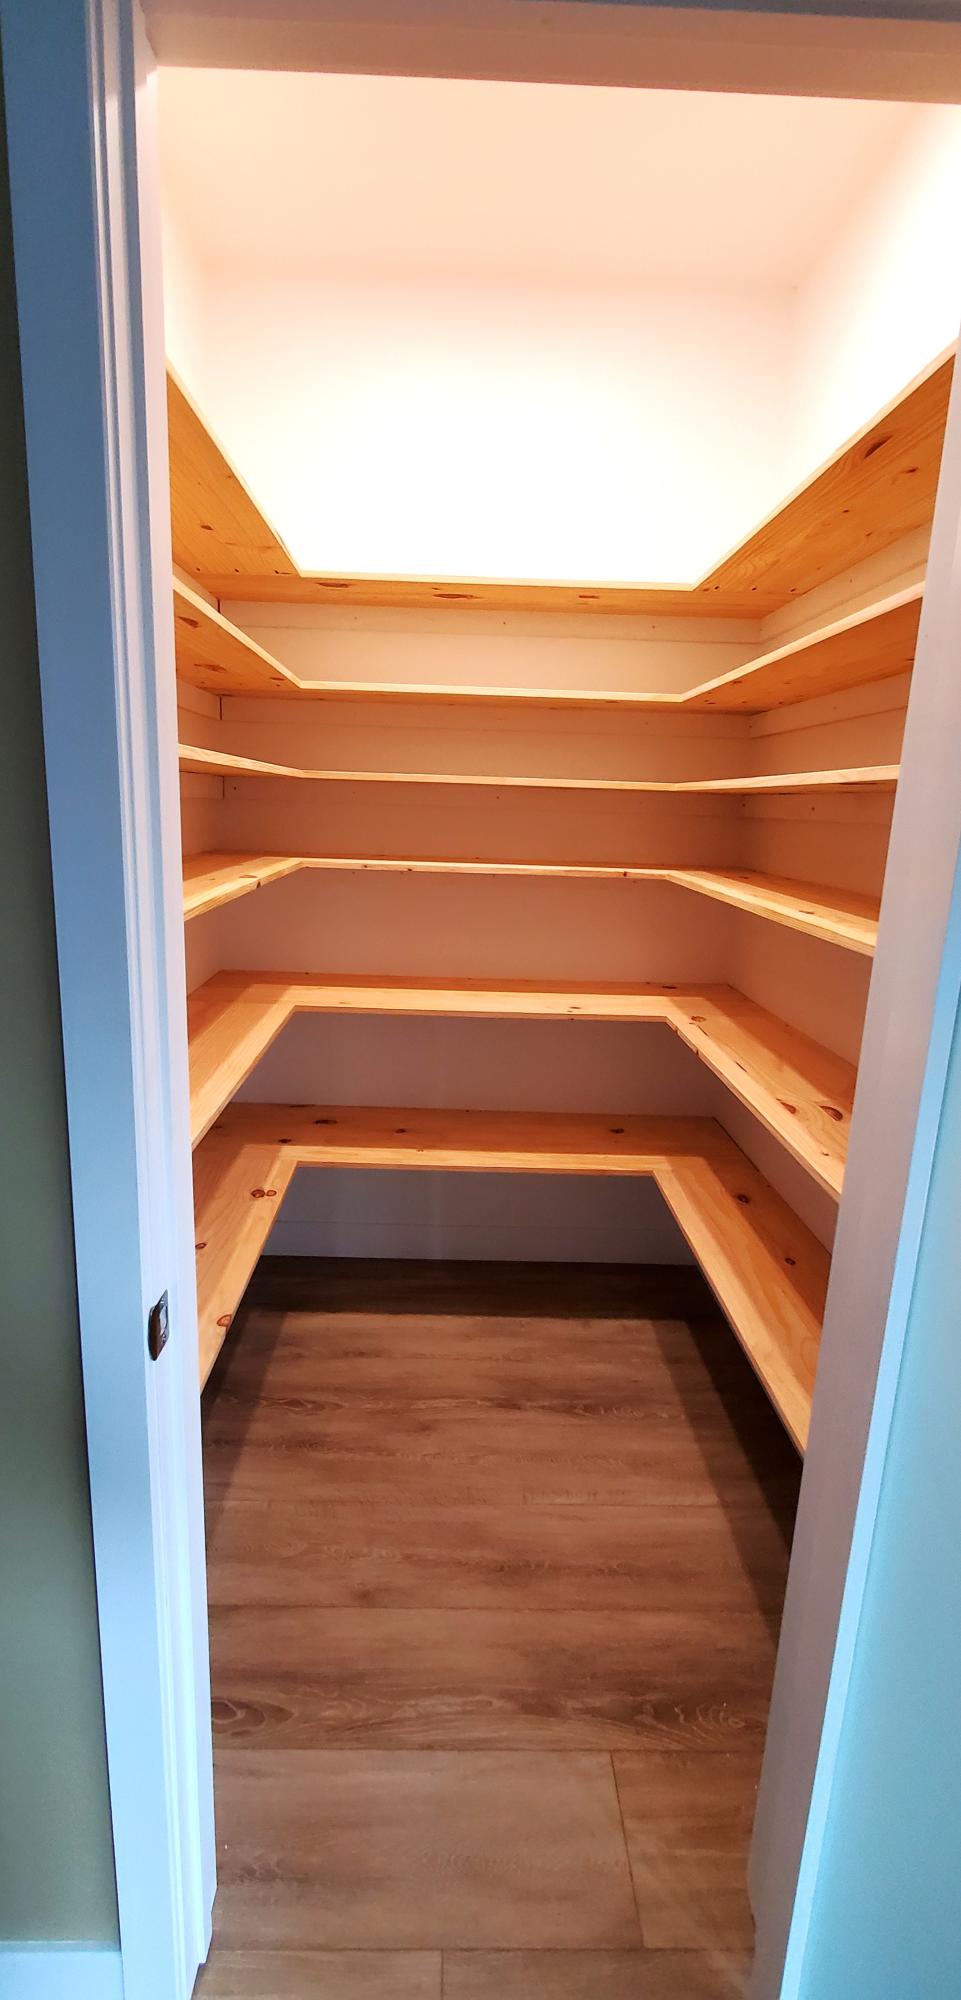
Built in 5ft x 5ft pantry using pine panels as they were available in the widths we needed. Inspired by your pantry build video, thank you.
Rob Worsnop
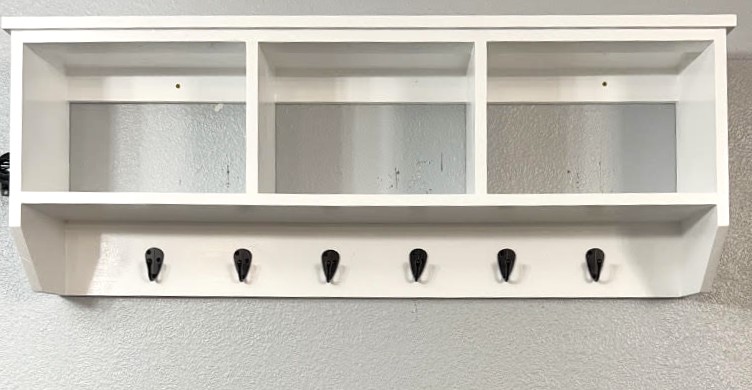
I made this shelf with hooks a few days ago. Modified the overall length.
Zenski Farm
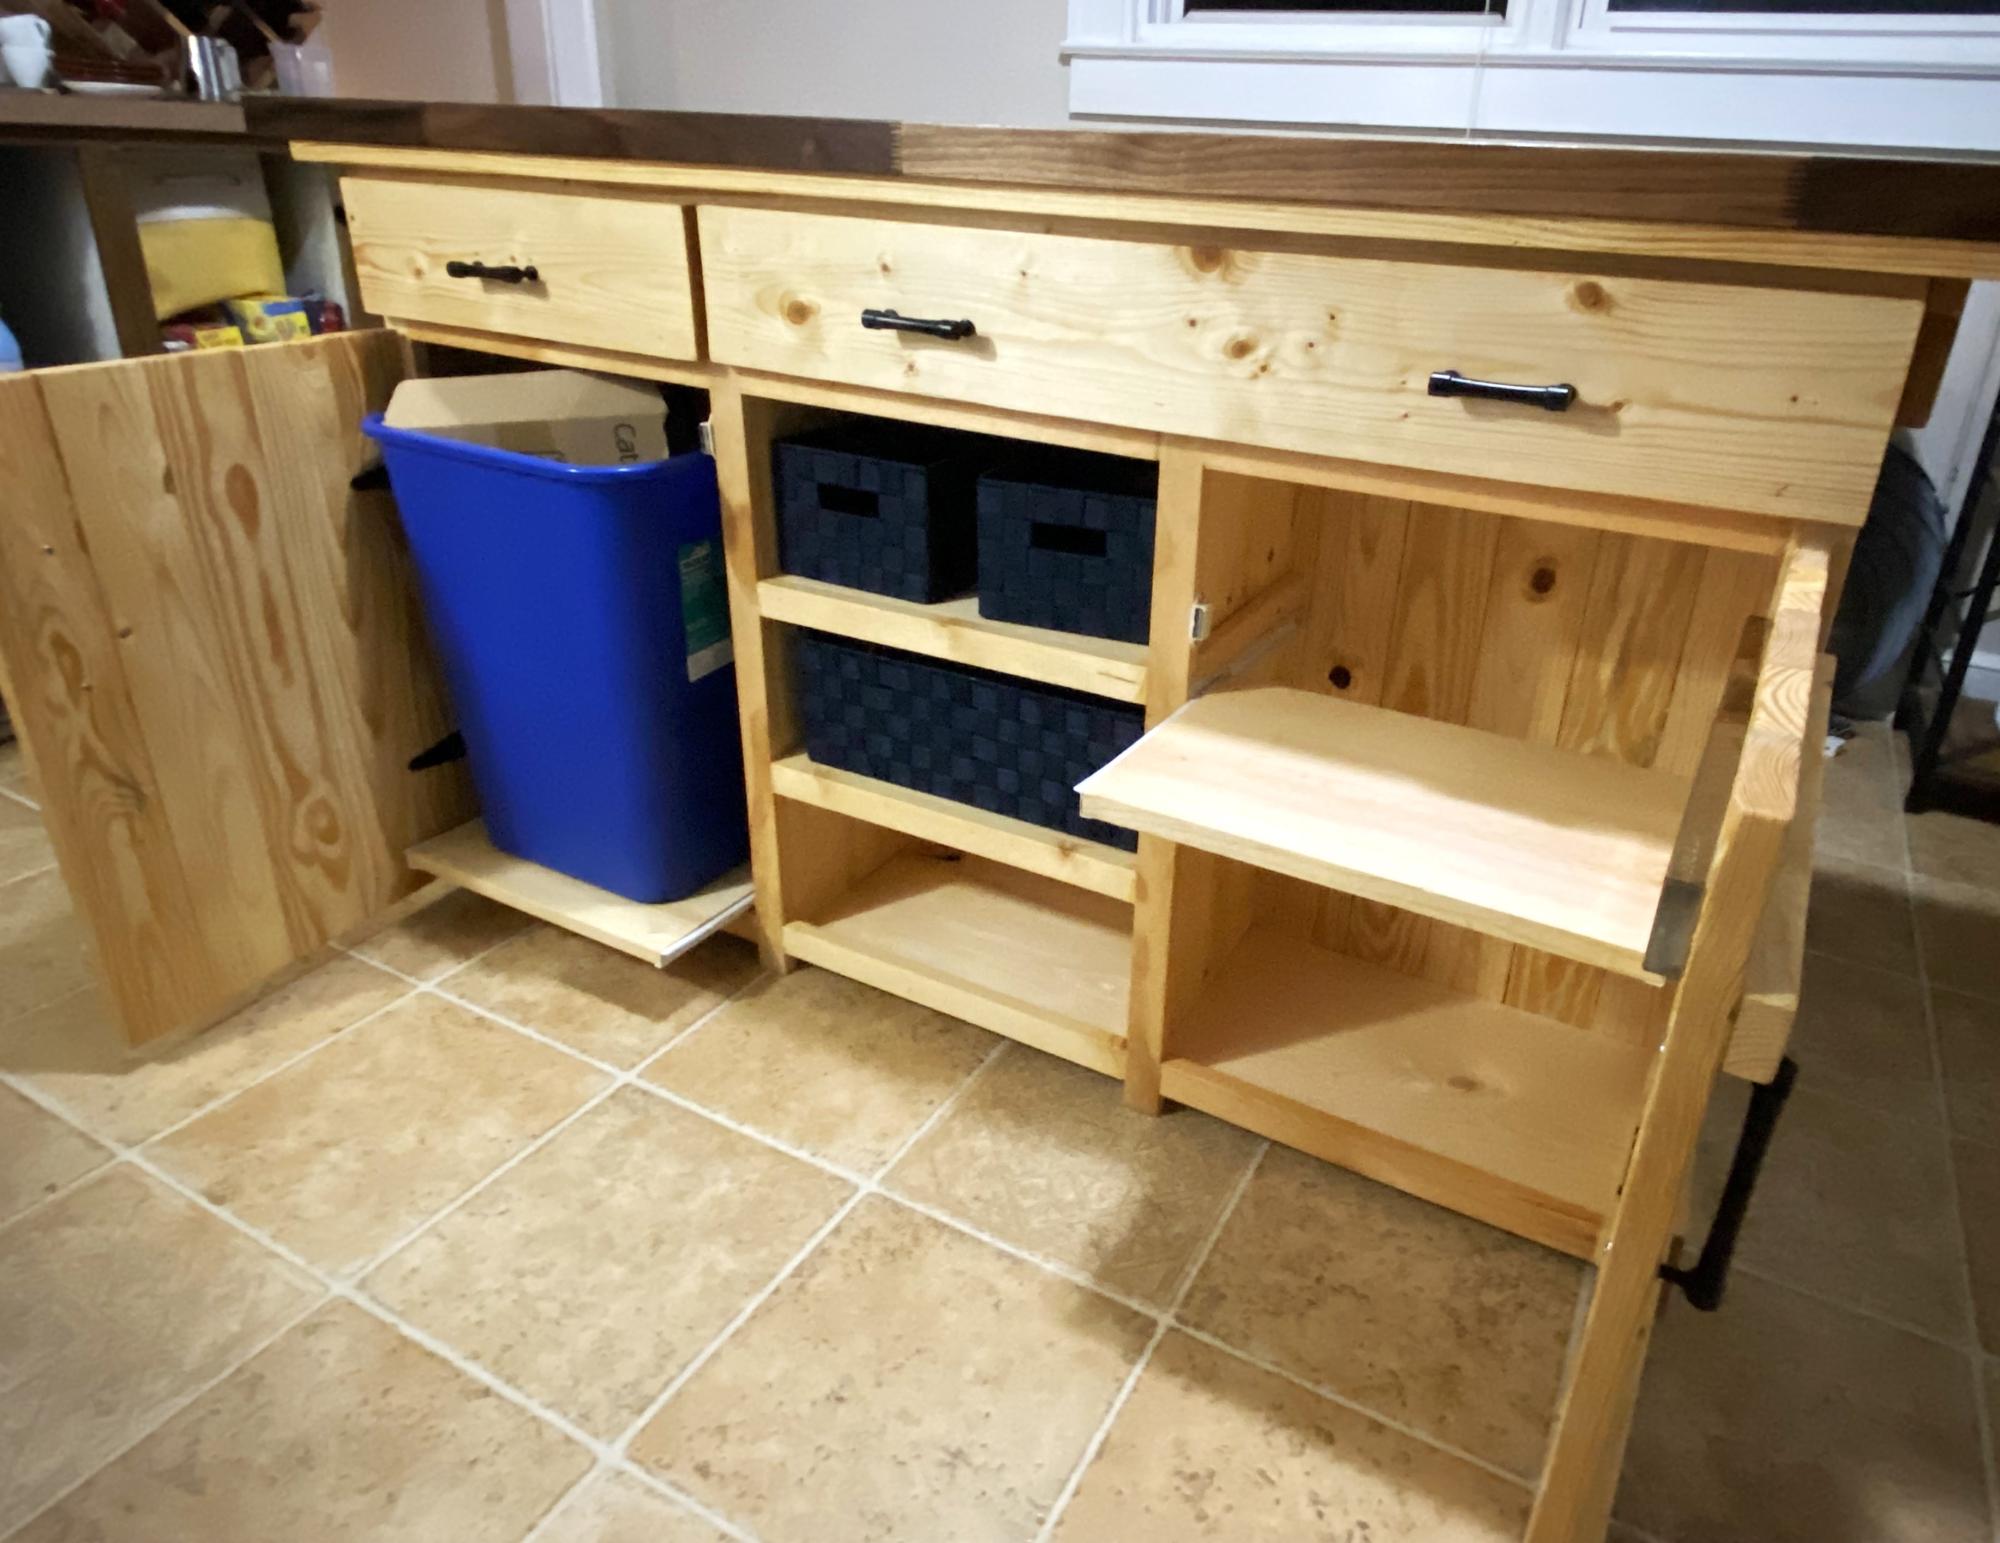
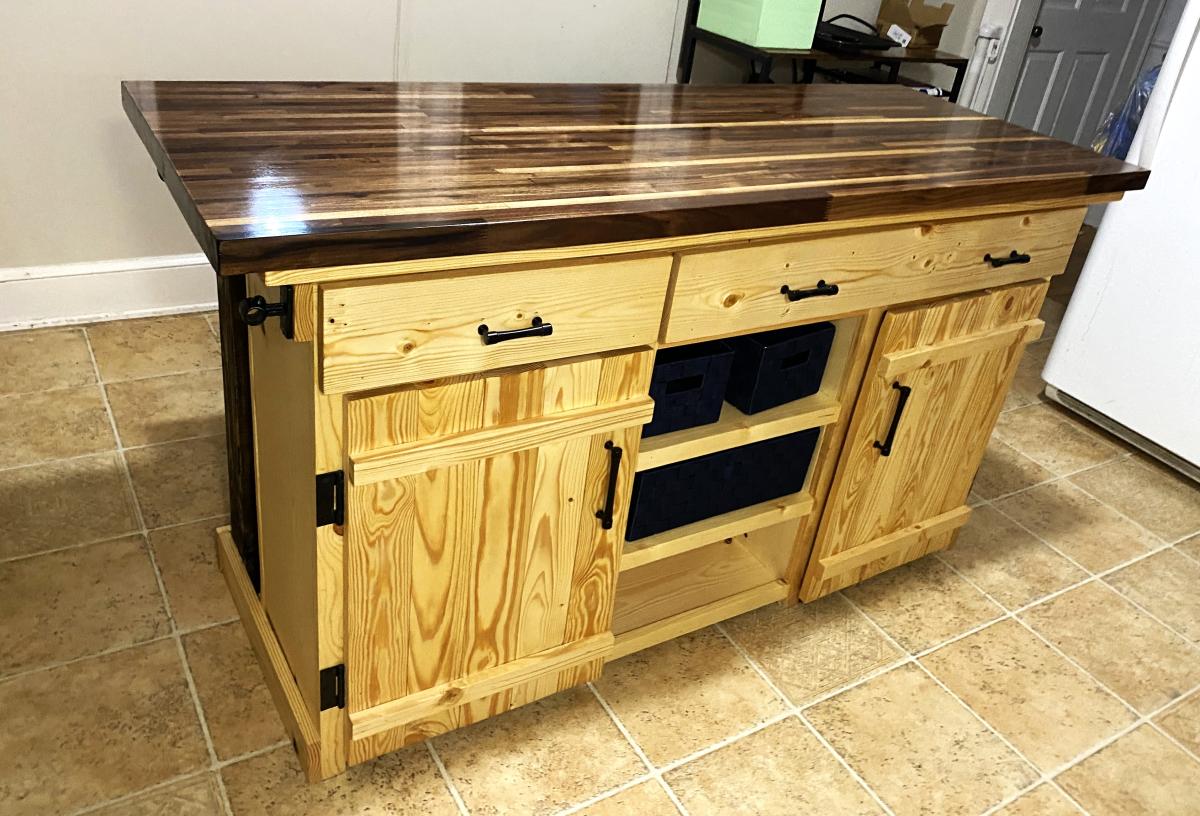
This was a labor of love for my son’s Christmas gift. He wants to be a chef and all he has wanted was an island in our kitchen. Thanks Ana for such an amazing and simple (enough) plan.
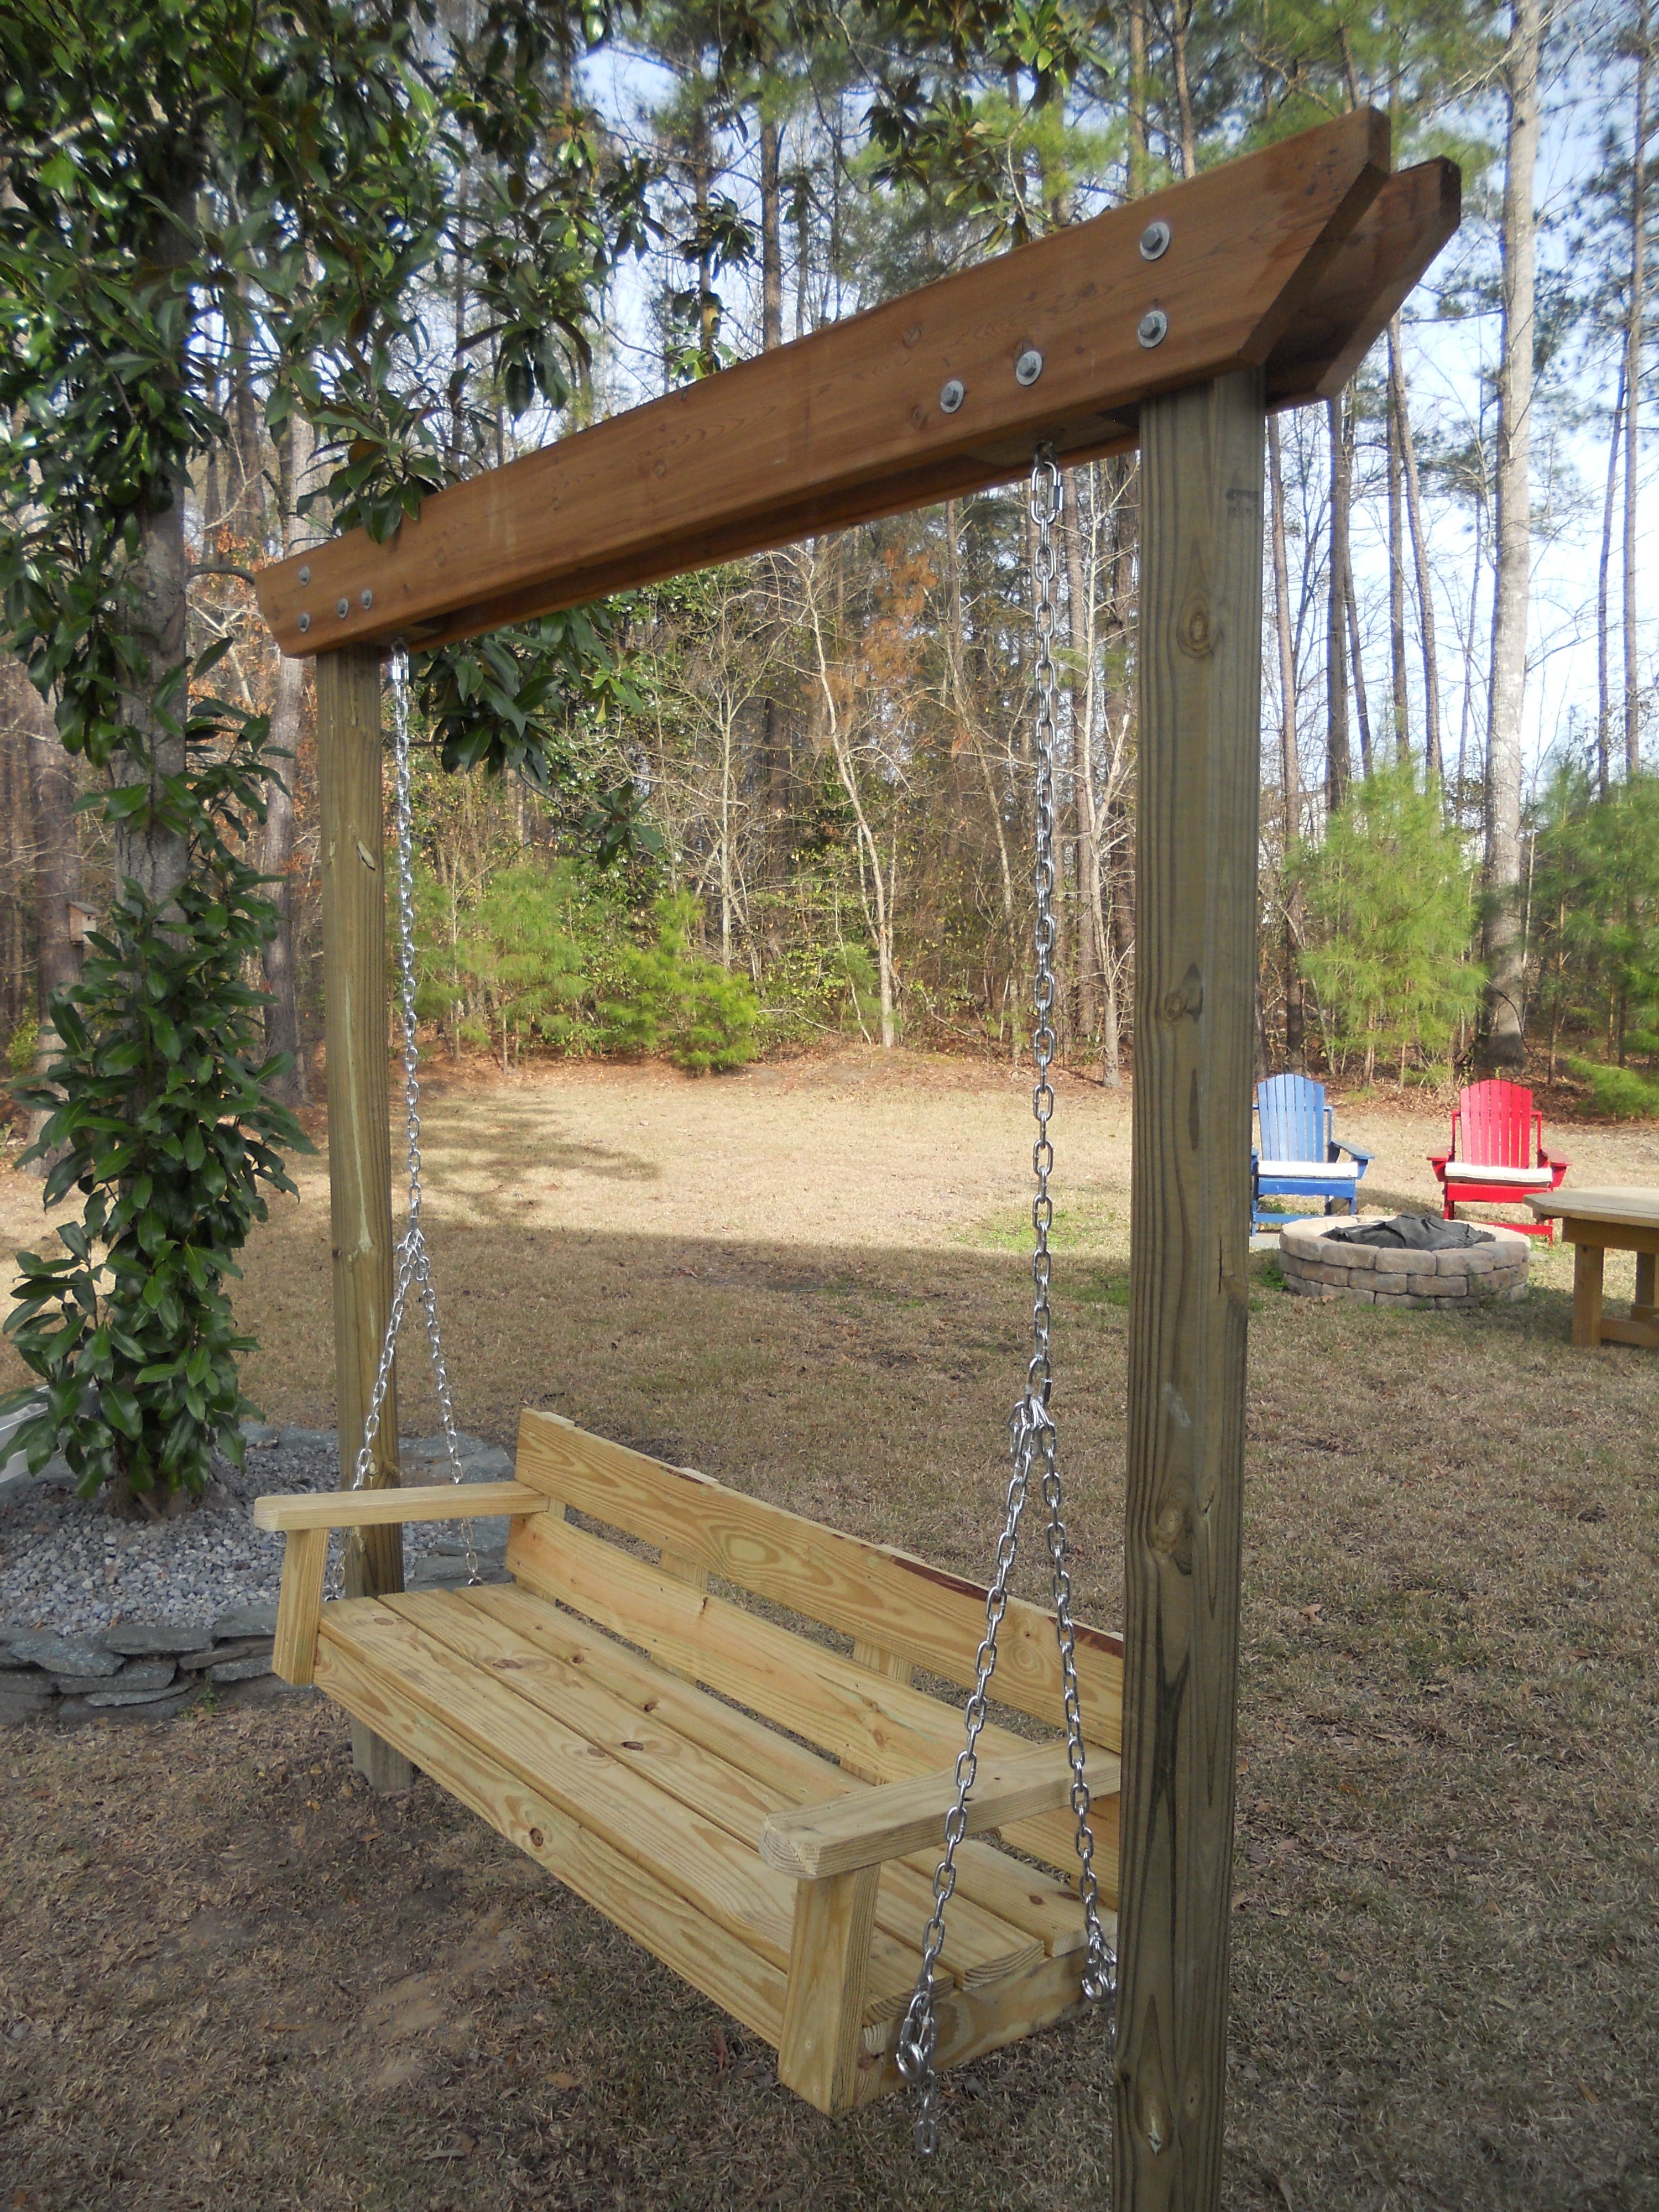
Luv your site. Took your bench swing plan and modified it a bit (shortened depth) and then created a small pergola to hang it from. Just need to stain/poly to finish it off. Thanks for your plan and website it is very inspiring.

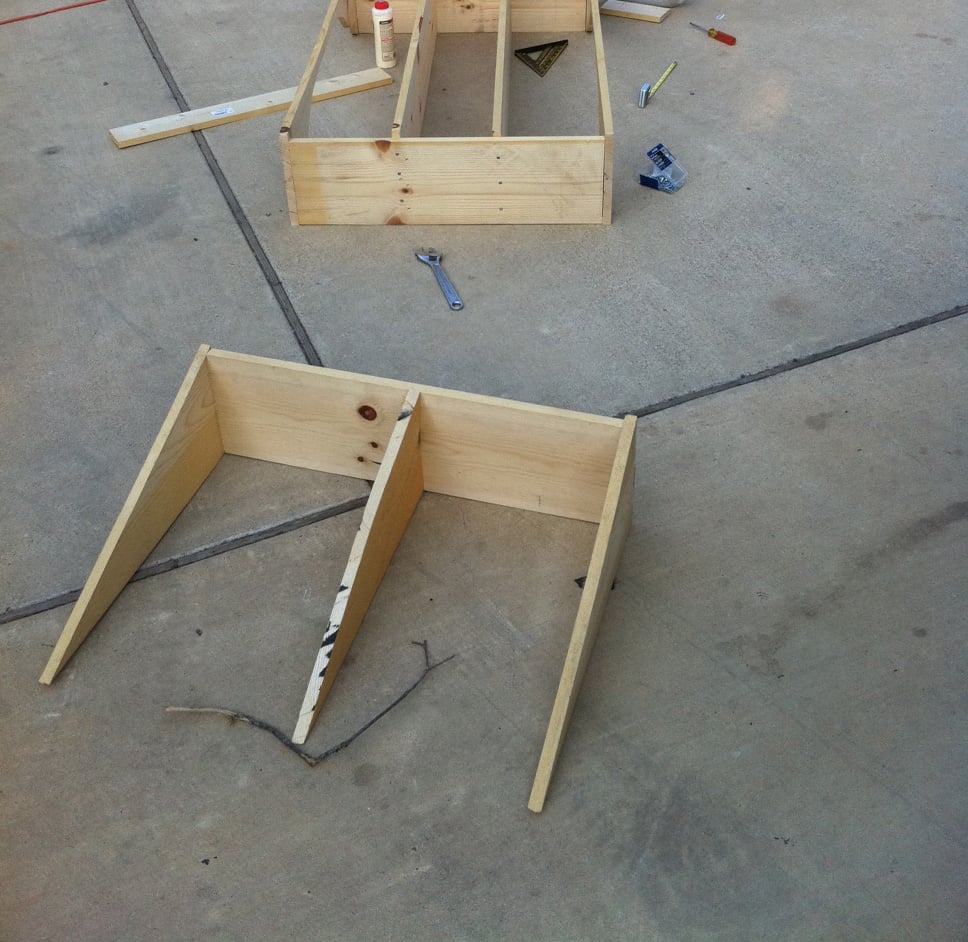
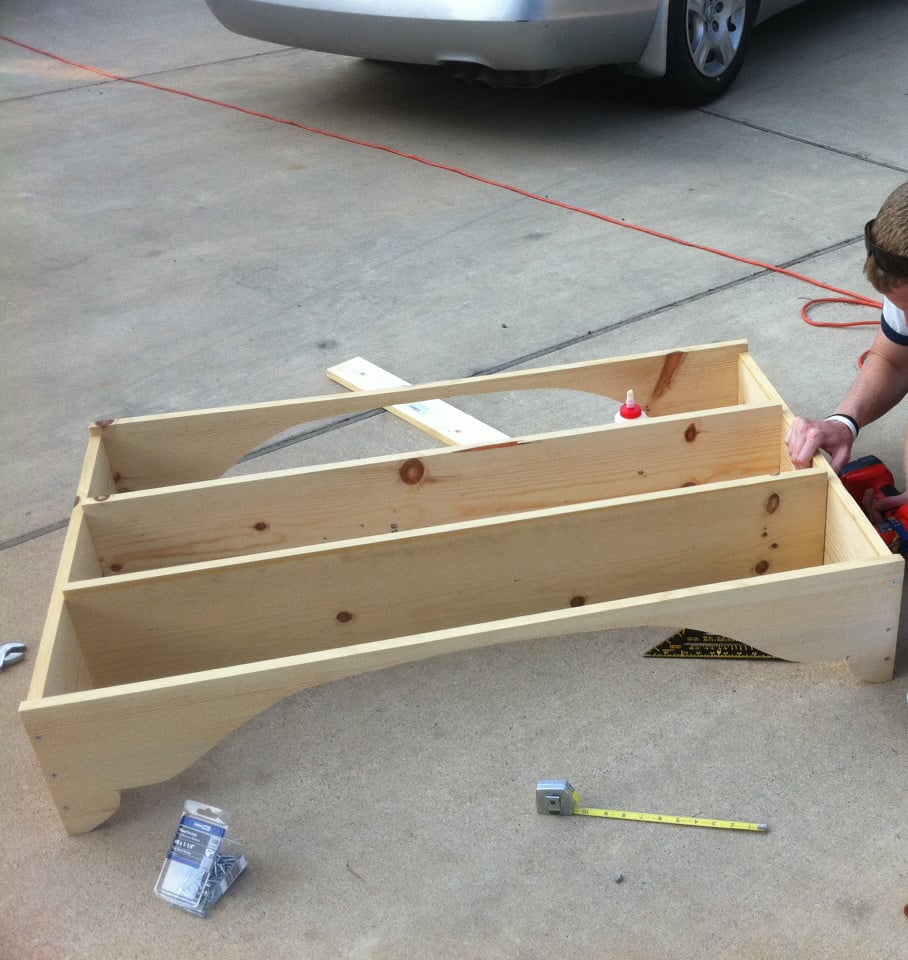
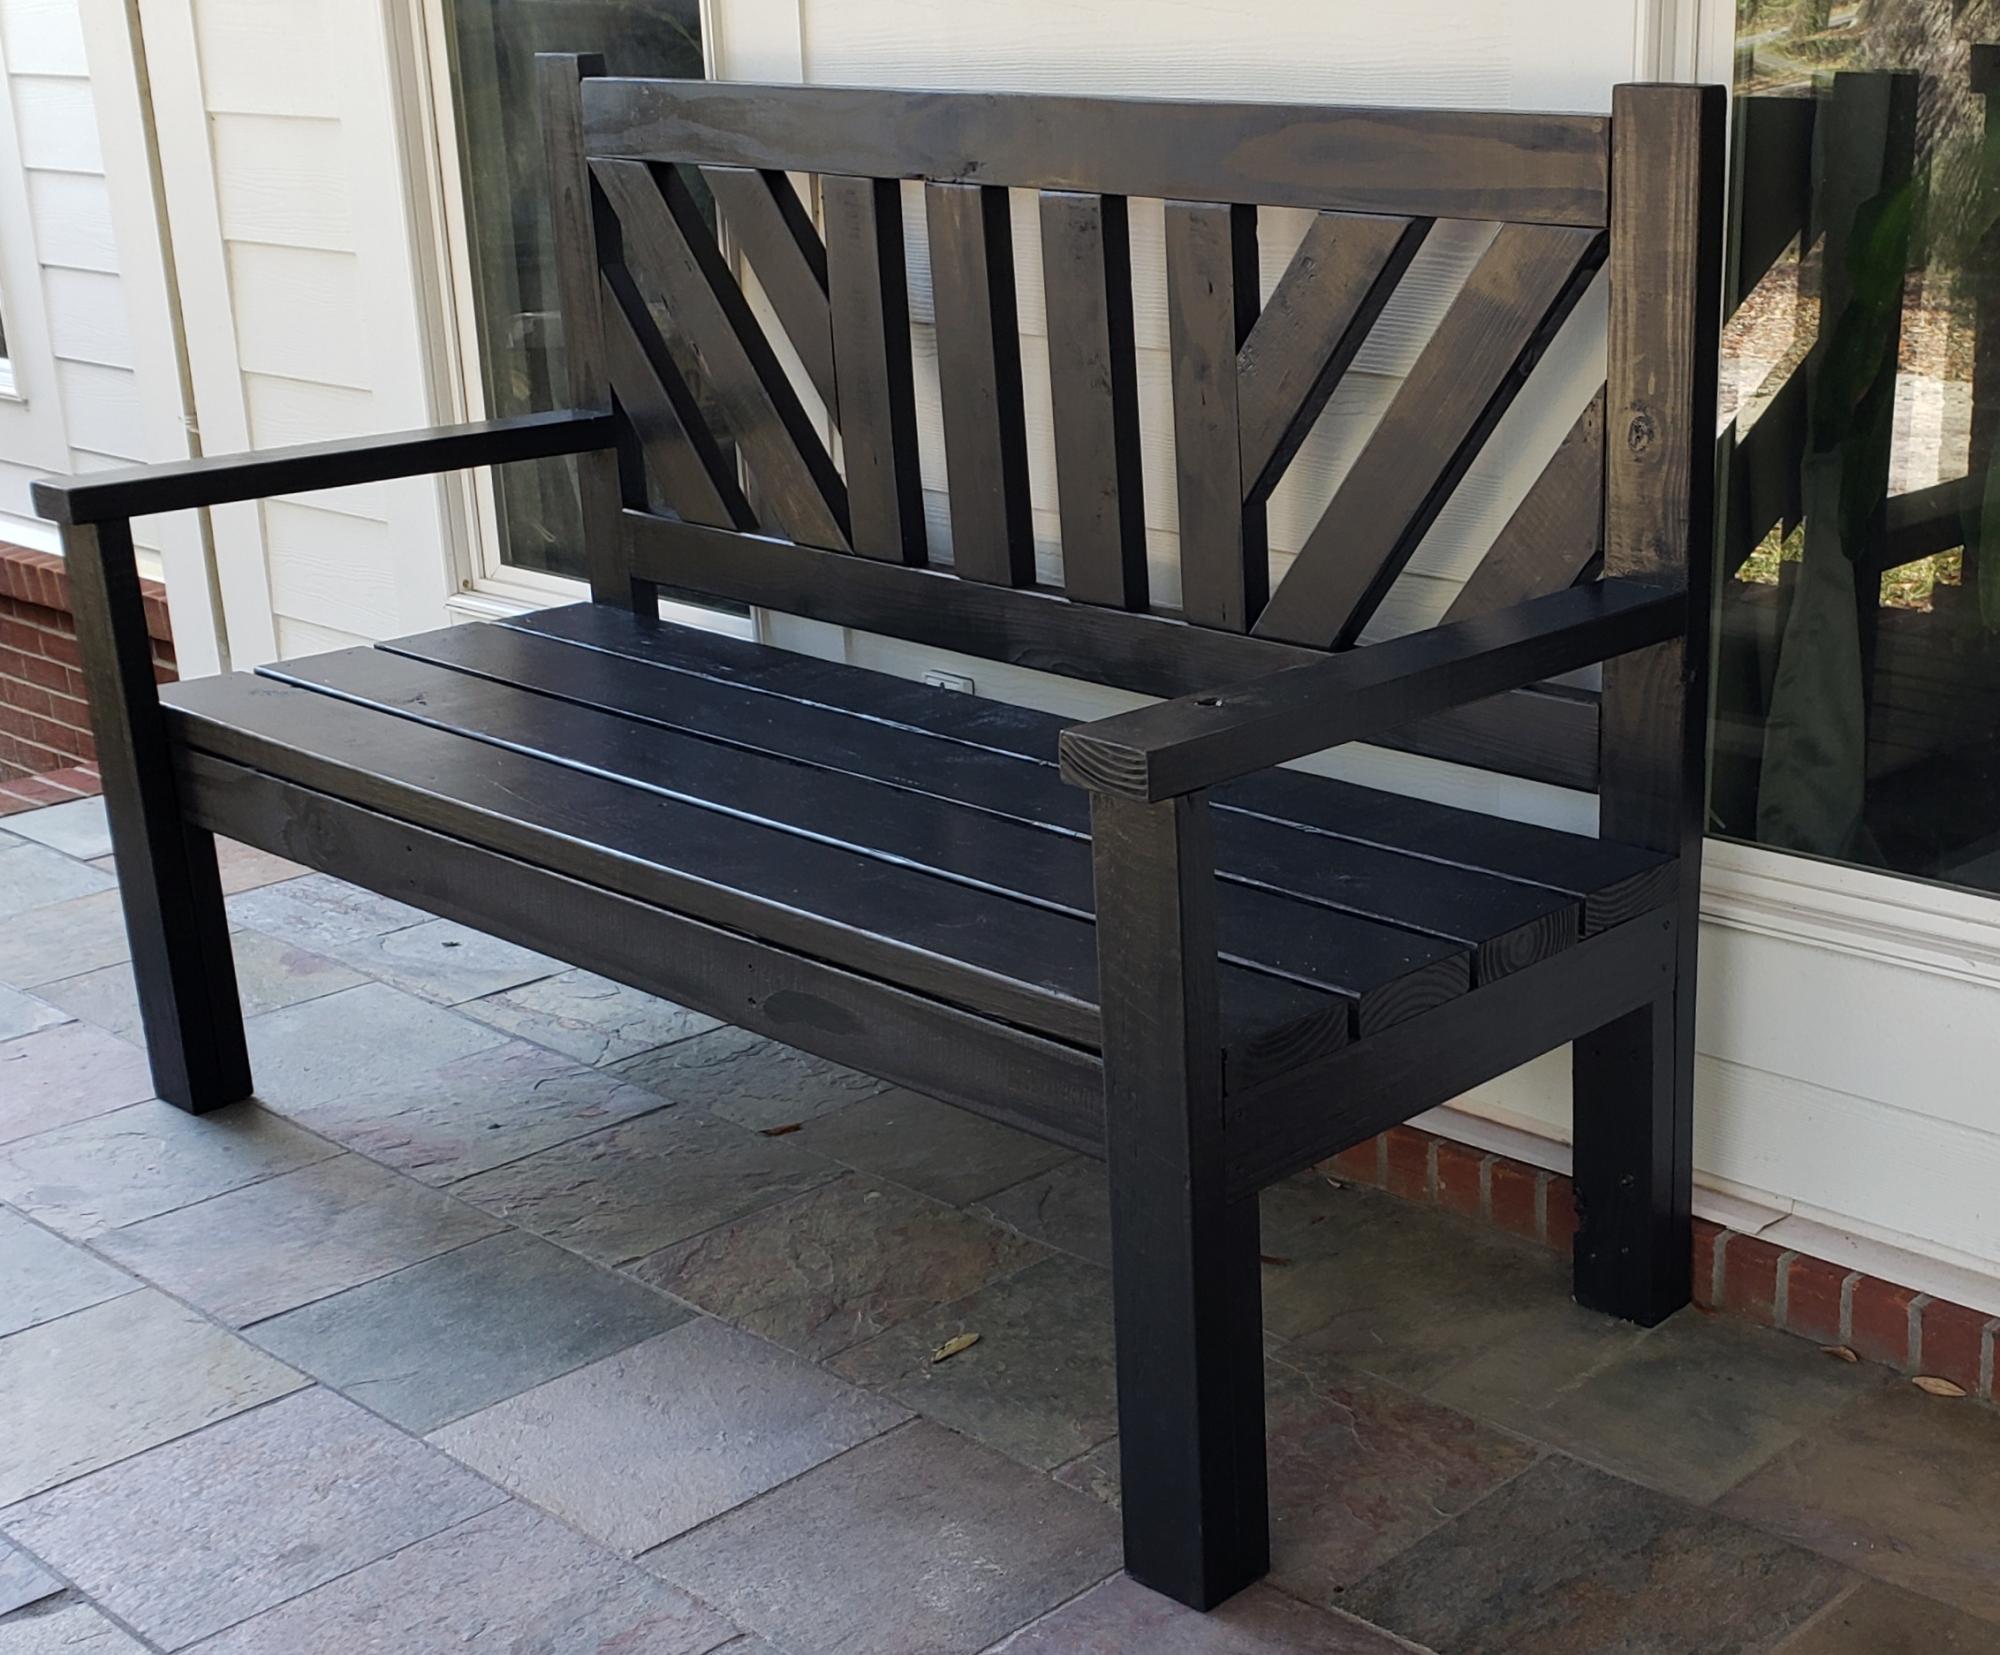
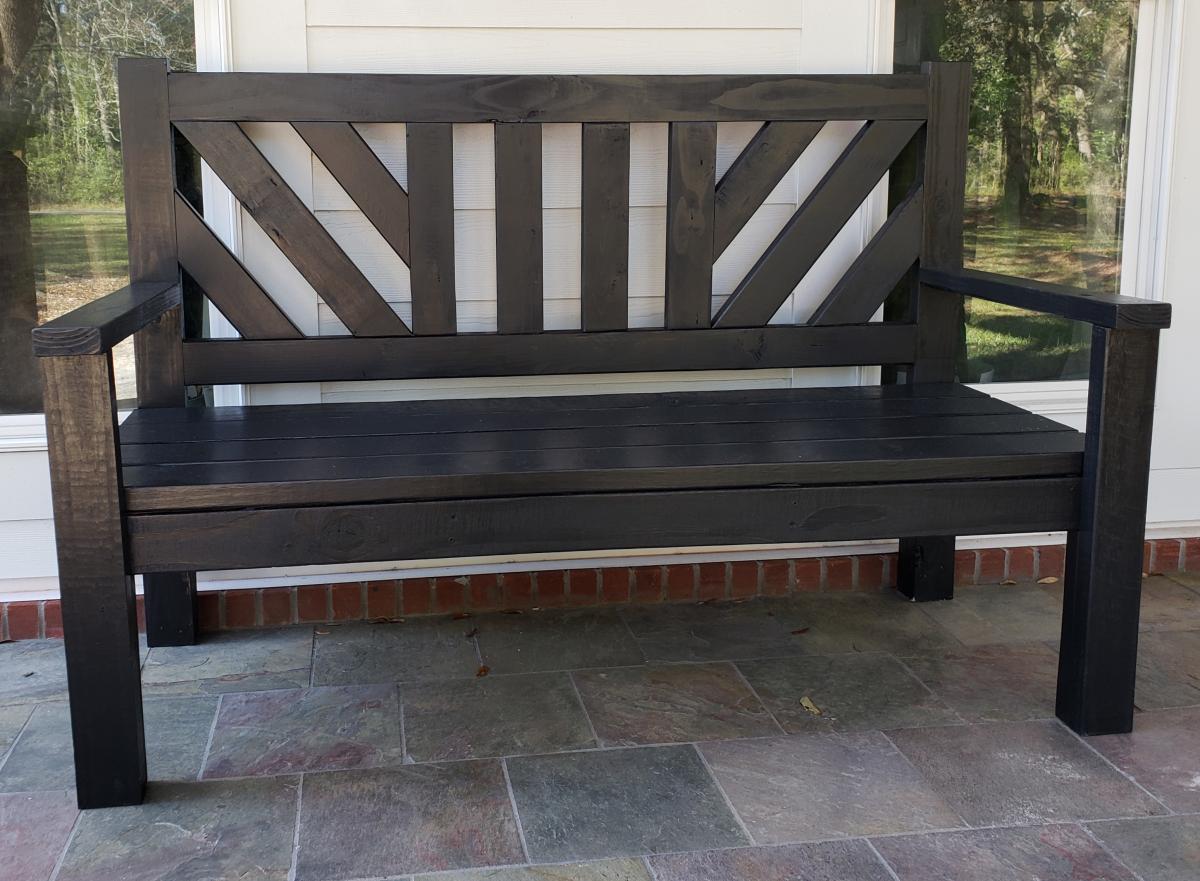
I built this for my wife for an anniversary present. She had wanted a garden bench for some time but the ones that she wanted were between $500-$700 which is ridiculous for this type of bench. So, I did a search on here for garden benches but there weren't really any plans for them and the few brag plans were not really the type of bench I was looking for. I printed off a few pictures of benches that I liked and got to work. The front and back legs a 2x6 and a 1x6 glued together and then cut to be straight. I wanted something thicker then just a plain old 2x6. If I had to do this again though, I would have just glued 3 1X6's together. The reason being, is that 1x6's usually do not have a rounded edge and a 2X6 does. So needless to say when you glue them together you have a nice little gap on either side. Without a table saw to take this off, its pretty difficult to get a straight cut. But I ended up getting it right after sweating for a few hours in the garage. The bench stands 36 inches high, 48inches wide and about 18 inches deep. The seat height is right at 18in also.
In the unfinished pictures I actually had the depth being 24 inches. After sitting on it though it was just way to deep. So I pulled it apart, made the adjustments and its now much more comfortable to sit in.
If anyone has any questions or wants more details feel free to drop me a line!
Thanks!


Fri, 06/19/2015 - 13:32
Yes I think thats what they came out to be. yes the cross pieces are 2x4 and the slats are 1x4's

In reply to back legs by smz1919
Fri, 06/19/2015 - 13:34
I glued a 2x6 and a 1x6 together to get the thickness. Now that i have a table saw and a jointer this entire process would have been much easier but after getting it to look like one solid piece i just outlined the slant i wanted and cut it using a jig saw.
Fri, 06/19/2015 - 20:17
So the back slats are just glued in place right? I wonder if it would be easier to use a biscuit joiner or not
Sun, 10/23/2016 - 17:46
Wed, 05/26/2021 - 08:32
Hi Nathan
Love the look of the bench. Would you have a list of material requirements. I intend to make a bench like this and would like to know the measurements of the top back spar (the shaped one).
Here in the Uk our timber yards do not always supply the same cuts as the US so I need to have some idea of the pieces I need
Many thanks
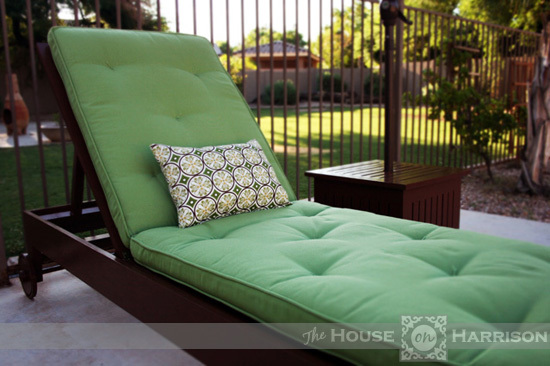
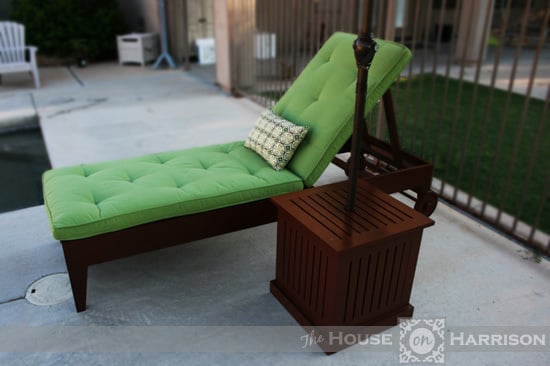
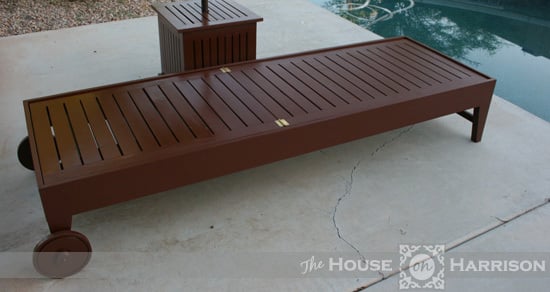
My husband and I made this outdoor chaise lounge using a combination of Ana's plan and another we found on the Internet. We wanted to be able to move this easily, so we added wooden wheels that we turned on our table saw. All in all, this project took us about two weekends. We are hoping the next one goes a little faster.
You can see more pictures of the build process on my blog.
Used your plan as a start and improvised from there. Thanks
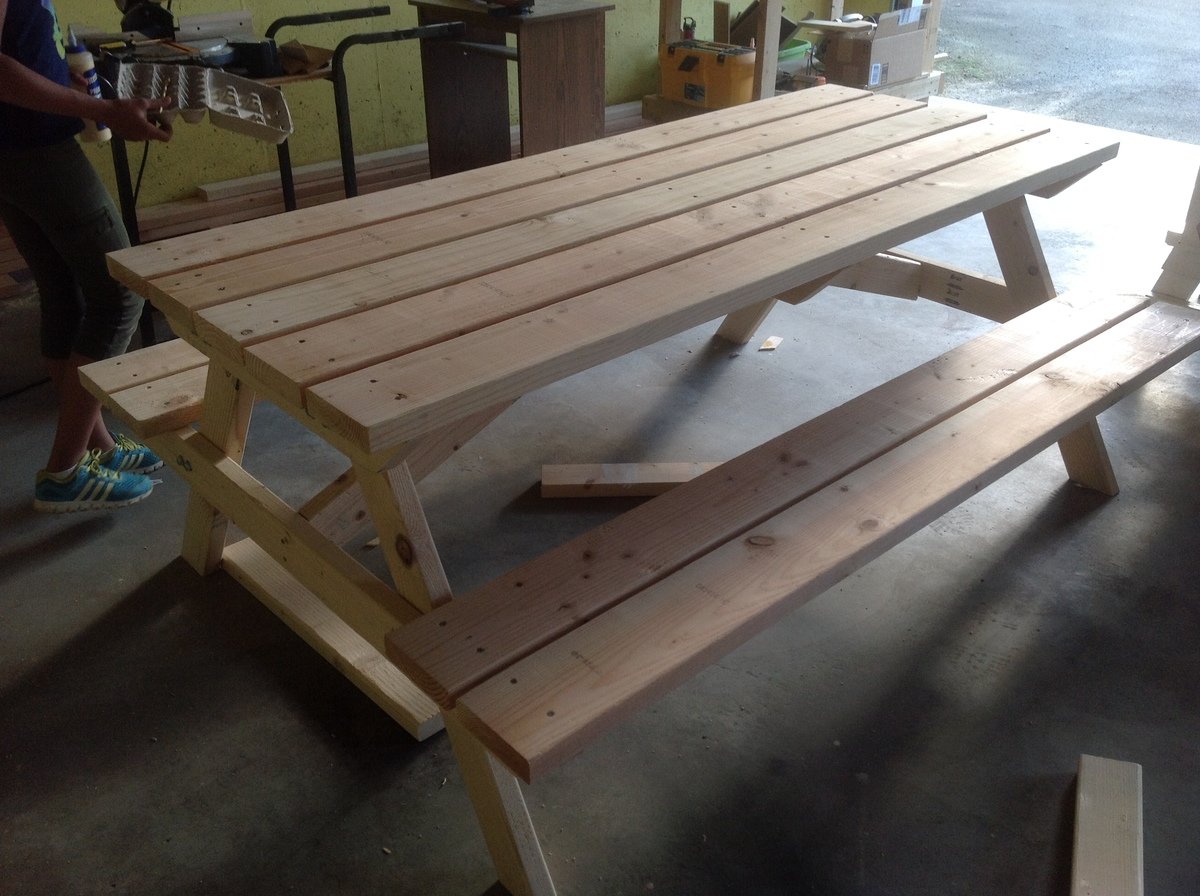
Wanted to kick start my summer projects with something that would not take too long. So I built this picnic bench for a friend over the last weekend. Thank you Ana for the plans.
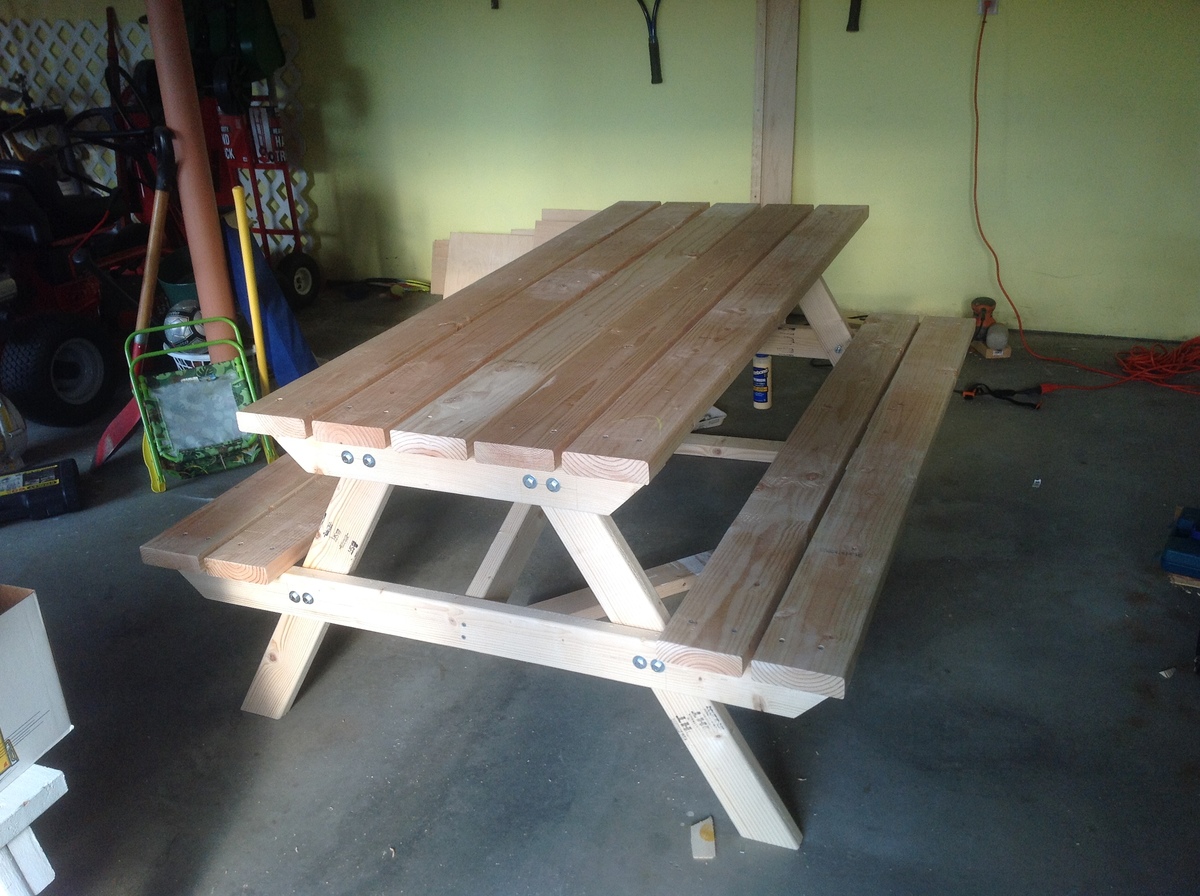
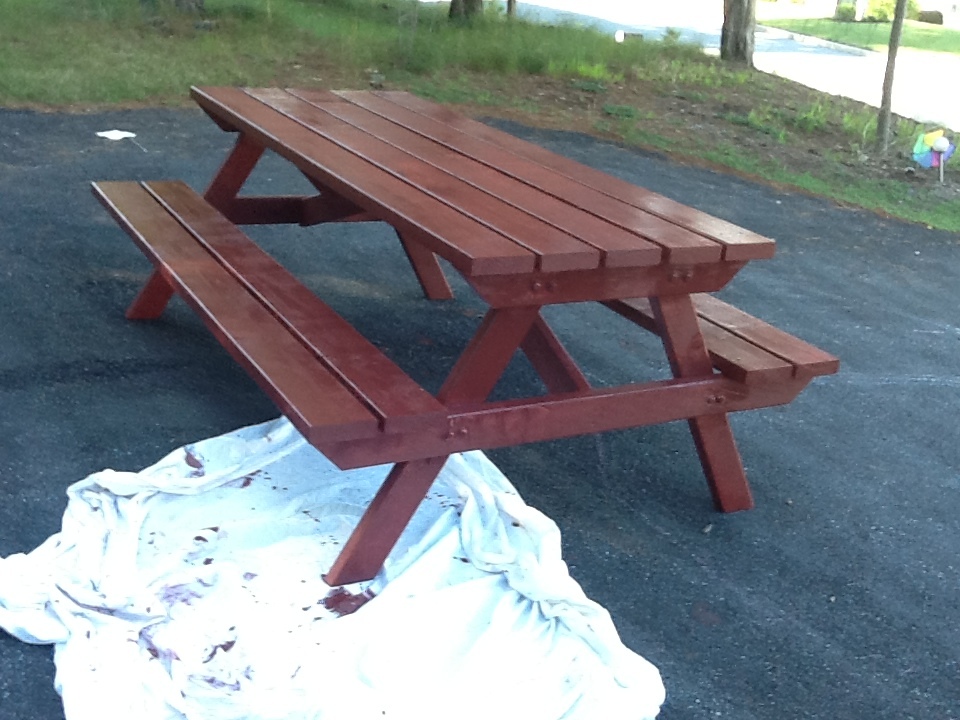

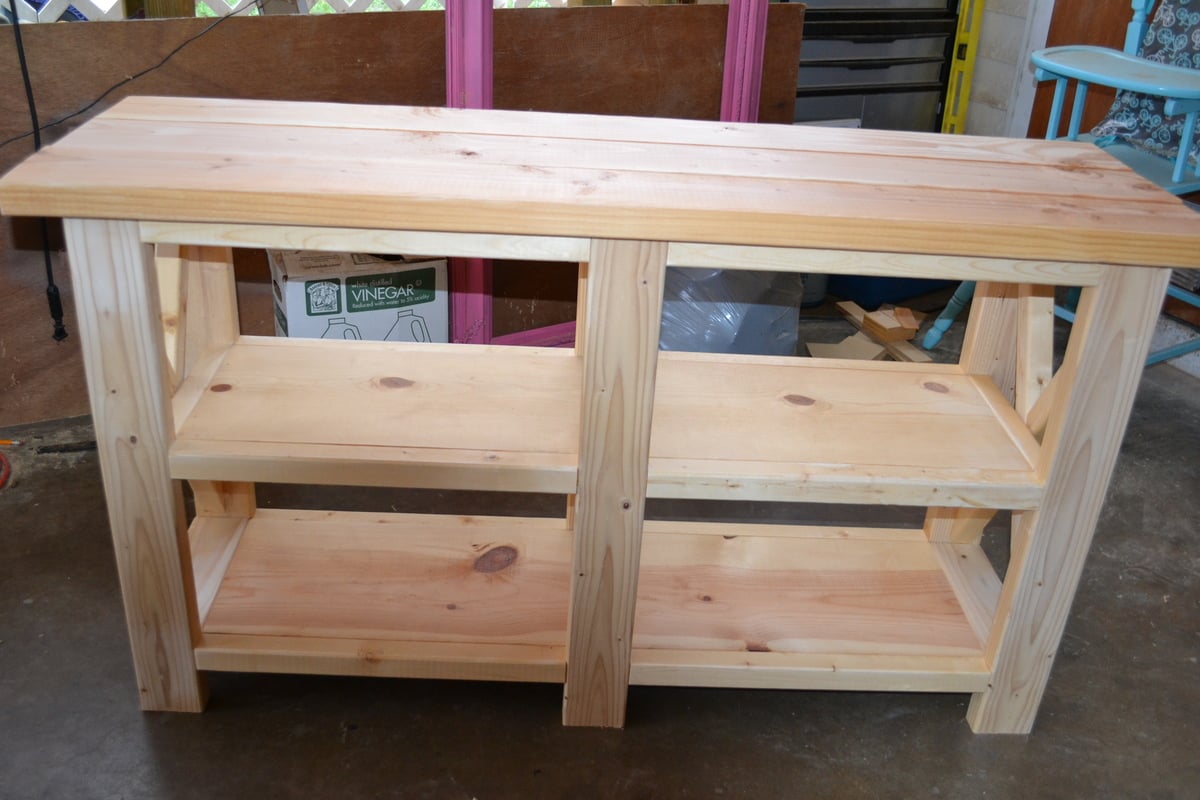
I built this a couple feet shorter than in the plans because it is for my neighbor's fish tank! It was fun to build and I'm in love with the finished product. She's going to paint or stain it herself. The pics were taken in my messy, projects-everywhere carport right before the neighbor hauled it off! Her son-in-law wants one now, and I will be building one for MYSELF right away as well! Thank you Ana!!!
Tue, 09/08/2020 - 16:56
looks great I'm hoping to build one myself this week =)
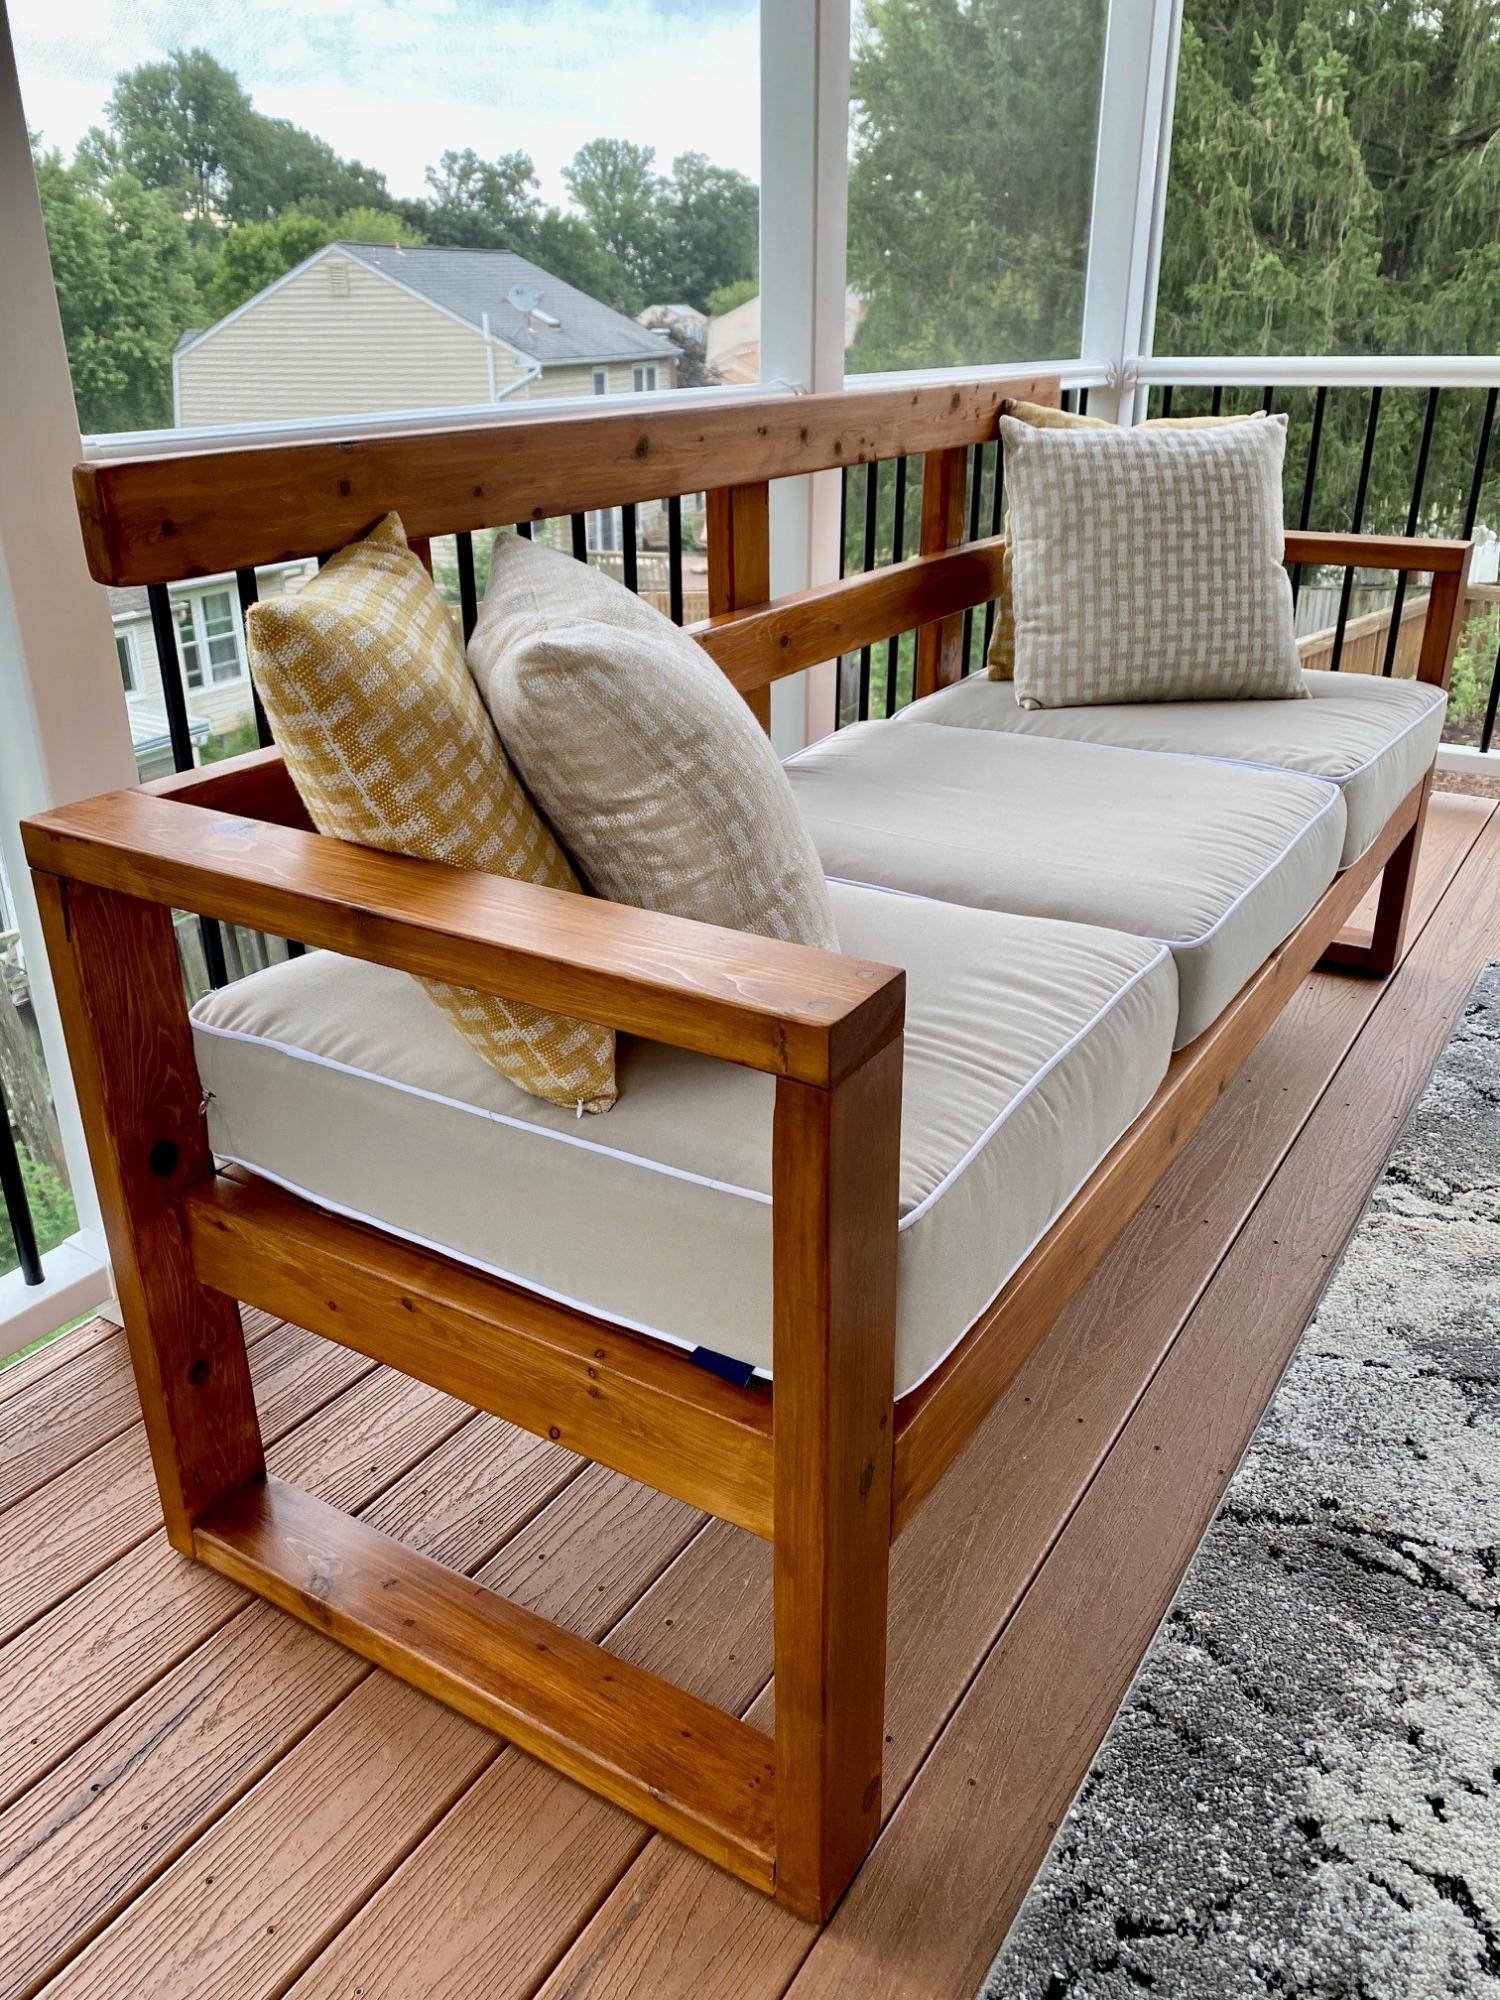
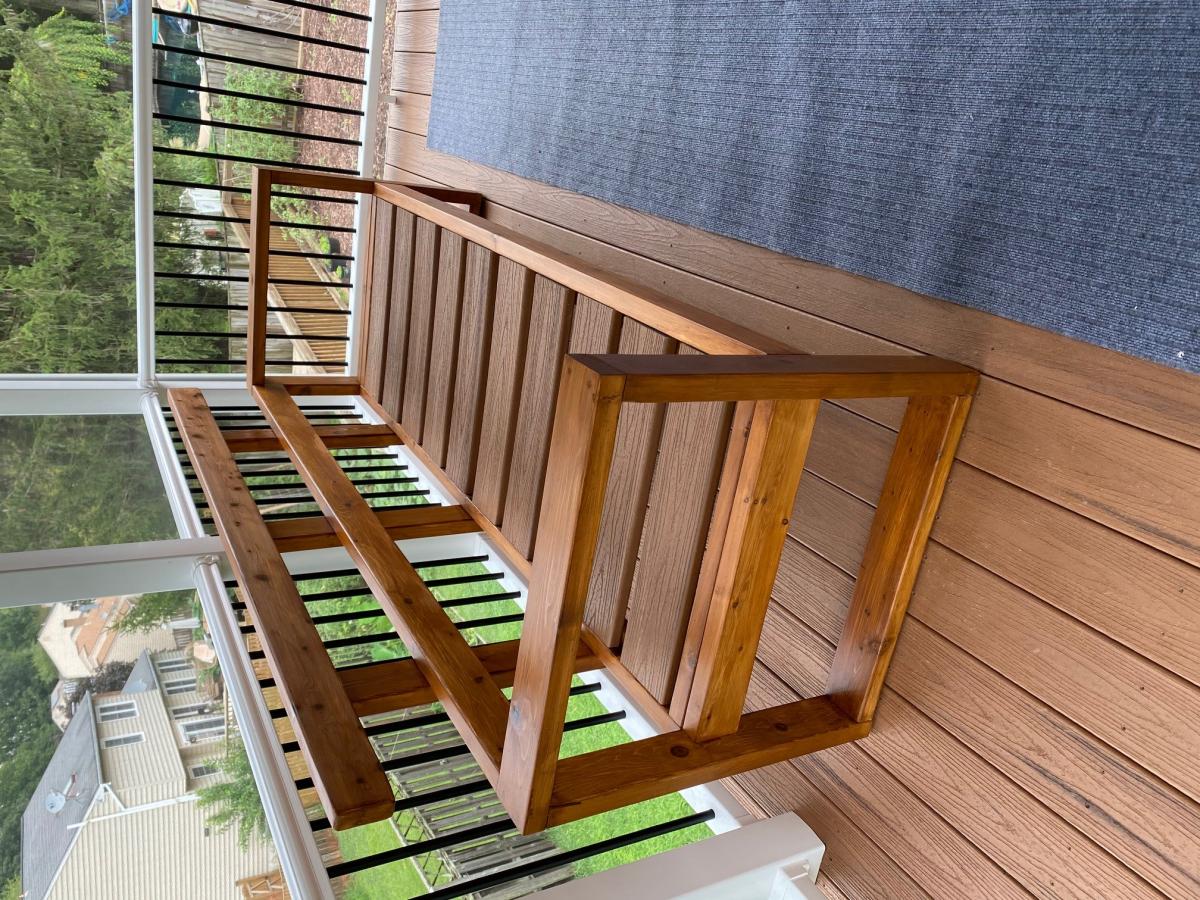
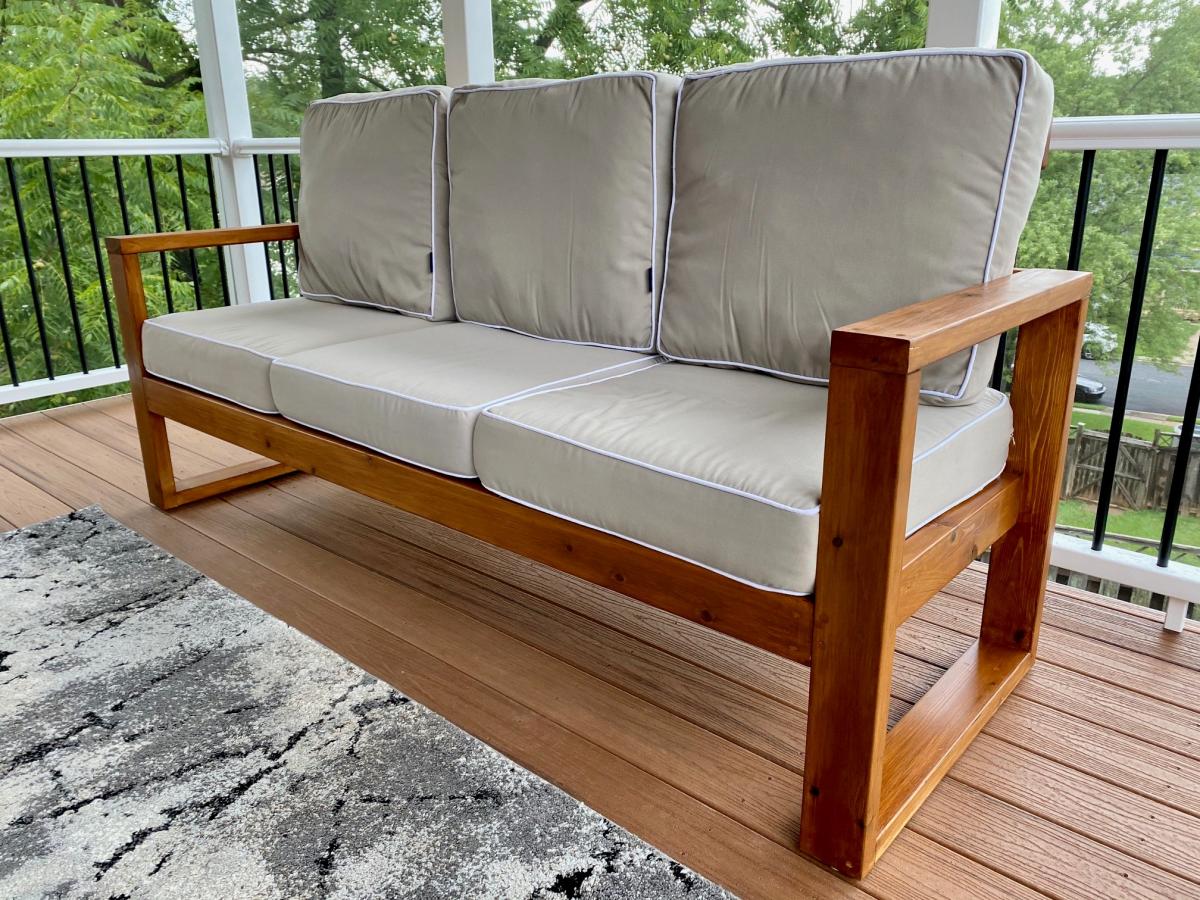
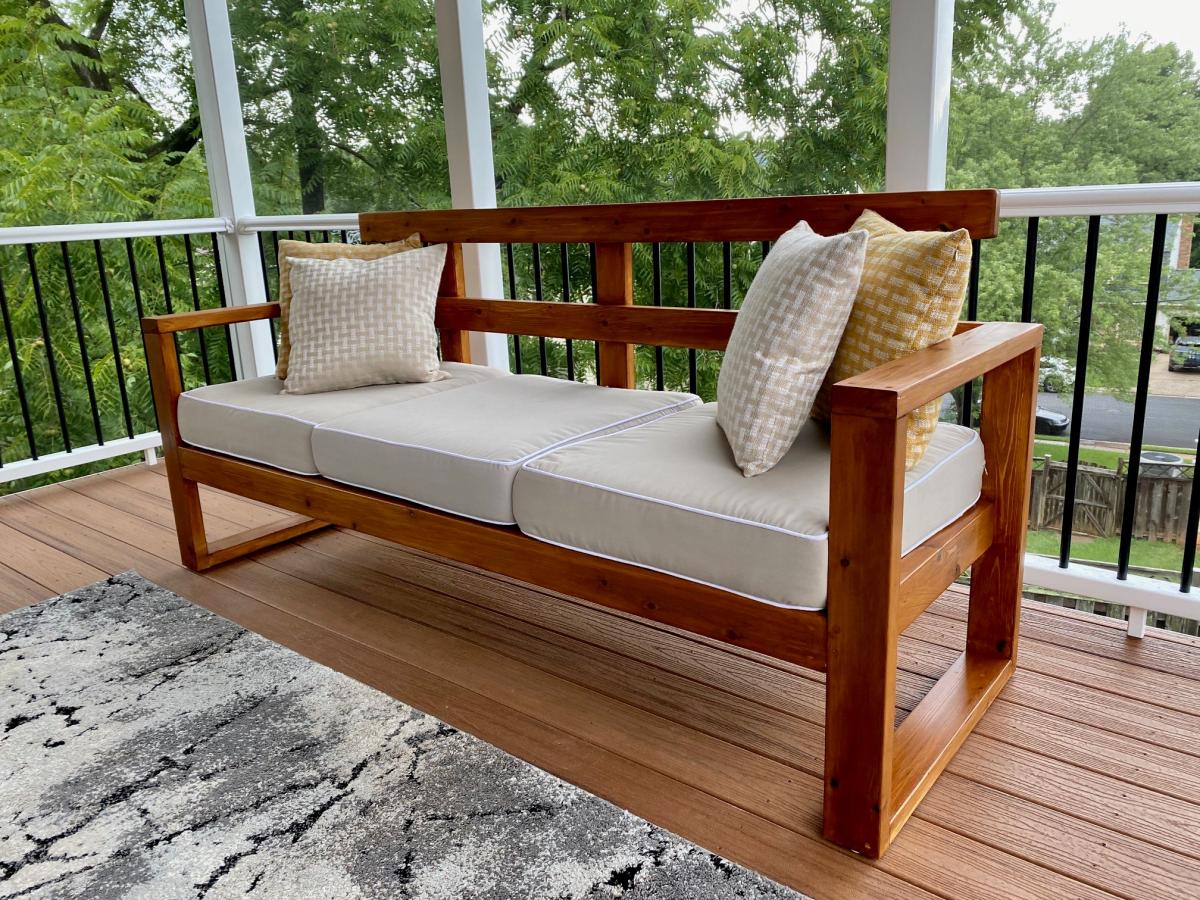
Built this beautiful Sofa from Ana White's Plan, had to modify a bit as I had left over small pieces of trex from my Deck , and the back rest cushions were higher.

Comments
Ana White Admin
Thu, 11/04/2021 - 14:15
Awesome!
This looks great, thank you for sharing!