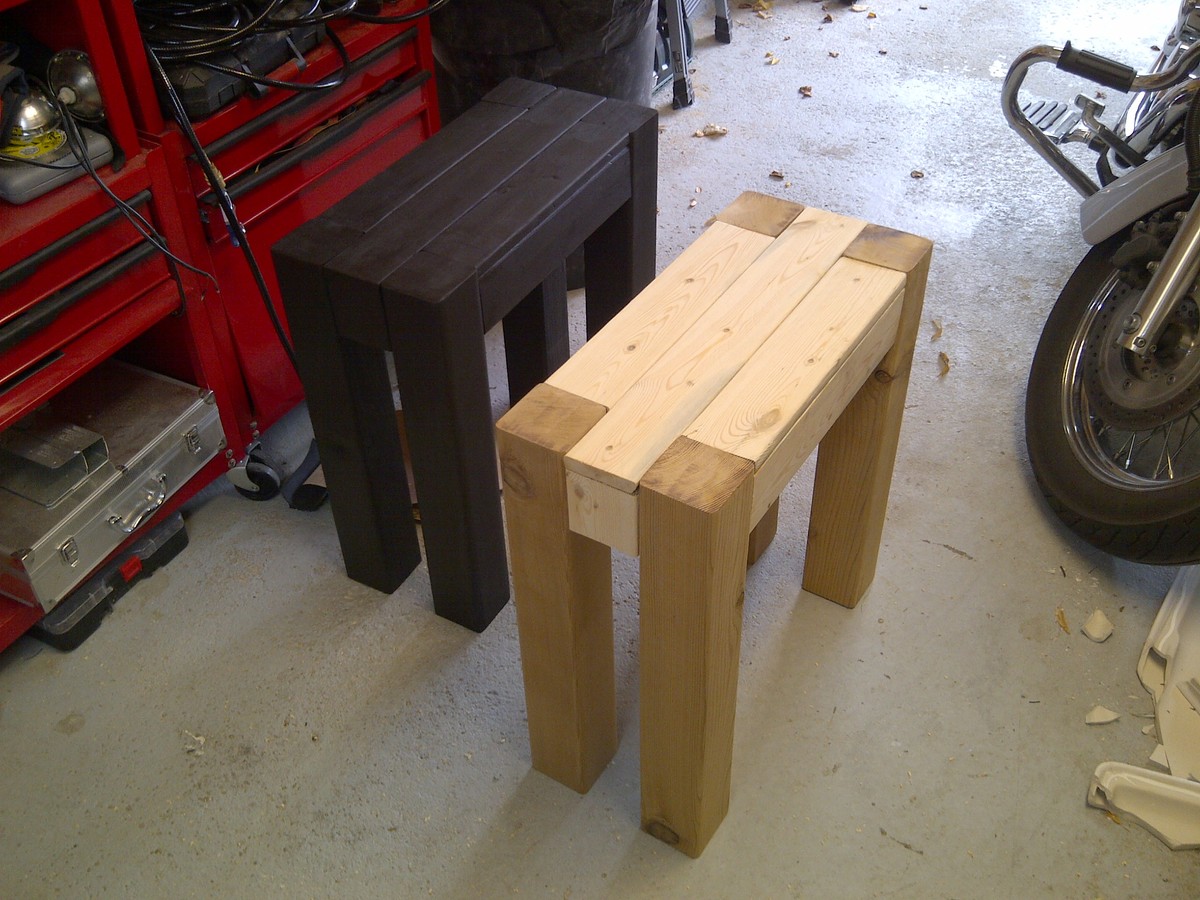
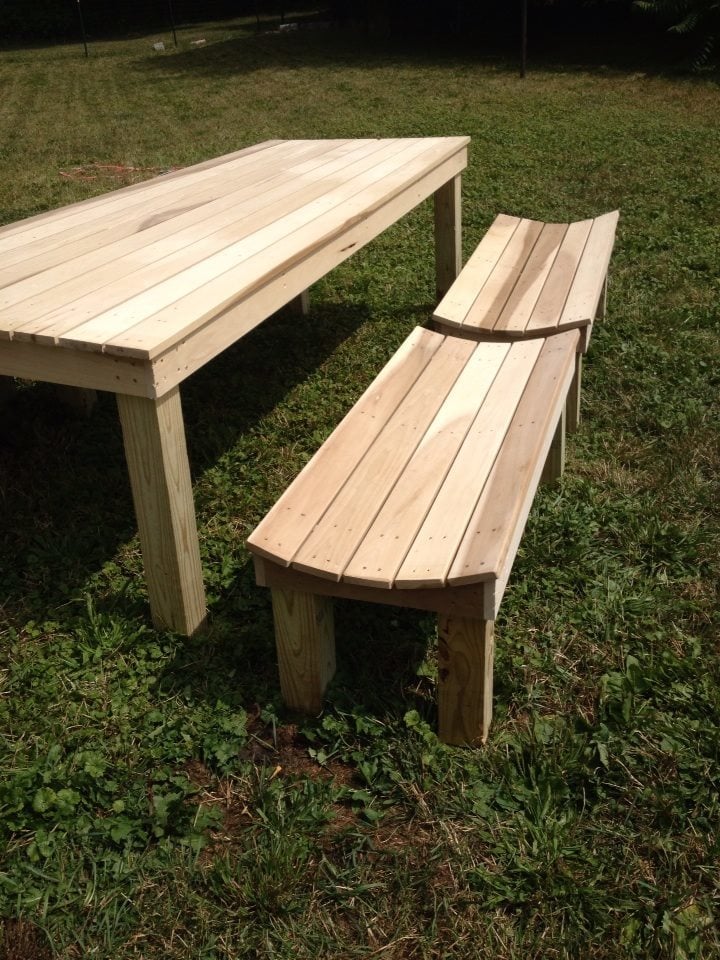
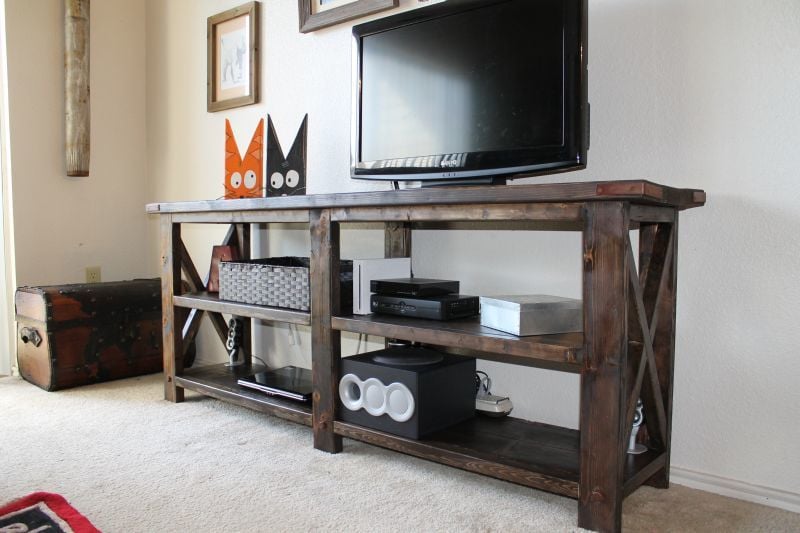
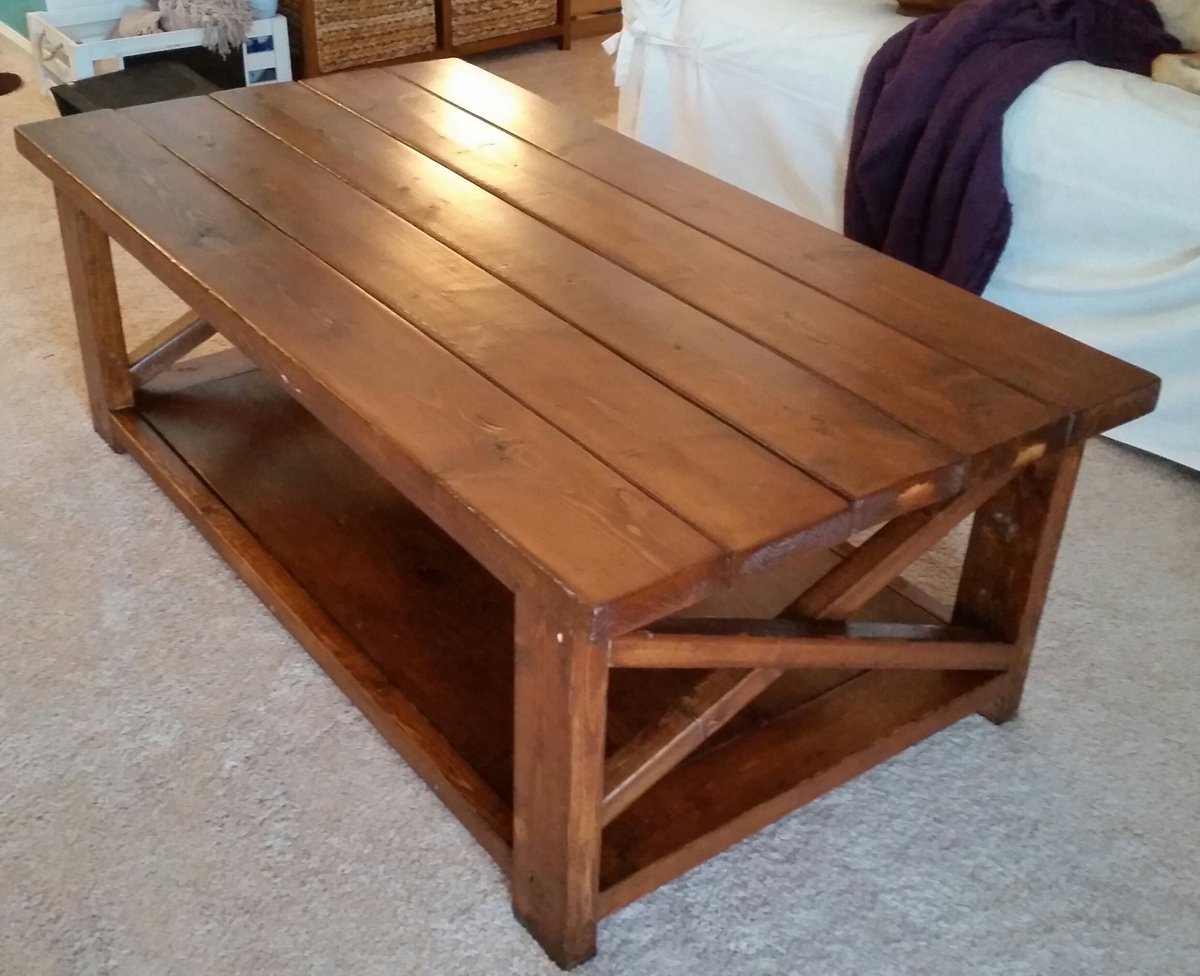
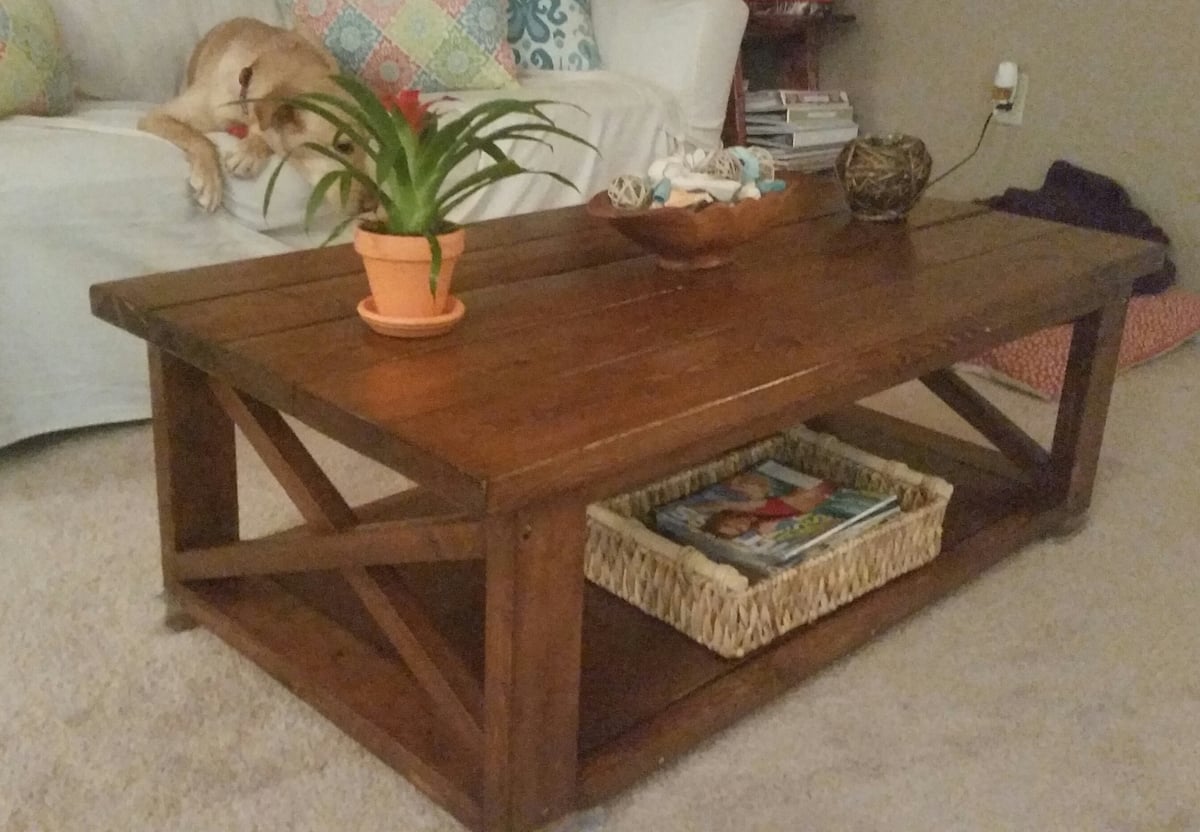
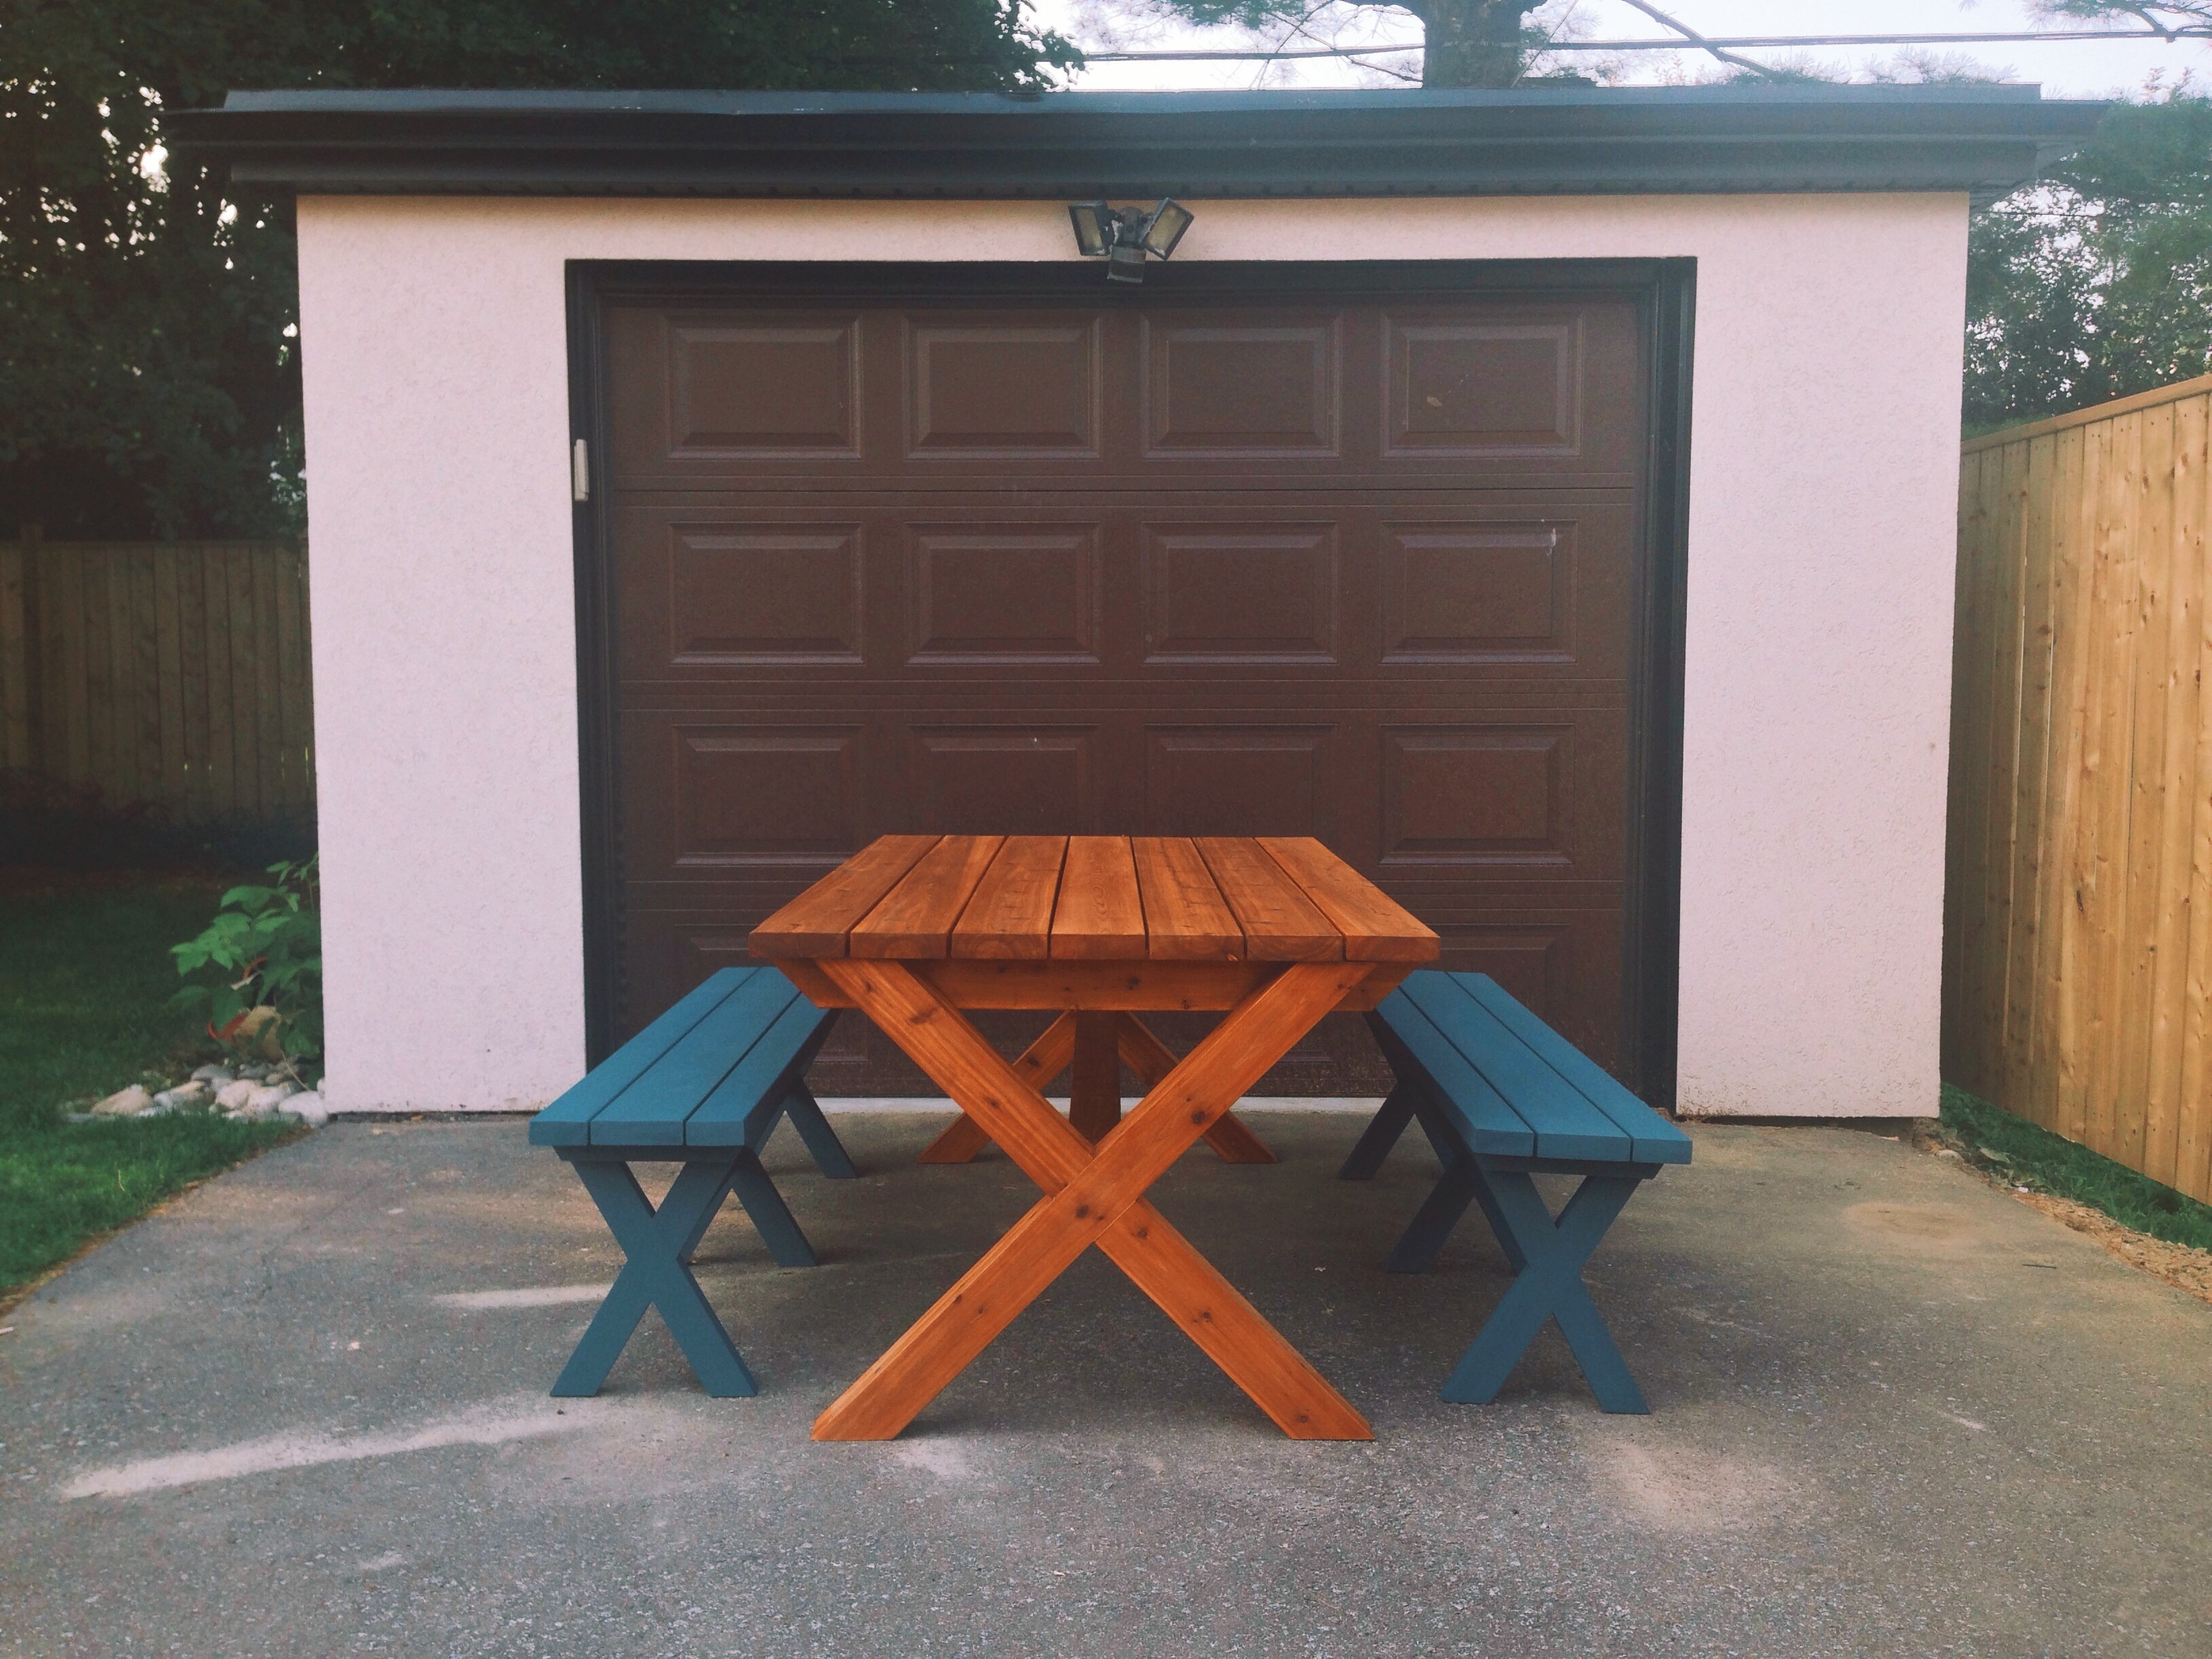
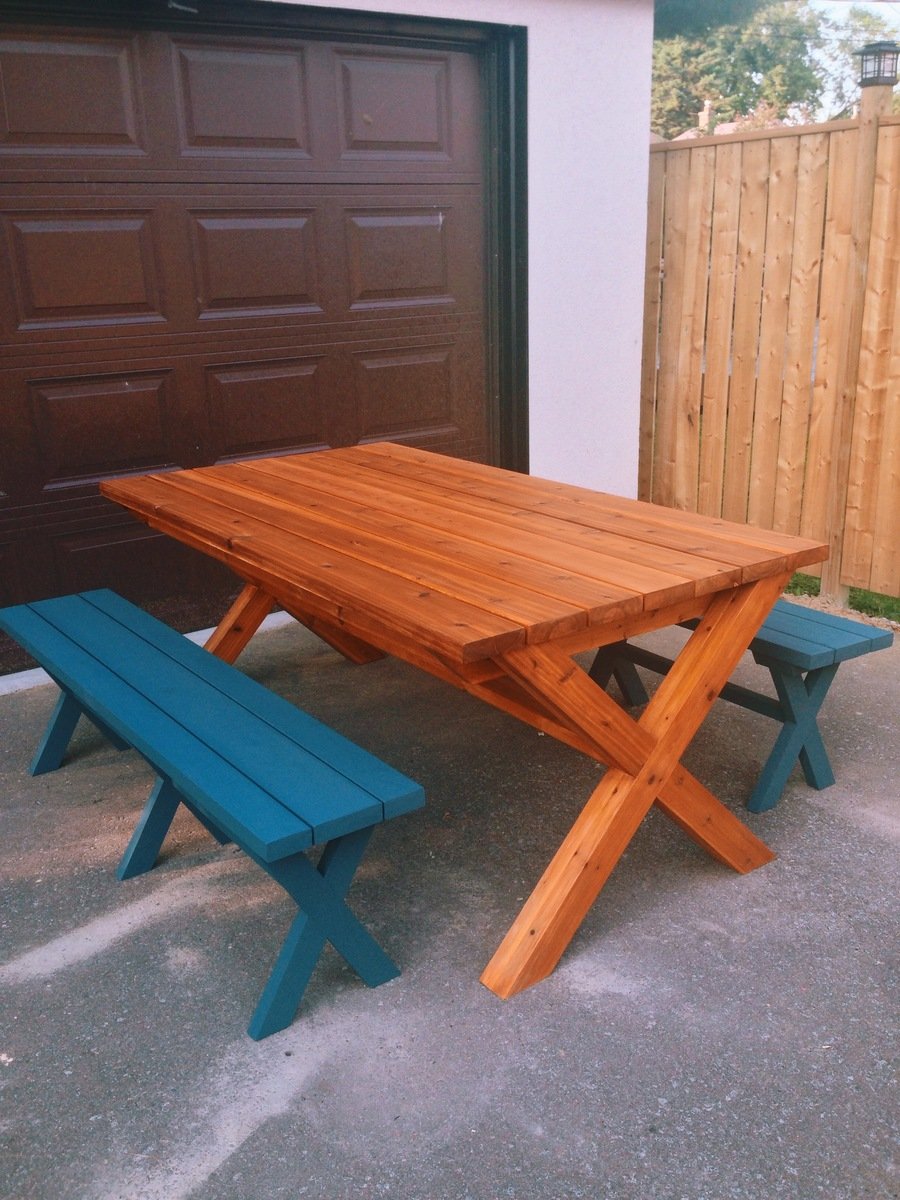
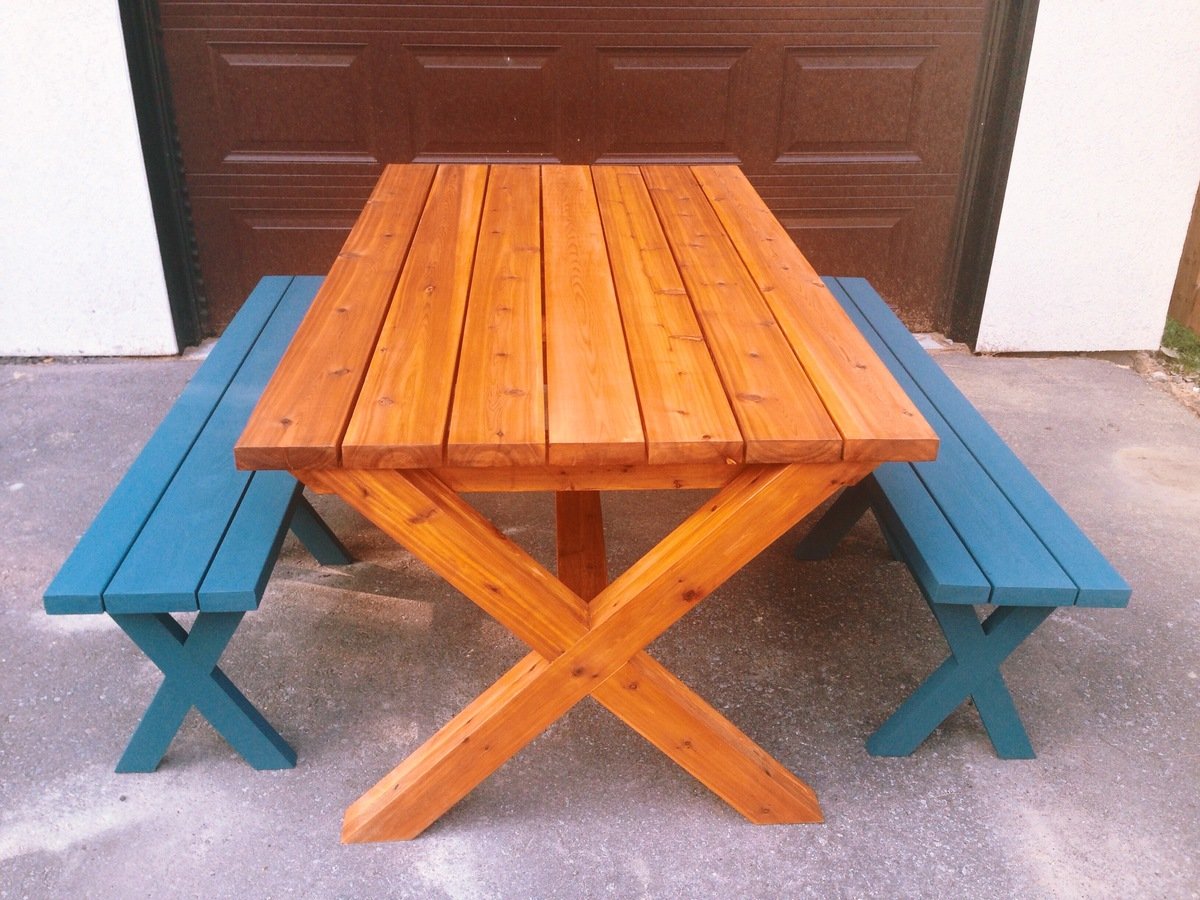
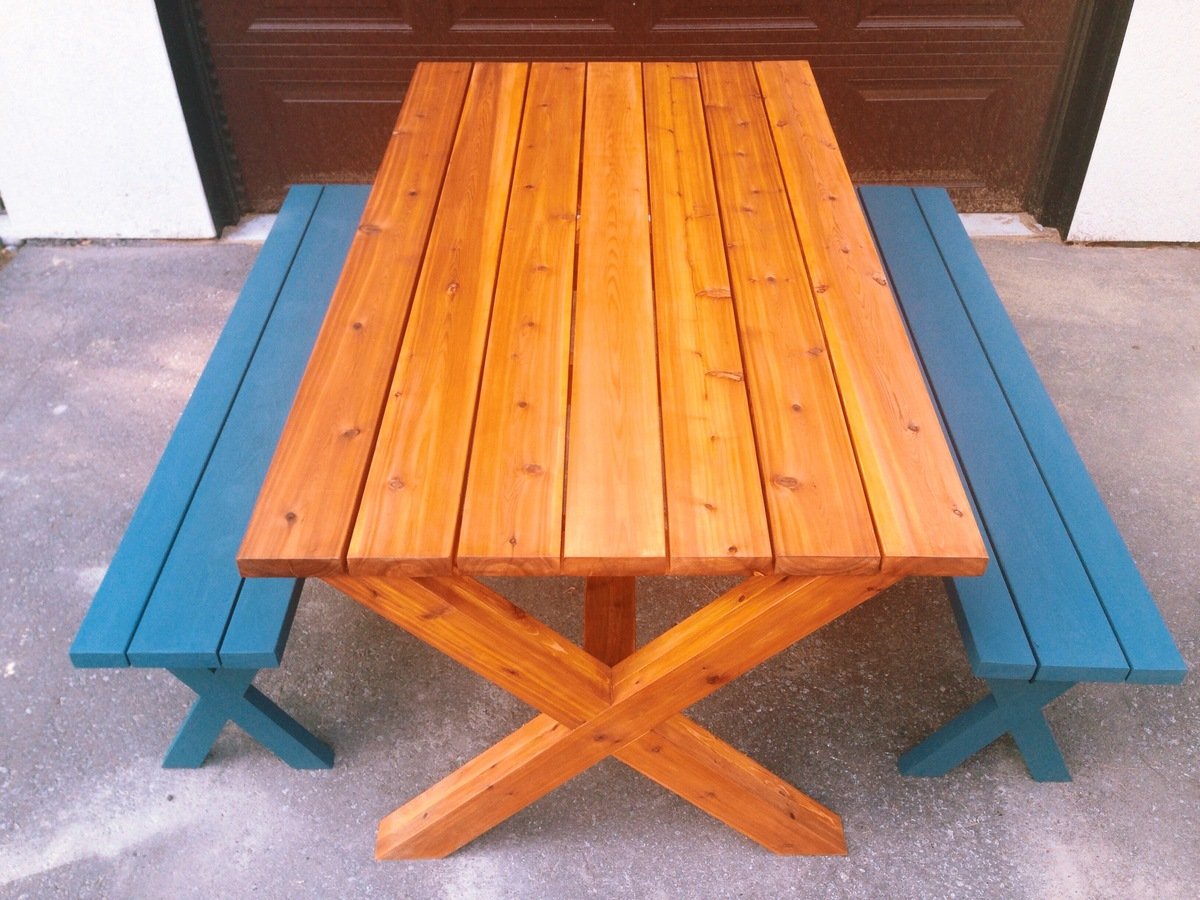
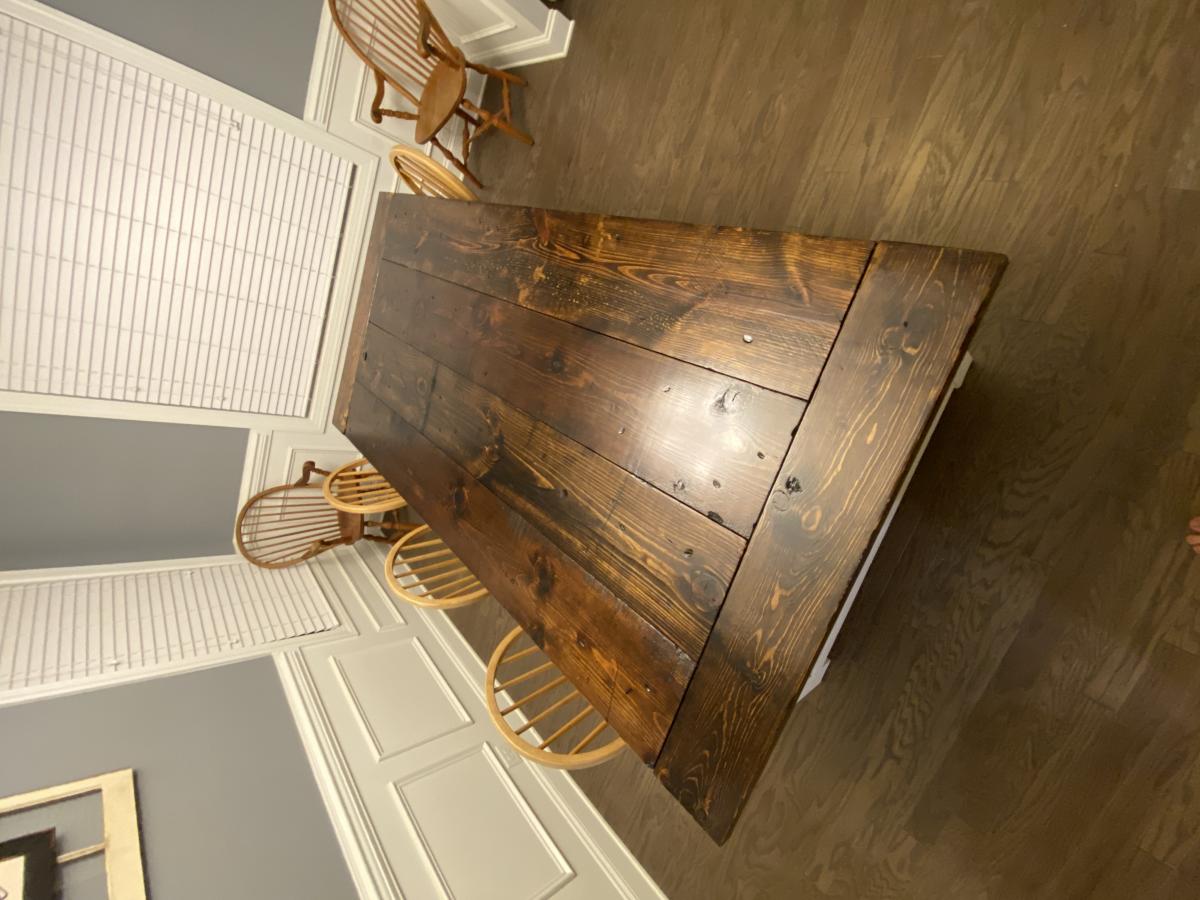
It took a little bit to finish, but it was worth the wait
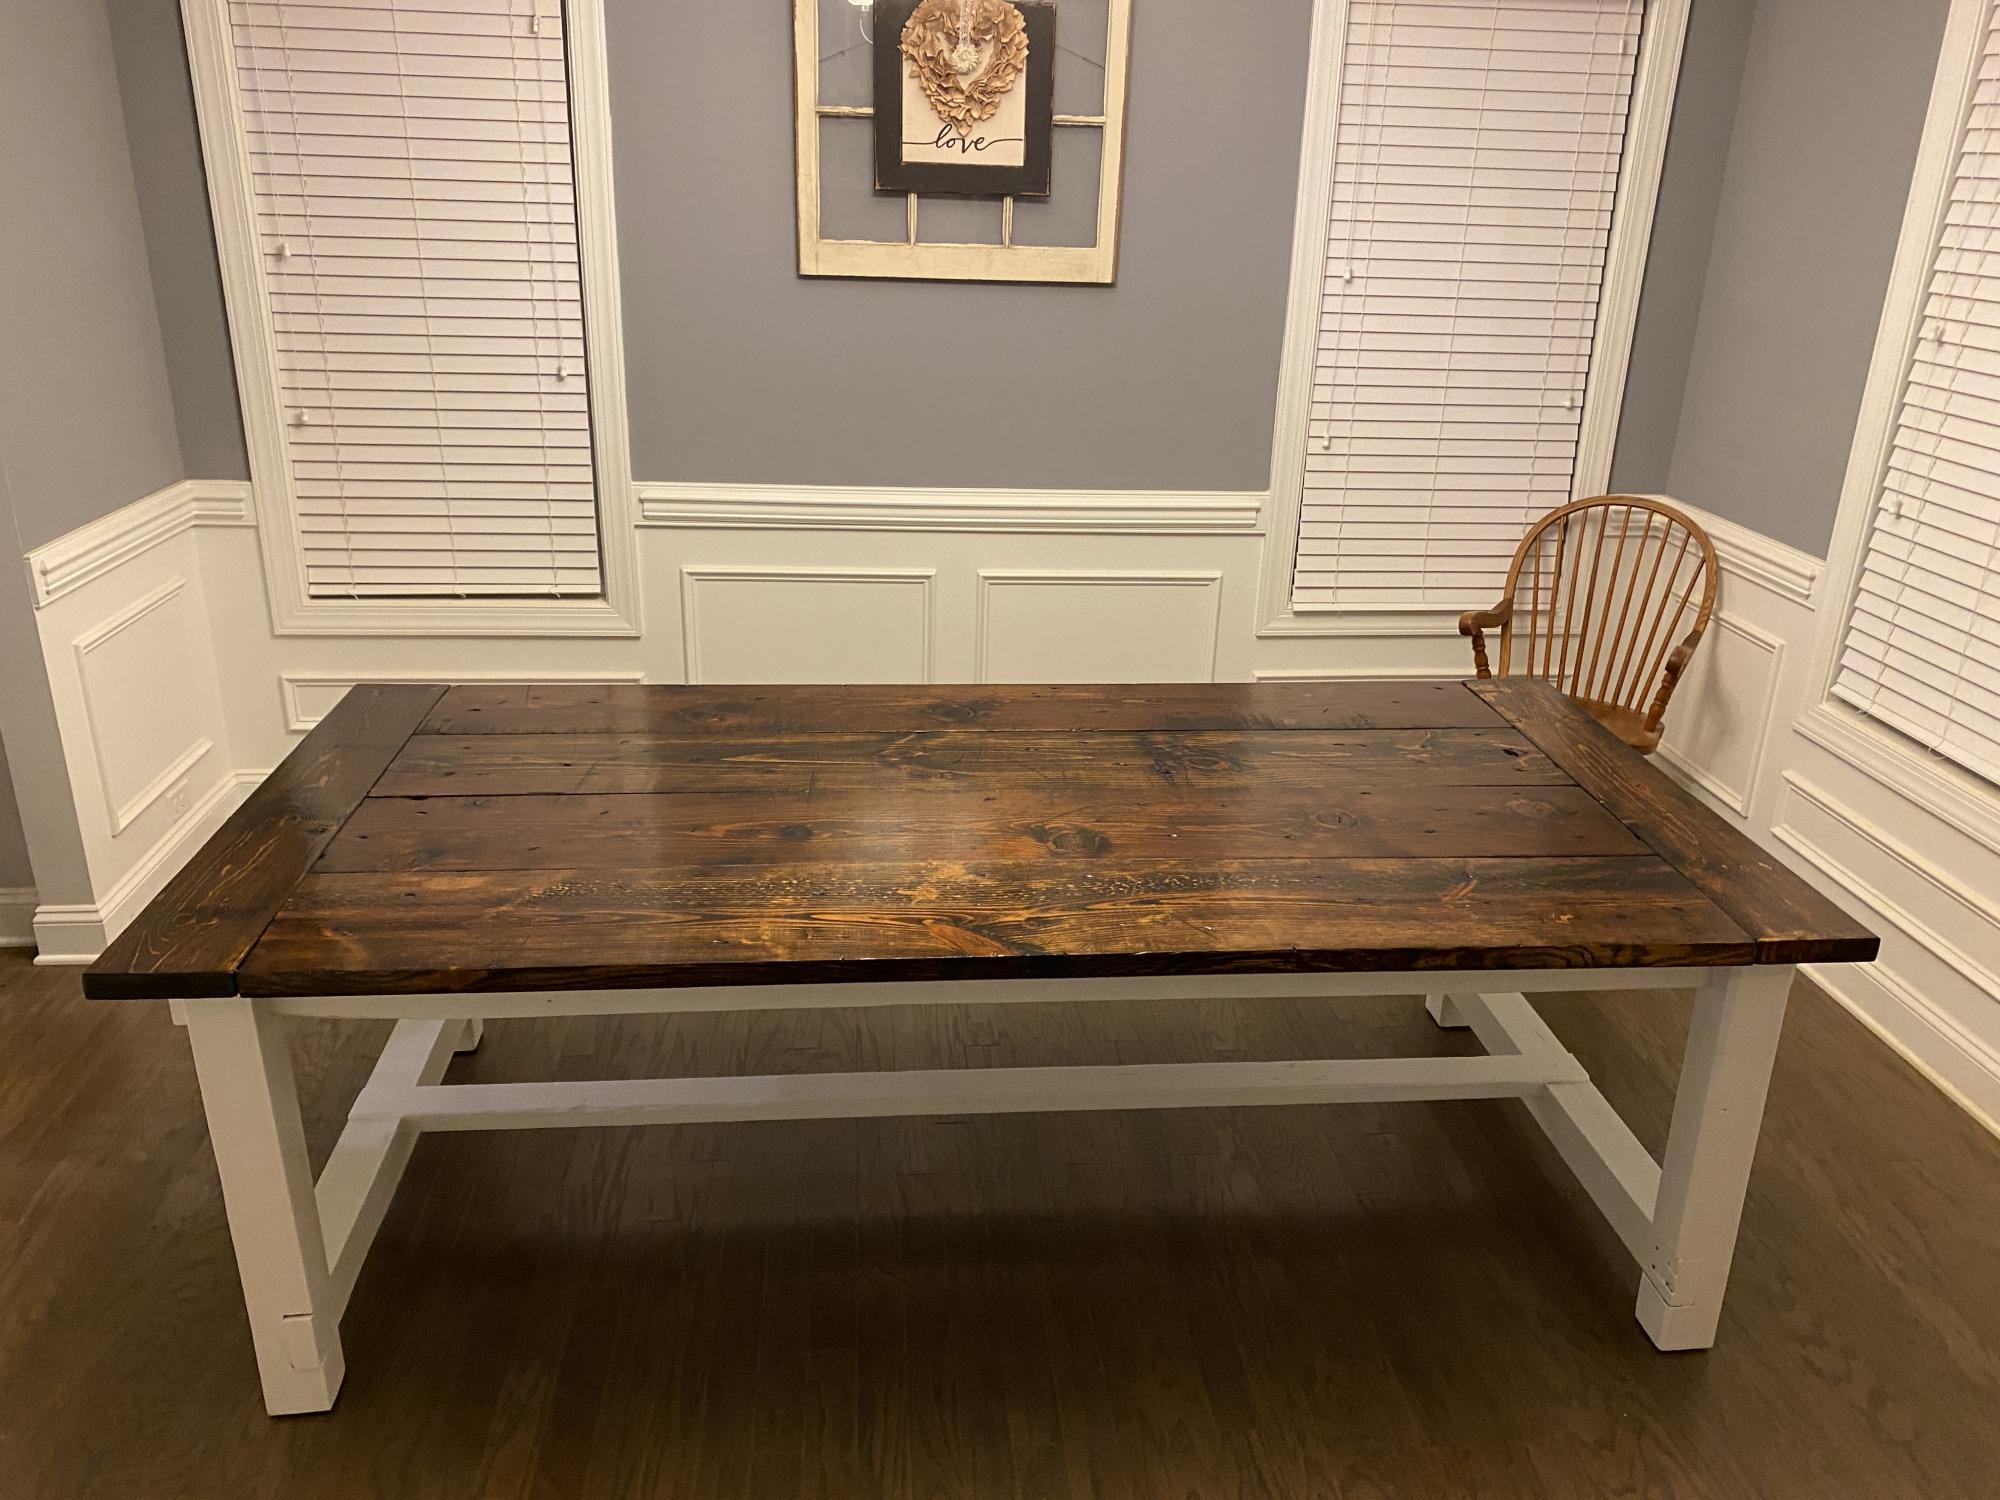
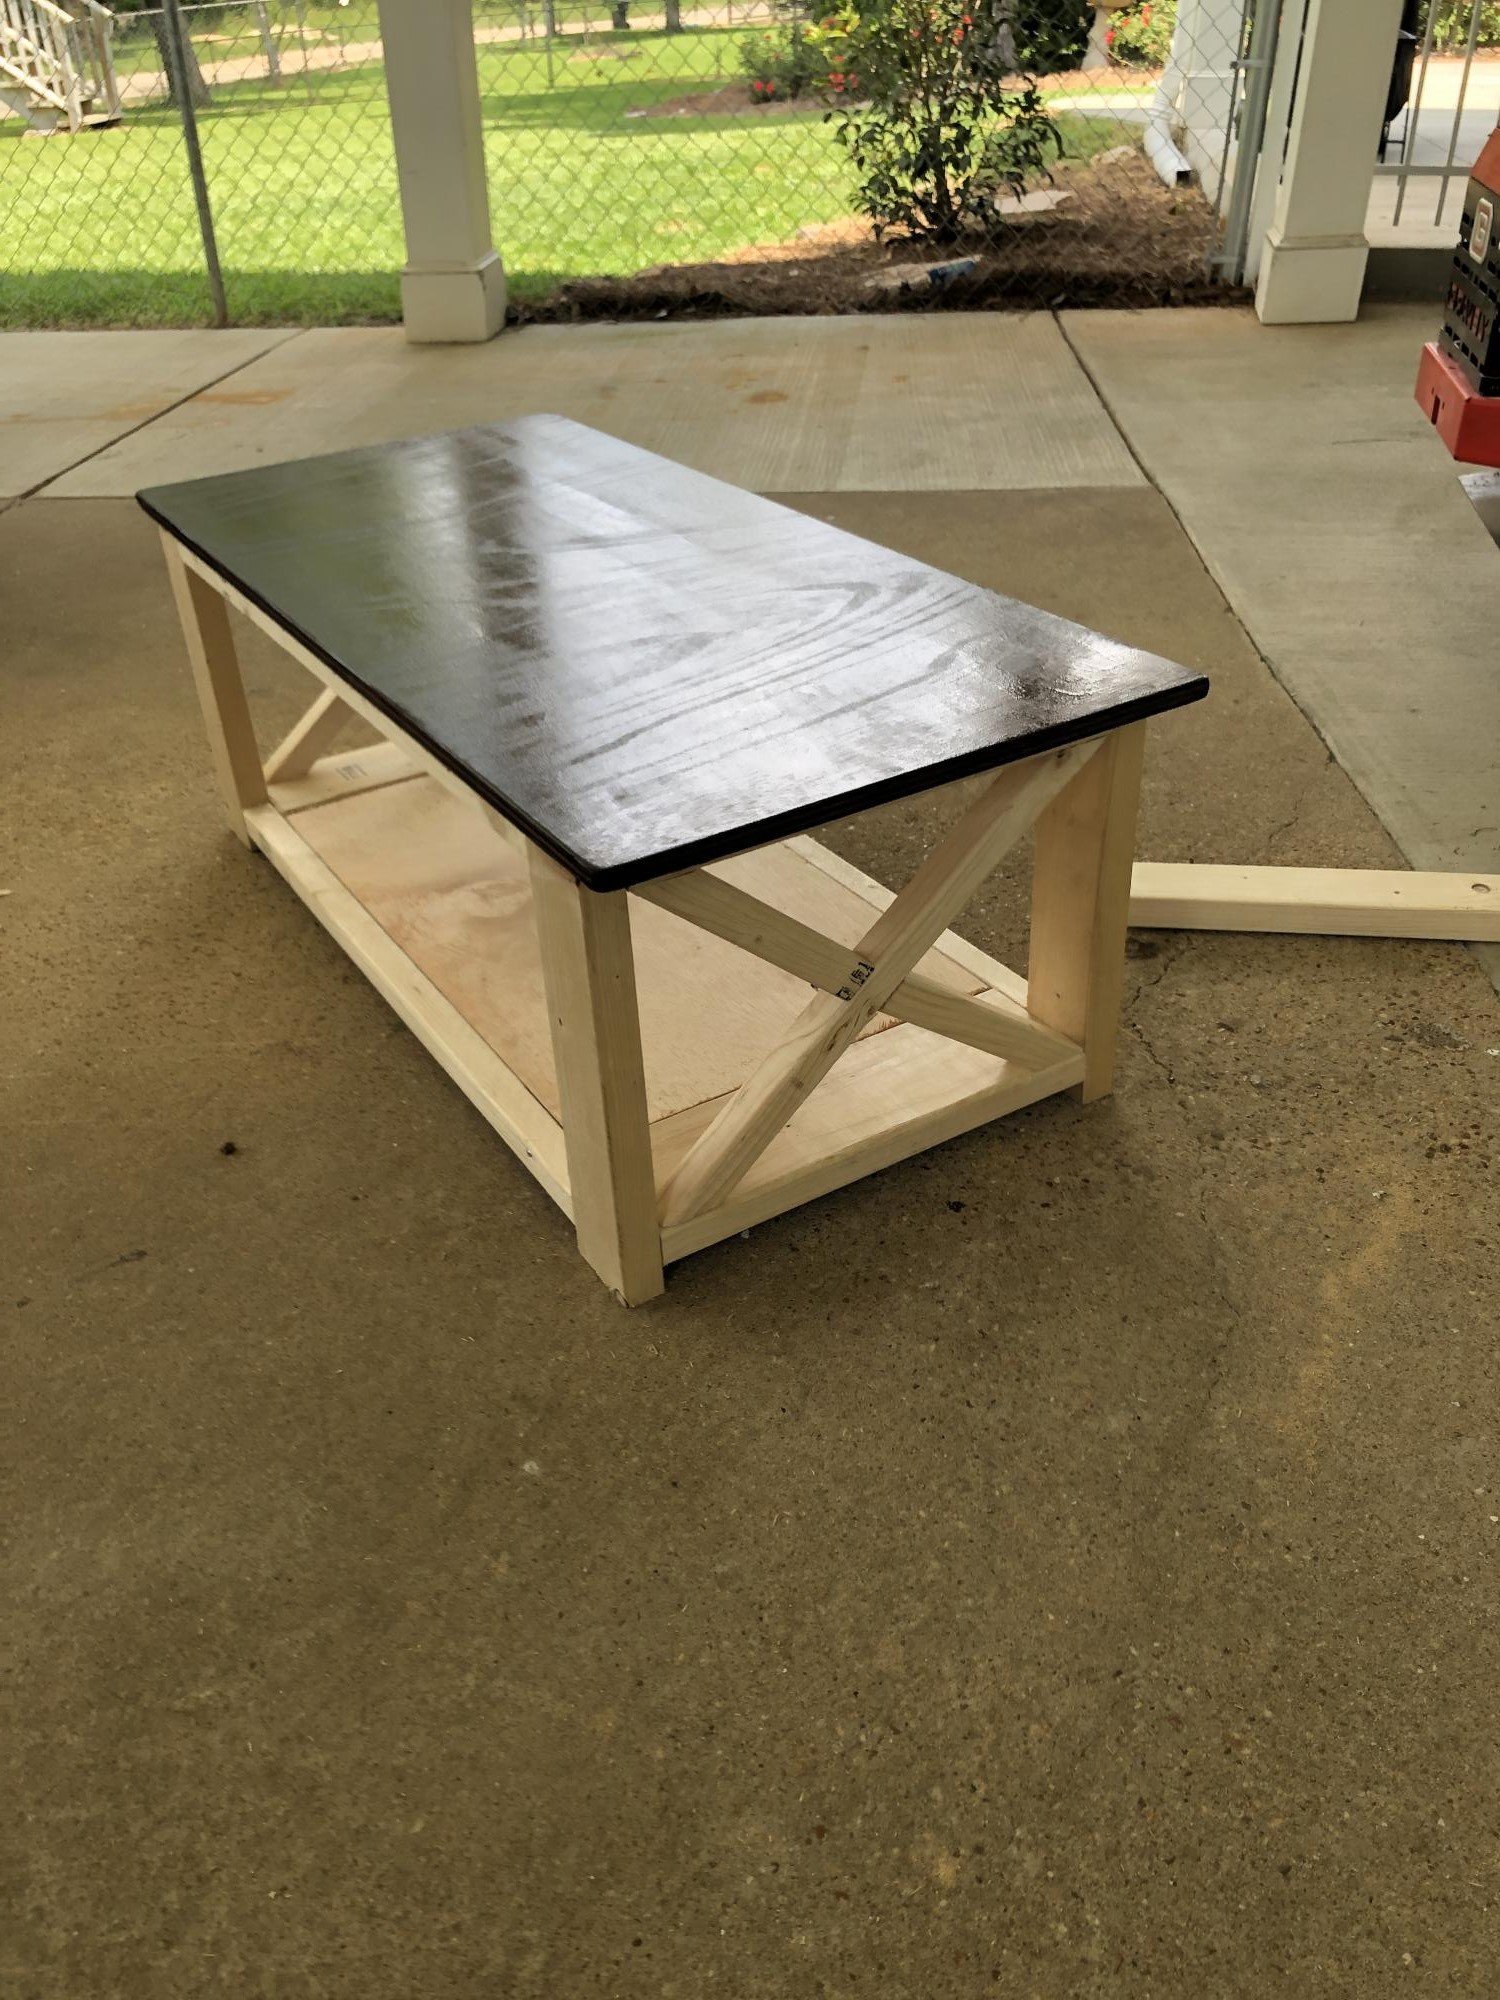
My wife wanted a Farmhouse table for as long as I can remember. When we bought our first house it was the first project I undertook. I finished building it in time for all 15 members of our extended family to come for Thanksgiving but didn't have time to stain it. After the holidays I went back to school and staining it went to the back burner. When I finished my degree three years later it was time to finish the table. The end result was worth the wait according to my wife.
Built from Plan(s)
Estimated Time Investment
Week Long Project (20 Hours or More)
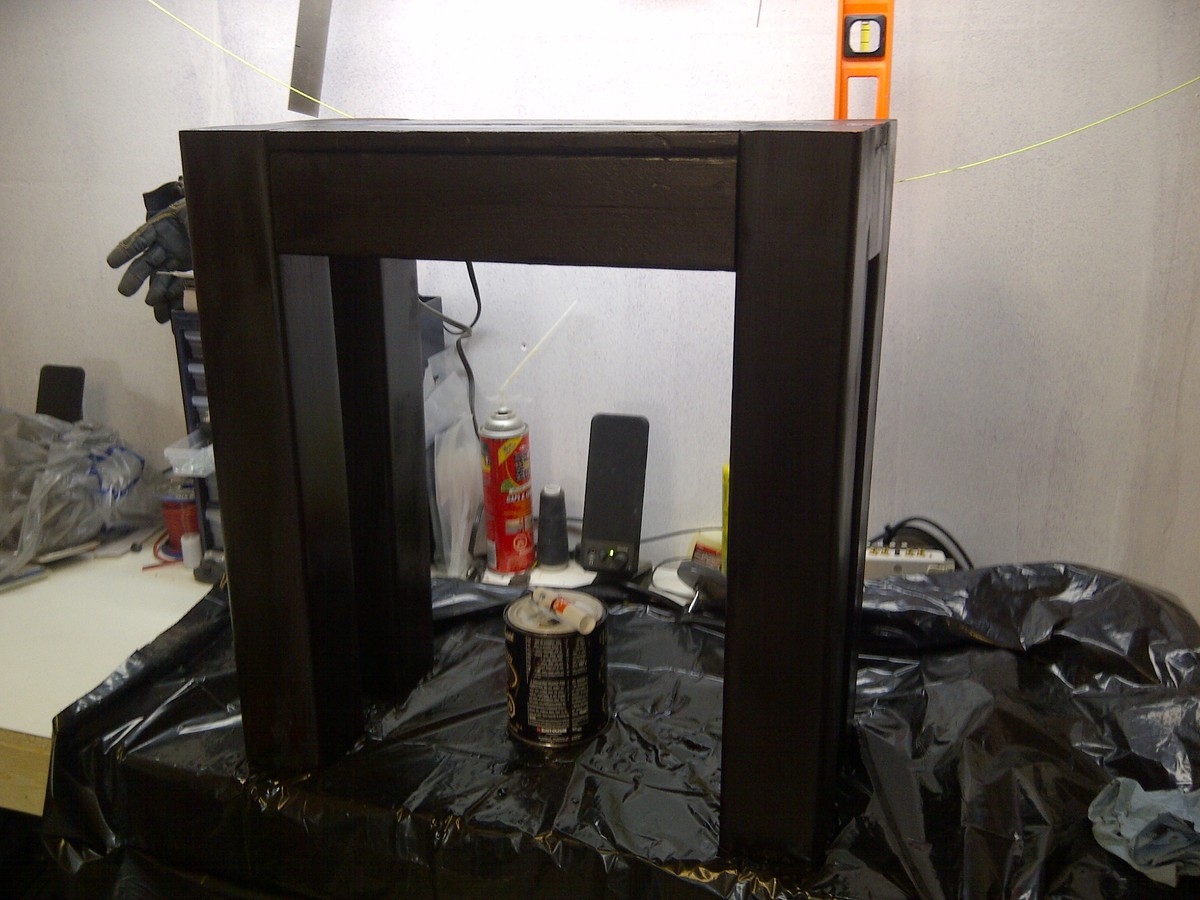
Finish Used
Minwax Dark Walnut
Minwax Satin Poly
Valspar Cabinet and Furniture Paint
Minwax Satin Poly
Valspar Cabinet and Furniture Paint
Recommended Skill Level
Intermediate