Community Brag Posts

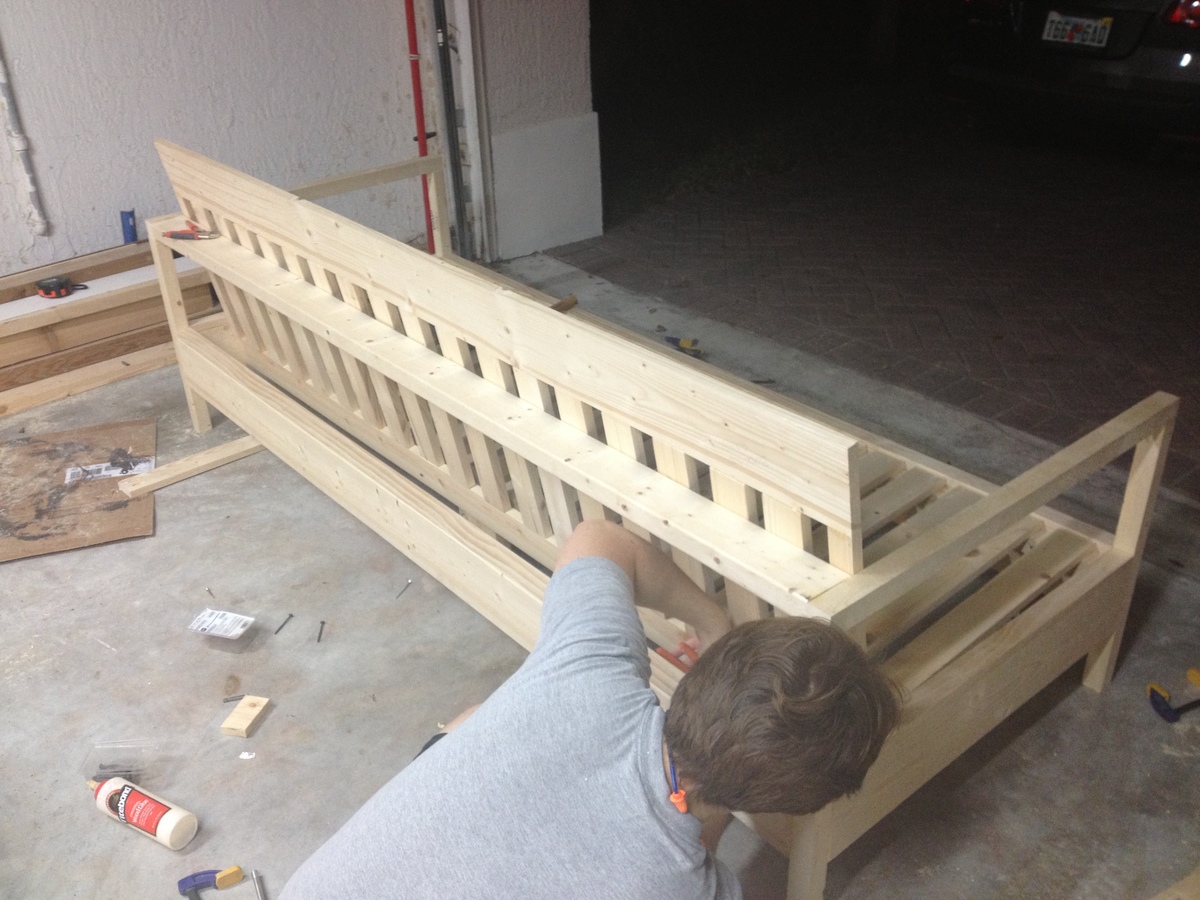
Simple White Patio Sofa
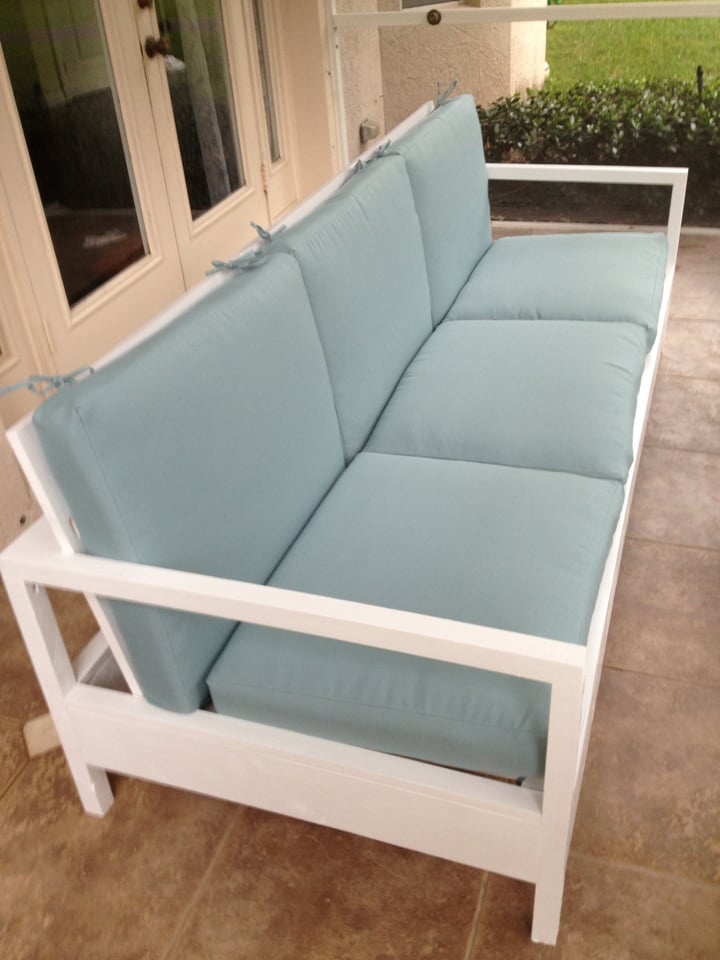
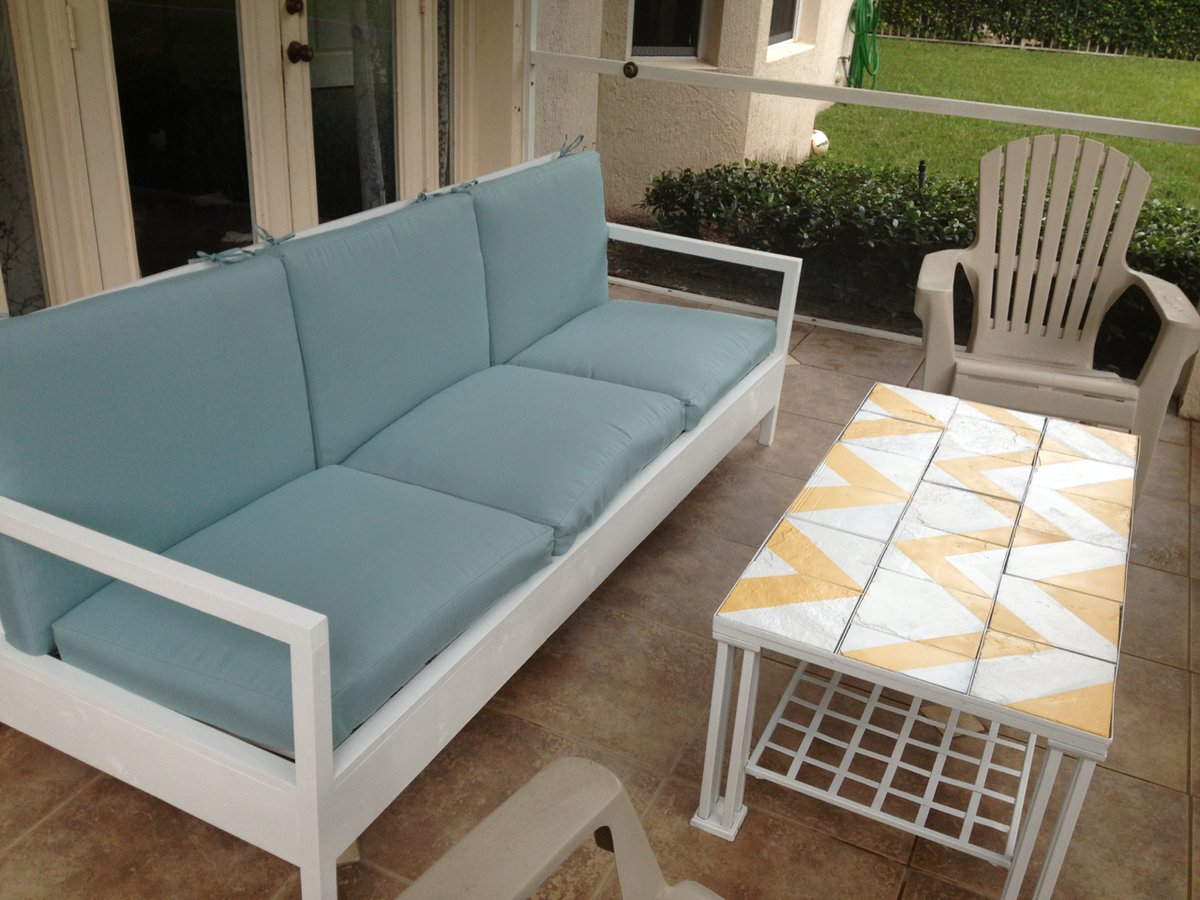
This was one of my favorite DIY projects. It's so much more affordable than buying patio furniture, and the building instructions make it sturdy as ever.

I built this with my fiance, who you'll see in the image of the in-progress bench. It was a snap for us, since we have a fair amount of experience building our own furniture. With the right tools, this project can take only two days, including wait time in between coats of paint and varnish.

We made our sofa to fit the cushions we found, and thus, the sofa is actually 84" wide, instead of 72" wide. By doing this, we also eliminated the need for a love seat, and instead are in the process of making two chairs to match this sofa. All in all, our patio will seat 6, which is what we were aiming for.

TOOLS
The most important part of making this an easy, fun project is having the right tools. I highly recommend you purchase or borrow:
- Compound miter saw
- Kreg jig
- Square head screws (stripping these is nearly impossible)
Estimated Cost
$300 (including cushions)
Estimated Time Investment
Weekend Project (10-20 Hours)
Finish Used
Exterior satin white (stay away from spray paint, since it's less efficient and more costly)
Exterior spar varnish in aerosol can for extra outdoor protection
Recommended Skill Level
Intermediate

Comments

Stain & Paint Finish

Submitted by ajstormy85 on Sun, 08/24/2014 - 18:19

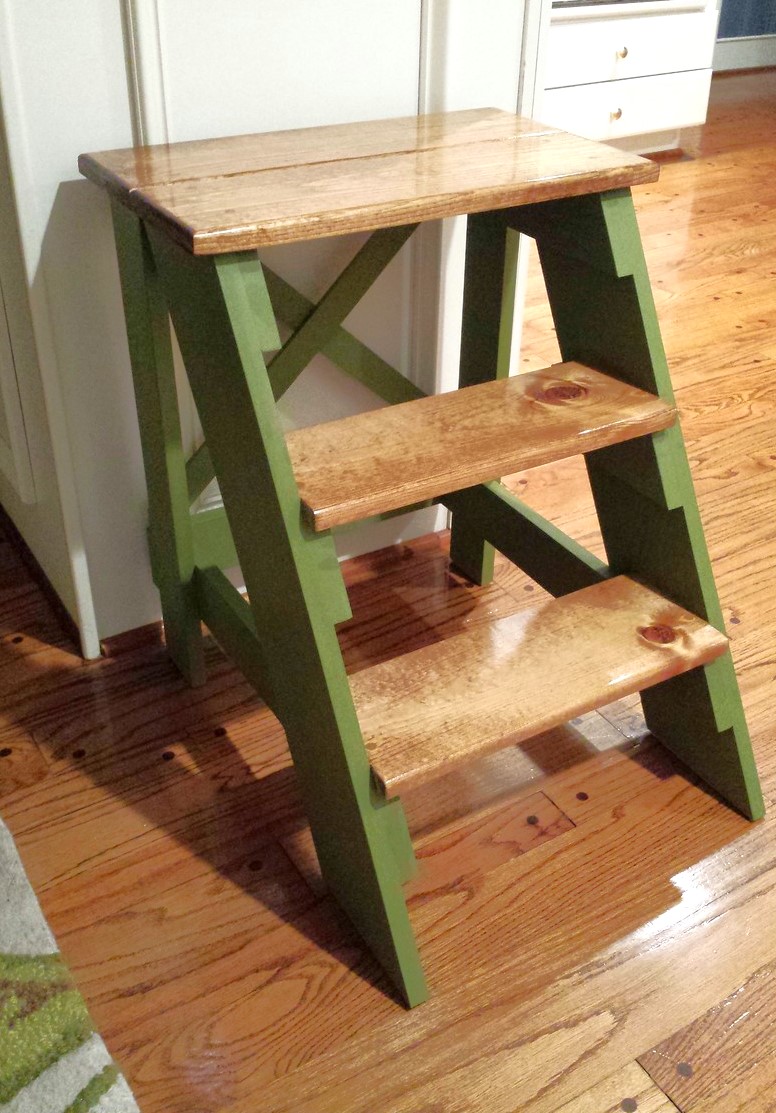
Did the multi-finish on the step stool. On the steps, I used the Minwax Pre-Stain Conditioner, followed by Minwax 'Early American' stain and then Minwax clear gloss polyurethane. The rest of the stool was painted with DIY chalk paint. The paint is 1 cup flat paint (Valspar Jungle Thicket) mixed with 1/3 cup plaster of paris and 1/3 cup water. The chalk paint portion was finished with the Minwax Finishing Paste Wax and gave the flat paint look a nice sheen.

Finish Used
Minwax products (pre-stain conditioner, Early American stain, clear gloss polyurethane; DIY chalk paint (1 cup flat paint, 1/3 cup plaster of paris, 1/3 cup water); Minwax finishing paste wax on chalk paint part
Recommended Skill Level
Beginner

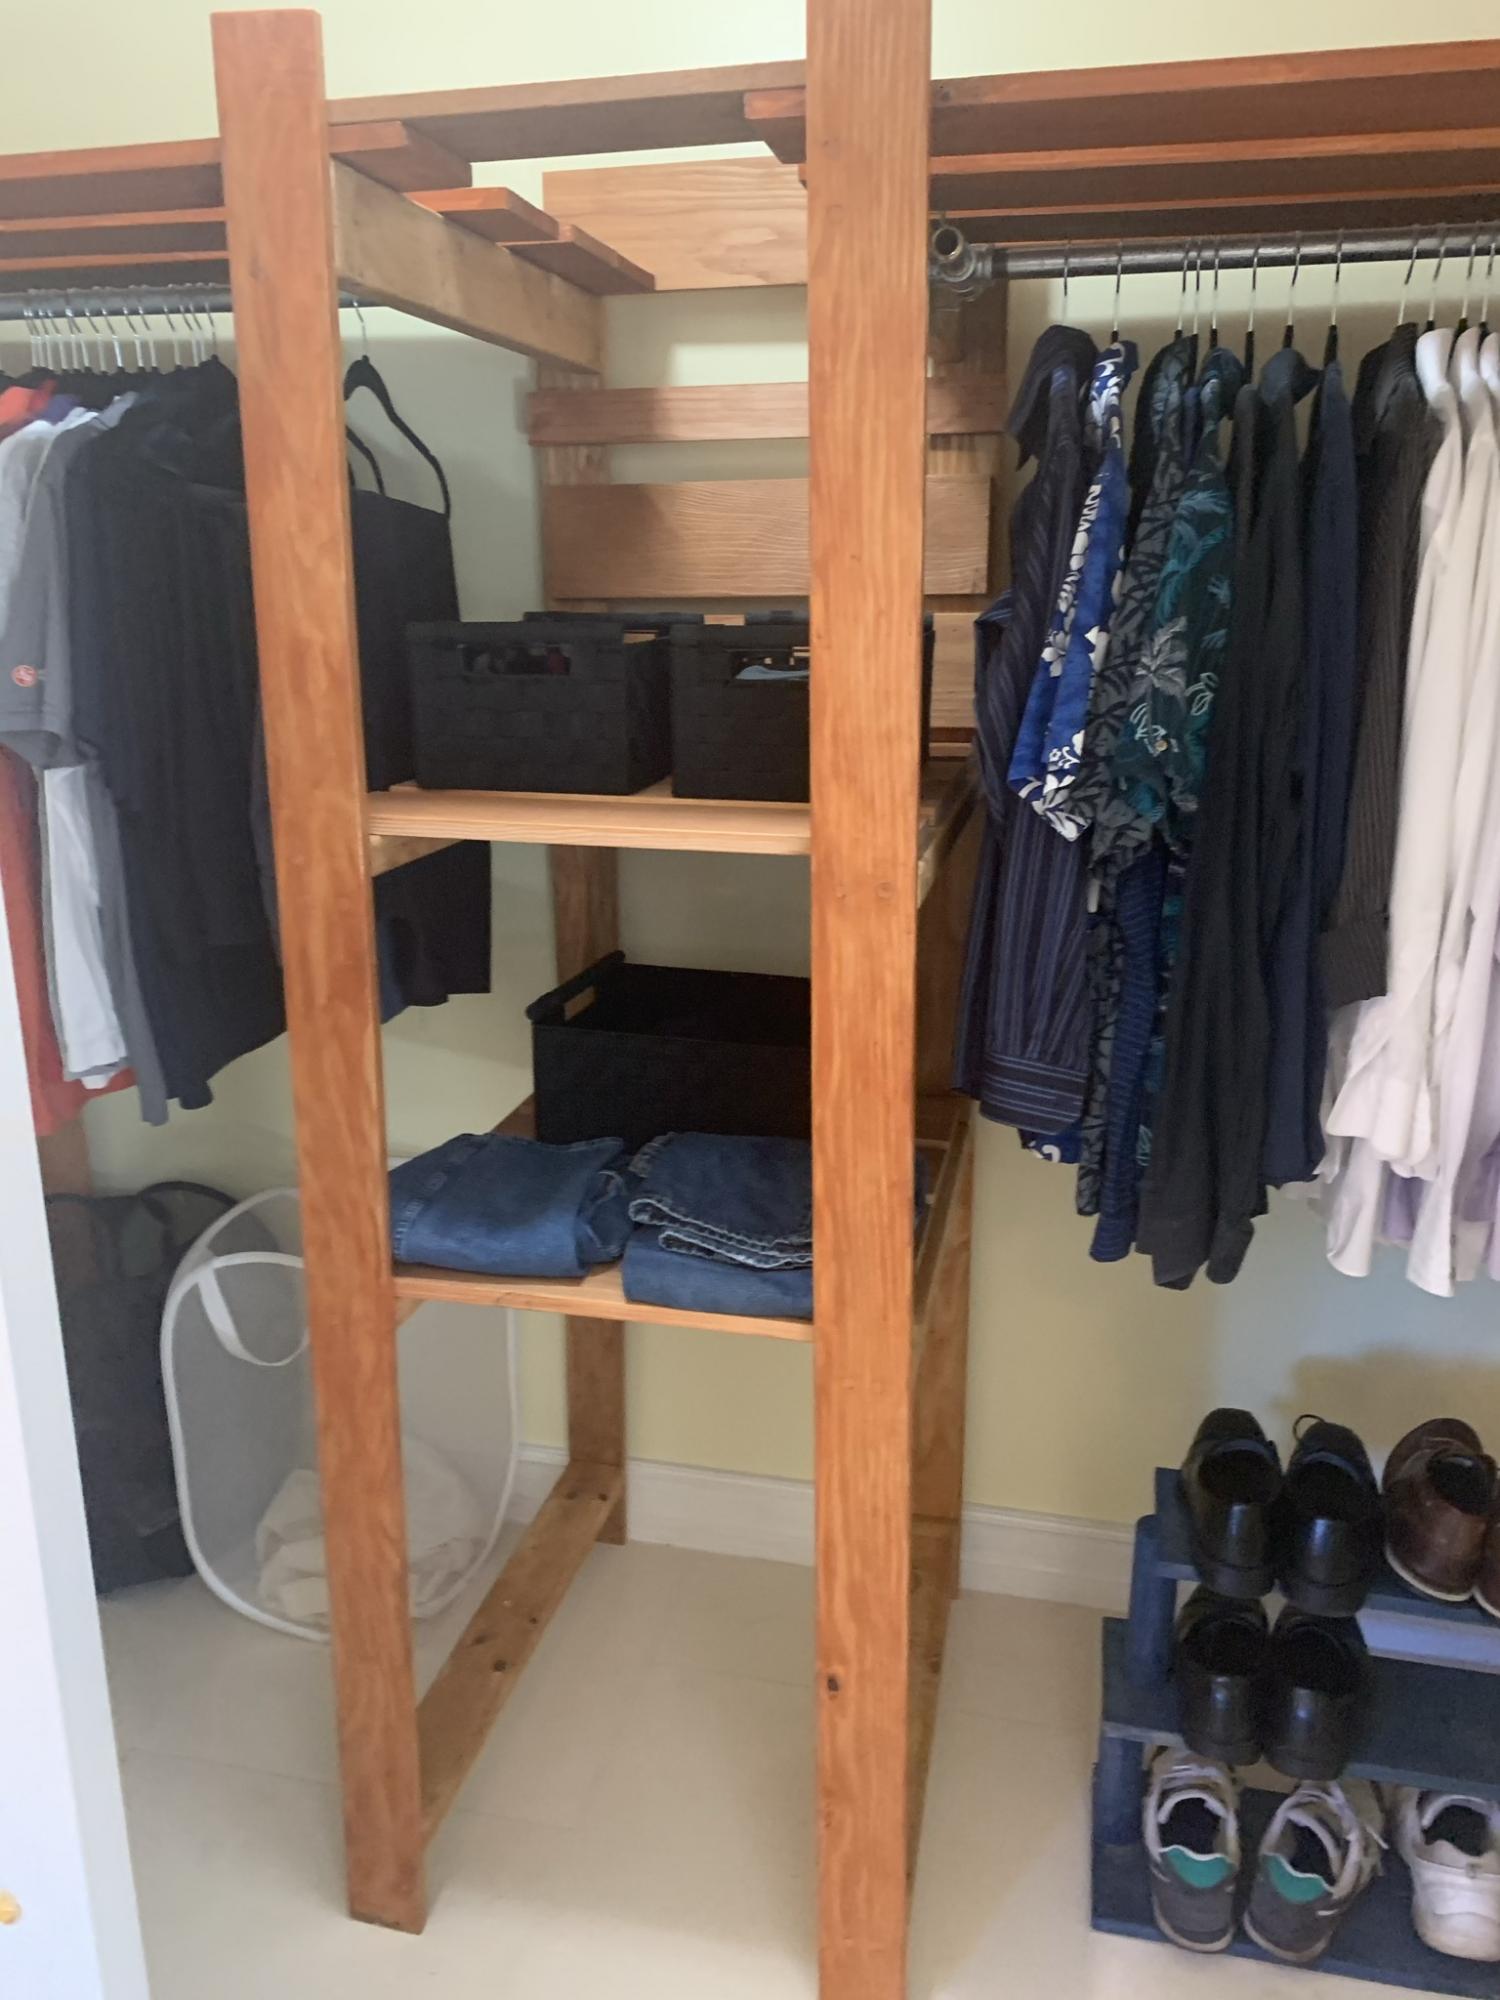
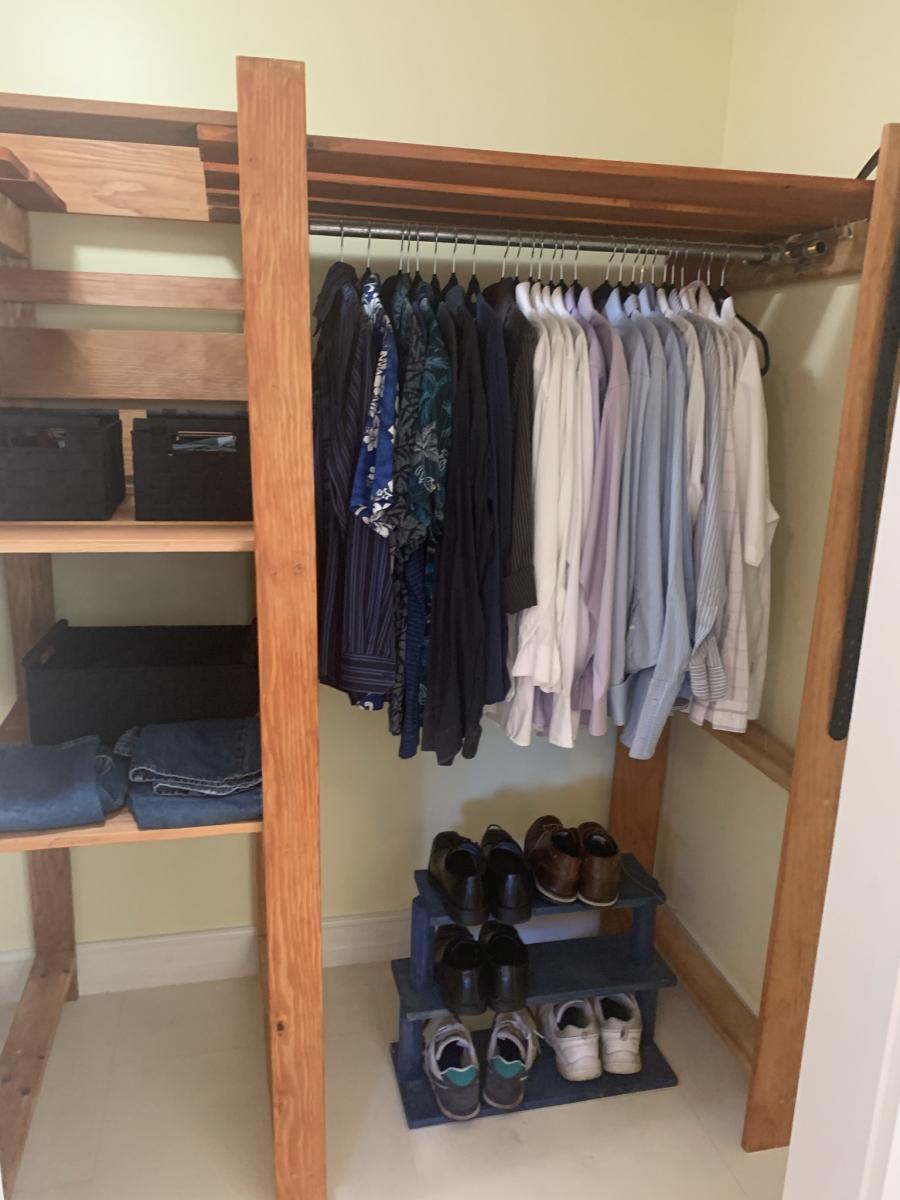
My DIY Closet Project

Hi DIY Peeps.

This is a pretty simple project.
The main point is to keep everything level across the 4 boxes.
I used simple jig's which were exact copies so I knew where to attach the shelves properly and level.

Note this on the pictures.

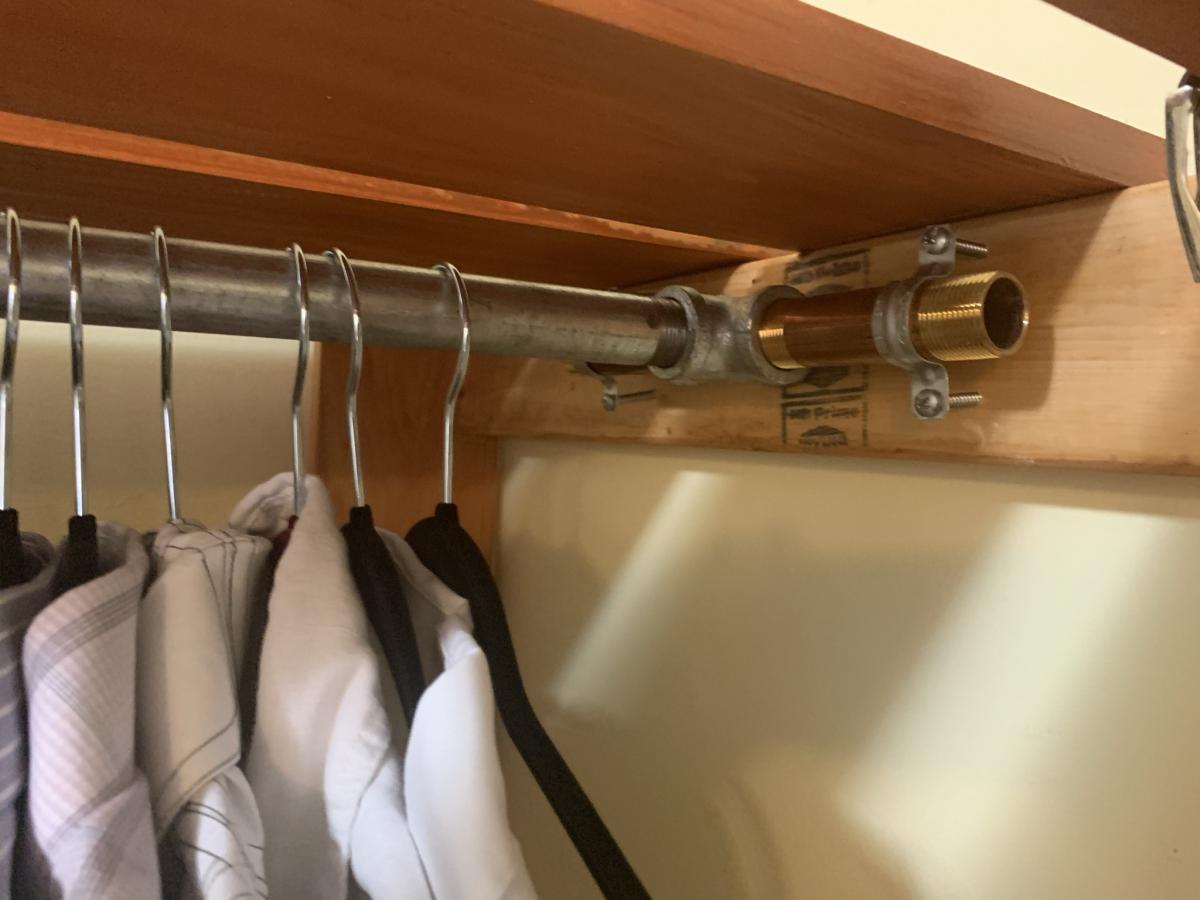
I wanted to use all Galvanized Pipe but sadly no matching parts.
Here I would suggest as Did Ana to keep your shelve parts no more then 3 feet or so.
Why, you can get off the shelf 36" precut galvanized pipes easy. Most closets are 8' or less so anything over that is a problem.

My measurements were

H=78"
W=8' 3"
Depth 28"

The Center Part is 2' as that was the natural distance as I went wall to wall 3 + 3 + 2 = 8

I modified the build to allow more storage on the top for bigger boxes and use as a Linen Closet of sorts.

My closet is out of Fir , and 2x4's I didn't want a all 2x4 closet. The thin wood at 3/4's get a lighter look to the closet. Also don't forget to screw the frame to the wall for safety, this is a pretty heavy closet !

Pine would work as would poplar or oak. But the 3x4 thick and 5" and 3" wood really made it look great.
Notice have the 5" is the middle and the 3" wide is at each end. This gave the closet a more fun look.

Notice the hanger for the 3' galvanized rod. I used Copper and pipe clamps to give it a unique look.
This really makes the closet Pop.

Overall it was a fun project, it took 3 weekends as I stained it with Carmel Oak color and that took 3 coats on the Fir.

The shelves are the longest part of the work, but use the jigs like I did and it will come out all level.

I am very happy with it in the End, Sadly i can't open the doors all the way to show how big this actually is!

Estimated Time Investment
Week Long Project (20 Hours or More)
Finish Used
Honey Oak Stain.
Recommended Skill Level
Beginner

Comments

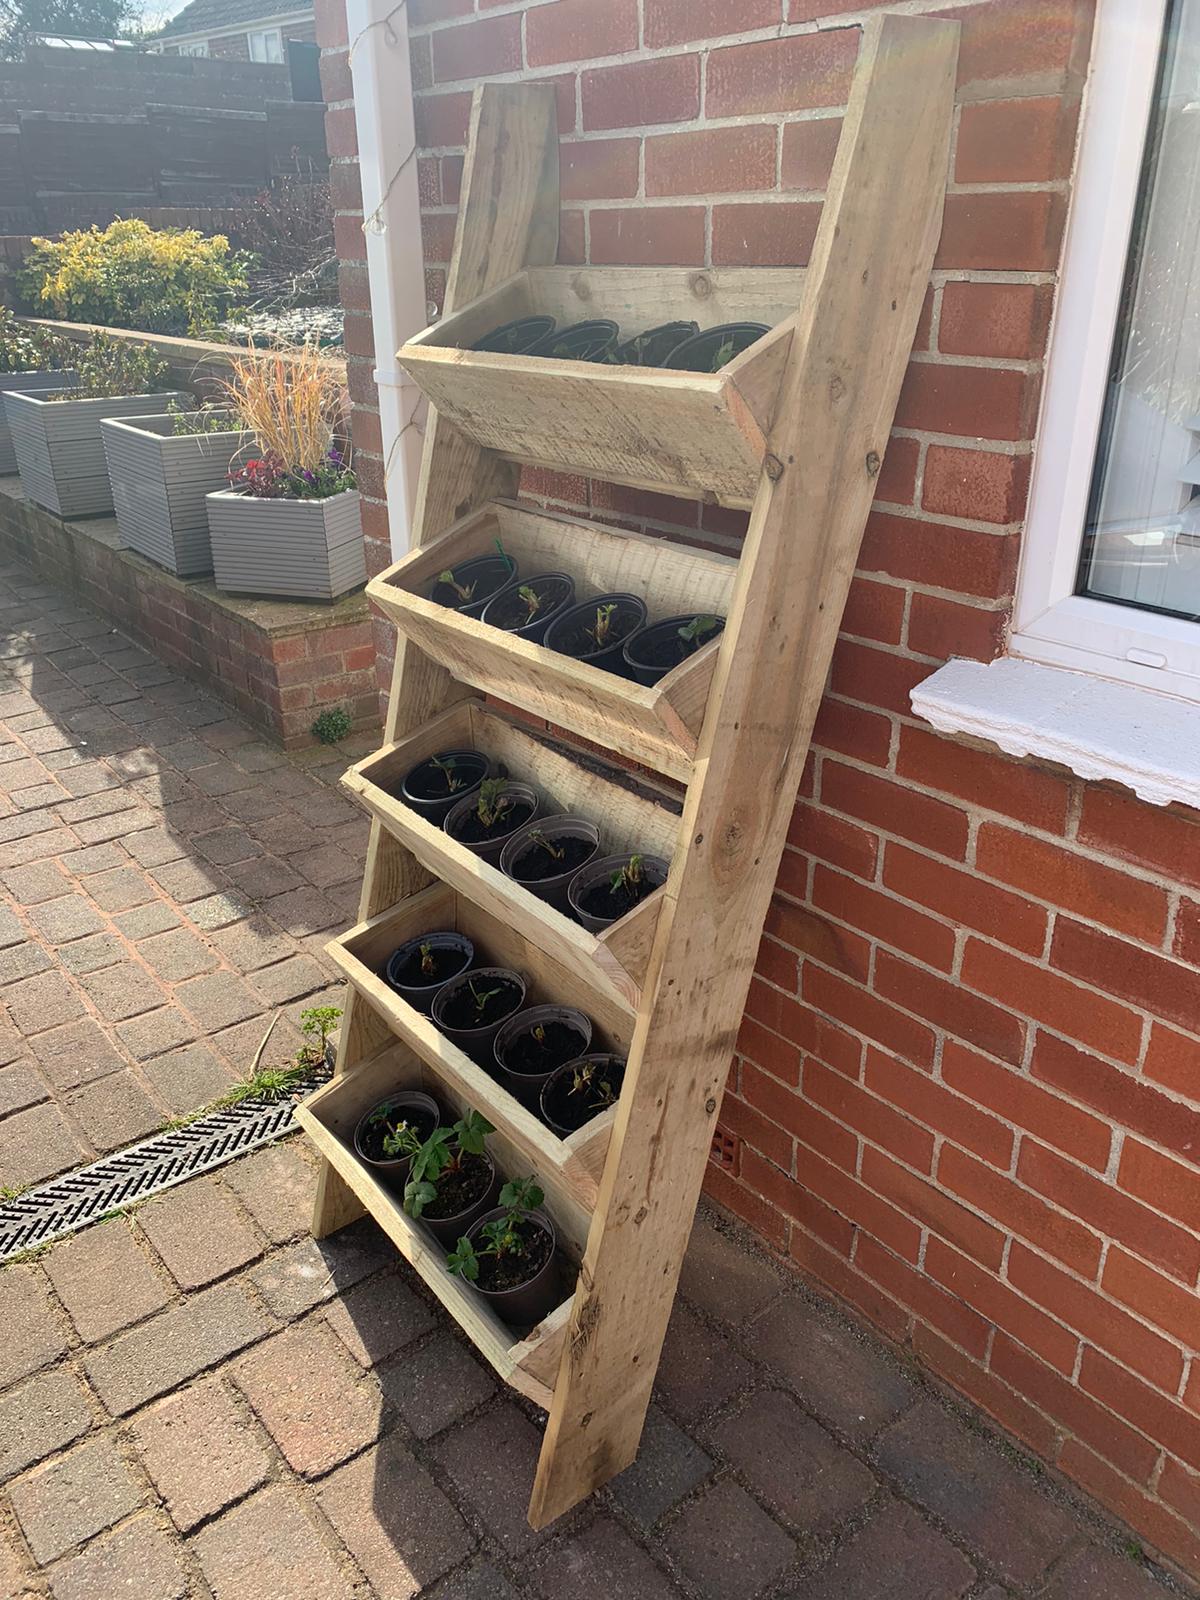
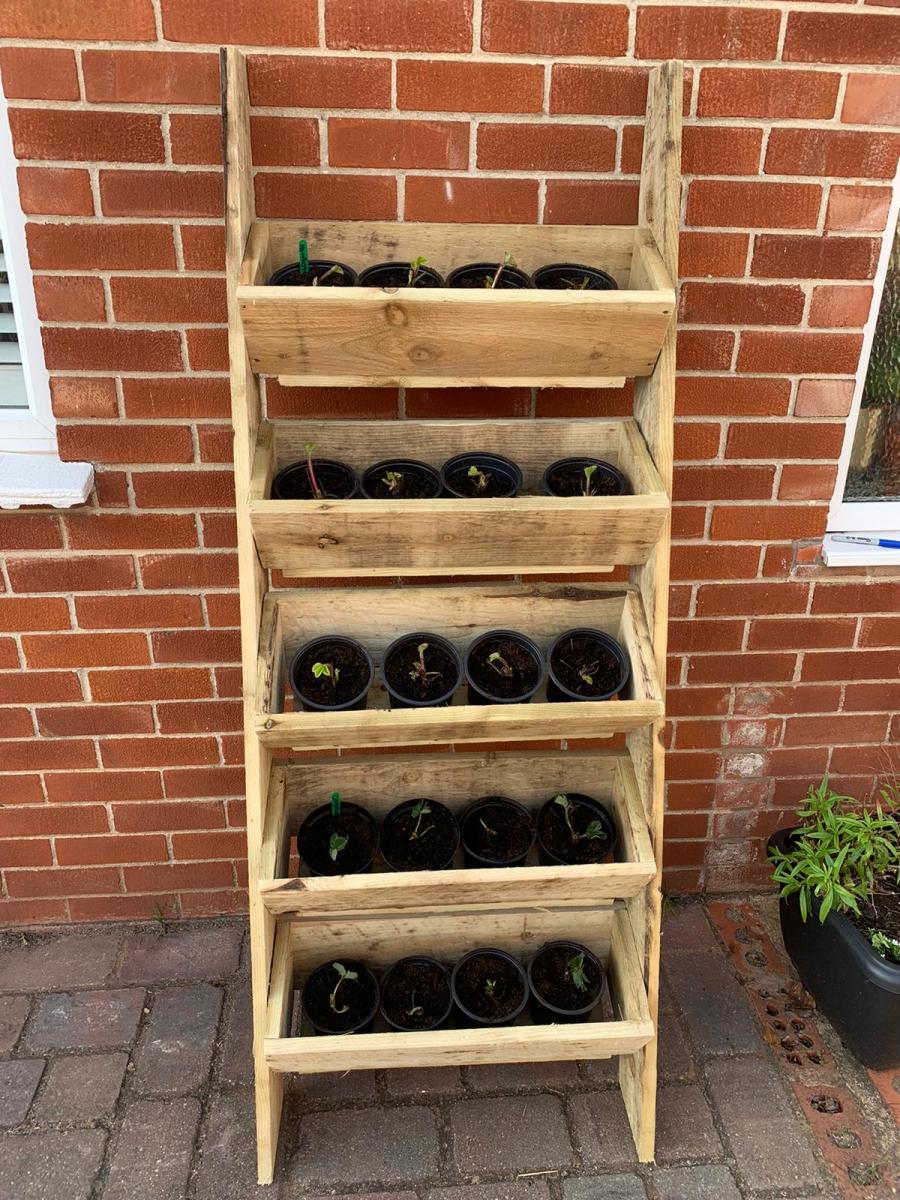
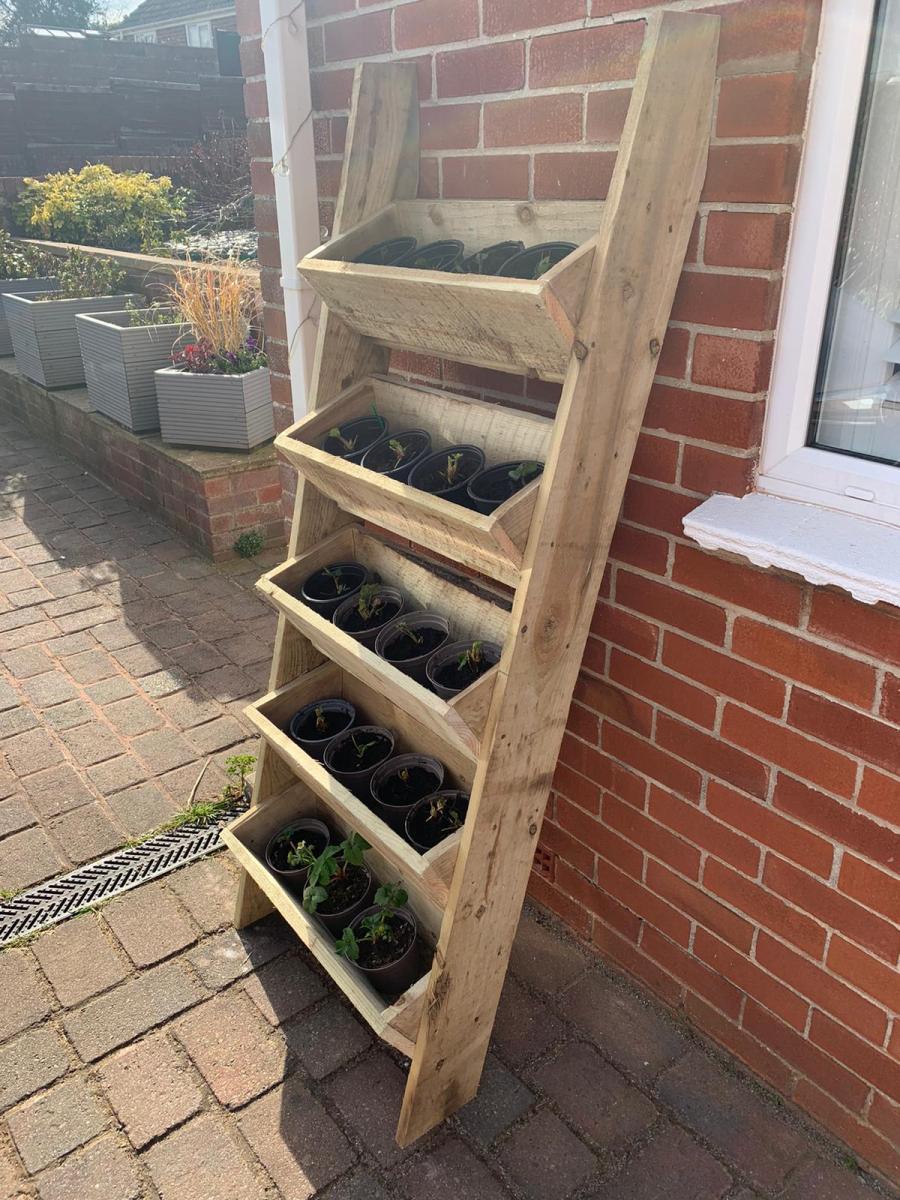
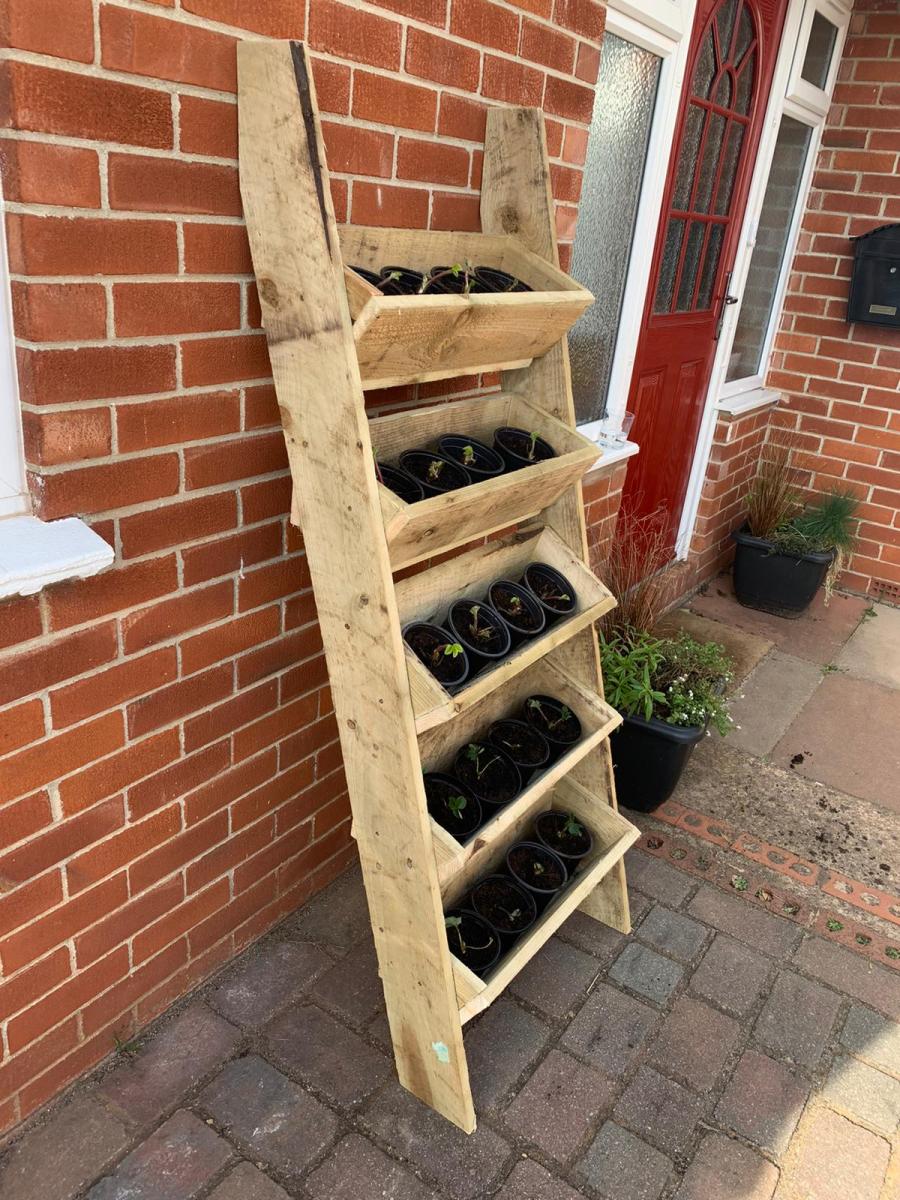
Strawberry planters

Submitted by DevonWood on Thu, 04/08/2021 - 00:17

Using plans from this website here are pictures of two, five tier strawberry planters.
Each tier is wide enough for 4 plants in one litre pots.

Estimated Time Investment
Afternoon Project (3-6 Hours)
Recommended Skill Level
Intermediate

Comments

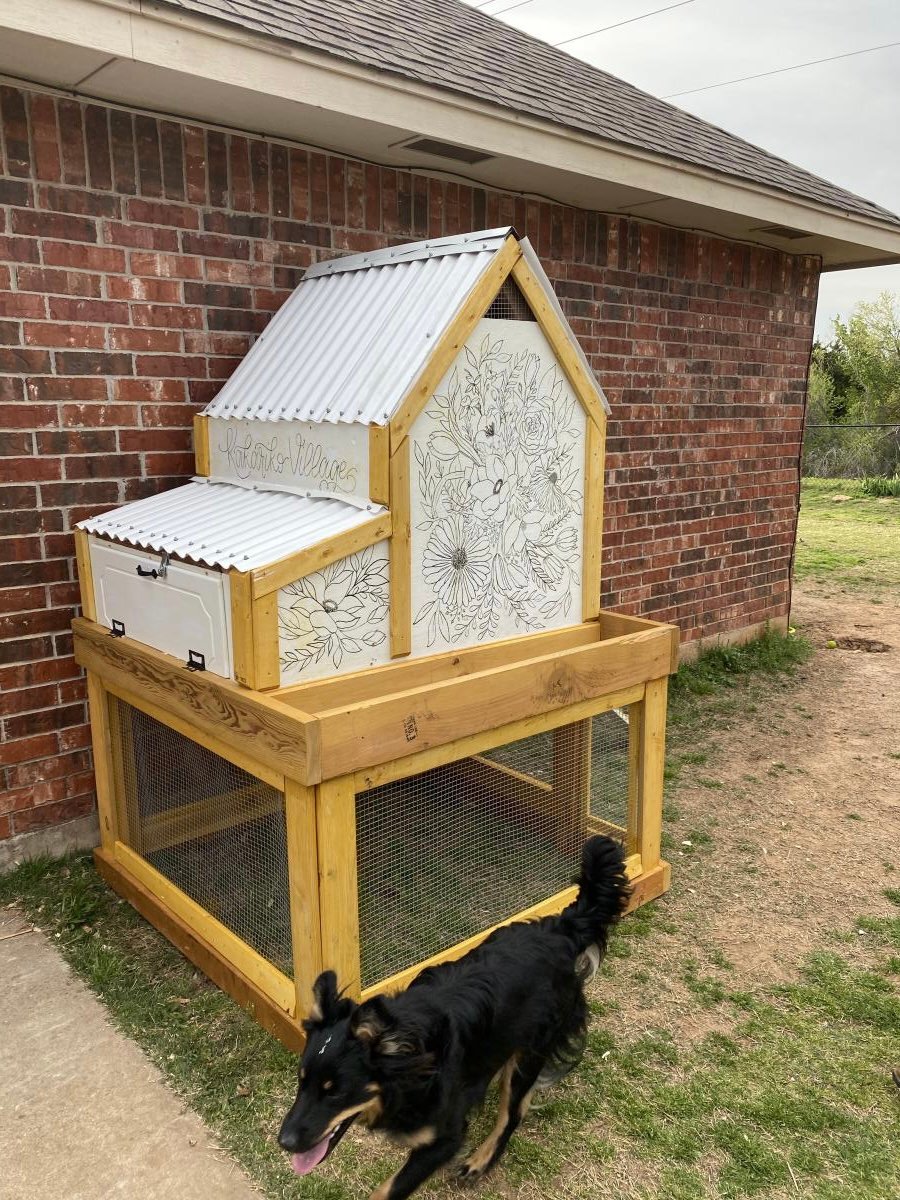
My floral chicken coop

Submitted by Anonymous (not verified) on Mon, 04/26/2021 - 19:25

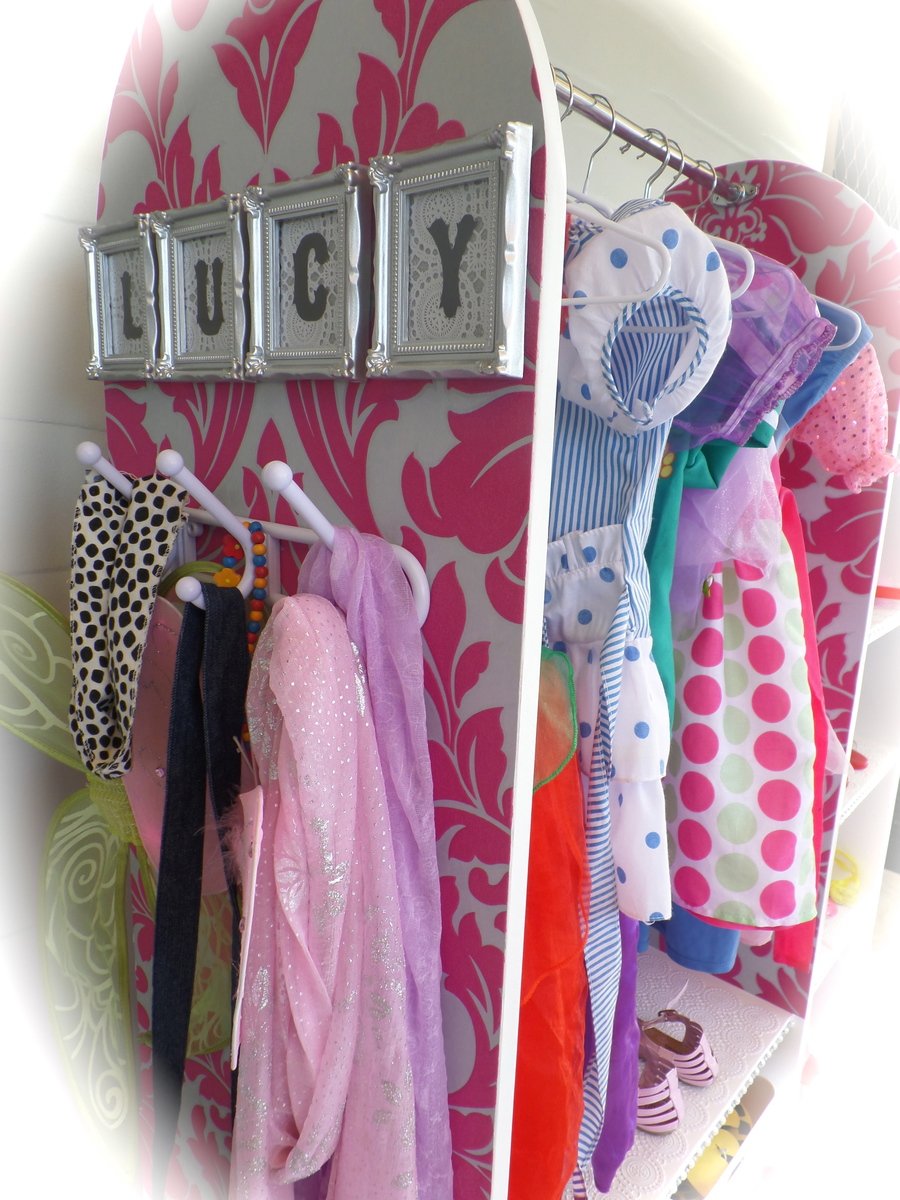
I’m so thankful I found Ana White’s site, like, 10 years ago. She’s inspired me so much and helped me to know I could build stuff! This is far from the first thing I’ve built but it’s absolutely the most complex! I was able to find a bunch of wood free locally from a construction site (they posted it online) and some friends had some old plywood they were kind enough to give us. Even with most of the wood covered, the cost of hardware and other supplies still took us over $200. I worked on it during the day for the last few weeks around our homeschooling schedule, so it did take quite a bit of time. I also had to modify it to work with the wood I had and I wanted to make it bigger inside. But it’s finally finished and our little chickies seem quite happy so far!
Estimated Cost
$250
Estimated Time Investment
Week Long Project (20 Hours or More)
Finish Used
Exterior white paint, honey colored sack stain
Recommended Skill Level
Intermediate

Comments

Toybox

Submitted by brianl on Mon, 04/29/2013 - 22:17

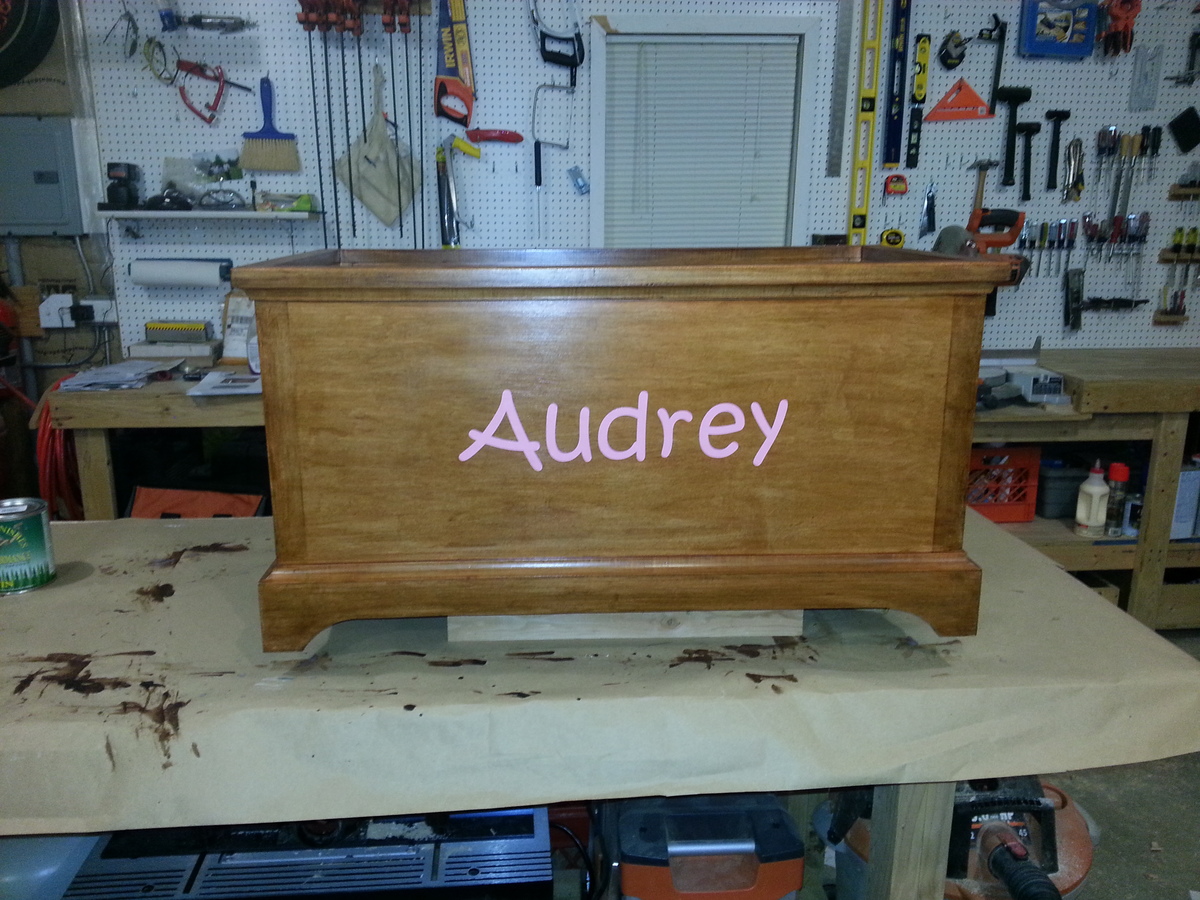
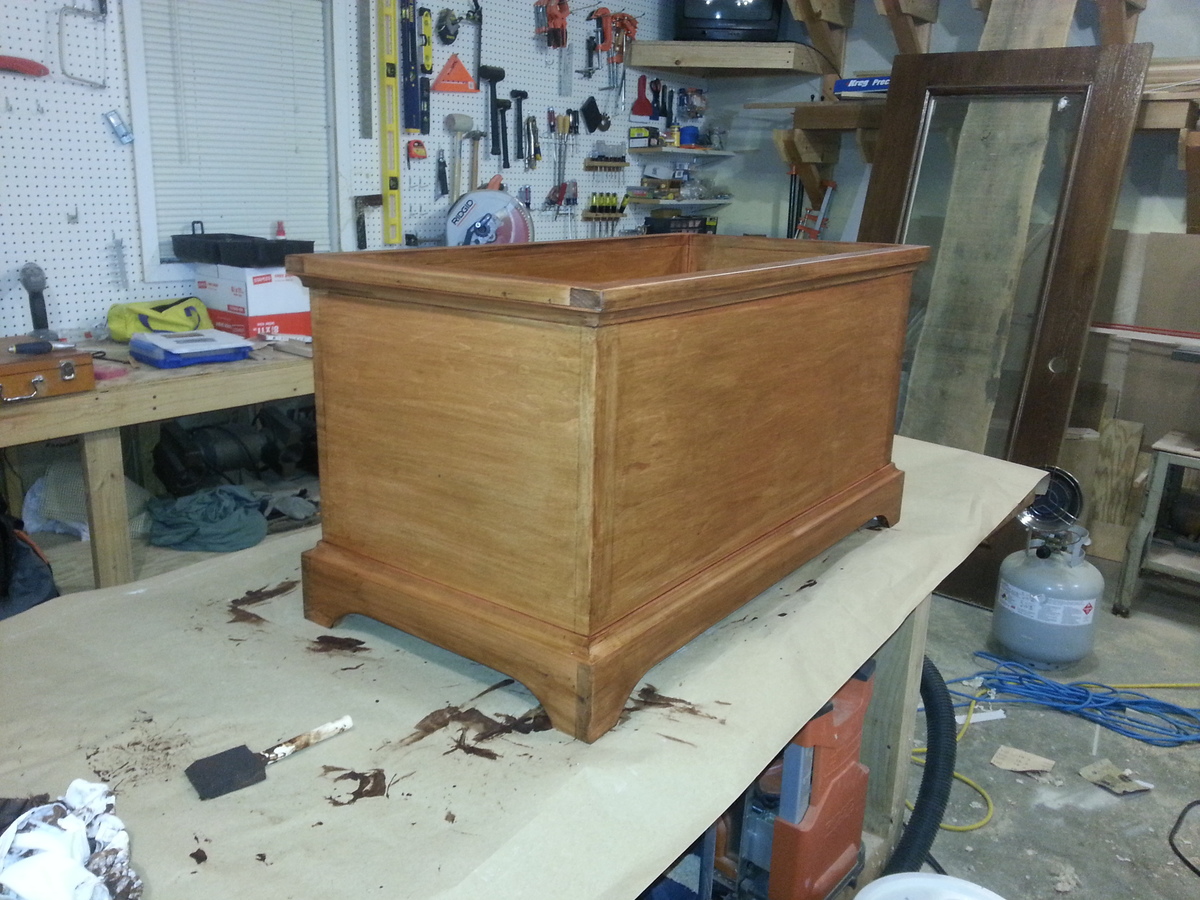
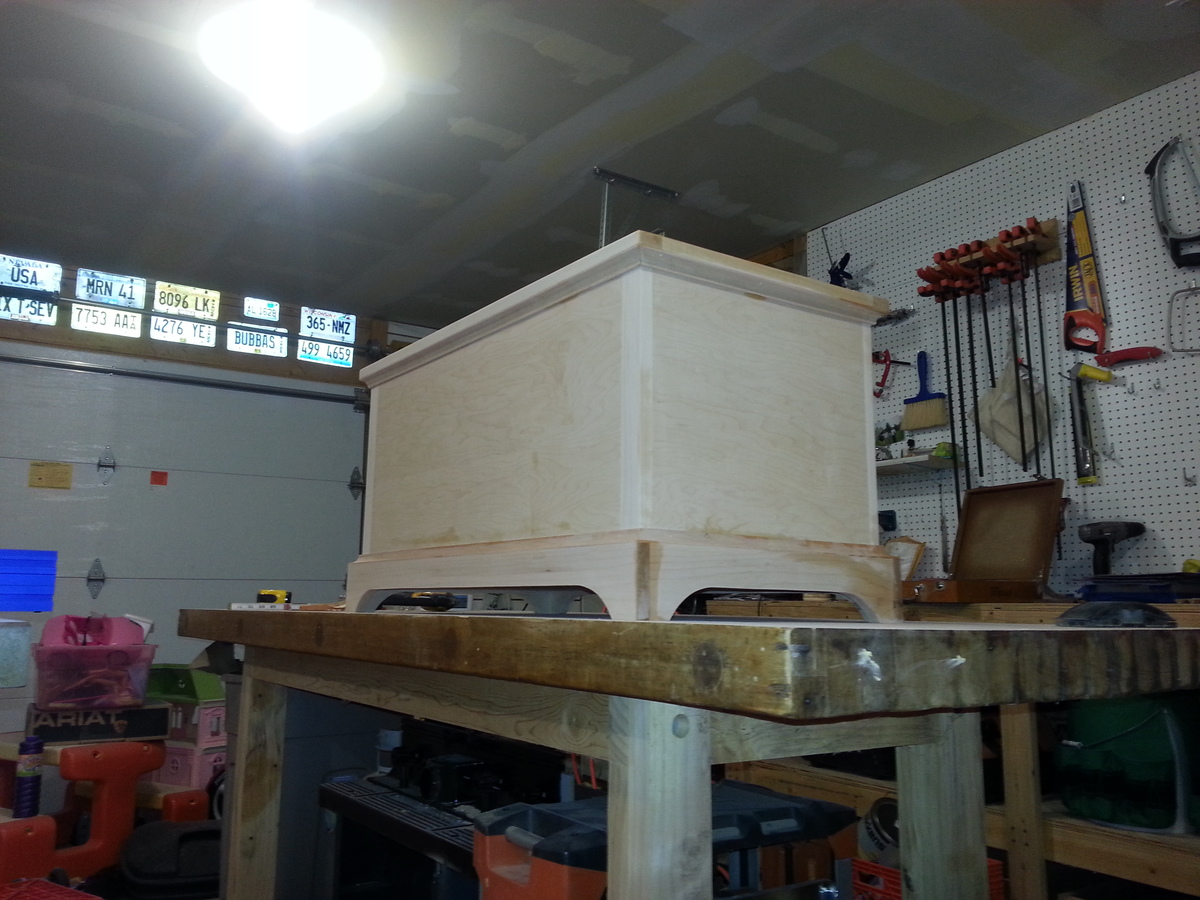
I loved this plan. Could not find anything else close. There is details on pocket screws from another user. I loved this. I did use plywood but edge the front and rear with a 1x2 (planed thickness to be flush with plywood). I also pocket screwed the 1x2 to the plywood. I loved this and it is way cleaner than exposed corner moulding.

Built from Plan(s)
Estimated Time Investment
Week Long Project (20 Hours or More)
Finish Used
General Finishes - Pre-condition, stained and 4 coats of poly!
Recommended Skill Level
Beginner

Comments

pam312

Wed, 05/22/2013 - 06:45

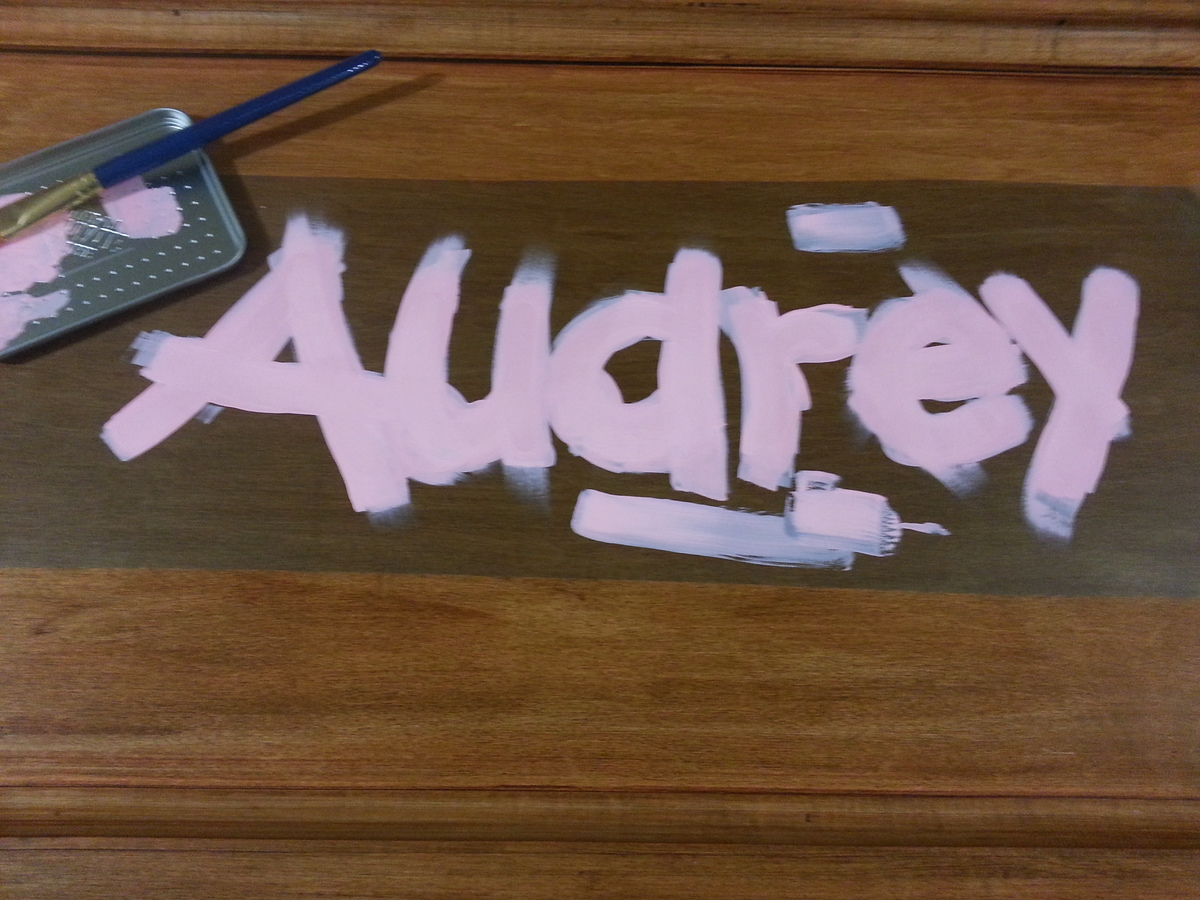
do you remember what color and brand of stain you used and what type of paint for the lettering?
thanks,pam

Wood Toy Box

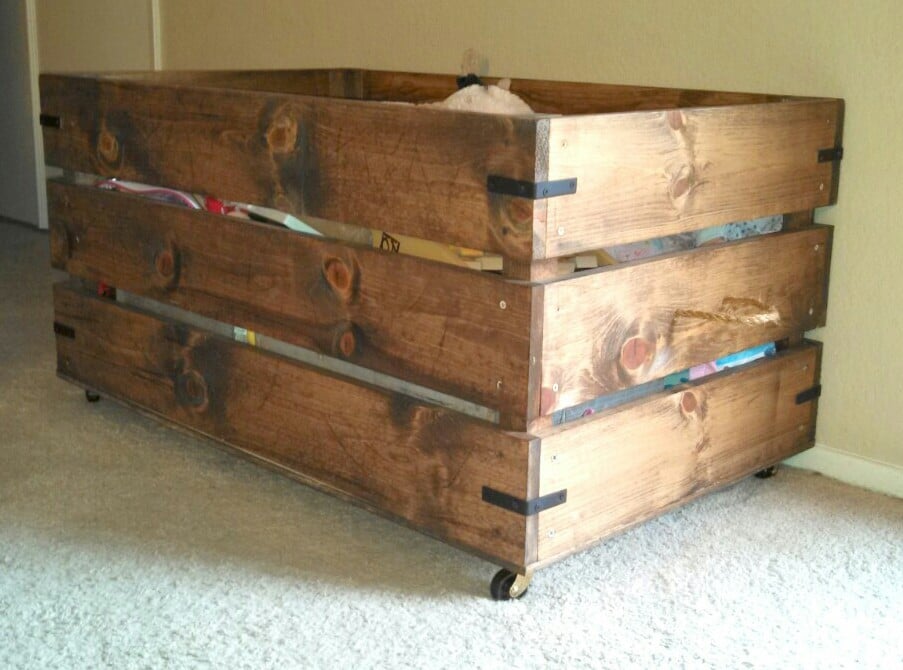
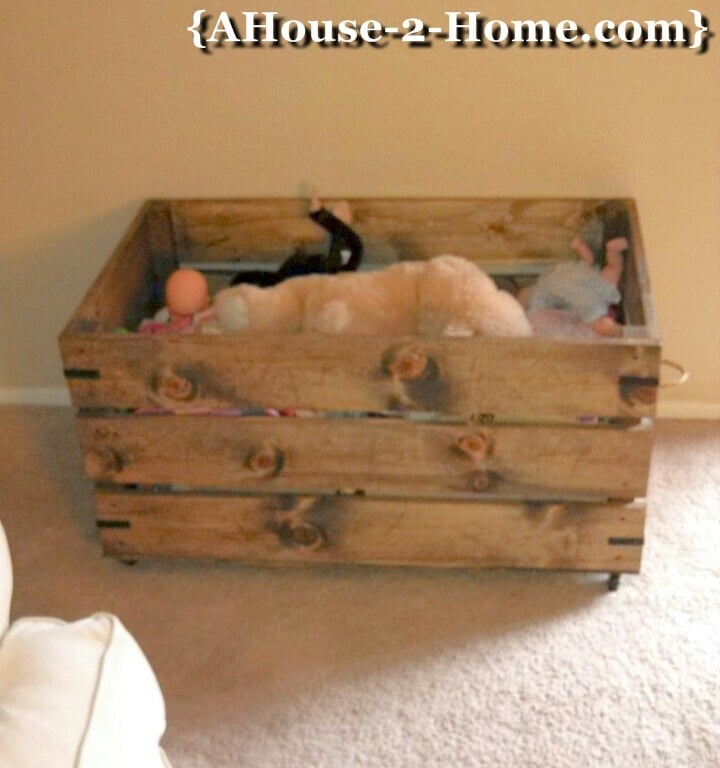
This is a great beginners project. I wanted something that would match my living room and still be functional for my daughter to get her toys out . We have a full tutorial at our blog.... www.Ahouse-2-Home.com Also , if you have any questions please feel free to leave us a comment! Thanks!

Built from Plan(s)
Estimated Time Investment
An Hour or Two (0-2 Hours)
Finish Used
Chestnut stain
Recommended Skill Level
Beginner

Comments

ImTheNana

Sun, 01/25/2015 - 07:15

Is there another source for the plans? The linked site is down.

2x4 Rustic Outdoor Bench

Submitted by Anonymous (not verified) on Thu, 11/09/2017 - 09:46

Submitted by Carla Santiago on Facebook - 


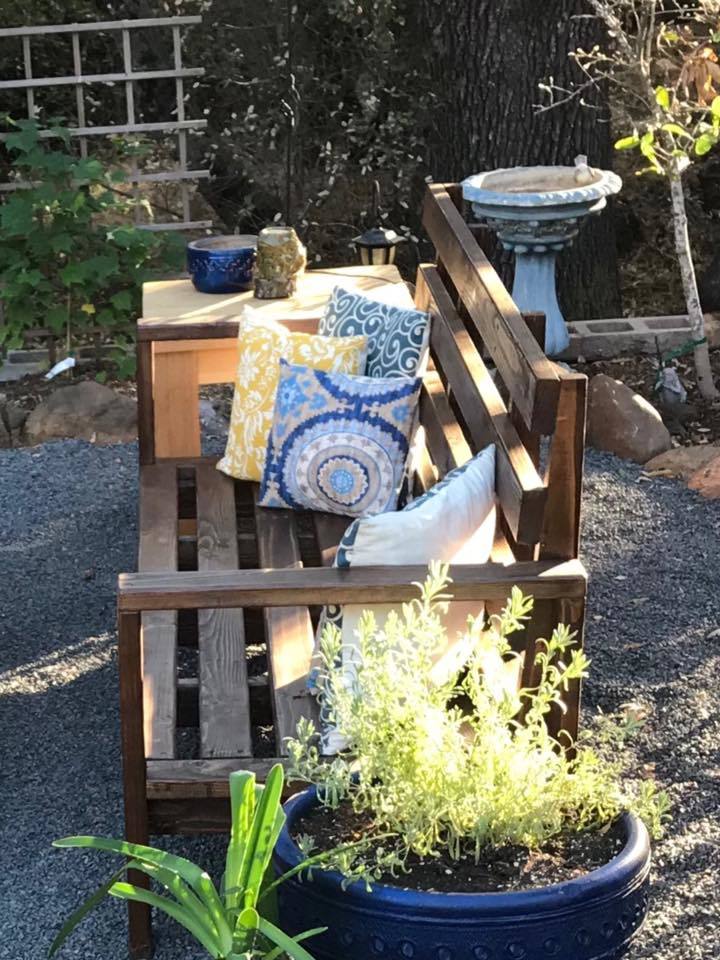
We did a bench, I got your plans off Pinterest. We just put a slight slant to the back and we love it. Thanks for the great plans.

Built from Plan(s)
Recommended Skill Level
Beginner

$235 Weatherly Pergola

This is the first time I've ever taken on a project of this scale. The pergola is 12 x 11, and I was able to get it all done for $235 by having Lowe's price match a lumber yard in the next town over. I skipped out on the fancy base covers because I'll eventually make those pretty with limestone stacking rock - and because the lumber for those alone would cost about $121.
Once the treated lumber seasons, I'll stain it a darker color.

Built from Plan(s)
Estimated Cost
$235
Estimated Time Investment
Weekend Project (10-20 Hours)
Recommended Skill Level
Beginner

Comments

Pantry Bin Storage

Submitted by vendo on Tue, 01/18/2022 - 10:21

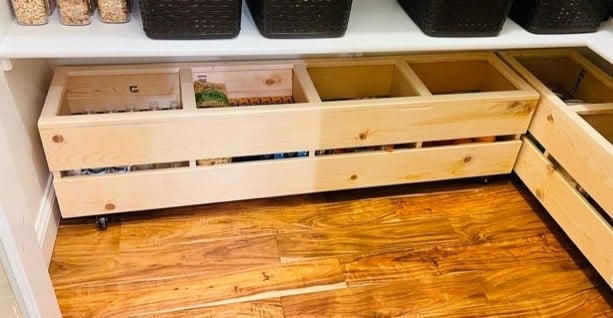
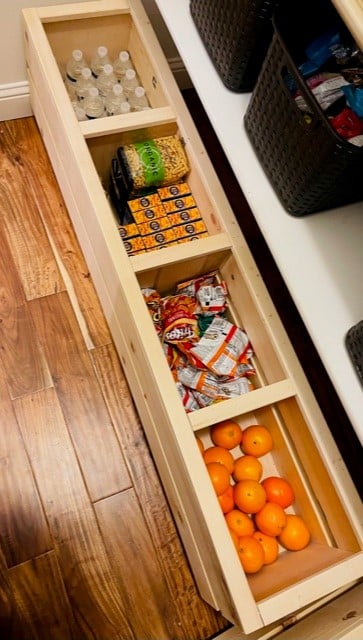
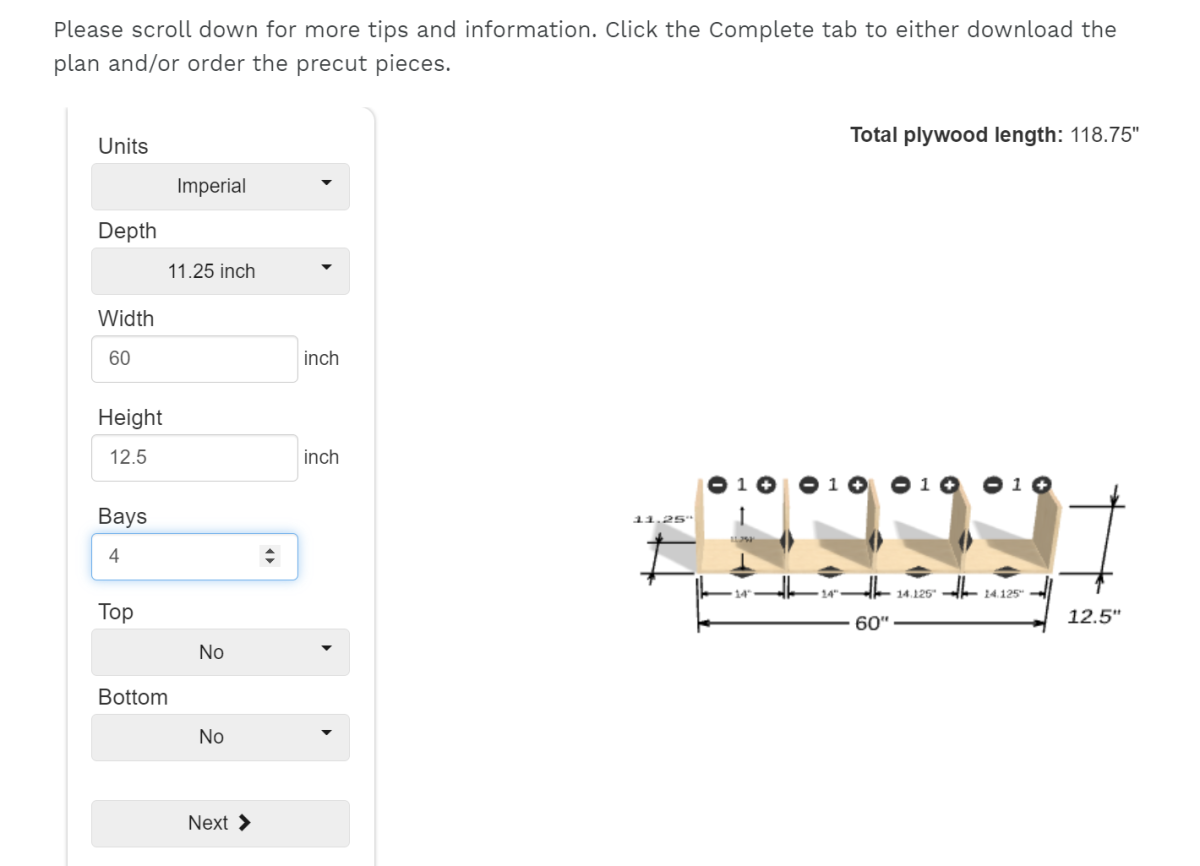
I used Shelf Help for the plywood pieces, then planked the sides with some 1x's, and added a face frame for the top edge. Casters allow for it to be moved easily and cleaned under. This is a great way to add extra storage under the pantry shelves and this design is super easy to modify for any size and height!

Comments

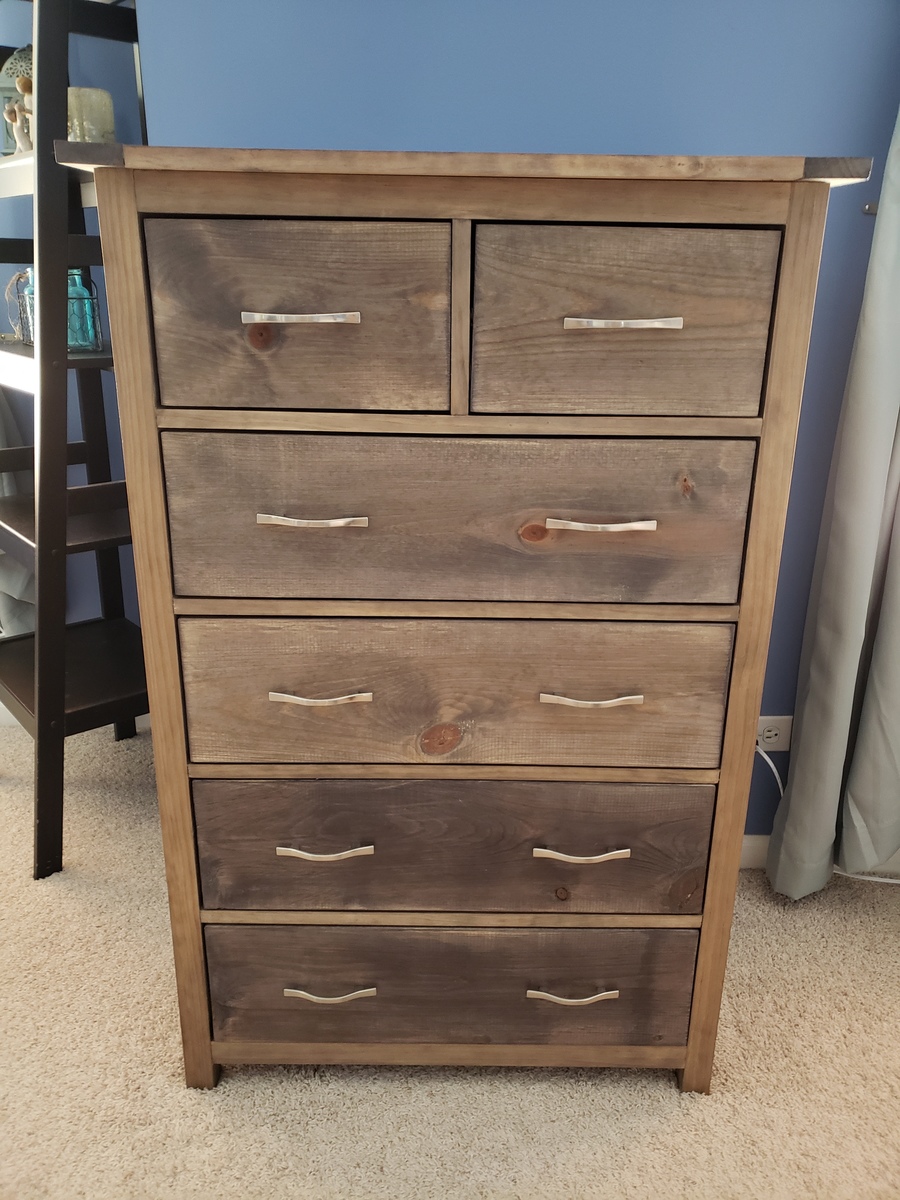
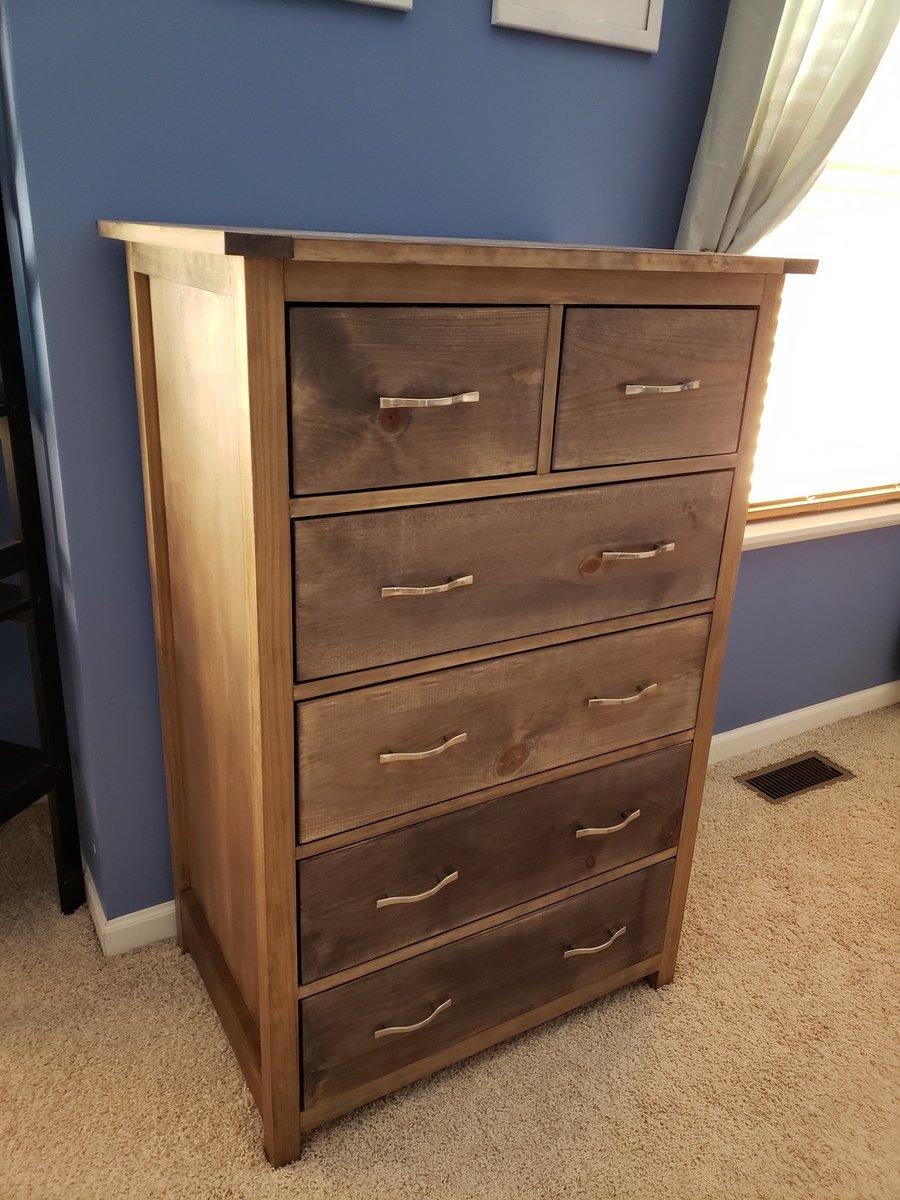
Tall Bedroom Dresser

Had a blast with this project and am getting more confident with drawer slides. I built a matching dresser that is much shorter and wider. It can be found here: http://www.ana-white.com/2018/08/DIY_furniture/bedroom-dresser

Estimated Cost
$150-$200
Estimated Time Investment
Weekend Project (10-20 Hours)
Finish Used
Varathane Weathered Wood Accelerator, Varathane Poly
Recommended Skill Level
Advanced

Comments

hutchingslv

Thu, 08/12/2021 - 15:35

Any way to get a copy of these plans? I really like the look and want to give it a shot. Have to make a few of these if all goes well for all my boys.
Thanks

Chunky Leg Bed Frame slightly taller

Submitted by nagariz on Sat, 08/27/2011 - 01:06

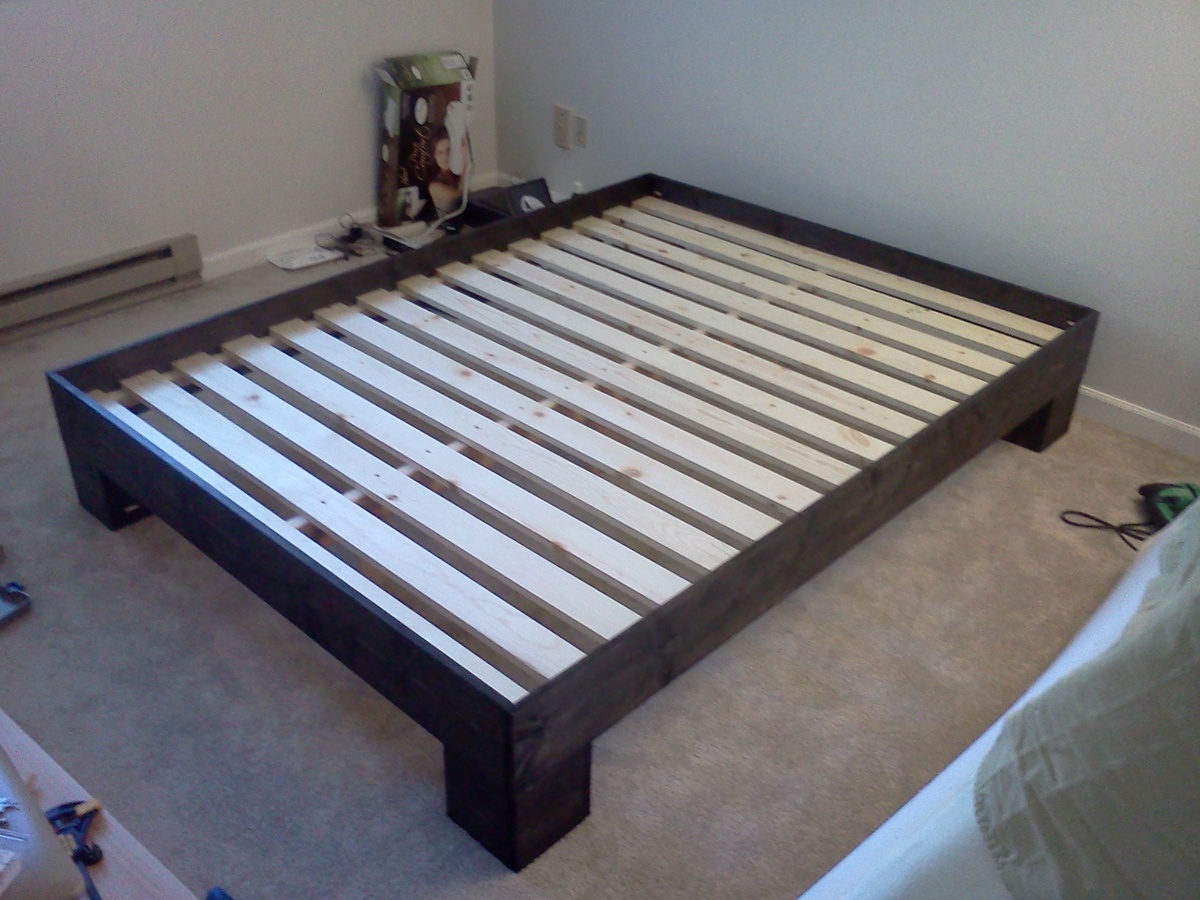
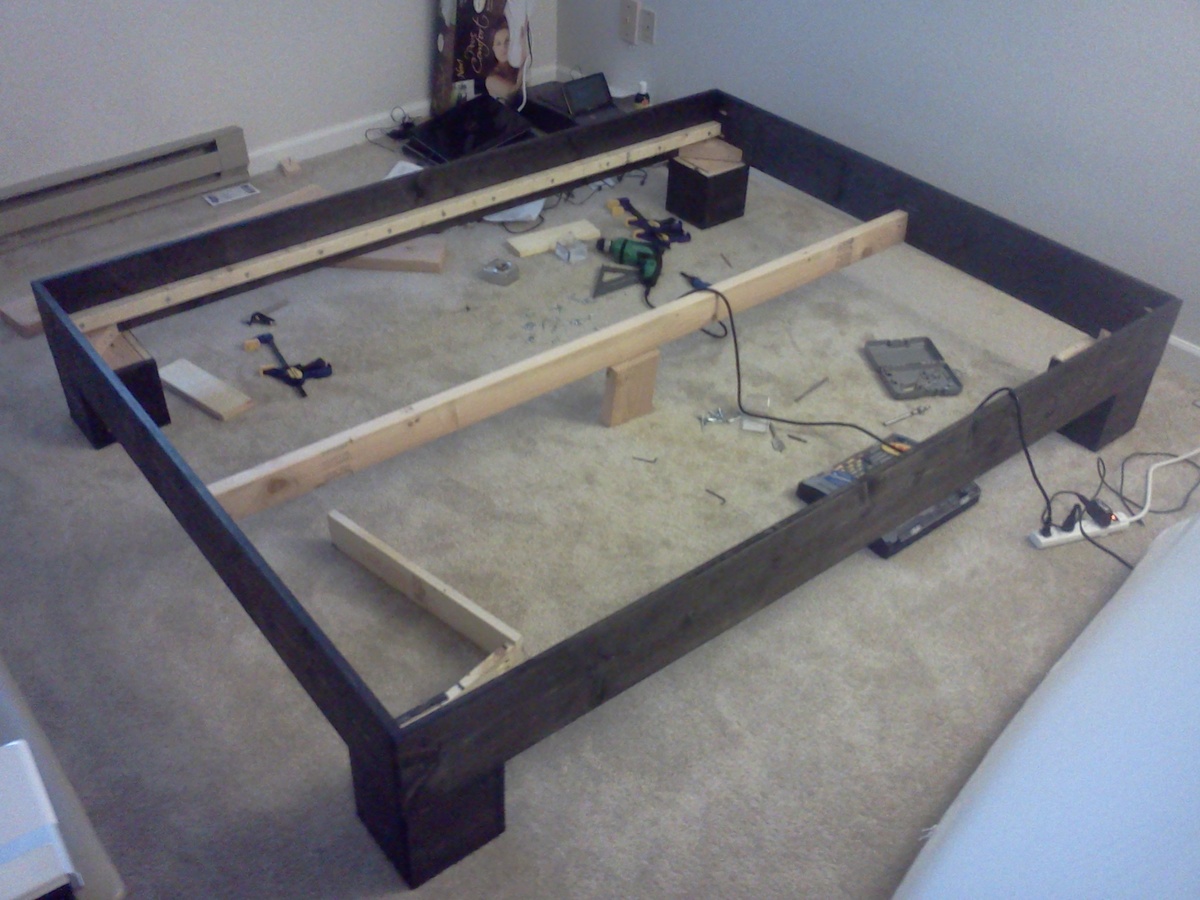
First time really building anything out of wood. Getting a kreg jig was probably the best decision I made on this project. I made the legs slightly taller (7") for a bit of underbed storage and used a 2x4 brace instead of 2x6, so I could sit the slats down a bit lower but still keep a gap above the legs. The mattress sits 3" below the edge of the bed. I put a few legs under the center support, but they probably weren't necessary for the queen size bed. I spent about $150 for the lumber ($50 just for the bigger slats for my memory foam mattress), and about $50 for the kreg jig jr. and screws. I did not use any glue so I can take it apart later, and so far it seems pretty sturdy with no creaks. Thanks so much for the plan Ana!!! On to a headboard and bedside tables...

Estimated Cost
$150
Estimated Time Investment
Weekend Project (10-20 Hours)
Finish Used
Ebony Minwax stain one coat for 15 minutes
Recommended Skill Level
Beginner

Comments

VelvetSky

Sun, 08/28/2011 - 20:16

I love this! I am looking to build something like this, so I can get rid of my box spring.

Larissa (not verified)

Sat, 10/08/2011 - 13:11

This looks awesome for a first timer! Good job and I agree about the Kreg...it is a wonderful investment for any future projects. I have memory foam too so will probably do the same with having wider slats.

Fireplace with hidden Mantle storage and side bookshelves

Submitted by ibseenu on Thu, 12/01/2022 - 14:30

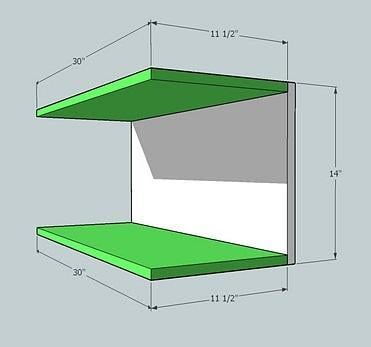
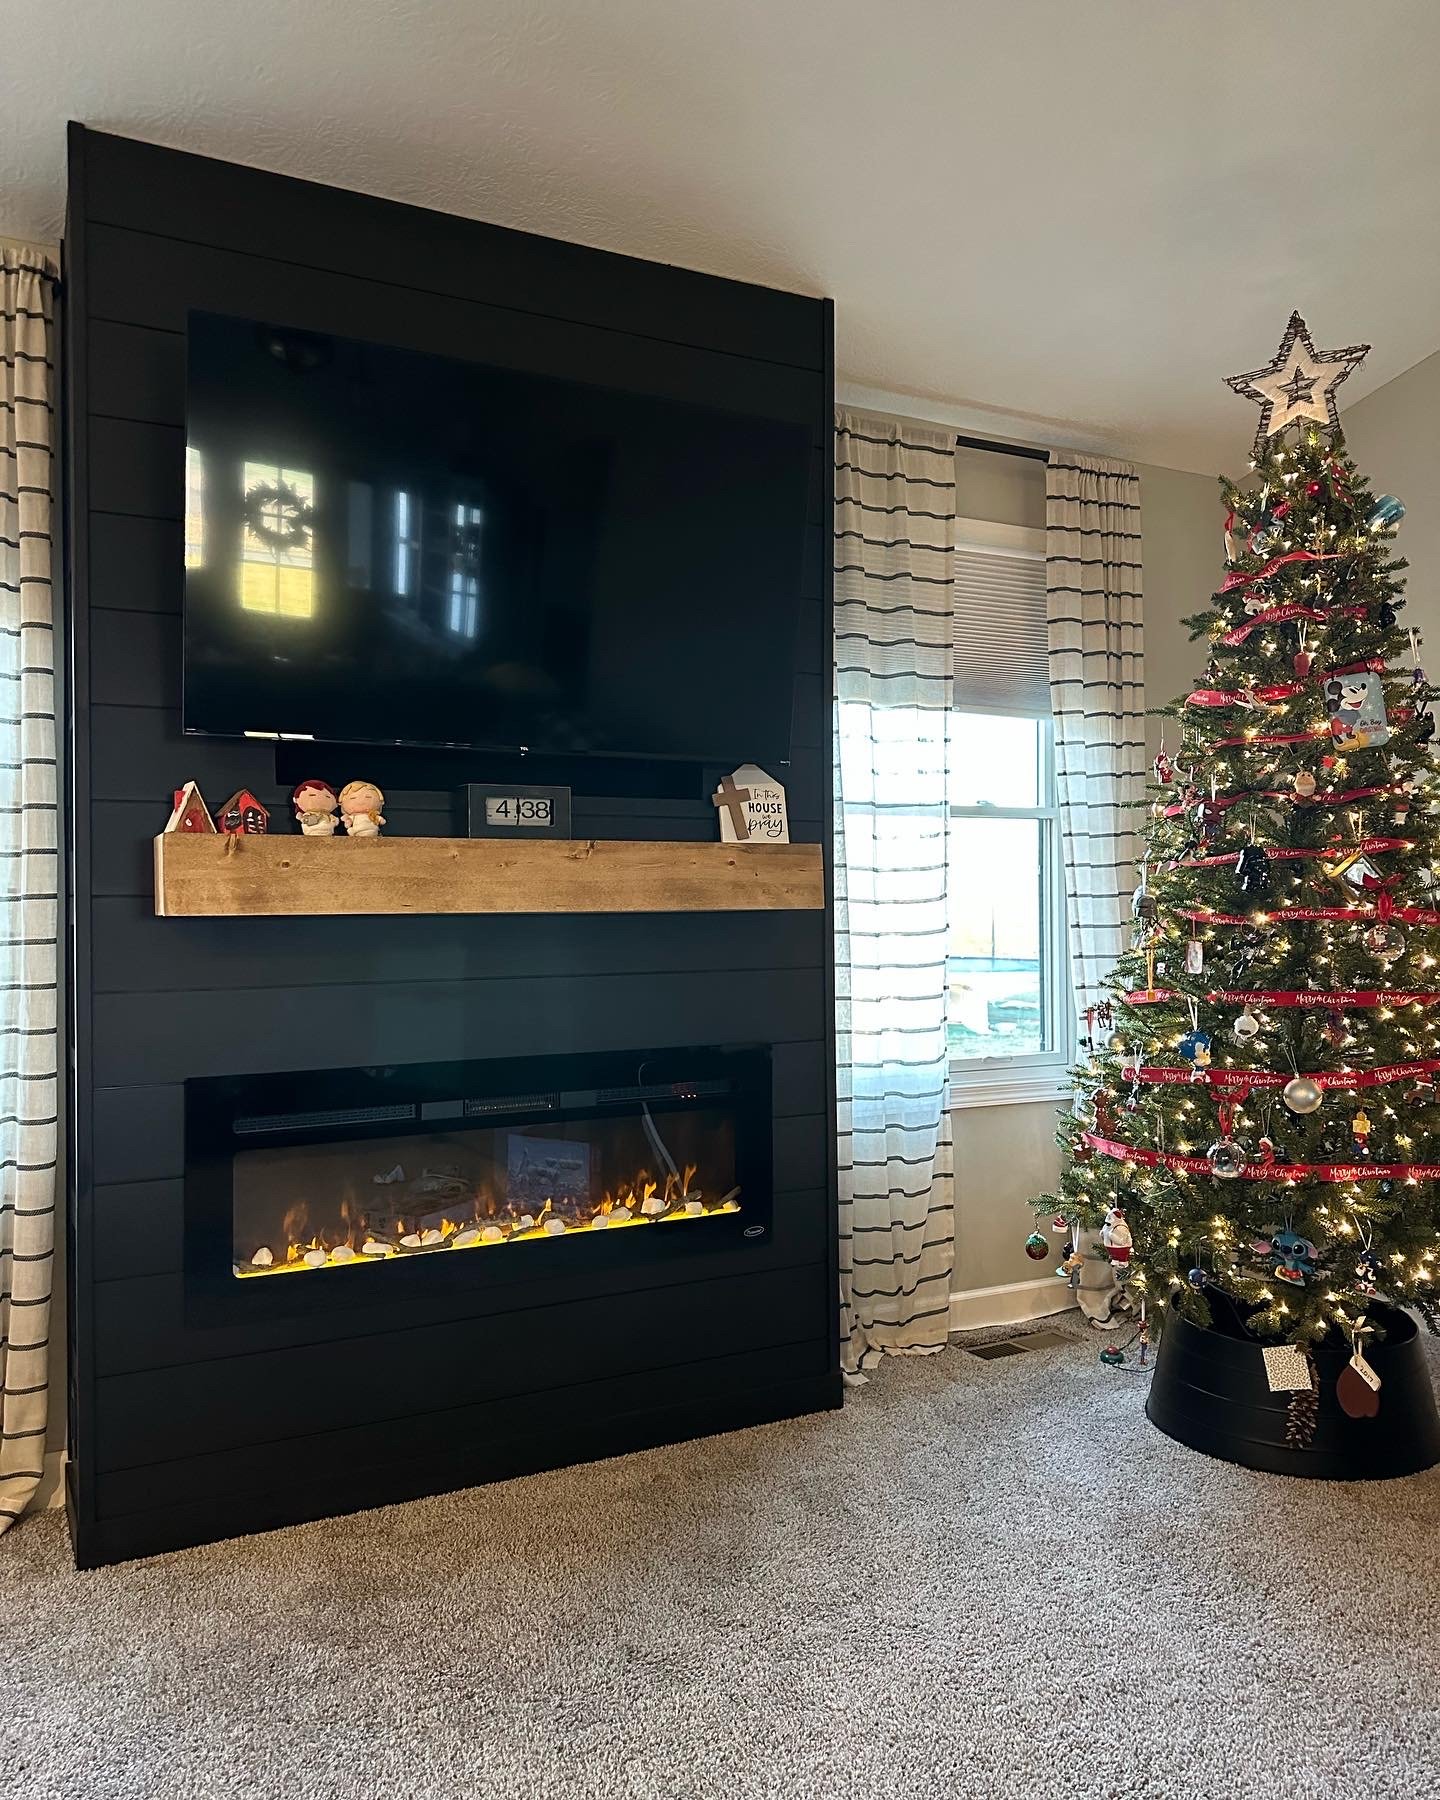
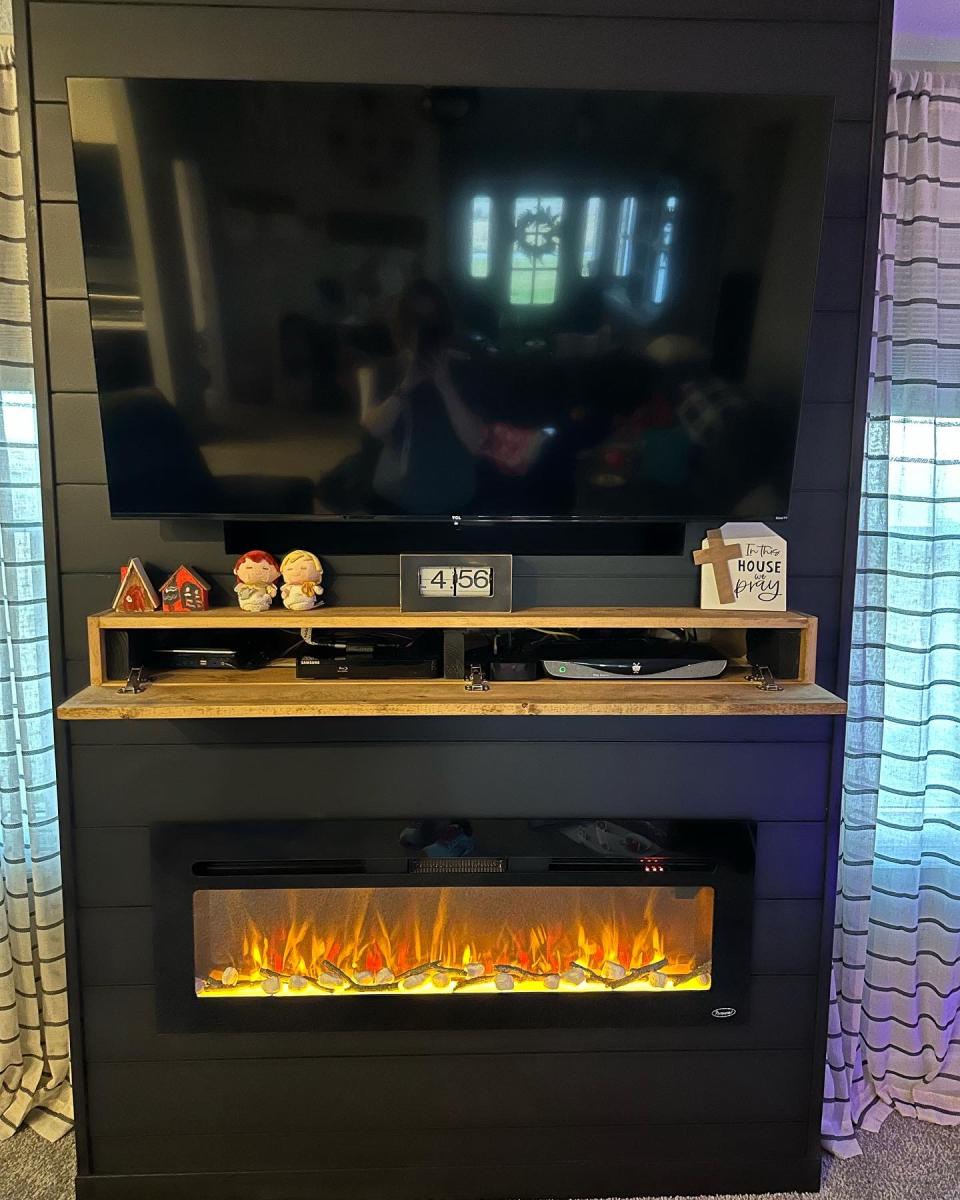
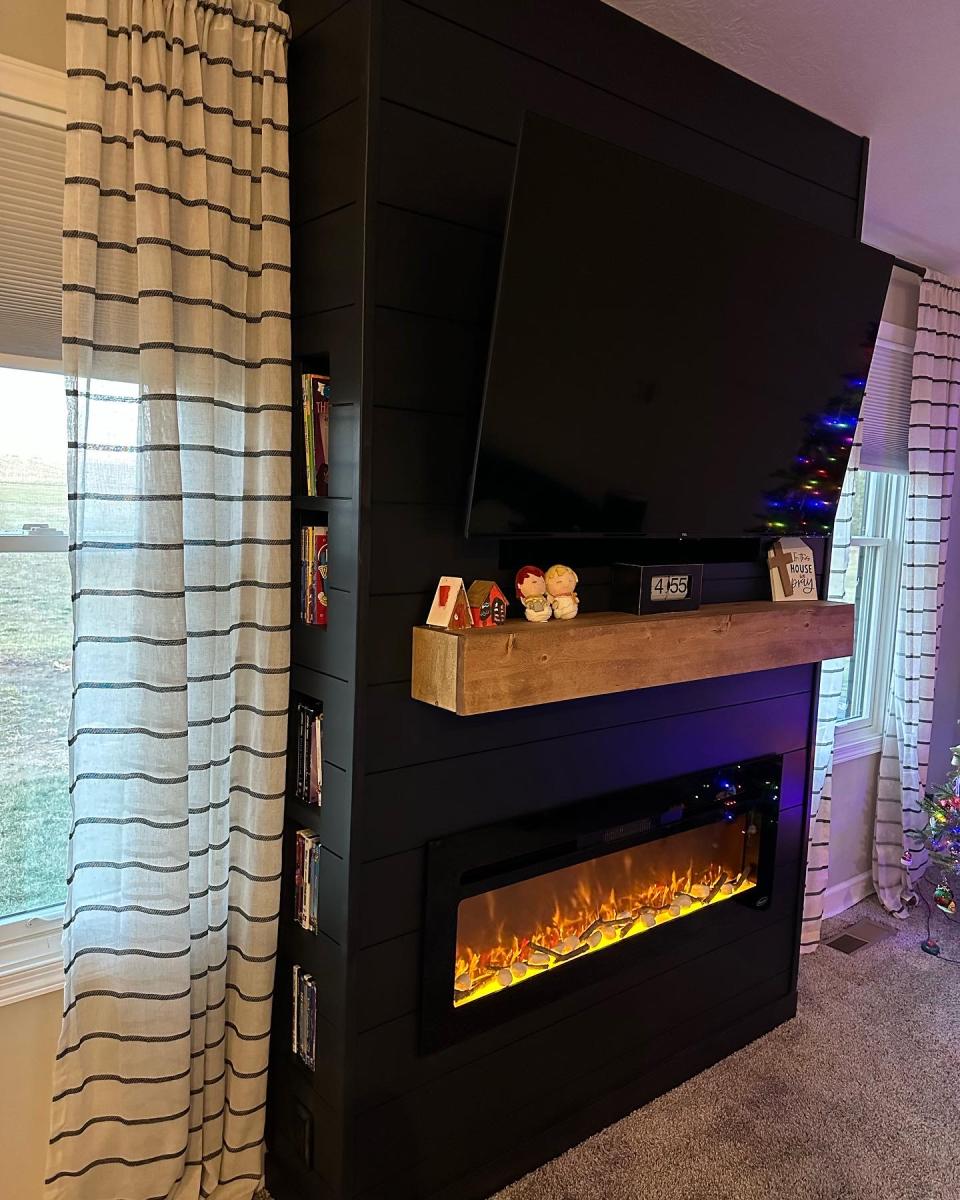
Thank you Ana for you Fireplace design as it was exactly what I needed! We’ve lived in our house for 3 years now and I’ve wanted a fireplace ever since. Your plan was perfect and with a few modifications I made it come to life. My 9yr daughter as I was almost done building thought there should be a shelf for books and movies below the fire place. It gave me the idea of adding storage on the sides. I had already had the idea of the mantle storage and just used a floating shelf idea and made that. This was a lot of fun!! It took me a little over a week to build. But can’t wait to build something else for our house… like the mudroom!

Amy

Comments

jtemperley

Sun, 01/08/2023 - 19:02

That looks awesome! My husband and I are planning on doing this as well. I do have a question, as I see you have carpet just like us. Did you cut out the carpet where you built out, and if so how did you go about that, or did you just build on top of it?

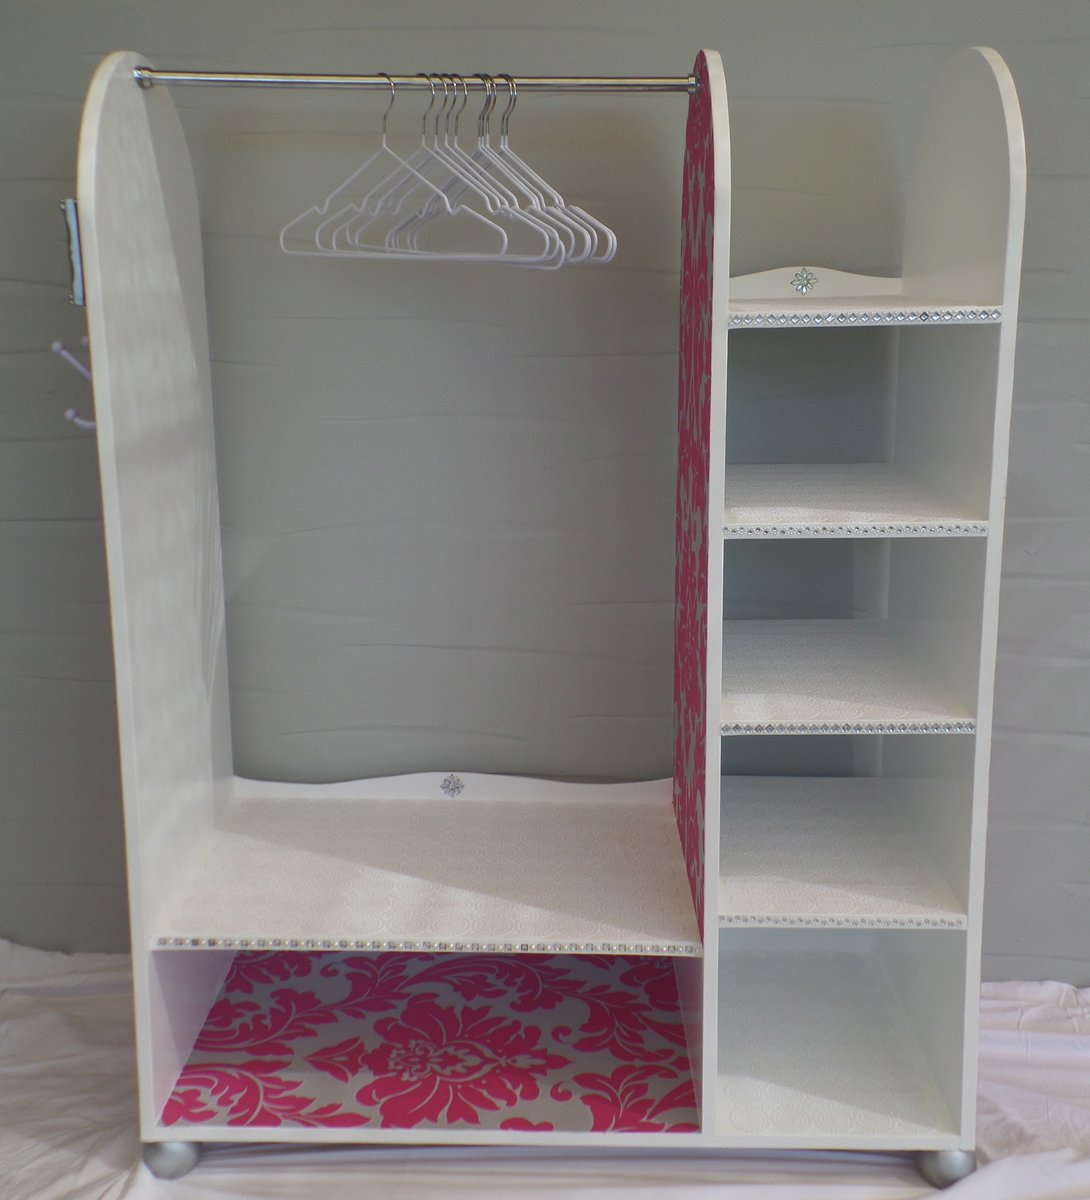
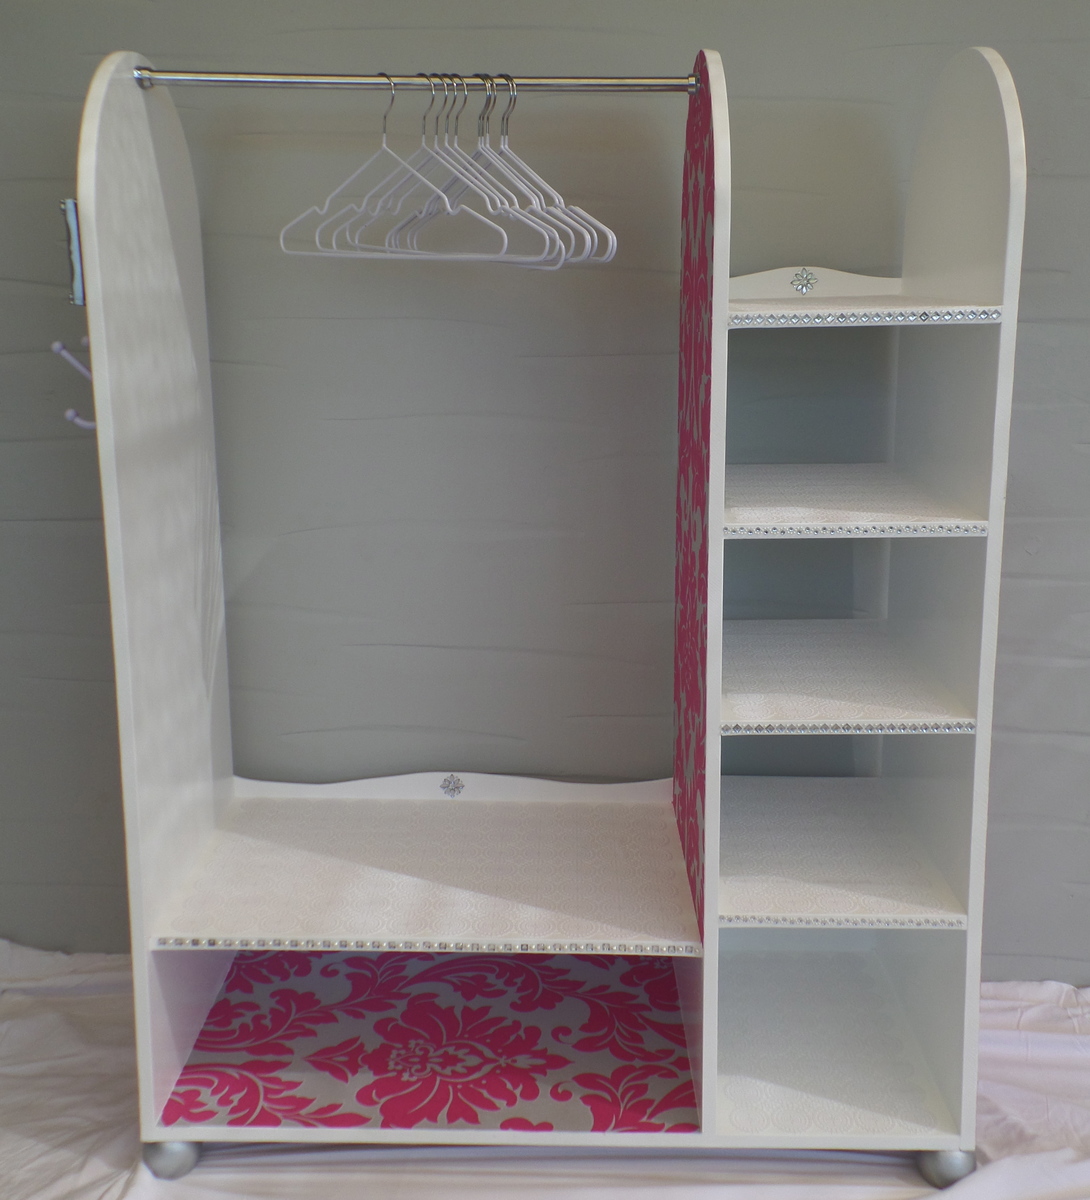
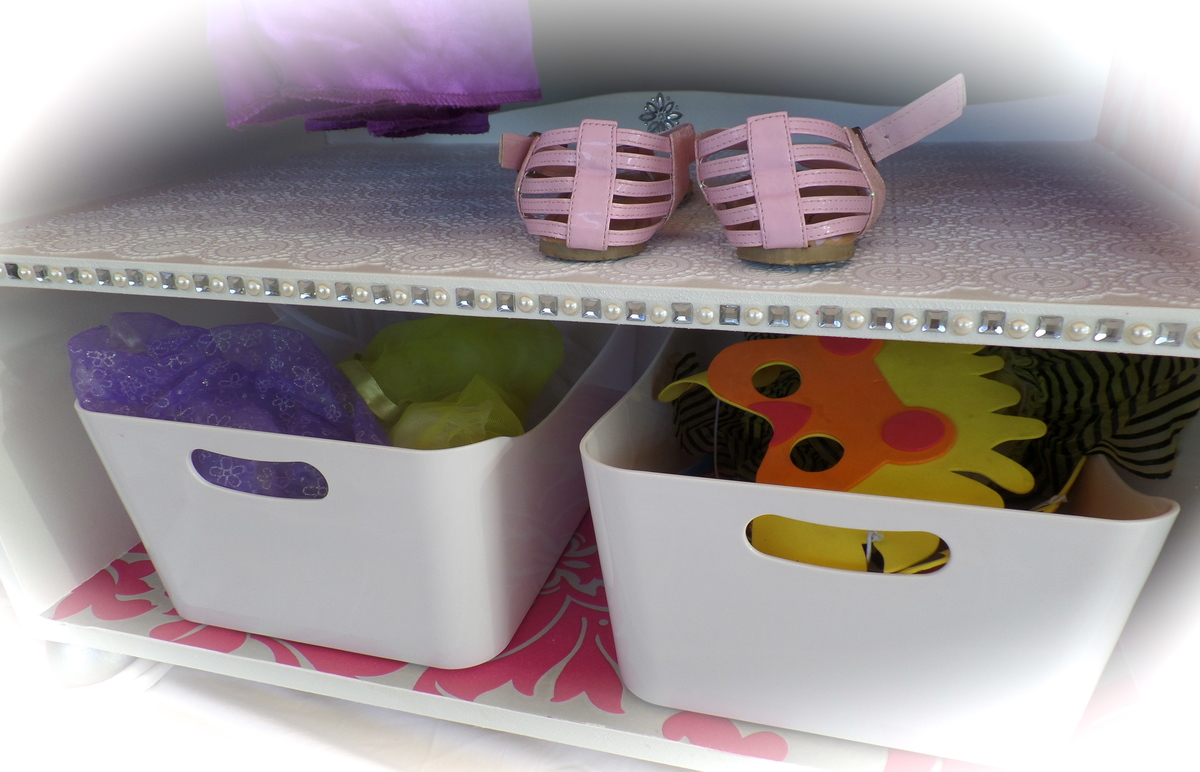
dress up station
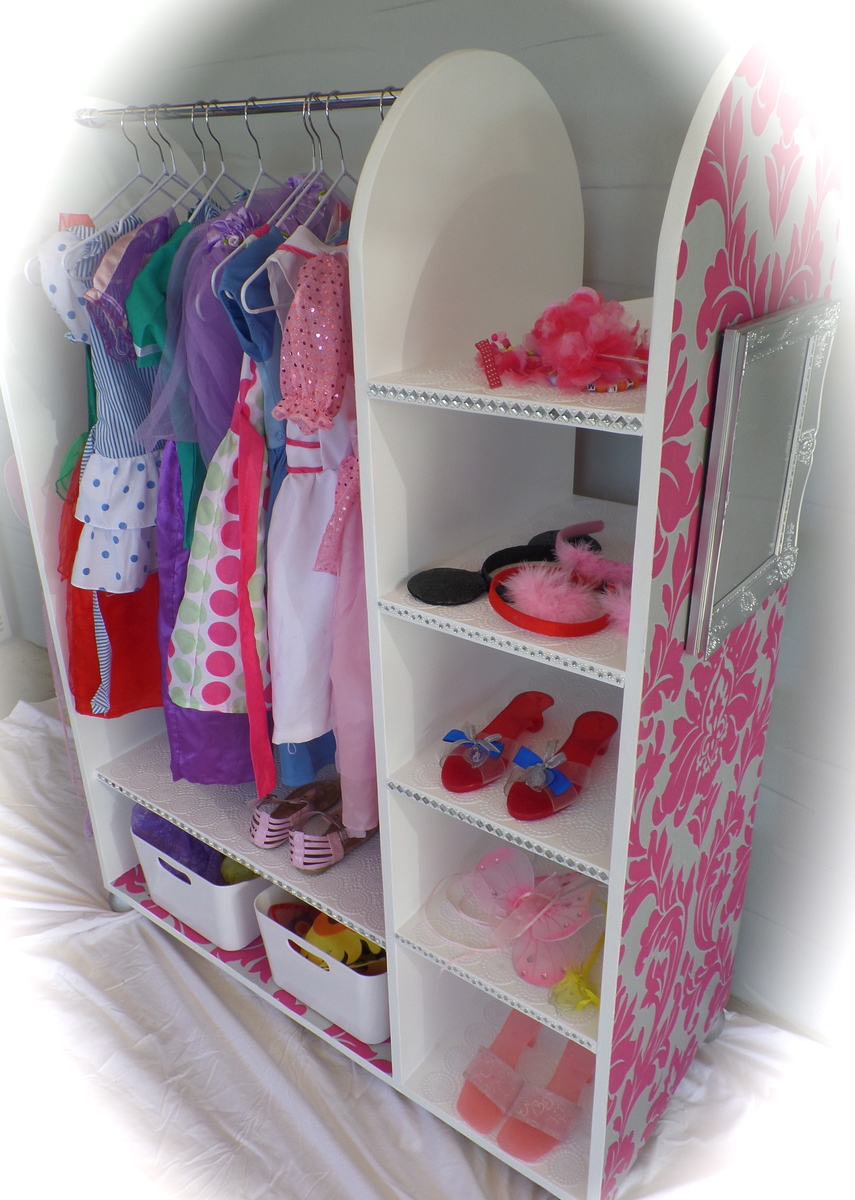
Ive made a couple of these dress up stations now, for presents for my daughters friends. I plan to make her one next!
Plenty of room for storing all their fancy dress items :)

Built from Plan(s)
Estimated Time Investment
Weekend Project (10-20 Hours)
Finish Used
wallpaper and paint, rubber lace lining for the shelves, wooden ball feet, decals, mirror, name, hooks
Recommended Skill Level
Intermediate

Small Cedar Fence Picket Storage Shed

Submitted by Pembat on Sun, 10/06/2013 - 20:37

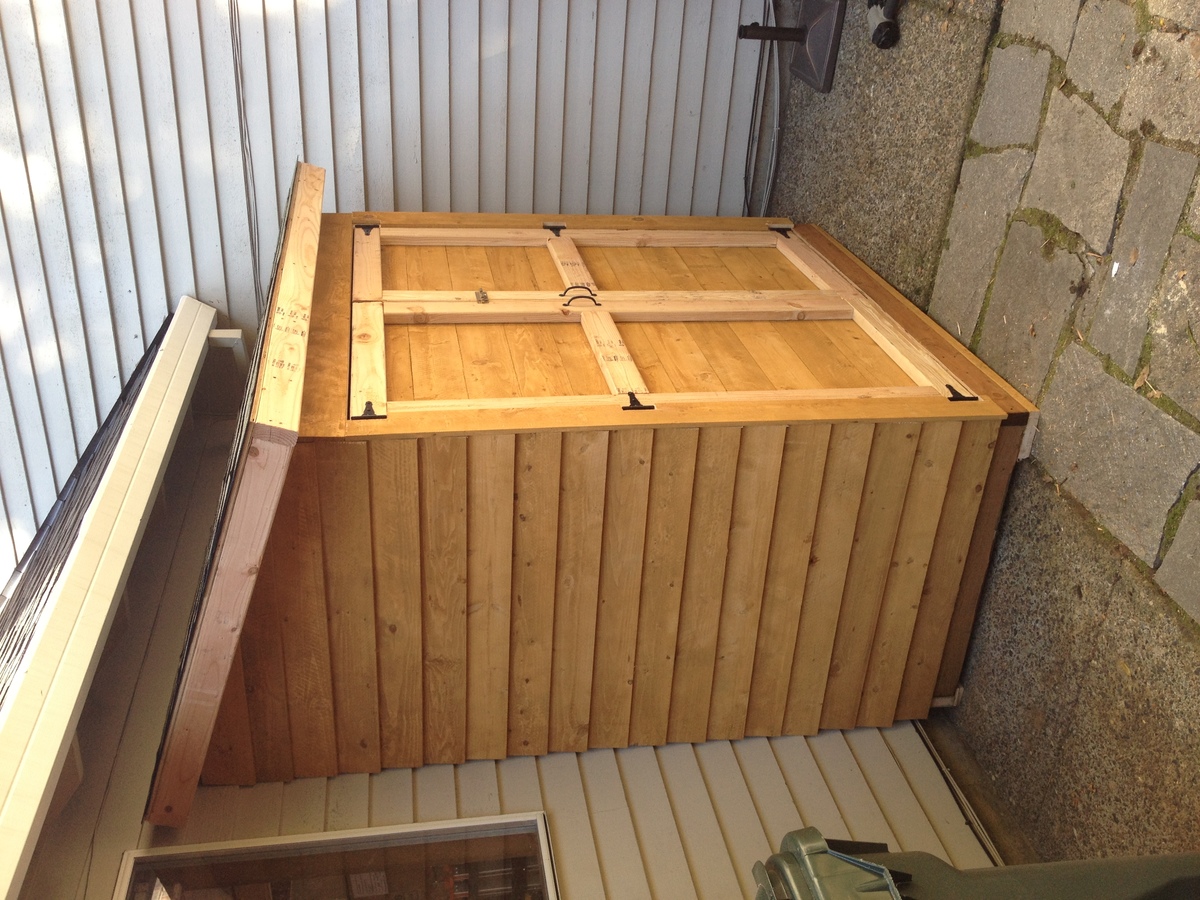
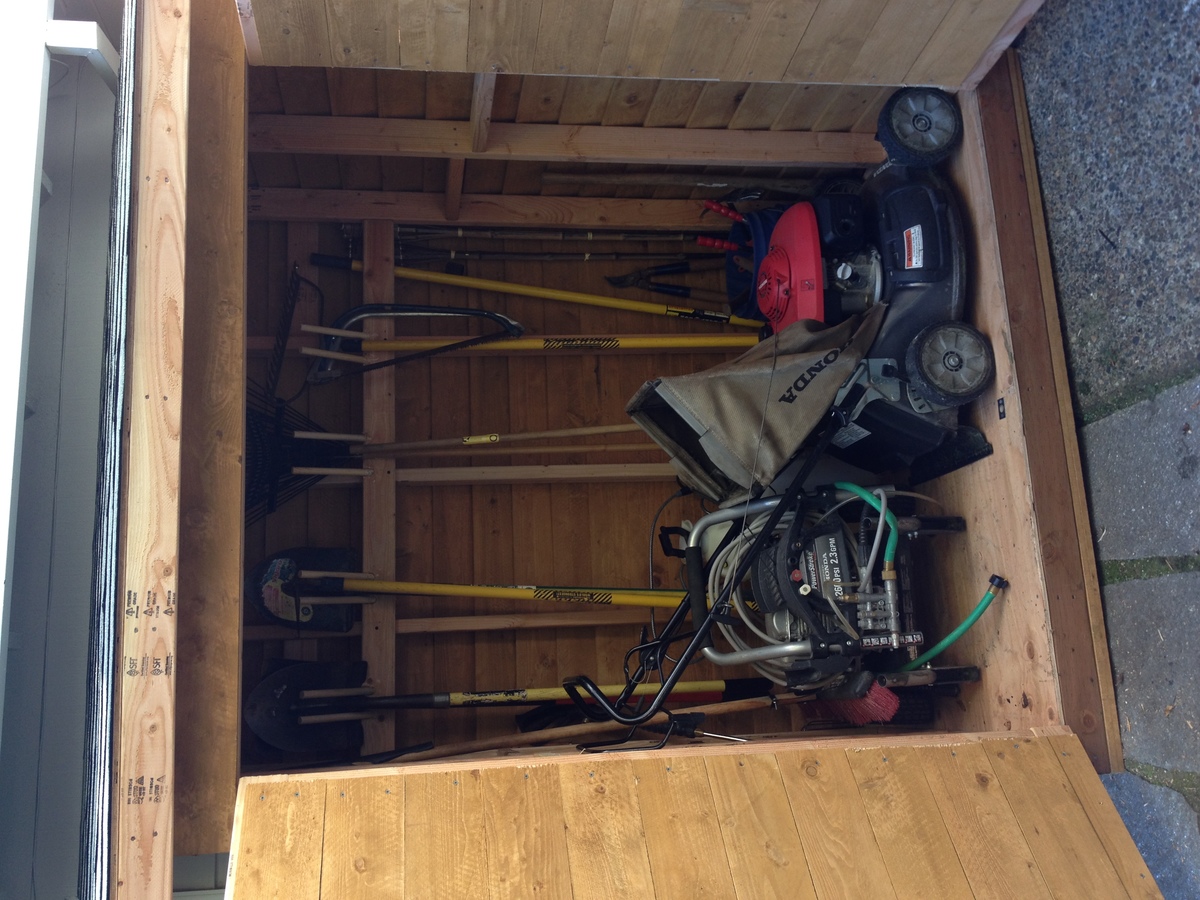
Built this in a weekend, took about 1.5 days. I ended us using 2x4's instead of 2x2's, I think it resulted in a much stronger frame. I also built a base for it to sit on. I got pre-stained cedar fence boards, and overlapped them 1" instead of a 1/2". Pretty easy project, I ended up siding the back on the ground, installing it, and then adding the side walls without the siding (just the framing), and then sided them in place. The doors work perfectly. I took my total inside dimension between walls, made sure the opening was square, and then divided that by two to get the width of each door. I then took another 1/4" off that, so each door had an additional 1/8" gap, it worked perfectly. When I set the doors, I put them on a piece of roofing closed as I screwed in the hinges, and then opened them and removed the roofing. I opted to run the door siding horizontal to use up a bunch of waste wood. I'm happy with the outcome. I also found some 6" self starting lag bolts and lagged through the back of the shed into studs (through the siding) into the garage behind it.
Estimated Time Investment
Weekend Project (10-20 Hours)
Recommended Skill Level
Intermediate

Sandbox with built-in seats

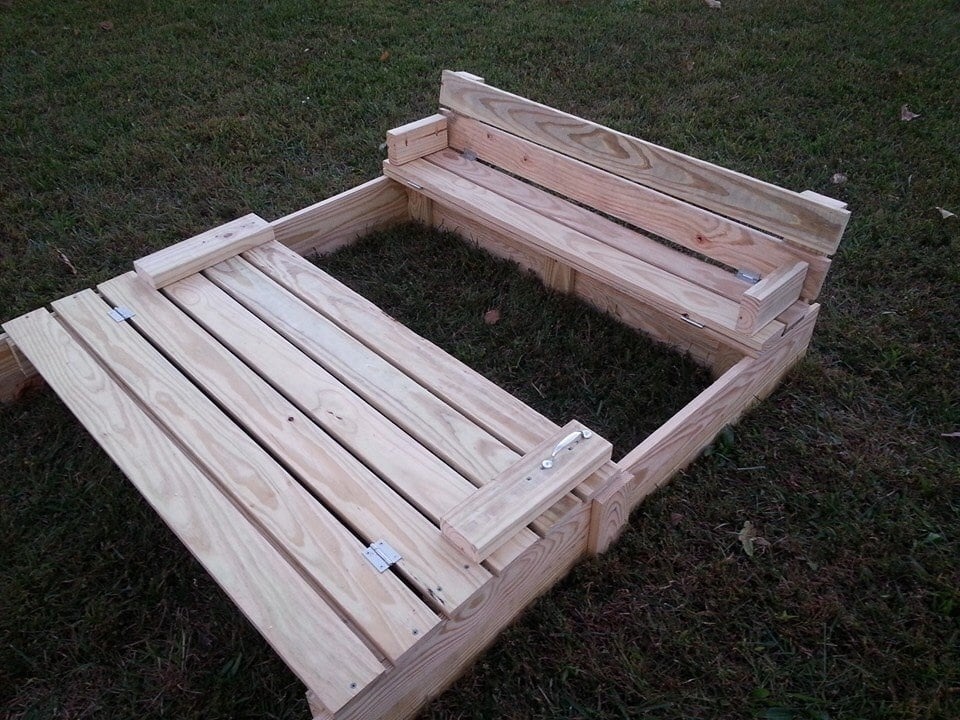
I modified this a tad from the original plans to suit my needs. I will eventually be adding a platform with attached slide and swing set.

Plans were easy to follow. My store didn't have 1x8's so I stacked 1x4's and used my Kreg jig to join them together and then I added extra bracing.

I had seen this on Pinterest a couple years ago and thought it was the coolest thing! Io excited I was able to build it myself!

Built from Plan(s)
Estimated Cost
About $40
Estimated Time Investment
Day Project (6-9 Hours)
Finish Used
None yet. I will stain and seal everything when I get the entire play set finished.
Recommended Skill Level
Beginner

Conversation Set

Submitted by Anonymous (not verified) on Sun, 03/19/2023 - 18:31

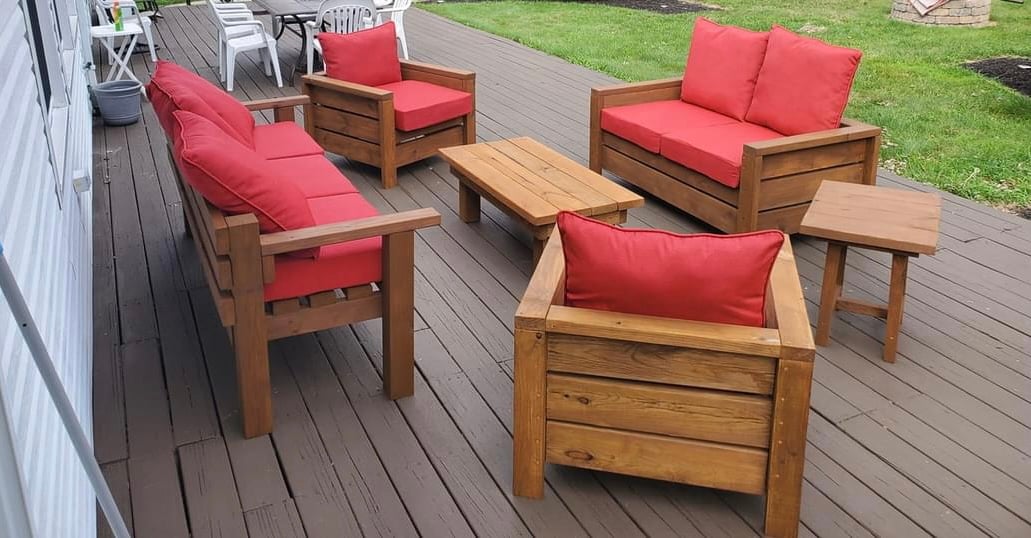
My husband built this conversation set during covid. Since then he has built so much stuff for our yard. More pics to follow.

Comments

Back Yard

Submitted by Anonymous (not verified) on Mon, 05/15/2023 - 08:32

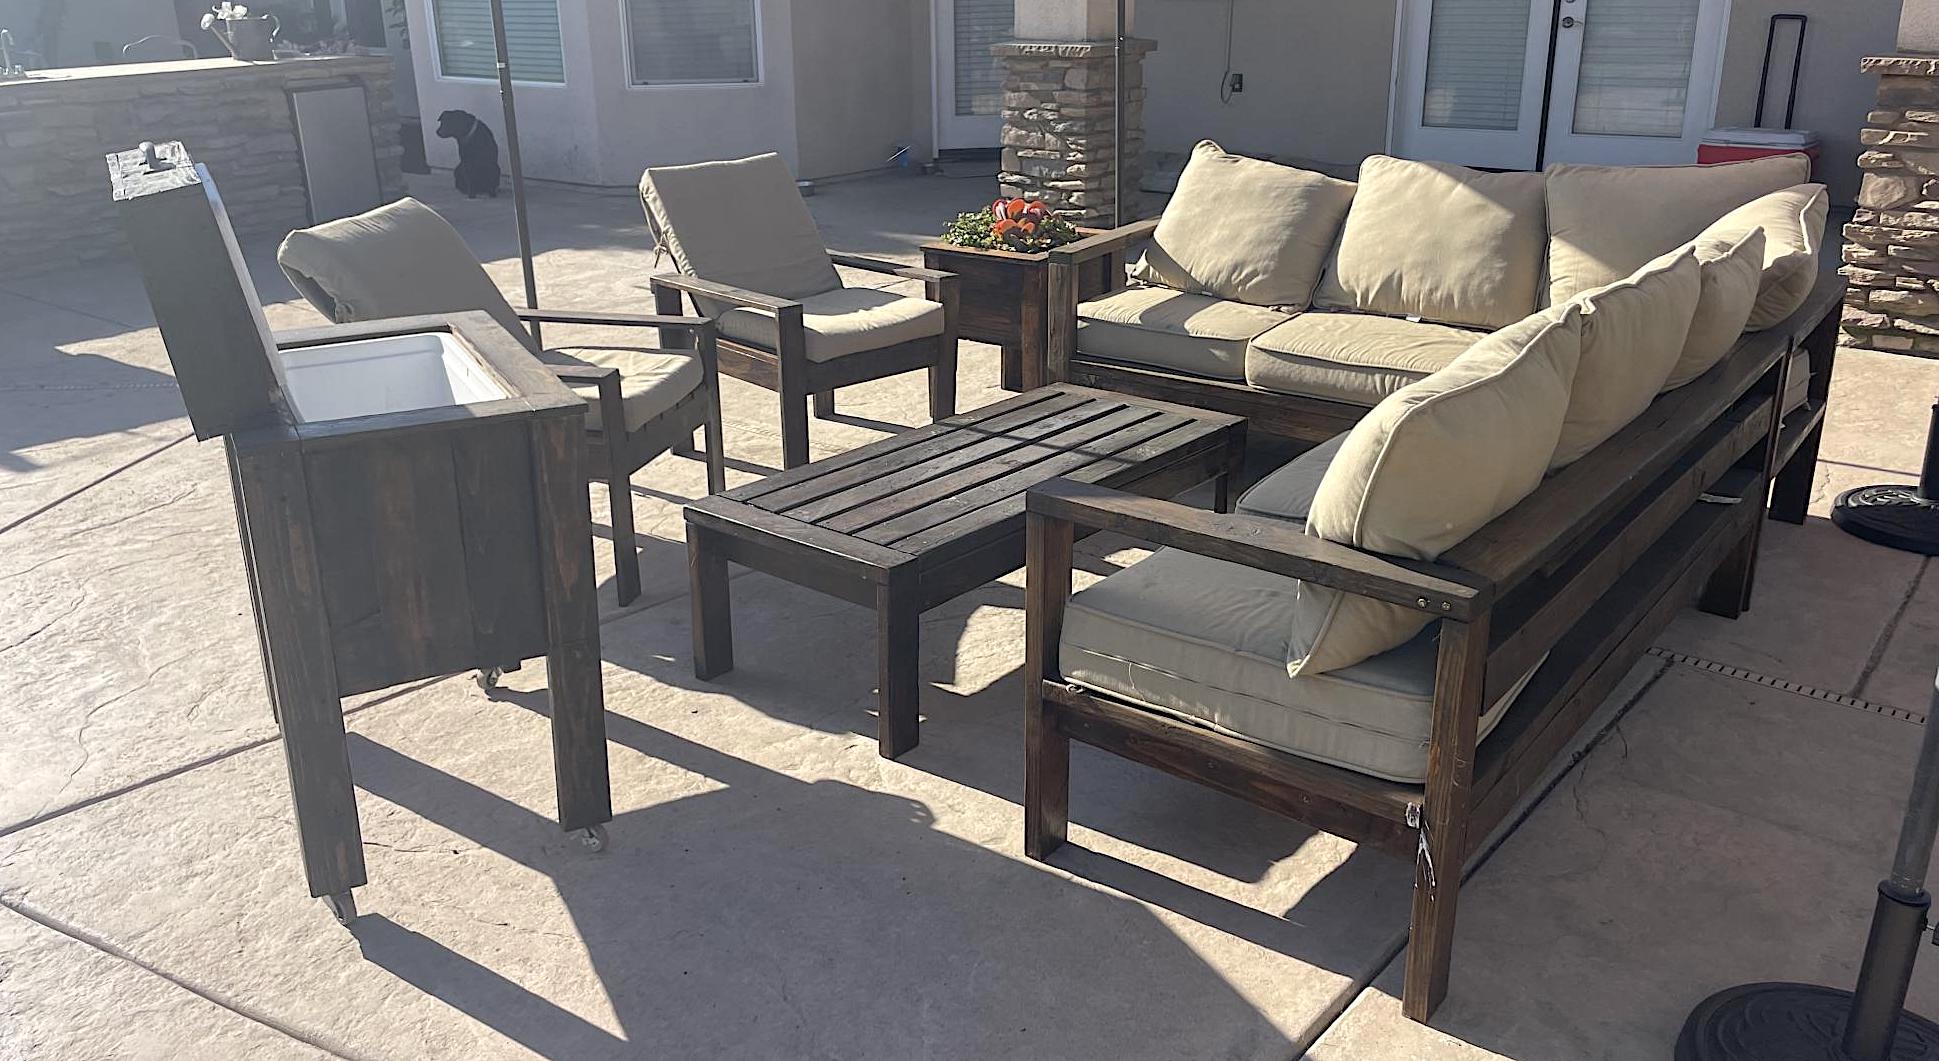
This is my homemade backyard inspired by plans from Ana. Used Ana's previous post to build all pieces. Stained in Mission Oak and bought pillows from Lowe's. Succulents from a local nursery.

Coffee Table
2 piece lounge
2 chairs
Ice chest
Planter Box

Comments

6' Barn Door Console

Submitted by Anonymous (not verified) on Sun, 05/21/2023 - 11:34

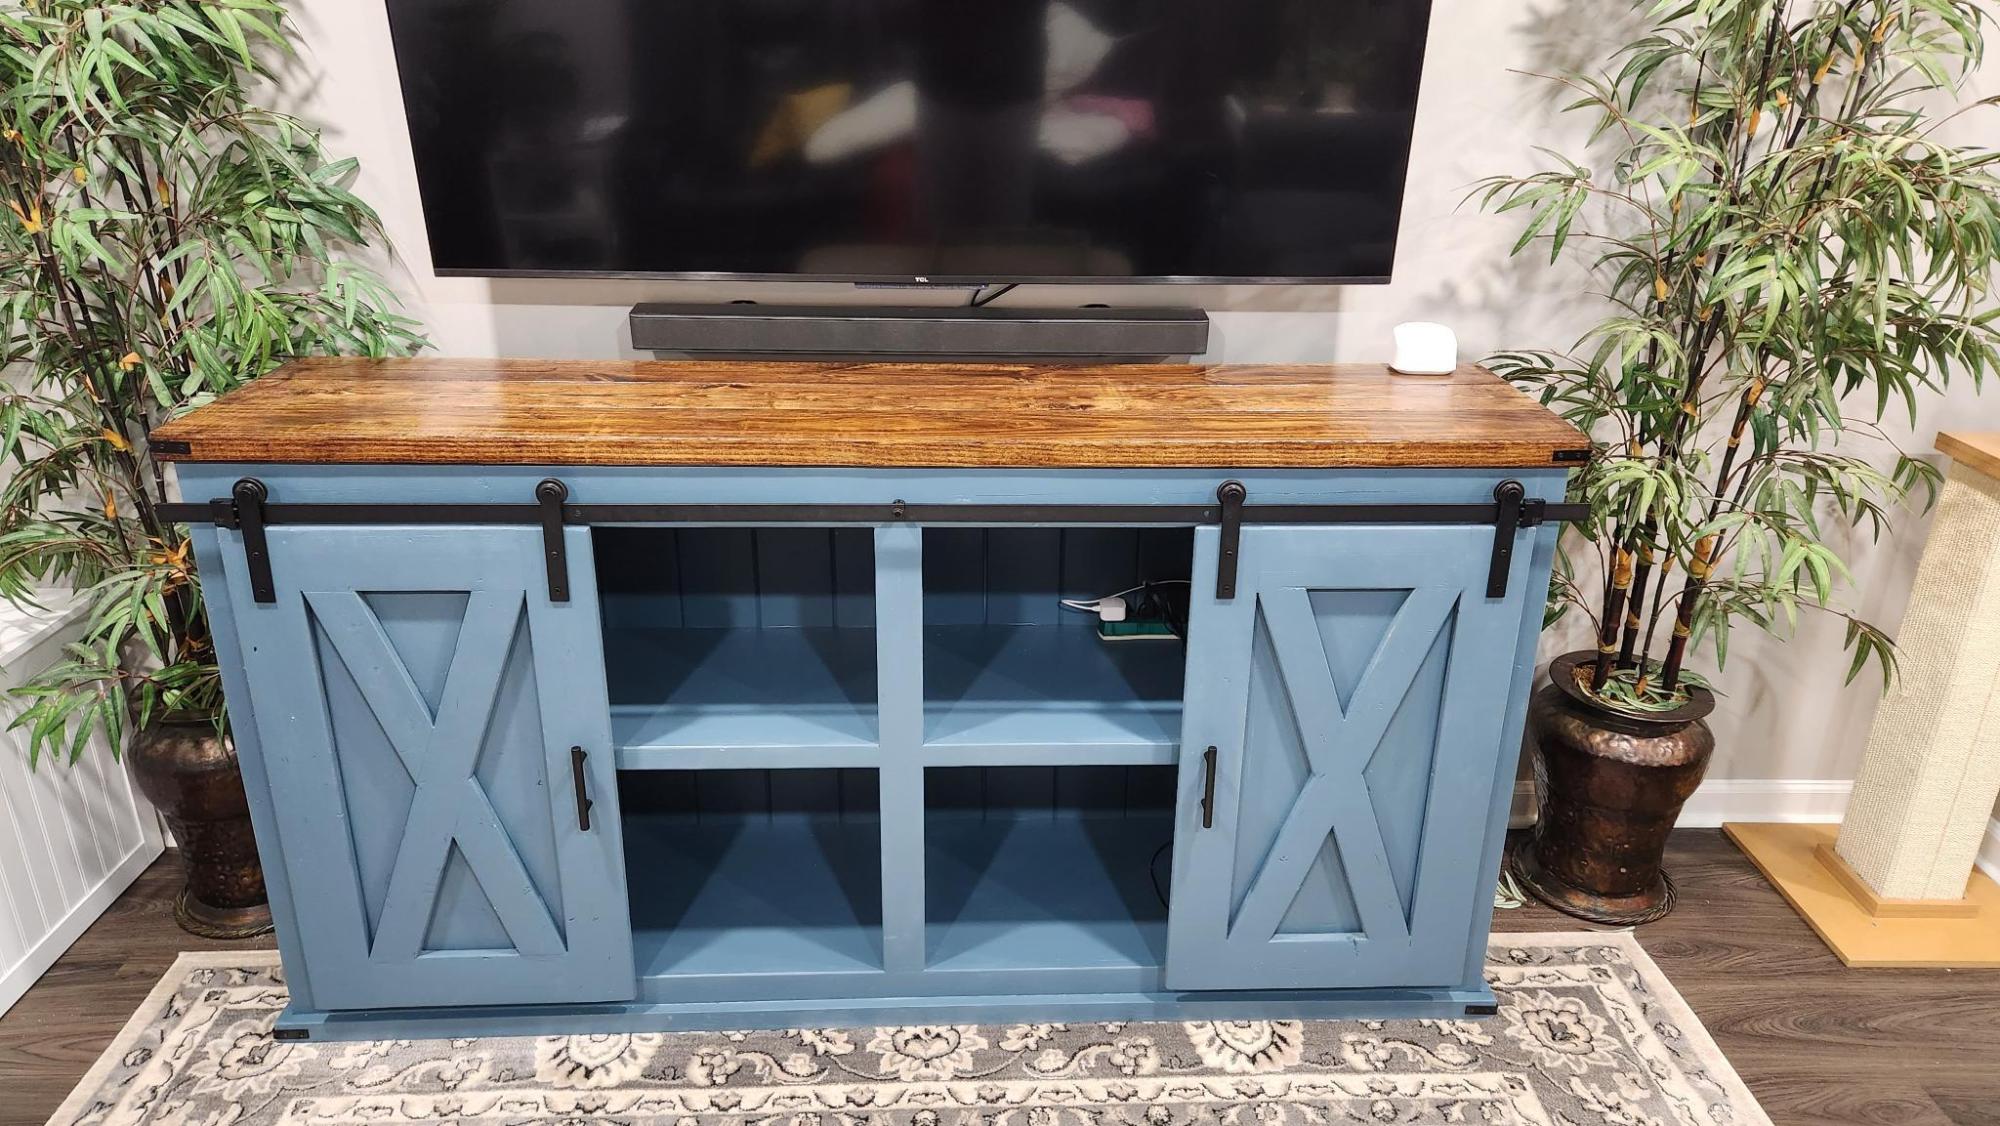
I used the 6' modification of the 8' model. I used 2x6s for the top, and most of the pieces were cheap lumber, like furring strips. The color and stain are a bit darker in person.

Comments

Entertainment Center

Submitted by azca33 on Mon, 01/09/2012 - 18:48

My wife and I decided it was time to give our new TV a home. We began looking on ana-white.com and saw a beautiful black entertainment center. That is where I received my inspiration. It is a very similar design however, I decided to change the color and add inset doorsand drawers.

Everywhere we looked for an entertainment center, it was either too pricey, or the measurements were not right. I decided to come up with a plan for an entertainment center that would fit perfectly into our little niche.

Estimated Cost
650-700
Estimated Time Investment
Week Long Project (20 Hours or More)
Finish Used
Dark Walnut Stain/White Latex Paint
Recommended Skill Level
Intermediate

Comments

Jana Thomas (not verified)

Mon, 01/23/2012 - 12:28

I LOVE your entertainment center....exactly what we are working on as we speak. Ours will be a little larger (12 foot wide) after adding on two end shelves to hold lots of DVD's!! I know I want the white color, but could you give a little more information on the distressing and finishing? We've never done that before. Thanks!

azca33

Mon, 01/23/2012 - 17:59

Hey Jana,

What I did was kind of a pain. To give the entertainment center the distressed looked, I stained all the areas that we were going to distress a dark walnut. After we allowed that to dry, we painted it with white latex paint. Since we were painting over a dark walnut stain, it took about 3 coats to completely cover the color. After 24 hours of drying we sanded it with 100 grit sand paper on all the areas we wanted distressed. You will want to lightly sand it until the dark walnut color comes through. Avoiding sanding too hard as you will sand through the stain.

We still have some distressing that we would like to do on it, but we need to get a wire sponge for that, and just haven't gotten around to it. The sand paper works really well on corners, but not so much on the face of the wood. We haven't sealed it completely since we still have some areas to distress, but will use a water-based sealer.

Let me know if you have any other questions.

davidmac (not verified)

Tue, 01/24/2012 - 14:15

It looks great. How did you attach the side units to the middle unit? Are the drawer fronts just solid 12" x 12" with the decorate trim attached to front? I can't tell if the portion where the handle is attached is recessed or not. And lastly, are those 1" x 3" trim pieces around the drawers?

azca33

Tue, 01/24/2012 - 16:46

Hey Davidmac,

The trim is all 1x3 solid pine, including the trim around the drawers. The drawers measure out to 10x10. I built the drawer faces the same way I built the cabinet doors. I used 1x3 trim and dado'd a 1/4" groove to inset a 1/4" piece of plywood. I then added molding to give the drawers and cabinet doors a more detailed look, so it is recessed where the handle is attached.

The side units are attached by 1 1/4" screws that are hidden behind the trim. Easy access to remove for any future moves.

Jeff (not verified)

Sat, 01/28/2012 - 22:15

Are there actual plans for this? I just see it in another brag post. but no actual laid out plans.

Guest (not verified)

Sun, 02/19/2012 - 19:22

Where can I find plans for this. Beautiful.

azca33

Fri, 03/23/2012 - 09:24

Unfortunately, there isn't a set of plans for this entertainment center on the site. I looked at the Entertainment Center for Kristen Lotz and built my own plans according to her pictures, with a few adjustments. If you have any questions, I will be more than happy to help you out.

Kristen Lotz (not verified)

Tue, 05/29/2012 - 17:32

I just checked in onto this site for the first time in awhile and I saw your entertainment center. I knew you must have gotten inspiration from ours... I love how yours turned out! I love the white, I love the distressing, and I love the inset doors and drawers with all the details. It turned out absolutely beautiful. Good job!

azca33

Mon, 06/11/2012 - 12:21

Thanks Kristen and thank you for the inspiration. When I saw yours on ana-white, I knew that is what I wanted in my living room. I also thought it was genius to put the DVD Player etc... up higher so the kids can't play with it. We are really happy with it.

kristenlotz

Mon, 12/31/2012 - 14:20

I finally got around to making the plans for our entertainment center (well, actually my husband did it). It is very similar to yours except the inset doors and drawers, the door and drawer trim and the finish colors. Hopefully that helps those looking for plans for this beautiful entertainment center. I love finding brag posts of similar entertainment centers because they are absolutely beautiful at a fraction of the cost of buying one. And we love telling people that we built it!
http://www.jrlwoodworking.com/2012/12/furniture-plans-custom-entertainm…

Andrea Miller (not verified)

Mon, 01/07/2013 - 12:26

Did you do an under coat or did you just add stain to the sanded areas? Love the look.