Y Truss Round Table
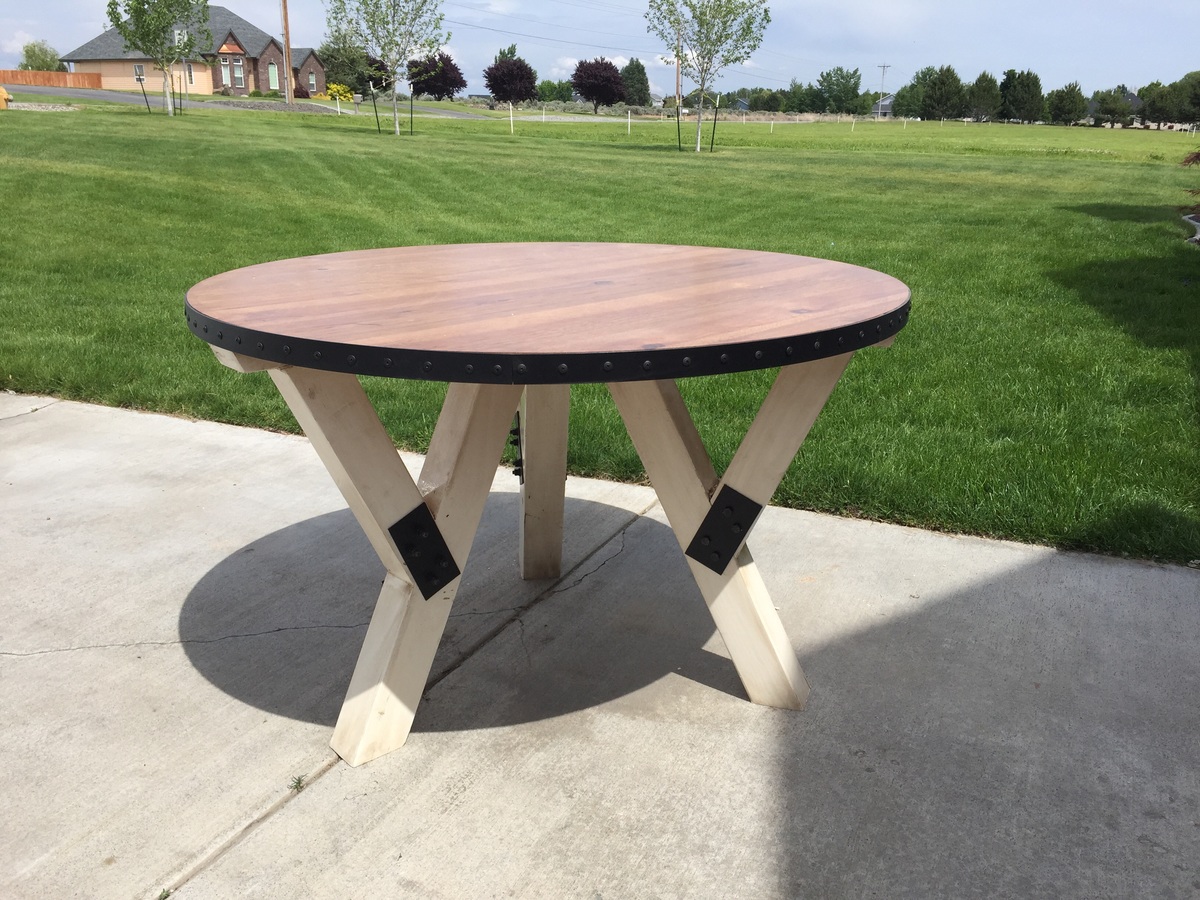
Using the "Y Truss Round Table" plans, I created a 48" table with metal accents.

Using the "Y Truss Round Table" plans, I created a 48" table with metal accents.
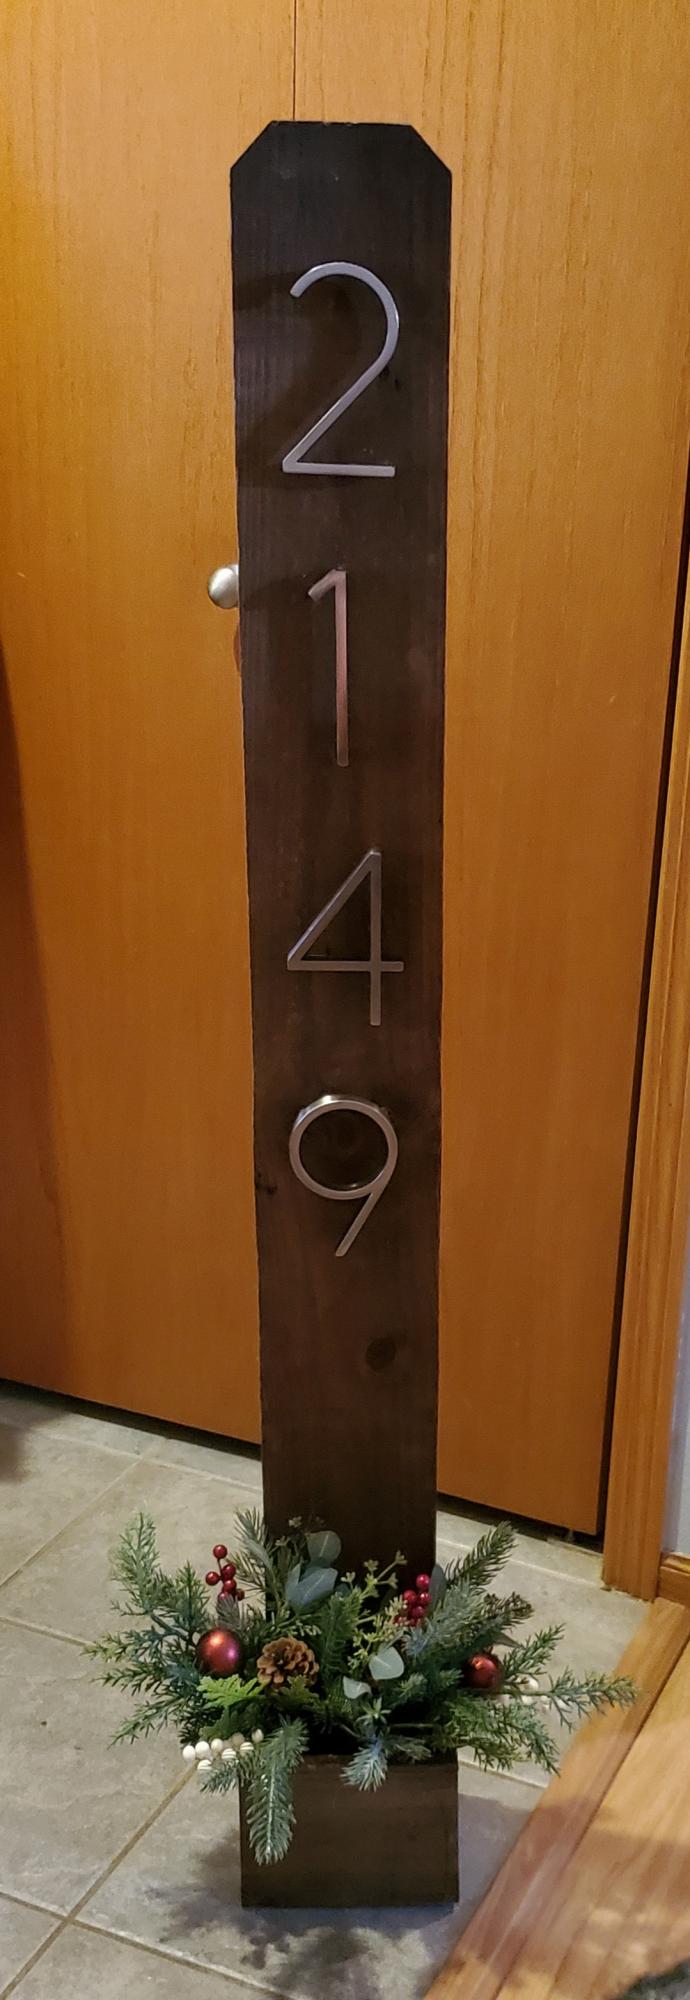
I made this simple but elegant projects for a last minute Christmas gift.
Mon, 12/27/2021 - 15:58
Looks great, I'm sure the recipient loved it! Thank you for sharing:)
My husband and my boys built it, painted it, and stained it in a weekend. Great father and sons project. I used the same black paint and stain that Shanty-2-chic used. I LOVE it.. now on to the benches.
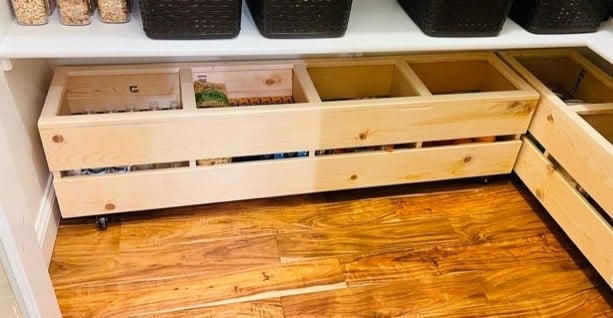
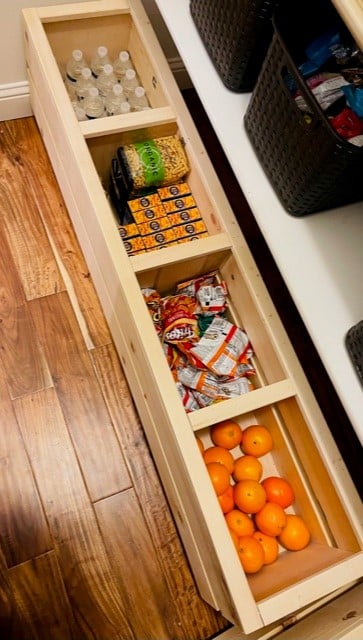
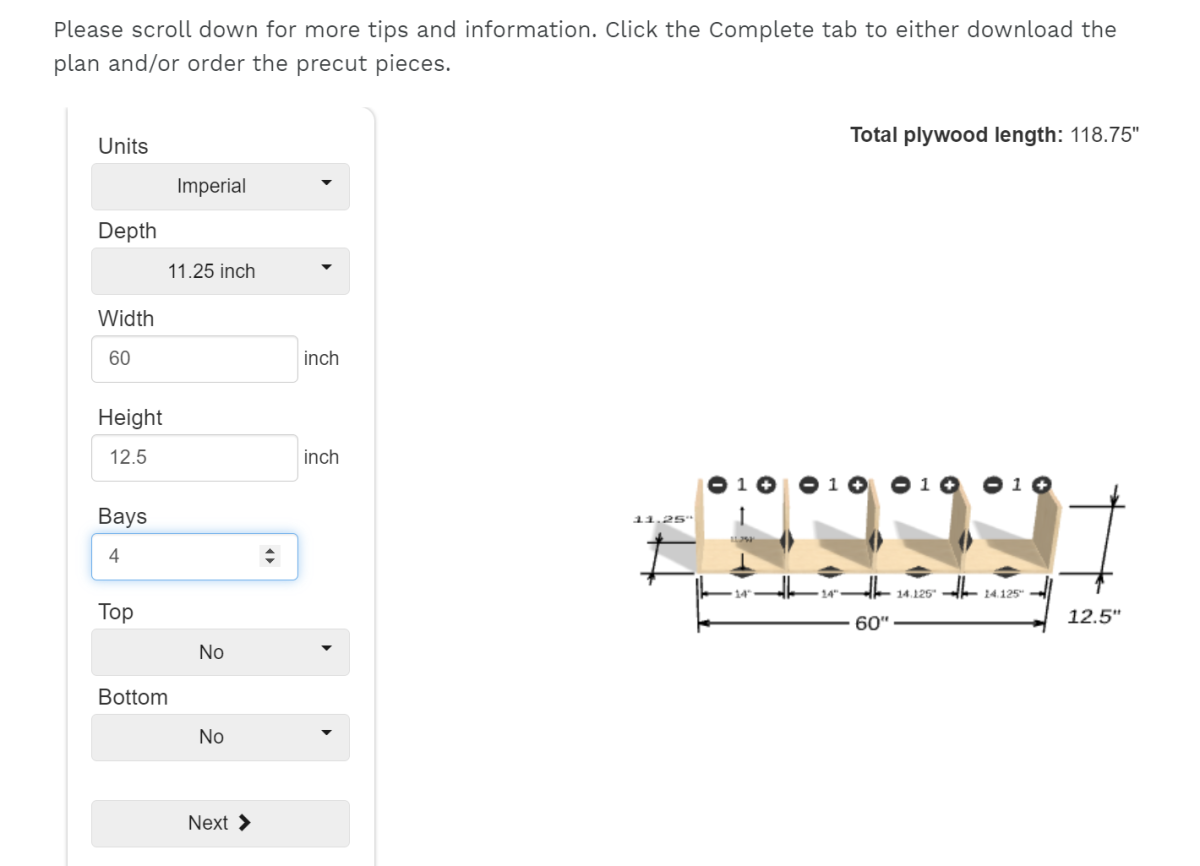
I used Shelf Help for the plywood pieces, then planked the sides with some 1x's, and added a face frame for the top edge. Casters allow for it to be moved easily and cleaned under. This is a great way to add extra storage under the pantry shelves and this design is super easy to modify for any size and height!

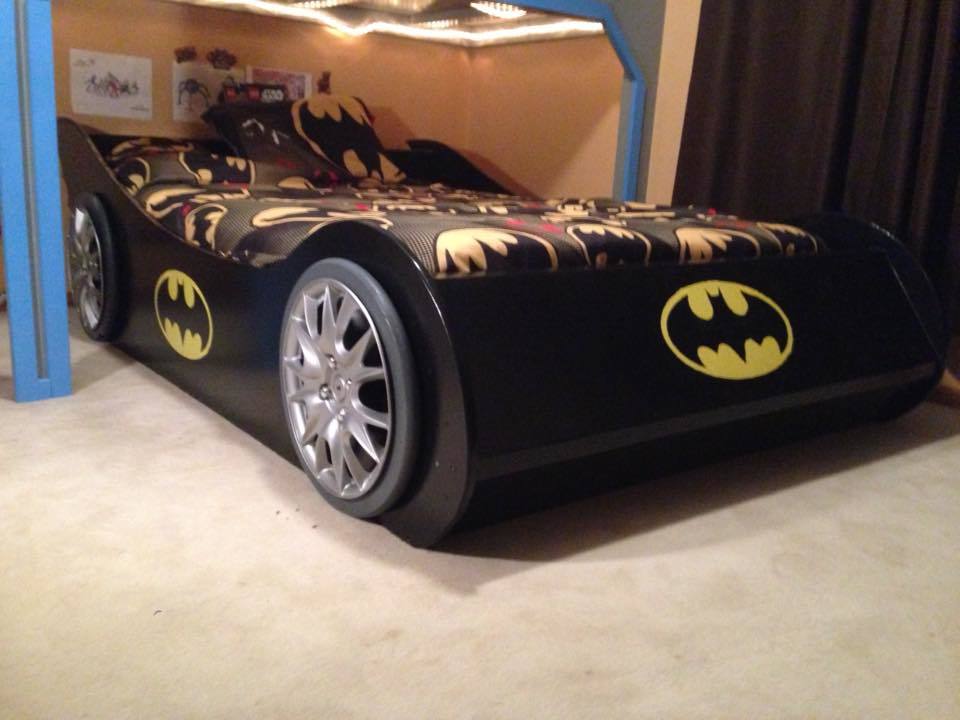
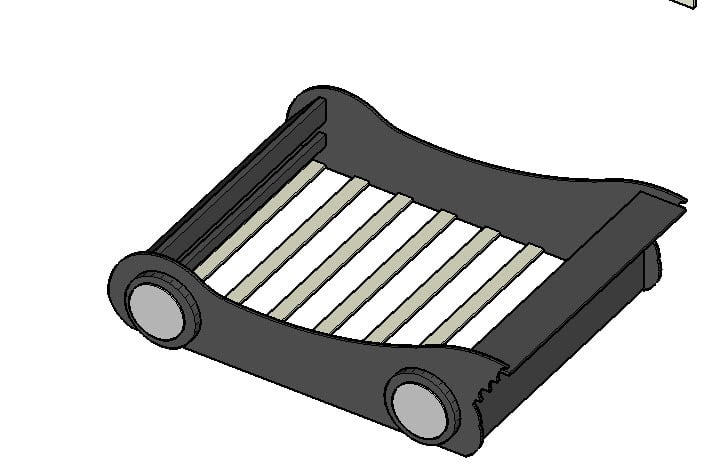
My son had a 'lightning Mcqueen' toddler bed- but we needed to get him into a little bigger bed. We had a spare full bed, and Batman is his current favorite... Since there aren't Batman full race car beds- time to start planning and building from sketchup! Took me about 2 weeks of evenings (after the kids go to bed) and about $110 in materials. The model is available in the sketchup warehouse at:
https://3dwarehouse.sketchup.com/model.html?id=u6b750a53-37a4-4d52-9d31…
For the wheel covers I ordered online at Amazon for $25 for a set of 4.
For the Wheels both HD and Menards make a 18" wood table top for ~$7 that I just cut the middle out with my router to fit the wheel covers.
The slats to hold the bed (made to fit both box spring and mattress) were just 1x4 pine boards from menards.
The body was made from 3/4 MDF, though you could of course use plywood.
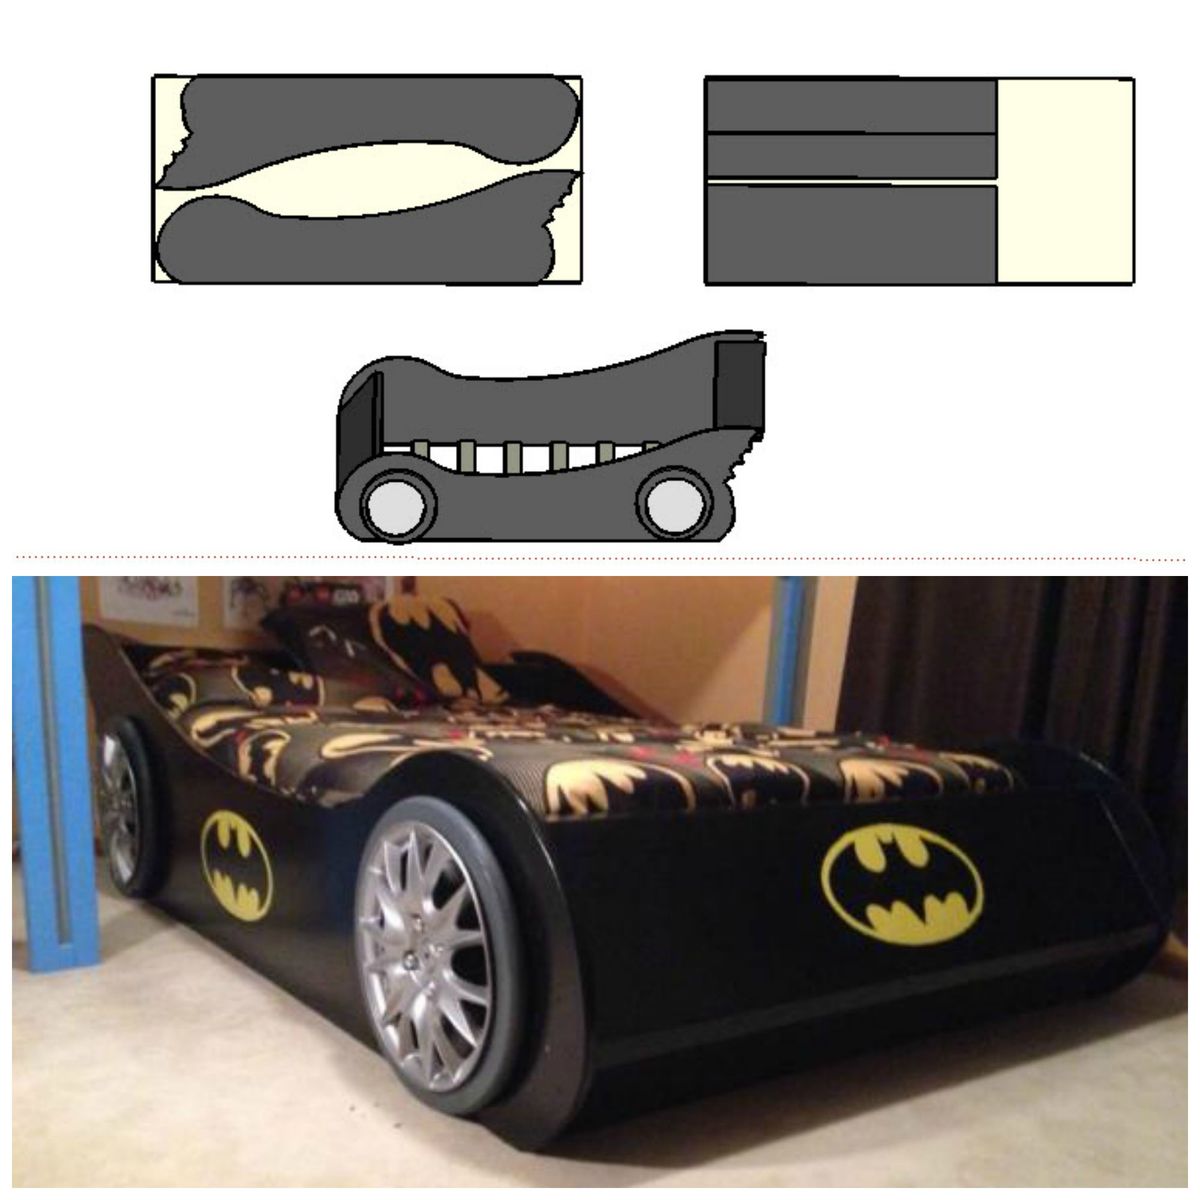
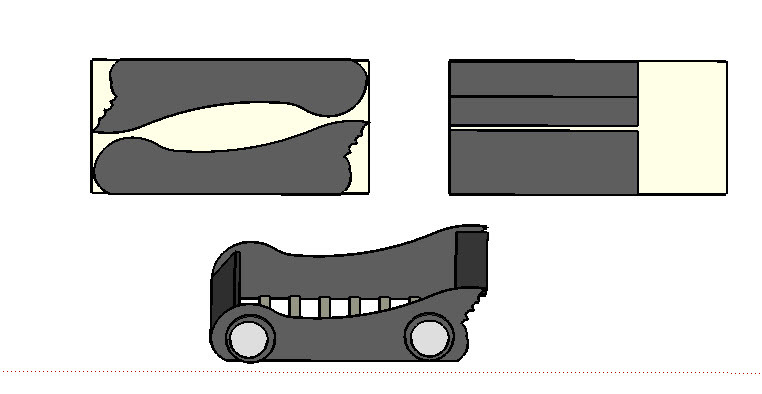
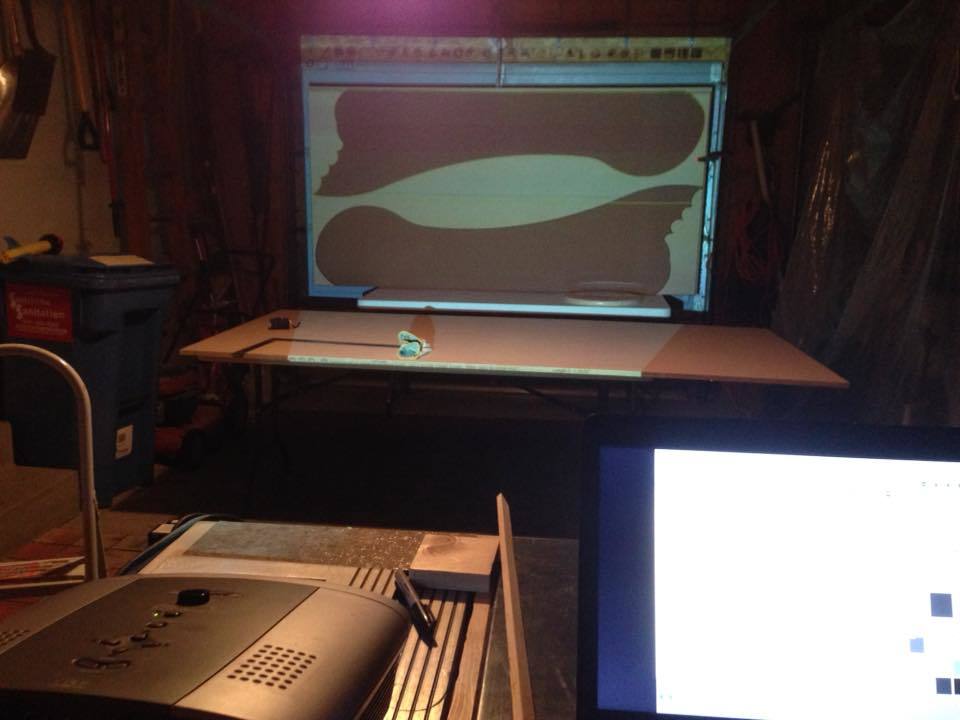
I used a projector to project the image from sketchup onto the board to get it transferred- else it would have been 50+ pages if printing..
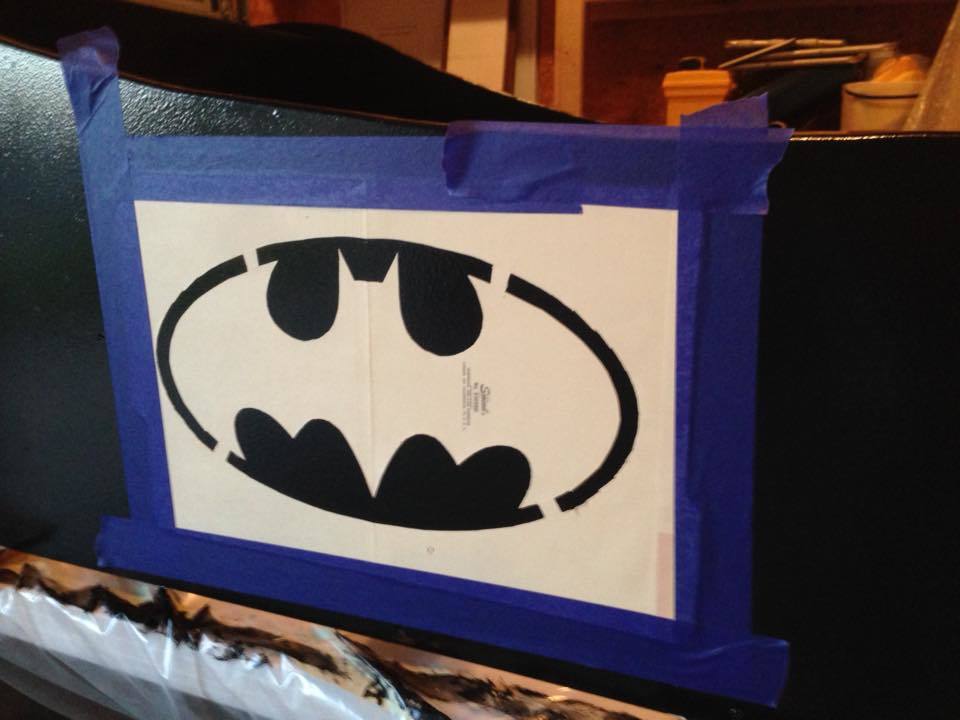
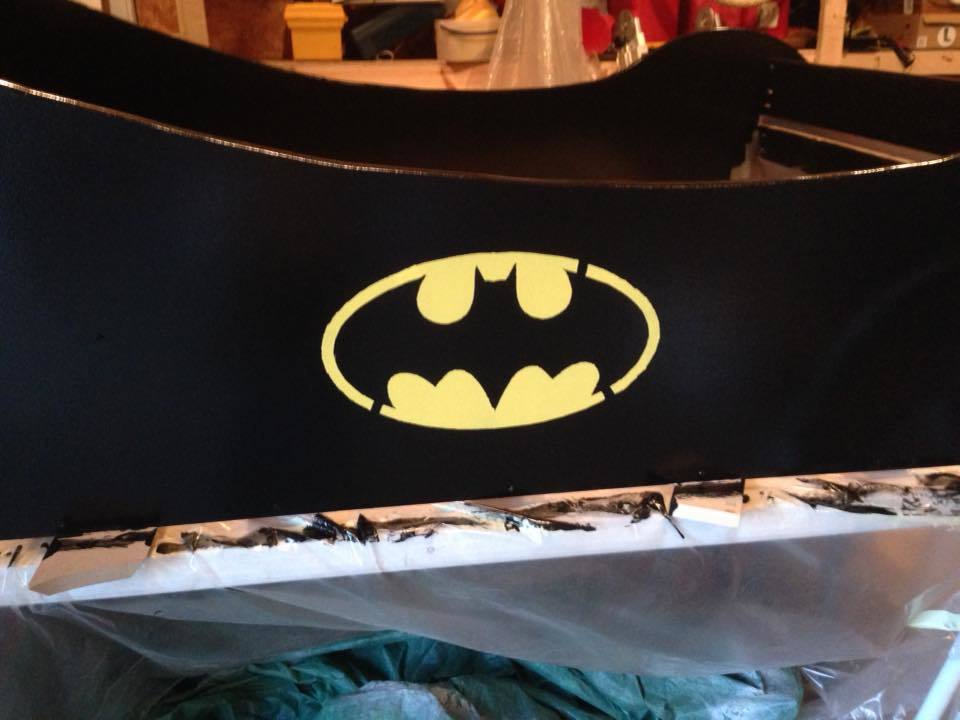
For the logos I just used a minila folder as my stencil and cut out the logo. Needed to touch up the 'tabs' to hold the logo in the circle after pulling off the stencil.
In reply to So cute! by Ana White Admin
Fri, 01/29/2016 - 21:18
I give you credit when people ask how I got started in woodworking because until I found your site and my first project (library cart) then 2 helper stands for my kids and other friends kids and it just went on from there. The skils taken from this site and learning Sketchup have brought a lot of nice furniture to our home as well as a sense of confidence to me!! Thank you!
Sat, 09/12/2015 - 19:10
My son really wants this and I promised him that I would make it. Do you have a PDF or anything of the outline of the batmobile? Thanks!
In reply to Looks great! by MoxieMan13
Fri, 01/29/2016 - 21:10
Thanks - sorry I took so long to respond. The plans are in the sketch up warehouse - search for "Batmobile full race car bed" otherwise et me know and I can try to get you a off of the dimensions.
In reply to Thanks- will skp file work? by bbcarey
Sat, 01/30/2016 - 10:59
Here is the screen shot as well.
I used a 49x97 sheet of MDF... thush the 4'1"x8'1" dimensions.
Sun, 02/21/2016 - 14:29
Thank you so much for the greatest idea ever! We stumbled on this and believe it will be the perfect next bed for our son, however, we cannot download any of the files. Do you have a PDF of the measurements or any other form you can upload so we can make this bed? Thanks in advance! Great work!
Tue, 12/06/2016 - 07:23
I apologize if I am just missing this, but... do you have step by step instructions on building this bed? I see the pictures of each part and its corresponding dimensions, but I cannot located instructions on assembling the bed.
Thanks!
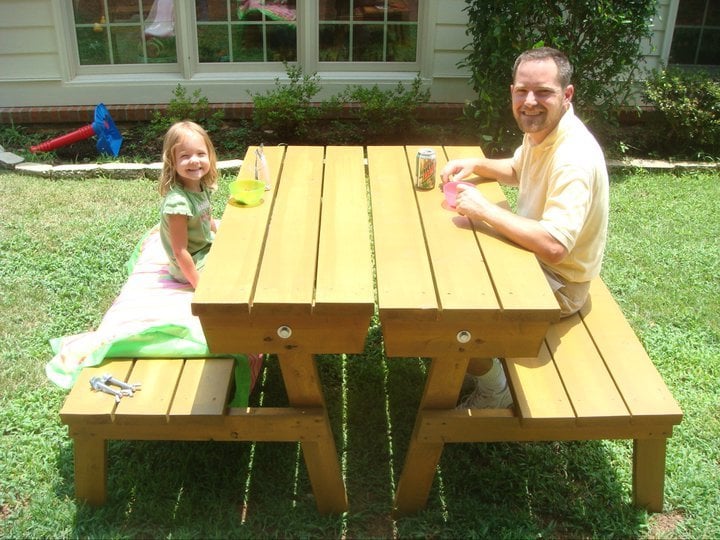
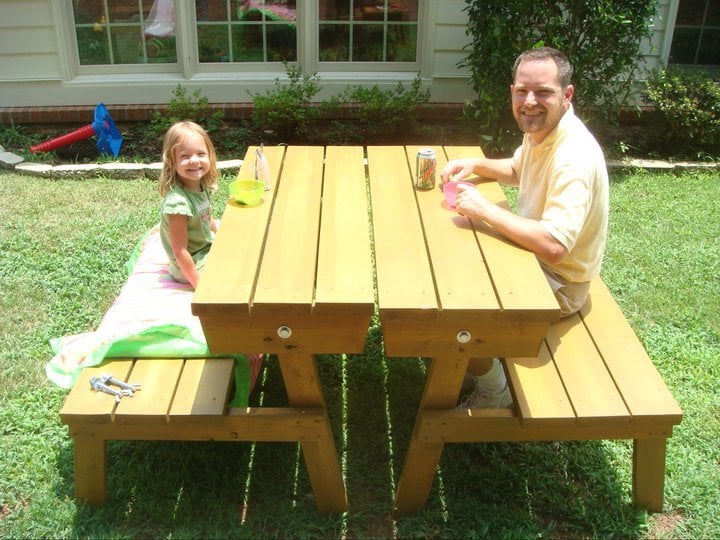
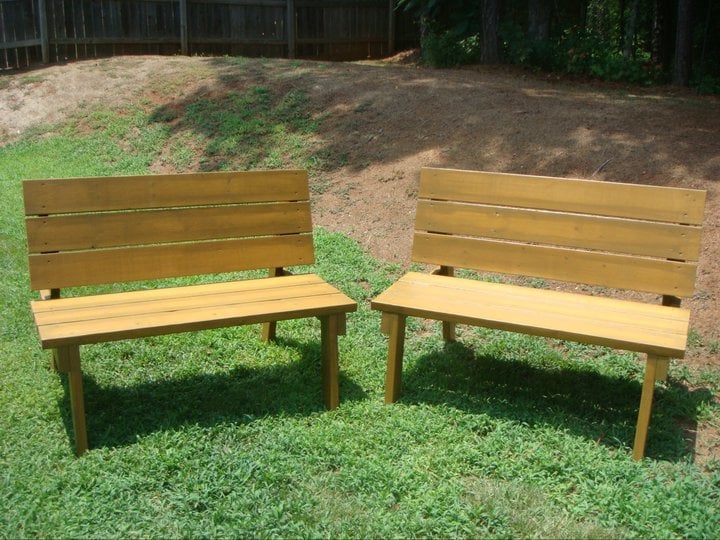
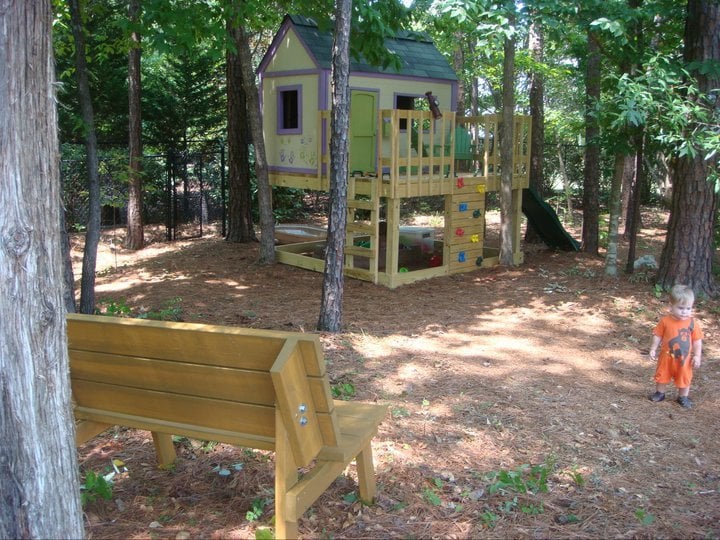
I love these benches/table. They were easy to make and are comfortable to sit in.
This project is closest to the Simple Closet Organizer, but I wanted to be able to re-use the existing components of the closet. The only purchased materials were one sheet of cabinet grade plywood and dowel rod holders (since I already had paint and screws).
Tue, 07/12/2011 - 09:06
This is on my very soon to do list. I actually drew up a sketch yesterday of my plan and the husband seems ready to start! Thanks for sharing yours!.
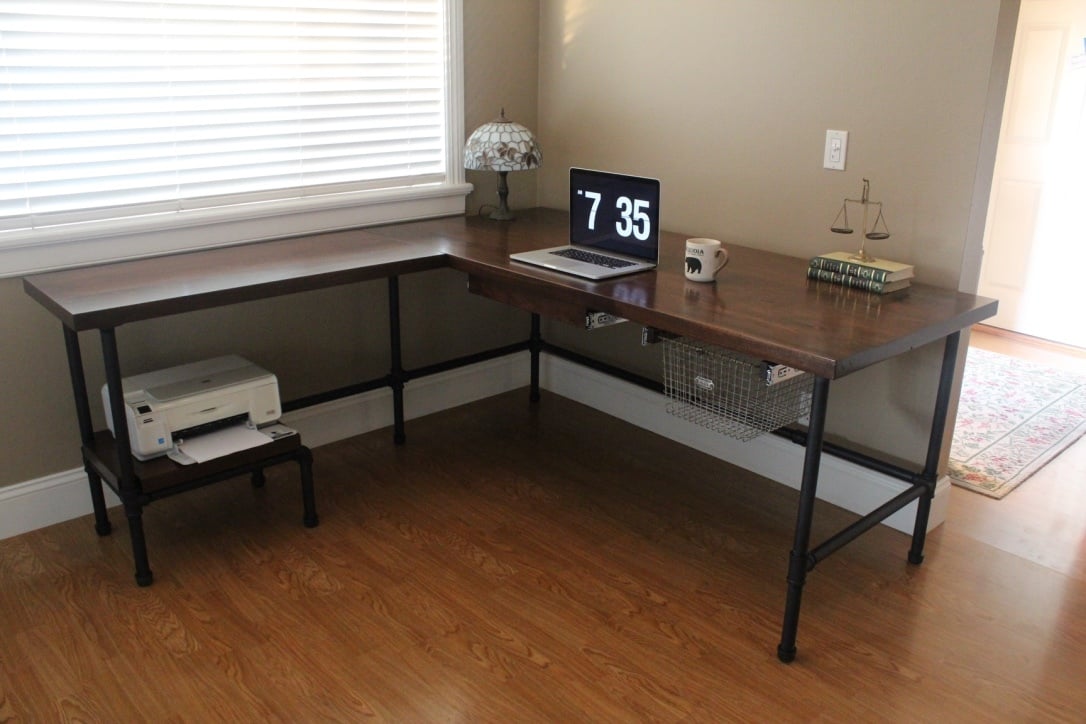
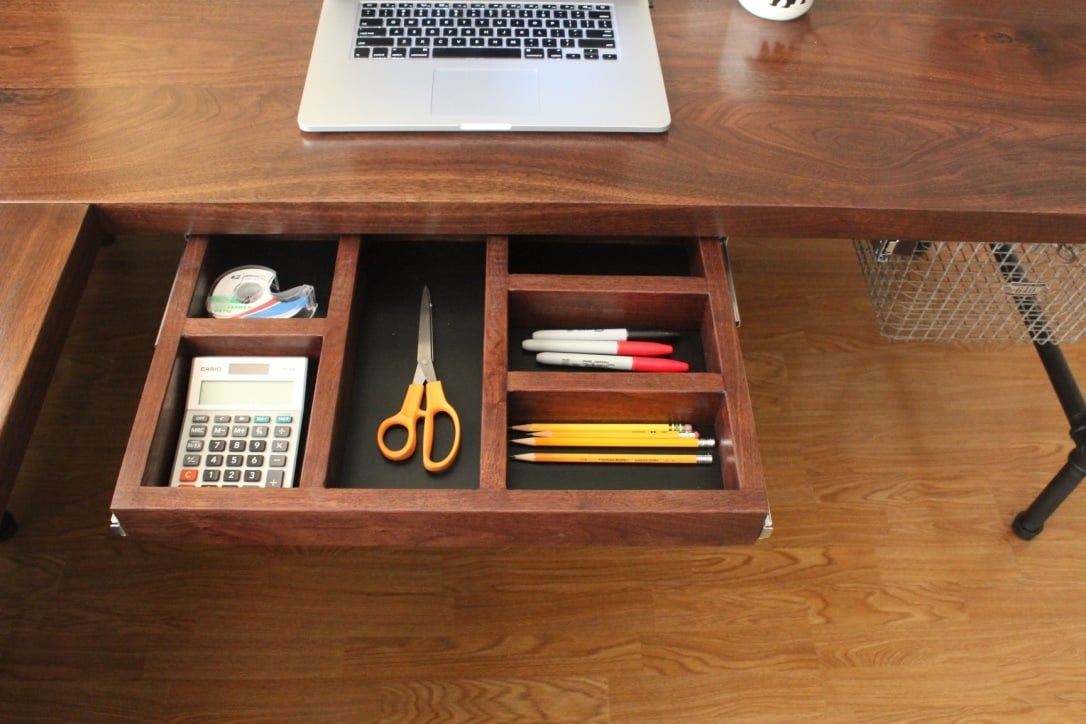
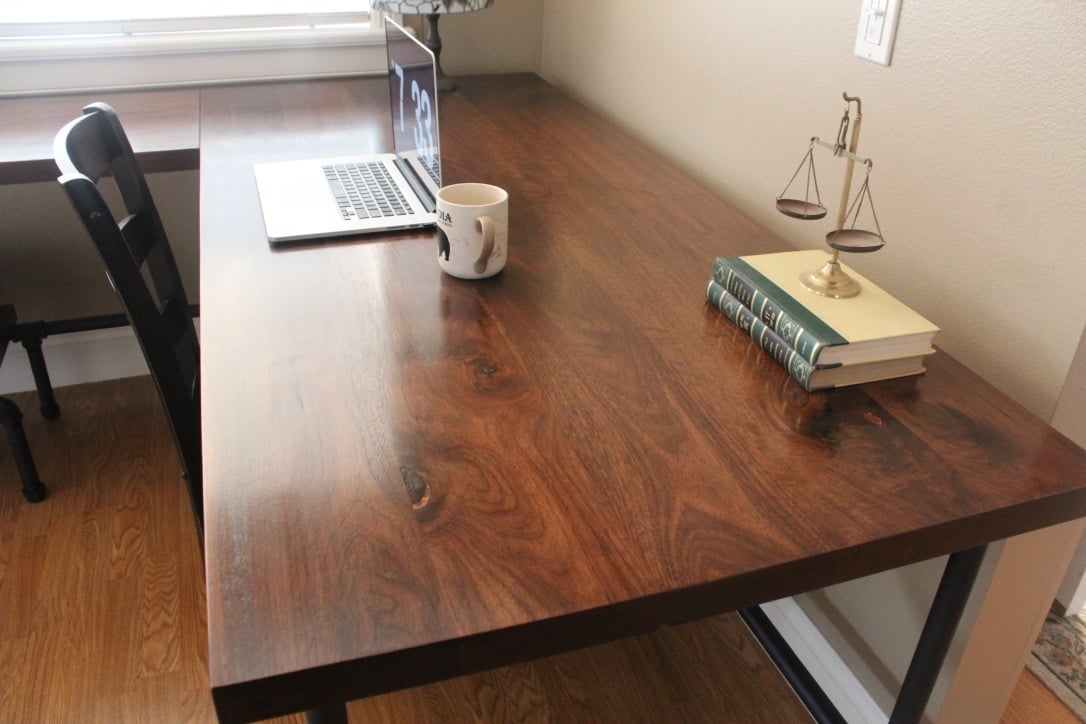
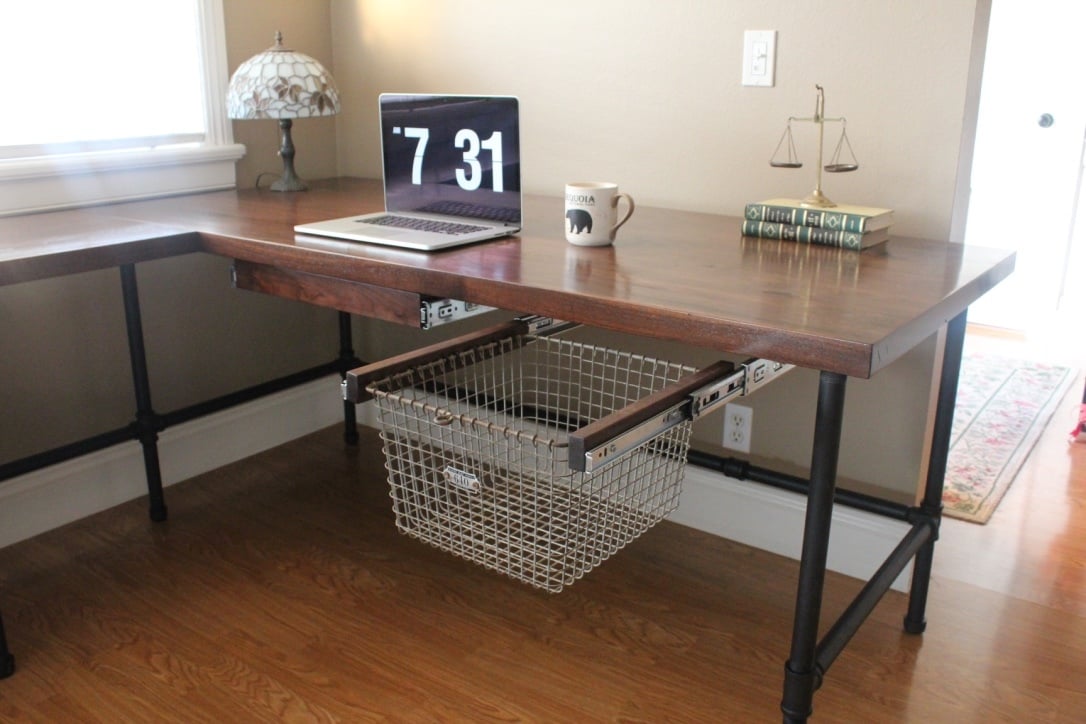
Just finished up this industrial L-shape desk. The desk top is solid walnut. I added a pencil drawer and a vintage locker basket mounted to a drawer slide. :)
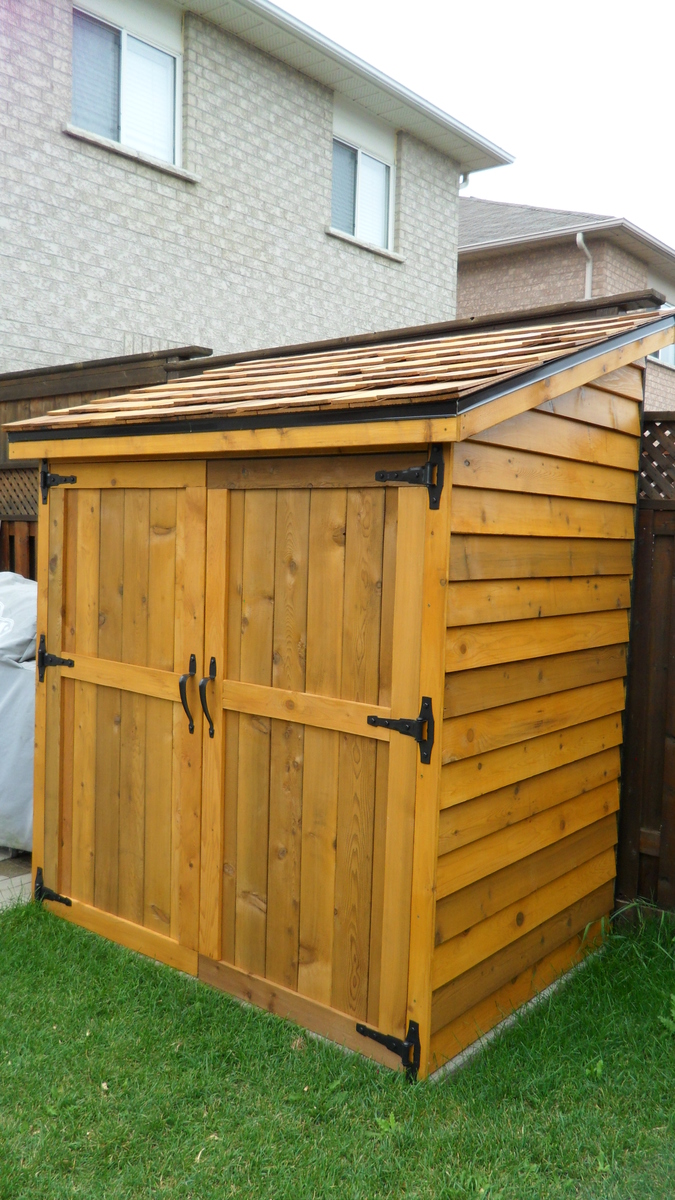
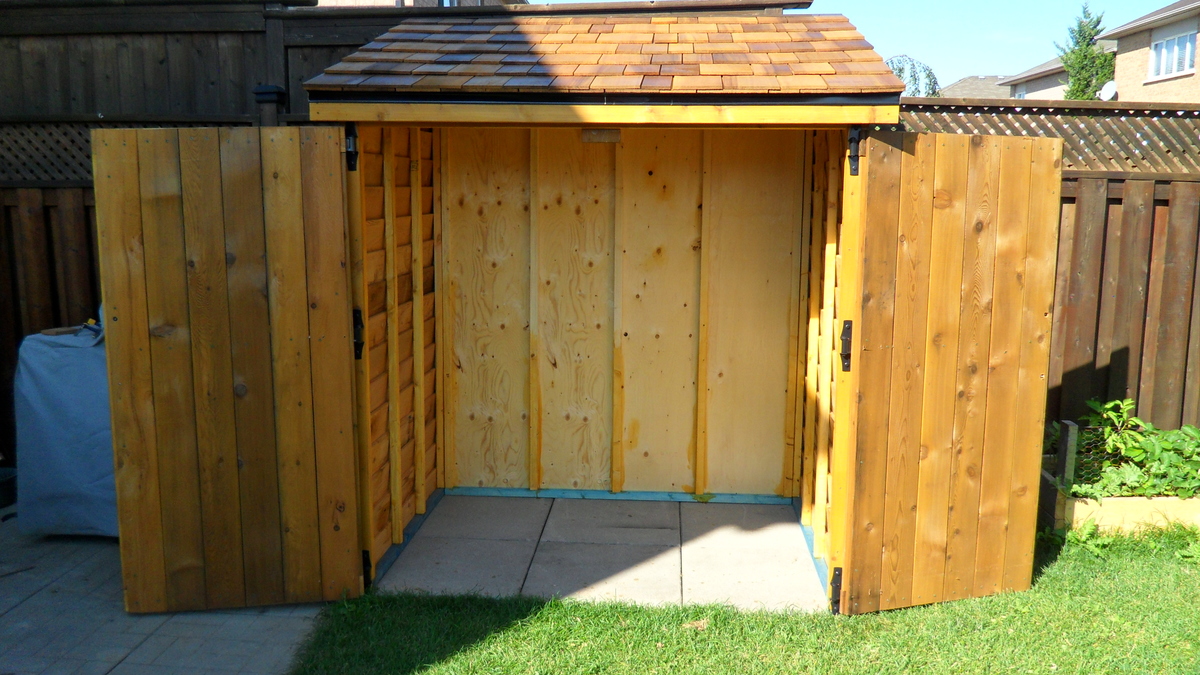
Thanks for the shed plans, I've been looking all over for something like this. I used 3/8" ply wood for the back wall to save money but spent what was saved and more on the shingles and stain/seal. I made the shed exactly 6' wide and 4' deep to fit the 6 2'x2's patio slabs.
The entire project took about 2 weeks to complete and cost about $700. We pay more in Canada but at least I finally got the shed I wanted.
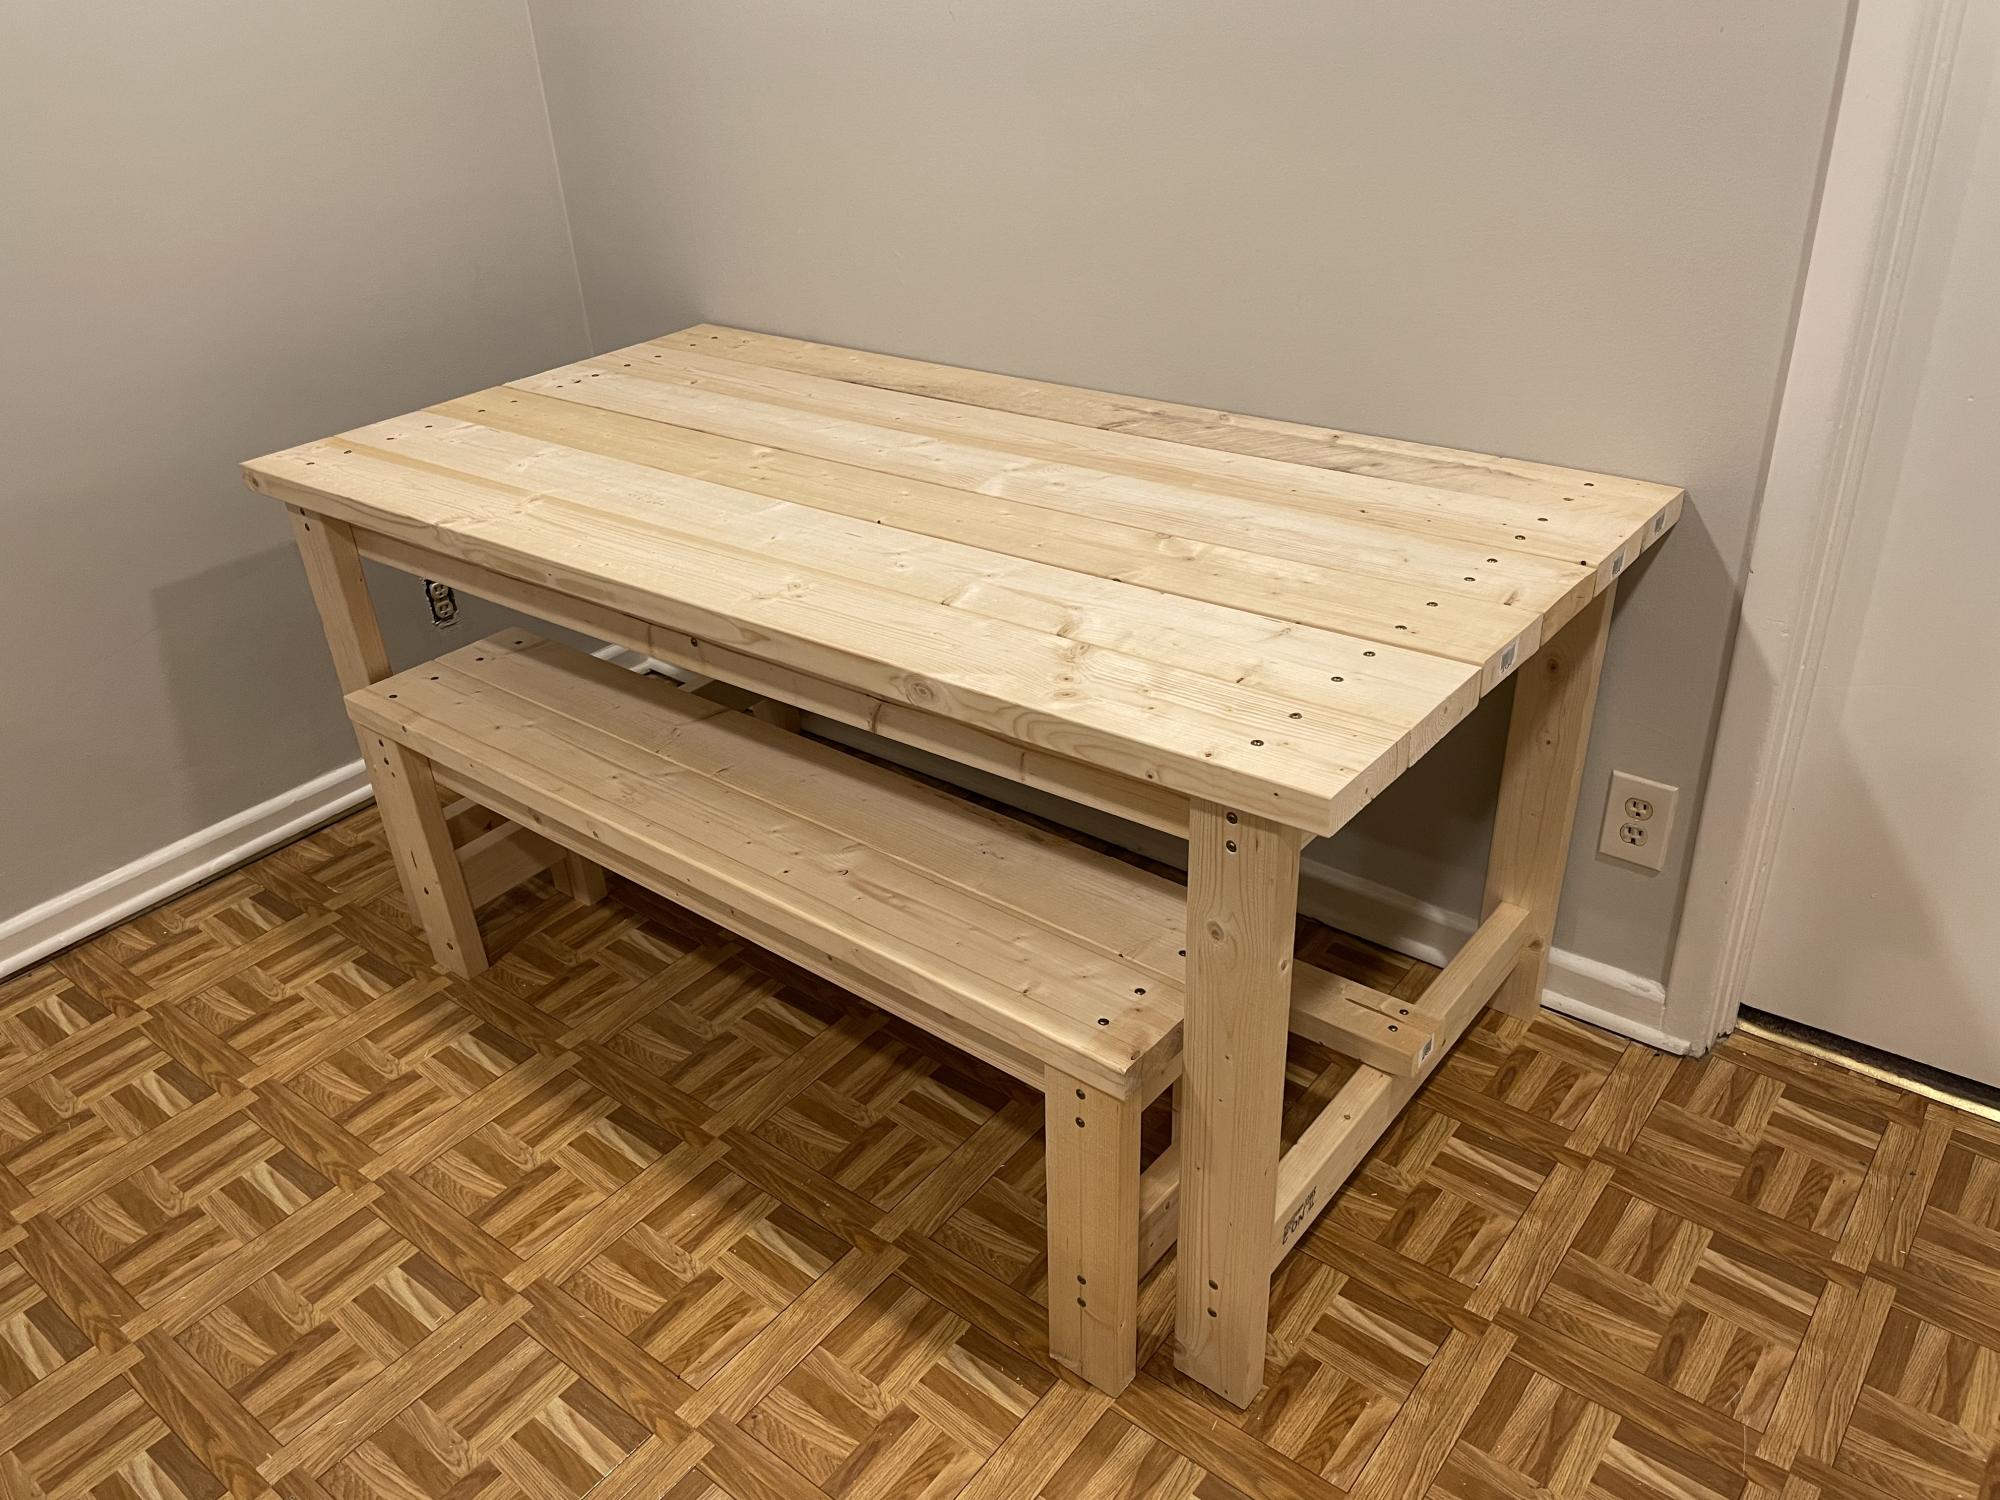
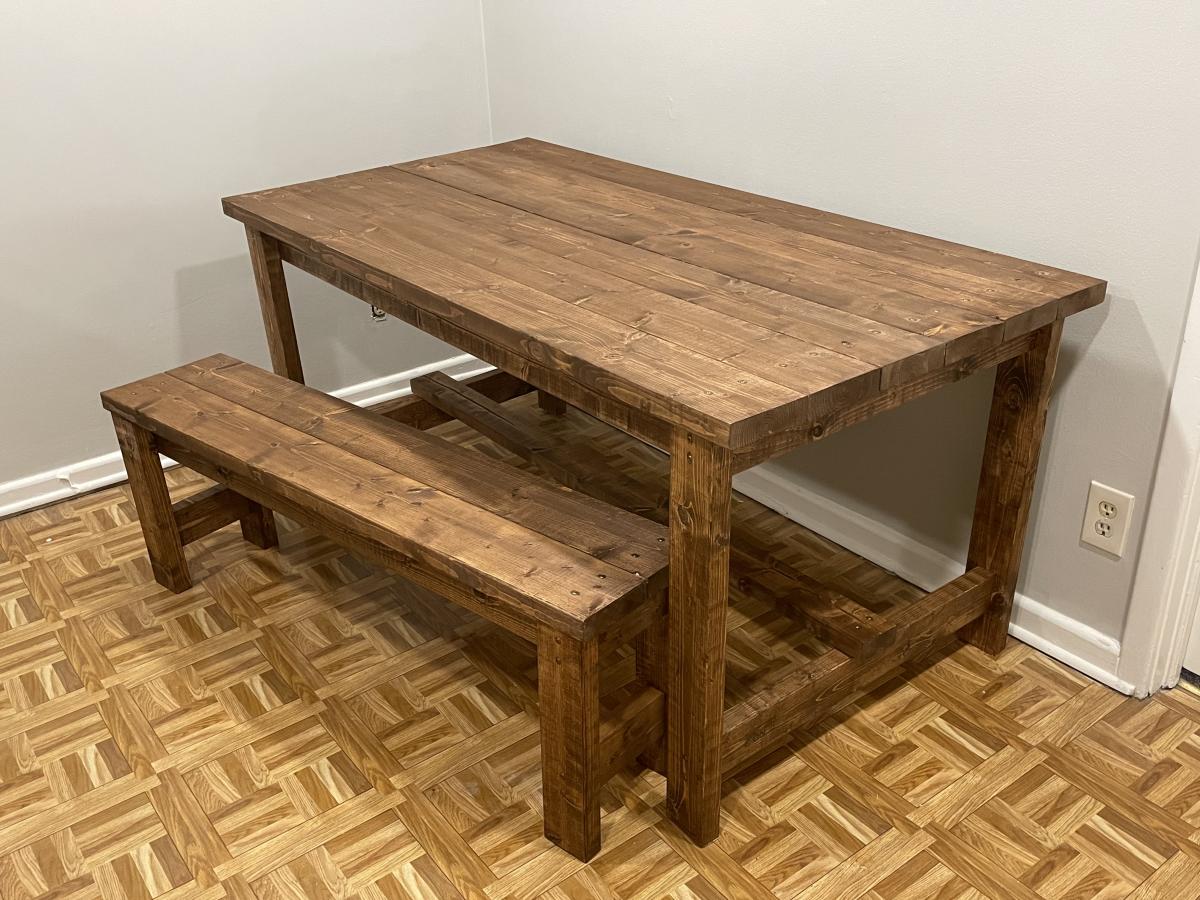
I’m in the process of renovating my kitchen and dining area and needed a rectangular table fitting against the wall. I couldn’t find the dimensions I needed so I set out to build my own! I tweaked the beginner farm house table and bench plans to fit my space and voilà! Perfectly what I needed! Thank you, thank you, thank you!
Our local Habitat for Humanity puts on an annual event where they get folks to restore discarded or worn down furniture and sell them at auction. My wife and I participated last year and this year I was asked to build 4 dog houses and then they were going to let local designers/decorators finish them out.
I figured it would be easy to find a good dog house plan, but I was wrong so I had to come up with my own designs. I did not want to use plywood becauase I wanted them to look good. So I used 1x4's and 1x6's. I built them all just a little bit different, but the same basic design on all 3. Since I am not very good with circular cuts, did not do any fancy 1/2 circle doorways!
There are "after" pictures on the Blog. Thanks for looking!
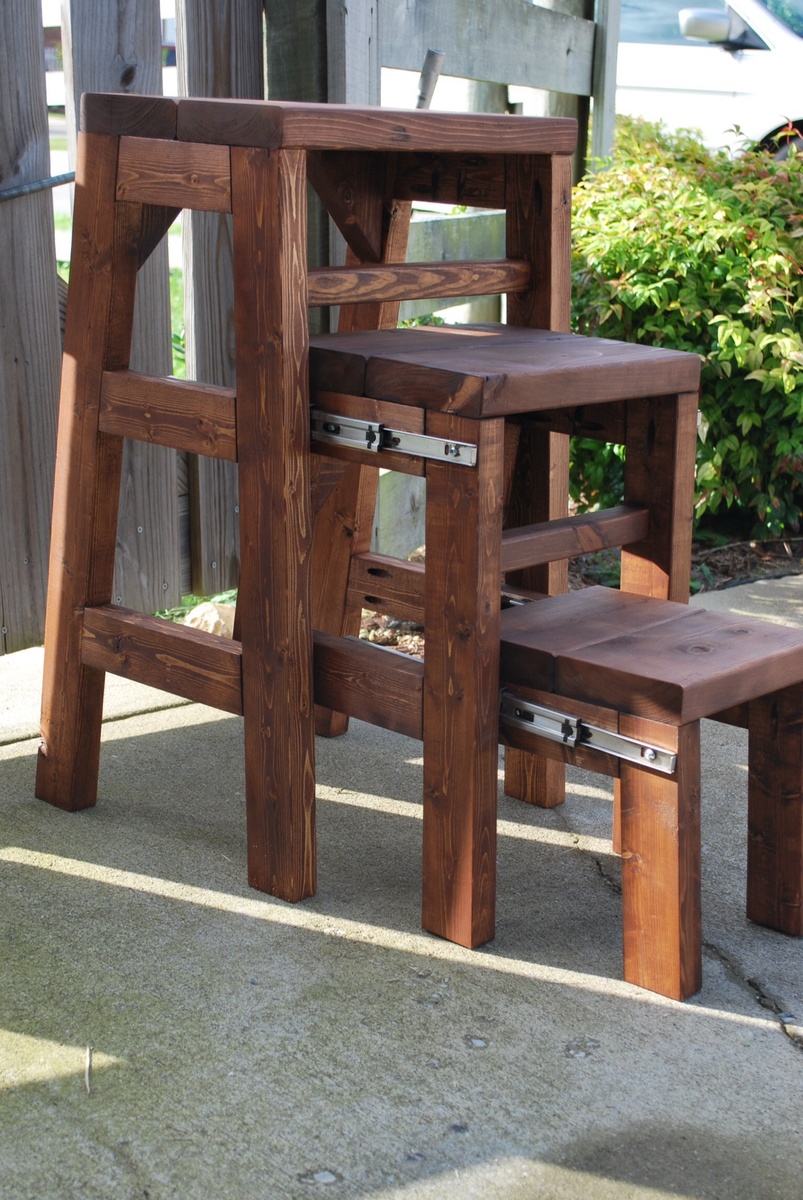
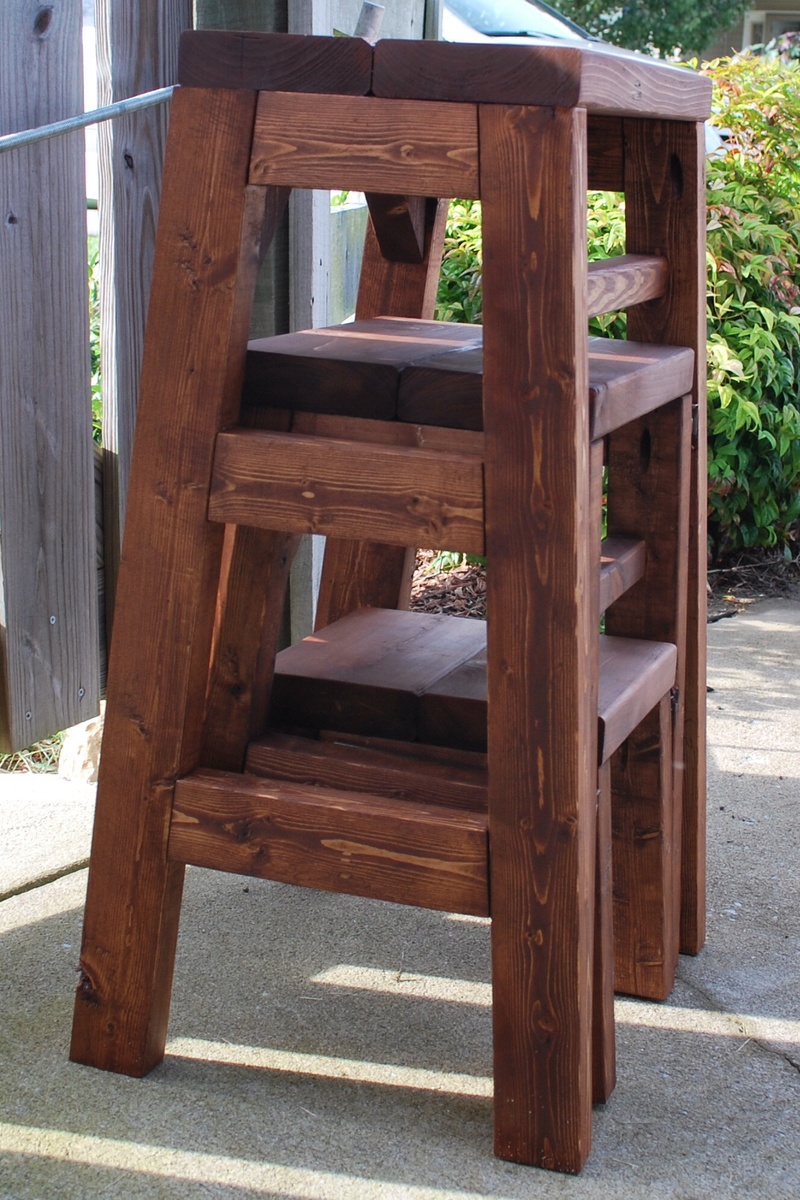
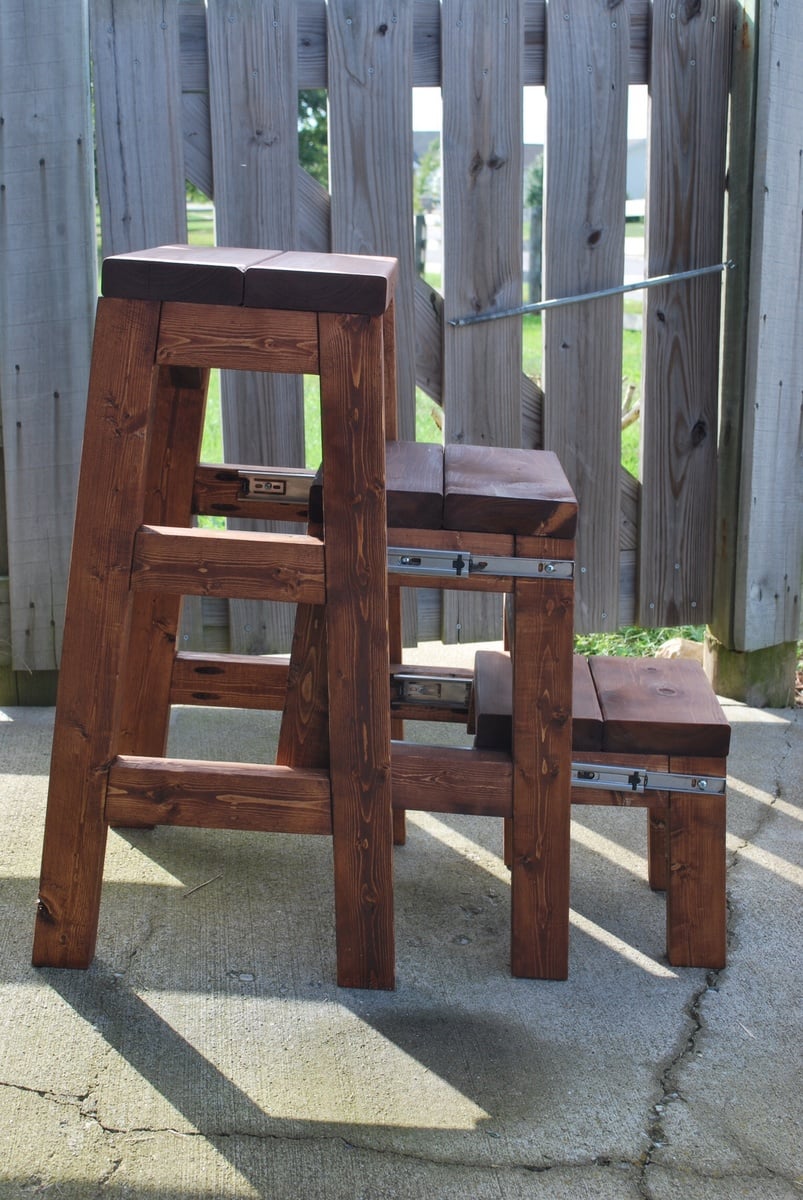
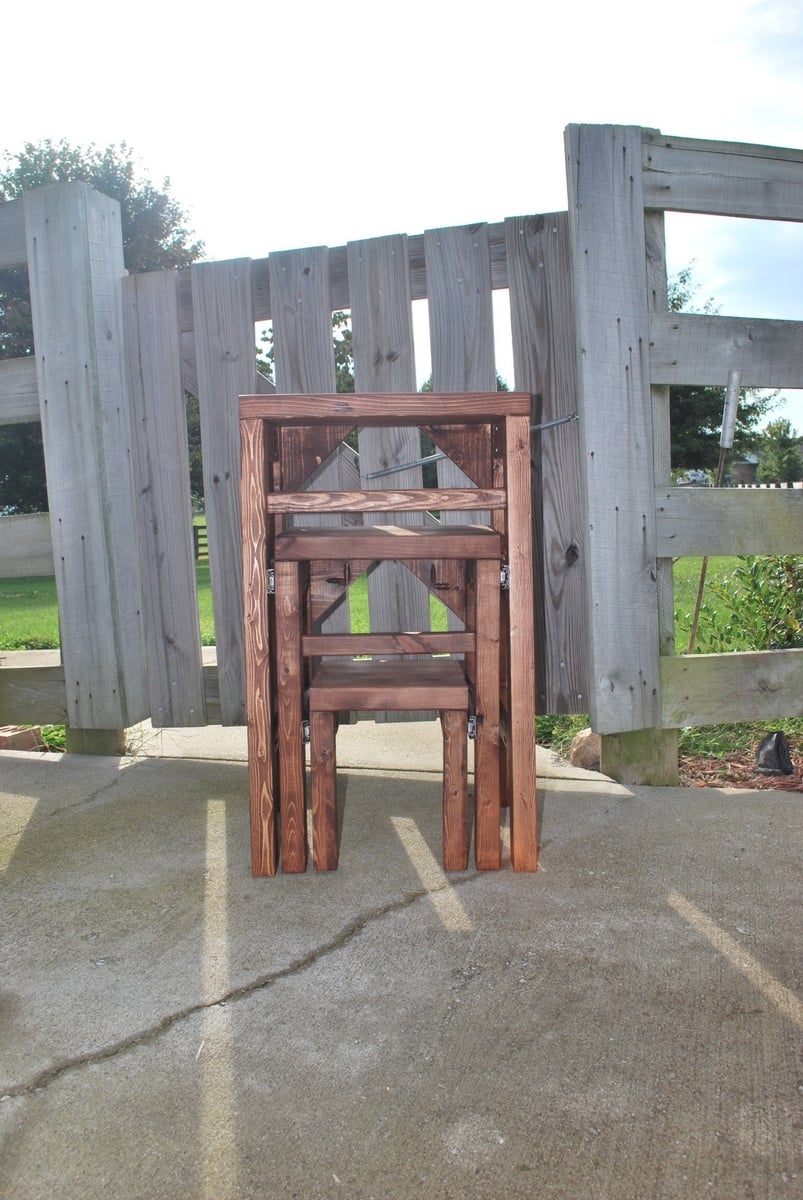
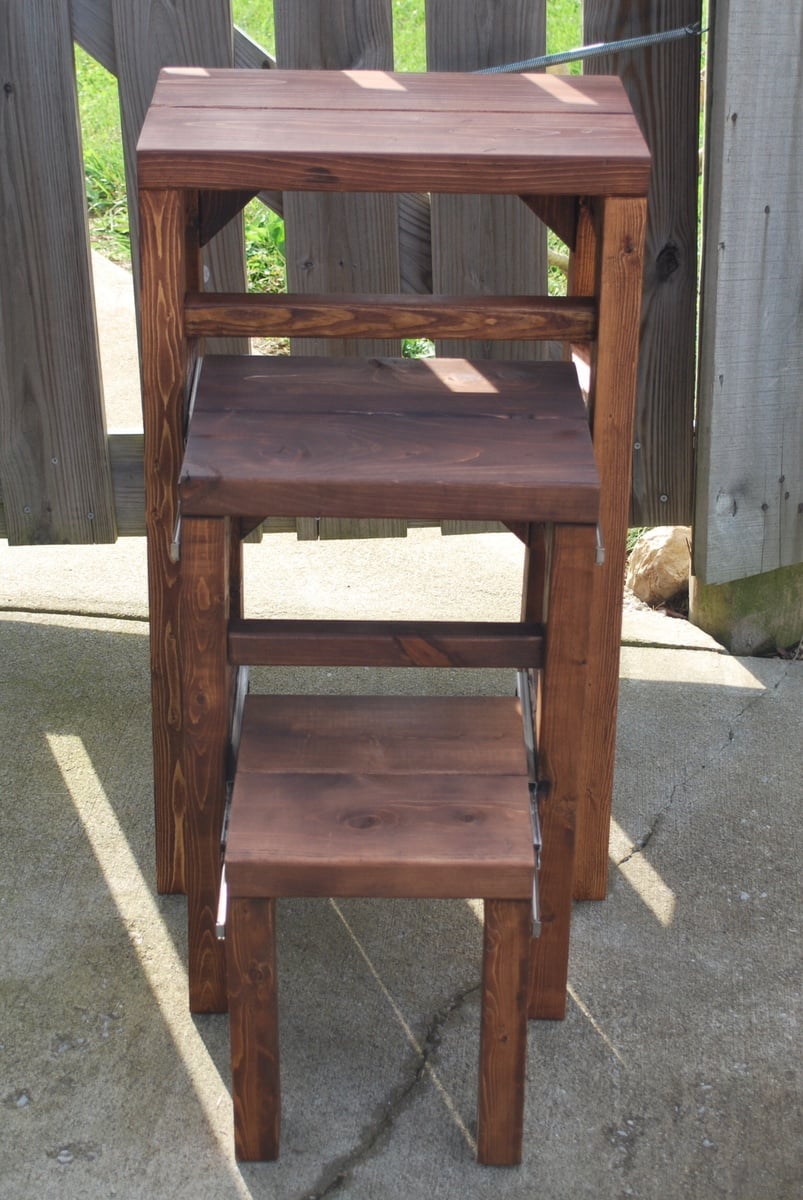
I needed a step-stool in my kitchen to reach in my top cabinets. I'm rather short so I was constantly dragging a chair from my dining table over to find things. I did a google search for a step stool and looked at images. As soon as I saw the picture I knew I had to build it, the retailer selling the original one I saw has a starting price of $270 and goes all the way up to $680! It took me 2 weeks off and on and several times of putting together and taking apart to get Ito the size specifications on the retail website.
Mon, 02/23/2015 - 13:27
Are there plans for this? Looking to make but would like to know what materials are needed
In reply to Are there plans for this? by nengel21
Sun, 05/31/2015 - 18:27
I just used the picture i found online as reference and built it through trial and error. Unfortunately I don't know how to create plans either.I can tell you the legs are 2x3's cut at a 5° angle and the tops are 2x6's. I ordered the drawer slides from amazon for approximately $12 a piece.
Fri, 08/21/2015 - 06:34
Hi, I've been looking for the original image that you used as your model in an attempt to find dimensions to start with, but haven't been able to find it. Could you perhaps remember what brand it was or what site you found it on? If you still have the stool, could you maybe tell me the width of your top step and I could maybe go from there?
Thanks for the picture. This is a brillant idea and exactly what I'd like to create for my kitchen. I'm hoping to be able to use it as a counter height seat as well when I'm working in the kitchen.
In reply to Would love to recreate by robear529
Sat, 01/21/2017 - 06:42
Sorry, I haven't been on here in a while so I just saw this. Here is the link to the stool I copied https://www.foreverredwood.com/3-step-wood-stool.html
Thu, 09/17/2015 - 14:04
This is on my list of things to make. Have to sort th shed out first though.
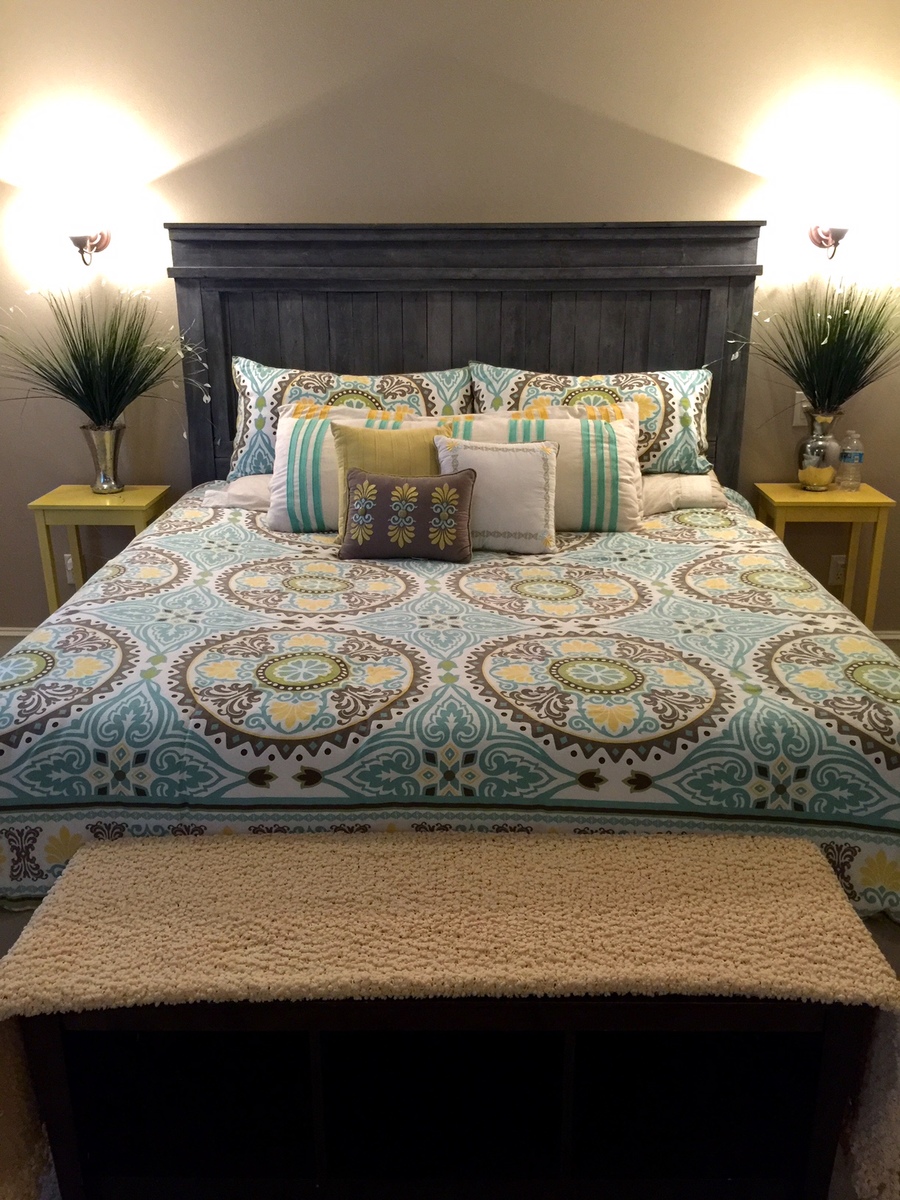
Buit this for our master bedroom.

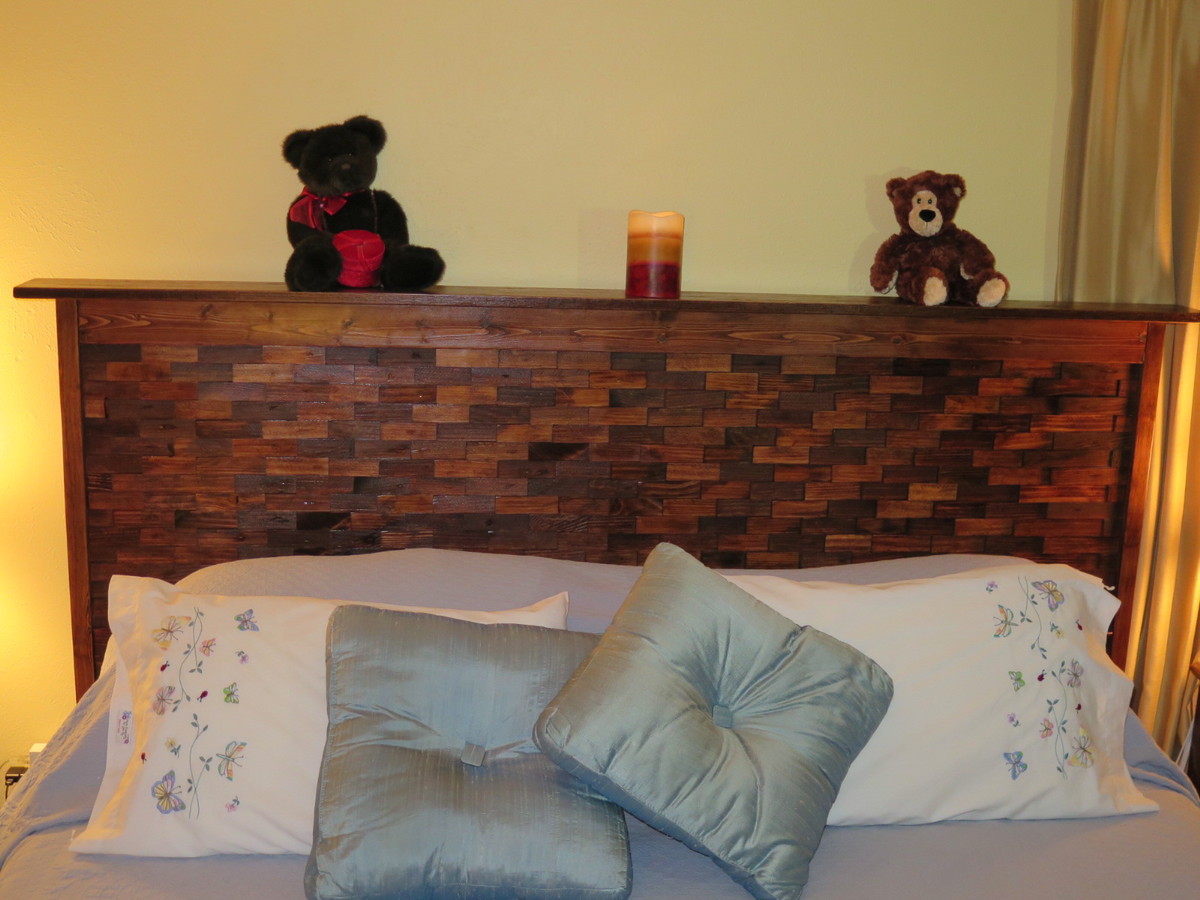
My version, with a top shelf added, and the legs made of a 2x6 with a trimmed 2x4 added to make the L shaped leg.
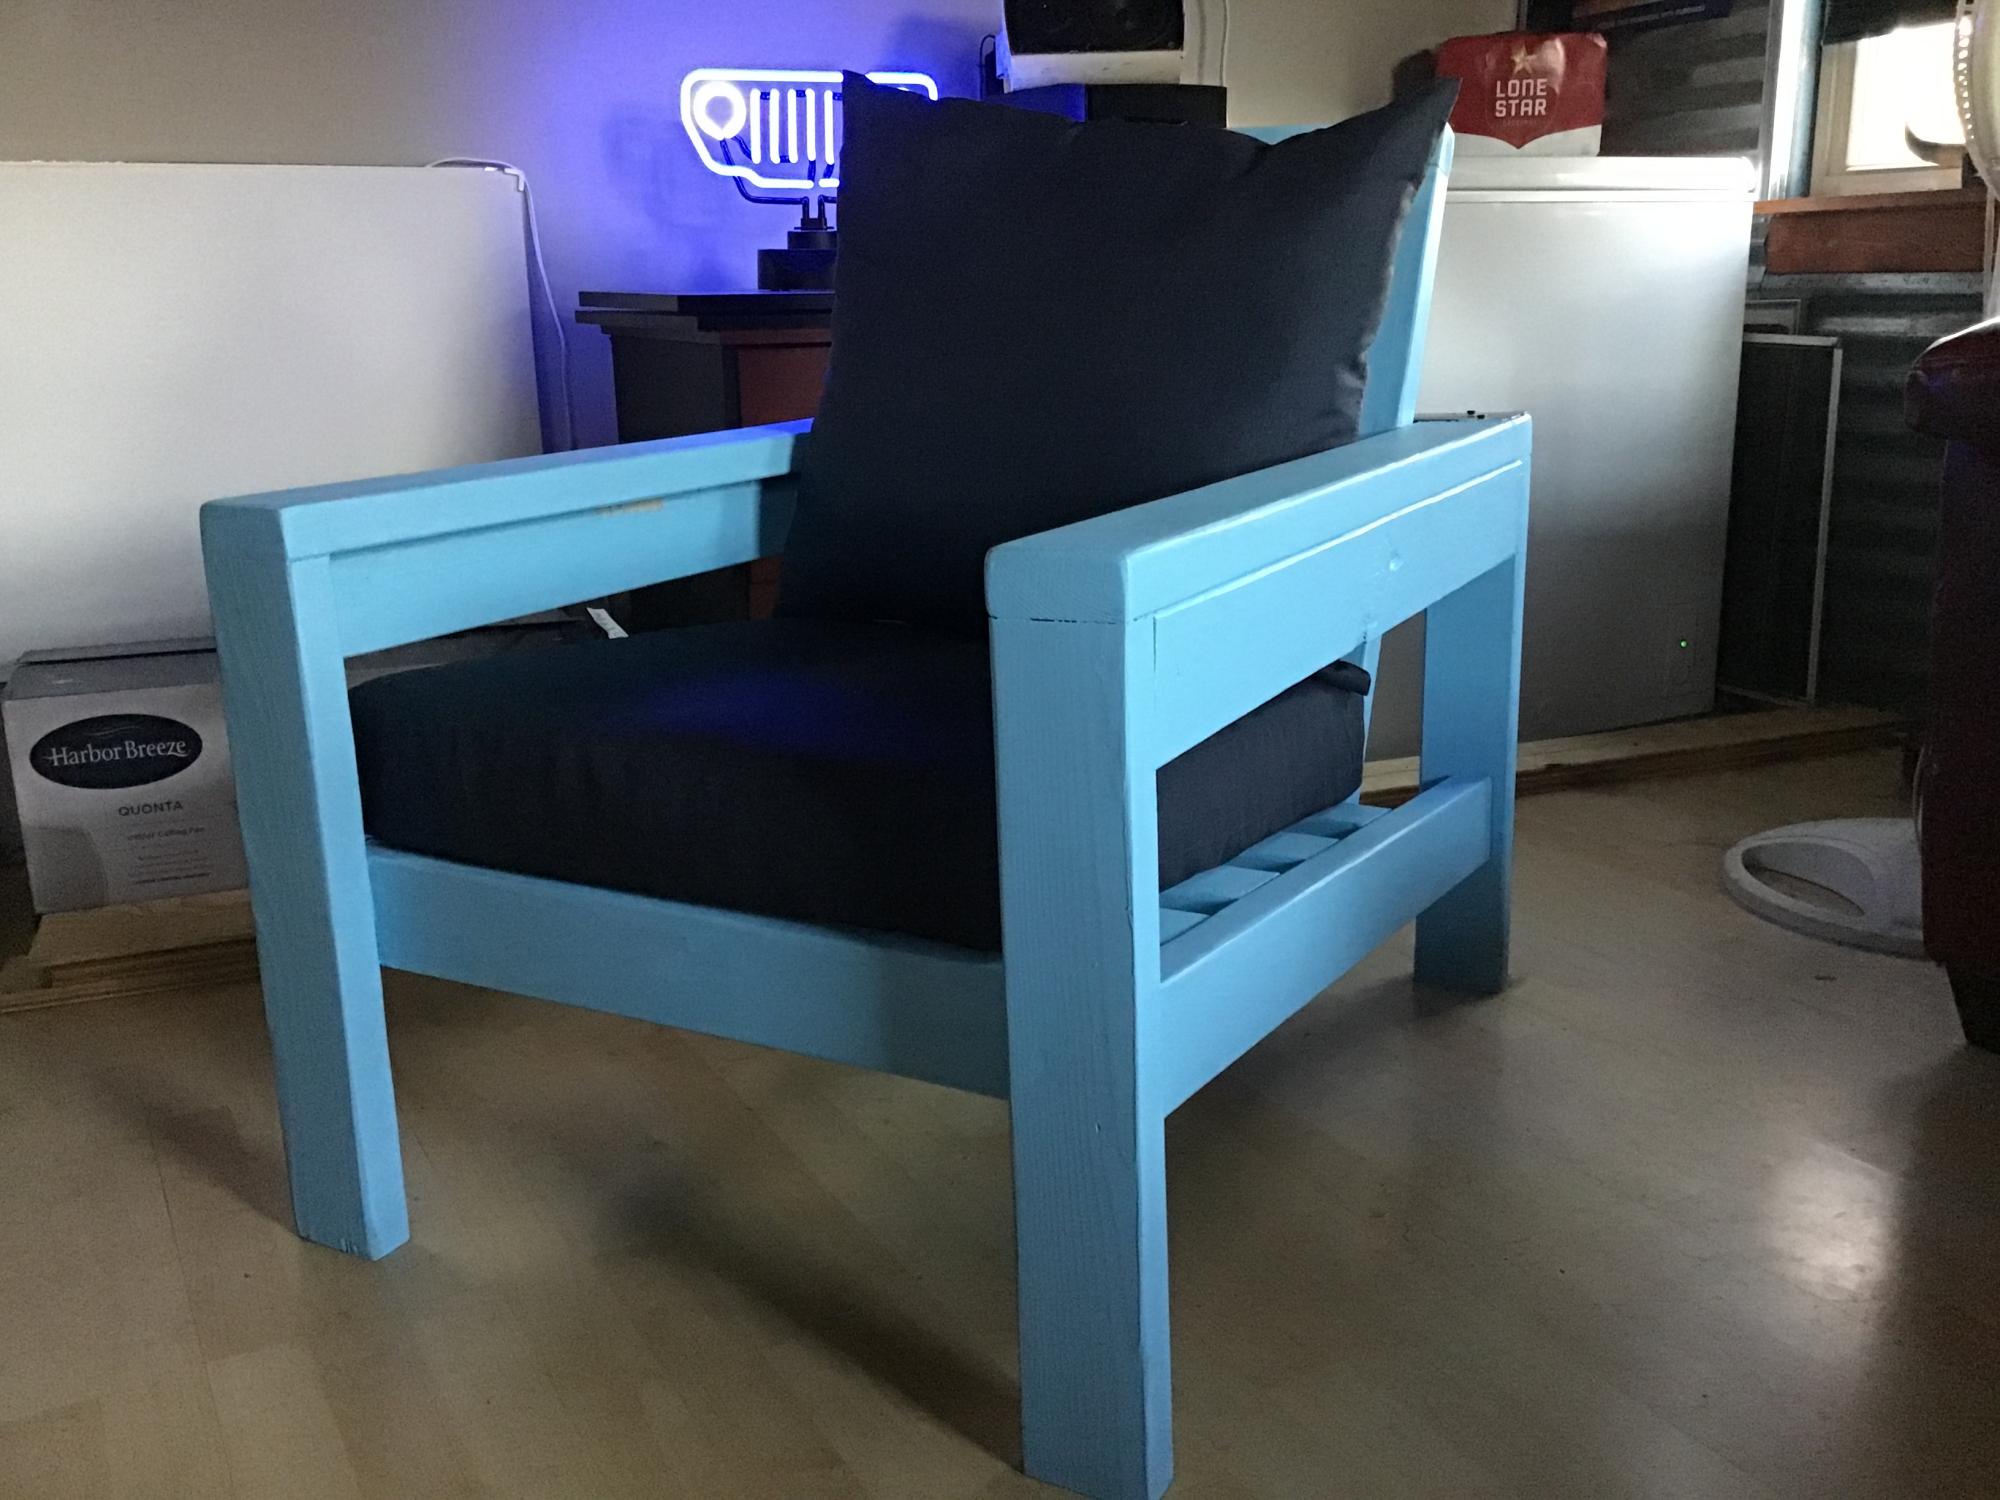
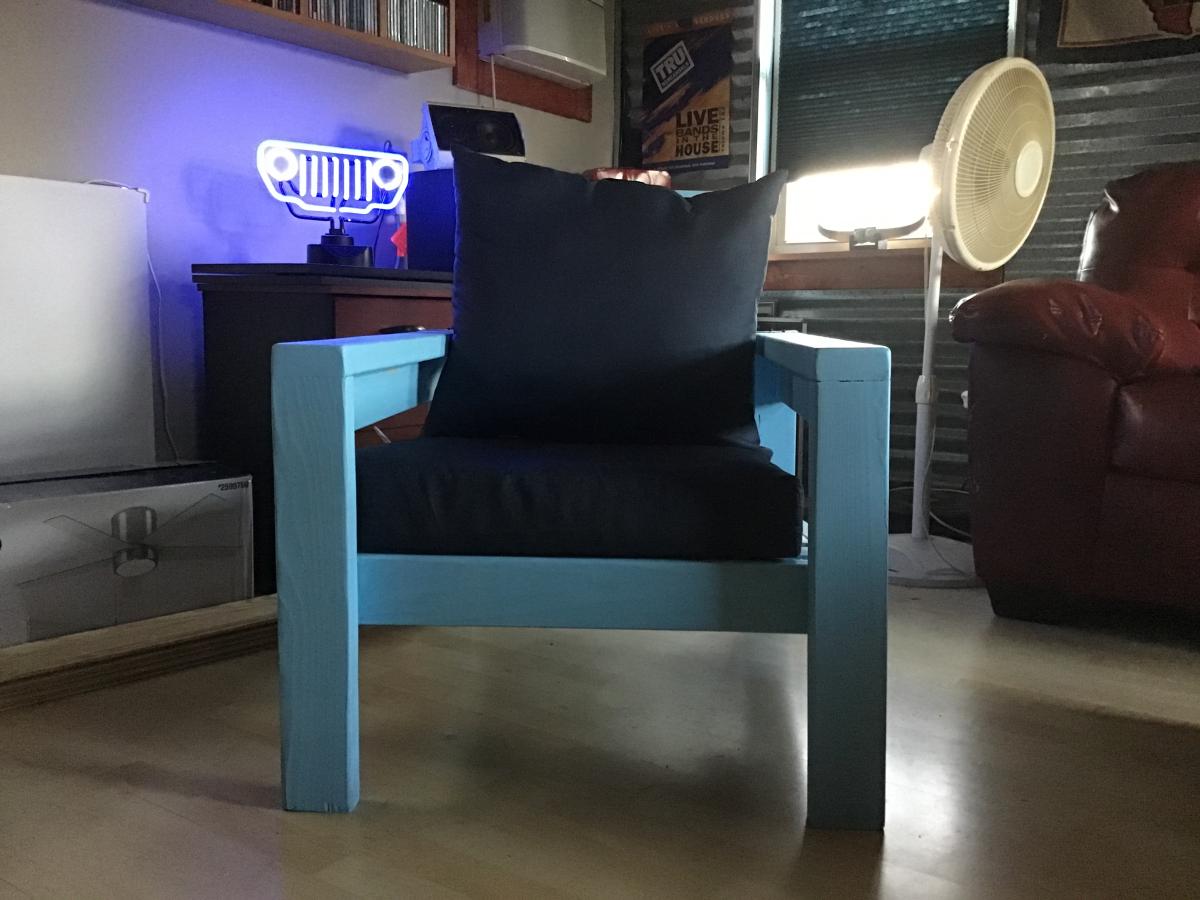
Thank you Anna for designing such beautiful plans, and making them available for free. My husband likes the chair so much he doesn’t want it outside! I guess I’ll have to make a few more for our deck.
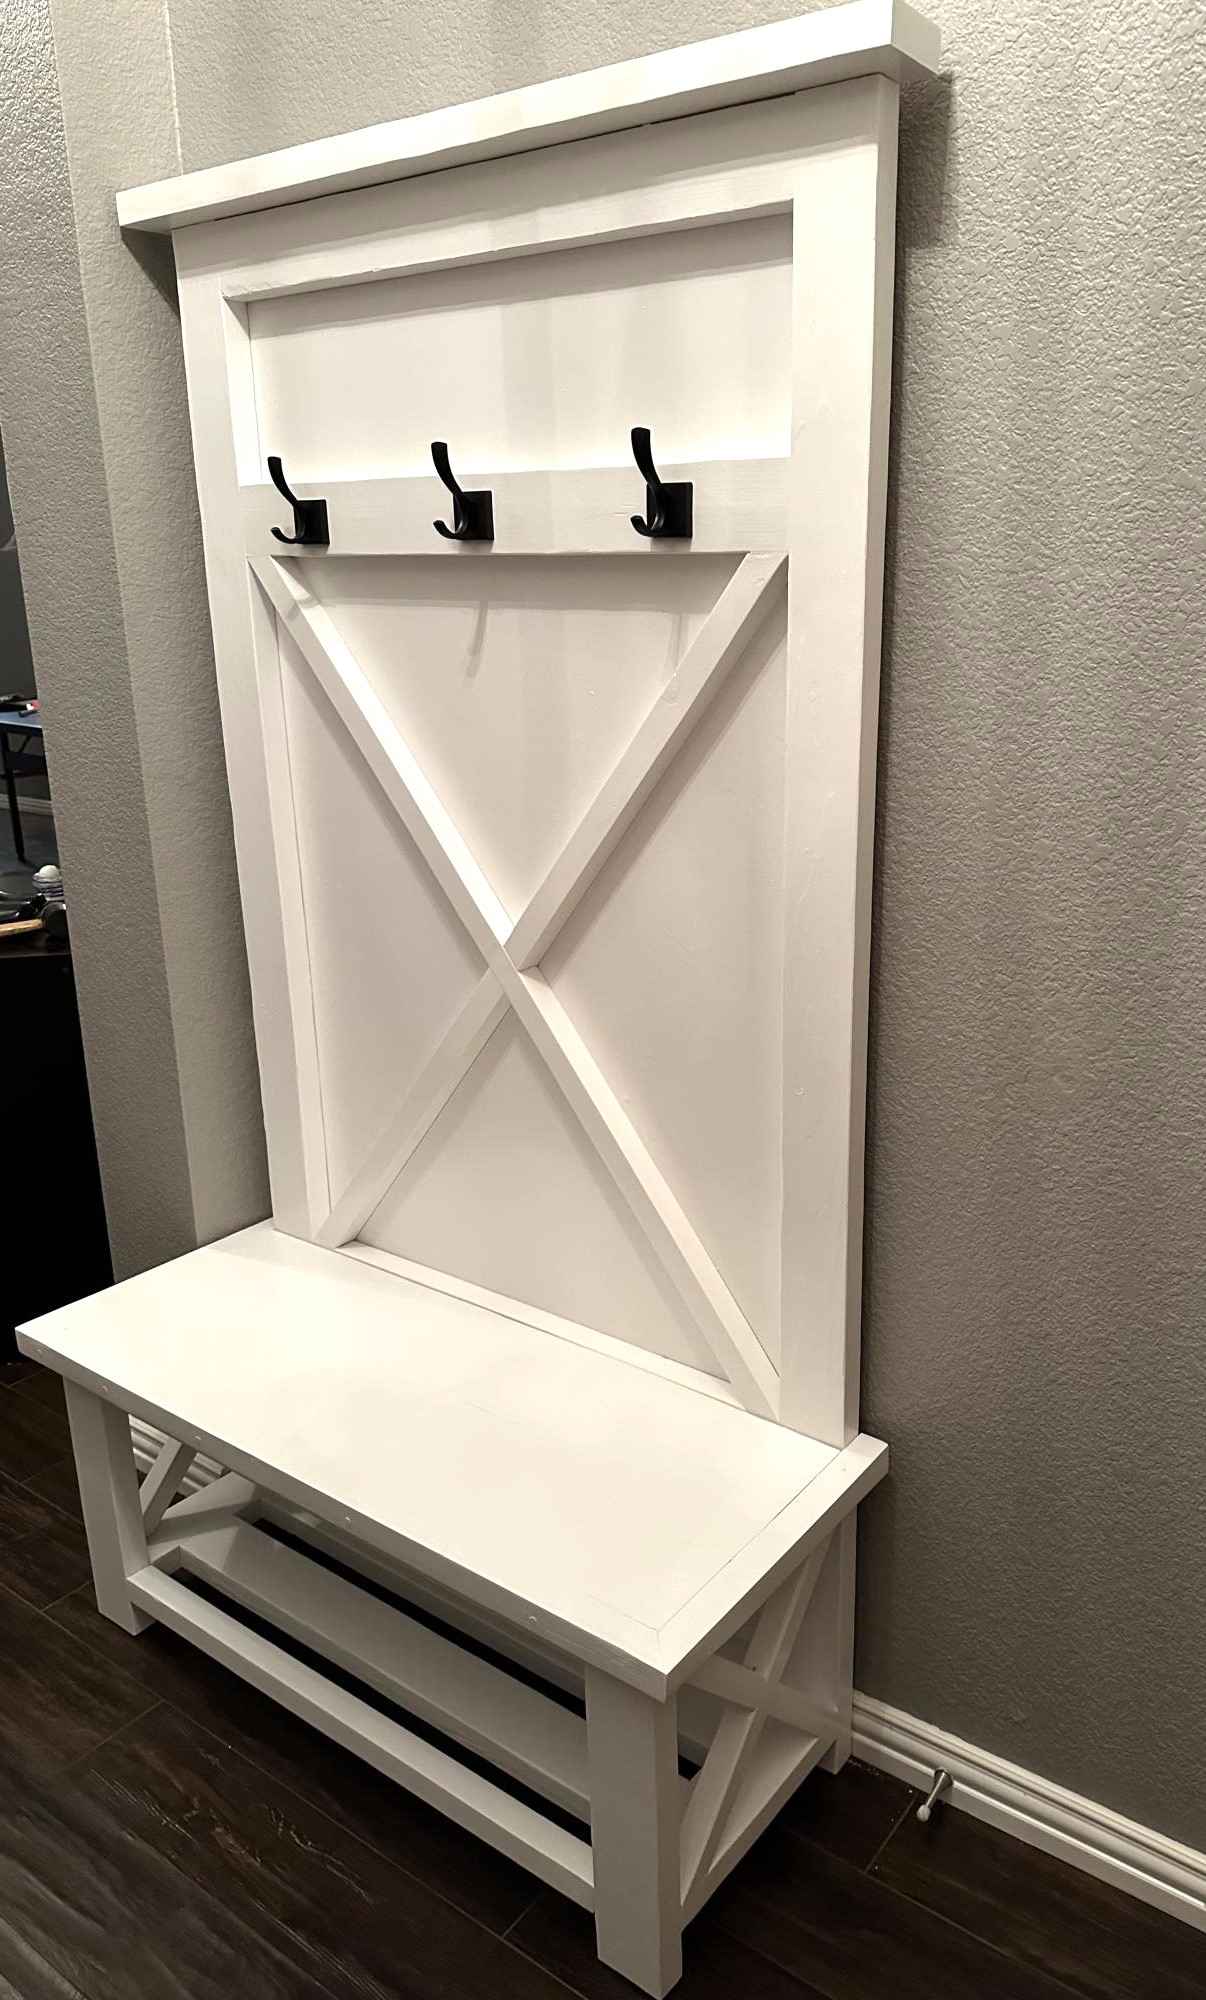
I started with the Rustic X Hall Tree plan and modified it to 43" width to fix the space. All X's are half laps cut on the miter saw.
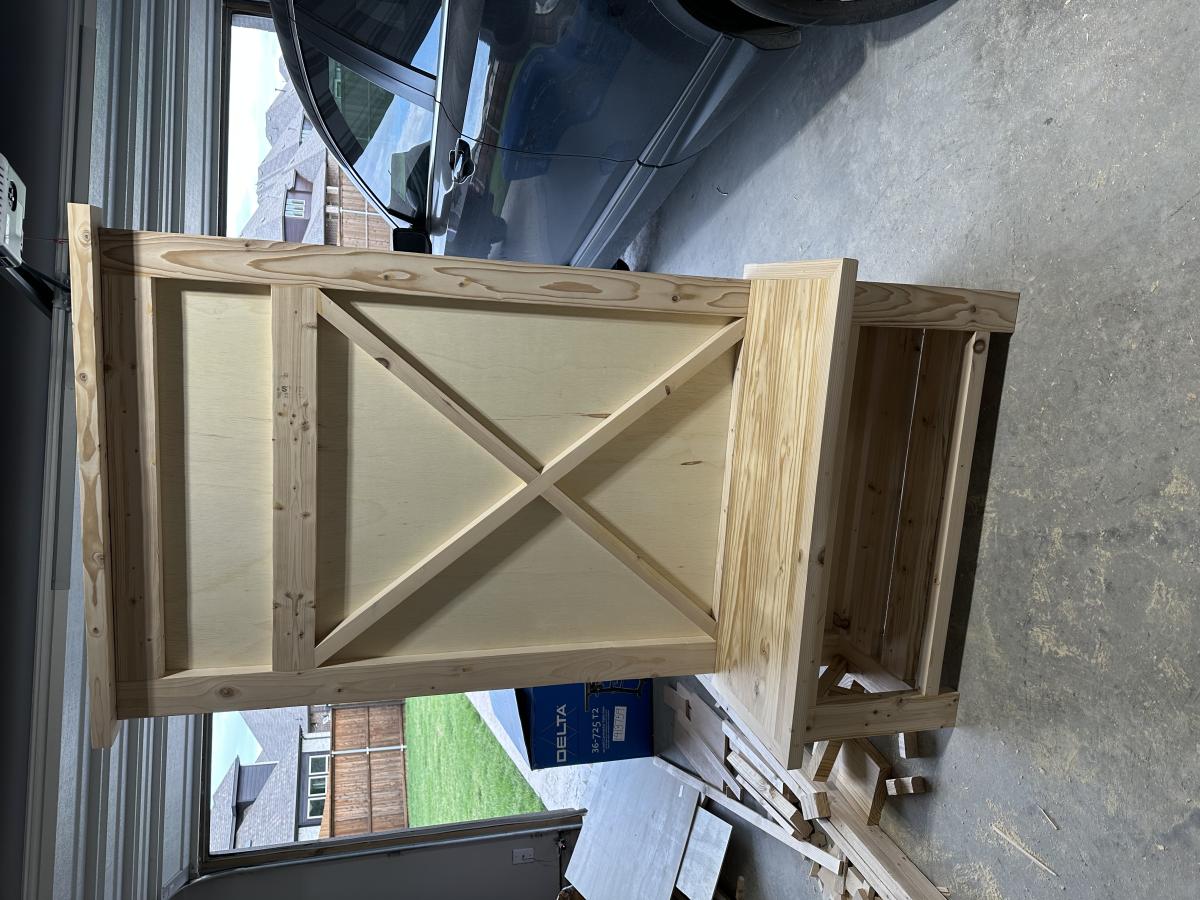
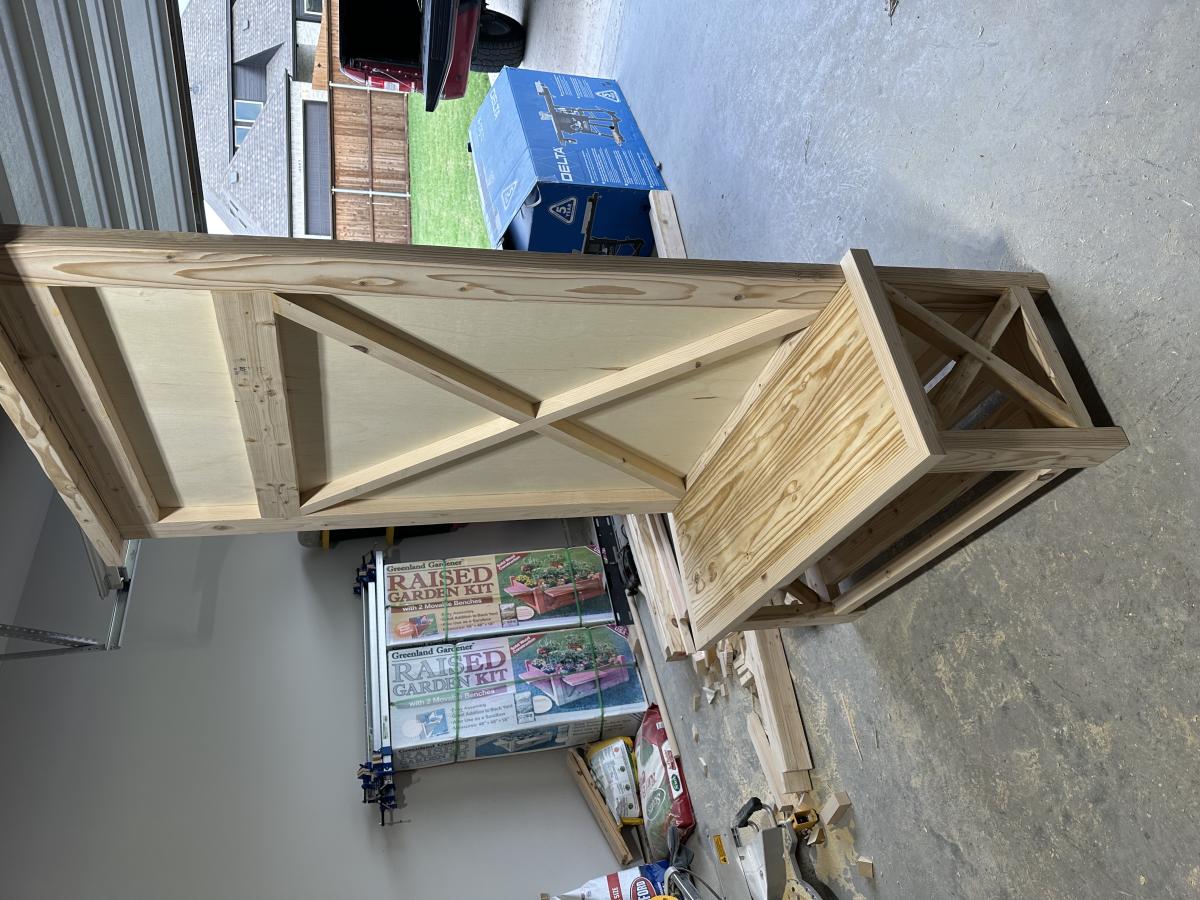
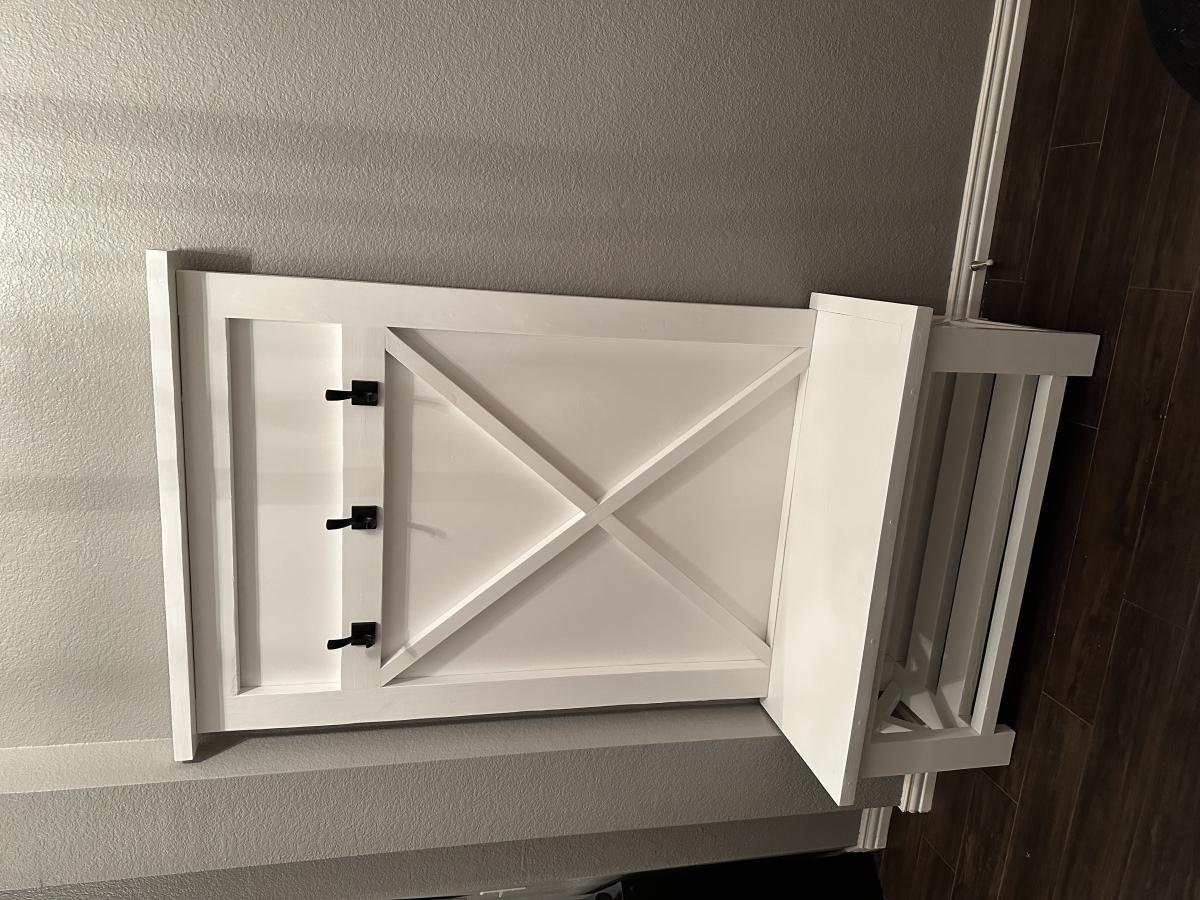
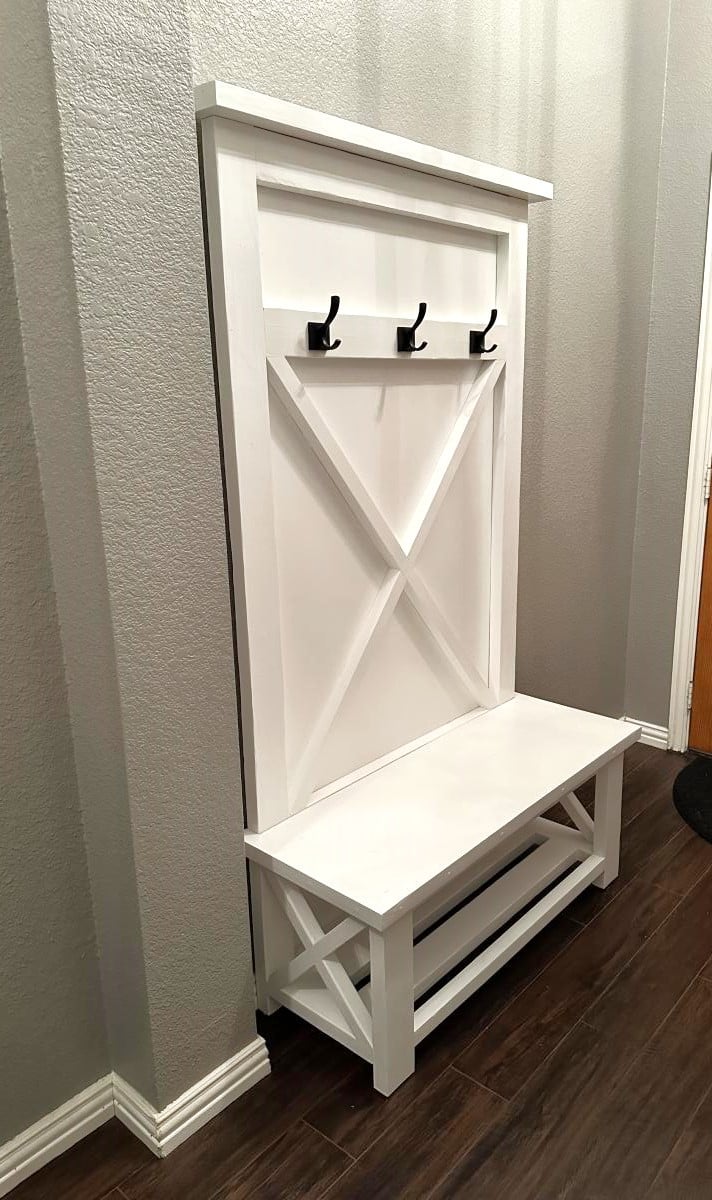
Fri, 05/26/2023 - 19:38
Thank you for sharing! If you uploaded a brag post of 2 end tables, I was working on fixing the sideways photo and accidentally deleted it. If that was yours please reupload!:) Sorry!
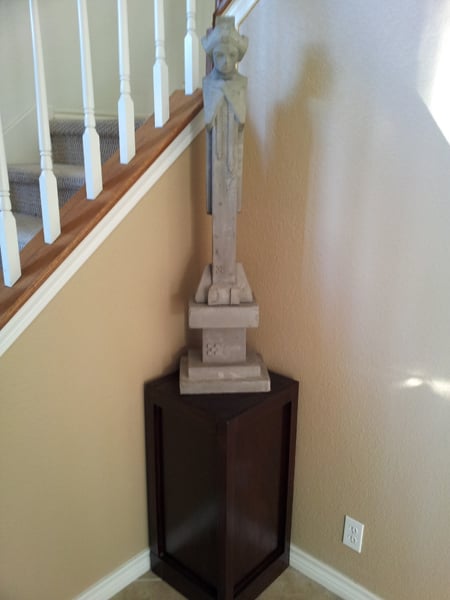
This isn't directly from a project but it was heavily influenced by the Benchmark Media Tower. I had made two of the towers (pictures coming soon) and had some left over wood. I used the same process to attach the 2x2 poplar boards to the 1x12 and added a 1x3 at the base to give it some visual weight at the bottom. I plan on digging through the rest of my scraps and make more of these to put vases and pots on. Why not! (sorry for the camera phone quality shots) :(
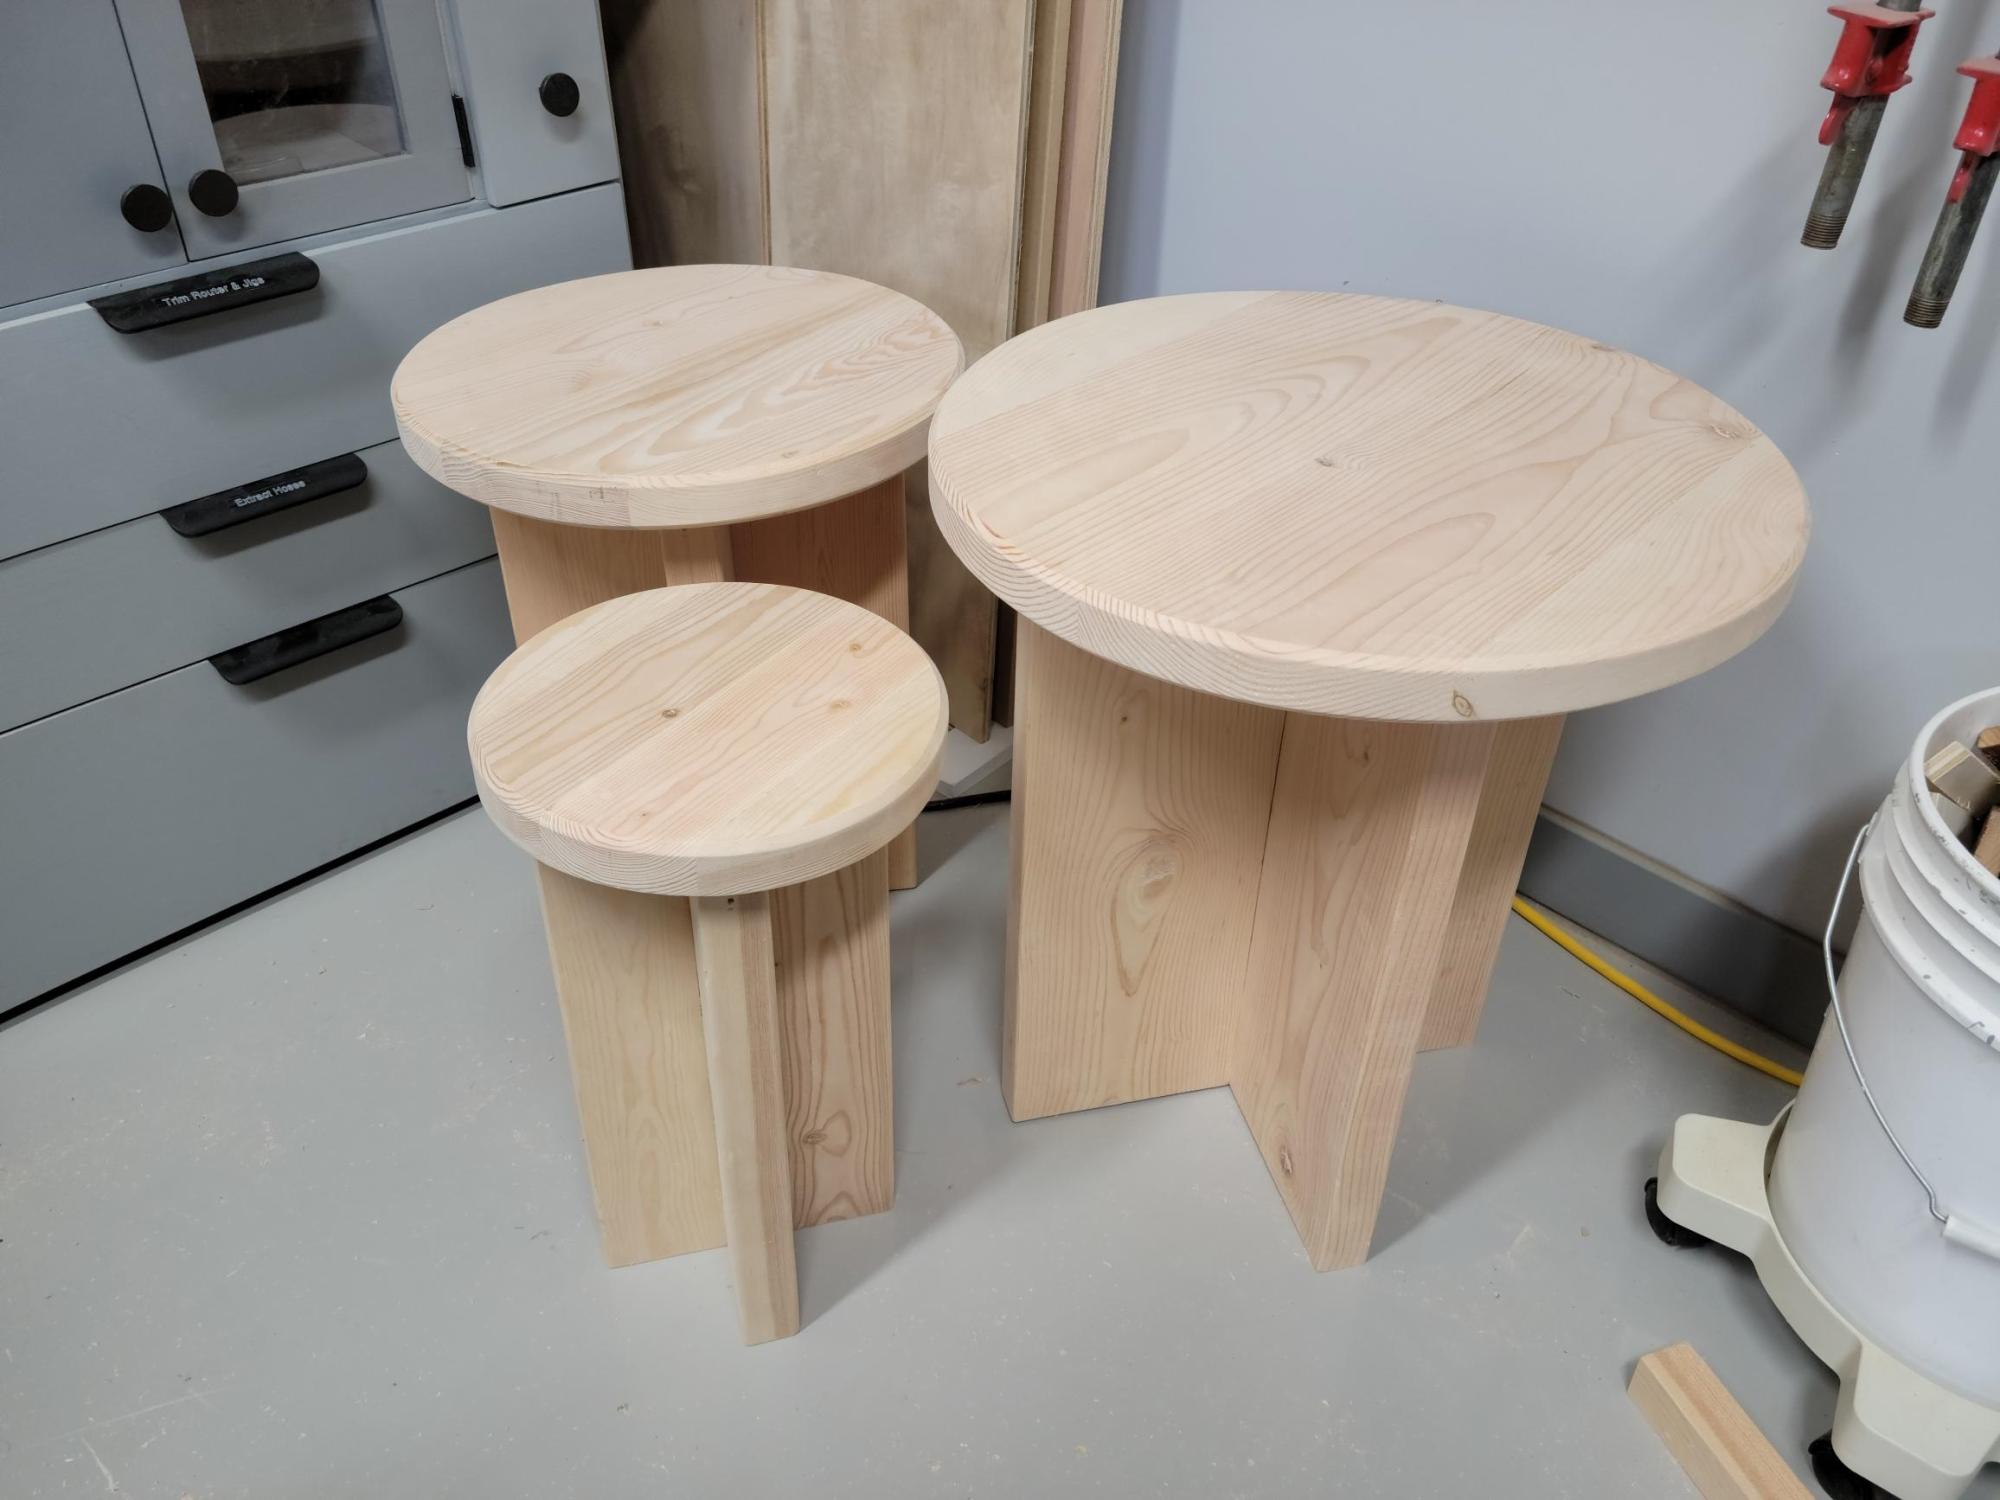
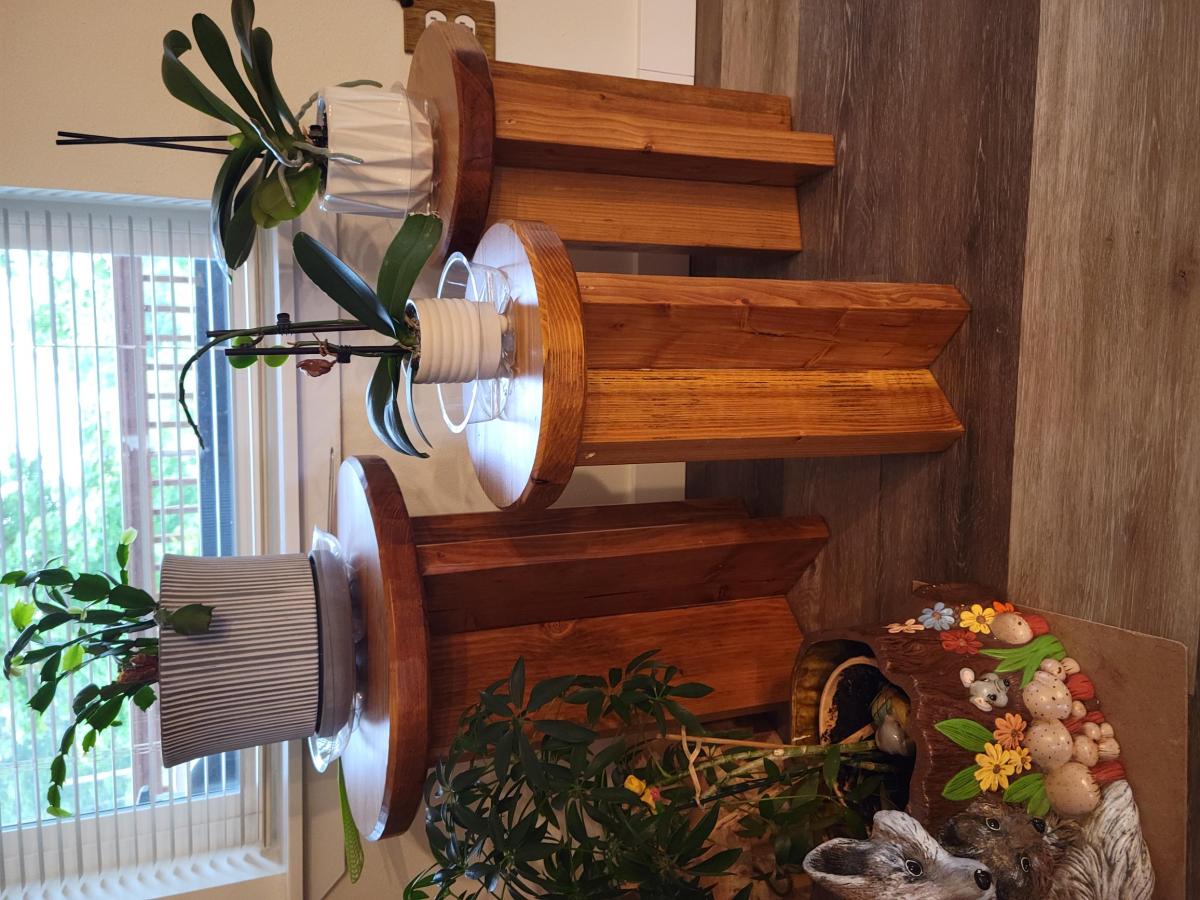
I first made a set of these for my wife to use on the deck. She liked them so much that she's using them in the living room! (Second photo.) These were made from rough lumber left over from a building project so took a fair amount of time to cut and prep. I don't have a planer so the belt sander outside was put to good use. Then, to make them them fit well, I recut the sides, and rather than pocket holes I glued them into a plank before cutting the rounds with my table saw. That also gave me a tight flat top.
Her friend saw them and wanted a set, so here they are. Again I recut the sides and glued them to create a smooth plank. This time I used the router and a circle jig to cut the tops, giving me a much nicer finish. They will be stained mahogany and finished with multiple coats of polyurethane.
The large one I simply upsized from the original plan, roughly scaled. It is 22" tall, made with 2x8 lumber selected and purchased at the box store. My wife's friend is totally delighted with them! Thanks Ana for the inspiration.
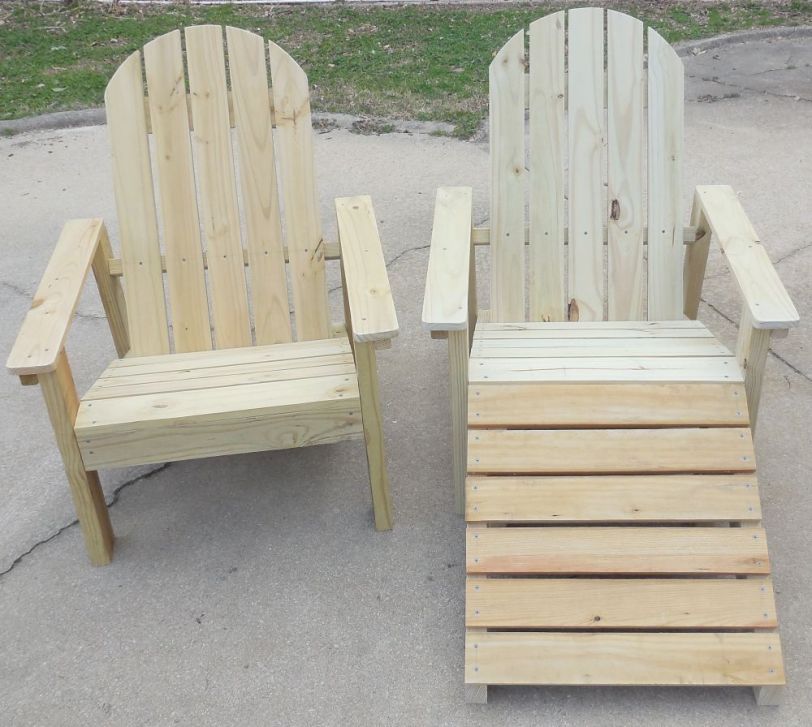
Tips on building the Home Depot Adirondack chair.
Comments
RenoRustic
Wed, 05/27/2015 - 13:36
Very Nice!
Very Nice!
Gcomfort
Fri, 06/05/2015 - 08:12
Thanks!
Thanks!
new2this
Sun, 05/31/2015 - 01:31
Hi gcomfort I am in love with
Hi gcomfort I am in love with the top of your table! it is beautiful!! what wood did you use for to create the smooth surface?
Gcomfort
Fri, 06/05/2015 - 08:11
Thanks
The table top is 1.5 inches thick made up of 2 layers of 3/4 inch think plywood. The top layer of the table top is hickory plywood (the top and bottom layers of the plywood are hickory). The base layer of the table top is 3/4 inch general plywood from Home Depot.
Thanks, again.
bcolligen
Sat, 08/29/2015 - 08:49
What is the metal accent?
I love this!!! Where did you buy the metal accent that goes around the perimeter of the table top? What is it?
Gcomfort
Sat, 09/05/2015 - 07:30
Thanks! I bought it from
Thanks! I bought it from Lowes. It's just 1.5in Wide aluminum painted black and connected with a bunch of black, flat headed screws.
Gcomfort
Sat, 09/05/2015 - 07:30
Thanks! I bought it from
Thanks! I bought it from Lowes. It's just 1.5in Wide aluminum painted black and connected with a bunch of black, flat headed screws.
bcolligen
Sat, 09/19/2015 - 11:18
Another Question
I actually looked at the hardware stores for something similar before you answered by comment. I wasn't able to find anything that I thought would work. Do you remember what the aluminum is used for in other jobs? Or what area you found it in?
A family member suggested using the metal stips that hold down the end of carpet, but it's not long enough for the table.
Thank you!
gp4eternity25
Sat, 10/12/2019 - 10:03
Chairs
How many chairs would fit with this table?