Community Brag Posts

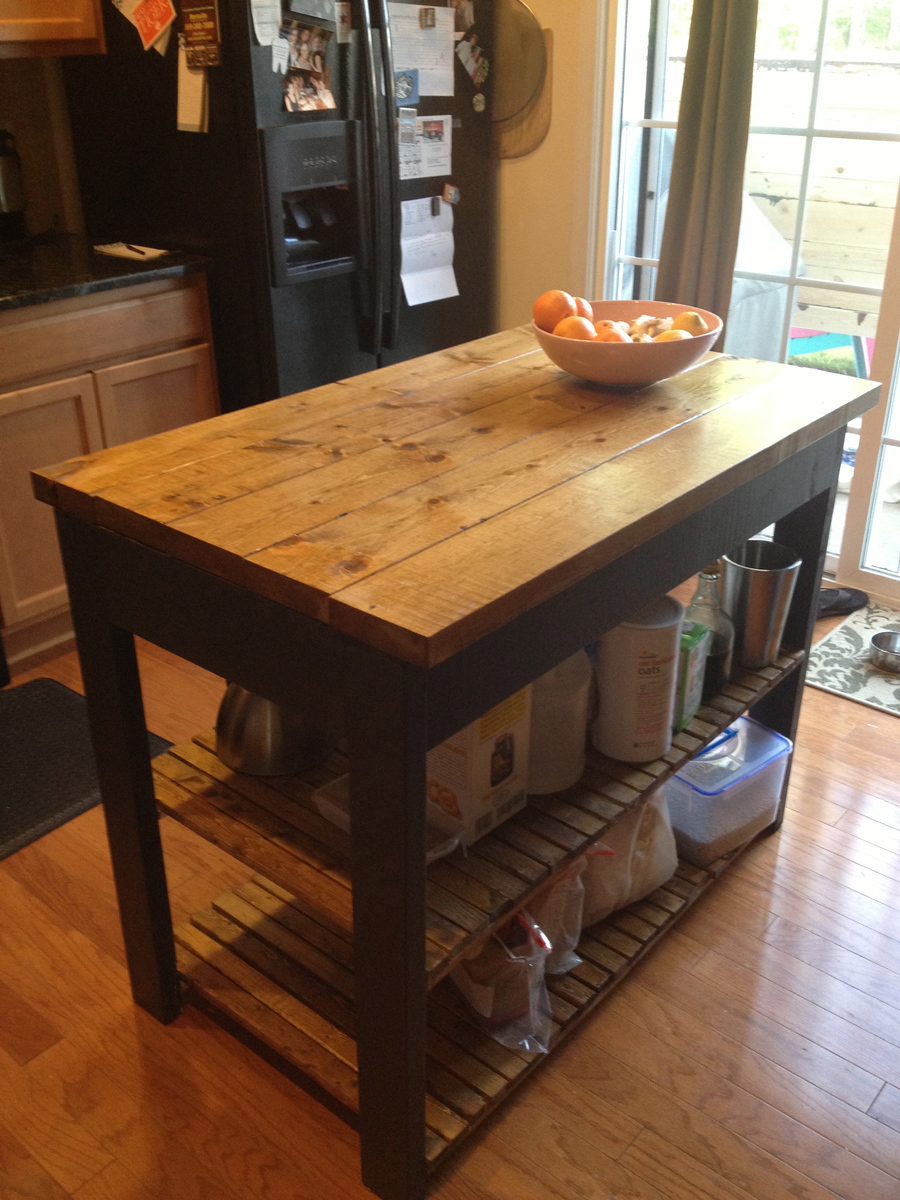
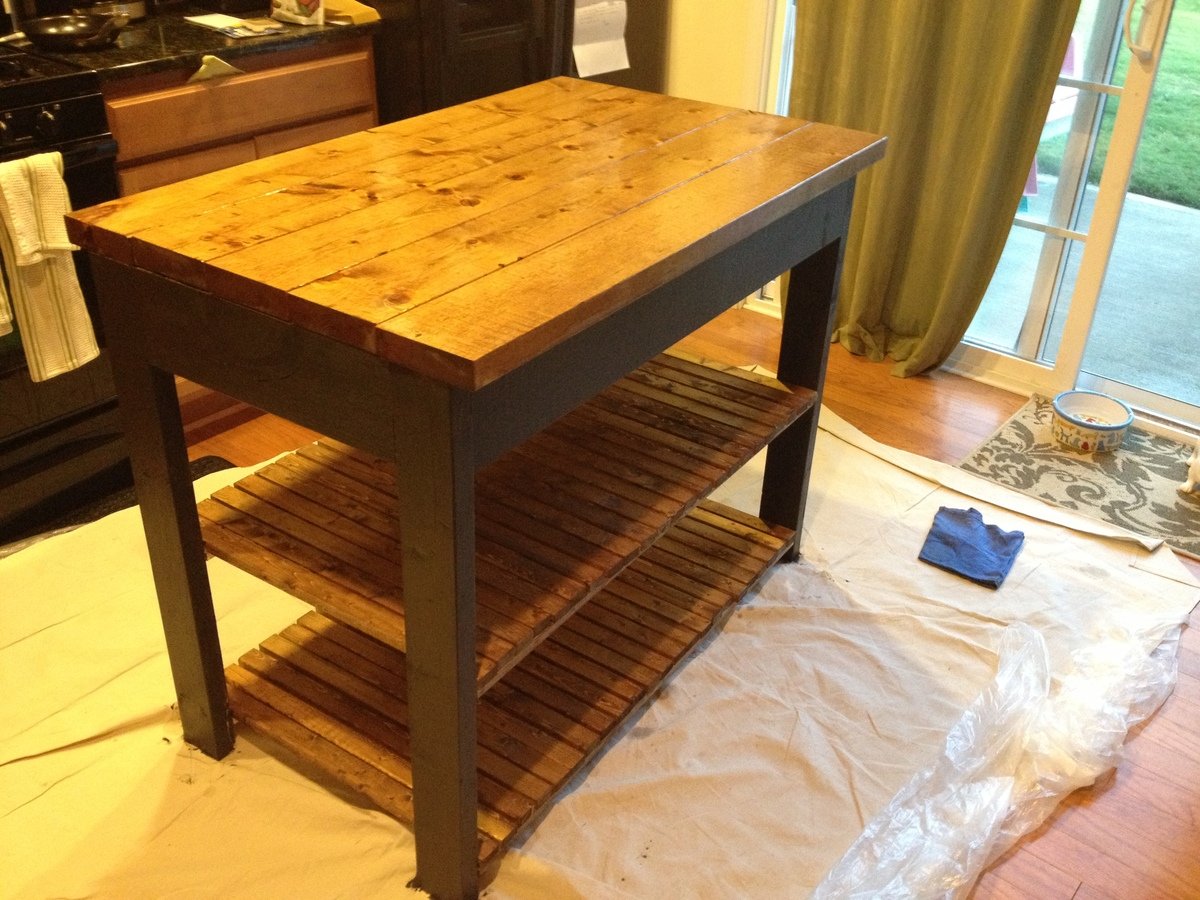
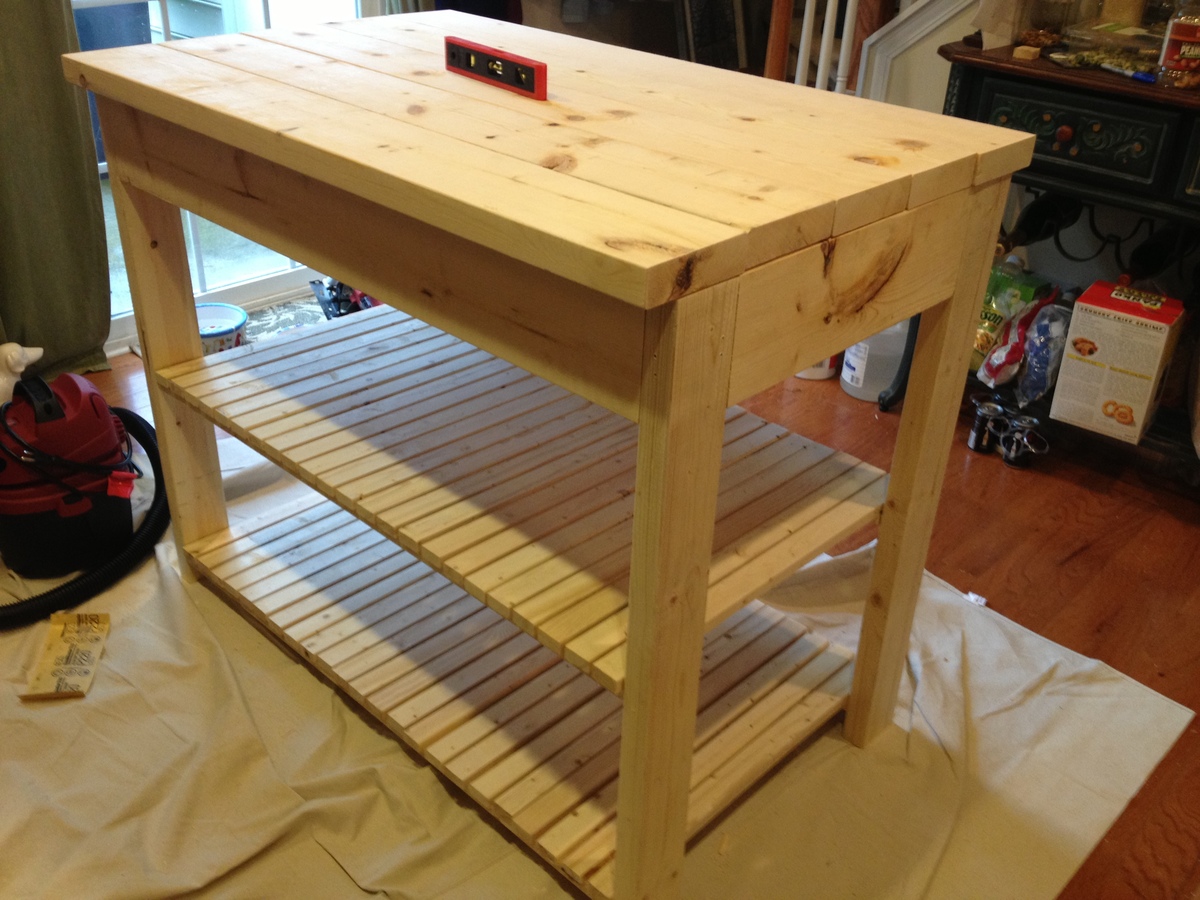
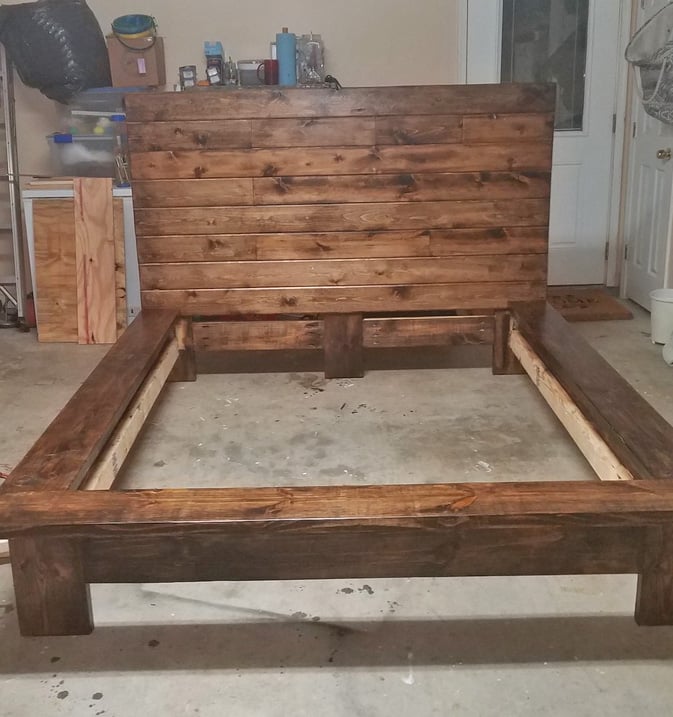
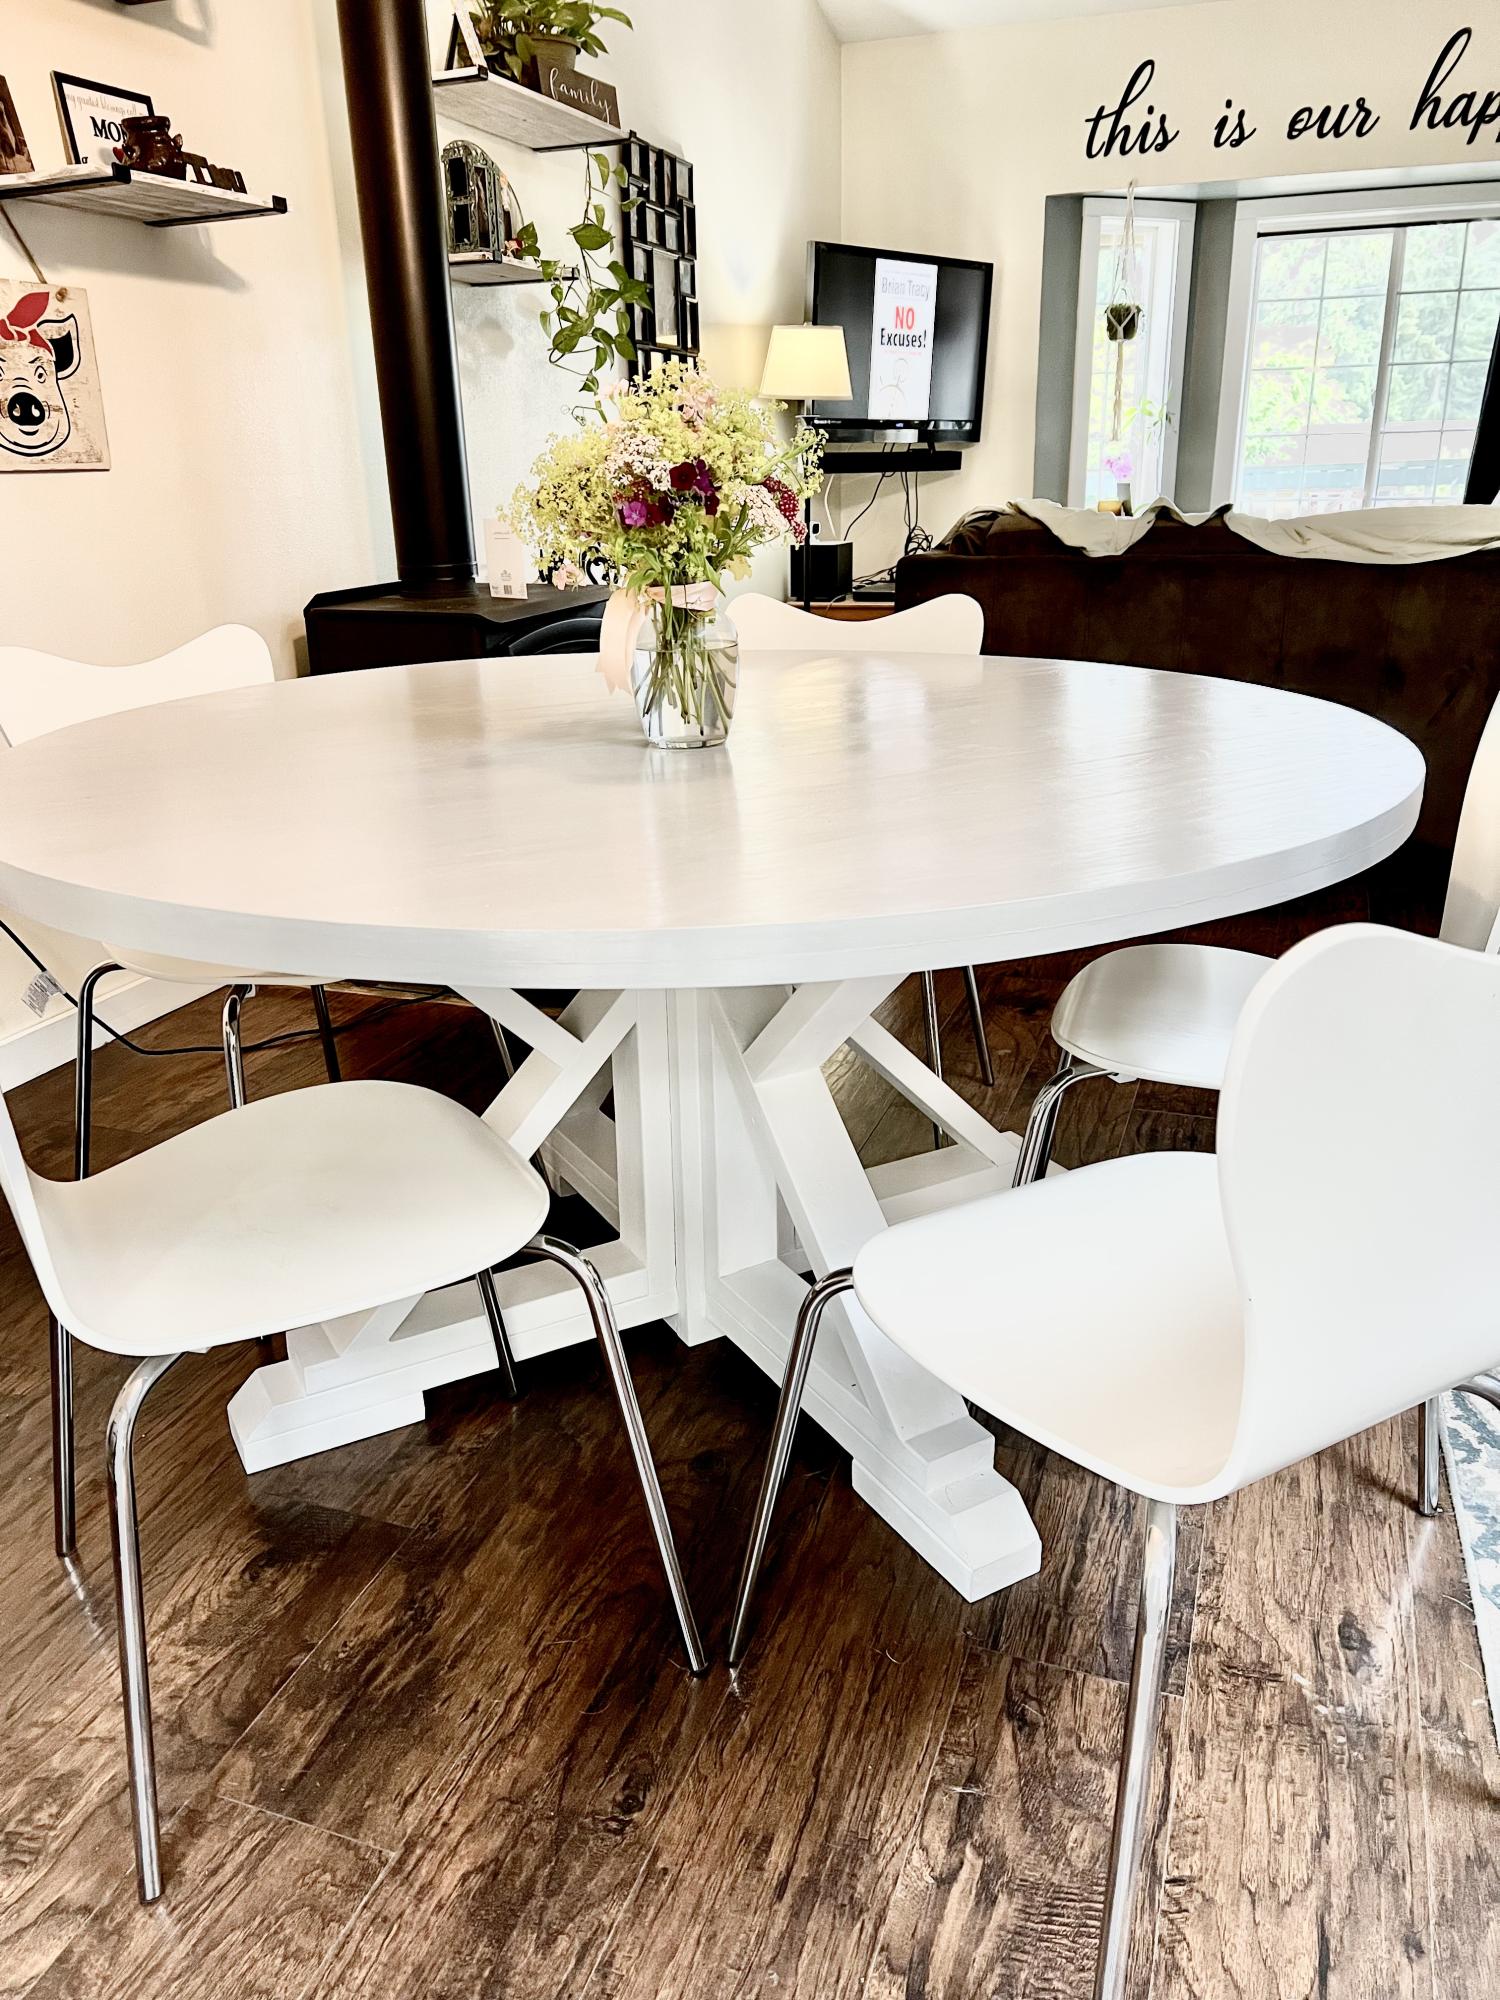
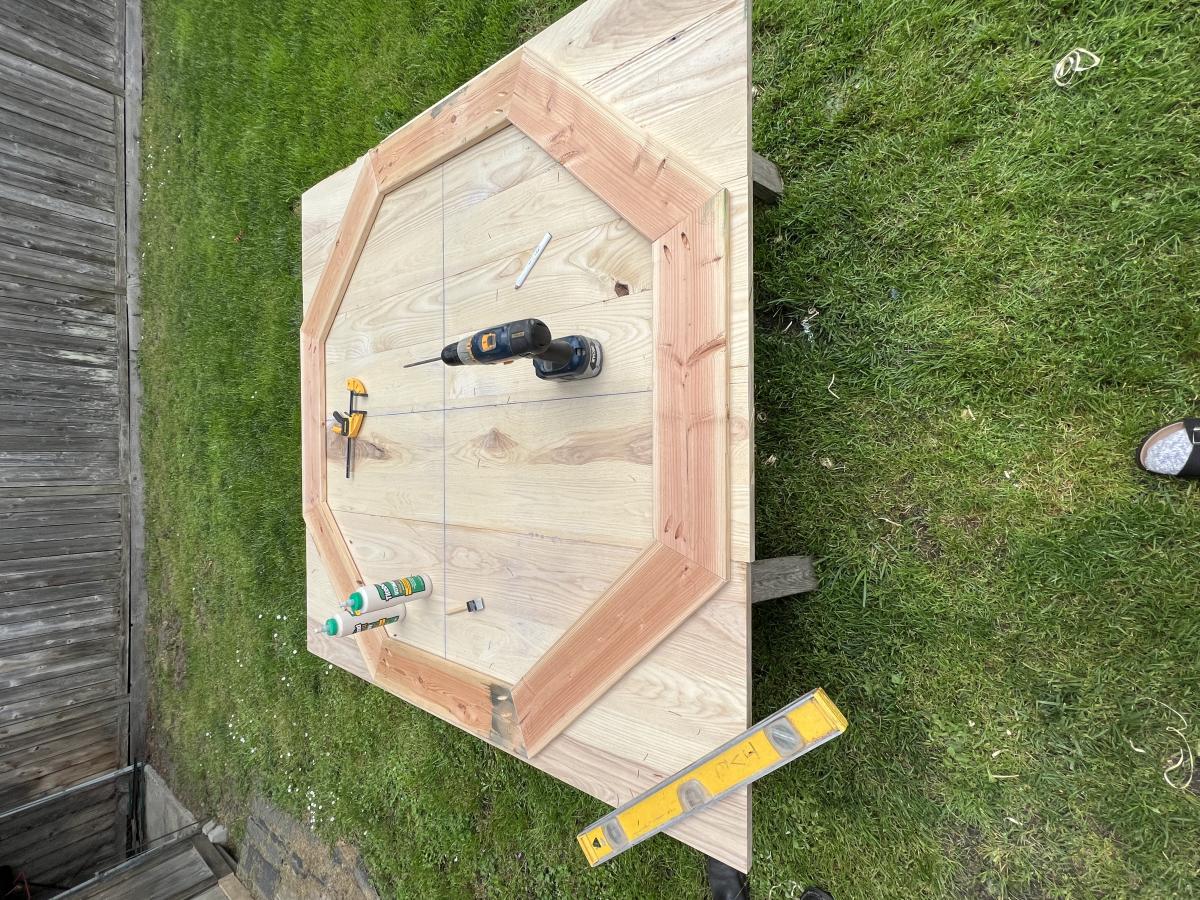
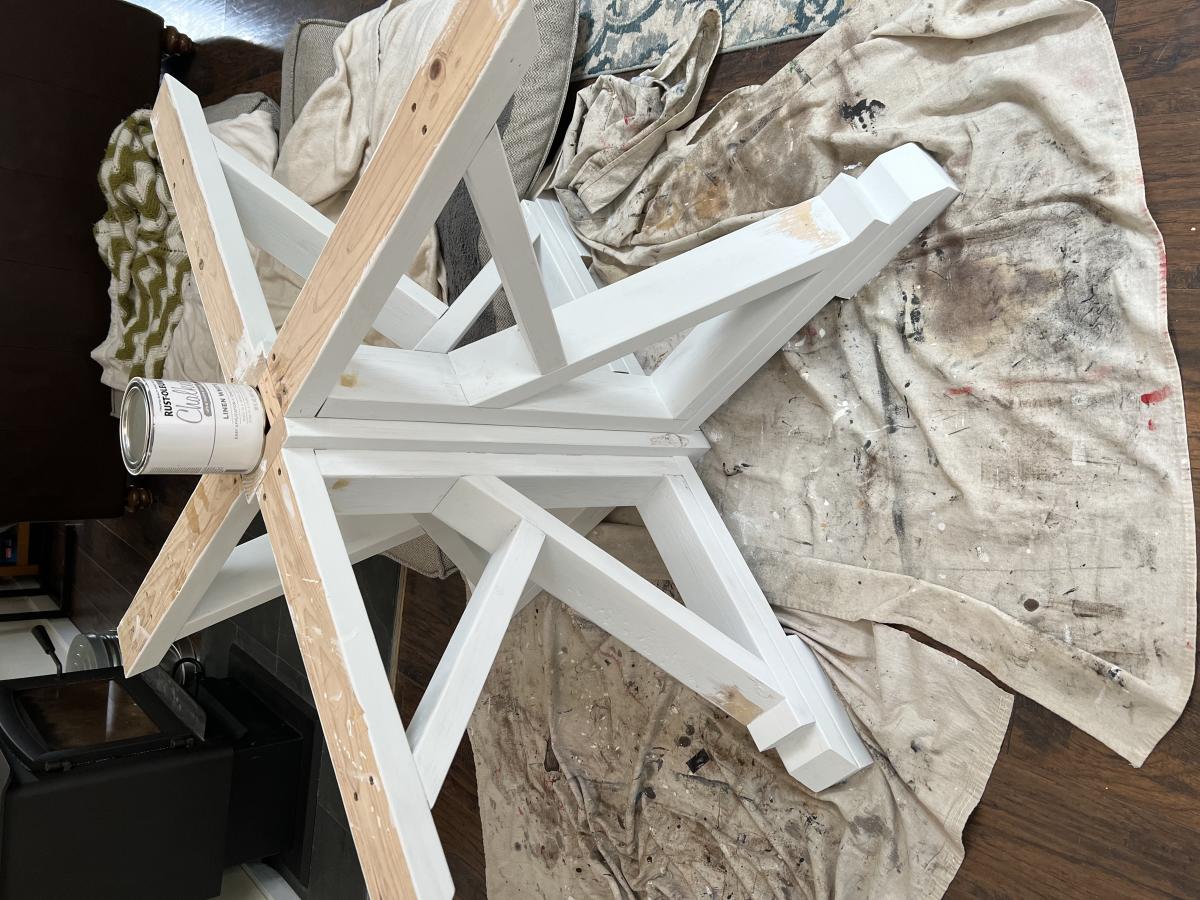
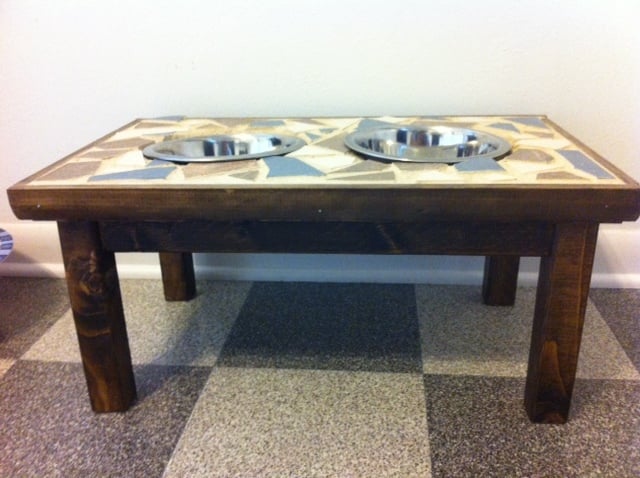
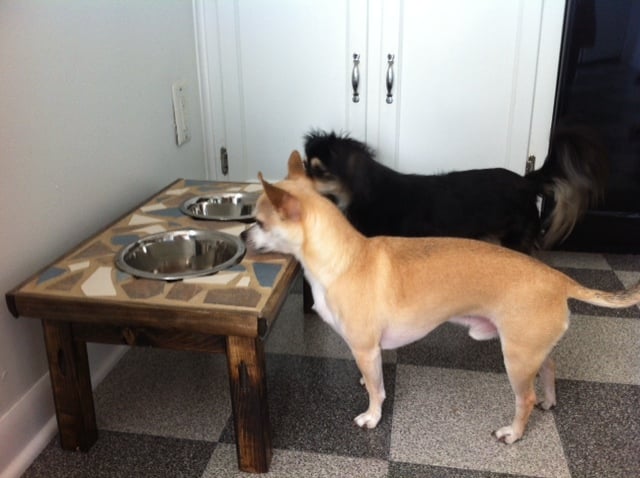
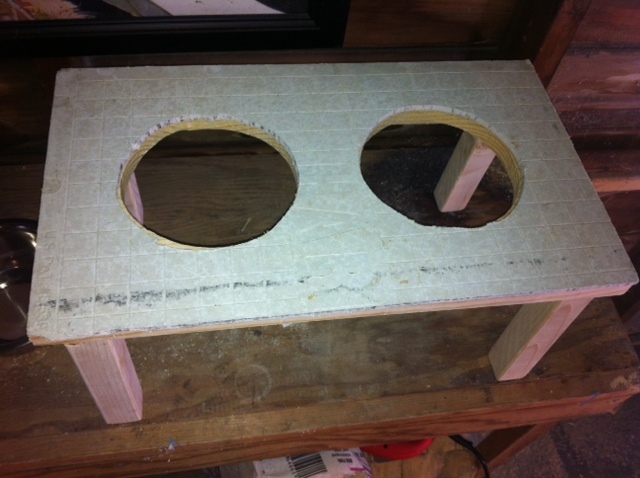
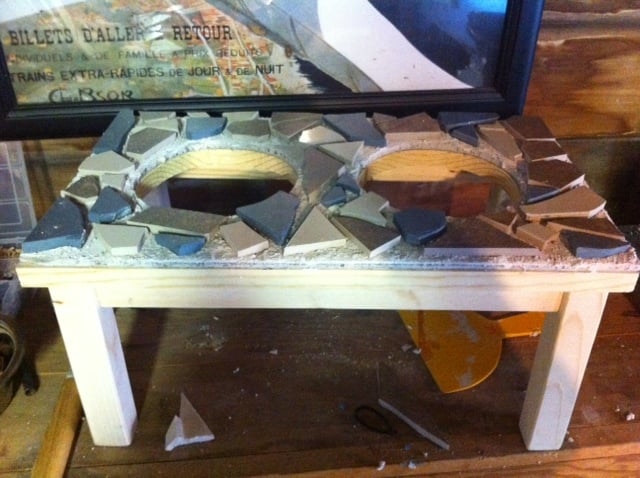
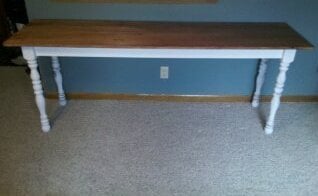
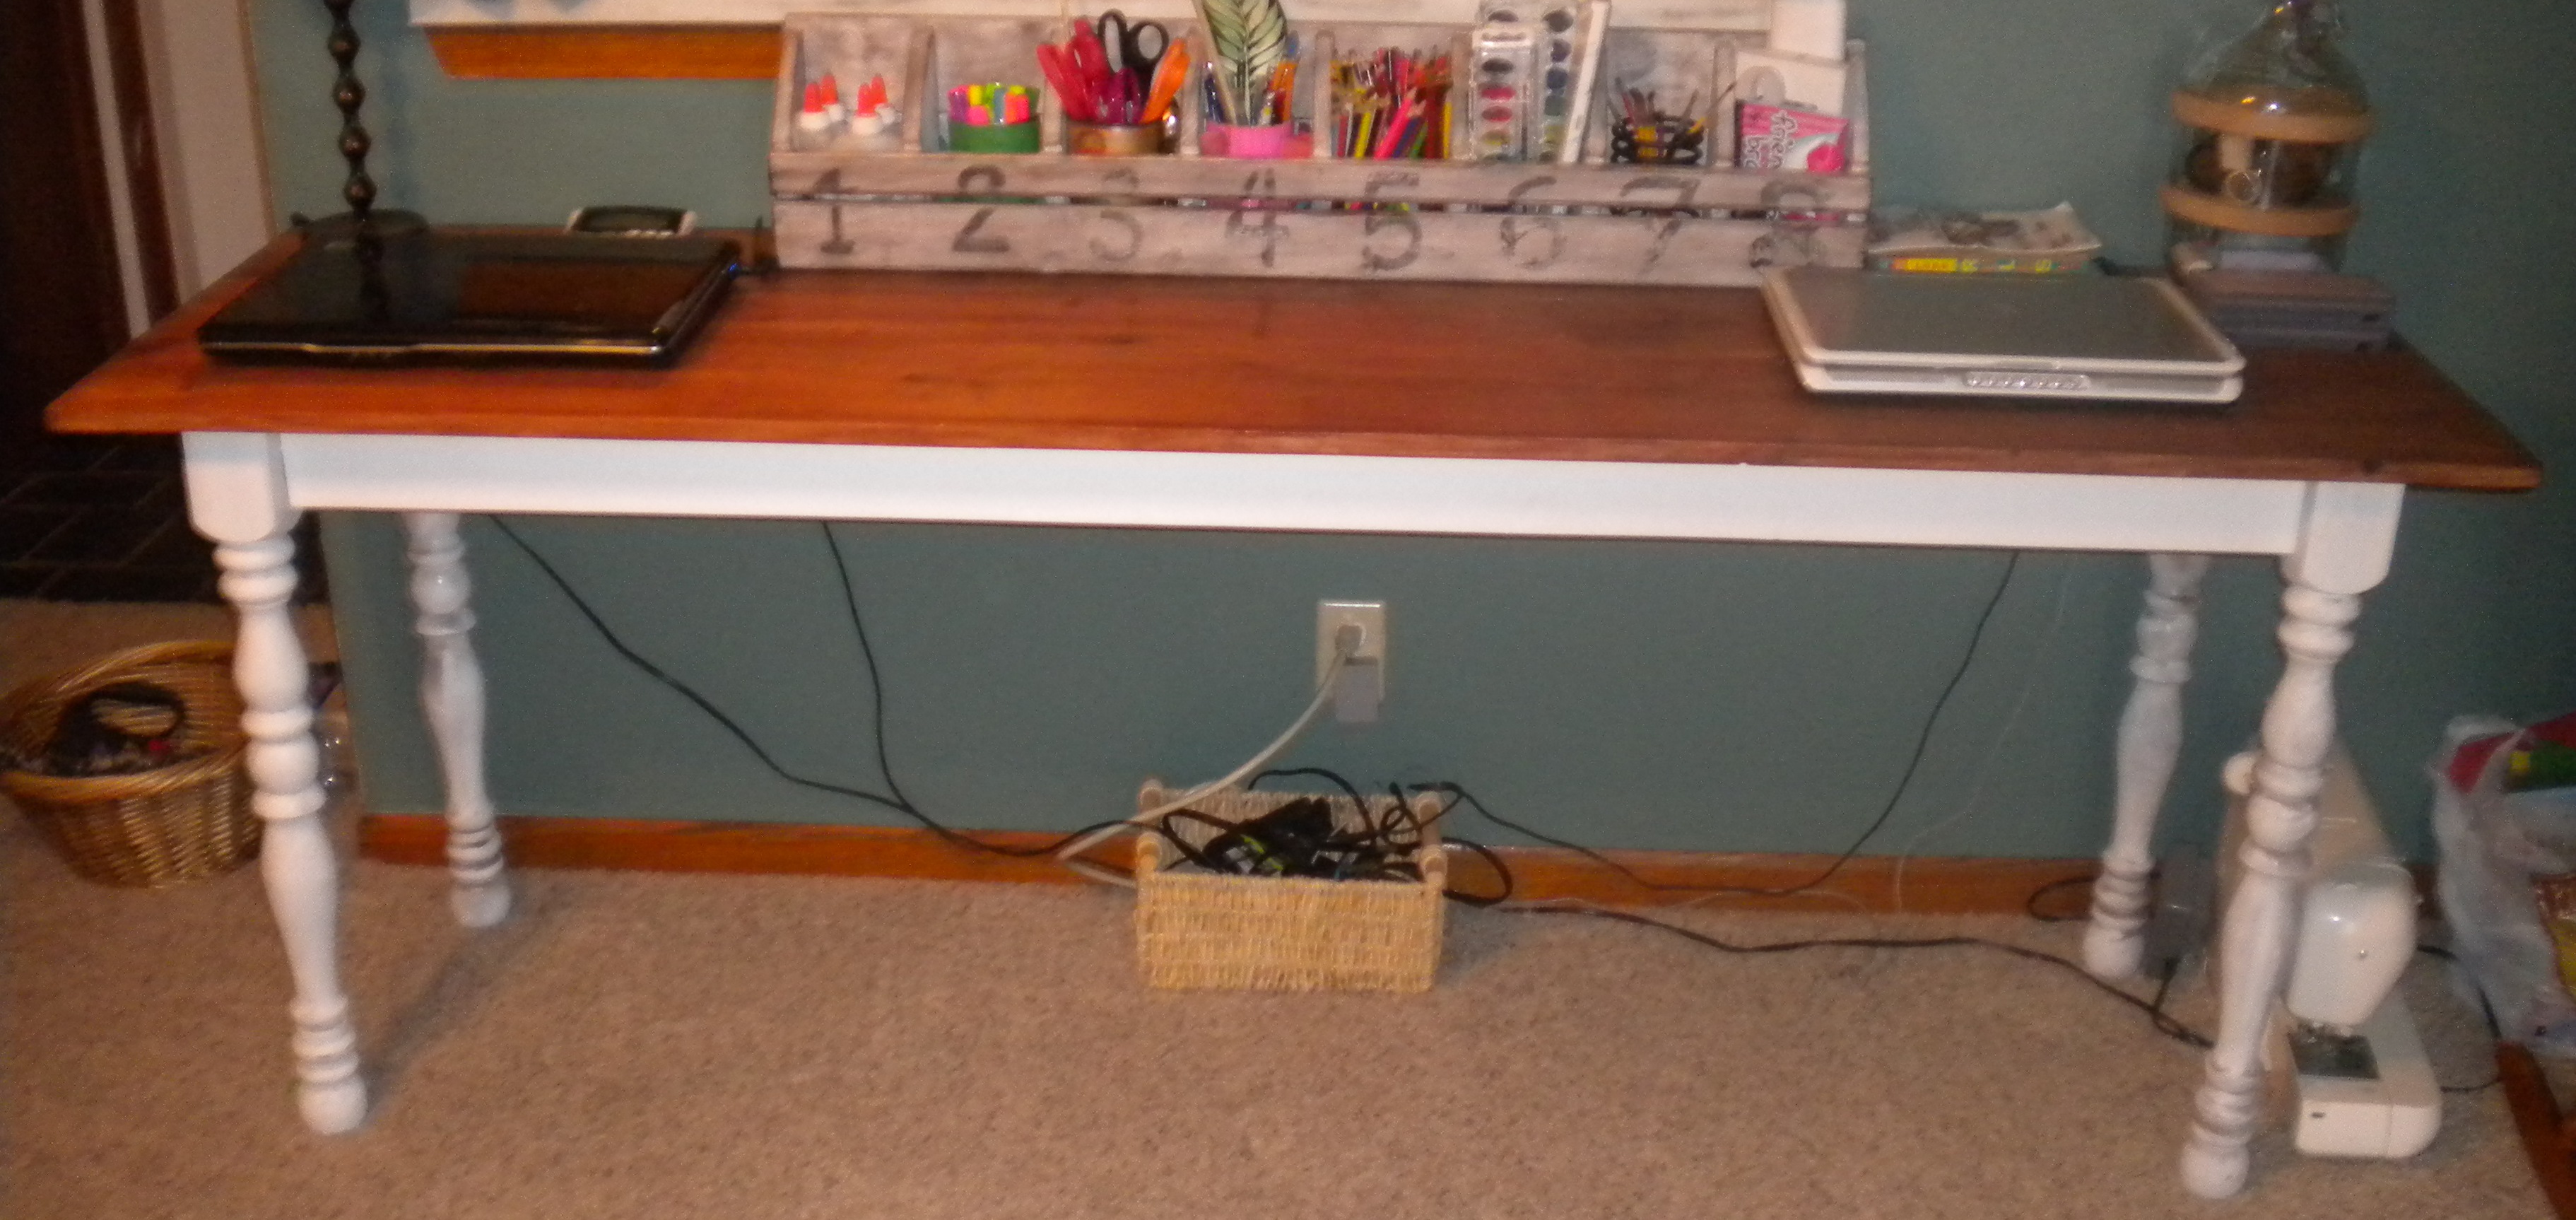
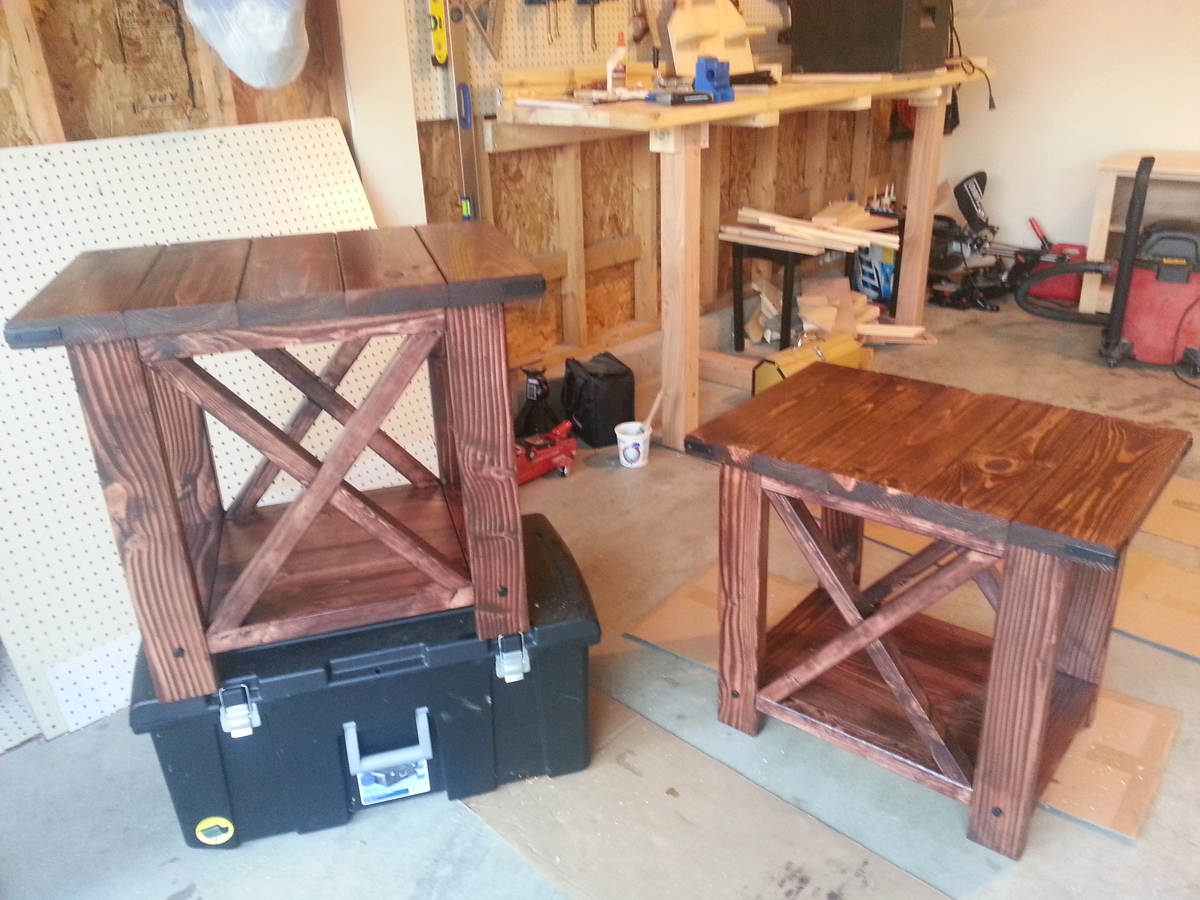
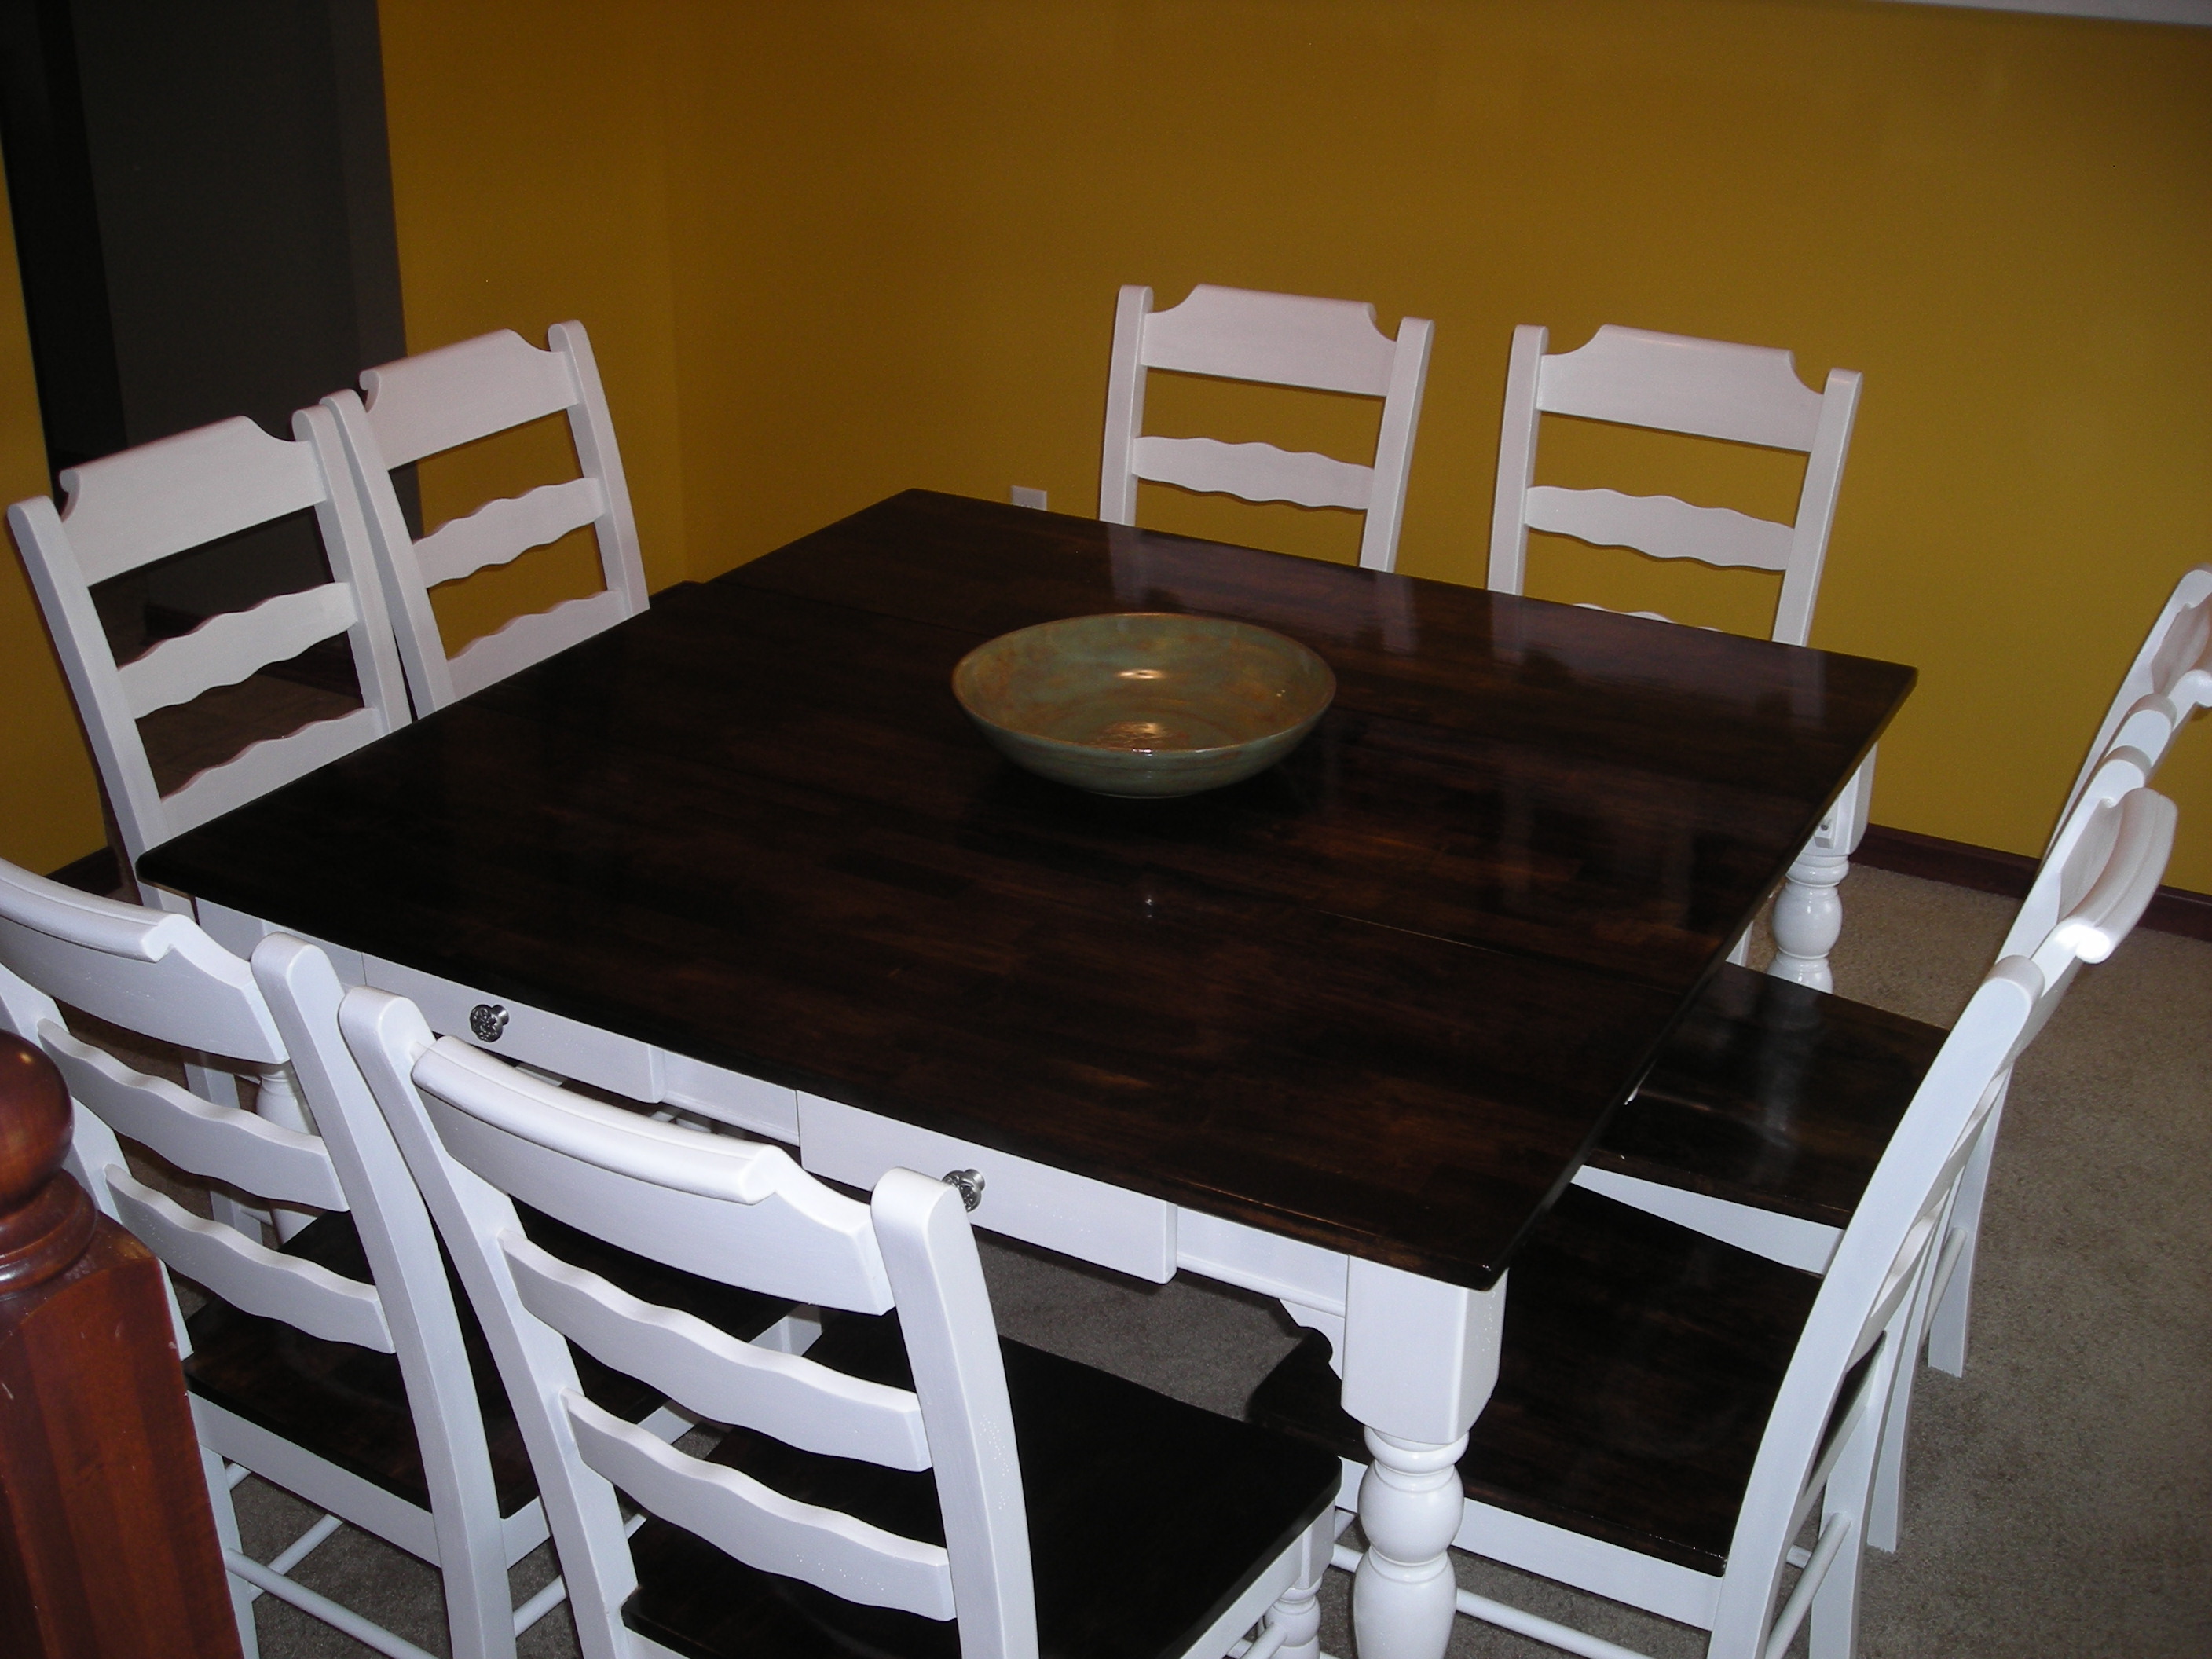
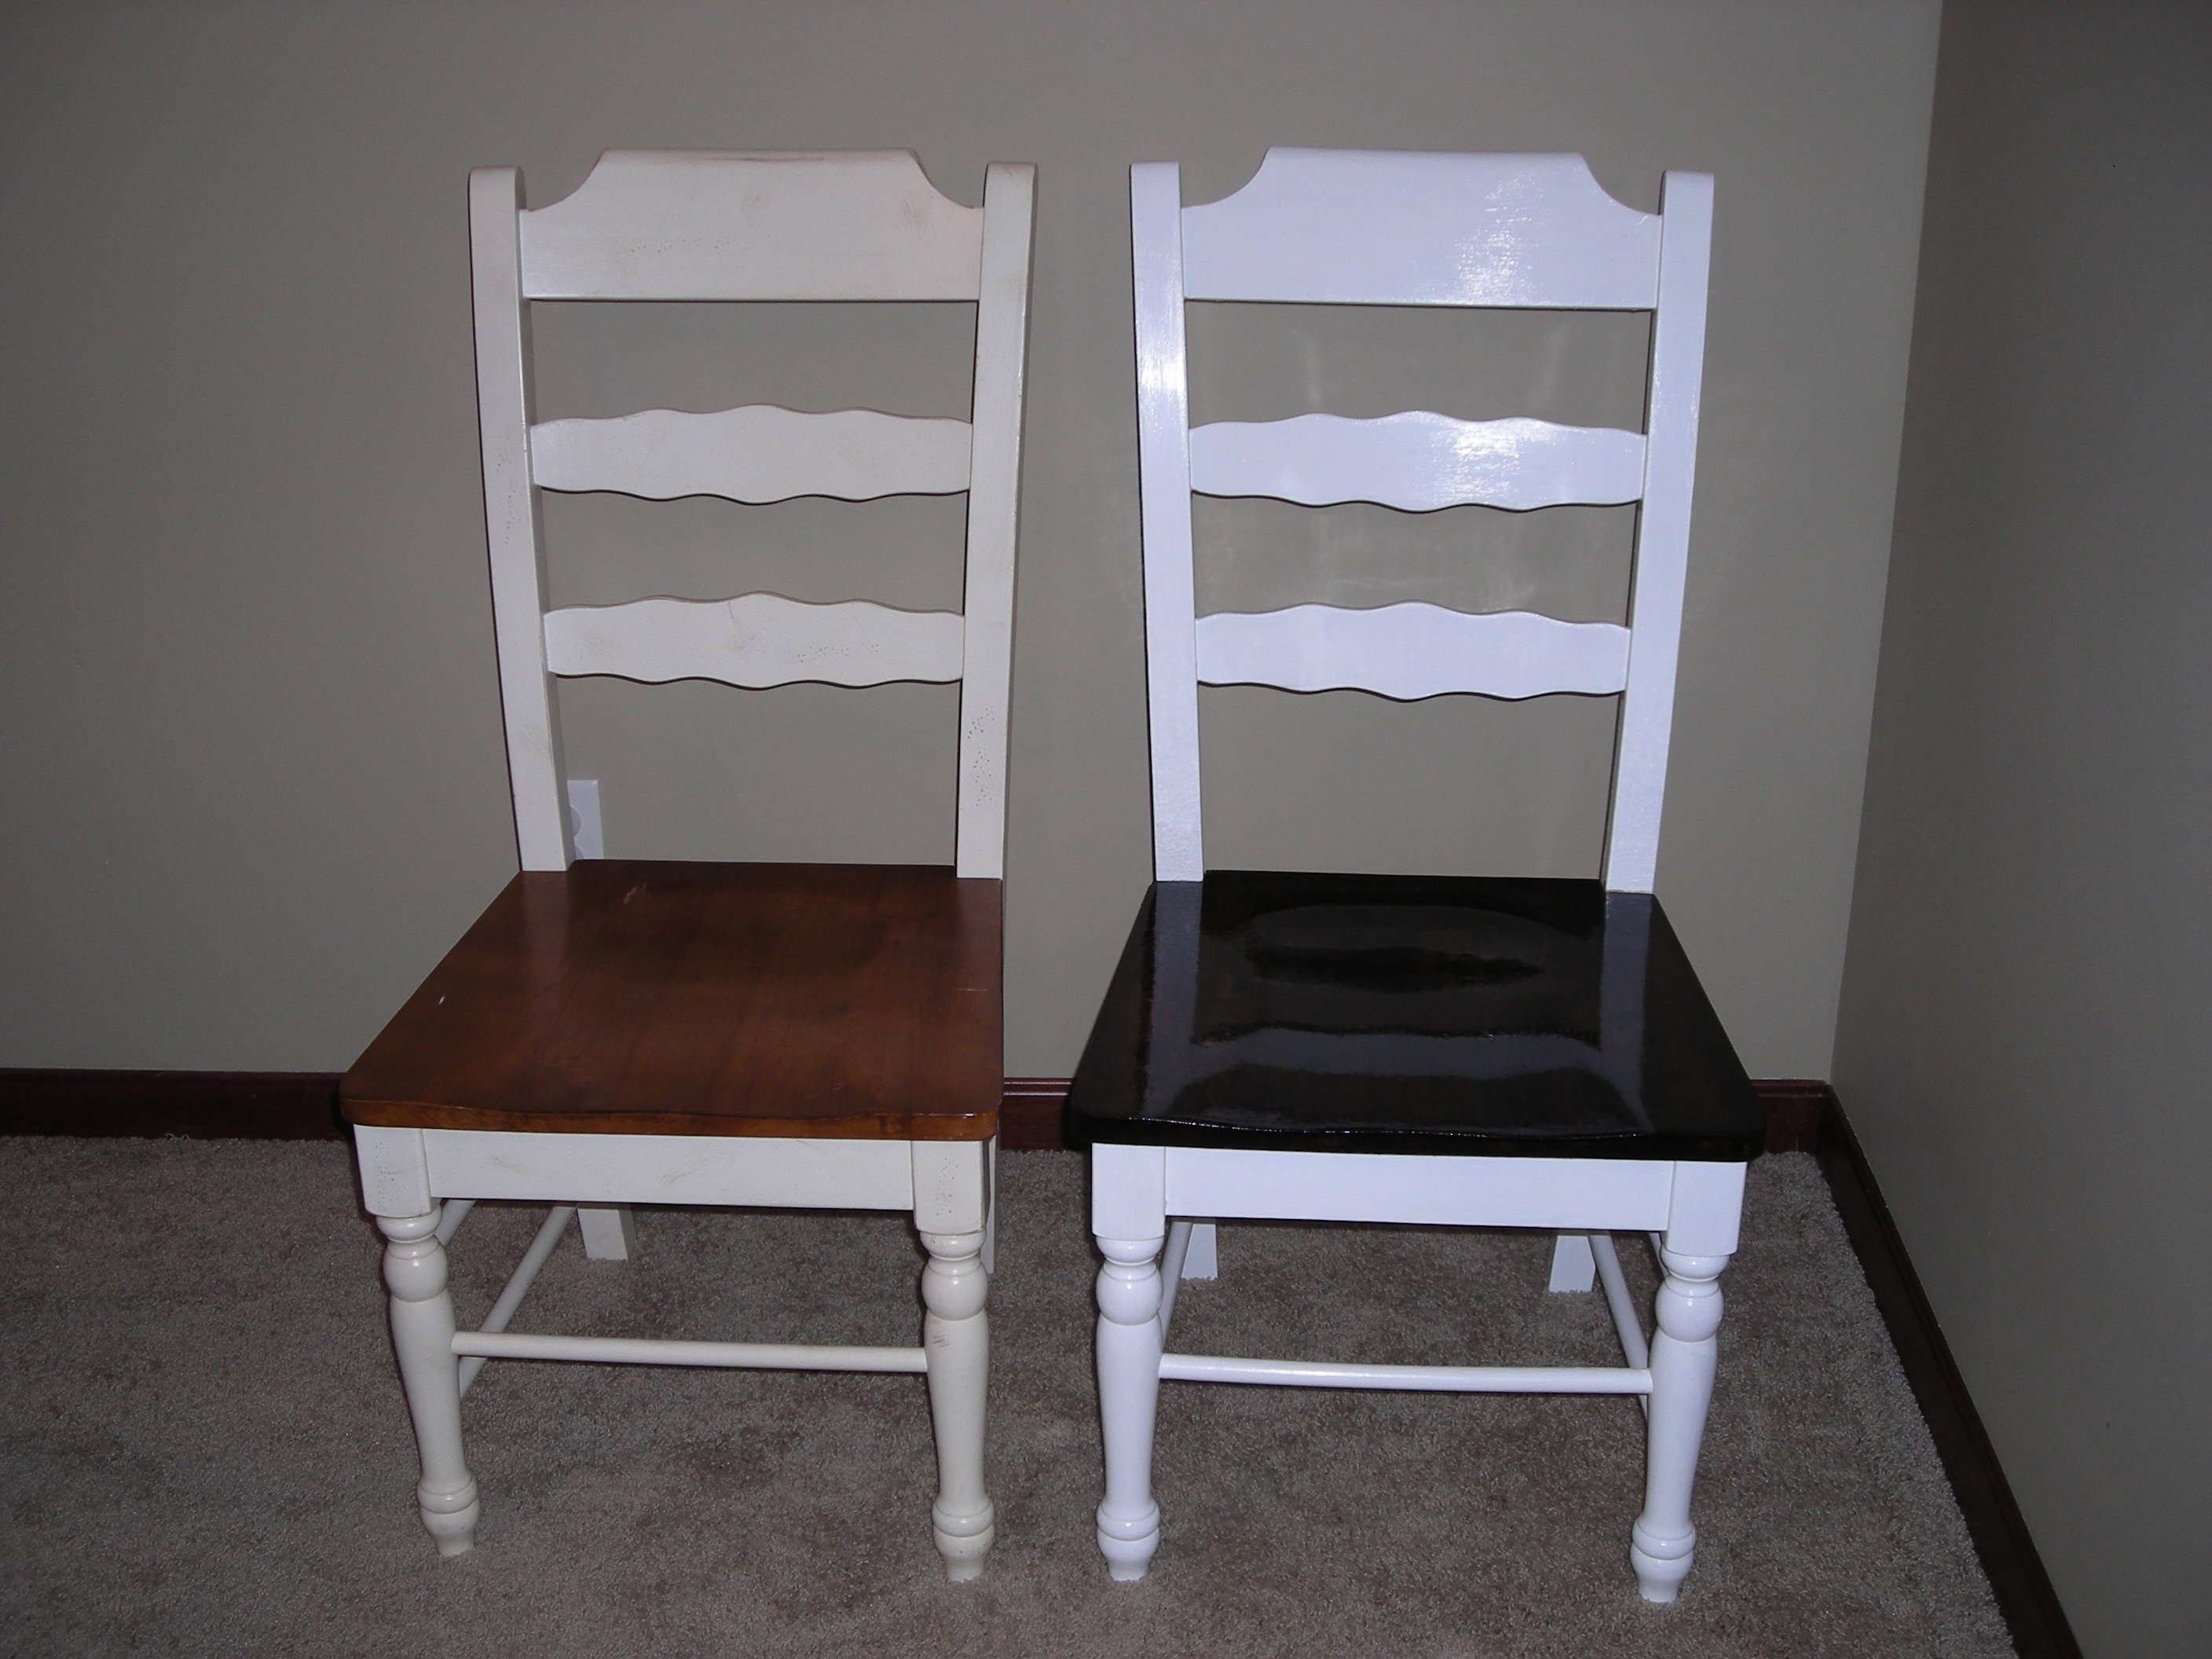
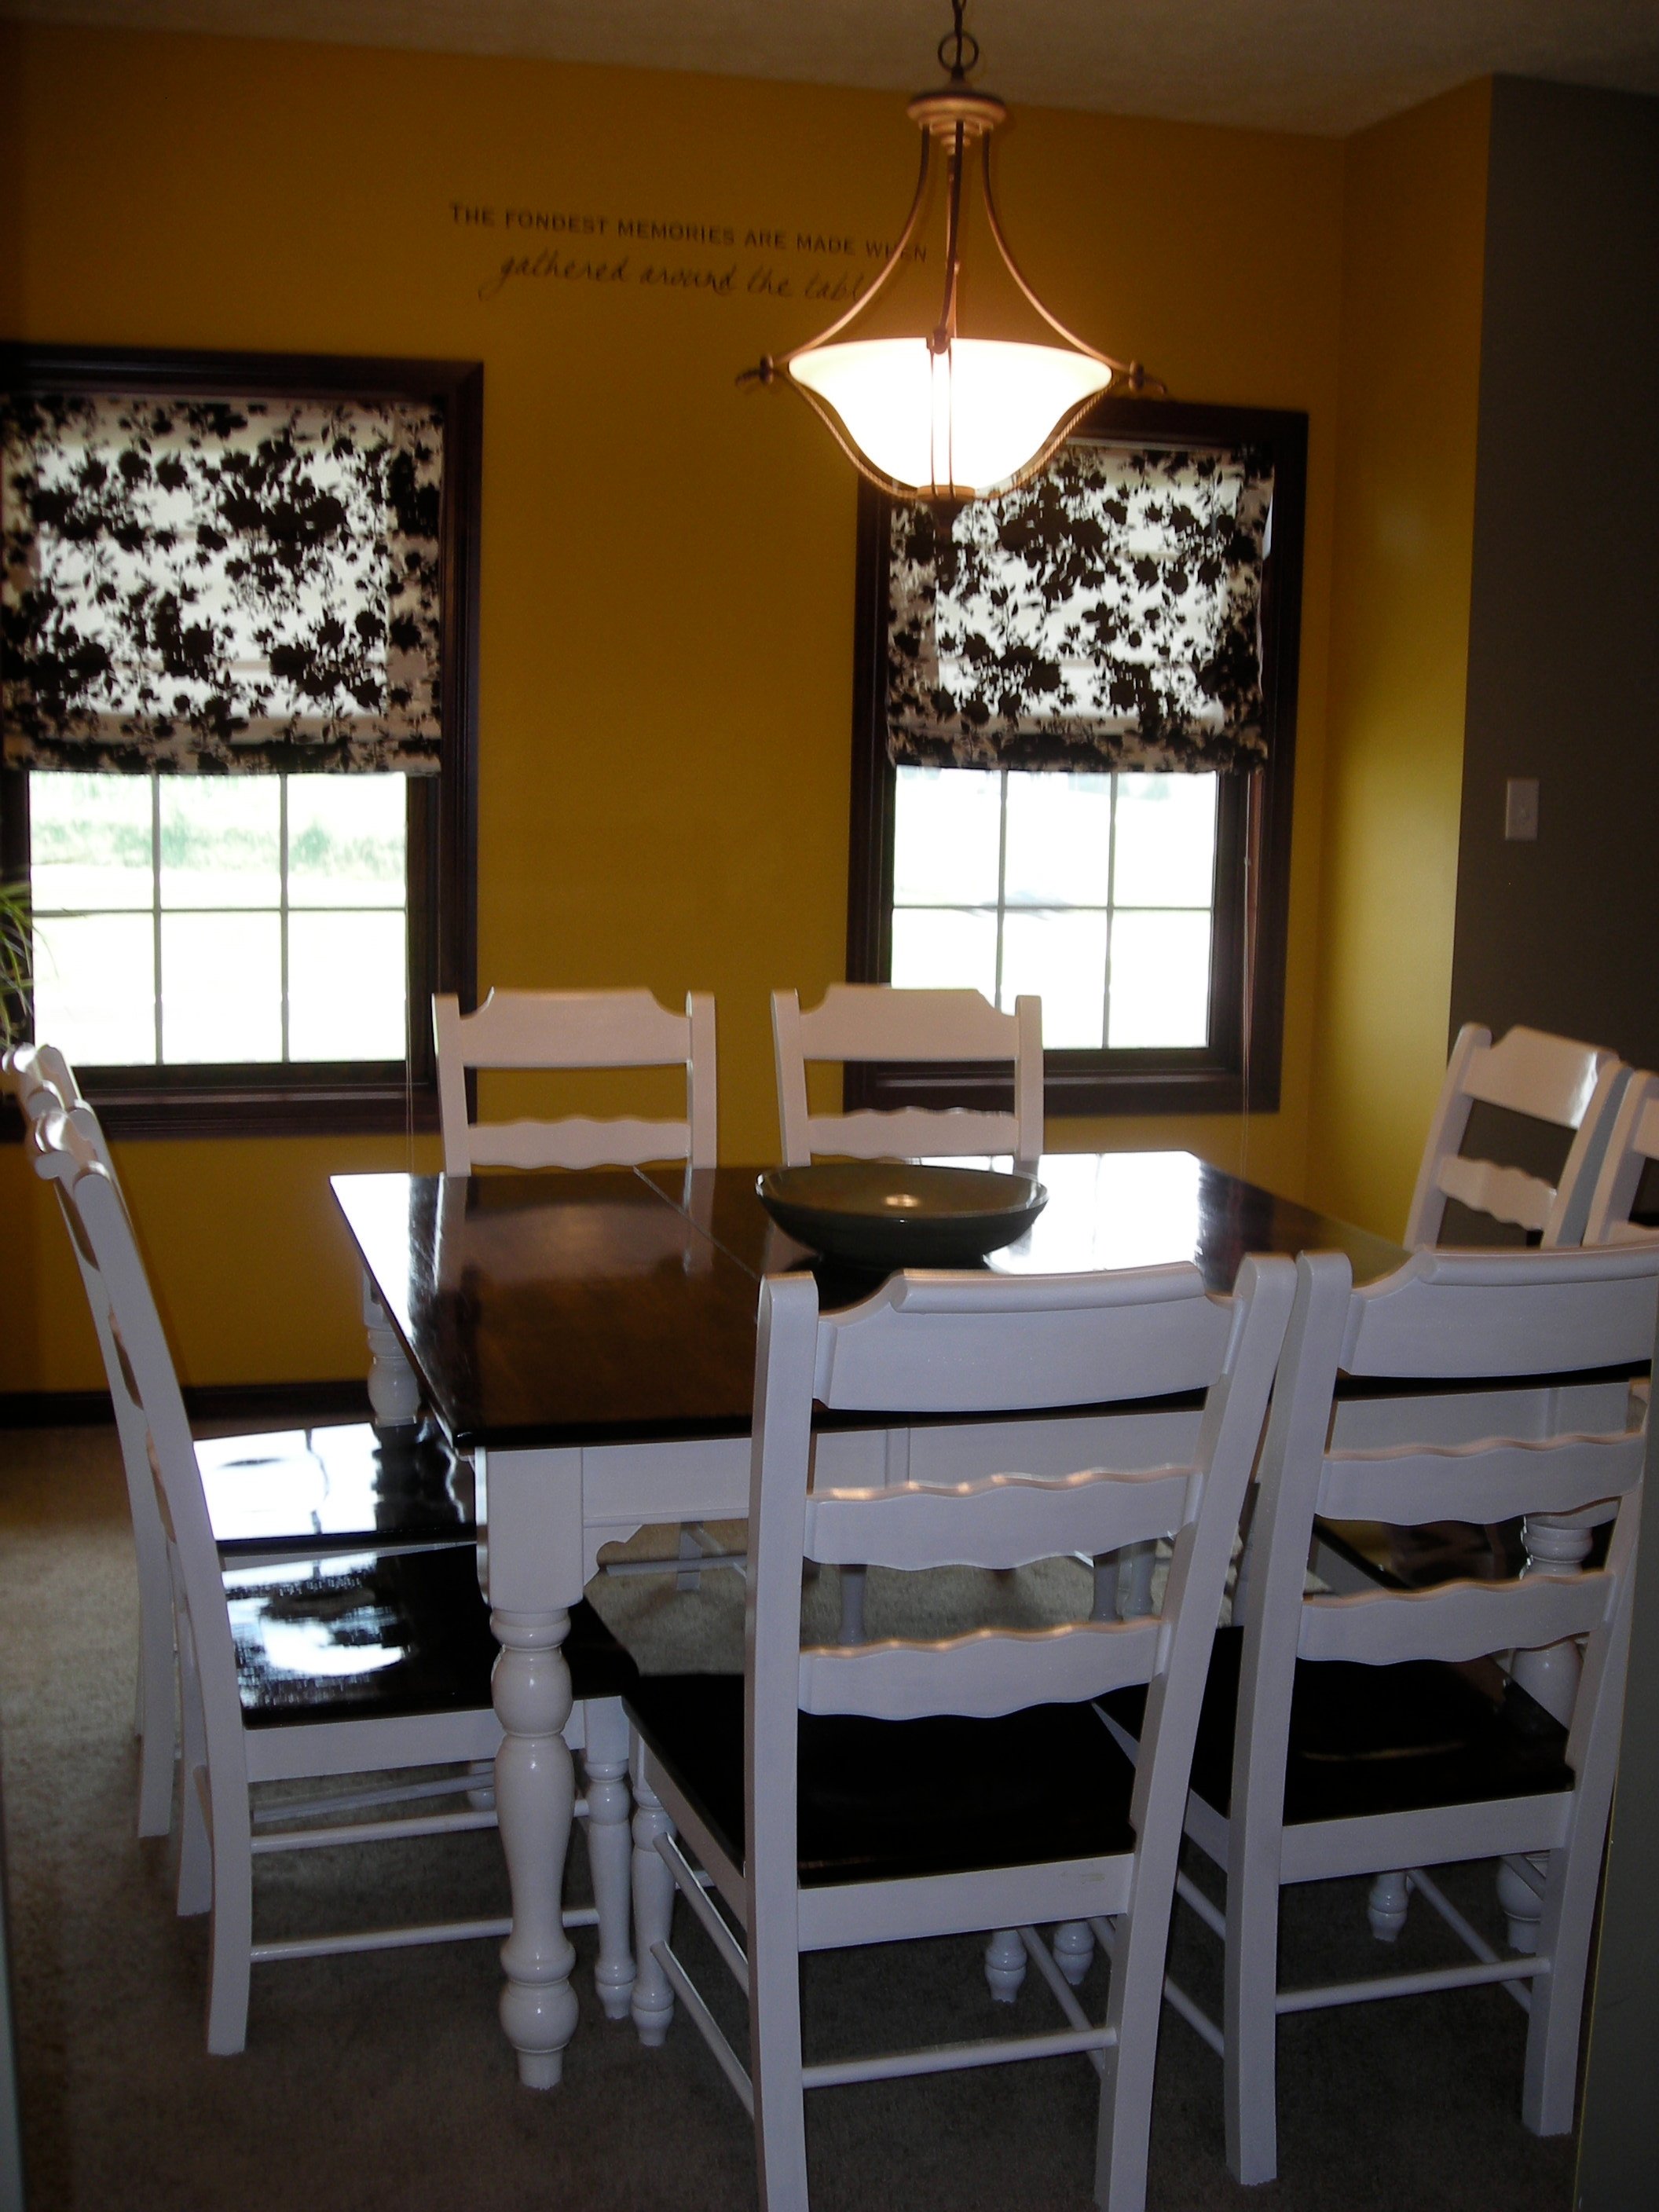
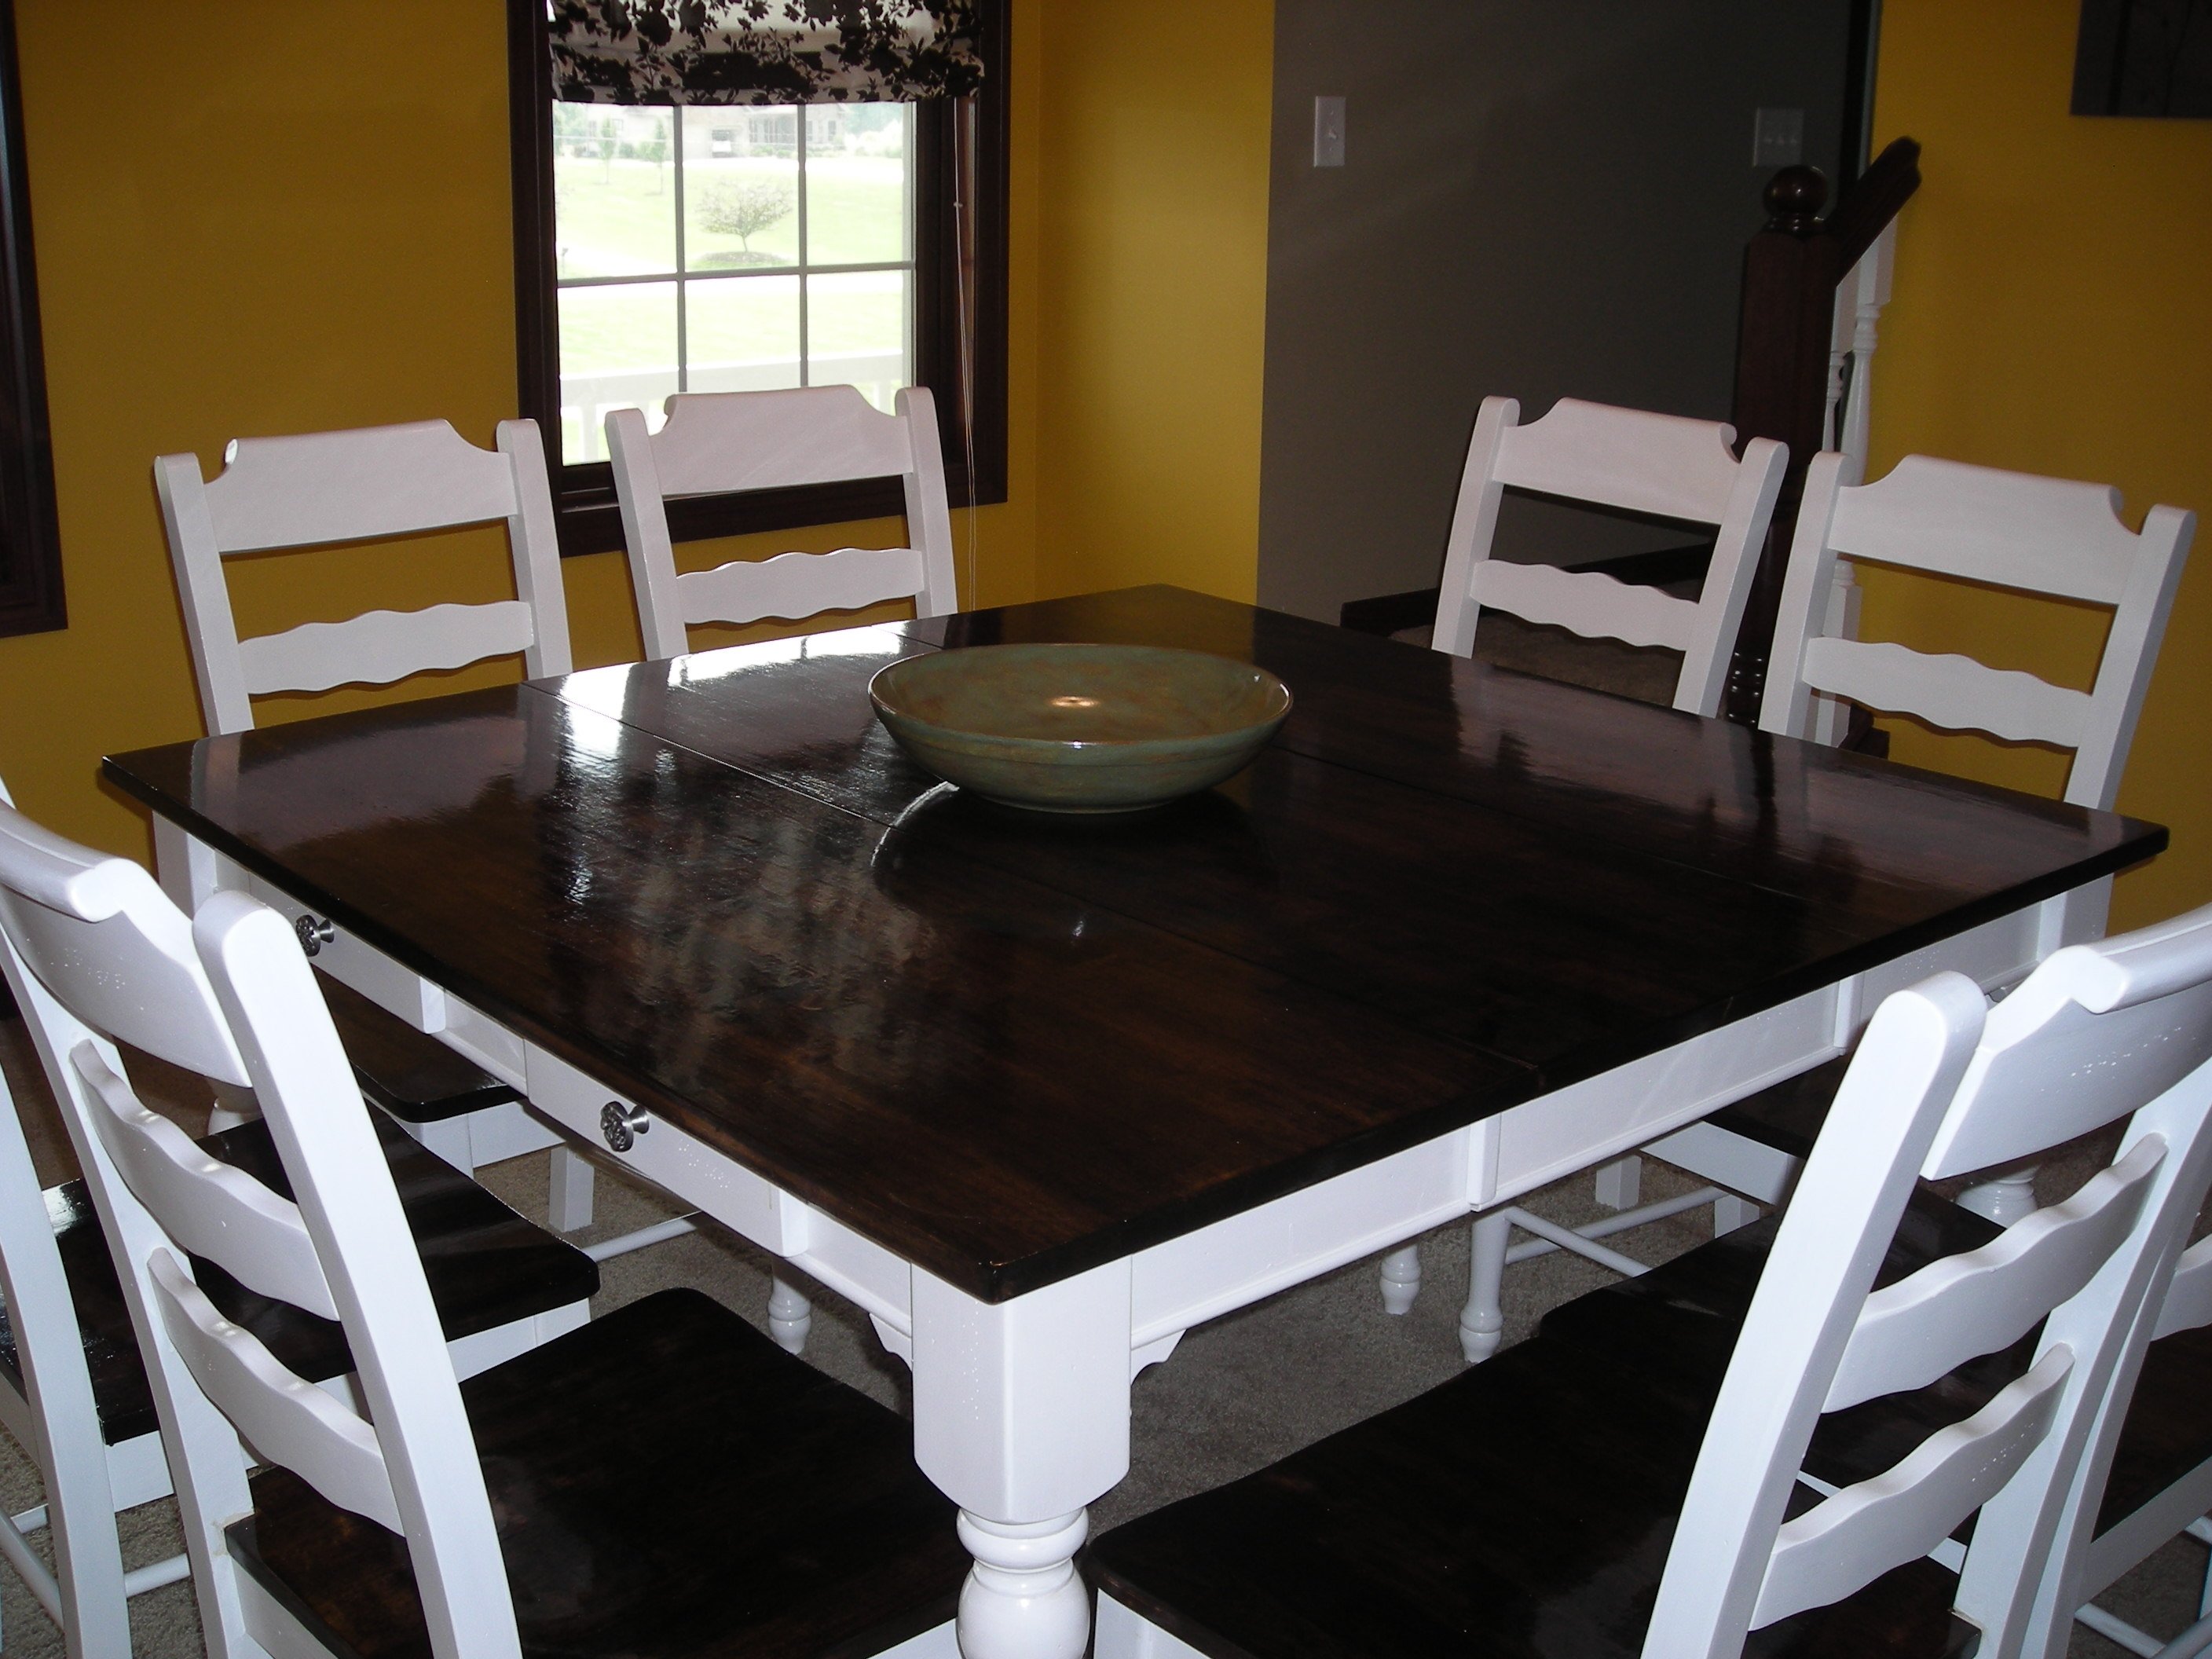
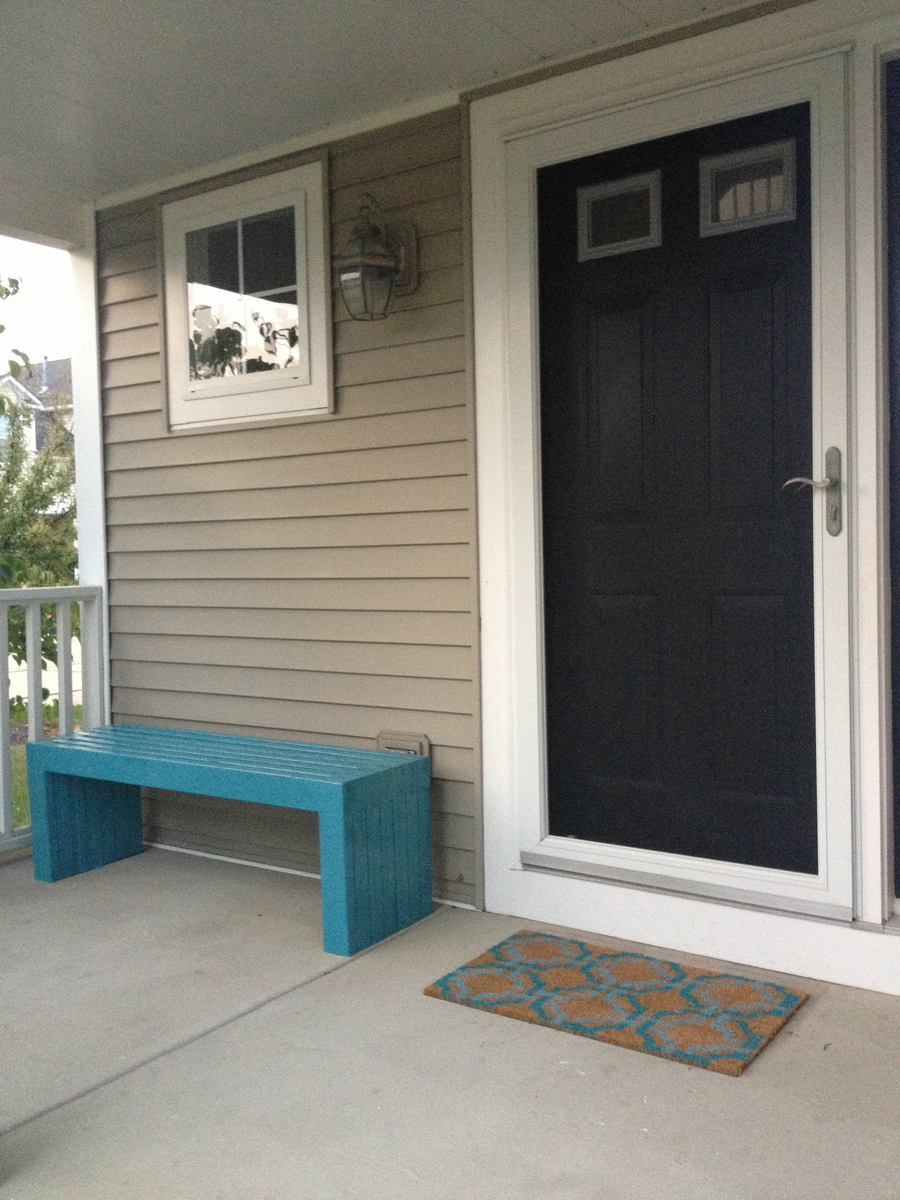
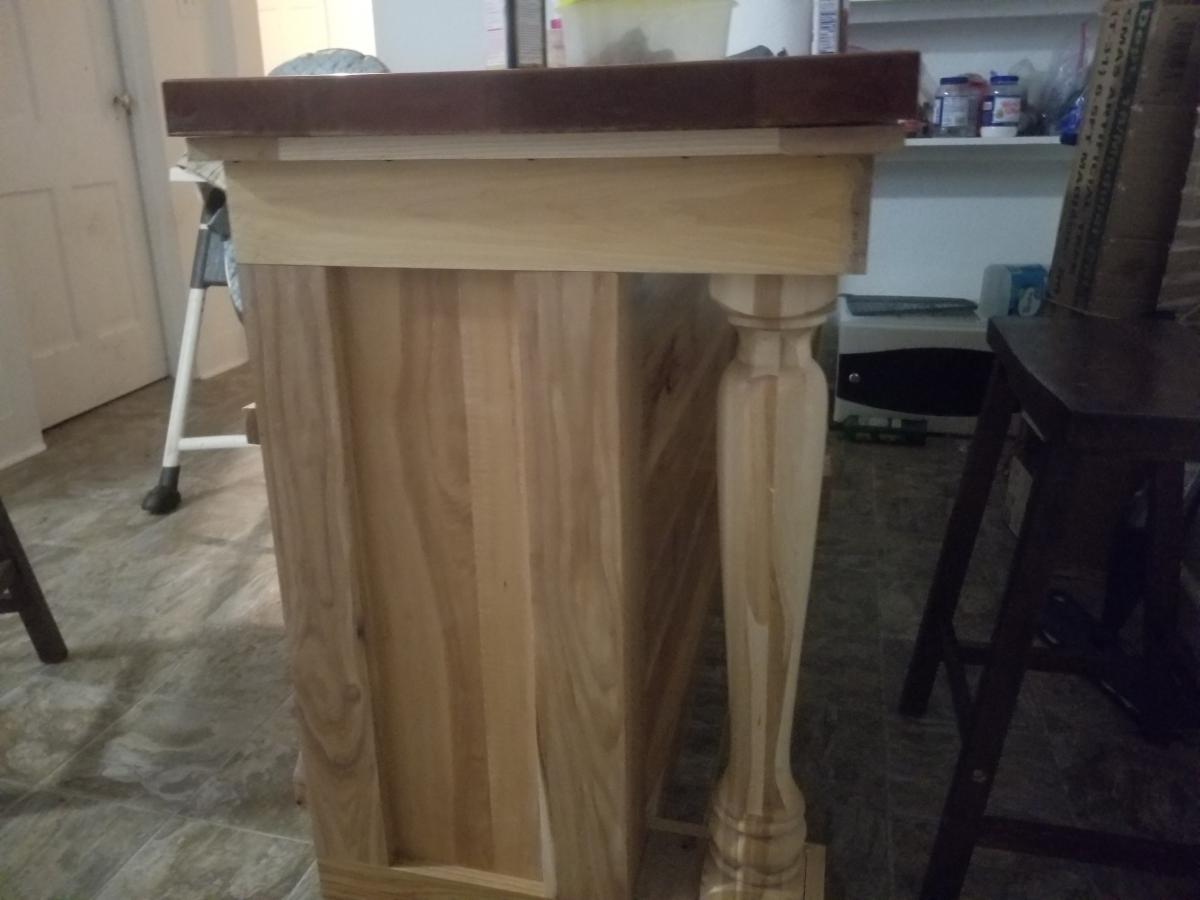
Thank you, Ana, for the easy plans for a great table!

Submitted by Anonymous (not verified) on Wed, 10/17/2018 - 13:29

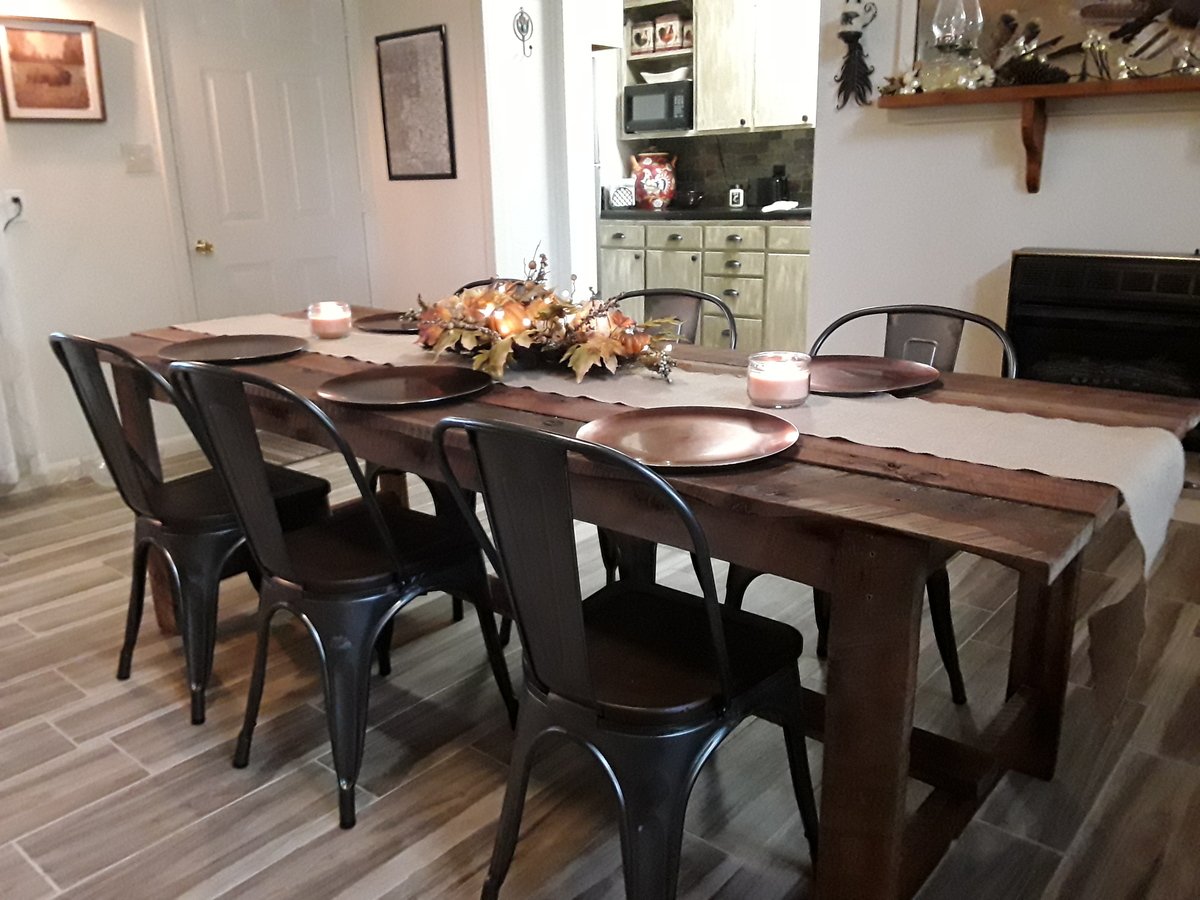
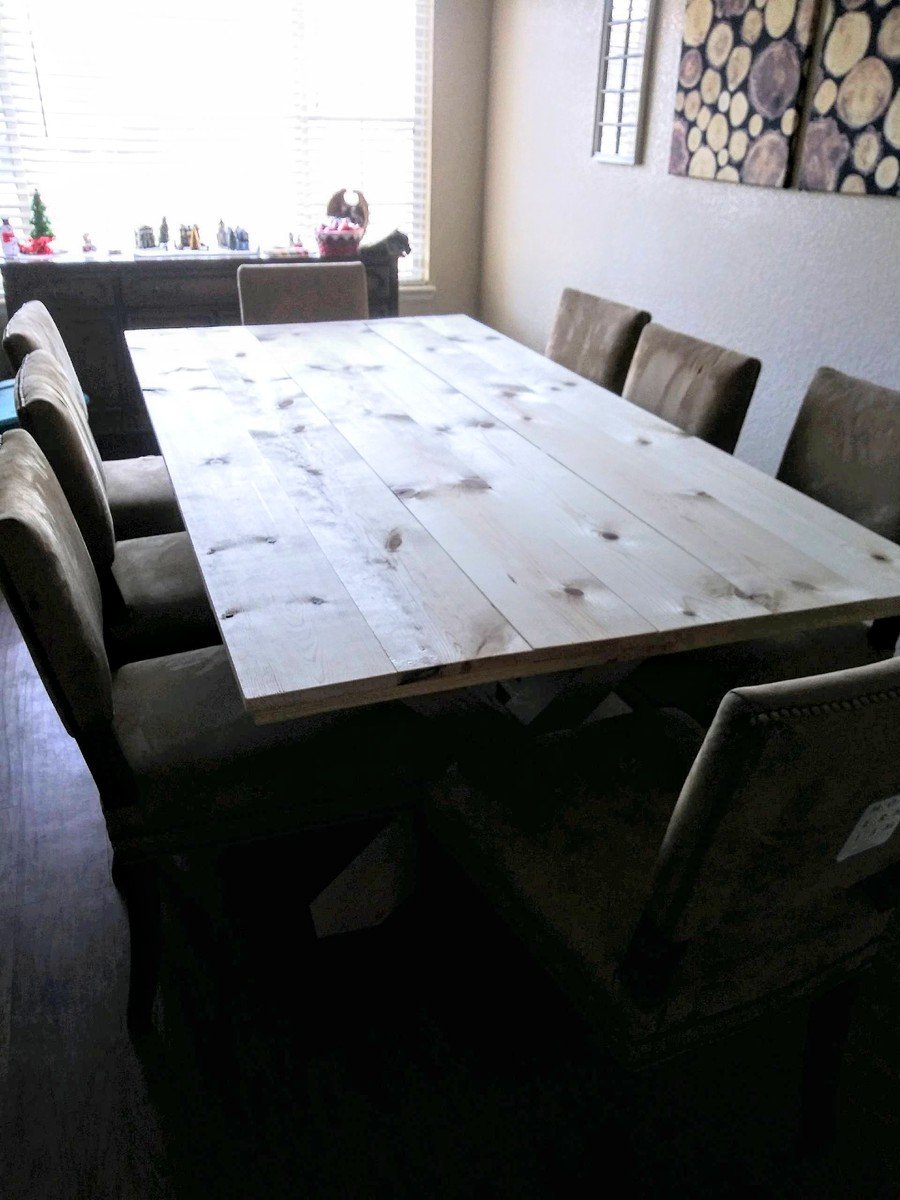
I made the table from rough-cut cedar that was harvested on my father's land. All I spent was $16 on Danish oil and $5 on sand paper but its priceless to me. Thanks Ana!!!
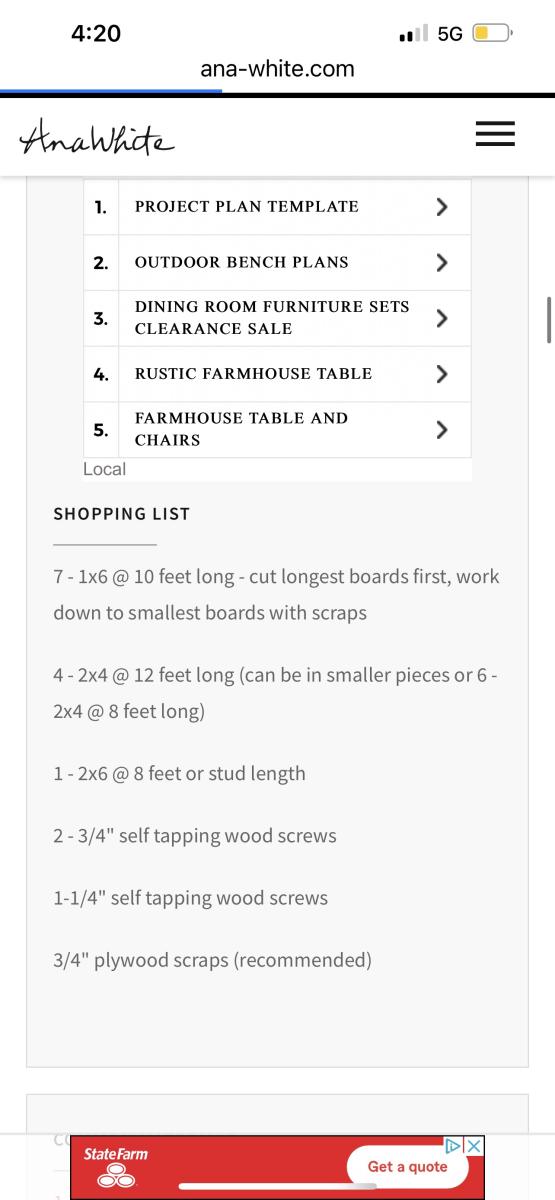
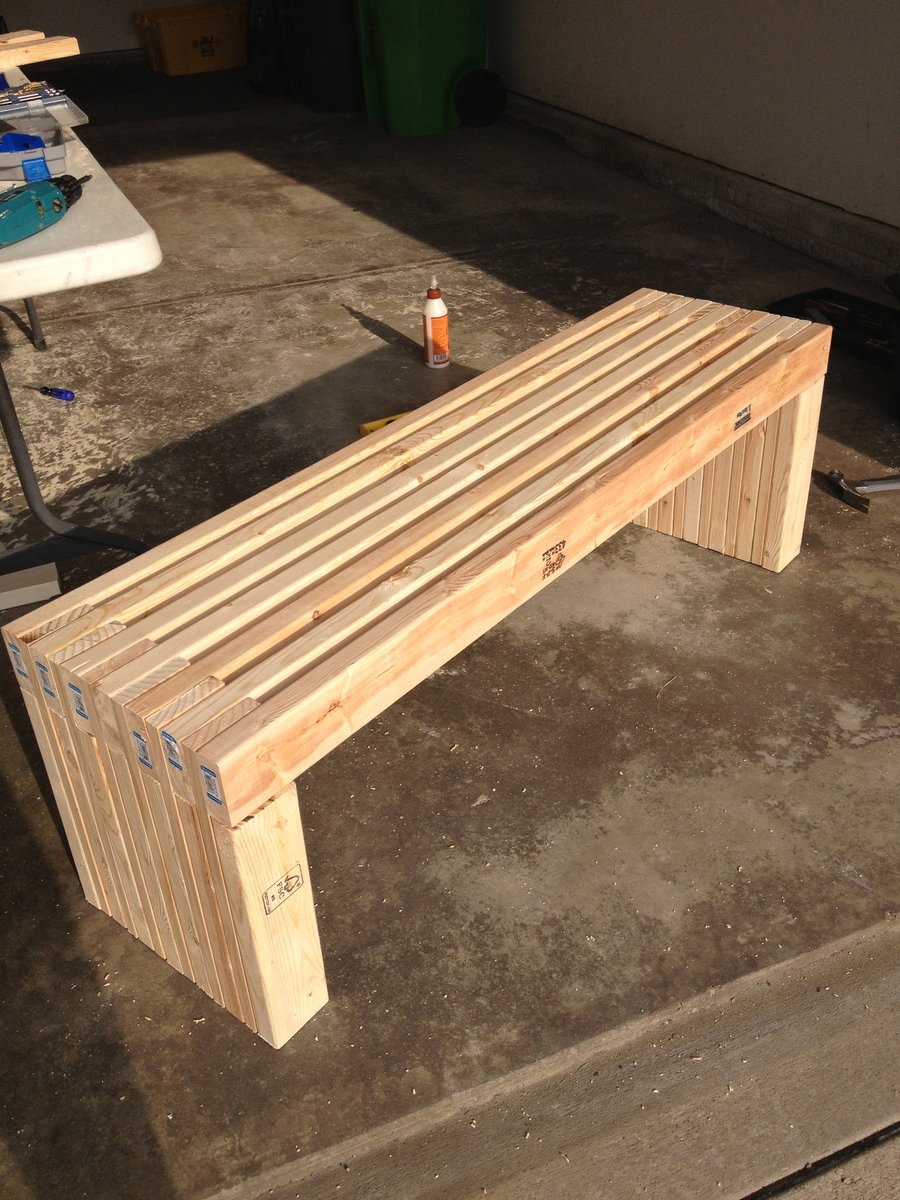
Estimated Cost
$25.00
Estimated Time Investment
Afternoon Project (3-6 Hours)
Finish Used
Danish oil
Recommended Skill Level
Beginner

Rustic corner shelf with matching halltree

Submitted by Anonymous (not verified) on Fri, 07/01/2022 - 20:46

My take on a corner cupboard. I used old barn tim form backing and somewhat modified the plans. I actually made the hall tree first and then the matching cupboard. I finished it off with a custom distressed finish.

Built from Plan(s)

Comments

Queen Farmhouse Bed with Arch

Submitted by perchik on Fri, 07/29/2011 - 11:34

I build the Farmhouse Bed with Arch in queen Size. I built this over the course of a couple days and then finished it slowly over a month. I did modify the bed to have a 6 inch taller footboard. Also, the mattress I have has a low profile box spring that's only 4 inches tall. The mattress itself is about 10 inches tall.

Additionally I changed the plans a little bit to make it modular. The legs of the headboard are mounted on with bolts and the side rails are also bolted on. This allows me to take it apart and move it fairly easily. The other modification I made was because I couldn't find untreated 4x4s. I ended up using two 2x4s with a 1x4 in the middle. Cut everything separately and then glued/nail-gunned the leg together.

Also in the extra pictures you can see the set of Tryde tables I made at the same time. That post will come once I get a finish on them.

Built from Plan(s)
Estimated Cost
120$
Estimated Time Investment
Weekend Project (10-20 Hours)
Finish Used
I sanded it with 80grit, 120grit and then 220grit sandpaper. Then I applied MiniWax PreStain Conditioner before staining. I used one coat of Cabot Oil Based "Autumn Harvest" stain [this was one of the colors they have to mix at the store for you.] After that I applied two coats of High-gloss Polyeurathane.
Recommended Skill Level
Beginner

Comments

benfoldsfivealive

Fri, 07/29/2011 - 14:14

Are you kidding? That's a lot of stuff you just built, and it ALL looks amazing!! I am really loving the autumn harvest stain. :)

Patrick (not verified)

Fri, 07/29/2011 - 20:05

Thanks! Everything was built in a week but I did have the advantage of a nailgun and lots of time.

chris.allen5 (not verified)

Thu, 11/10/2011 - 19:56

how did you mount the side rails to the foot board?

First Project!

Submitted by meg_odom on Sun, 08/25/2013 - 16:09

My husband and I built this as our first project & are thrilled with the way it turned out! We shortened it to 44" to fit our space. It took us a few hours but we got the Kreg Jig working the first try (though on a current project it is giving us some headaches). We really enjoyed building this on a rainy Saturday and received many compliments after posting the finished project on facebook. Looking forward to our next project - thanks so much for all your tutorials Ana & other submitters!

Built from Plan(s)
Estimated Cost
$100
Estimated Time Investment
Weekend Project (10-20 Hours)
Finish Used
Minwax Early American (1 coat) with Minwax Satin Poly (2 coats, brushed) for the top & shelves; Olympic Bewitched Satin (high grade with primer).
Recommended Skill Level
Beginner

Comments

Cameron nightstand

Submitted by TMW on Thu, 10/08/2015 - 07:18

After I built the dresser for my son, he decided he needed a nightstand. This was his project, I only advised and offered assistance. He was 15 and he came up with the design and we glued up the panels. He cut, sanded and assembled himself. He stained and applied the shellac. I am very proud of him.

Estimated Time Investment
Weekend Project (10-20 Hours)
Recommended Skill Level
Beginner

Wide Platform bed

This bed is my first "for profit" bed.  Took some design changes so it could be taken apart and put together easily with metal bed brackets.

Estimated Time Investment
Week Long Project (20 Hours or More)
Finish Used
This finish was MInwax Expresso with several coats of satin polyacrylic lightly sanding between each.
Recommended Skill Level
Intermediate

Round Farmhouse Table - Yes, You Really Can Cut A Circle W/ A Skillsaw

Submitted by Anonymous (not verified) on Sat, 07/16/2022 - 08:29

Your plans are so clear and easy to follow. Your video on using the skillsaw to cut a circle was sooo valuable. We easily created the same jig and got really good results. I have followed your YouTube channel and blogs for years and wanted to finally say thank you for all that you share!

Built from Plan(s)

Comments

Fancy Step Stool for Kids

Submitted by cdswhite on Mon, 08/01/2011 - 19:25

This was a fun project for us and our daughter loves to use it to wash her hands and brush her teeth. We used some wood scraps we had leftover so it didn't cost as much! I was inspired by another brag poster to change the detail on the bottom and printed my pattern from the computer. We did find that we really needed better saw blades than what came with our jigsaw - the second side's curves came out so much smoother.

Estimated Cost
$10 (total guess, I don't remember)
Estimated Time Investment
Afternoon Project (3-6 Hours)
Finish Used
We used some leftover paint and one coat of water-based poly.
Recommended Skill Level
Beginner

Tiled raised dog feeder!

Submitted by DogDoc25 on Tue, 08/27/2013 - 18:28

The design for this feeder came from Ana's raised feeder as well and the people who have made these feeders with tile. I had a lot of fun making this and I love how it turned out! I can see how they would be addicting to make. I constructed the wooden base (I just eyeballed how long to make it and how tall to make the legs based on the size of my bowls). I nailed hardibacker to the wooden top and applied the tile with thin set and mortar. This feeder is for my bigger dog, so disregard my small dogs checking it out:) The grout was a dark tan color before it dried, and I really like the color it ended up being. I bought the tile and grout from the habitat from humanity store, which had a big selection of miscellaneous tiles for basically free! Fun project!

Estimated Cost
about $45 (had to buy tile supplies that I didn't already have) but for just materials (wood, tile, thin set, wood trim, and mortar) around $30
Estimated Time Investment
Day Project (6-9 Hours)
Finish Used
Put down wood conditioner and then 2 coats of minwax dark walnut (left on for about 10 minutes in between coats), then applied 2 coats of polycrylic
Recommended Skill Level
Beginner

Farmhouse Bedroom Set

Submitted by kingw on Mon, 10/12/2015 - 09:16

I started about 2 years ago by making one of the Mini Farmhouse Style bedside tables.  My wife loved it so I made a second.  Then I made the bench a year or so ago with plans from this site too.  Unfortunately I can't find where those plans are now.  Maybe in Ana's book (I have that at home too)? I just finished the Reclaimed Wood Headboard with wood I reclaimed from the big orange store :)
I put a 1/4" chamfer on the edges of the panels for the headboard, and had to add a brace in the back because none of them were perfectly flat.  No one has seen the headboard yet, but I've had friends ask me where I bought the bedside tables and bench.  I've never had a matched set before.  This is a definite bedroom upgrade!
Stain is Minwax Special Walnut, paint is Gotham Grey from Behr.

Recommended Skill Level
Intermediate

Comments

Modern Outdoor Sofa

Submitted by bcarter_1 on Tue, 10/30/2018 - 04:57

Very comfy outside sitting

Estimated Time Investment
Weekend Project (10-20 Hours)
Recommended Skill Level
Intermediate

Comments

2x4 and Cedar Planked Bench

Submitted by vendo on Wed, 07/27/2022 - 11:26

I needed some extra shoe storage just outside our sliding glass door on our deck. I used Ana's easiest 2x4 bench plan with drawers, just left the drawers out and did some extra 2x4 framing. Once the 2x4 frame was built, I wrapped it with cedar fence pickets. This thing is sturdy and pretty much weather proof!

Built from Plan(s)

My Farmhouse/homework table

Submitted by ajcajj on Fri, 08/05/2011 - 10:47

I saw the plans for the narrow farmhouse table and had.to.have.it! I showed my husband and he liked it but wanted turned legs. This was the compromise. I'm so happy with how it turned out!

Built from Plan(s)
Estimated Cost
$28.00
Finish Used
I used a minwax stain with poly on the top and white on the legs
Recommended Skill Level
Beginner

Rustic X End Tables

Submitted by pbookman on Thu, 08/29/2013 - 19:57

We altered the width of the tables to make them fit in our living room, but kept everything else the same. They turned out great!

Finish Used
Minwax Gel Stain in Red Elm
Recommended Skill Level
Beginner

A Different Take on the Cedar Shed

Submitted by afbutters on Sun, 10/18/2015 - 12:26

Loosely based on the small cedar fence picket storage shed plan, this was my first attempt at making a storage unit with a roof. There was only one unplanned trip to the store (to replace two 2x4's that I cut to the wrong length). Pro tip: "measure twice, cut once" doesn't work if you measure the wrong length twice. Also almost lost two fingertips because I'm an idiot and forgot the most basic of safety rules for power tools, namely the "don't put your fingers near the blade of a circular saw when it's in use" rule. Very lucky to only come out of it with a good scare and some wounds that will heal without permanent damage. 

Built from Plan(s)
Estimated Cost
$500 (Canadian)
Estimated Time Investment
Weekend Project (10-20 Hours)
Recommended Skill Level
Beginner

Comments

Queen Farmhouse bed

Submitted by Awequilter on Sat, 11/10/2018 - 09:03

Queen Farmhouse Bedframe made from Poplar and stained with Carbon. Don't remember brand name of stain. Finish is by General Finishes Flat sheen.

Built from Plan(s)
Estimated Cost
$350
Estimated Time Investment
Week Long Project (20 Hours or More)
Finish Used
Sanded to 180. Pre-conditioned before stain with denatured alcohol
Stain - Carbon (Professional grade, but don't remember brand name)
General Finishes - Flat
Recommended Skill Level
Intermediate

Refinished Dining Room Set

I know this website is more about building furniture, but I spent the last year refinishing this dining room set in my spare time (between working full time and going to school part time). I bought it at a garage sale for $100, and with a lot of love, time, and energy, it is finally ready for family dinners!

Estimated Cost
$150
Estimated Time Investment
Week Long Project (20 Hours or More)
Finish Used
I used white primer, white glossy Behr paint, Minwax Dark Walnut Stain, and Minwax Glossy Polyurethane.
Recommended Skill Level
Beginner

Comments

sgilly

Thu, 08/11/2011 - 15:06

That is a beautiful finish! I know you'll enjoy many wonderful meals at that table.

hiddenhalo360

Fri, 08/12/2011 - 17:47

My husband just left for Thailand for a month, and we had a nice family dinner on his behalf before he left. I was really happy I was able to finish the set before the dinner.

MODERN SLAT TOP OUTDOOR WOOD BENCH

This was my first project. I am pretty excited how it turned out. If I did it again, I would recommend sanding and painting prior to building.

Estimated Cost
$60
Estimated Time Investment
Afternoon Project (3-6 Hours)
Finish Used
Valspar Spray Paint - Oasis
Recommended Skill Level
Beginner

Comments

X leg Dining Table

Submitted by Usmcmills on Wed, 11/28/2018 - 06:56

Used ideas from multiple builds on here. Turned out great for Thanksgiving. Only thing ill add is a beam between legs for added stability but its pretty strong now.

Estimated Time Investment
Weekend Project (10-20 Hours)
Recommended Skill Level
Intermediate

Farmhouse kitchen island

Submitted by Anonymous (not verified) on Tue, 08/16/2022 - 19:19

The kitchen island I built from your plans for my wife. I used hickory and for the top I used rustic cherry.

Comments