Community Brag Posts

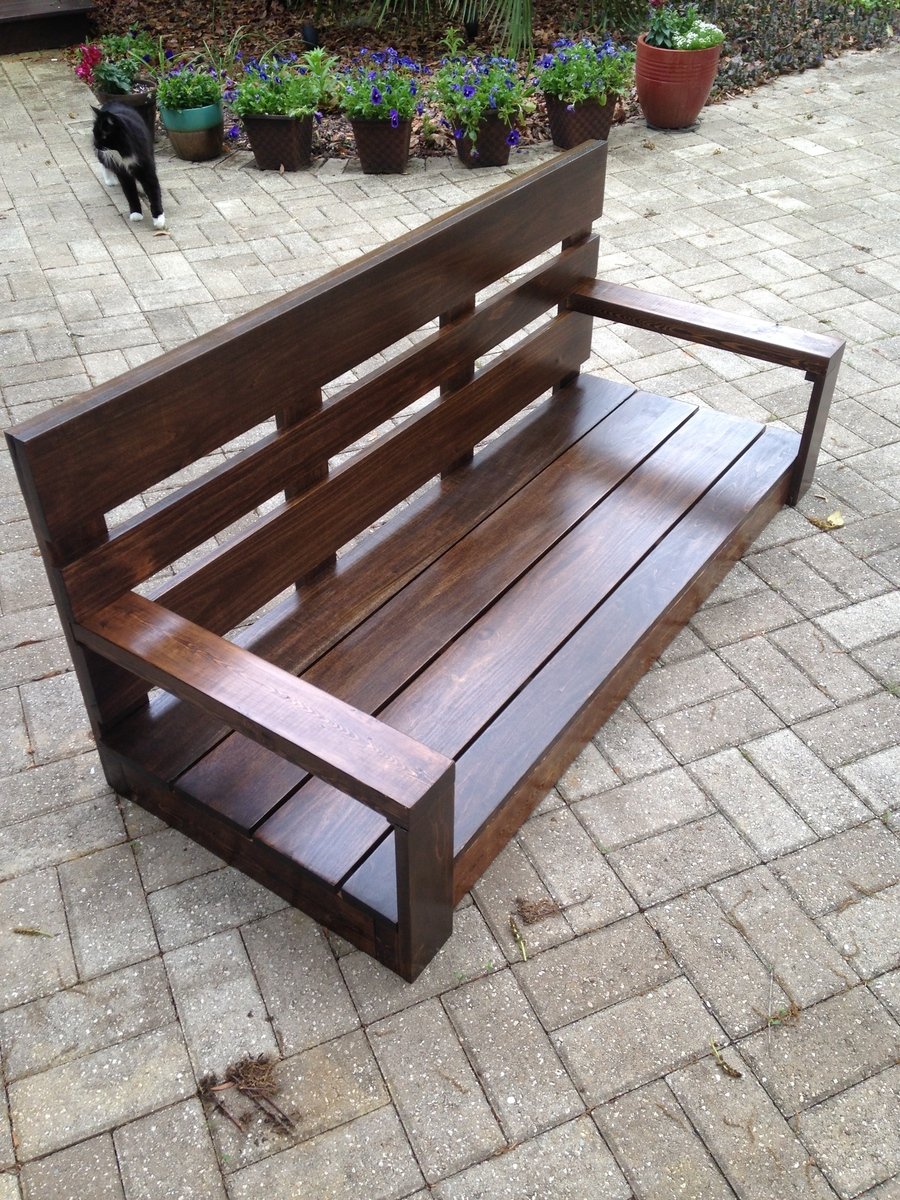
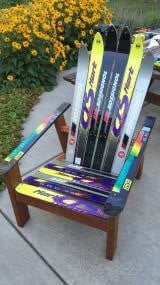
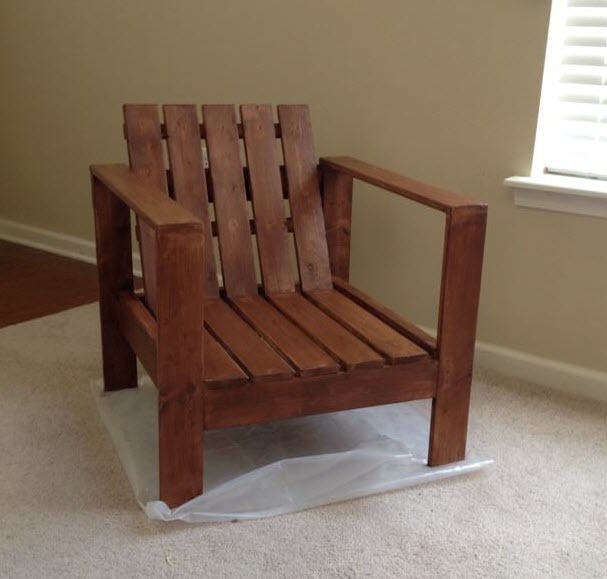
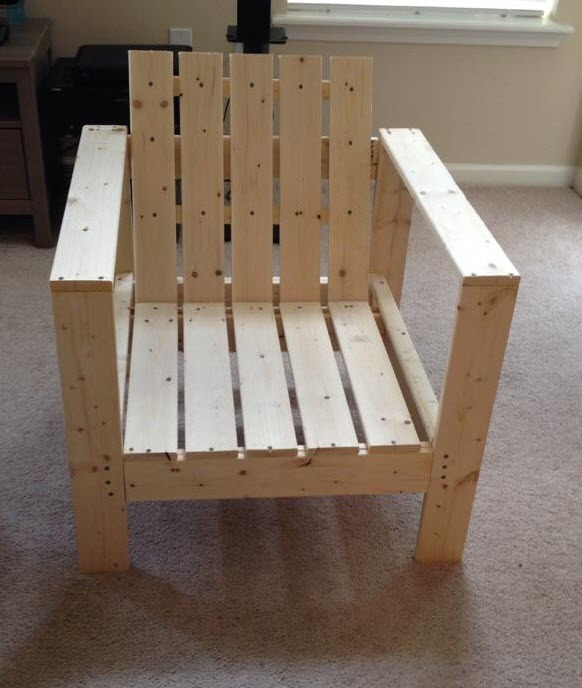
Simple Patio Chair

Submitted by keltik on Tue, 07/08/2014 - 11:04

This was my first project from Ana's site. I wanted something simple and cheap to make, so all in all, this project was very simple.
I think I will paint instead of stain next time though as the quality of the wood I purchased from Home Depot wasn't the best.
Very happy with it though, and I'm planning on making more.

Built from Plan(s)
Estimated Cost
50
Estimated Time Investment
Afternoon Project (3-6 Hours)
Finish Used
Behr Weatherproofing Wood Stain - Russet Brown
Recommended Skill Level
Starter Project

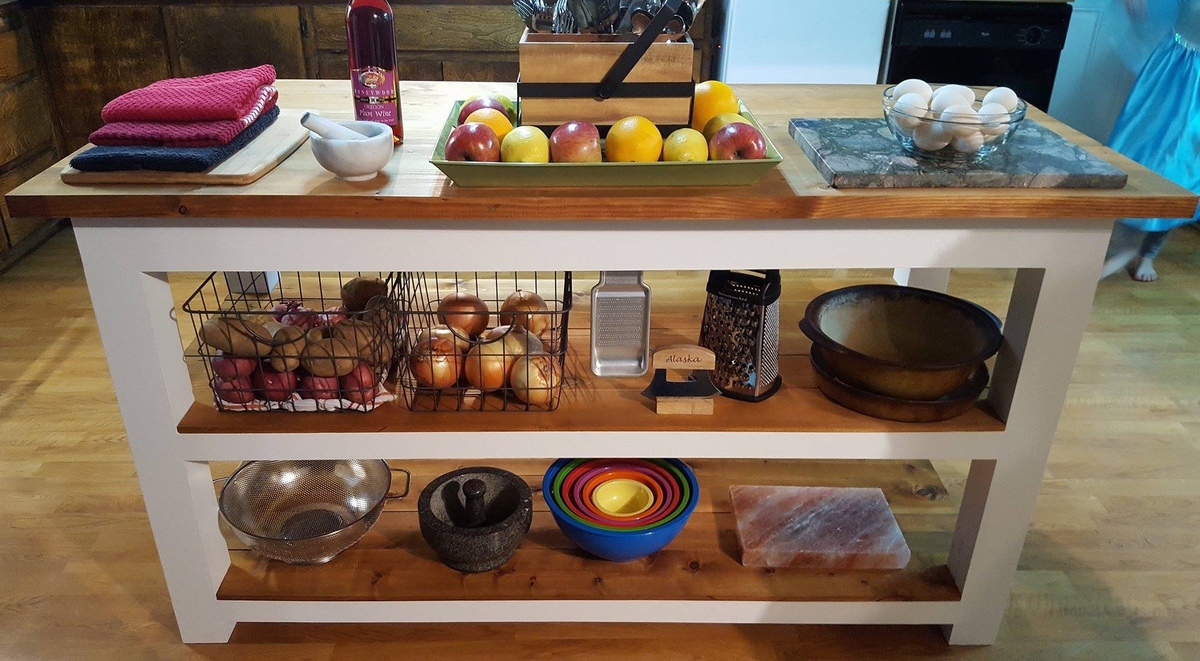
My version "Michaela's Kitchen Island"

Submitted by Lorri Dee on Sun, 12/04/2016 - 20:38

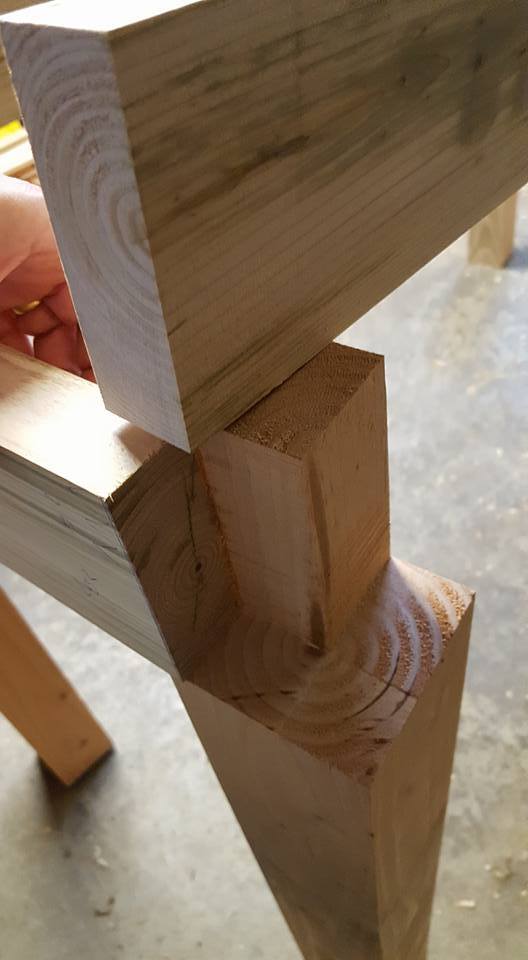
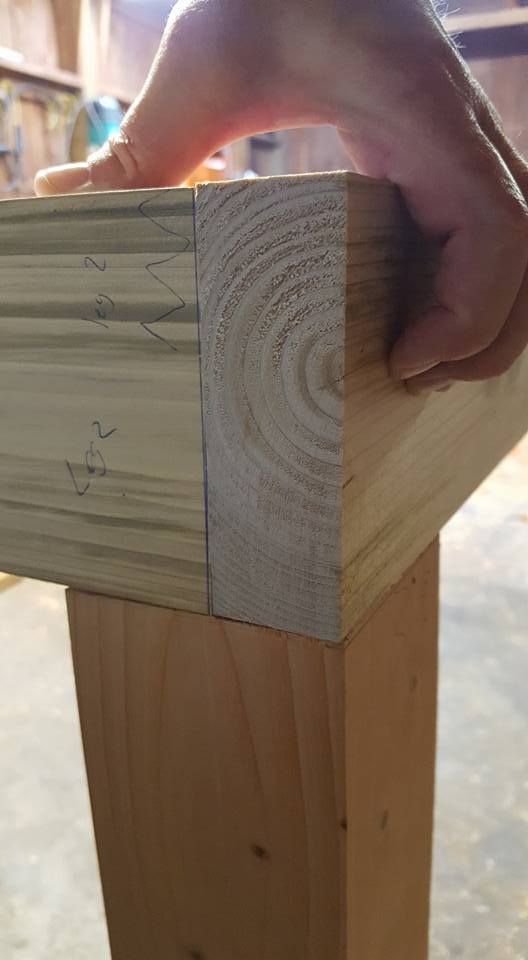
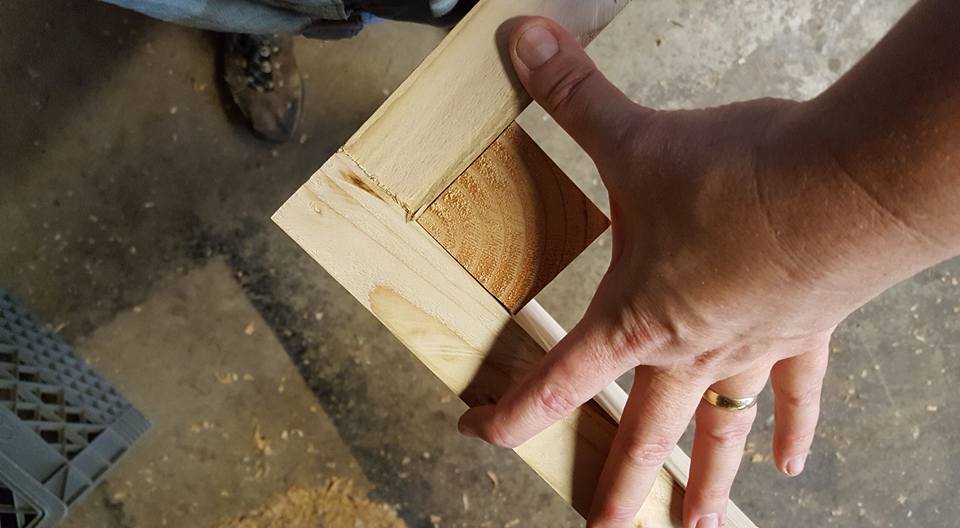
Built from discount 70% off lumber from Home Depot. I planed and cut down to size with a Ridged planer and table saw, then screwed together with kreg pocket screws. Since I will be kneading bread on it, I used a natural coffee stain and then butcher block finish..

Built from Plan(s)
Estimated Cost
$120
Estimated Time Investment
Week Long Project (20 Hours or More)
Finish Used
Coffee stain with butcher block mineral oil and bee's wax.
Recommended Skill Level
Intermediate

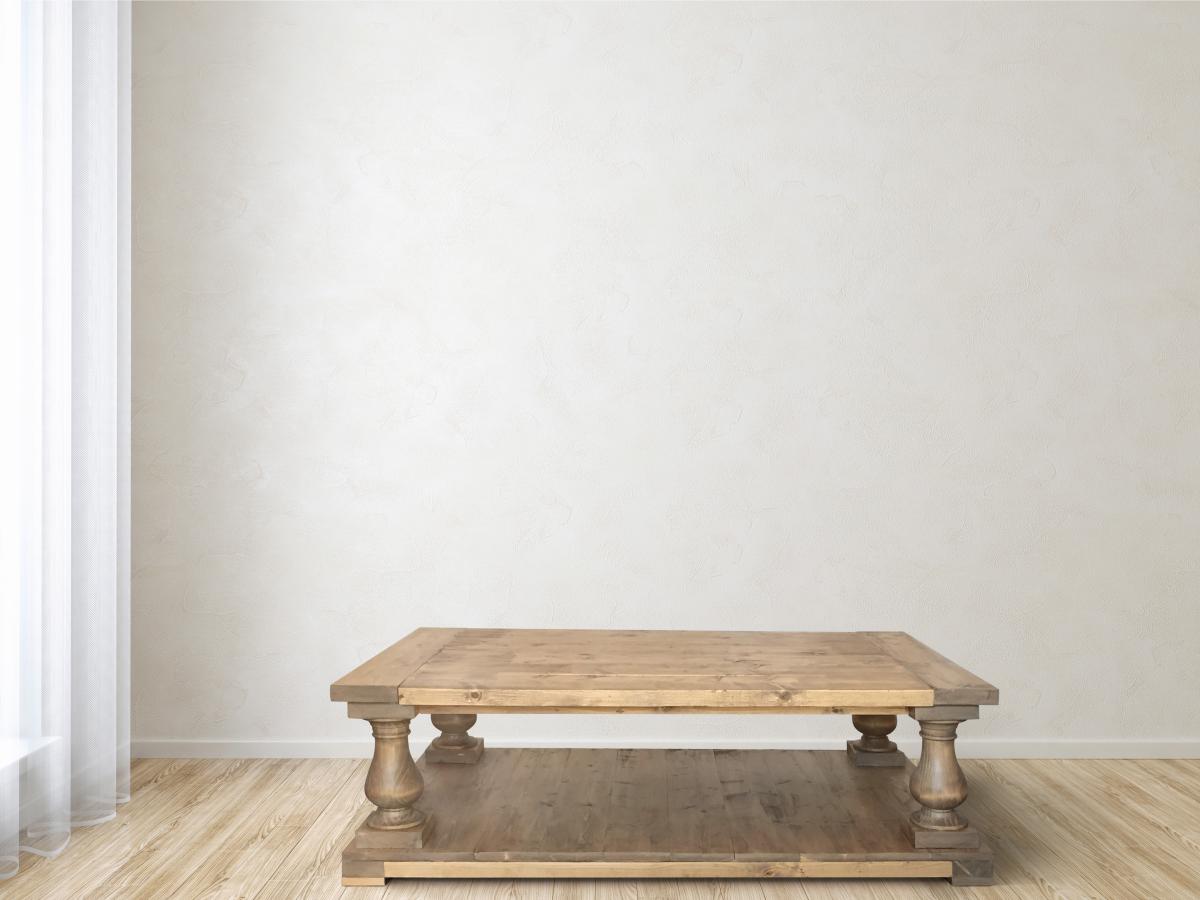
Balustrade Coffee Table

Submitted by SKrampl on Sun, 11/09/2014 - 11:01

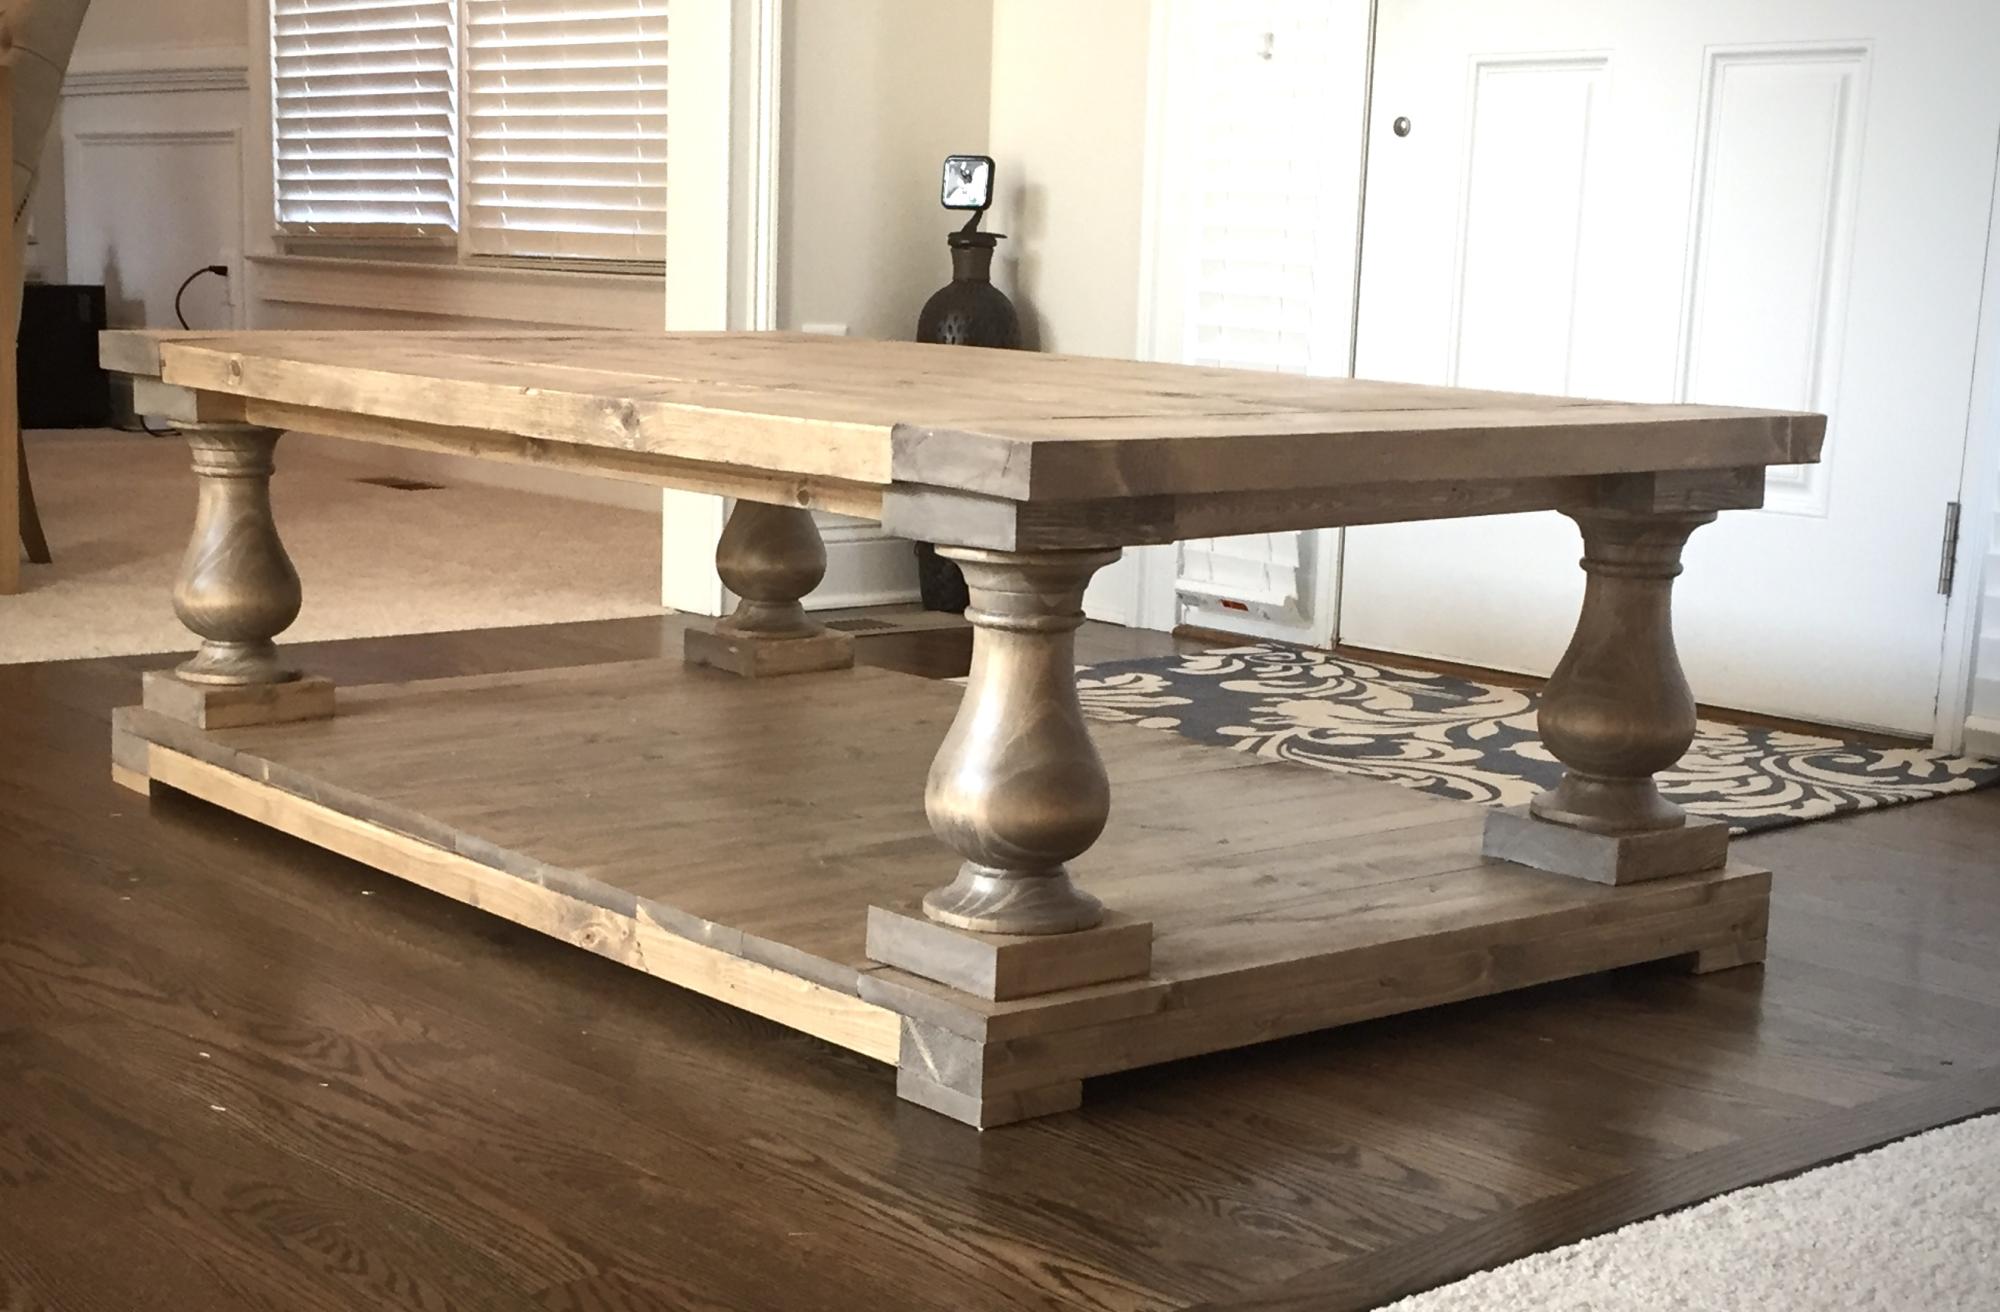
This was a frist time project for myself. I'm always trying to prove to myself and my husband I can take these new projects on, and found this plan to be very easy to follow. I used the modified plans from "House of Wood" as the more square-ish version of the table, becuase those dimesnions were more suitable for the space I was trying to fill. 

This table is quite large, and that is what drew me to it. I loved the solid-ness of it. It almost seems indestructible (something that is handy with 3 young ones running around)

Can't wait to start another project! :)

Built from Plan(s)
Estimated Cost
I found a local wood worker who was able to make the Balusters for me. I was grateful to find a local guy, using local wood, as I do my best to support local businesses.
For the lumbar/Hardware/mini Kreg jig it cost me: $115
For the 4 custom Balusters: $100
Stain/Poly/sand paper: $50
Estimated Time Investment
Day Project (6-9 Hours)
Finish Used
I chose not to pre-treat my wood before staining as I was trying to achieve the rustic look. I knew it would make it appear less uniform in colour, but thats something I felt would add to this tables character. I used the Varathane Tuscan wood stain. I did about 2 coats of stain. I applied with a lint free rag, and just wiped the stain on in thin coats. For the finish I used the Wipe-on Poly from Minwax. I applied 4 coats of the poly. In between Poly coats, I sanded with the 600 grit sandpaper, which made the wood feel buttery soft! I'm glad I didn't skimp on that part.
Recommended Skill Level
Beginner

Potting Bench

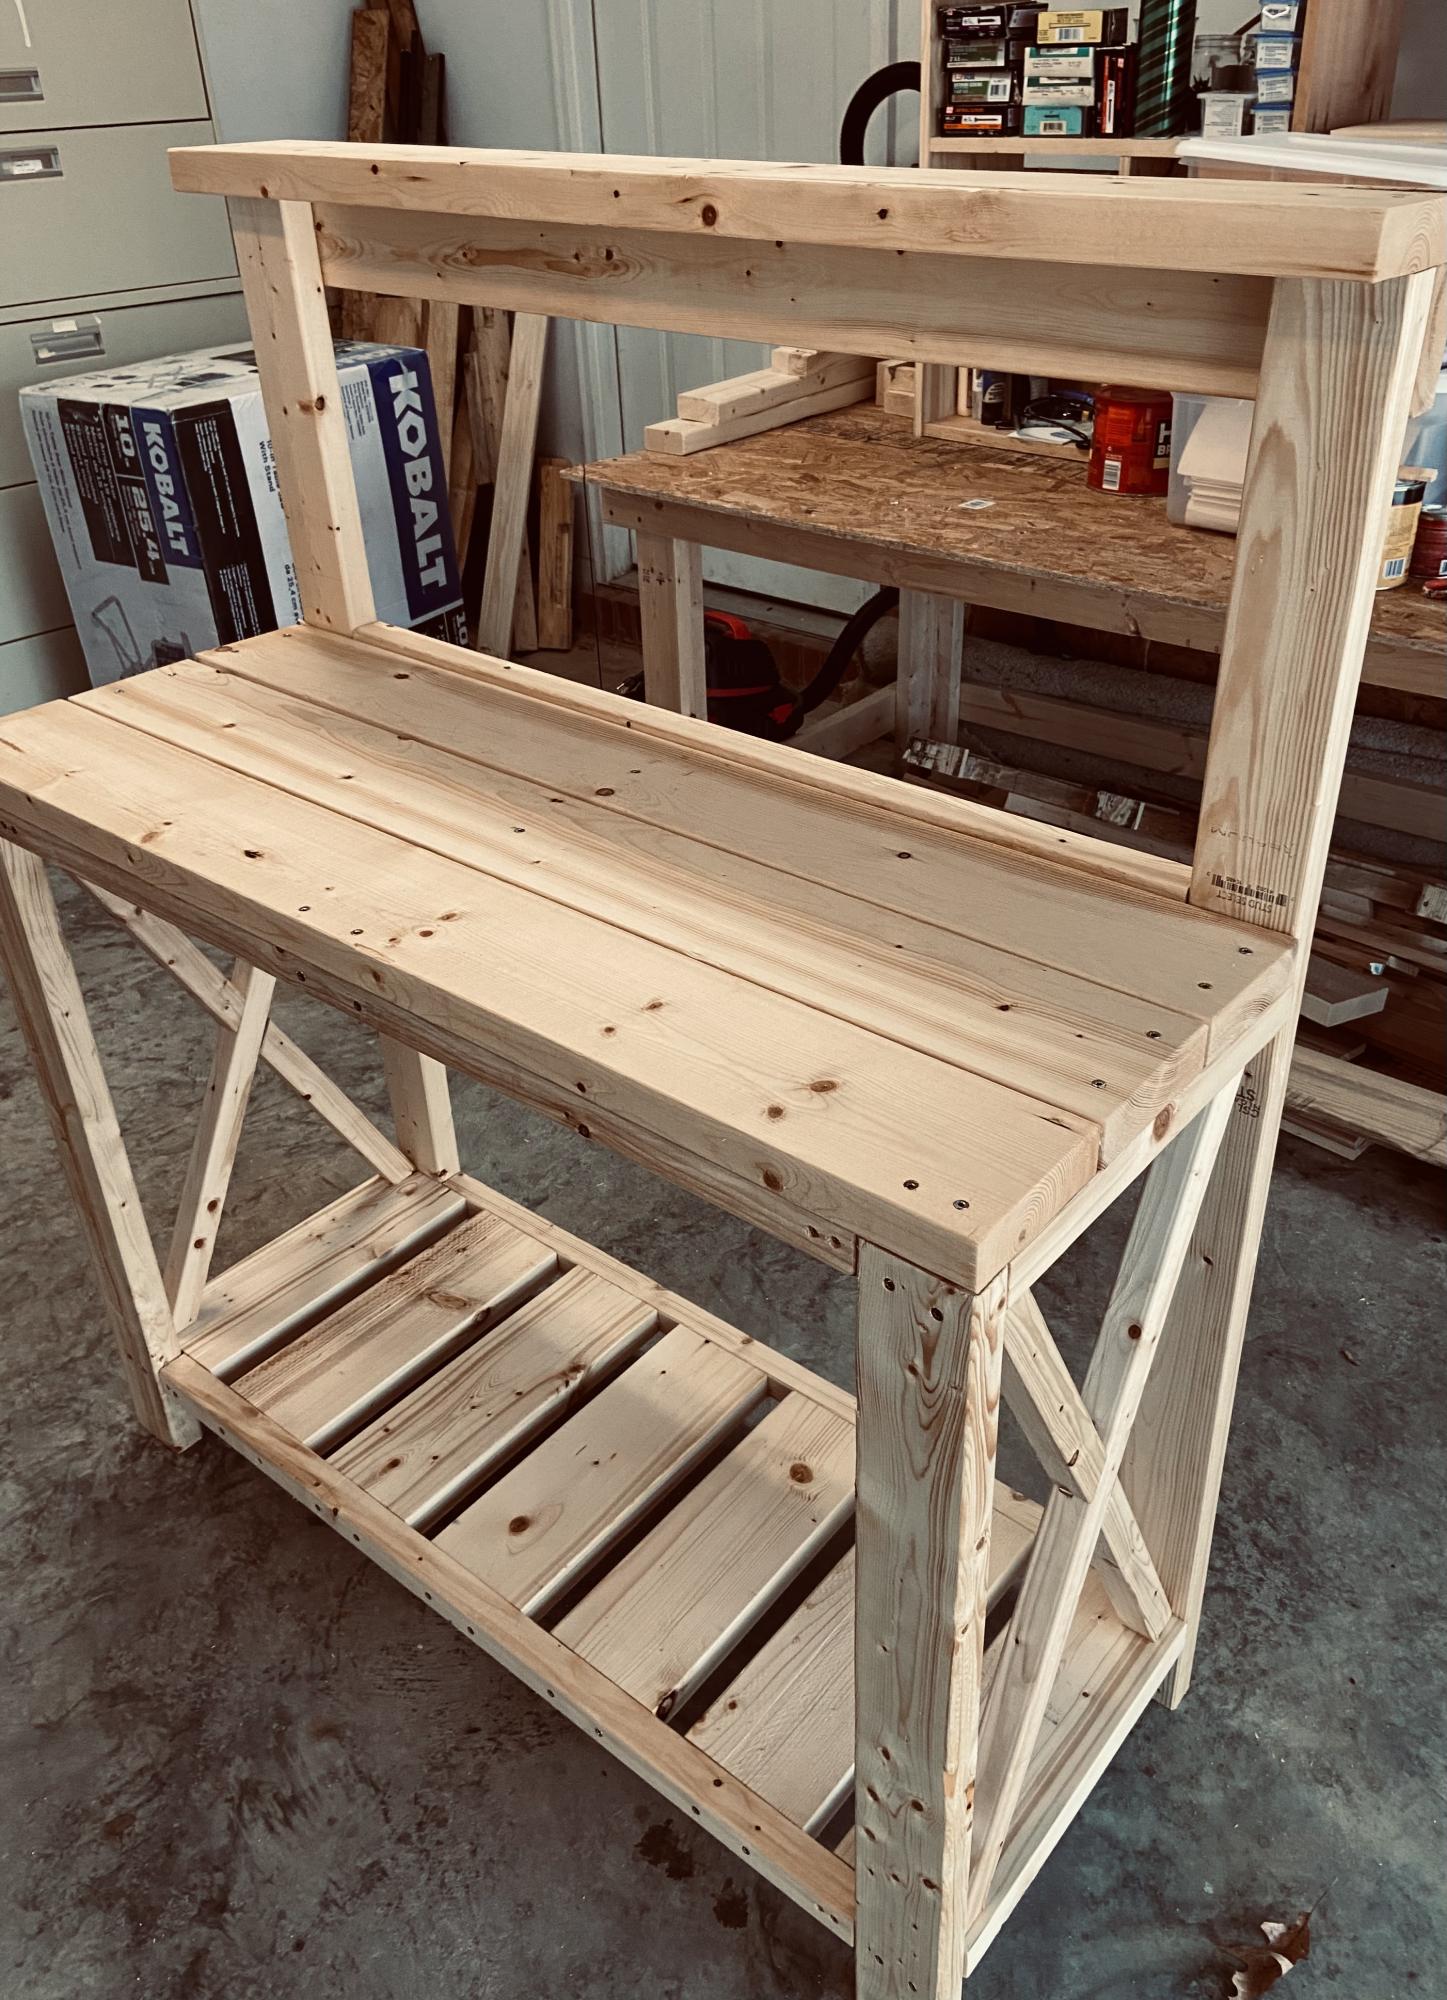
I am a complete newbie to anything woodworking. I just turned 60 and used a drill for the first time about 9 months ago. Thanks to Anna and her plans and videos, I have developed some some self confidence in this art and absolutely loving it.

Farmhouse coffee table and king size bed is next.

Thank YOU Anna!!! You totally rock!!!!!!!!

Estimated Time Investment
Day Project (6-9 Hours)
Recommended Skill Level
Beginner

Comments

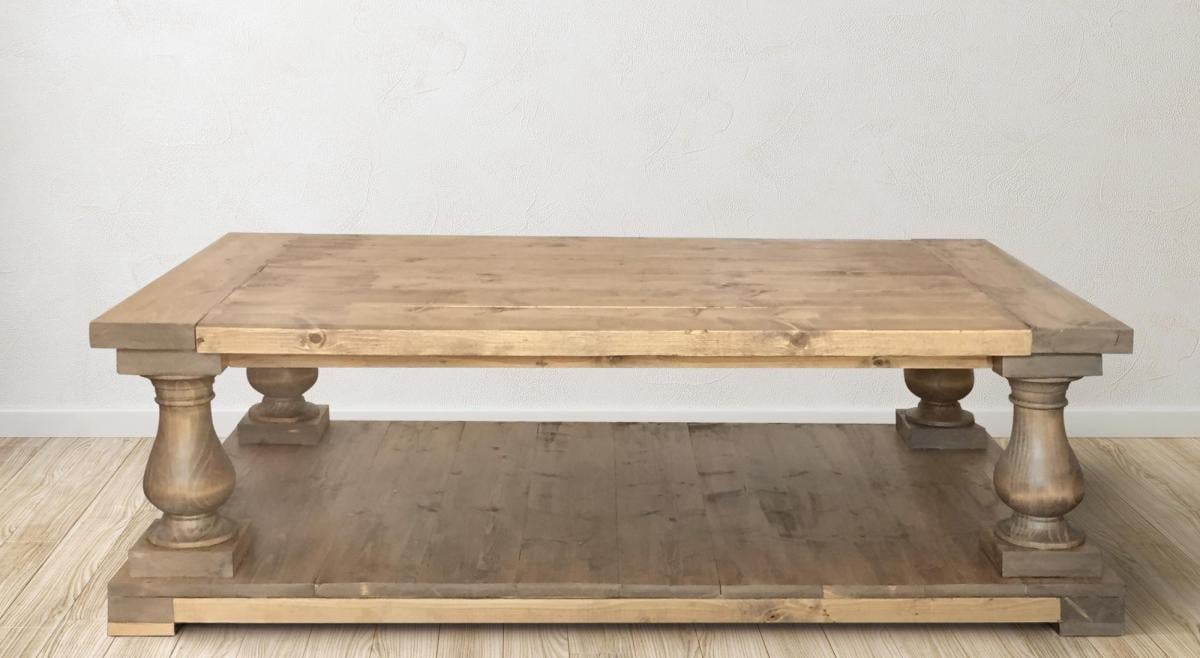
Balustrade coffee table

Submitted by mandi10uga on Wed, 03/08/2017 - 05:36

Made from plans, no modifications. I've made it twice, once in a weathered natural look and once with a darker stain. 

Built from Plan(s)
Estimated Cost
$300
Estimated Time Investment
Day Project (6-9 Hours)
Recommended Skill Level
Beginner

Comments

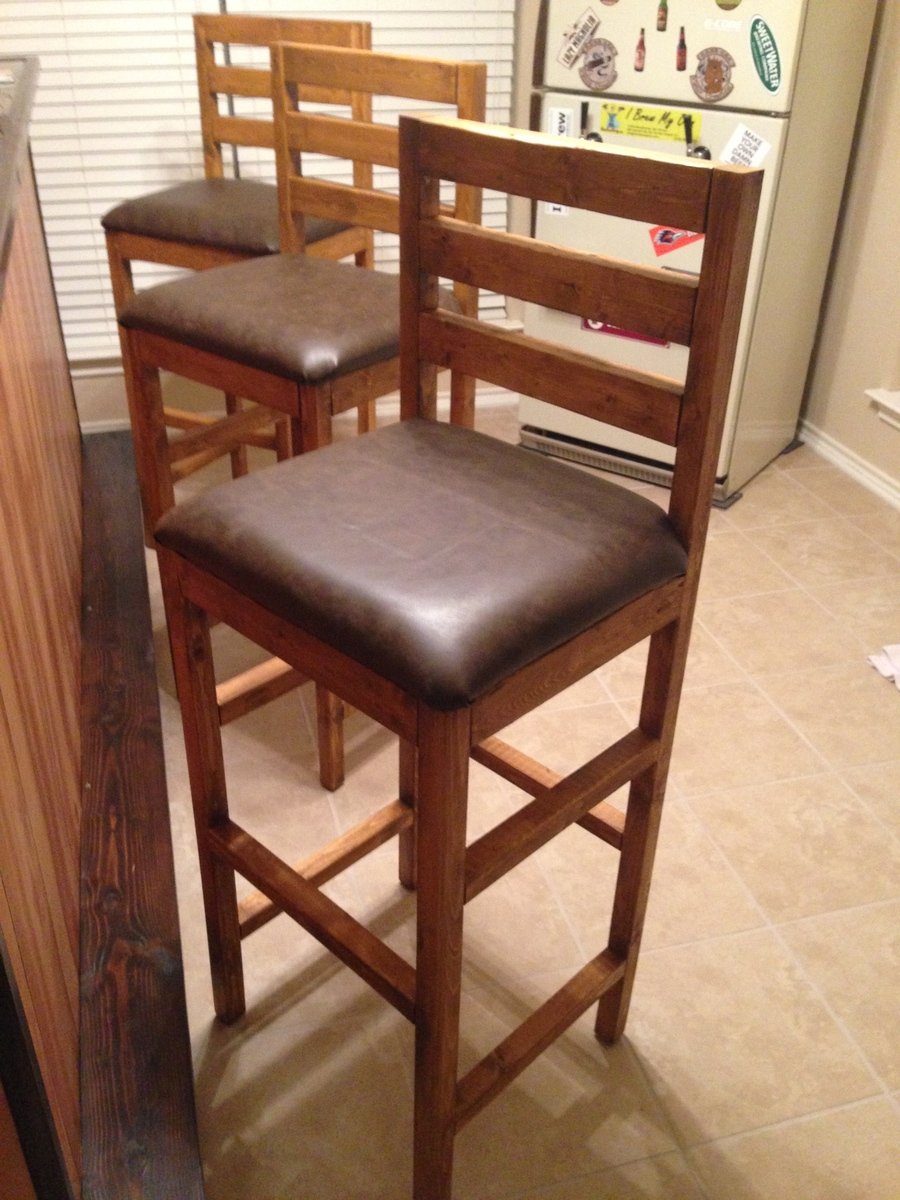
Extra Tall Bar Stools

Submitted by TCnTash on Wed, 12/17/2014 - 09:21

My wife and I built our whole bar, from the shelves, bar, and the kegerator! We needed stools to round out our endeavor but we werent willing to shell out the kind of money required.  My wife found this plan and we morphed it a bit to meet our needs.  The KREG JIG saved us big time! The seat upholstry took us a bit of time, but we figured it out thanks to YouTube.  Great project for a weekend, took us a tad bit longer due to the arrival of our daughter but, we still got it done!

Built from Plan(s)
Estimated Cost
~$150, this got us three stools. We had bigger measurements than the plan called for, so you could definitely squeeze another chair if you stick to the plan.
Estimated Time Investment
Week Long Project (20 Hours or More)
Finish Used
Wheat color stain, and spray on Satin polyurethane.
Recommended Skill Level
Beginner

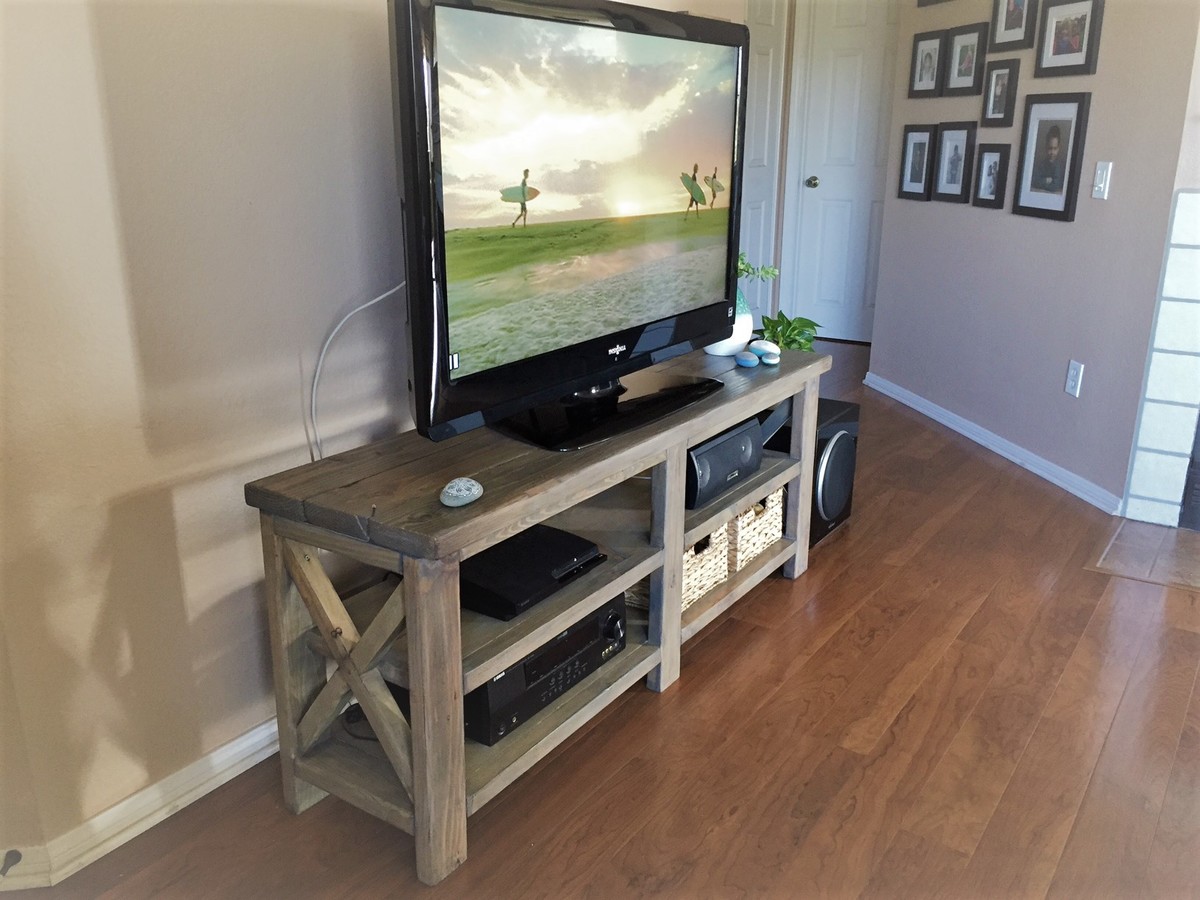
Faux Driftwood Finish Media Console

Submitted by Anonymous (not verified) on Sun, 06/11/2017 - 19:37


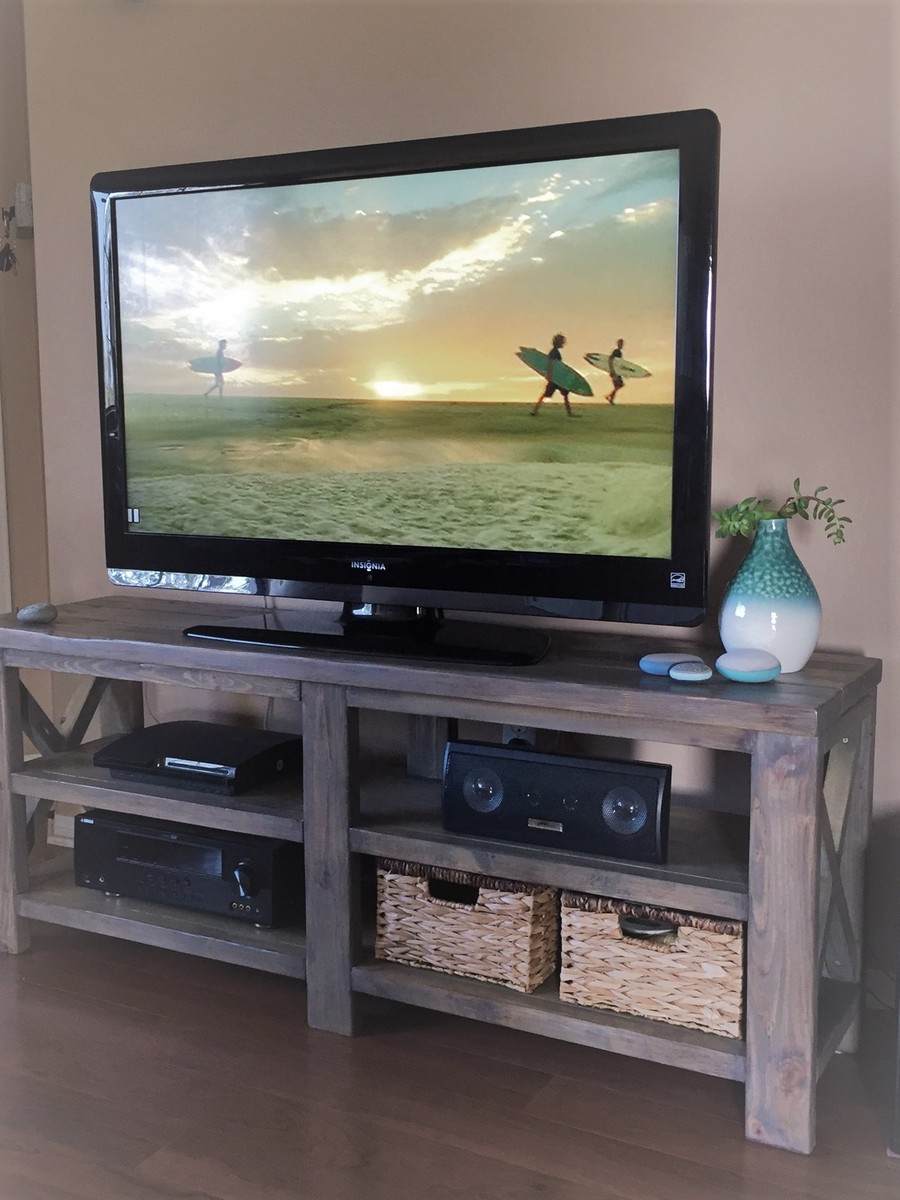
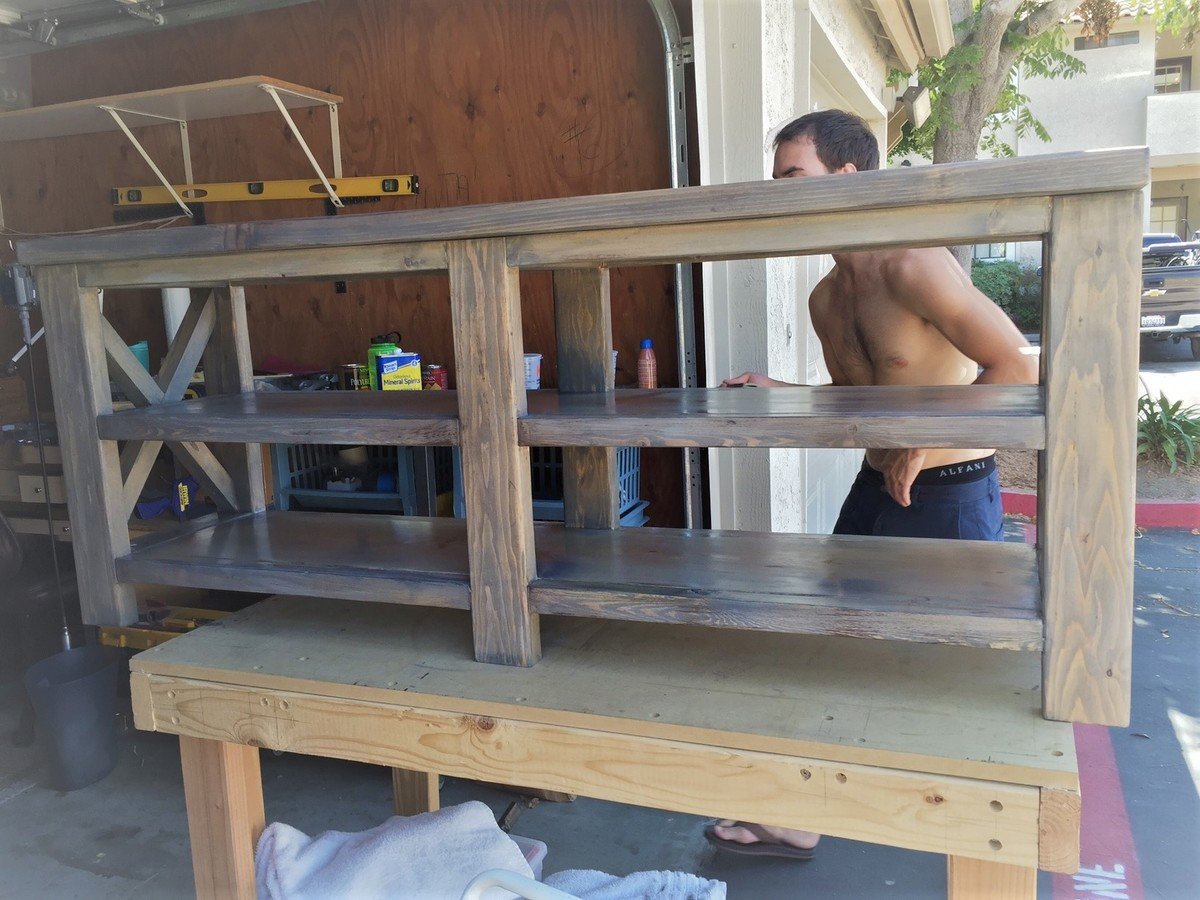
My girlfriend requested I make this stand for our TV which is 46". (It looks like something she wanted from a furniture store that was being sold for around $1,100.)  I followed the plan, but customized the size. My table is 60" long and 24" high.


We wanted to make a weatherbeaten "driftwood" look. The Classic Gray was darker and had more opacity with one coat than expected, so we stopped at one coat.  Classic Gray is a lot "cooler" in tone before the clear coats, because the clear polyurethane I used  has a warm tint to it. (In the future, I also want to try the crystal clear Minwax Polycrylic, which would not warm the tone of the gray.) After the stain, we added some brown dry brushstrokes to make it look rustic or aged. 

I lightly sanded between each of the clear coats. Two coats on the under parts and three coats on the top. 

I added felt pads that I cut to fit to protect our floors from scratching. 

The wood is part pine and part common board. 

Girlfriend loves it! It is a huge hit. Lots of compliments from neighbors as I worked, too. 

Built from Plan(s)
Estimated Cost
$100
Estimated Time Investment
Weekend Project (10-20 Hours)
Finish Used
Sanded to 220

1 application of Minwax pre-stain Wood Conditioner

1 coat Minwax Wood Finish Penetrating Stain, color Classic Gray

Dry brushstrokes of Martha Stewart Vanilla Bean Multi-Surface Satin Acrylic Craft Paint at edges (color is a neutral grayish brown)

2 coats of Minwax Polyurethane, Clear Satin
Recommended Skill Level
Beginner

Chicken Tractor

Submitted by Cliffhorn on Thu, 05/02/2013 - 07:26

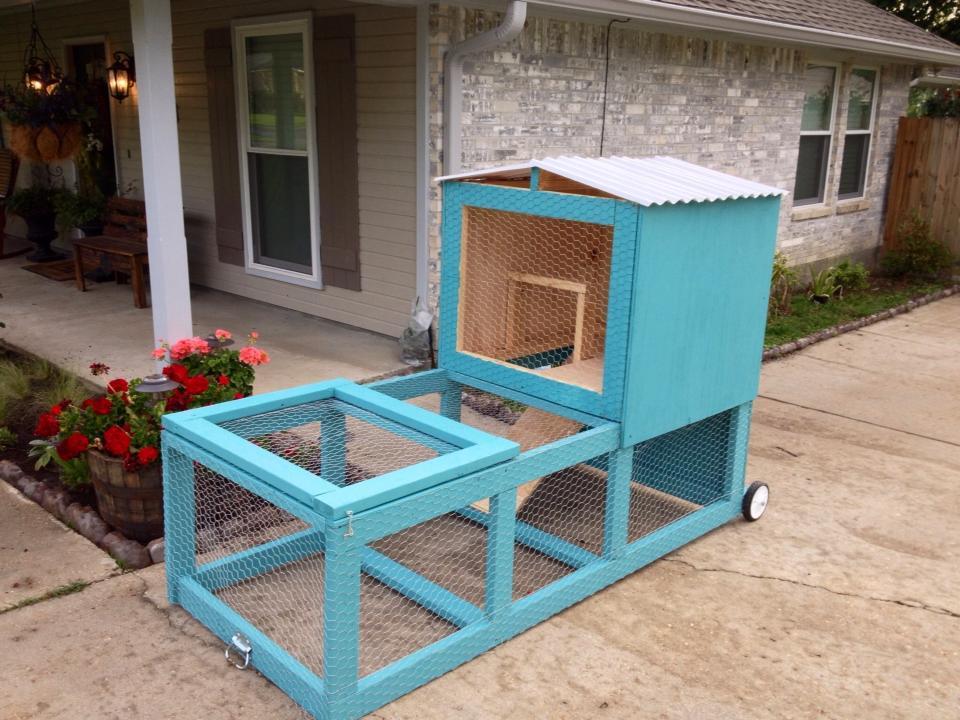
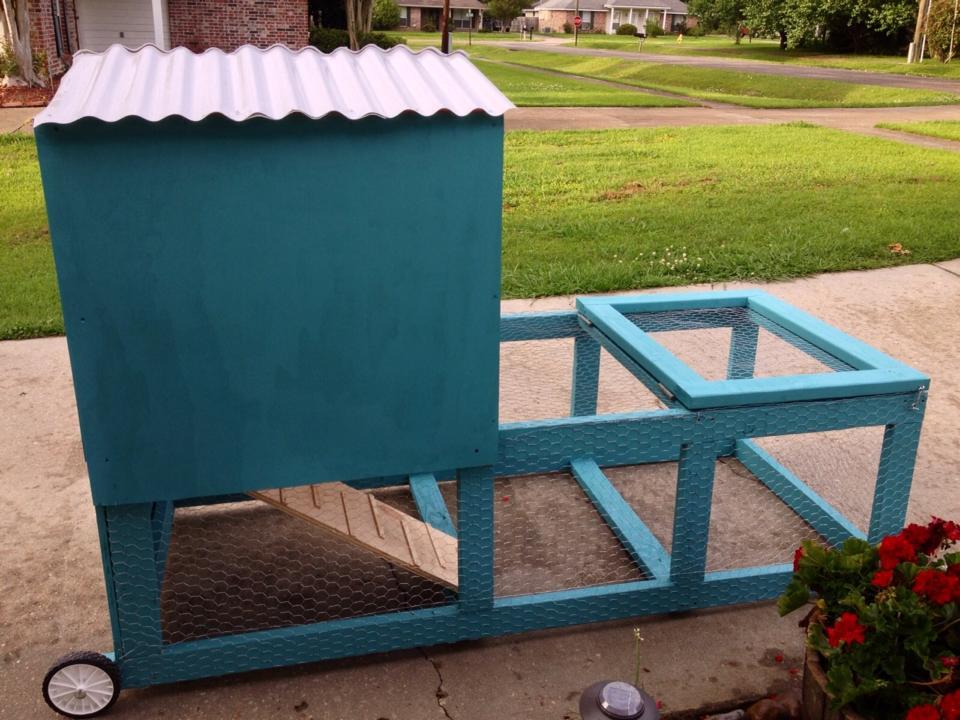
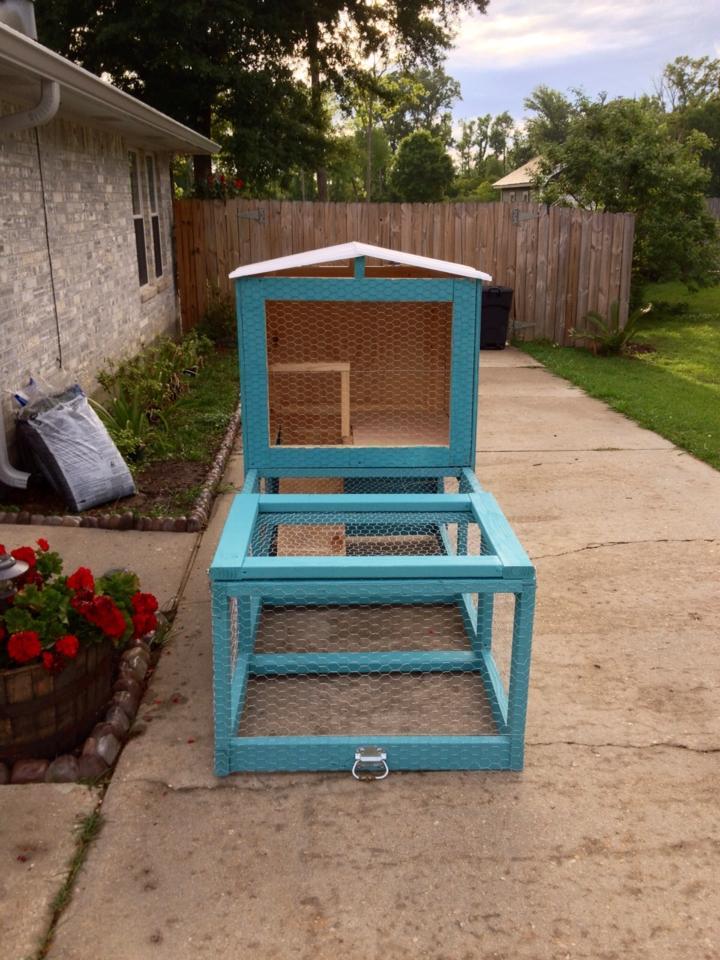
A friend of mine got two baby chicks and needed something for them to live in. She also wanted to be able to move it around the yard so they could have freah grass to be on. It uses 2x4s, 3/4 plywood, chicken wire, and plastic roofing. It was a fun build.

Estimated Time Investment
Day Project (6-9 Hours)
Recommended Skill Level
Starter Project

Comments

The Modern Fire Pit

Submitted by prelude on Mon, 10/04/2021 - 13:20

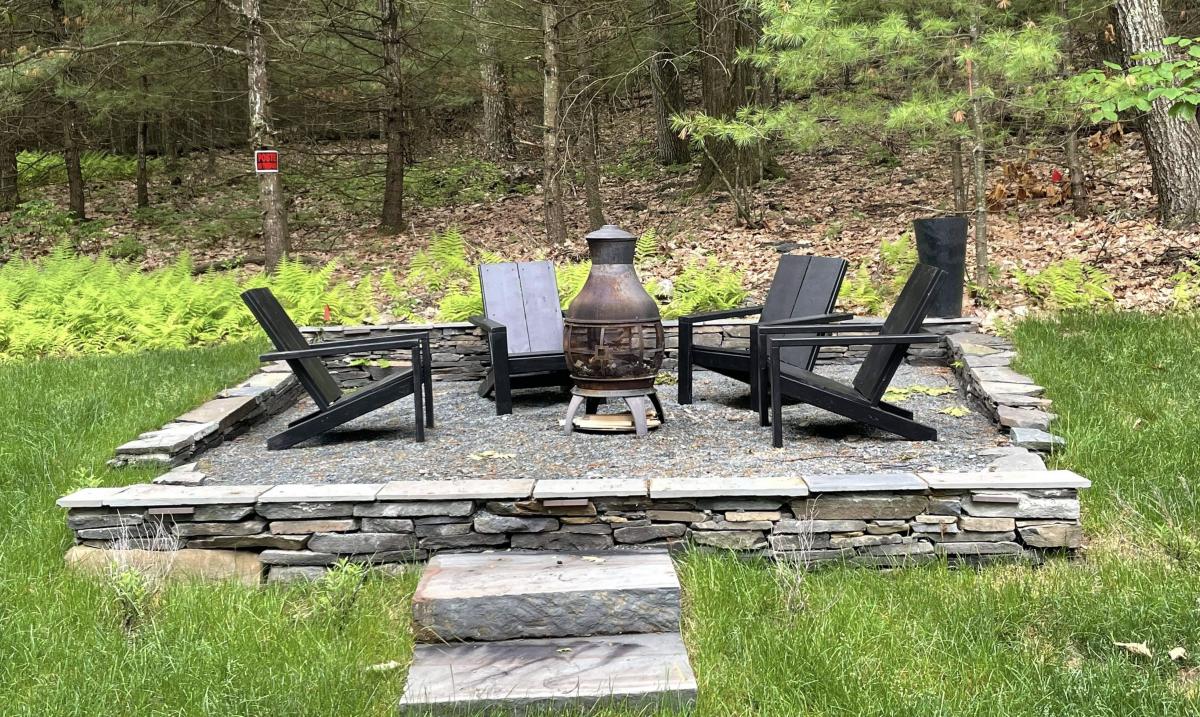
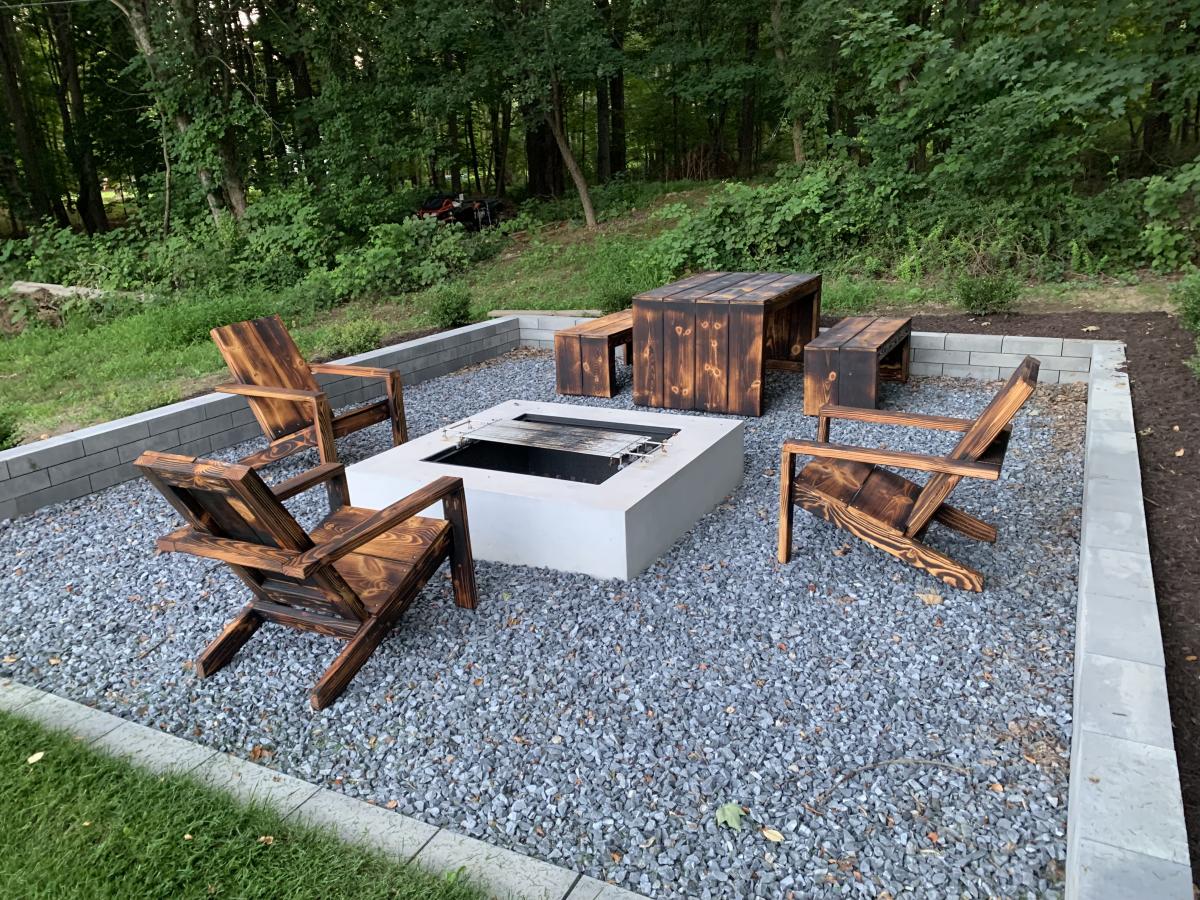
I started out several years ago building the Modern Adirondack Chairs using Ana White's plans. Customers loved the modern design and I was able to fulfill orders in any color or stain. Customers even asked if I could make a children's and adult size chair. These pans are available upon request.

As the trend towards outdoor living increased due to the pandemic, I expanded my product line to tables, benches and patio planters. I even created my own design for a fire pit rack and bench based upon Ana's designs.

Today, I have a thriving business for commercial and residential fire pit furniture and accessories.

I continue to follow Ana White for inspiration and ideas, George

Comments

Porch Swing - I LOVE IT!

Submitted by MelanieG on Sat, 04/11/2015 - 15:38

I've been wanting to build this swing for a year now, and finally it's completed.  I LOVE it!  The modern design is perfect for our front porch as our home is more of a contemporary style.  It was the first project I've done using the Kreg Jig Kit, which is AWE-SOME!    

I modified the plan a bit:  I made the swing 52" long, and used 1x4's for the back support instead of 2x4's.  I also upgraded the top and back 1x4's and 1x6's to poplar wood so the grain would be finer.  The plan was simple to build.  Thank you for your blog and providing plans!  There are other things on your site that I look forward to making.


Built from Plan(s)
Estimated Cost
$150
Estimated Time Investment
Weekend Project (10-20 Hours)
Finish Used
Stain and polyurethane
Recommended Skill Level
Beginner

Comments

Michael K

Sun, 04/12/2015 - 06:29

That porch swing looks great! I have to say that its a great addition to an already sweet looking porch area you have there.

Mail Box

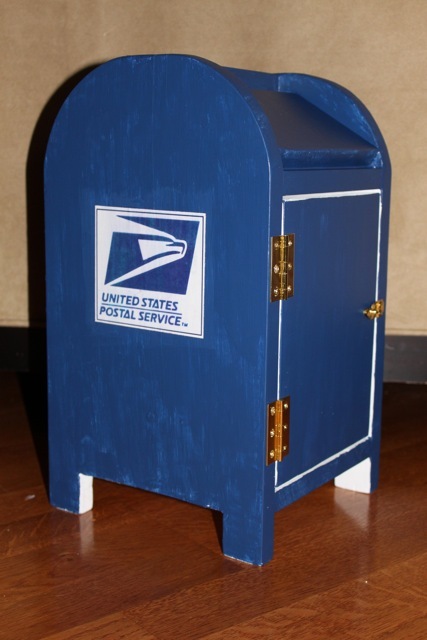
I used Ana's plan to make this mailbox for my daughter. I altered the plan a bit from the original. The hardest part was cutting the curve at the top sides, and putting on the door with a toddler helping! This piece is VERY LOVED by my daughter, and gets LOTS of play!

Estimated Cost
about $20 including lock and hinges (I used scrap wood pieces.)
Estimated Time Investment
Afternoon Project (3-6 Hours)
Finish Used
Paint, decoupage
Recommended Skill Level
Intermediate

Outdoor storage box

Submitted by mdsandell on Mon, 09/18/2017 - 10:46

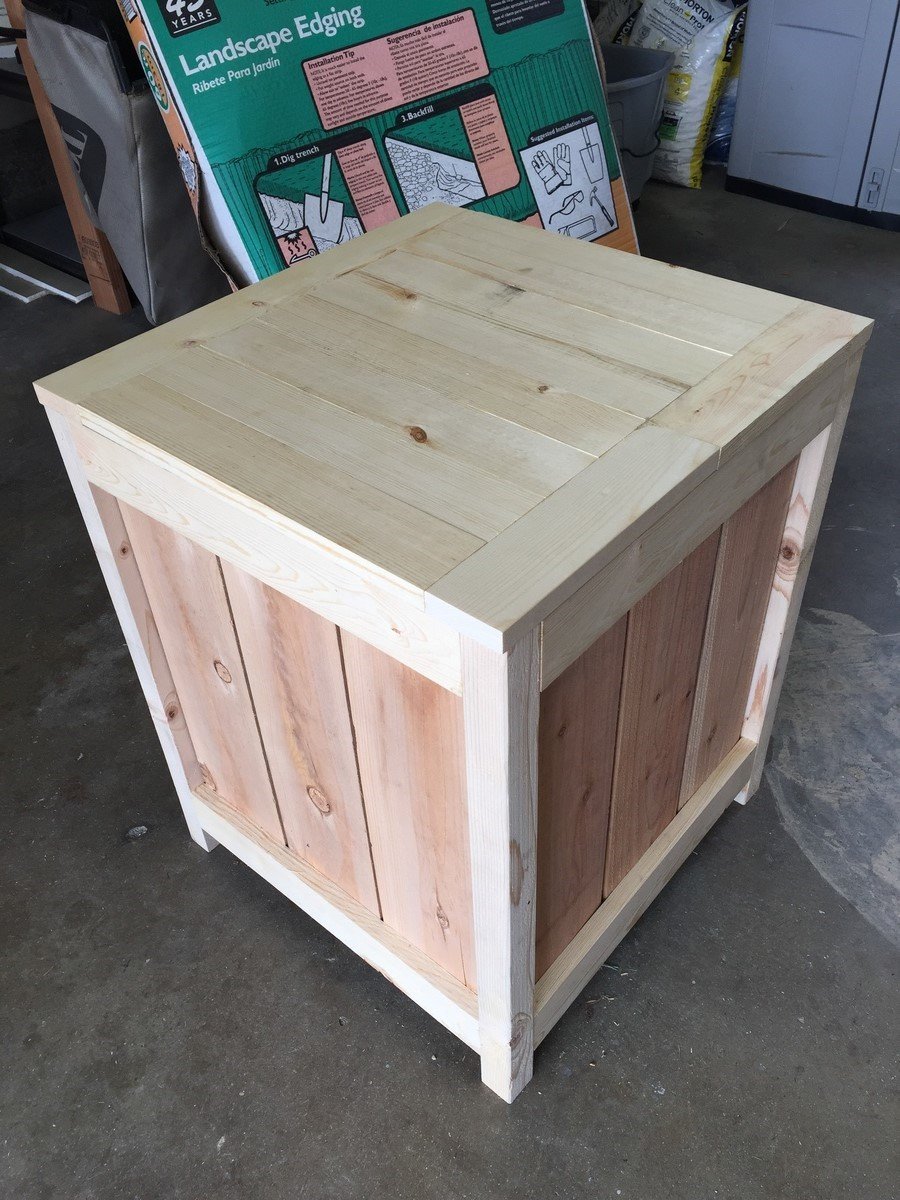
I modified the plans slightly to go taller so it could fit a standard propane tank. I also added a hinged lid based on an image I found on Pinterest that did something very similar. I still need to sand and stain it next weekend.

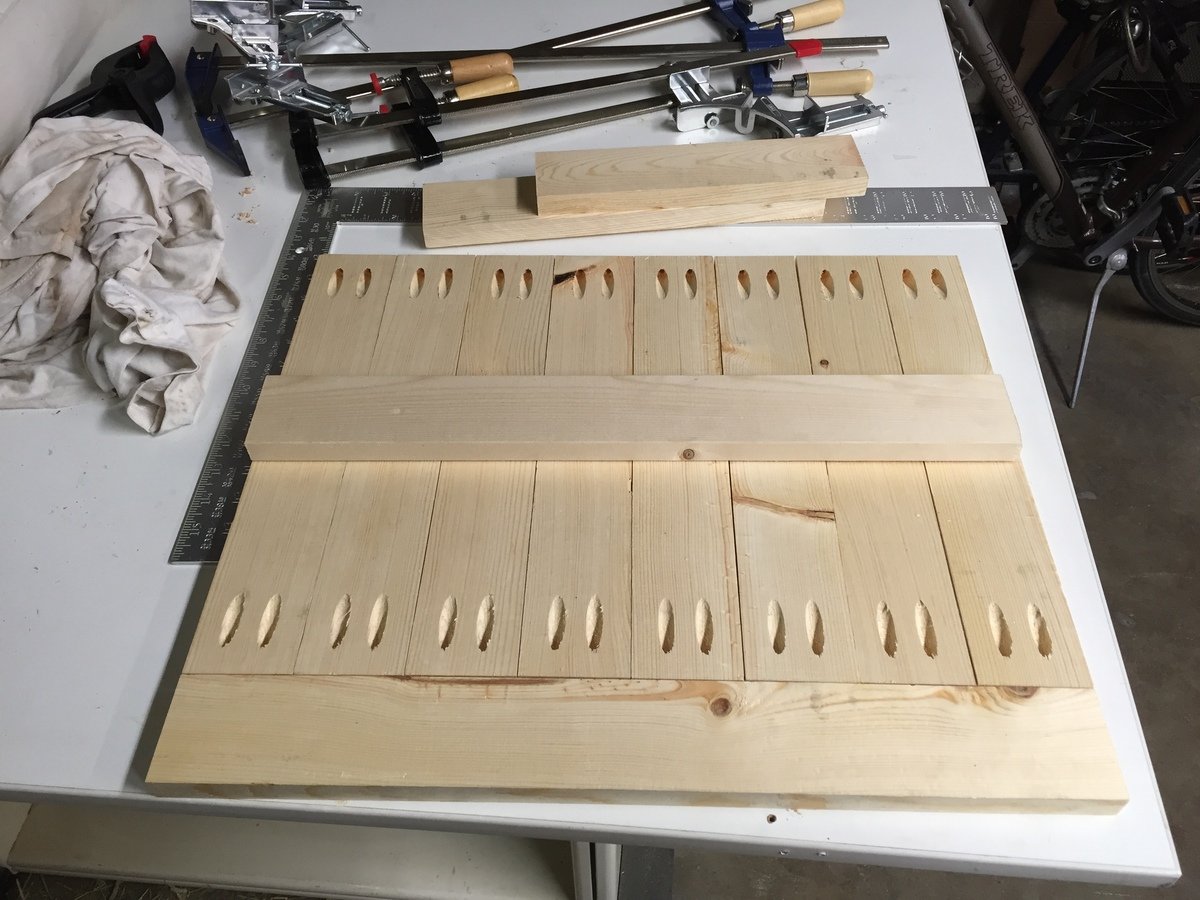
Like others, I had a little trouble keeping the fence planks from splitting when screwing them to the 2x2 legs, since there was about an 1/8” gap between. I tried to find some scrap to fill in the gap and didn’t overtighten the screws. The lid was made entirely of 1x3”.

Built from Plan(s)
Estimated Cost
$35
Estimated Time Investment
Weekend Project (10-20 Hours)
Recommended Skill Level
Intermediate

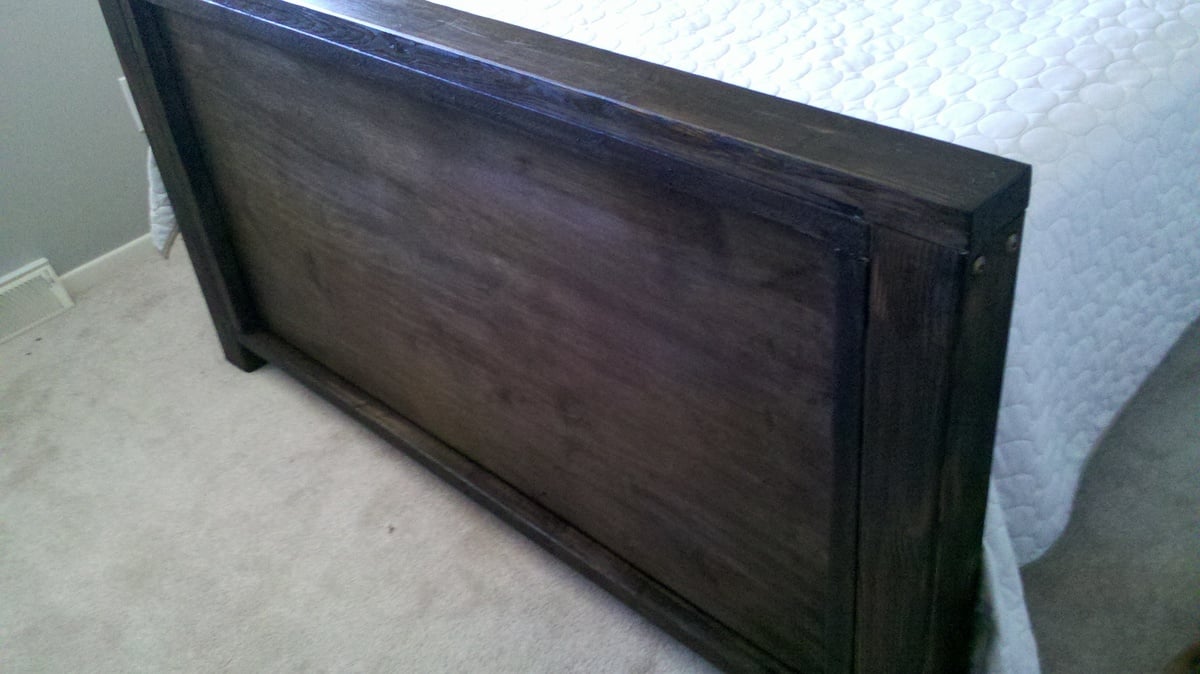
PB & Ana Inspired Hampton Bed

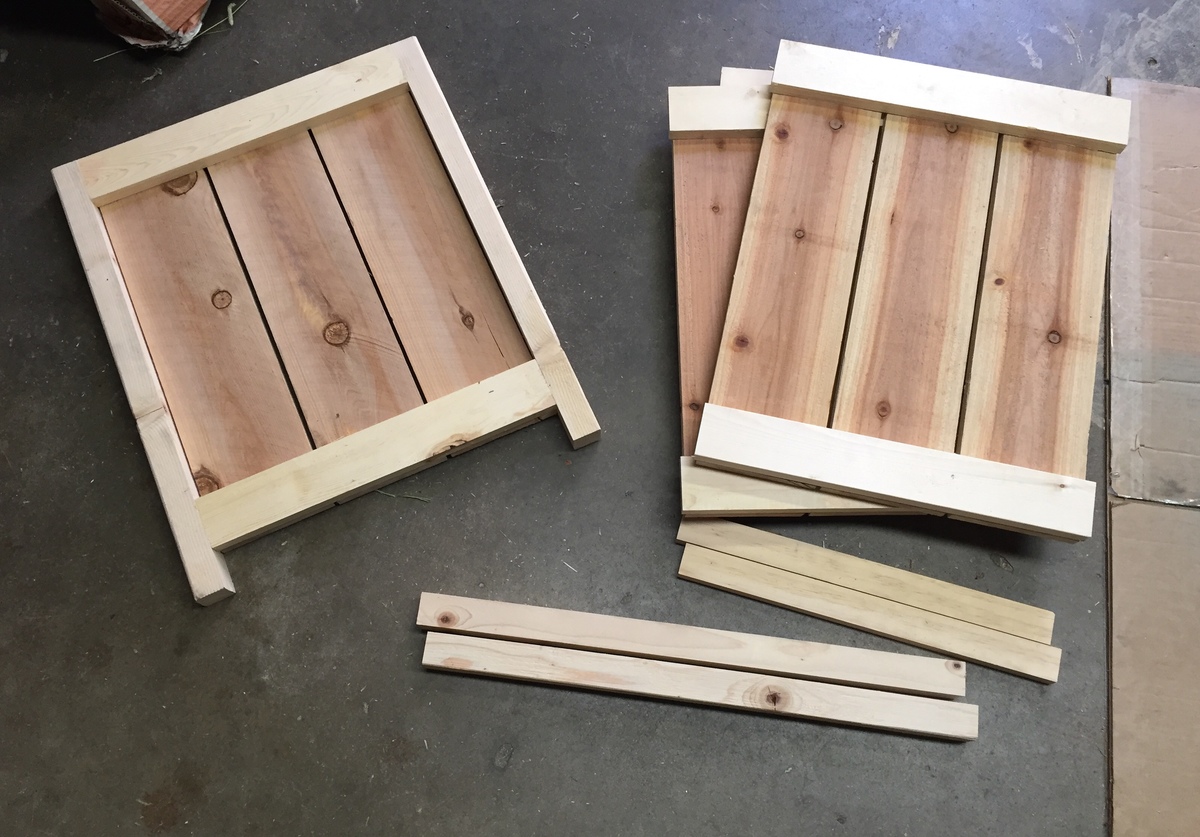
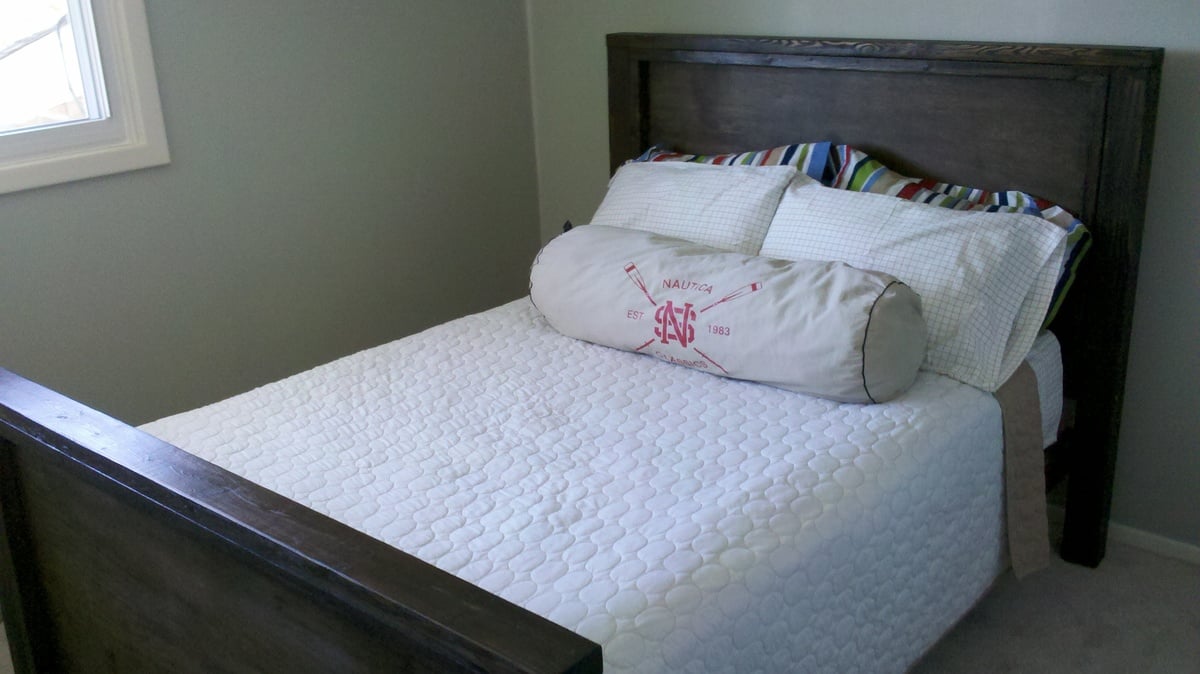
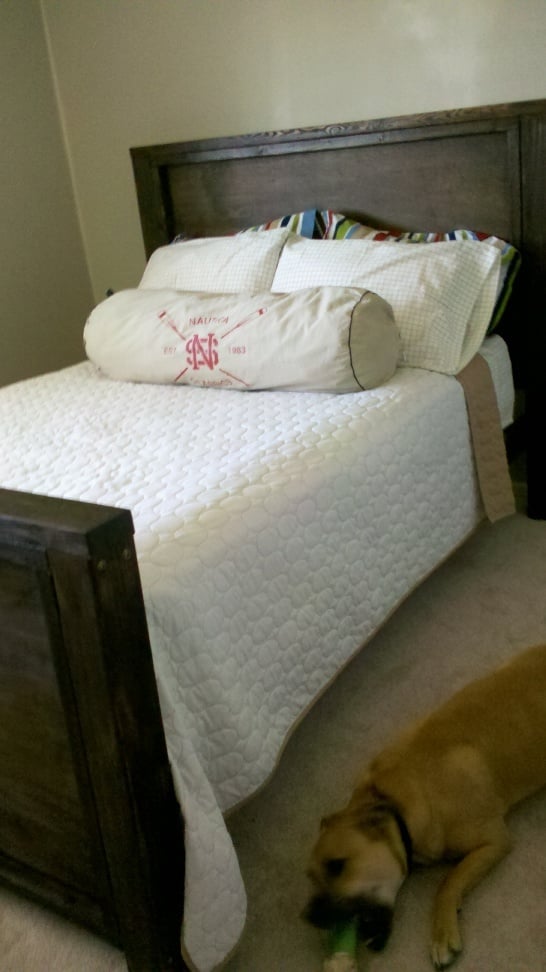
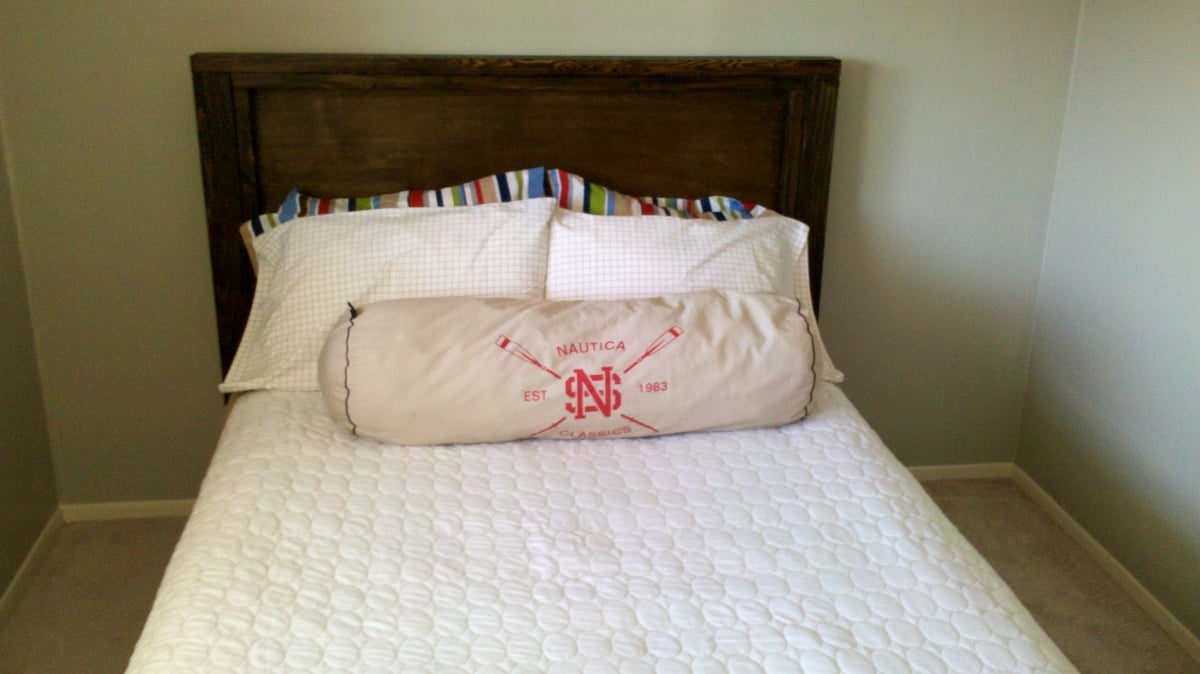
This started out a project driven by inspiration. I wanted a bed similar to the Hampton Bed in the Pottery Barn Teen Catalog, and I wanted a handful of beds from the newest Crate and Barrell Catalog. So, I sat down with a piece of paper, and a felt tip marker, and sketched out the bed. I had just built the farmhouse bed, and knew it was strong, so thats how I designed the frame. Then I used plans from the Simple Bed to get another reference point and for full size dimesniosn. Then I built it. I journaled each step of the way on my blog, if you want more info on how building went, or the learning process. I am truly very proud of this bed. Thank you Ana for giving me the courage to do this one without step by step instruction. You rock. 

Estimated Cost
$100
Estimated Time Investment
Day Project (6-9 Hours)
Finish Used
General Finishes Water Based Stain: Walnut
General Finishes Polyacrylic top coat, 4 coats
Recommended Skill Level
Intermediate

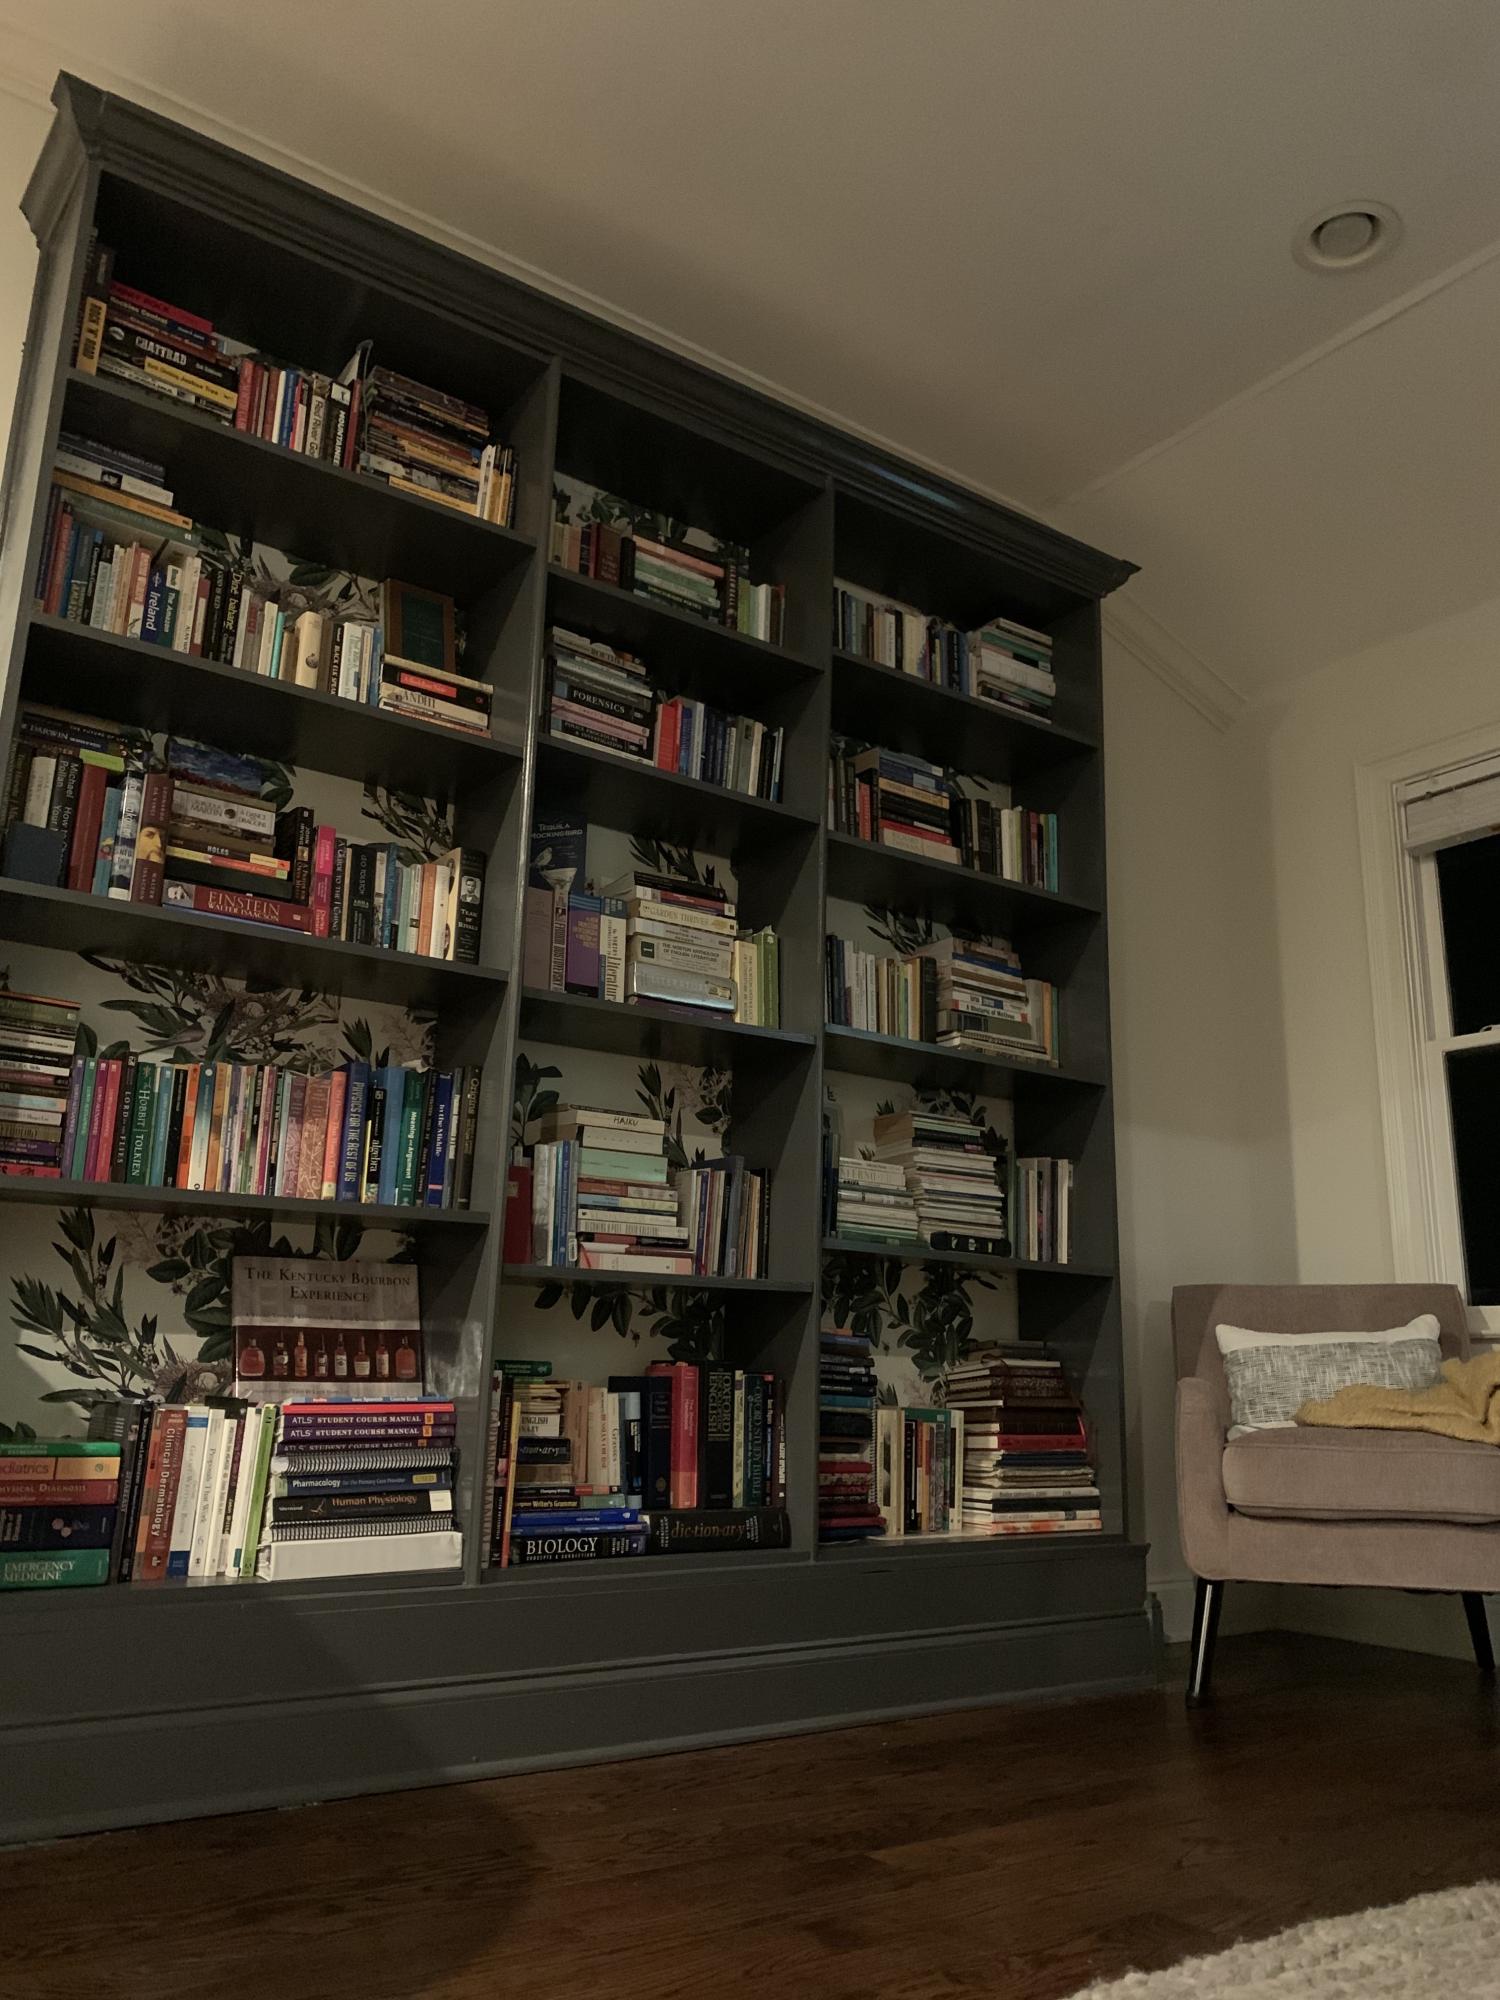
Dream Bookshelves!

Submitted by Anonymous (not verified) on Sun, 12/26/2021 - 12:32

When supply issues made buying lumber for my dream shelves nonsensical, I turned to Ana's Shelfhelp and Voila!! I built the base on my own and added my own moulding, but without Ana's sites, I would not have made this dream come true. THANK YOU!

Comments

sandbox with benches

Submitted by nananana on Fri, 07/10/2015 - 13:18

This sandbox has been around for some time BUT it is still a great project to build The plans were simple to follow and would be an excellent project for beginners. We built this for our grandson and future grandbaby. Was easy to complete in one day, including painting

Built from Plan(s)
Estimated Cost
Estimated cost was $75.00 including the wood, hinges and paint.
Estimated Time Investment
Day Project (6-9 Hours)
Finish Used
We used a flat exterior paint. paint color was Cool Bamboo. We put on two coats to preserve the wood.
Recommended Skill Level
Beginner

Comments

Seasonal And Holiday

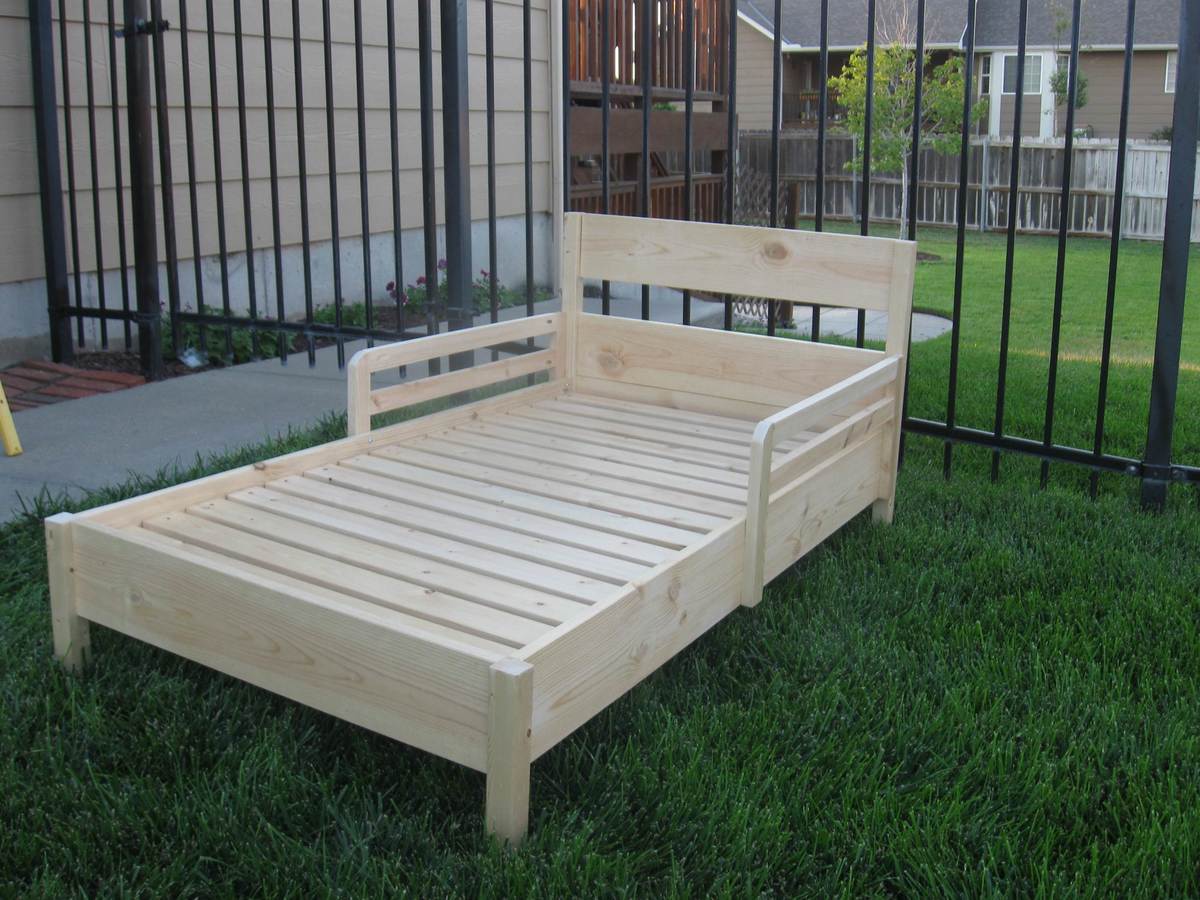
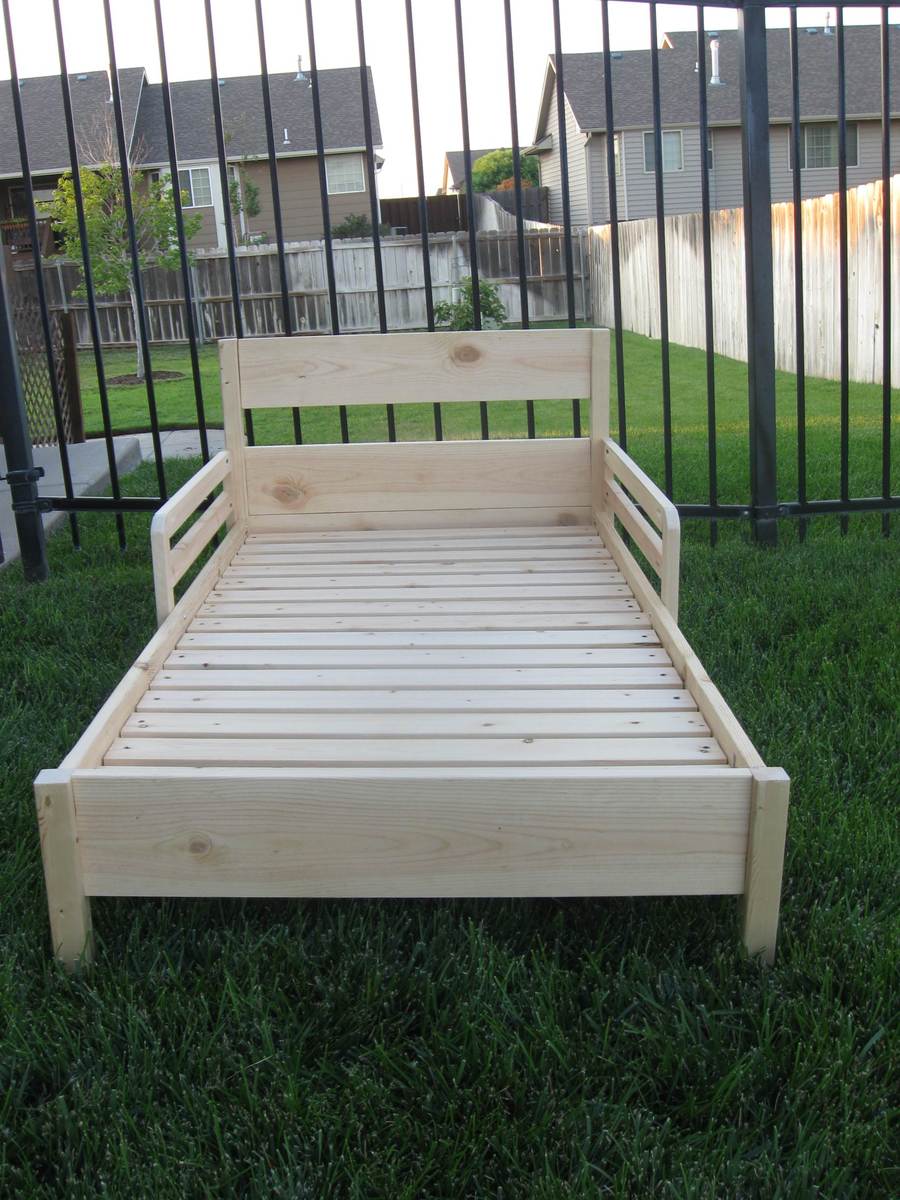
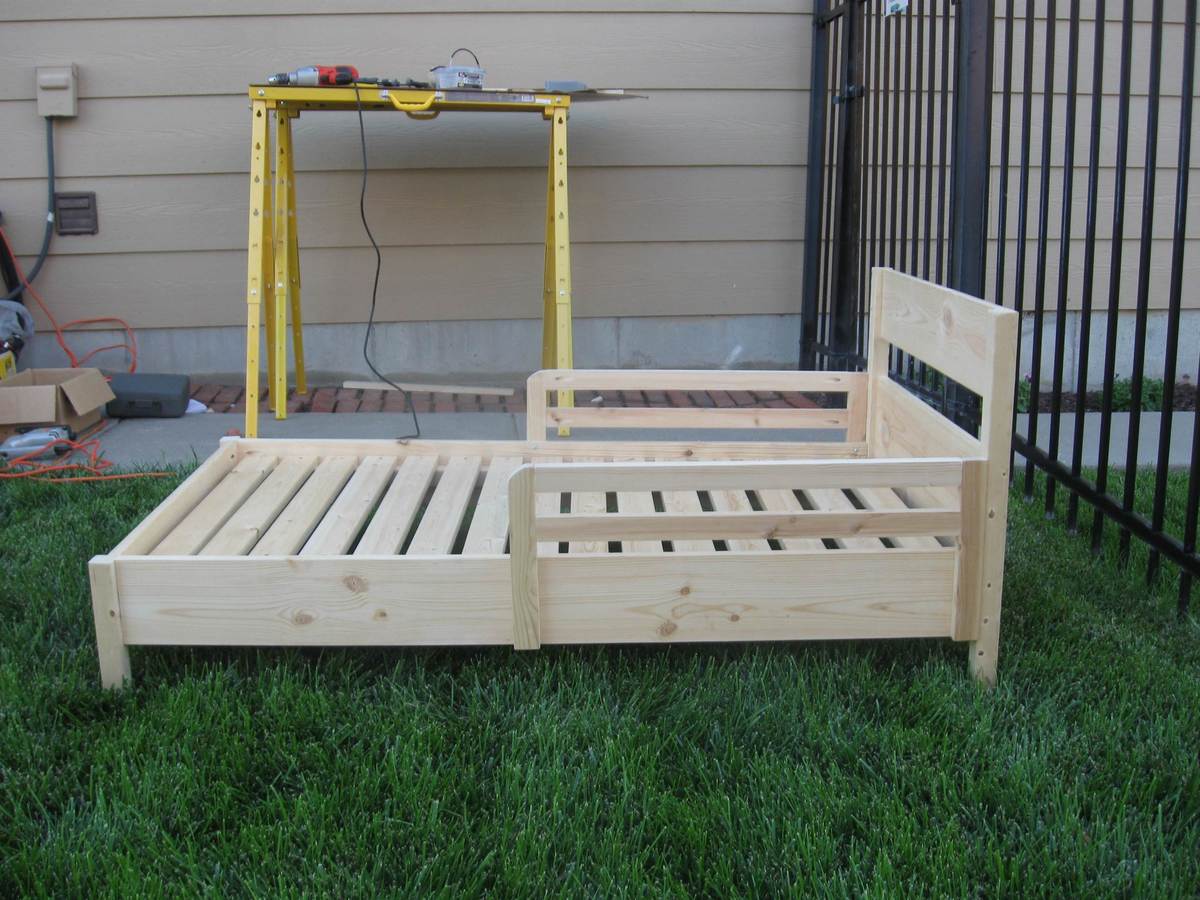
Traditional Toddler Bed with a few changes

Submitted by GhostLake on Mon, 07/22/2013 - 10:26

This was basically my first ever wood working project. It didn't turn out perfect but I had fun doing it and my daughter likes it too! It isn't done yet, still need to figure out the color of paint I'm going to use.

Built from Plan(s)
Estimated Cost
~35 for lumber, Kreg jig, screws, paint additional
Finish Used
Not finished yet.
Recommended Skill Level
Beginner

Comments

Antique Quartersawn White Oak Dining Table

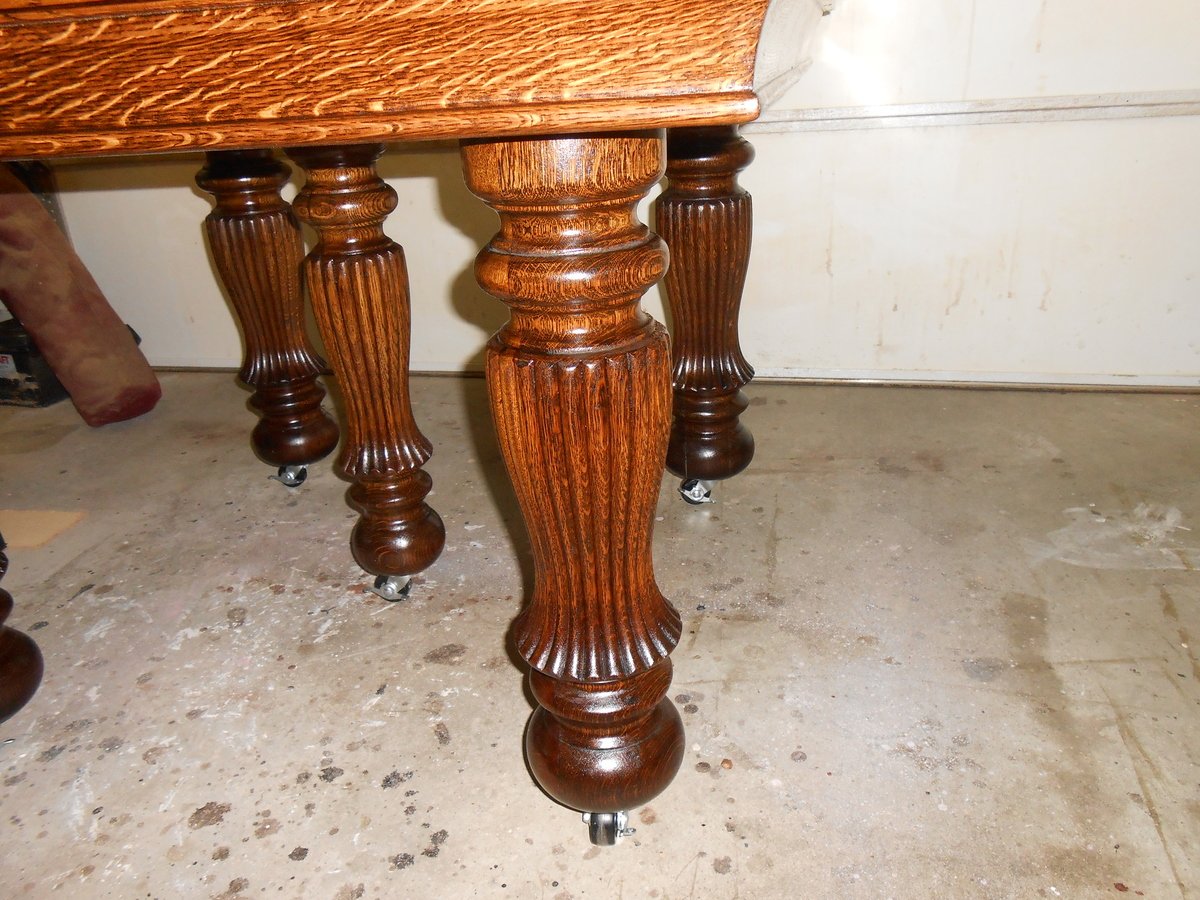
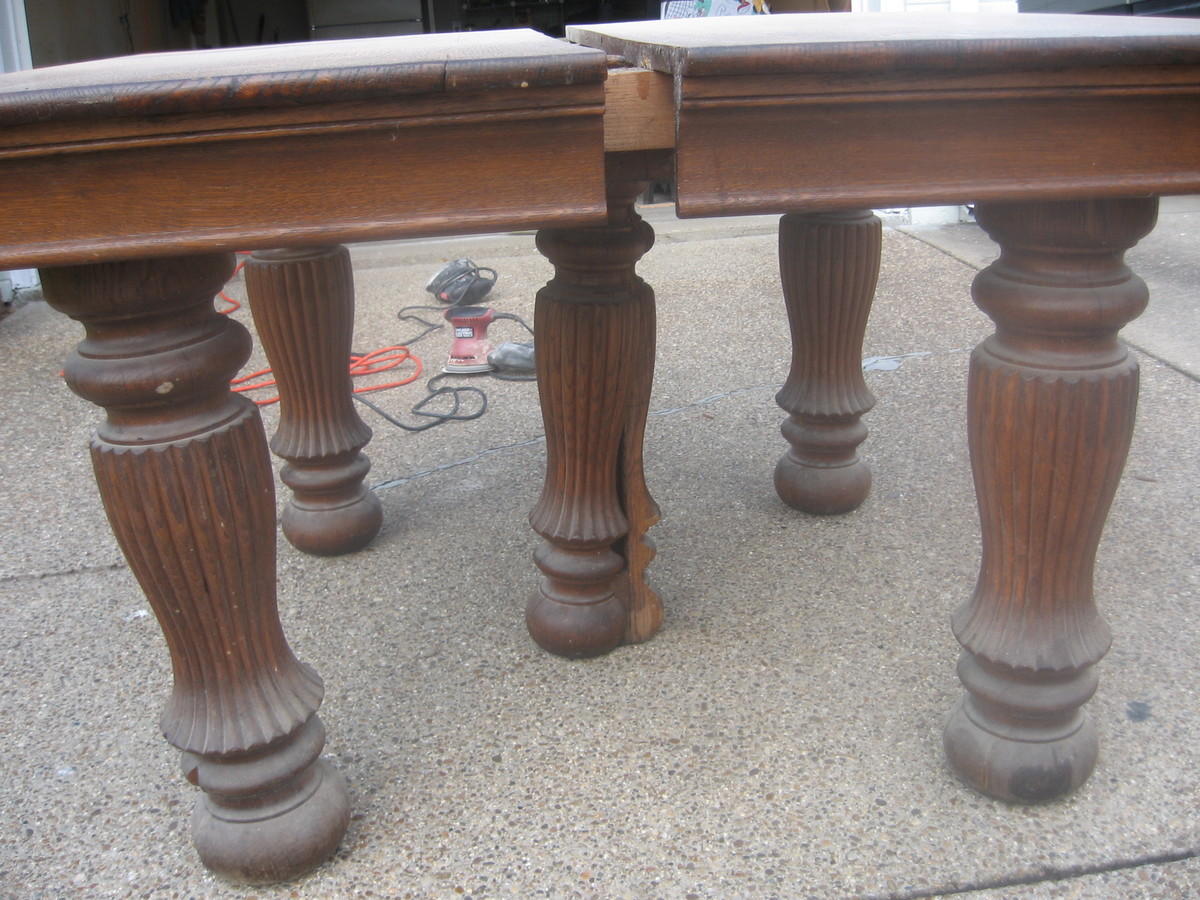
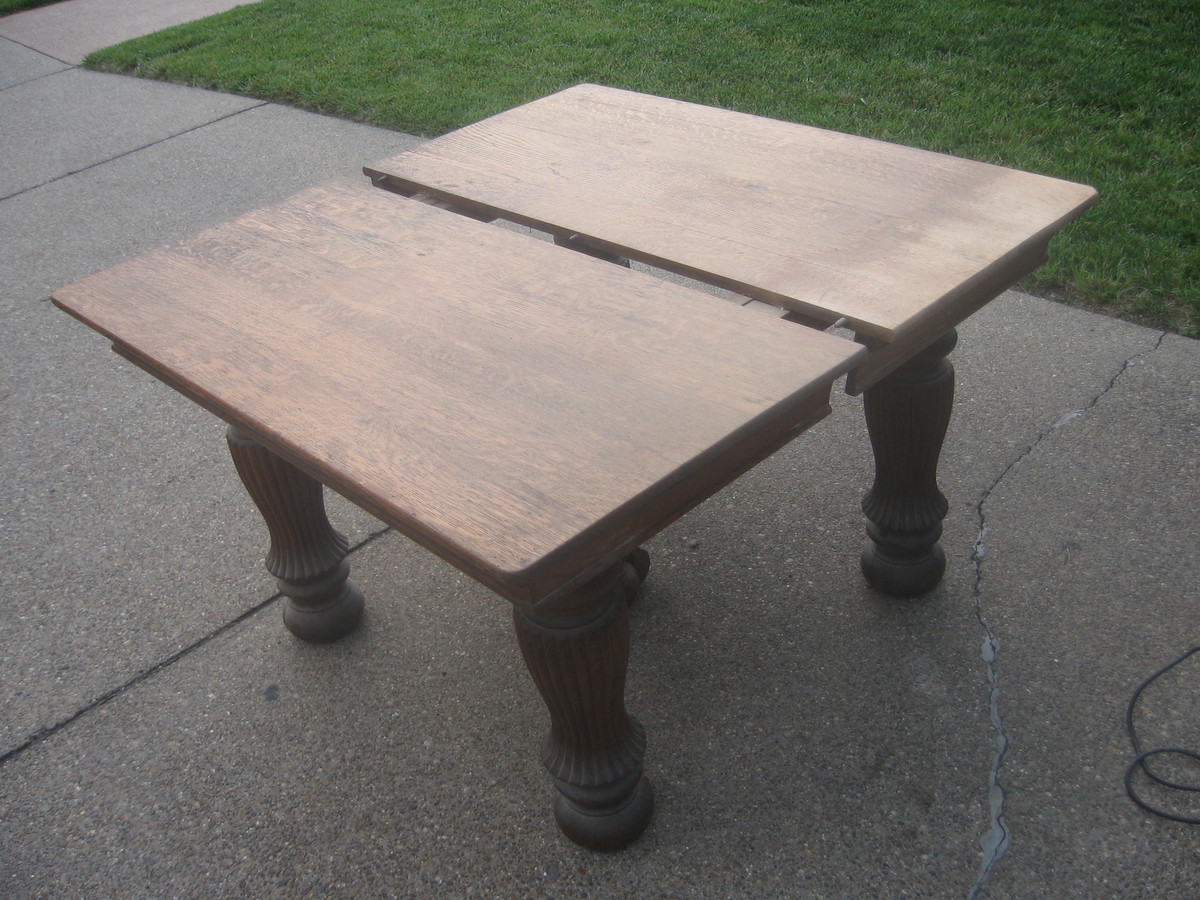
This is a solid, quartersawn white oak 5-legged dining table. It was originally built in the late 19th or early 20th century. The table was in need of a refinish. The massive turned and fluted legs were full of cracks, chips, and splits.

I took the table completely apart and began stripping and sanding. The legs were re-glued where needed and clamped. I filled the cracks, splits, and and chips with wood filler, sanded, and repeated until I was happy with the results. I replaced some bracing and replaced the screws where needed. Heavy duty casters were added. They have brakes/stops that can be locked to keep the table from rolling on a hardwood or tile floor.

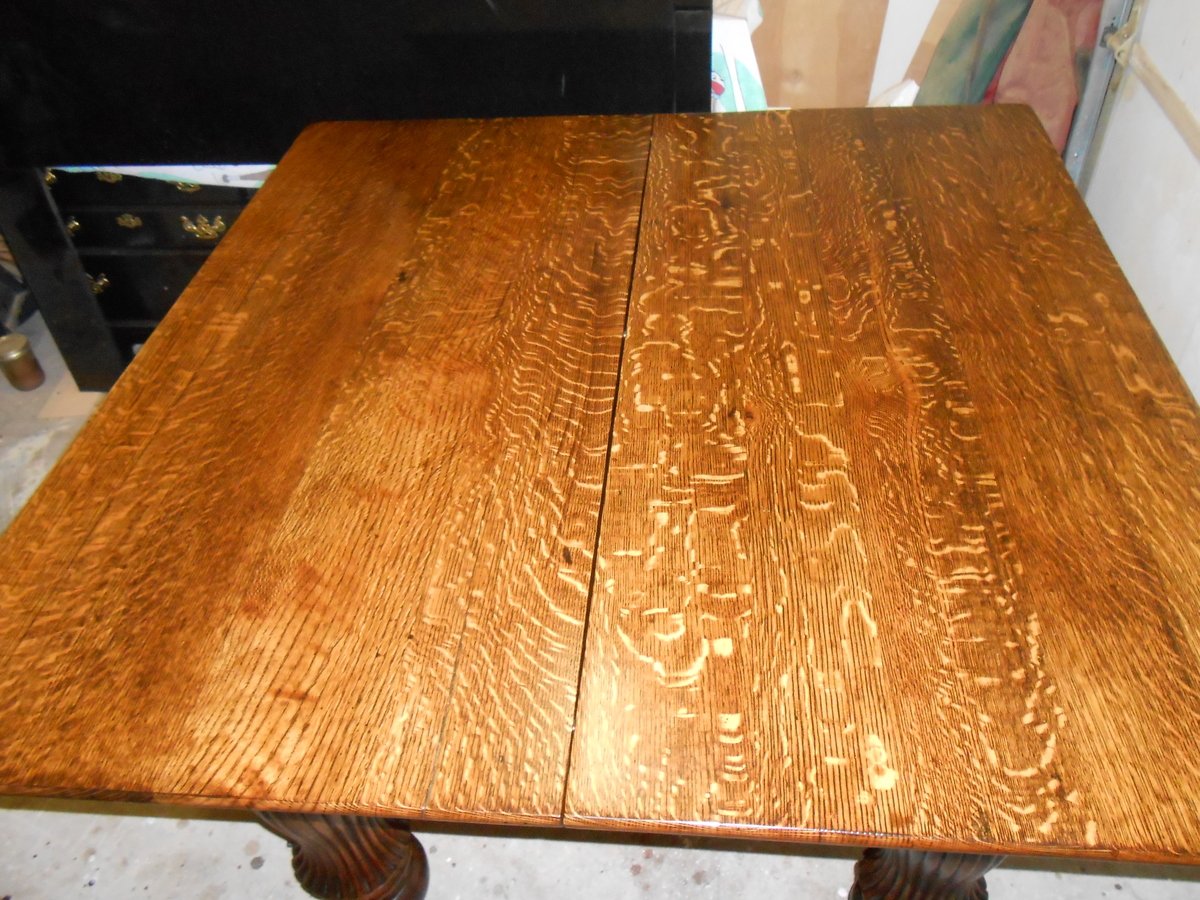
Once the final sanding was completed, I applied 2 coats of Minwax Dark Walnut stain with a foam brush. I wiped down after each coat after waiting 10-15 minutes or so. After drying I began applying Minwax Fast Drying (oil based) polyurethane. The table received 3 coats and the top received 6 coats. I hand sanded with 220 grit sandpaper between coats.

After applying the final coat of poly to the top, I allowed it to cure 48 hours. I then hand sanded the top very lightly using 400 grit paper. I did the same using 0000 steel wool. I then added a few drops of dish soap to a cup of water and wet sanded with the 0000 steel wool. I used a circular motion to remove any scratches. I then wiped down the table and buffed out two coats of Johnson Past Wax with an orbital buffer. It resulted in a super smooth finish.

I am very happy with the results. By the way the table if for sale ($600) and is located in Evansville, Indiana.
Estimated Cost
$80
Estimated Time Investment
Week Long Project (20 Hours or More)
Finish Used
Minwax Dark Walnut Stain (2 coats) and Minwax Fast Drying (oil based) polyurethane.
Recommended Skill Level
Beginner

Full Size Camp Loft

Submitted by jcygan on Wed, 09/30/2015 - 16:37

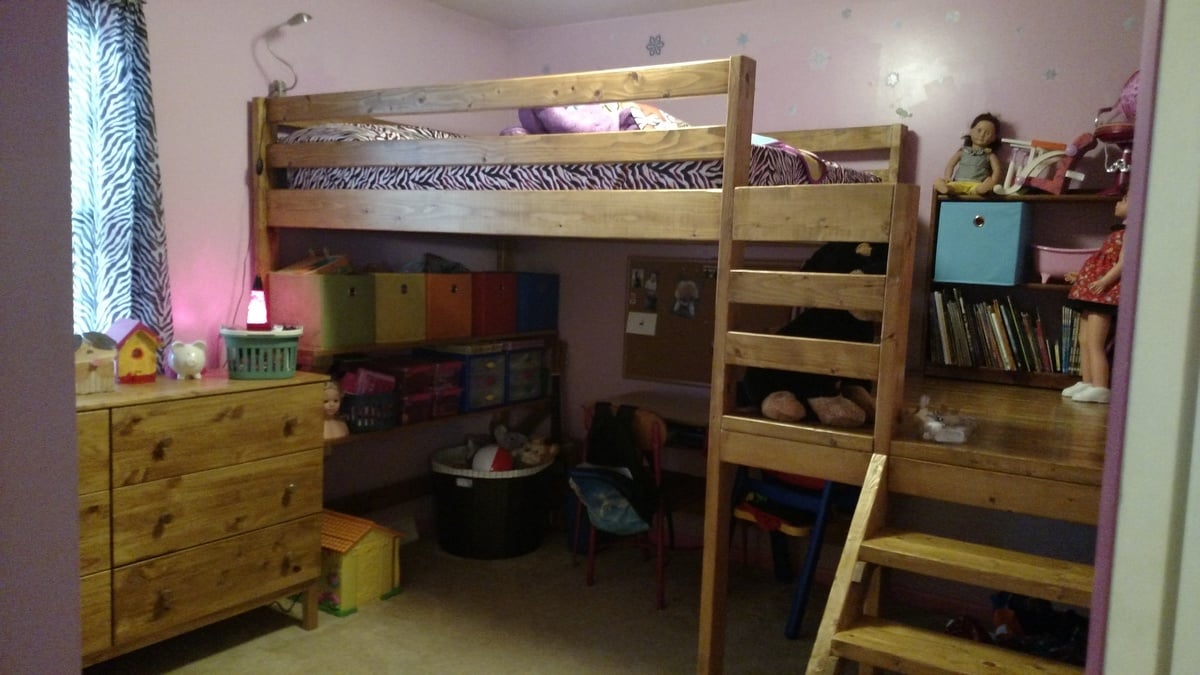
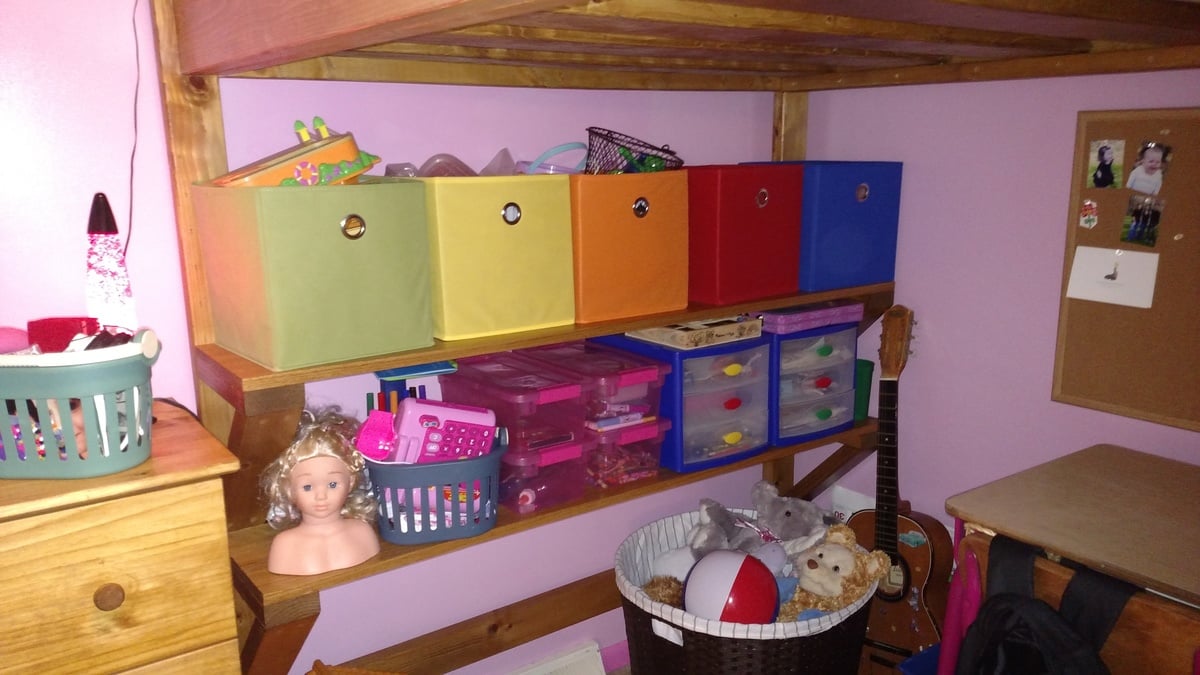
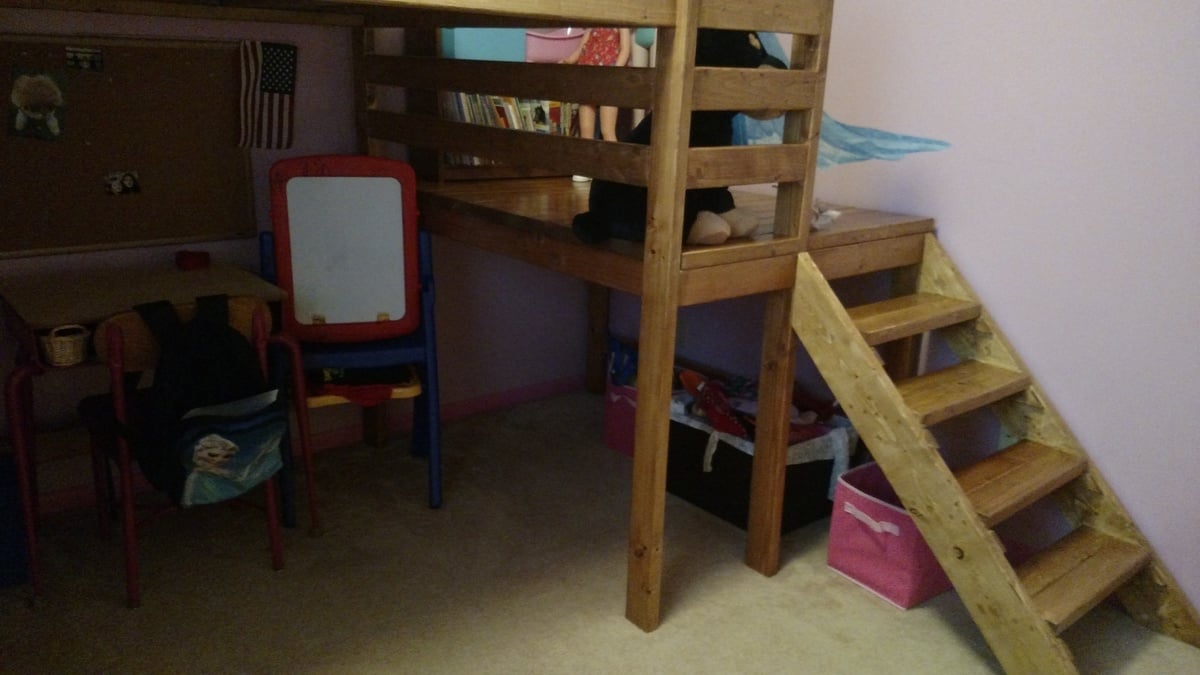
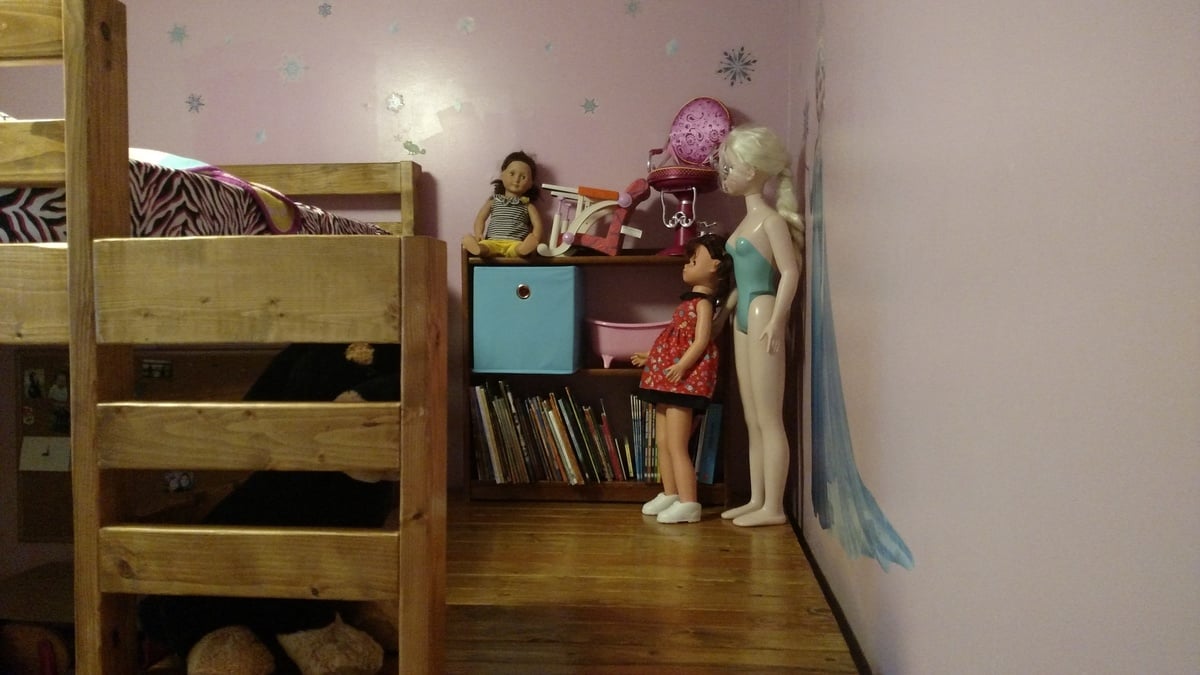
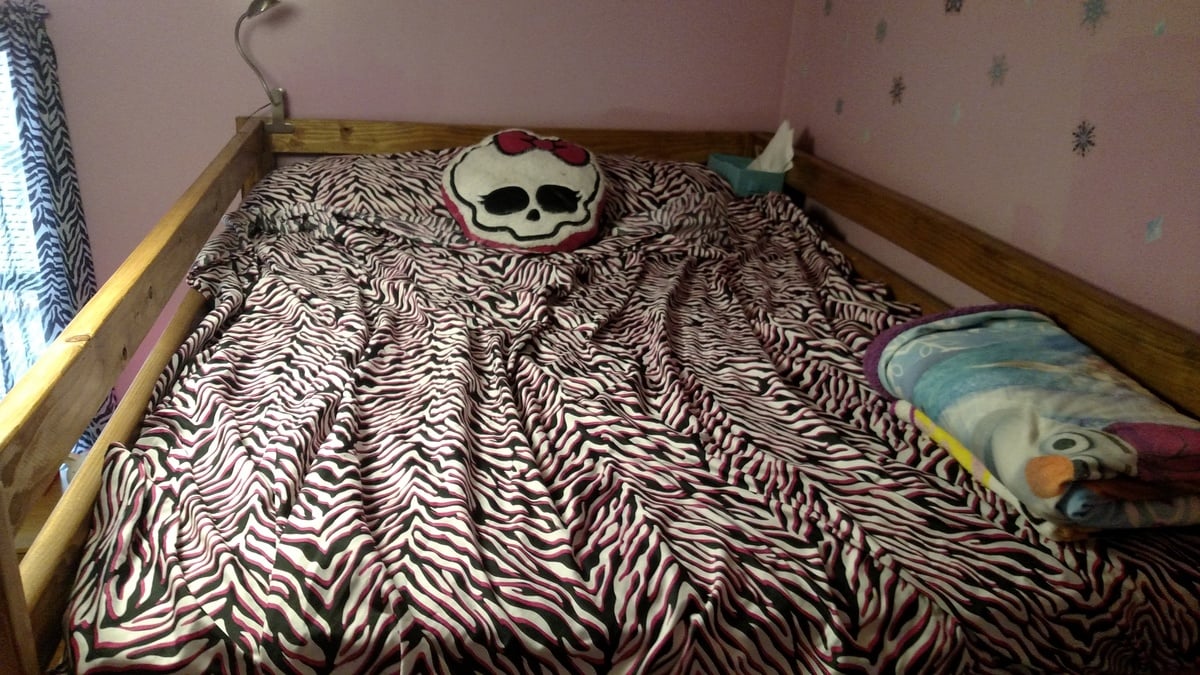
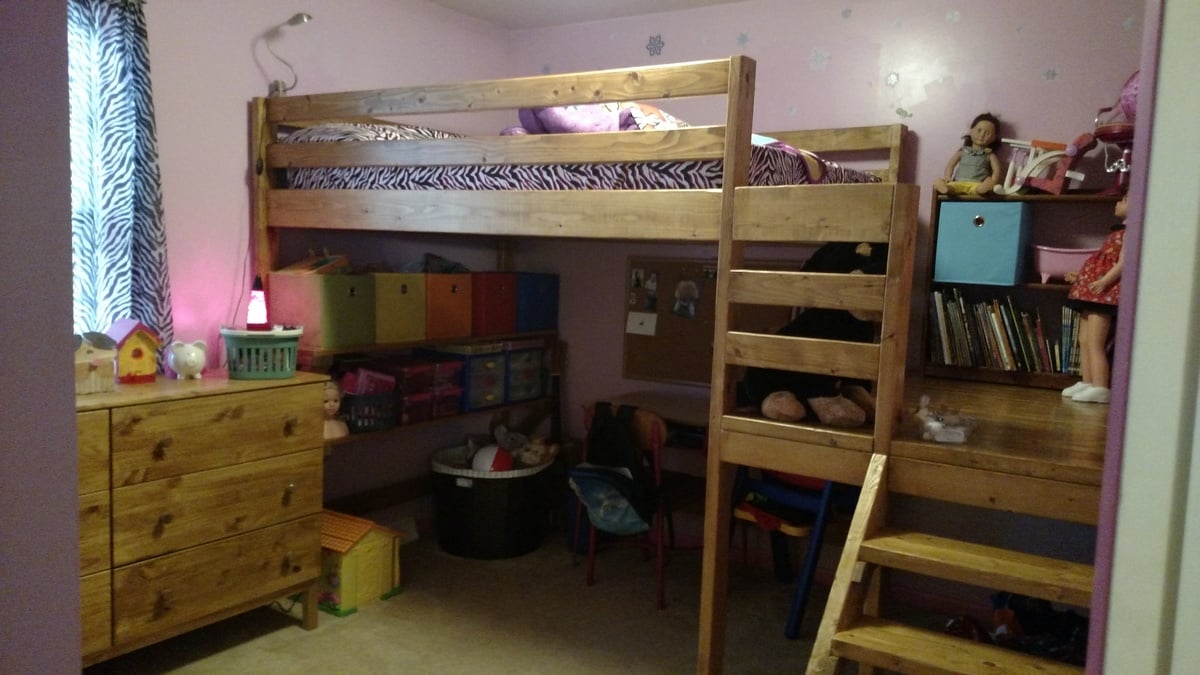
We modified the plans for the Camp Loft Bed to accommodate a full size mattress.  We also extended the platform so that the bed spread wall to wall in the bedroom.  Since the platform was extended, we added a short railing to prevent falls.  The height was pushed up to make it taller than the junior size of the original design.  This way we were able to place a desk and add 2 pine shelves underneath the head of the bed.  

We added a board along the long side at the bottom to take out some wiggling.  The bed itself still seemed a little shaky until we attached the platform and now it is rock solid.  We have had 1-2 adults and multiple kids up there at the same time with no problem.

The bed itself could have been built in a weekend.  However, the time it took to sand, stain, and clear coat added many more hours.  Those hours were definitely worth it for a finished product.

Estimated Cost
$500
Estimated Time Investment
Week Long Project (20 Hours or More)
Finish Used
We used the medium warm stain used on the original bed. The directions are found here: http://ana-white.com/2012/07/medium-warm-stain
Recommended Skill Level
Intermediate

Comments

Albright777

Fri, 10/02/2015 - 10:43

Thank you so much for posting this.  My oldest wants a loft bed, but has a full right now.  I am building my 2 youngest the junior loft this fall and the oldest was jealous.  I was scared to build one.  Afraid it would not hold up.  Thank you for showing that it does.  Great job!!!


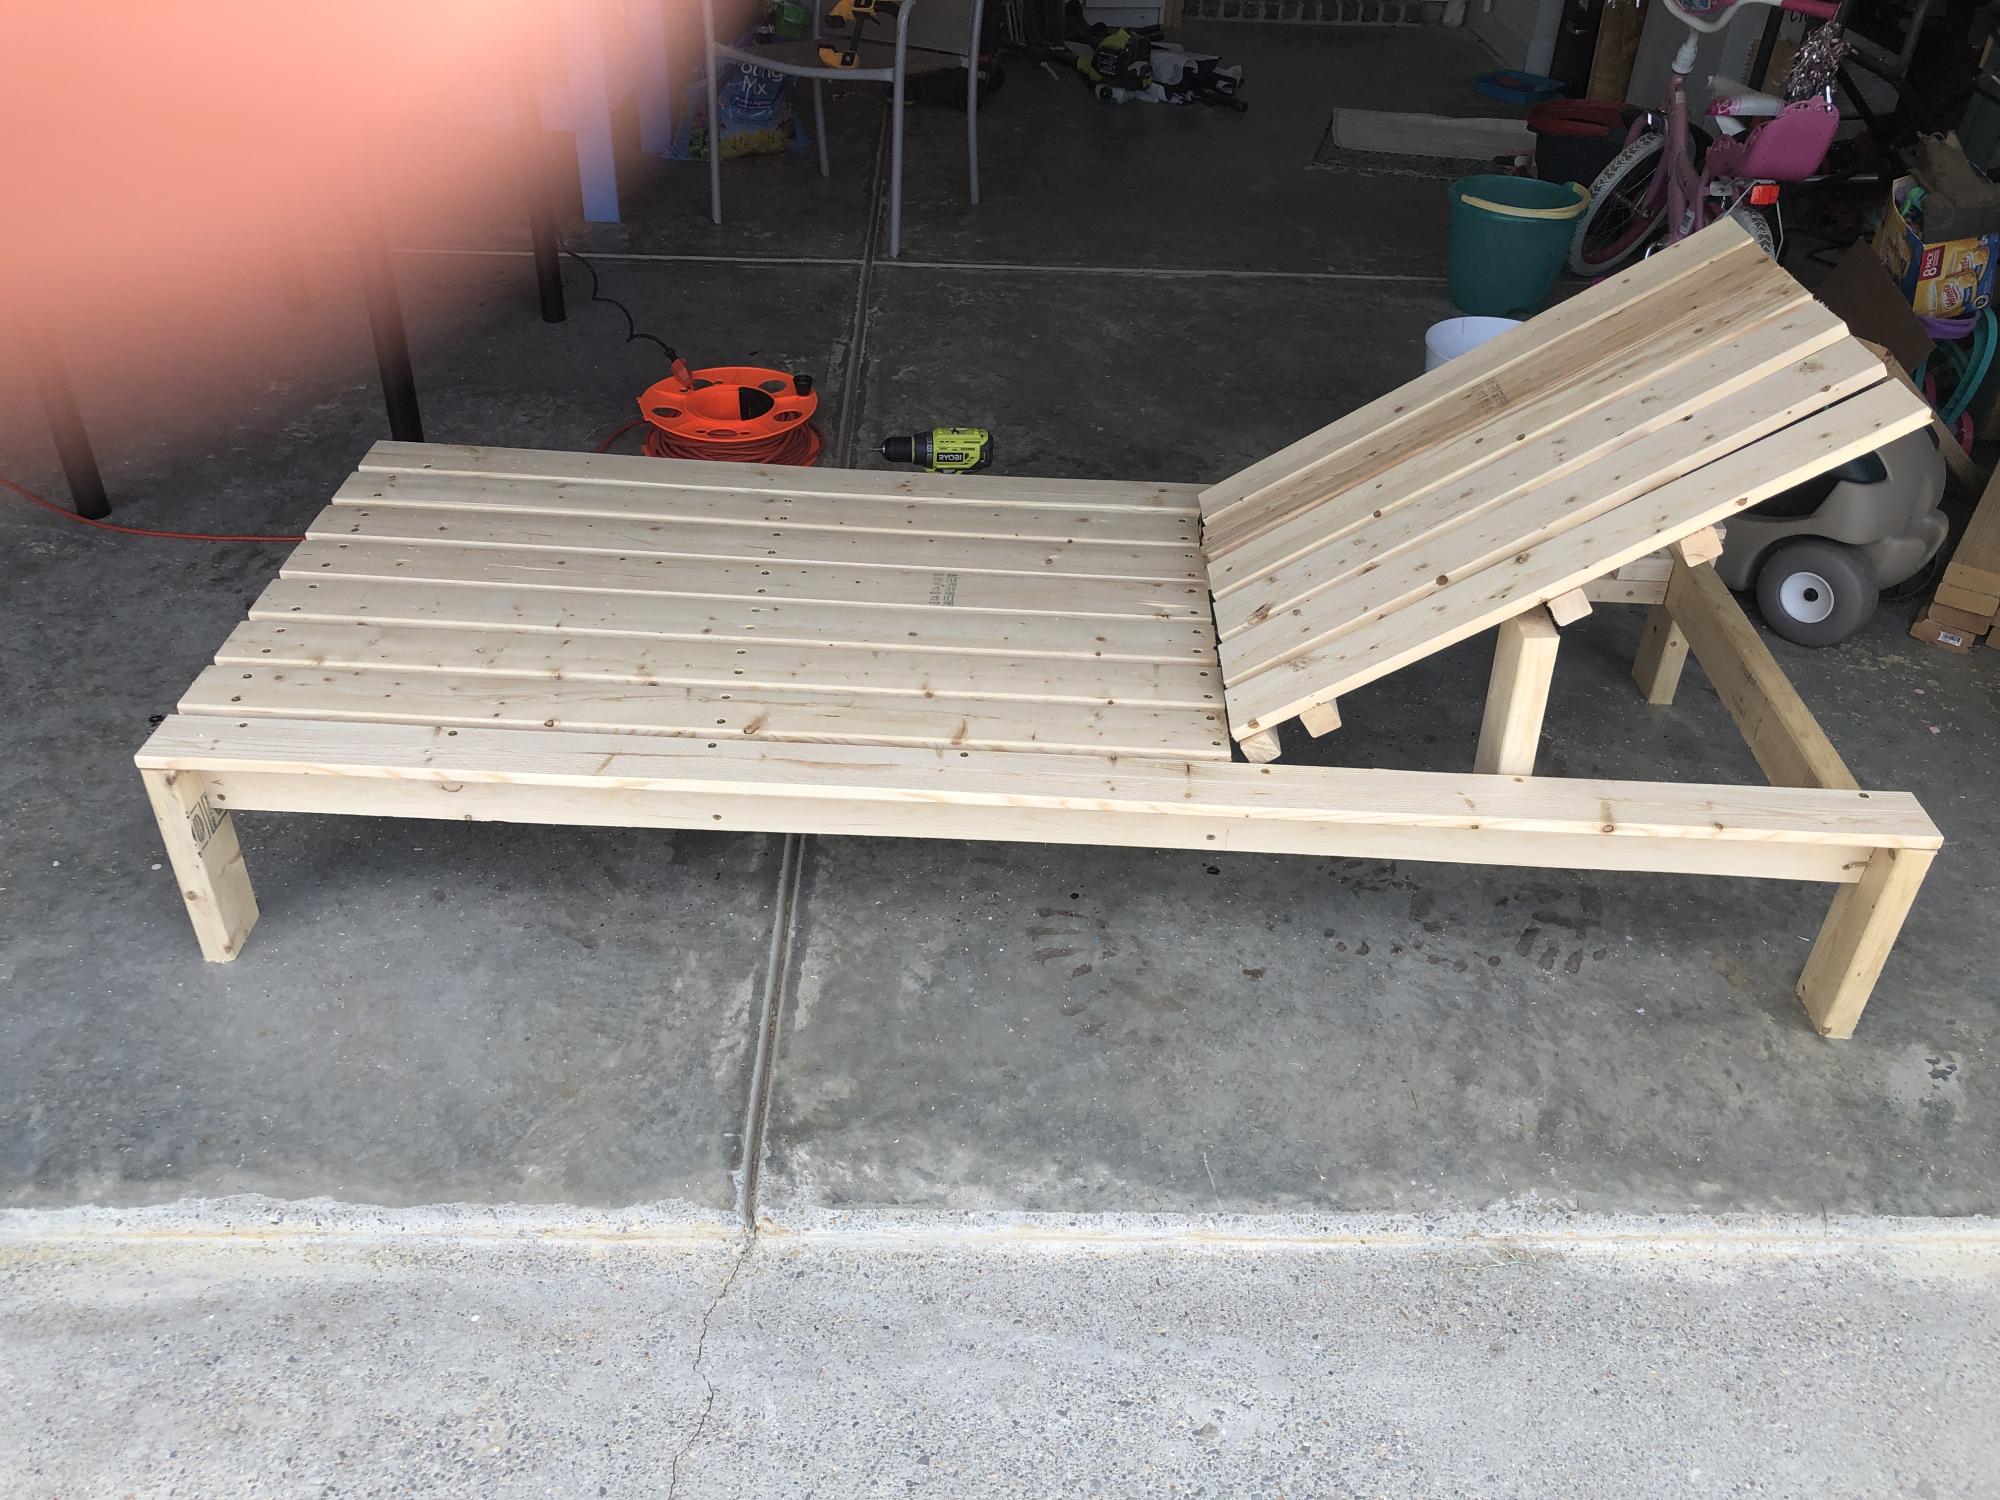
Chaise Lounge

I built this chaise lounge for my daughter from your plans. She will paint it tomorrow. Thanks!!!

Comments

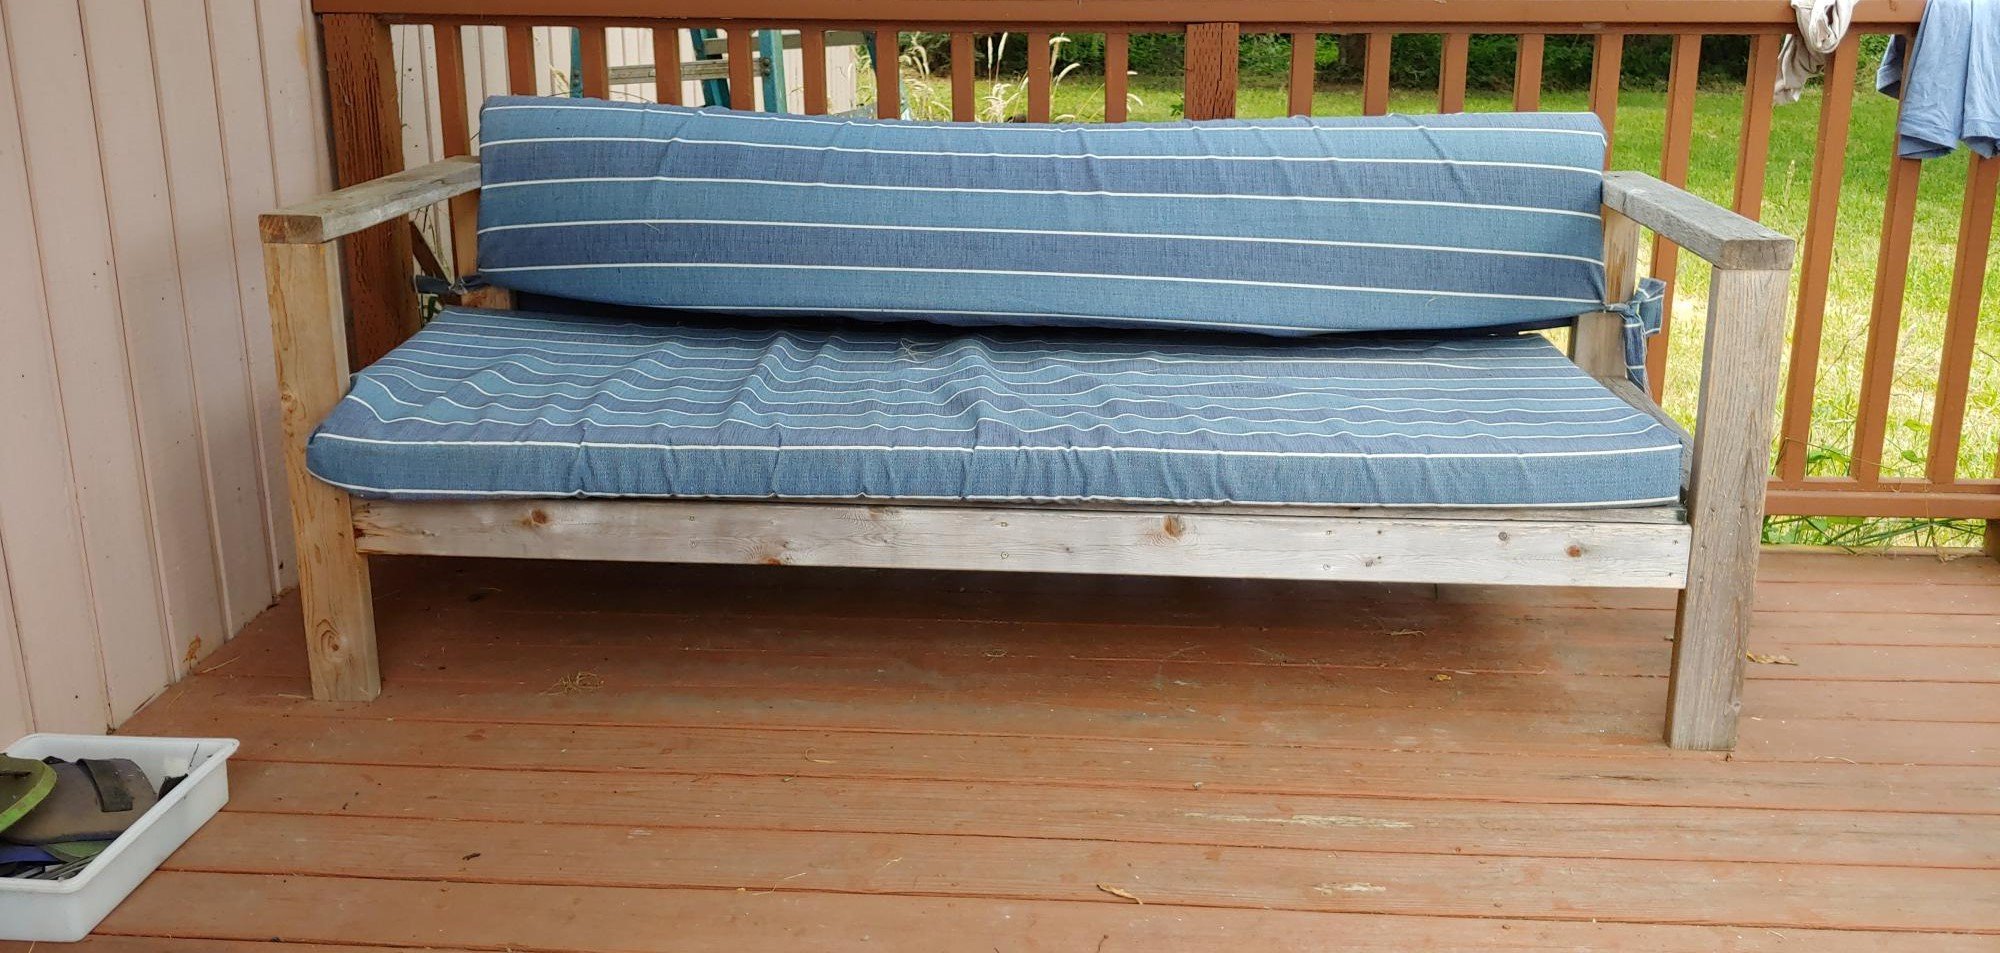
Well loved outdoor sofa

Submitted by Anonymous (not verified) on Sat, 07/16/2022 - 17:51

This sofa has been in constant use for three years. Sturdy and comfortable, we have to compete with the cats for a nap or rest. Even on the winter, when we remove the cushoins, it gets used as a bench or a kitty hiding place while they wait to come in.

Built from Plan(s)

Comments