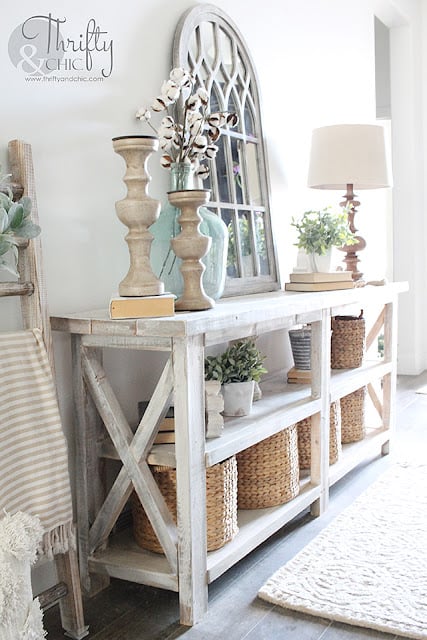
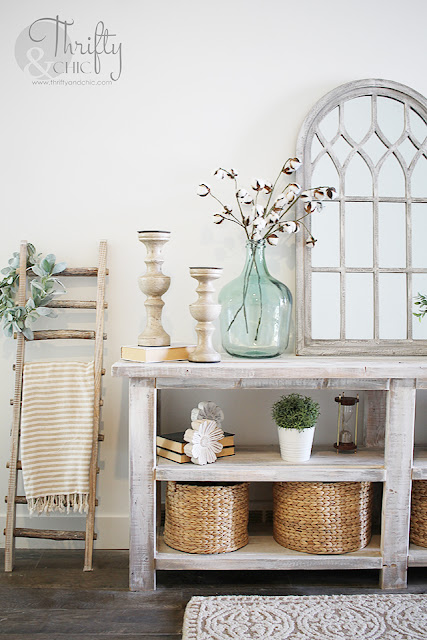
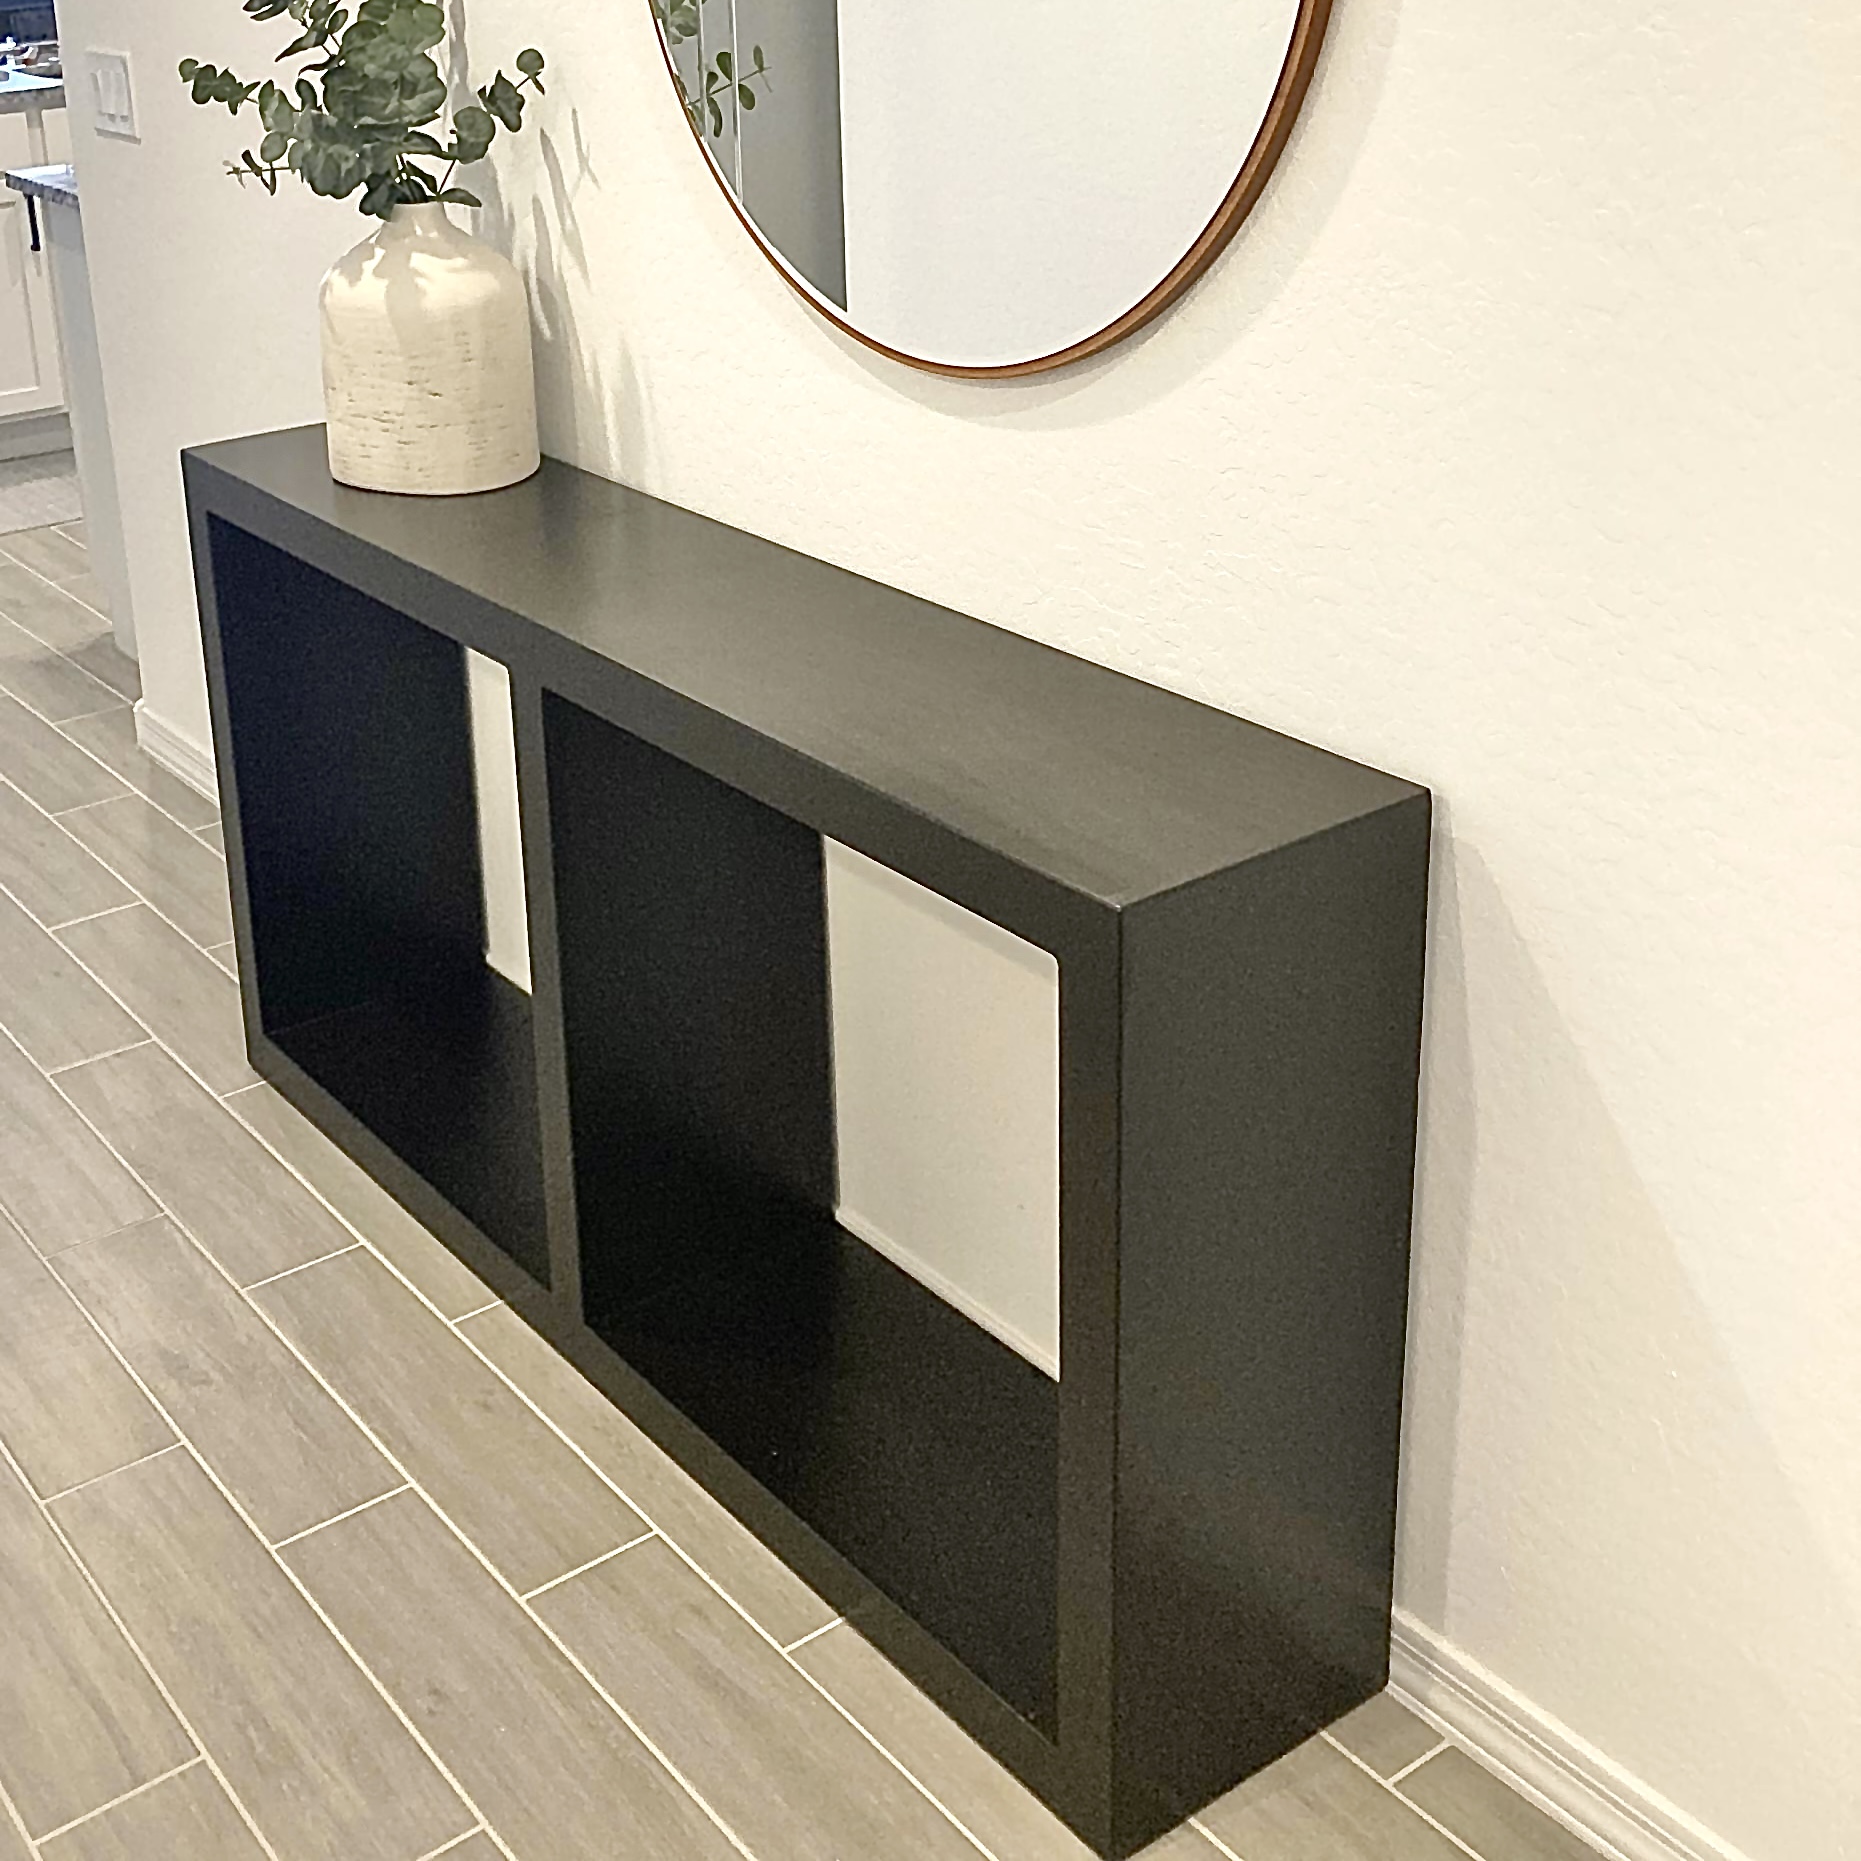
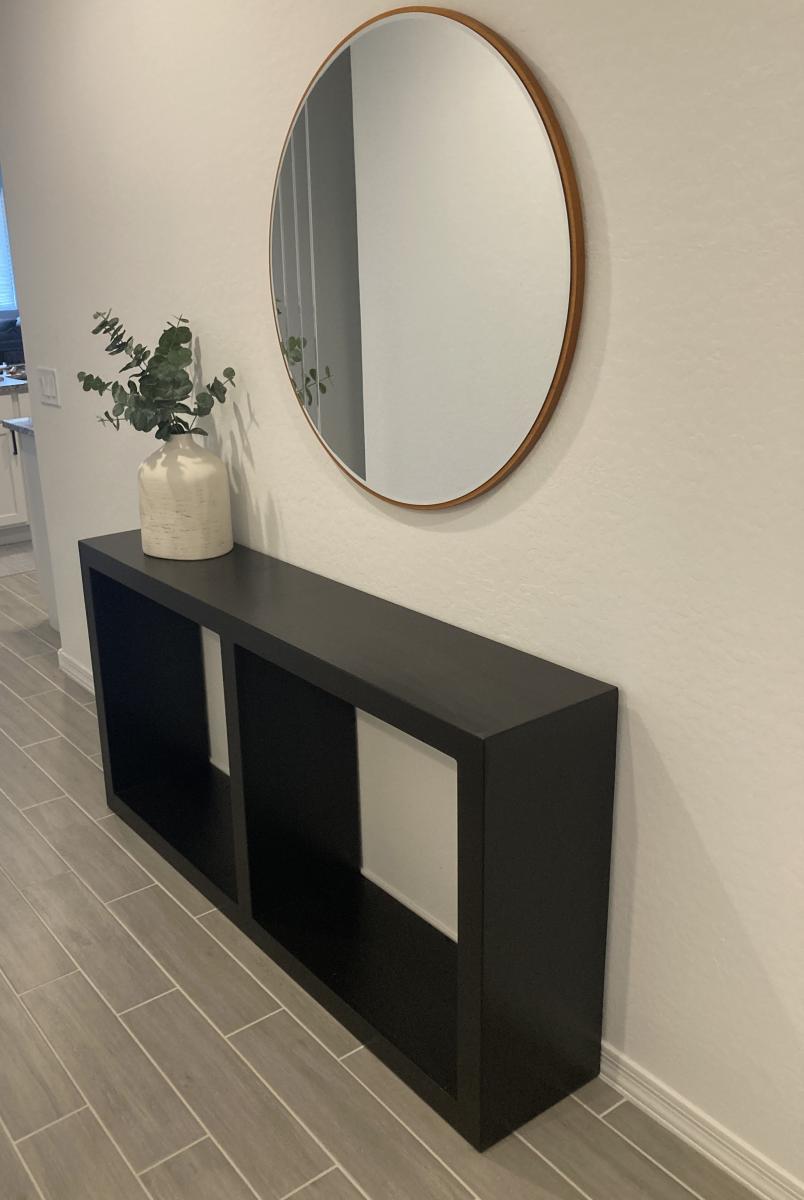
Grand Waterfall Console
My granddaughter loved the console table she saw in your plans. Together, we made it! The same one at Pottery Barn was $1,299.
Nicole Stevens grandfather (pasta Joe)
Built from Plan(s)
My granddaughter loved the console table she saw in your plans. Together, we made it! The same one at Pottery Barn was $1,299.
Nicole Stevens grandfather (pasta Joe)
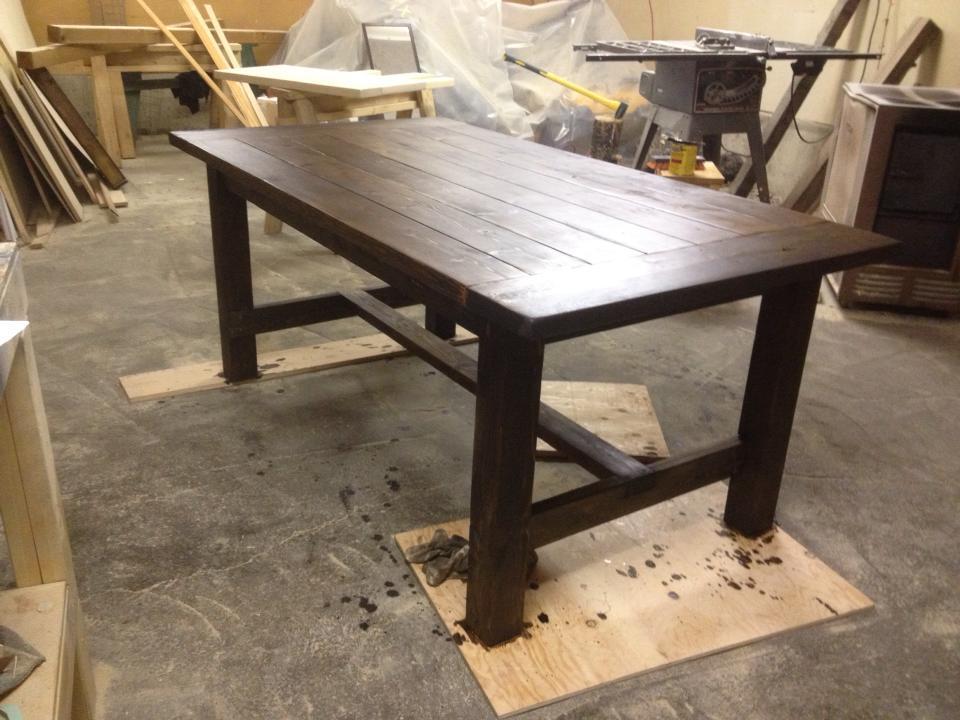
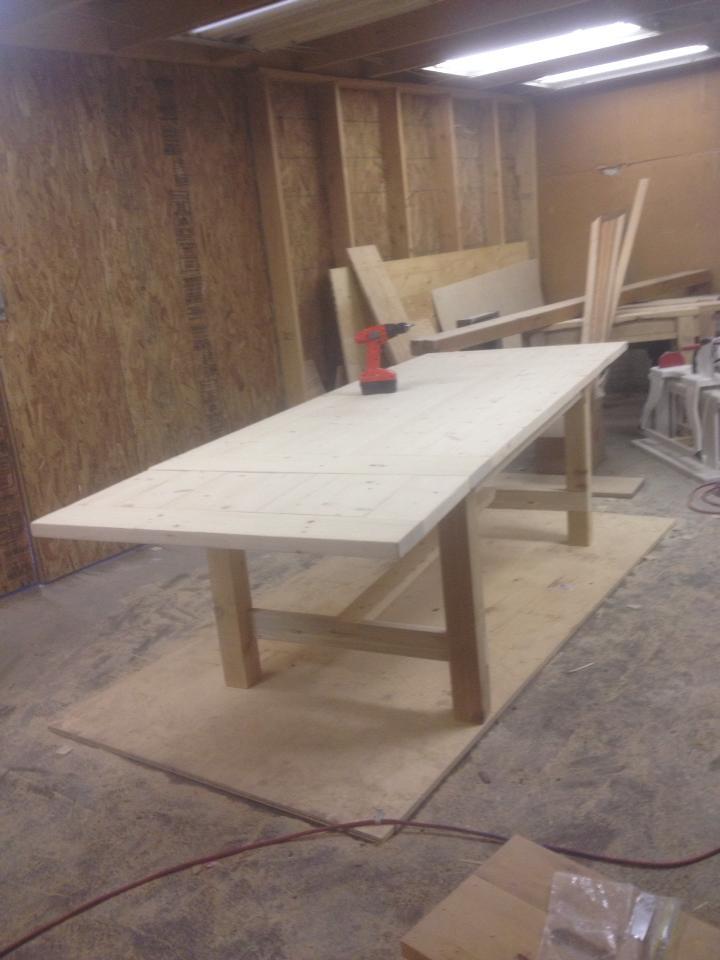
This was the second table I built - it was much improved on my first and was for my sister as a Christmas present. It has 4x4 legs that I notched out with a circular saw for the legs and a spruce top. I modified the length down to 6' for her house but added extensions on the end that make the table up to 9' long when fully extended.
Tue, 09/23/2014 - 13:42
How was the epoxy worked out in the cracks?
And separation or trouble?
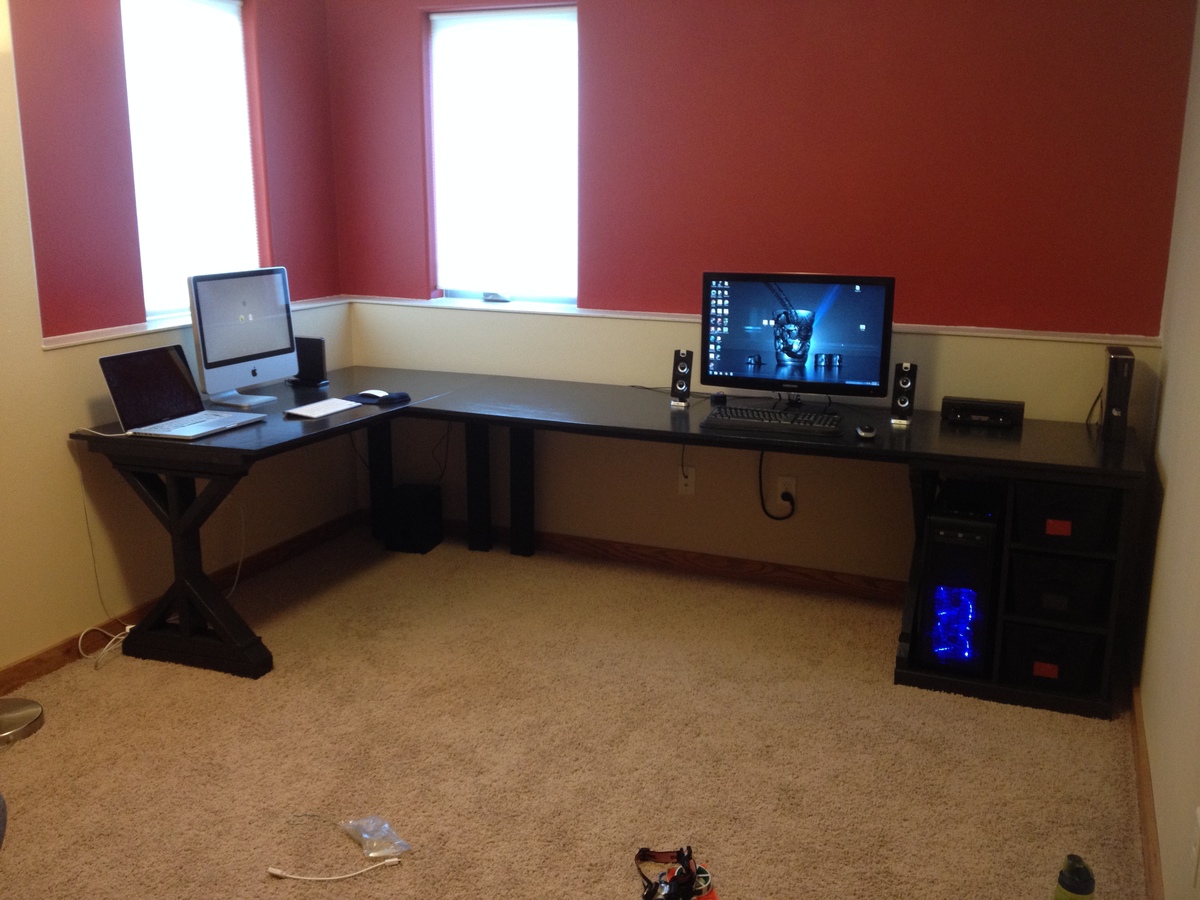
This desk was made using the "Fancy X Desk" and "Modular Office Base" plans. A CPU enclosure was added with a similar "X" design. The top is 3/4'' plywood with 1x2's and 2x2's providing the framing. A 1x4 runs down the back of the desk with a cord try to hide cables.

Mon, 06/08/2015 - 08:46
I am not able to find the plans you are referring to. Is there a way you can comment with direct link
Thu, 01/07/2016 - 15:16
HI, The desk is awesome and I thought I would make this my first attemt at building something.
But I am unable to find the instructions.
Please help.
Thank you.
Sun, 01/10/2016 - 08:46
Ok after reading the subject matter I realized that this is the merging of two different desks.
Can you post a photo of how you joined them.
The support for such a long desk is my concern, with out it having any middle support or at the the corner?
Thank you.
Sun, 01/10/2016 - 08:47
Ok after reading the subject matter I realized that this is the merging of two different desks.
Can you post a photo of how you joined them.
The support for such a long desk is my concern, with out it having any middle support or at the the corner?
Thank you.
Tue, 01/12/2016 - 14:52
Hi,
Could not find attached plans. I did see the same comments before too for the same project.
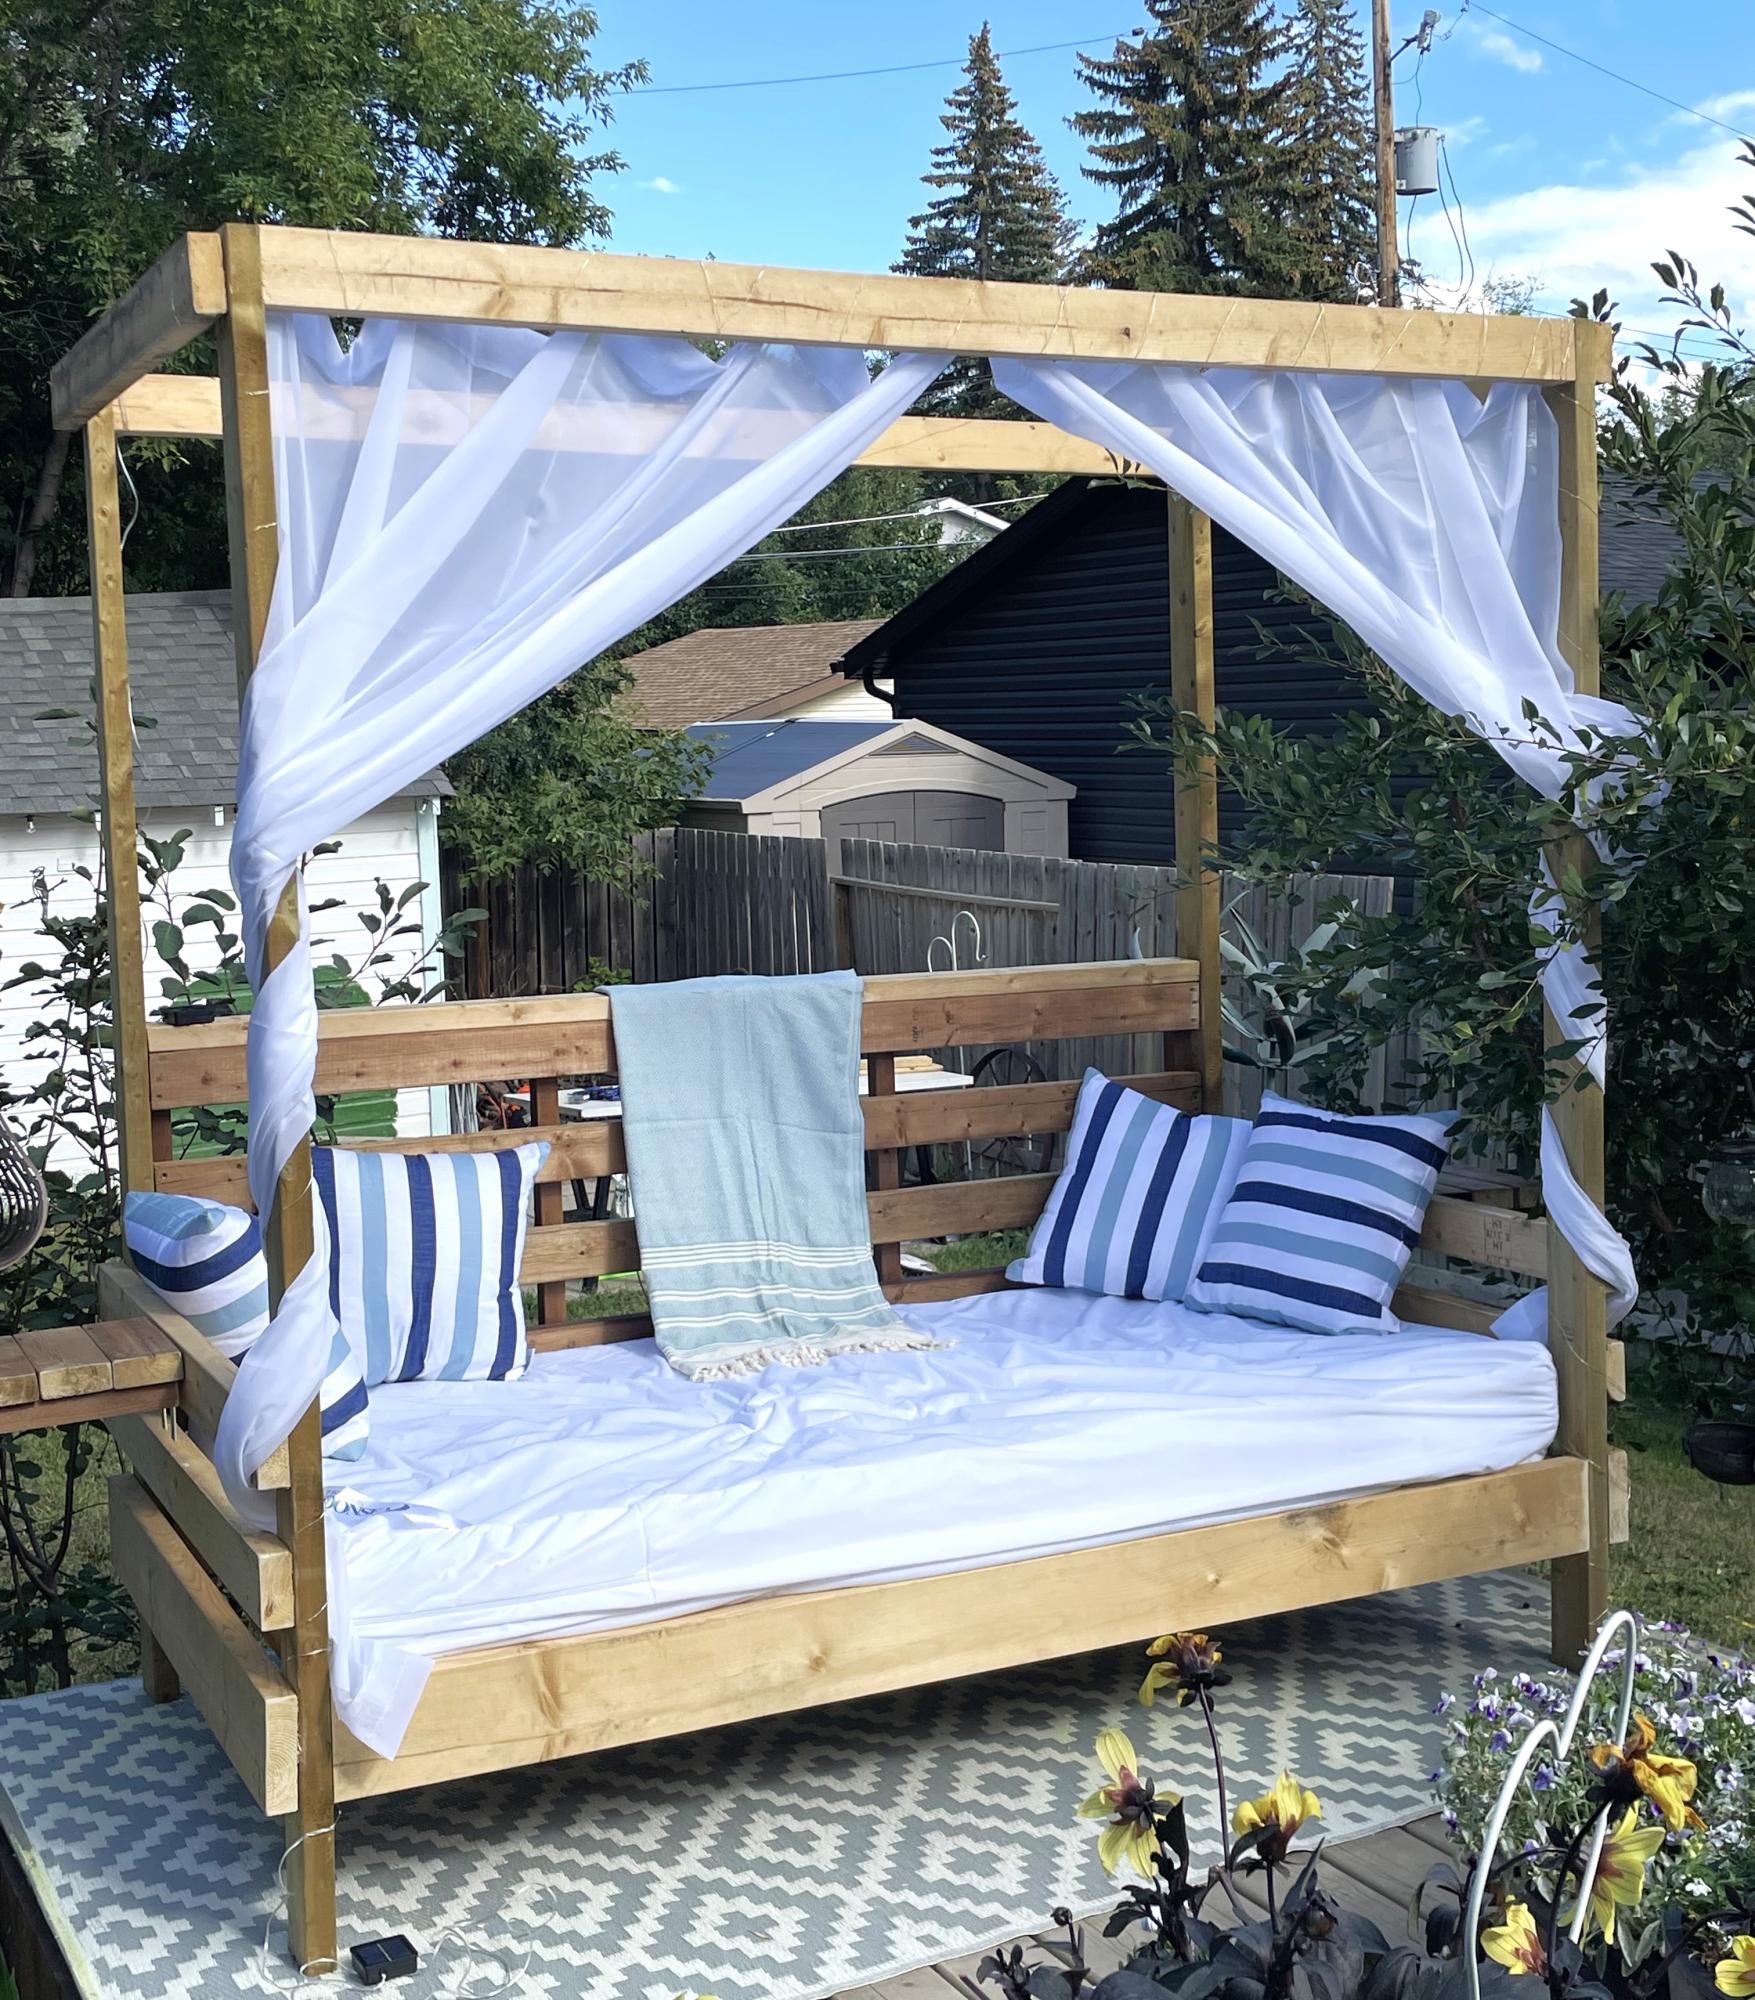
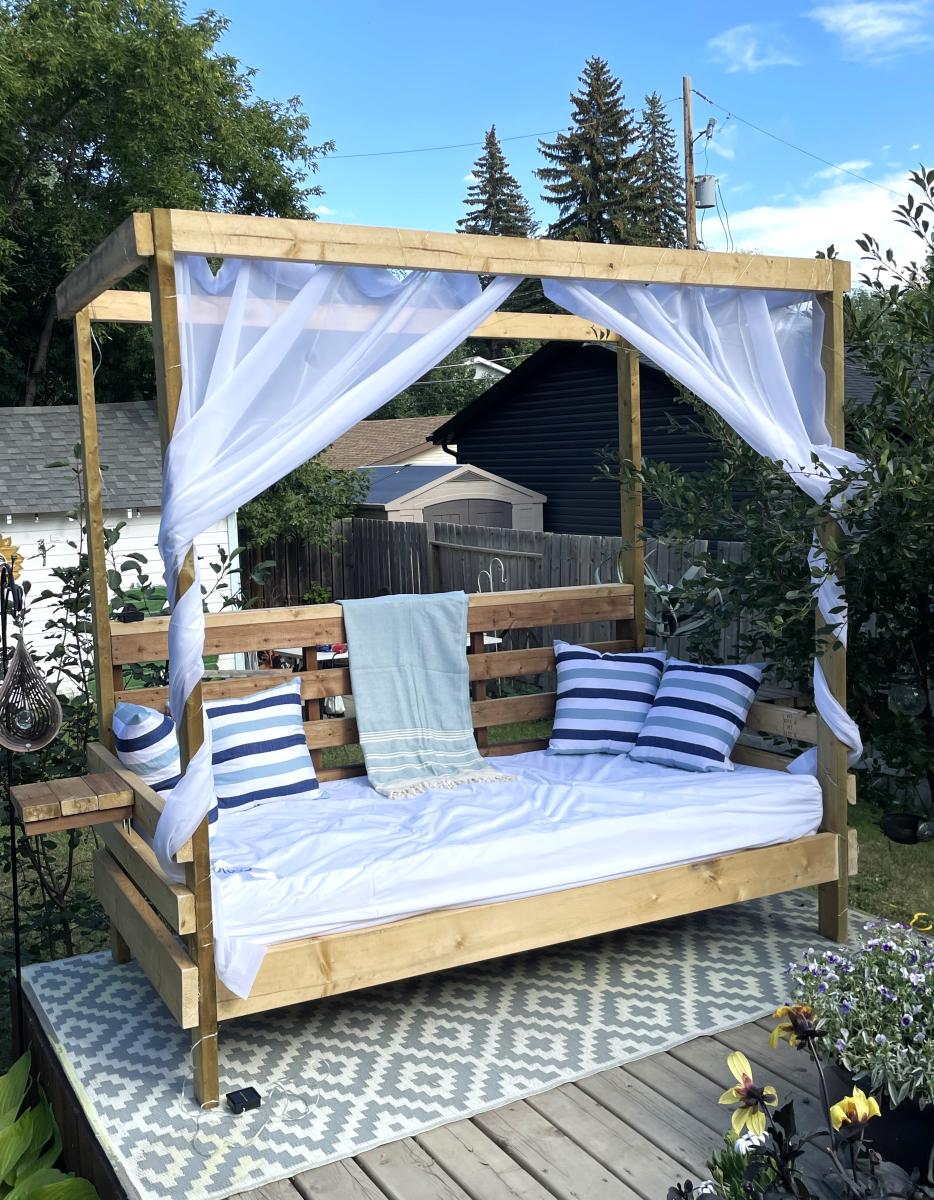
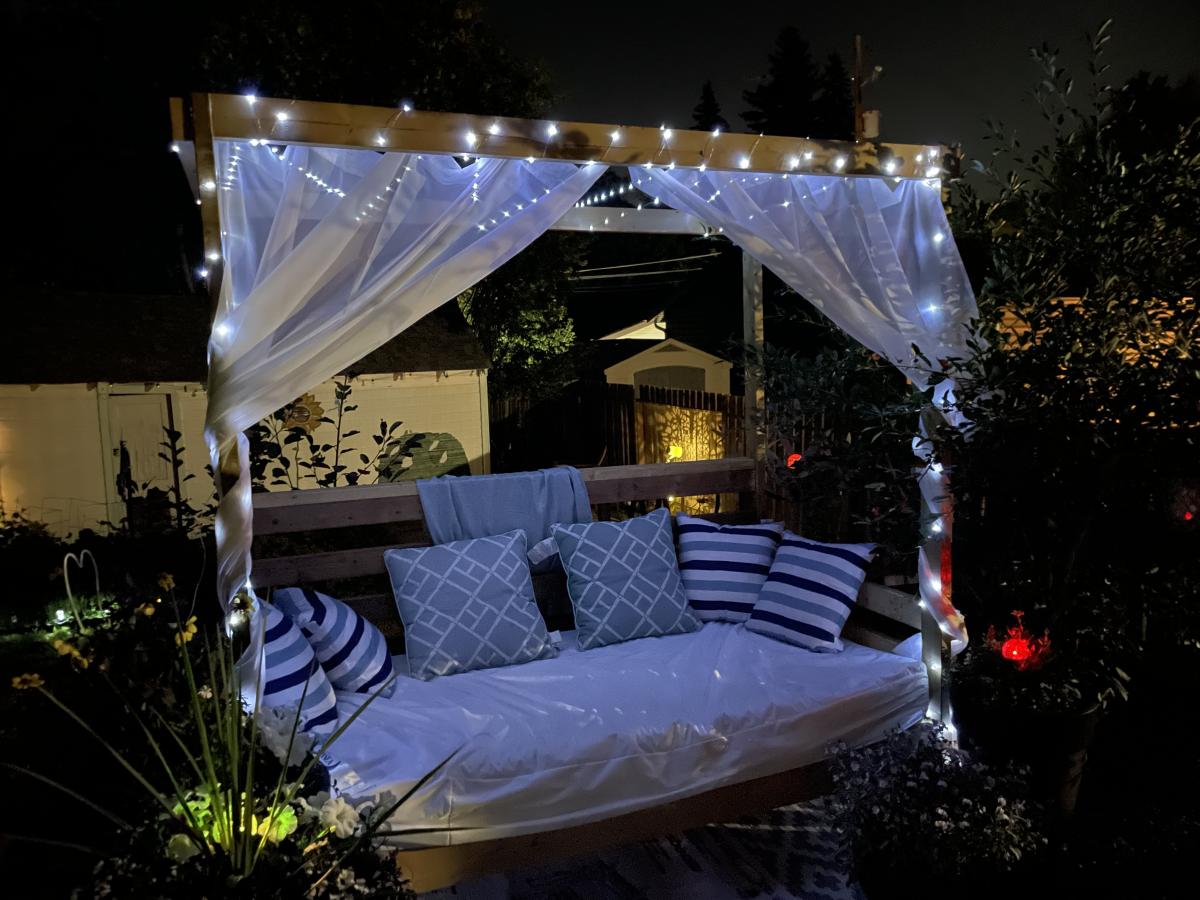
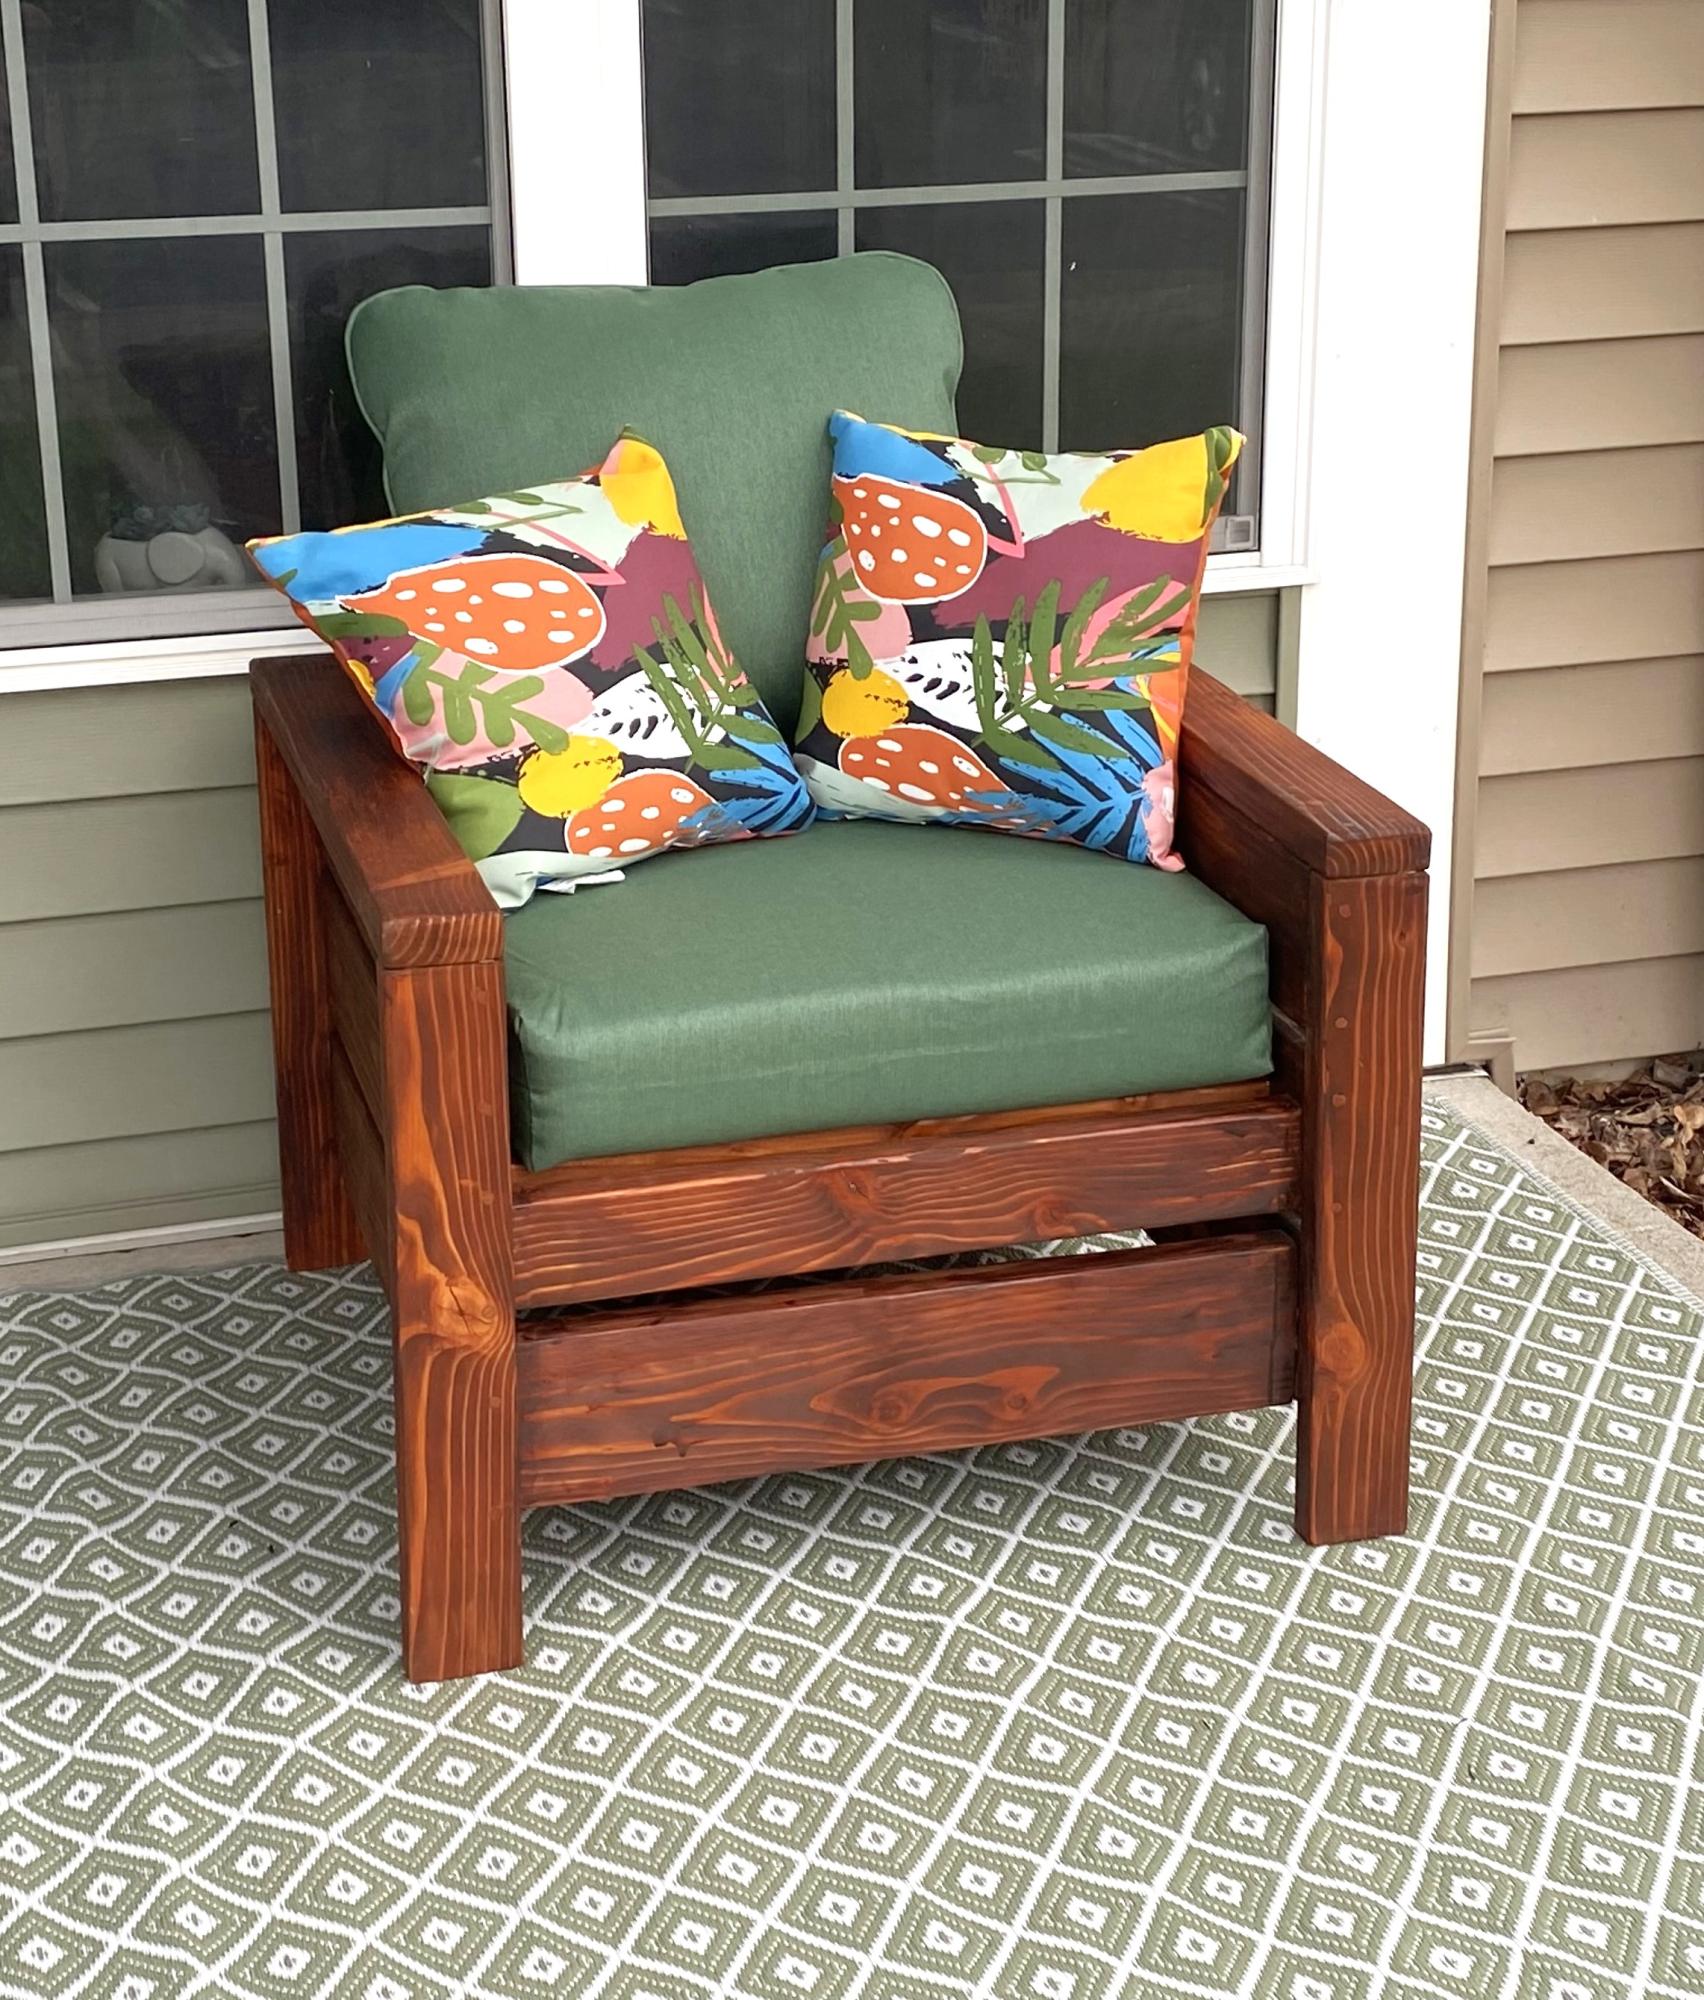
This was the first time I ever built anything - before this is hardly used a drill. It was big for a first build, and I did it entirely alone aside from a few text messages with questions. I added a couple little end tables to it for a book and a drink, and it’s now my favourite outside summer spot.
Facebook user @robyn.marie.3572
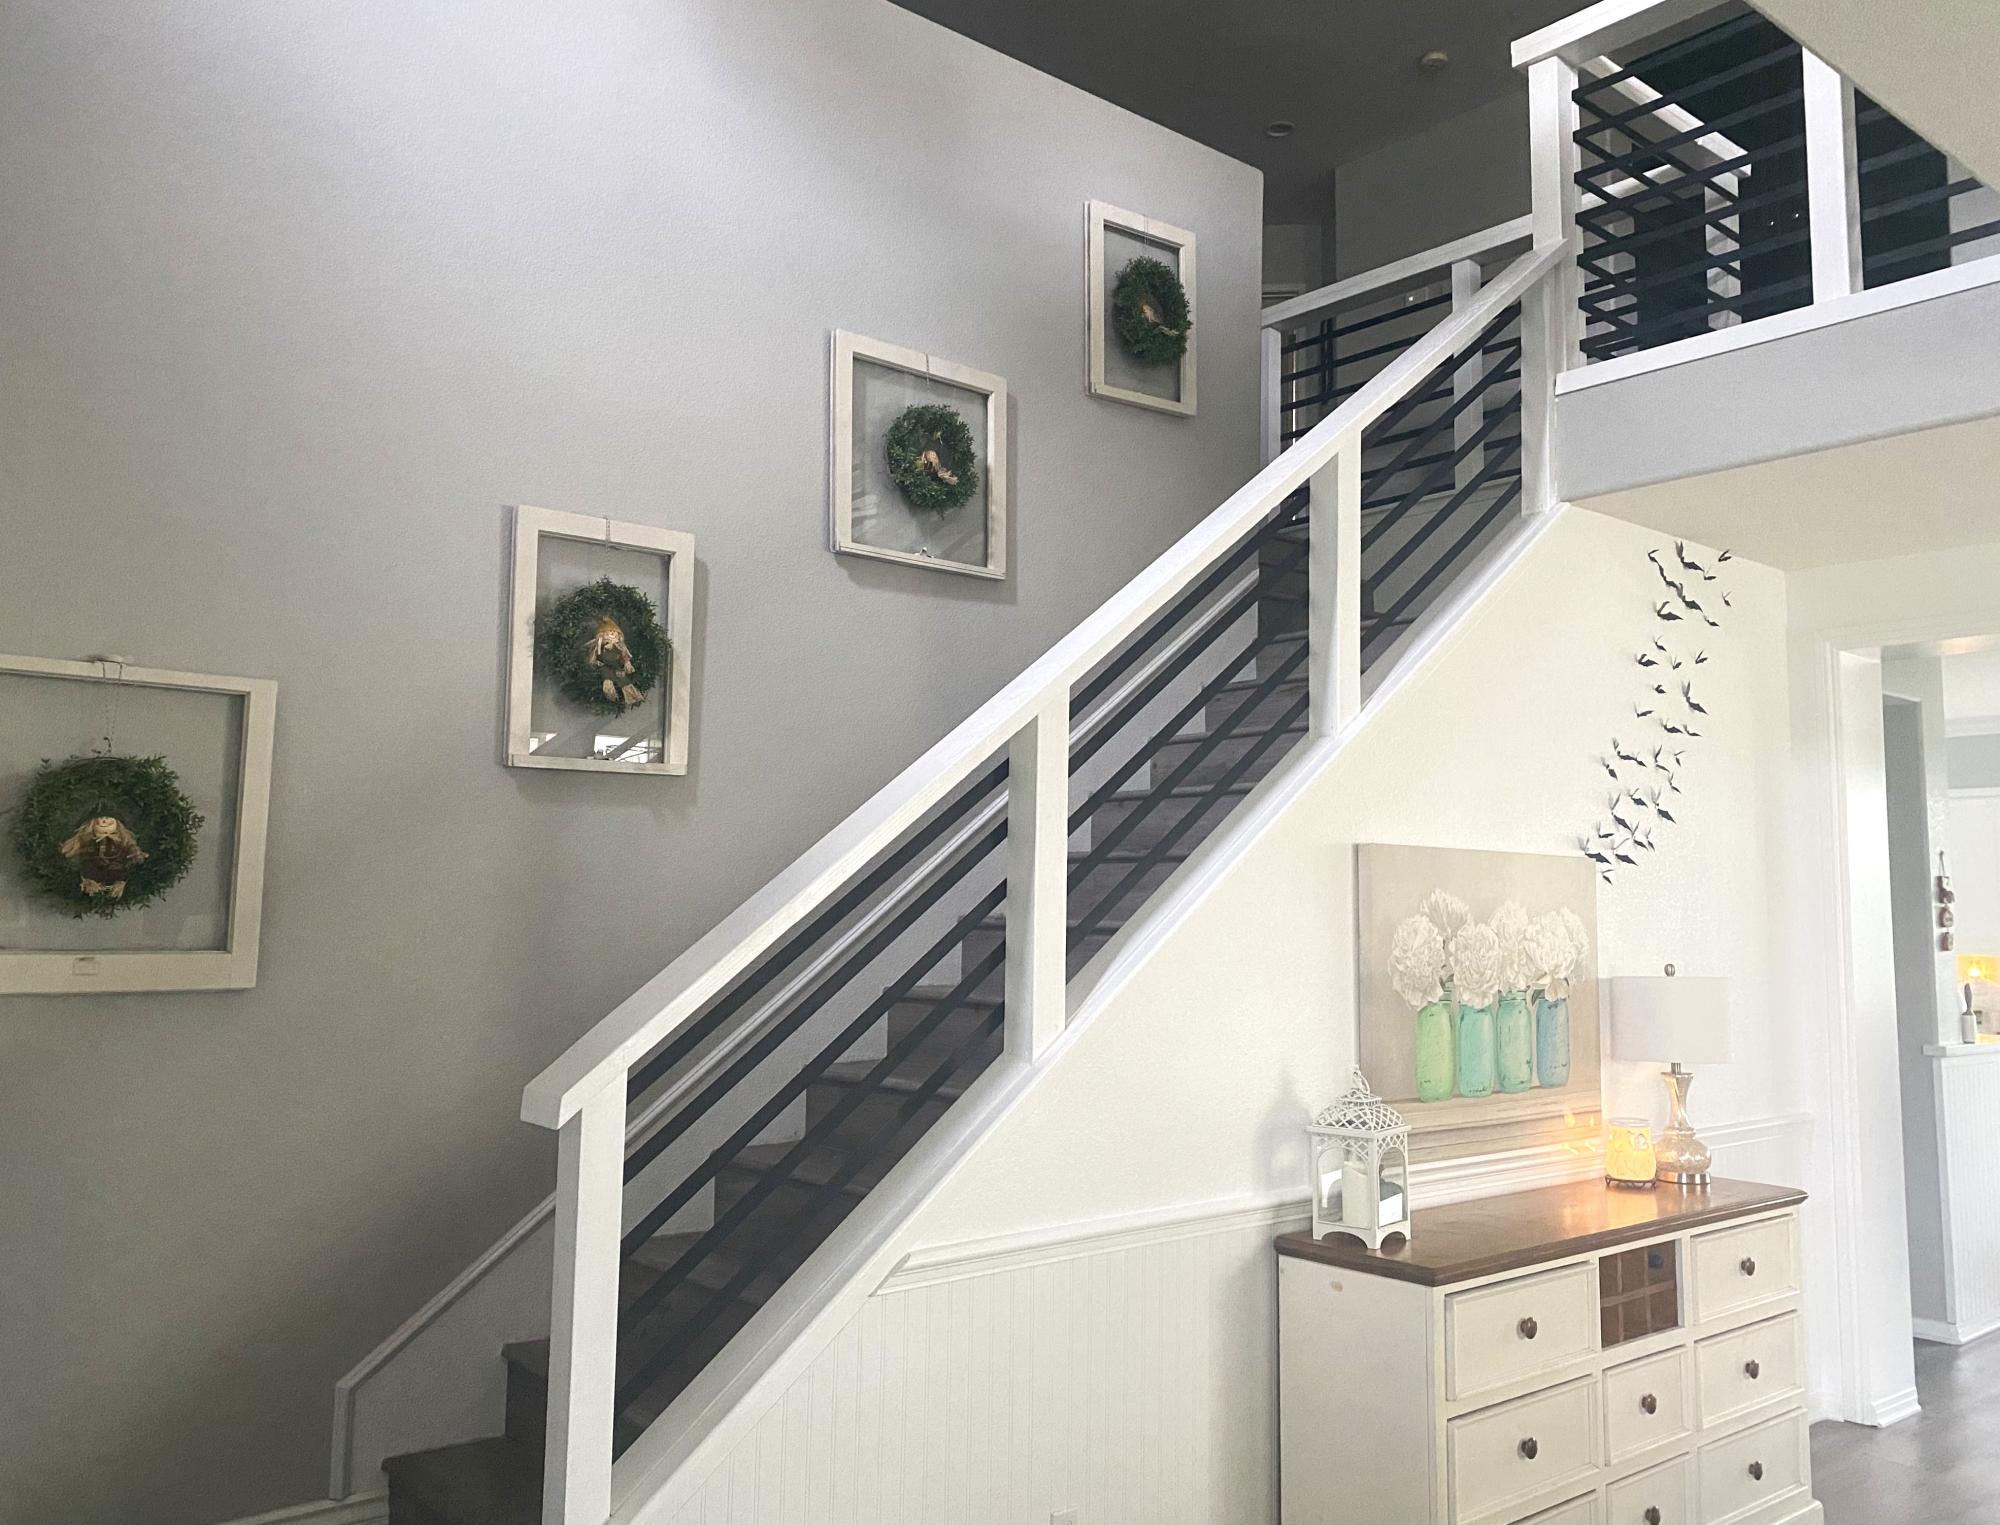
During a home renovation we found out part of our stair rail would need to be replaced and the quote from the contractor floored us. We were searching for an economical way to DIY the stairs and come across your idea. I immediately loved it and we worked to figure out how we could put it together with our limited construction knowledge. The end result exceeded my expectations. I totally love it!

I couldn't find cedar shakes locally. For the front I used pine fence shakes from Lowes. They cost $1.56 each. For the sides I used Smartside 38 series primed engineered treated wood siding panel. They cost $32/panel. I had to buy two panels. On the back I used 1/2 plywood. I made the roof 76x46. All the materials were purchased from Lowes except the shingles. I used GAF Timberline HD Barkwood shingles.

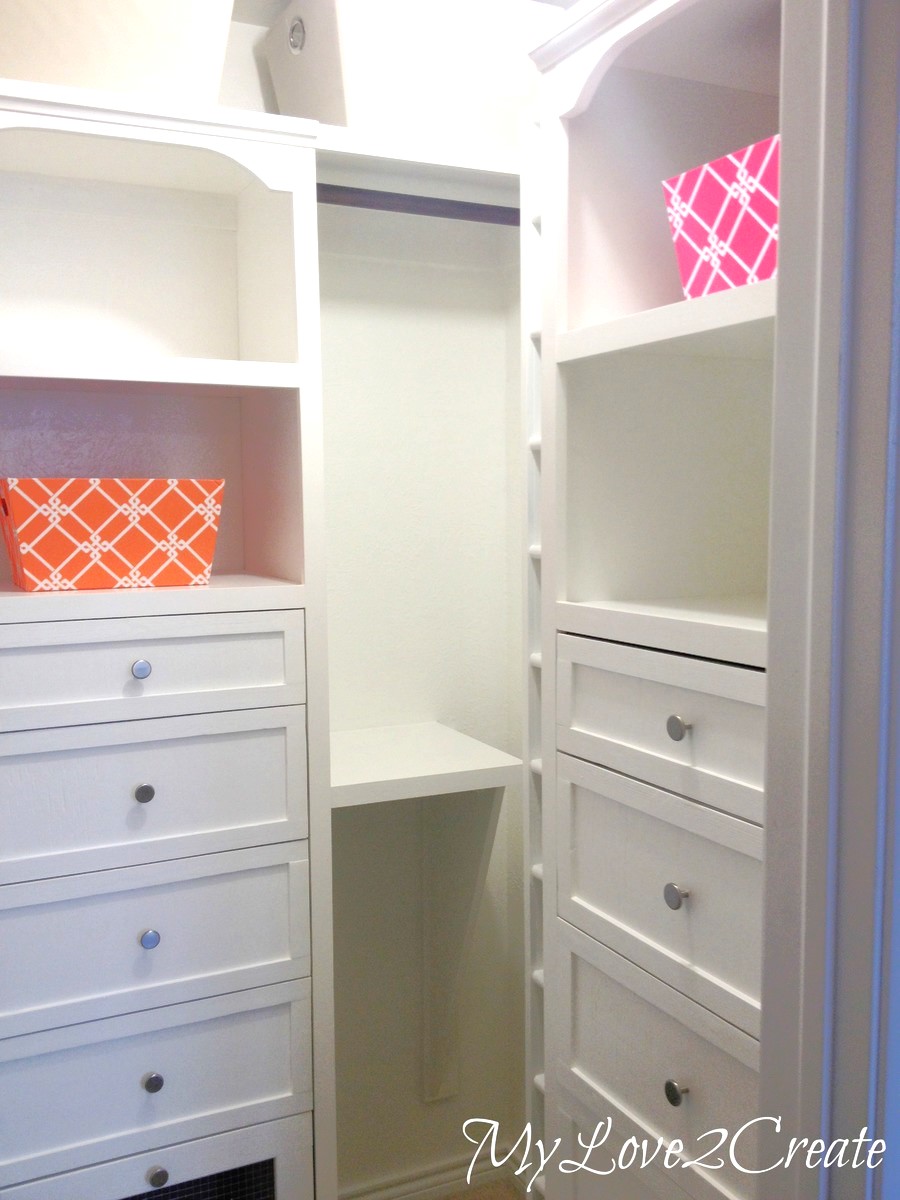
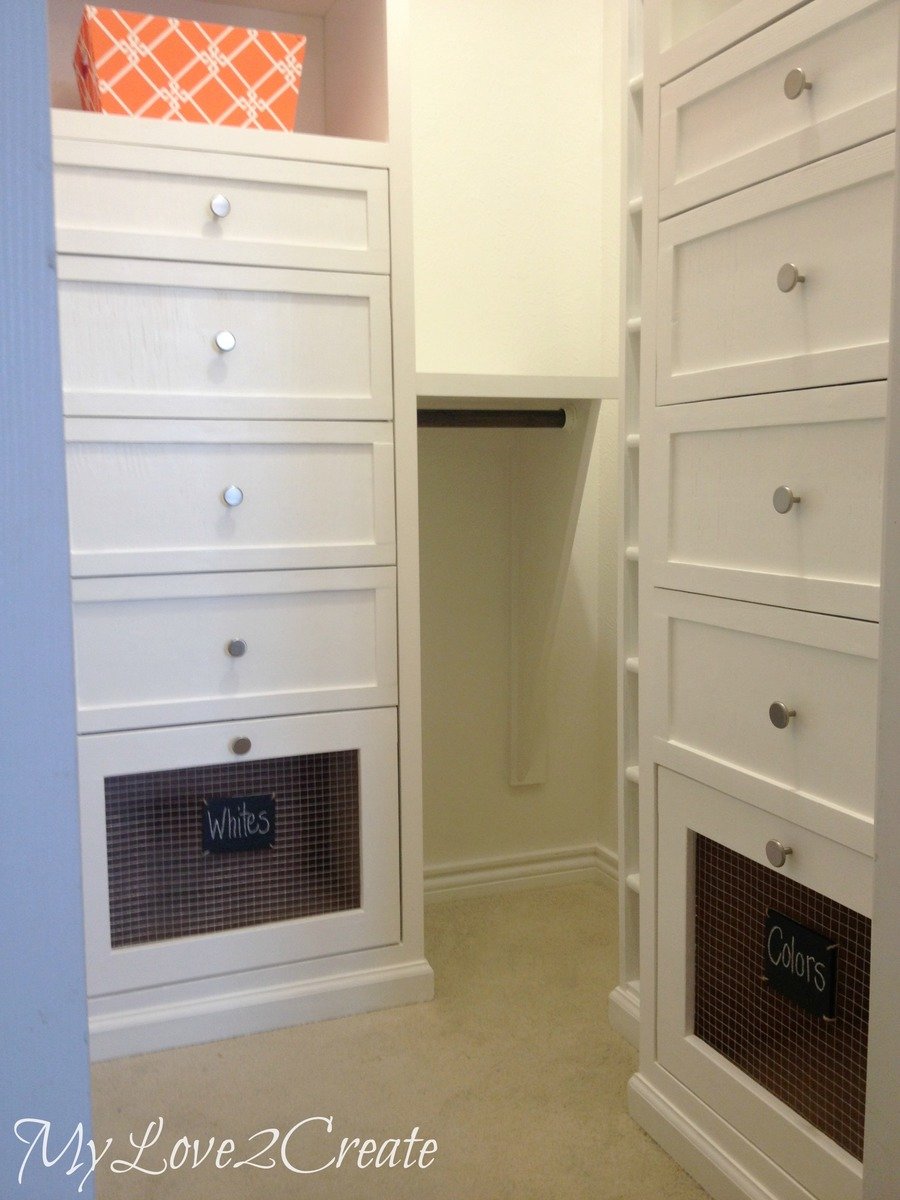
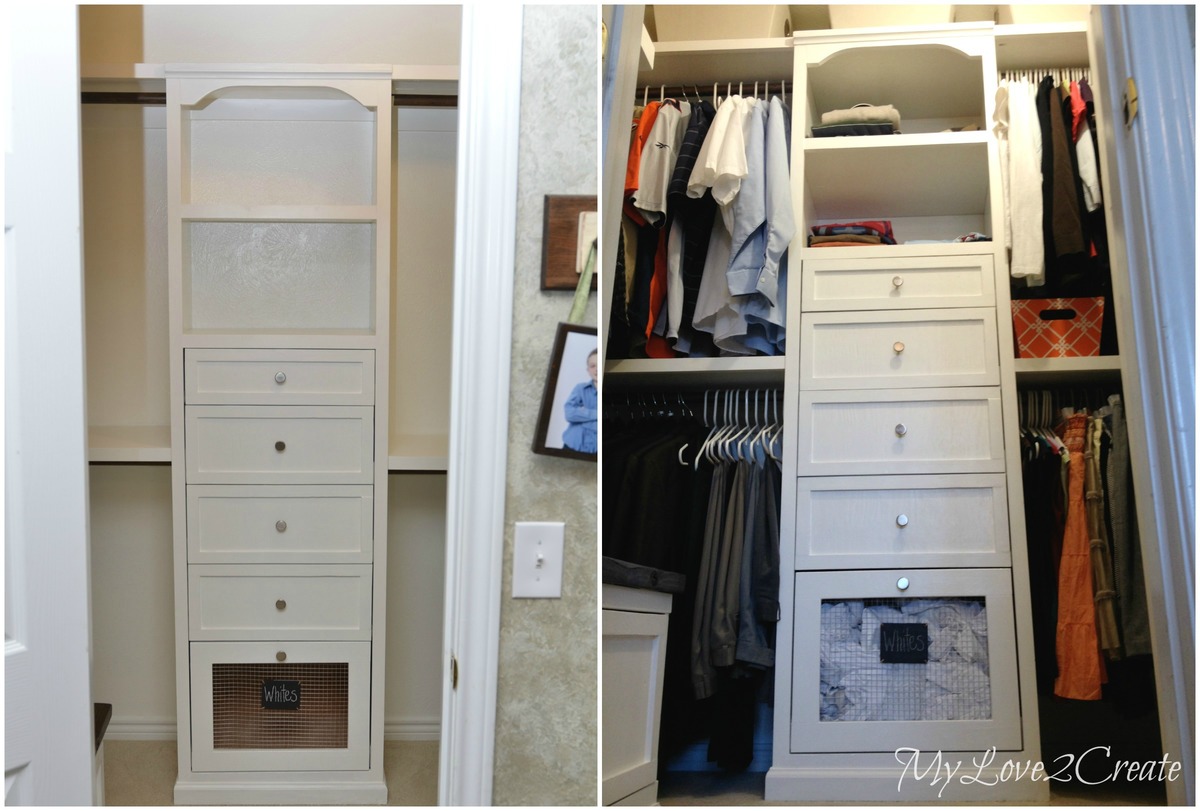
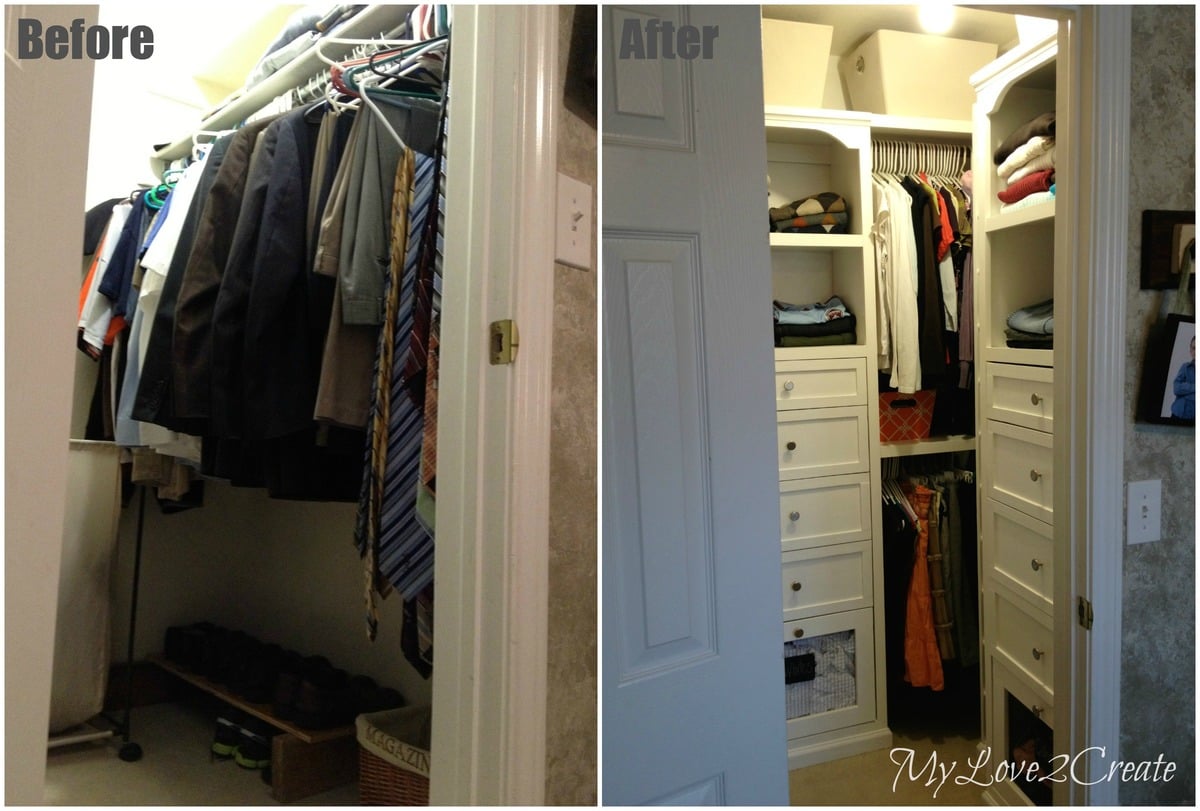
I have been wanting to makeover my master closet for a long time! I finally decided to just give it a try, I looked at several options and finally decided to base my closet around Ana's master closet tower she made for the momplex. I loved the plan and knowing I would need two towers I set to work designing with two towers in mind. I LOVE how it turned out and the tower plans were awesome! I also used the drawer plans for the tower and added the amount I needed, that is the best part about DIY! Thanks so much Ana for all your amazing plans they gave me the jump start I needed to get this project done! For details on the rest of my closet makeover please check out my blog post. If you go to my reveal post on my blog, near the bottom it has all the links to my building posts.

Sat, 02/15/2014 - 11:42
I love this. I love the price also. I redid my closet and chose not to use the towers, but after seeing yours I plan on doing my other closets using this one. While doing research on closet organizers, the price was nothing like yours. This is really good quality for $150. Great job...

In reply to I love this. I love the price by freefromburdens
Sat, 02/15/2014 - 12:48
It really was a great price, please note that without using a lot of my scraps I could not have done it, for so cheap. All of my drawers were made with scrap/reclaimed wood I had collected, and reusing wood from my old closet. The price of $150 was just for the two towers (drawers not included) and not all the other builds in my closet. I just don't want you to think that you could do it for that price if you had to buy all the wood. If you click on my blog post link I do a break down of all my costs (again not including what I had on hand) and for everything in the whole closet including the bins it was just over $300, that I personally spent. I was lucky to have so much scrap/reclaimed wood, it saved me a ton of money! Thanks again!
Sat, 02/15/2014 - 15:50
Thank you for replying back. I went to your blog and saw the break down. Still a good price. Good job...
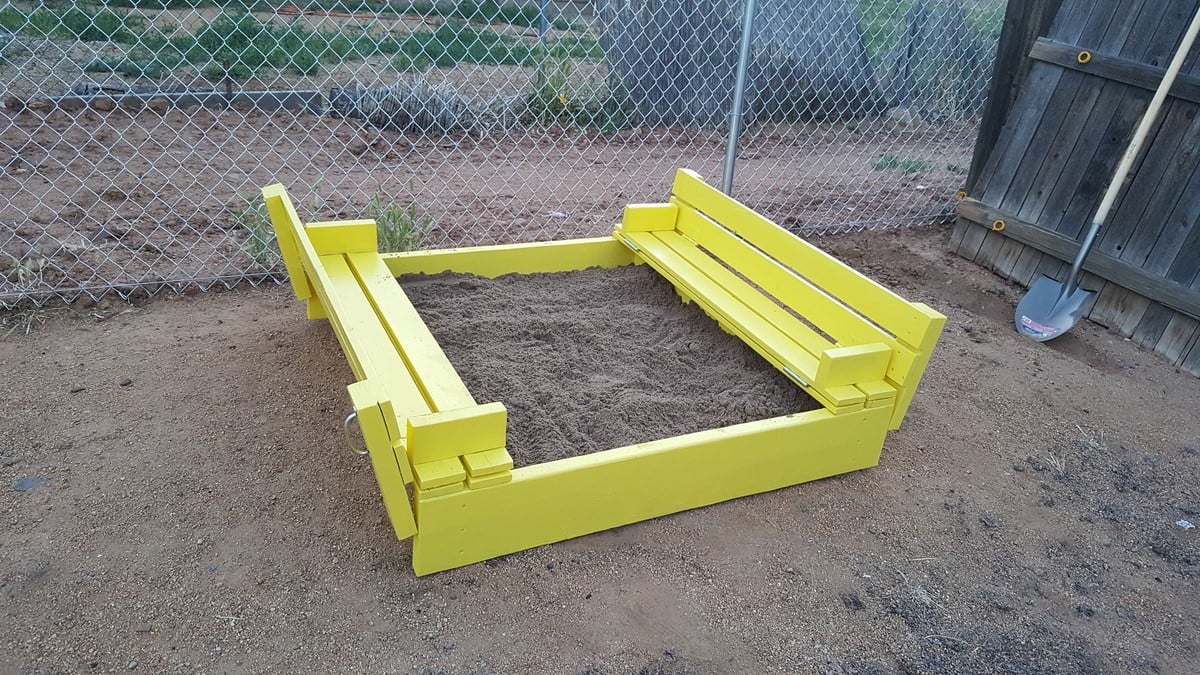
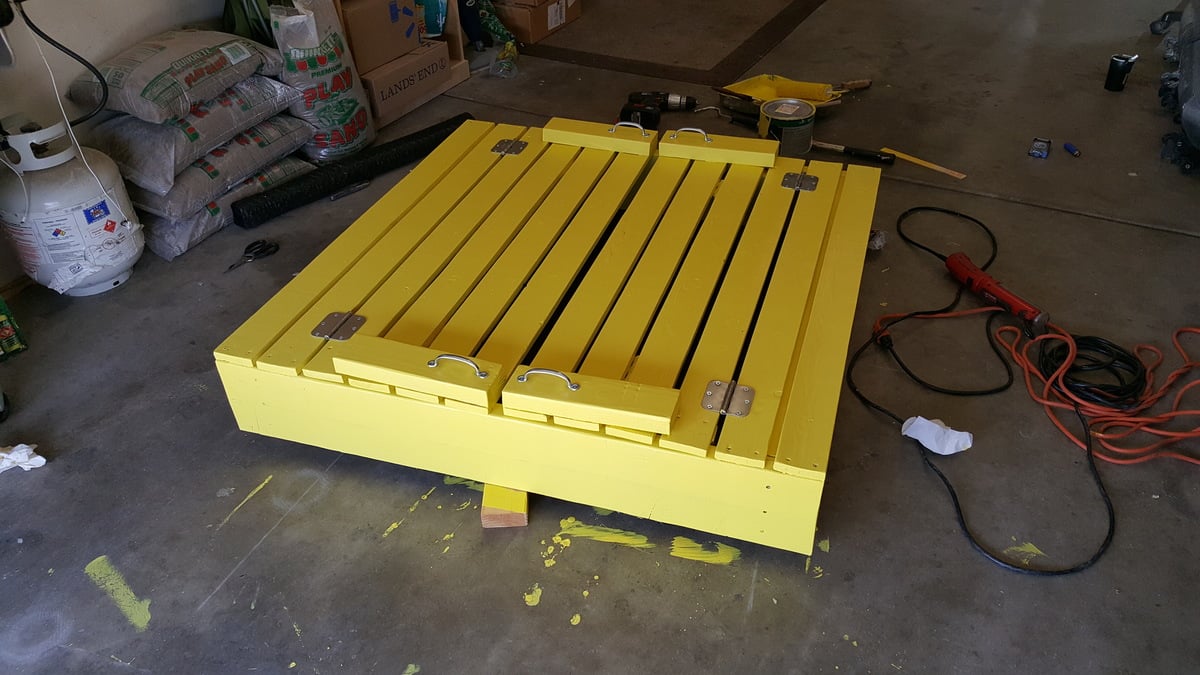
Daughters friend has a store bought plastic sandbox and my daughter asked if I could build one. This is what I built.
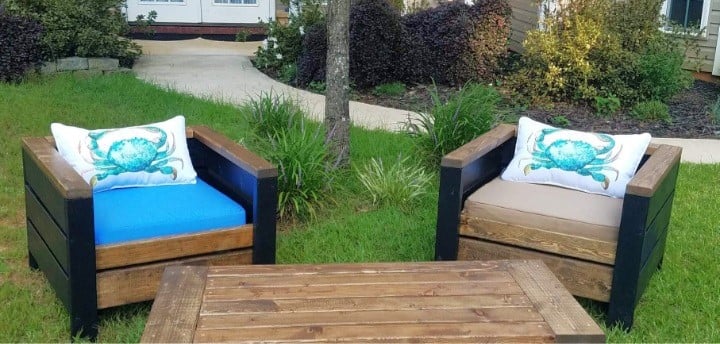
I made these for a friend and just loved how they turned out. I liked the stained and black combo it turned out pretty good. I will be making some more for my son and and friend of his along with the sofa as an addition.
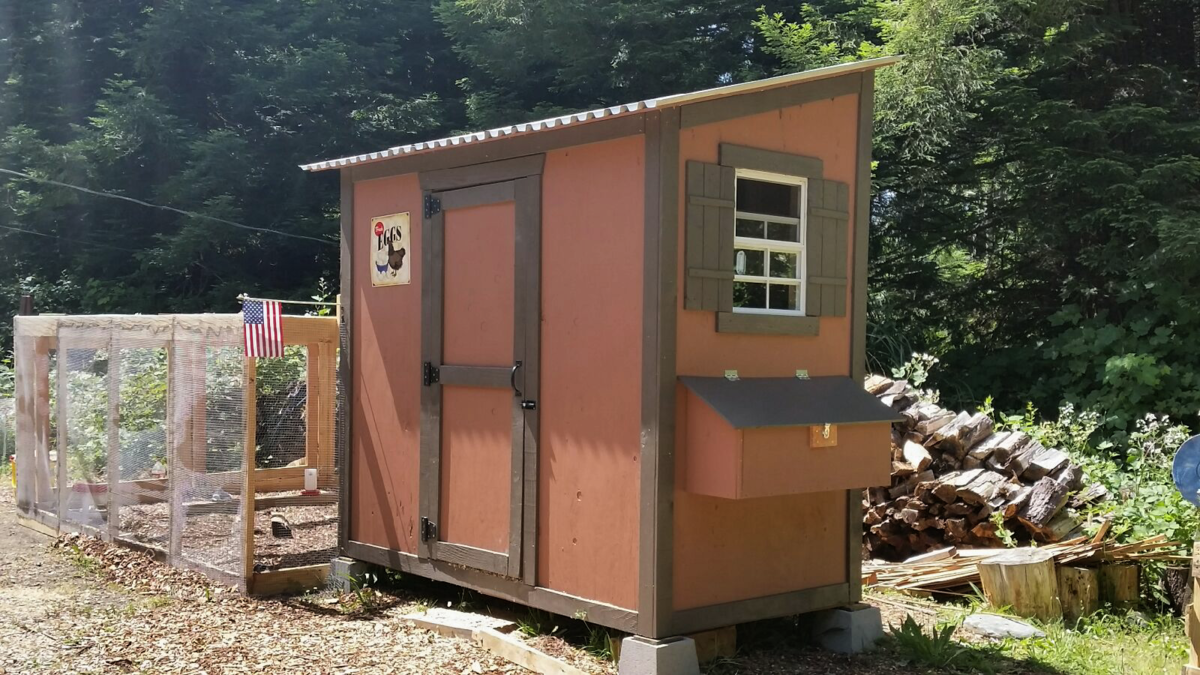
My 7 week old chicks love thier new home
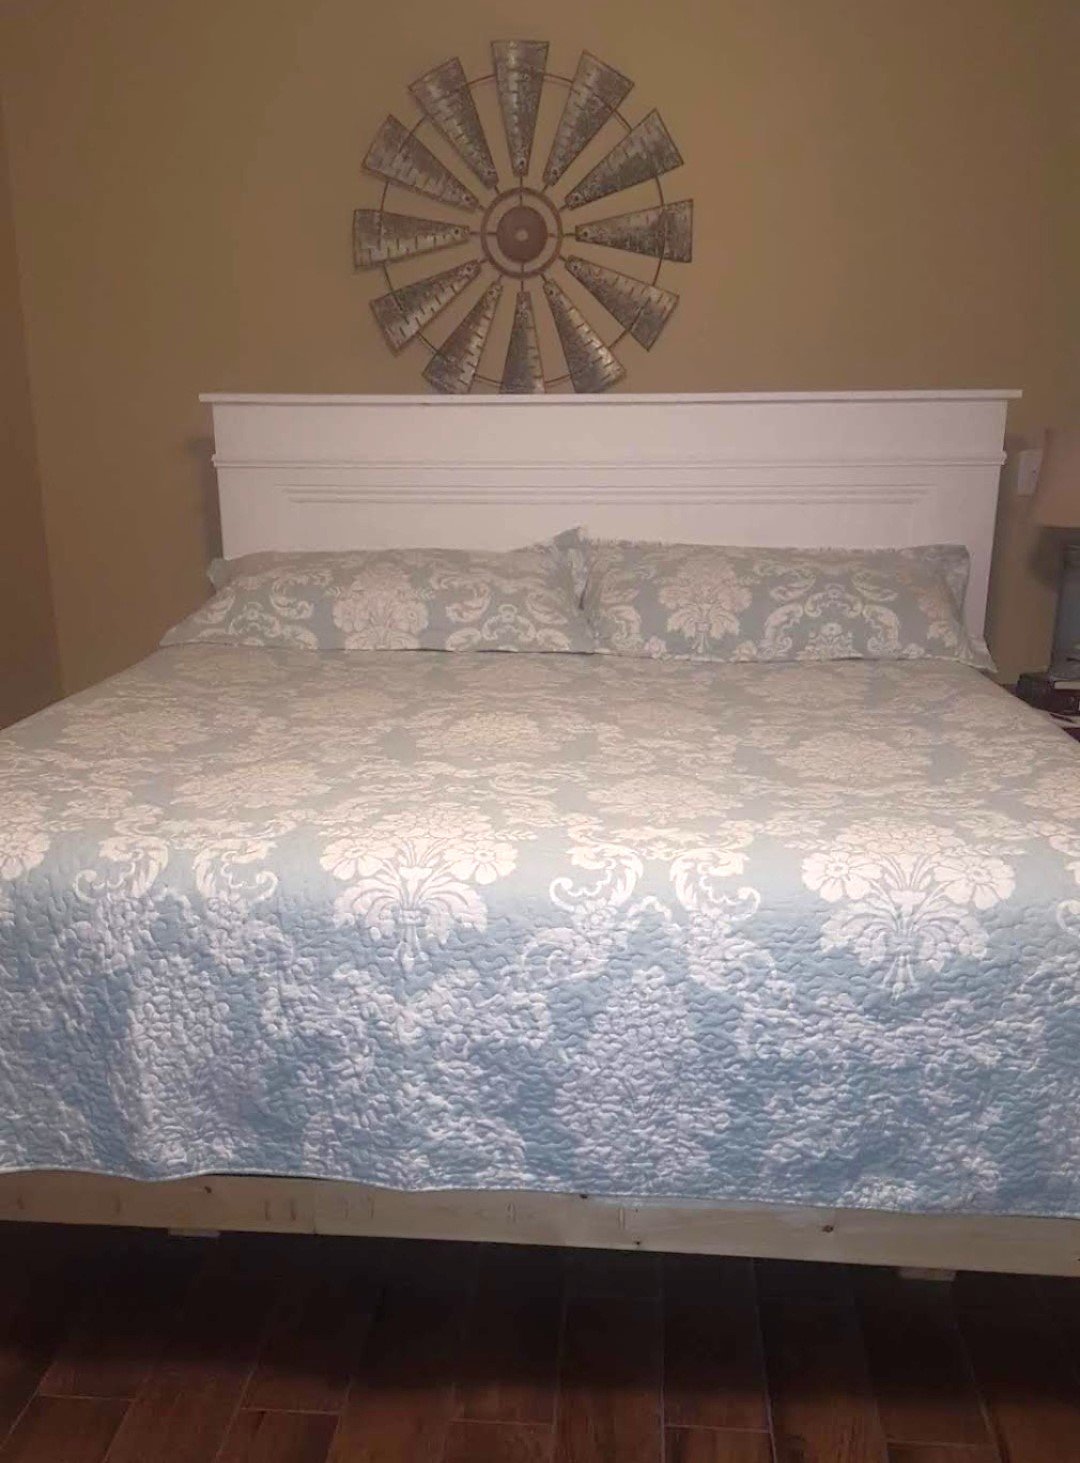
King bed. Easy to build. I love it. -
F. Sellers
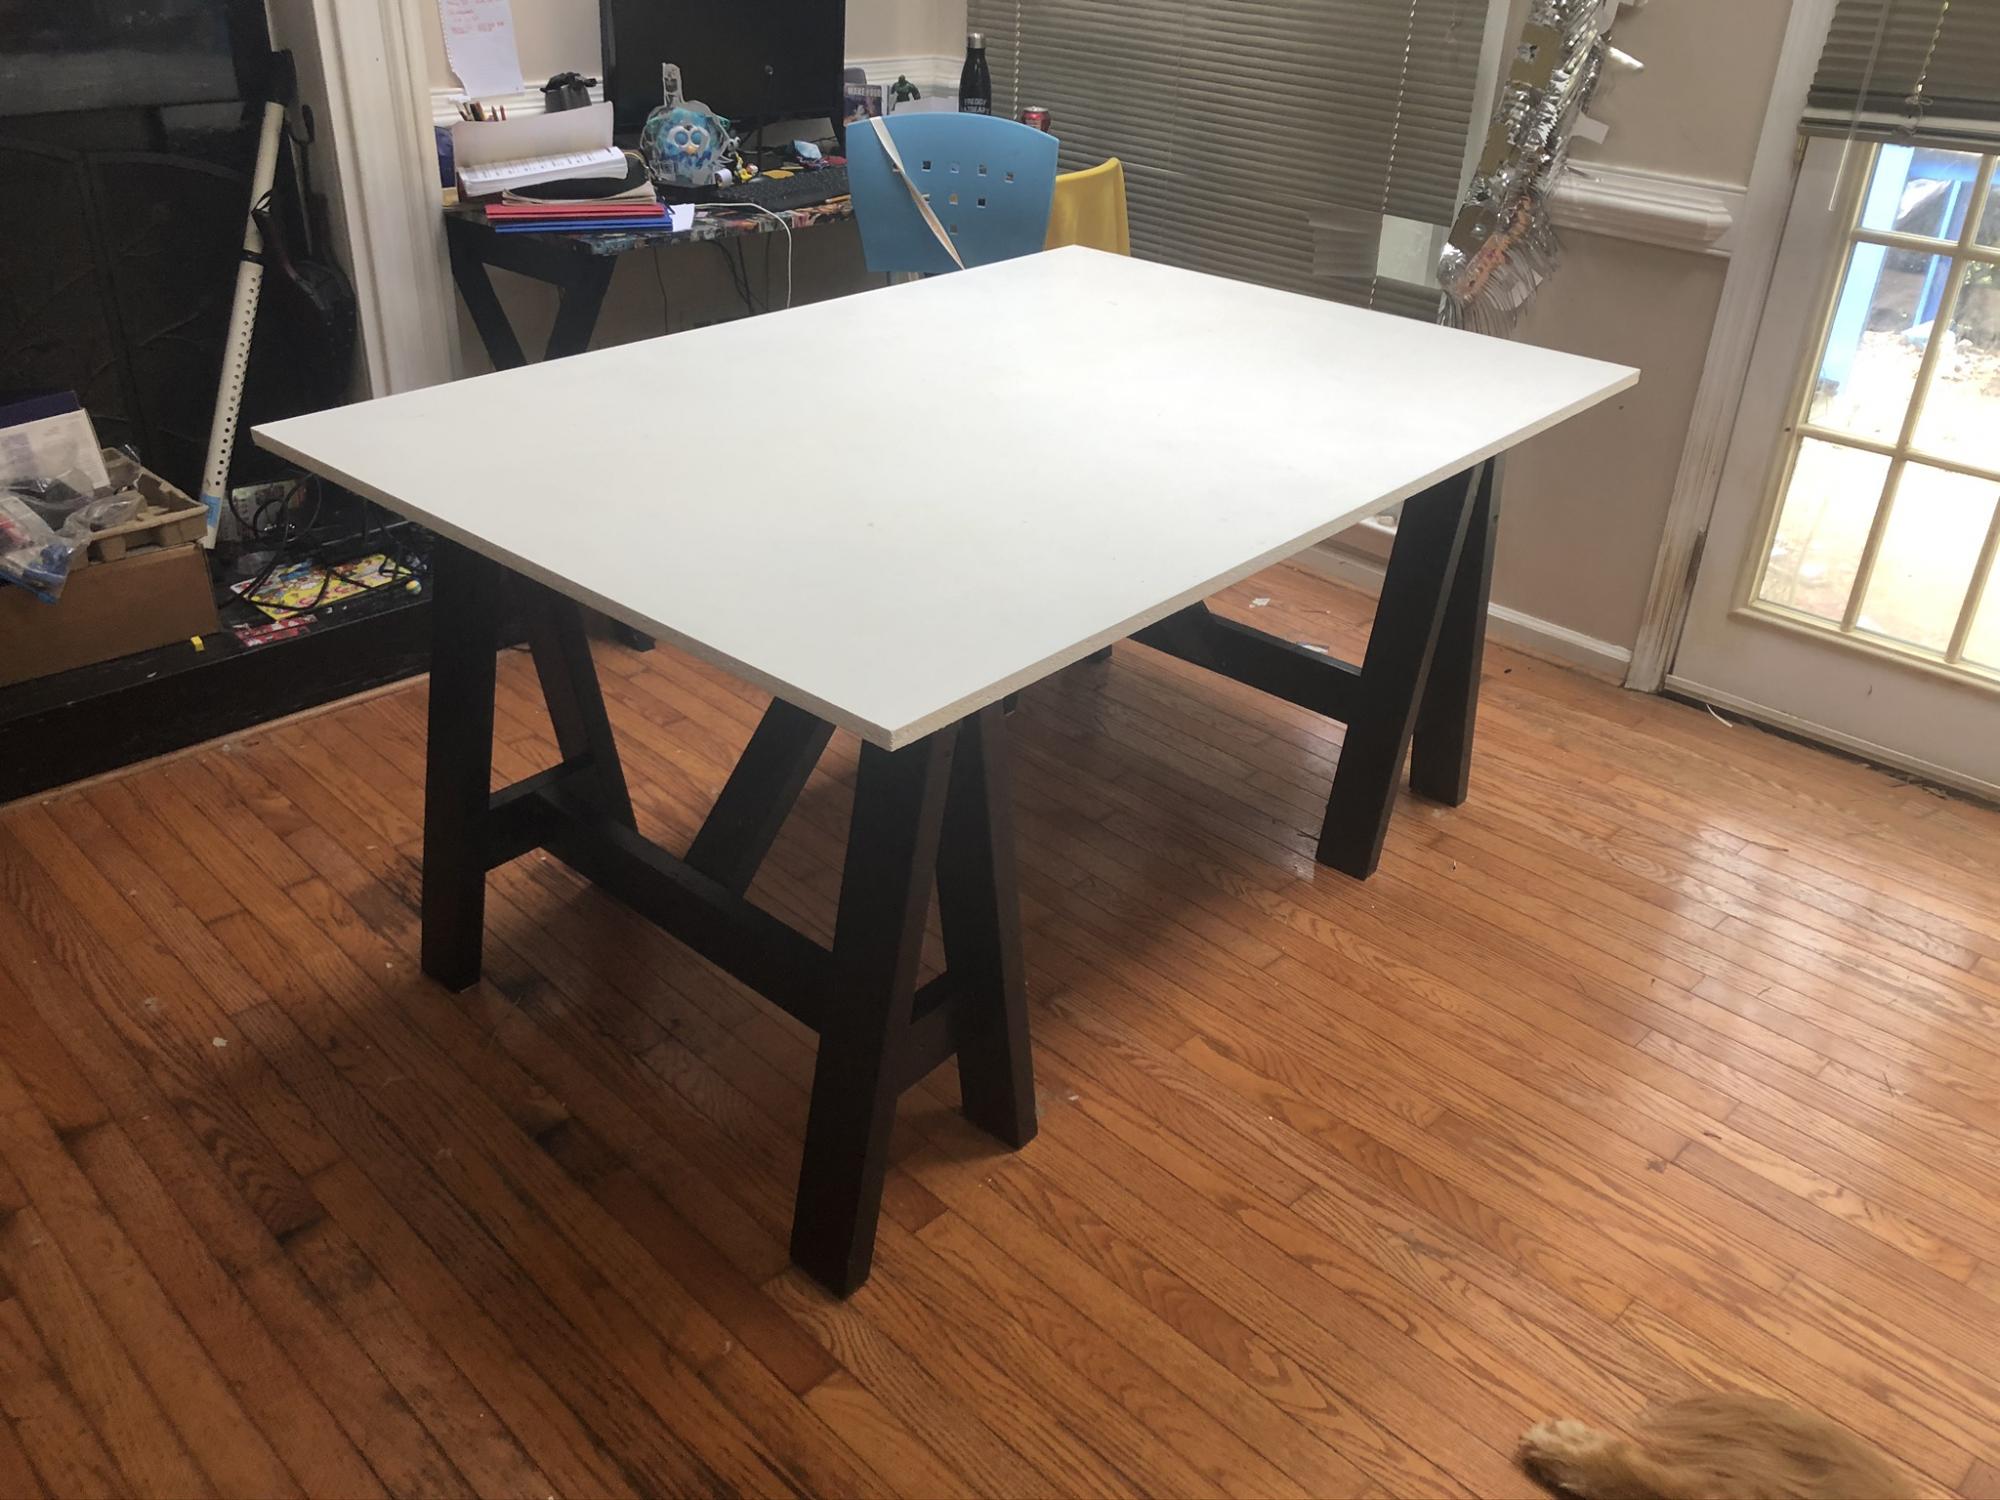
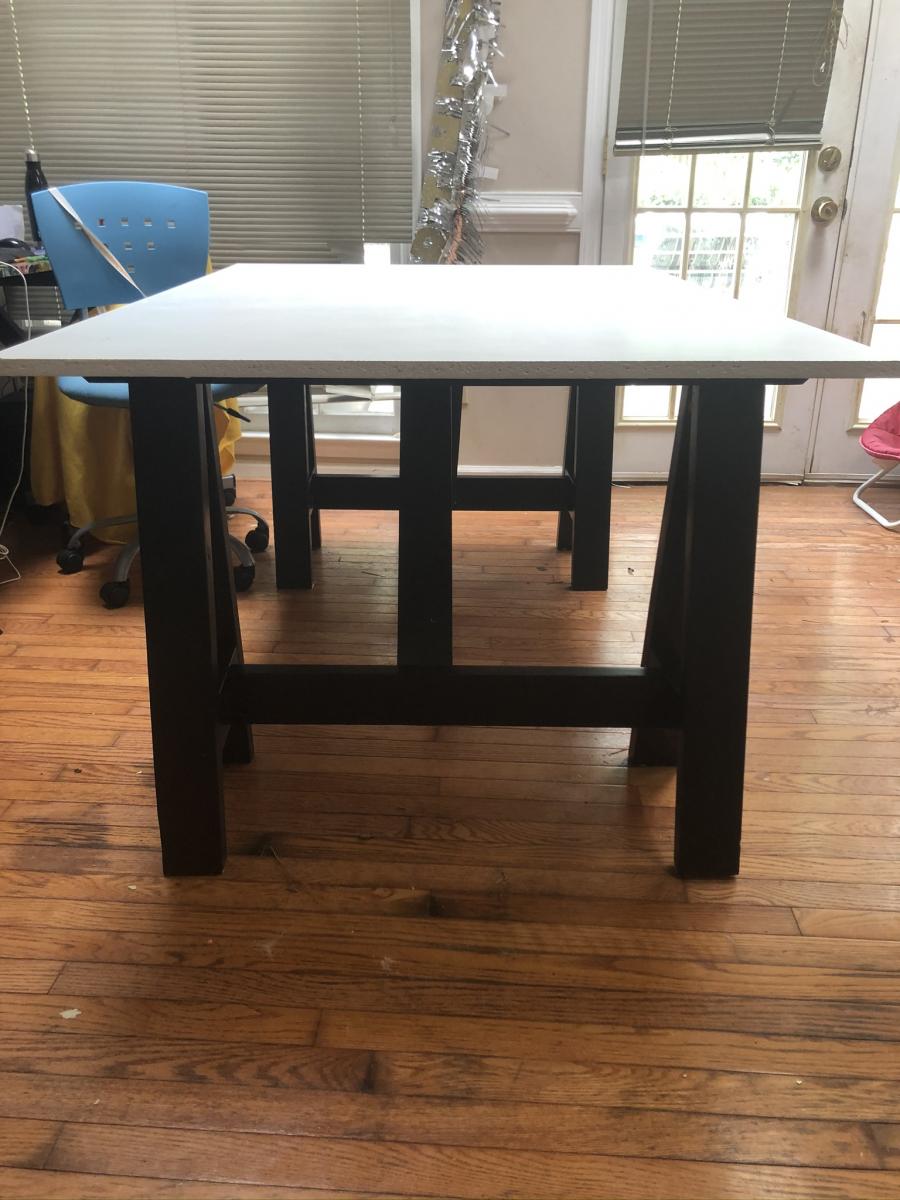
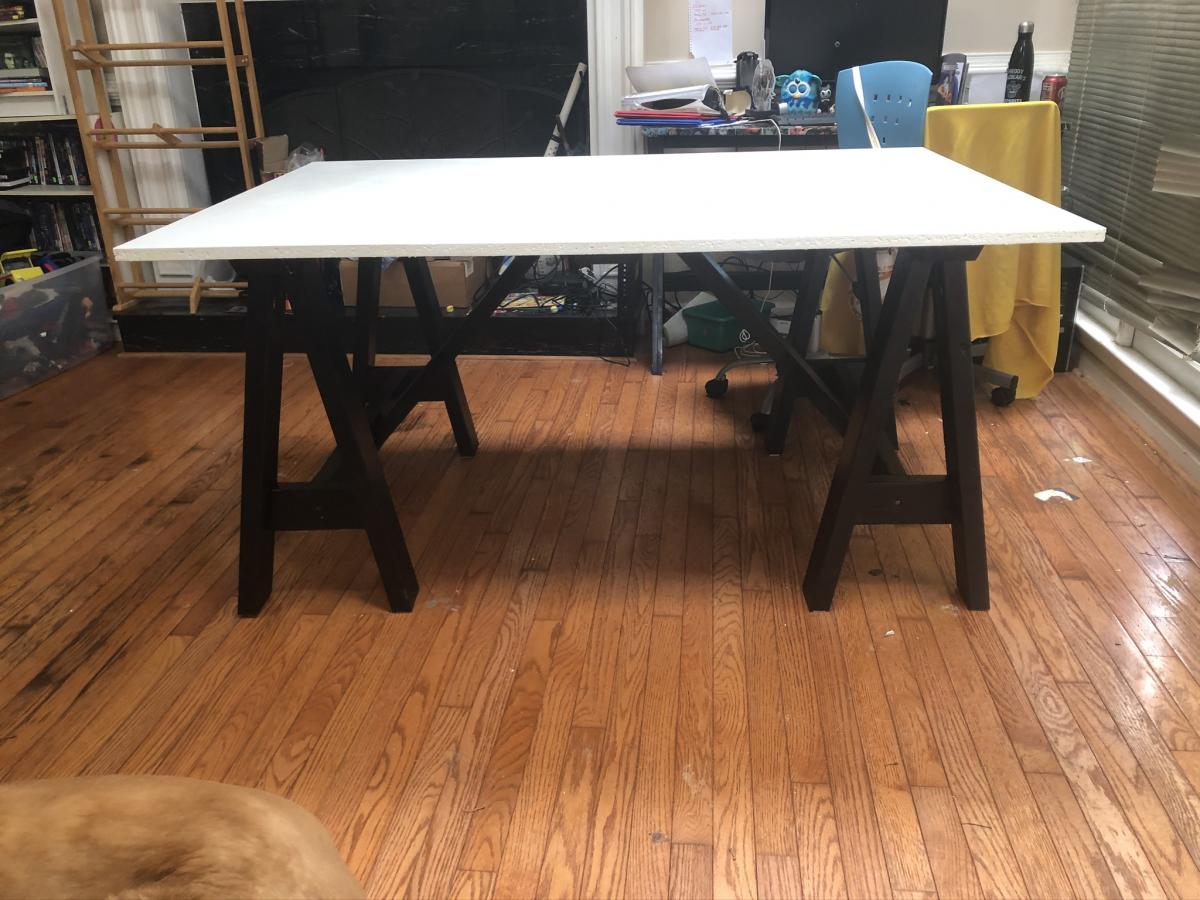
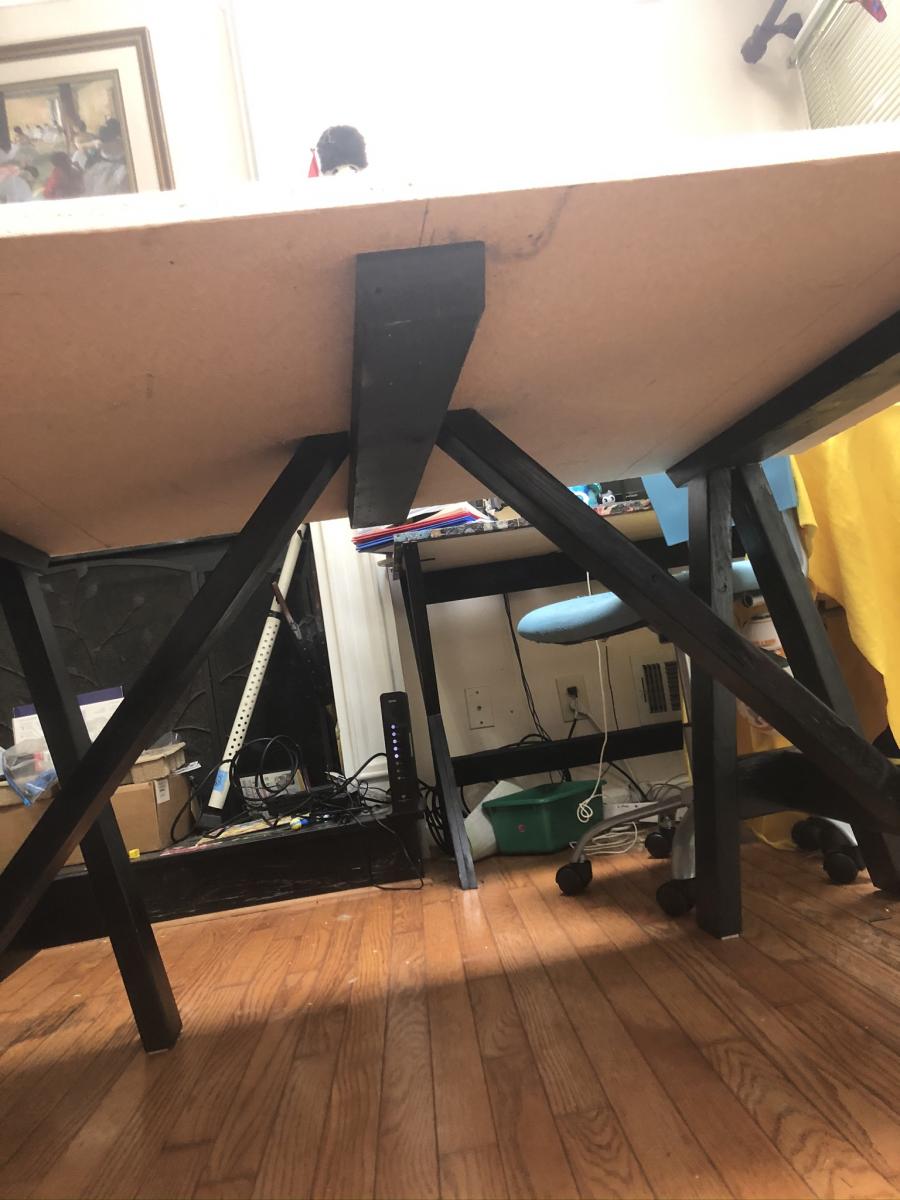
I made this table for my two boys to do their homework on so I modified it a little to make it shorter.
I used reclaimed 2x4's for the base and MDF for the table top.

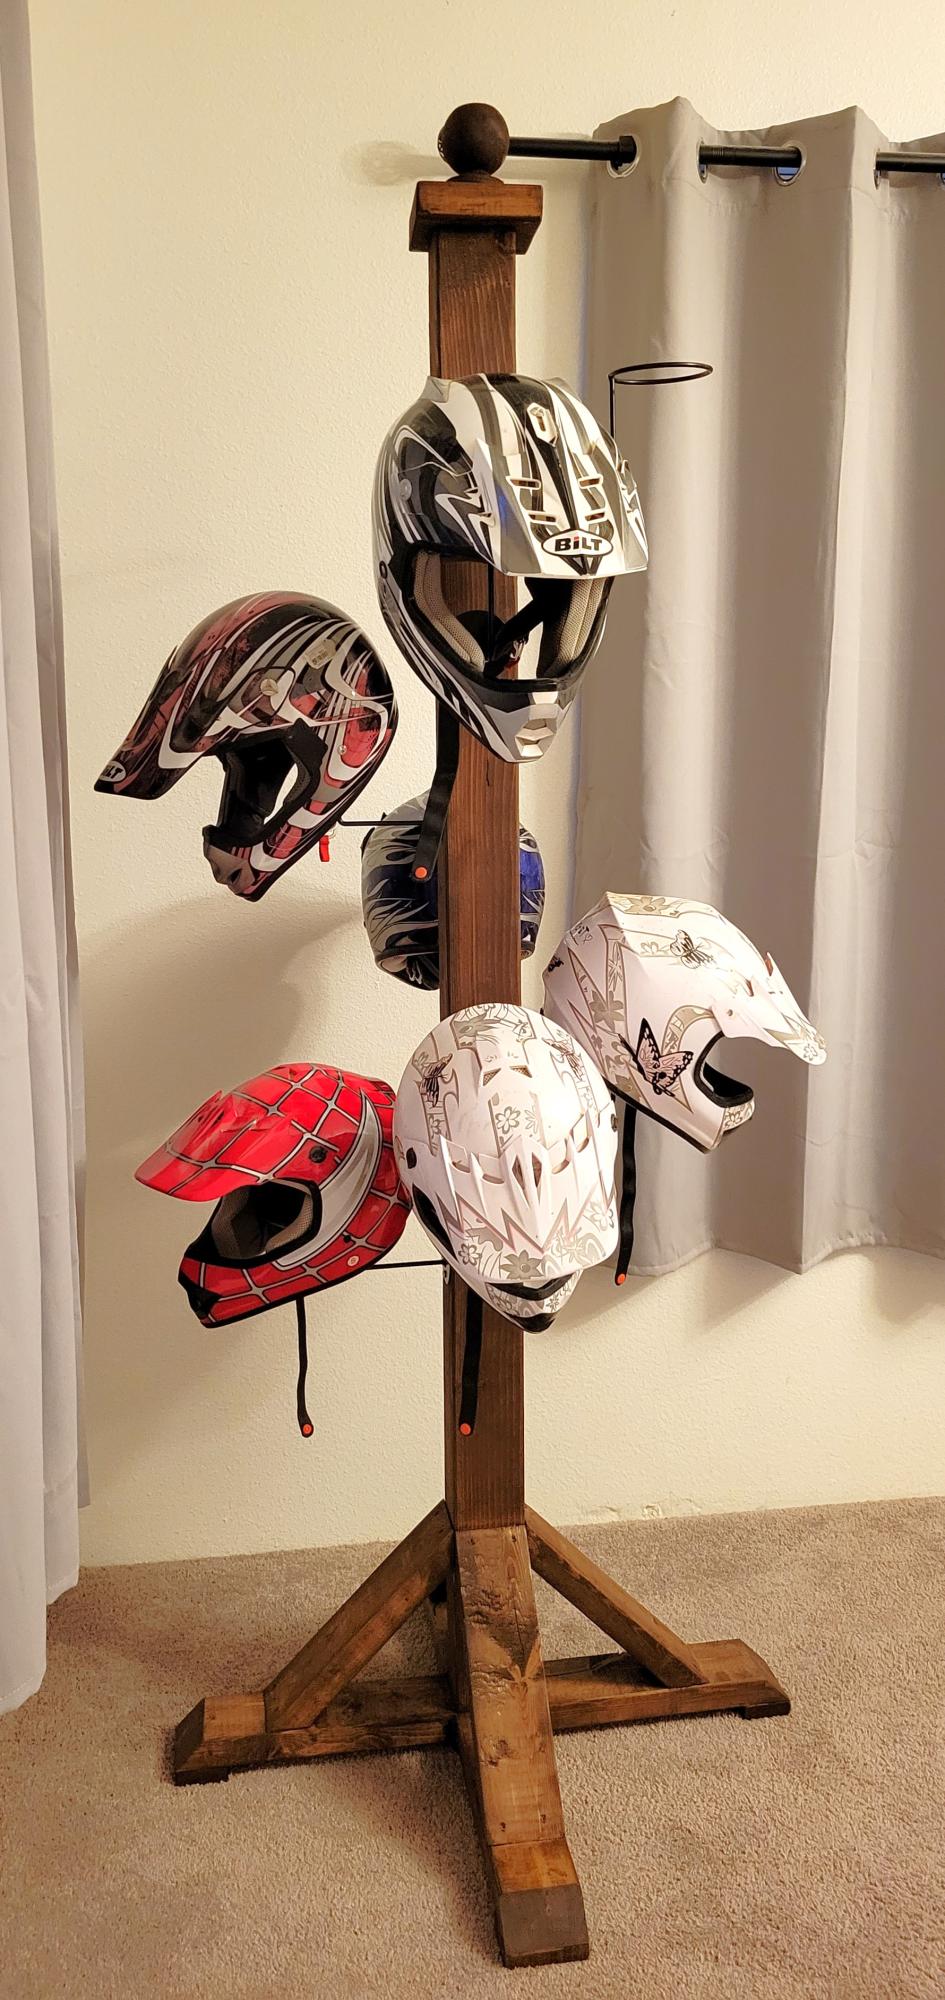
Modified DIY Coat Rack! We call this our "Bear Proof" helmet rack. My daughter's chihuahua (named Bear) likes to mark anything at his level, lol. So I took Ana White's free coat rack plan and added helmet hooks to keep everyone's helmet off of the floor and safe from our little Bear. Thanks so much Ana! We all thank you so much for your generosity!
Paula the Crafty Grandma edited to include *
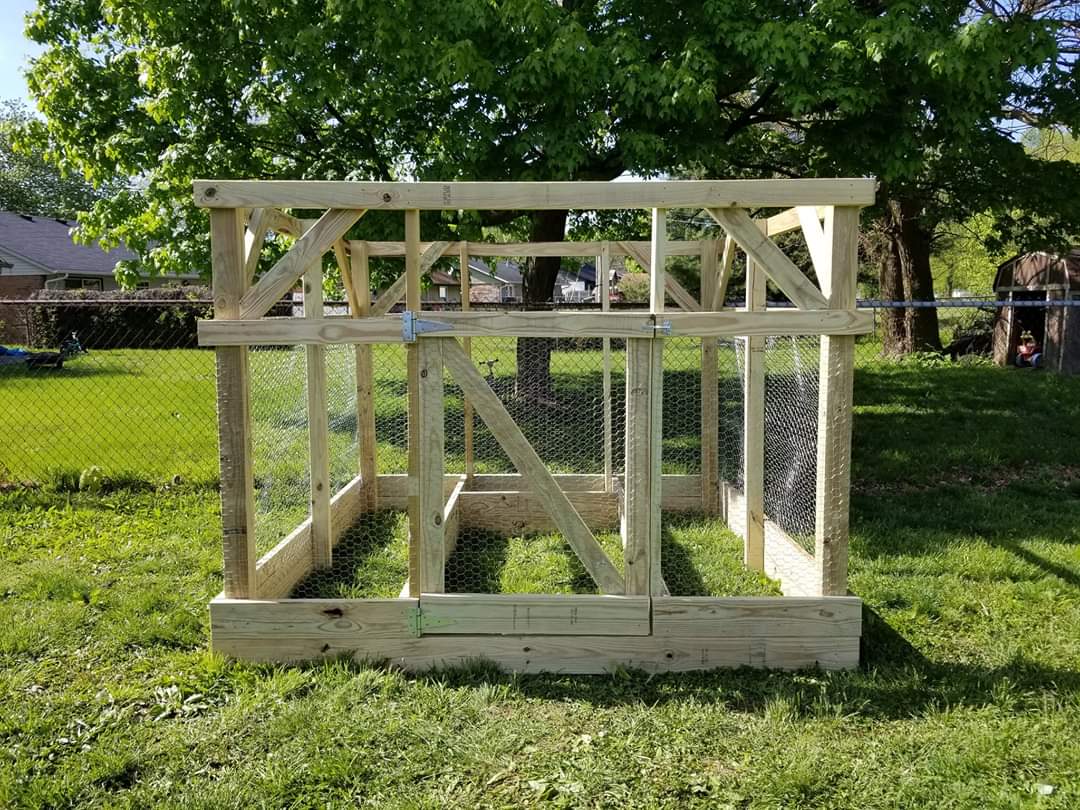
We decided that we wanted a raised garden and found the plans here on Ana's site that we really liked. The plans were really easy to follow and it only took about a day and half for our kids and myself to build for my wife. Only issue I had was the door... that is getting it square but I figured it our later after looking at it long enough. The two 2 x 4's the door sits in between were not level. So I have got to adjust them and the door in the coming days to correct it. Other than that we absolutely love it! Thank you for providing the plans to all these projects. This is the second thing that I have made from this site. I will be making another post later on regarding the other project! I might add I have never done anything like this ever and honestly I think it turned out great :-)
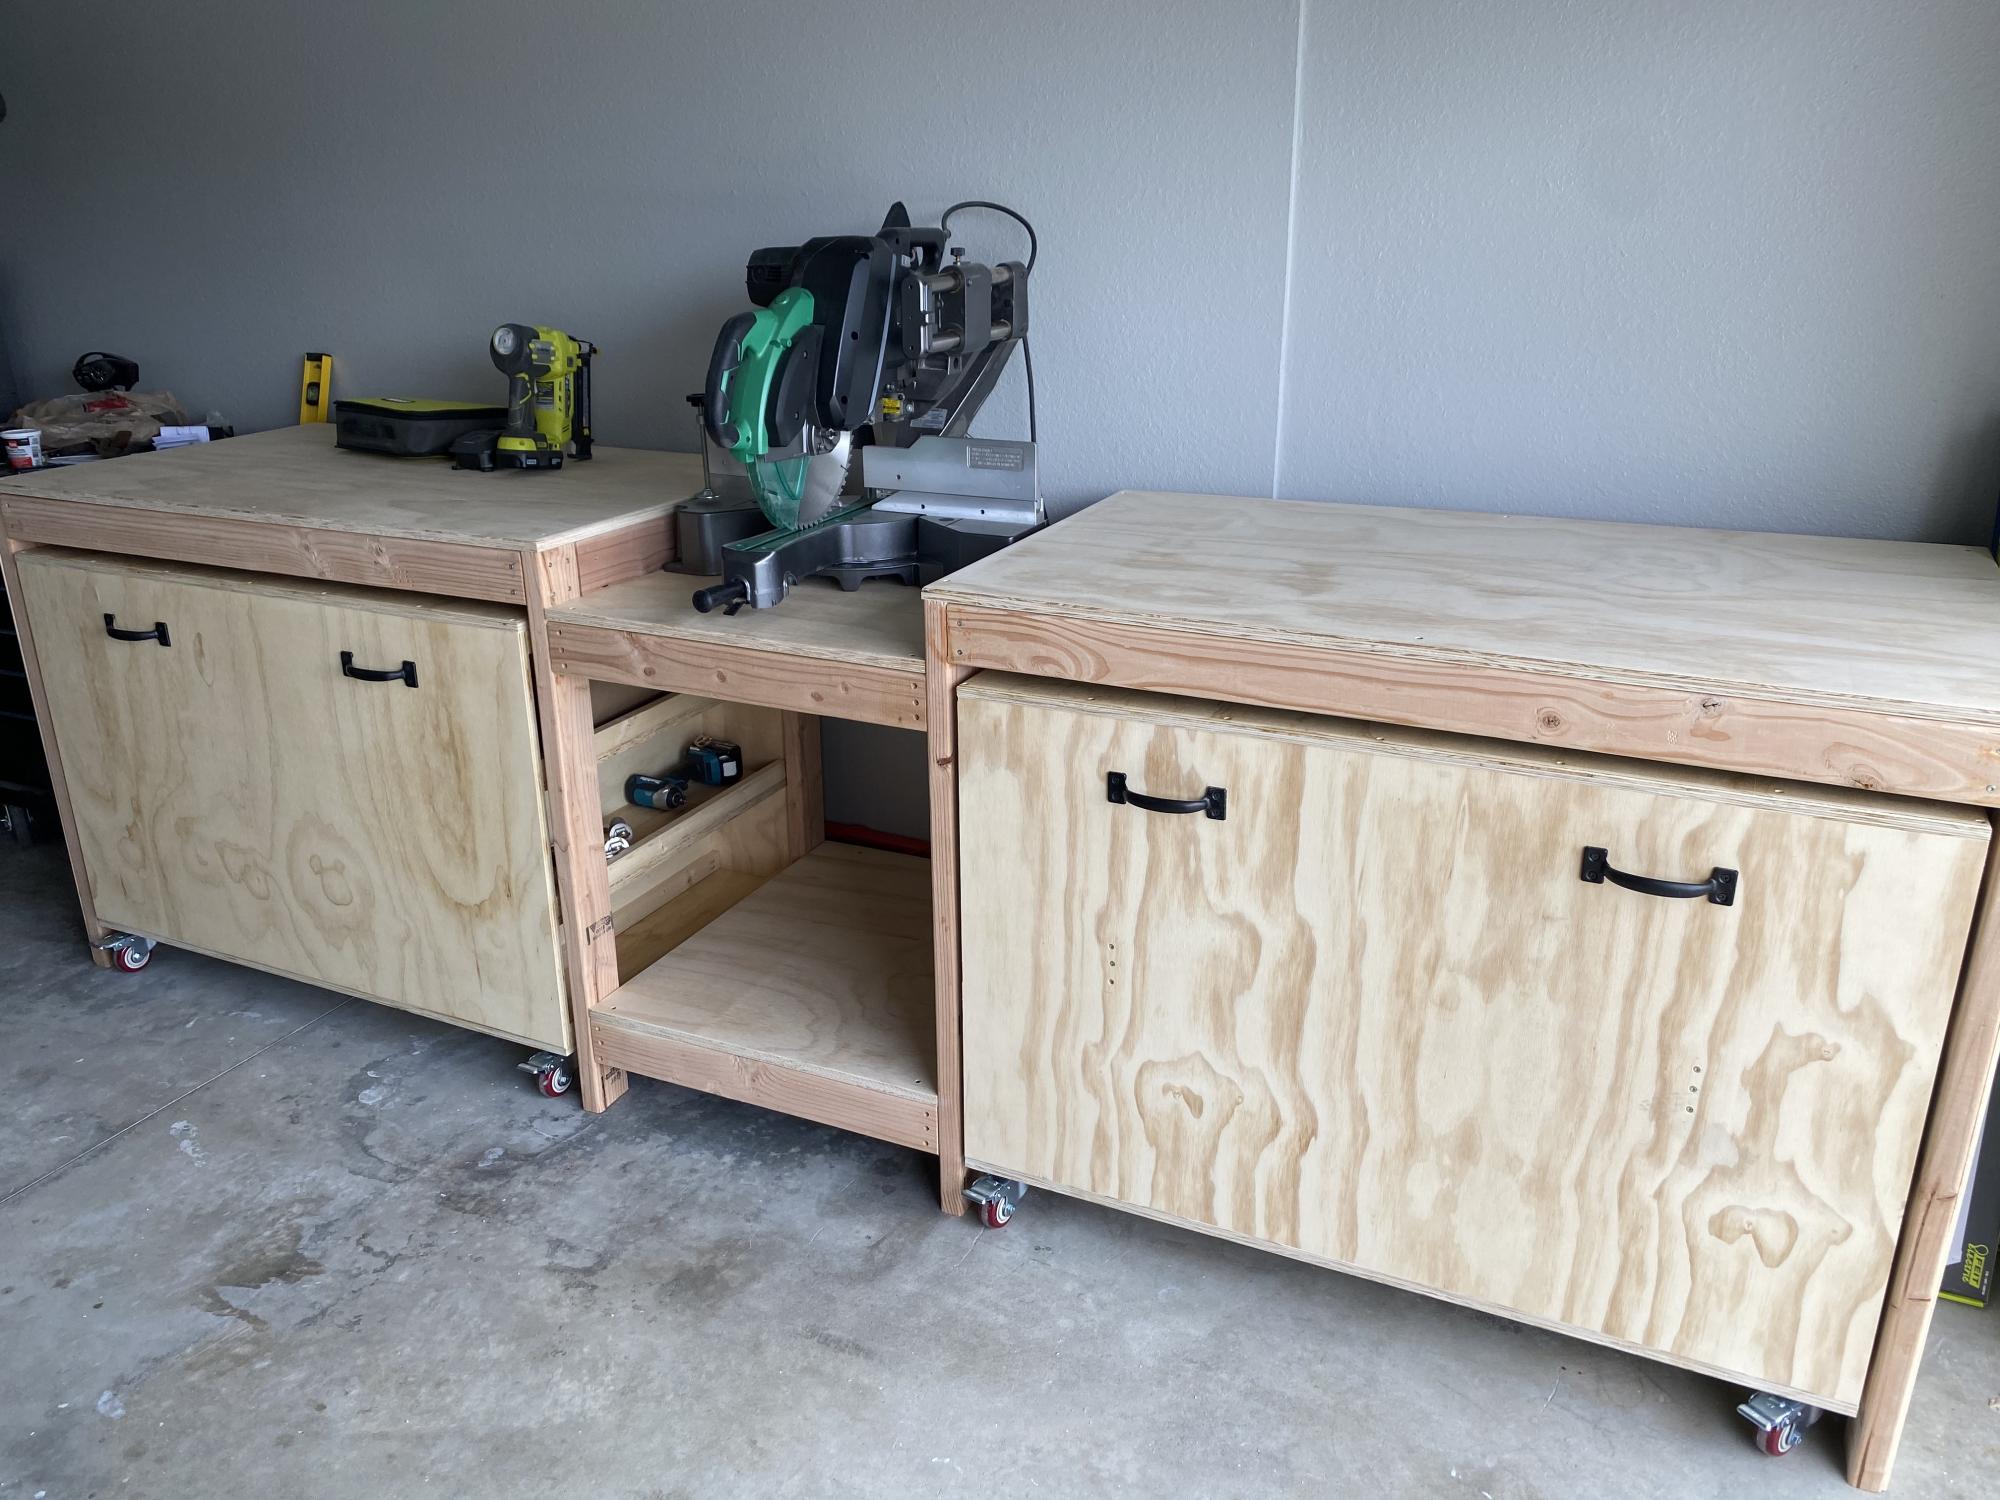
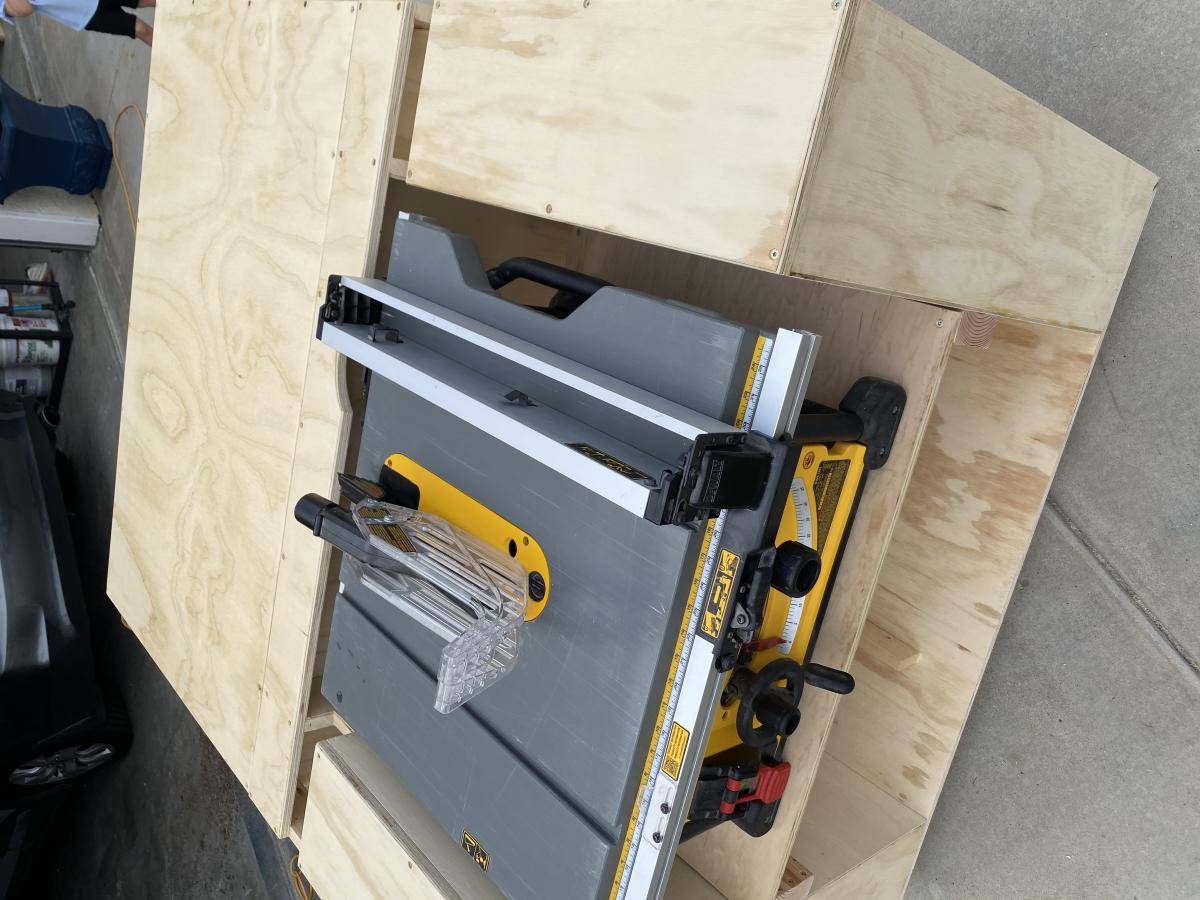
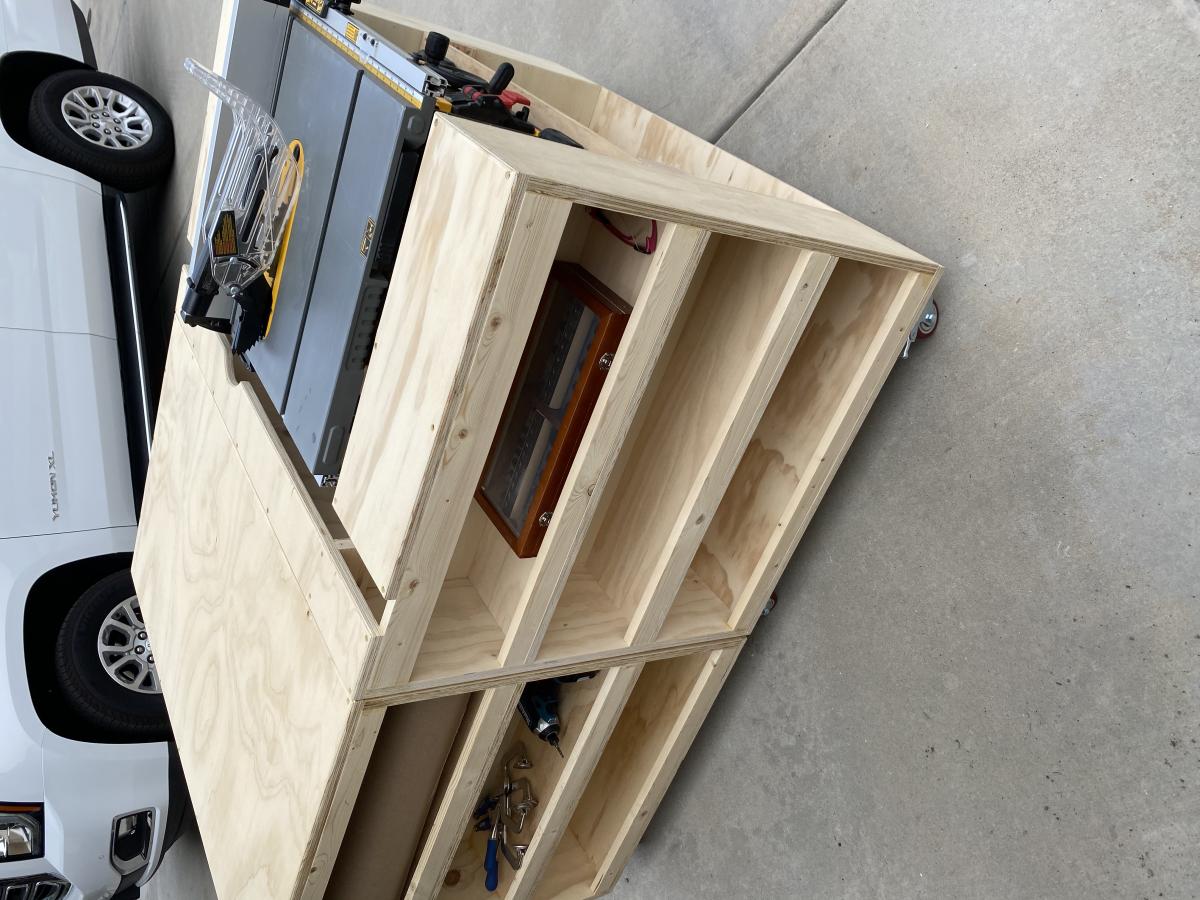
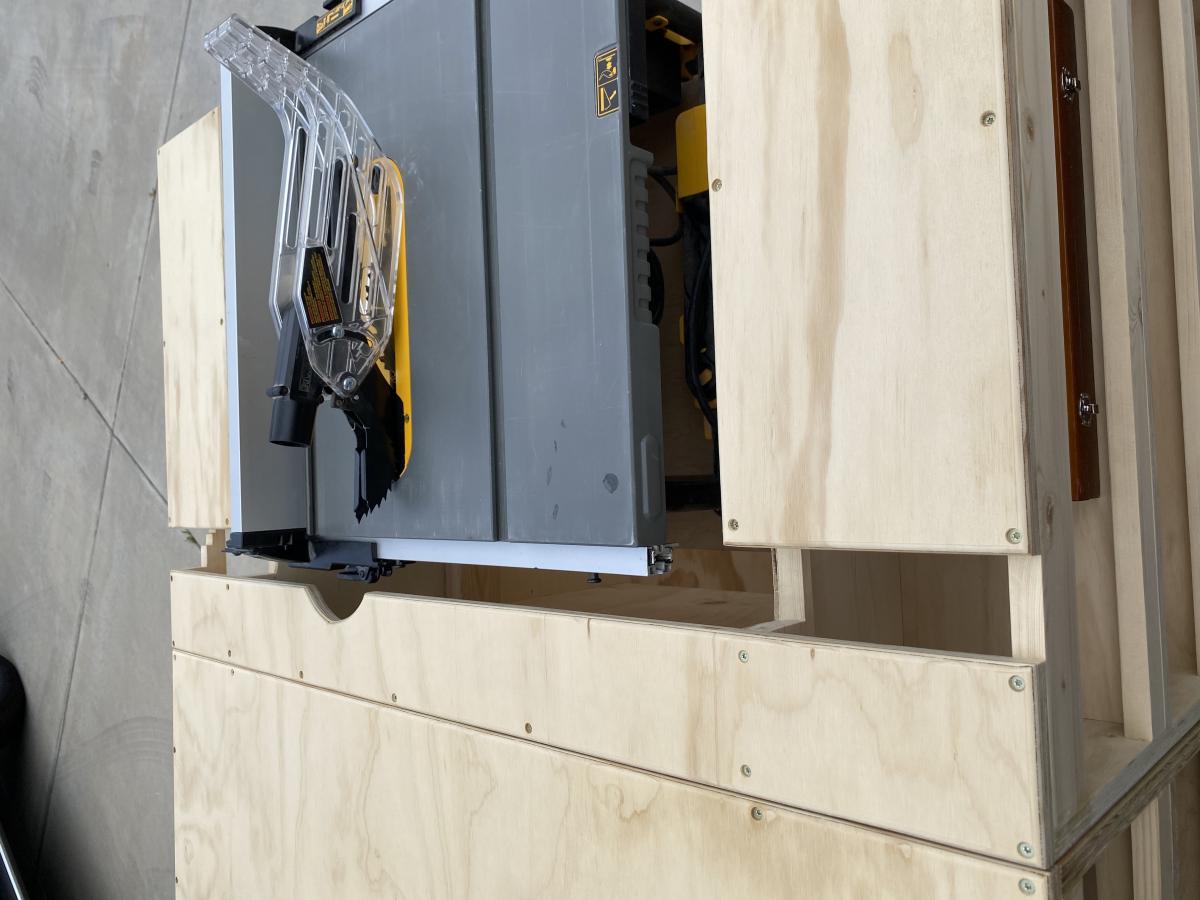
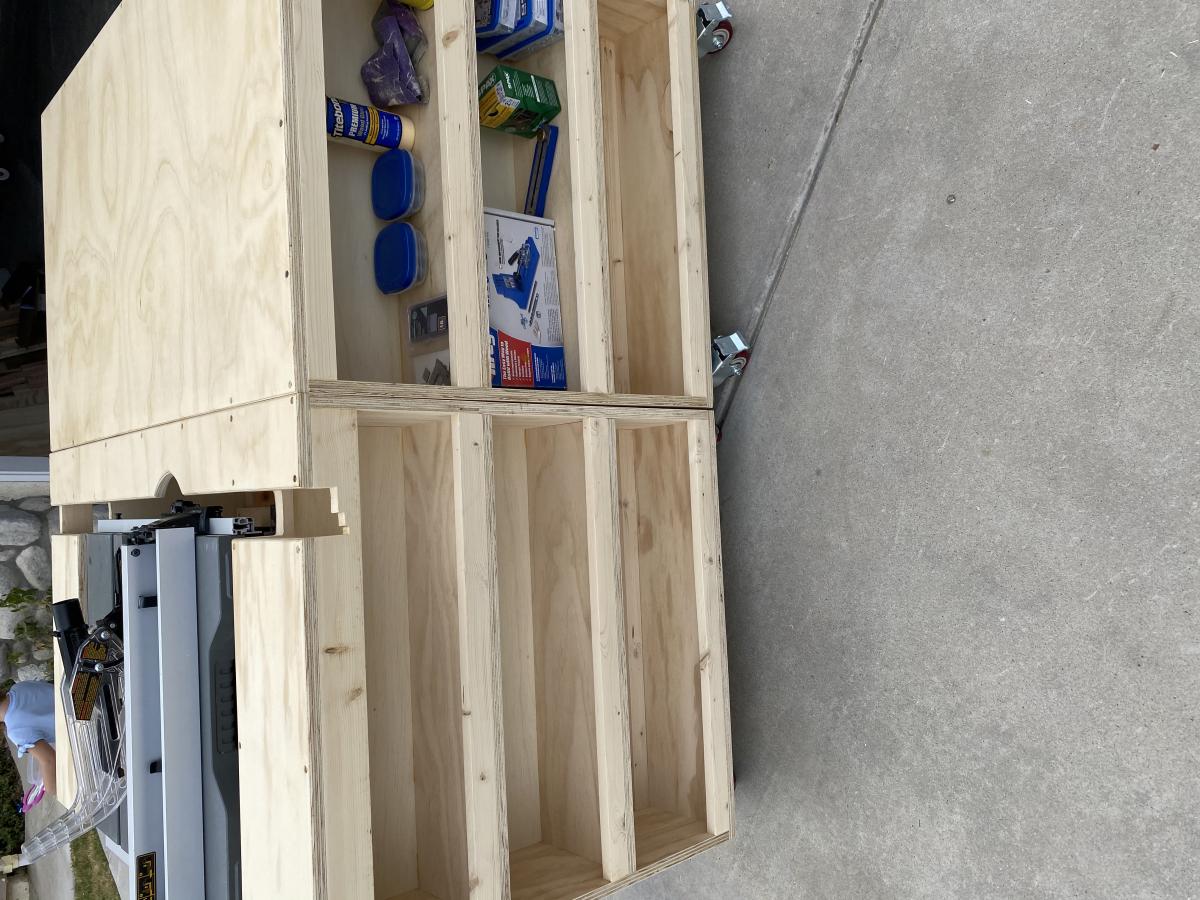
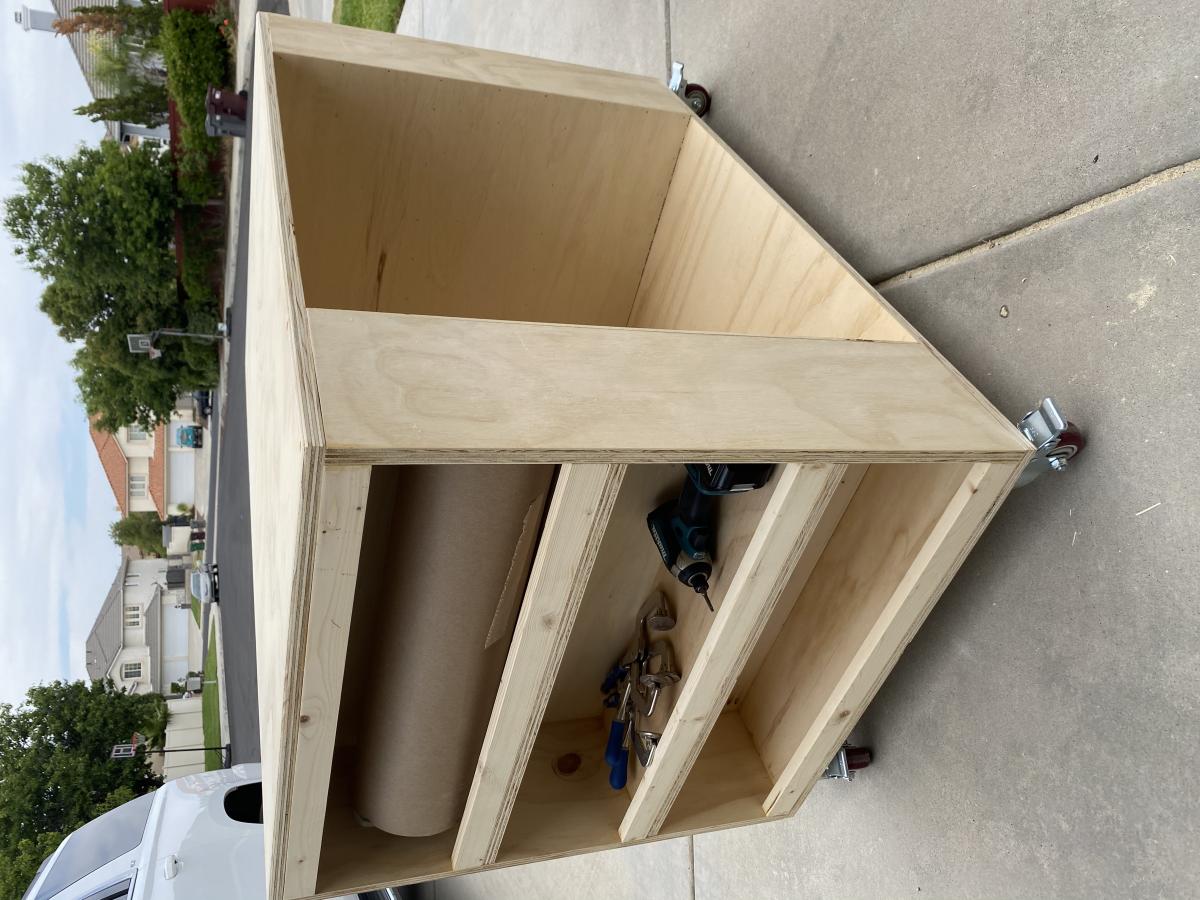
I absolutely love this build. I did end up using pocket holes for the carts to make them slightly stronger. I also had to do custom work on the top of my table saw cart due to rack and pinion fence. I routed the the plywood tops with a slight round over and waxed them smooth. I plan to add a dust collection hood around the miter saw and then install an inset stop block for the miter fence.
Fri, 07/24/2020 - 16:08
Very nicely done! It never even crossed my mind that the cart would need modifications to fit that table saw. That's the exact same table saw I've had my eye on, and I plan on purchasing any day now; so that is definitely good to know! My project is still a work in progress. I currently only have one cart built.
Do you have enough room to adjust your miter saw to make 45 degree cuts from the position pictured? Or do you have to move it forward in order to clear the work bench frame? I only ask because that's what I have to do with mine at the moment. I have to have it all the way forward on the shelf. I am considering making the miter saw shelf a little bit wider to remedy that minor issue.
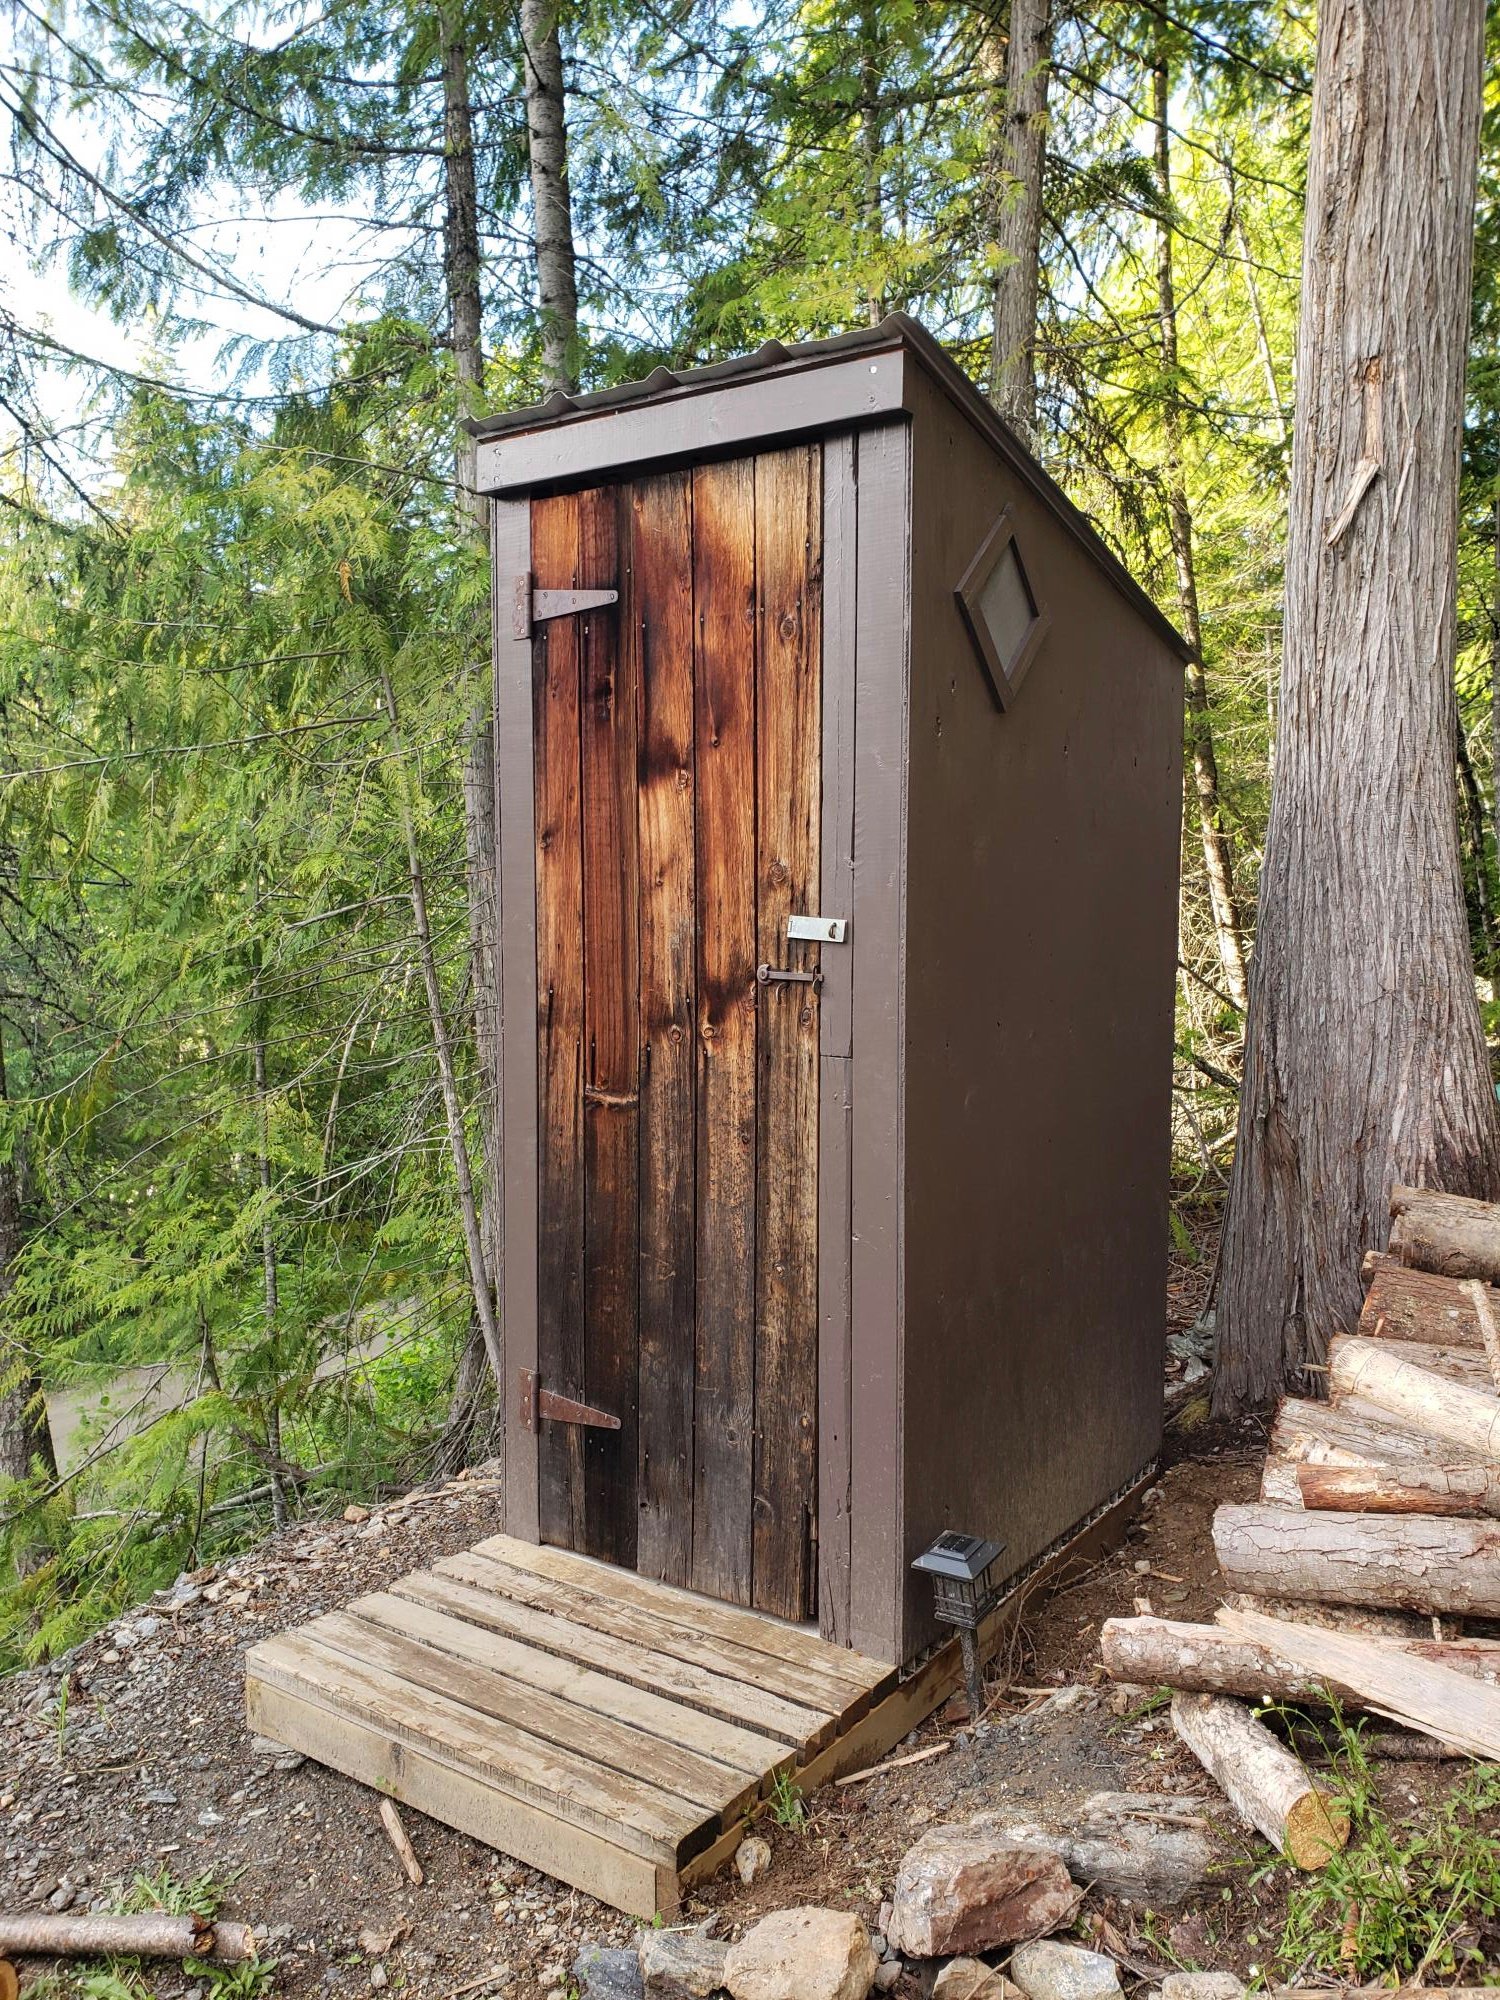
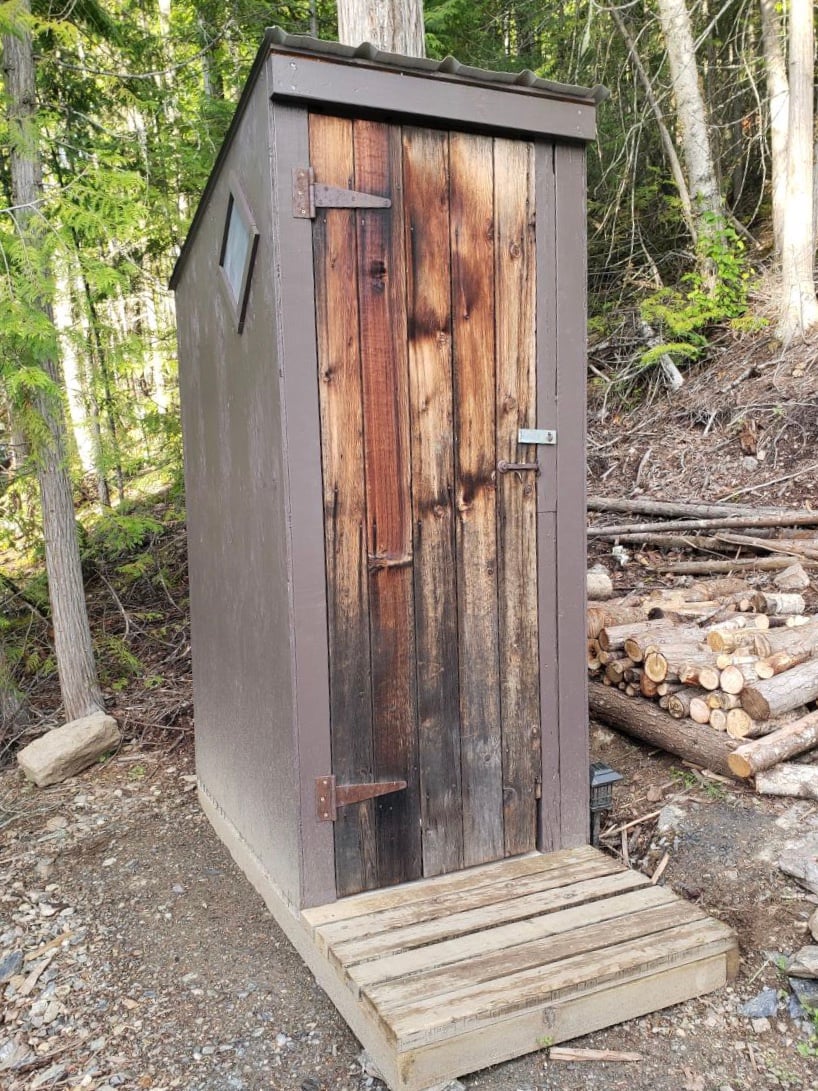
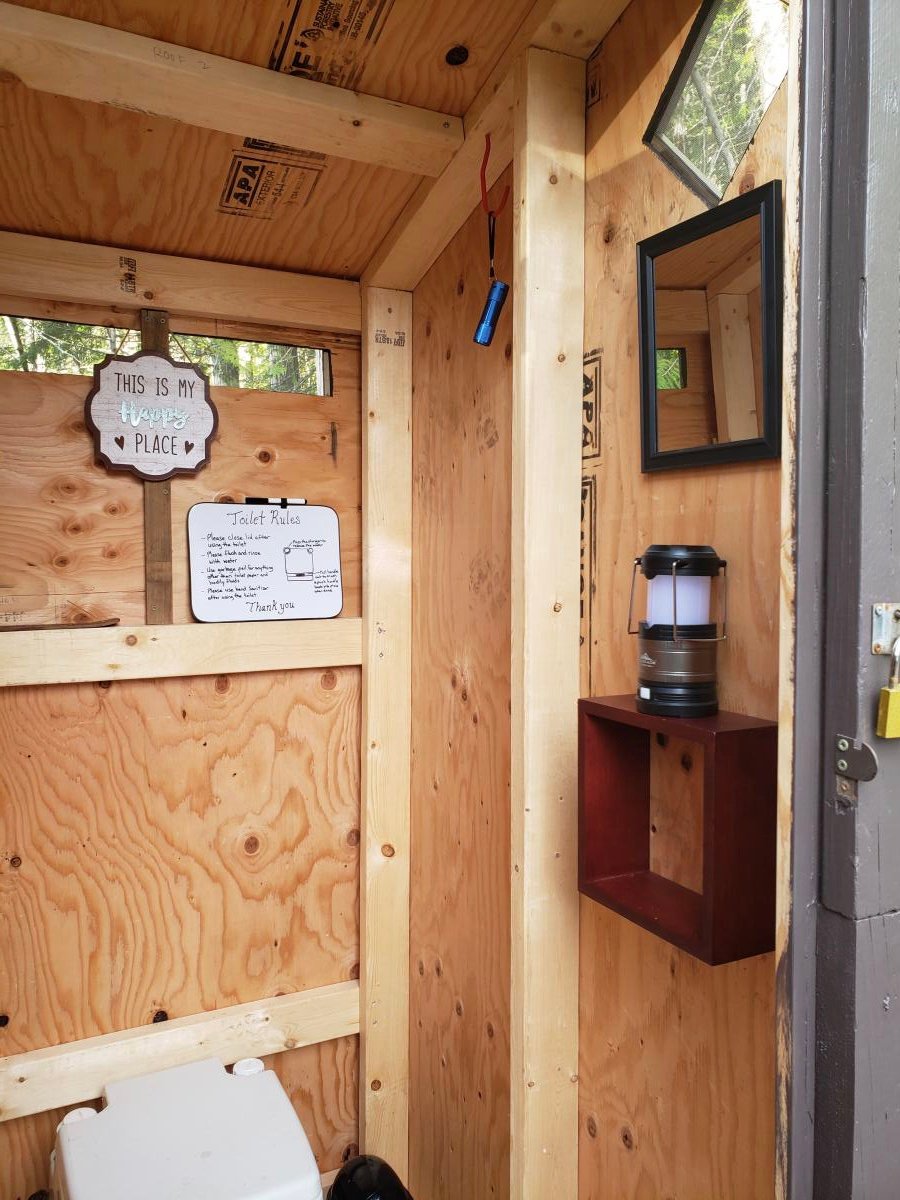
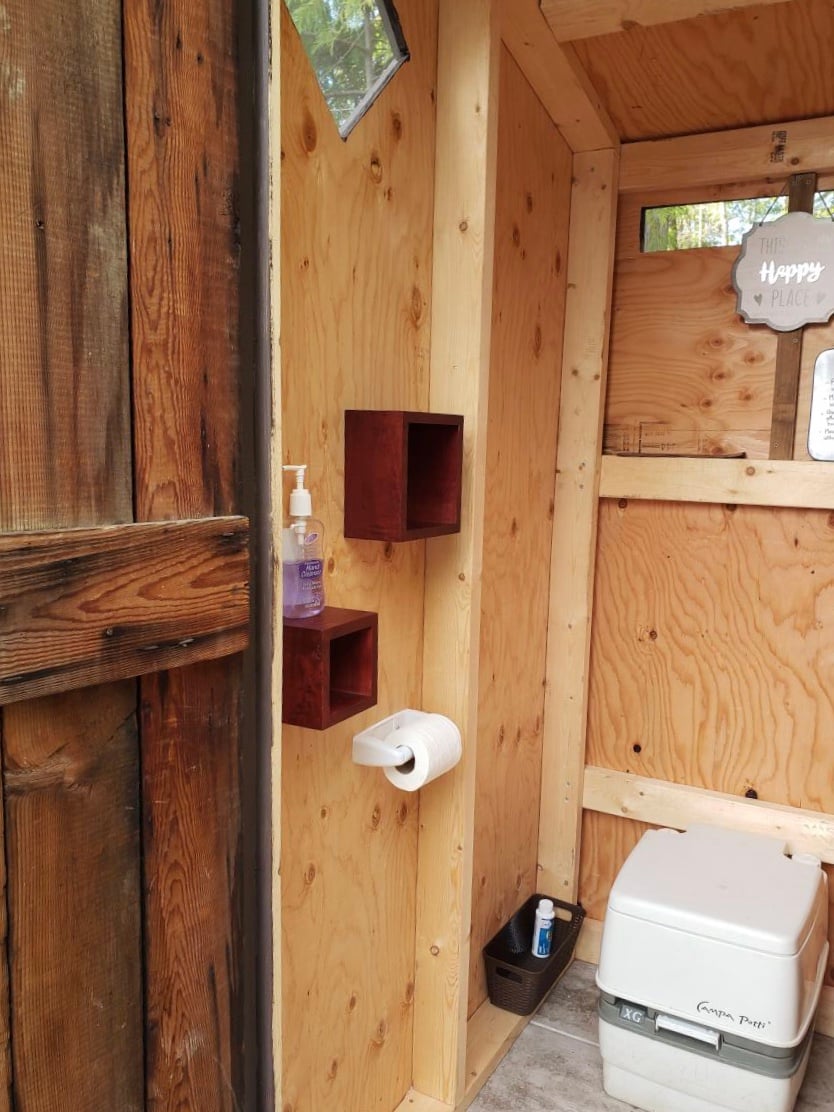
We used the plans from the Simple Outhouse to make a space to hold our porta potty. The door is a repurposed barn door and I think it looks amazing! These plans were perfect for us as we were able to build it in panels and reassemble on our property by the lake. Some screened windows to allow for ventilation and light were the finishing touches. Thanks Anna for the simple to follow plans!

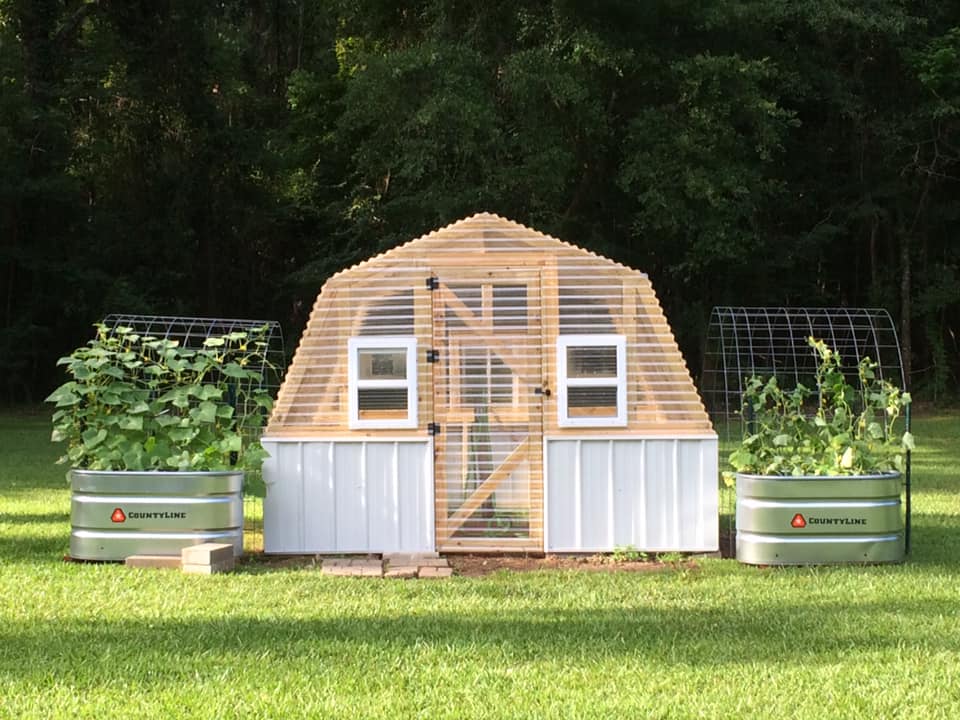
I went from a 6 x 8 Harbor Freight Greenhouse to this one 10 x 12. I added a few windows...
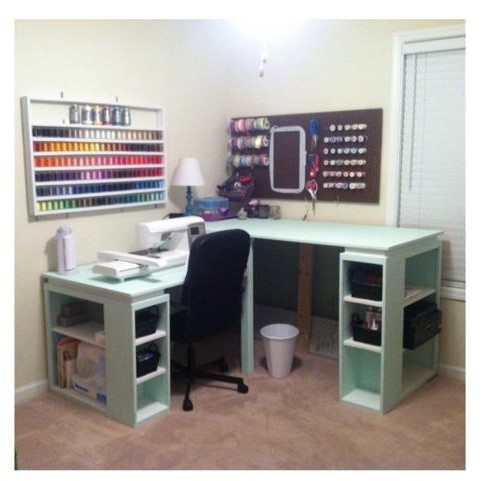
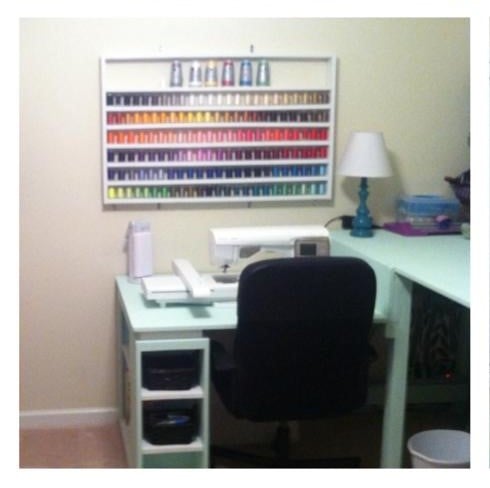
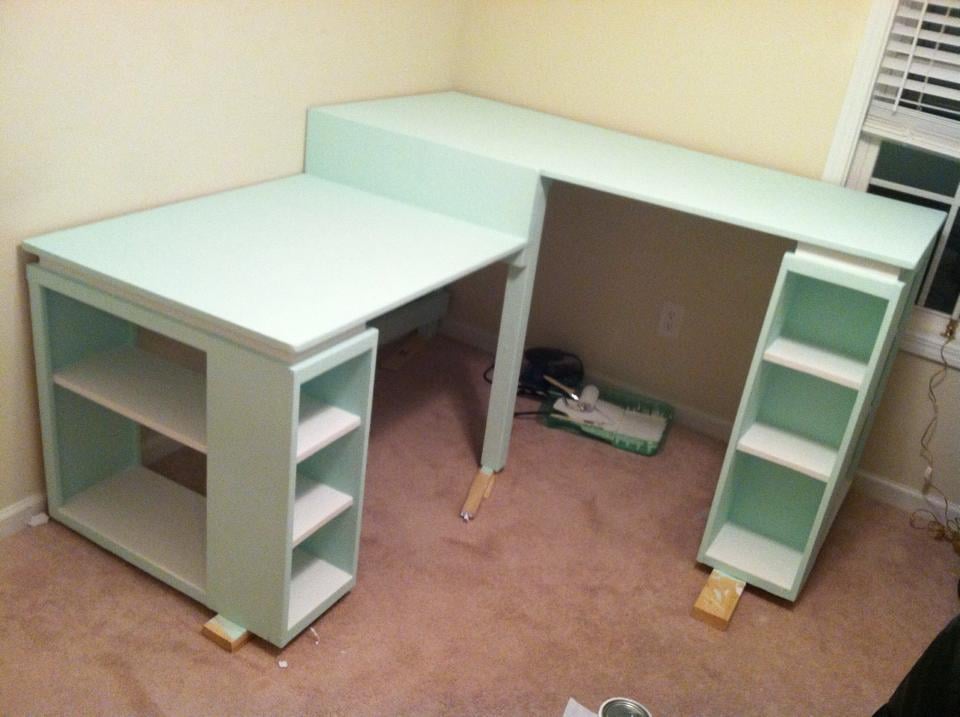
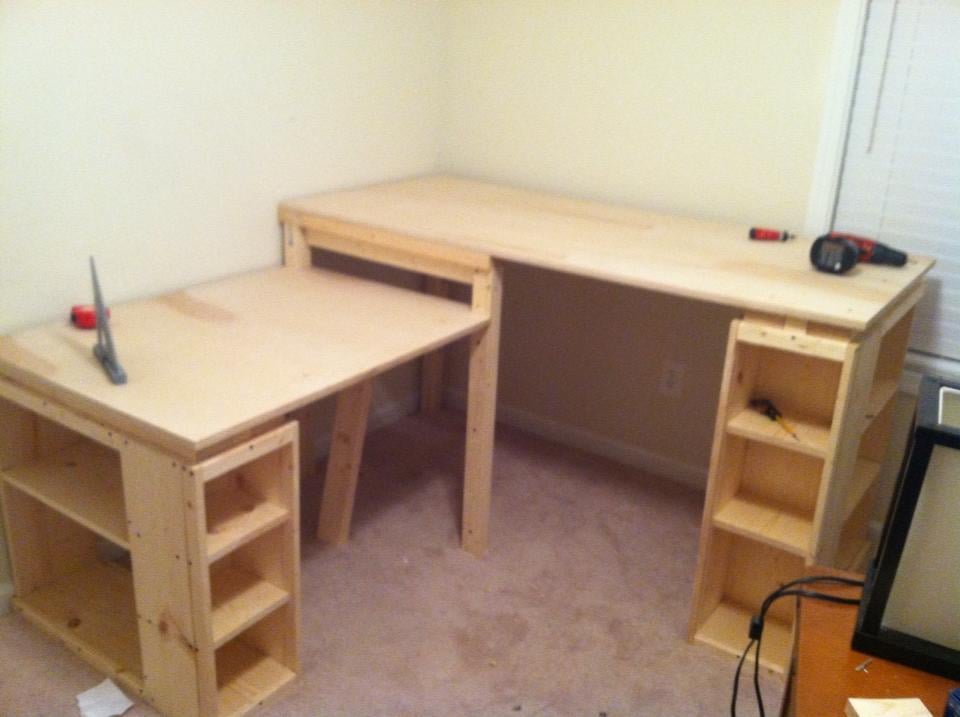
This has become my dream sewing/craft desk!! This project took about a week from start to finish (with work days in between). The shorter portion of the desk is used for my machine and sewing. The taller portion is used as a cutting table. The plans (dimensions) were tweaked some to get the perfect heights for me :).
Wed, 03/25/2015 - 06:31
Your desk is GORGEOUS!!!! It's exactly what I've been looking to build for my space. I would love to know how you modified the plan to make it.

Wed, 03/25/2015 - 07:21
I need to modify my home office/craft space and building a couple of these just may do the trick.
Wed, 03/25/2015 - 07:23
I also wanted to comment on the thread shelf you build, that is really awesome, you can see all your colors right in front of you. Mine are in a drawer and I have to pull the whole thing out to see what I need. This is really giving me ideas.
Fri, 09/04/2015 - 08:45
Would you please send the plan instructions (with measurments). It is perfect for me as I sew and embrodery both and have two machines.
I used dowels in the screw holes.
Mike Kimble
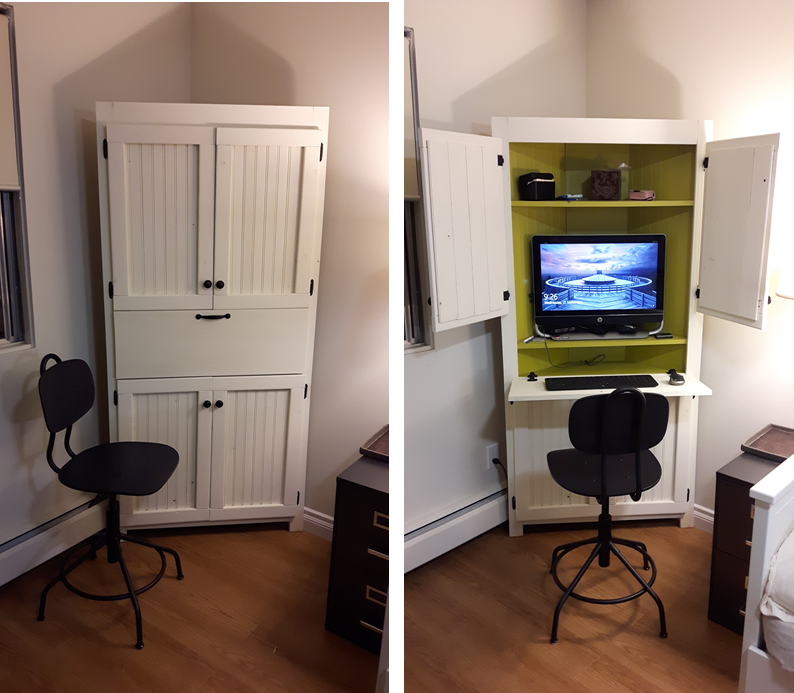
Flip down tray added for computer keyboard.
Wed, 12/27/2017 - 20:15
I love this, it is exactly what I am looking for! Is some type of extra support needed for the flip down tray for the keyboard ? If so, what would it be, or is there a special hinge I should look for?