48 inch island
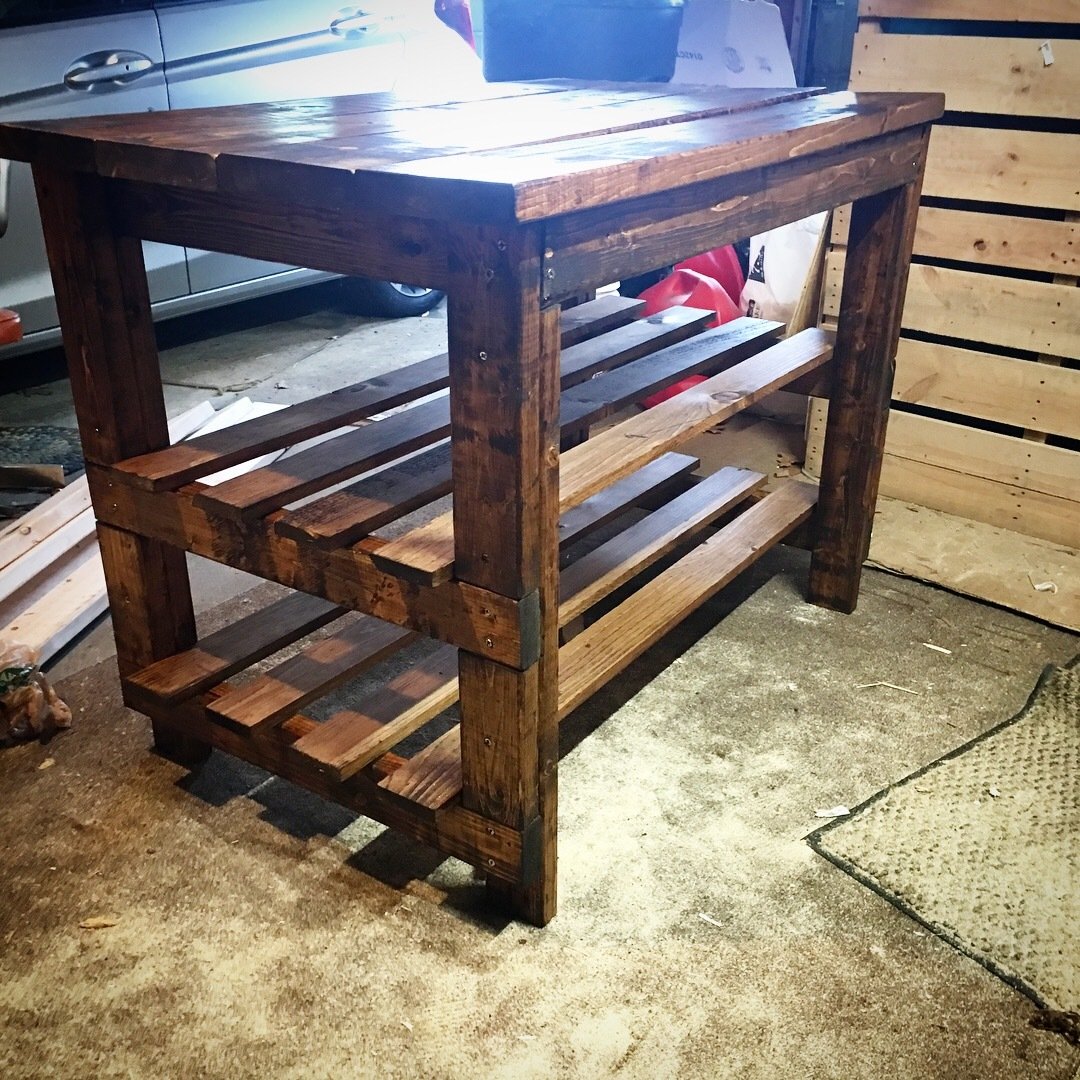
I chose to make this island 48 inches long to fit my smaller kitchen. I also used pine trim for the bottom shelving to make it more delicate.

I chose to make this island 48 inches long to fit my smaller kitchen. I also used pine trim for the bottom shelving to make it more delicate.

I am so grateful to you as I have learned a lot from your videos. I get the true inspiration from your videos and explanation.
During the pandemic, I was taking my classes online which gave me some extra time and I built two out door sofas and a coffee table. The sofa is from the home depot website and the table is again from hoe depot website but it was you who built it/
Dr. Akhter


I built 11 doll highchairs for my daughters 5th "Adopt A Baby" birthday party! These chairs were fast and easy to build and I had a BLAST painting them! The girls loved, loved, loved them! A little extreme for a 5 year old birthday party? Maybe. But definitely worth it!
Fri, 07/15/2011 - 05:13
Wow! That's a LOT of work!!! They turned out absolutely adorable, though.
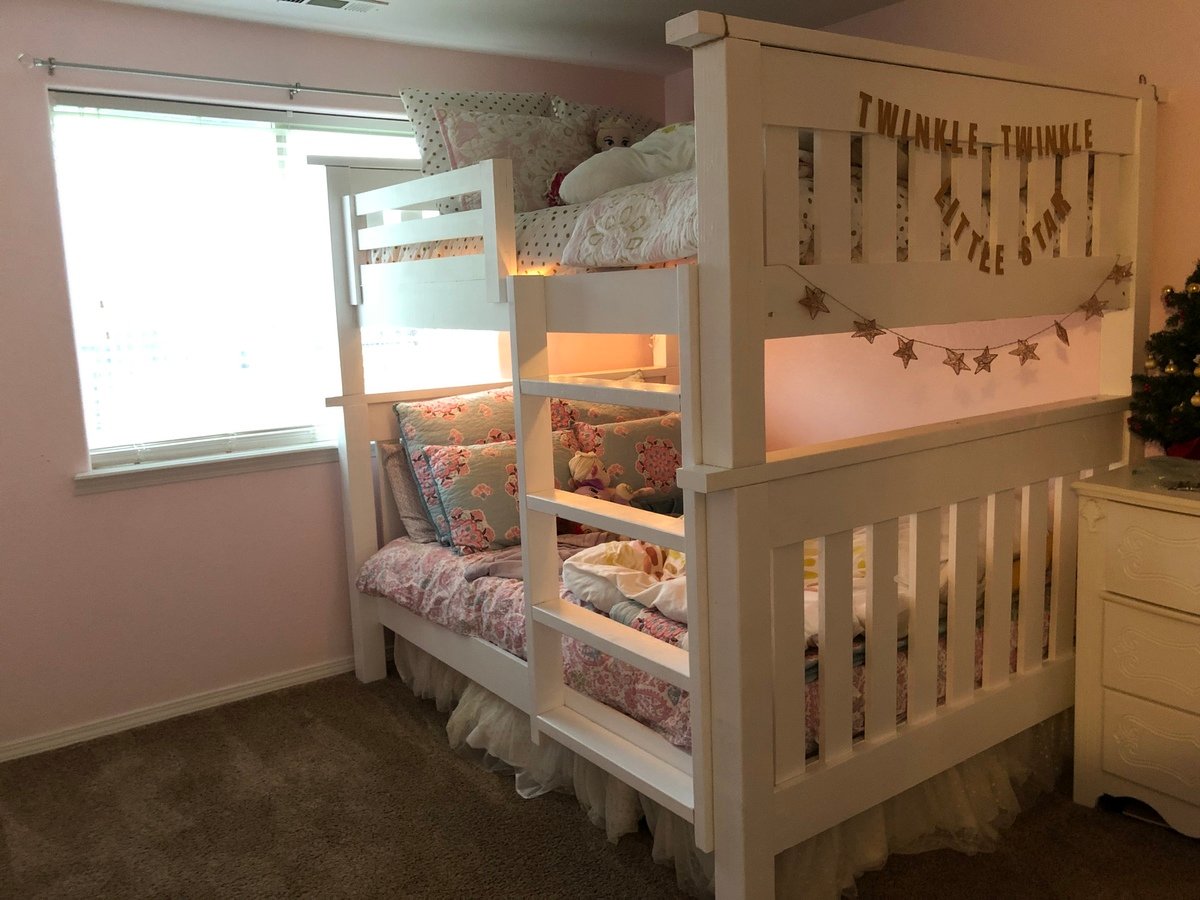
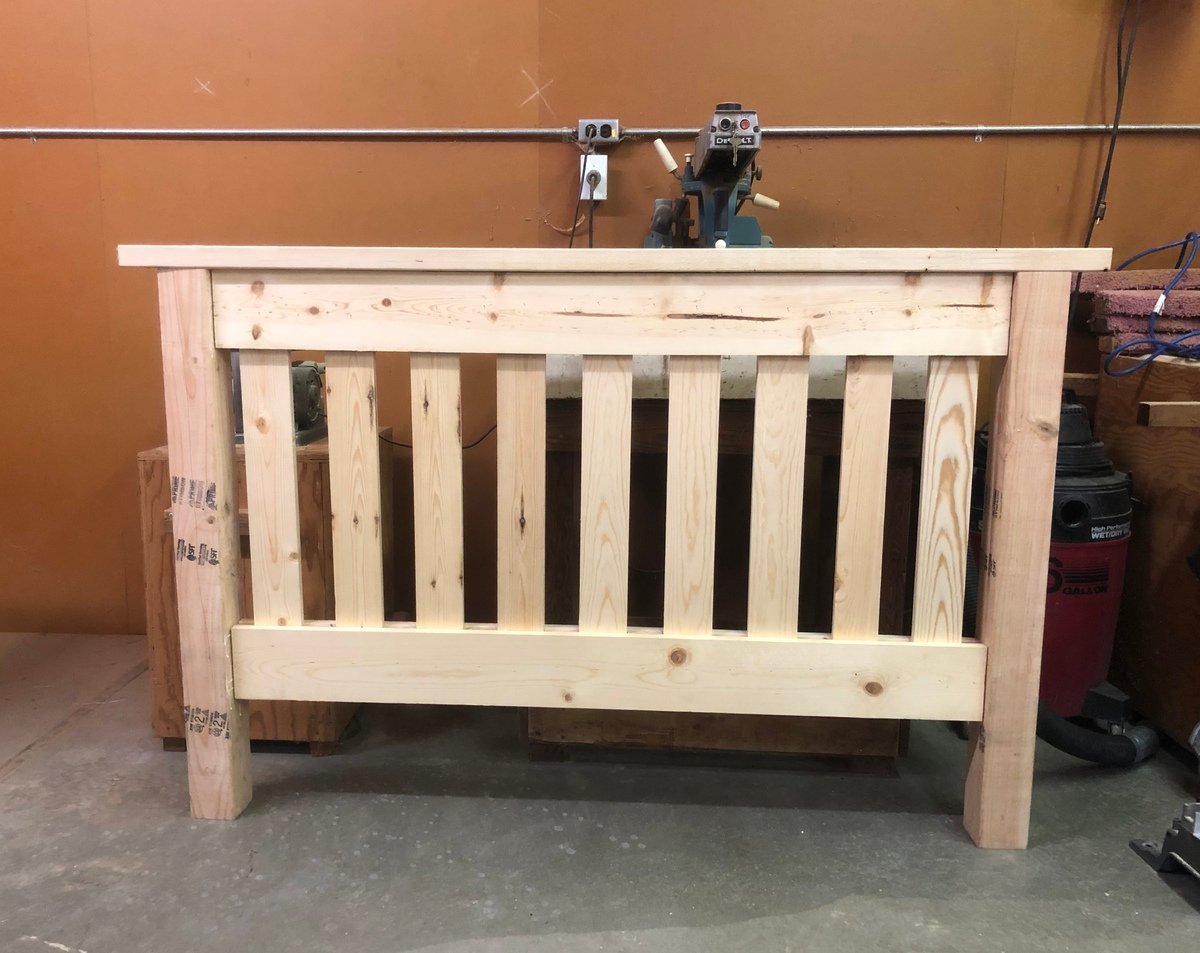
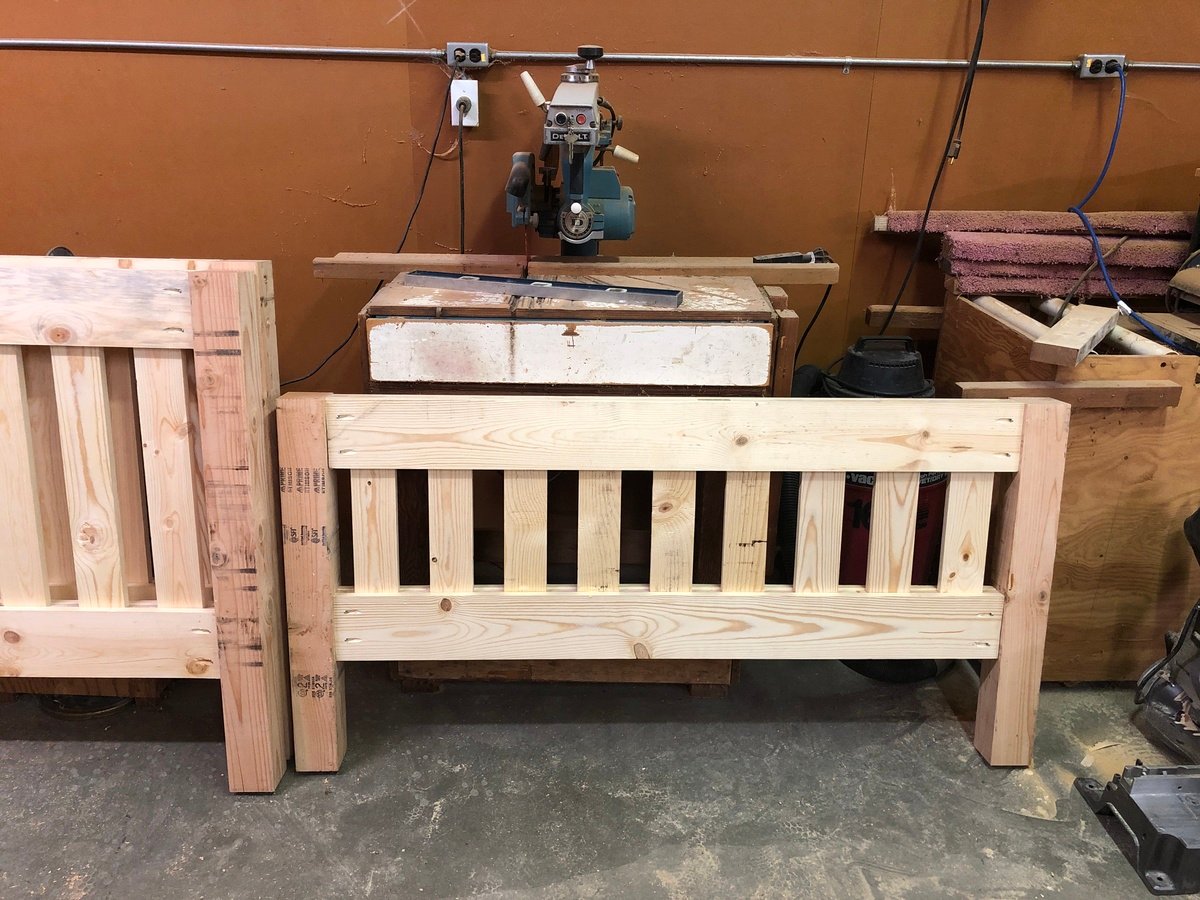
I decided to tackle my very first build this year. I built the full size bunk beds for my girls for Christmas!!!!! I built the rail and ladder (except the 2x4 long posts) out of scrap wood. It took 2 weeks to build & paint only because I did it weeknights after my kids went to bed. I’m in love!
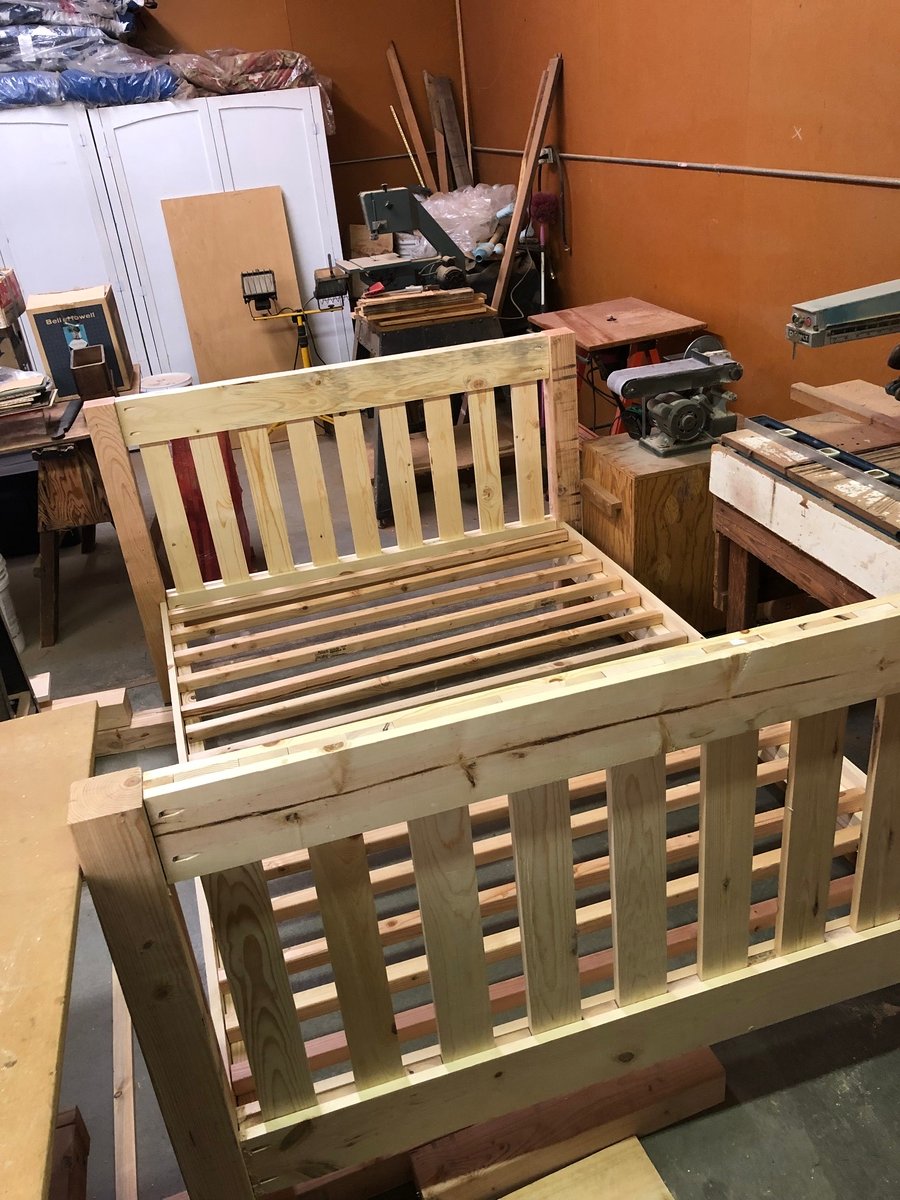
Fri, 12/04/2020 - 13:22
You should be incredibly proud, it’s BEAUTIFUL! I am planning to build full-sized beds for my twin daughters, and your post is very inspirational!
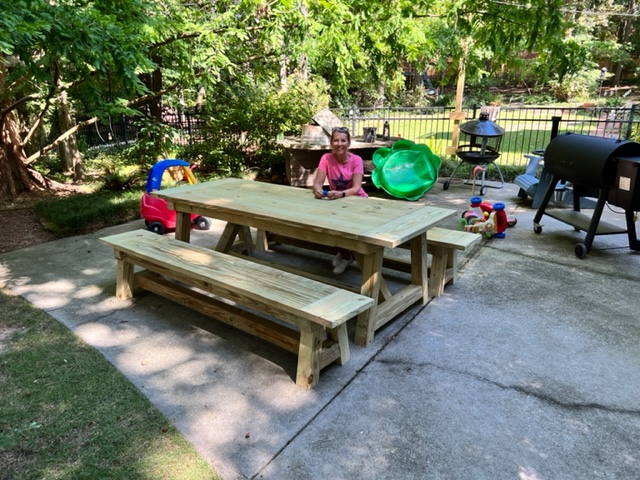
Outdoor - pressure treated; added 1 foot to length.
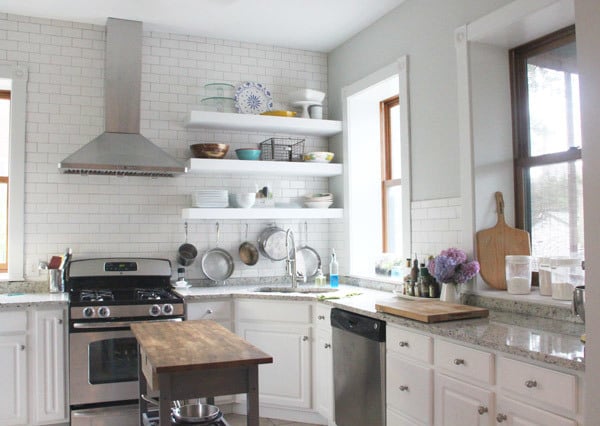
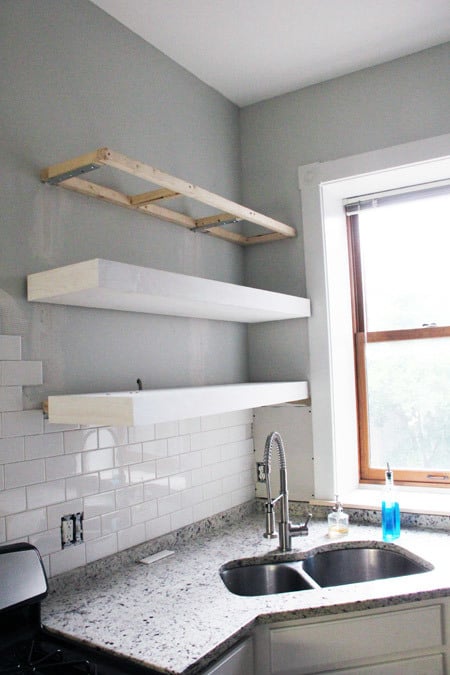
When we recently bought our 150+ year old house, we were pretty happy with just about everything (not stopping us from coming up with projects!) except the kitchen. This kitchen hadn't been updated in about 15 years, had dark brown walls, boring square white tiles with white grout, and TONS of cabinets. Everywhere. I felt like the walls were closing in!
So before we ever signed a piece of paper I had a vision of open shelving. Wide, white floating shelves to put our every day items at arms reach and display the few items we rarely use but think are beautiful.
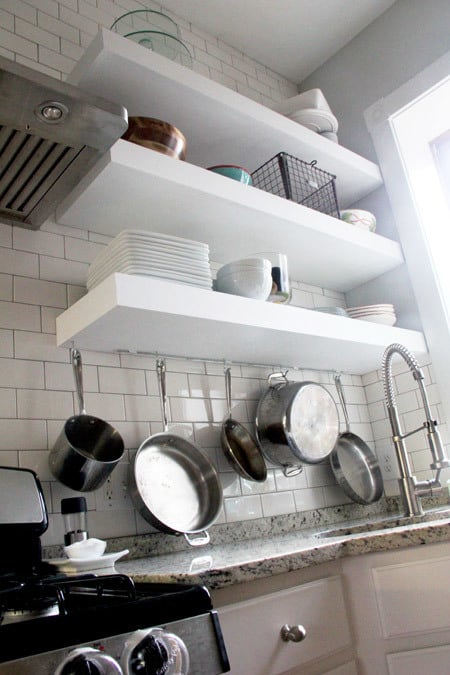
I loved Ana's plans, but I needed these shelves to hold 12 dinner plates, 12 bowls, 12 salad plates, 4 pasta bowls, and...well, right there that about 40 pounds of stuff. And the basic plans just didn't seem heavy-duty enough.
Enter our contractor, John, who I asked for help because, while they were my vision, they were his handy-work. My husband and I didn’t even attempt to build them on our own. John is a perfectionist and we knew he’d make this plan work…perfectly.
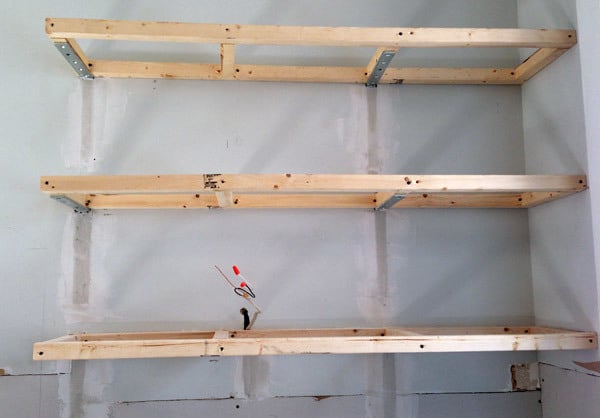
As usual, this was no sweat for John. To build the frames he used 2 x 2′s and secured them with 10 x 1 1/4″ angle brackets. During assembly, John made sure to position the center supports to match the wall studs in front of which the frame would hang. Once assembled, he removed some dry wall and attached the brackets directly to the studs.
We could store baby elephants on these shelfs, they wouldn’t budge.
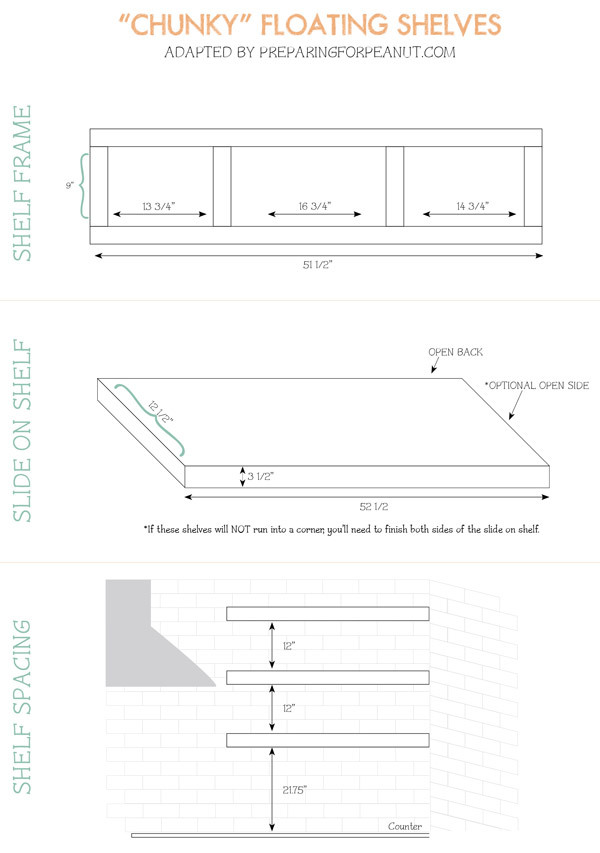
Since I knew what needed to be stored on that first shelf (our every day items), we used the measurements to equally distance the three shelves (not including the first shelf of course—it needed more space above the counter top). Then we sealed up the dry wall. Another help with support was butting the shelves right up to the corner, putting another screw in another stud.
We moved the lighting electric up for new under cabinet lighting—so easy pre-tiling.
For the actual shelves—I like to think of them as “sleeves”—John used 3/4″ sanded plywood for the tops and bottoms of each shelf, then 1 x 6 clear pine ripped down to desired thickness for the fronts and one side (the other side is against the wall, so was left open). The primed sleeves spent a few days on the screened in porch while I tiled around the frames, they were pretty heavy and very solid.
I’ve made an attempt to lay out the measurements involving our floating shelf project. These are to scale and give a good idea of how our plans differed from Ana’s.
We LOVE our shelves and get so so many compliments. The seemingly small and simple changes (tile, shelves, new window trim, paint, and soon flooring) made a HUGE impact and not that huge of a cost. And we don't miss the upper cabinets at all.
Thanks for the head-start and inspiration Ana!

Sun, 10/20/2013 - 09:42
Where did you get the heavy duty angle brackets? Having a hard time finding them. If you have the link, that would be great! Thanks!!
Mon, 10/21/2013 - 08:41
I'm not sure where to get big angle brackets like that, but you might want to try a local lumberyard instead of a home center. Even when they don't have a product they often know who does. The angle brackets embedded in the drywall is a clever idea I never thought of using.
Tue, 11/25/2014 - 20:08
What city was this work done in? I live in Seattle and I am looking for a contractor.
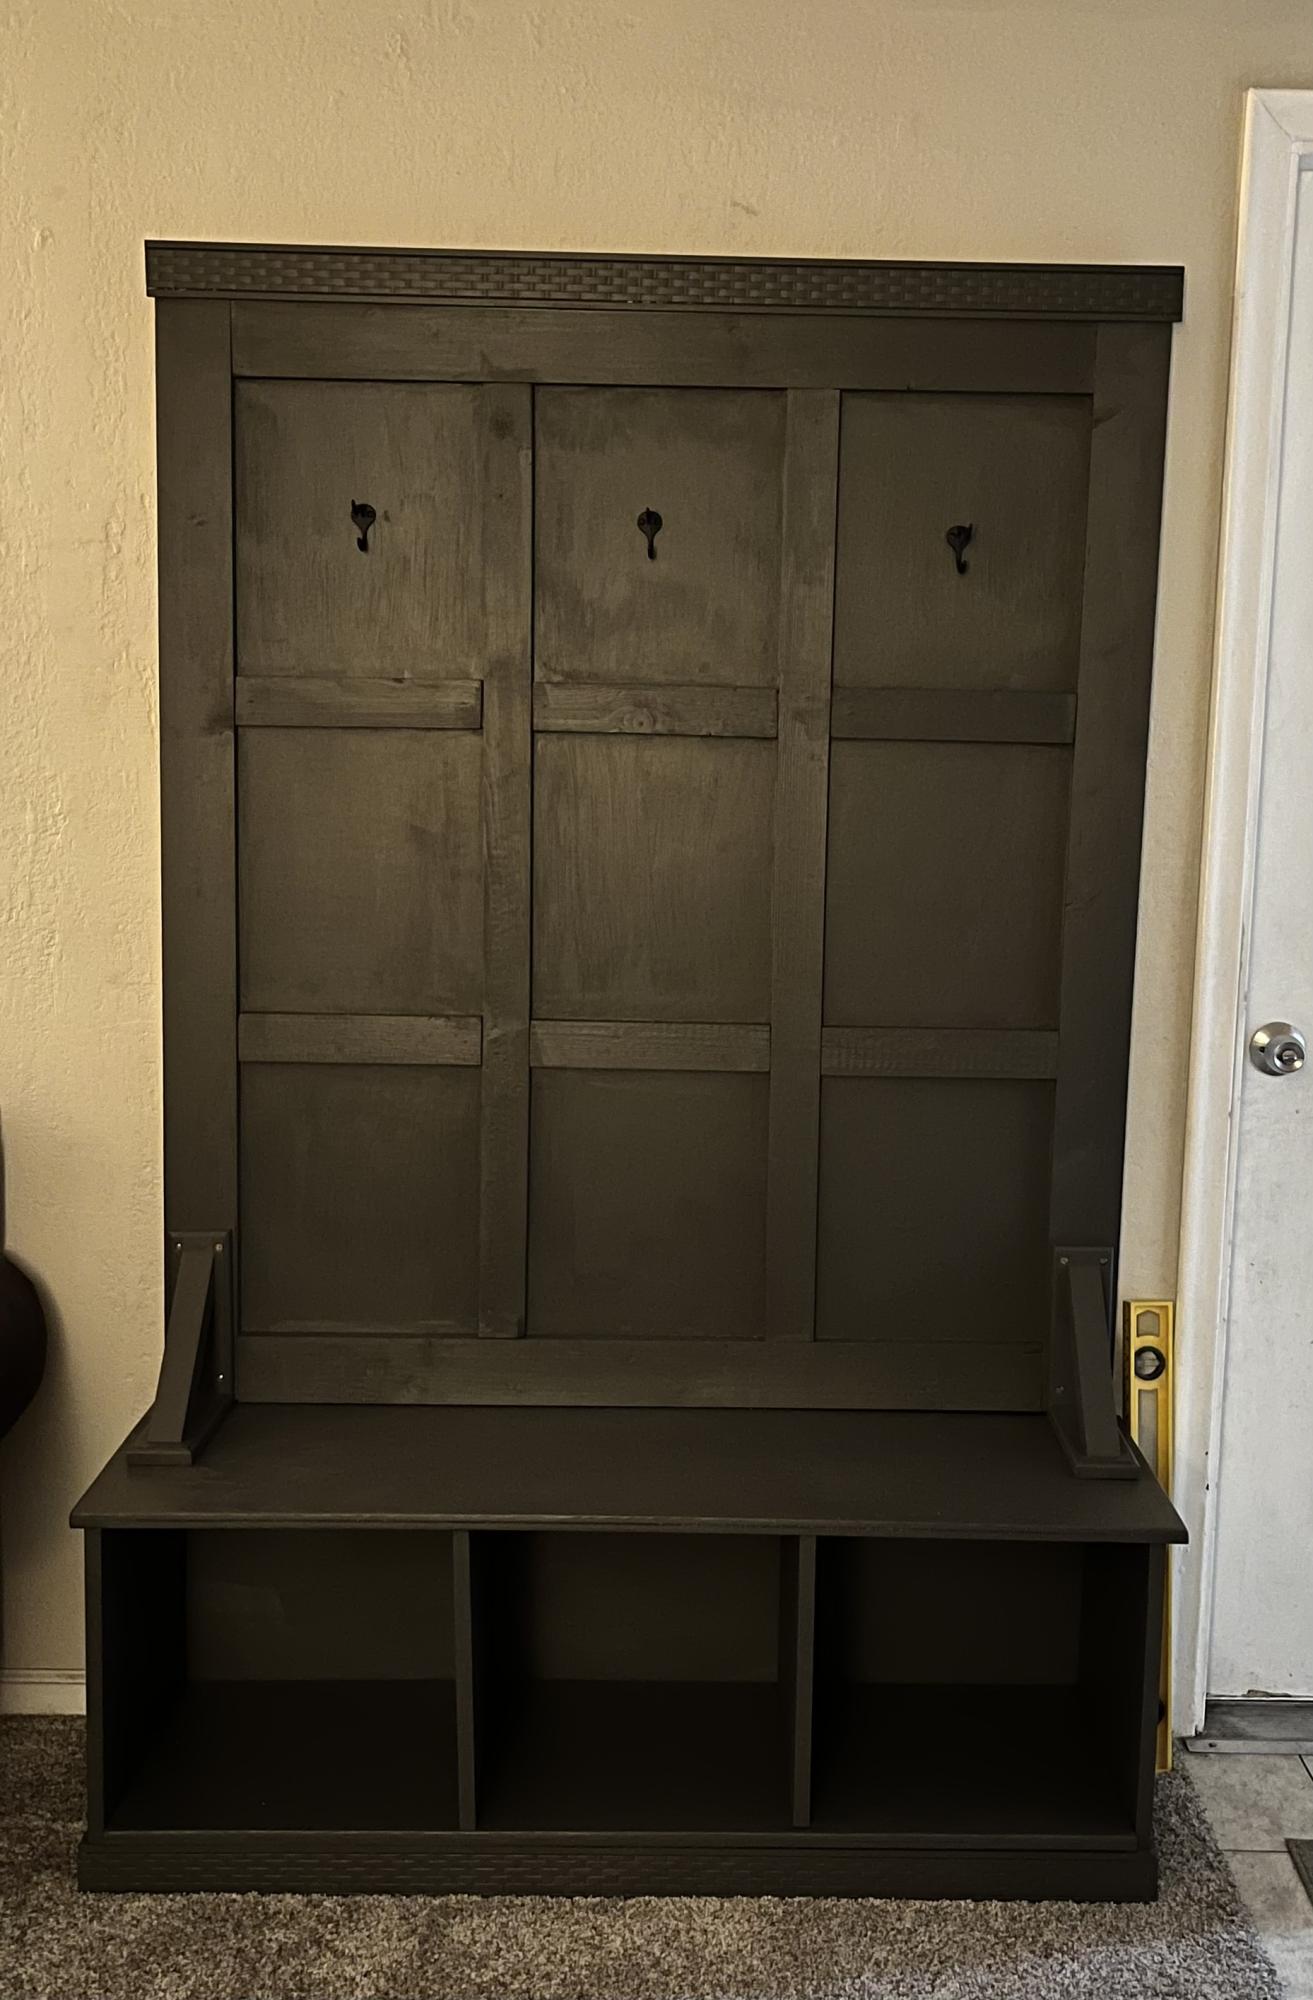
This was incredibly easy to build for a semi-newbie! The shopping list and cut list were a huge help! We love Ana-White.com!!!
You may remember my green stratton day beds that I built a long time ago- finally I have another project to post- I am soo happy I found Ana White's website. We just got back from a 2.5 week vacation in Israel and my dogs were staying with my sister. She told me they had been sleeping in the same kennel together instead of separately. Their kennels are too small so I decided to build them one using wood I already had. But since they are small dogs, I decided to size it down- but I wanted it end table height- so I built a smaller kennel- 20"H x 19"W x 28"D. but... I added a drawer to the top to bring it to the right height. You can read all about it on my blog- link below.

I made this set for my grandchild! Love the plans! I modified the stove to include a range-top microwave, and included doors for the kitchen sink.
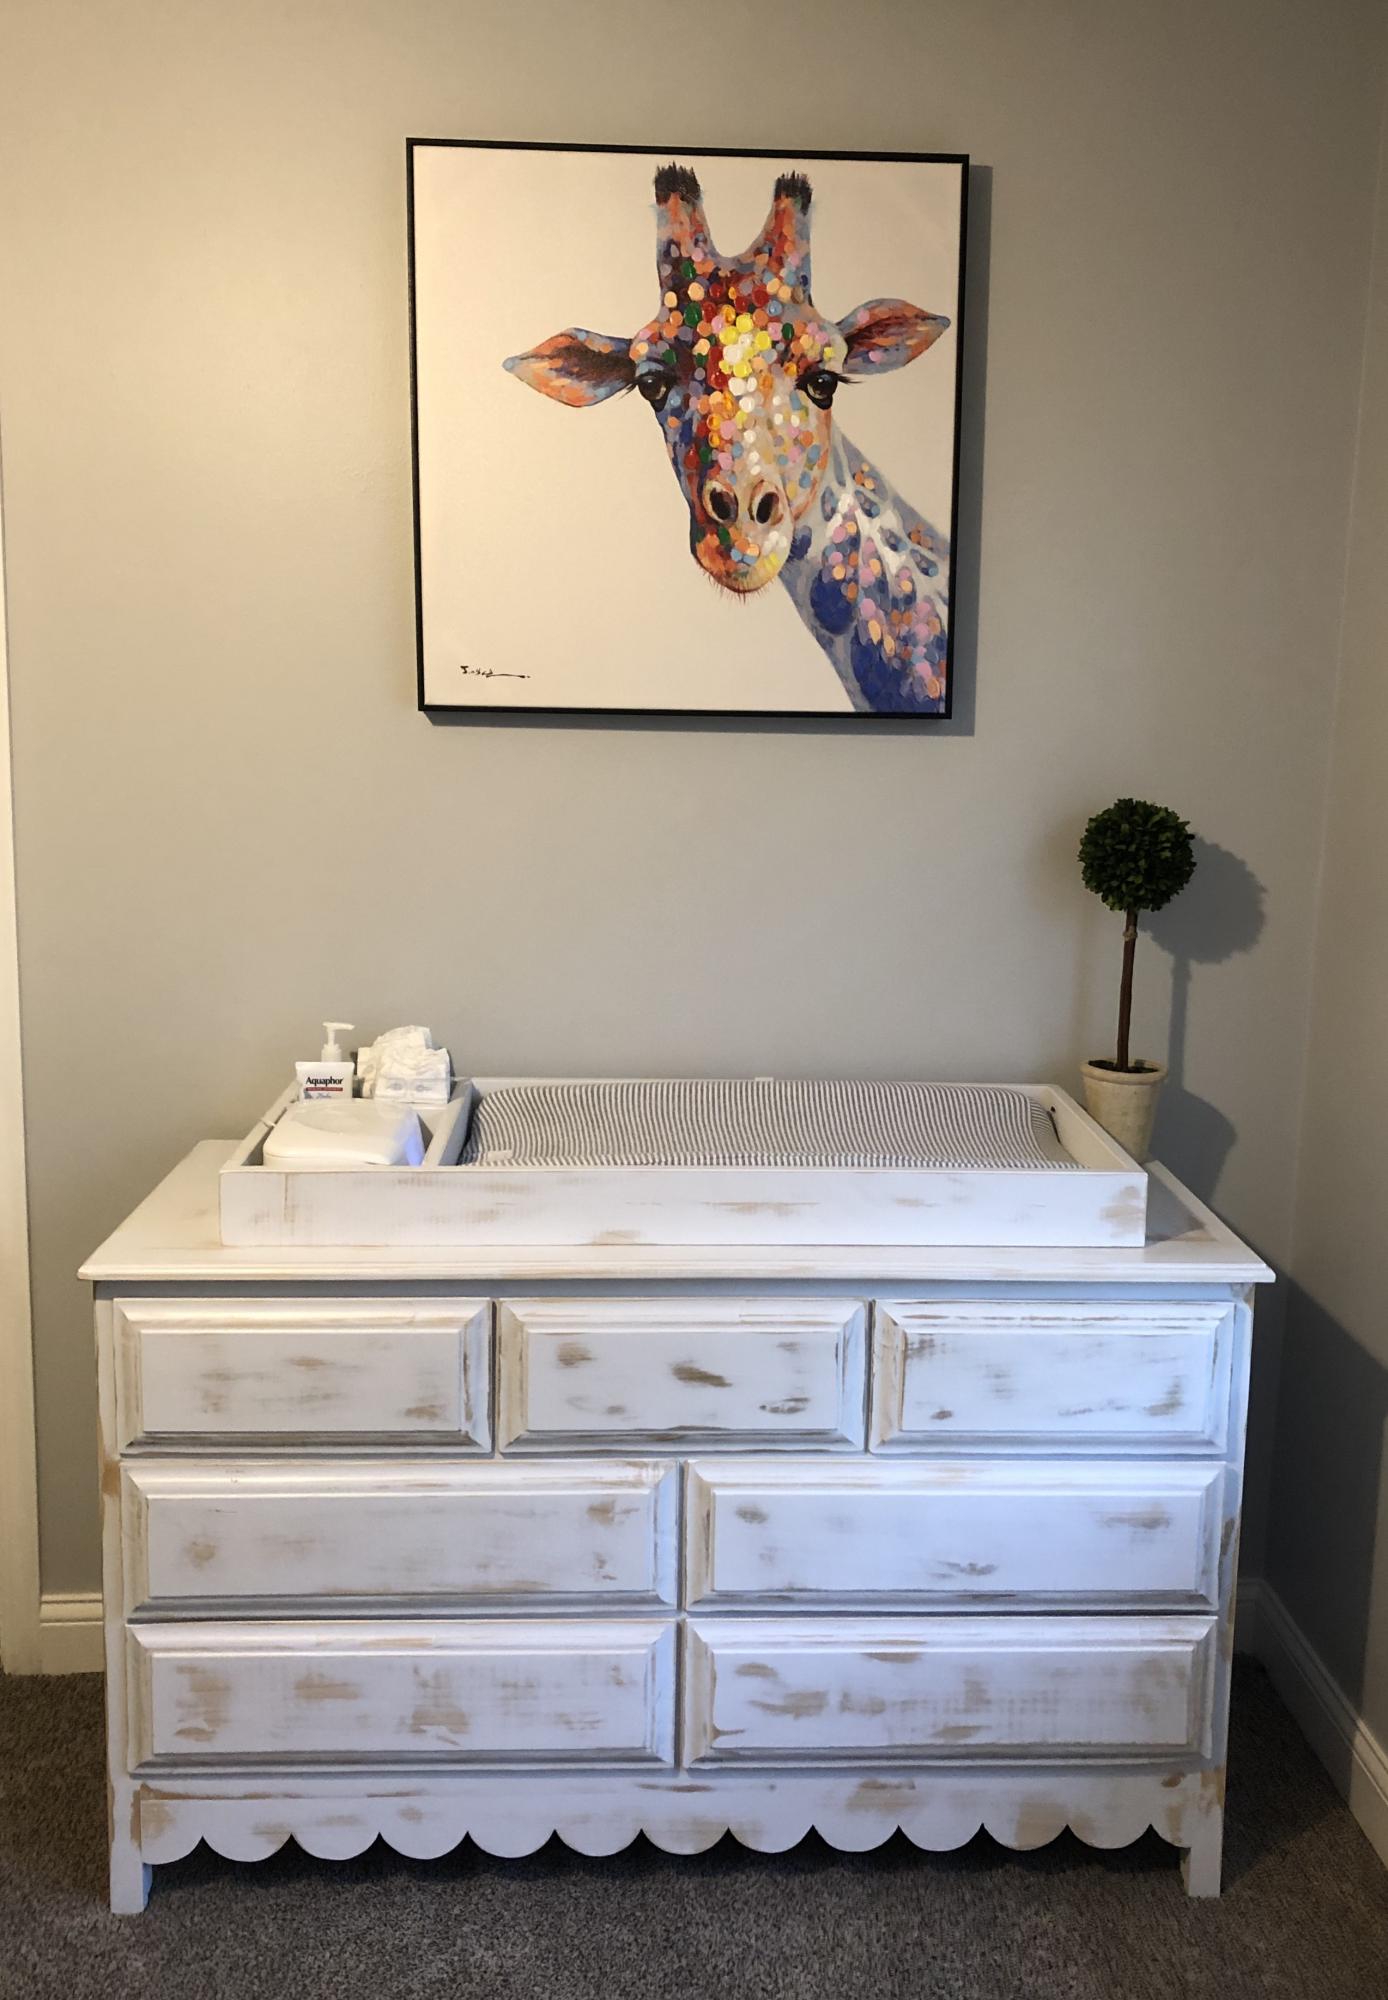
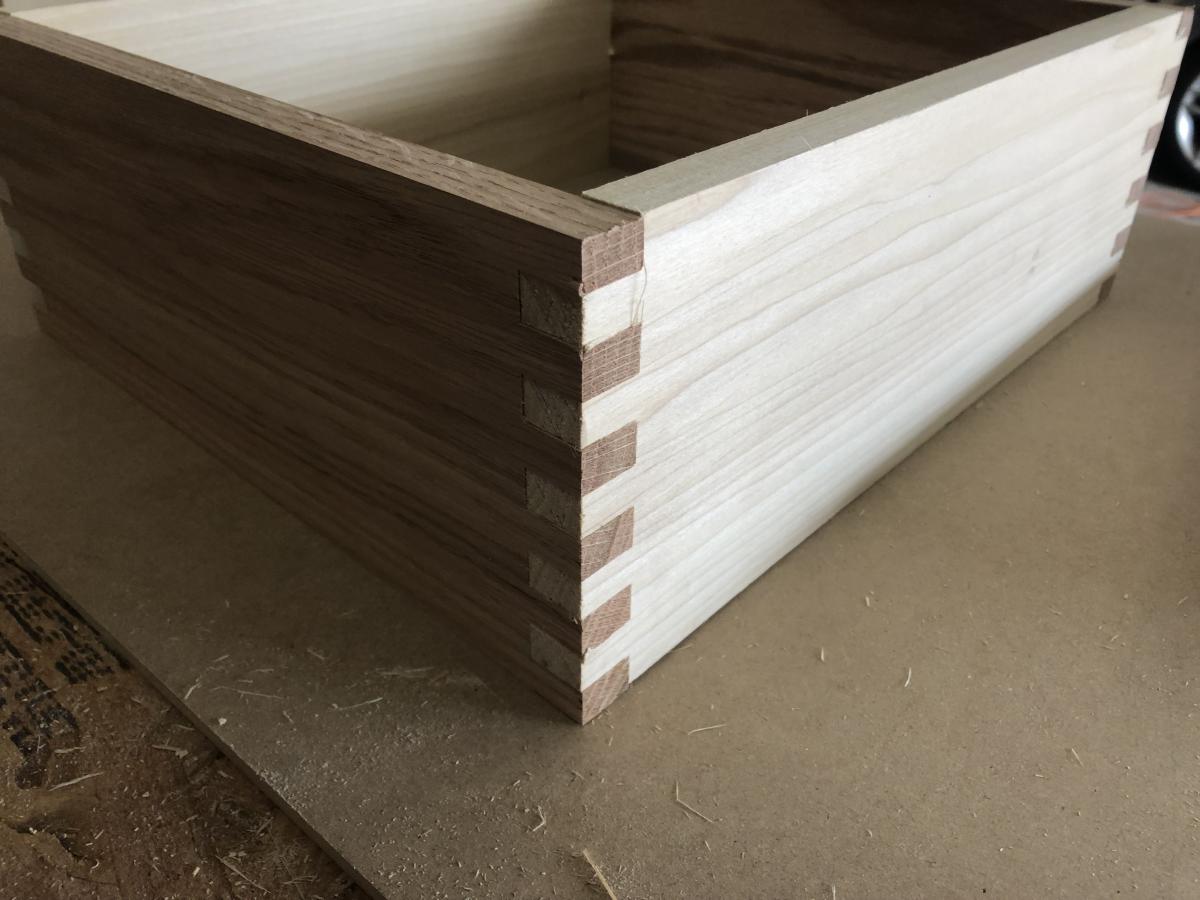
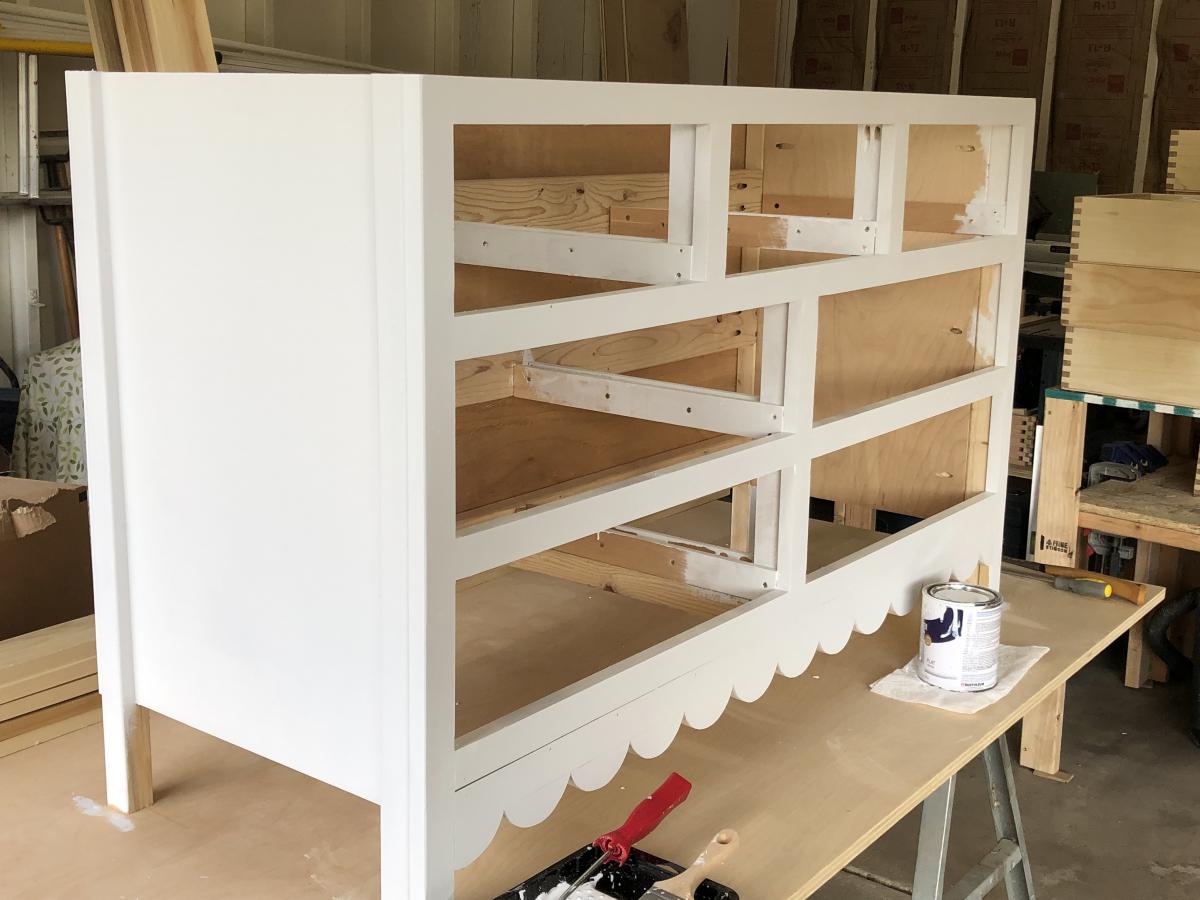
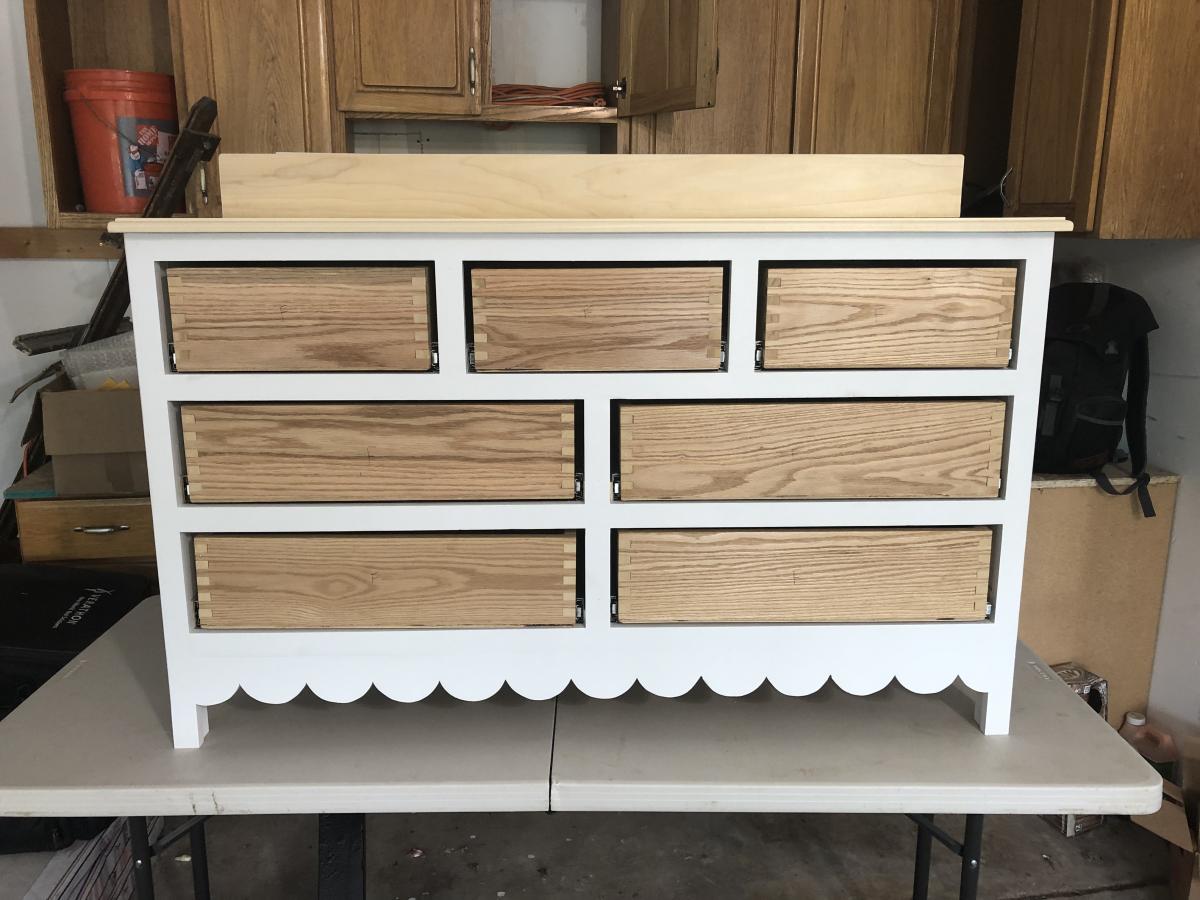
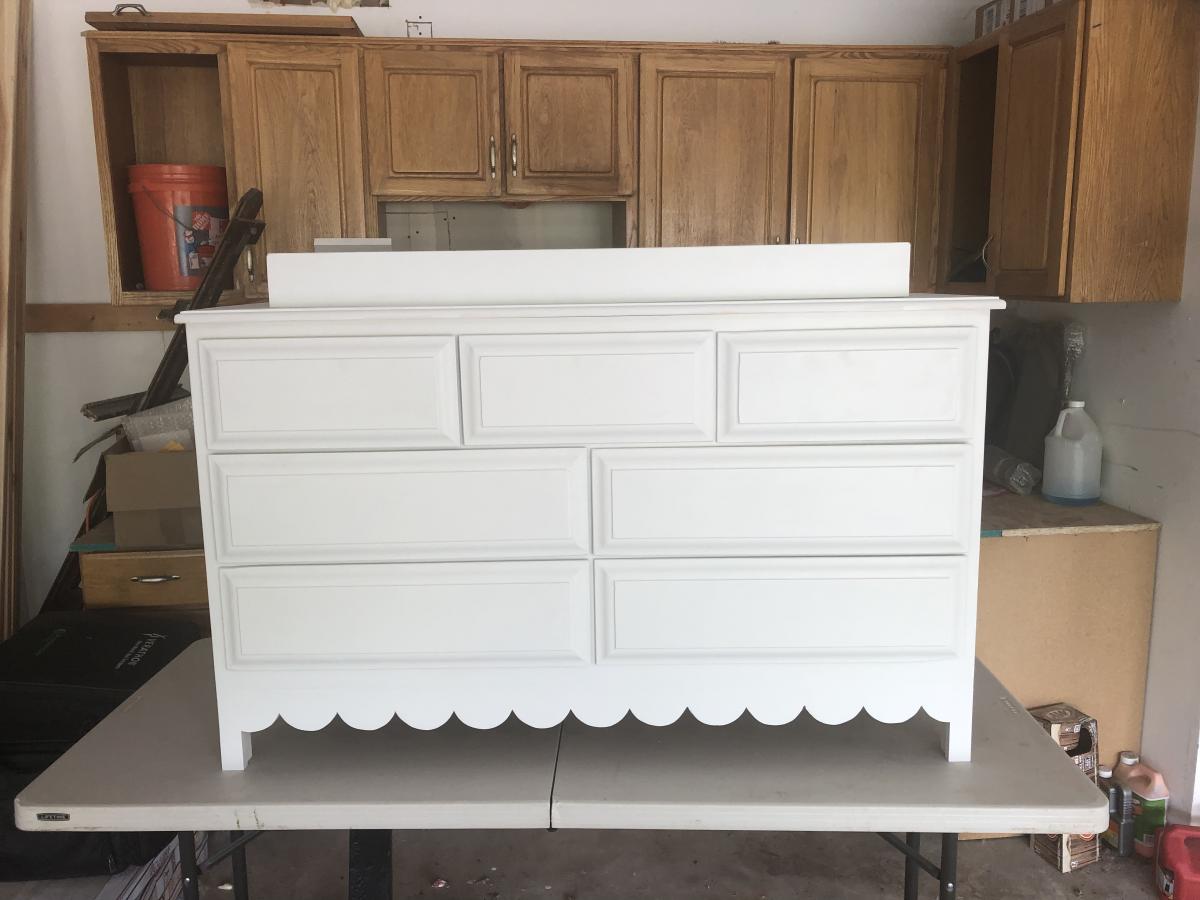
I used the Kendal extra wide dresser plans which were super easy to follow for this project. I wanted to add some of my own touches so I made the drawers with box joints, my first attempt at this. I also changed the drawer fronts and added my own scalloping at the bottom. The changing table frame on the top of the dresser was also added which is removable once we are out of diaper changing! I am using half moon aged brass pulls for the drawers once delivered. Overall I am happy with the way this turned out.

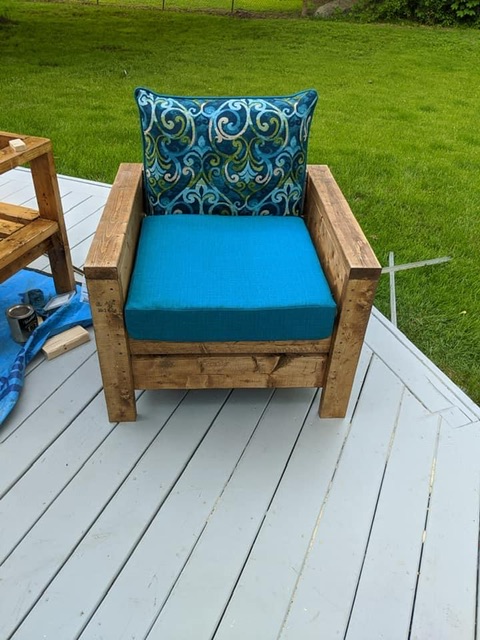
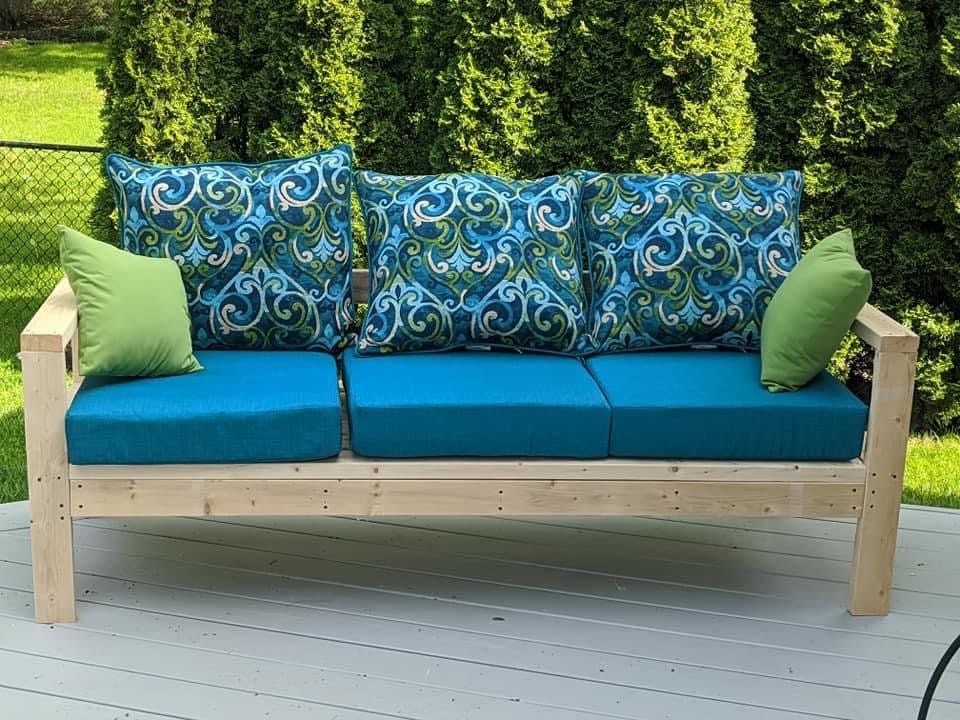
I needed patio furniture and happened to come across Anna White’s site. It is a great beginner’s project. I was so happy with how they turned out.
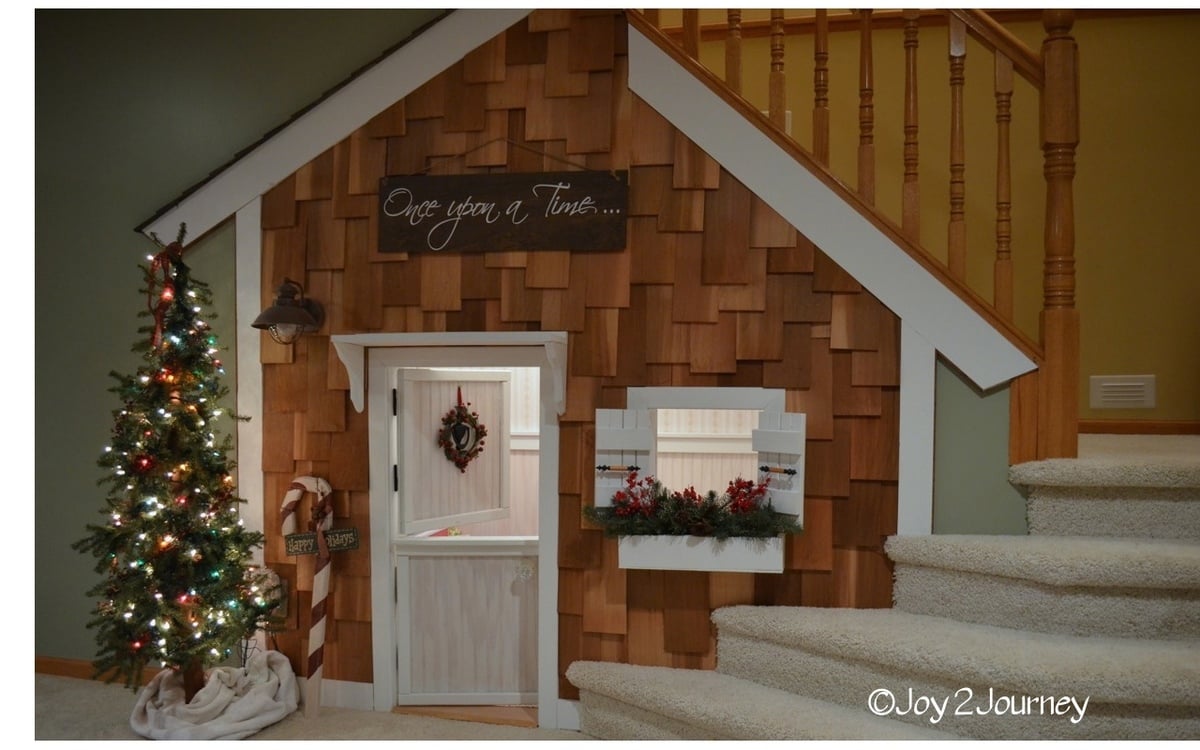
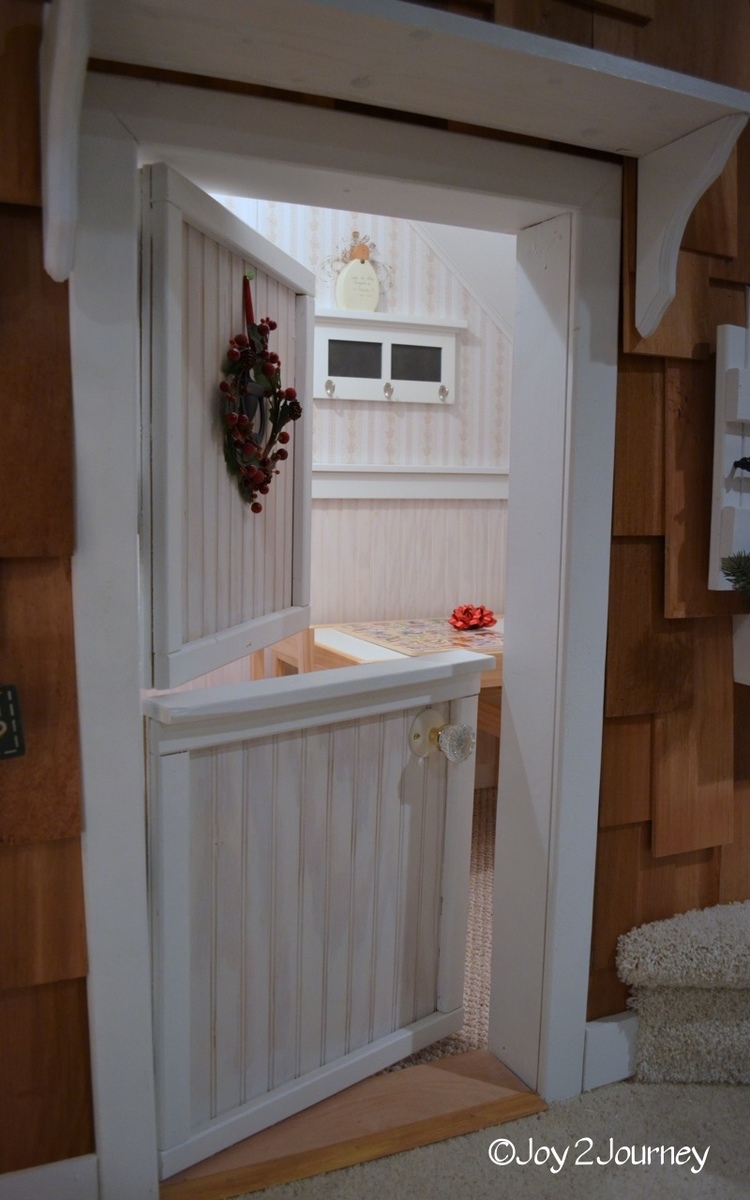
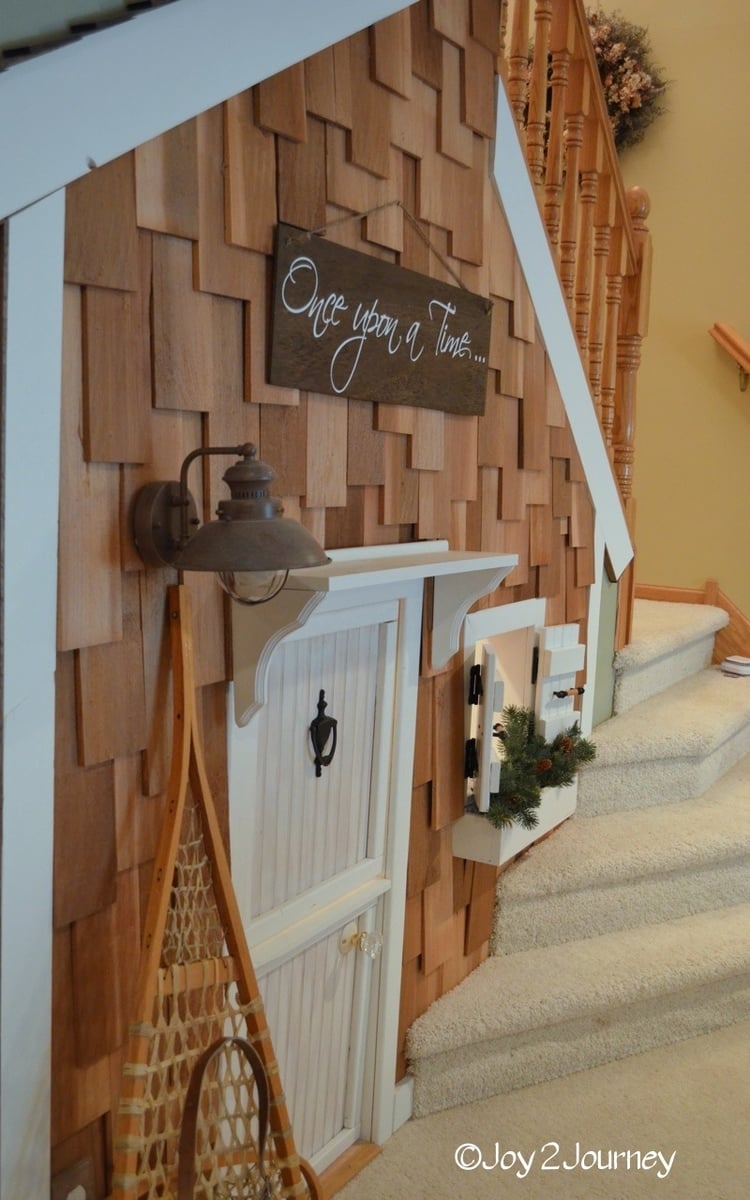
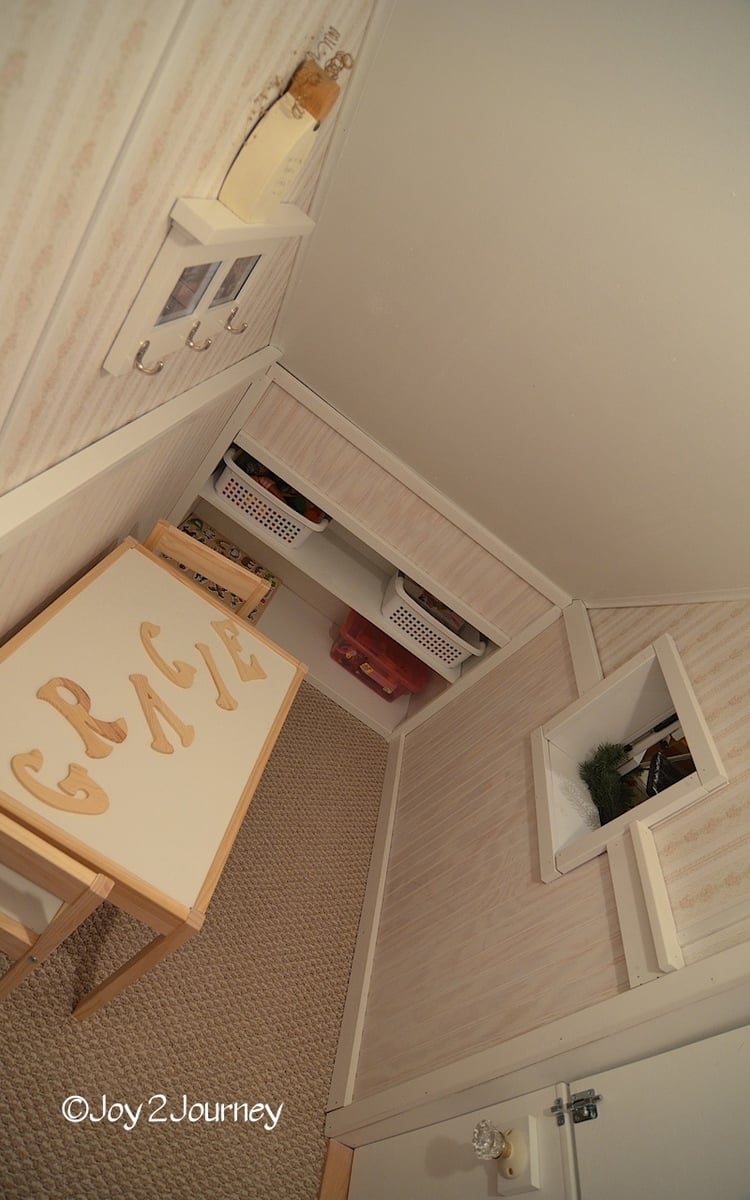
A Playhouse Under the Stairs for the Grand babies! A really fun space :) A fun project for me to build ... It lets the creative thoughts take shape. I had the perfect space for a playhouse under the stairs in the basement and thought that since we live in a cold climate it might be good to have an indoor play space. Inside I put down carpet to keep that area warmer since it is on the cement floor. I also installed bead board, chair rail and plywood with wall paper on it. I didn't use any plans from this amazing site but did see other plans that inspired me! I will be using some plans on this site soon. Look for a Murphy Bed soon from me :)
Sun, 01/22/2012 - 10:39
That is an amazing play space for your grand babies! Makes me wish I had stairs so I could build one for me! LOL
Mon, 01/23/2012 - 13:51
Not a single detail was overlooked. What a great use of the space! I'm sure the grandbabies are thrilled
Mon, 05/21/2012 - 00:42
Very cool, makes me wish that I had a house with stairs!! Just so I could build it for me!! LOL My kids are too old anyway right?! (13, 14 & 15)
In reply to How did I miss this one?!!! by tracysmith
Mon, 05/21/2012 - 07:12
We are never to old to enjoy girl stuff and imagination. I made this for my grand babies but had so much fun with it myself. I am so glad that you enjoyed it.
Hugs,
Bj
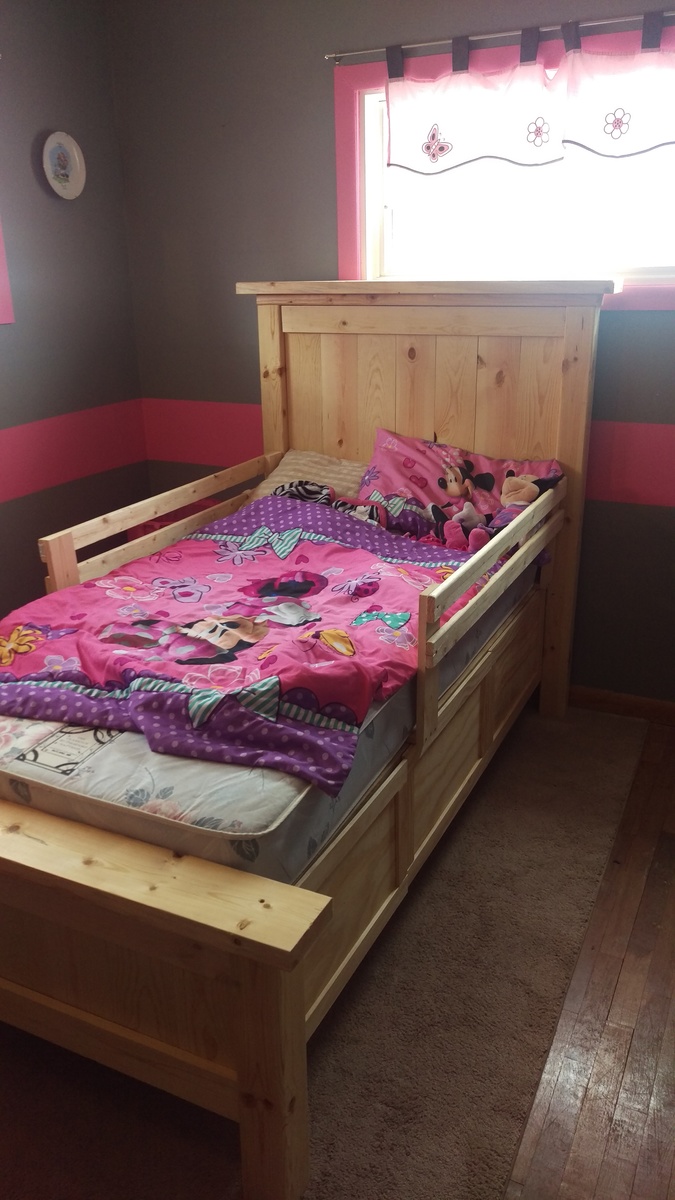
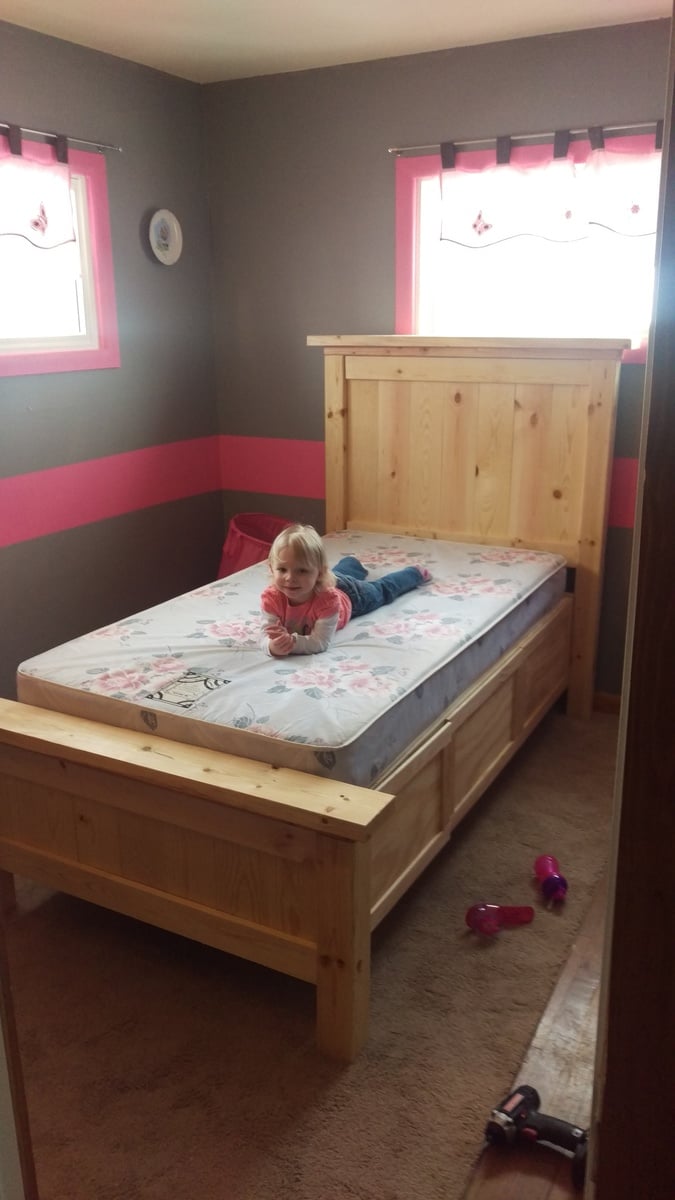
I was looking for a bed for my daughters room. She does not have much storage or room so this plan worked perfect. Took about two days so a great weekend project. Built with love unlike from a store.
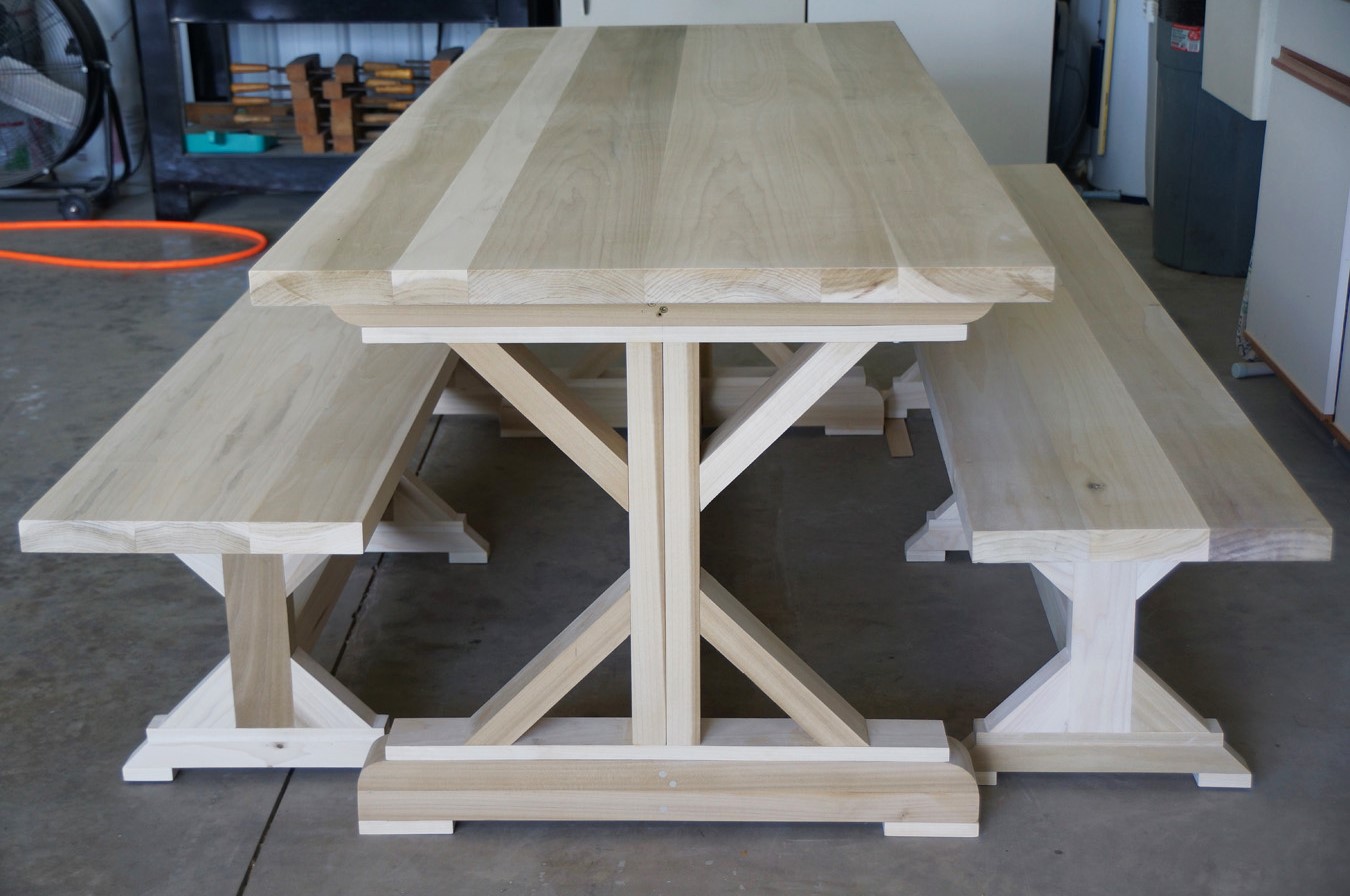
Farm Table 2 benches. Wood is Poplar
David Bellamy 89
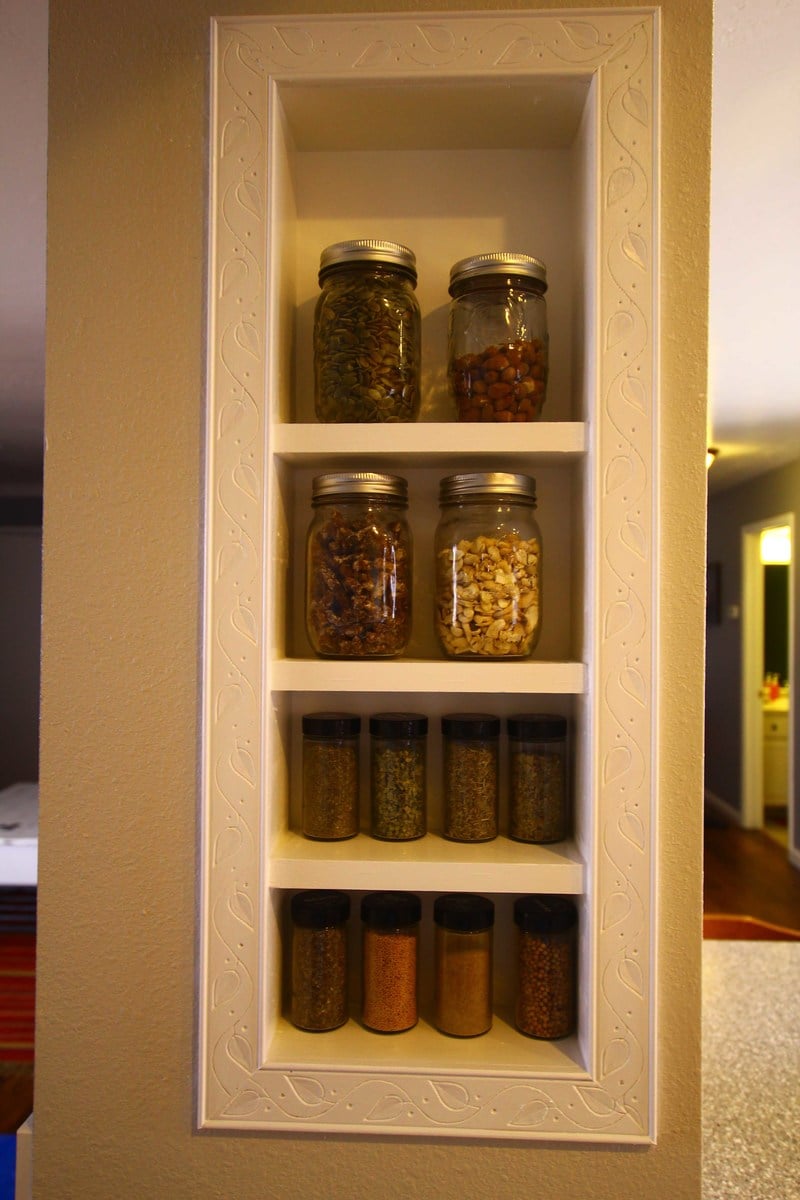
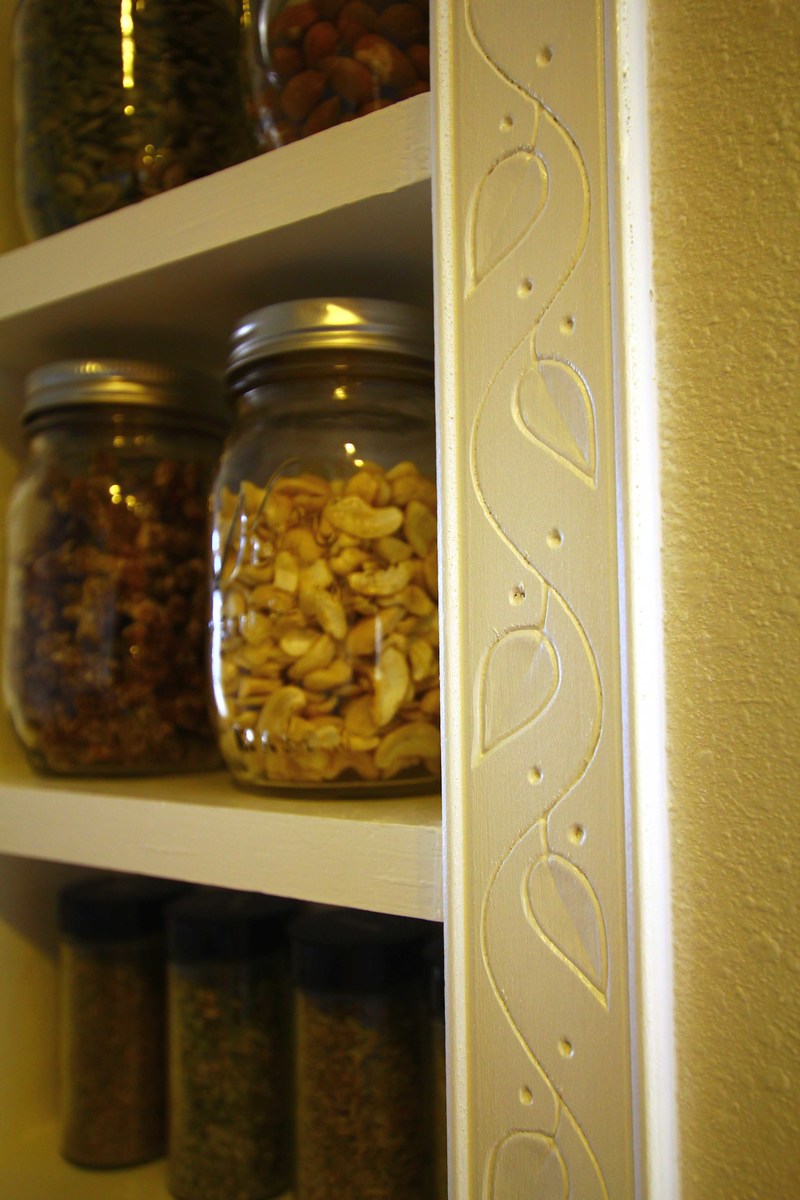
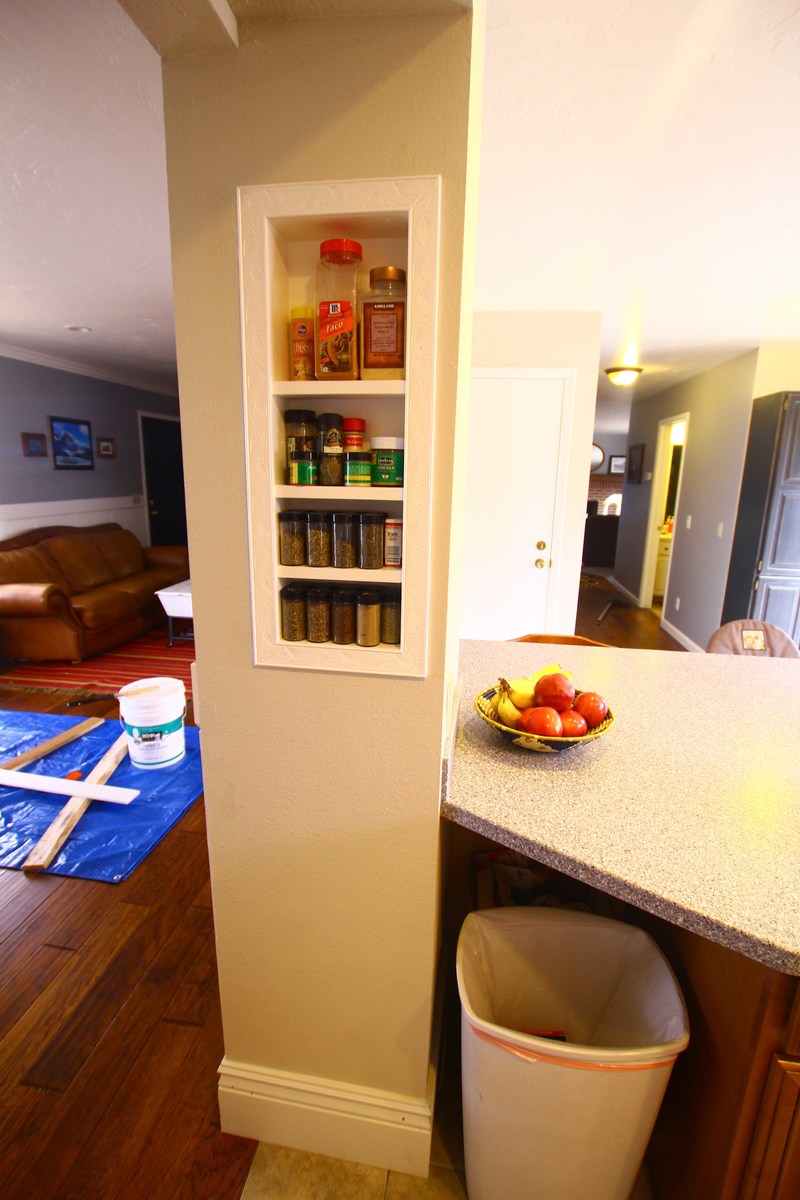
I followed the spice rack plans but put this right inside my wall and added a face frame. I love the detail in the carved wood!
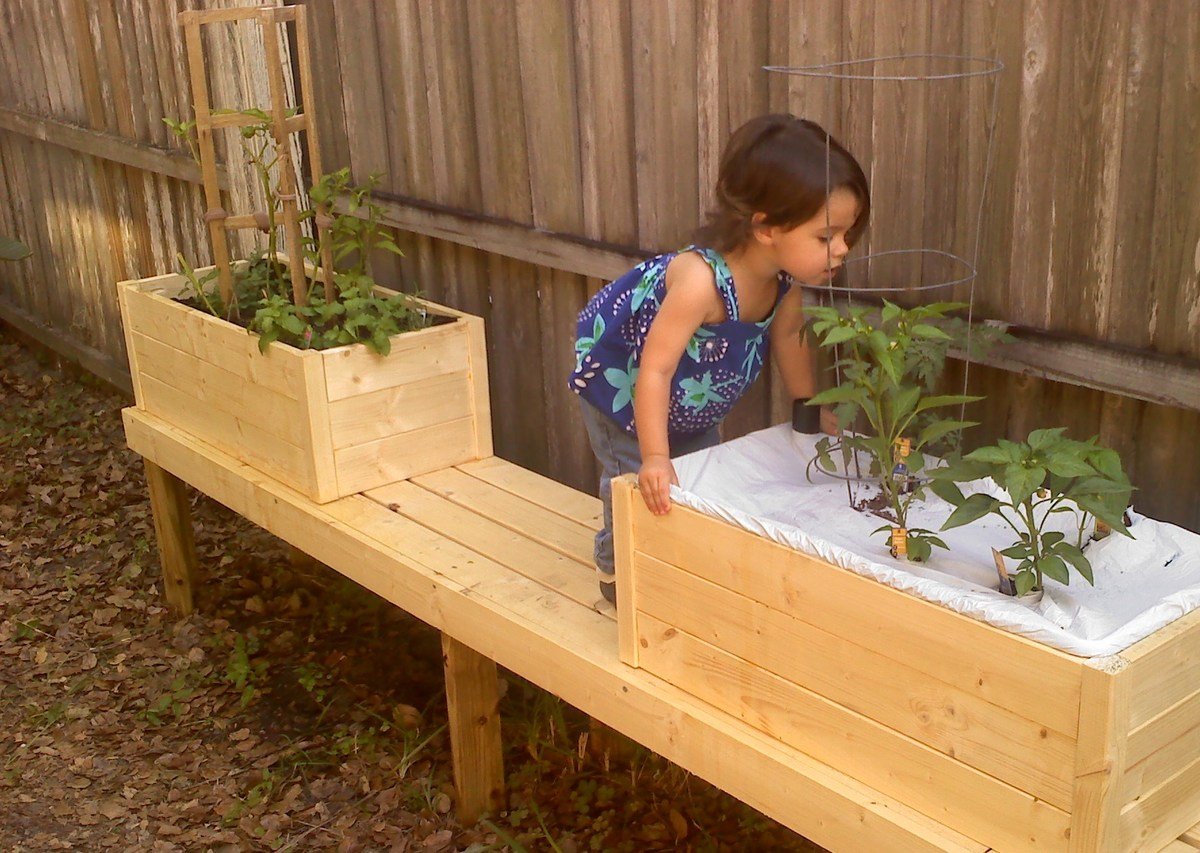
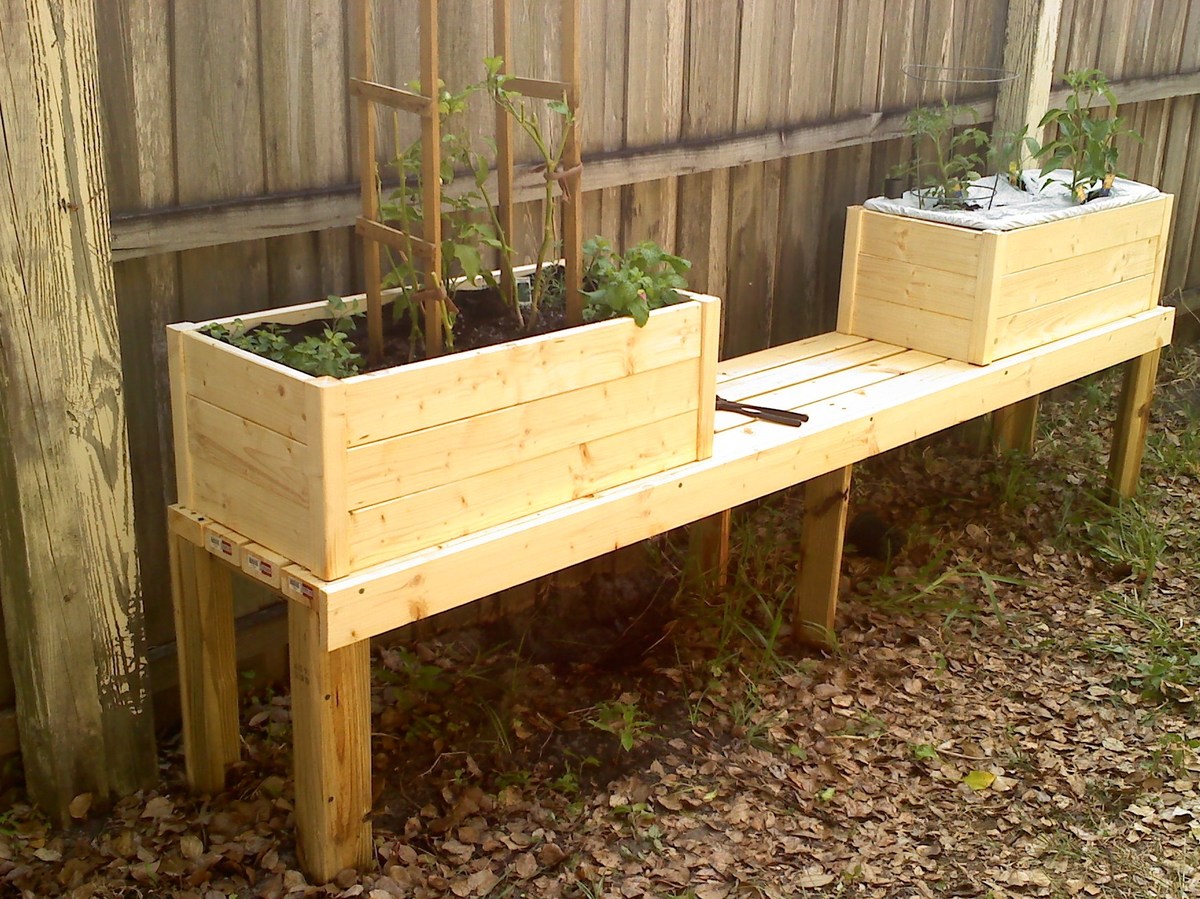
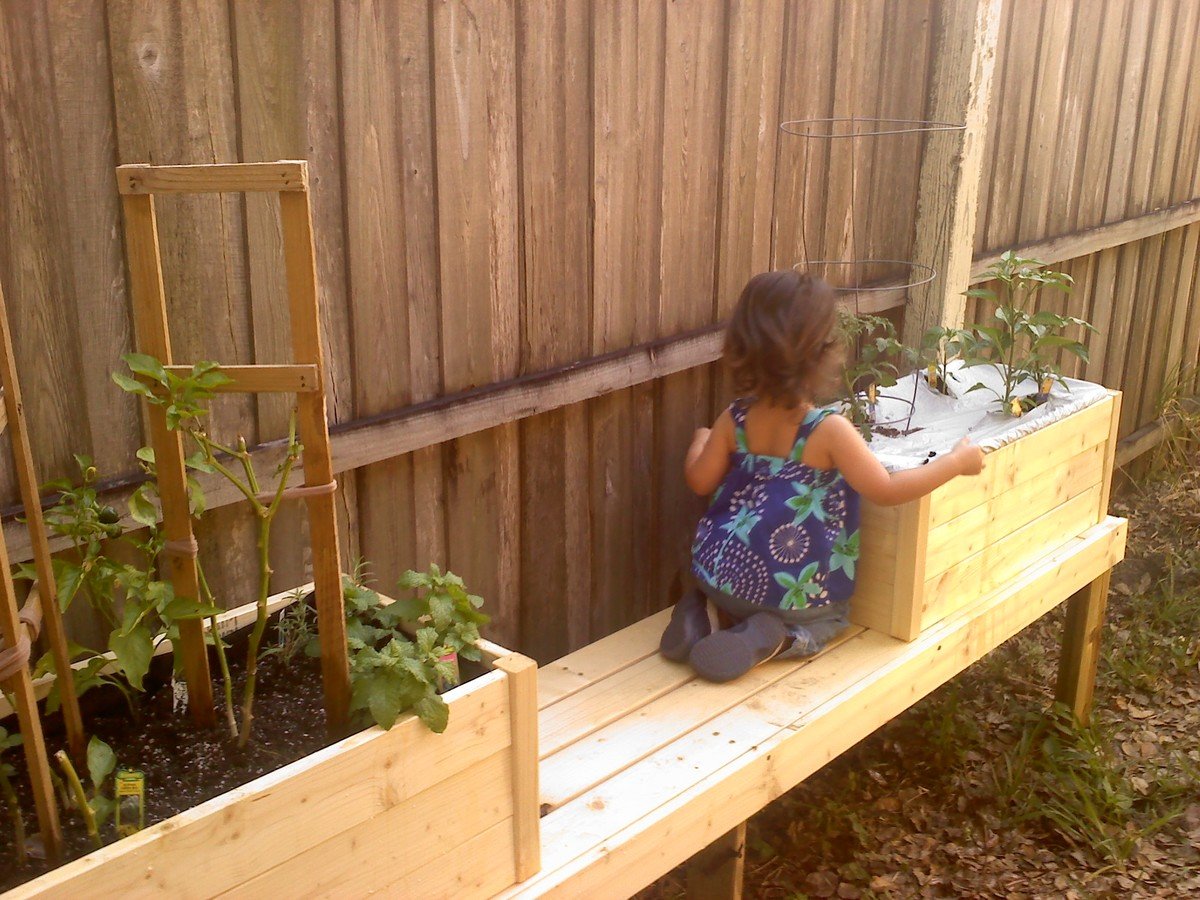
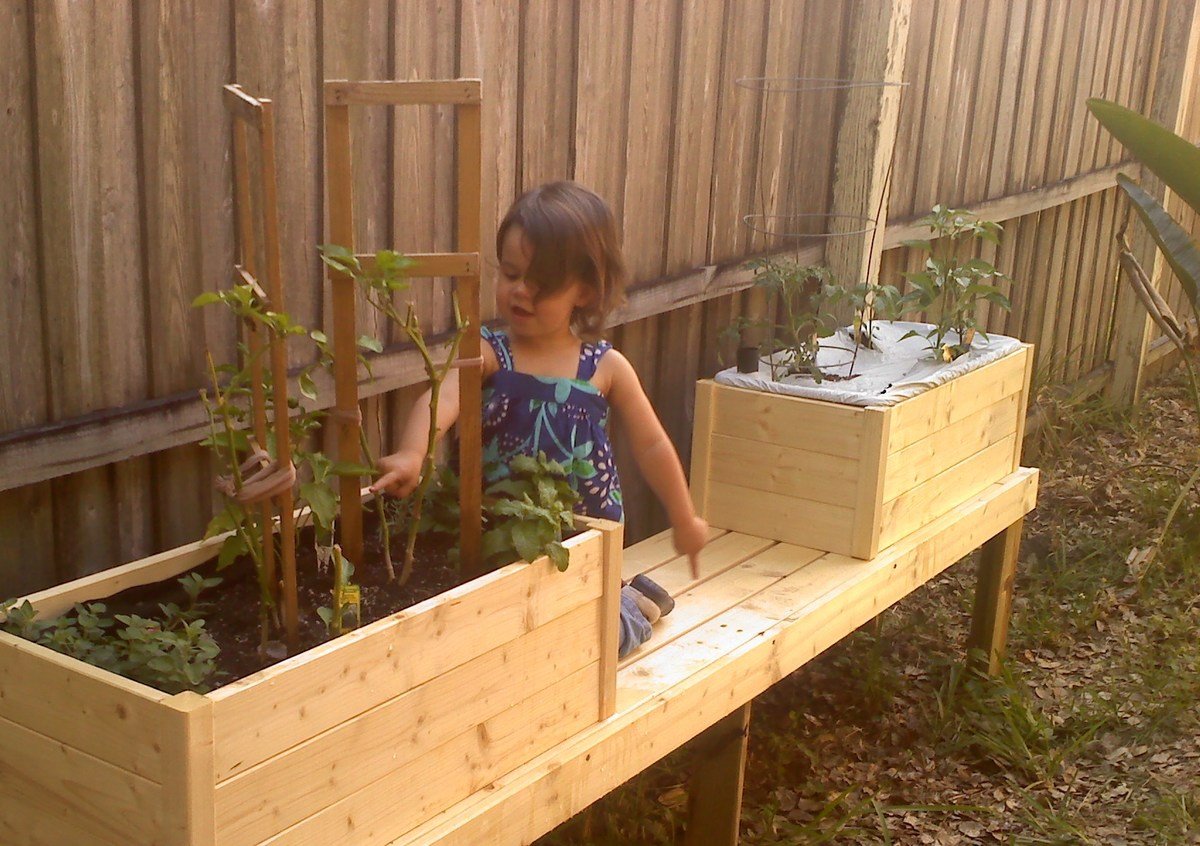
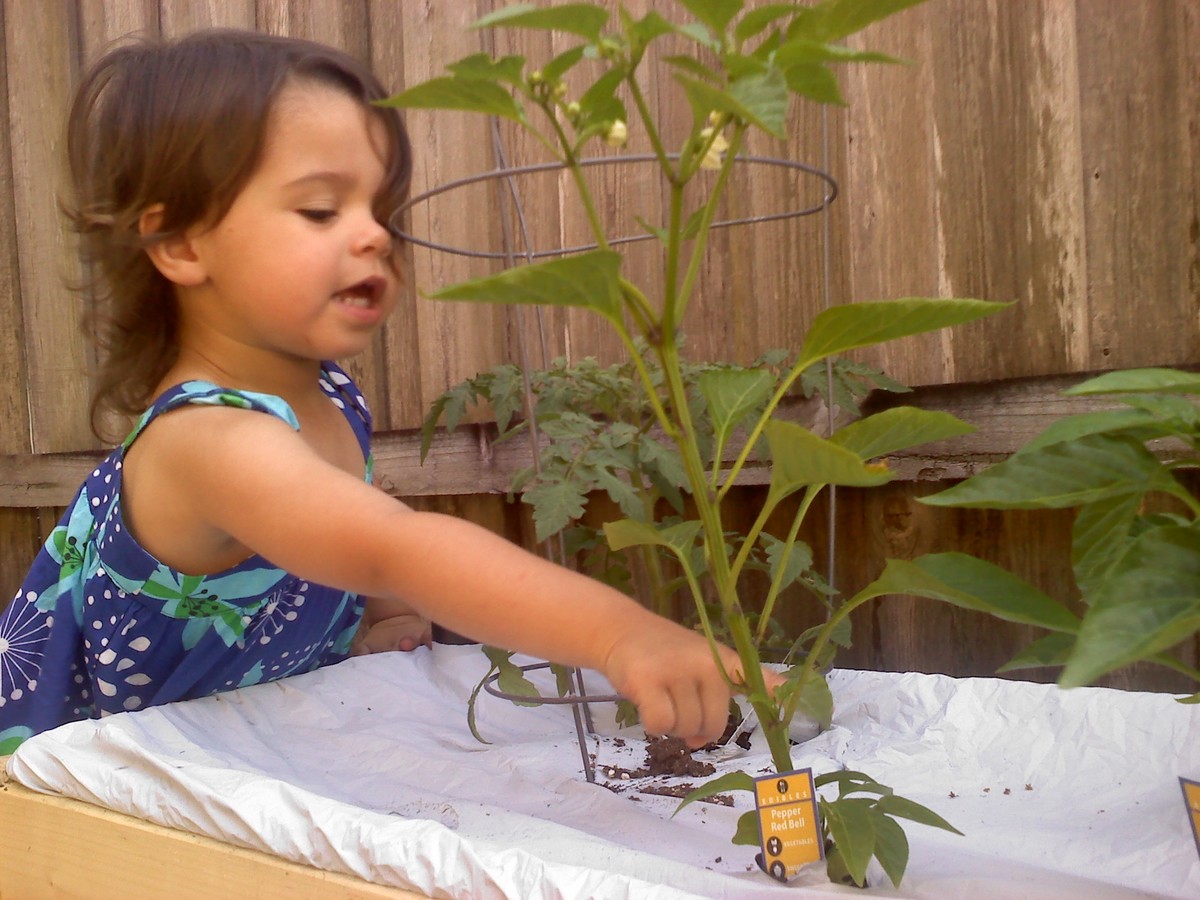
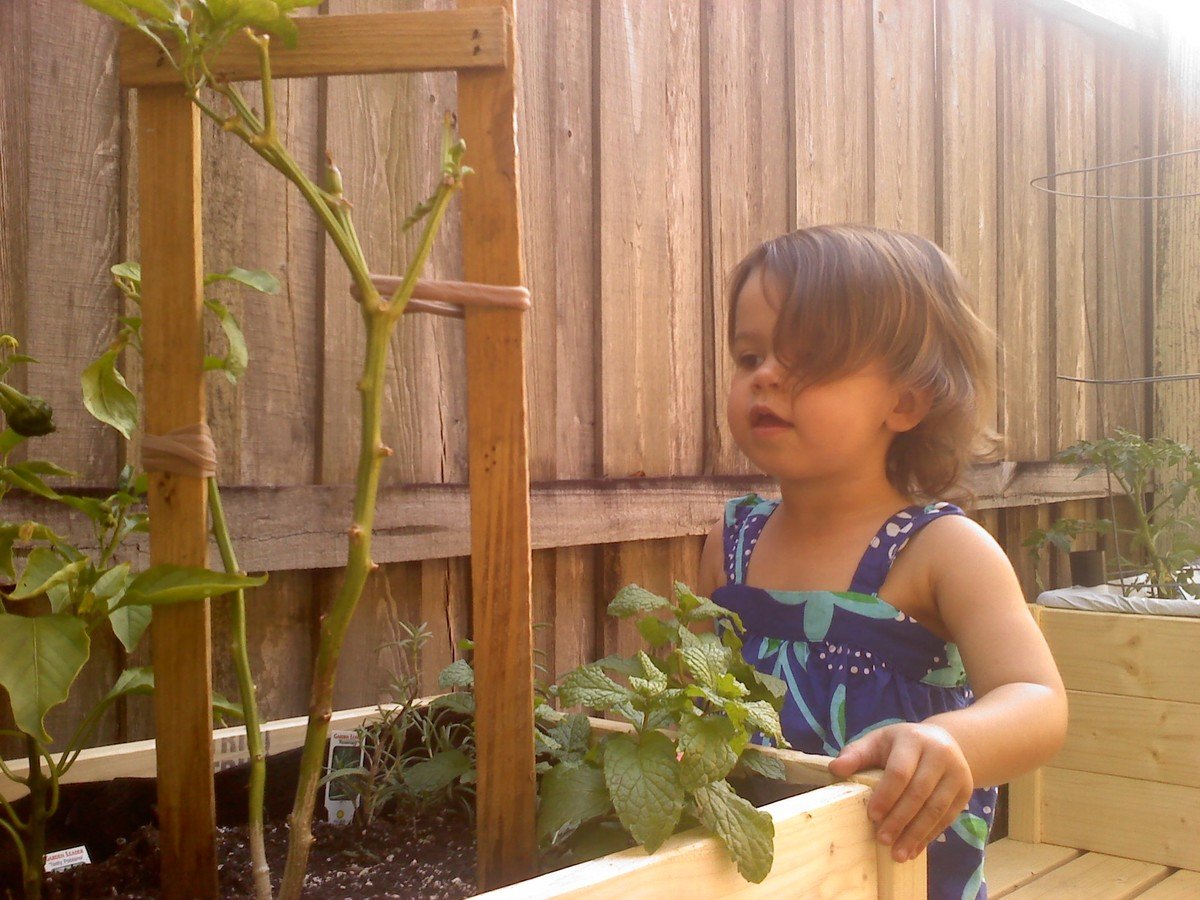
I took the design of the planter and stretched it to accomodate an "Earthbox" (which is 29 x 13.5x 11 inches) to see if I could boost the results of my little garden. Both planters were made the same size so that if I'd like, next season ,I can use two Earthboxes.
The bench was built to keep out bunnies, our Husky, give us a place to put down the bowl when picking from the garden and lastly to give Georgia a place to climb up and get a better view or help. It is made using some treated 2x6's for legs aand support and untreated 2x4's for the actual benchtop.
I'll add a protective finish (and missing trim on both ends) to the bench part later this week when I have some toddler free time at home :)
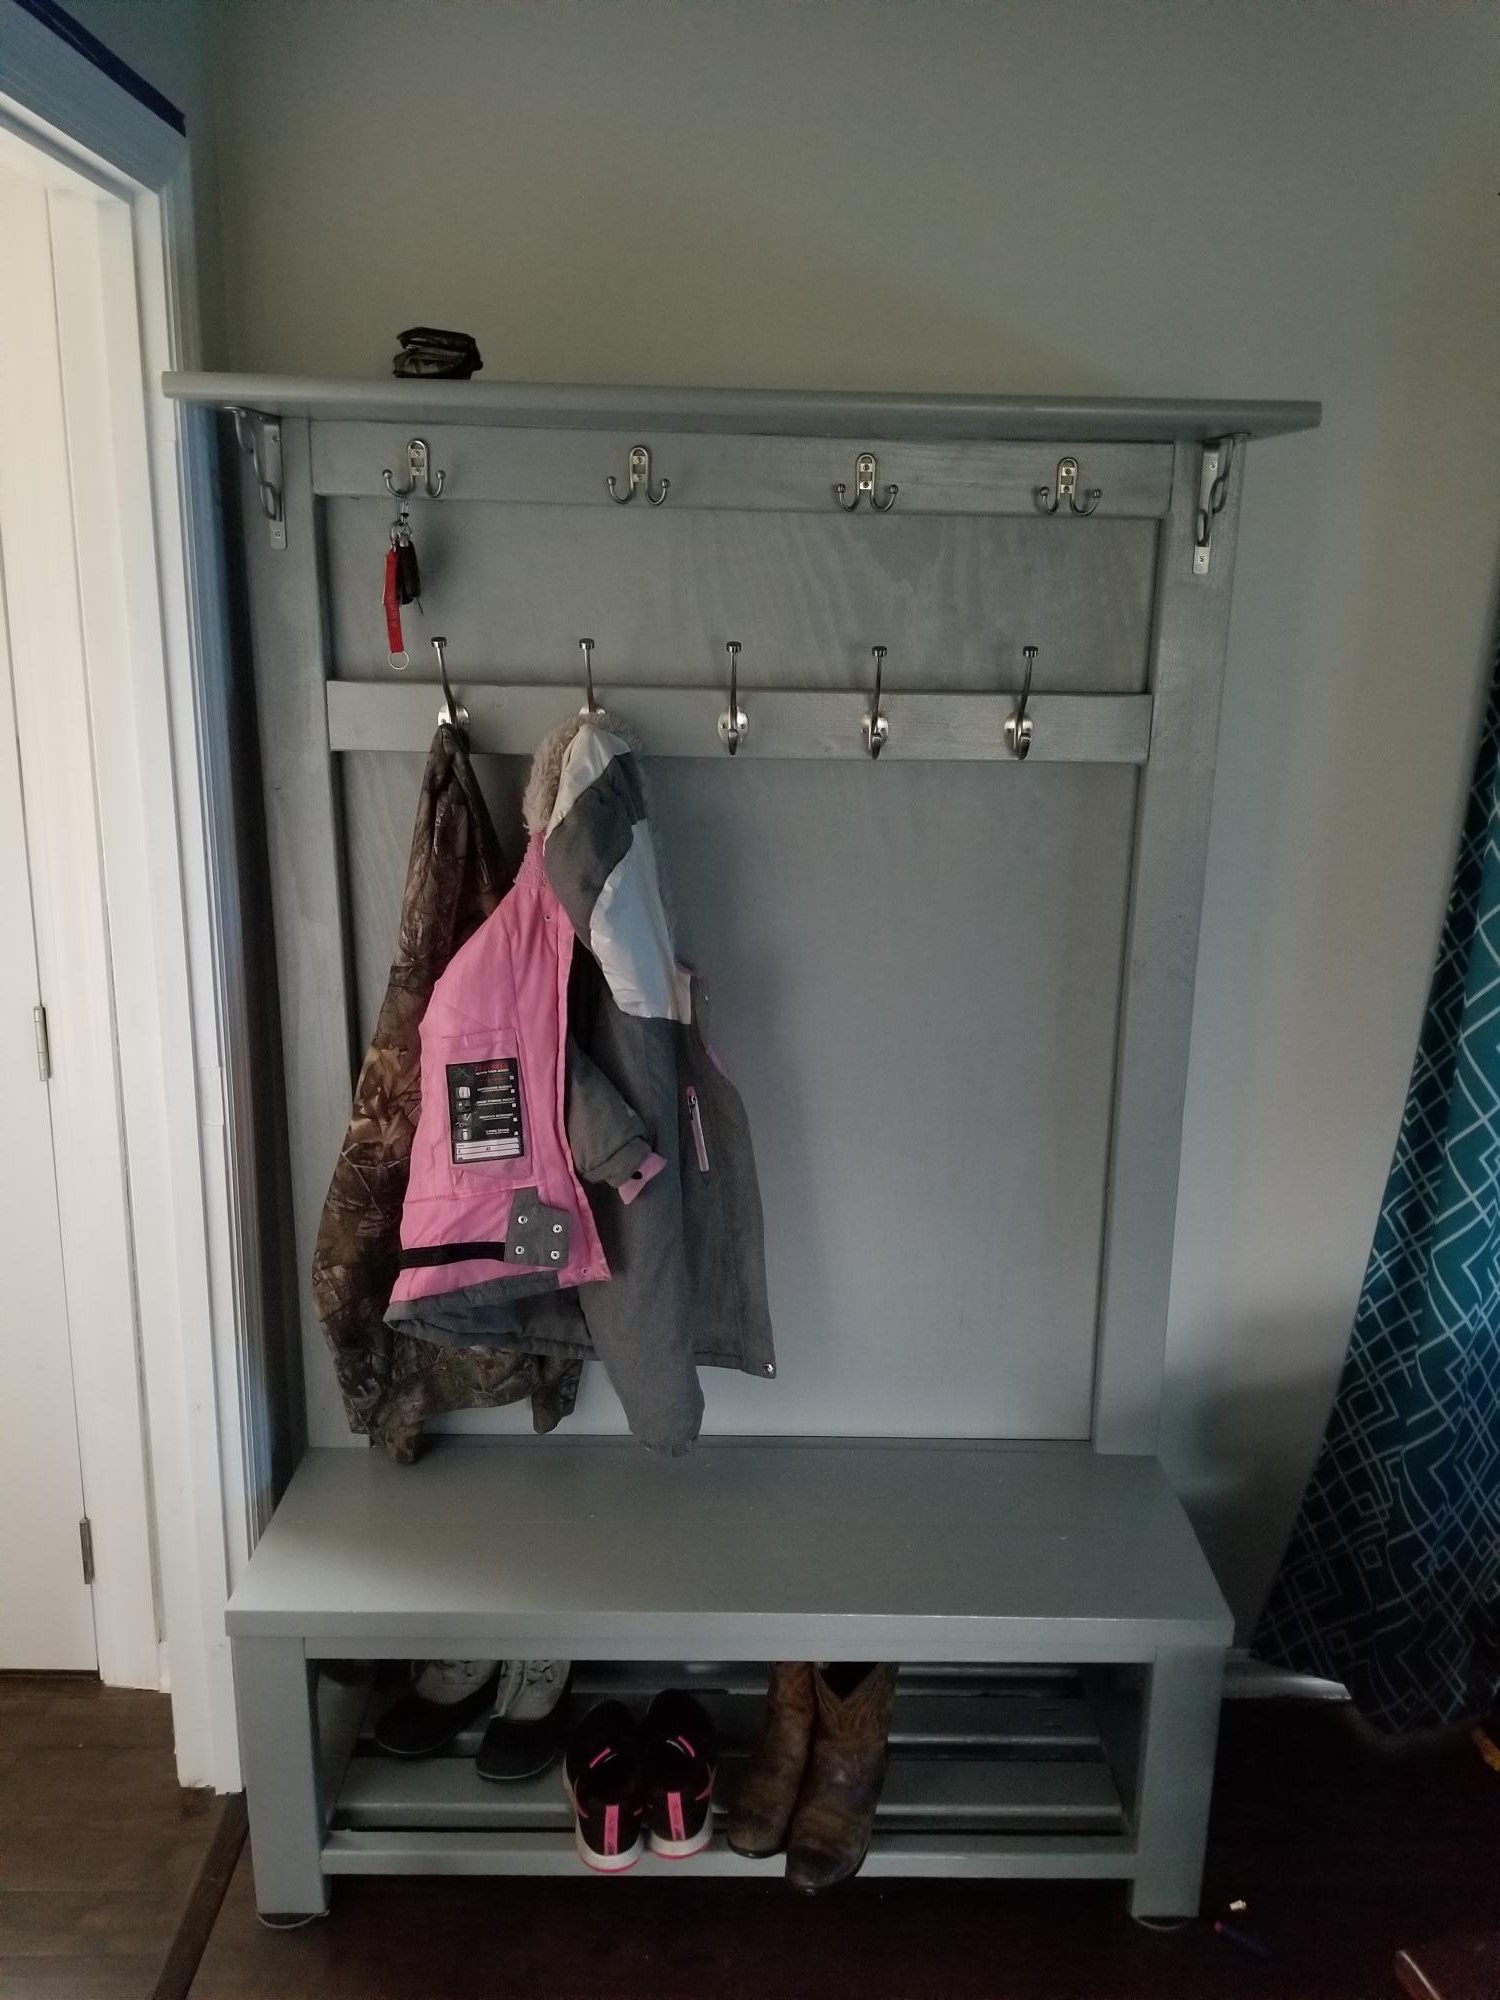
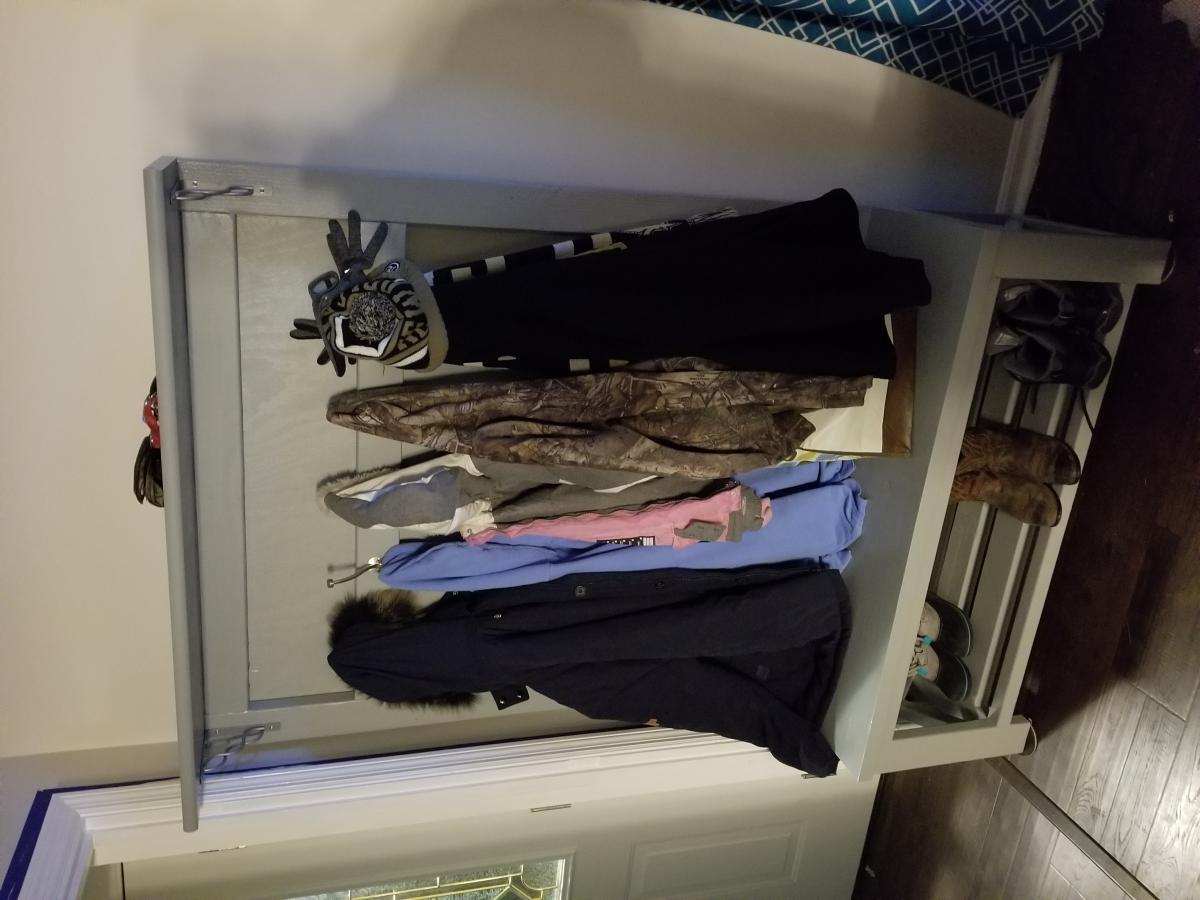
These plans were awesome! Thank you so much for sharing!! I added a few hooks on top for my keys and found this top board at Lowe's for $10, no I have a place to lay my wallet and phone. I tweaked mine to fit my needs but again, this plan was amazing, that KS for sharing! I look forward to making more of your projects.
Note: I chose this project as a weekend long project because I applied paint and it did take much longer for the paint to dry in this cold weather. The build was approximately 1 day.
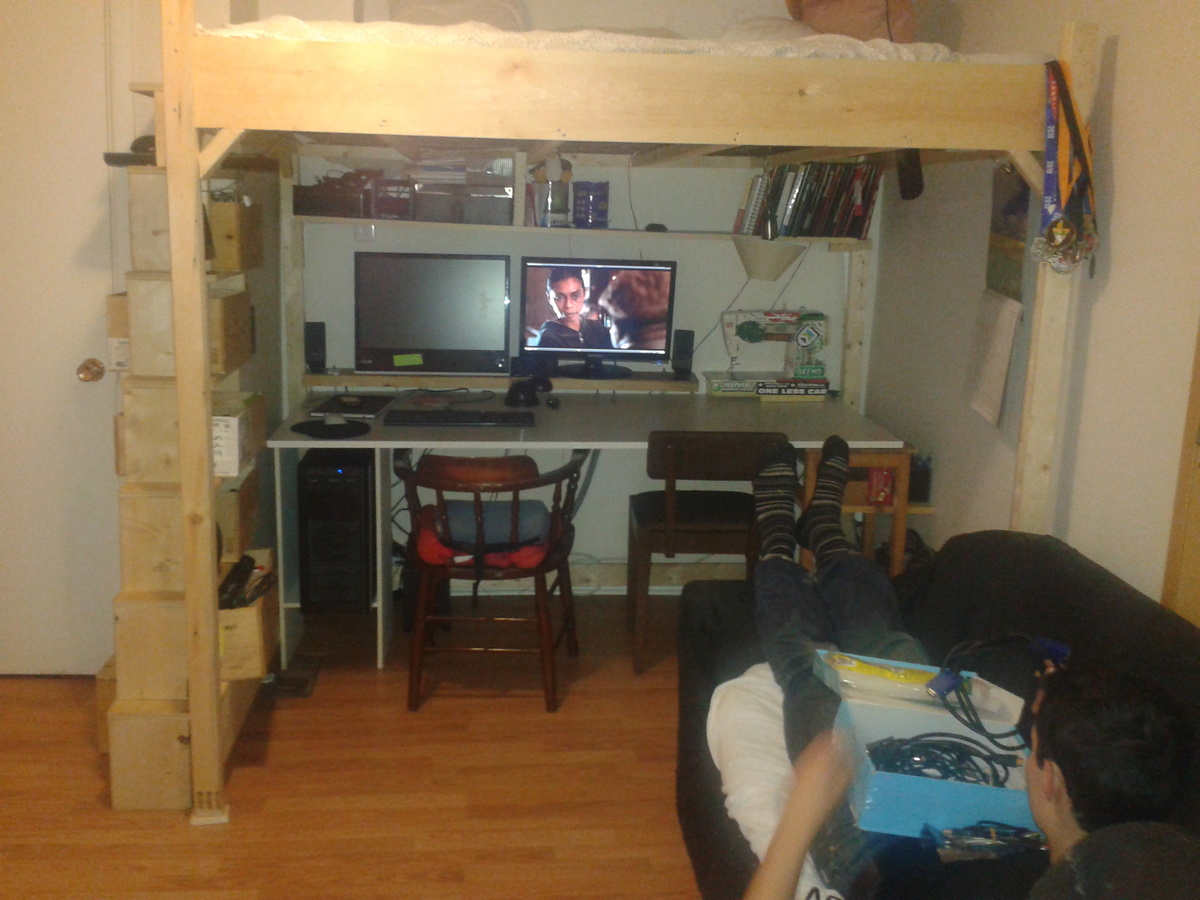
Our den is an awkward spot and we wanted to have a usable double bed as well as desk space for two people, but putting in two desks and a futon made it really cluttered and took up a lot of space, plus we were always having to move one of the desks in order to use the futon as a bed. So we combined all three items!
I changed the dimensions of the loft to accomodate the futon frame (I actually just dropped the futon bed support into the top of the loft) and then I used a long counter I already had as a desktop. The desk is sitting on large shelf brackets that are attached to the uprights of the loft, and then at the front there are shelves to hold up the front part of the desk.
It's ideal because most of the time we are not both working and so we can take advantage of the other person's space, but if we are both there there is enough room as well.
The plan I used below is awesome because everything is really firm but you can still take apart the key parts to get it out of the room. So I built it outside but put it together in the room itself.
We call it the sky bed and my friends love it. I also ditched the ladder and built the shelving unit you see that is both a ladder and shelves, and takes advantage of the shape of the room.
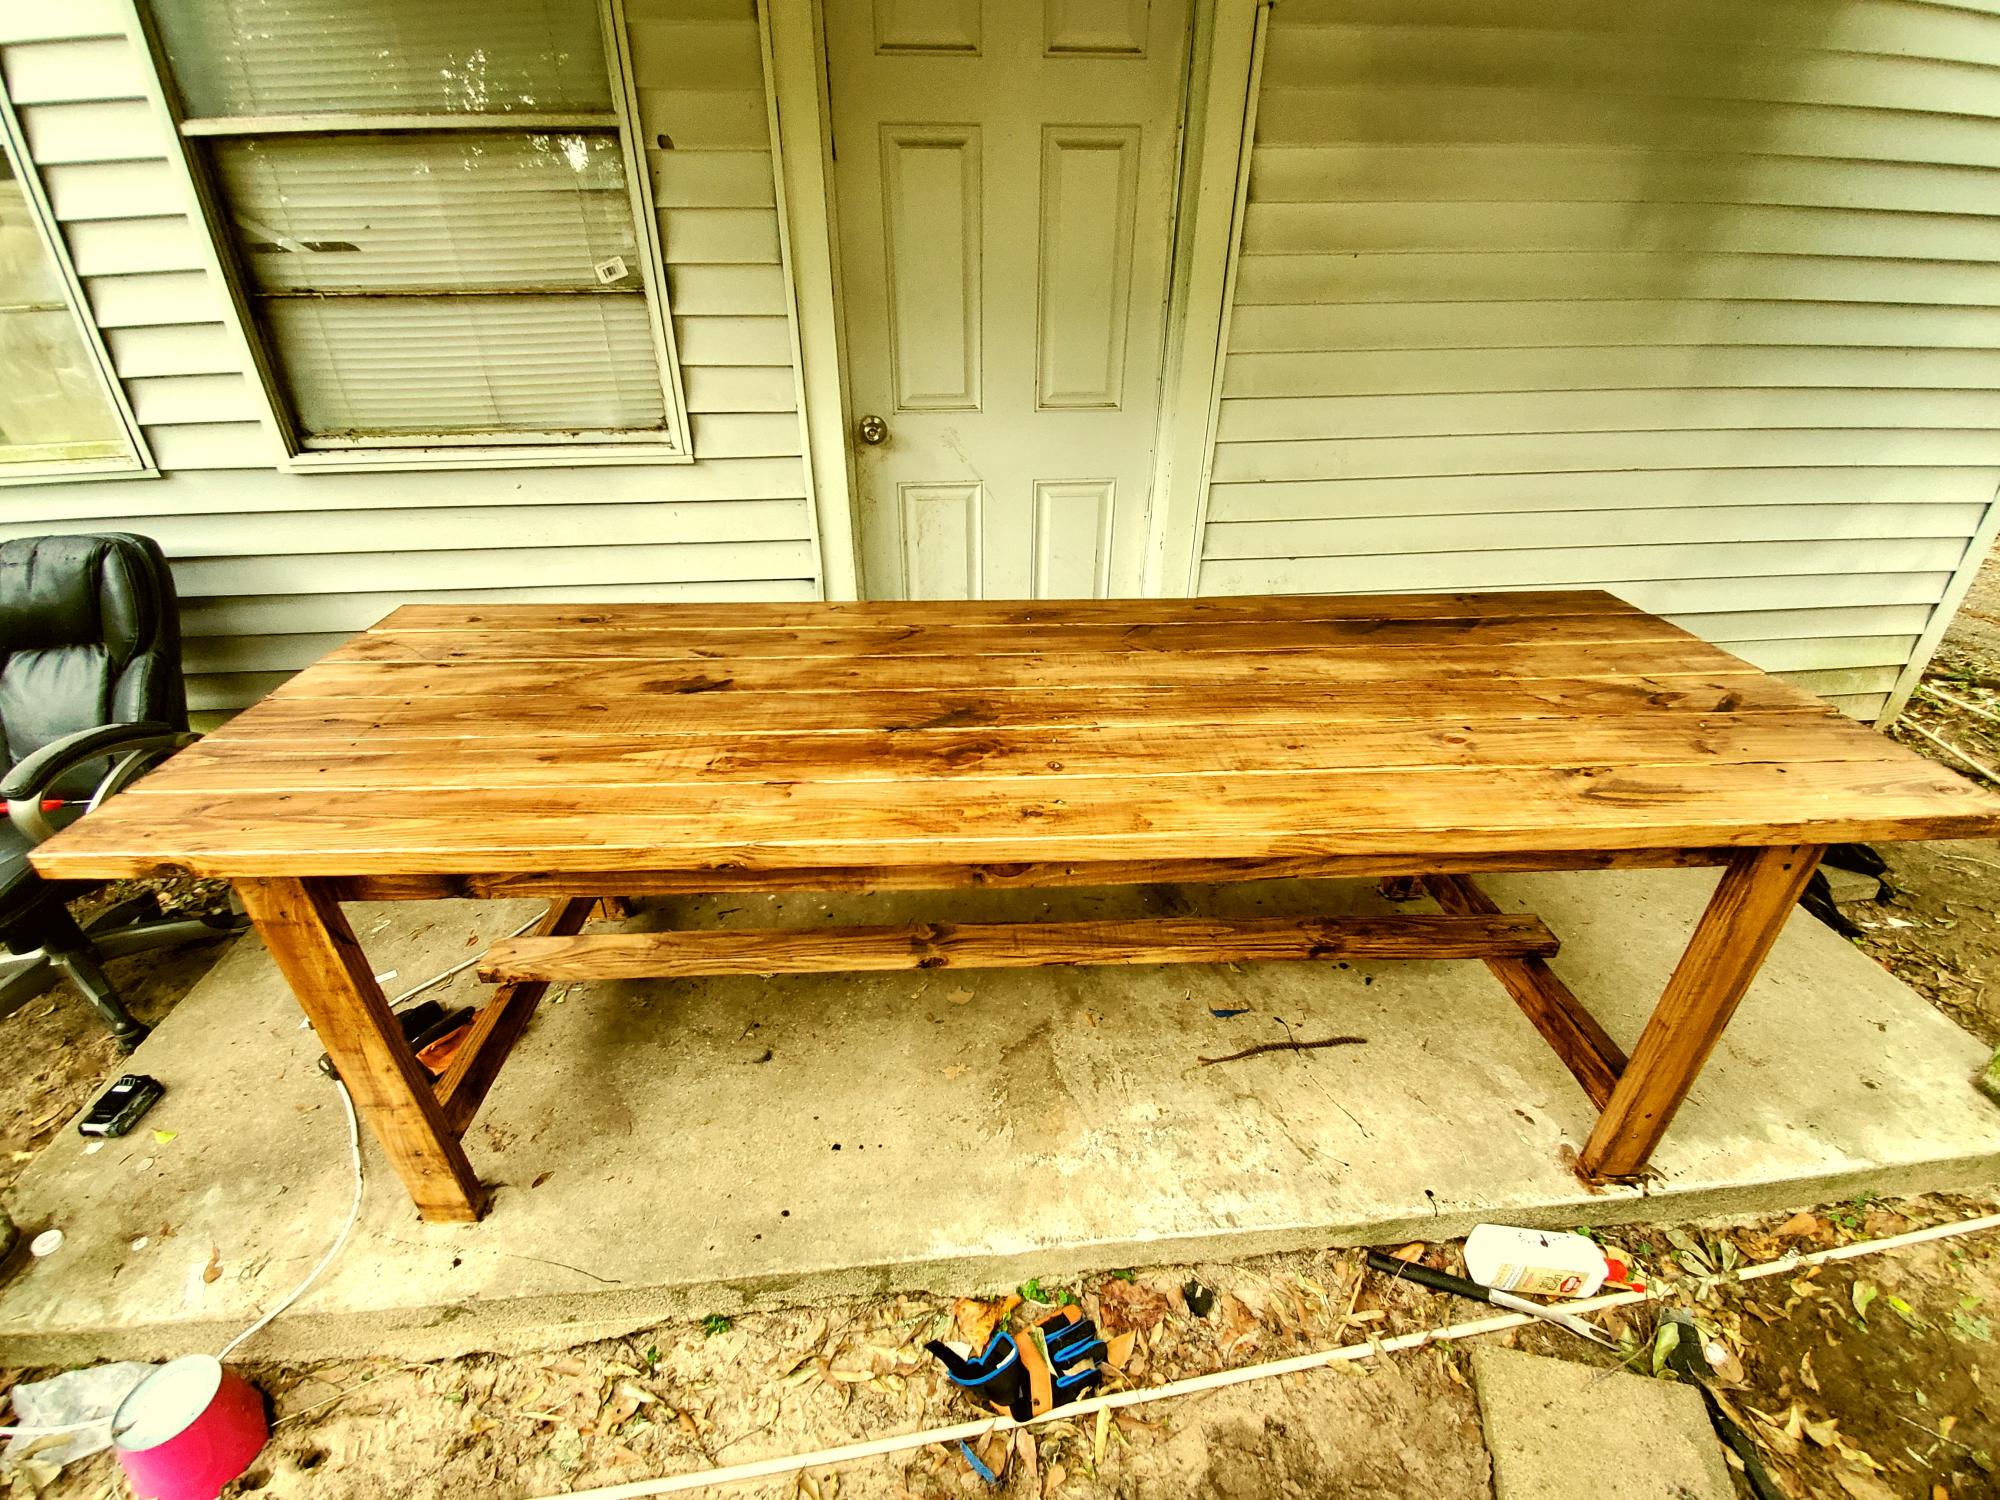
My first project very simple plan to follow extremely proud of it