Community Brag Posts

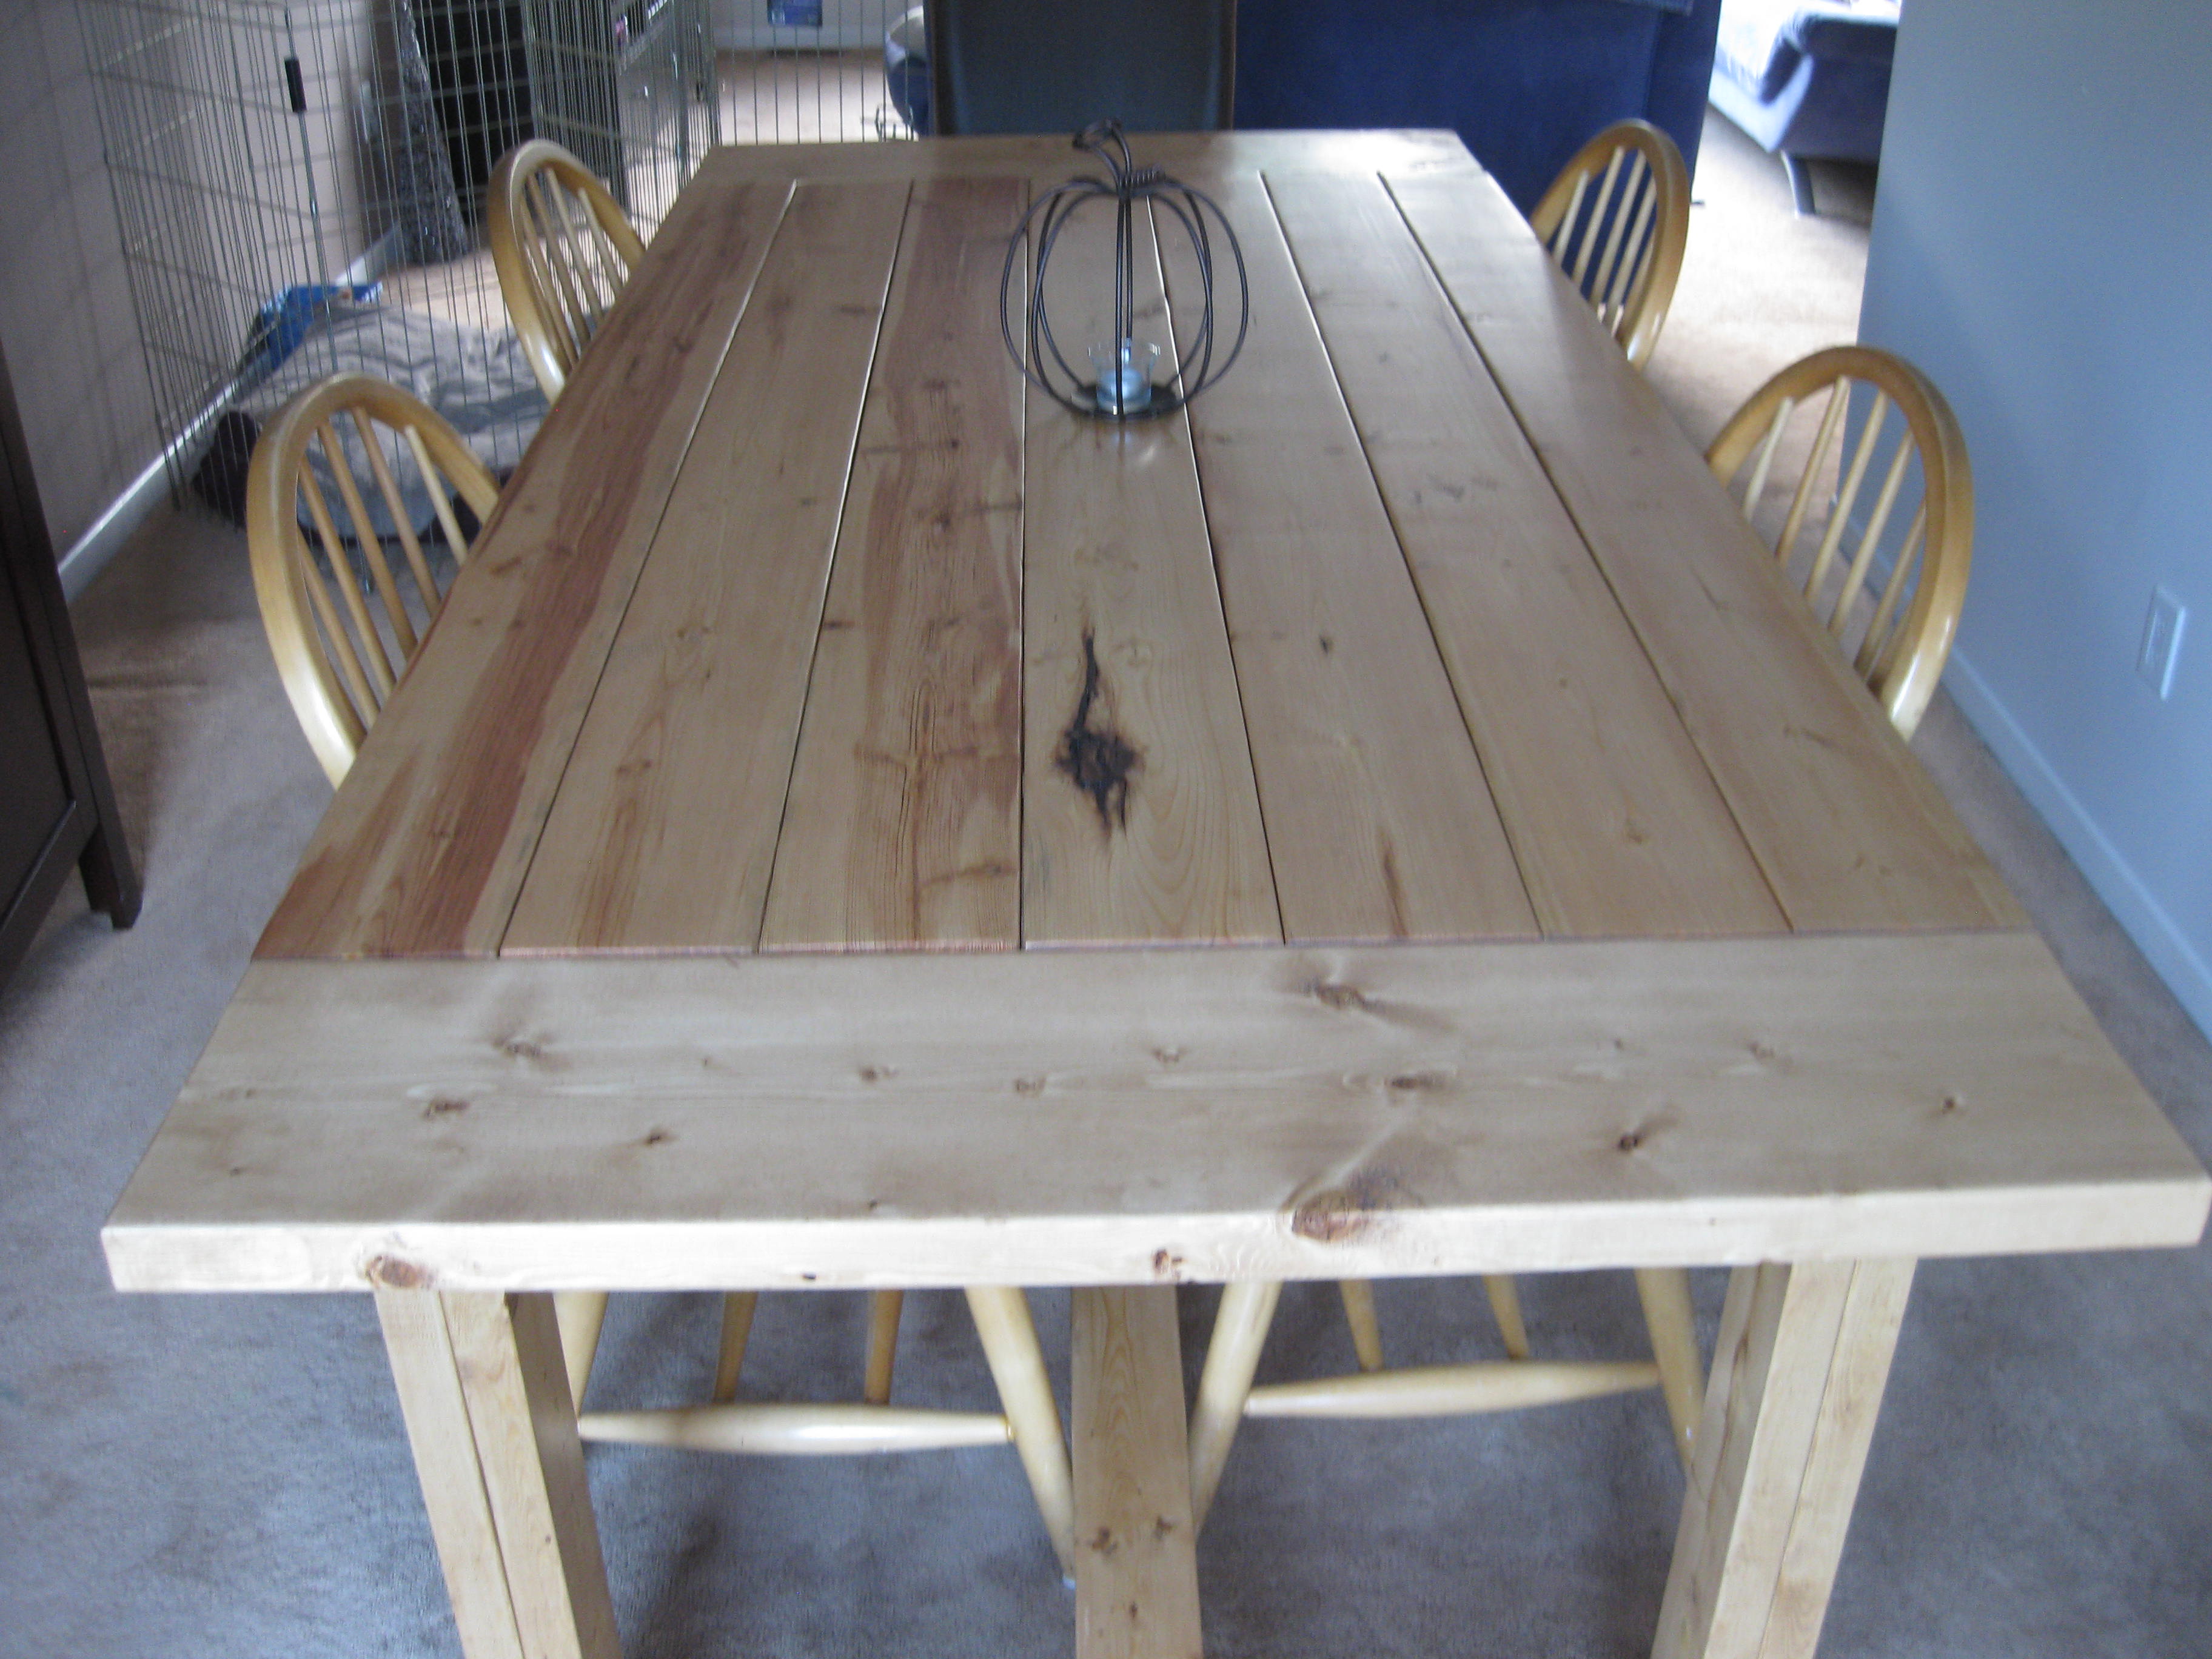
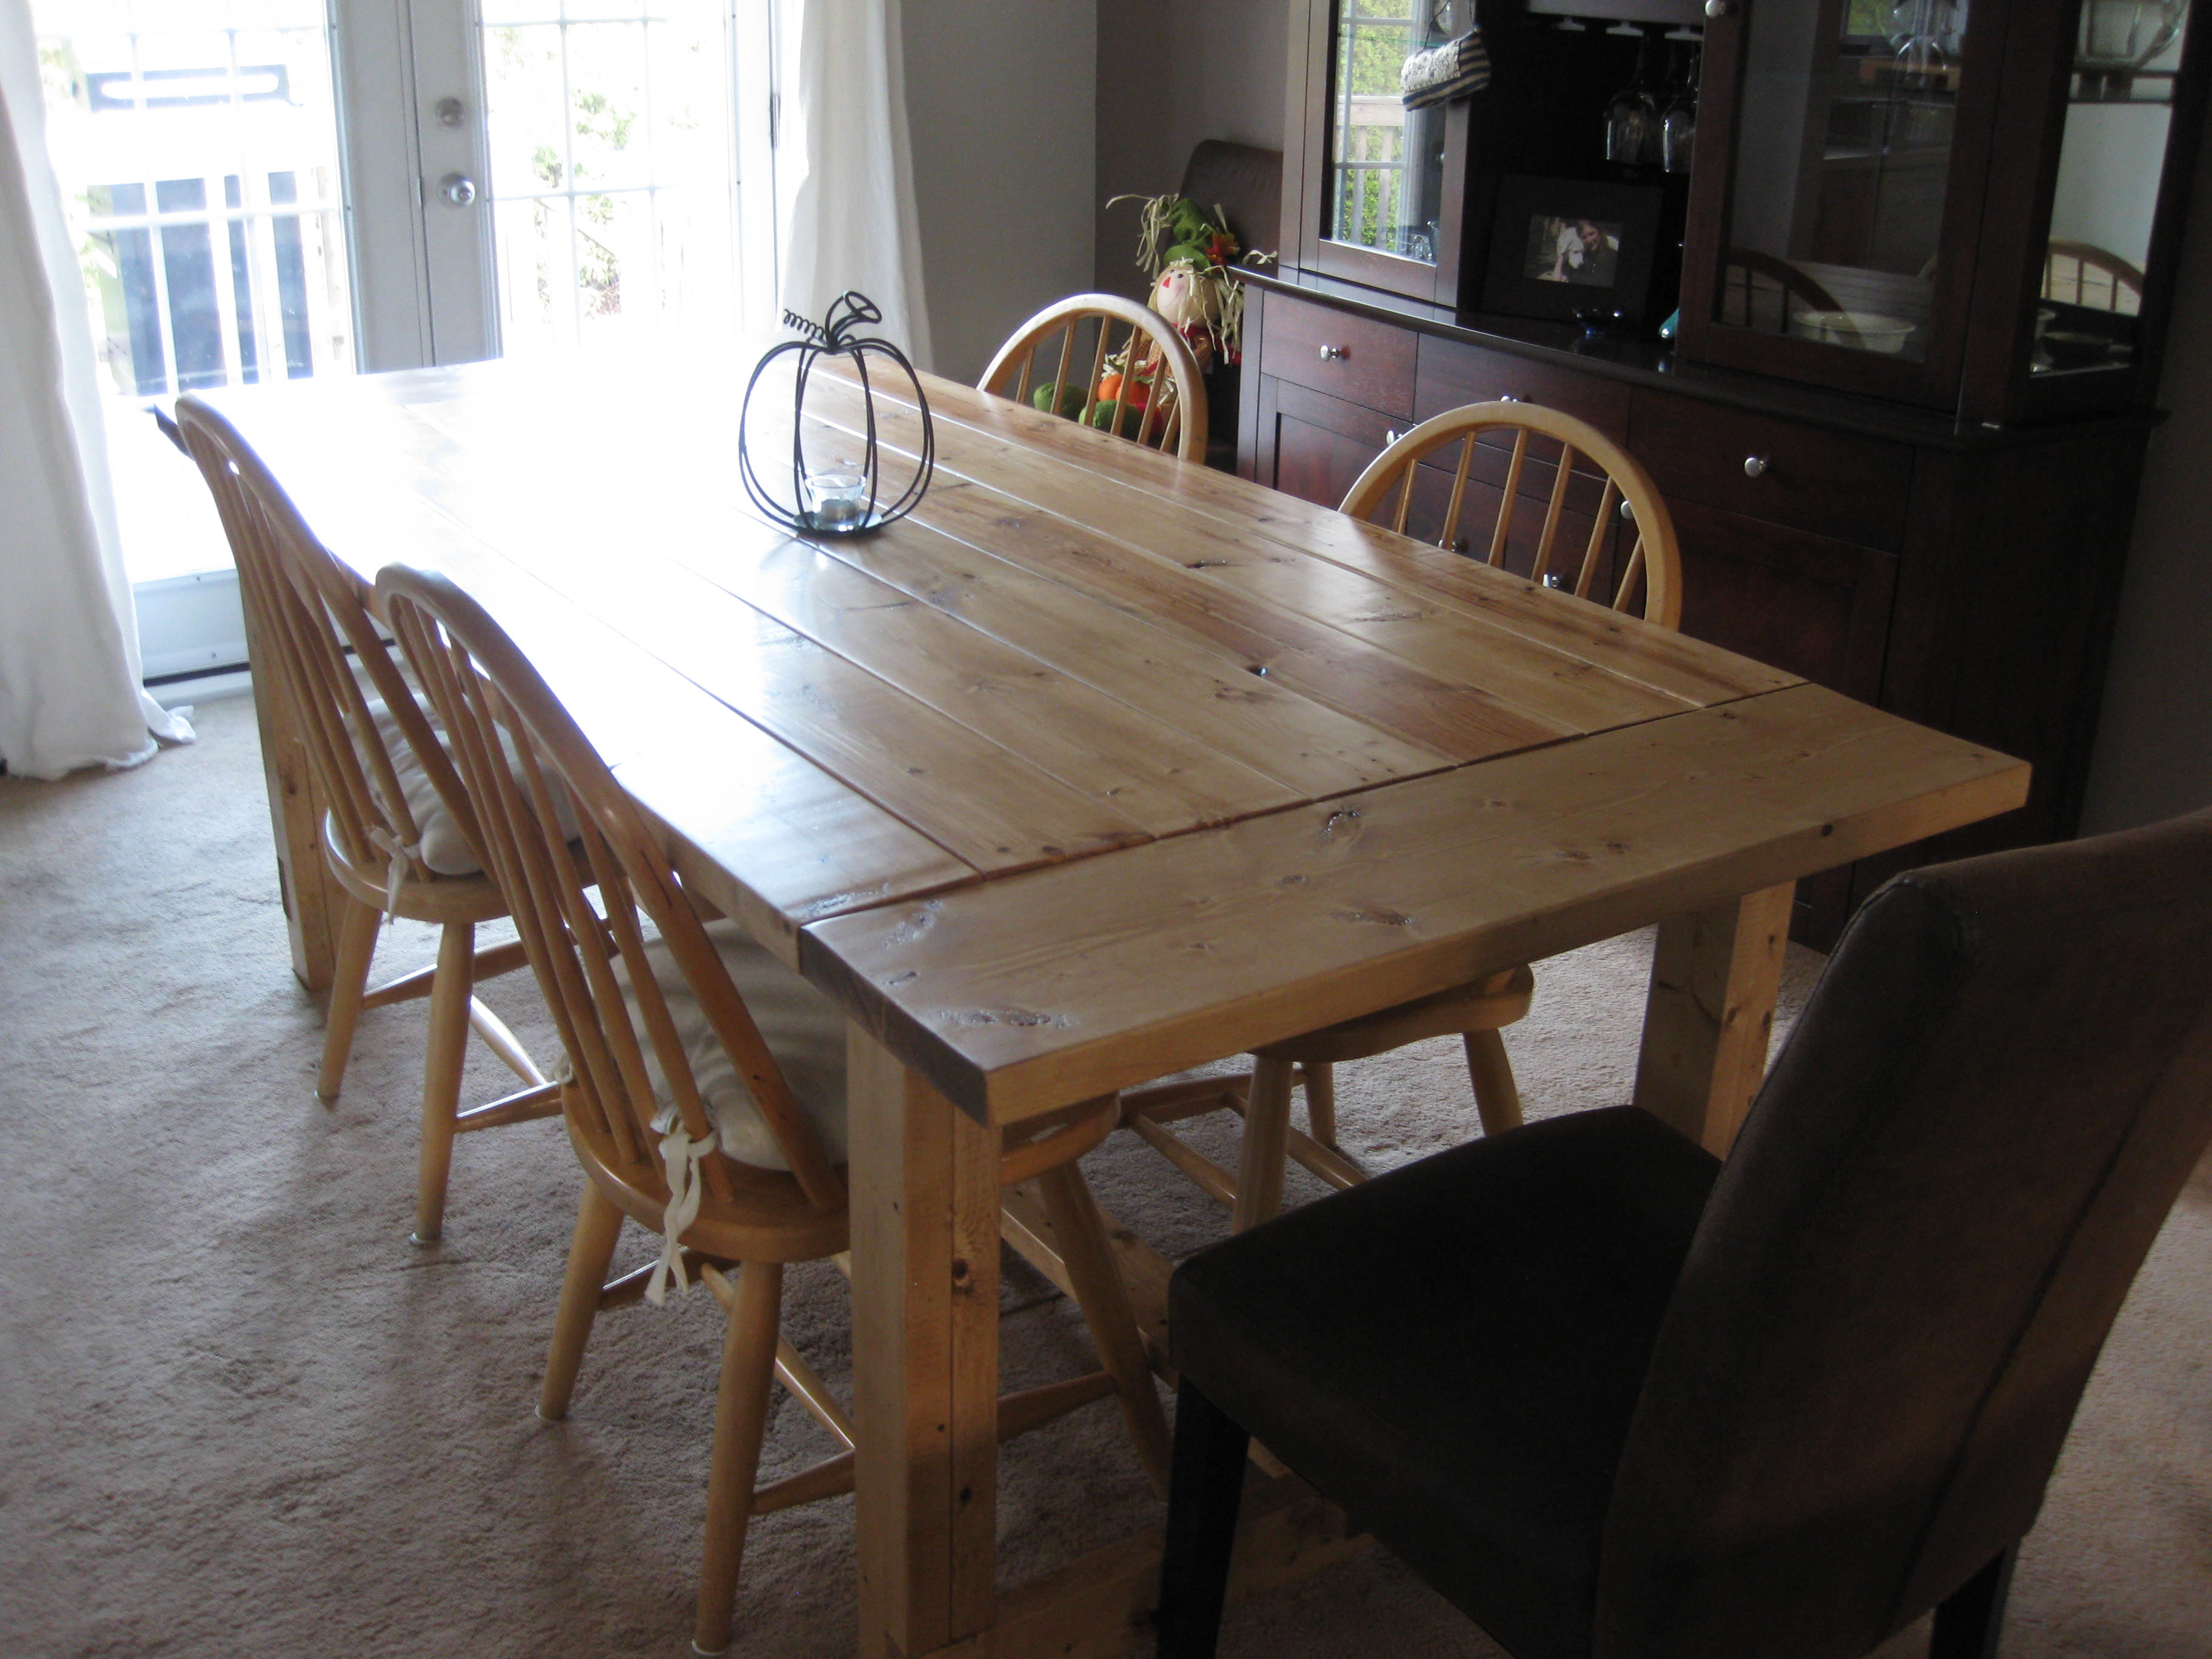
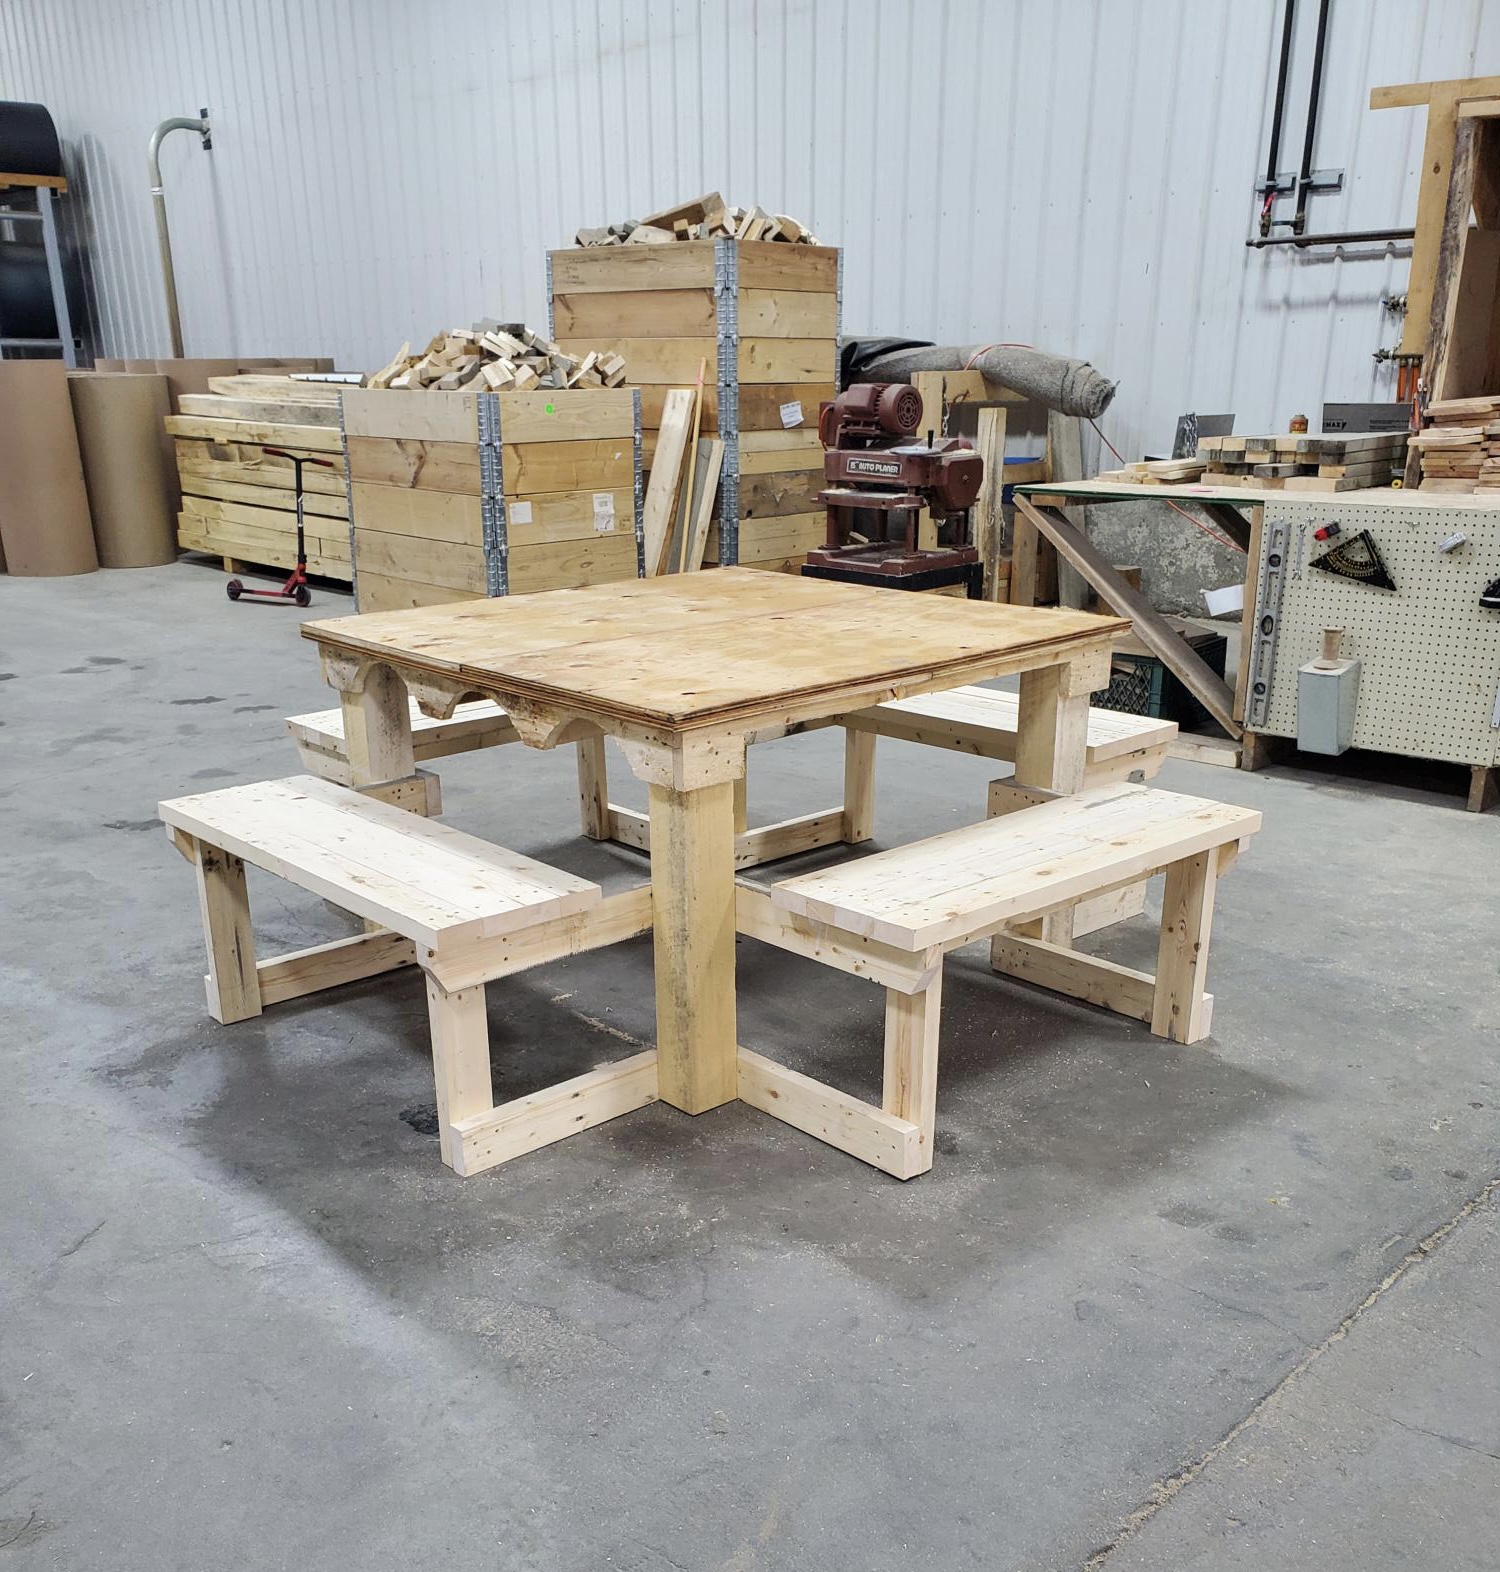
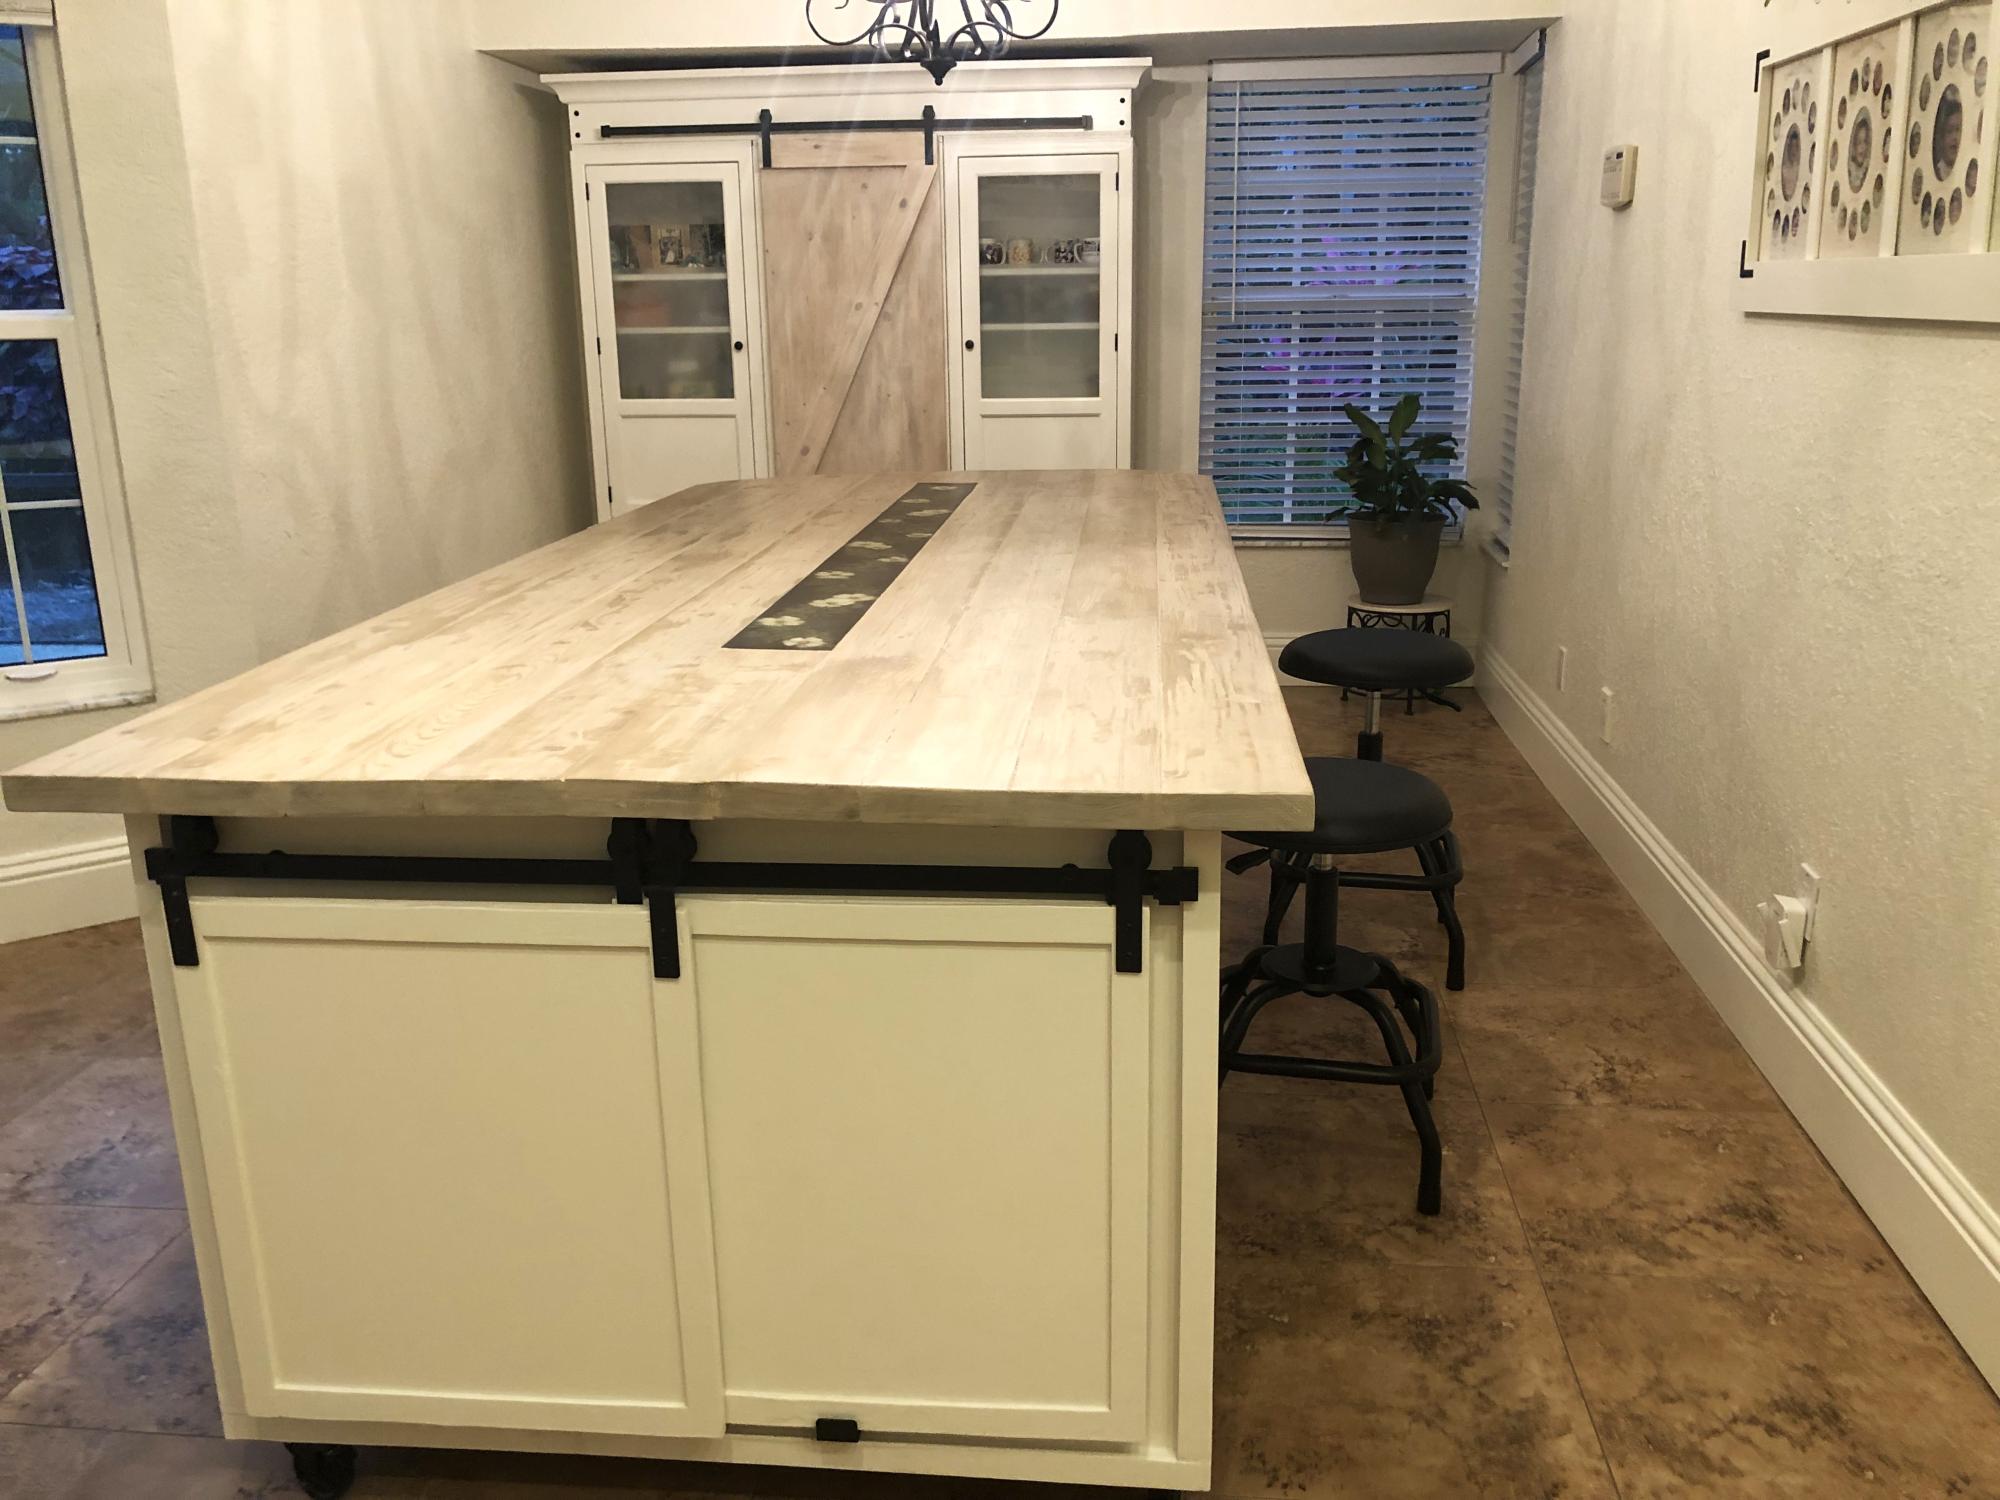
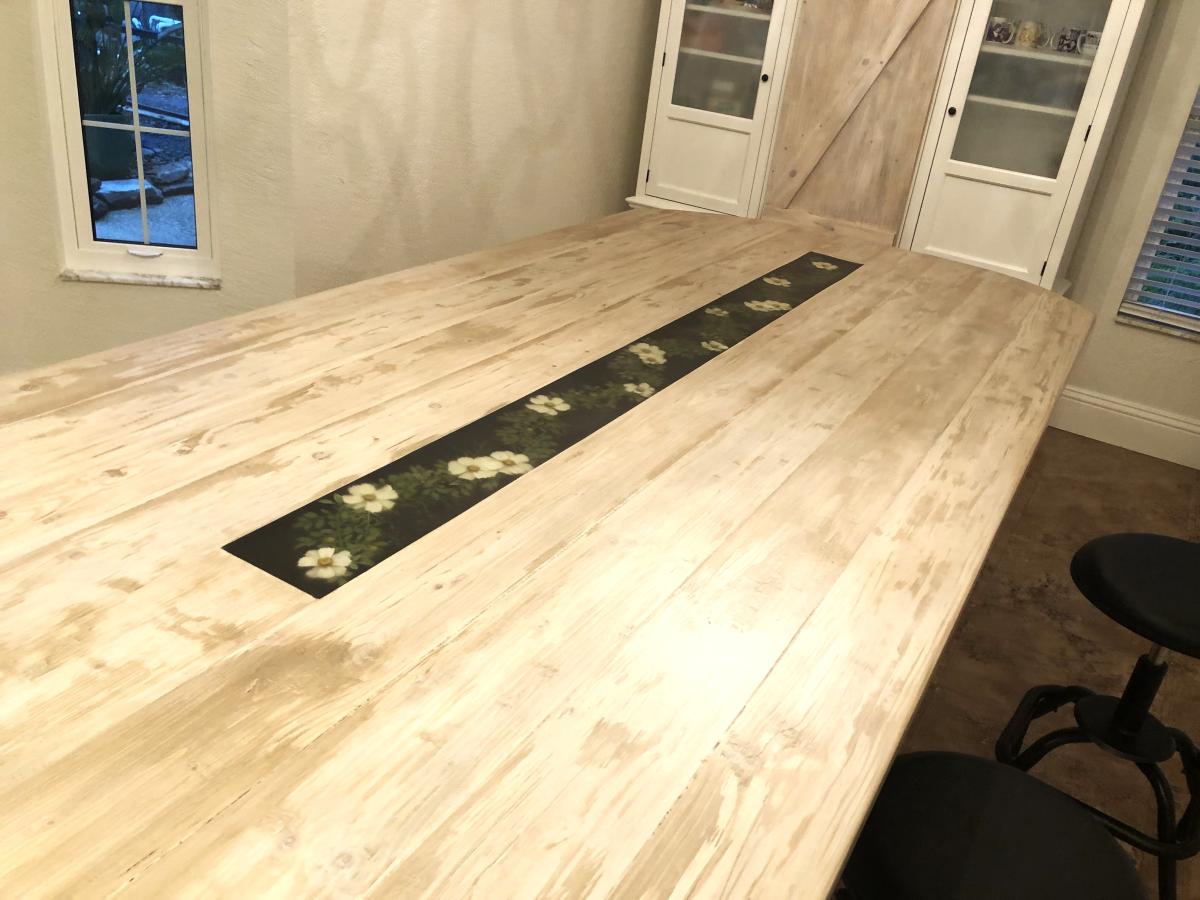
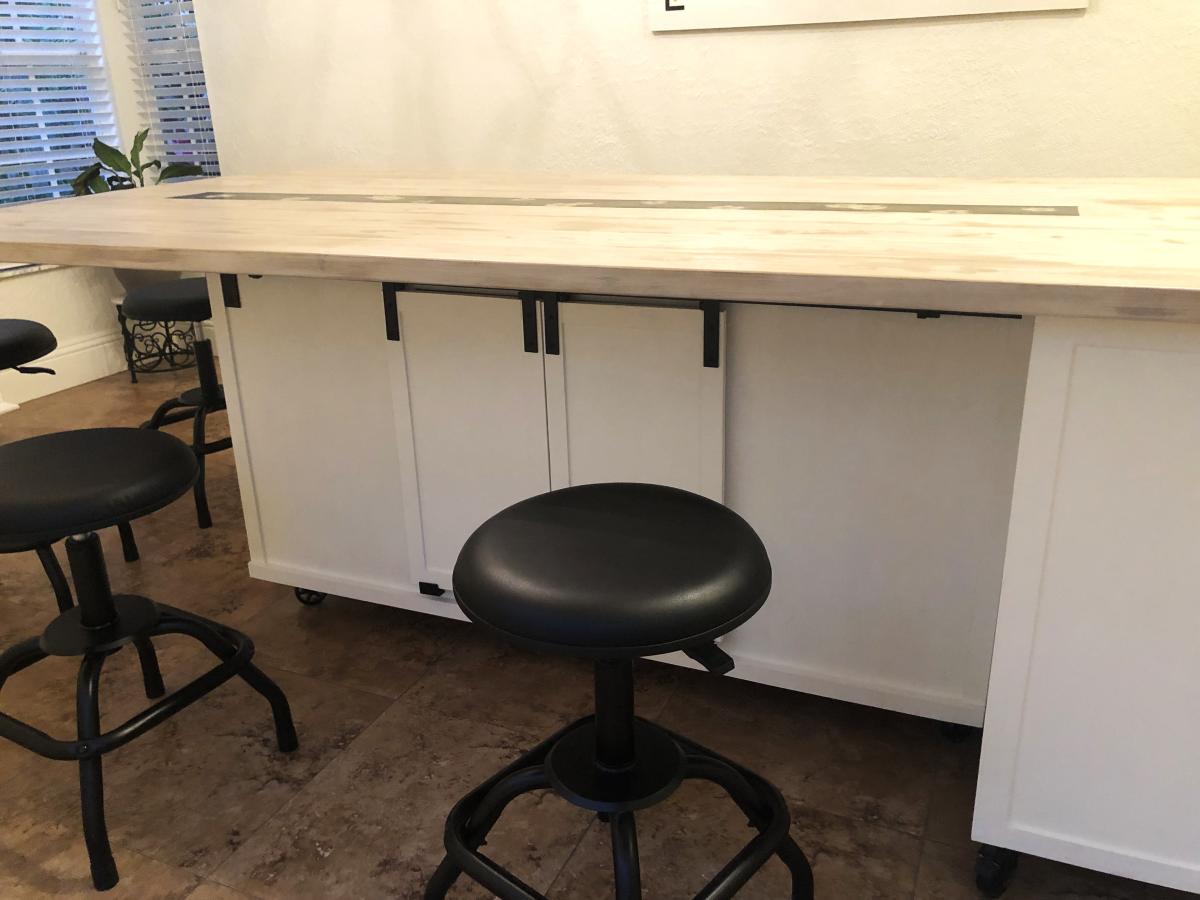
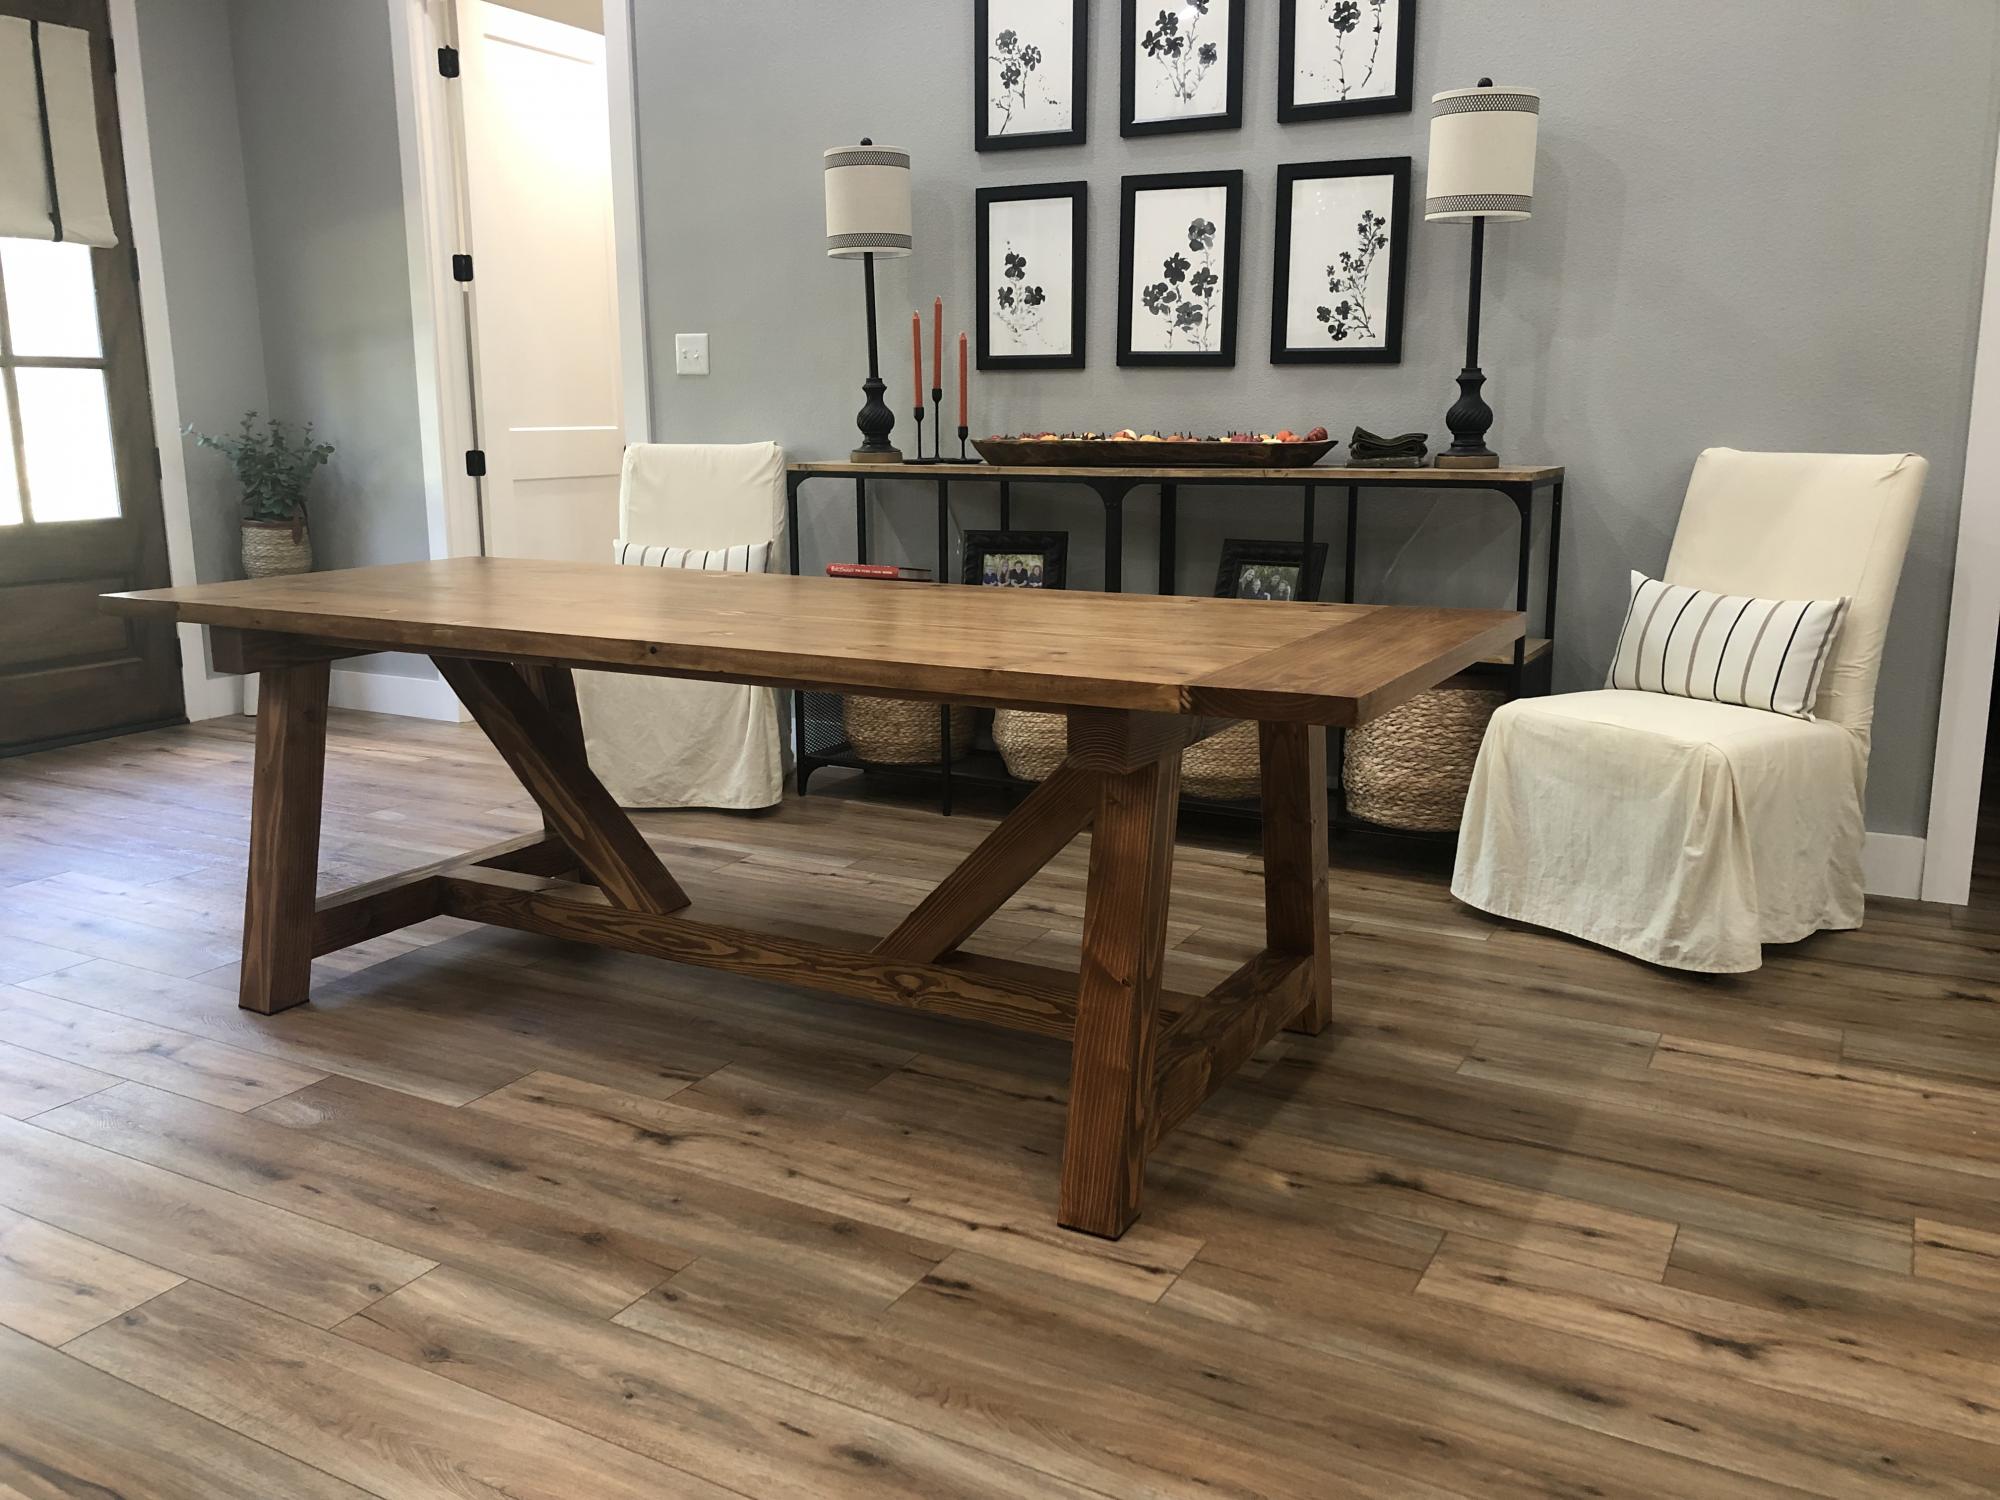
Farmhouse Table - Thanks Ana!!

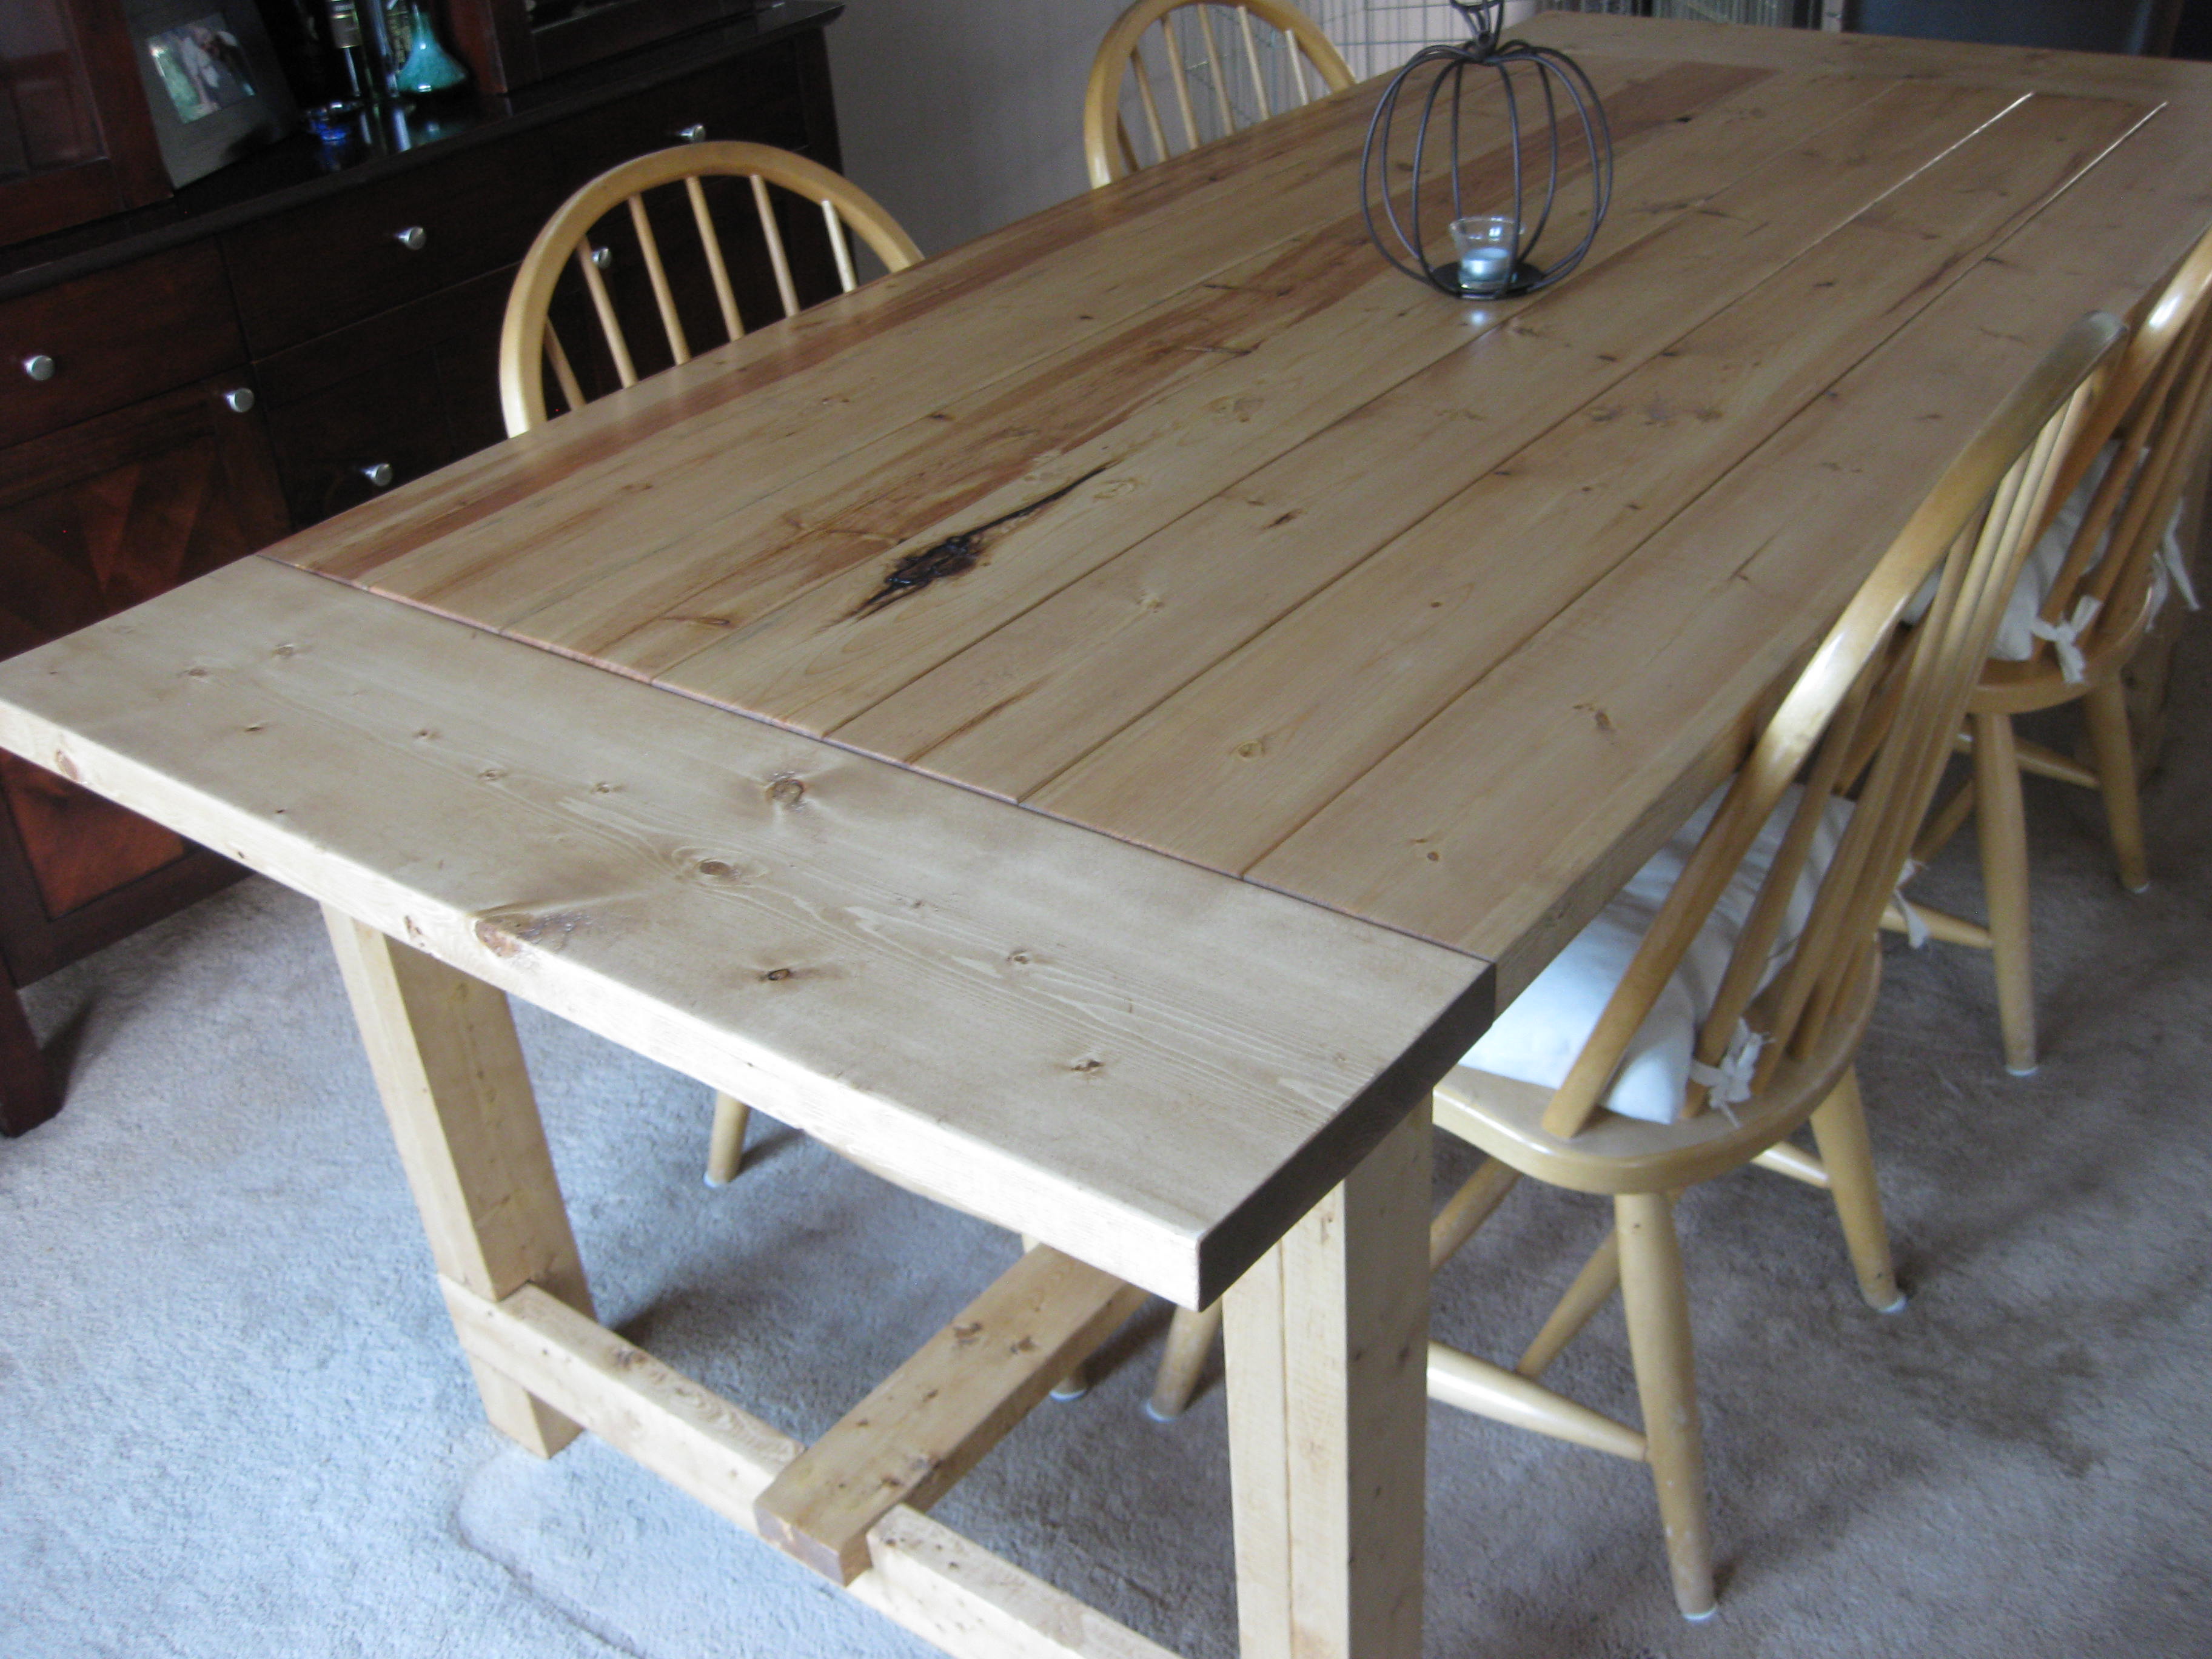
I tackled the Farmhouse Table over a long weekend while my boyfriend was away - he was surprised needless to say!
I have not attempted any woodwork projects since grade 8, but this was alot of fun - I did not find it very difficult and loove using power tools :)
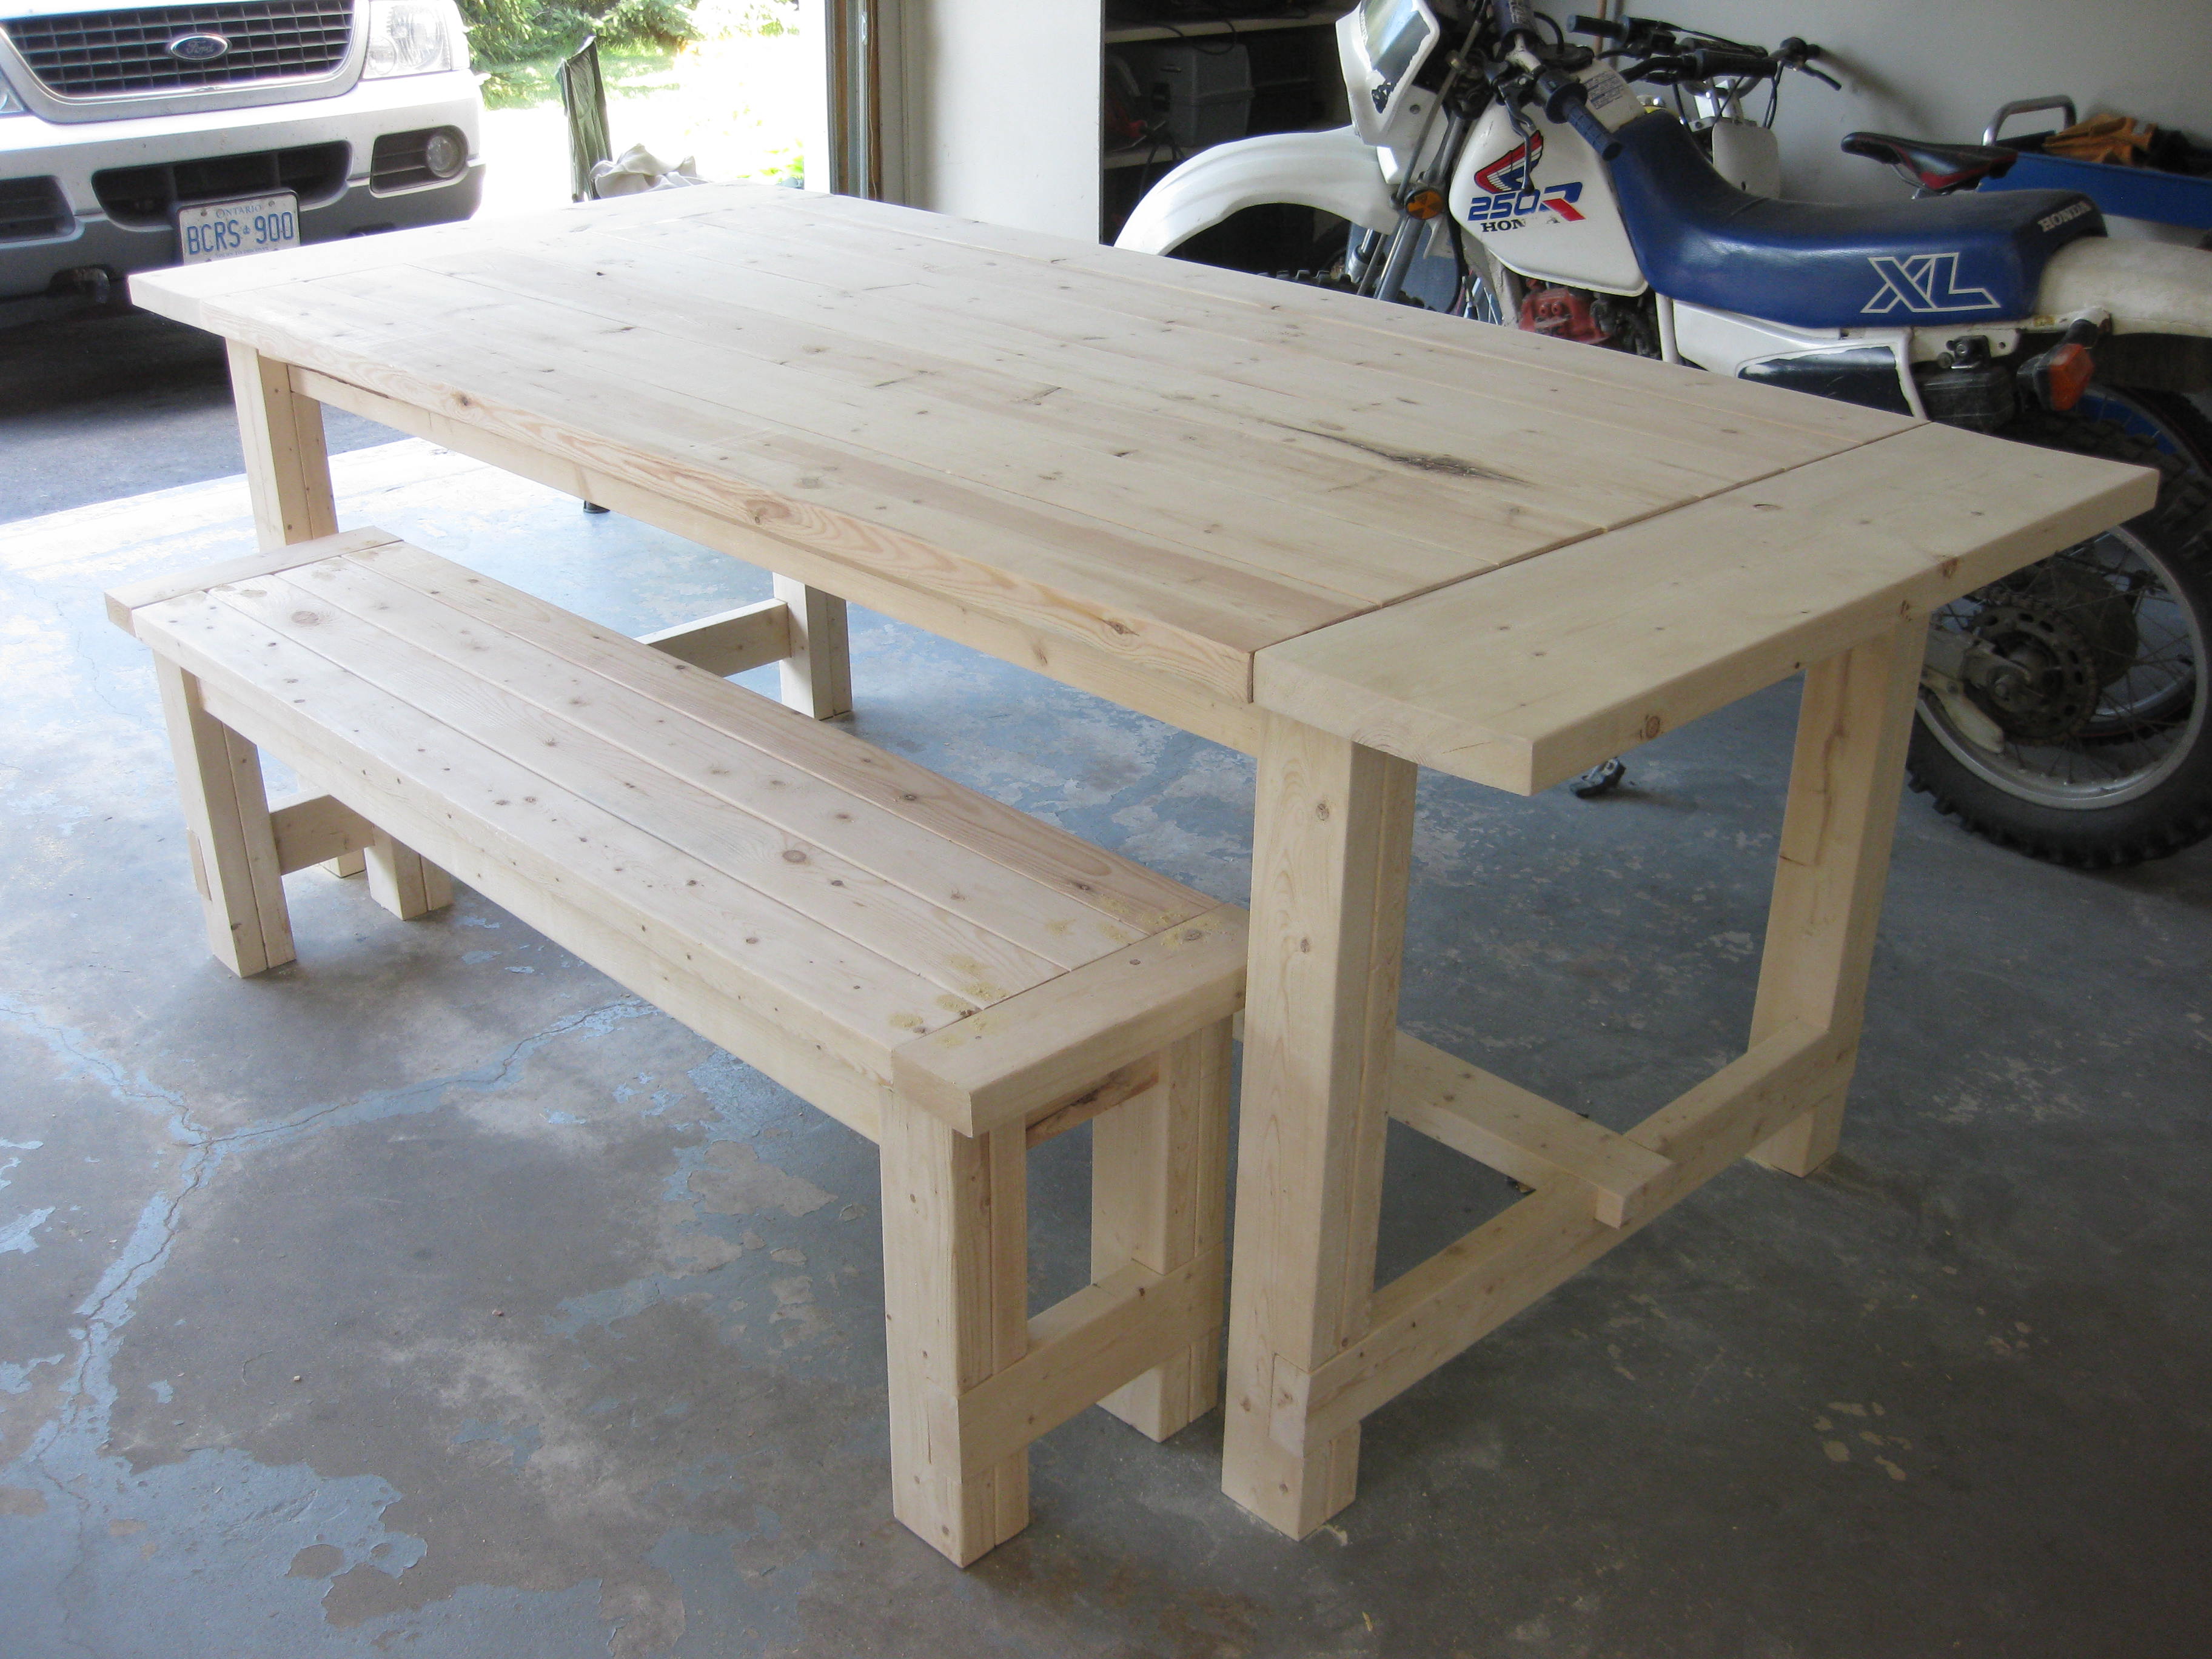
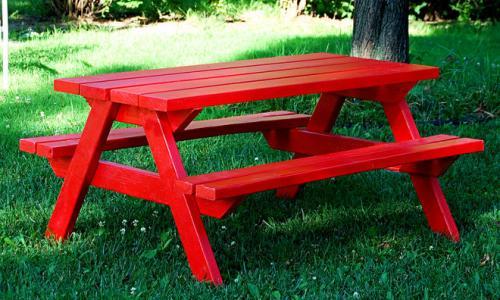
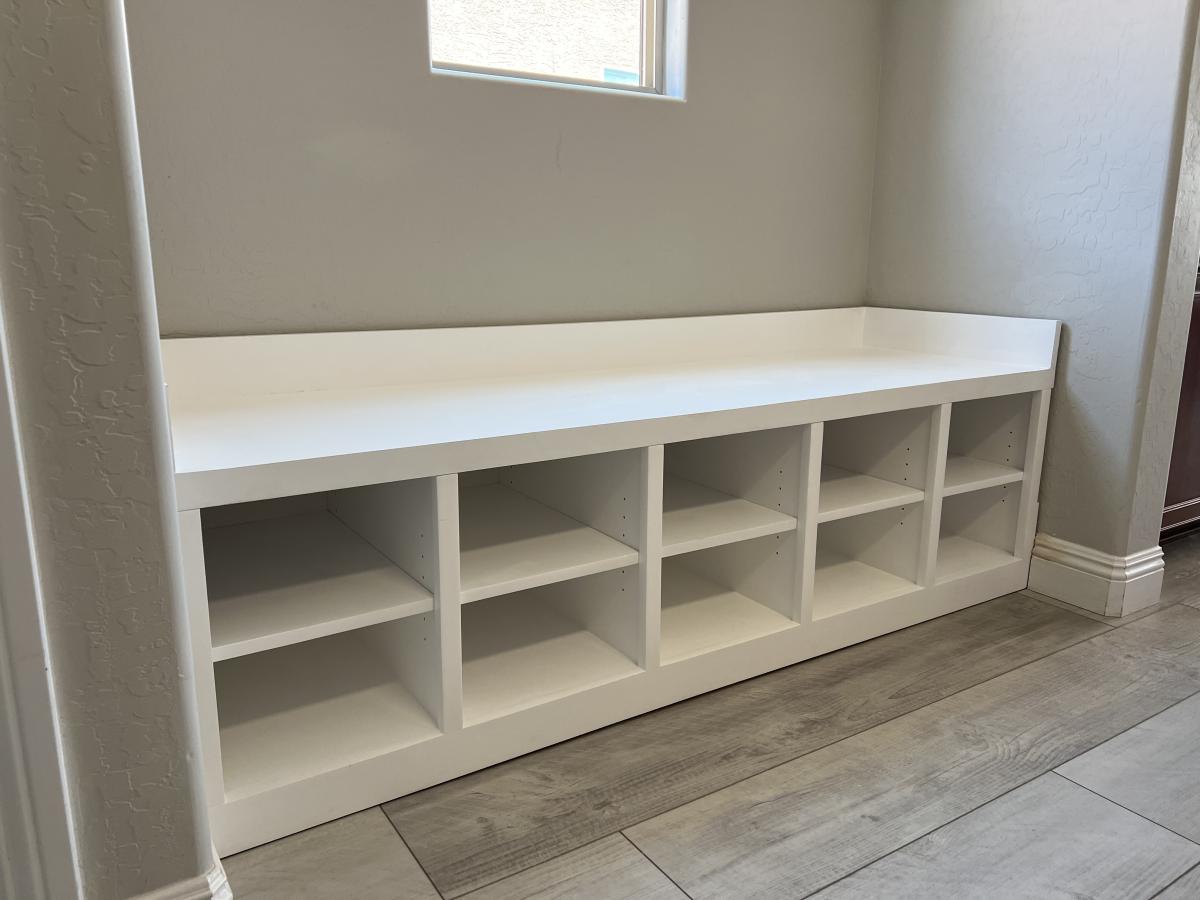
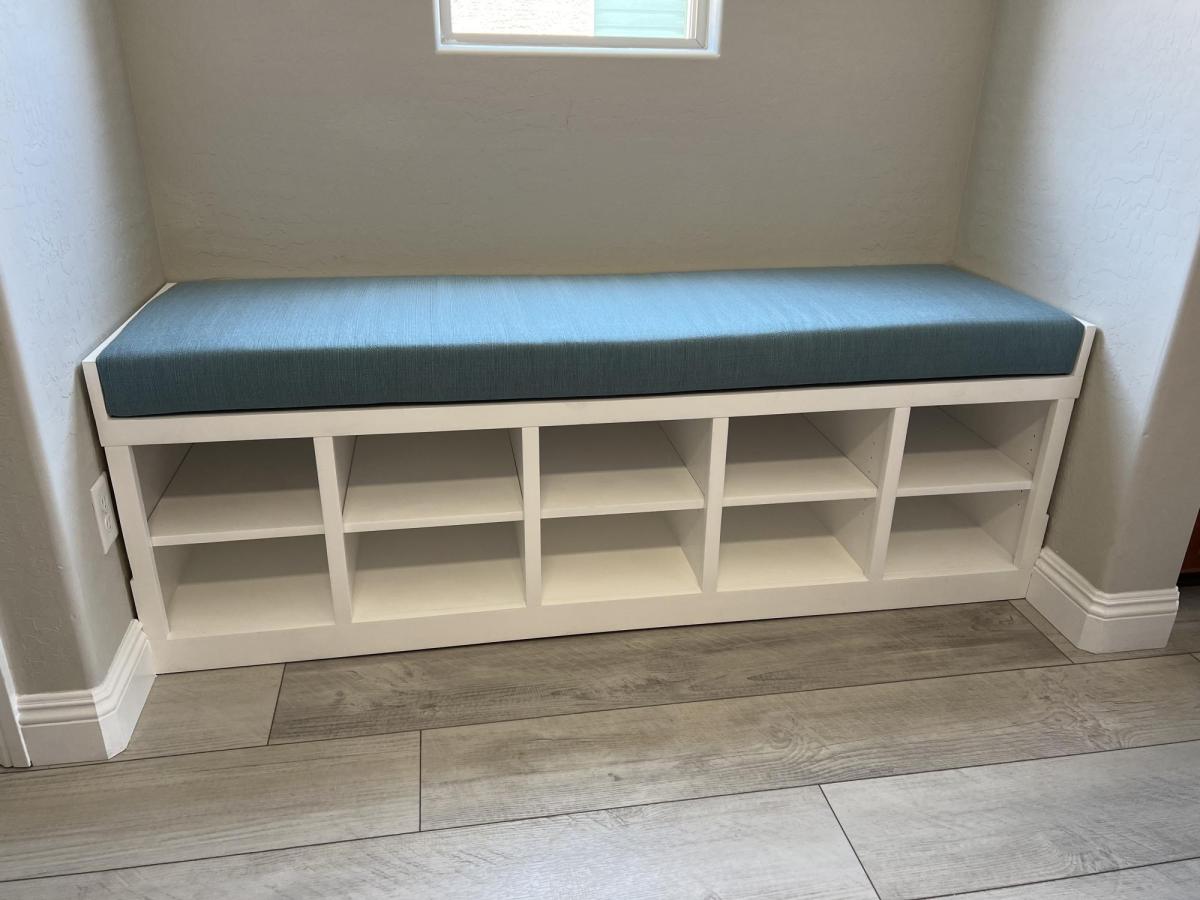
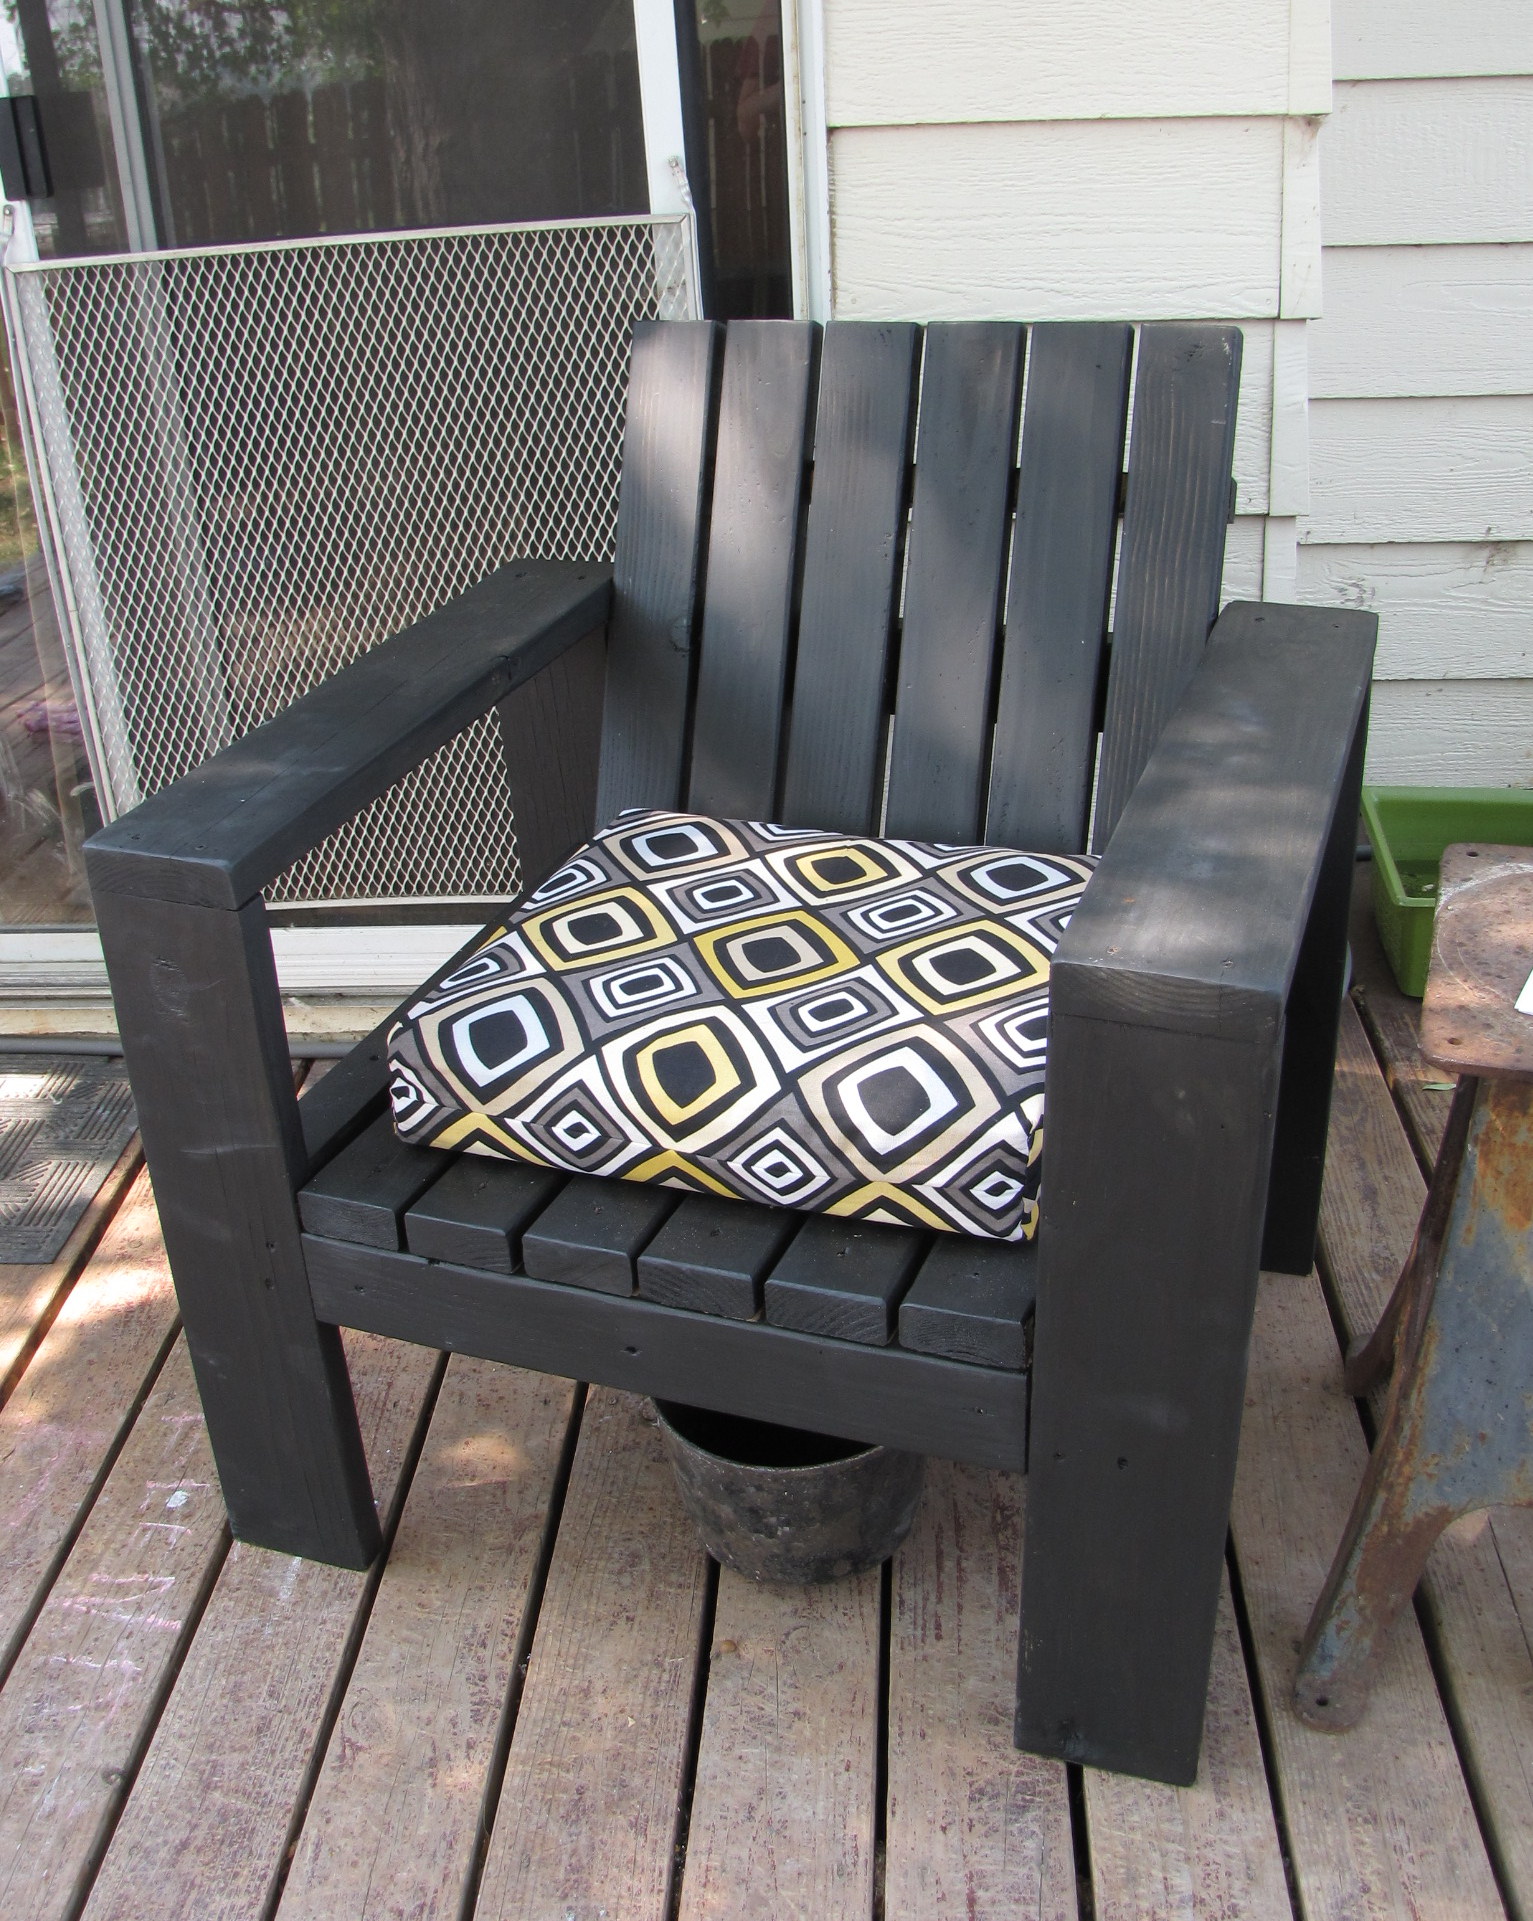
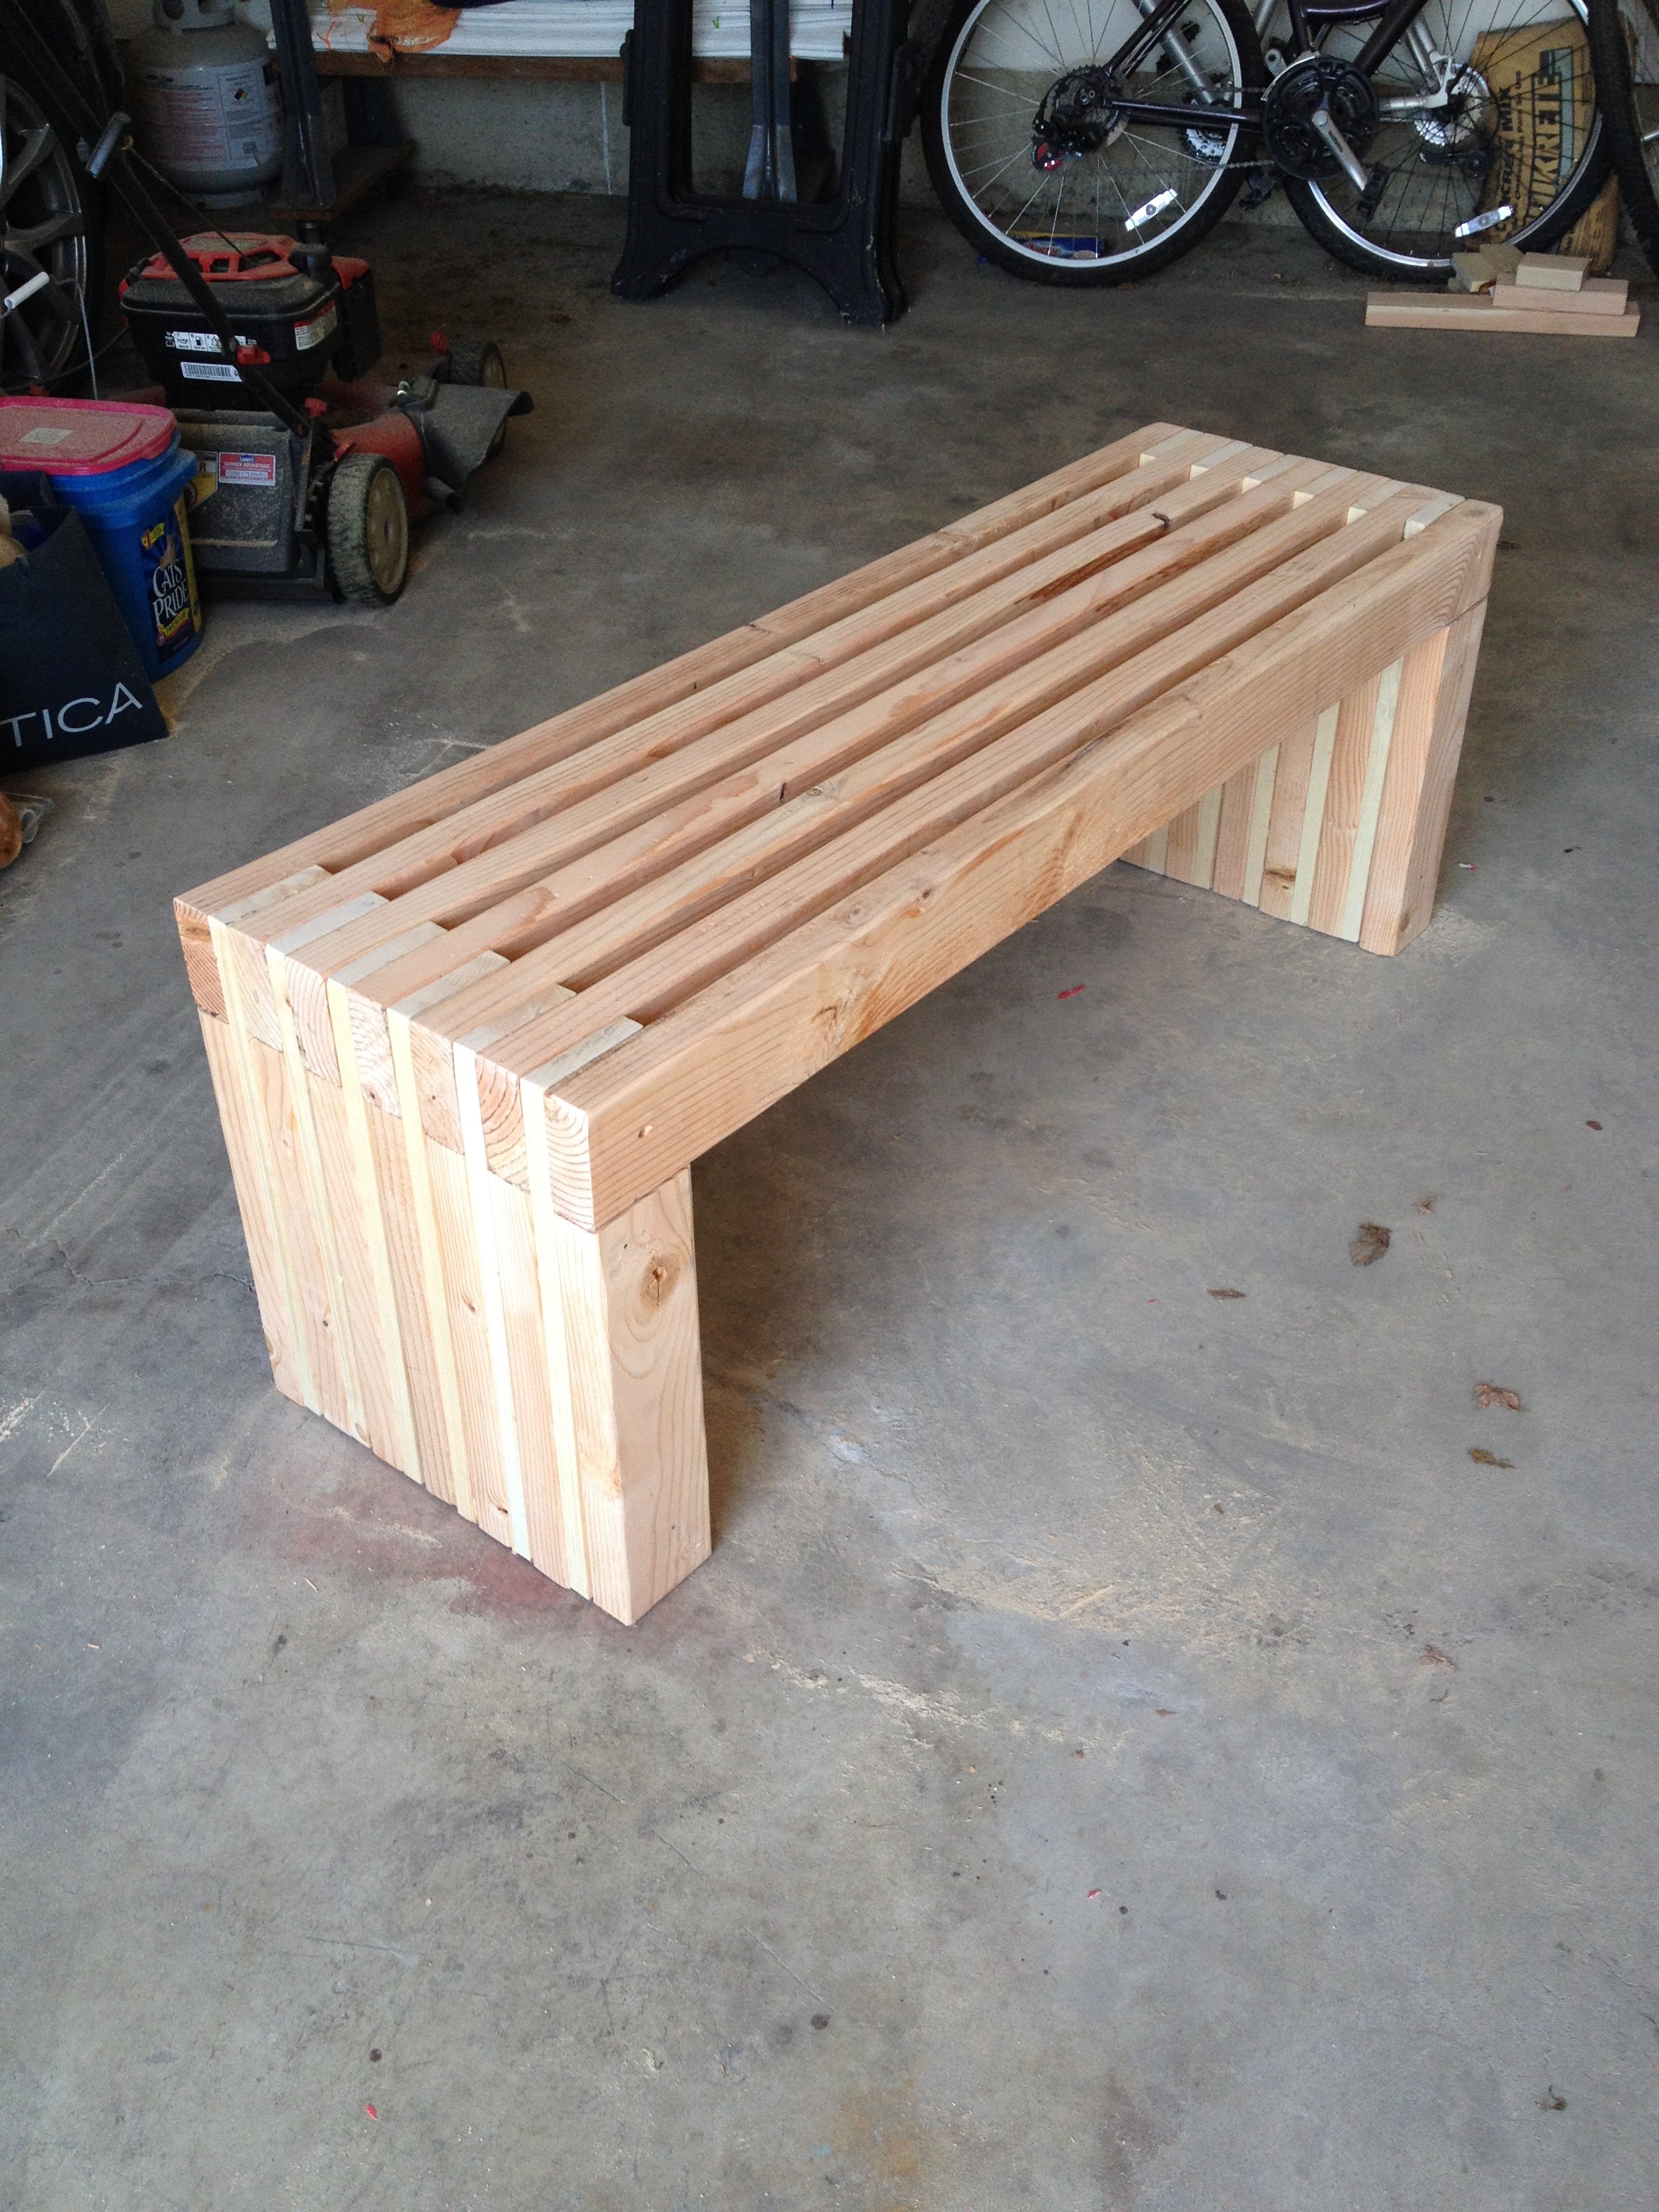
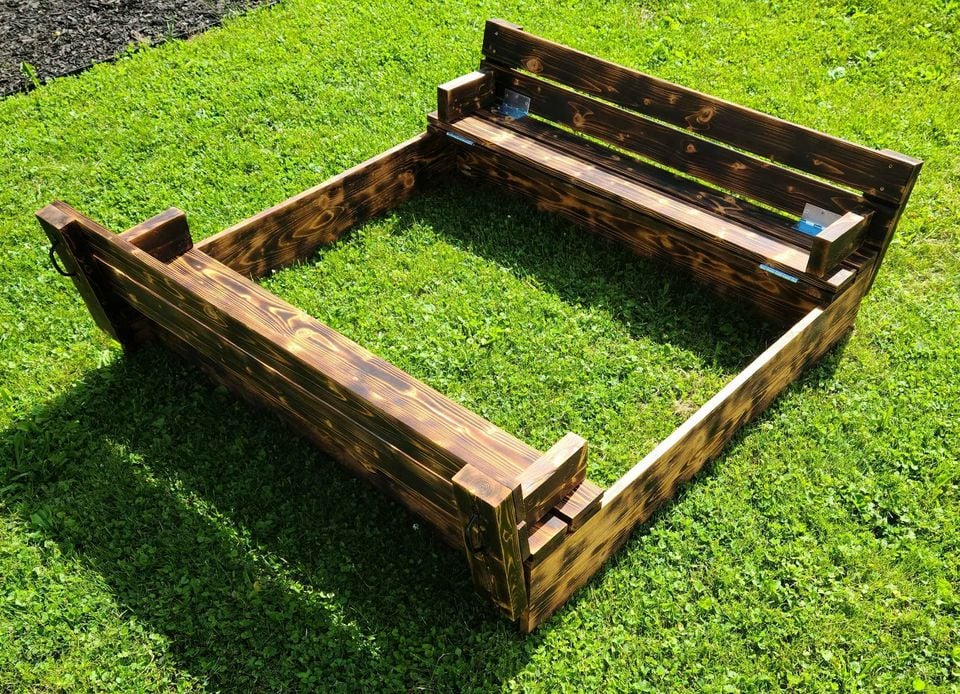
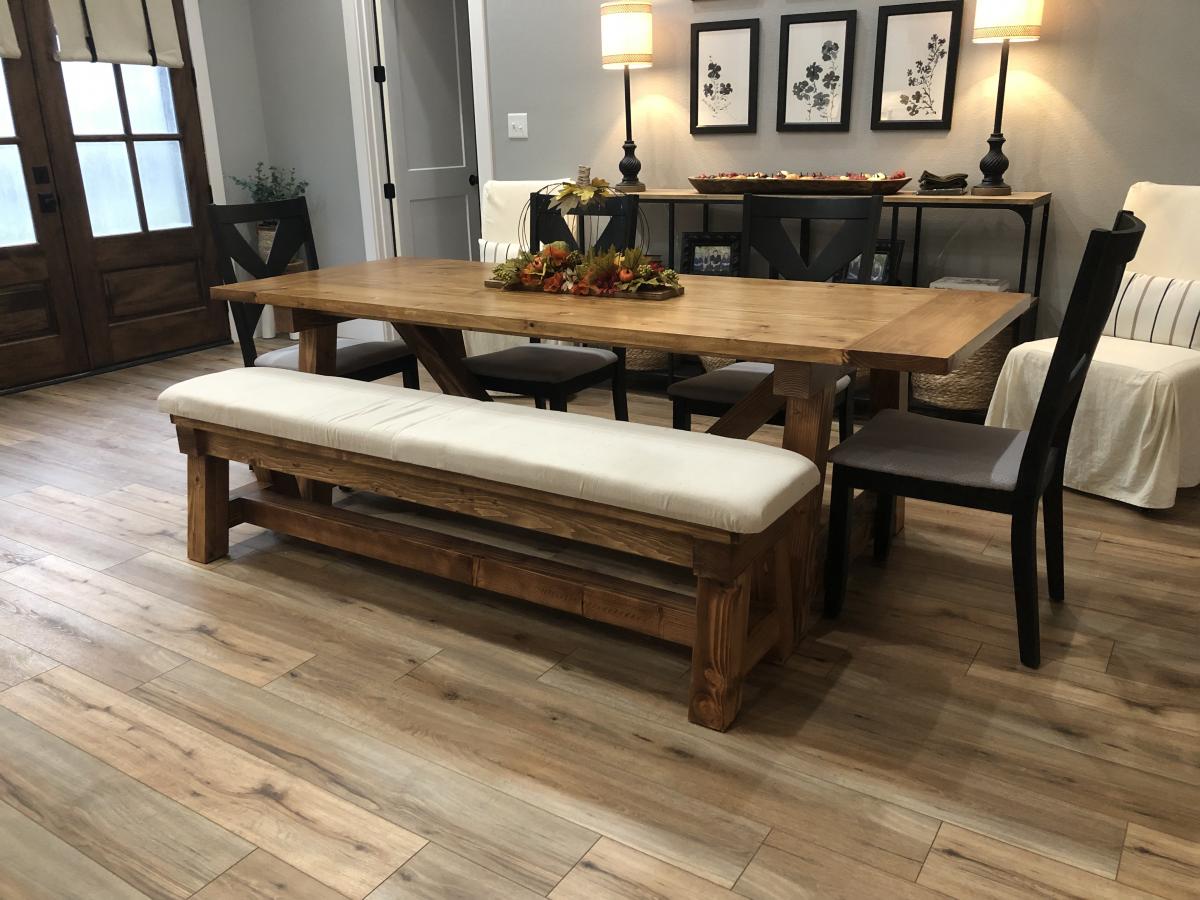
I made the matching bench, however I guess I did not stir the bottom of the can well enough and my bench is now red :/ soo I am going to either stain it dark or paint it white and use it as a mudroom seat!

*I also made mine shorter - 7ft long to fit in our dining room and adjusted the bench to fit.

Estimated Cost
$160 for table & bench inc. wood, screws, stain, sand paper
Estimated Time Investment
Weekend Project (10-20 Hours)
Finish Used
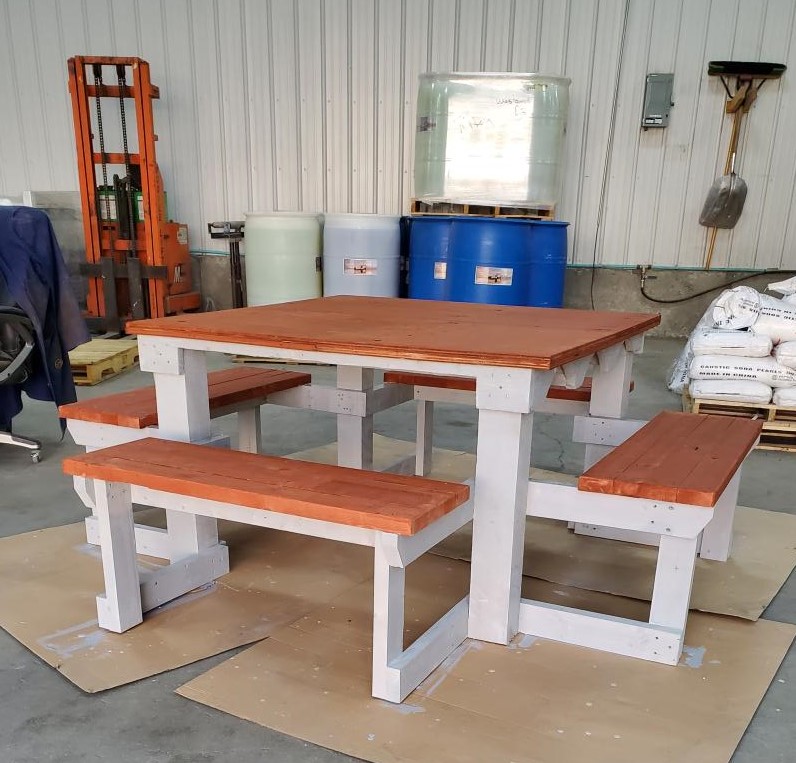
I sanded it until I was pretty sure the risk of splinters was eliminated. After pre-stain conditioner, it got a coat of Minwax 'Ipswitch Pine'. The result was perfect on the table (two coats), however I must not have stirred the can well enough as my bench turned out dark red :/ I wanted it to look like it's 100 years old.
Recommended Skill Level
Beginner

Comments

Maggie Jaye

Fri, 10/07/2011 - 17:15

Thank you so much Ana! We are in the process of renovating our house and your website has inspired me to take on so many more projects now!! :)

Margaret Kubiszyn (not verified)

Sat, 10/08/2011 - 19:46

I love your choice of stain - it is beautiful!

Guest (not verified)

Wed, 11/02/2011 - 04:52

I built a similar table and I am having problems with my kids getting food in between the pieces of wood. Do you have this same problem, is anyone having this same problem? Does anyone have any suggestion as to how to fix it, how to keep food and other particles from getting trapped between the cracks? Thanks! You did a great job!!

Guest (not verified)

Wed, 11/23/2011 - 15:00

I am building this table as we speak. The thought occurred to me as well concerning the cracks attracting crumbs. I believe using clamps to make the fit as tight as possible will help. Also some poly finishes may be appropriate with children which may even seal the cracks... if sanded and clamped well.

Maggie Jaye

Wed, 11/23/2011 - 15:11

I did try my best to clamp the wood together as tight as possible - due to the pieces of wood not being completely straight, they are there.

I haven't had this problem yet. I do use place mats when eating at the table, that generally stops any crumbs etc.That's probably the easiest way to avoid it :)

Thank you for your comments!

Farmhouse Bed King

Submitted by moldah on Wed, 01/11/2012 - 15:15

This was the plan that started my addiction! We had just gotten new mattresses, and we needed a new bed frame. All of the furniture stores have dark stains, and we wanted something natural and bright. I was searching one night found your site, and that was it. A few changes, increased the height of the headboard and footboard, wanted a slight overhang on the top of each as well. Also added an additional 2x4 between the legs of the headboard for support.

Estimated Time Investment
Week Long Project (20 Hours or More)
Finish Used
Natural
Recommended Skill Level
Beginner

Comments

Kate (not verified)

Wed, 01/11/2012 - 17:15

That looks great! The natural finish looks really great with your bedding. I love the higher headboard - we're planning to do the same with the farmhouse bed I'm planning so that my husband will be able to sit up in bed without hitting the back.

Did you end up using the boxspring, or is the mattress just in slats? I couldn't tell from your picture.

moldah

Wed, 01/11/2012 - 18:23

Hi, thanks for the positive response :) The mattress and box spring both are on here. In fact, I kept the bed itself on the original metal frame below, and added the side rails to hide it. Purchased the hardware for the side rails from Rockler

MichaelAndMelissa

Fri, 01/13/2012 - 08:42

All I can say is wow. Definitely showing this to my wife today. We had plans to do something like this but yours is up up and away! Excellent job!

moldah

Fri, 01/13/2012 - 15:48

I'm glad you like the lights. I go back and forth on them. I hated that I had to drill holes into the wood to run the cord, as it does not give us the option to remove later on. Also, if you go with the lights, you might want to put some double sided tape on the back. Thanks!

RyanJ (not verified)

Tue, 01/17/2012 - 11:15

The bed looks great. The routered edges are a nice touch.

Did you attach the bed to the original metal bed frame at all?

moldah

Tue, 01/17/2012 - 14:20

Yes, the 2x4 I put between the headboard legs for support, I did drill a hole on each side, and attached the top of the bed frame to that with bolts.

Szetoklin (not verified)

Tue, 04/03/2012 - 09:41

My husband just forwarded me a link of your bed.
It is SO SO beautiful!!! Love the reading light. Where did you get that by the way?
The bed is so pretty. Love the natural wood look and the knots.
We too have mostly dark wood stain in the house and love this light color look. Did you stain it or coat it with something?

igapo

Sat, 04/28/2012 - 15:26

Hi Moldah,

Very impressive and great addition with the lights. Can you tell me how tall your final headboard and footboard are? Thanks.

Elizabeth "Lizzie" (not verified)

Sat, 06/16/2012 - 04:46

LOVE IT! I love doing things like this and I am inspired by seeing your pictures!! I am especially impressed with the Star Wars case noted on your endtable LOL Right there I know you have great taste in films, too!!! I am going to do this project! Great job!

Usmc3mama

Fri, 08/09/2013 - 20:35

Since there were no plans we are making one similar. Thanks for sharing

Marybaileycole

Wed, 09/04/2013 - 17:10

Wow, this is so beautiful! Great Job! We are very amateur builders and I had a couple questions. Do you have a blog with more details? How did you achieve the routered edges? And also, do you mind sharing the cost of the project? Thanks!

rangers_31

Sun, 11/03/2013 - 08:44

By how many inches did you increase the height of the headboard and footboard? I am thinking about doing the same when I build this bed and was hoping for some guidance.

Modified Essential Entryway Bench

Submitted by Anonymous (not verified) on Mon, 06/05/2023 - 13:56

Worked with a client to create a boot bench with adjustable shelves. The Essential Entryway Bench was a perfect starting point! I extended the top trim to home the 4” cushion. I love Ana’s plans! Thank you!!!

Built from Plan(s)

Comments

4 sided picnic table

Submitted by Anonymous (not verified) on Fri, 06/16/2023 - 13:59

4 sides for the whole family to sit.

Built from Plan(s)

Comments

Seasonal And Holiday

Outdoor TV Lift with Electric Fireplace

Submitted by Anonymous (not verified) on Sat, 07/08/2023 - 10:27

I built a TV lift with an electric fireplace cabinet. It’s 5x2 with casters for easy mobility. It goes perfect out in my bar area. I used siding all around in and the top is pinewood with a lacquer coating for long lasting.

Recycled pallet crates

Submitted by tull0032 on Sat, 03/17/2012 - 07:18

I had some left over pallets from another project I was doing and decided to make some recycled wood planter boxes to liven up our decking area. The whole project only took a few hours to make both boxes and used entirely reclaimed pallet wood aside from the two end pieces.

Estimated Cost
$3
Estimated Time Investment
An Hour or Two (0-2 Hours)
Finish Used
Sanded back pallet wood
Recommended Skill Level
Starter Project

Comments

Nursery Book Ledges

Submitted by Anonymous (not verified) on Tue, 08/15/2023 - 14:59

Nursery photo ledges. Shortened the shelf depth using a 1 x 2 instead of a 1 x 3.

Built from Plan(s)

Comments

nifof17547

Mon, 04/08/2024 - 01:07

I love the idea of book cornices for the nursery! Reducing the depth of the shelves is a smart modification that makes them more suitable for children's books. It is very important to customize the furniture so that it perfectly suits your needs. Using 1 x 2 instead of 1 x 3 will give you a more customized solution. Books are a storehouse of knowledge! Speaking of knowledge, for students looking to adapt their learning process, platforms like Edubirdie https://essays.edubirdie.com/assignment-help offer reliable assignment help services. Edubirdie can help you tailor your academic assignments to your specific requirements. It's all about finding the right option for your needs, whether it's organizing children's books or tackling academic assignments. Great job on the customization!

LuckyGirl

Mon, 05/06/2024 - 14:40

A very cool ledges for books, especially useful for those who like to read like me. Moreover, I dream of writing a book myself. For this I must develop strong writing skills, often refined through literature review tasks. Yet, these assignments very complex for me. I prefer turning to professionals https://literaturereviewwritingservice.com/ for help. It provides students with the help needed to succeed in crafting compelling writing papers.

Ultimate Workshop Workbench

Submitted by Anonymous (not verified) on Mon, 09/18/2023 - 15:38

My garage needed an overhaul and I wanted to start a hobby in woodworking.
I found my way to Ana's website and found some of the best ideas and decided to try my attempt at building the Ultimate Roll Away Workbench with Miter Saw Stand.
This helped inspire me to augment my garage and build that workbench and new french cleat wall.

Thank you Ana for having such an awesome website and offering up ideas for free!!

Comments

Simple Outdoor Lounge Chair - Beefed Up

Submitted by Radcrafter on Sun, 06/24/2012 - 10:55

Loved building this chair. Super simple to put together and very sturdy once everything came together.

I modified it to create a larger and taller chair, using 2x6 and 2x4 lumber. Because of this change I felt like my math challenged brain was completing some sort of quiz, but to keep things simple I cut the pieces step by step recalculating lengths as I went.

I marked up the plan as I went, so if anyone is interested just let me know & I'll add the changes.

http://radcrafter.com/2012/06/simple-outdoor-chair-beefed-up/

Built from Plan(s)
Estimated Cost
$20-30
Estimated Time Investment
Afternoon Project (3-6 Hours)
Finish Used
outdoor stain in solid slate
Recommended Skill Level
Beginner

Comments

spiceylg

Sun, 06/24/2012 - 18:18

I thought it looked beefier and I prefer that look. I'm curious, what size cushion is that?

J (not verified)

Sun, 08/19/2012 - 08:29

I would love to see your changes and build the beefier version! Please share!

Tammyctr

Thu, 07/26/2018 - 07:05

I have a large (400+) family member who I need to make chairs for.  This plan looks perfect (even though I will have to probably adjust width and add additional support)  Can you please send me your plans?

Slat Bench

Cost: $45
Made this bench smaller than the plan so it measures 48" X 18". Using it in a spare bedroom so it will eventually get stained to match the wood furniture.

Estimated Cost
45
Estimated Time Investment
Afternoon Project (3-6 Hours)
Finish Used
Haven't stained the wood, can't decide on a color.
Recommended Skill Level
Starter Project

Comments

Rapturee

Mon, 12/04/2017 - 09:17

That was my idea as well, to shorten it. My wife just asked me if we could part with a few chairs on the back side of our dining room table and if i would make a bench or two across the back wall. Well "of course" i said hahah!!  Nice job on yours!!   :{)

T-Shaped Countertop Island

Submitted by funtodiy on Sun, 01/14/2024 - 19:07

So I made a 4ft and a 6ft put them on casters joined them like a “T” shape, it is a moveable kitchen island dining table! The top has epoxy in the middle with flowers to give it some pop! Everyone loves it that comes over! Thanks for all your ideas on your site; it was my inspiration!!!


Comments

Modern Outdoor Chair - High Back Adirondack

Modified with a high back and modern adirondack arms.

The base of the chair is built exactly to the plan except that the arms are done in a modern adirondack style.

The back was made independently to fit inside the base and then attached to the plan base.

Very comfortable but very heavy chair even without the modified back.

Not stained yet obviously.

Cushions are hard to find I think I would make it slightly smaller next time and maybe even find the cushions first and alter the plan to fit.

Estimated Cost
$45 Can
Estimated Time Investment
Afternoon Project (3-6 Hours)
Finish Used
None yet
Recommended Skill Level
Beginner

Comments

Counter Height Planter

Submitted by Anonymous (not verified) on Sat, 05/11/2024 - 11:31

Hello everyone,
I collected unwanted wood and I put them in a good use. Transform them into planters . Many people throw excellent wood . Either, they aren’t aware or they purchased new furniture.
Thank you Mrs. Anna . She has inspired me with her excellent ideas. God bless you
Jean Abinajem


Easy small space side table

Submitted by Dedavies3 on Mon, 07/07/2014 - 17:57

This was my first project. It was relatively easy but I did make some mistakes that are now design features

Estimated Cost
Reclaimed wood
Estimated Time Investment
Afternoon Project (3-6 Hours)
Finish Used
Minwax English chestnut
Recommended Skill Level
Beginner

Vintage step stool

Submitted by jaderae on Mon, 10/13/2014 - 17:59

This project was wonderfully easy to build and it is a sturdy step stool I feel will last for a long time.  I was able to build it very quickly, with minimal assistance. Painting and finishing adds to the time but it's beautiful.

Built from Plan(s)
Estimated Cost
$25 including paint, and primer, and there are scraps left over
Estimated Time Investment
Afternoon Project (3-6 Hours)
Finish Used
This is in my kitchen for my 2.5 year old to "help" me
Recommended Skill Level
Beginner

Loft bed turned into bunk beds!

I needed bunk beds for my girls and found the camp loft bed - perfect! I liked how it used all 2x4s and 2x6s... made it easy to do everything with the chop saw. I customized the bed by lowering the overall height so that the actual bed is only 3 feet off the ground, and then I still had plenty of room for a mattress underneath for my three year old. I was strapped for space so I made the deck half the size so that the stairs stayed in between the bunk bed posts. I also added a little fence to the side of the deck since it's not up against a wall. I am so happy and proud of my work and I thank-you SO  much for these wonderful easy-to-follow plans :)

Estimated Cost
$100
Estimated Time Investment
Weekend Project (10-20 Hours)
Finish Used
Sanded, unfinished
Recommended Skill Level
Beginner

Big Kids Picnic Table

Submitted by gsnpbc on Mon, 04/24/2017 - 10:00

My son and I made this table this weekend in just a couple of hours with no problems. The directions were clear and easy to follow. Thank you for sharing them with us.

Built from Plan(s)
Estimated Cost
$40
Estimated Time Investment
An Hour or Two (0-2 Hours)
Recommended Skill Level
Beginner

Sandbox with Benches

Burnt and stained with a semi transparent mahogany water sealer

Built from Plan(s)
Estimated Cost
$120
Estimated Time Investment
Afternoon Project (3-6 Hours)
Recommended Skill Level
Beginner

Comments

4x4 Truss beam table and bench

Submitted by Anonymous (not verified) on Mon, 10/04/2021 - 13:42

The plans were very easy to follow for non avid woodworkers. We decided to upholster the seat on the bench.

Built from Plan(s)

Comments

Raised Garden Beds!

Submitted by ferbit on Thu, 03/10/2011 - 08:02

Yay! Here are my raised beds, motivated by Ana White's post. :) I decided to use 2x lumber rather than 1x lumber because I plan to add benches on the ends of each bed. I just love how these turned out! I used Hemlock rather than cedar because it was a THIRD less expensive. Orange told me hemlock would last roughly 5-6 years whereas cedar would last 7-9 year. I staggered the sizes too - first bed (with the strawberries) is 4' x 10', second is 4' x 8' and the third (with the stakes) is 4' x 6'. Hubby hauled in a bunch of pea gravel to surround the beds while the girls and I added rocks from around our yard to the perimeter. :)

Estimated Time Investment
An Hour or Two (0-2 Hours)
Finish Used
None!
Recommended Skill Level
Beginner
Back