Community Brag Posts

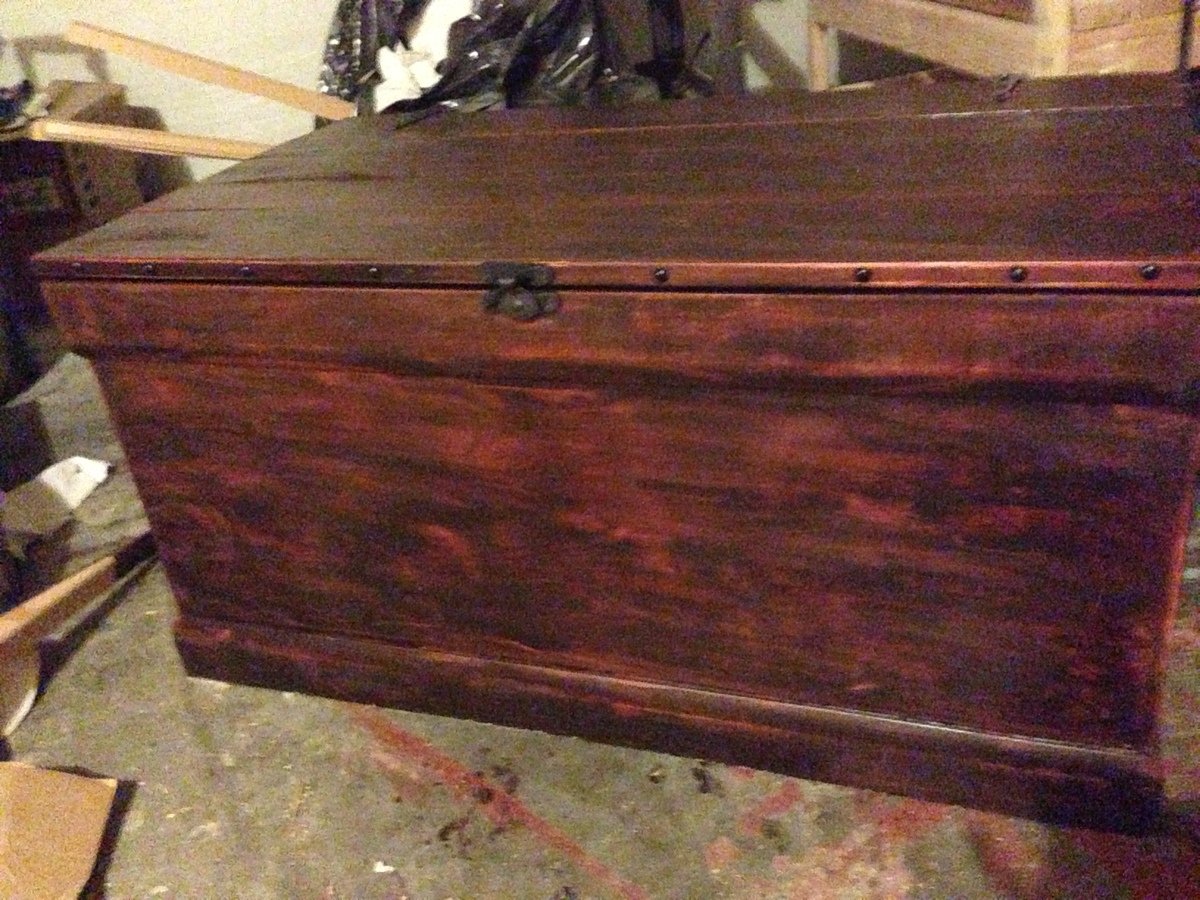
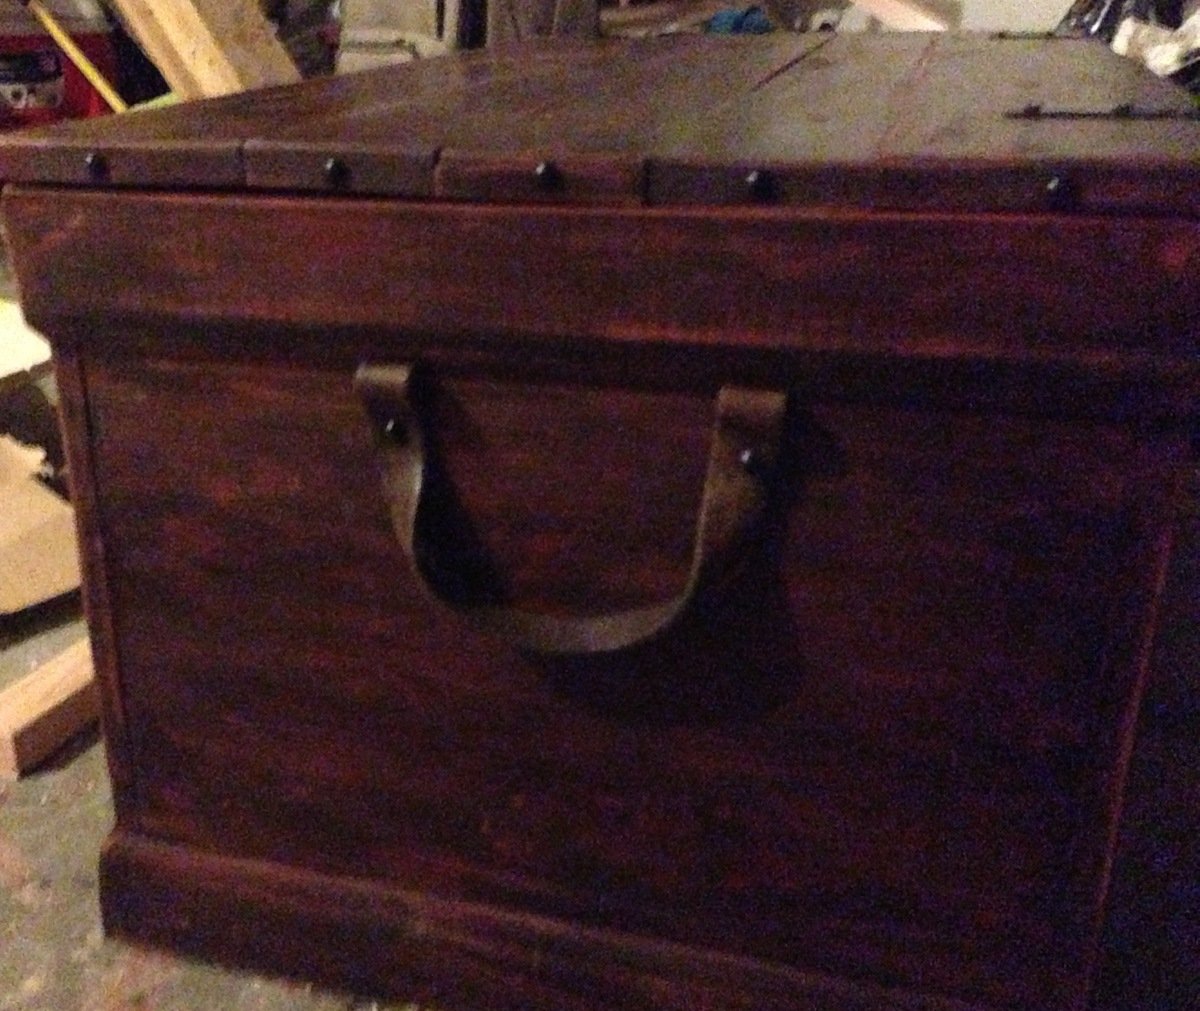
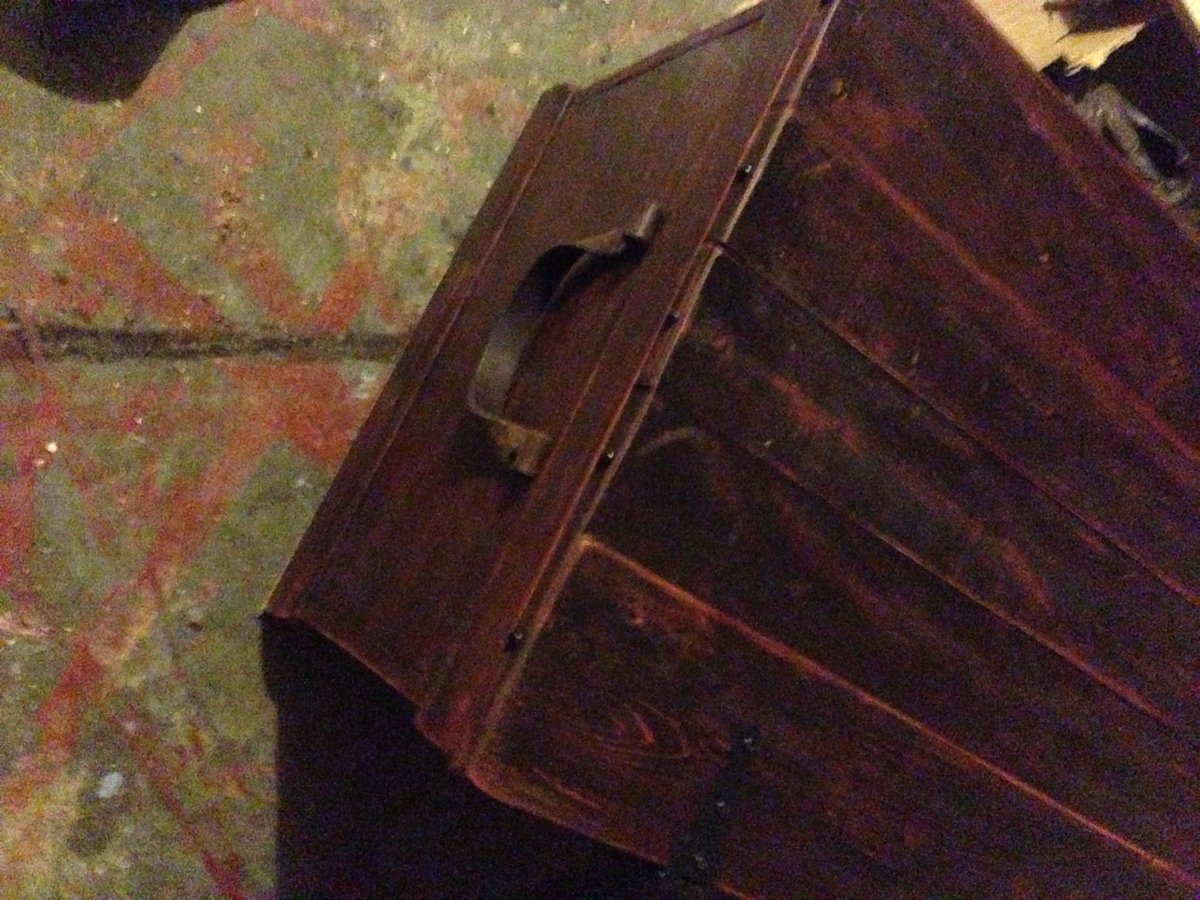
Antiqued modified becca trunk
Submitted by dinifam on Thu, 04/25/2013 - 23:29

My best friend has really wanted an antiqued trunk but they were way out of her price range.

I built the becca trunk but planked the top with 1x4's and 1x6's and made the trunk just a tad deeper. Worked perfectly!

For the finish I stained it minwax china red and then added gf java gel stain over the top. distressed it and sanded it until I got the look i wanted.

I cut up an old belt we had and used that for handles, found a window sash lock, nail head trim and black strap hinges at blue. The base molding I bought was only 3 1/2 inch as it was much cheaper (82 cents a foot) than the 4 inch. worked great for me.

It was a super easy and fast build! Now I get to make one for me :)

This trunk is super sturdy and she absolutely loves it!

Price breakdown for me as I had screws and nails, scrap wood for lid and even the java stain...

40.00 for one sheet of 3/4 purebond plywood (will make another trunk with other half)
13.00 for one sheet of 1/4 ply
16.40 for base moldings
2.00 nail head trim
6.00 strap hinges
12.00 minwax china red stain.
4.00 for latch
Built from Plan(s)
Estimated Cost
65.00
Estimated Time Investment
Day Project (6-9 Hours)
Finish Used
2 coats of minwax china red stain sanded between with 220
1 coat of java gel stain
distressed and sanded till i got the look i wanted.
Recommended Skill Level
Starter Project

Comments

goatcheese4me

Thu, 01/30/2014 - 11:06

Hi,

I'm basically doing your modified design. however, I noticed that the black strap hinges that I got at the local hardware store are longer than the base molding on the back side. So either I would have to cut part of the hinges or bend them to contour with the molding. Or, have the strap go underneath the molding, which would look odd. I did do more online searching and saw that there are black strap hinges that have a short end, but I don't think the short end would get past the 3/4" inch of board that is my chest top thickness, or if it does, it would barely make it.

So my question to you is what specific hinge did you use, and how did you lay it out? Did you fasten the hinge to your base molding?

Storage Bench/Daybed

Submitted by Anonymous (not verified) on Fri, 06/23/2017 - 20:49

This was my 2nd woodworking project, so I was very pleased with the results. I wanted more seating and storage for my office area. I liked the look of the Farmhouse Storage Bed, so I decided to modify the plans and turn it into a bench. I made the seating area 30" wide and 68" long. Instead of headboard and footboard, I made 2 sides that were about 40" tall (36" 4x4 plus the 2x4 and 2x6). I made 3 24" deep drawers and left the back side open so that I can store electronics that need to be charged in them with the cords hanging out the back of the drawers. It was a lot of fun to make, and I know that my family will enjoy it!

Estimated Cost
$350 for wood and hardware, then paint and cushions
Estimated Time Investment
Week Long Project (20 Hours or More)
Finish Used
Flat black oil-based enamel paint, then finished by lightly rubbing with fine grit sandpaper
Recommended Skill Level
Intermediate

Chicken Coop

Submitted by Anonymous (not verified) on Tue, 10/05/2021 - 05:45

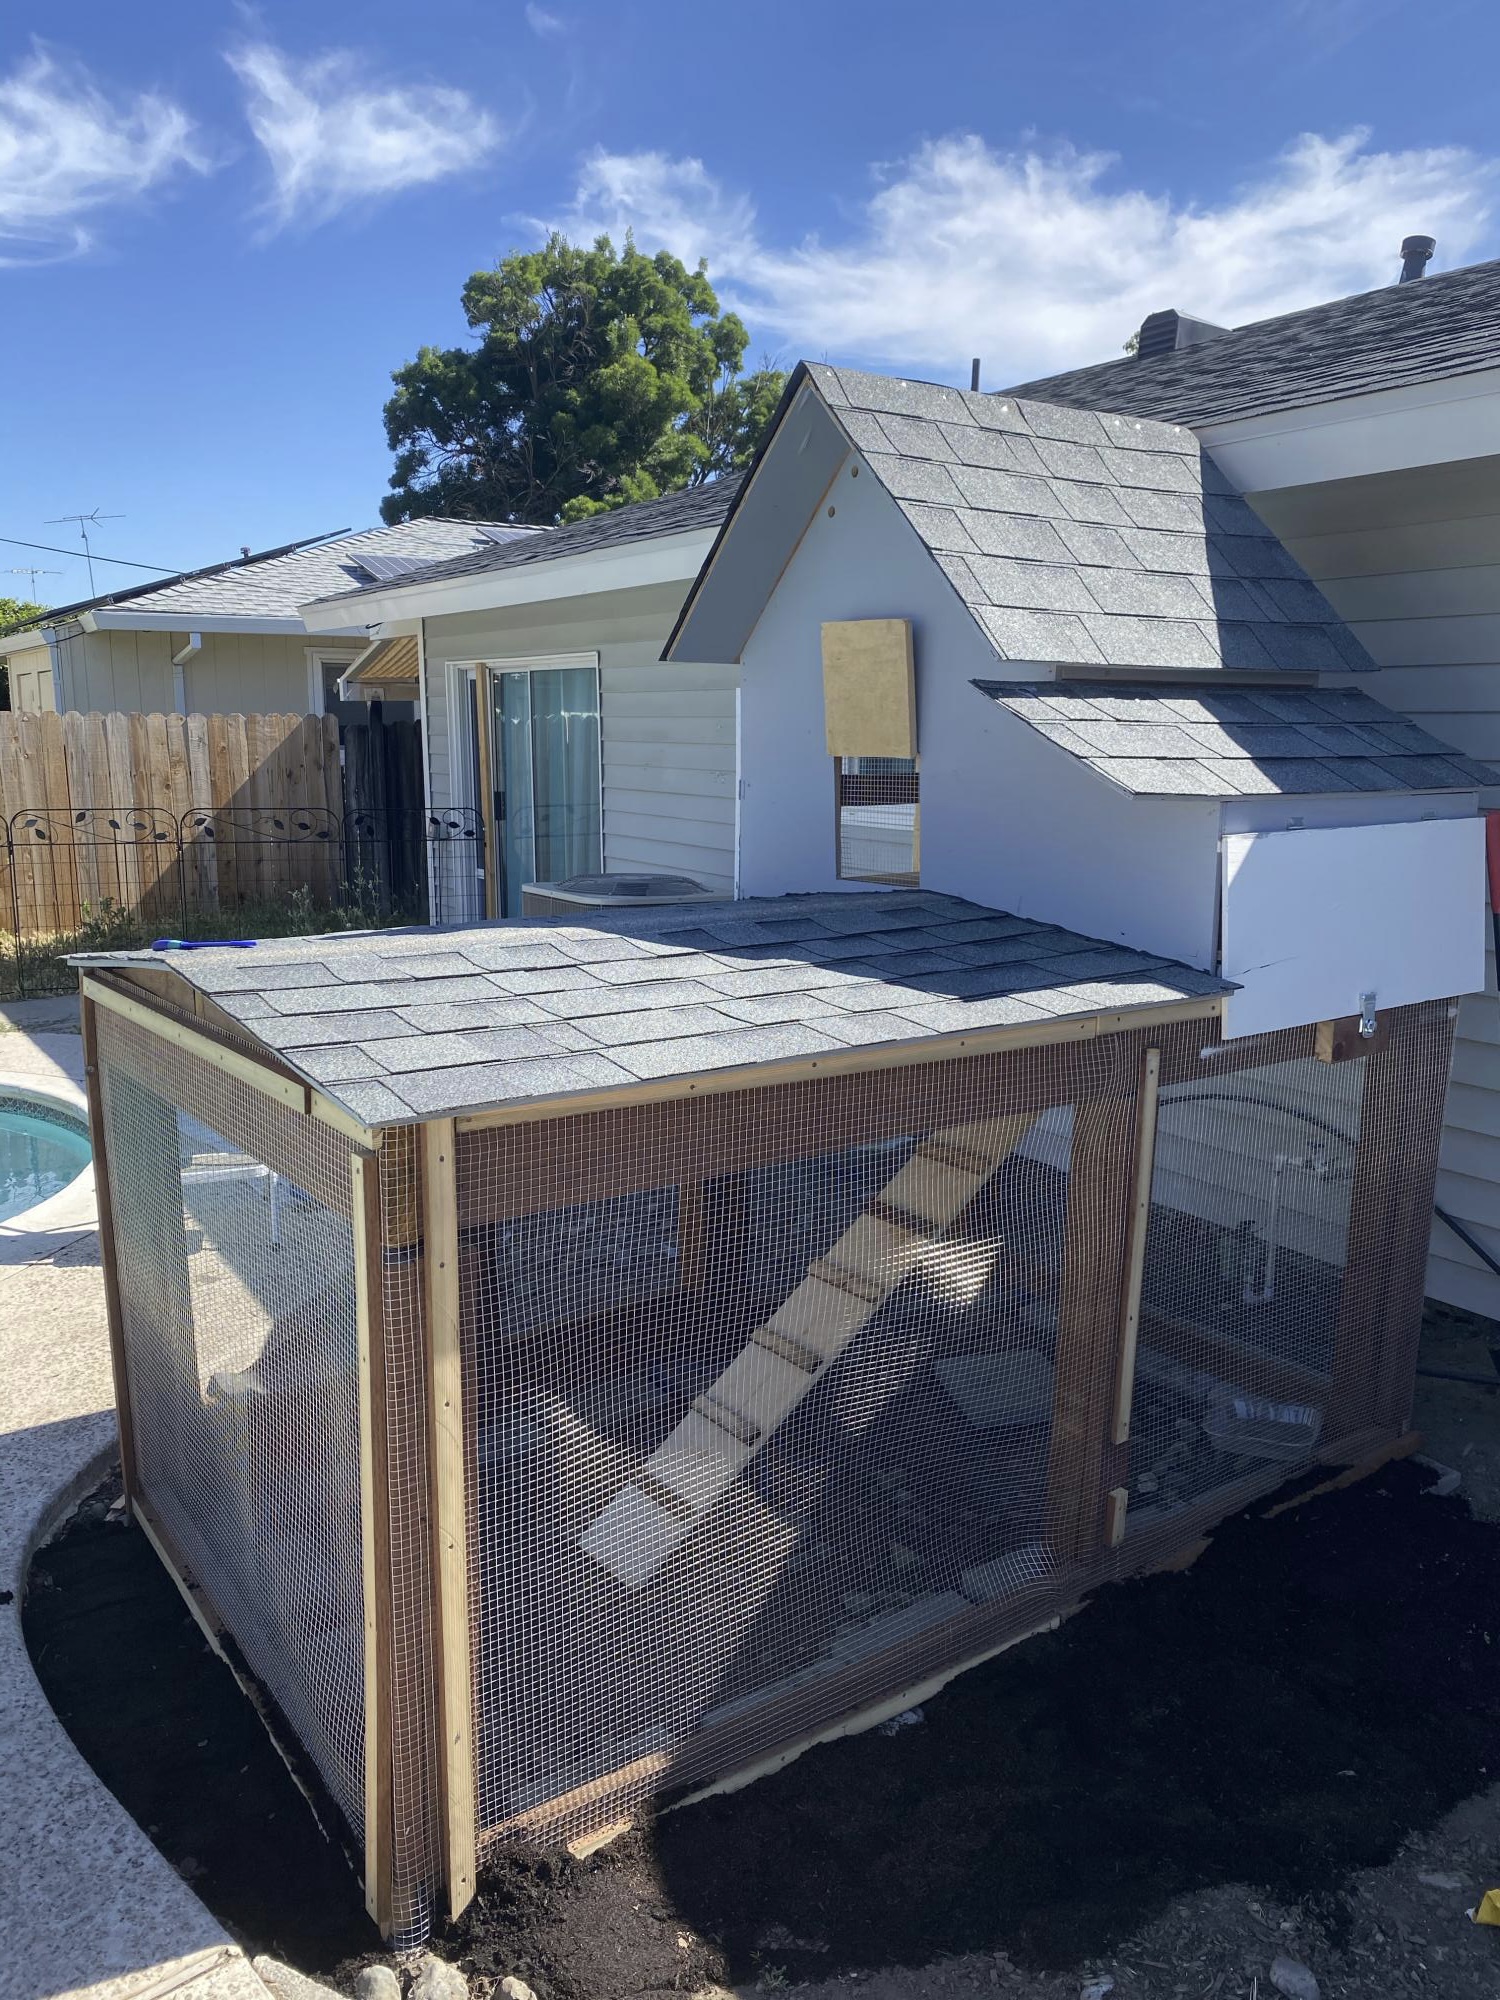
My granddaughter decided to raise chickens so she asked me to build her a coop. I used a Ana White plan with a couple modifications and along with my son, wife, and granddaughter built this. She’s had hawks and raccoons try to get in, to no avail.

Comments

DIY Folding Workbench

Submitted by suzeet305 on Mon, 10/18/2021 - 18:32

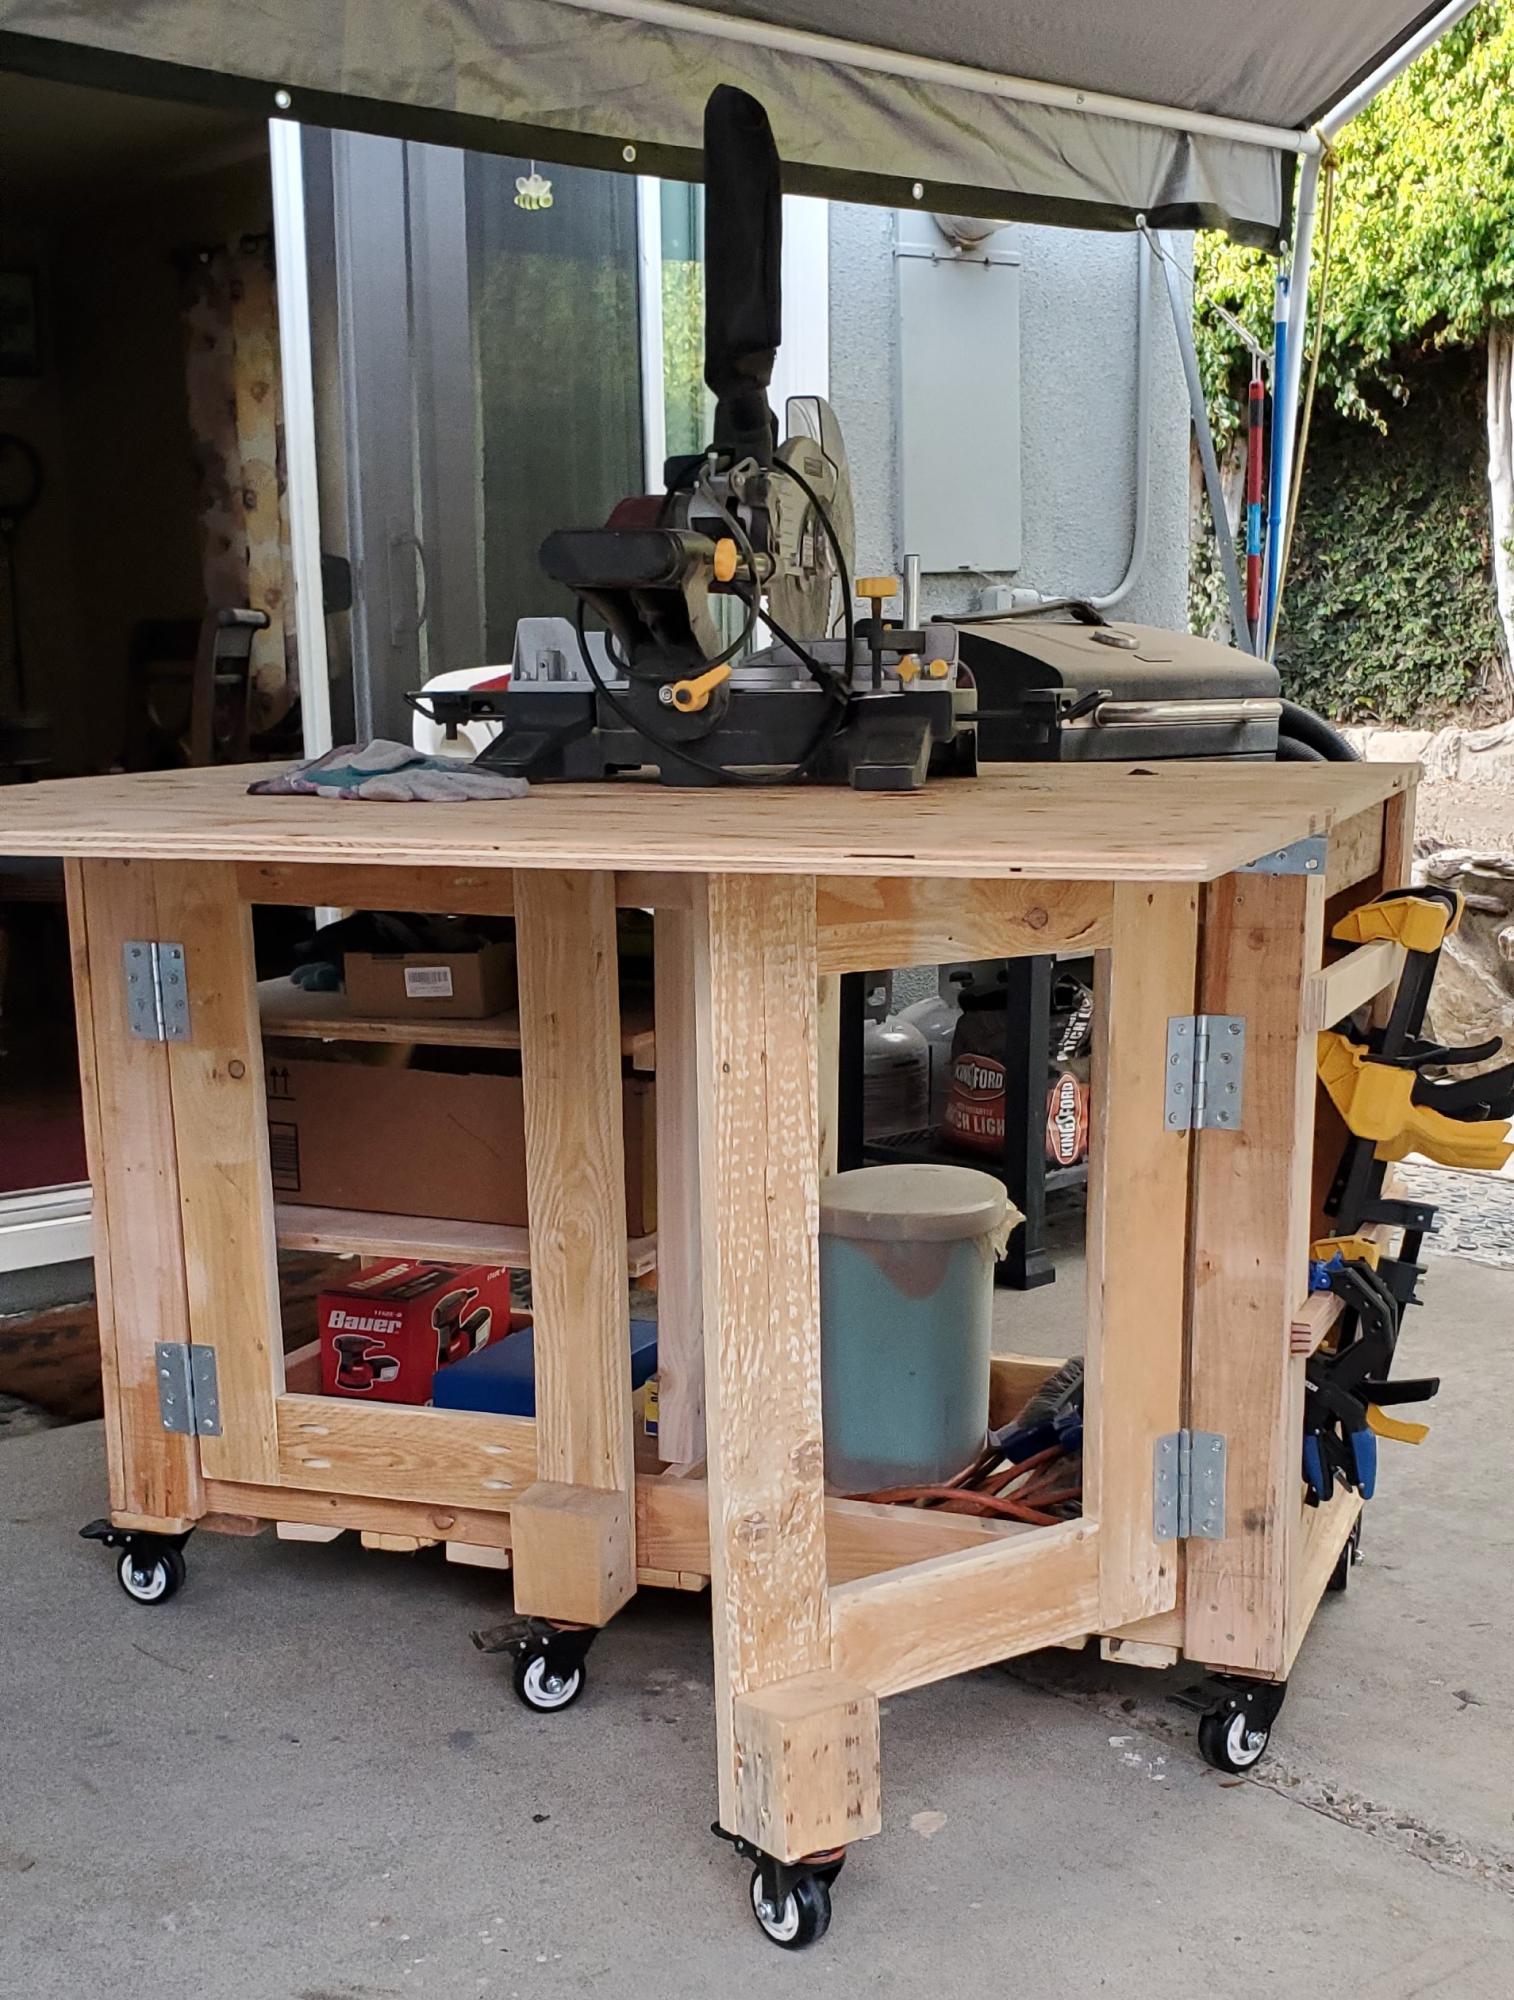
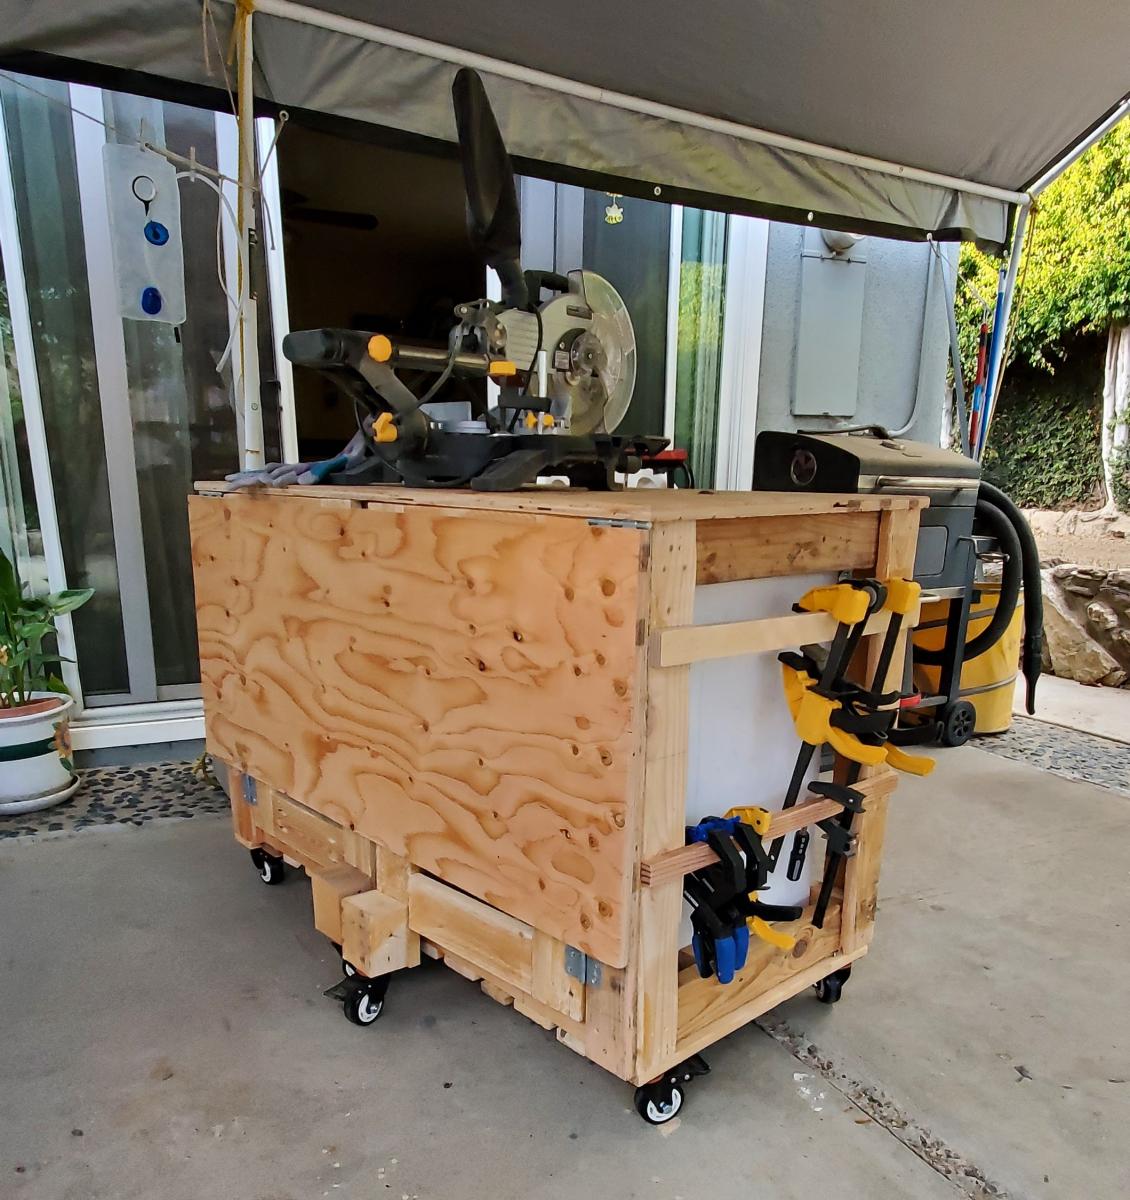
I'm a beginner DIYer and I knew one day I was going to have to make a workbench. I made mine 24x48 so I wanted a little more support to hold up the drop down leaf. I searched your site and found another plan with these gatelegs and knew this is what I wanted. I love the way it came out. What do you think?
Built from Plan(s)

Comments

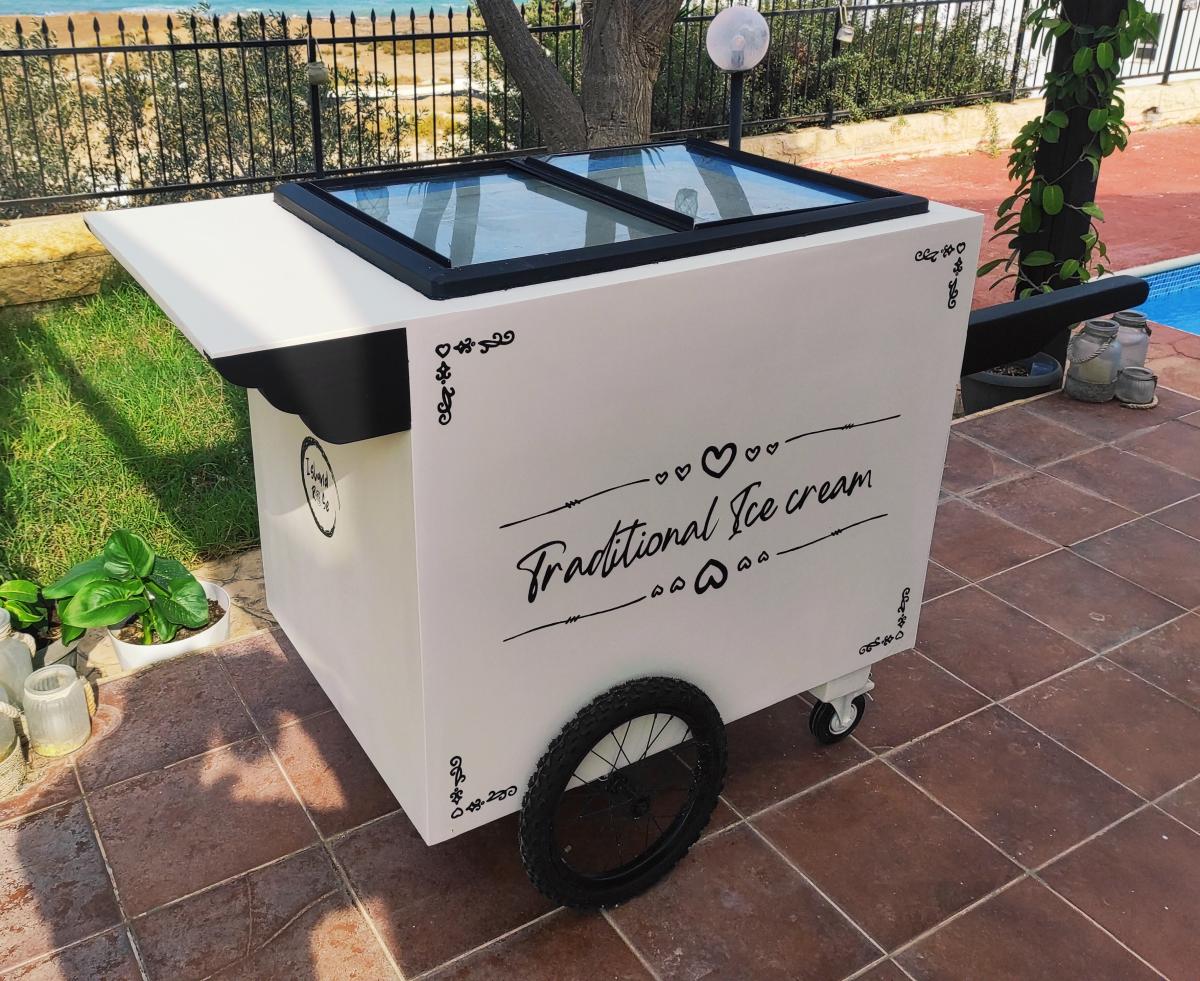
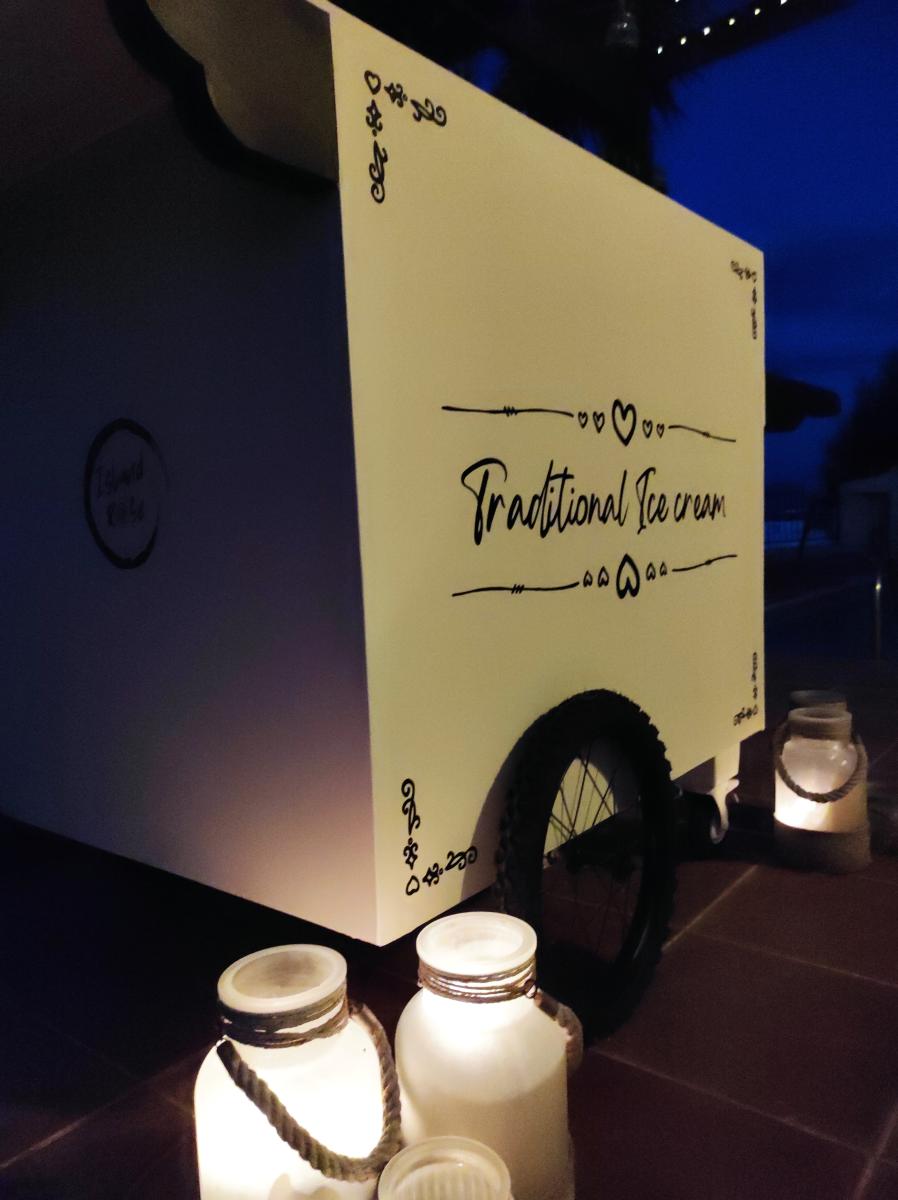
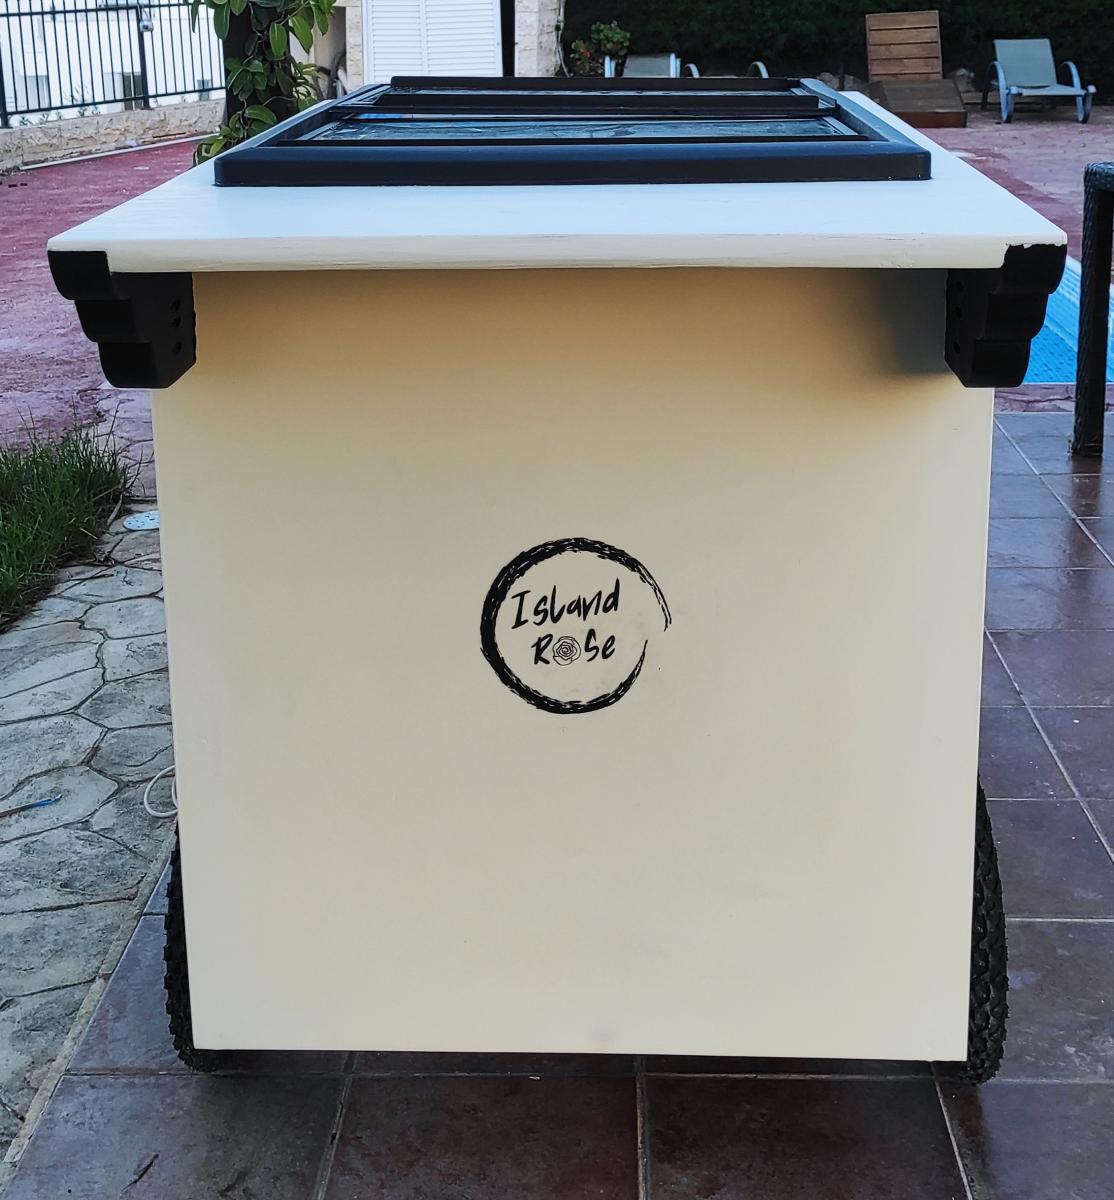
Ice cream cart

Submitted by Markb25 on Mon, 11/22/2021 - 23:52

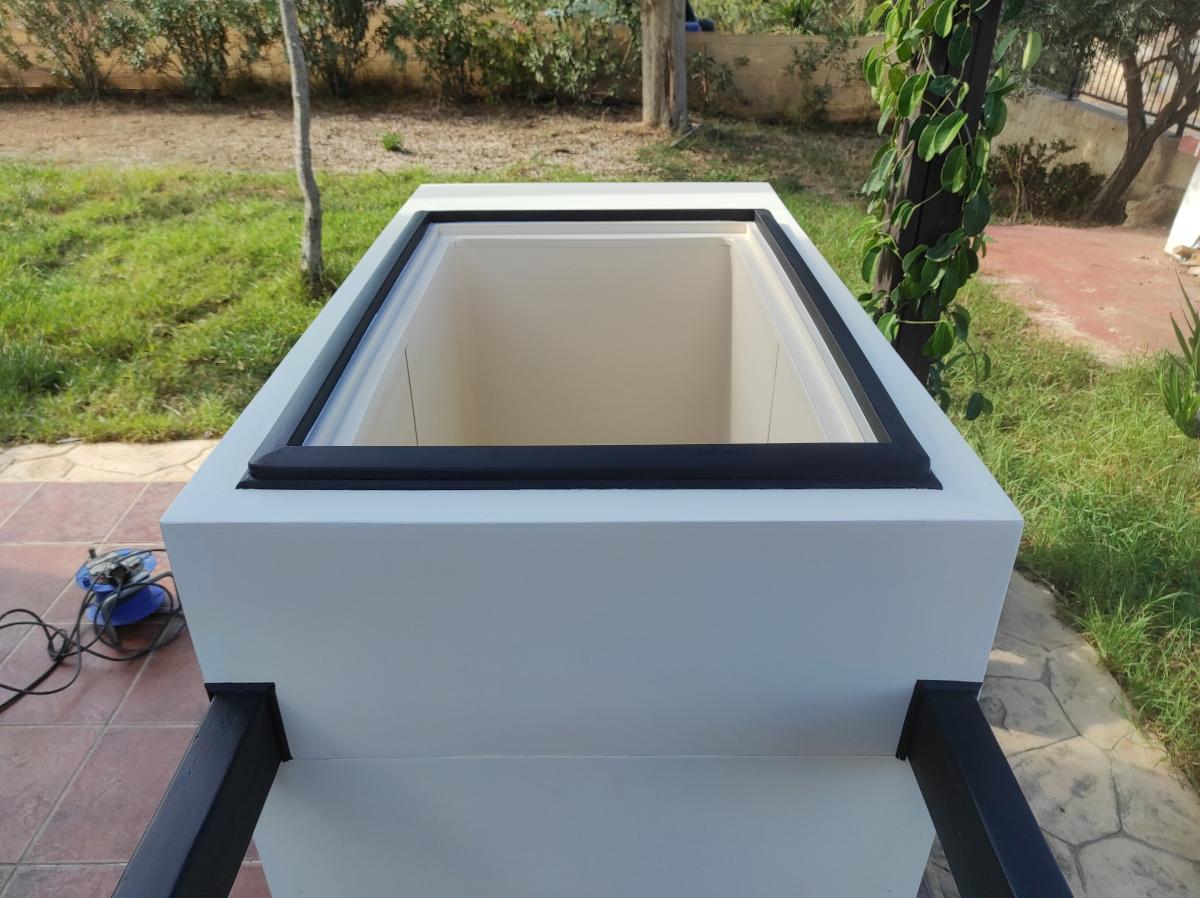
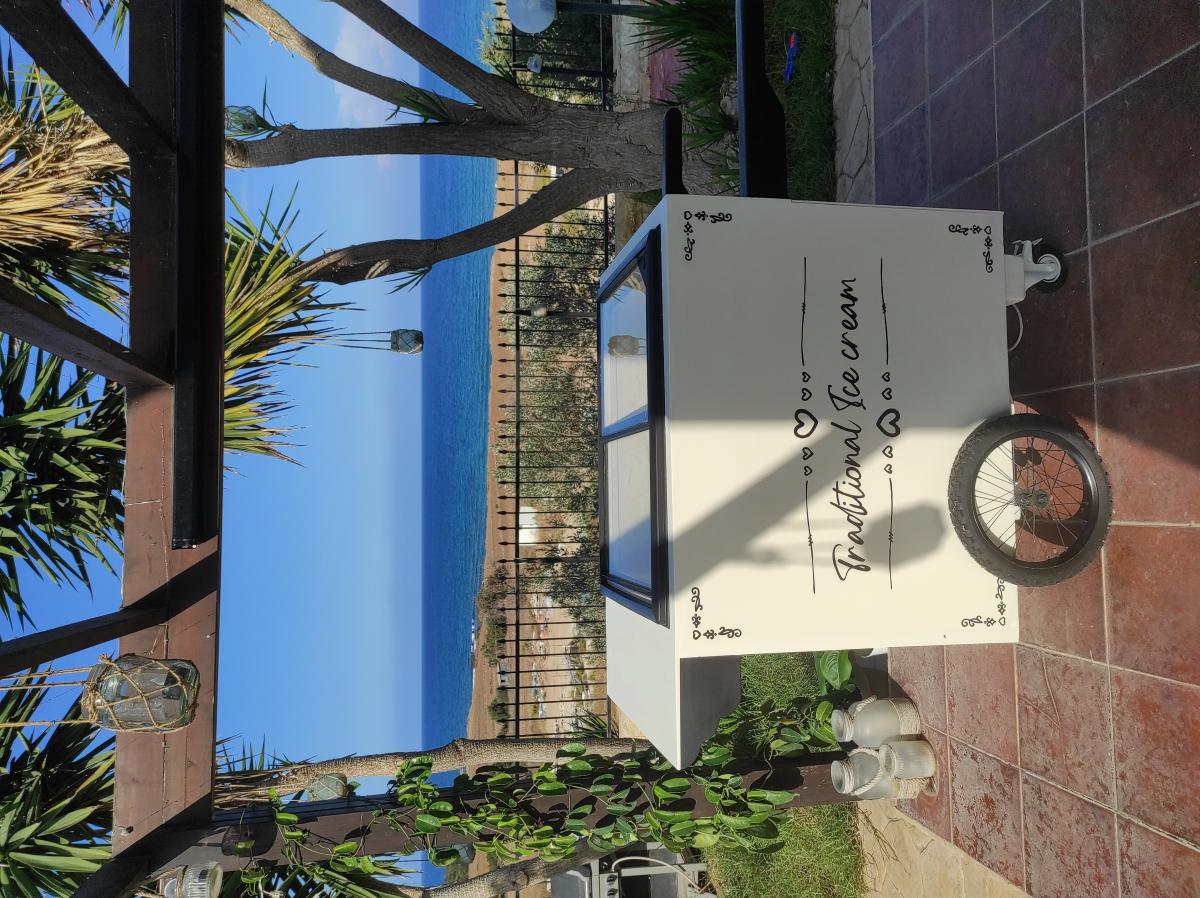
A friend wanted a tatty old chest freezer turning into a traditional looking ice cream cart for her business. The freezer itself was way to heavy and not really fit for purpose but, after a week of tinkering about with a couple of design changes here and there to accommodate the weight, I don't think I've done too bad a job.

The internal frame is Nordic fir, half lapped at the joints and secured in place with 38mm oak dowels, the cladding is 6mm birch ply finished with paint from the French chic Al fresco range, the writing proved a little challenging on the the eyes and my hands aren't as steady as they used to be but she's happy.

Comments

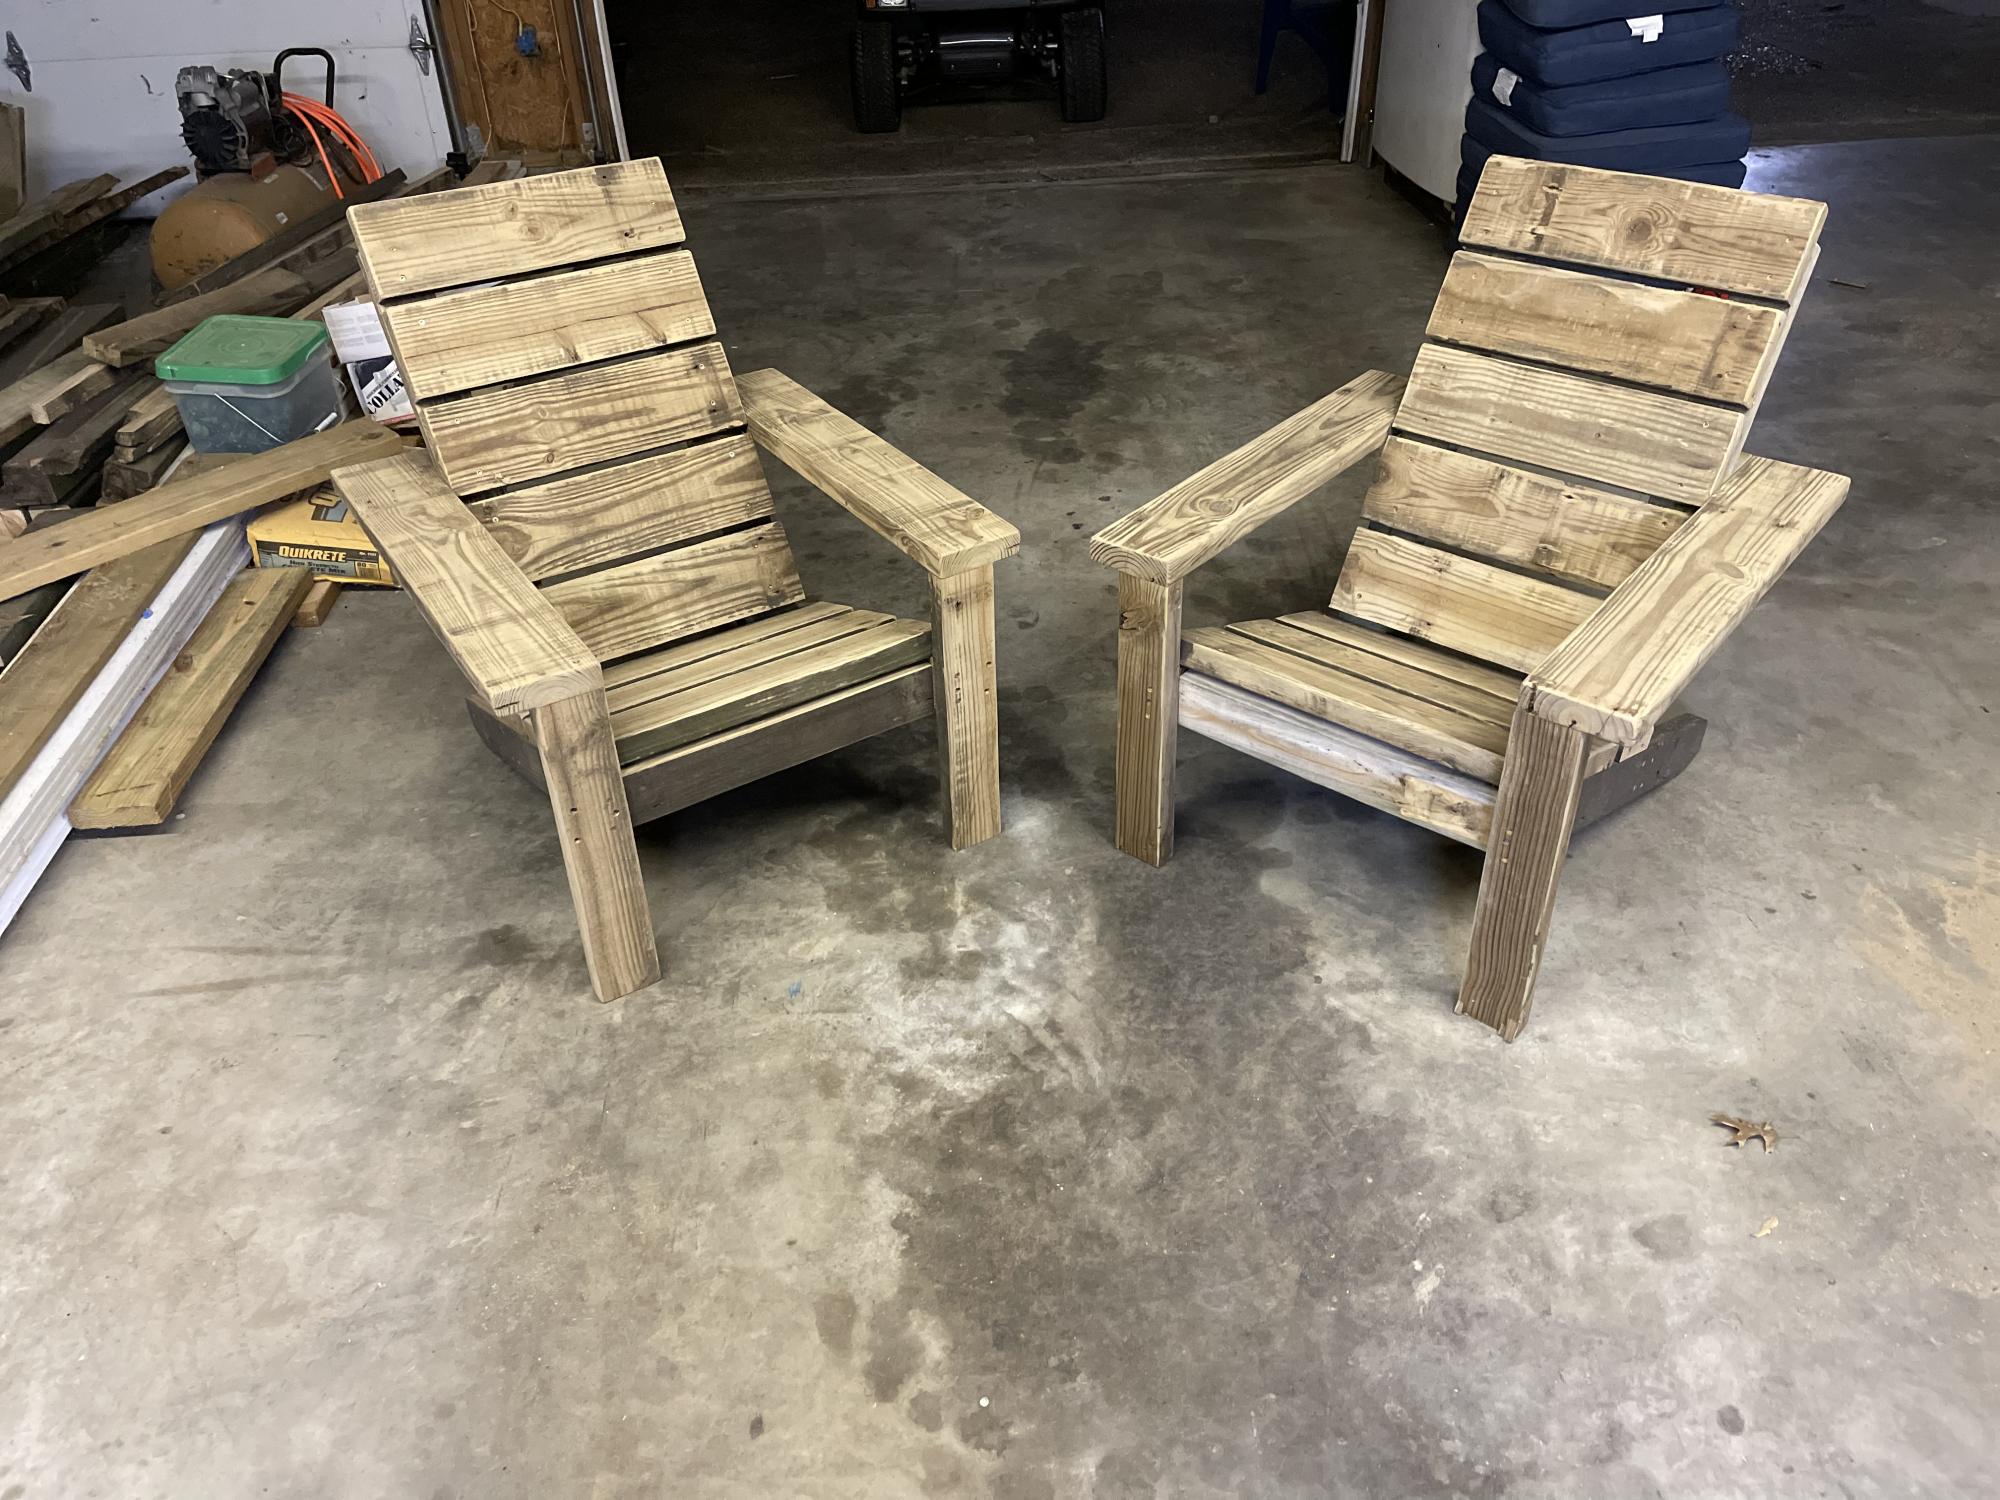
Loved the Adirondack build

Submitted by Anonymous (not verified) on Sat, 01/29/2022 - 17:00

Thanks so much for these plans. I looked at dozens of Adirondack plans but 99% of them had tricky cuts requiring templates and more perfection than I wanted to give.

These are very straight-forward. I removed an old deck last year and saved all the 2x6 decking. I used those for this build. Ripped some down to 2x4’s but left the rest as-is for wider arm rest and seat/back boards. Everything came together perfect. Took me longer than I’d like to admit on the first, but the second went quick.

Can’t wait to drink a few beers in these chairs.

Thanks again,
Taylor Jones
Memphis,TN

Comments

Pretty Wood Boxes!

Submitted by cassiet717 on Fri, 08/02/2013 - 18:42

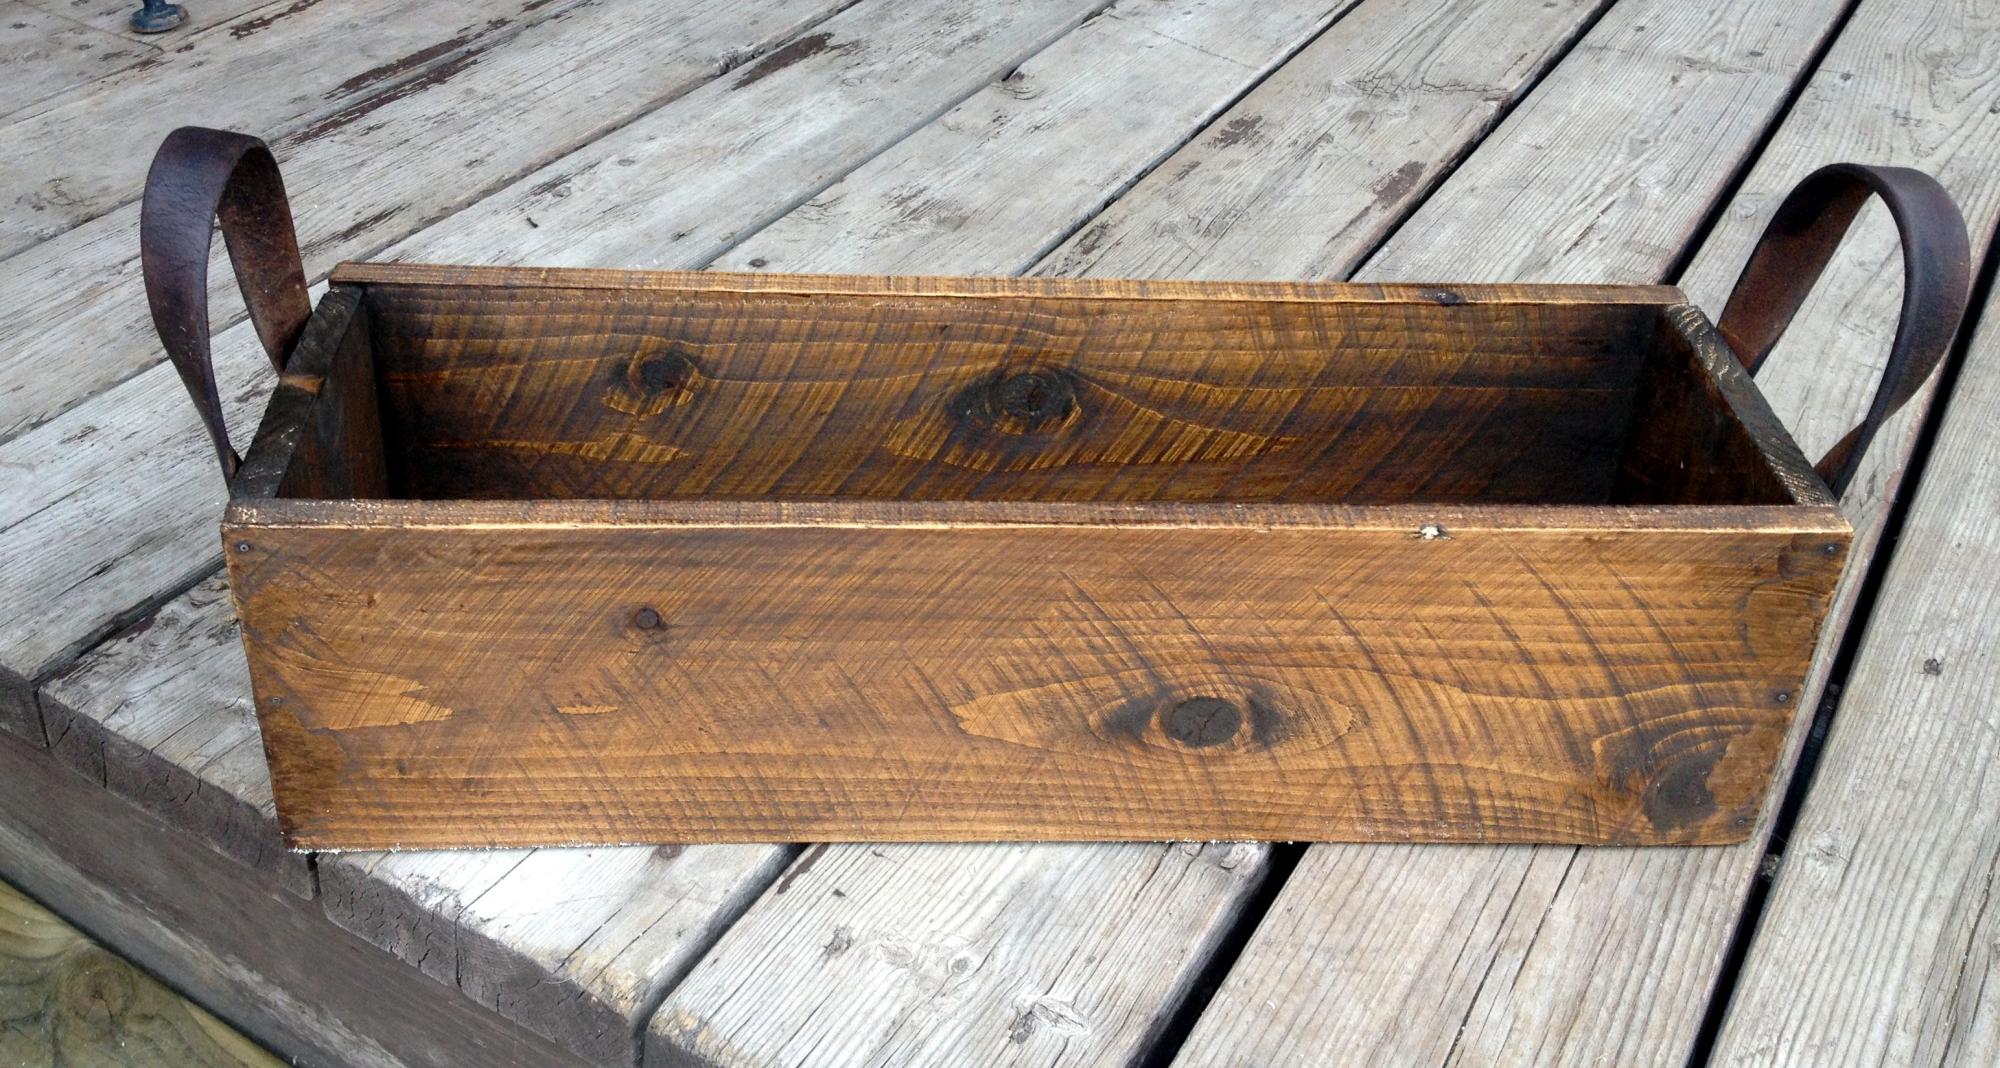
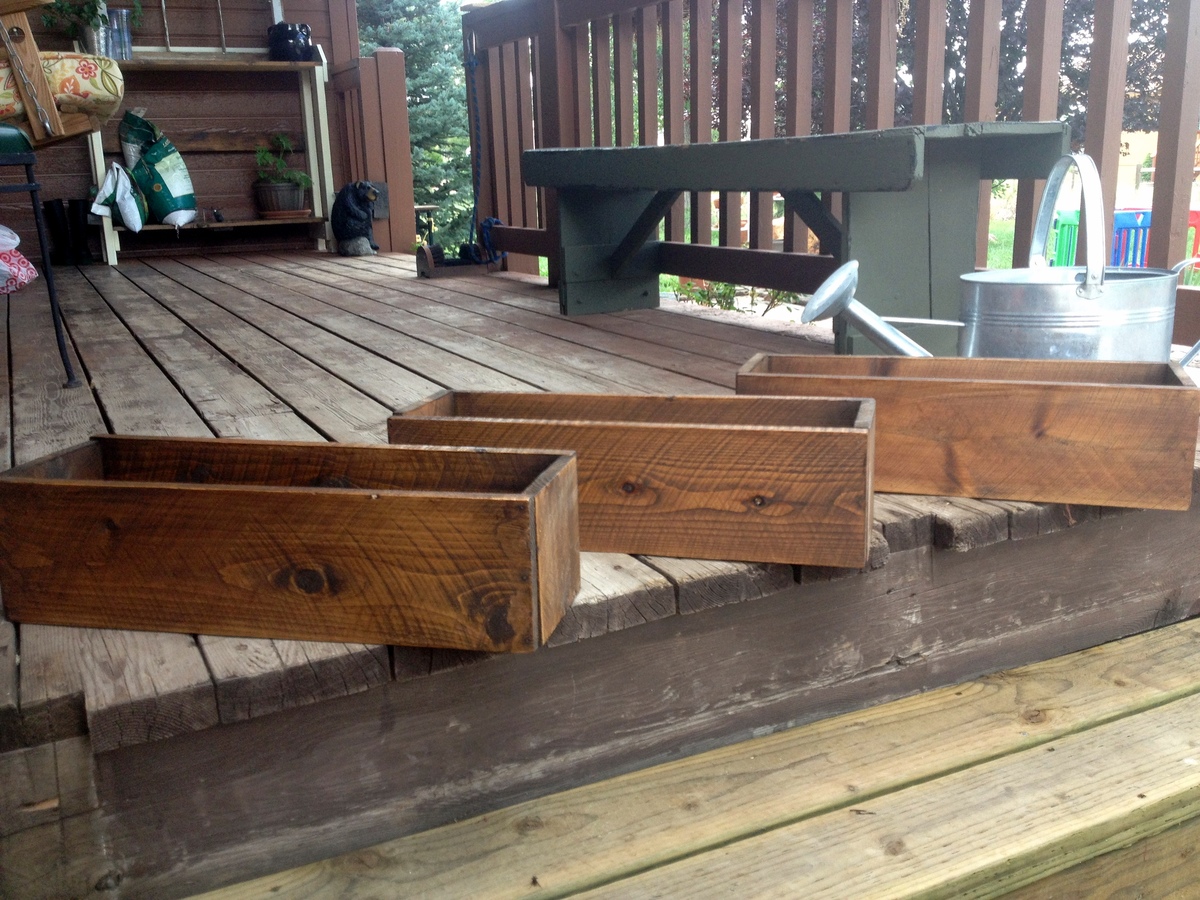
My brother and his fiancee just bought their first house, and these sweet little boxes were the perfect housewarming gift! I used the recommended cedar picket, and found some old reins at a flea market for the handles. Piece of cake to build, super inexpensive, but absolutely adorable!

Estimated Cost
$3 per box (including handles)
Estimated Time Investment
An Hour or Two (0-2 Hours)
Finish Used
Minwax Pre-Stain Wood Conditioner, Minwax Stain in Walnut
Recommended Skill Level
Starter Project

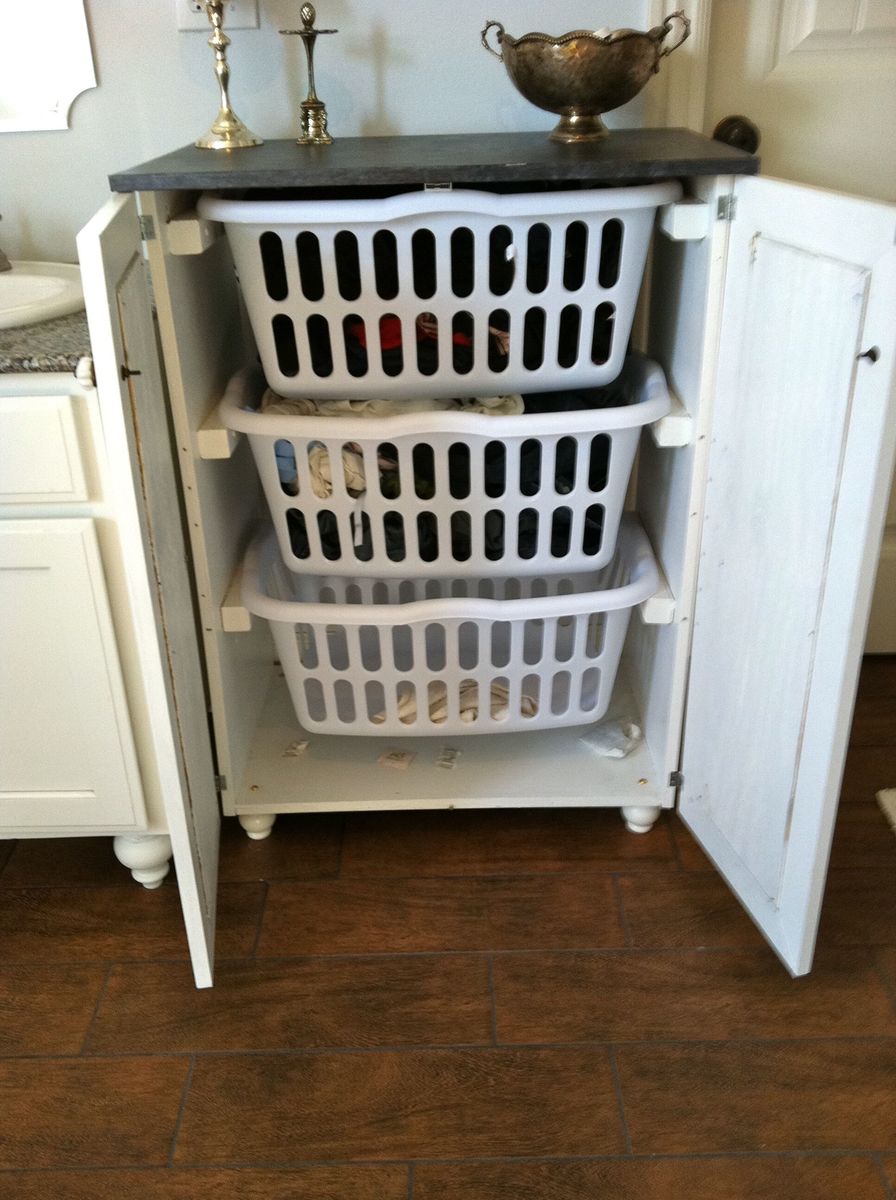
My laundry basket dresser with doors

Submitted by jensimmons on Sun, 07/03/2011 - 20:19

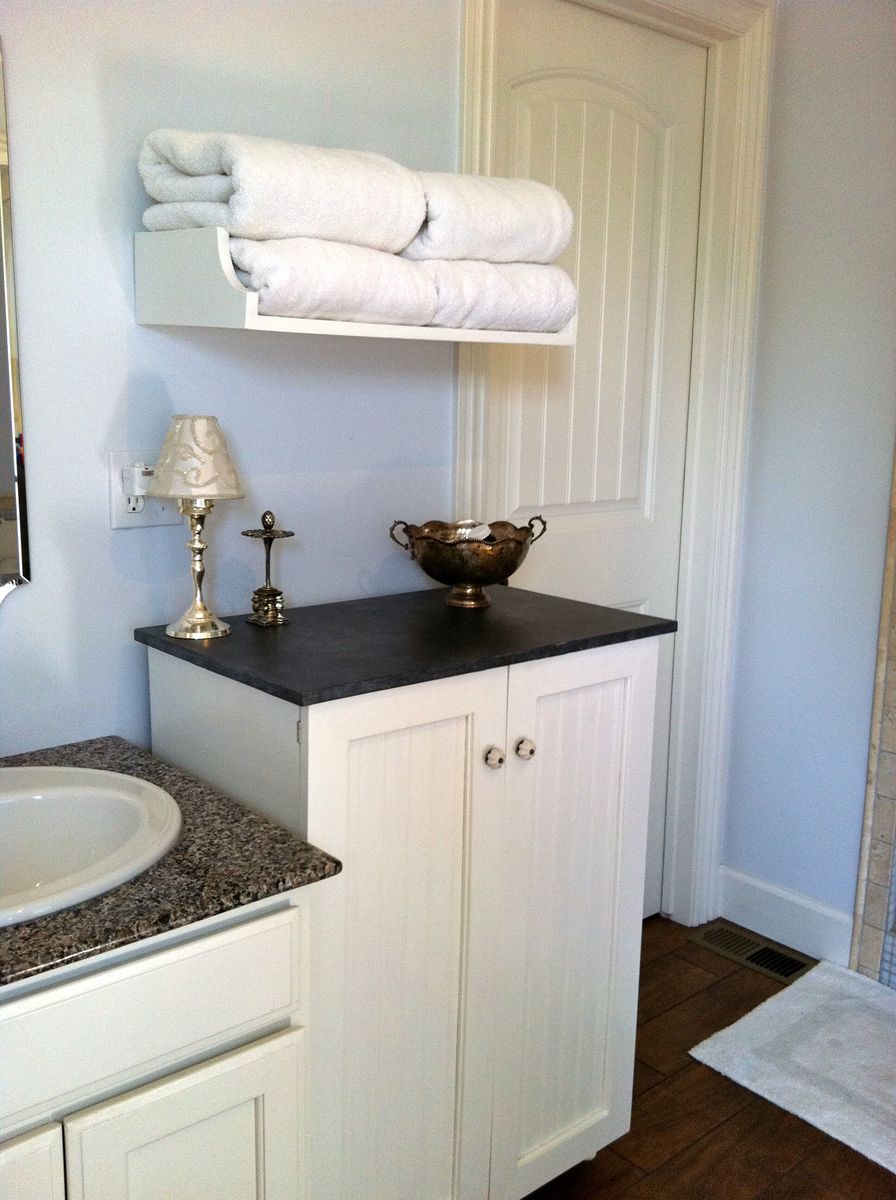
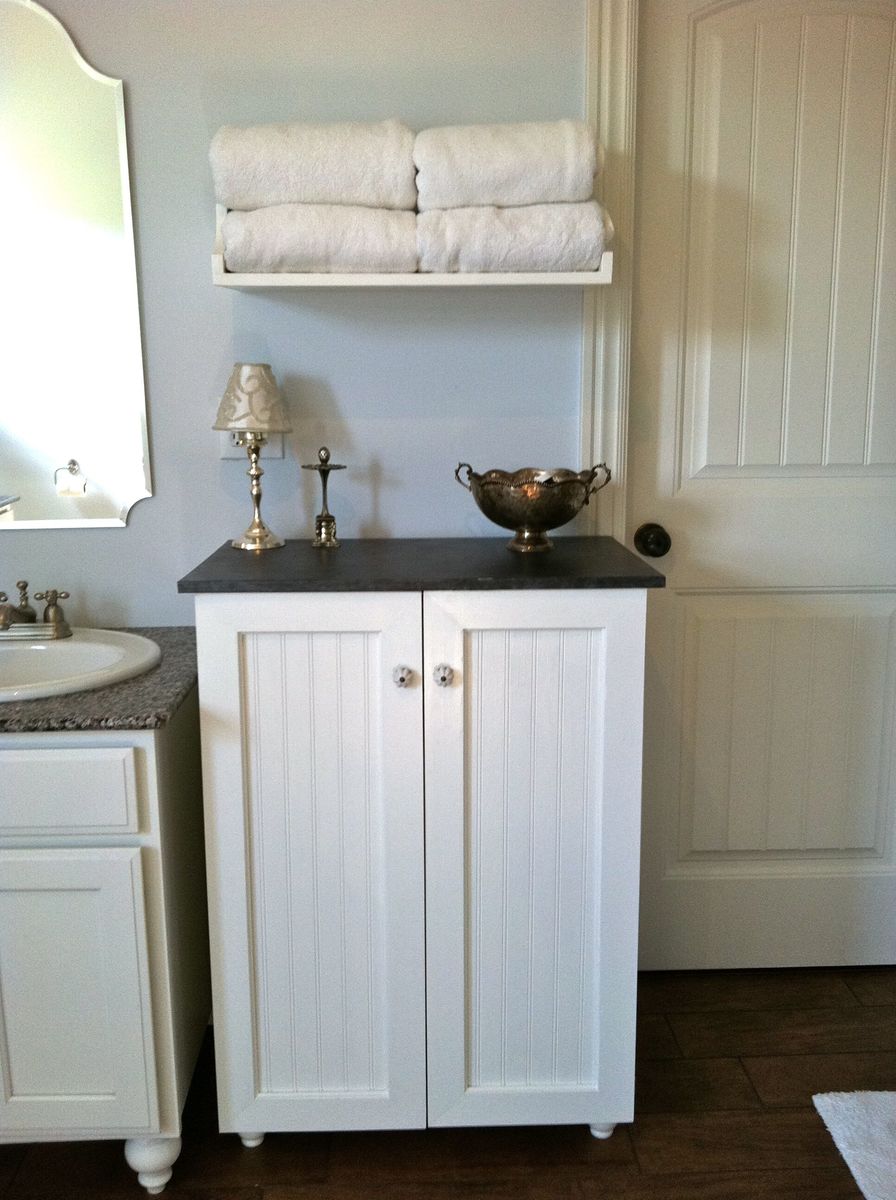
I wanted to use our laundry basket dresser as a collector for dirty laundry in our bathroom, and wanted it to have doors so it would blend in better. I also made the shelf above for our towels. It is painted white with a faux-zinc finish on the top. I made the top slightly larger so it would overhang and added cute little bun feet. My talented friend Carli helped me build the doors (and by helped I mean I handed her things while she impressed me with all her tools and skills!) and frame.

Built from Plan(s)
Estimated Cost
$75-100 (can't remember exactly)
Estimated Time Investment
Weekend Project (10-20 Hours)
Finish Used
white semi-gloss paint, zinc faux finish: layer 1 dark charcoal paint, layer 2 dark pewter metallic glaze, layer 3 white paint thinned with water & rubbed on/off.
Recommended Skill Level
Intermediate

Comments

Guest (not verified)

Fri, 07/29/2011 - 23:37

this is perfect! i totally need a bunch just like this! I love the added doors!

Pam in Colorado (not verified)

Sat, 09/17/2011 - 12:48

This is the look I'd like, fit the baskets and hide them behind doors until you are ready to do the laundry. These could be made for bedrooms, bathrooms, toy rooms (okay, toys instead of dirty laundry)...

Guest (not verified)

Fri, 11/11/2011 - 08:05

I absolutely love this! Could you please add instructions on how to make/paint and install the doors? I am a newbie to making my own furniture. Thanks!

Guest (not verified)

Wed, 01/11/2012 - 08:29

I love this idea! I will have a new bathroom soon and I think this will get used! What are the dimensions, or what style cabinet would you suggest to look for? TIA!

Jennifer Simmons (not verified)

Fri, 02/17/2012 - 05:57

The dimensions are the same as Ana's plan: http://ana-white.com/2010/11/laundry-basket-dresser except that the top is slightly bigger (3/4" overhang on front/sides) to look more like a countertop. On the doors we just made a frame w/ angled pieces, routed a notched line on the back & glued/nailed some beadboard in from the back. Sorry I can't be much more detailed on that, a friend did most of the doors for me!

Guest (not verified)

Sun, 02/19/2012 - 07:42

I actually got the plywood to do this project and I was going to add doors. I looked at the baskets suggested but it seems they would stick out the front. I was just curious, did you use different baskets that would fit inside the cabinet or did you make the cabinet slightly deeper?

Jennifer Simmons (not verified)

Sat, 02/25/2012 - 05:36

Actually I discovered the same problem after it was built. I just didn't put a back on and they stick out a tiny bit in the back. I actually kind of like it that way because it lets some air in (being in the bathroom and putting towels in I could see it getting mildewy without much circulation). But if I had gotten the baskets first I probably would have made it about 2" deeper, then leave some open space, but not all, on the back.

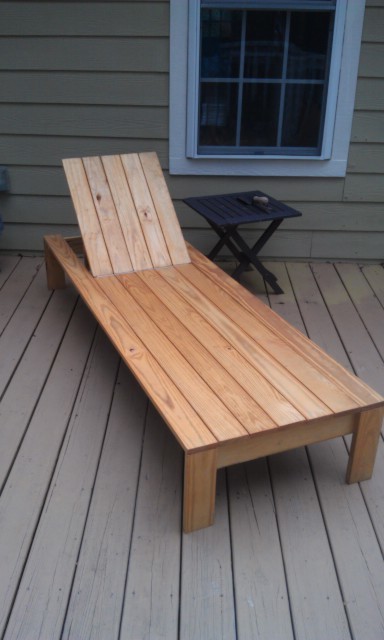
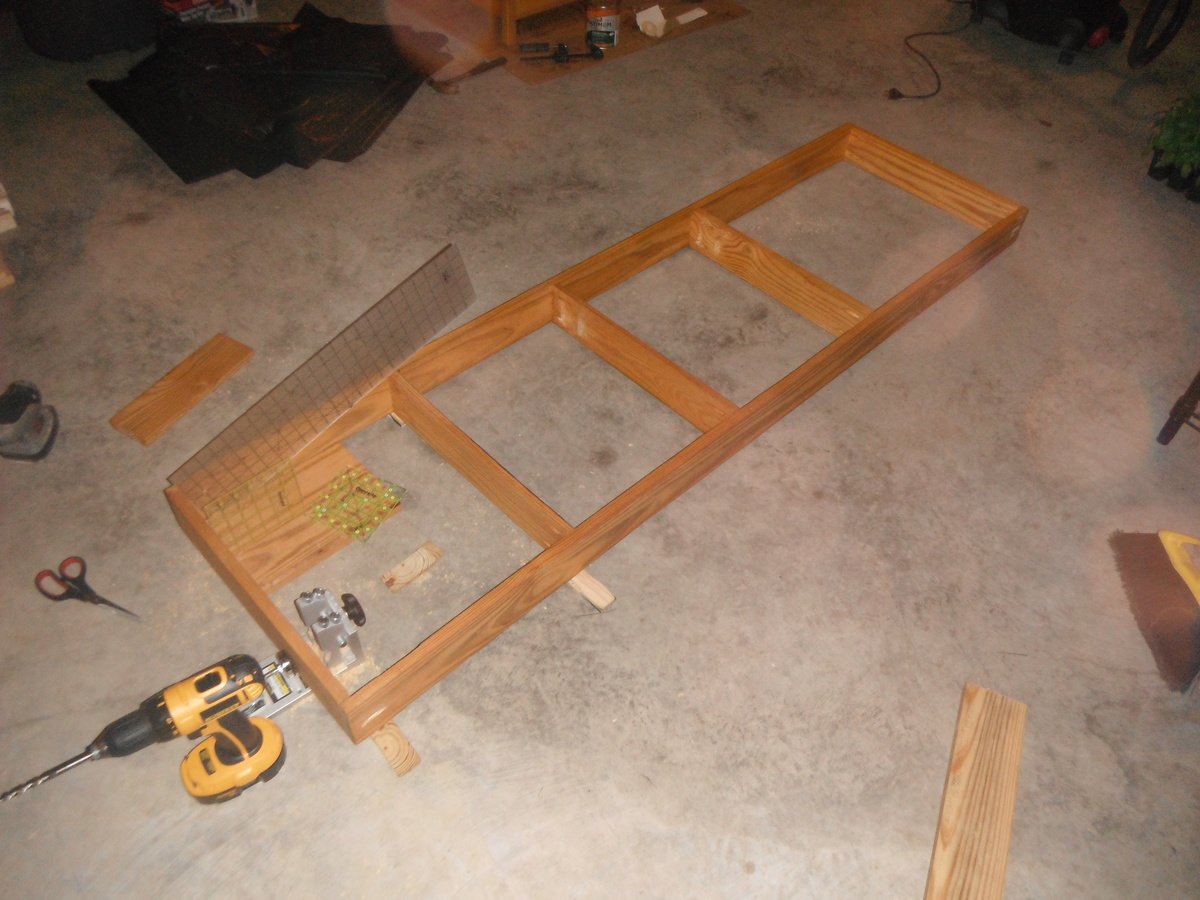
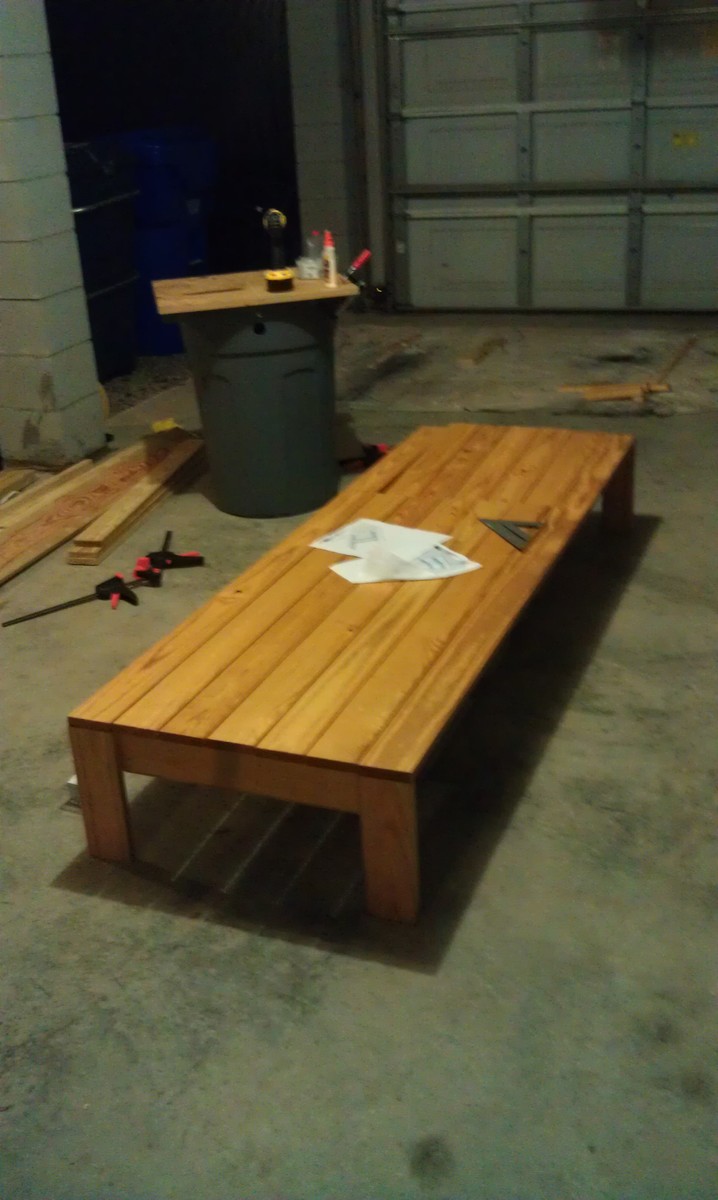
Lounger

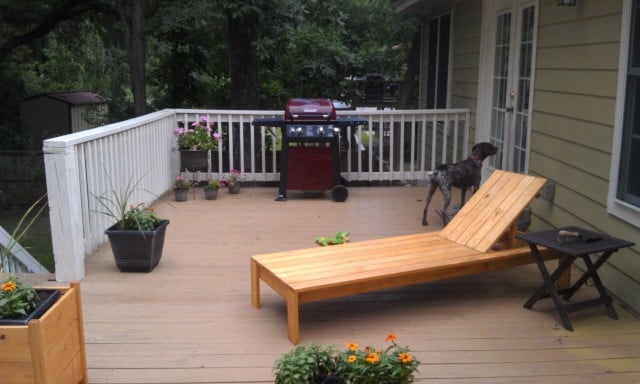
This was my 2nd wood working project. I found it was nice to have a 2nd set of hands to line up the top boards and put on the hinges. I did use a piano hinge for the back like another poster mentioned. It is smaller (not as thick) and helps keep the boards all even on the end when the back is lowered.

I really like the look of this lounger. I was worried that the boards on the edges would need more support, but they seem sturdy enough. If I notice them sagging later or starting to move, I will put some braces underneath.

Estimated Cost
$60.00
Estimated Time Investment
Weekend Project (10-20 Hours)
Finish Used
Olympic Maximum Stain + Sealant - Cedar Natural Tone
Recommended Skill Level
Intermediate

Jewelry/Makeup Storage Cabinet

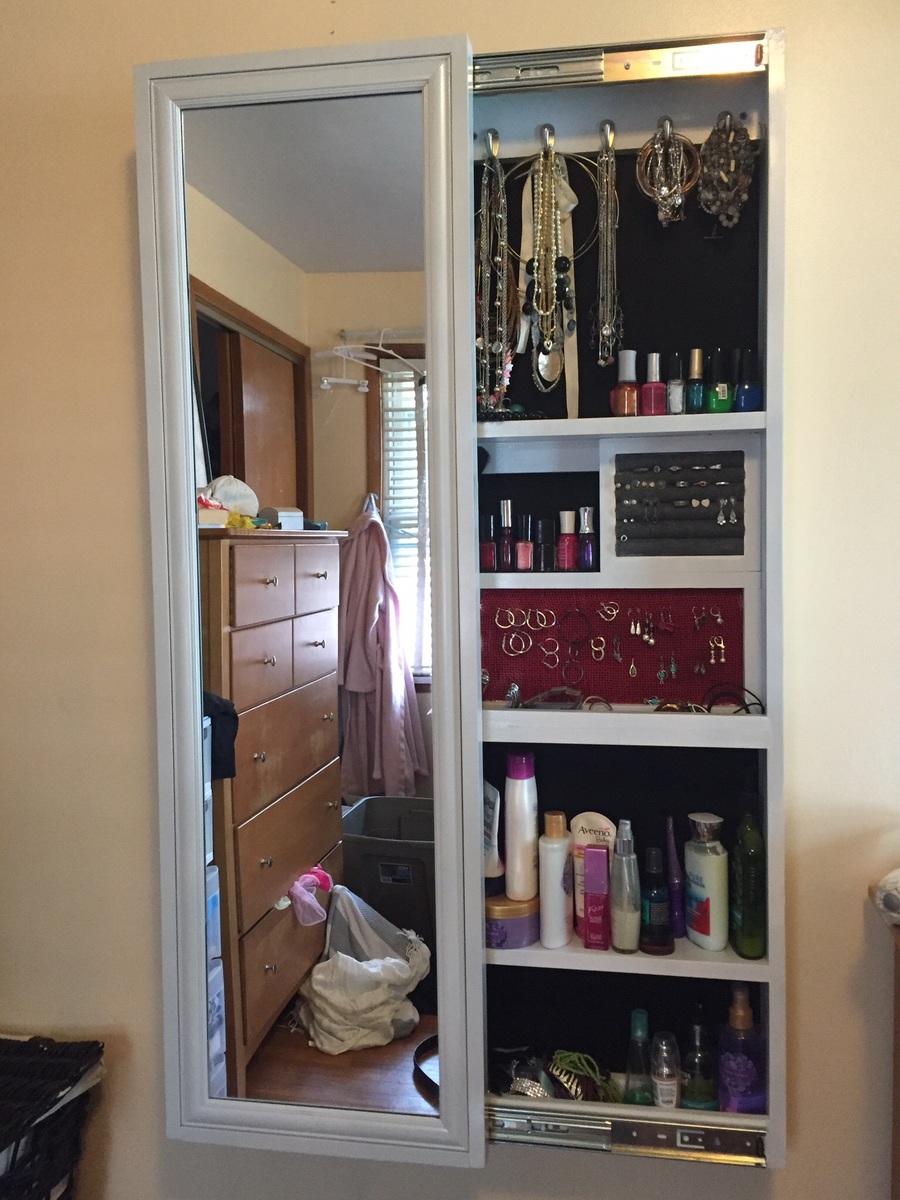
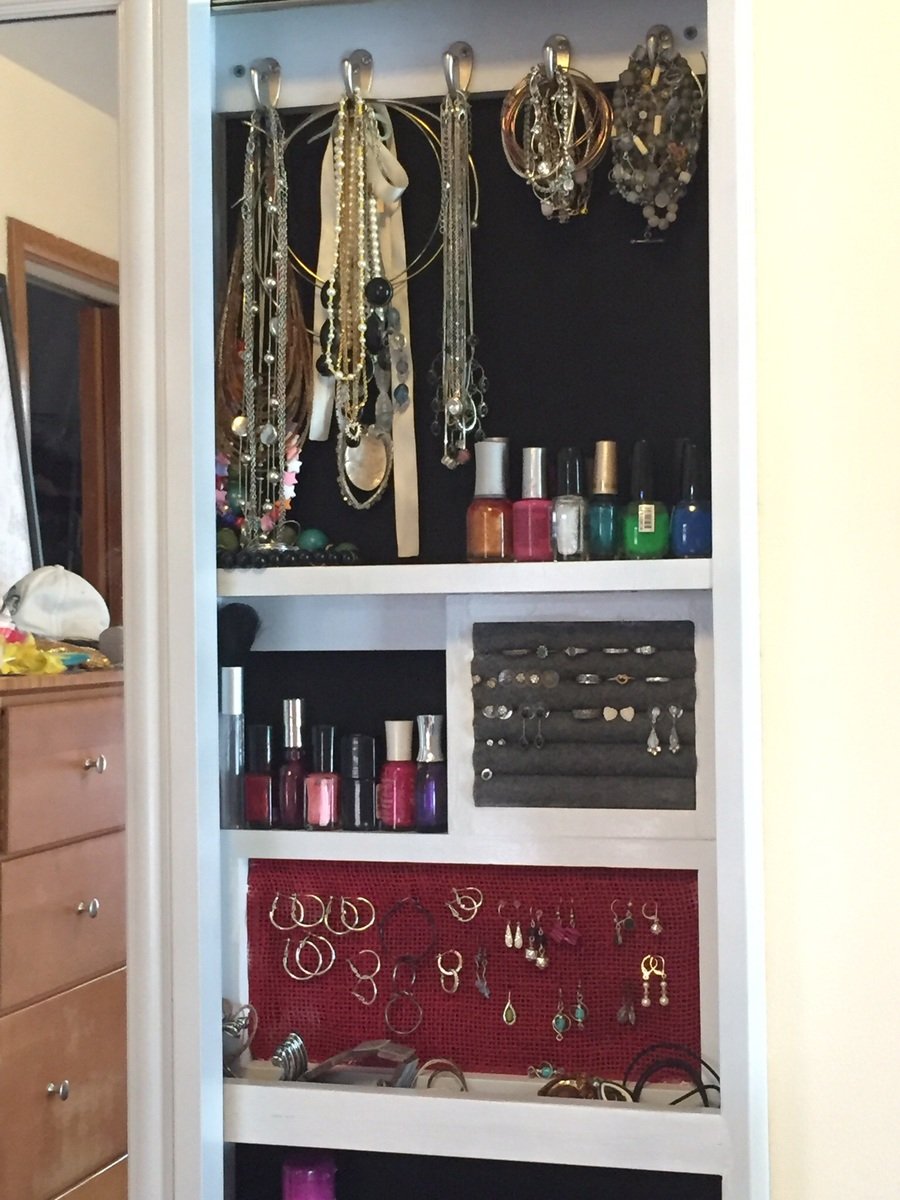
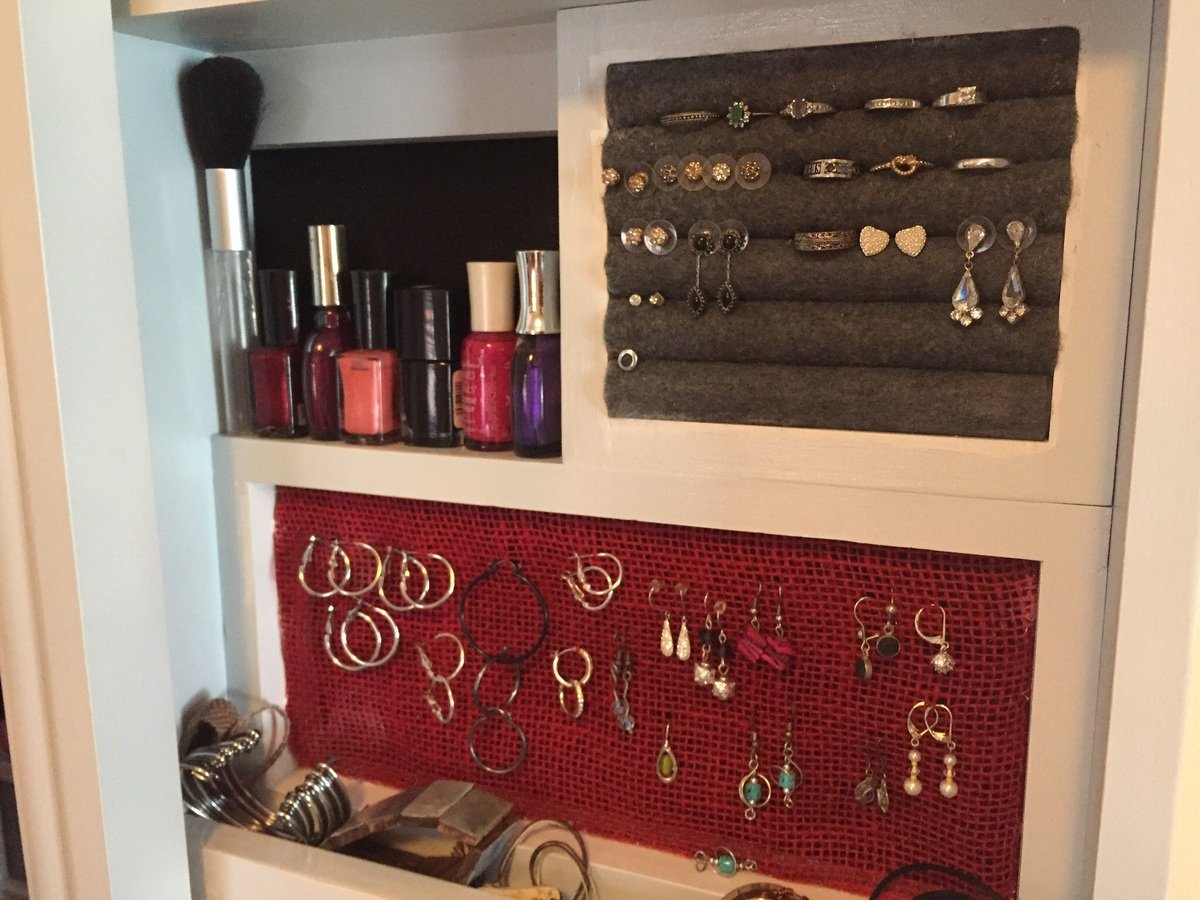
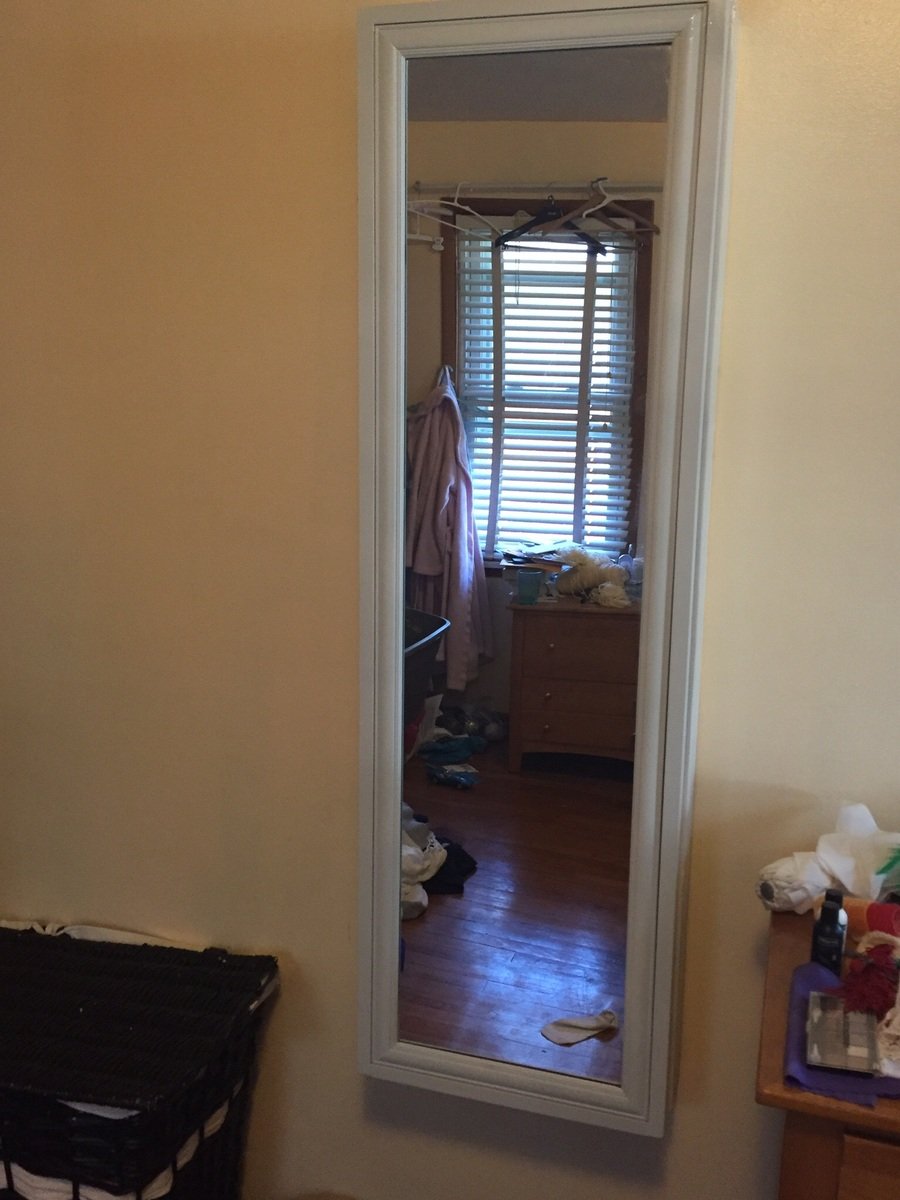
Thank you Anna for providing the template plans for this project. My wife had a mirror leaning on the wall in our bedroom that rarely got used and jewelry all over the dresser. So thanks to you I was able to turn this cheap mirror into useful storage and organize her jewelry.  Thanks! 

Estimated Cost
$80
Estimated Time Investment
Weekend Project (10-20 Hours)
Finish Used
Glossy spray paint
Recommended Skill Level
Beginner

Comments

Ana White

Wed, 10/07/2015 - 10:18

Thank you for building!!!  Your post just made my day, I'm so happy to see your build! I love the customization with the jewerly holders too!  Thank you so much for sharing!

Cedar deck box

Submitted by JMG on Wed, 07/06/2022 - 19:47

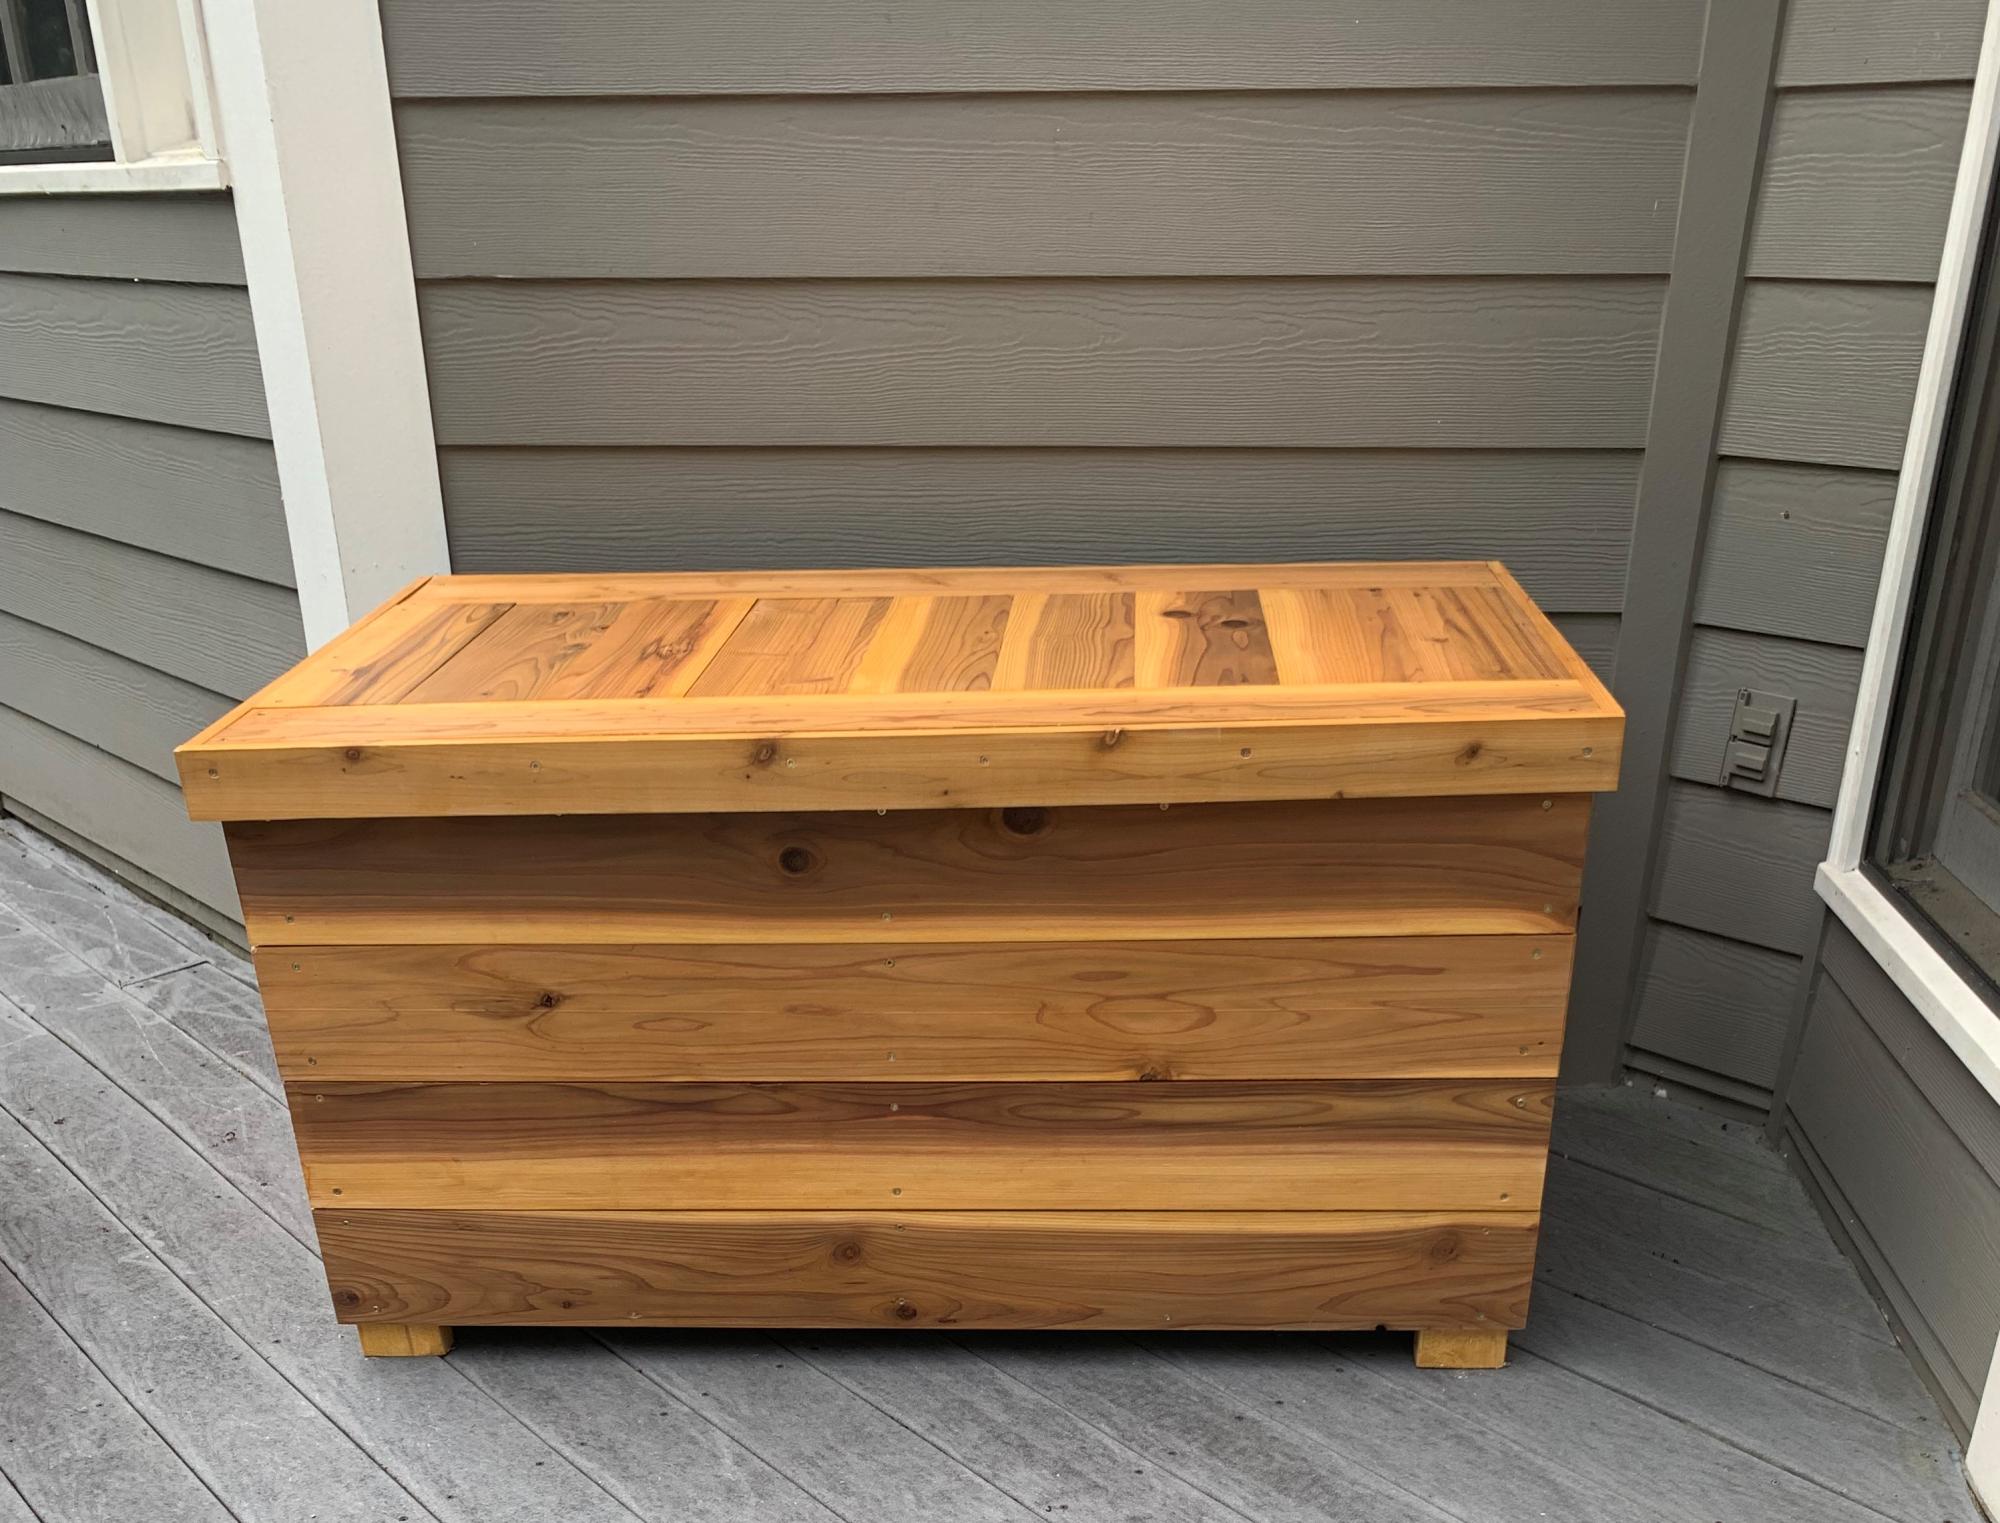
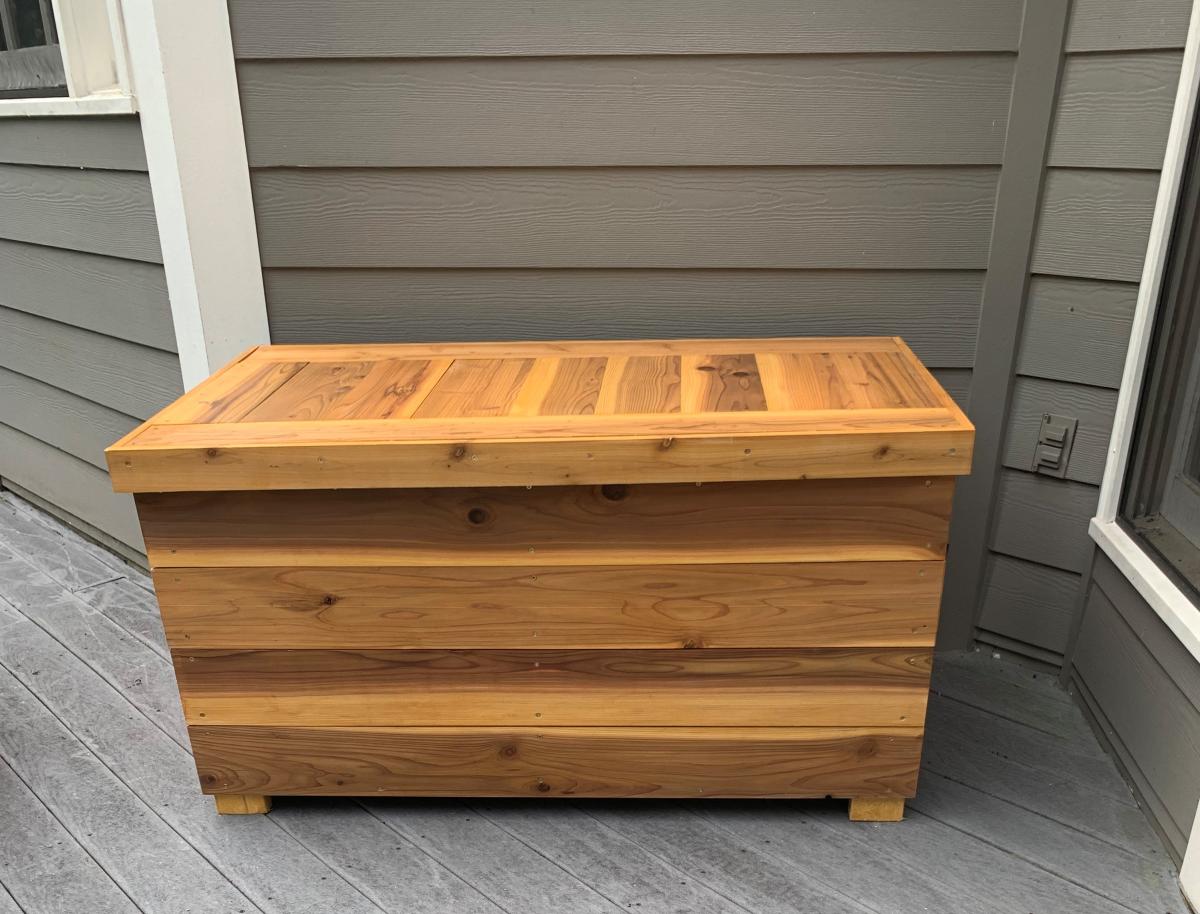
I had to modify these plans to use what I had on hand. I used left over cedar fence pickets (planed down and sealed) and adjusted the size to fit all my outdoor cushions. Overall dimensions are 49" wide x 28" deep x 26" high. I also used 2x4's instead of 2x2's because that is what I had in my shop. I added 1x3's around the top to fit snugly instead of using hinges (again trying to use what I had on hand). We get A LOT of rain in the summer so hopefully the cushions will stay dry. I also added some screen left over from the screened in porch to the bottom before adding the "floor" to keep bugs out. I just stapled it to the frame before adding the floor boards. I did add a piece of treated 1/4" plywood under the top in hopes of keeping the rain out.

Built from Plan(s)

Comments

Farmhouse Bed (King Size)

What started out as an innocent shopping trip for a bed, sparked an idea, and led me to Ana White. Next thing I know...I had built a Farmhouse Bed. All by myself! Then I started a blog to document my whole bed building adventure - http://gleeinspired.blogspot.com/2010/10/bed.html.

Thanks Ana! You are truly amazing!

Estimated Cost
$150
Estimated Time Investment
Week Long Project (20 Hours or More)
Finish Used
I primed the wood with one coat of Behr latex wall primer. Then painted 2 coats of Behr latex paint (eggshell finish) in Cozy Cottage. Finally, I distressed some of the edges with sandpaper.
Recommended Skill Level
Beginner

Comments

Lori E. (not verified)

Sun, 09/25/2011 - 08:54

Gorgeous!! Your bedroom is absolutely beautiful.... great job!!

Kate (not verified)

Sun, 09/25/2011 - 09:32

It looks great!

Also, I'm so excited that you incorporated your existing bed frame! I also have been wanting to build this bed, but was worried about trying to make it solid enough to support our big split-base king mattress. Could you tell me a bit more about how the frame works with this? Did you attach the frame to the wood, or is the wood bed just kind of floating around the frame? Does it look odd to have the frame legs as well as the wood legs?

Glee Inspired

Sun, 09/25/2011 - 15:10

Thanks so much! I love our bed and Ana's plans make building this bed simple enough for complete beginners!

To attach our metal bed frame, I screwed it into both 4x4 posts on the headboard. Then I used 1x12 boards on each side, attaching them to the headboard and footboard with 2 L-brackets at each corner. I also screwed the metal bed frame to the side boards wherever possible. This provides a little added stability to everything. Not that the bed really needs it...it's super solid and sturdy!

Since our bedroom is long and narrow, it's impossible to see the frame legs with our furniture placement. Otherwise, I'd probably use a simple tailored bedskirt to hide them.

Hope this helps. Happy building!

birdsandsoap

Mon, 03/19/2012 - 13:28

Am I crazy? I swear I've seen this room somewhere. Did you get published in a magazine or blog feature? Love it. The color scheme is so different; seriously- how did you pull off orange and blue and get it to look so fantastic?

parly (not verified)

Tue, 03/20/2012 - 09:33

absolutely love the finish on this! ....any chance you could share with us what you have done?

thank you soooo much!!!

Jim Pierce (not verified)

Thu, 01/17/2013 - 02:23

Any chance you can email mail me or post here, the dimensions? I know the length along the frame is fixed but the width of the boards on the headboard and footboard and the height of the posts on each end as well as the height of the boards in the center of the head and foot board. I am a beginner and have been looking at headboard ideas online for quite some time now and yours is the first I actually liked and want to build.

Simple Bed Bunks

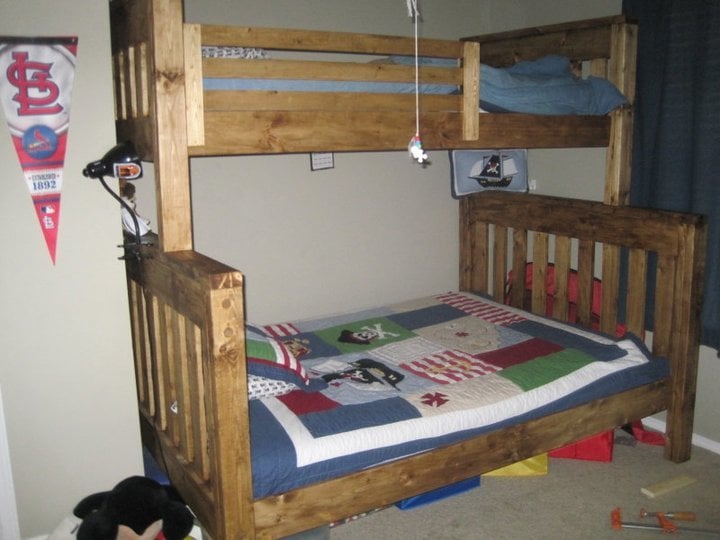
Ok, to start off with I am a guy and I love to build things, but I'm not some techincally savvy dude. I need simple plans and this was an awesome build! I love it, my kids love it, and most importantly my wife loves it. As others have said, It is BIG. but small things I did saved some space. For instance I cut the 3" off of the tops of the headboards to save 6" of linear space. Little things went wrong along the way, but they always do... finished in about 4 days workings sporadically. I've got about 350$ in it, and couldnt be more pleased. I will definately build more things from your plans. IF anyone is thinking of building it DO IT! Definatley need the KREG Jig. I should have bought that thing a long time ago. would have made several projects easier.

My First Project

Submitted by Anonymous (not verified) on Mon, 06/19/2023 - 15:34

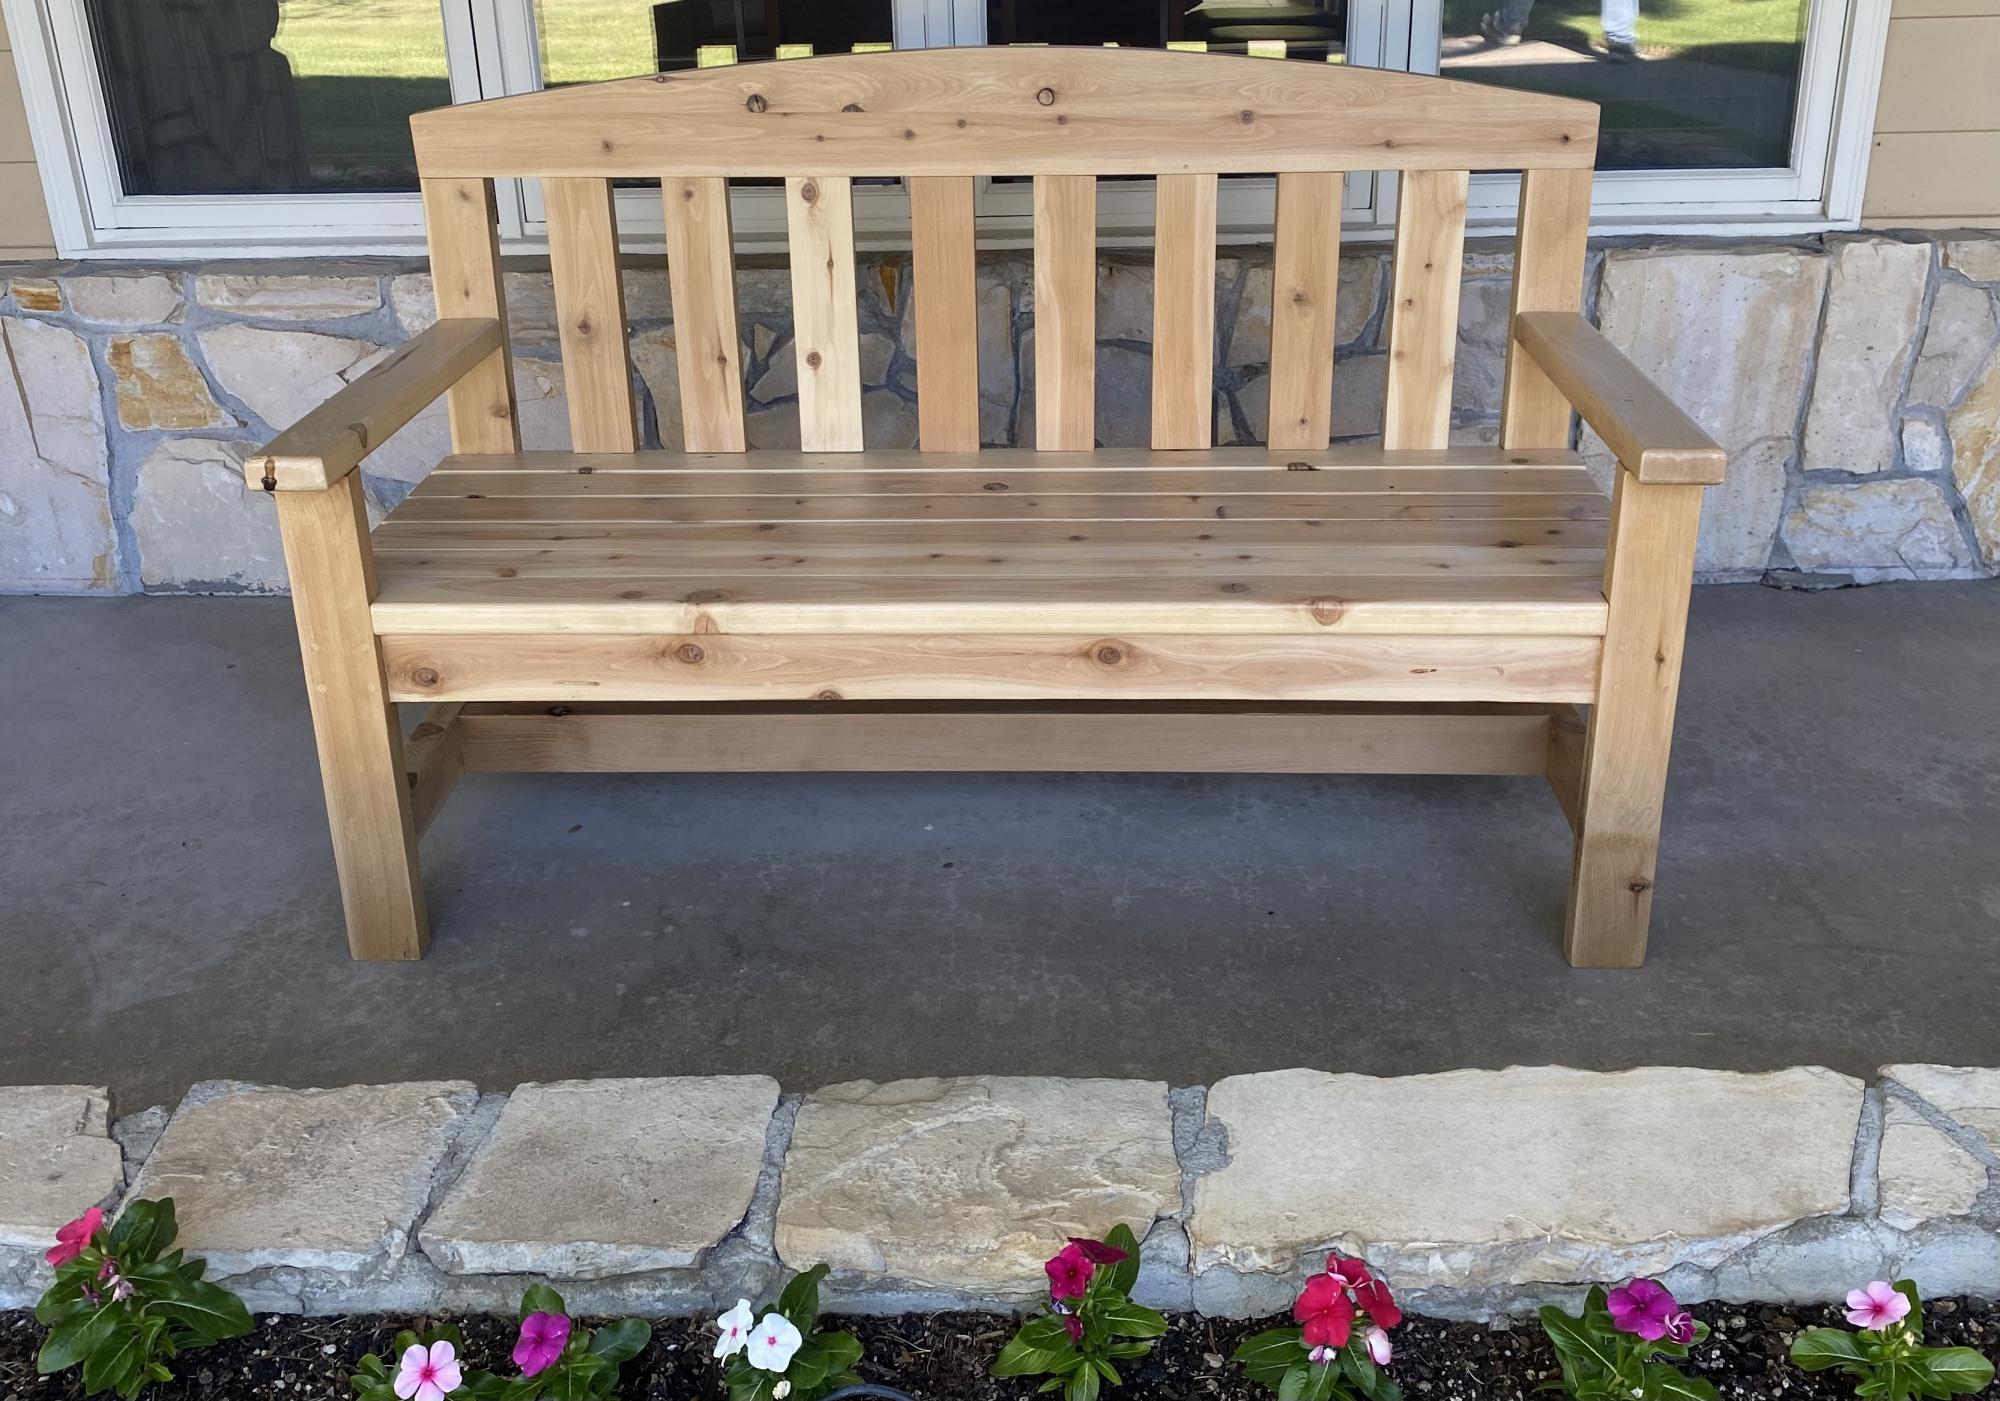
I took a woodworking course through the community college and built this cedar bench for my front porch. I learned so much throughout this process and am proud of how it came out. I am now building up my own arsenal of tools and supplies. I can’t wait to choose my next project!

Plans from myoutdoorplans.com/2x4benchplans

Comments

Adirondack Chairs

Submitted by Anonymous (not verified) on Mon, 06/26/2023 - 12:25

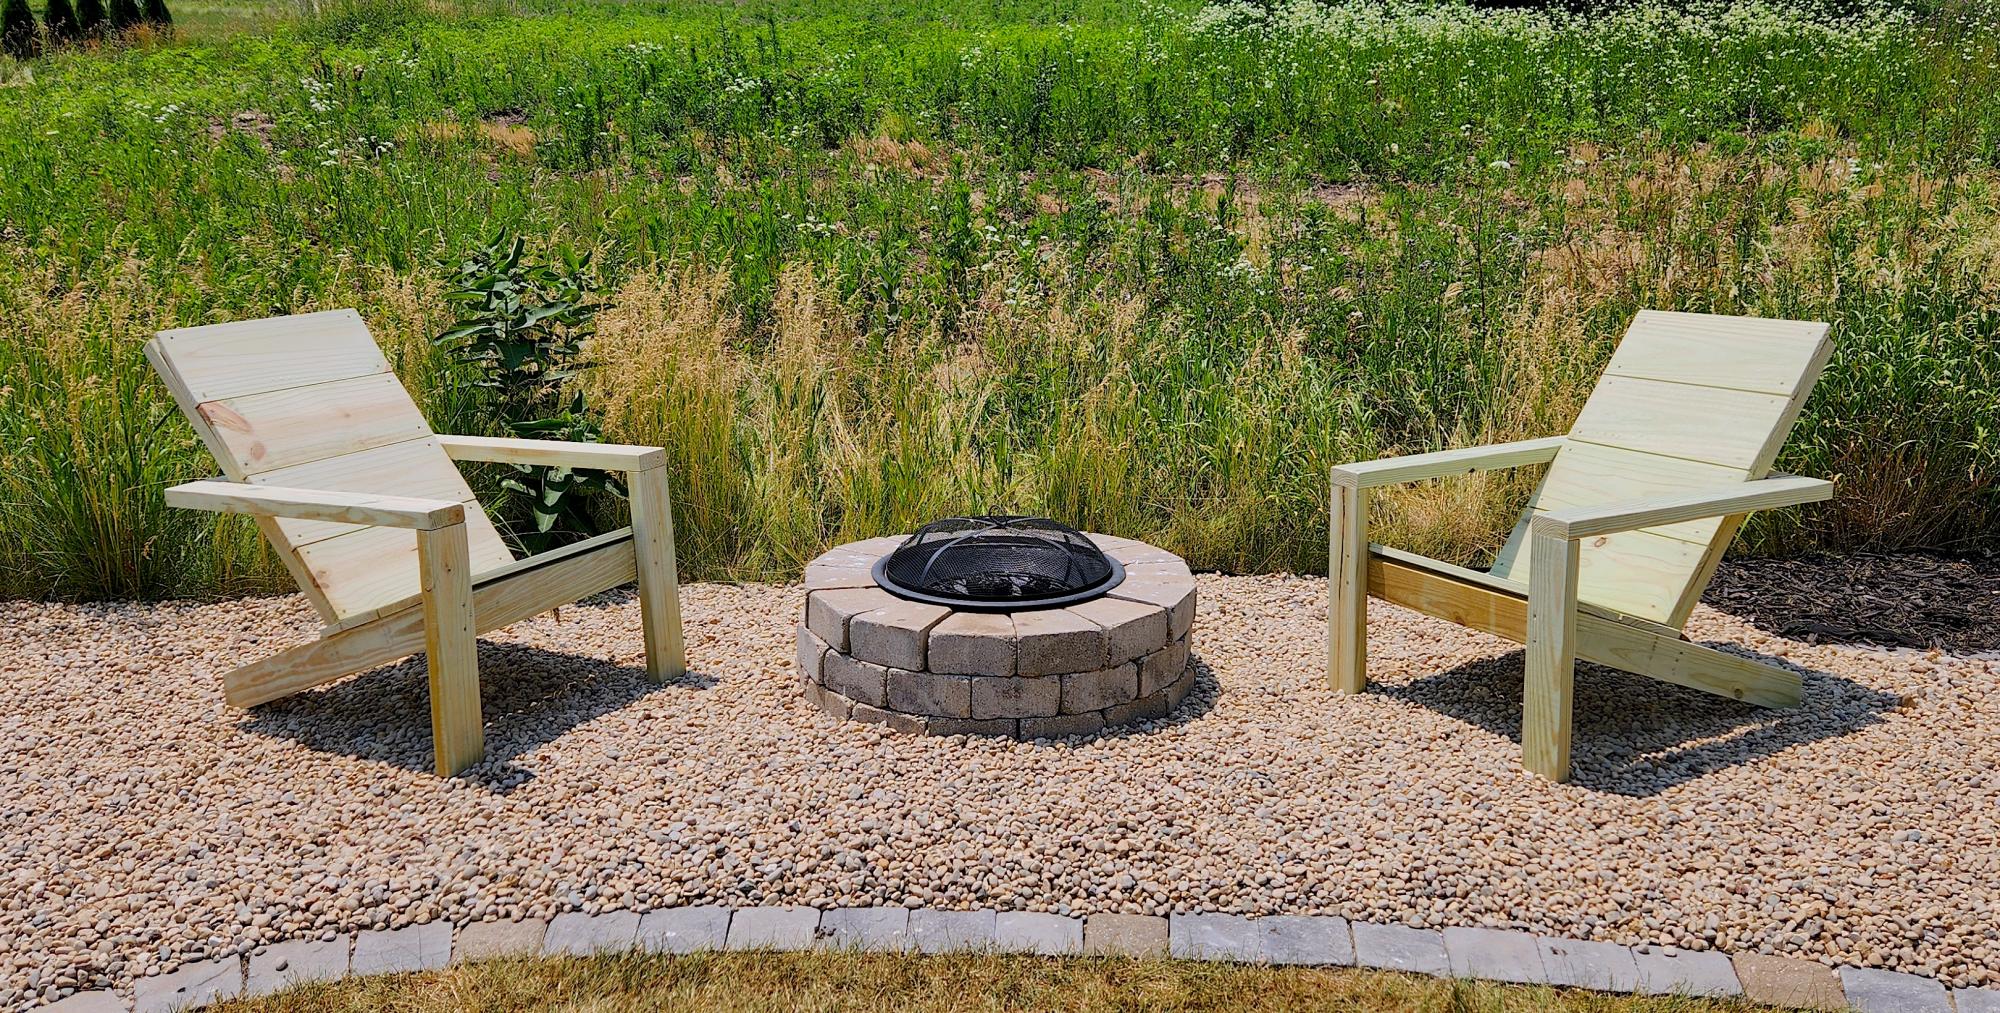
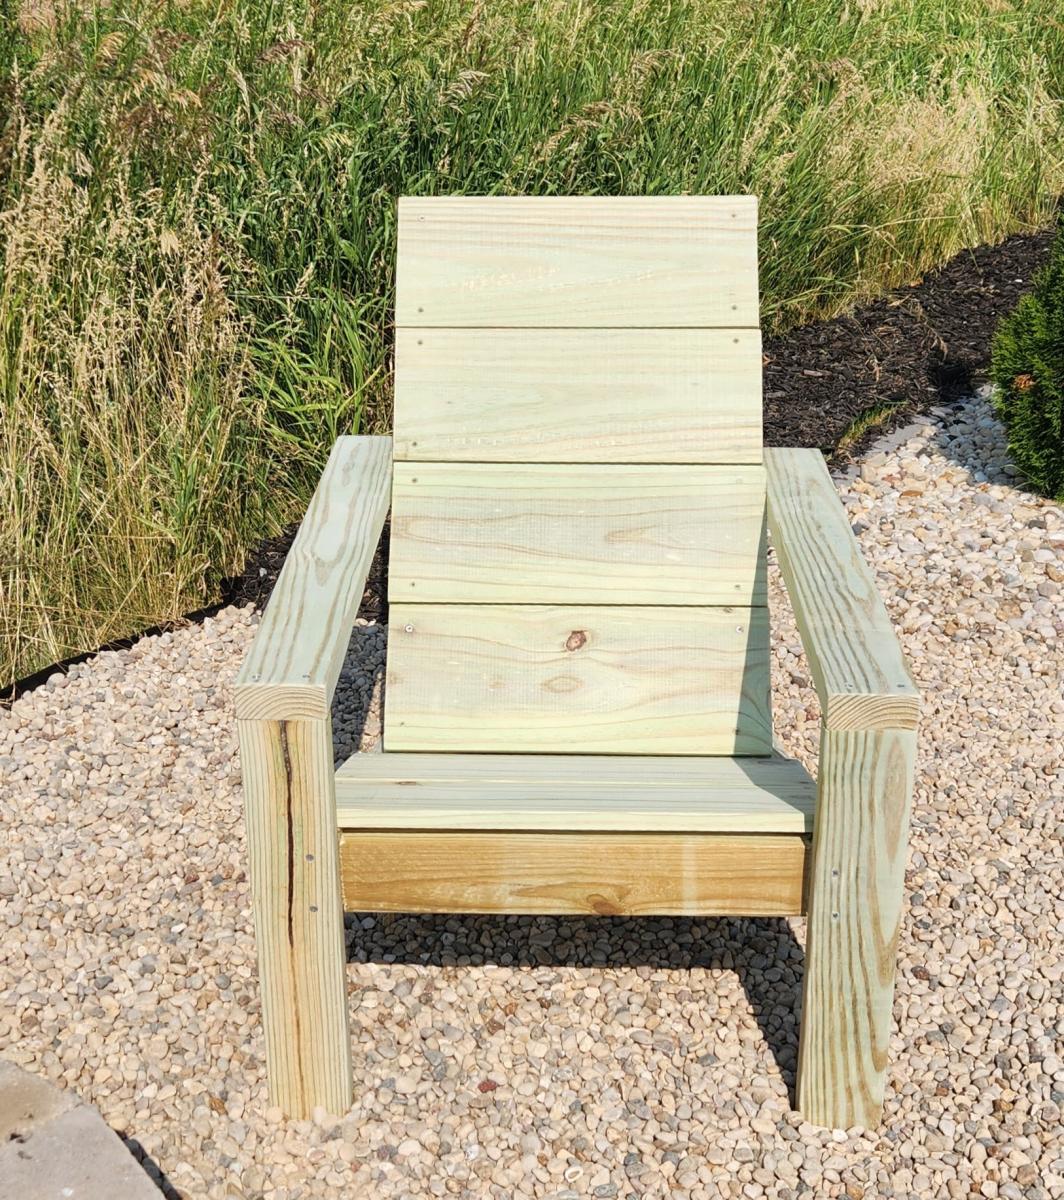
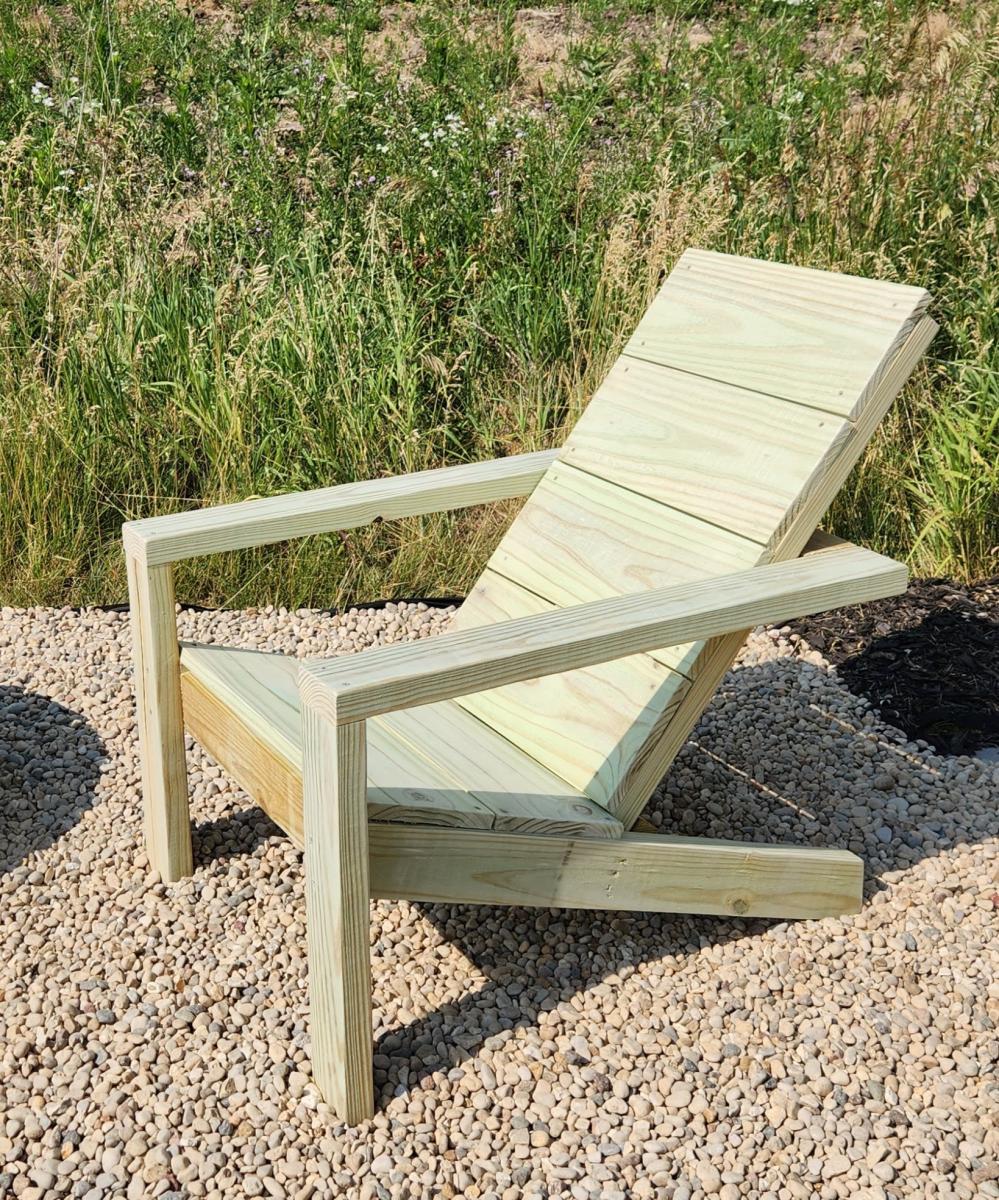
I used treated lumber for my project. One chair took me 2 to 3 hours from start to finish and the 2nd chair went a lot faster! The plans were so easy to follow, Thanks Ana!

- Built by Kara

Comments

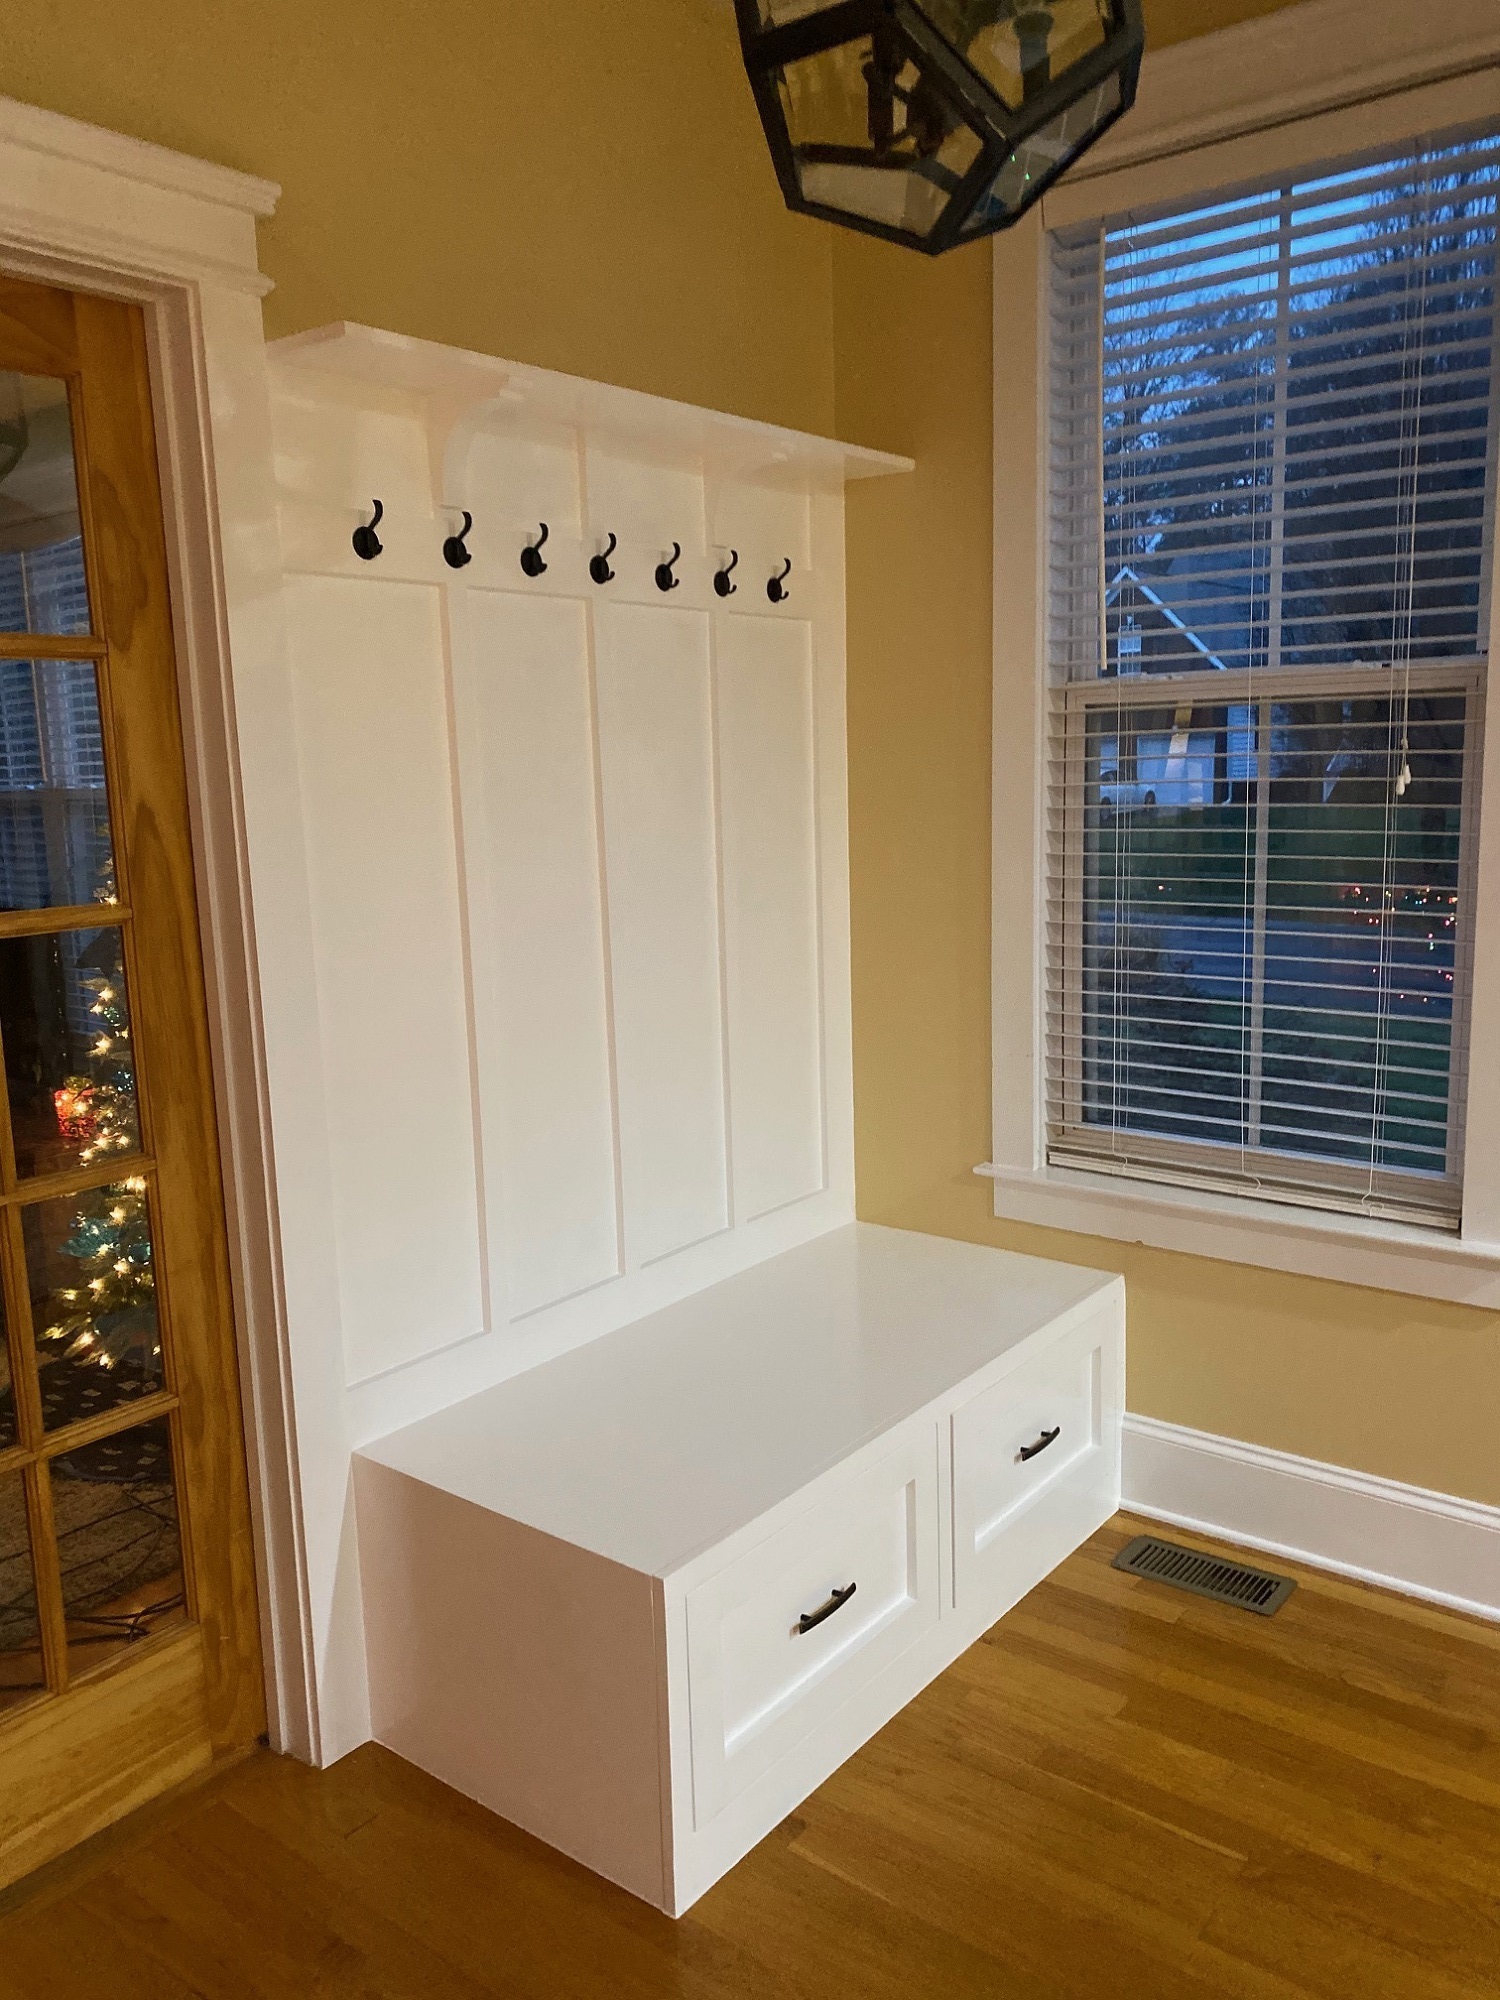
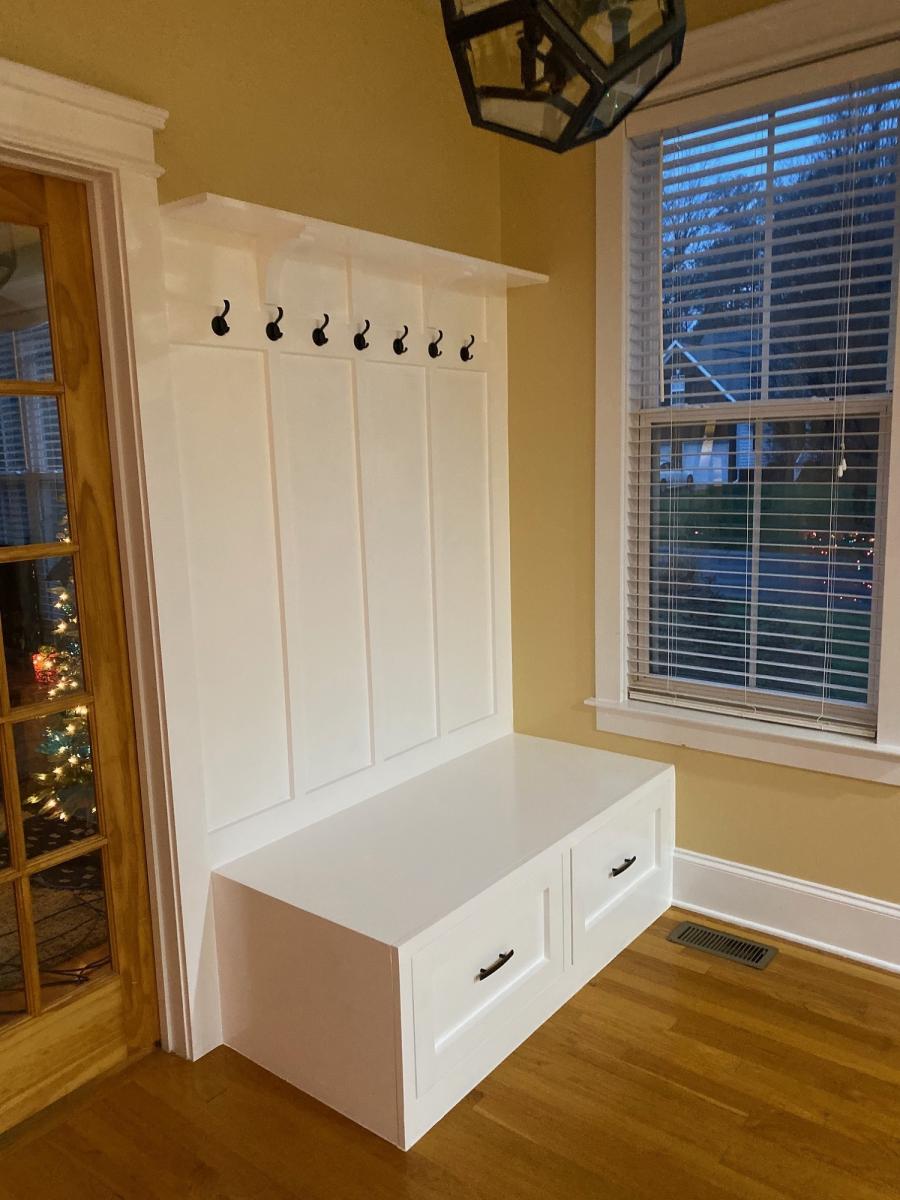
Entryway Drop Zone

I used the Mudroom Bench with Easy Drawers plans and adapted the bench to fit the area I had. Previously, the walls had chair rail moulding and some hideous wainscoting. The whole thing, including painting the bench and walls, took me about 3 weeks. Some days I worked an hour, some days 7 or 8 hours. The build was the easiest part of the project and I was finished with the unpainted bench in a weekend. I had an issue with one of the drawers not closing flush and wasted a lot of time trying to fix it but ended up building a whole new drawer. The finish work took the longest. I spent about $300 on materials and another $300 on tools I needed/wanted (Kreg jig, paint sprayer, etc.) for this and future projects. 

Built from Plan(s)
Estimated Cost
$300
Estimated Time Investment
Week Long Project (20 Hours or More)
Finish Used
High-gloss white paint
Recommended Skill Level
Intermediate

Comments

Super Easy, Super Awesome! Thank you Ana & Ashley

Submitted by jhavinga on Tue, 03/18/2014 - 09:24

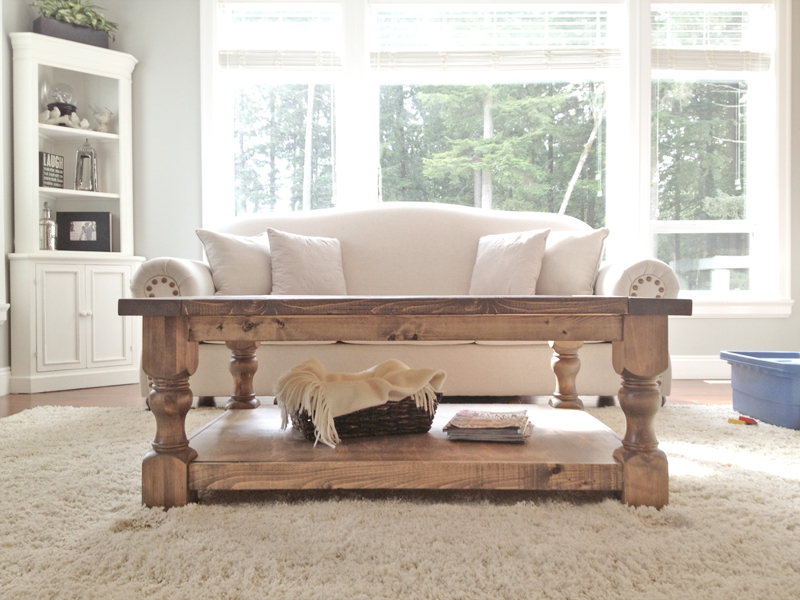
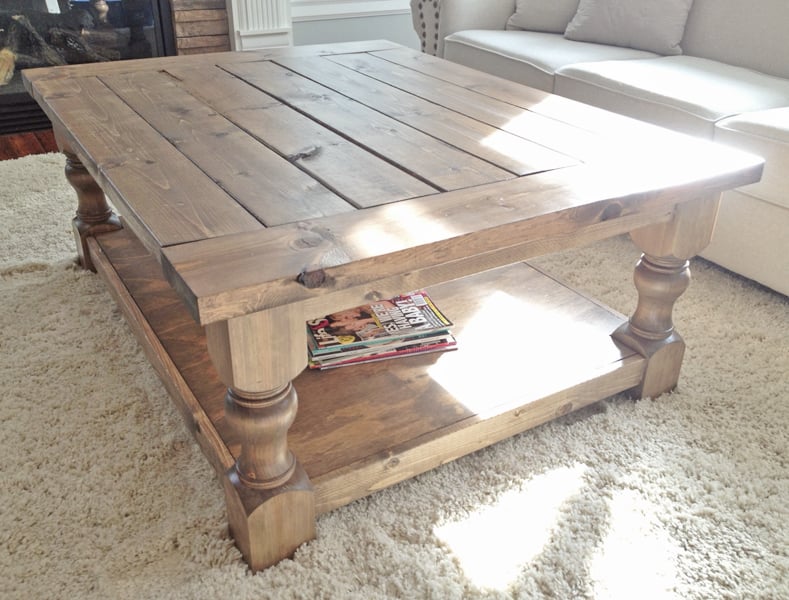
Loved this Coffee Table and wanted to suprise the wife for christmas, so being my first project I got started! had no idea what I was doing but they were great instructions, and the KREG JIG is AMAZING. altered the plans a bit to make it a rectangular coffee table (added 12 inches) instead of square to fit our living room better. Now to tackle the next project!

Built from Plan(s)
Estimated Cost
$200
Estimated Time Investment
Weekend Project (10-20 Hours)
Finish Used
Used 2 different stains to get a brown/gray finish. just one coat of each!
Minwax Weathered Oak & Minwax Special Oak.
Recommended Skill Level
Beginner

Comments

MichelleC

Wed, 03/19/2014 - 07:39

I absolutely LOVE the finish on this, thank for sharing!!! For the estimated cost you put $100, is that without including the cost of the turned legs? Did you get the legs through Osborne? I think I NEED to make this coffee table and use that finish!

jhavinga

Wed, 03/19/2014 - 09:02

Now that you brought it to my attention you are absolutely right, I completely forgot about the cost of the legs. including the cost of those, it does come to $200 dollars, ill change that. I also did get the legs from Osbourne. As for the finish yes do it! I am really happy with how it turned out :) thanks again and let me know when your coffee table is done so i can check it out!

Cheers,
Justin

Mandybeck

Wed, 08/27/2014 - 21:35

This is absolutely beautiful!!!! Quick question... You said you used weathered oak and special oak for the stain. Did you mean special walnut? I can't seem to find special oak! Thanks!!!

usmcjeff7489

Fri, 07/17/2015 - 12:59

Being as yours is much lighter (and i like it more than the darker). Did you use the wood conditioner and how long did you leave the stain on for? it almost looks like once it was on you were wiping it off. Love it well done :)

Also, do any of you guys use the paste wax when finished? I was thinking about following the stain with some poly to seal it. any suggestions?

Deck Gate

Submitted by mweir on Tue, 06/26/2012 - 19:37

With grandchildren and pets we decided to put a gate on the deck.

The gate is made from 2 X 4's and 2 x 2's. I used brass hinges to prevent rust and smooth operation

Estimated Cost
$15.00
Estimated Time Investment
An Hour or Two (0-2 Hours)
Finish Used
we will finish the gate when the deck is stained
Recommended Skill Level
Beginner

Potting Bench!!

Submitted by Anonymous (not verified) on Fri, 05/22/2020 - 15:58

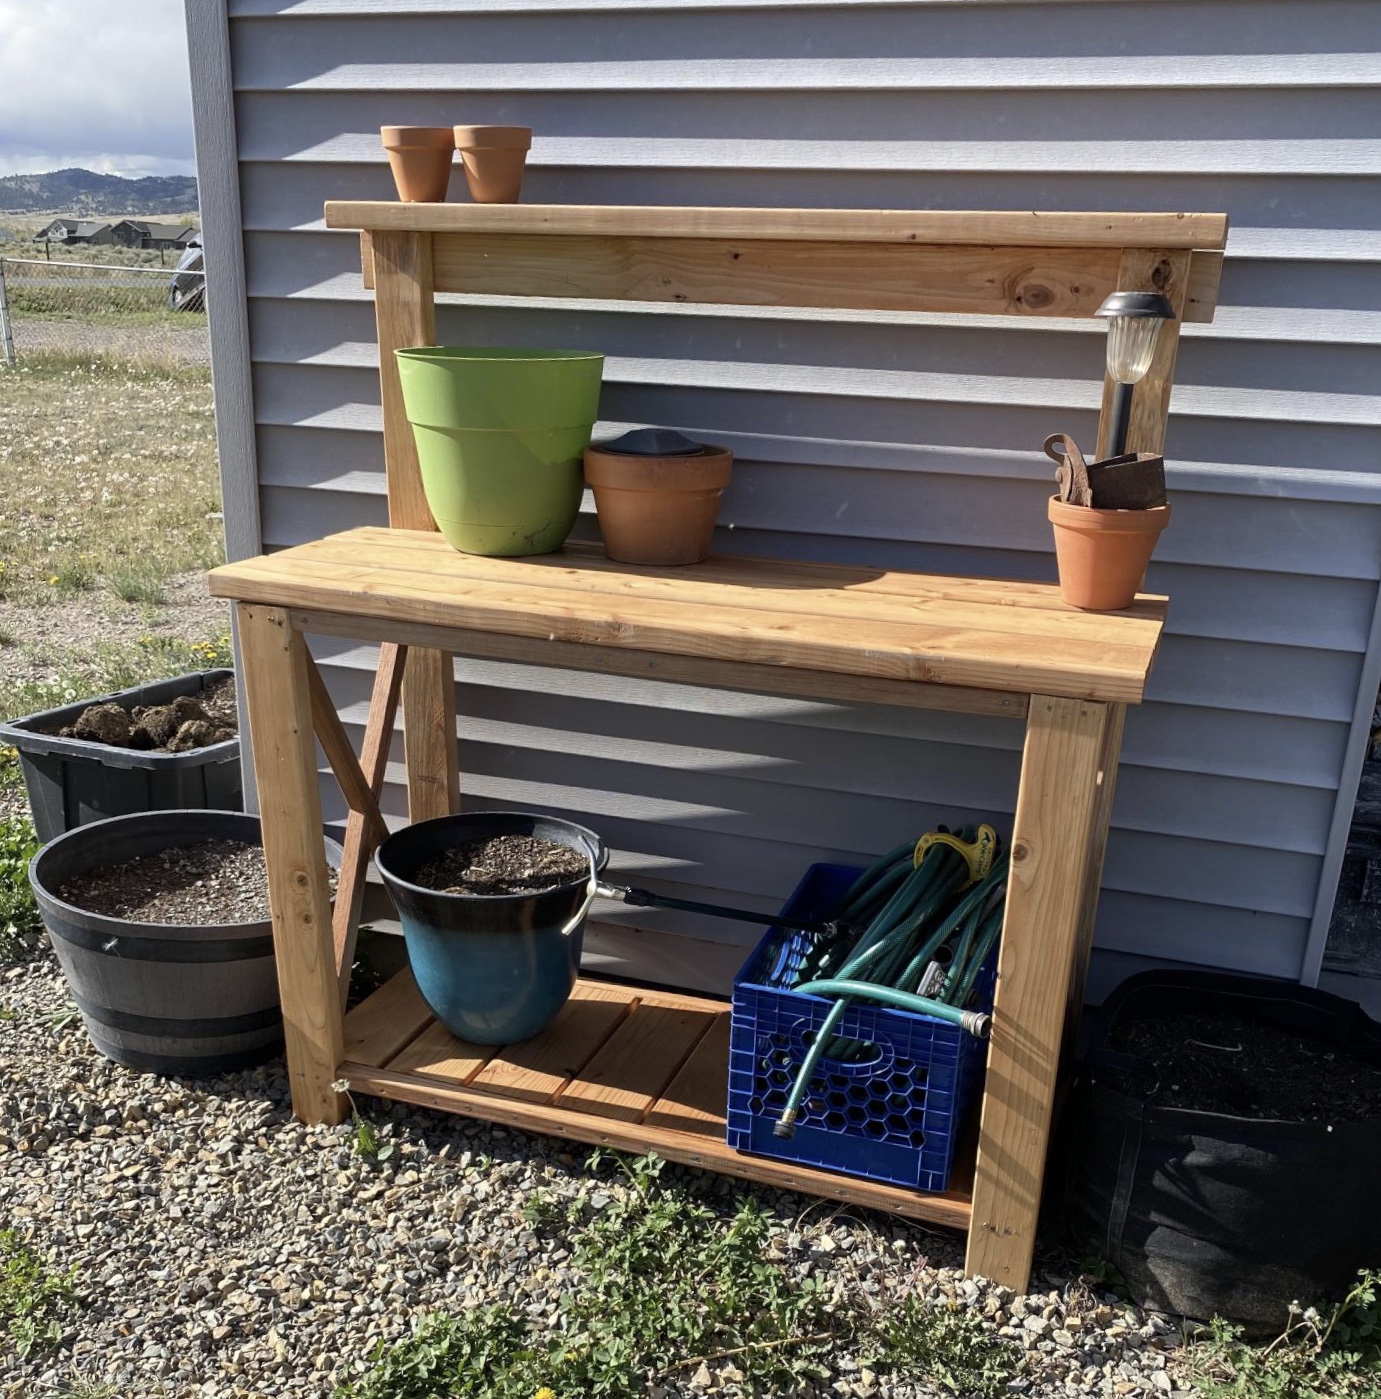
This was my first major wood working project! My fiancé did help (well he started showing me an easier way to cut with a circular saw) and cut the bottom slate. I think it turned out well!! The X feature was tough without a miter saw, but they turned out well!
I LOVE this so much!!!! I want to make another. One thing was I need to learn how to maximize my cuts. I didn’t follow the video, so I had to buy another board. That comes with time and I’m ok with it.

Built from Plan(s)
Back