Kitchen pantry cabinet
Some added storage for small kitchen appliances
Some added storage for small kitchen appliances
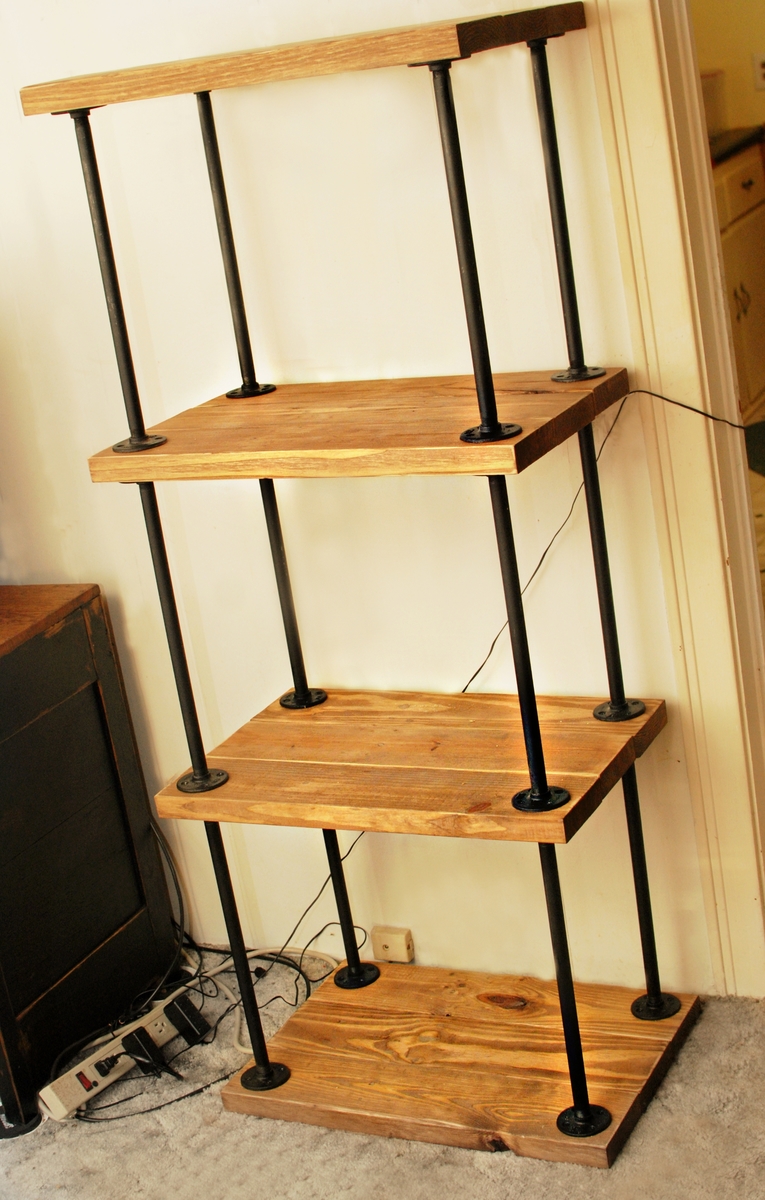
1/2 ' x 18" black pipe was used along with 1/2 ' flanges. The wood was re-purposed 2x6' pine lumber that had been used for pallets, that would have been thrown away. The boards were joined with a Kreg Jig, It will house my stereo components.
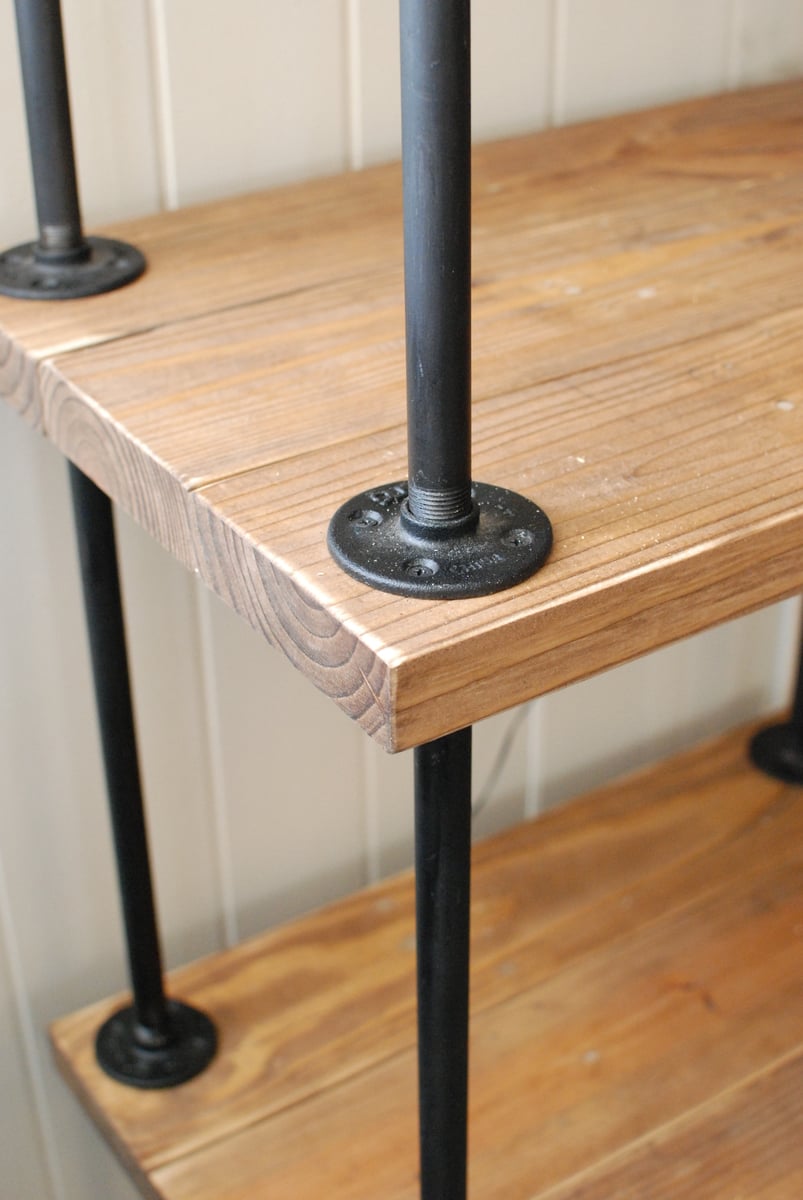
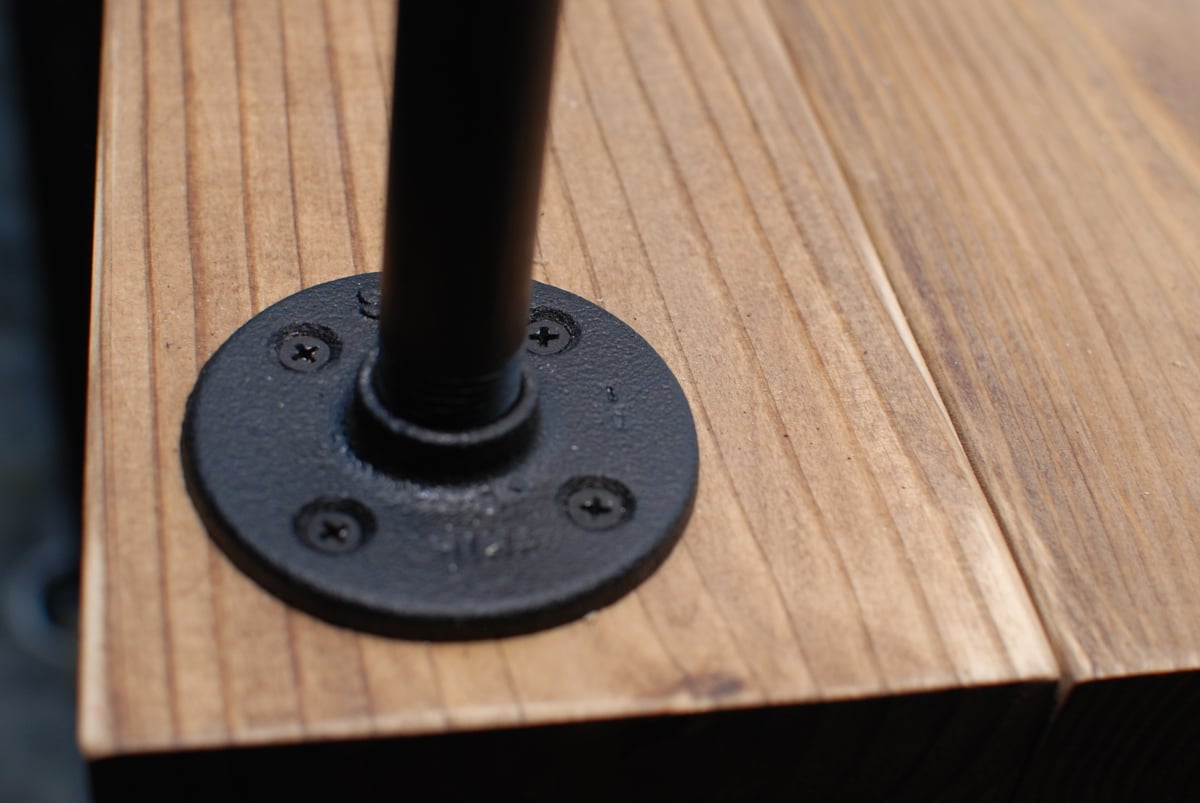
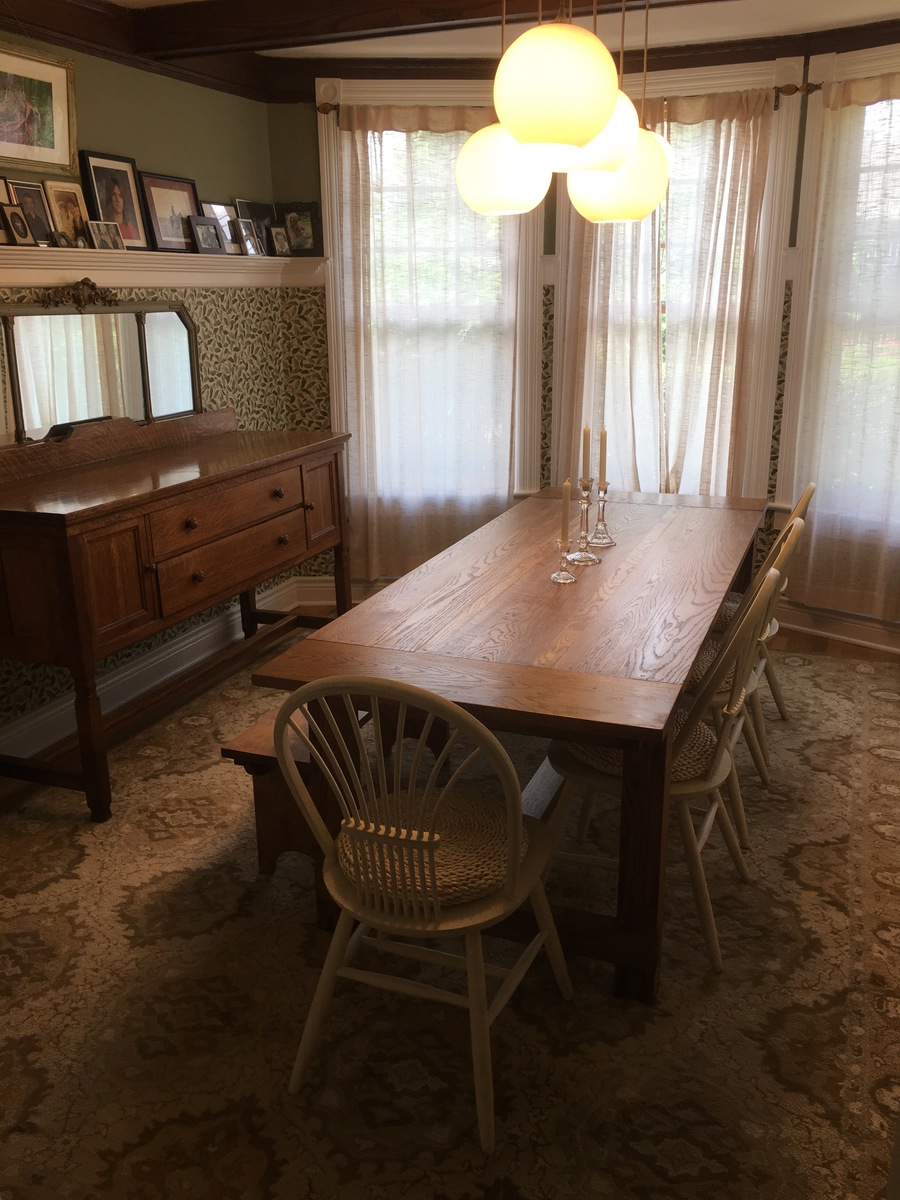
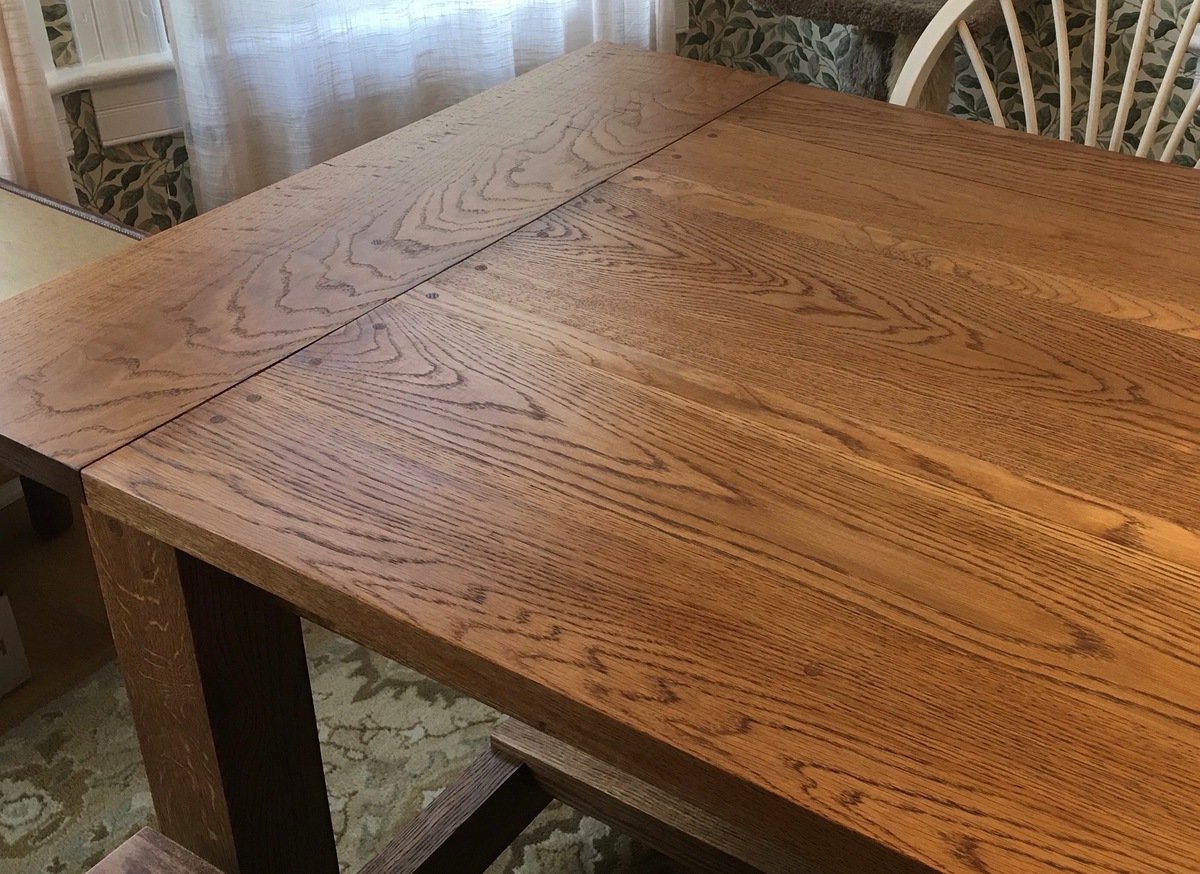
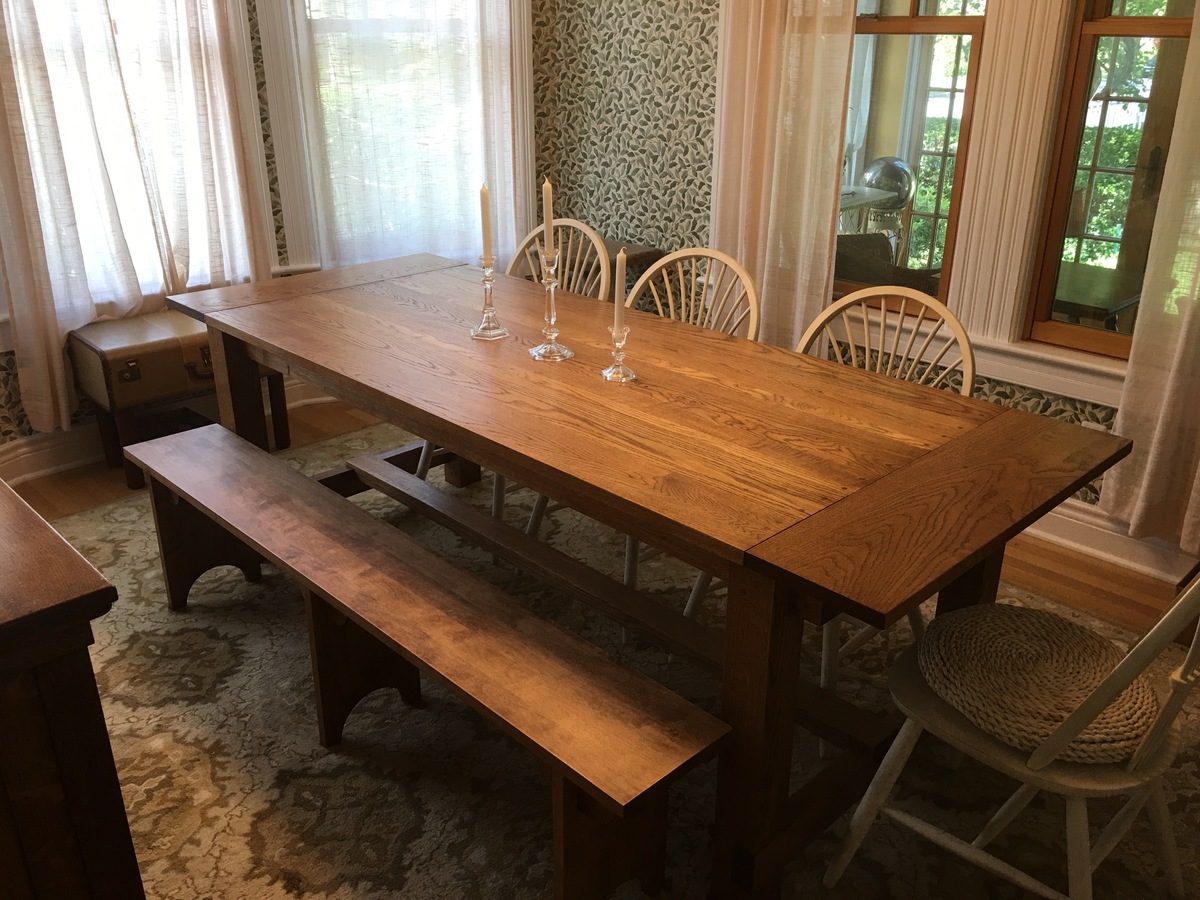
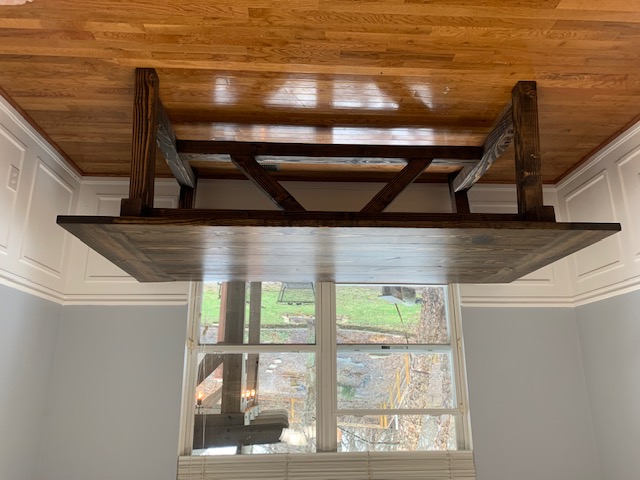
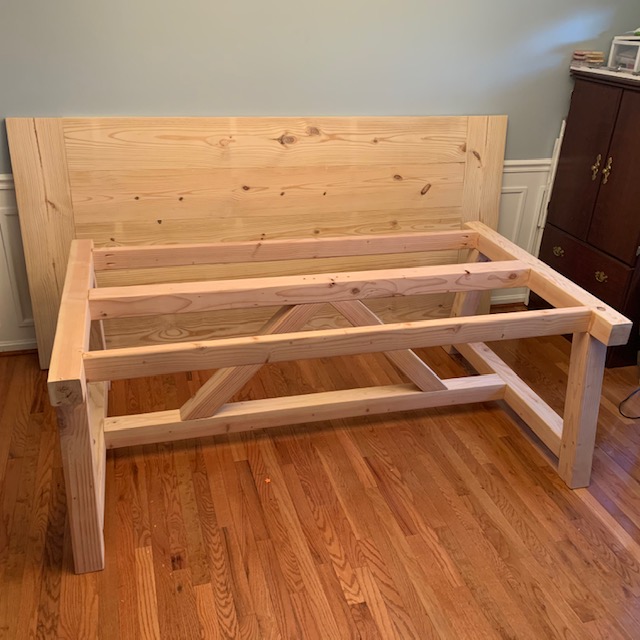
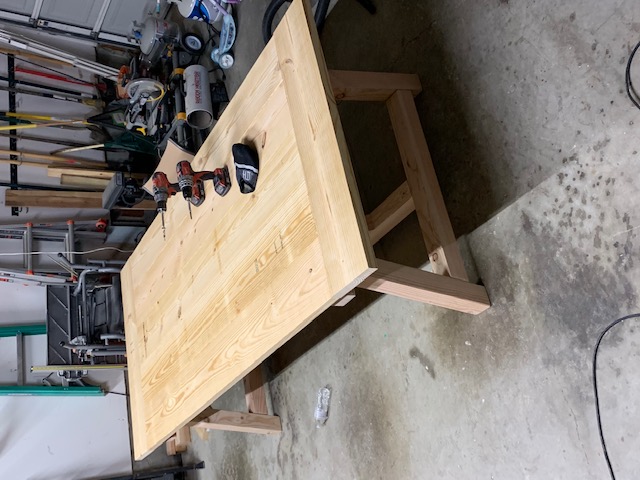
I built this using the Farmhouse Table plans, and we're thrilled with the results. My modifications included making the table longer and narrower to fit our dining room, and building it from some fantastic white oak from a local lumberyard called Boards & Beams in Fairfield, NJ. I used 5/4" thick boards of varying widths for the top, and created deeper overhangs at the ends by making the breadboard ends 10" deep. Unlike a more rustic version using pine, the lumber was extremely expensive, and the oak makes an already heavy table even heavier. Still, it is orders of magnitude less expensive than purchasing a custom table like this, and I only needed to "ship it" from my garage.
My idea was to match, as closely as my skills would allow, the antique buffet in the photo next to the table. Or at least to build something that would look good next to the buffet. My prior woodworking experience is limited to DIY carpentry and building plywood shelves and radiator covers. I am not a "mortise and tenon" woodworker (although I'd like to learn). The plans are excellent because this was the first "real" furniture I've ever attempted, and it is literally as solid as if it were carved from a single piece of wood. I rented a 12" compound miter saw from Home Depot to make most of the cuts in one day, which worked out extremely well. The visible screw holes I plugged with oak dowls.
If you decide to build this (or anything) from a hardwood, here are a couple mistakes I made early on that you don't want to repeat. First, EVERY screw into every piece needs a pilot hole. If you have even the slightest thought that your screw is about to strip or break, it is. Second, higher-quality wood is often cut larger than what you find in a big box store. A 2 x 4, which might be 1.5 x 3.5 from Home Depot, can be 1.75 x 3.75. This really matters a lot, and so you have to measure your actual wood and re-calculate every measurement accordingly. The upsides, for me, included fewer warped pieces, less splintering, and greater ease of sanding and finishing.
Thank you very much for posting these plans and for your excellent "how-to" on cutting out the notches.
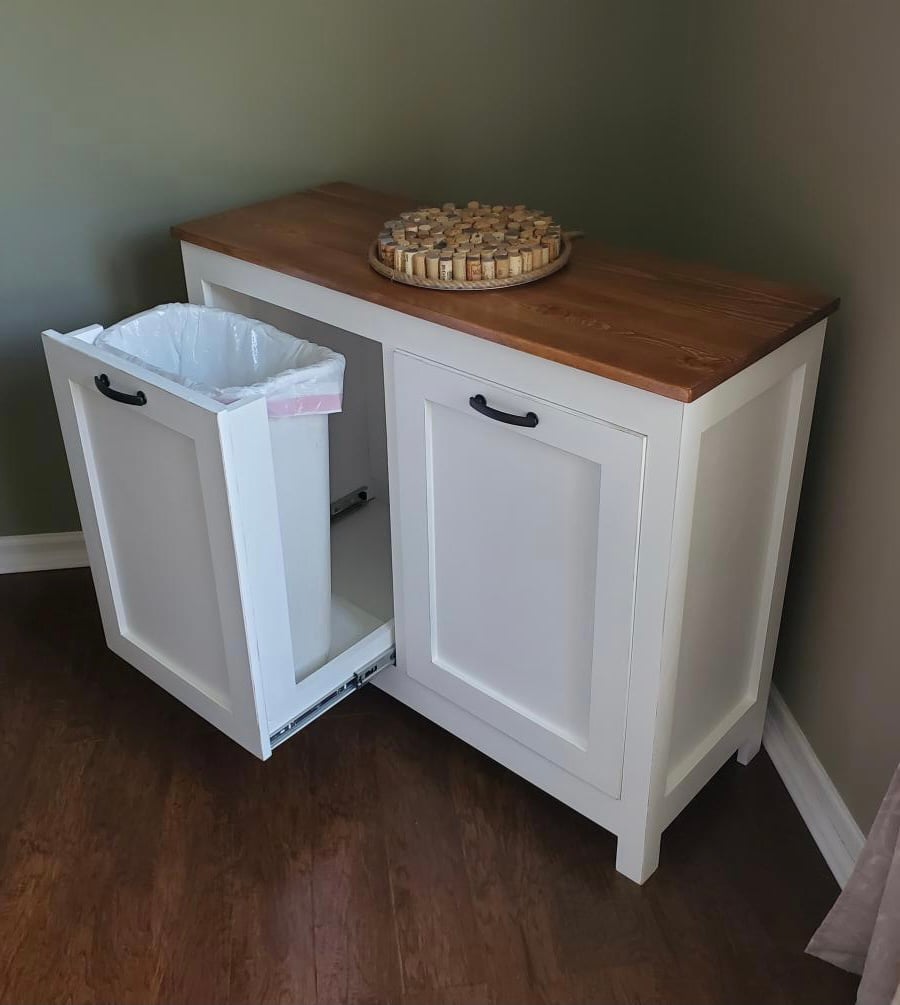
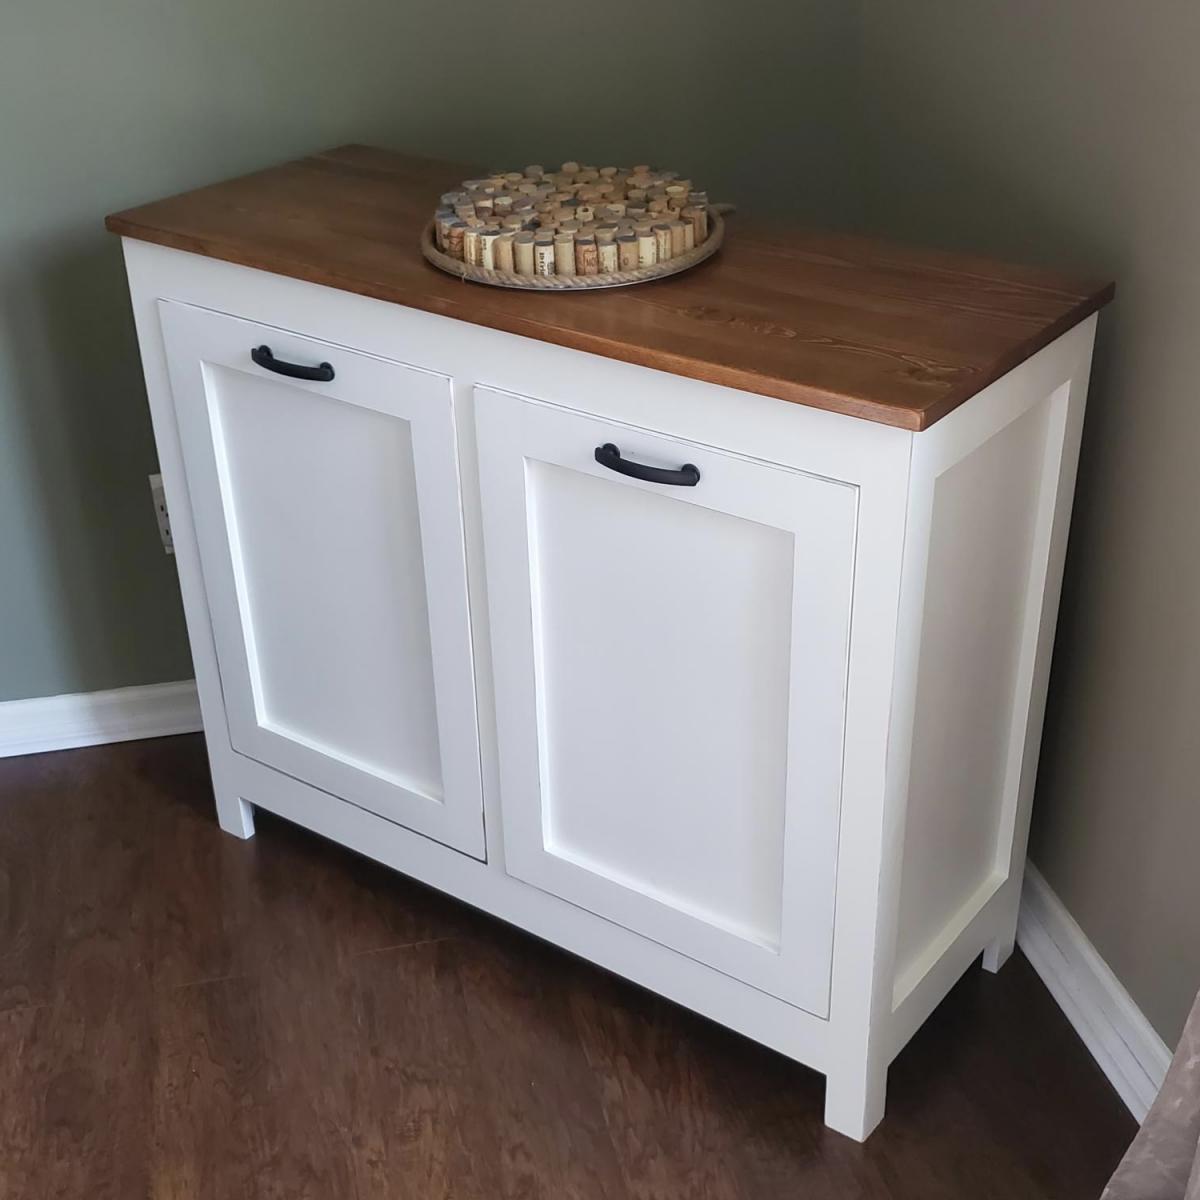
This was a build I was able to check off my Honey-do List. We use it as a Trash / Recycling Cabinet. Basic cabinet build with tray drawers for the trash cans.
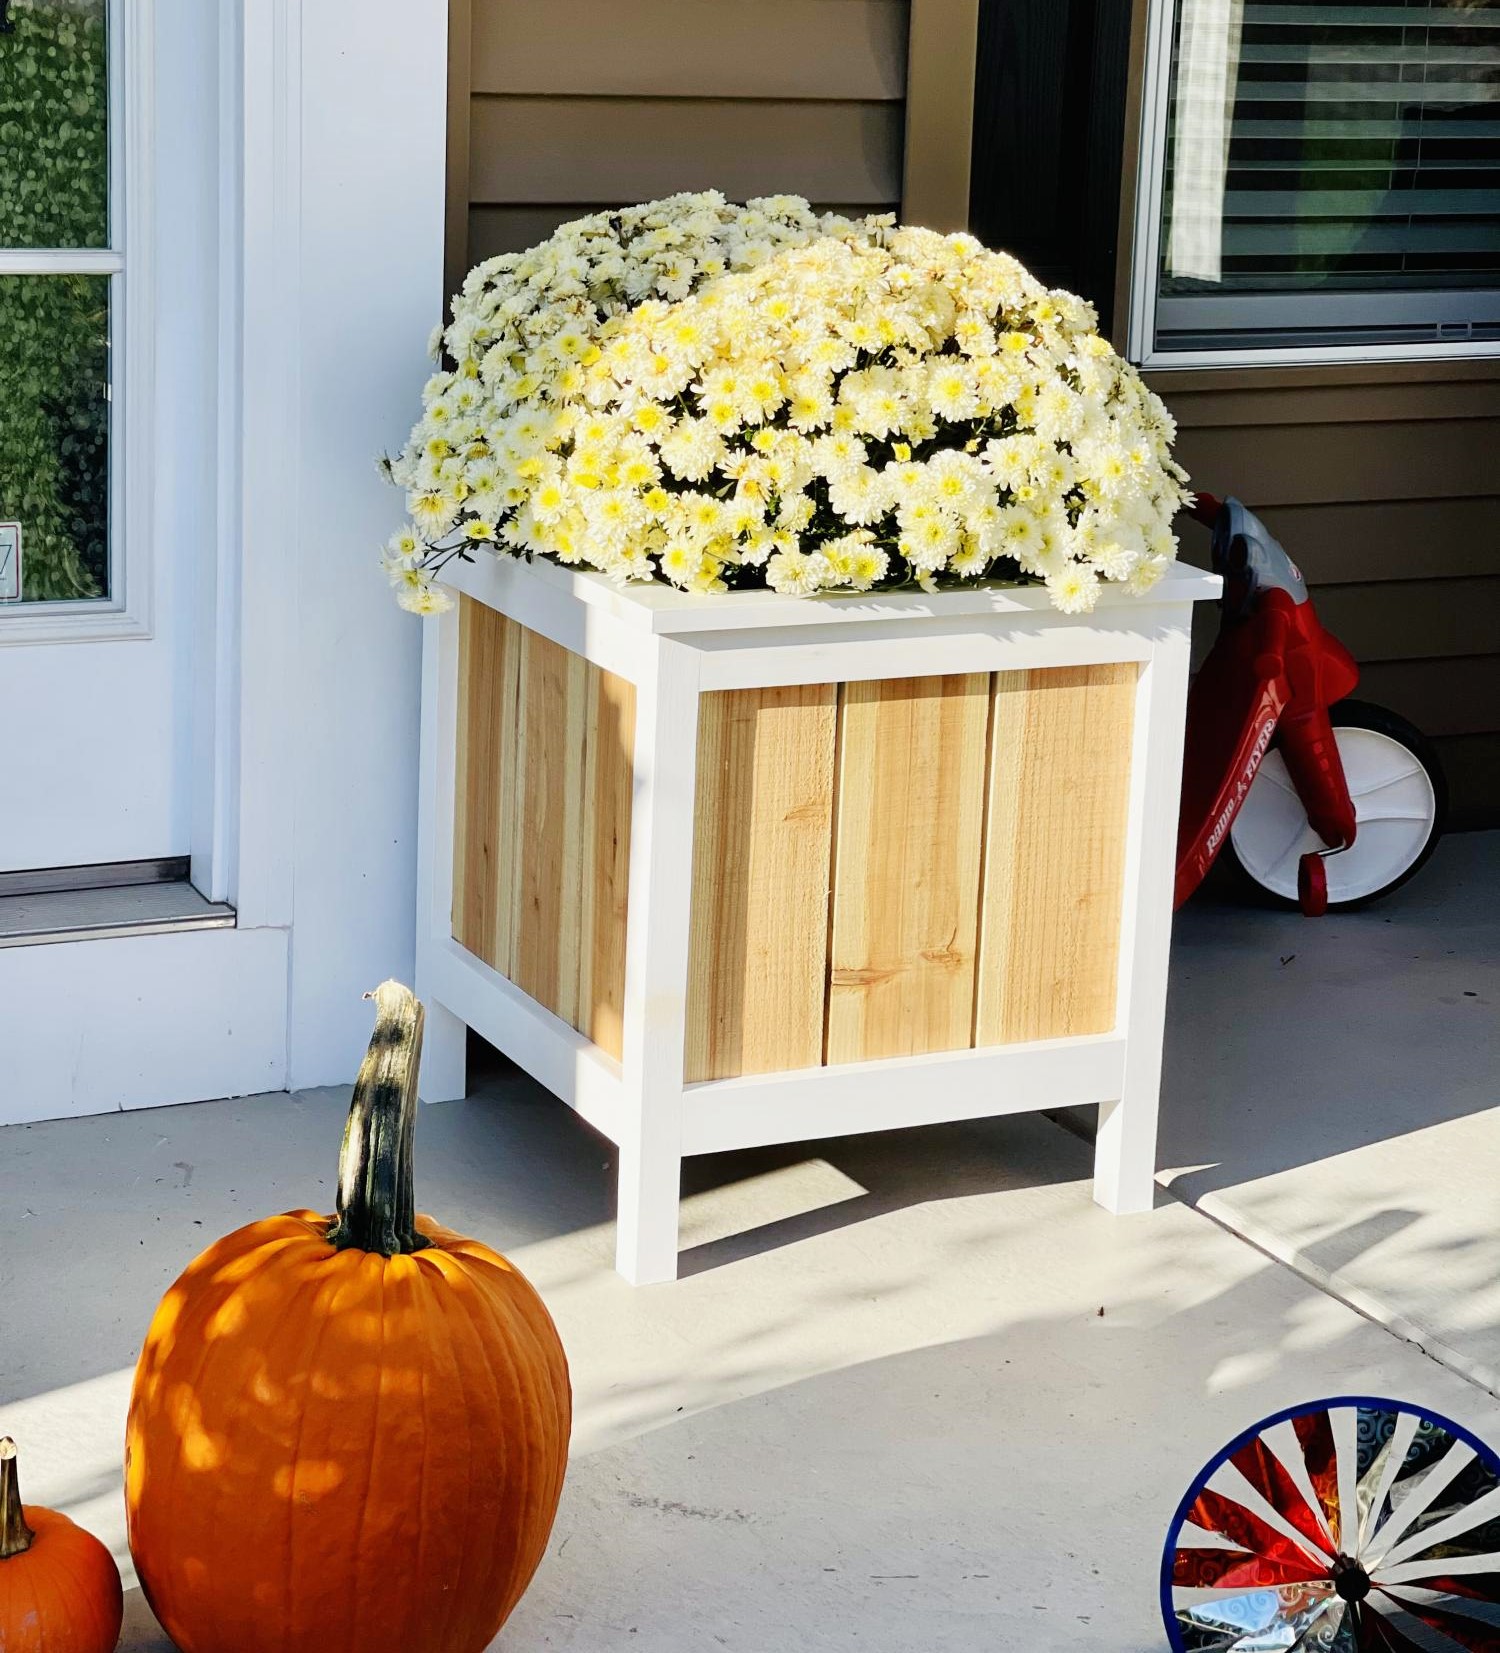
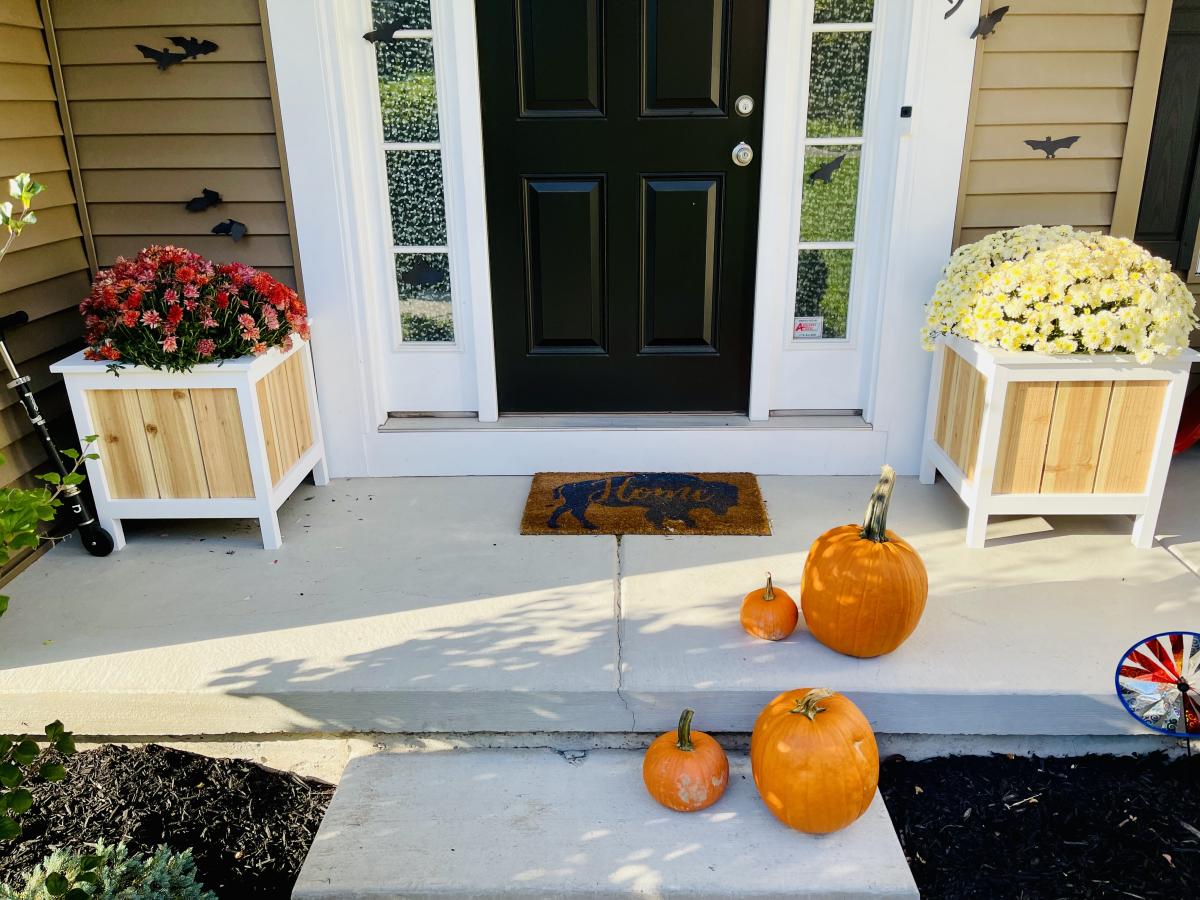
My wife wanted some planters for the front porch. Thanks to Ana whites page for these plans. Also loved the top modification that I think is a must.
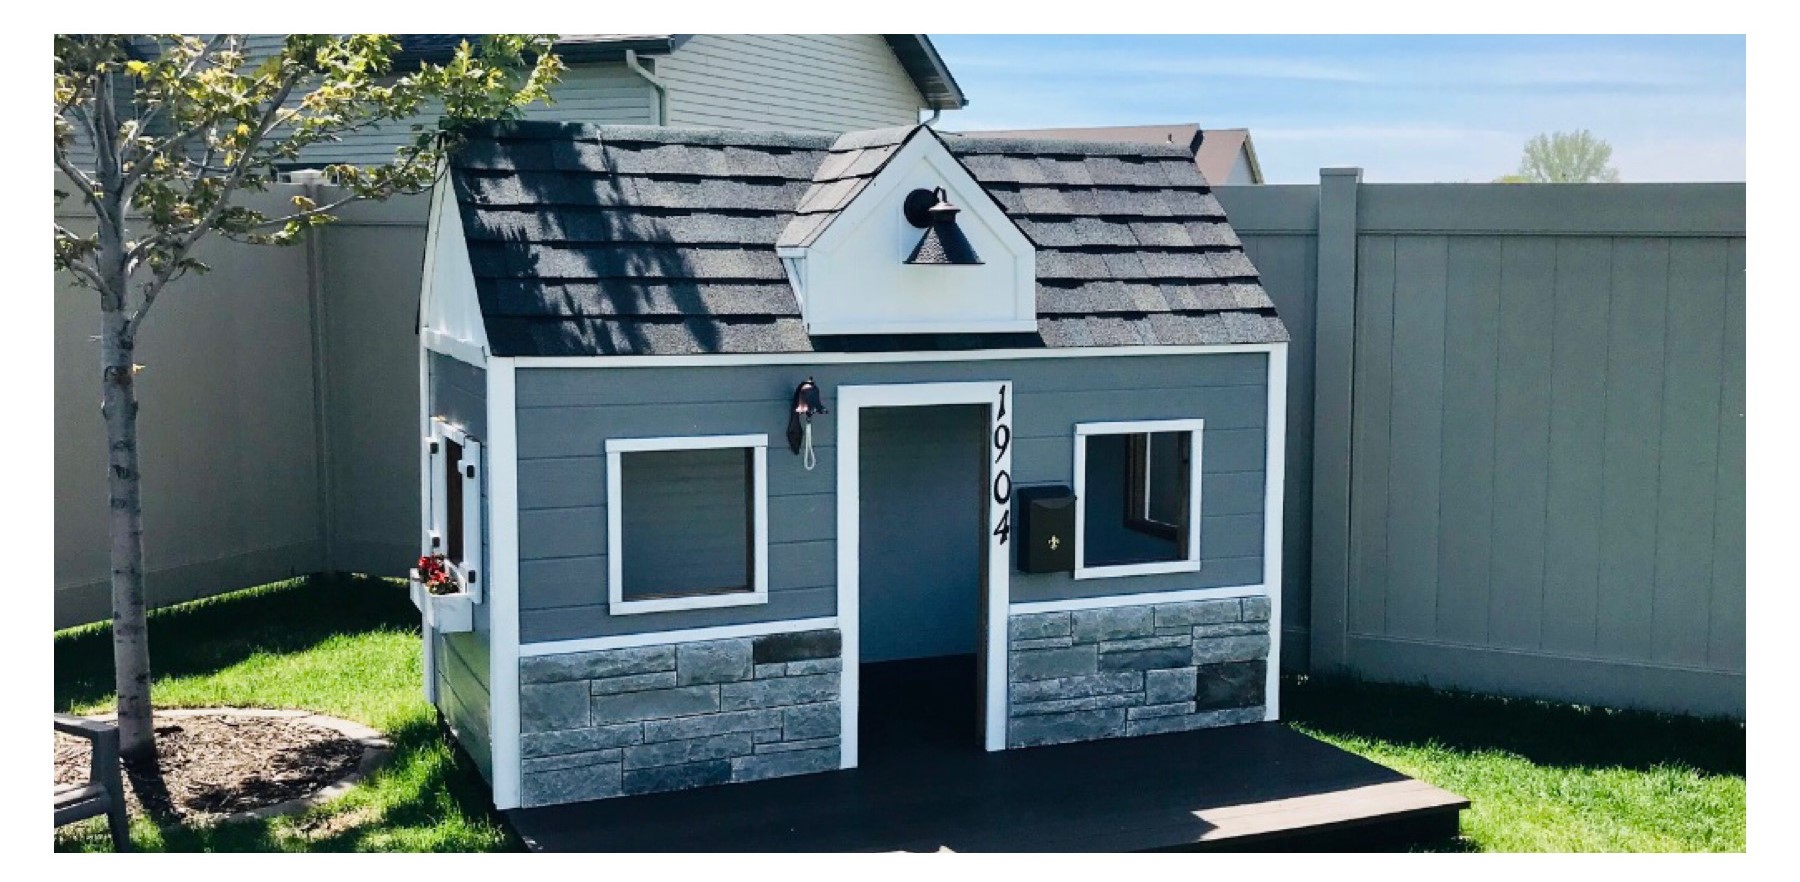
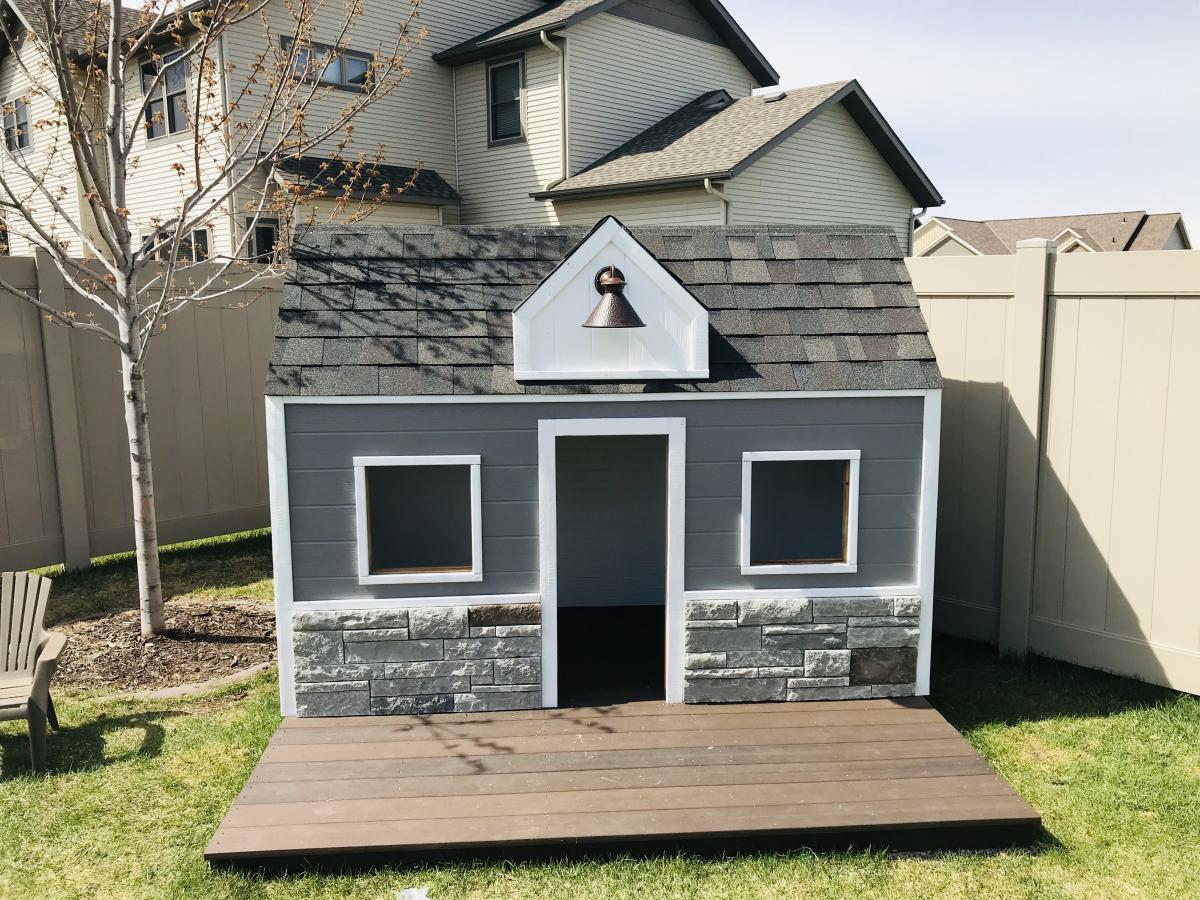
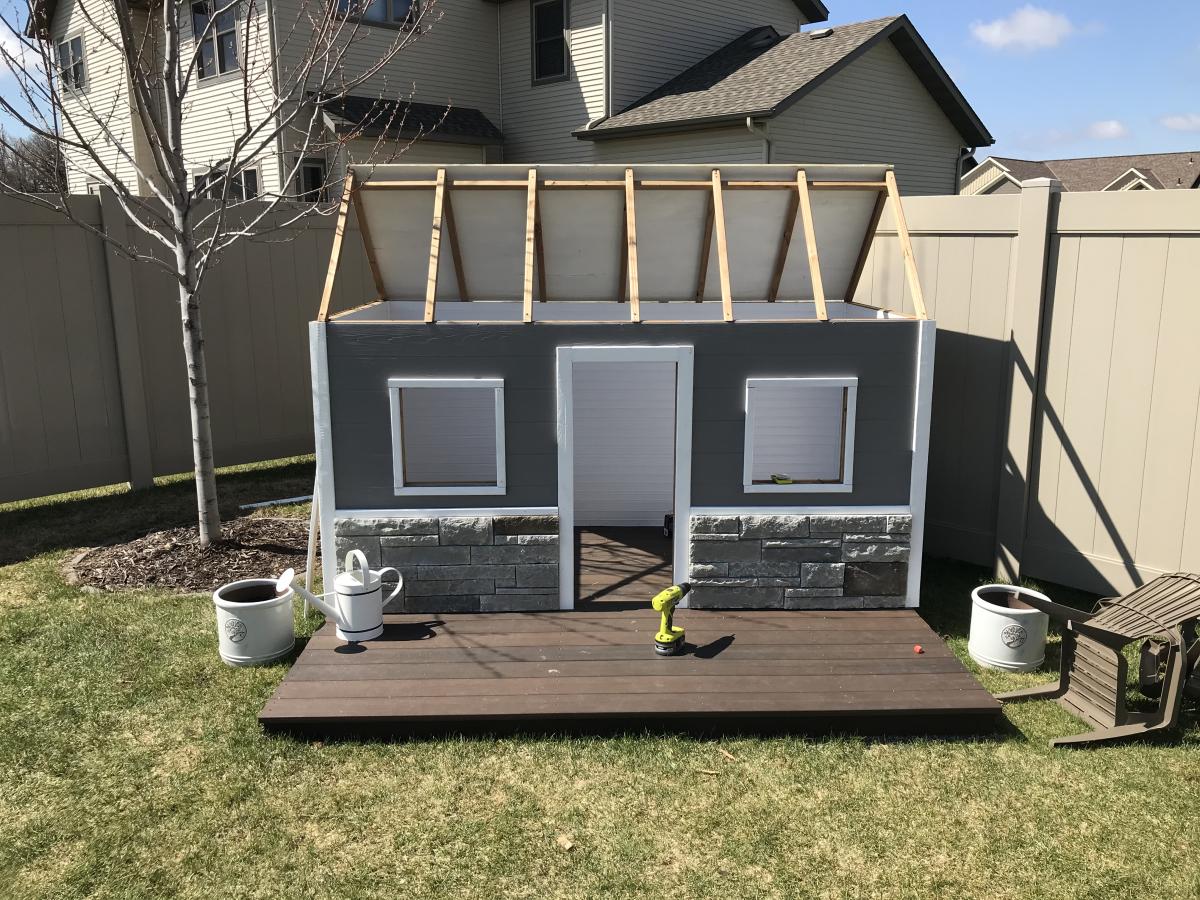
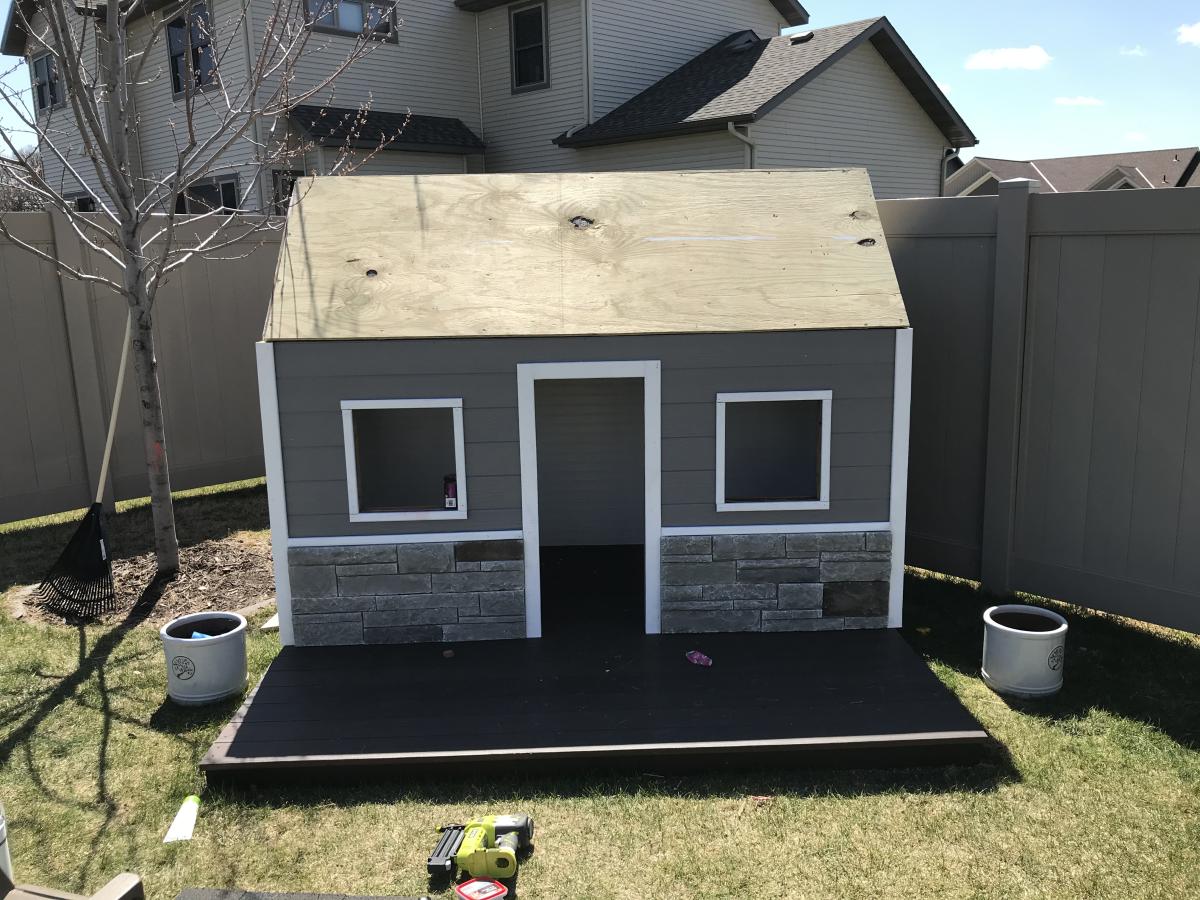
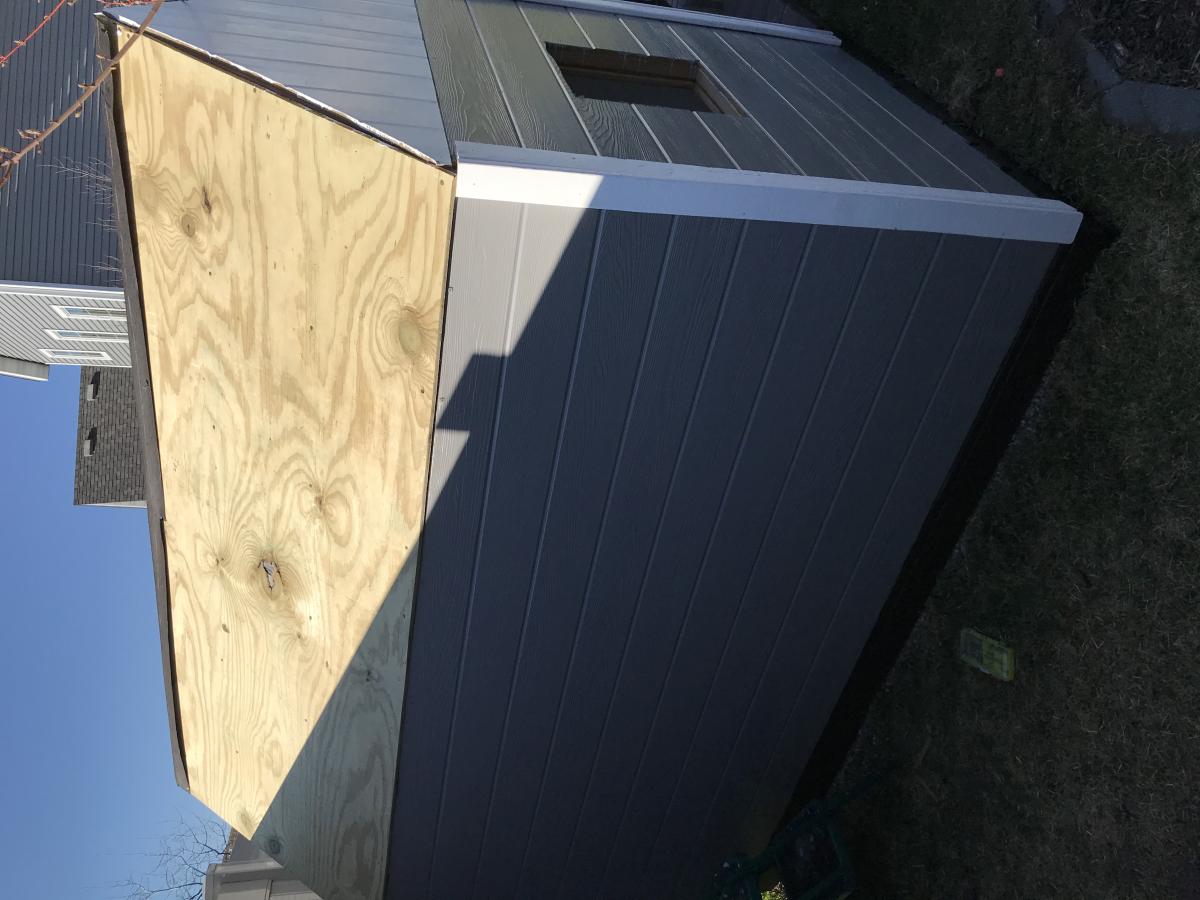
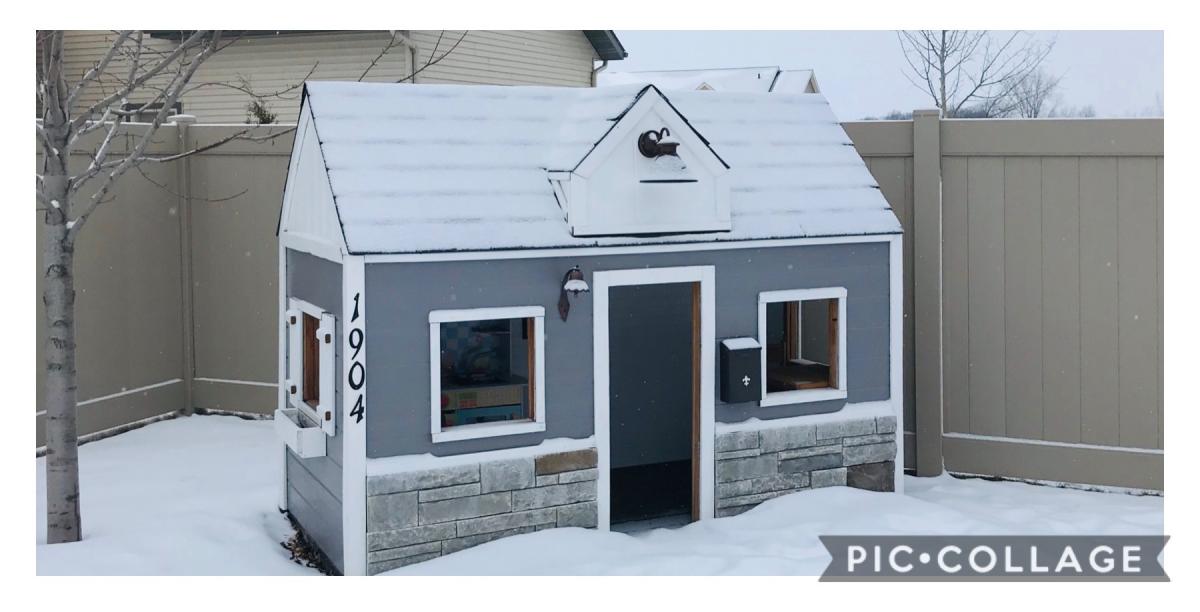
I combined a couple of playhouse plans for this one. The framing is 2x2 treated pine. The front is real stone. I tried to match our home the best that I could. The floor is made out of composite decking.
Sun, 12/26/2021 - 17:23
WOW, that is so awesome, love the real stone, composite decking and that you matched your house!
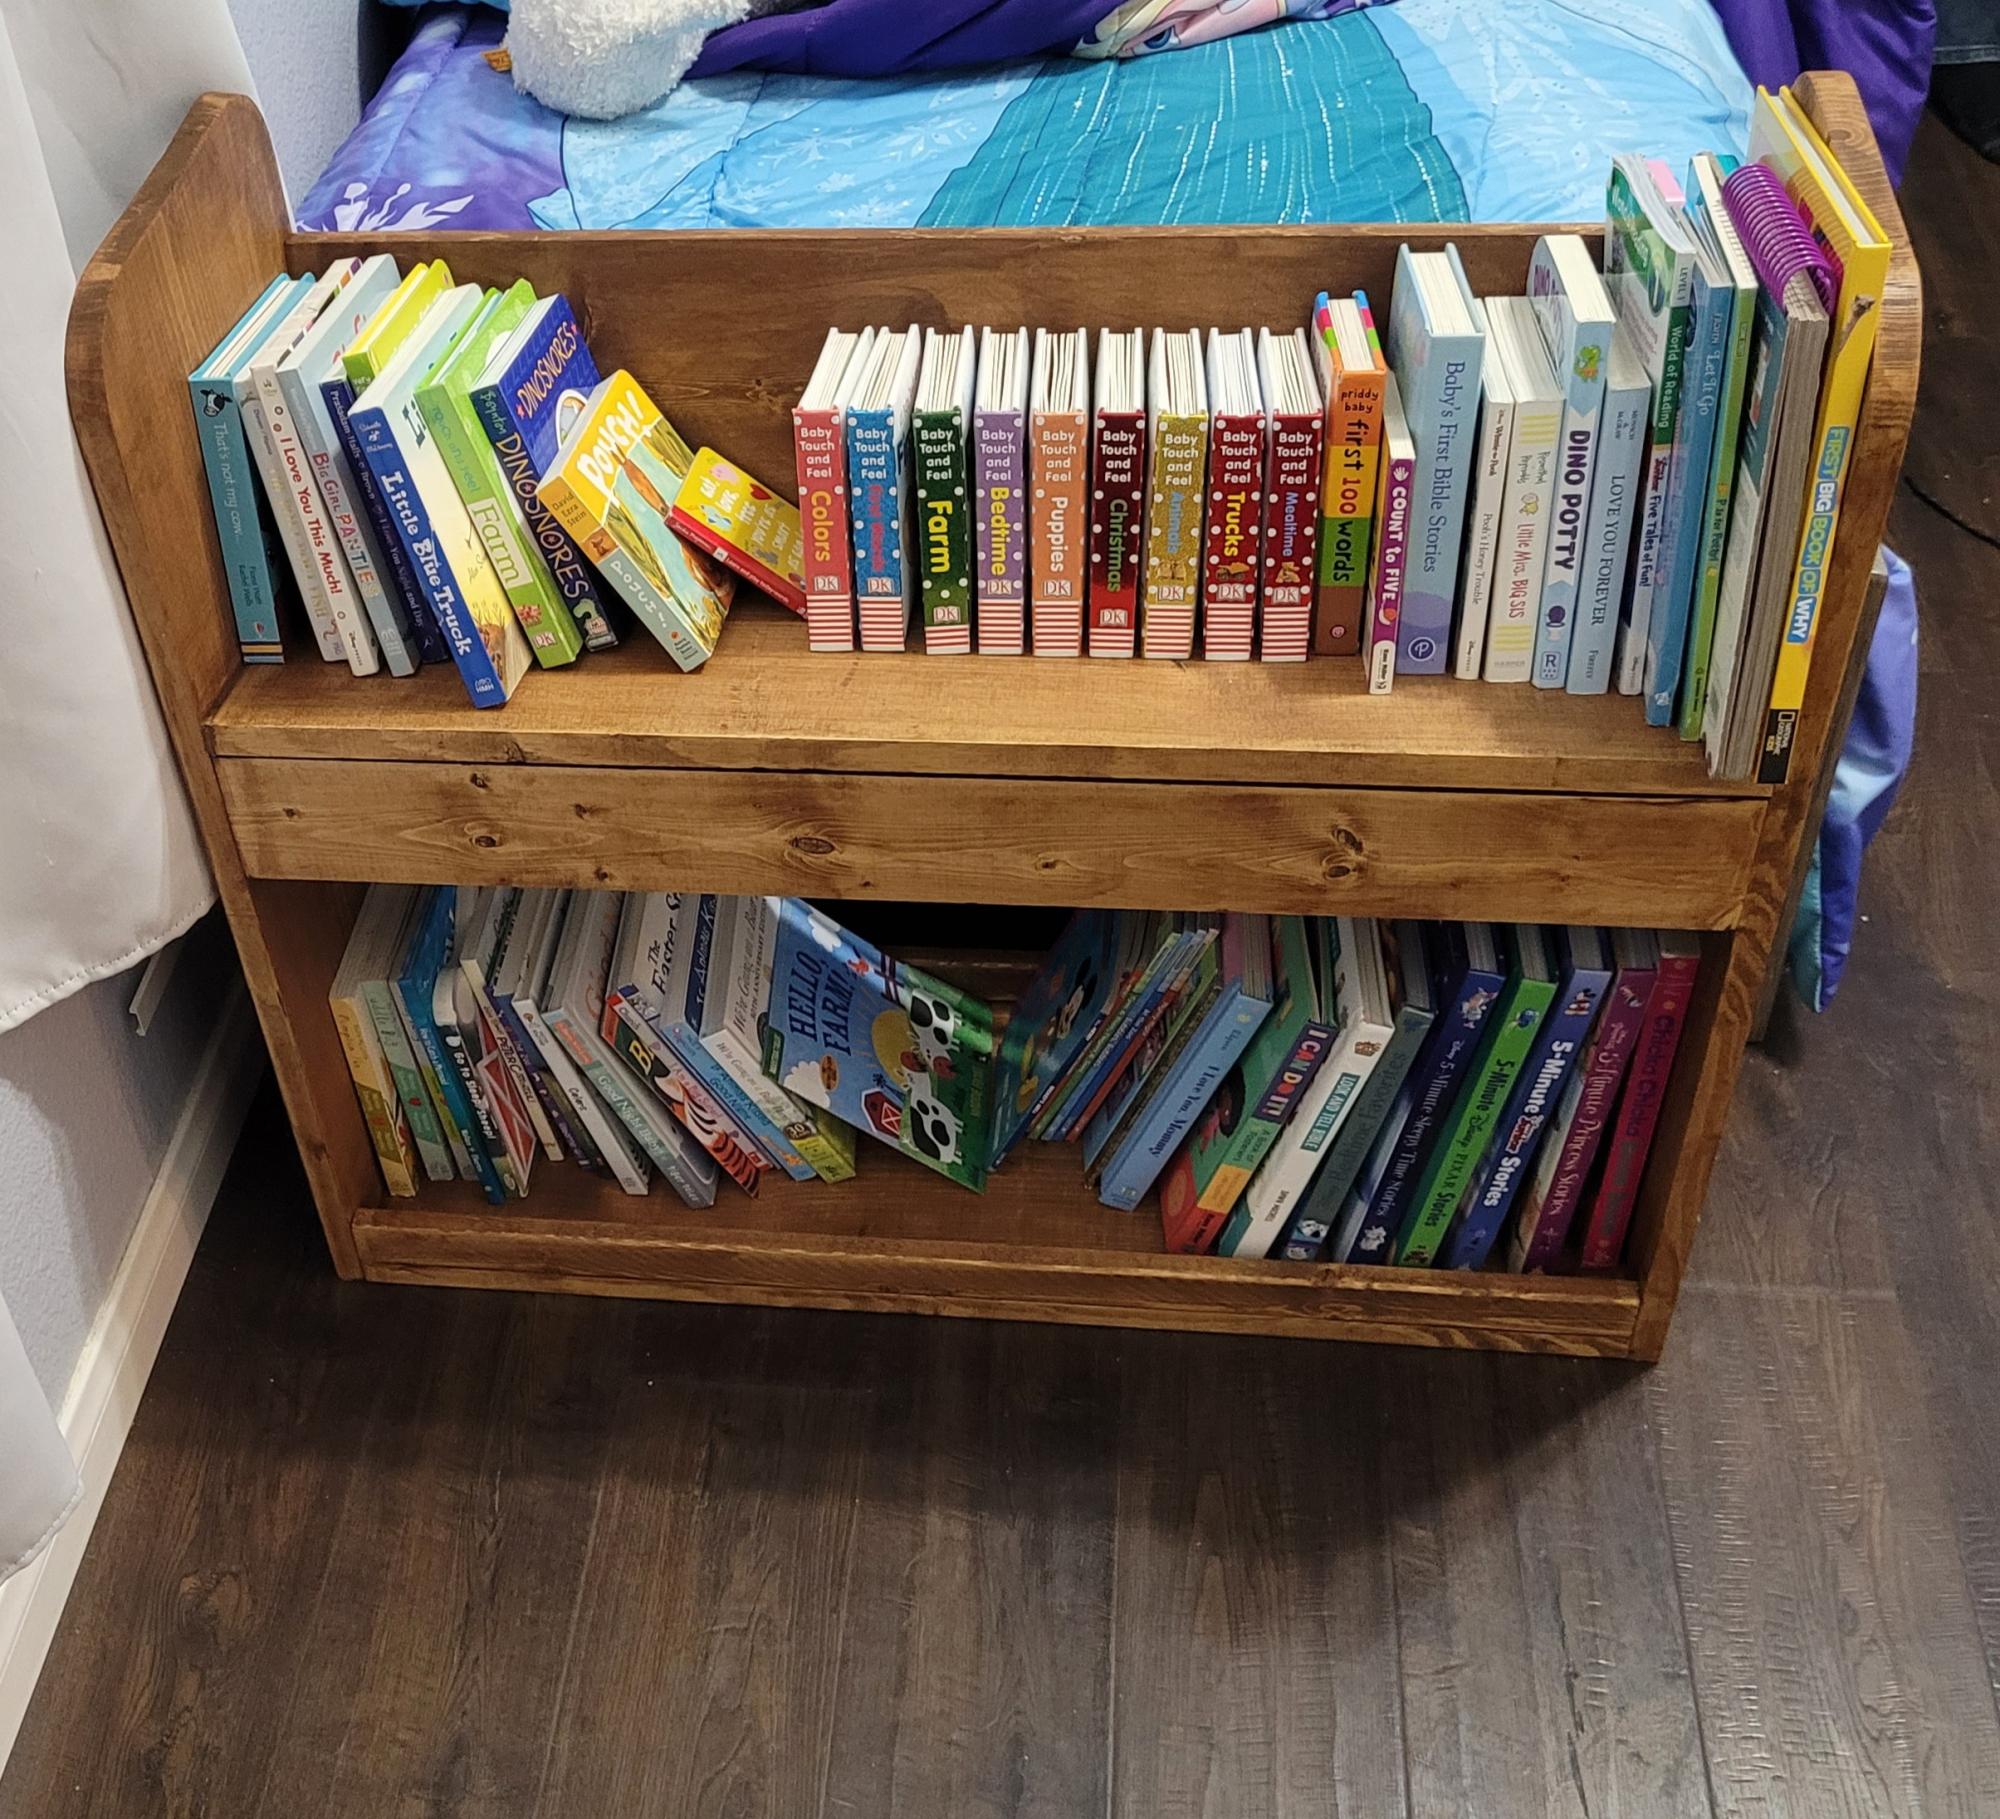
Project #3 very pleased with the outcome!
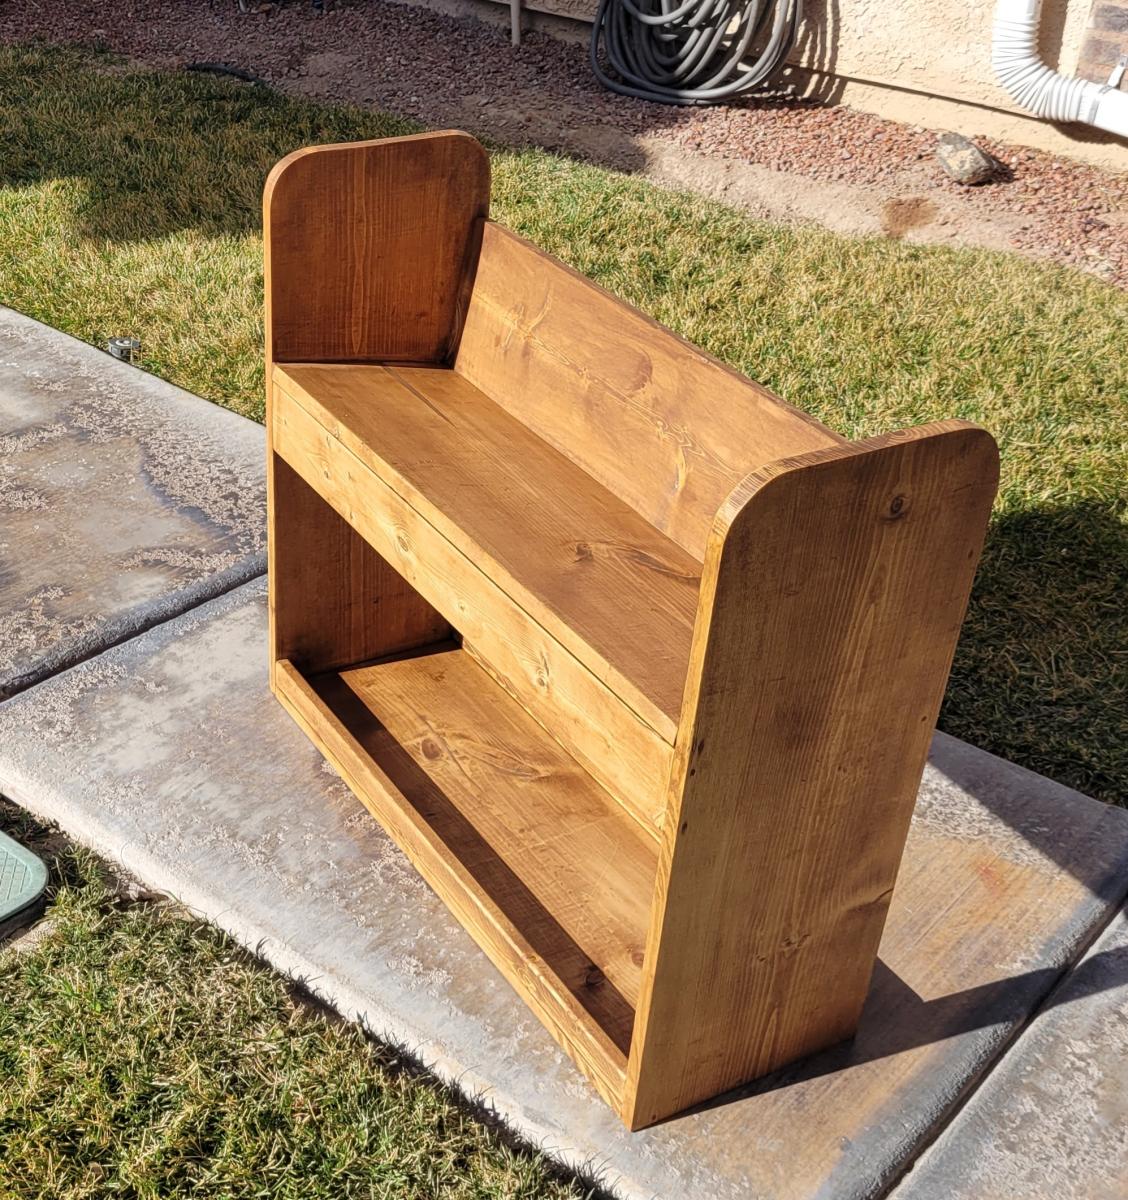
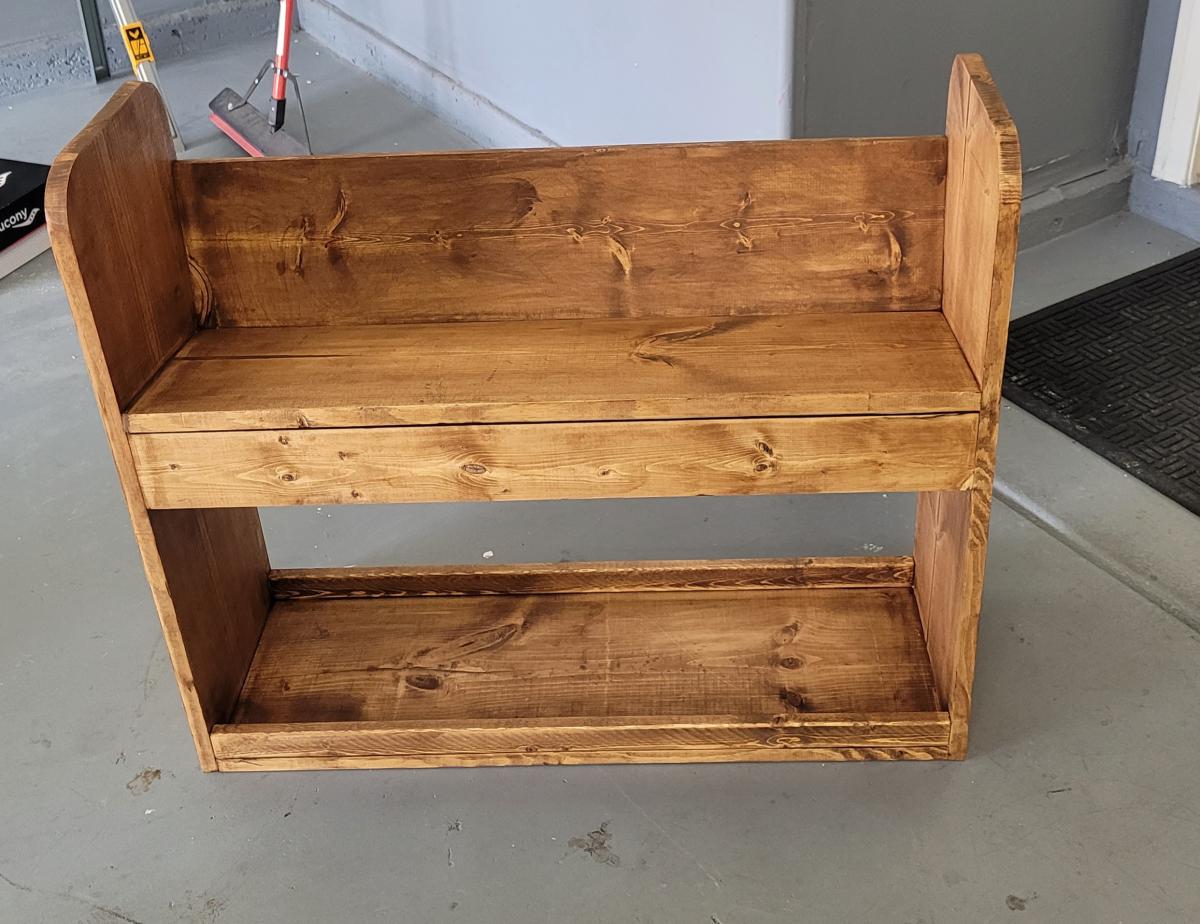
Mon, 01/17/2022 - 09:07
This is awesome, love the finish, thank you for sharing!
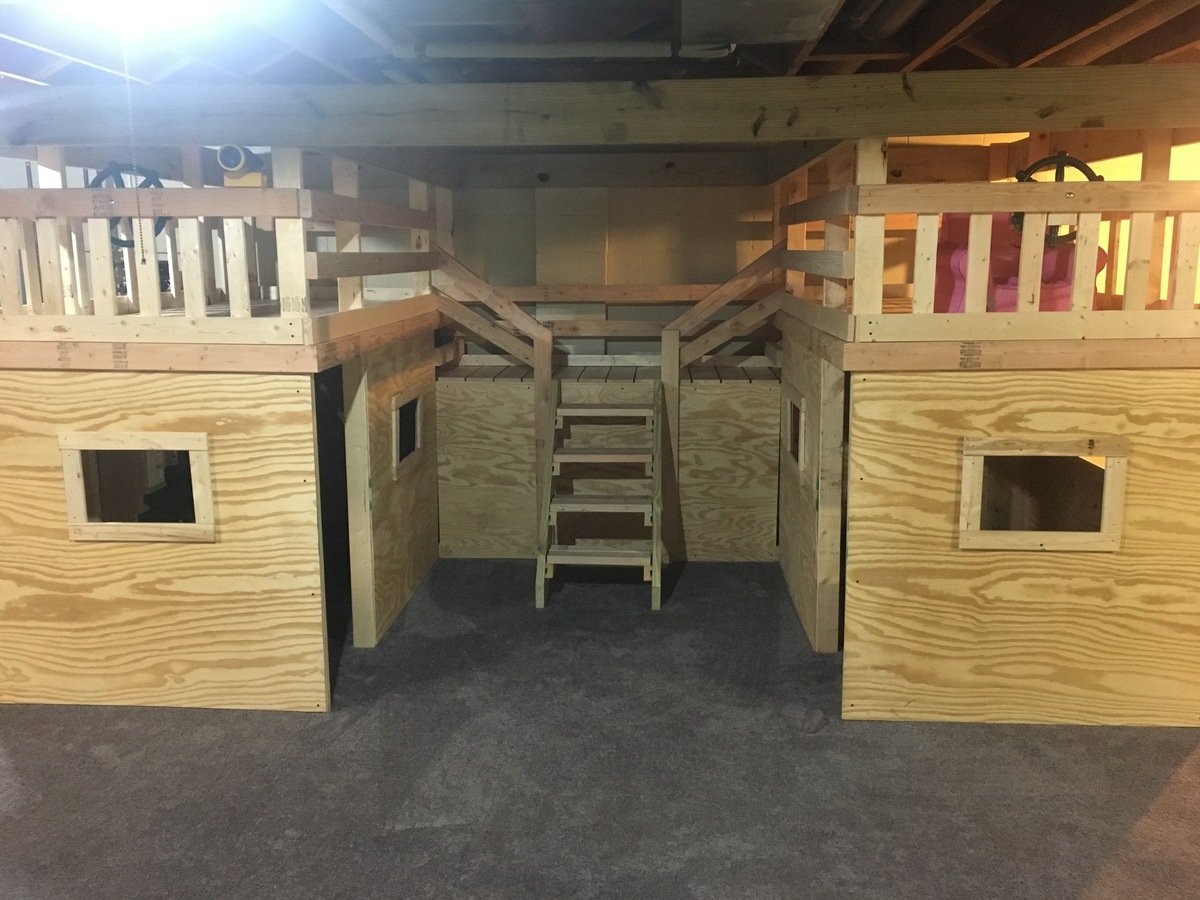
Built this for my two boys, ages 3 and 1.5. They are in heaven! I found the plans extremely helpful and allowed for simple modifications along the way (ie 7’ ceilings).
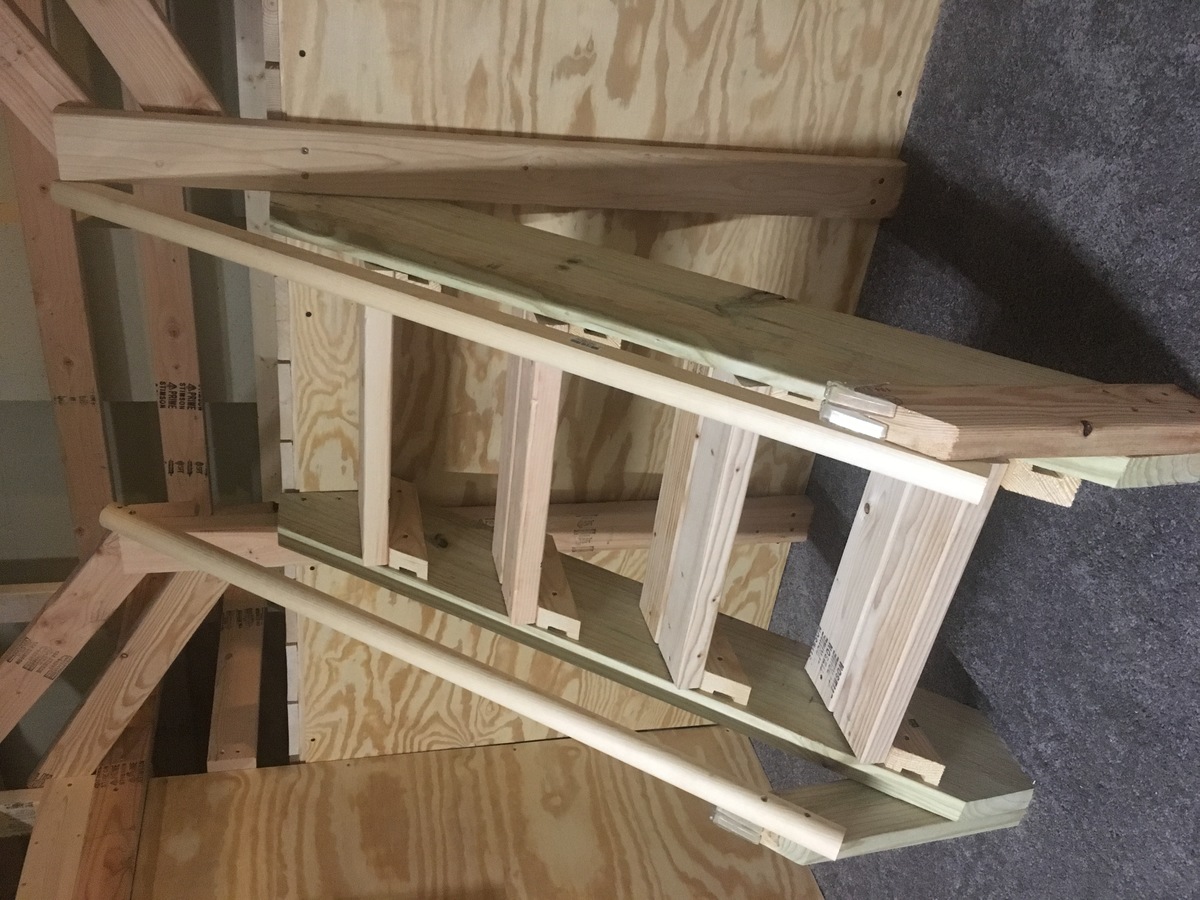
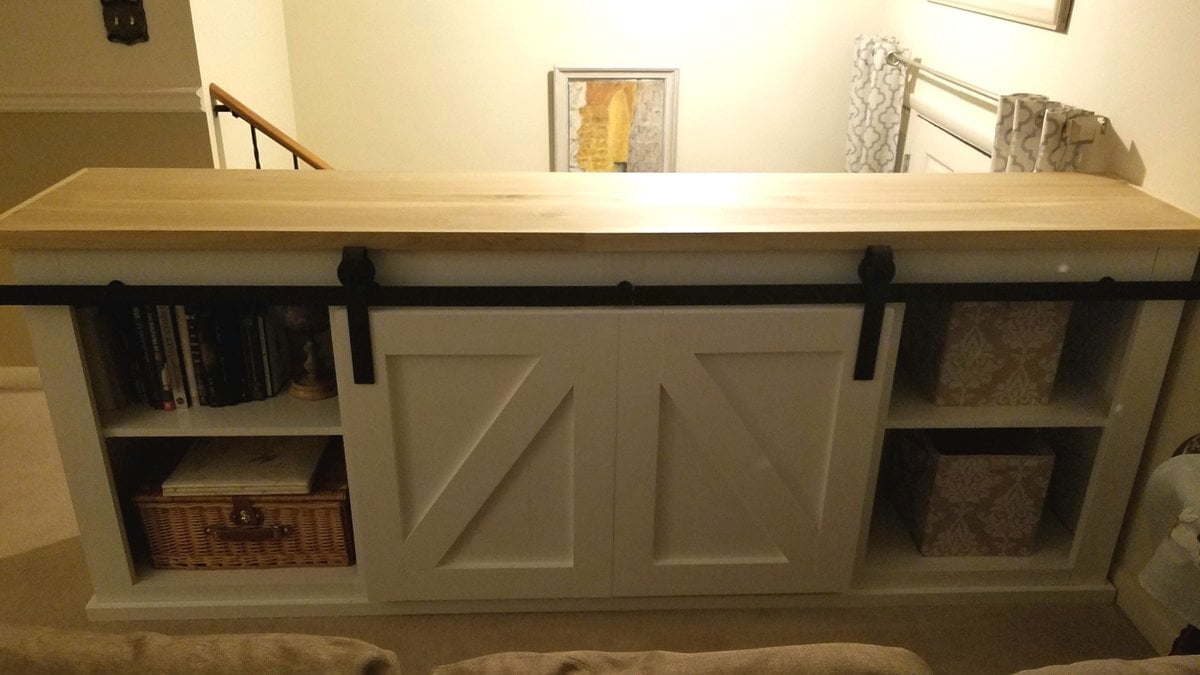
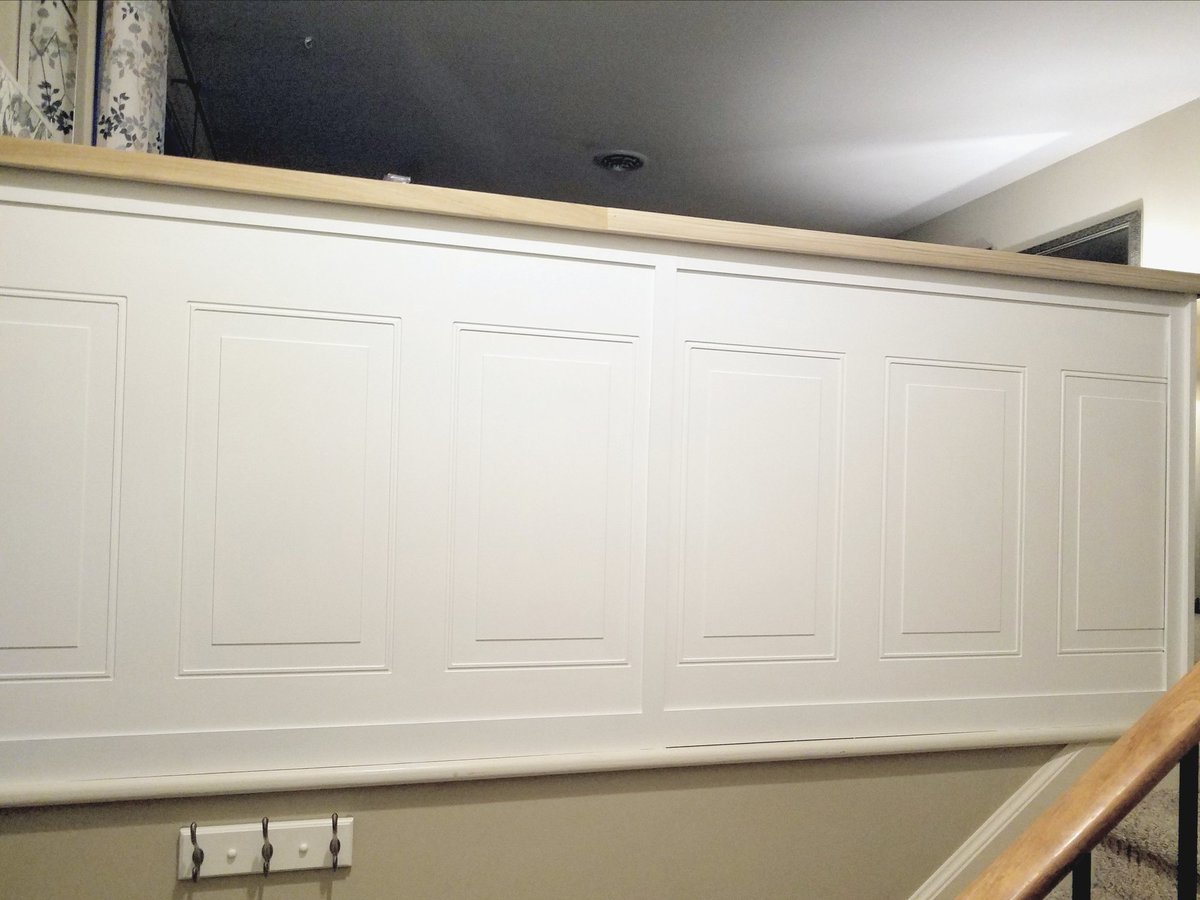
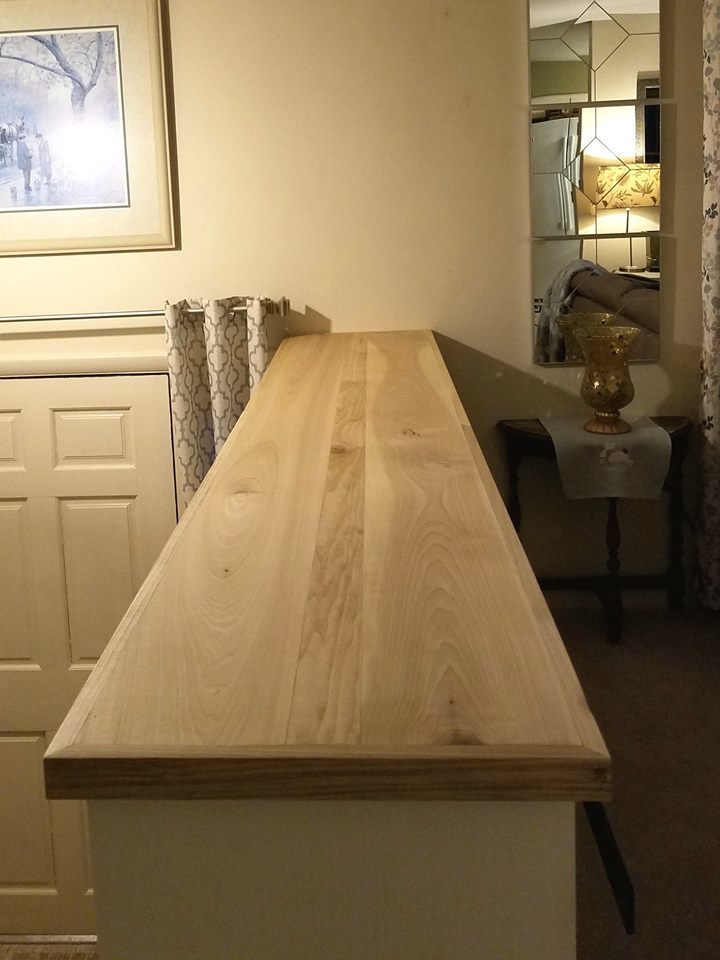
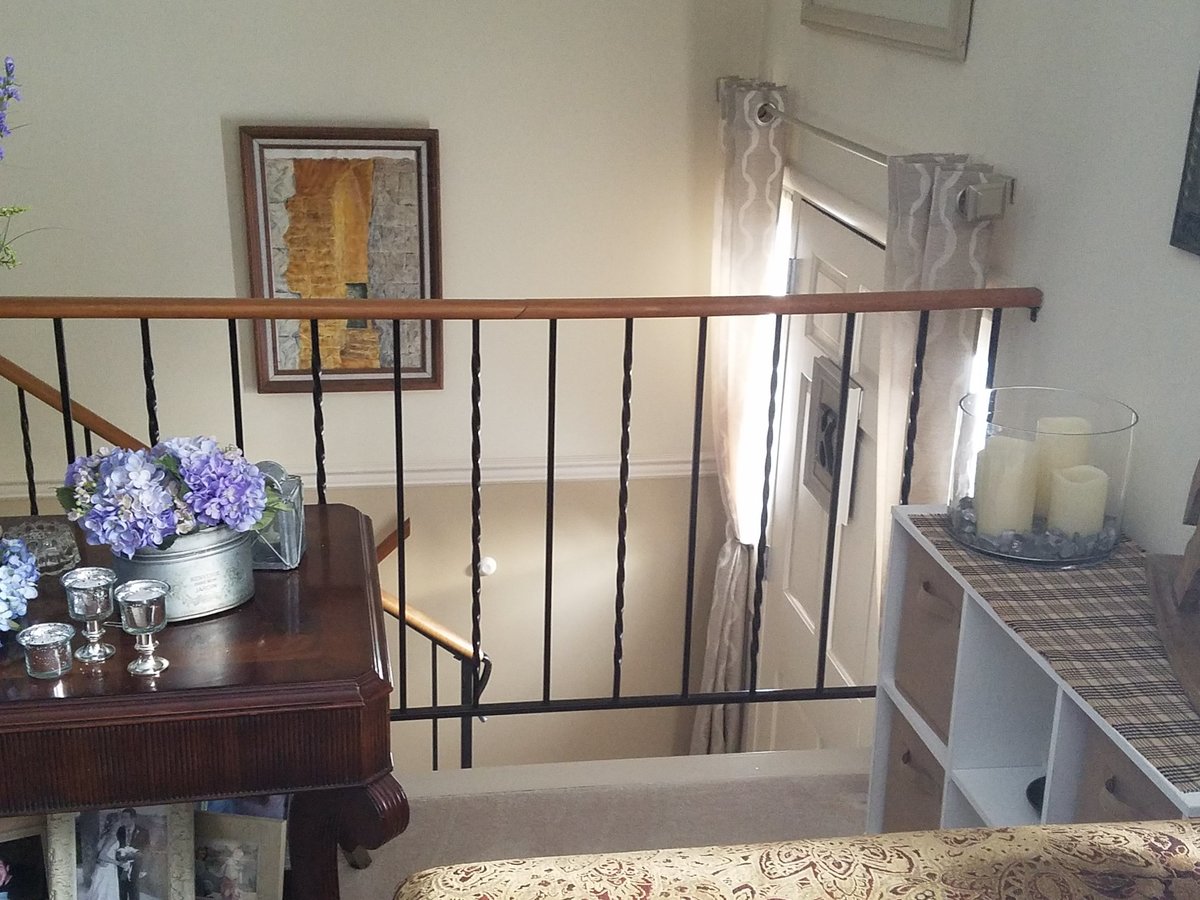
My wife wanted to get rid of a railing above our steps and wanted some additional storage. I had this plan saved but though about doing something smaller. Once I realized that wasn't going to work, I decided to go with this plan. It worked great.
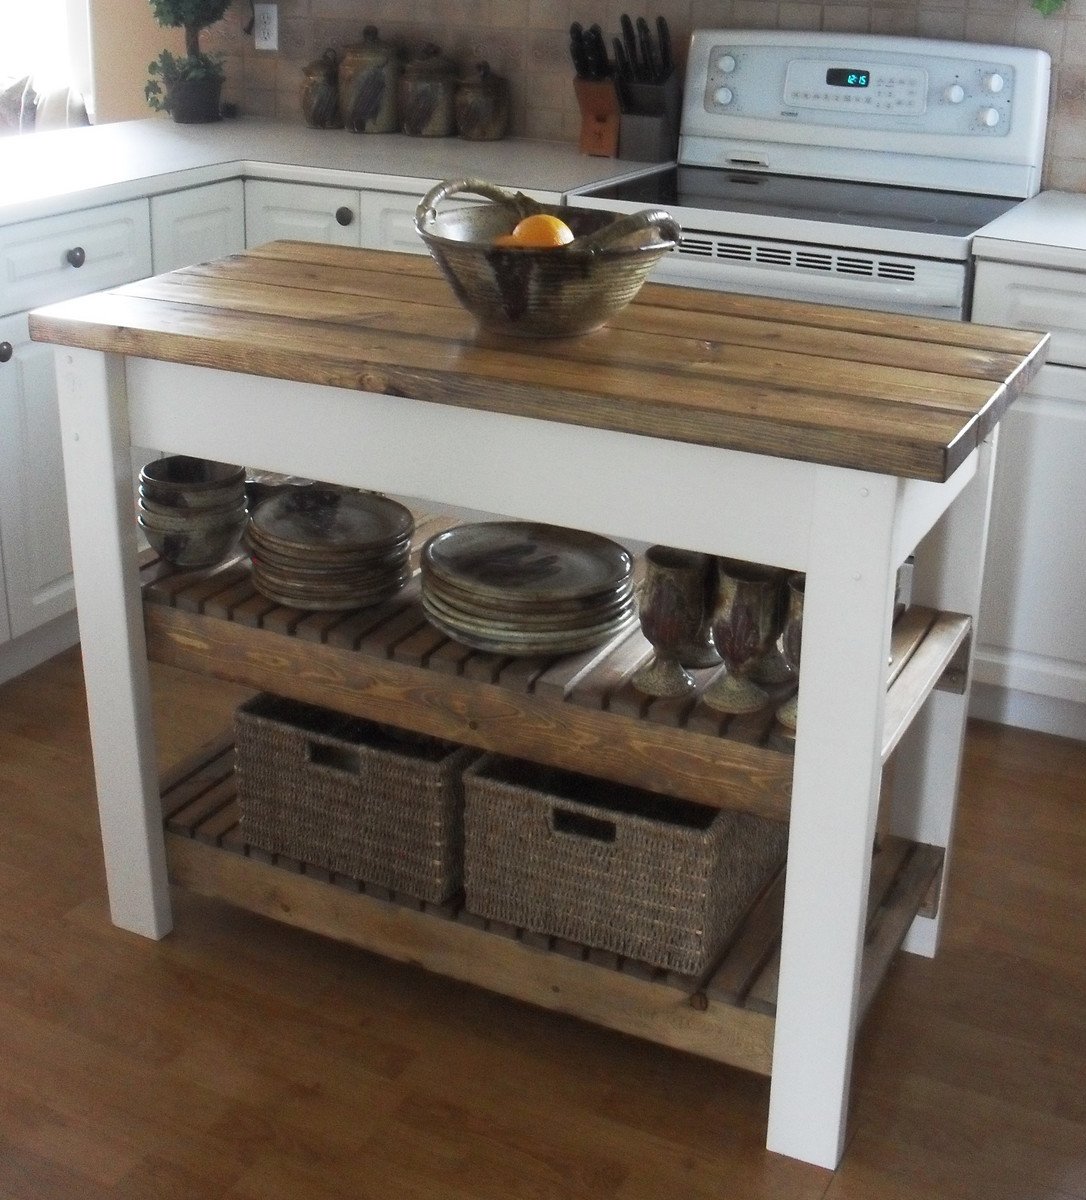
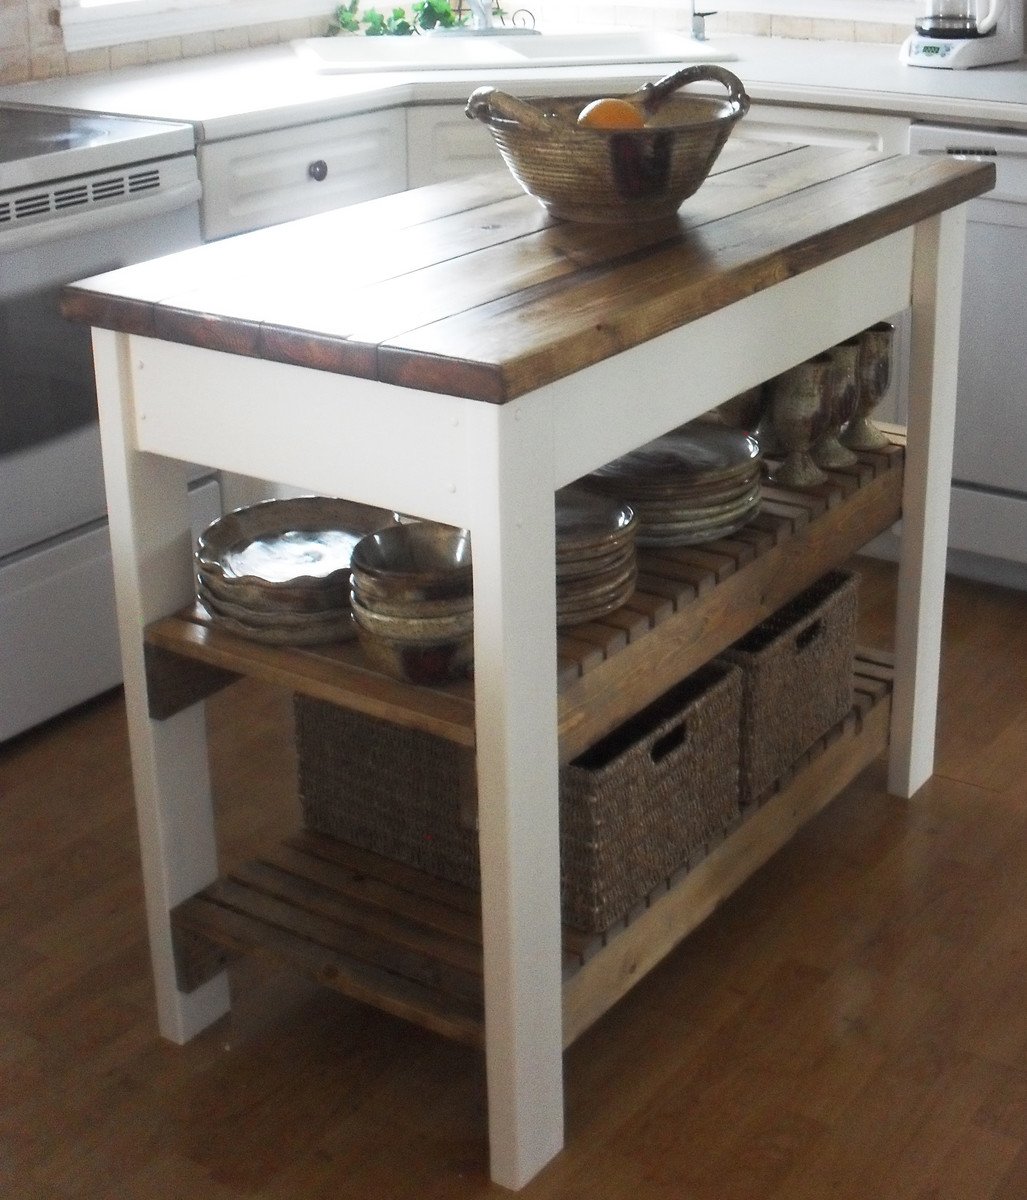
The plans were easy to follow. I modified my island to fit my space and cut it down to 44 inches in length.
Fri, 07/22/2011 - 14:13
i was looking for THE PERFECT ISLAND.. thank you so much for posting this. love it and can't wait to start building it. where did you find the shelves?
Mon, 10/31/2011 - 15:33
Your island is gorgeous, and I love the modification you made to the original plans on the shelving support! I would like to know what size the boards are that you used so that I can duplicate. Thank you!
Tue, 02/07/2012 - 19:43
I would think it would be basically the same build, just add brackets to support the extra wood.
Mon, 03/05/2012 - 15:20
I want to make this Kitchen Island but if can't find the Supply List. Would you mind posting it or emailing me please! This will work perfect in my Kitchen
Mon, 03/05/2012 - 17:46
Wow! Just a wonderfully simple project! I can figure it out by looking at it. I have a piece of Rock Maple Counter Top 24"x6'that needs legs. I'll probably use 4x4' for legs, six of them. But the shelves will be just like this. Thank you!
Mon, 03/05/2012 - 17:50
Wow! Just a wonderfully simple project! I can figure it out by looking at it. I have a piece of Rock Maple Counter Top, 24in.x6ft., that needs legs. I'll probably use 4x4s for legs, six of them. But the shelves will be just like this. Thank you!
Mon, 03/05/2012 - 18:59
I have enjoyed what I have seen so far. You are an awesome designer.
Mon, 03/19/2012 - 11:57
Do you have instructions on how to build this? It's awesome!
Wed, 04/04/2012 - 11:58
Just click on the link for the instructions. It's under the heading 'About This Project' titled as 'From Plan: Easy Kitchen Island Plans'.
Click where it says 'Easy Kitchen Island Plans'. When you hover your cursor over the words, you will see that is a hyperlink.
Sun, 05/20/2012 - 06:48
I love your island and I also have a small kitchen...would you happen to know the sizes of the boards you used? Thanks
Wed, 07/25/2012 - 14:31
Yours looks so different and so much better then the one that show how to make it, how did you do it? I really would love to build it but have no idea how...
Thanks so much!
Wed, 08/15/2012 - 13:08
This island is perfect. I love the shelves and the size. Any chance you could send me the dimensions of this island and details on how you did the shelves? Great job!
Wed, 12/31/2014 - 07:37
Hi, this is my first time building anything. I really like the modification made to the original plans. I like the legs facing the other way. I can't figure out how to modify the cuts on the sides and front and back supports for the top to adjust for turning the legs the other way. Are there modified plans. LOL I need instructions, I’m not quite there yet on doing it myself. Thank you
Sat, 06/06/2015 - 18:33
Hello, i love this island but maybe i missed it. What kind of wood is everyone using? Frosting said $47 but that could only be for pine right? Are people using pine to build this? I would like it to look just like the picture. Any help would be appreciated! thanks!
Fri, 08/14/2015 - 14:34
I wnat to kow how much wood and what size I need ans the saws i need to build this project
Fri, 08/14/2015 - 14:35
I need to know how much wood and what size wood and also what kind of saws do I need for this job
Fri, 08/14/2015 - 14:35
I need to know how much wood and what size wood and also what kind of saws do I need for this job
I have built 2 of the large porch bench with X backs - one was all black and the other stained & painted. The only thing I had trouble with was the X backs - but that was with me, not the plans. Lots of compliments on both of them!
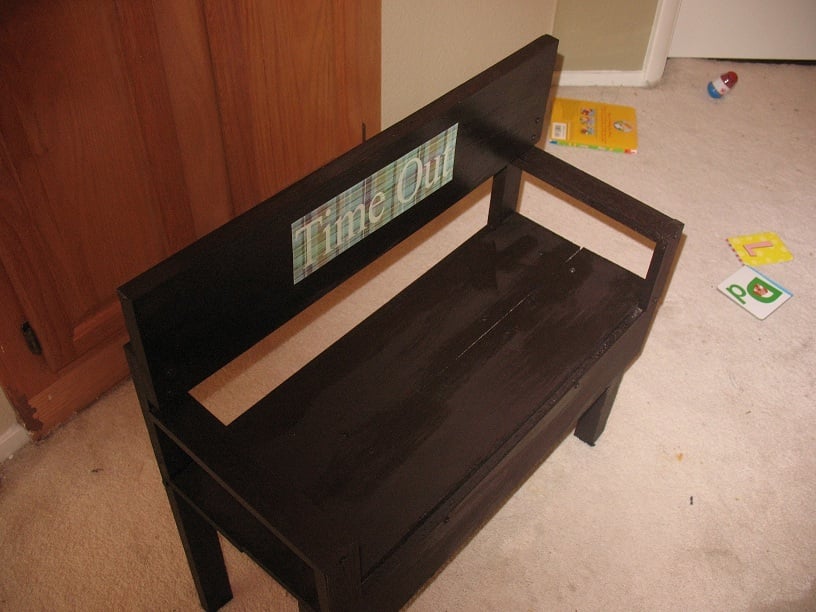
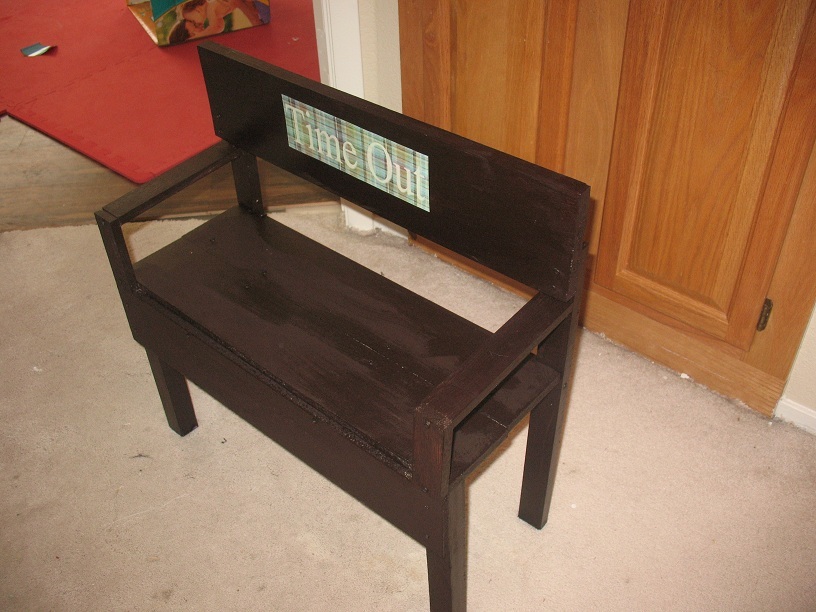
I built this from wood scraps. I saw one at Walmart online but thought it was too small. I built this to suit my tall toddler.
Thu, 09/29/2011 - 12:17
That looks awesome! I wouldn't have even thought to make one for time out! I think you're onto something! :-)
In reply to That looks awesome! I by Lady Goats
Thu, 11/03/2011 - 21:39
thanks so much! I saw it at walmart but wanted to make one a little bigger to fit a wall.
here is the walmart one
http://www.walmart.com/ip/Time-Out-Bench/12343327
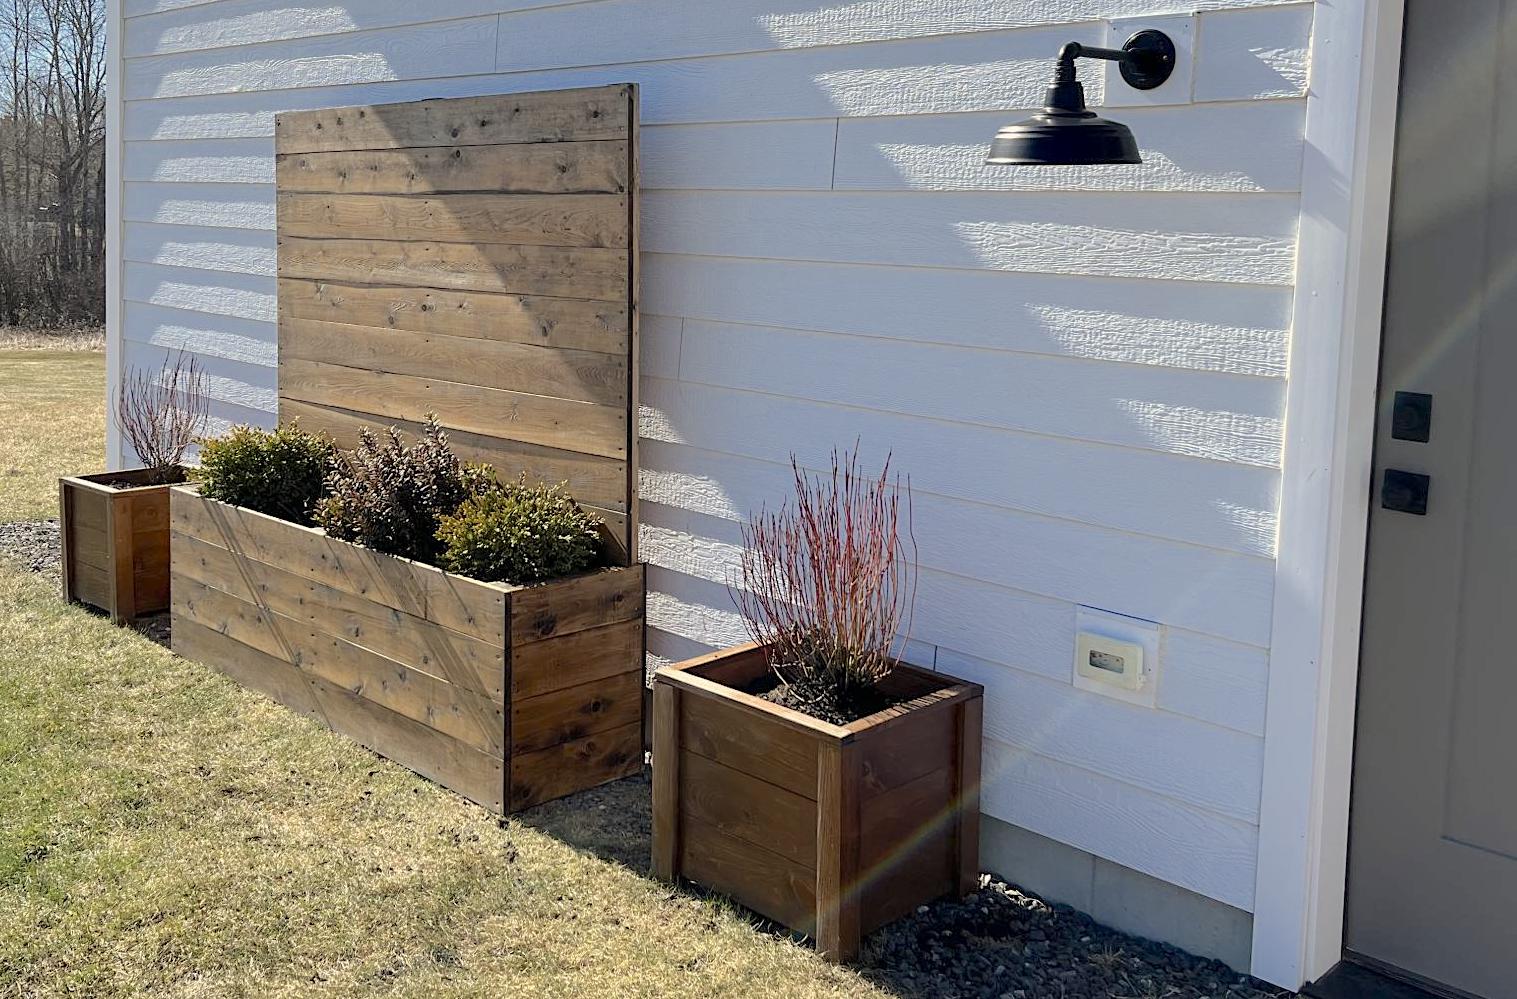
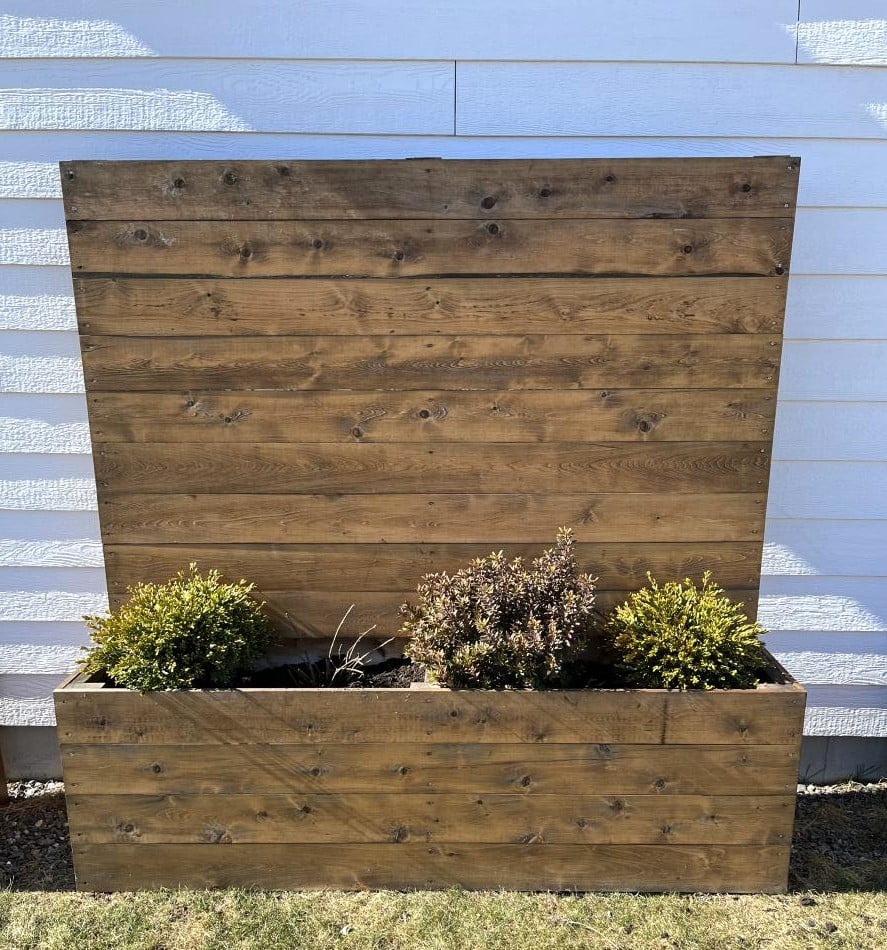
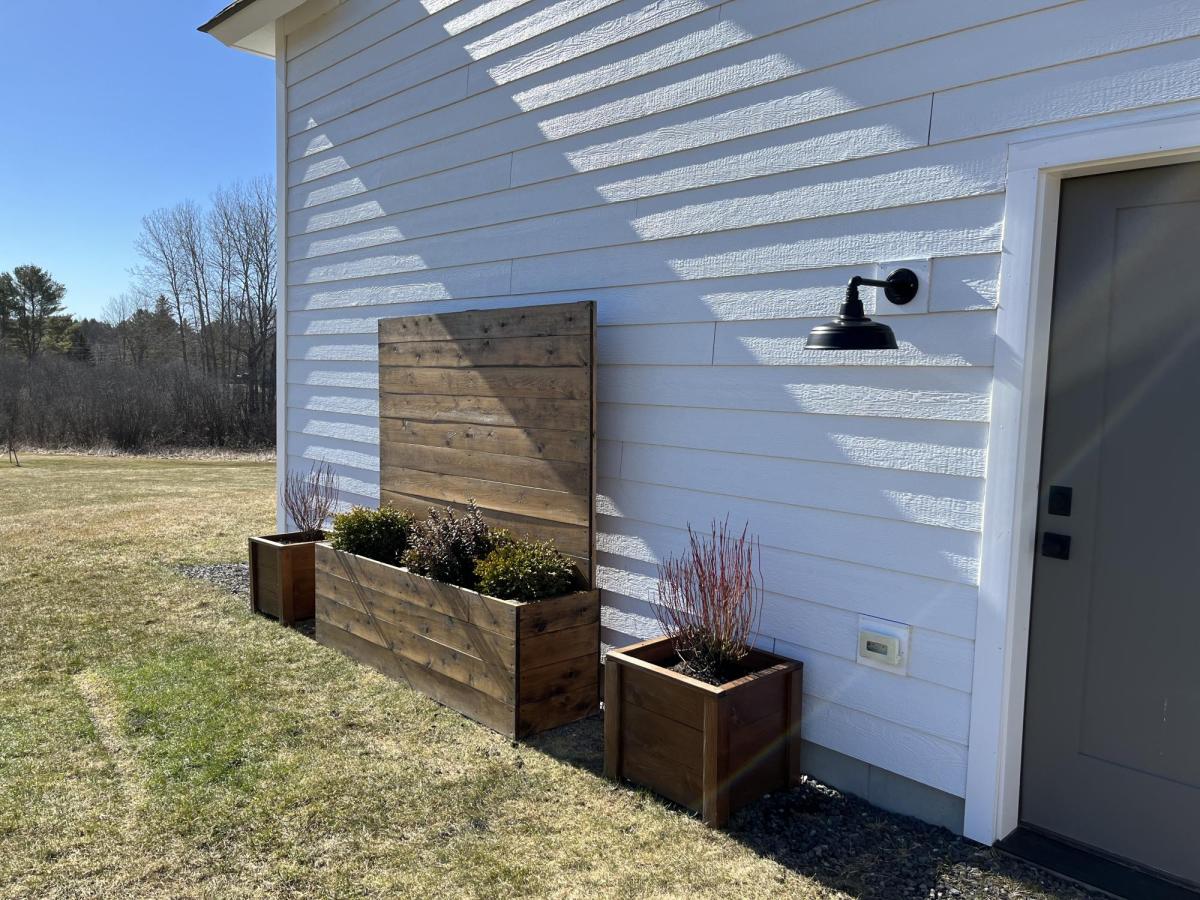
These planters are exactly what we needed to warm up this blank siding! The smaller planters are made from pine, the larger from cedar.
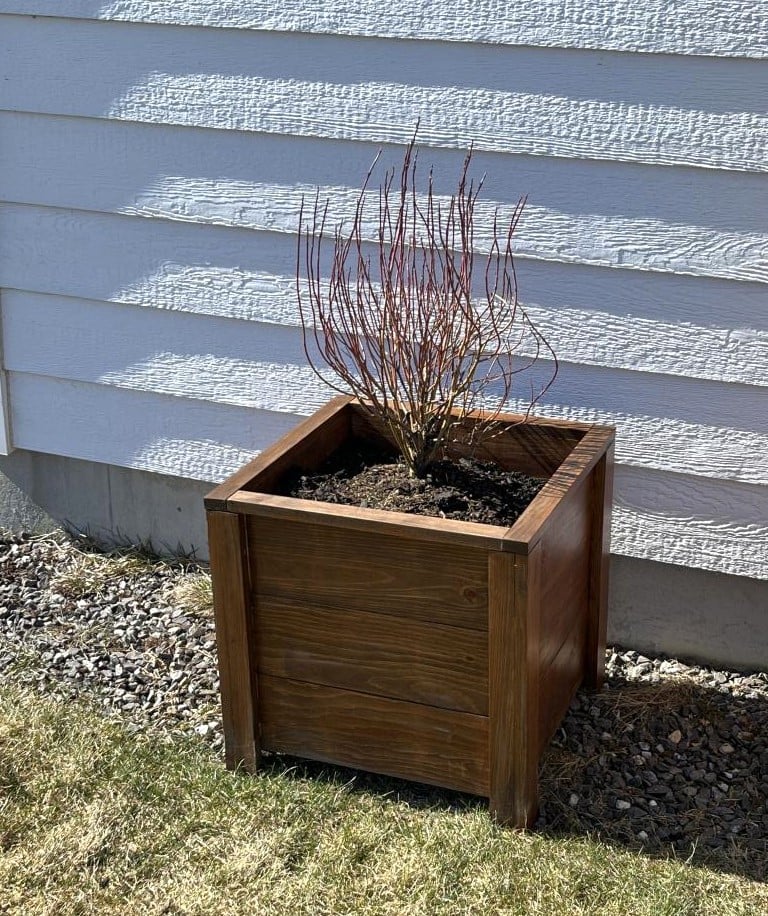
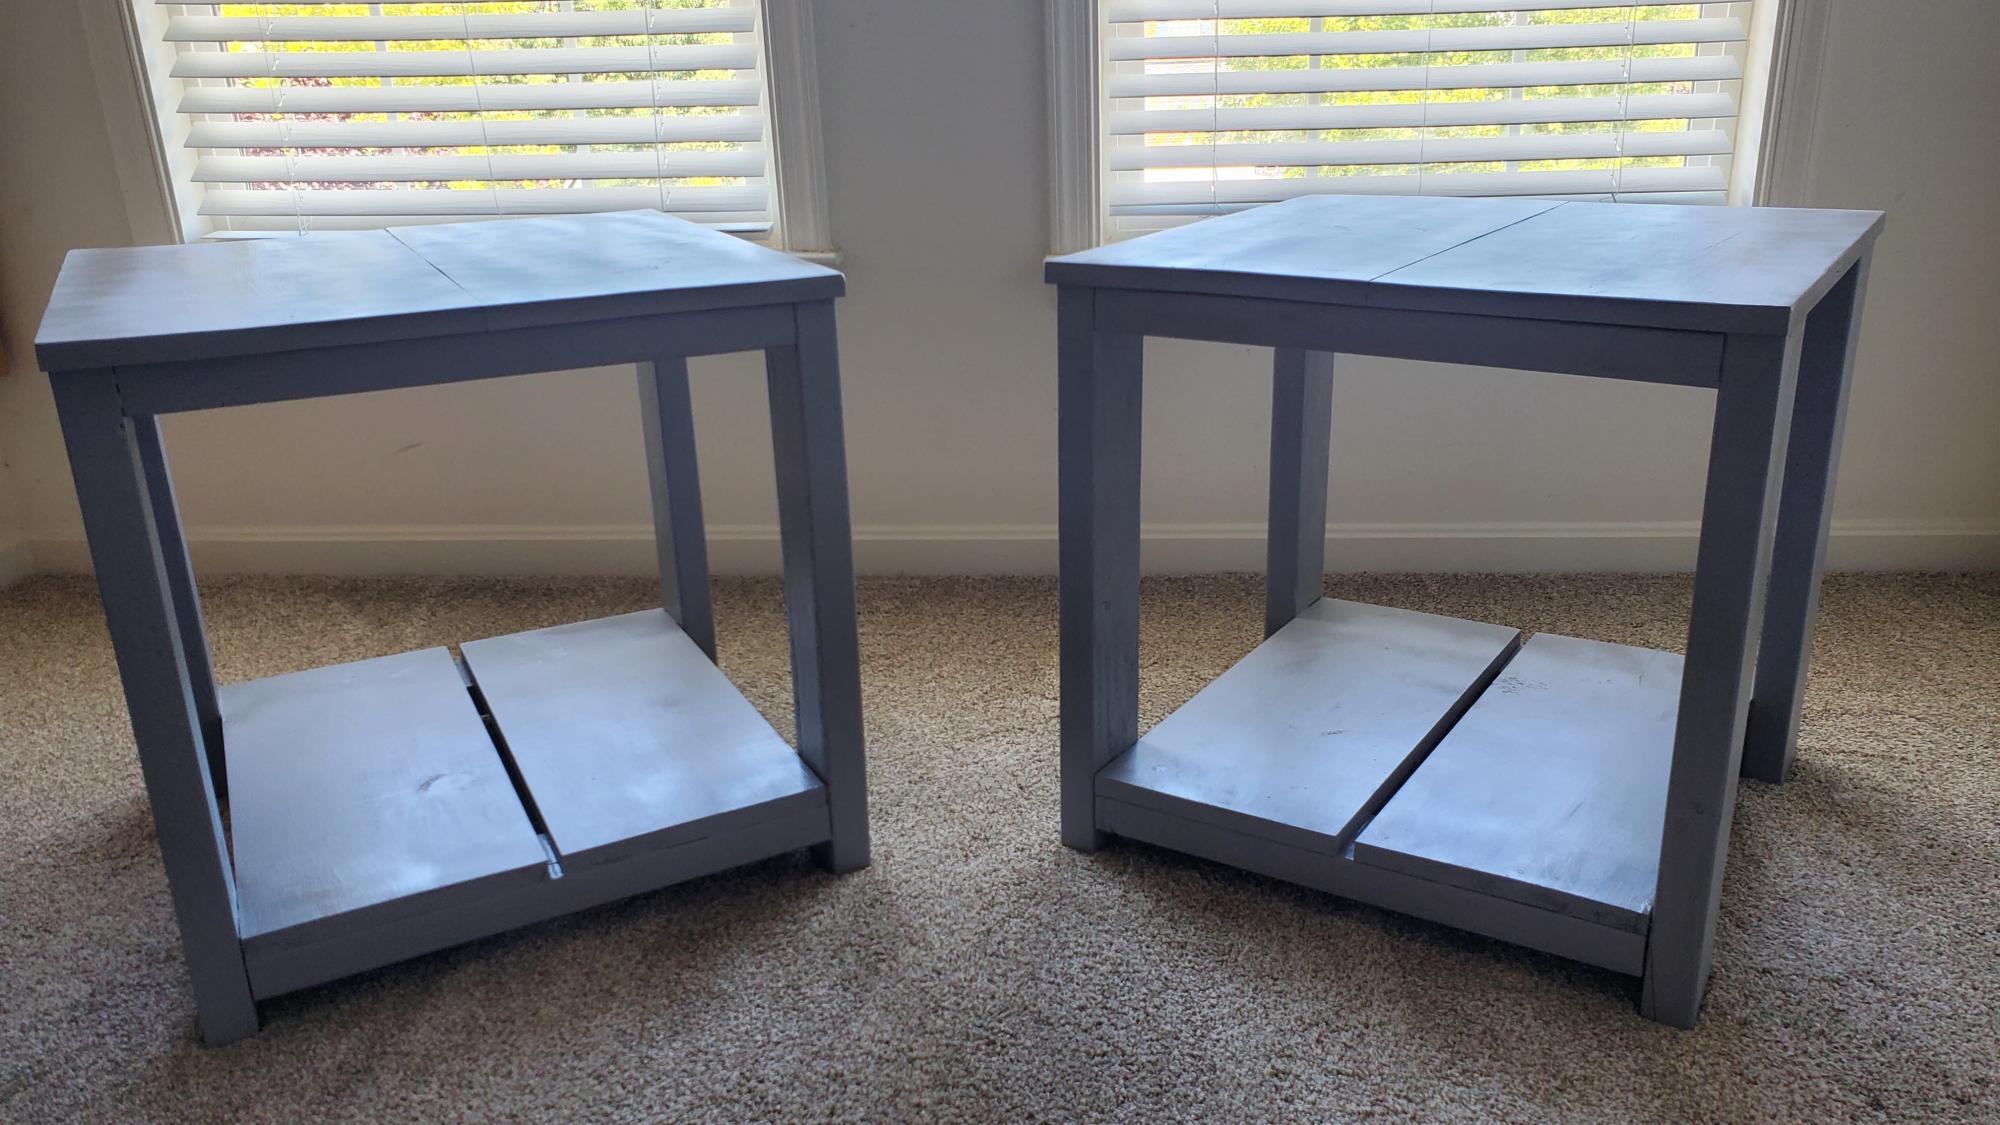
Plans are 2x4 Nightstand https://youtu.be/gLYuisY7i-M and color is from DIY Nightstand https://youtu.be/FR8x_PFPGXM
I loved the simplicity and my wife loved the color.
Thank you
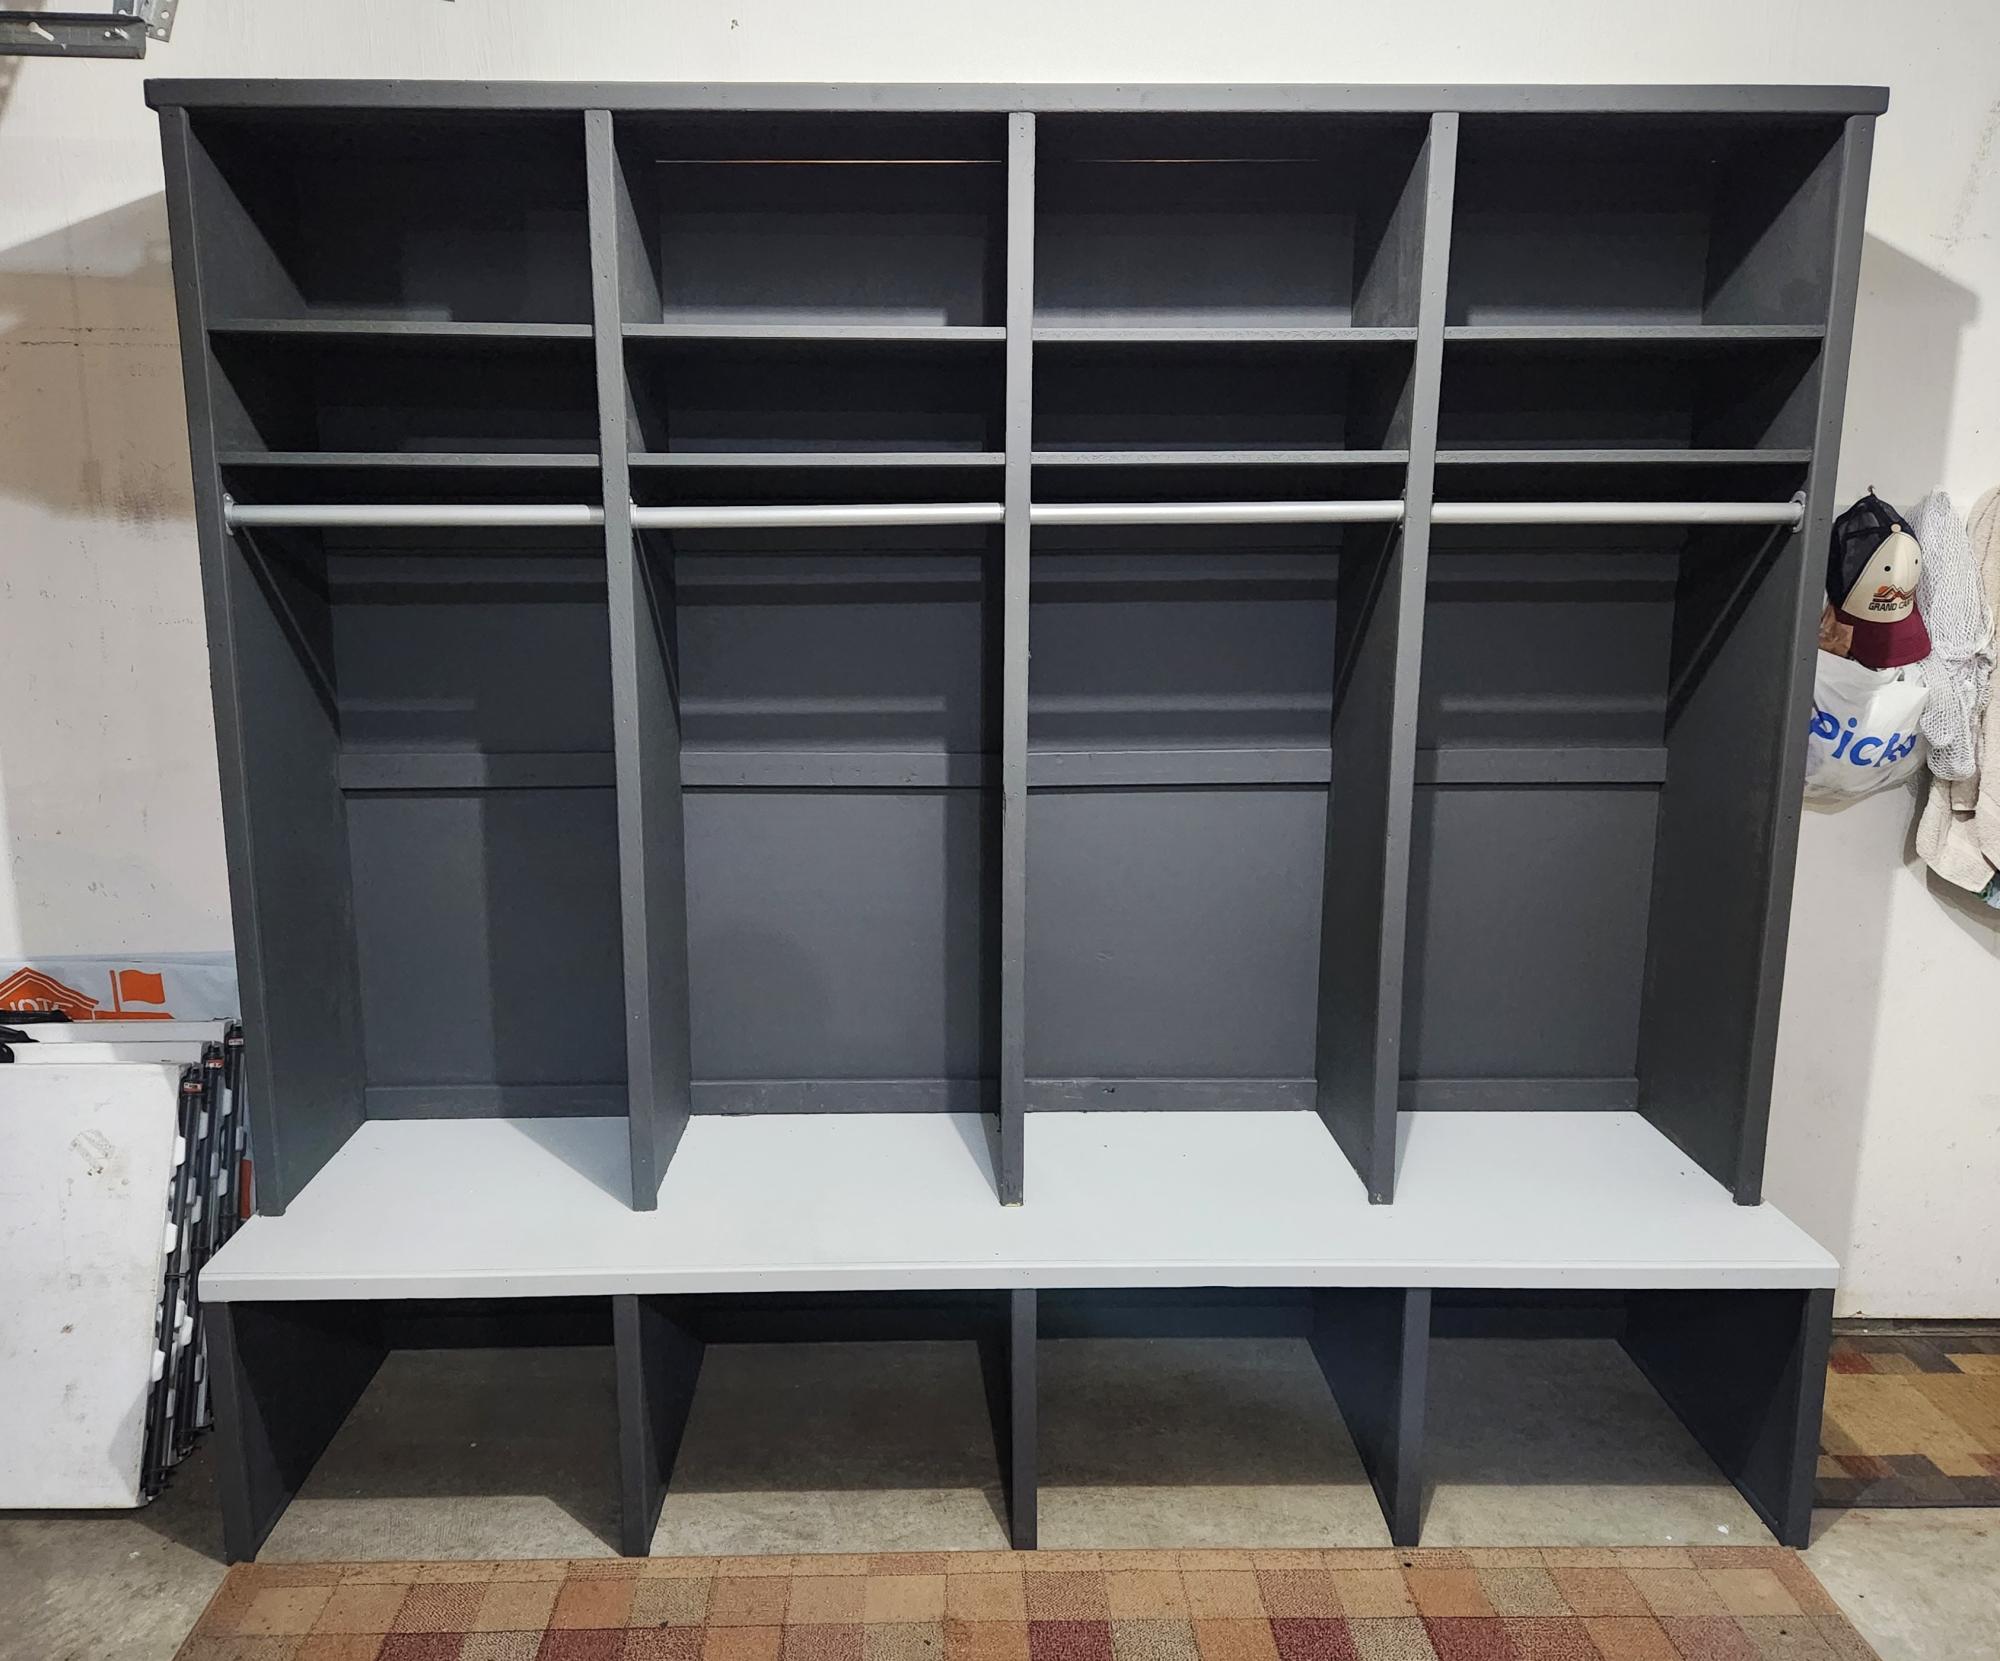
Garage bench with lockers. Plans and videos provided great inspiration and proves most anyone can do it.
Steve L. in Ohio
Fri, 09/08/2023 - 08:42
You did a fantastic job, love the added hanging option! Thanks for sharing.
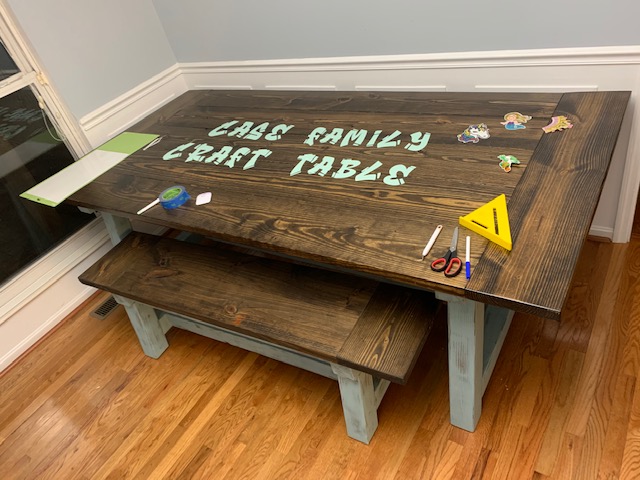
I built this as a craft table for my family. I altered the plans to make the table larger to fit a specific space in our craft room. The table was easy to build and turned out great!
Thanks for the plans

Luv your site. Took your bench swing plan and modified it a bit (shortened depth) and then created a small pergola to hang it from. Just need to stain/poly to finish it off. Thanks for your plan and website it is very inspiring.
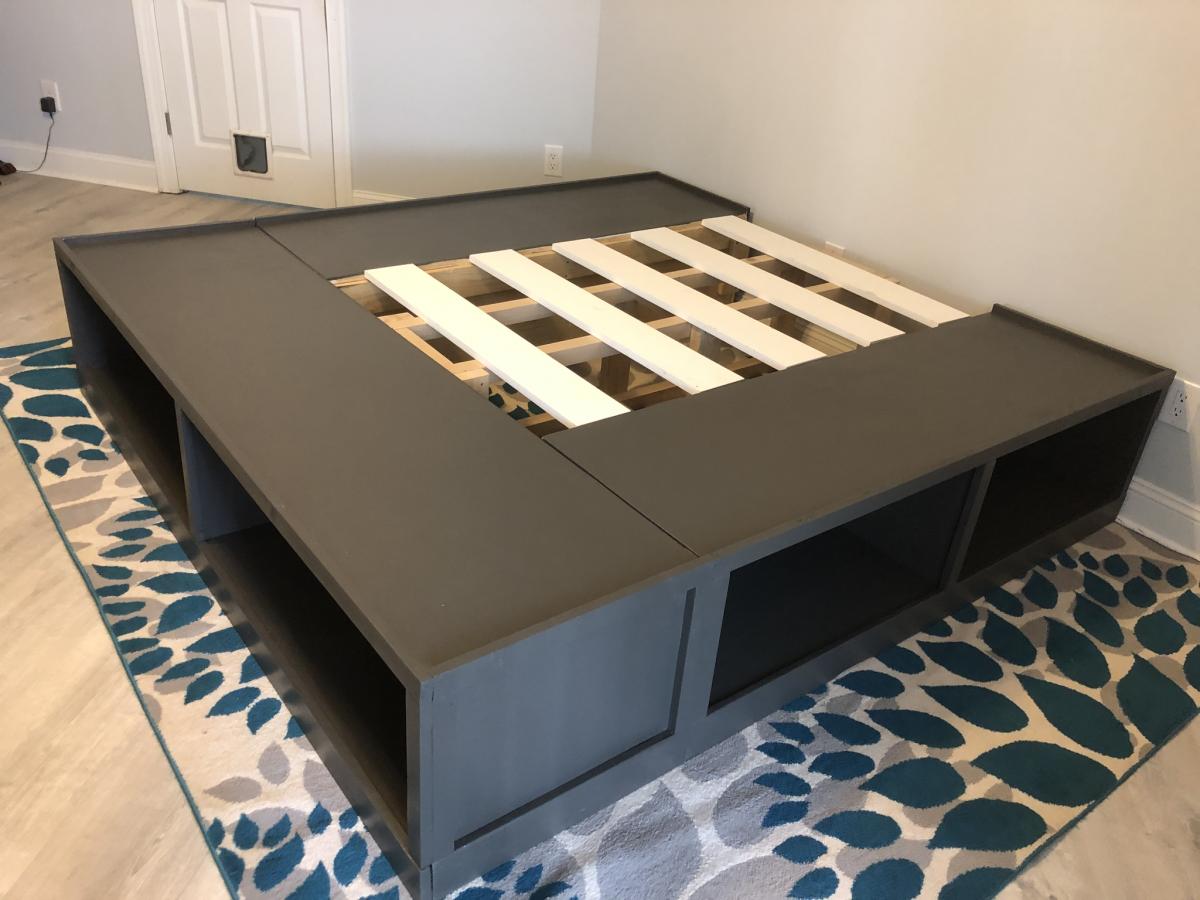
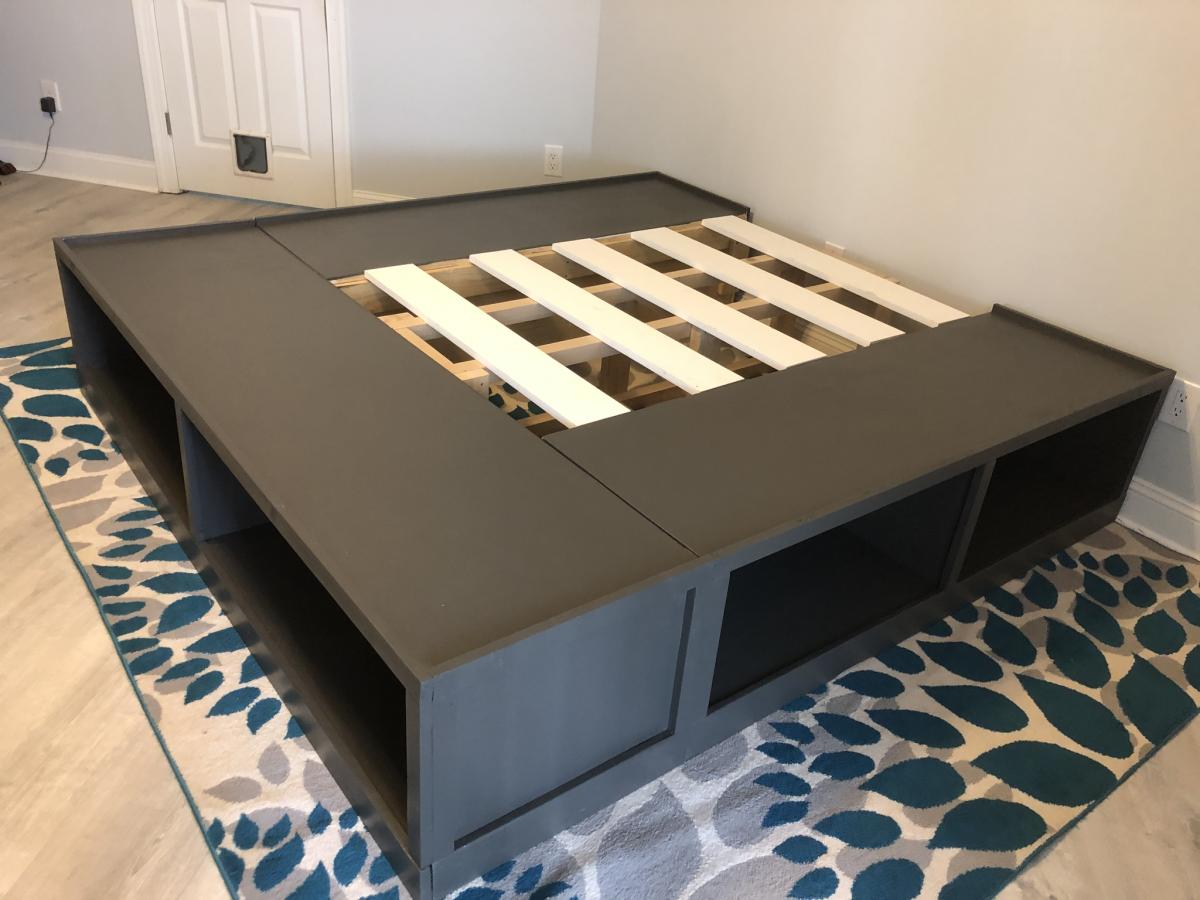
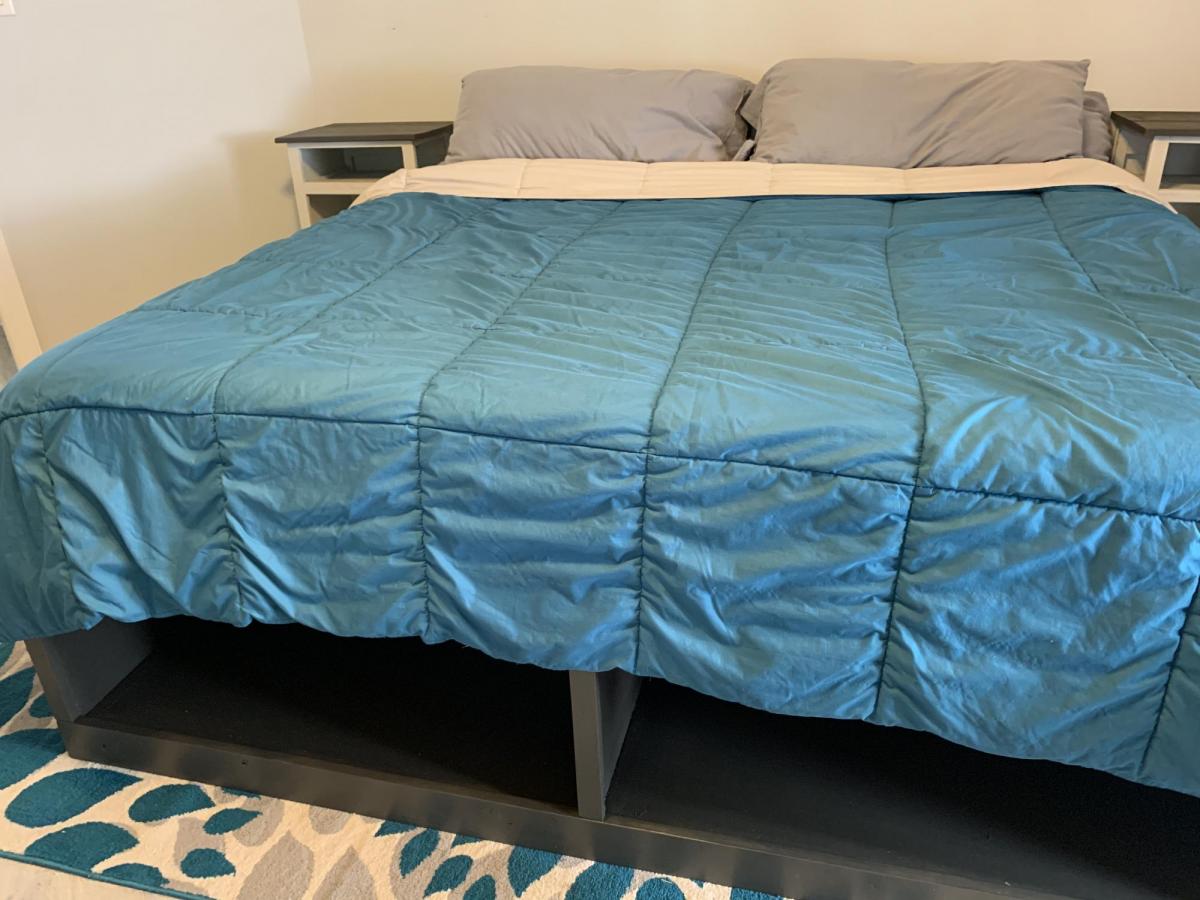
Built fairly close to original plans. Though we did modify slightly to create a slightly taller bed.
We placed a simple - but sturdy 2x4 frame between the sides. The span seemed a bit wide and we did not want any sagging.
We skipped the optional drawers, instead we will be building lightweight wooden storage crates to fit the storage spaces specifically.
Not a hard project. Though be sure to measure twice before you cut. 🤣

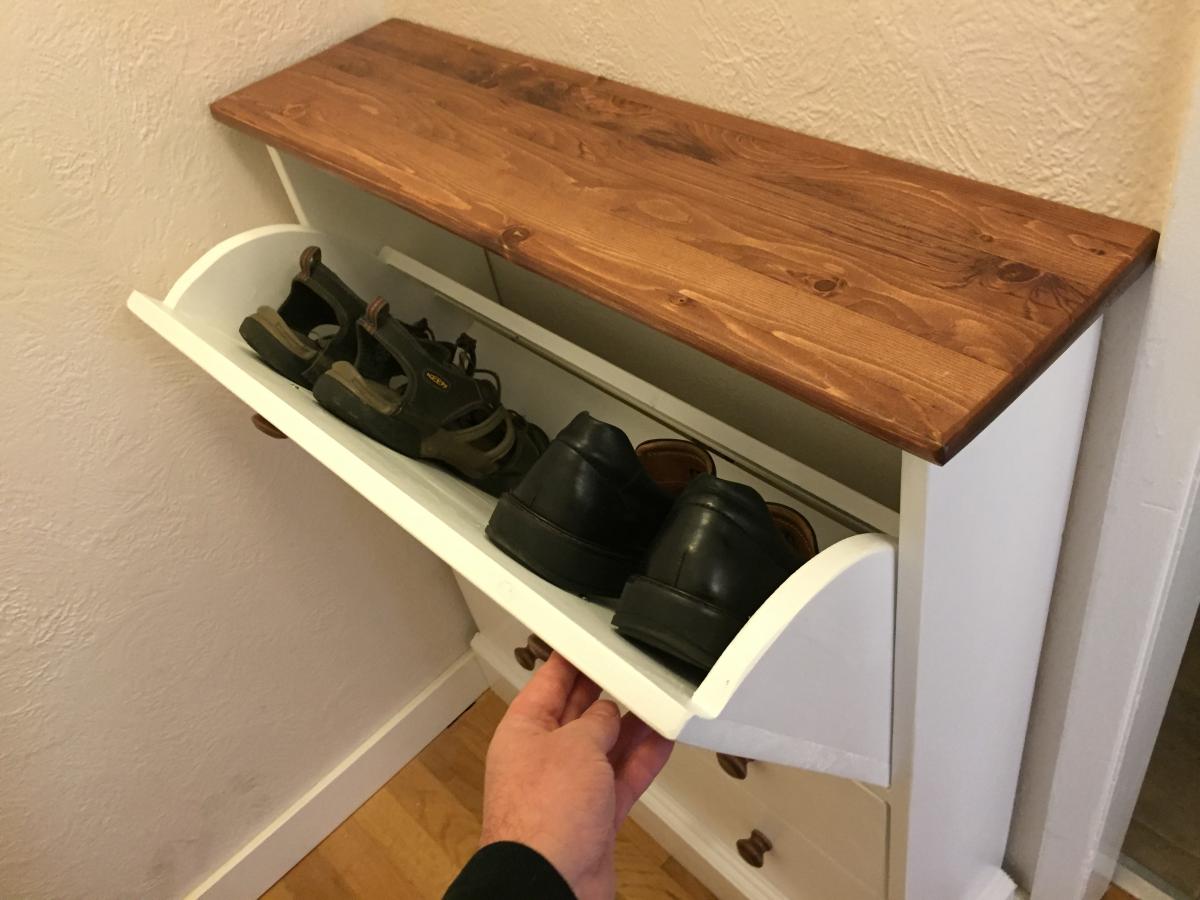
This was the first project we built from Ana White's website and one of our most successful projects to date. Between Ana's great plans and description, along with tips from other people on the site, it was so easy to modify and build this into exactly what we were looking for. Jennifer and I are both novice wood workers, but this site made building a wonderful project really easy. Thank you. Now Jennifer wants a bigger one for the bedroom.
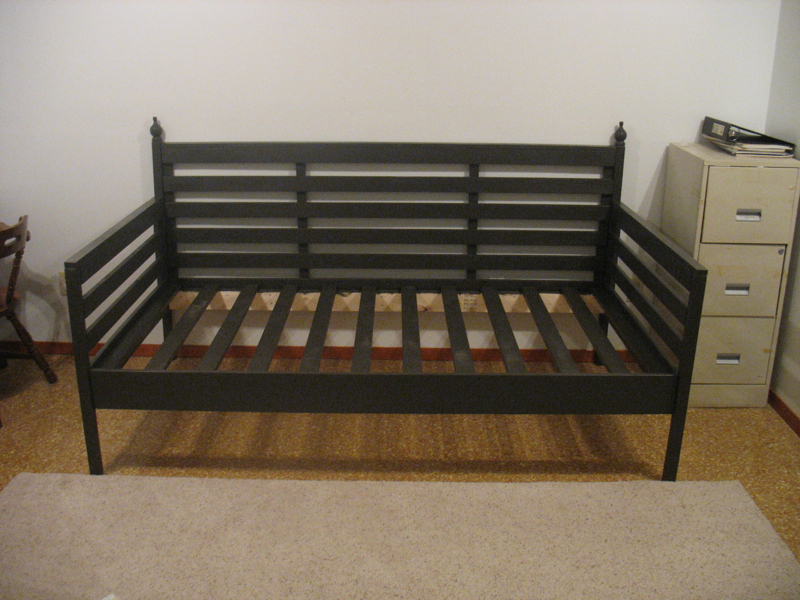
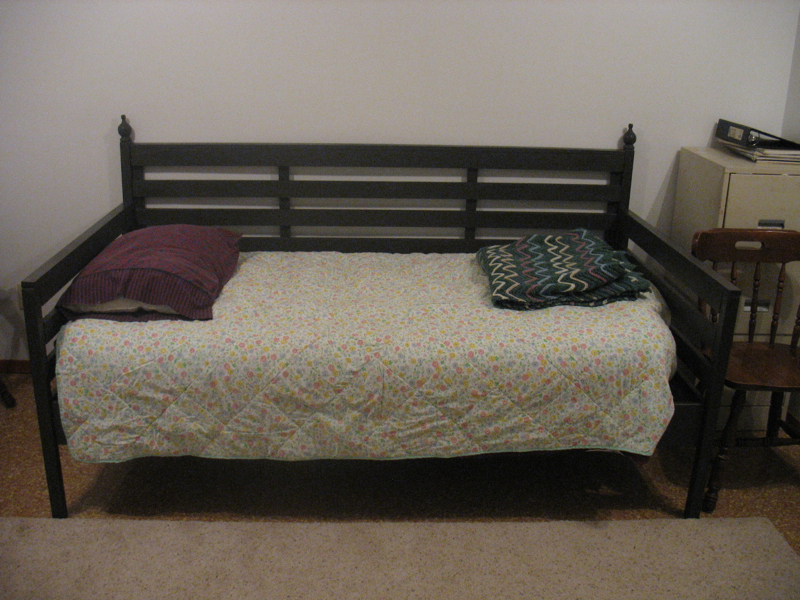
I chose to modify the outdoor daybed with canopy for my finished basement, to replace a secondhand sleeper sofa.
The only power tool I used was a drill, including screwdriver bit -- with hand tools it took longer, but wasn't impossible.
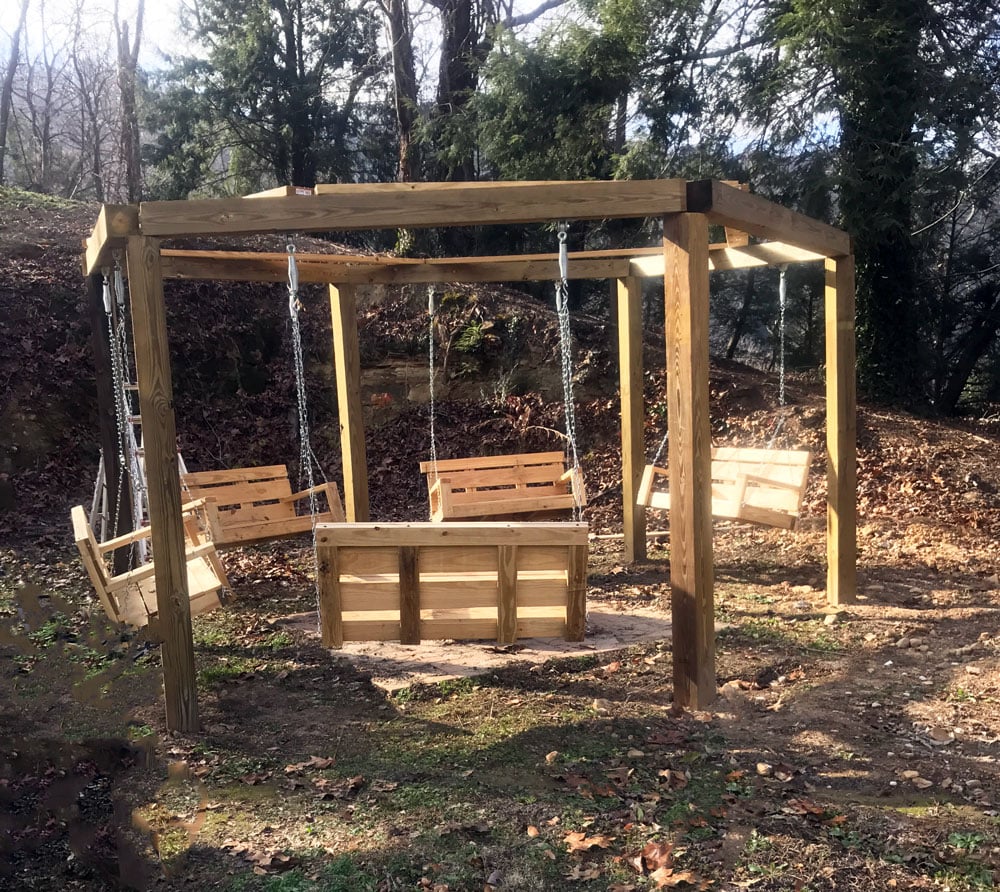
This was a real challenge as I did the whole project alone. 6x6 pressure treated lumber was used as posts and support beams. 120 lbs of quickcrete was used for each post and the support beams are bolted onto the posts. The swings were all made with pressure treated
lumber and I bought heavy duty mounting hardware for the chains. I bought the firepit kit at Lowe's and did the 4 block high enclosure. I had a lot of fun with this!
Tue, 03/07/2017 - 10:28
That is AWESOME! Job well done :) I need one of those in my back yard!