Community Brag Posts

DIY Chicken Coop

Submitted by Anonymous (not verified) on Mon, 10/30/2023 - 17:55

As a first time chicken farmer, I have four chickens now fully grown. It was 29 degrees in Iowa this morning, wondering if I should wrap the lower portion of the coop on three sides with visqueen, and should the roost windows be covered? I have straw bales to roost on and add where needed . I don’t plan to heat the coop . Any help will be appreciated.

[email protected]

Seasonal And Holiday

DIY Mantel with Paver Hearth

Submitted by Anonymous (not verified) on Sun, 12/31/2023 - 13:38

Our old firebox had rusted out through improper installation. So, we took it out and built a 7” bump out directly in front of it. The best part was, the new electric fireplace fit the old firebox location perfectly. Since my wife wanted a stone appearance, we purchased two ¼” 4’x8’ decorative panels that she then “schmeared.” For the mantle, we used pin oak milled from our property. I used three boards to create a faux beam to provide the look we are very happy with. The hearth consists of four walkway pavers.

Doug Siemens

Round X Base Coffee Table

Submitted by jlmcgruder on Thu, 07/05/2012 - 17:56

I modified this design to fit the specifications I wanted for a coffee table. I think it worked out perfectly for what I wanted. I made the base completely out of scrap I had laying around, and I bought a 36" round top from my local Lowe's store.

Built from Plan(s)
Estimated Cost
$50
Estimated Time Investment
Afternoon Project (3-6 Hours)
Finish Used
The base is behr white gloss paint and the top is walnut stain with gloss poly.
Recommended Skill Level
Intermediate

Comments

silver202

Tue, 01/05/2016 - 17:31

do you think i could get the modified peramiters from you? It looks amazing and i really like this table design but its too big for what im looking for. Do you think you could help me out?

Farmhouse Table & Benches

This was my first time building a piece of furniture on my own, so it was a lot of learning and trial and error on my part. The plans were fantastic for the most part (I thought the bench plans could have used a little more specification and couldn't seem to find a pocket hole version). We completed the project over the course of a couple months, simply because we revisited it when time allowed. It could easily be done in a much shorter period. One thing I will say is this -- add a step to the plans and utilize a planer and jointer on all of the boards. I had the table put together at one point and whew, I wasn't sure what I did wrong, and I went back and had followed all the steps. While this might sound obvious now, remember it was my first time doing something like this, so I followed each step to a T. I also used a belt sander on the table and bench tops to level things out even more, and went across the grain to make a smooth surface with an 80 grit belt, then hand sanded with a sanding block with 120, 220, and 320 grit. I also modified the bench plans to cut about 5 inches off so that they would fit under the table.
We used Minwax pre-stain conditioner, then one 10 minute application of Mixwax Honey stain, followed by Mixwax Satin Poly. It turned out great and we are already moving on to other projects!

Estimated Cost
About $400 inclusive of lumber, stain, poly, and sanding.
Estimated Time Investment
Week Long Project (20 Hours or More)
Finish Used
Minwax Pre-Stain Conditioner
Mixwax Honey (10 minutes then wipe off)
Mixway Satin Poly (3 coats, sand with 600 grit after coat 1, 800 grit after coat 2).
Recommended Skill Level
Beginner

Storage Daybed with Trundle Drawers + Storage Headboard and Hutch

I combined Ana's plans for Daybed with Storage Trundle Drawers and a Storage Headboard with a Small Hutch.

This is my 3rd daybed with storage drawers. It's such an easy build and gives so much extra space. The entire project took about 40 hours. I used Minwax stain in Classic Grey and three coats of polyurethane. For the drawers, I used 1.5" casters. I drilled a hole through the back of the headboard to feed cords through. Then I put the whole thing in the back of my truck and drove 500 miles for the final assembly. :)  In the provided photos, some of the pieces are flush because I hadn't permanently attached them. 

Estimated Cost
$450
Estimated Time Investment
Week Long Project (20 Hours or More)
Finish Used
Minwax Classic Grey
Recommended Skill Level
Intermediate

Sewing Desk

Submitted by Acasale on Sat, 07/14/2012 - 11:18

Our first woodworking project! A sewing desk that was featured on this site.

Estimated Cost
$60
Estimated Time Investment
Weekend Project (10-20 Hours)
Finish Used
make sure you sand the pieces multiple times. I used semigloss paint and also a stain and finished it off with a clear poly protector for the table top.
Recommended Skill Level
Beginner

Mitre Saw Rip Guide

Submitted by AndyH on Thu, 05/01/2014 - 14:52

I wanted a jig/guide that would allow me to cut multiple pieces of wood exactly the same length using my Mitre saw. Designed this Jig and apart from the 4 screws you see everything is pocket holes. Now when I build from Ana's plans and my own designs I can guarantee all the pieces that need to be the same length will be!!

Estimated Time Investment
Afternoon Project (3-6 Hours)
Finish Used
Not finished yet but will put a clear protection on it.
Recommended Skill Level
Beginner

Comments

Fire Table Sectional and corner conversation set!!! Perfect!!!!

Submitted by Anonymous (not verified) on Tue, 08/02/2016 - 14:45

This was the first time I had ever worked with some of the tools and really done any serious building.  We built a new deck onto the back of my home and I could not stand the cost of the furniture to make it complete.  Thank you Anna I have become fearless with tools!!  Our deck has become even more special!!

Estimated Cost
Furniture ~ $280
Cushions ~ $250
Estimated Time Investment
Week Long Project (20 Hours or More)
Recommended Skill Level
Beginner

Truss End Table

I had trouble with this project. I wasn't sure of the terminology, off square and such. It went well, I ended up not putting the truss part on due to not paying attention when cutting the wood.

Built from Plan(s)
Estimated Cost
$20
Estimated Time Investment
Afternoon Project (3-6 Hours)
Finish Used
Rust-Oleum Ultimate Dark Walnut
Recommended Skill Level
Beginner

Ultimate Workbench for me

Submitted by ianr on Mon, 06/22/2020 - 15:13

I altered the original plans in the following ways:

  • Only built one rolling cart because I already had a multi-drawer tool chest that fit right under the workbench.
  • Built the right half of the workbench as a separate piece from the miter table because attic access is right above it and we need to move the workbench to get to it.
  • Built a half cart for the table saw because the Dewalt contractor saw extends too far to the sides to have it boxed in.
  • I'm going to add a sliding plate that locks down for my miter saw so I can pull it away from the wall without dragging or lifting it.
  • I used a nail gun with two inch nails instead of staples since I don't own a staple gun that holds staples that long.

I'm not that experienced with projects so here are a couple of things I learned:

  • Attach the castors far enough under the cart so that the wheel never extends beyond the sides.
  • Watch what grade sandpaper you use on the plywood. It's easy to strip off a layer.
  • This was not a one-person project for me. Even with clamps, I still needed help bracing parts and rotating pieces.

Thanks for the great plan! Now I can start on all the other projects on our improvement list.

Estimated Cost
350
Estimated Time Investment
Weekend Project (10-20 Hours)
Recommended Skill Level
Intermediate

Craft Table by Southern Chic Love

This is my very first Ana White build! I needed a table to go into my craft room and stumbled upon Ana White. What an AMAZING site! After browsing and finding many projects i would like to give a whirl i finally decided on this modern craft table. My husband and I have worked together on many different projects and decided we would try this one. The plans were very easy to follow although we did make a few mistakes along the way. I painted it white and finished with several coats of poly. All in all we love it and have a list of other builds to do next.

Make sure to check us out at SouthernChicLove.Blogspot.com!

Built from Plan(s)
Estimated Cost
$100-$150
Estimated Time Investment
Weekend Project (10-20 Hours)
Finish Used
I used basic laytex white gloss paint finished with several coats of poly.
Recommended Skill Level
Beginner

Fancy Pants Hall Tree

Submitted by theJam on Thu, 09/06/2012 - 19:37

This is not my first build, as I built some tables for my shop using various plans.

Anyway, here it is, the hall tree! I changed up the trim a bit. So much of me went into this, and a couple of times I pulled out the crowbar and started over on the moulding and on the cross supports on the top because I was a bit of a perfectionist... something I need to learn to control with this new found hobby.

Let me know what you think! Already the picture have about 50 likes on my facebook and people want me to build them one! I think I'll just send them the link... !!!

Built from Plan(s)
Estimated Time Investment
Week Long Project (20 Hours or More)
Finish Used
Minwax Early American Stain and Minwax Quick Drying Polyurethane
Recommended Skill Level
Intermediate

Comments

bd

Sat, 04/06/2013 - 09:03

What did you use for the back plywood panel? Oak? I'm having difficulty finding oak plywood in anything except 3/4", and it looks like there's a contrast between wood types. Is that just a difference in stain or difference in wood?

Thanks!

justindalby

Thu, 10/16/2014 - 08:35

I love your version.  I really like the moulding that you put on the top piece of the bench.  Since there is a lip on the top piece (overlaps the bottom section of the bench), how did you attached the moulding so that the top of it lays flat and flush with the top piece? I assume that you made some sort of hidden spacer between the lip and the moulding.  Is that correct? 

Also, how did you attach the back plywood to the decorative cross beams, finish nails?

Thanks for sharing!

Shoe Organizer

Submitted by moemoore on Mon, 10/08/2012 - 04:05

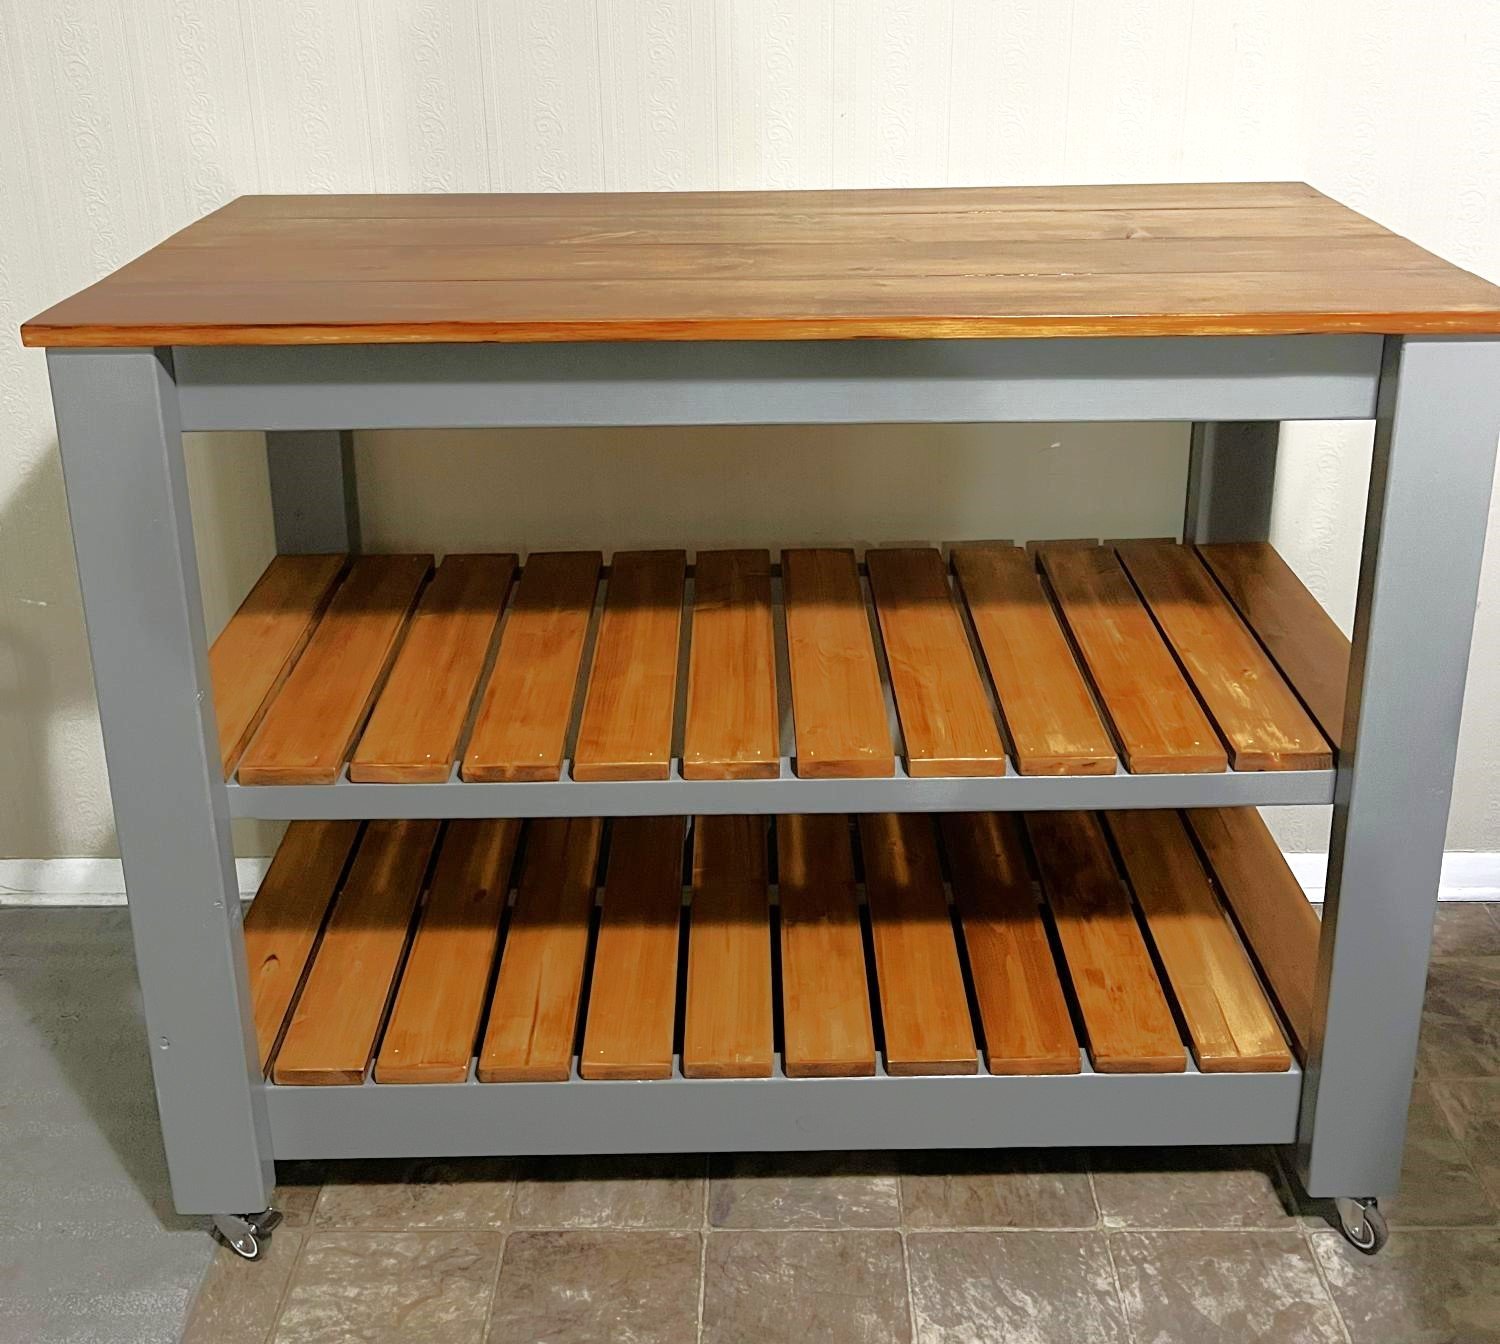
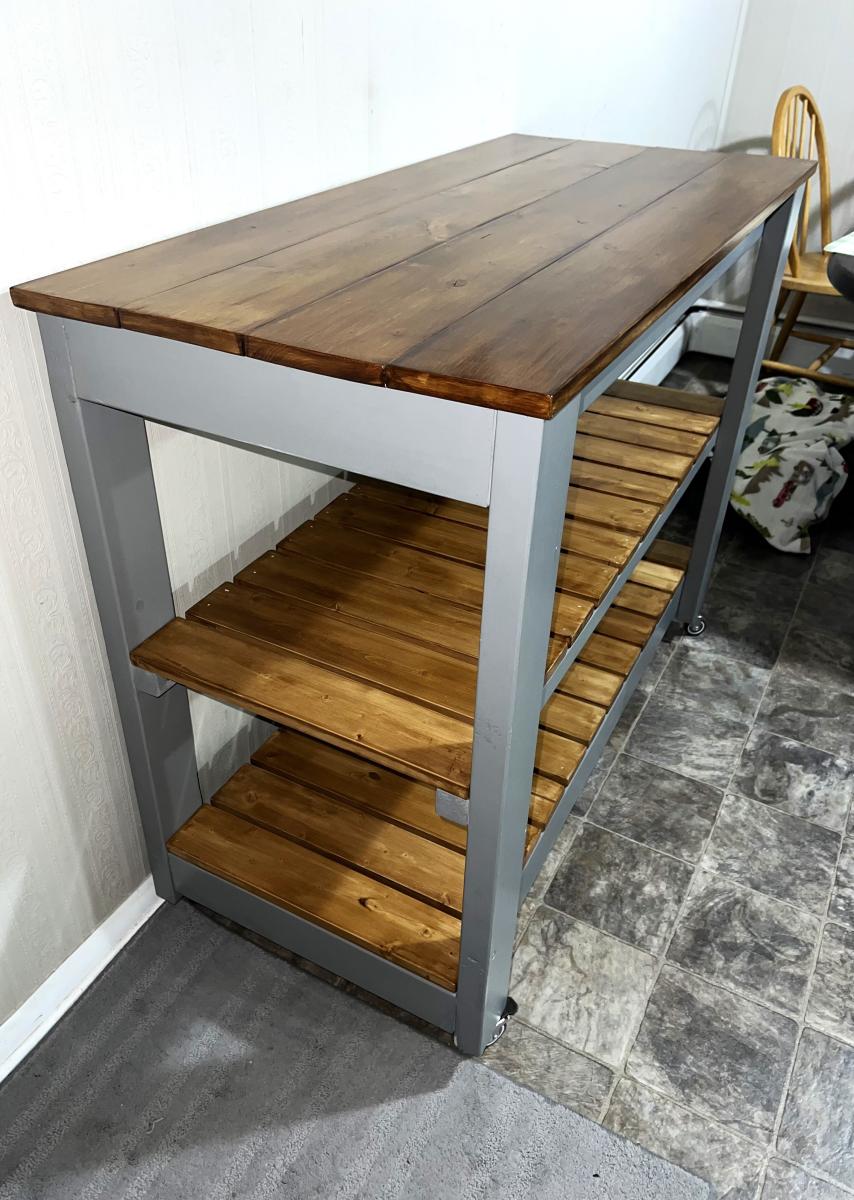
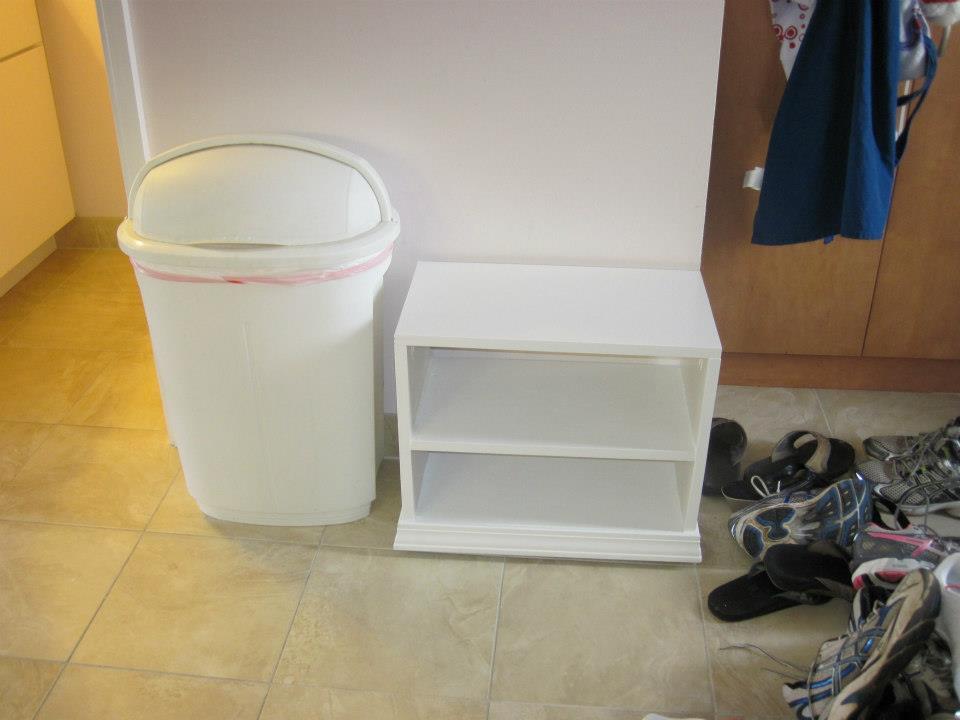
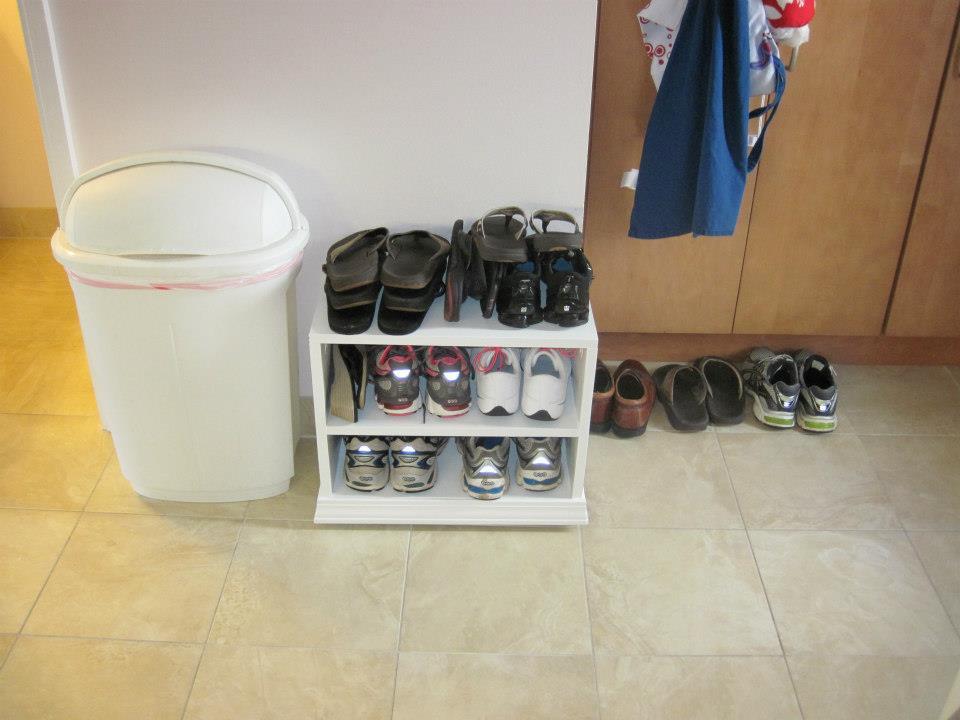
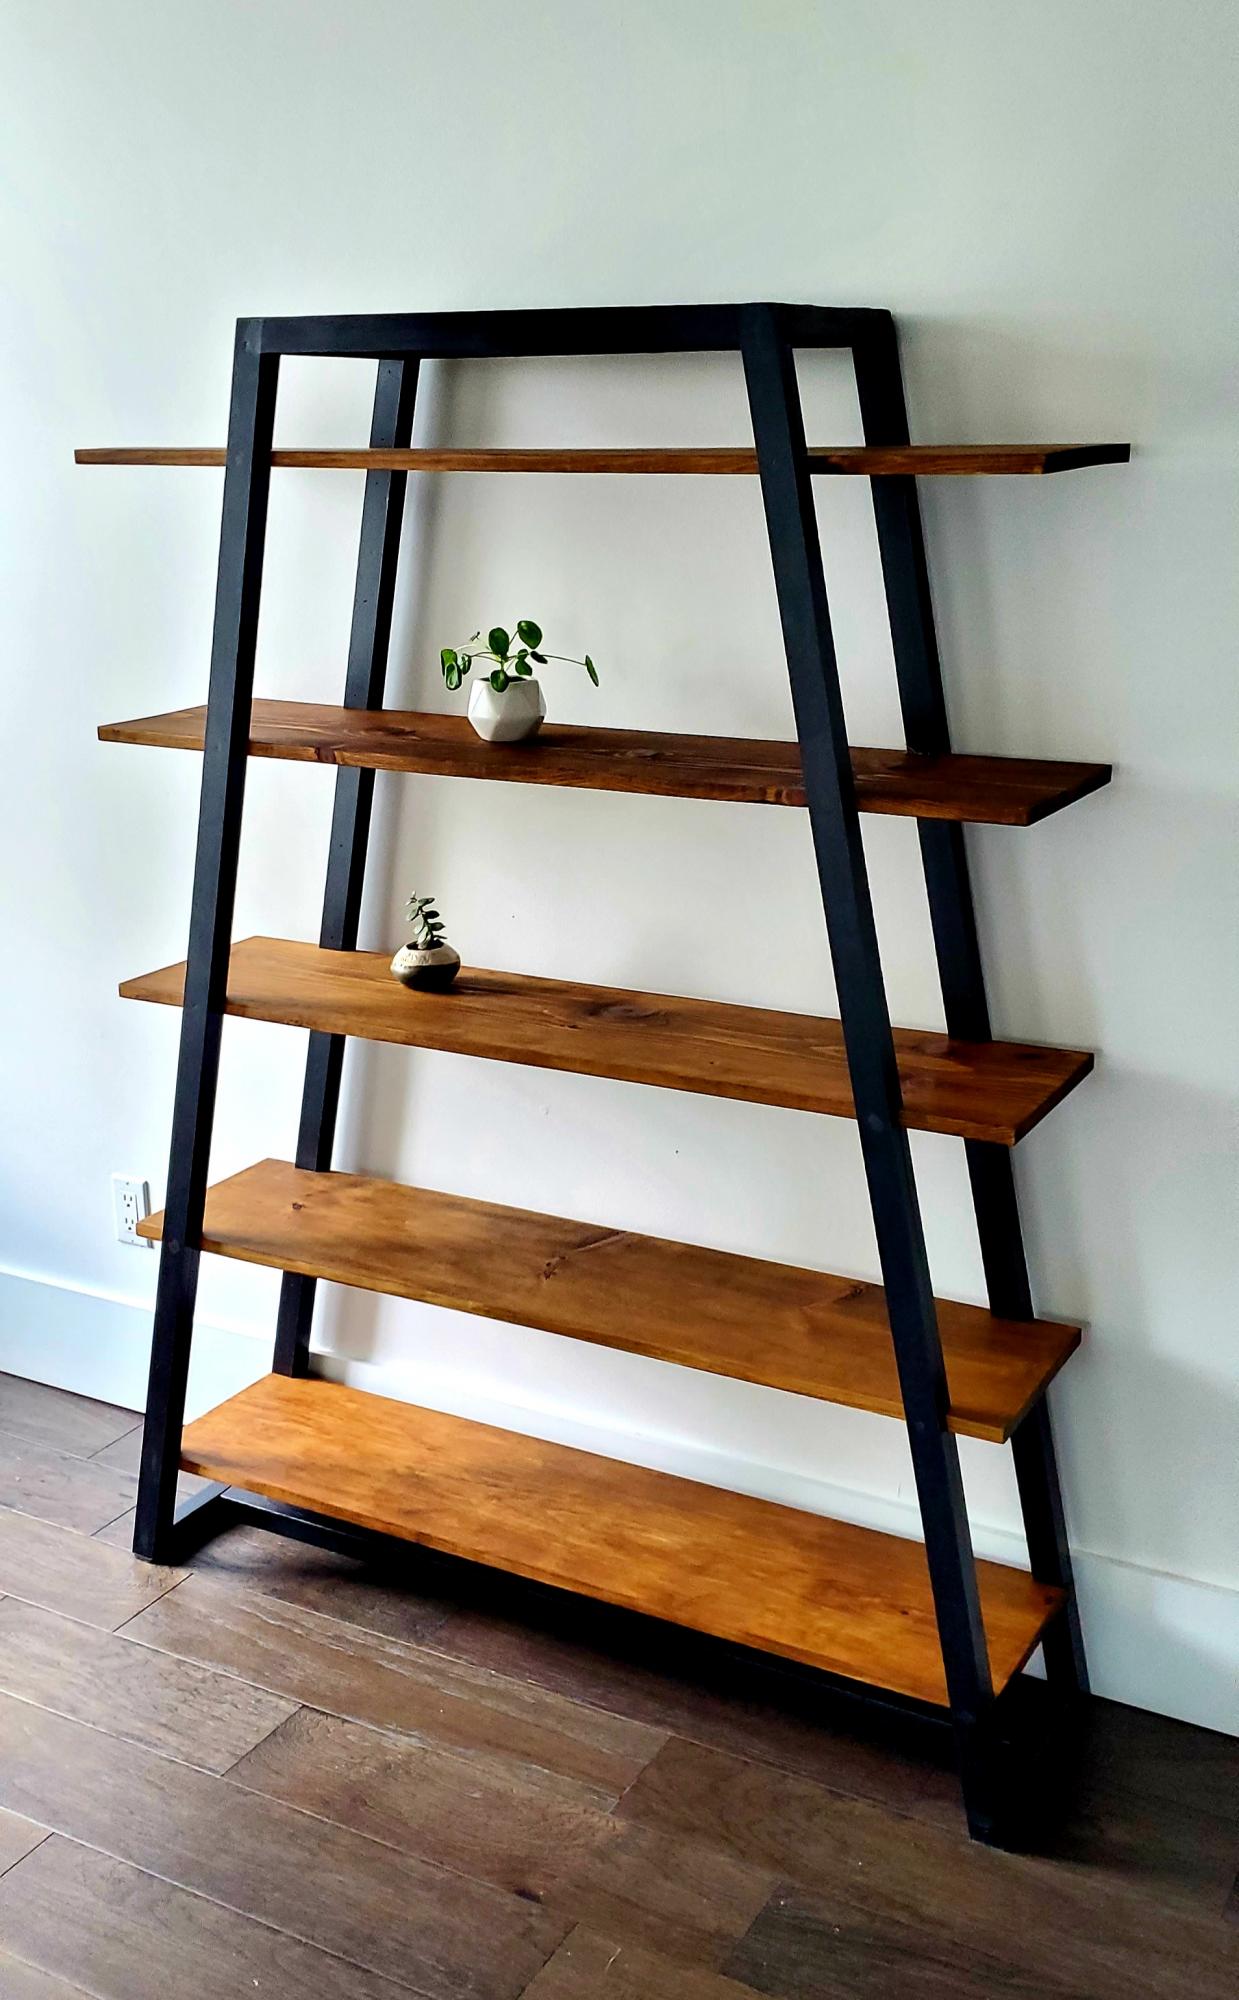
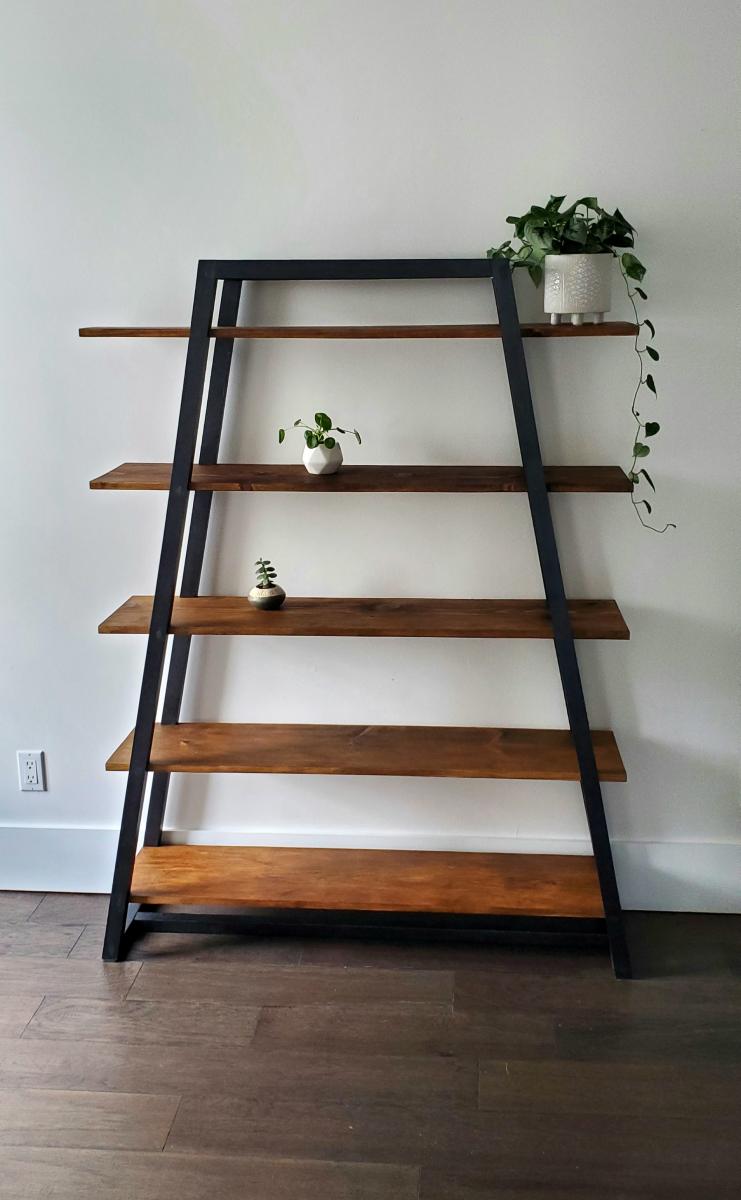
Between my husband and I, we routinely have 10 pair of footwear by the front door. In Hawaii, its tradition that you remove your shoes at the door. Unfortunately for us, our condo doesn't have much room by the door. As such, there would often be a pile of footwear as you entered the unit, which is the kitchen. I have tried various shoe organizers over the years, and none really fit the bill, or the space we had. So I built one myself.

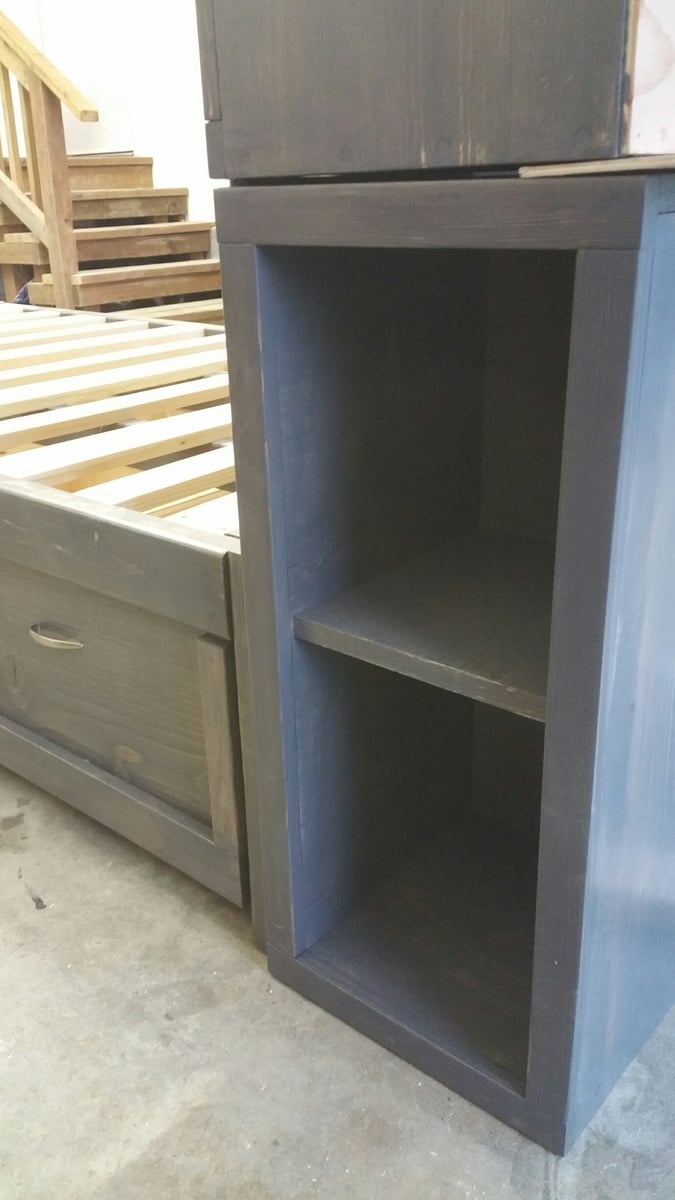
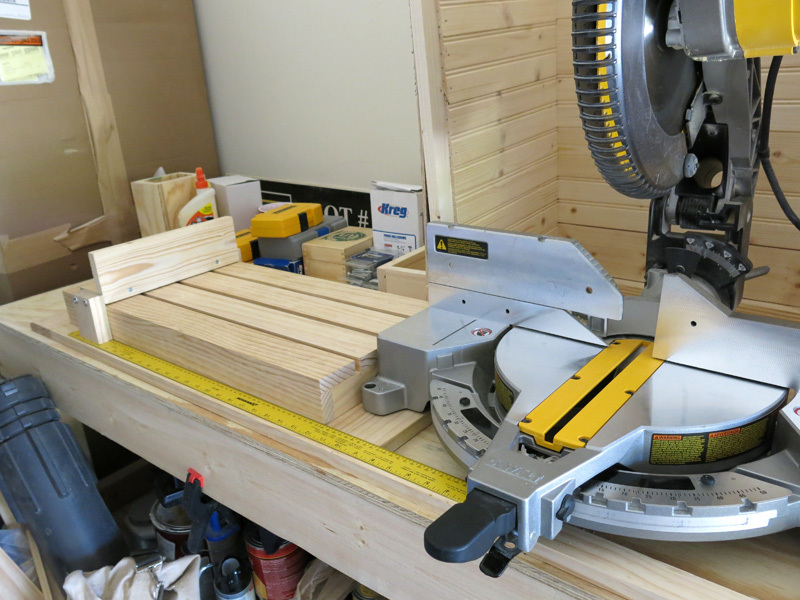
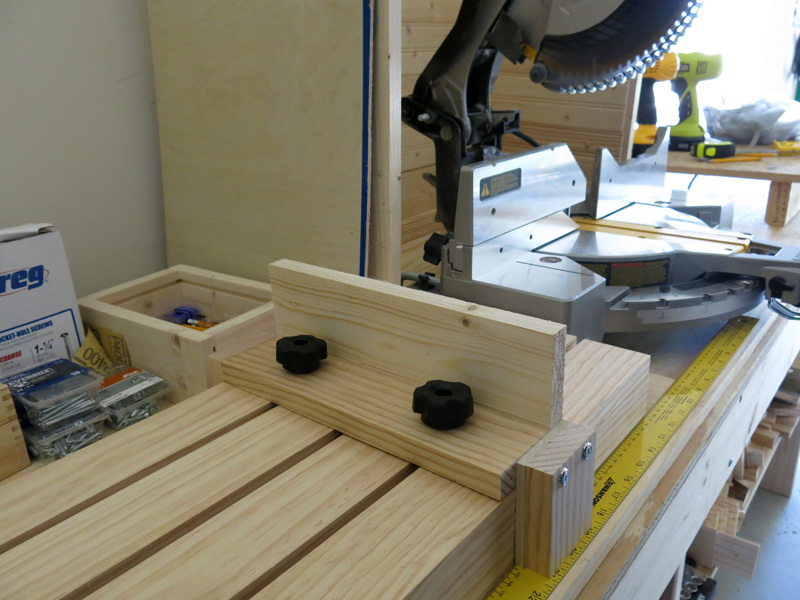
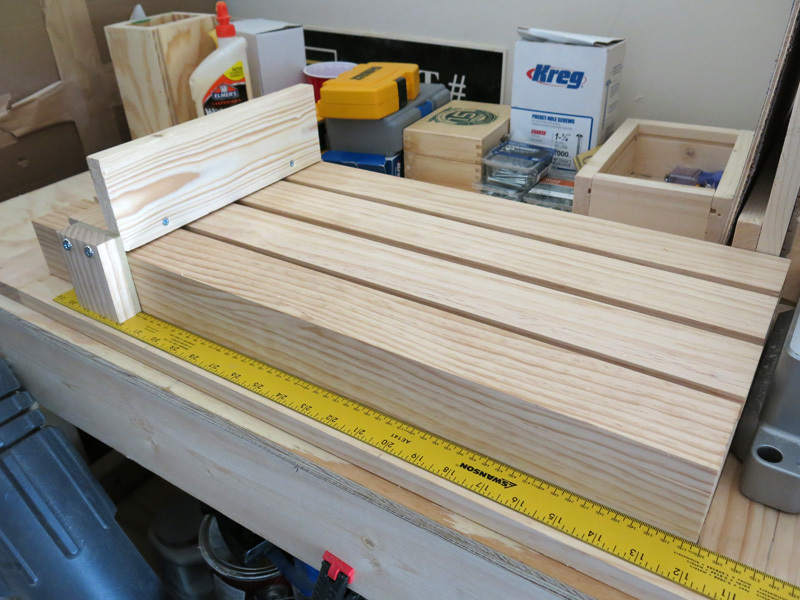
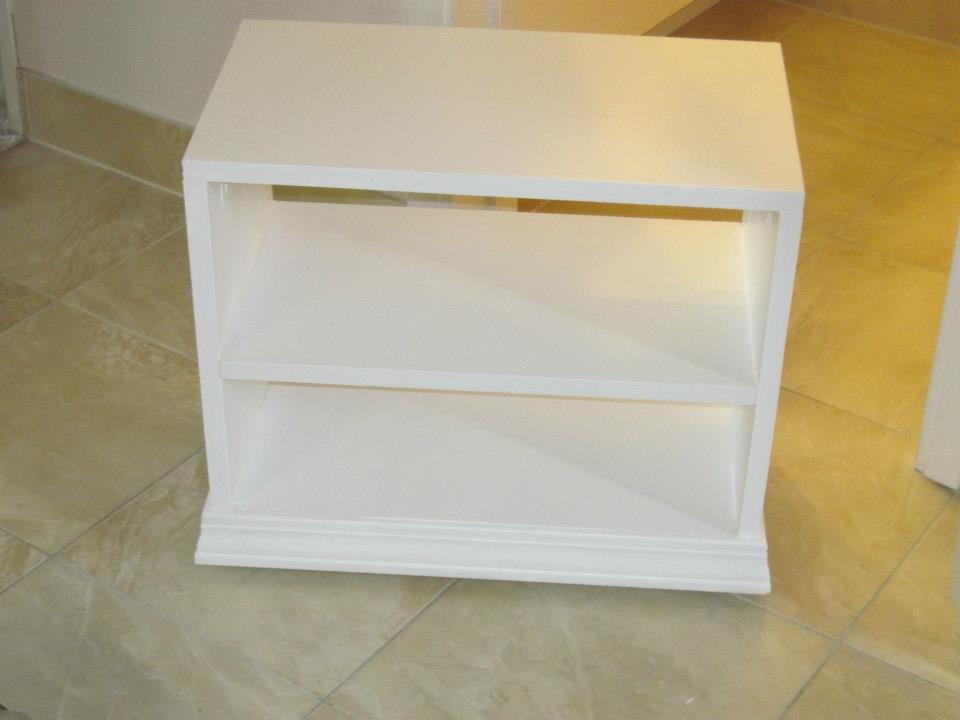
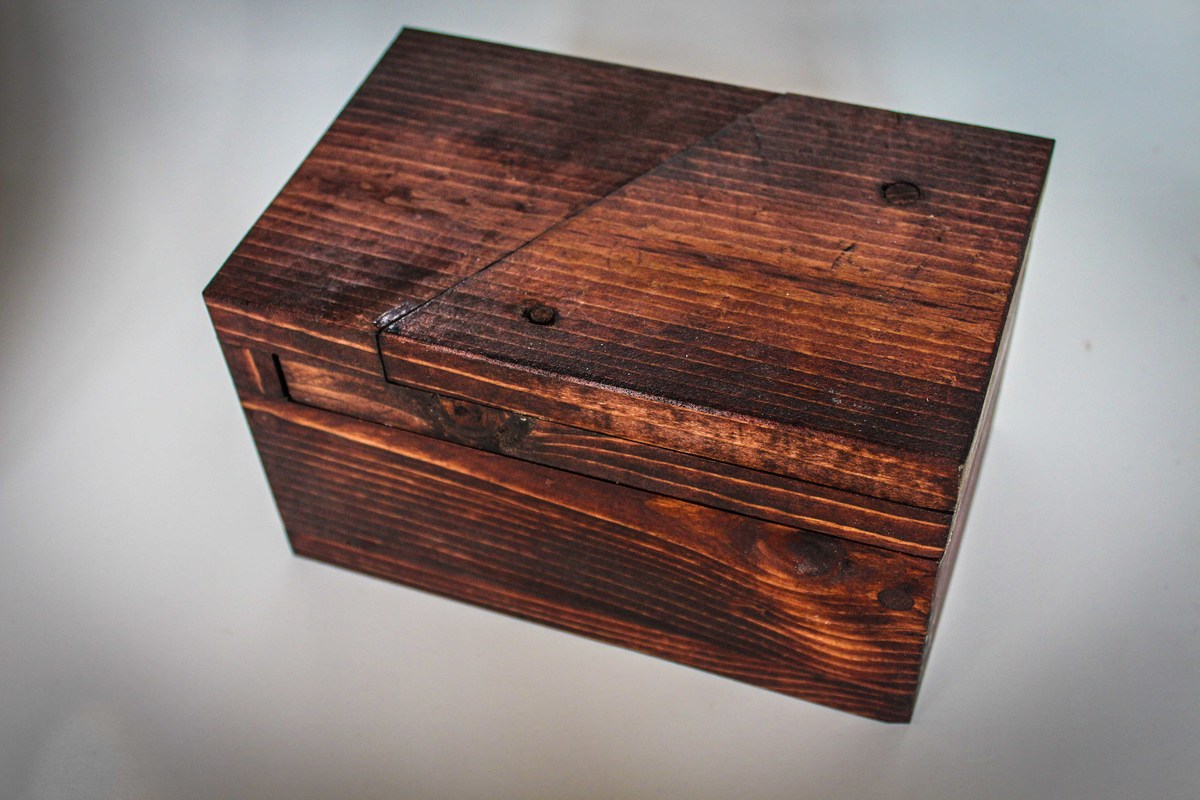
Its a pretty basic box, with 1 fixed shelf. All joined with my Kreg jig (of course). I also attached some casters on the bottom to make it easier to move out of the way if needed. After assembling and painting, I picked up some moulding and added it to the bottom, which helped to hide the casters. Then I used some old liquid nail/caulk I had to fill in the holes.

Estimated Time Investment
Afternoon Project (3-6 Hours)
Finish Used
white paint
Recommended Skill Level
Beginner

Ipex Bookcase

Submitted by MikeO on Sat, 08/01/2020 - 12:35

Painted the arms in a metallic onyx paint, shelves are Briwax dark brown.

Built from Plan(s)
Estimated Cost
$100
Estimated Time Investment
Day Project (6-9 Hours)
Finish Used
Briwax dark brown, metallic onyx paint
Recommended Skill Level
Intermediate

Puzzle Box (Unabox)

Submitted by mtairymd on Sun, 08/24/2014 - 15:03

This is a simplified version of the Unabox from Make Magazine.

Build Instructions:
http://www.instructables.com/id/Puzzle-Box-Unabox/

Video:
http://youtu.be/VTaoUHsGau8

If you like this, please see my other puzzle box.
http://www.instructables.com/id/Puzzle-Box-4/

Estimated Cost
$10
Estimated Time Investment
Afternoon Project (3-6 Hours)
Finish Used
Red oak stain
Recommended Skill Level
Starter Project
Back