Community Brag Posts

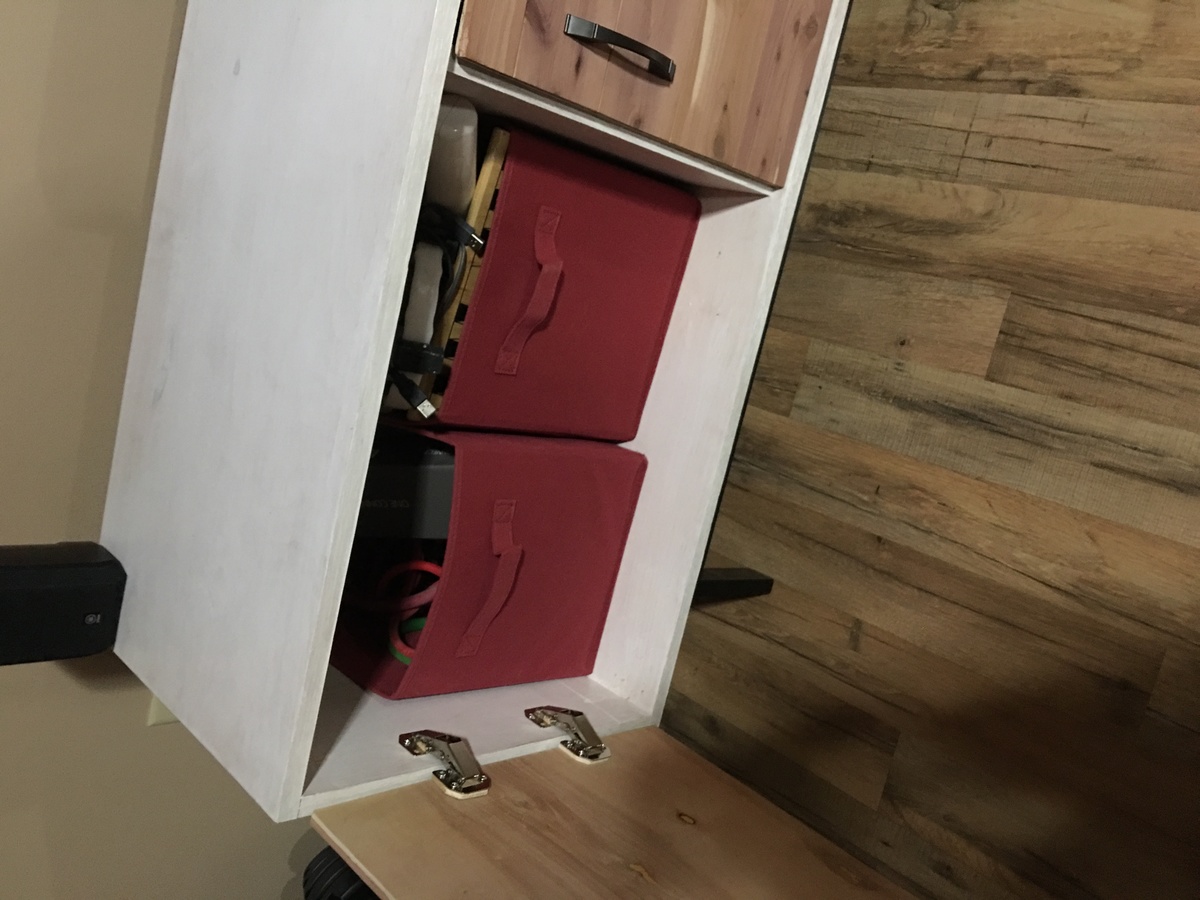
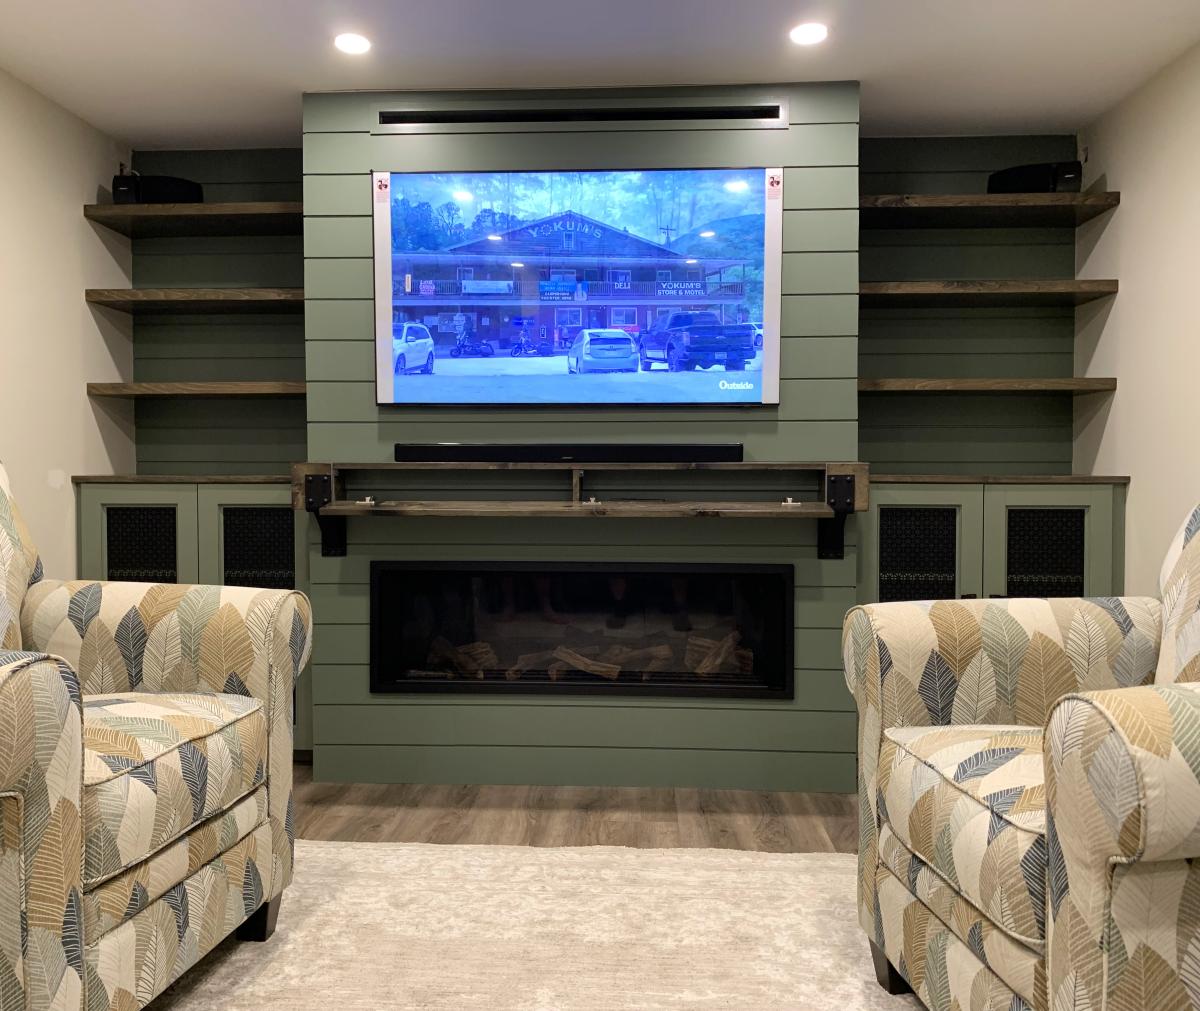
Long Modern TV Console w/Cedar planks

Submitted by Anonymous (not verified) on Mon, 03/11/2019 - 18:50

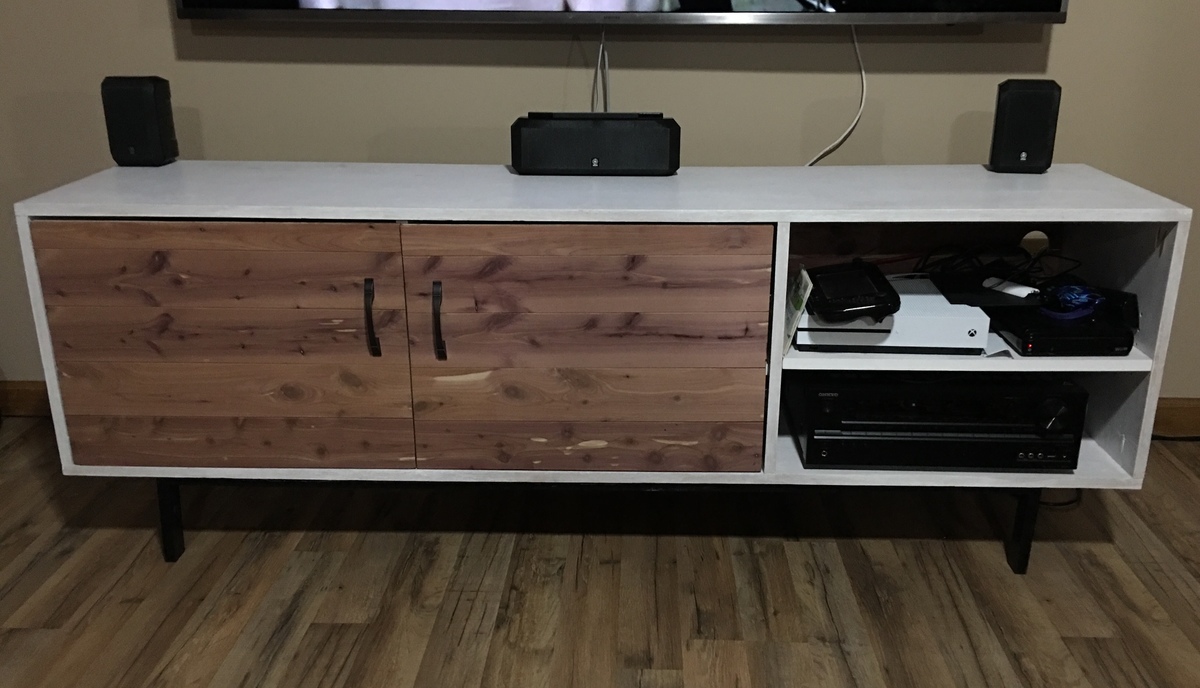
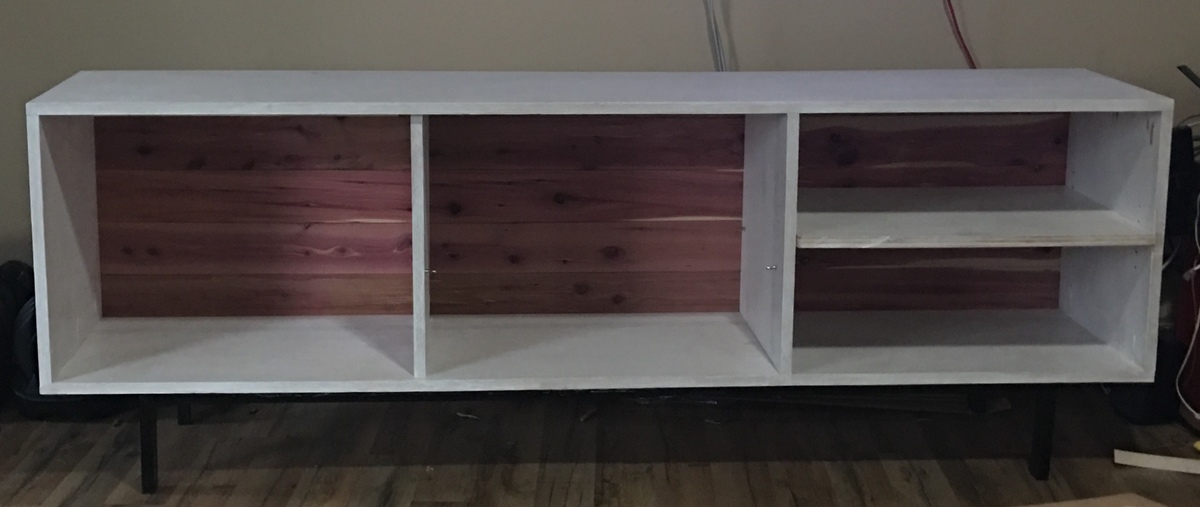
Built this project to organize and store the electronics in the living room. Followed the plans for the most part with a single sheet of 3/4” Maple ply for the console. 2” Oak lumber for the legs. Cedar planks instead of 1/4 plywood for the backing. I glued Cedar planks to 1/2 ply and trimmed for the doors; hidden hinges. I drilled holes for adjustable shelving in each section and bought the shelf pins on Amazon.

Estimated Cost
$150
Estimated Time Investment
Weekend Project (10-20 Hours)
Finish Used
Waterbased Pickling for the console. Edge banding for the visible edges. Cedar planks for back and door.
Recommended Skill Level
Intermediate

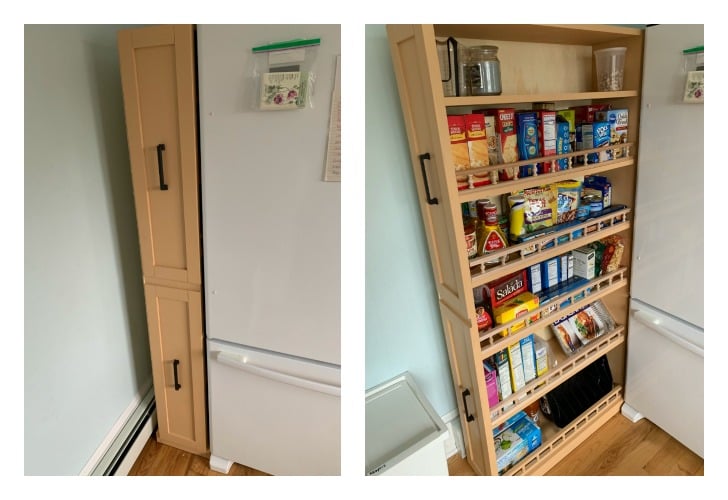
Roller Vertical Pantry

Submitted by MikeW on Mon, 05/06/2019 - 08:49

Made my wife happy!

Estimated Time Investment
Day Project (6-9 Hours)
Finish Used
Paint
Recommended Skill Level
Intermediate

Comments

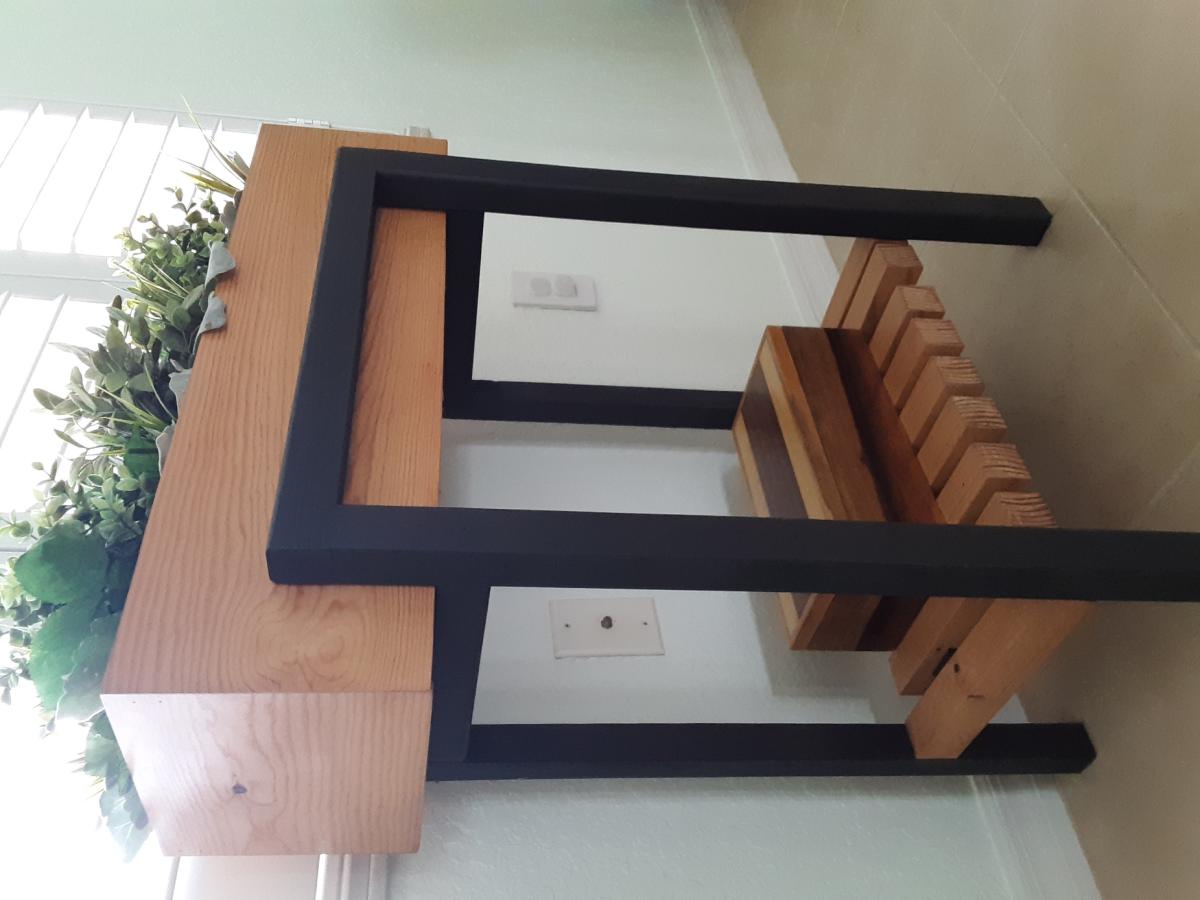
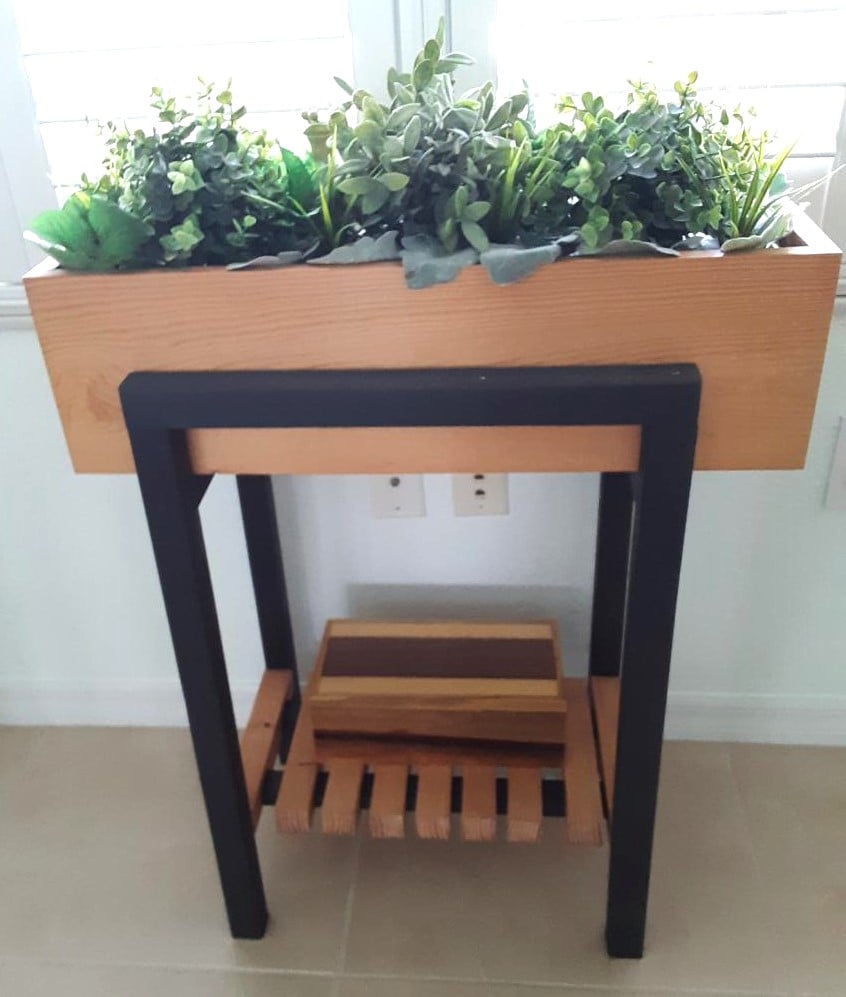
Raised Planter Stand

Submitted by Anonymous (not verified) on Sun, 04/30/2023 - 13:02

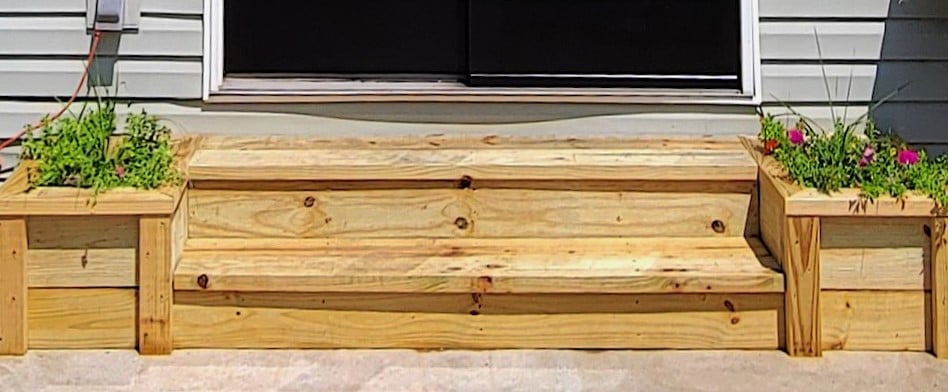
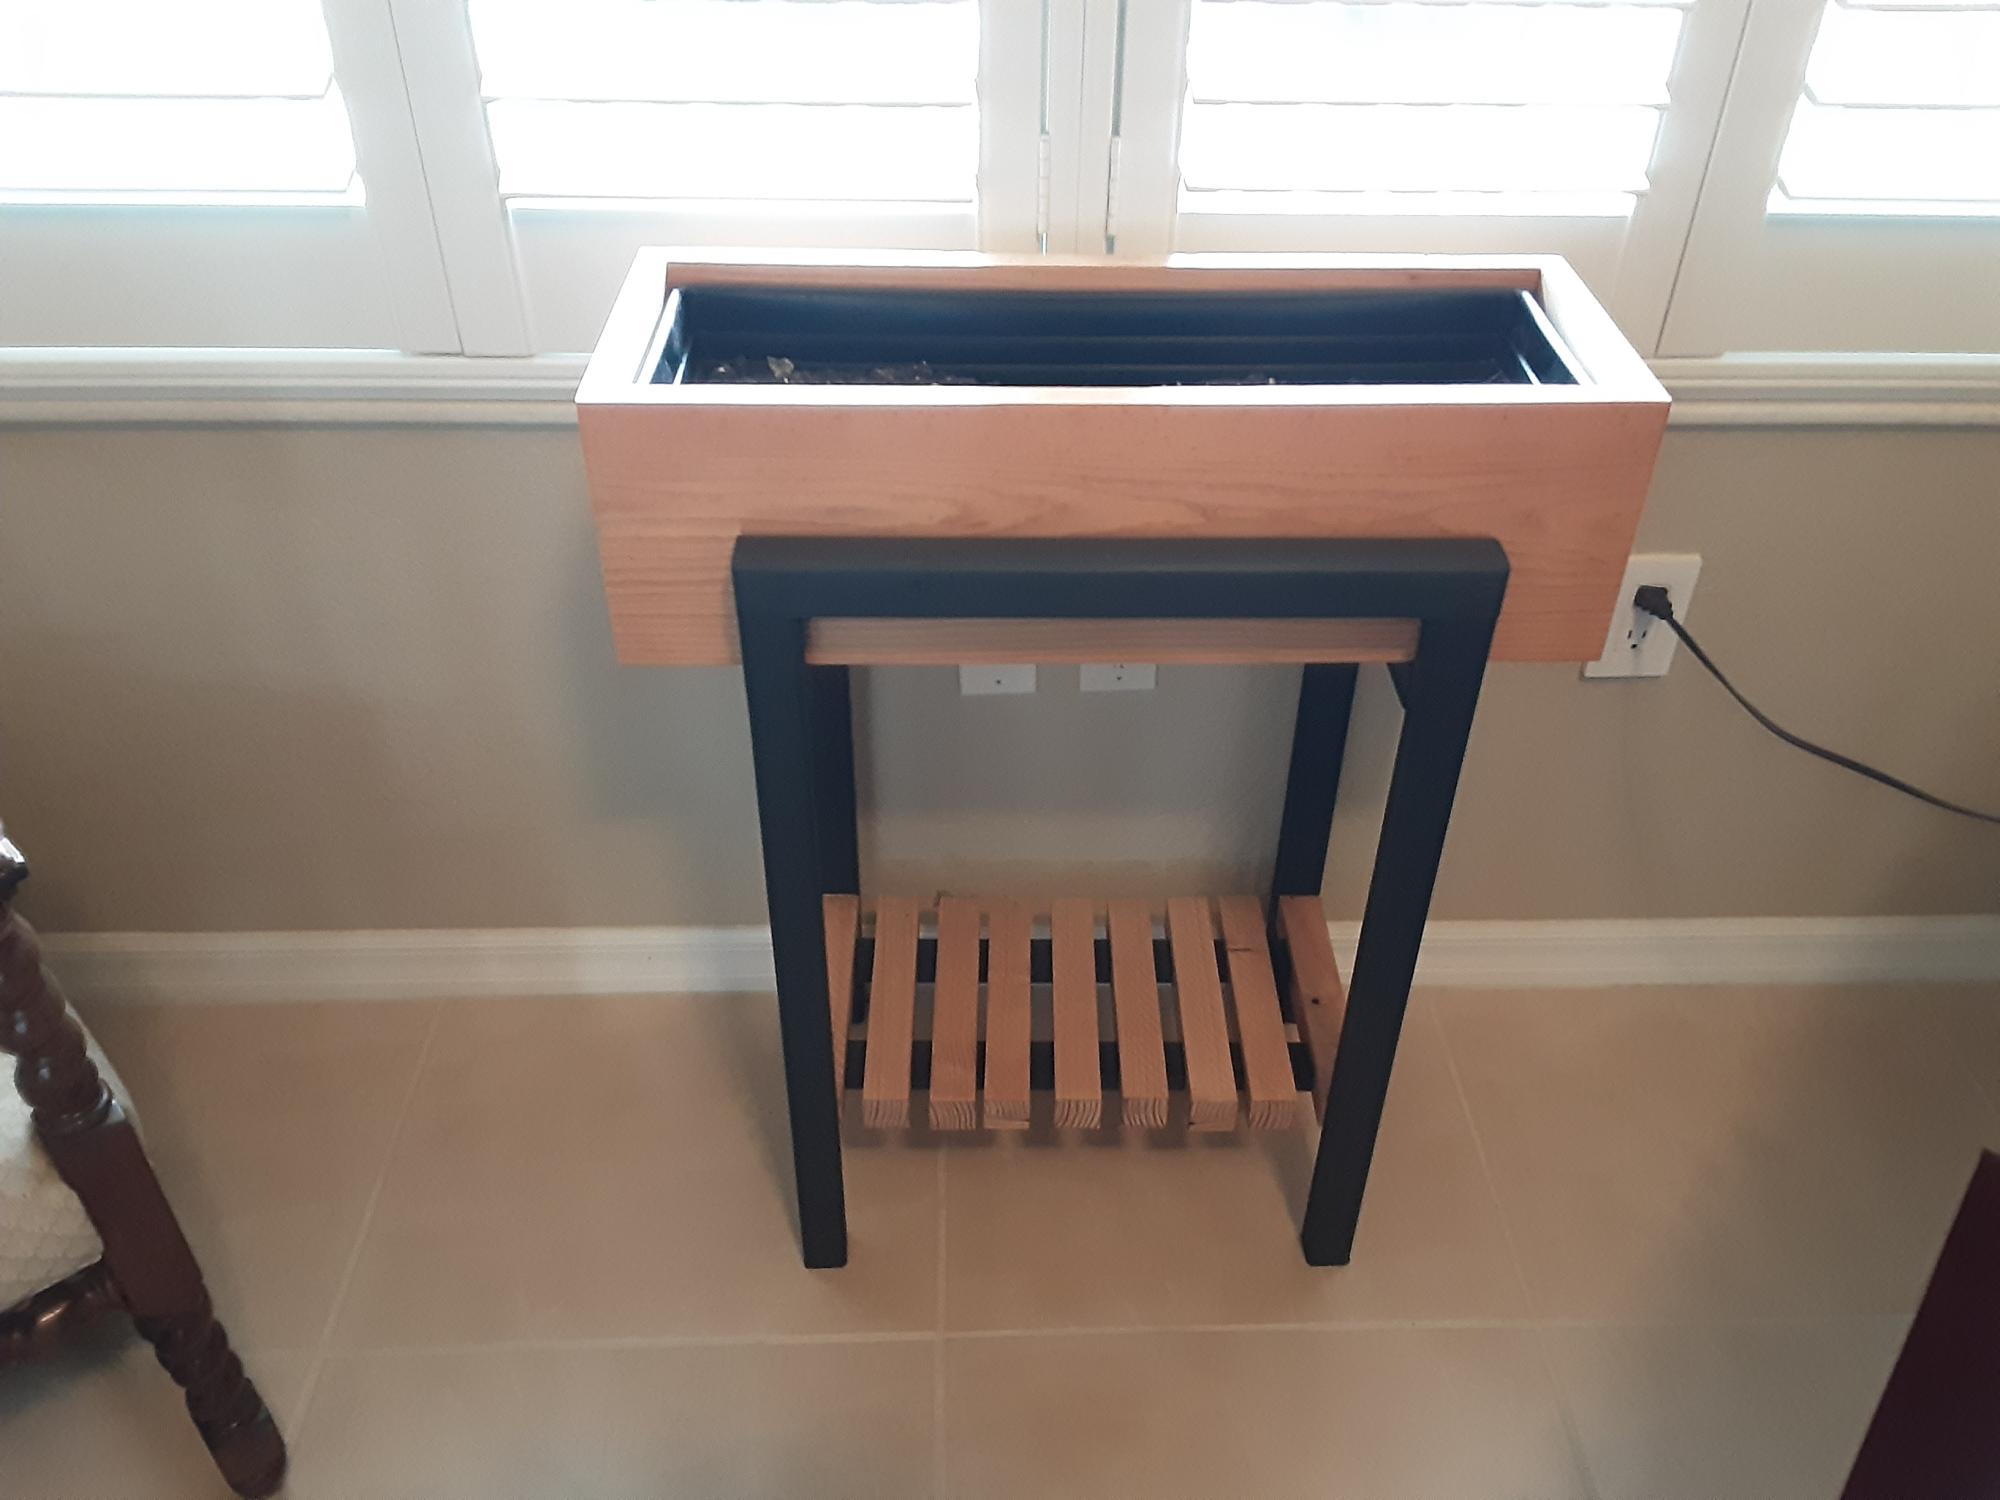
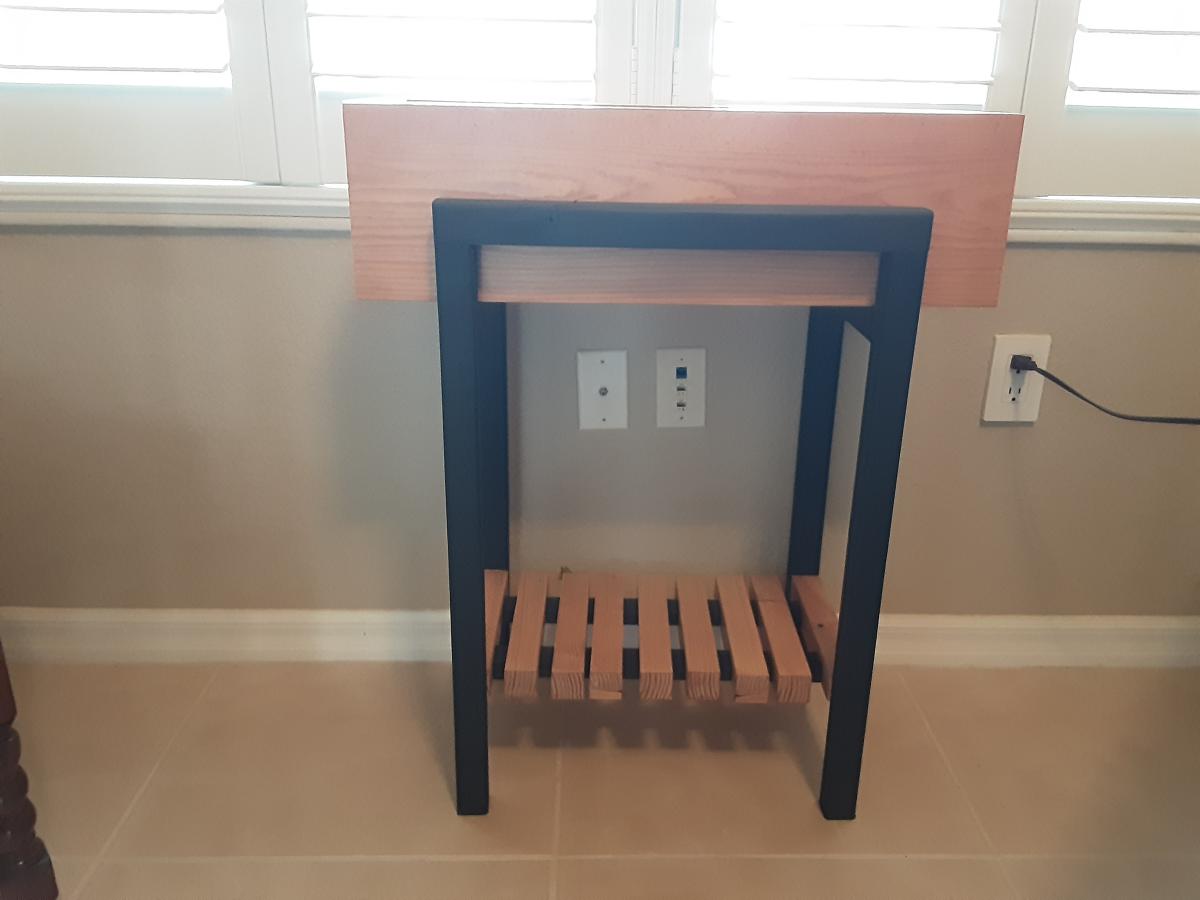
Created the stand for the raised planter using 2X2 assembled using dowels. Painted the stand mixing black with a bit of white to simulate metal. The actually plastic window box fits within a wood open box with mitered corners fir clean log. Bottom of the stand provides a shelf using (9) 2X2s with a dado placed on either end to fit on the runners of the stand.

Built from Plan(s)

Comments

MINI FARMHOUSE BEDSIDE TABLE

Submitted by blacorc on Mon, 11/25/2013 - 05:44

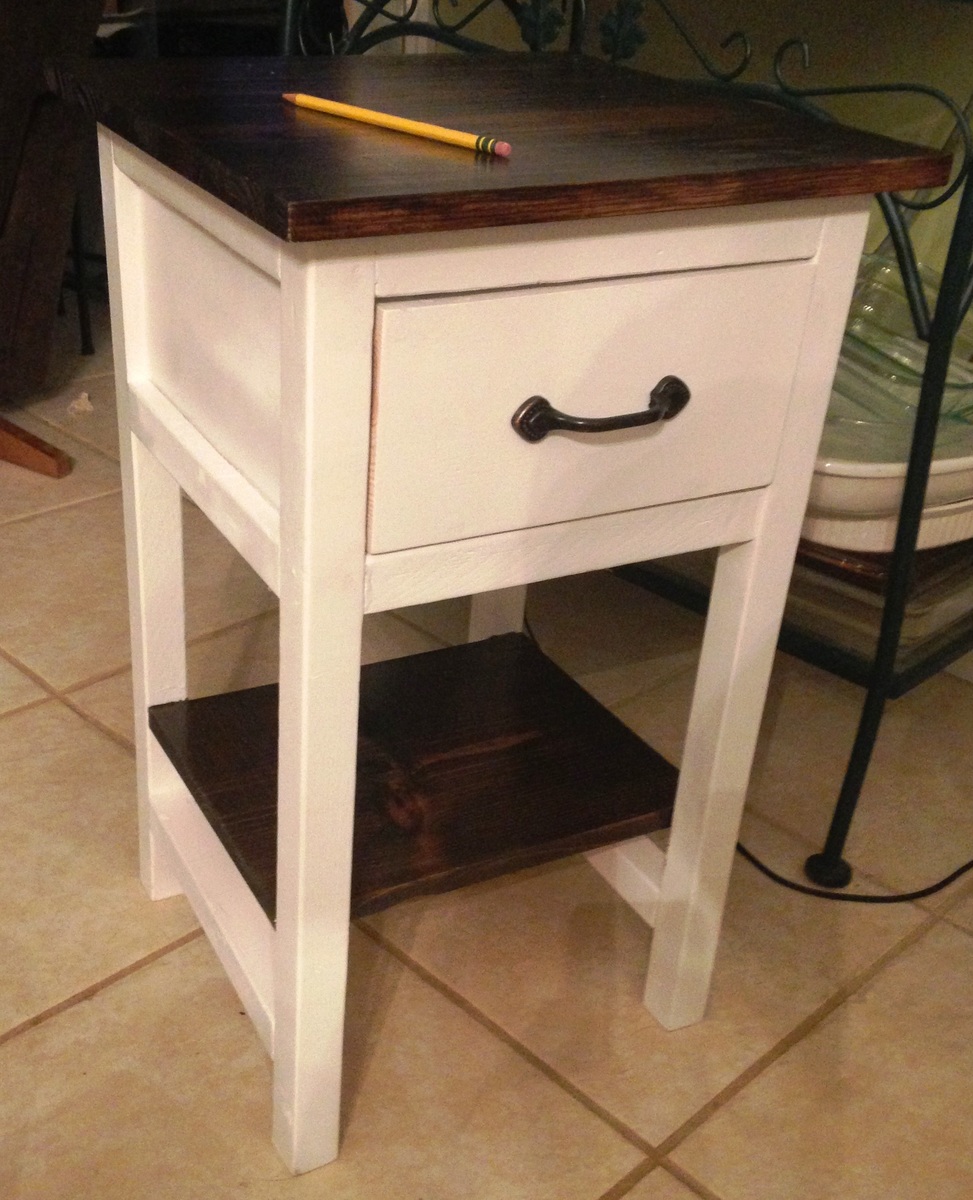
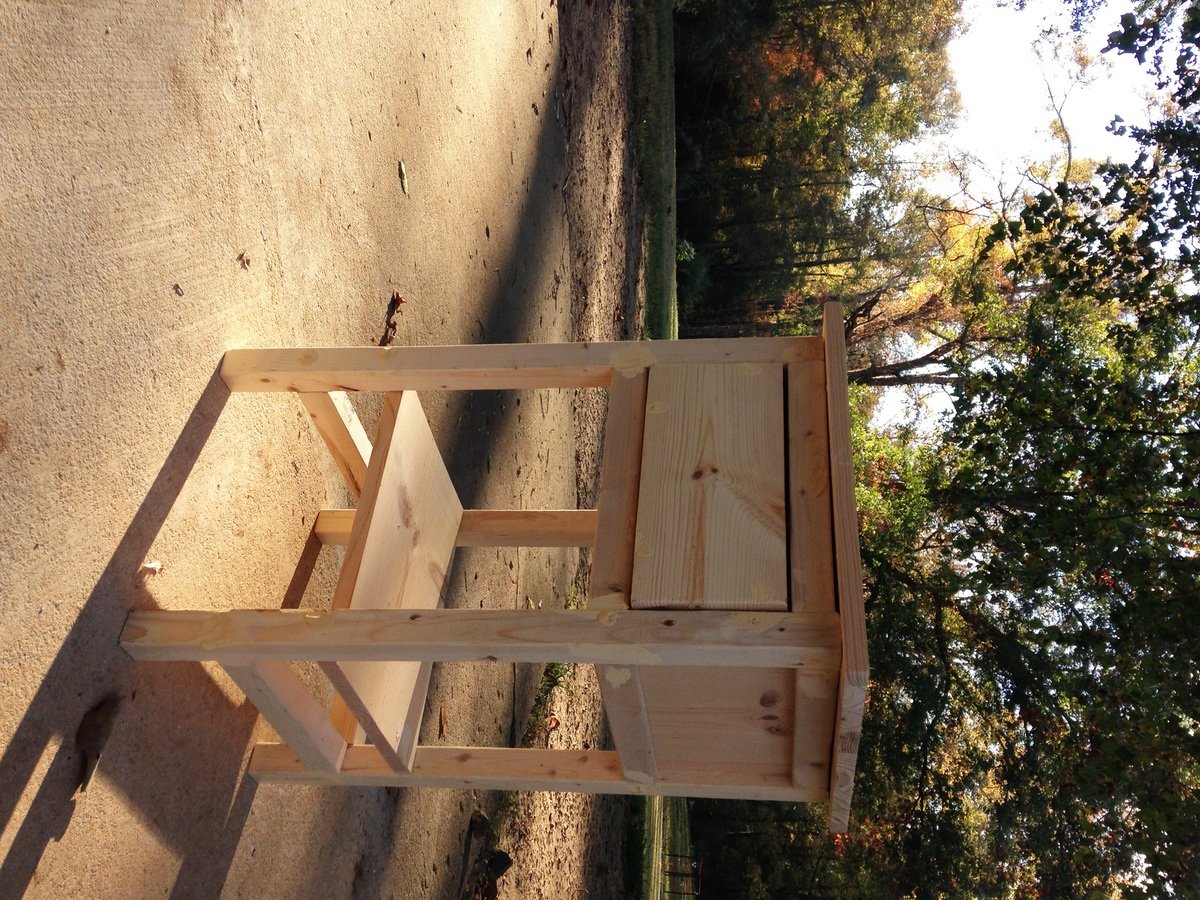
I made the mini farmhouse bedside table as my first attempt at wood-working! It was really fun, and turned out pretty good for my first shot. I need to learn how to cut more consistently and get better at making things square. Thanks for the plan!

Built from Plan(s)
Estimated Time Investment
Afternoon Project (3-6 Hours)
Finish Used
White enamel spray paint and Rust-Oleum stain (Kona color) plus polyurethane coat over the stain.
Recommended Skill Level
Starter Project

6 x 6 Sandbox

Submitted by Anonymous (not verified) on Wed, 03/23/2016 - 20:54

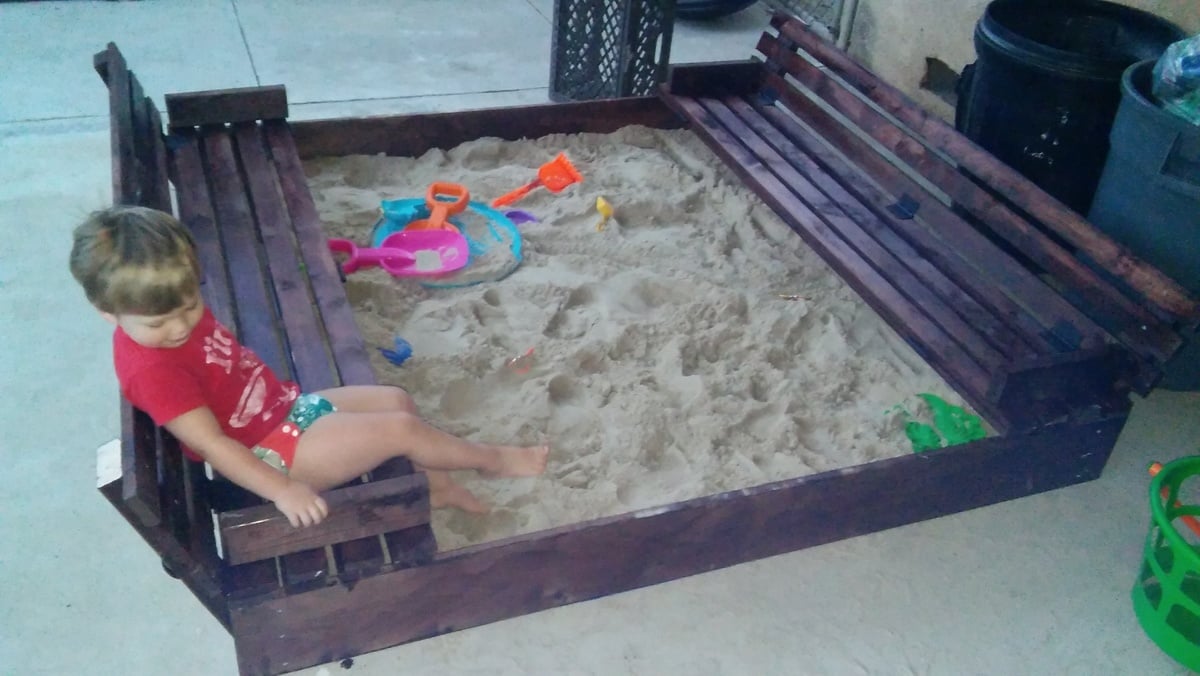
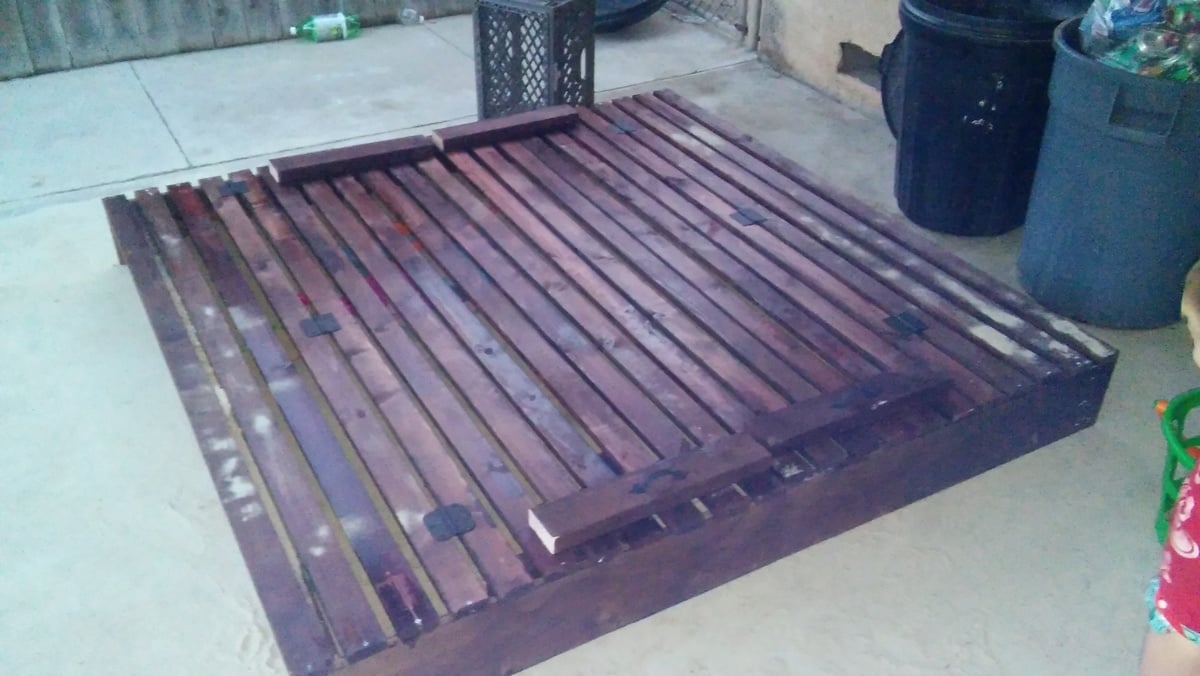
This was our first attempt at making a woodworking project but knew it had to be done to save our plants from our son digging in them. It took us all weekend (mostly because of the staining) but we completed the project in 2 days. We went a little bigger (made a 6 x 6 box) to give our son some room and allow for friends. I loved putting the project together and look forward to many years of use from this box. Thank you for such simple plans!

Built from Plan(s)
Estimated Time Investment
Weekend Project (10-20 Hours)
Recommended Skill Level
Beginner

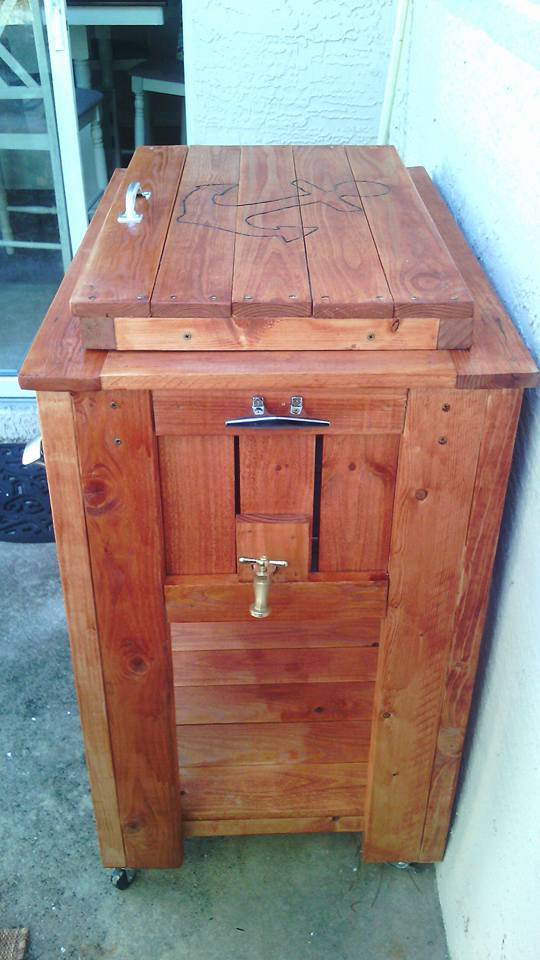
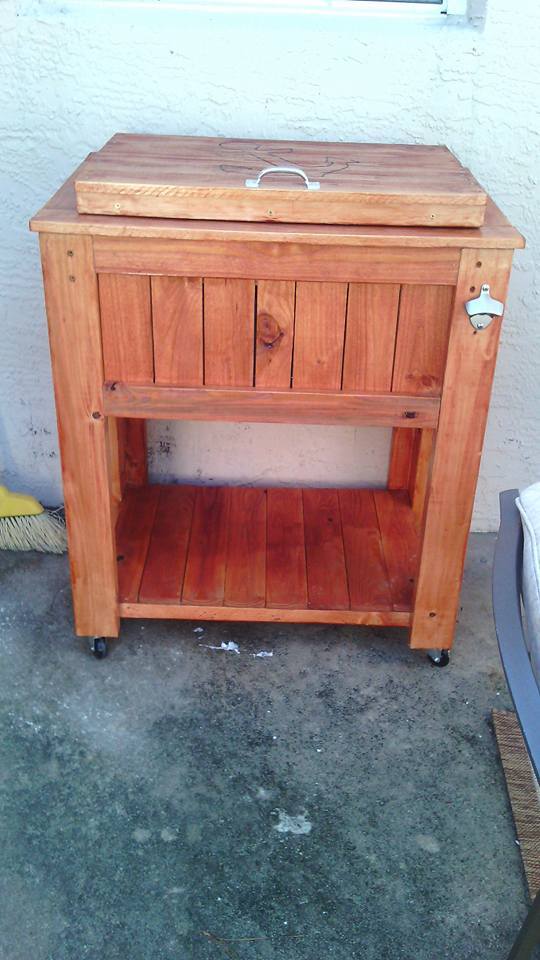
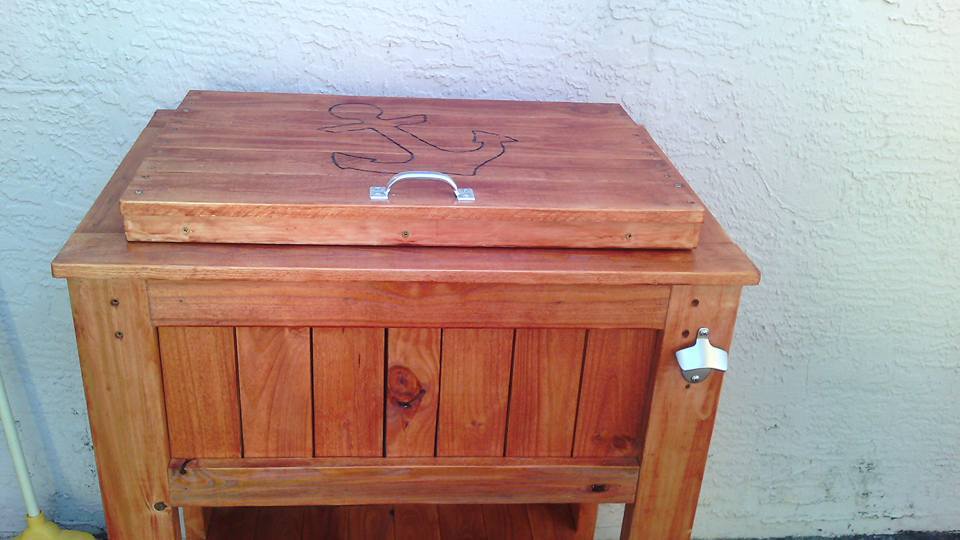
Wooden patio Cooler by DIY Pete

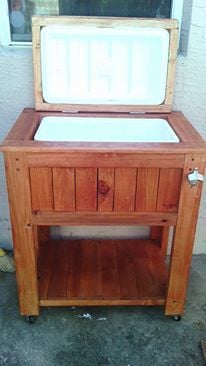
This was my very first project I did. Very proud of how this turned out. Now my sister has one and I am building another one with Mickey Mouse on it for my other sister. I build it in a day with lots of breaks due to 4 teenagers.

Built from Plan(s)
Estimated Time Investment
Day Project (6-9 Hours)
Recommended Skill Level
Beginner

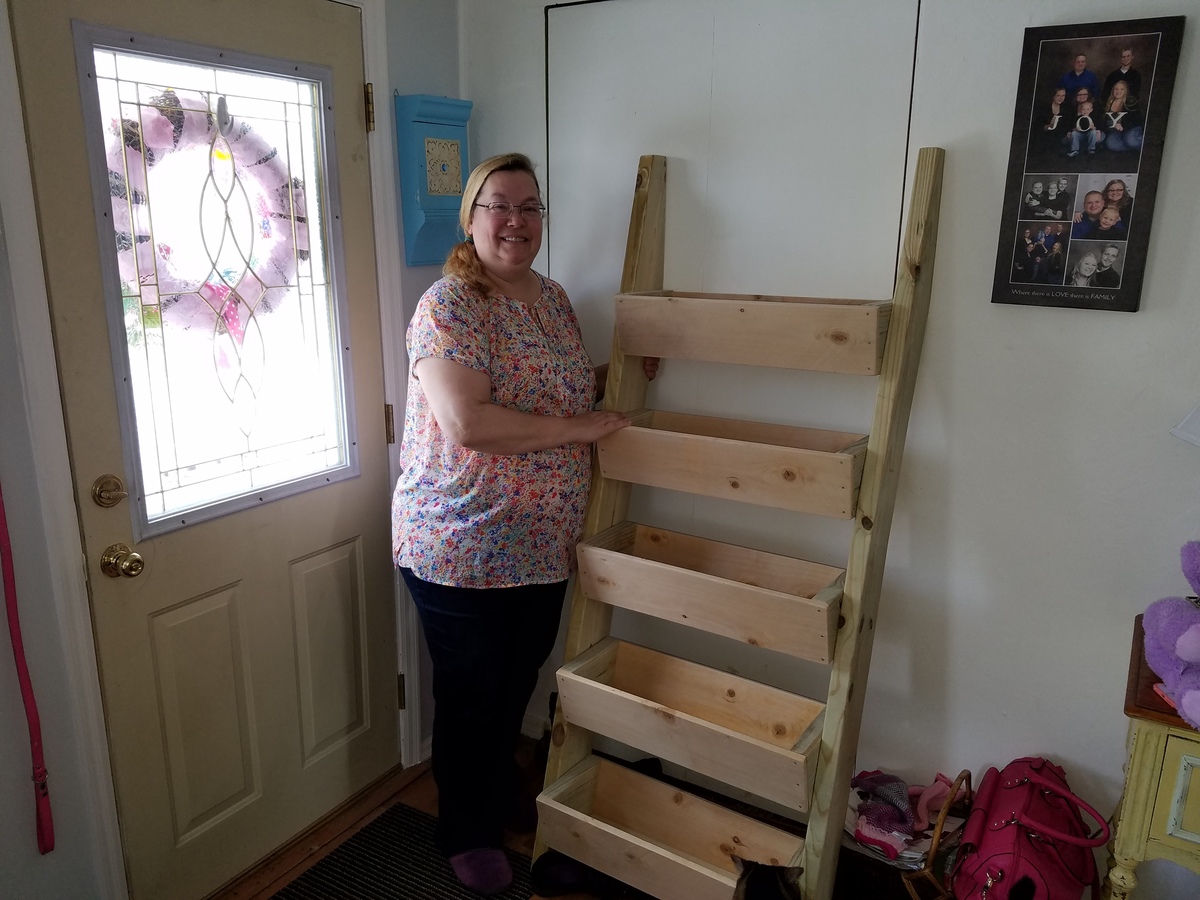
Ladder planter

Submitted by Anonymous (not verified) on Tue, 04/05/2016 - 15:26

Had a blast building this for my mother. Only problem now is everyone in my family wants one!

Estimated Cost
$20
Estimated Time Investment
Afternoon Project (3-6 Hours)
Recommended Skill Level
Beginner

Jelly Cupboard

Submitted by emilyr on Mon, 04/02/2012 - 18:15

Ever since I saw this cupboard, I wanted it. So when I got a free day I jumped at the chance to build it. I love it! The only problem is trying to figure out where I want to put it.

Built from Plan(s)
Estimated Cost
$30-40
Estimated Time Investment
Afternoon Project (3-6 Hours)
Finish Used
Porter's Prussian Blue and black spray paint
Recommended Skill Level
Beginner

Comments

tommyc325

Thu, 02/19/2015 - 19:11

Hi Ana - I dont mean any disrespect but how do you figure this project costs $30-40. I bought just the boards no hardware or plywood and its cost me $60. Pine #2.

Please let me know your thoughts and where you buy your wood from.

Bander

Fri, 02/20/2015 - 12:00

The cost estimate is from emilyr, posted almost three years ago. Lumber prices fluctuate, but $30-40 is still quite low. I estimate about $100 to buy the lumber (pine) on the shopping list from Ana's plan at current prices in my area.

Bed made to order - Twin XL

Submitted by kjoslyn78 on Sun, 12/22/2019 - 10:40

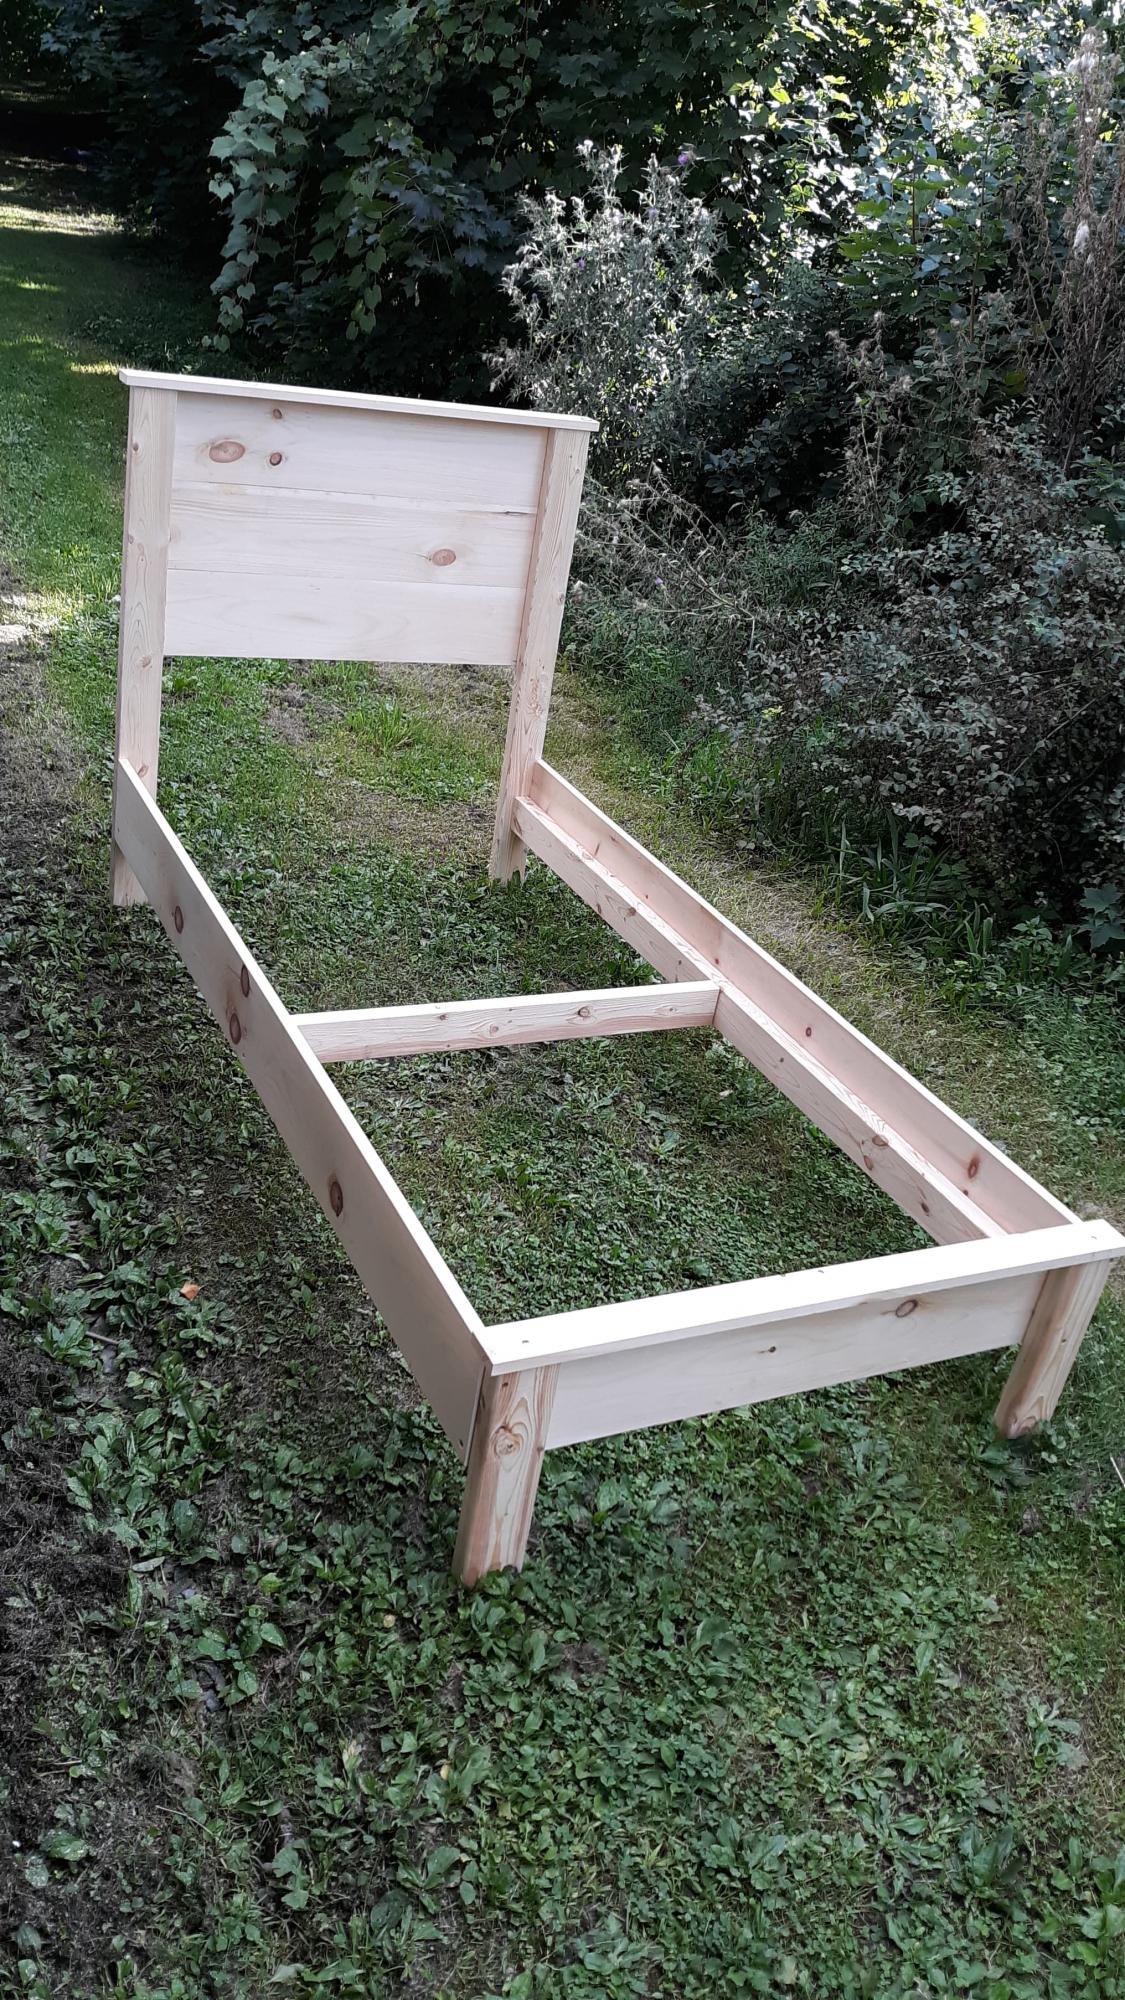
My daughter has a twin XL bed, which we had been unable to find a frame for since getting it. After 2 years of her mattress and box springs on the floor, this plan came out and a plan was hatched to get it made. The biggest change we needed to do different from the twin plans was to make the side rails and the side rail cleats 5" longer to accommodate the XL length. We also added a middle support to keep the side from bowing out, and the cleats are at the bottom of the siderails, as we are using a boxpsring and mattress. 

Estimated Cost
$110
Estimated Time Investment
Weekend Project (10-20 Hours)
Finish Used
I dont remember what we finished with, but the kid spilled half the can in the grass :)Photo is after sanding, and before finish
Recommended Skill Level
Beginner

Comments

amymarie02

Mon, 03/28/2022 - 09:47

Hi do you have the measurements and what to buy for this bed frame? We also have a twin xl mattess and cannot find a frame anywhere

Under Cabinet Spice Rack

Submitted by Anonymous (not verified) on Mon, 09/11/2023 - 13:06

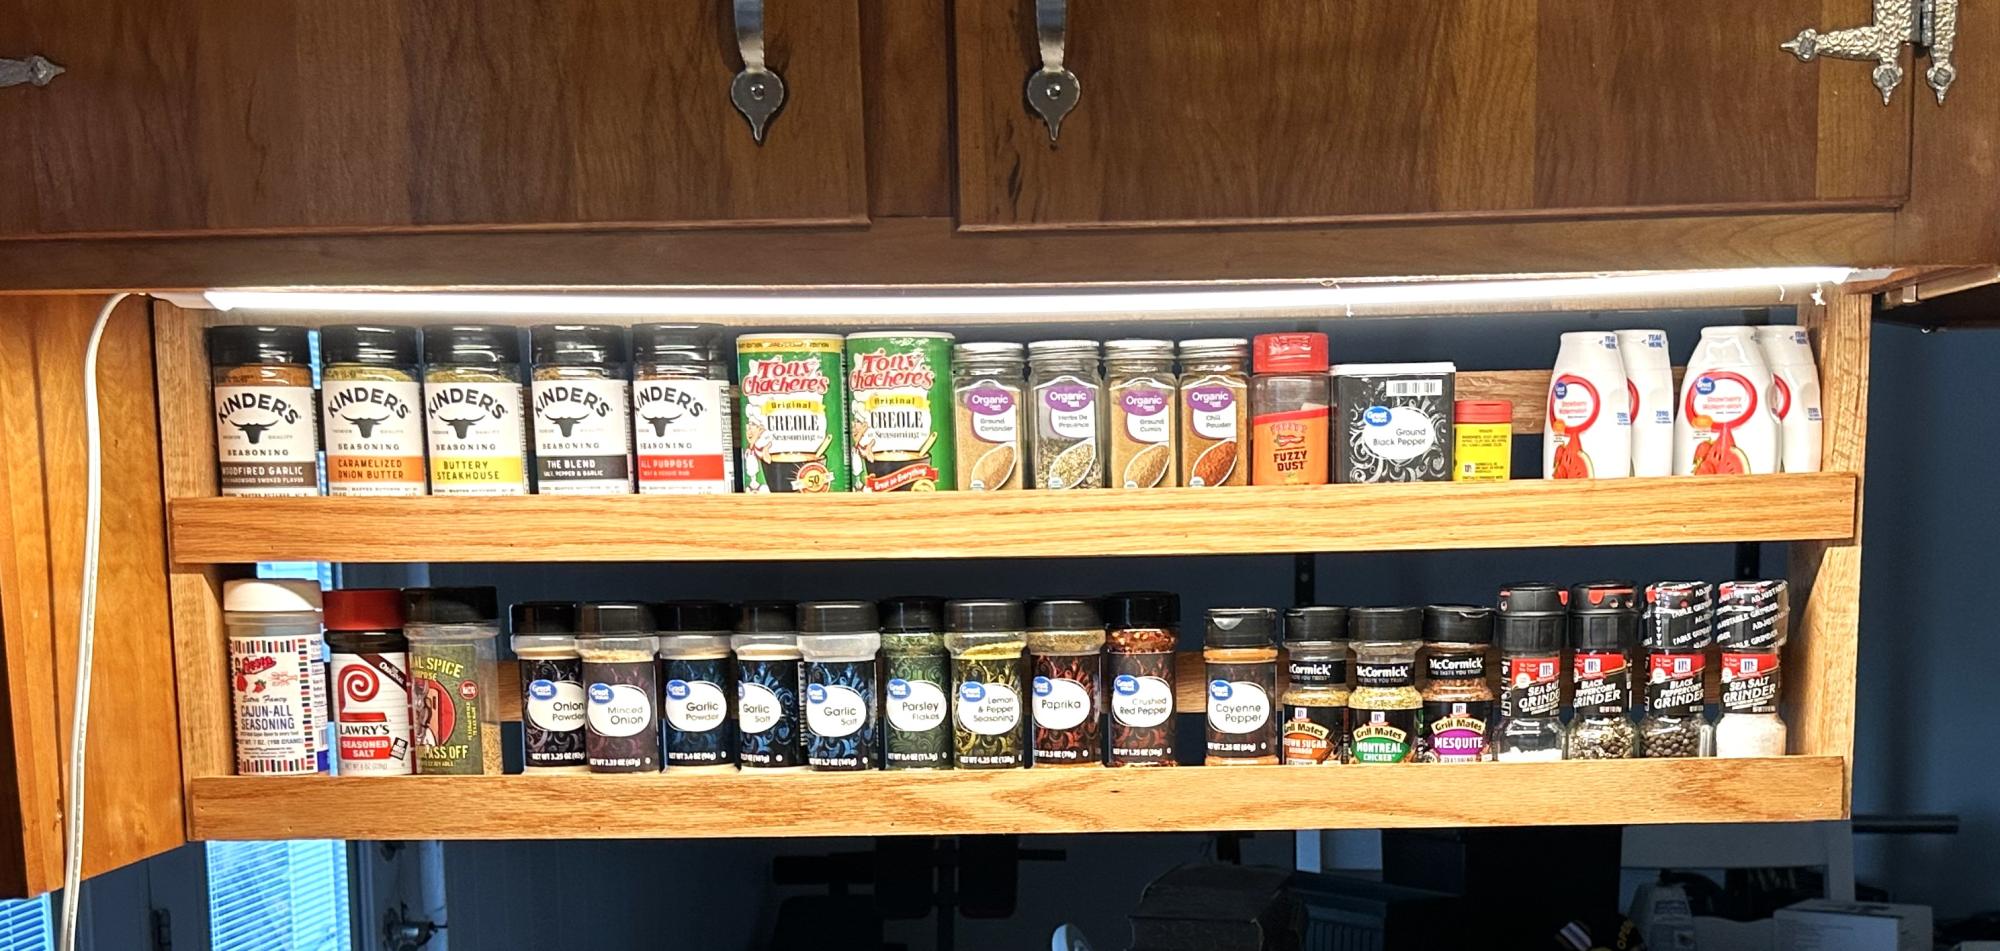
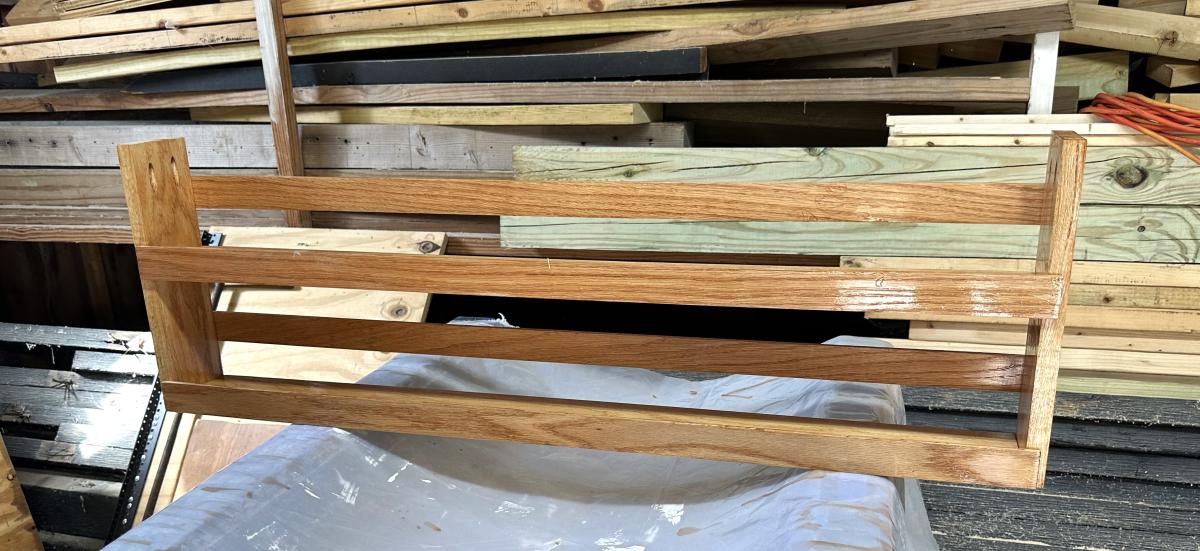
I needed to clear out a shelf in my cabinet and add a spice rack so I could actually see everything. This came out perfect! Made of Oak and stained with classic oak. Very simple to build and hung with pocket screws

James Breadbox

Built from Plan(s)

DIY Chicken Coop

Submitted by Anonymous (not verified) on Mon, 10/30/2023 - 17:55

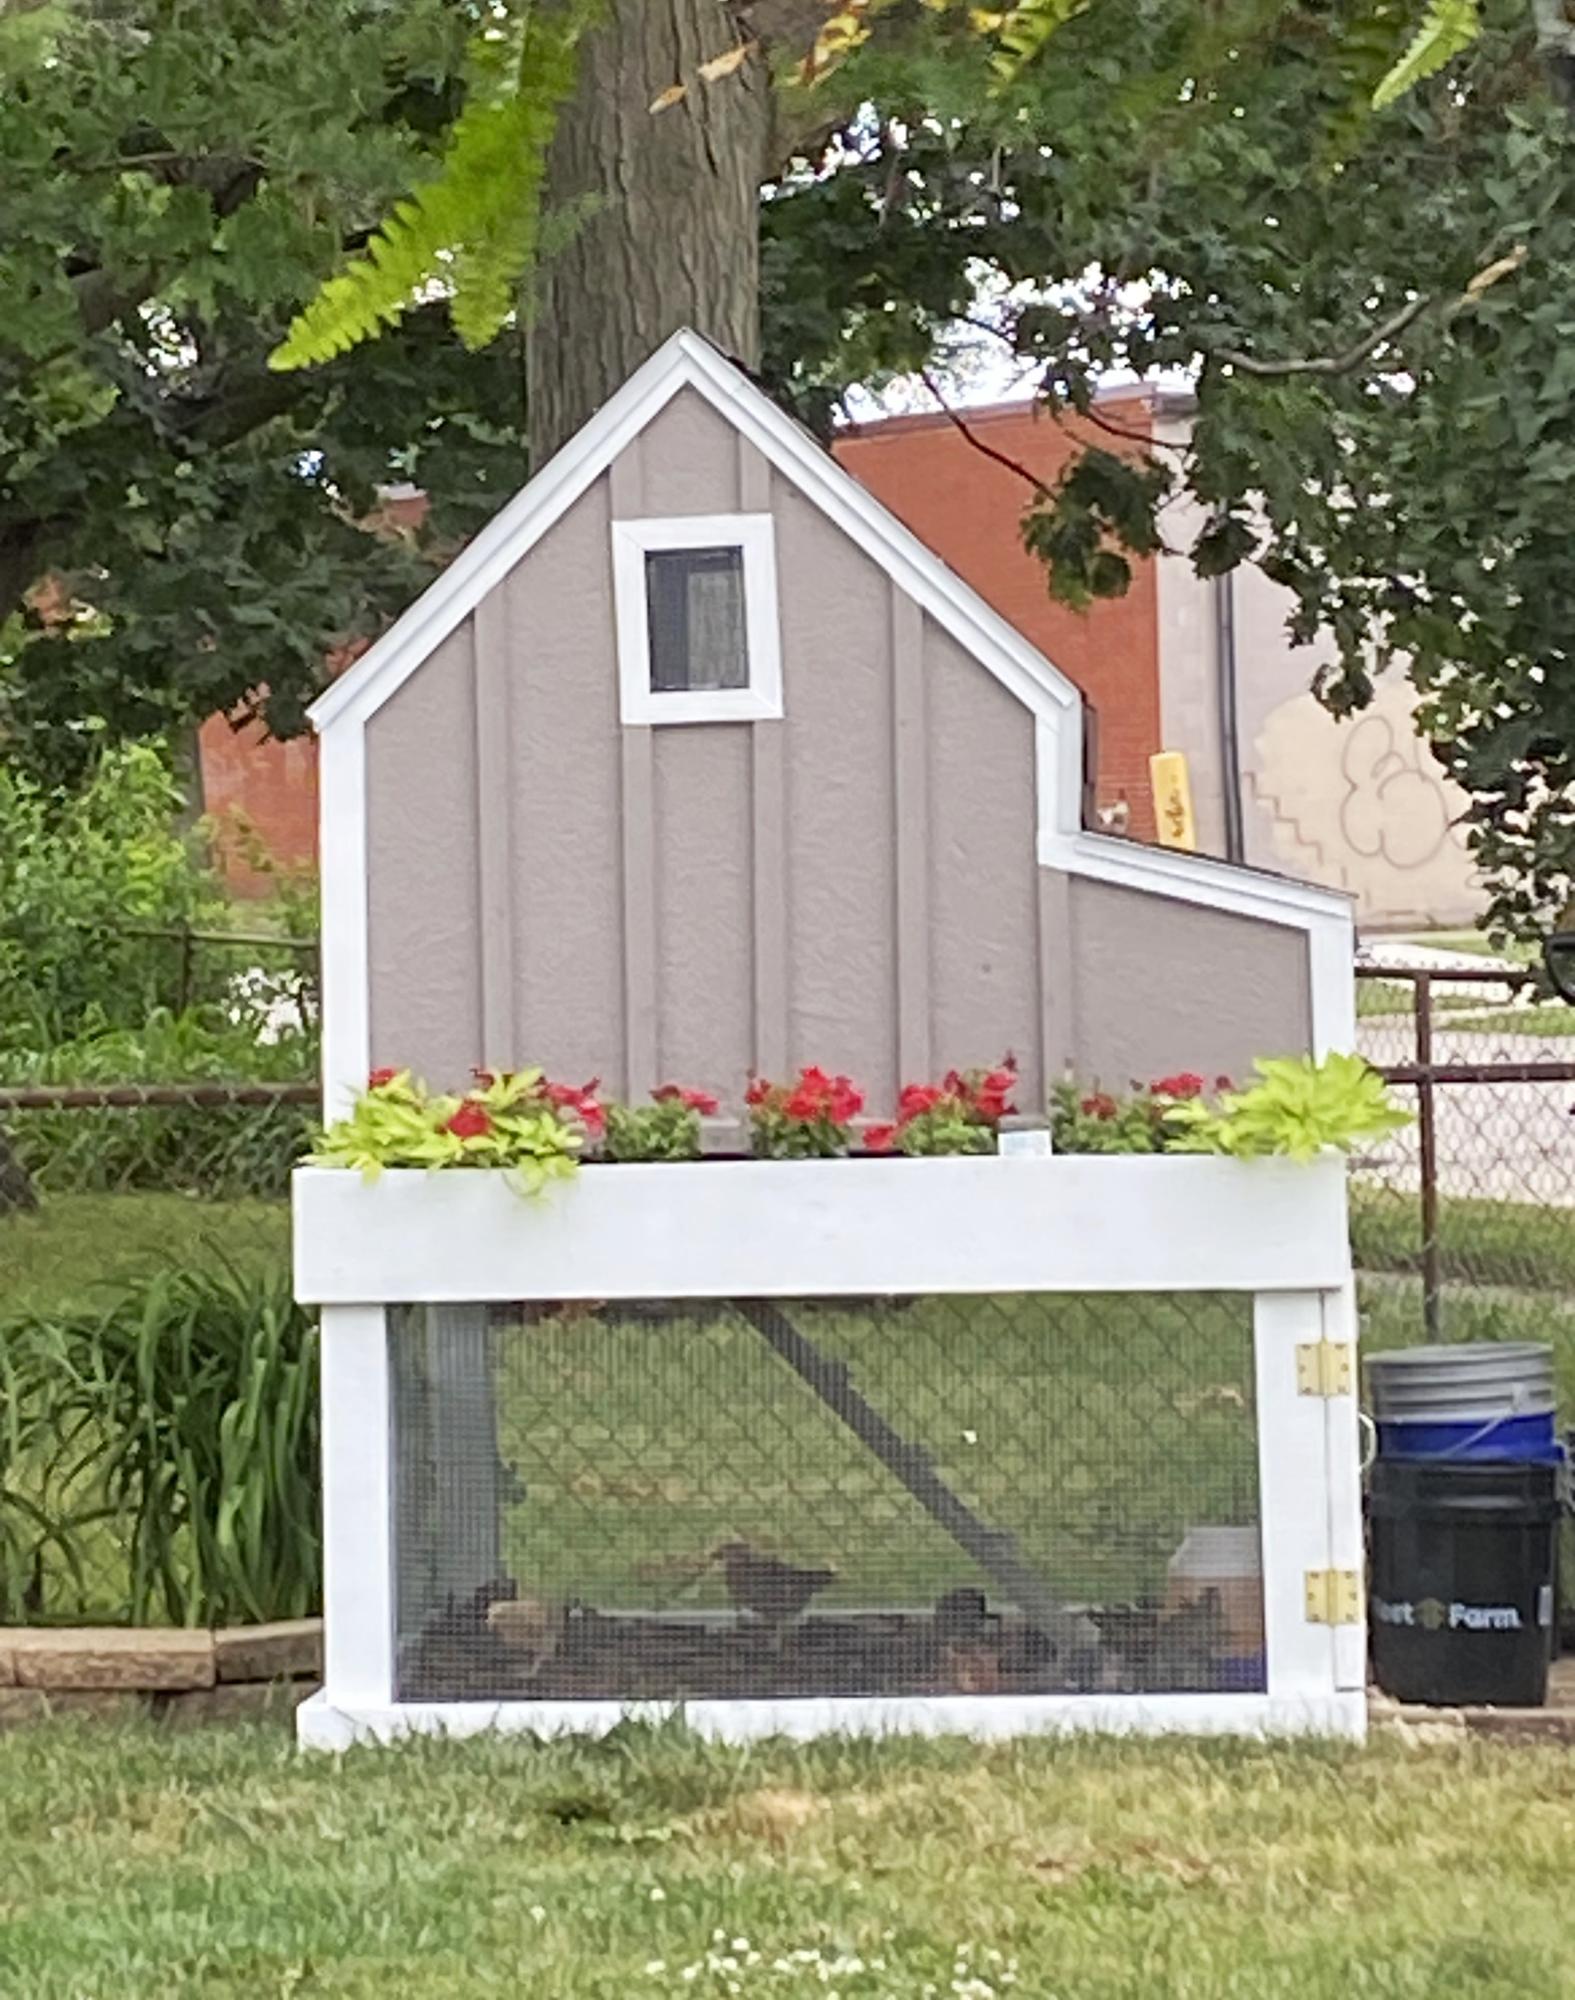
As a first time chicken farmer, I have four chickens now fully grown. It was 29 degrees in Iowa this morning, wondering if I should wrap the lower portion of the coop on three sides with visqueen, and should the roost windows be covered? I have straw bales to roost on and add where needed . I don’t plan to heat the coop . Any help will be appreciated.

[email protected]

Seasonal And Holiday

DIY Mantel with Paver Hearth

Submitted by Anonymous (not verified) on Sun, 12/31/2023 - 13:38

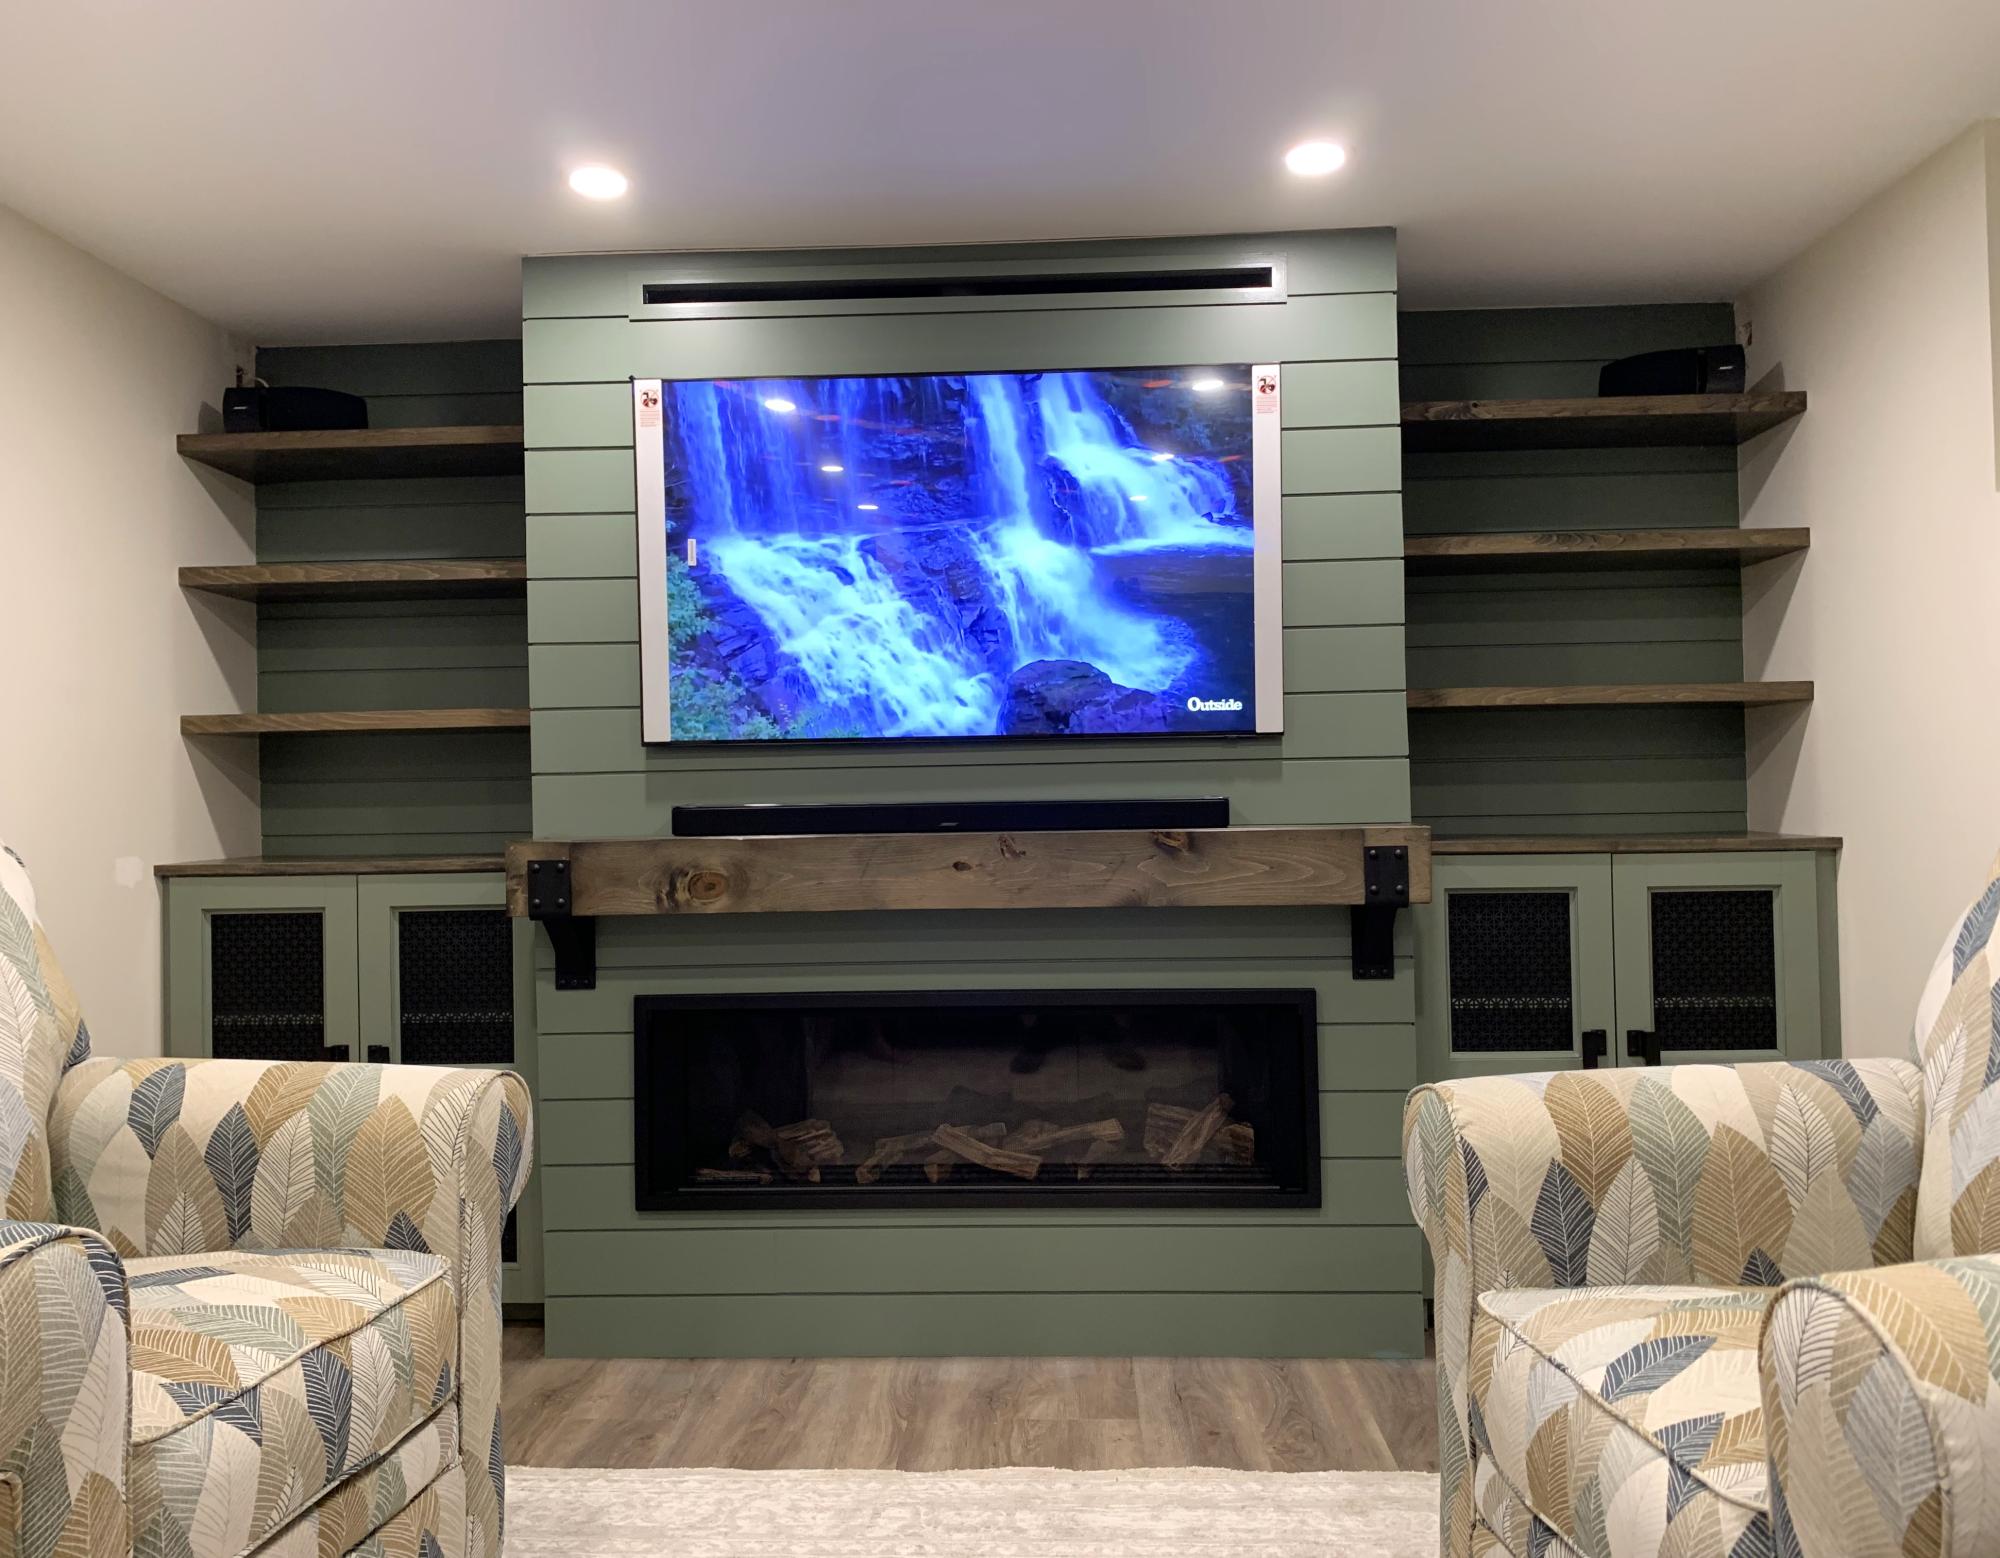
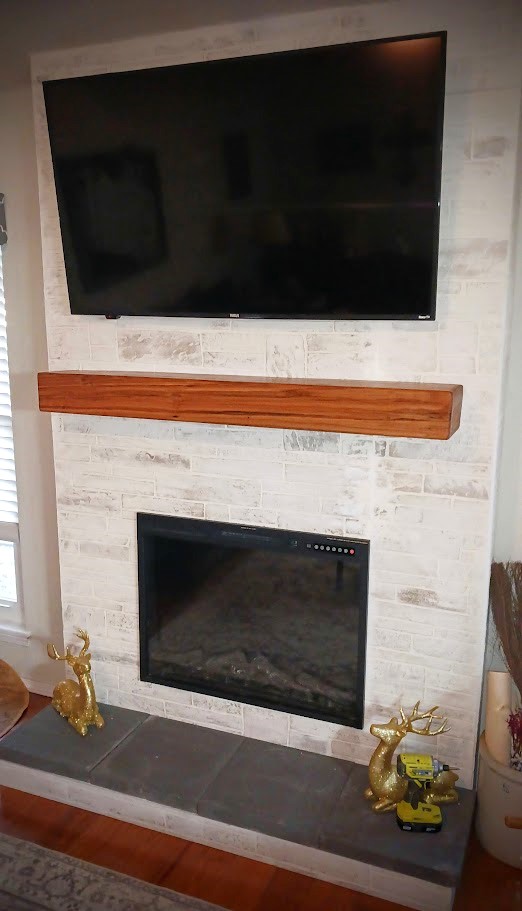
Our old firebox had rusted out through improper installation. So, we took it out and built a 7” bump out directly in front of it. The best part was, the new electric fireplace fit the old firebox location perfectly. Since my wife wanted a stone appearance, we purchased two ¼” 4’x8’ decorative panels that she then “schmeared.” For the mantle, we used pin oak milled from our property. I used three boards to create a faux beam to provide the look we are very happy with. The hearth consists of four walkway pavers.

Doug Siemens

Round X Base Coffee Table

Submitted by jlmcgruder on Thu, 07/05/2012 - 17:56

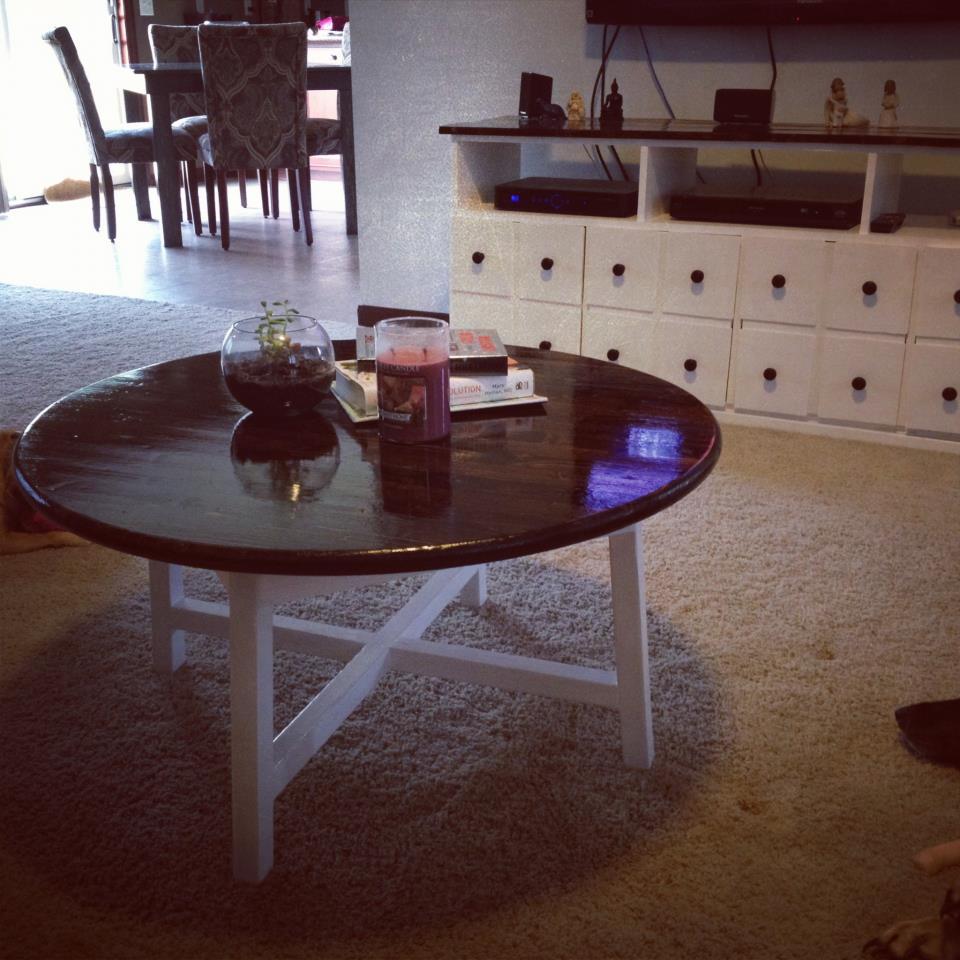
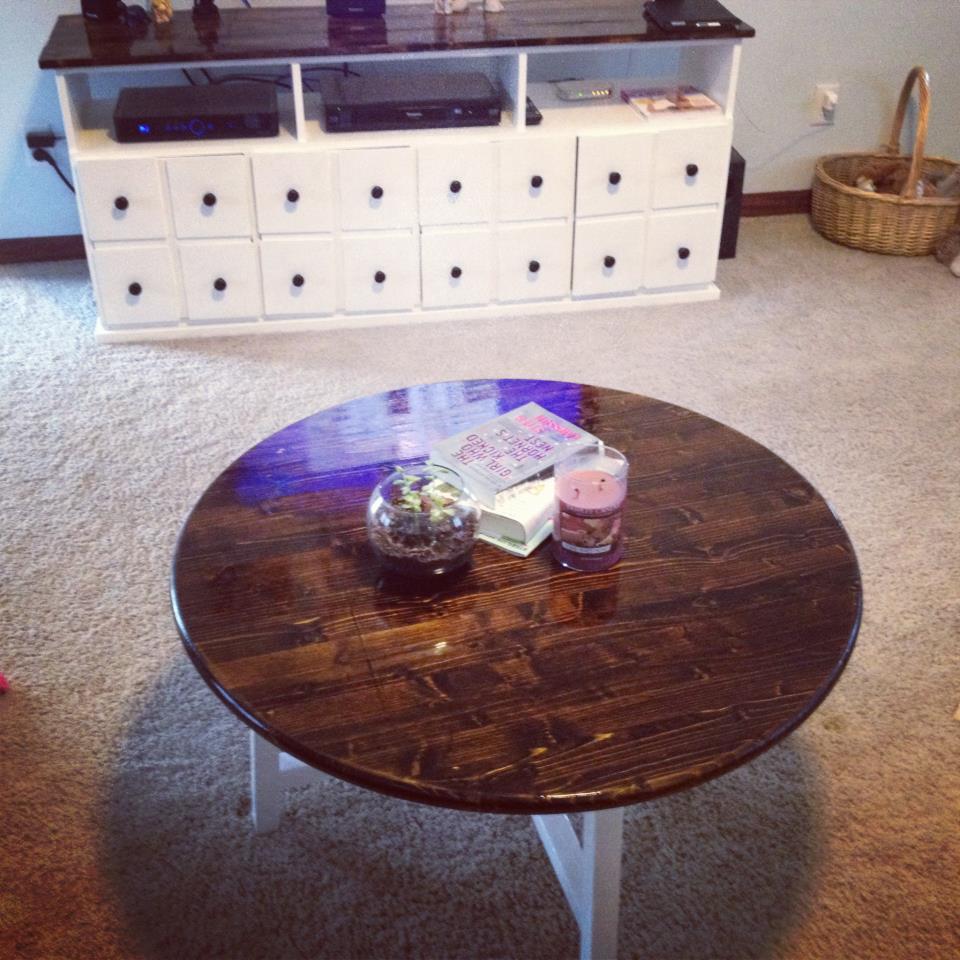
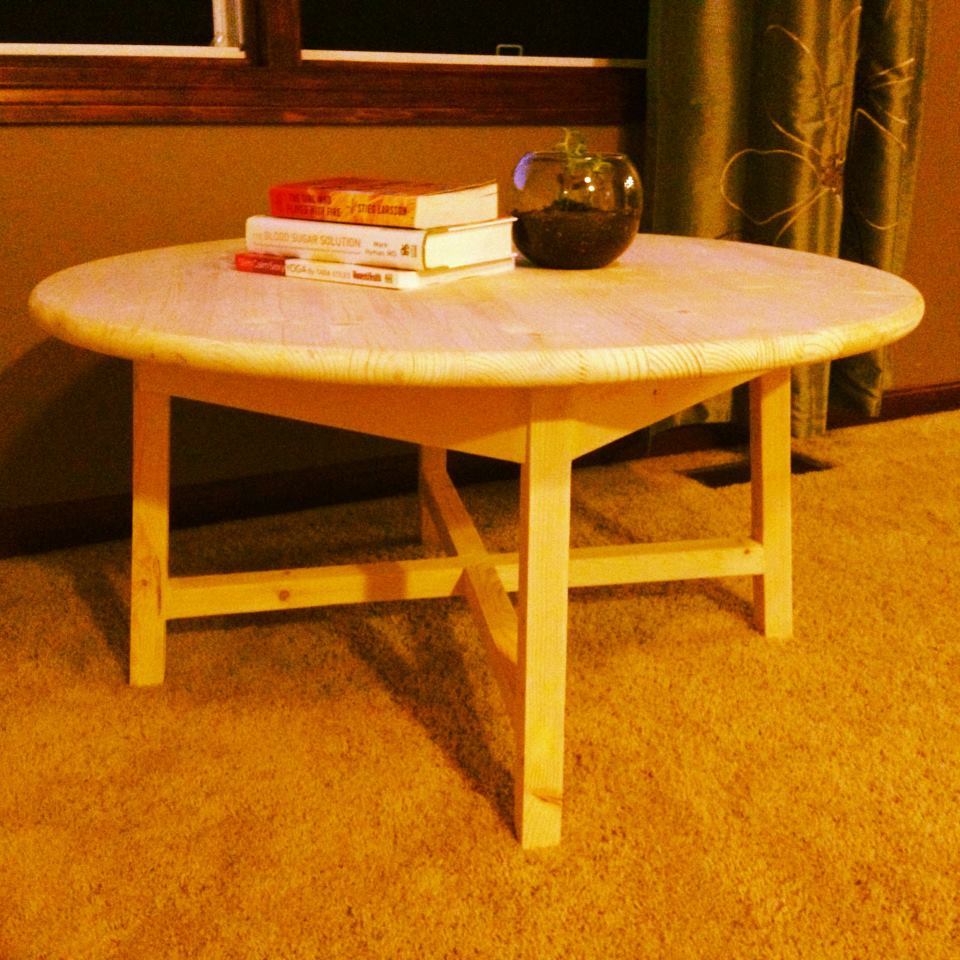
I modified this design to fit the specifications I wanted for a coffee table. I think it worked out perfectly for what I wanted. I made the base completely out of scrap I had laying around, and I bought a 36" round top from my local Lowe's store.

Built from Plan(s)
Estimated Cost
$50
Estimated Time Investment
Afternoon Project (3-6 Hours)
Finish Used
The base is behr white gloss paint and the top is walnut stain with gloss poly.
Recommended Skill Level
Intermediate

Comments

silver202

Tue, 01/05/2016 - 17:31

do you think i could get the modified peramiters from you? It looks amazing and i really like this table design but its too big for what im looking for. Do you think you could help me out?

Farmhouse Table & Benches

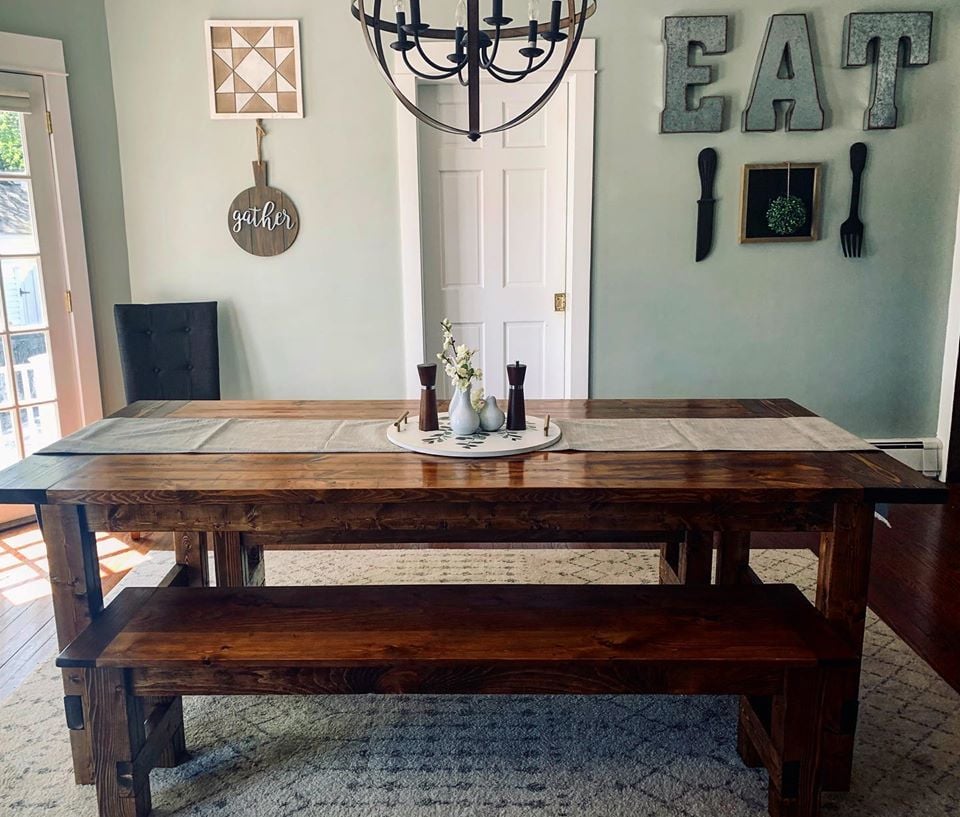
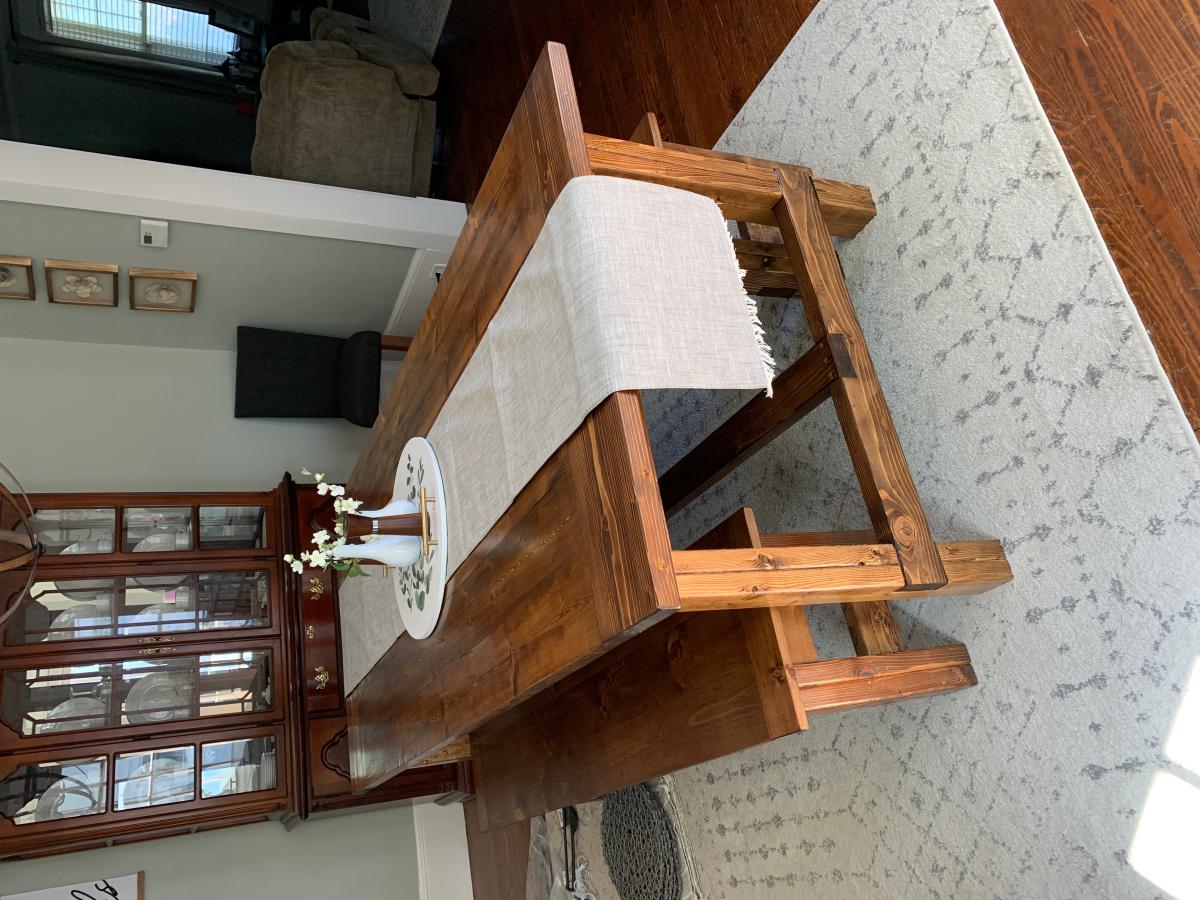
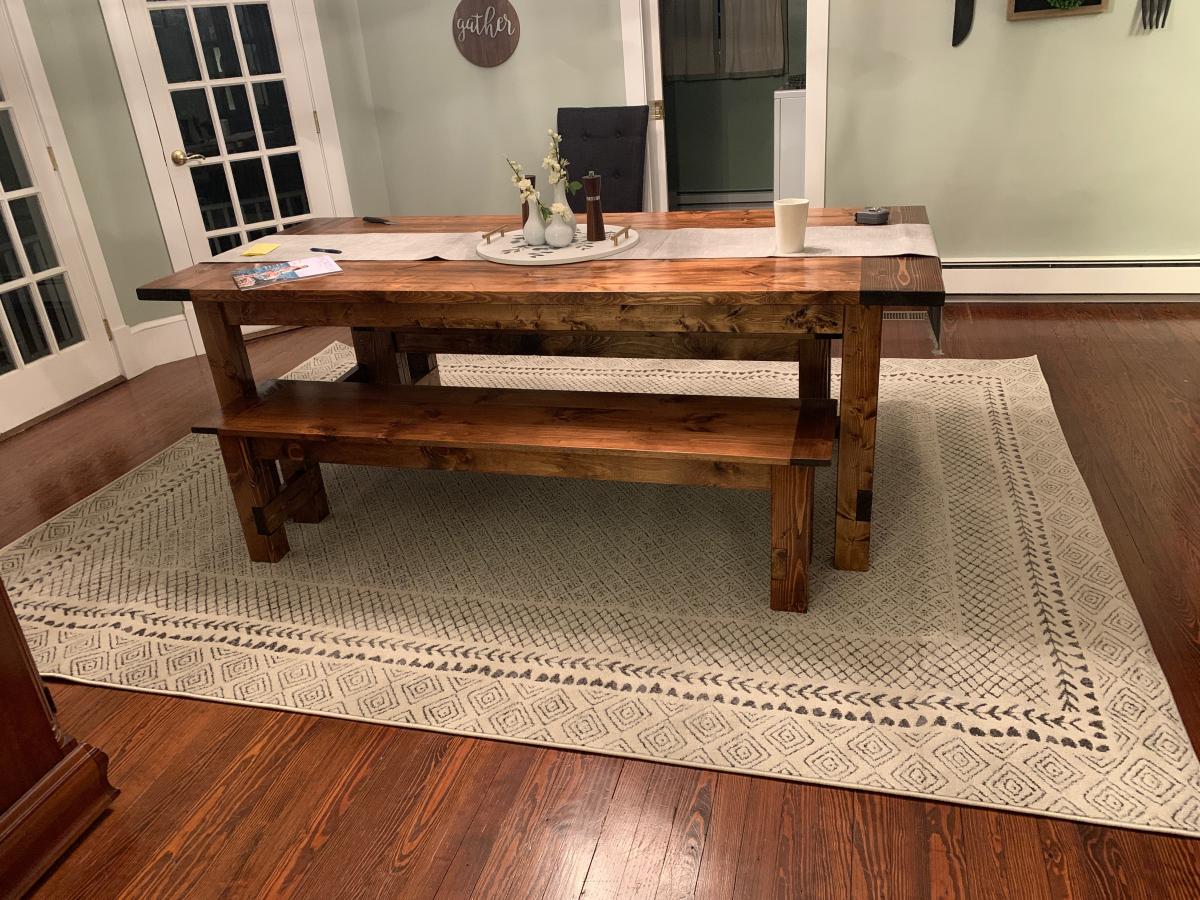
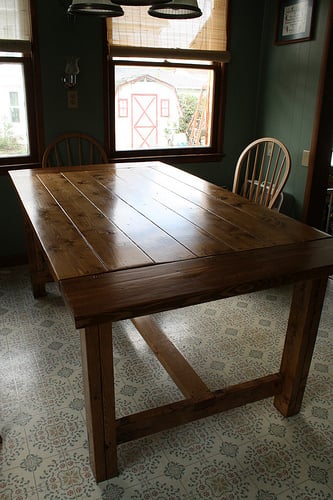
This was my first time building a piece of furniture on my own, so it was a lot of learning and trial and error on my part. The plans were fantastic for the most part (I thought the bench plans could have used a little more specification and couldn't seem to find a pocket hole version). We completed the project over the course of a couple months, simply because we revisited it when time allowed. It could easily be done in a much shorter period. One thing I will say is this -- add a step to the plans and utilize a planer and jointer on all of the boards. I had the table put together at one point and whew, I wasn't sure what I did wrong, and I went back and had followed all the steps. While this might sound obvious now, remember it was my first time doing something like this, so I followed each step to a T. I also used a belt sander on the table and bench tops to level things out even more, and went across the grain to make a smooth surface with an 80 grit belt, then hand sanded with a sanding block with 120, 220, and 320 grit. I also modified the bench plans to cut about 5 inches off so that they would fit under the table.
We used Minwax pre-stain conditioner, then one 10 minute application of Mixwax Honey stain, followed by Mixwax Satin Poly. It turned out great and we are already moving on to other projects!

Estimated Cost
About $400 inclusive of lumber, stain, poly, and sanding.
Estimated Time Investment
Week Long Project (20 Hours or More)
Finish Used
Minwax Pre-Stain Conditioner
Mixwax Honey (10 minutes then wipe off)
Mixway Satin Poly (3 coats, sand with 600 grit after coat 1, 800 grit after coat 2).
Recommended Skill Level
Beginner
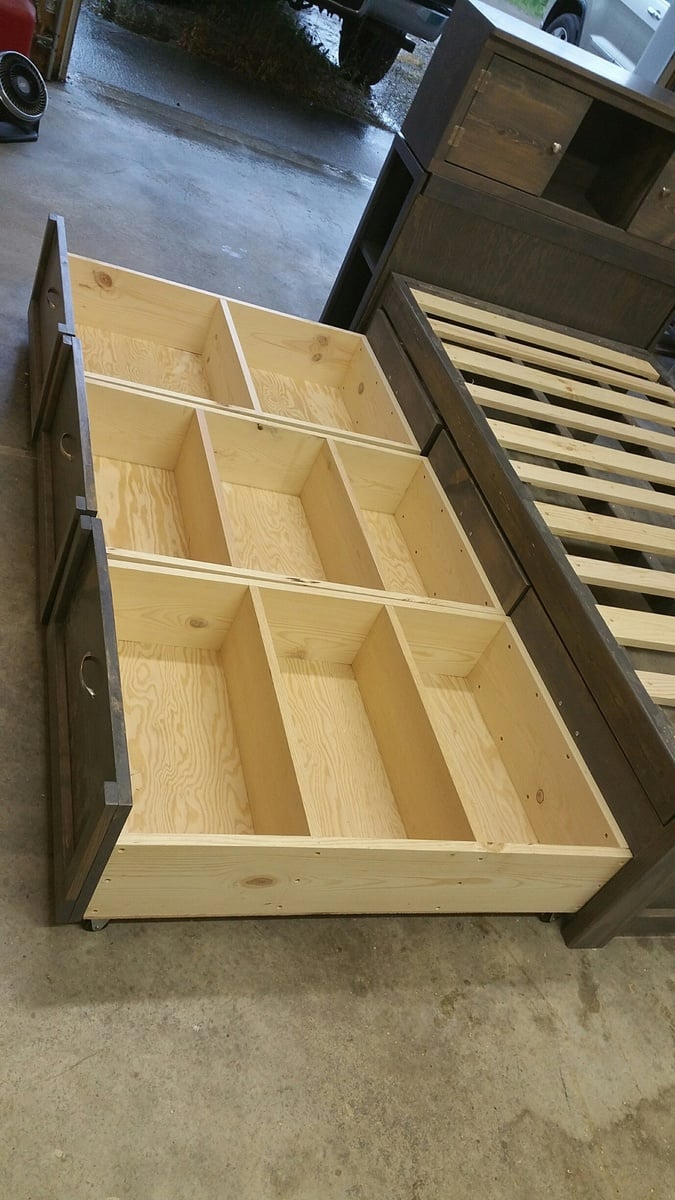
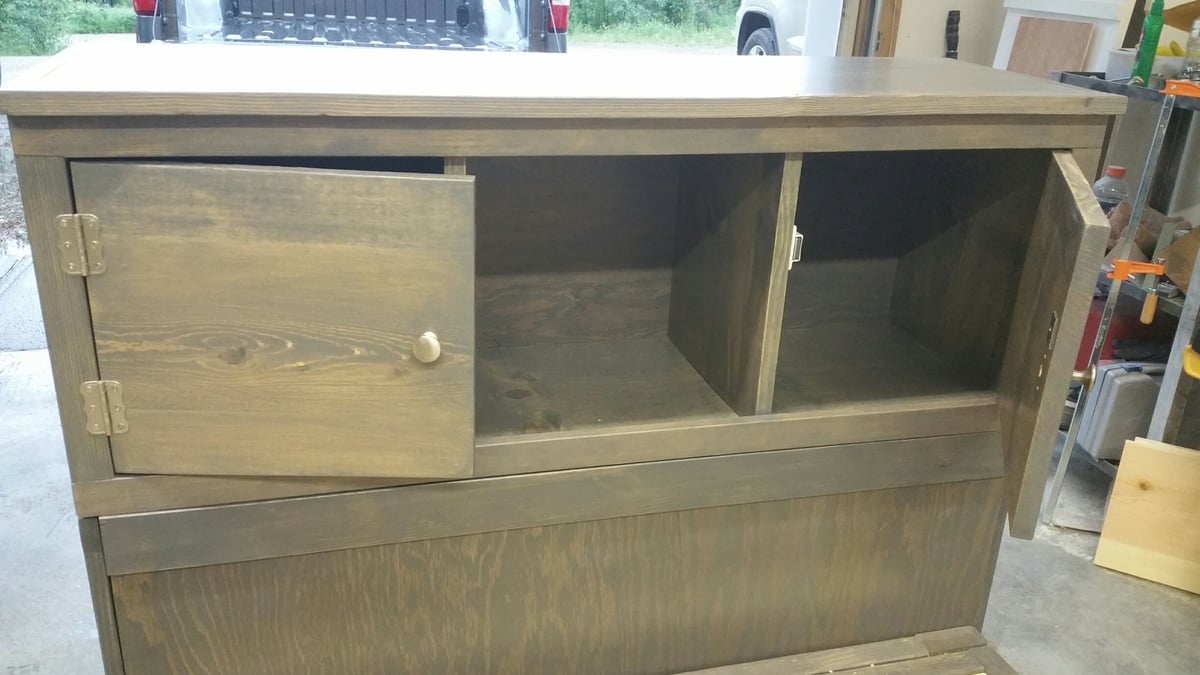
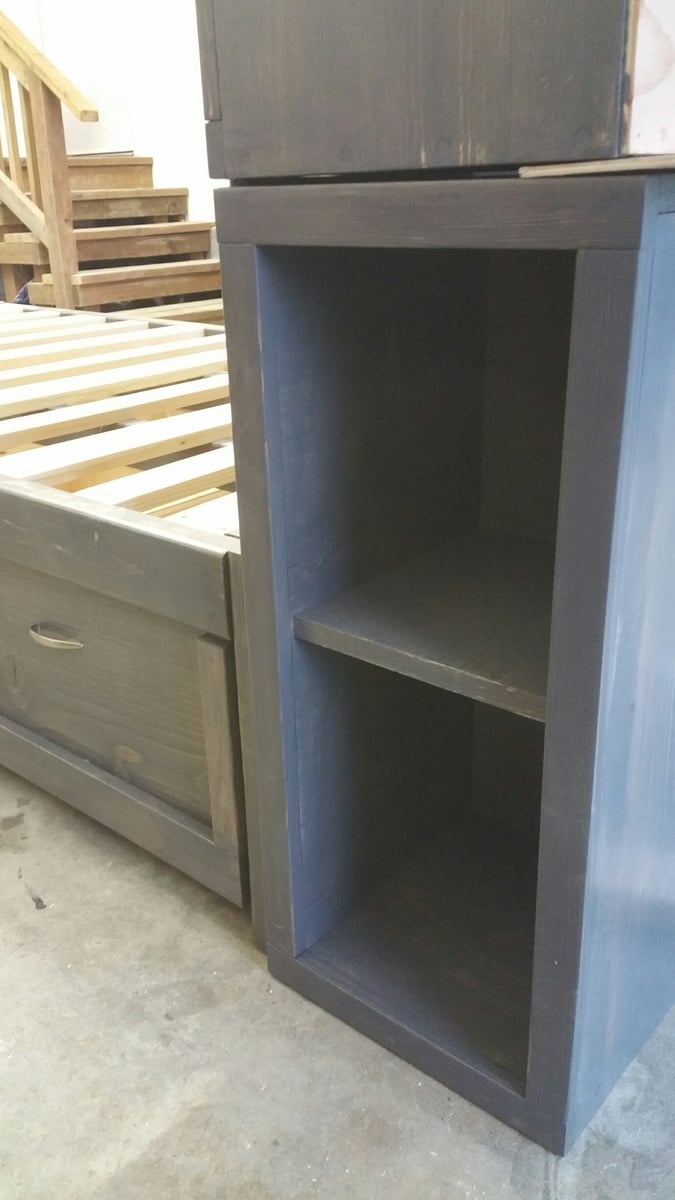
Storage Daybed with Trundle Drawers + Storage Headboard and Hutch

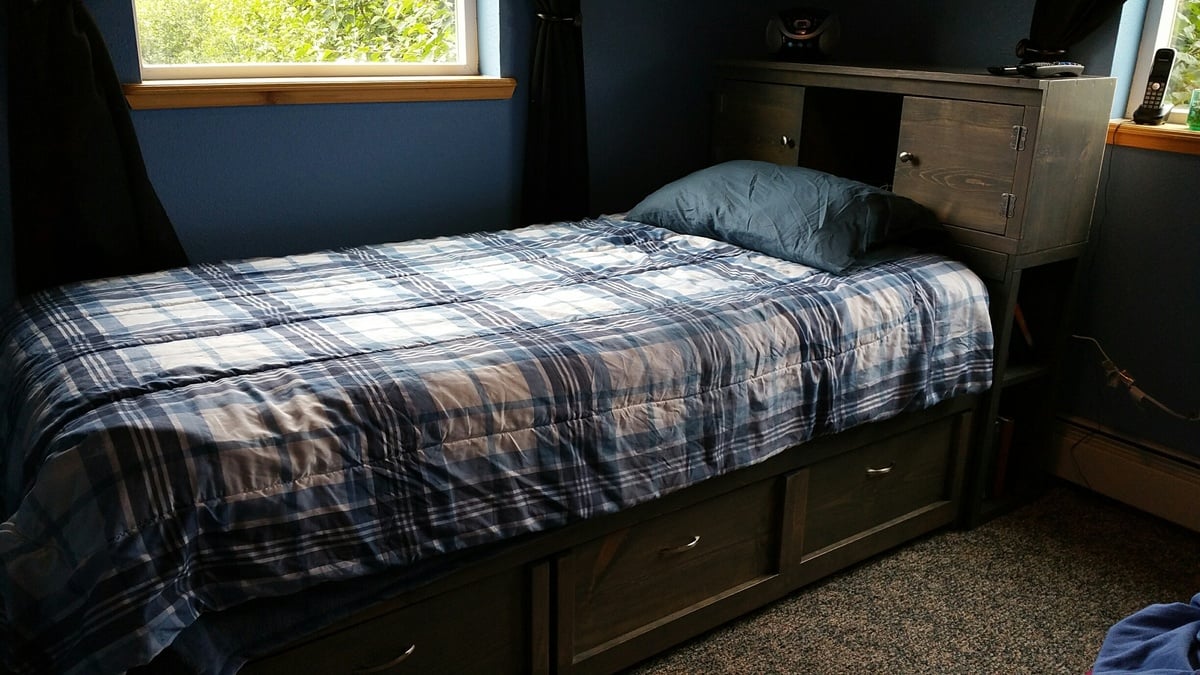
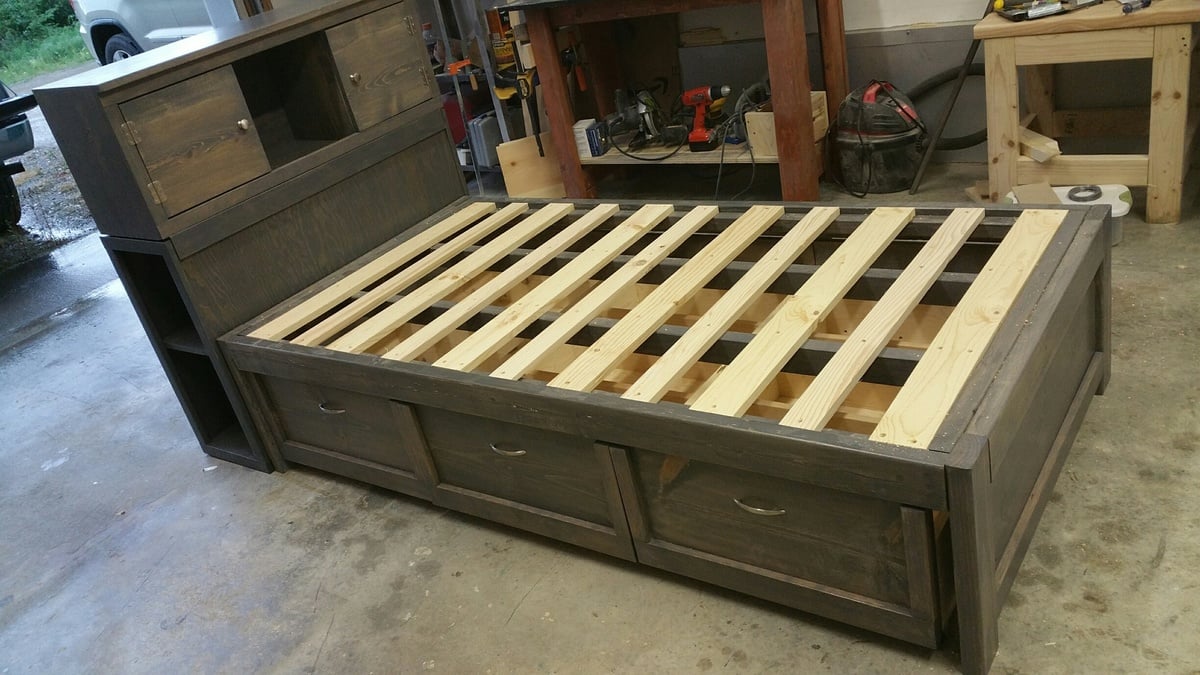
I combined Ana's plans for Daybed with Storage Trundle Drawers and a Storage Headboard with a Small Hutch.

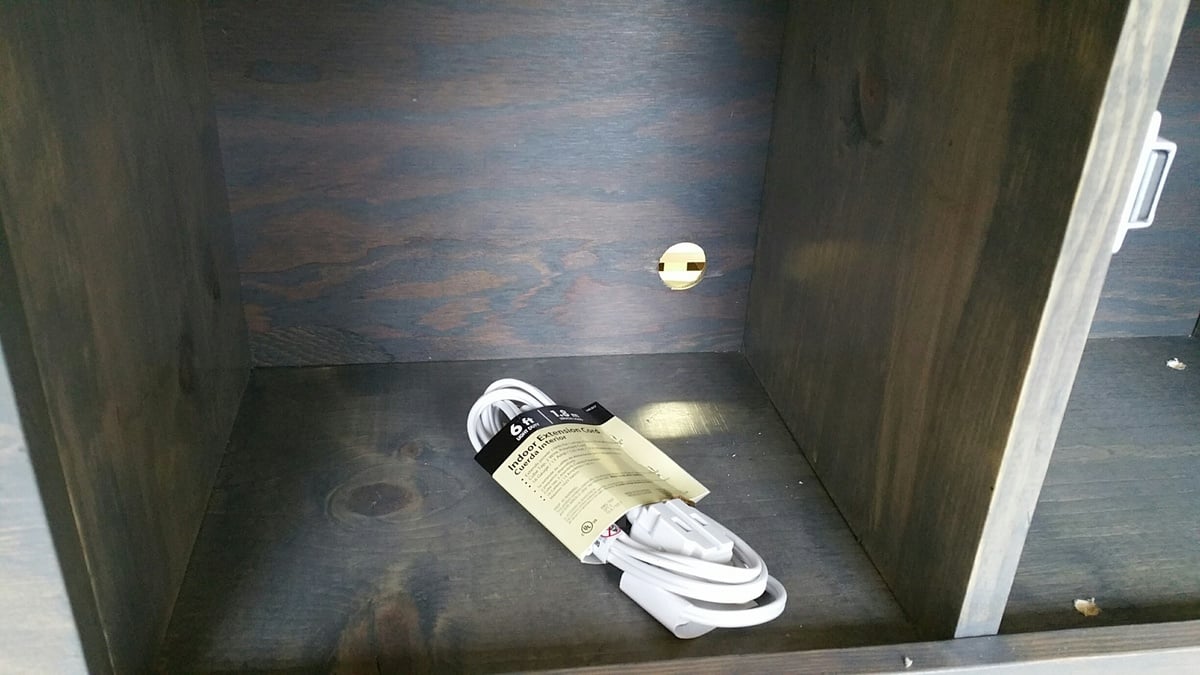
This is my 3rd daybed with storage drawers. It's such an easy build and gives so much extra space. The entire project took about 40 hours. I used Minwax stain in Classic Grey and three coats of polyurethane. For the drawers, I used 1.5" casters. I drilled a hole through the back of the headboard to feed cords through. Then I put the whole thing in the back of my truck and drove 500 miles for the final assembly. :)  In the provided photos, some of the pieces are flush because I hadn't permanently attached them. 

Estimated Cost
$450
Estimated Time Investment
Week Long Project (20 Hours or More)
Finish Used
Minwax Classic Grey
Recommended Skill Level
Intermediate

Sewing Desk

Submitted by Acasale on Sat, 07/14/2012 - 11:18

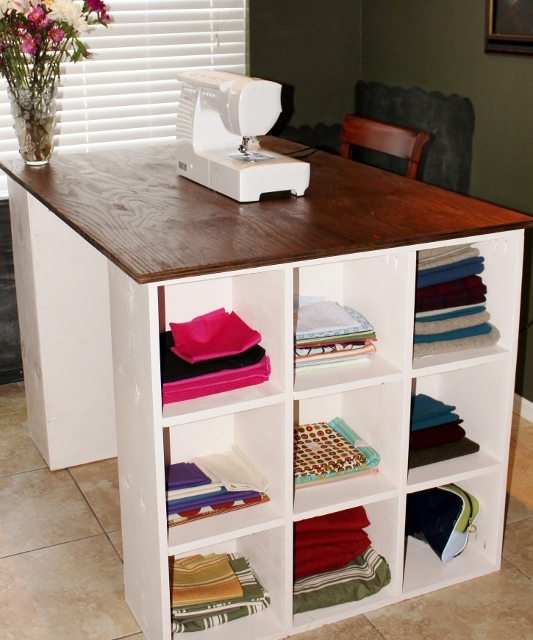
Our first woodworking project! A sewing desk that was featured on this site.

Estimated Cost
$60
Estimated Time Investment
Weekend Project (10-20 Hours)
Finish Used
make sure you sand the pieces multiple times. I used semigloss paint and also a stain and finished it off with a clear poly protector for the table top.
Recommended Skill Level
Beginner
Mitre Saw Rip Guide

Submitted by AndyH on Thu, 05/01/2014 - 14:52

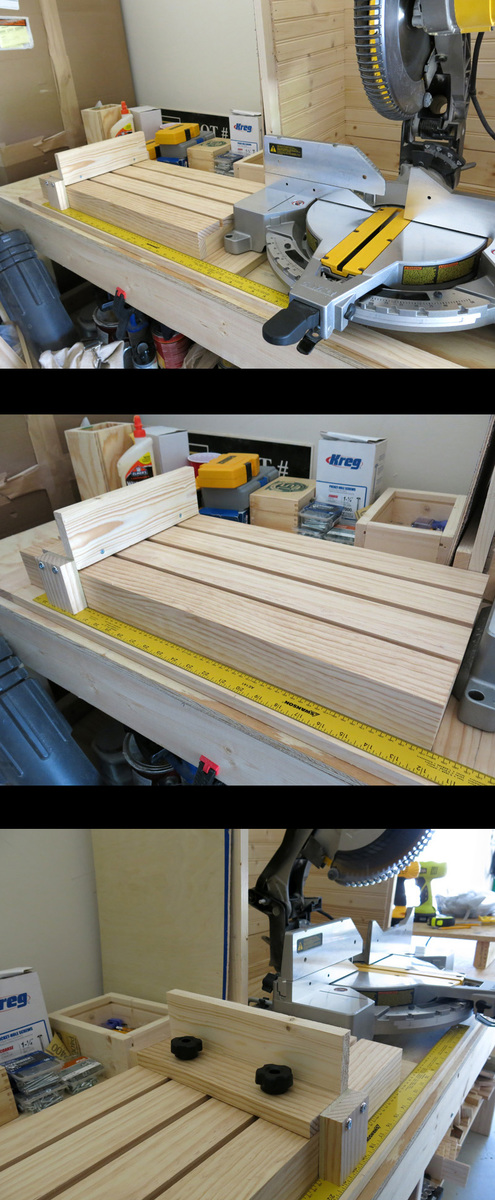
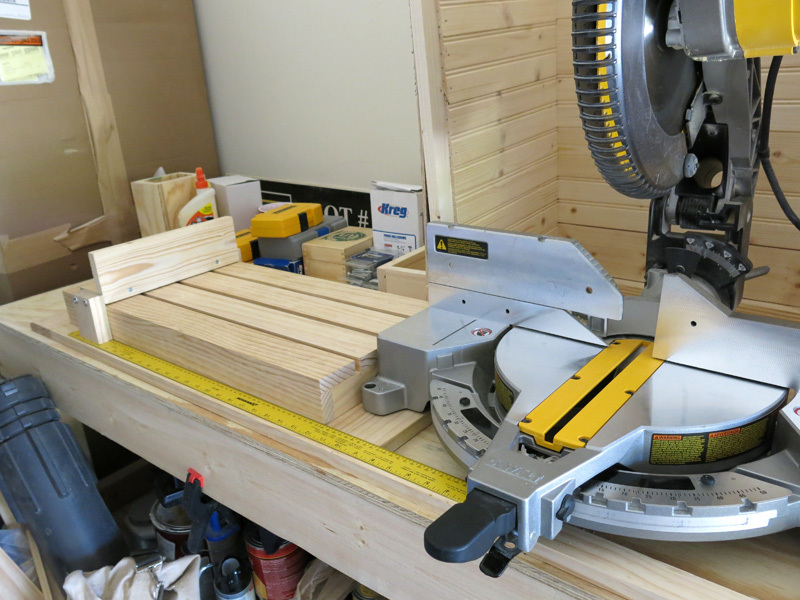
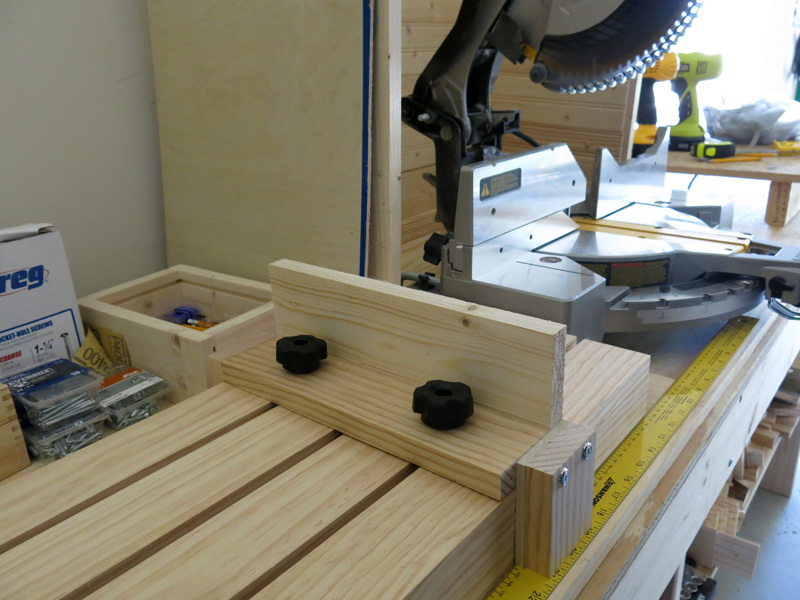
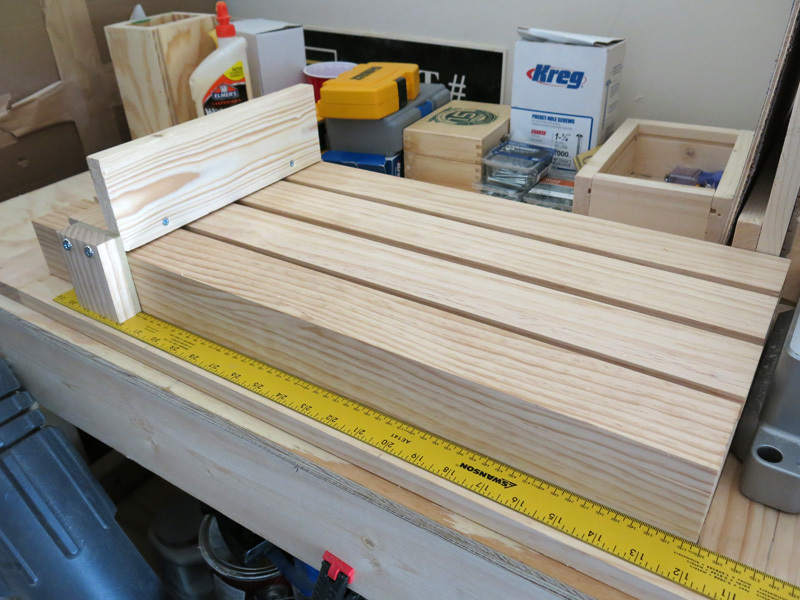
I wanted a jig/guide that would allow me to cut multiple pieces of wood exactly the same length using my Mitre saw. Designed this Jig and apart from the 4 screws you see everything is pocket holes. Now when I build from Ana's plans and my own designs I can guarantee all the pieces that need to be the same length will be!!

Estimated Time Investment
Afternoon Project (3-6 Hours)
Finish Used
Not finished yet but will put a clear protection on it.
Recommended Skill Level
Beginner
Comments

Back