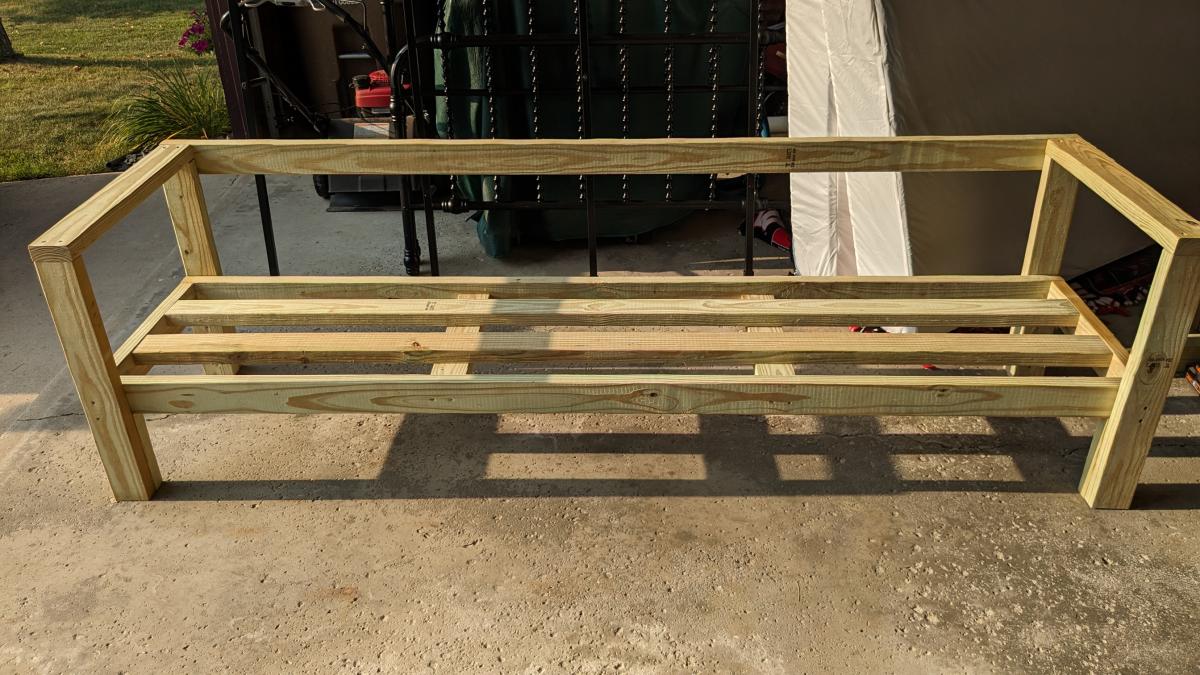
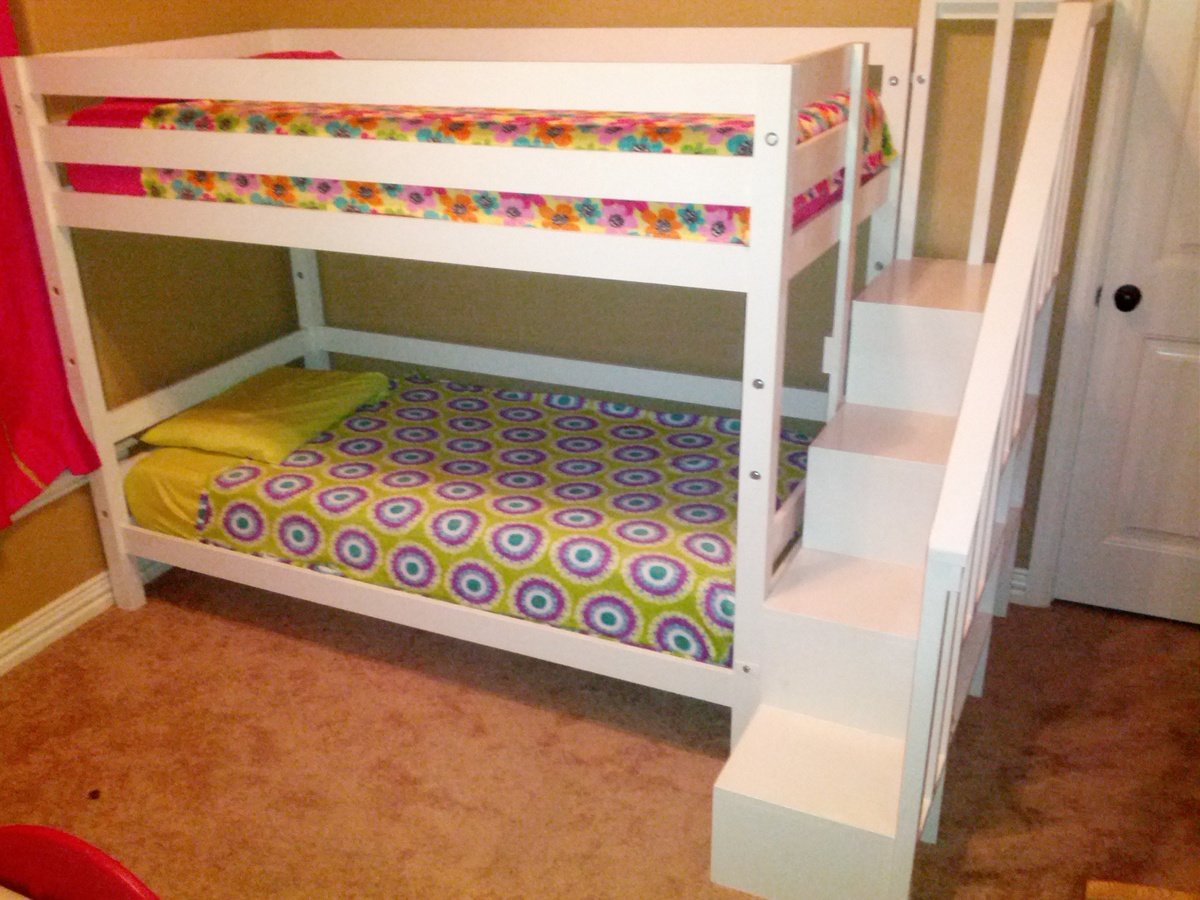
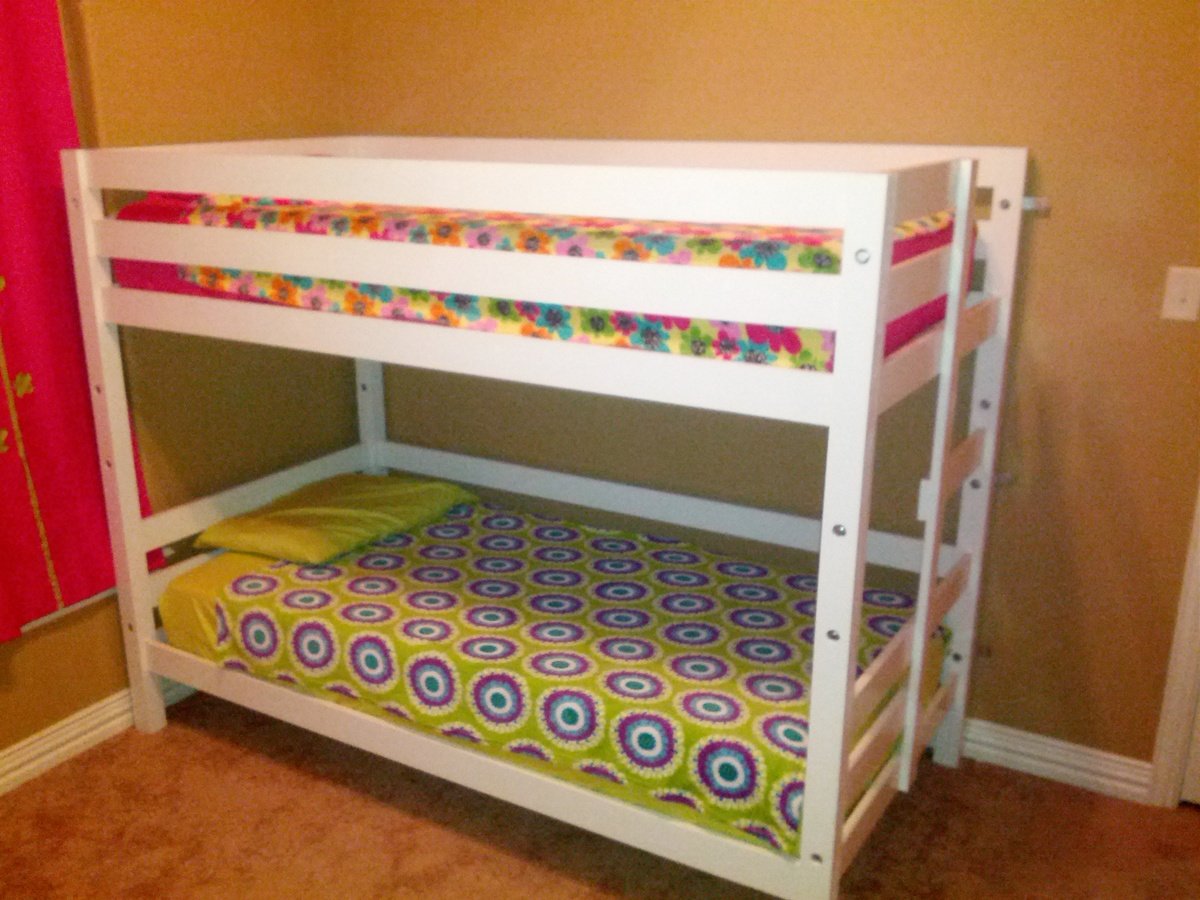
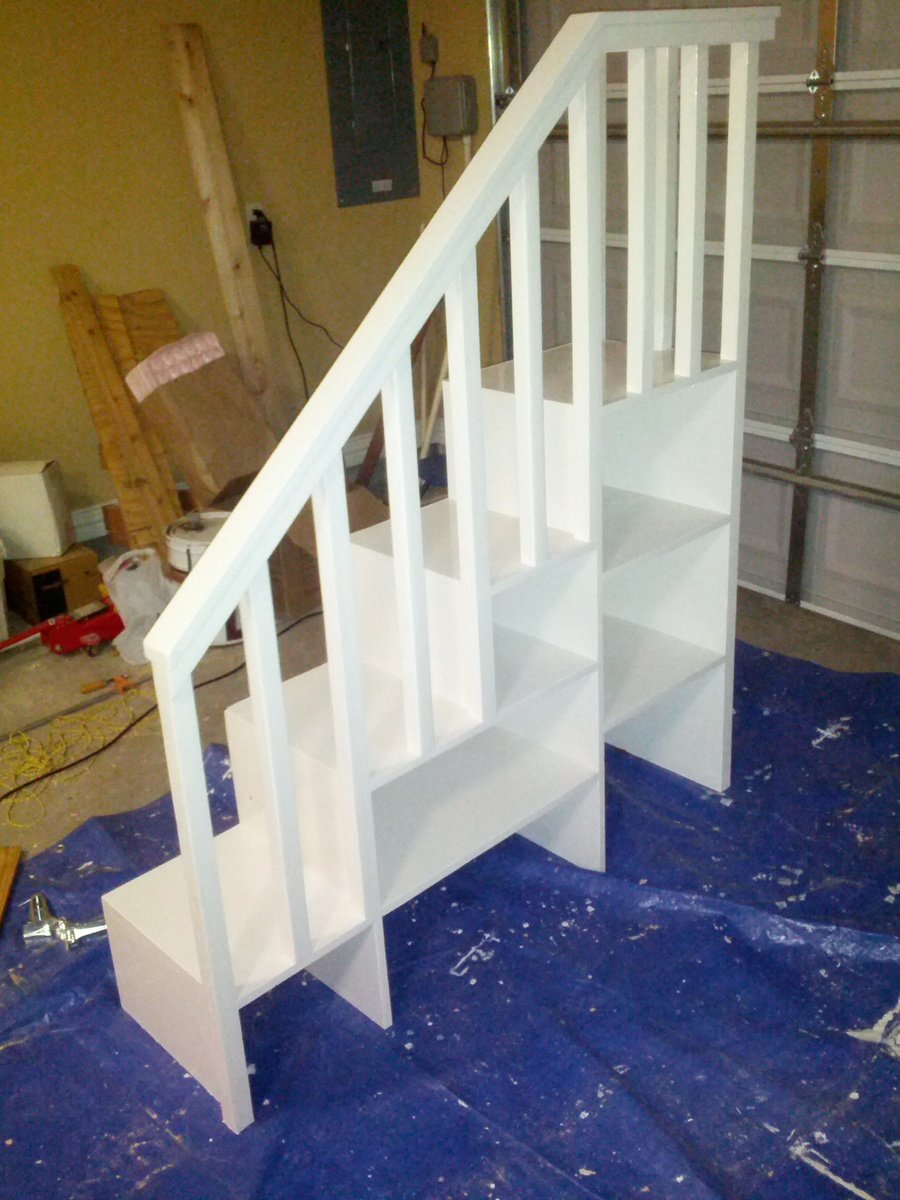
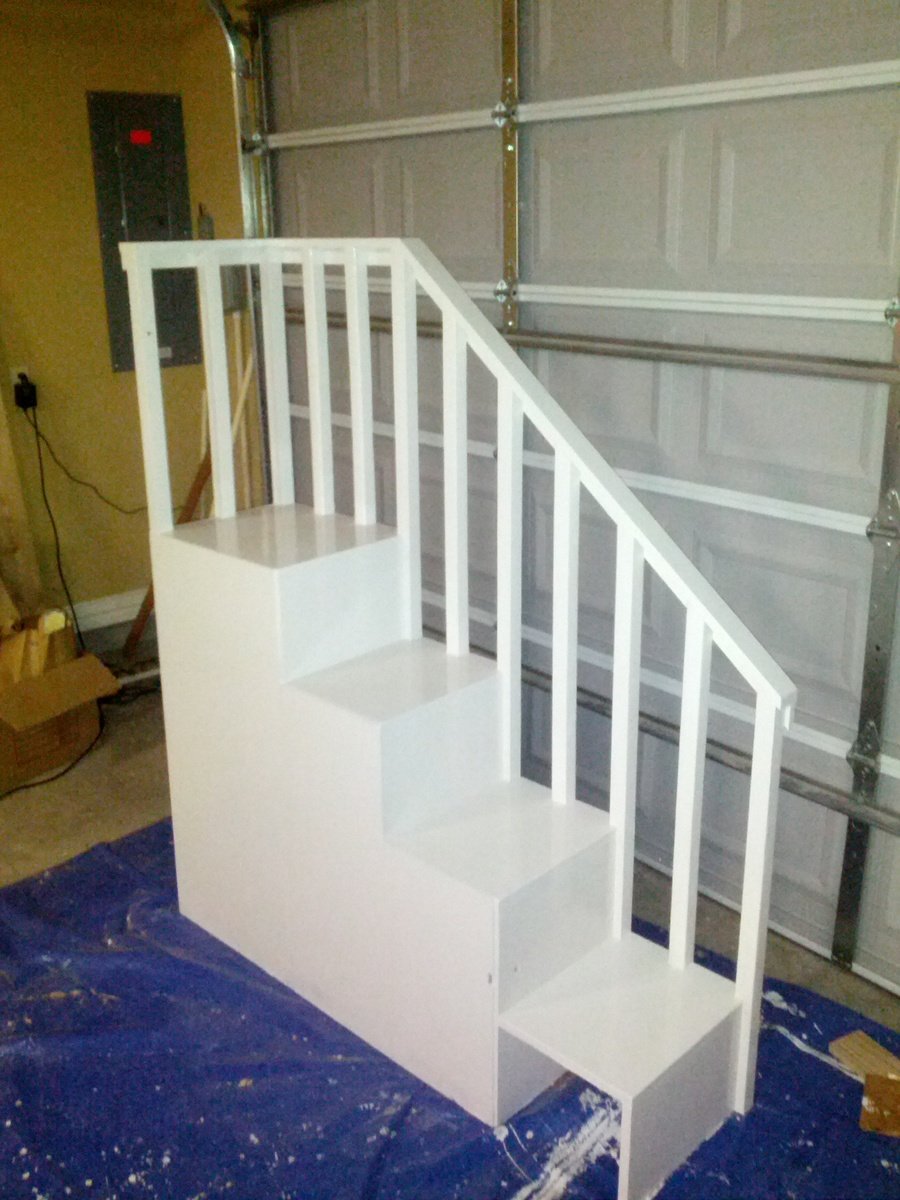
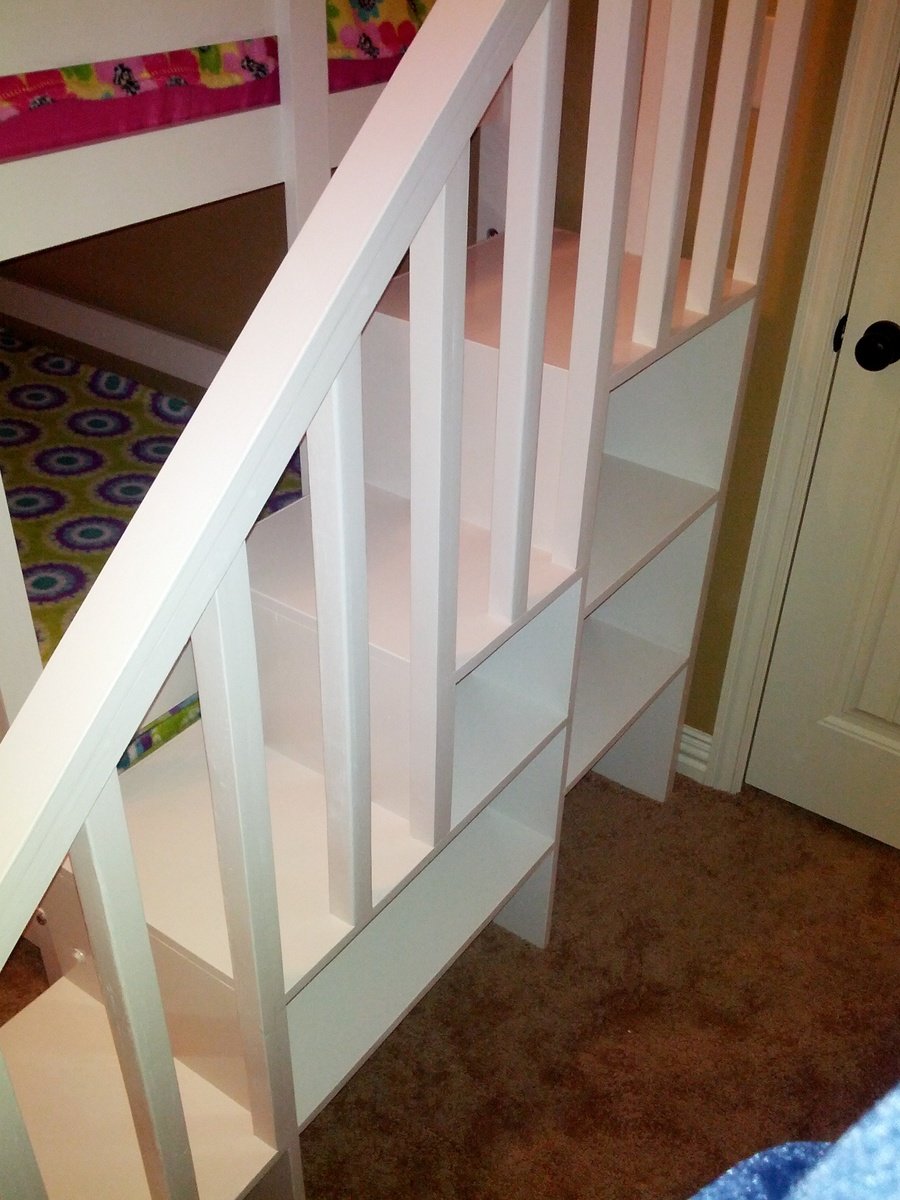
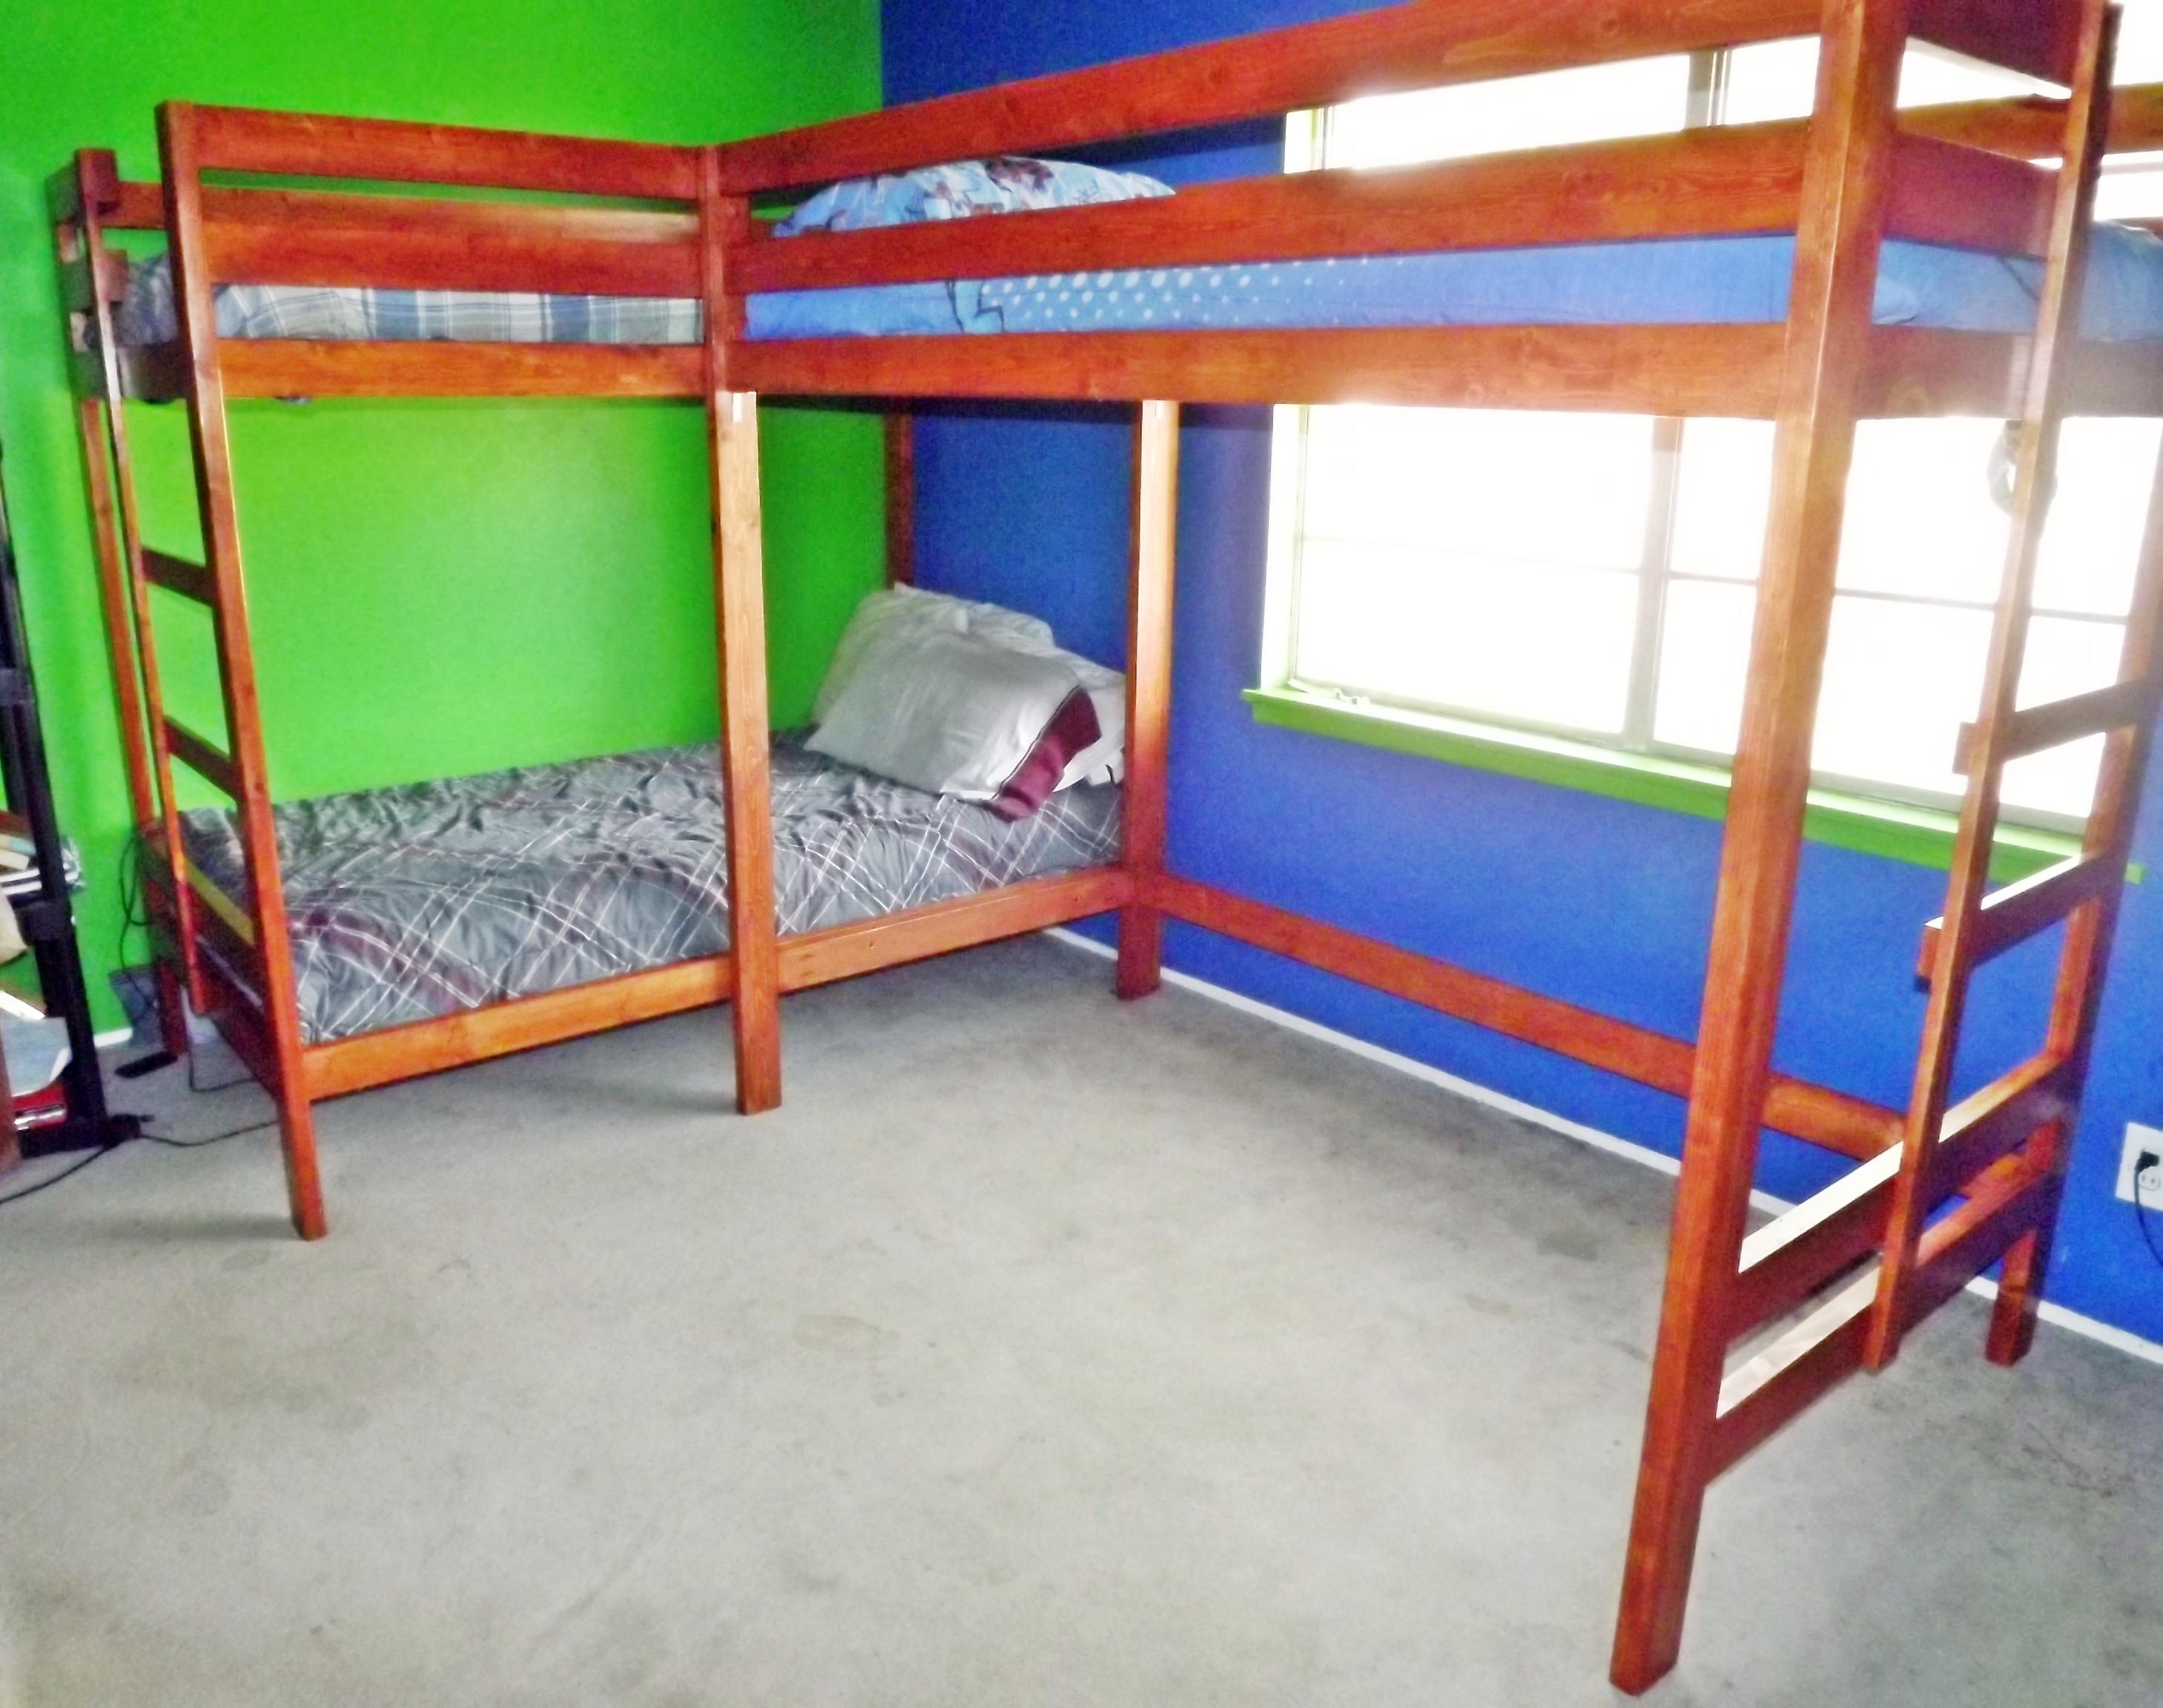
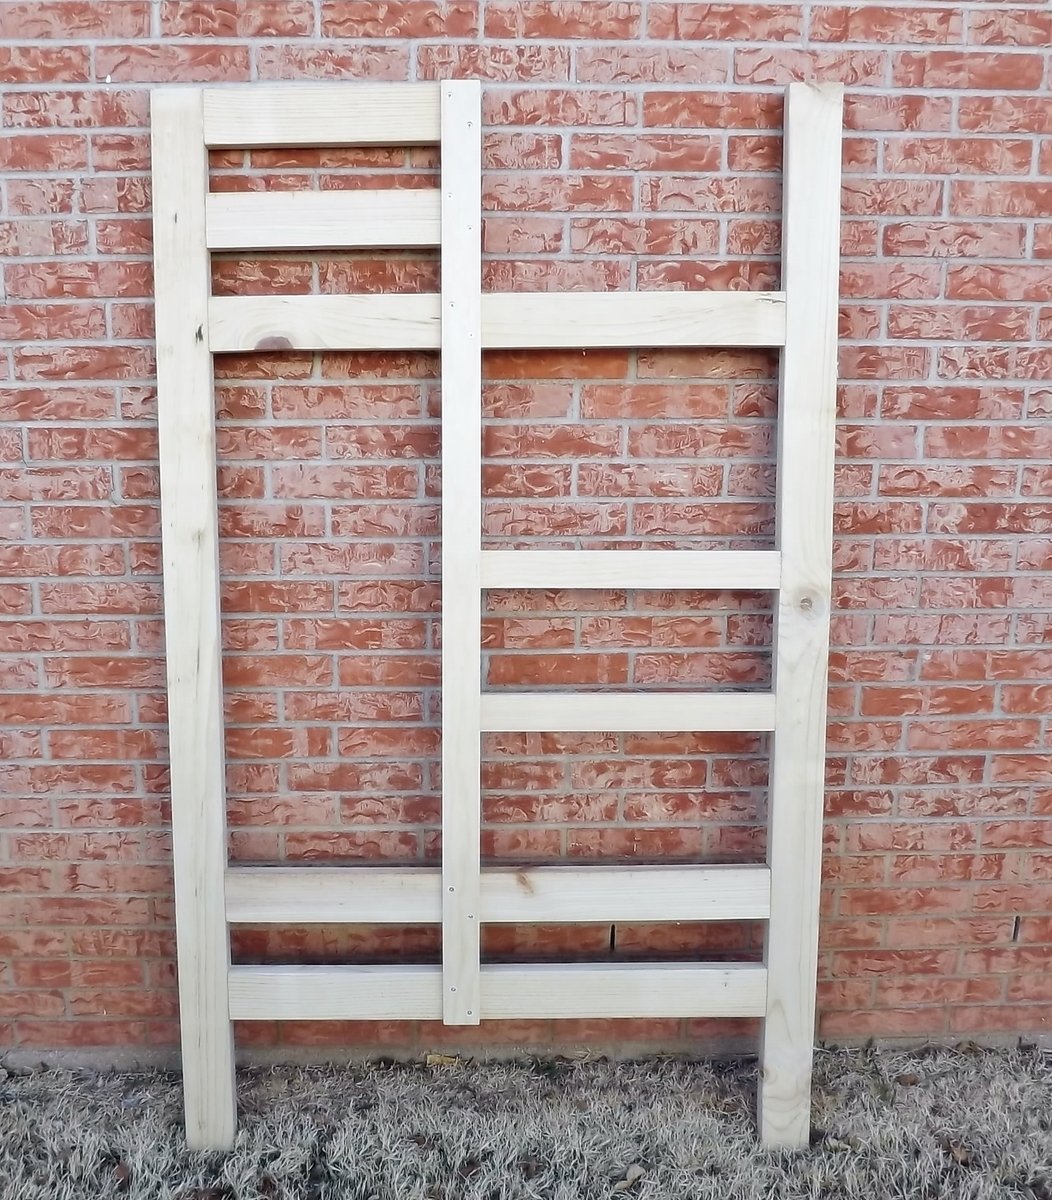
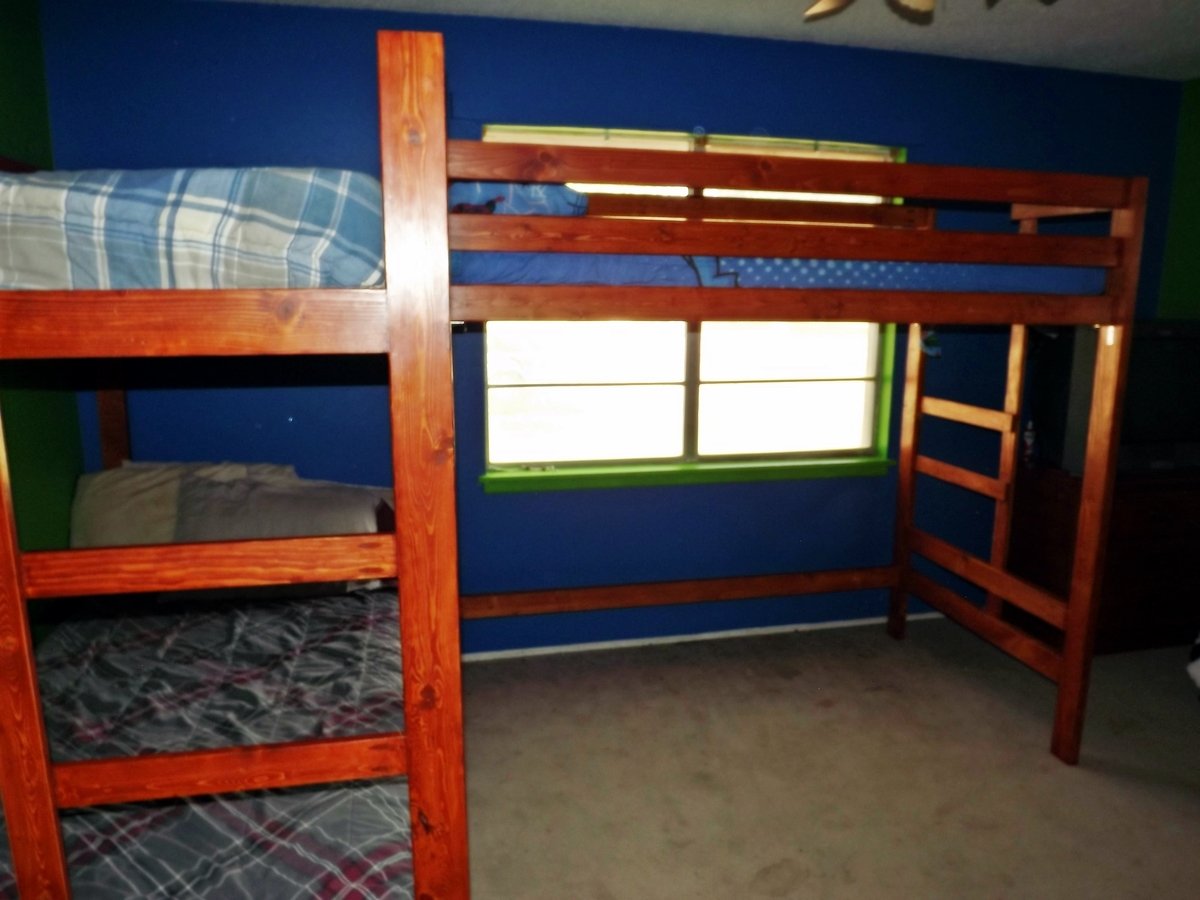
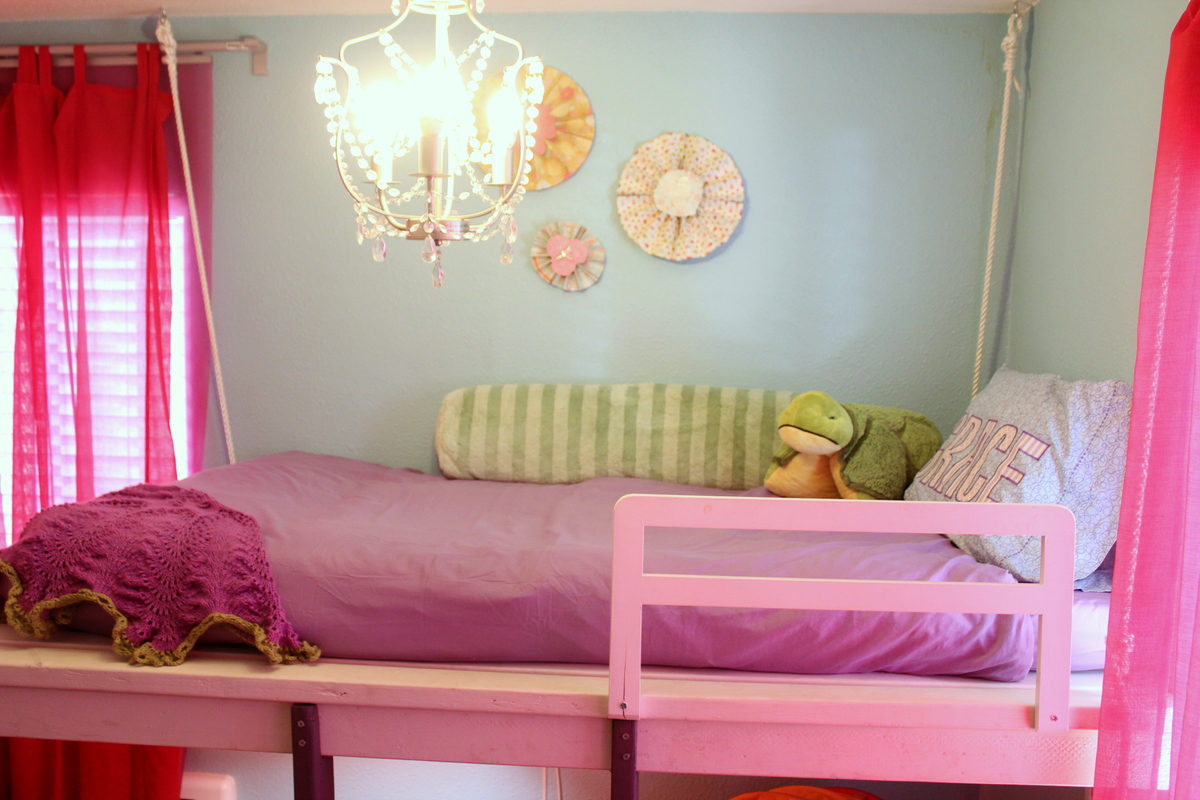
With three boys ages 17, 14, and 9 sleeping in one small bedroom, an efficient bunk bed/loft bed system seemed to be the perfect choice. I used the bunk bed plans from The Handbuilt Home, but I increased the height, and moved the steps to the end. The loft bed is basically the same as the bunk beds, but without the bottom bunk. I left the top rail off the head of the loft bed, creating a space so that they could crawl from the top bunk to the loft if desired. The short side rails on the top bunk are attached to the head of the loft bed.
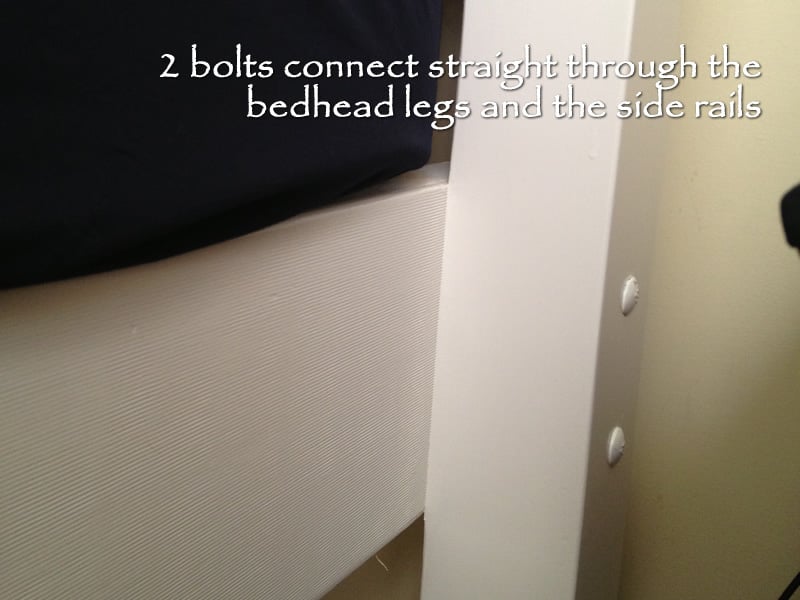
The beds are modular and could be stand-alone beds, but I used TimberLok heavy duty wood screws to screw the beds together at the "intersection" on the bottom rail of the top bunk and loft, and the bottom rail of the bottom bunk and loft. That makes the beds very sturdy.
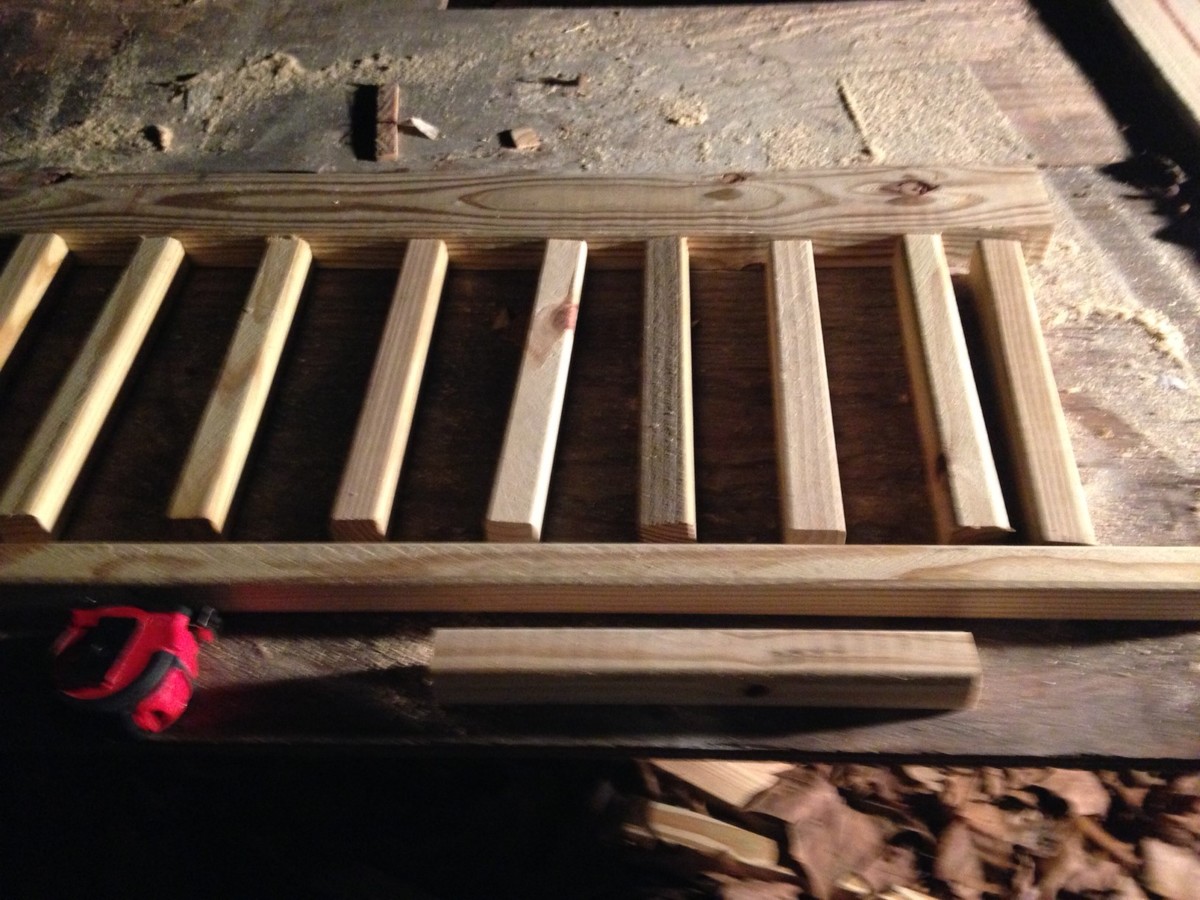
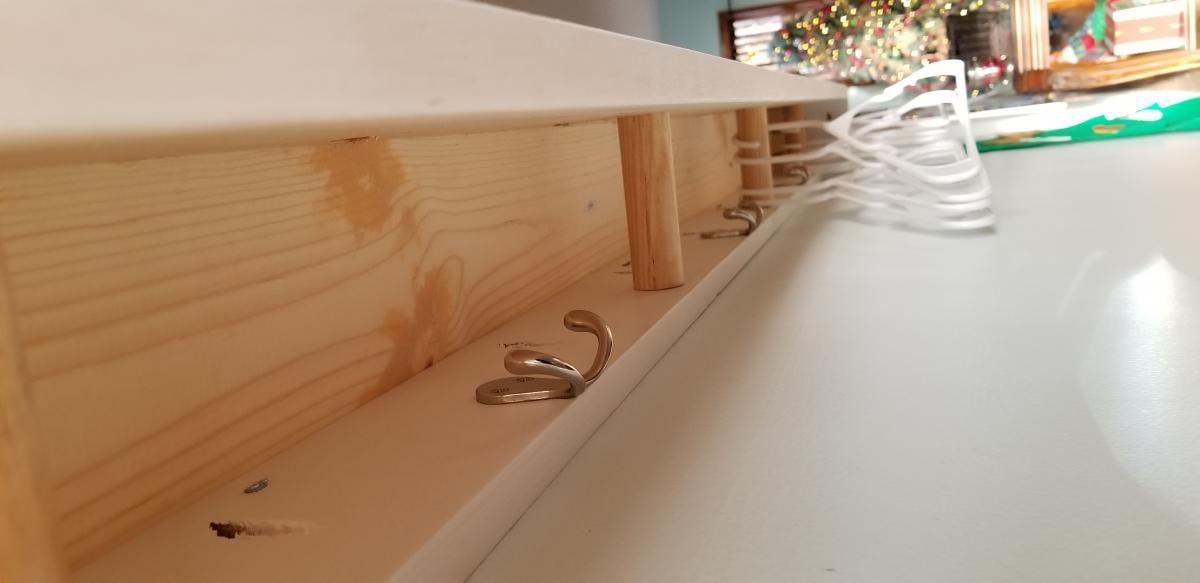
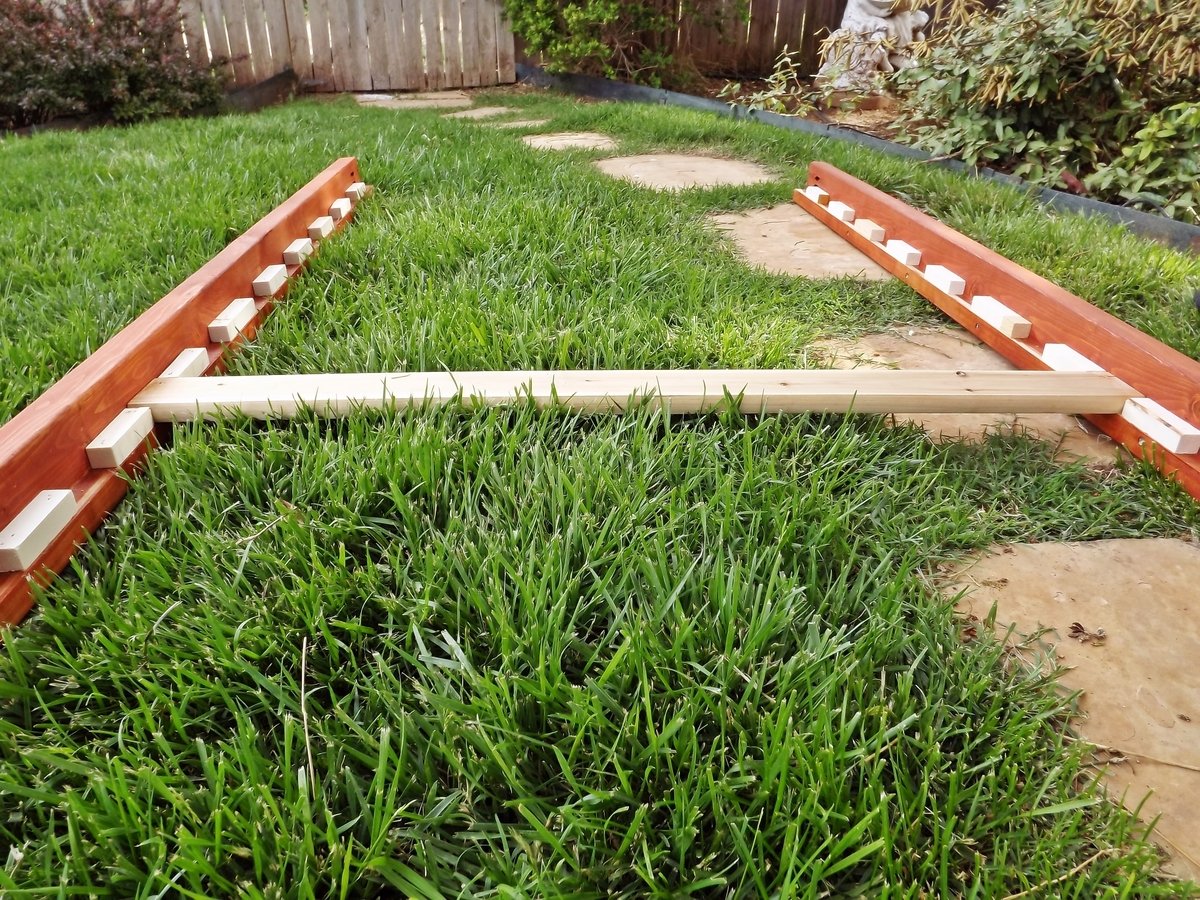
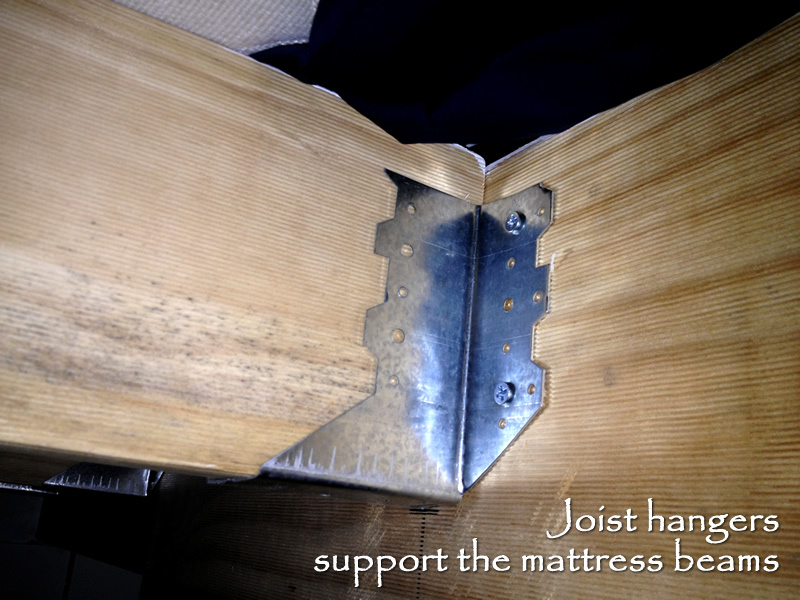
The entire system comes apart for storage or if a move ensues later. One other modification gleaned from a brag post was to use spacers on the cleats of the side rails so that you can just lay the slats down without having to screw them down. What a time-saver!
Thank you Ana White for the lovely plans and to all the brag posters for the ideas.
Estimated Cost
Around $225.00
Estimated Time Investment
Week Long Project (20 Hours or More)
Finish Used
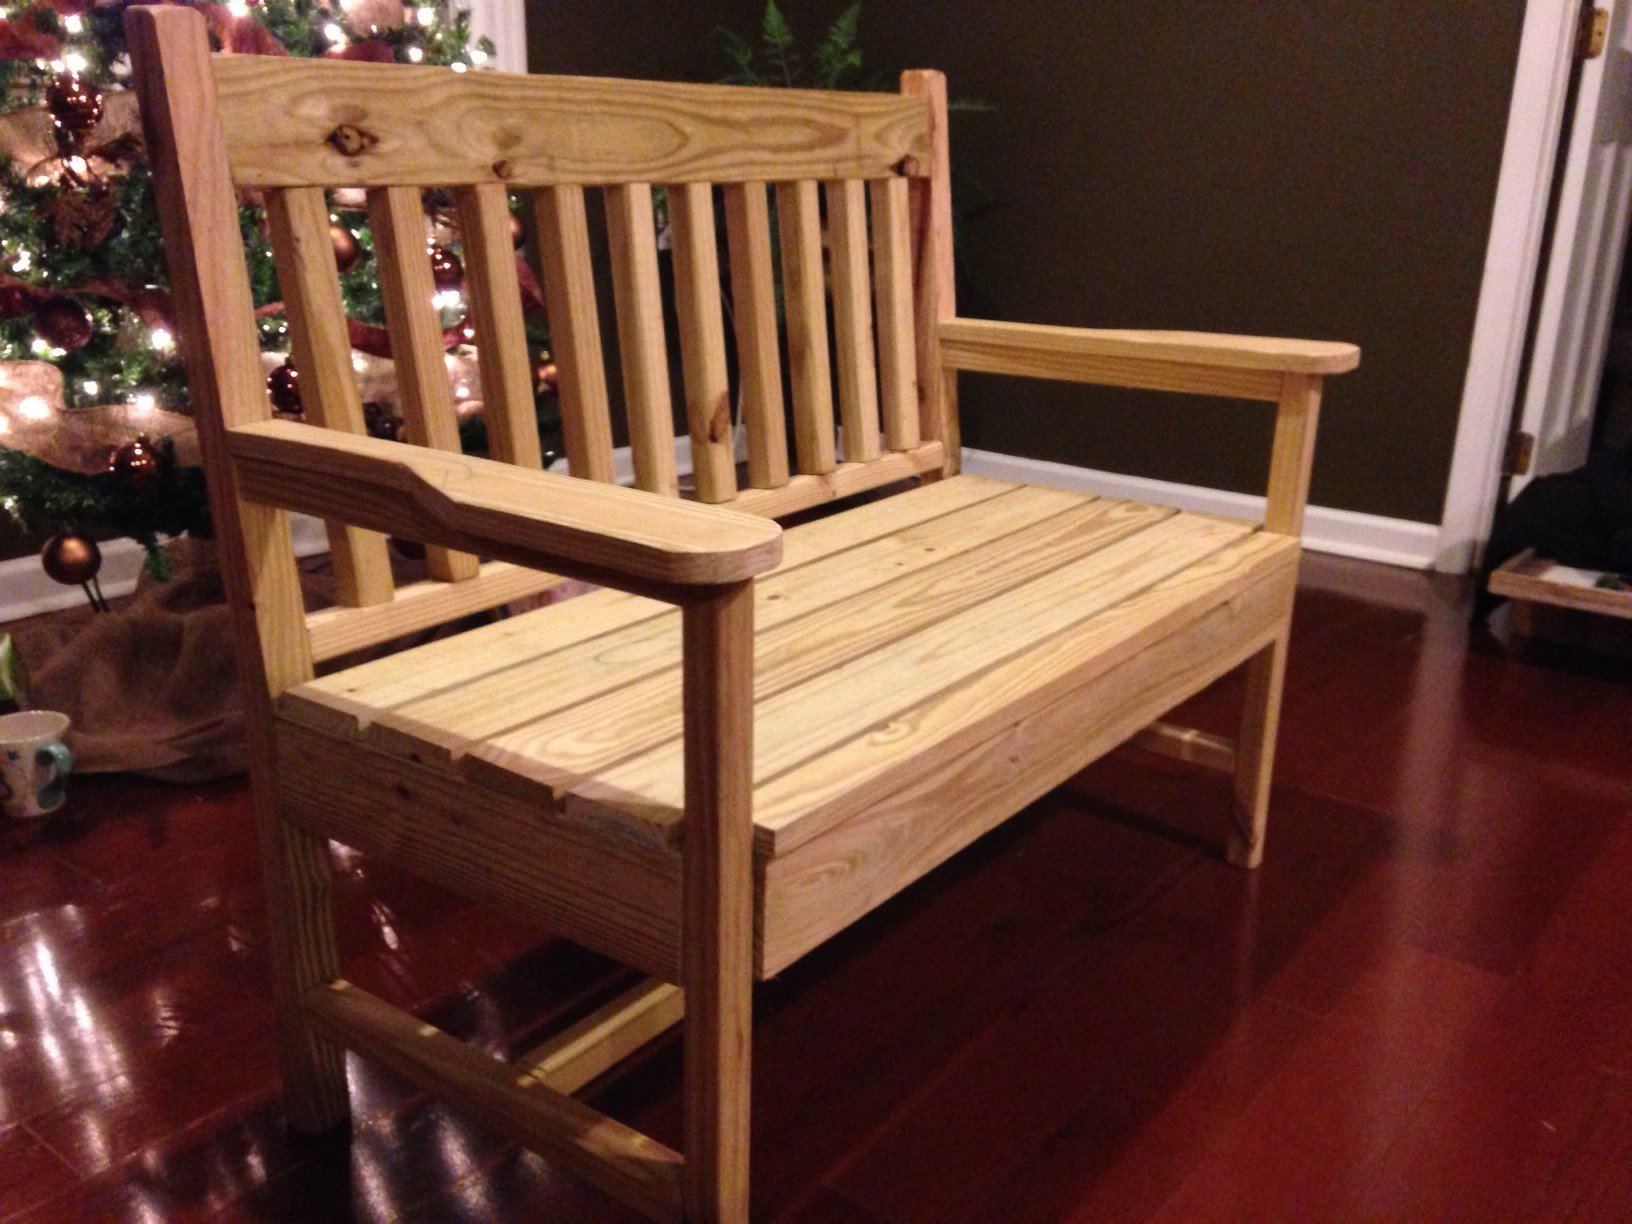
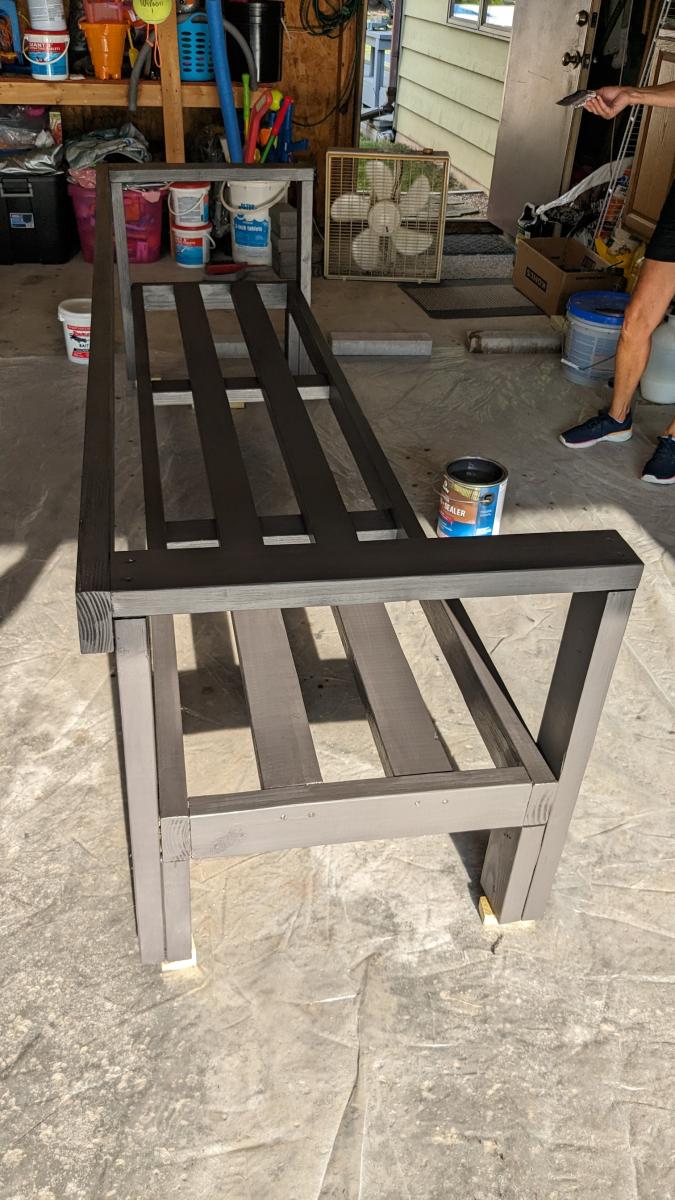
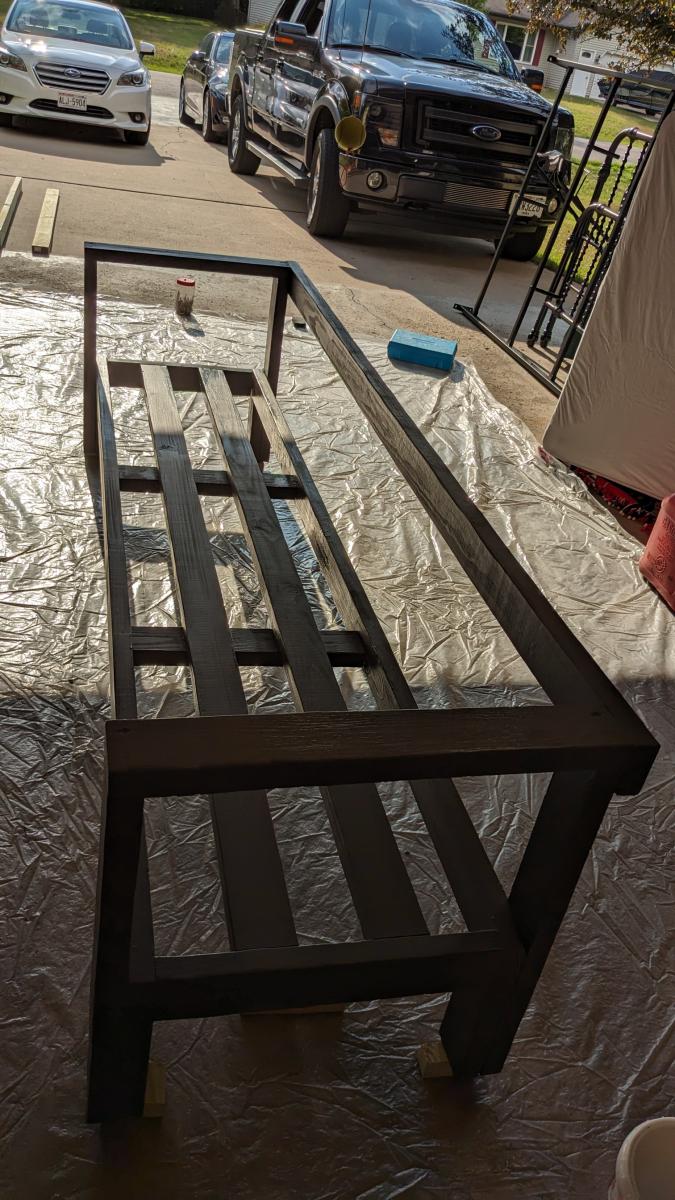
I filled the knots and obvious spaces left by the rounded edges of the 2 x 4 where horizontal joined vertical. I then sanded from 80 down to 220 grit. I used 1 coat of Minwax Pre-stain conditioner, followed by 1 coat of Minwax "Gunstock" stain and 3 coats of Minwax wipe-on clear satin Poly. I used a cloth to apply the stain and poly, which provided a smooth, lovely finish. I like the rustic look of the wood knots and grain, but I didn't want primitive. It took almost 1 quart of stain, and a pint of poly for this project.
Recommended Skill Level
Beginner


Comments
Ana White Admin
Tue, 06/20/2023 - 12:56
Awesome set!
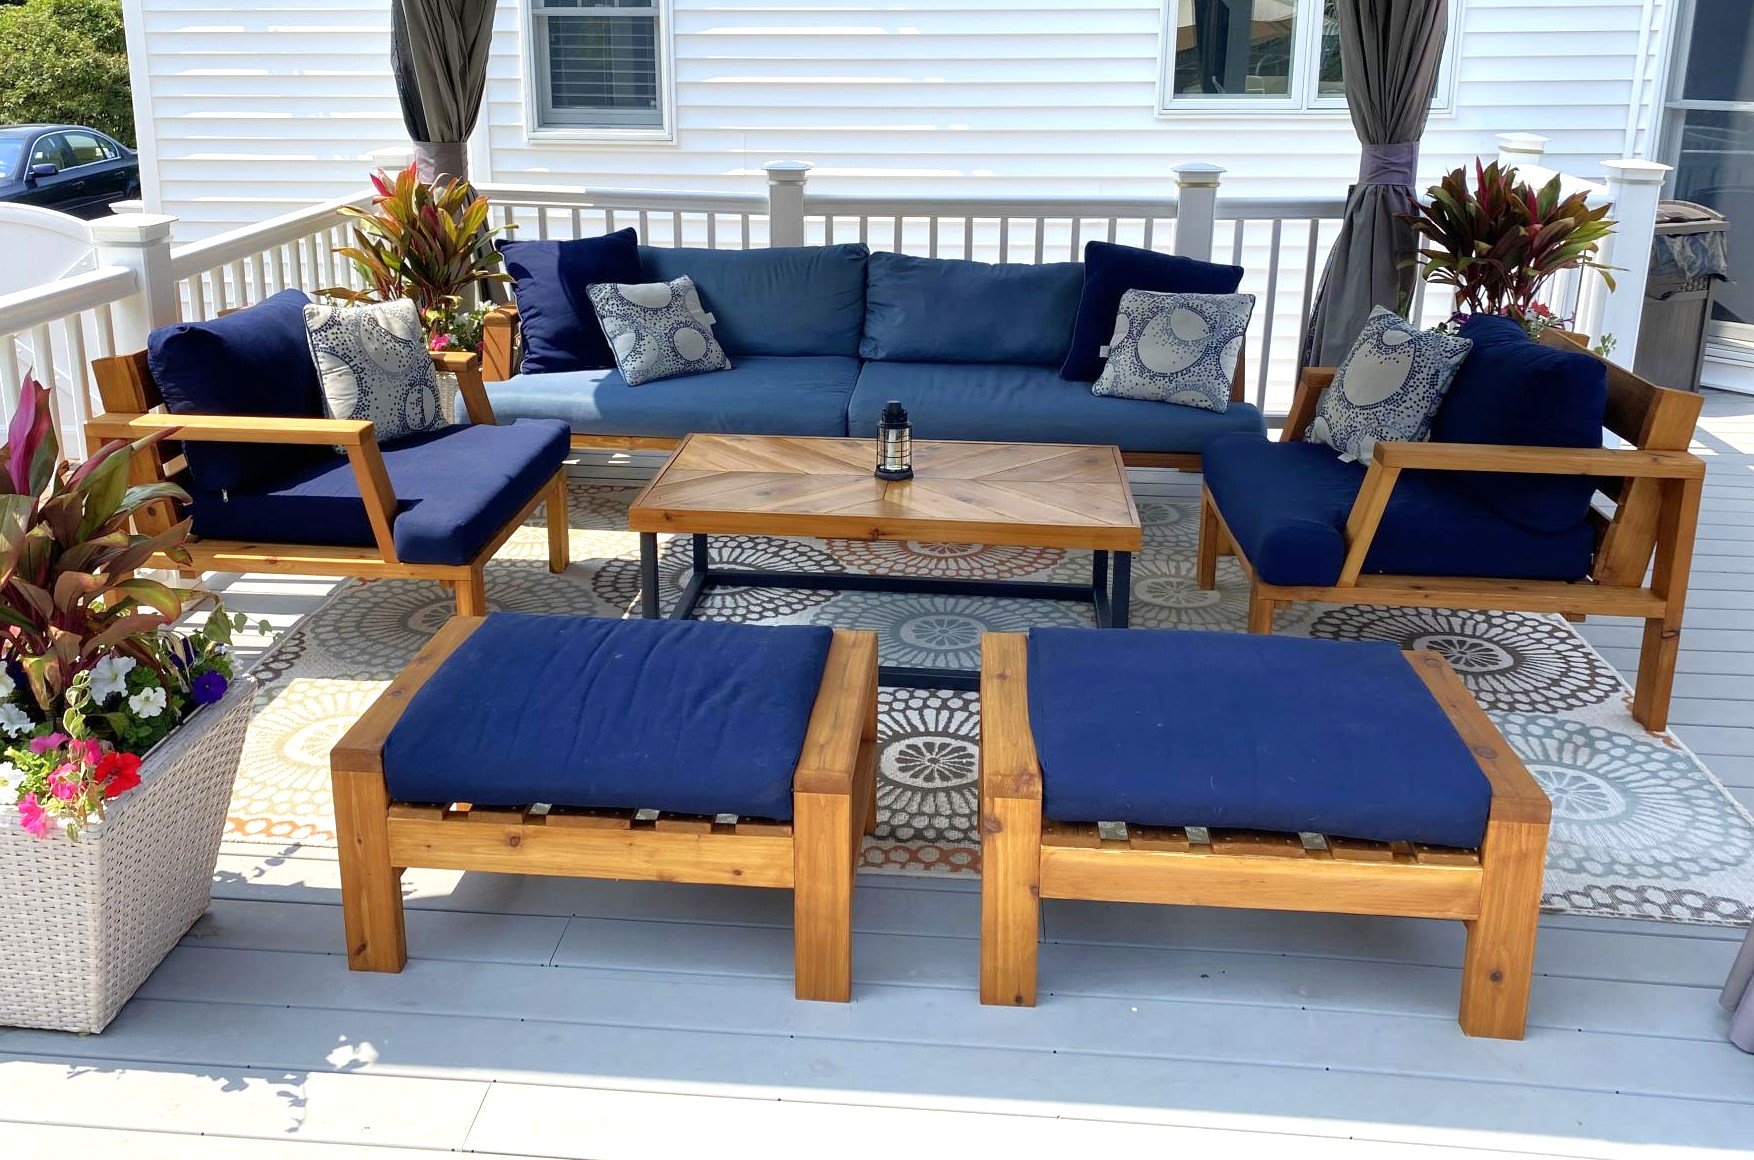
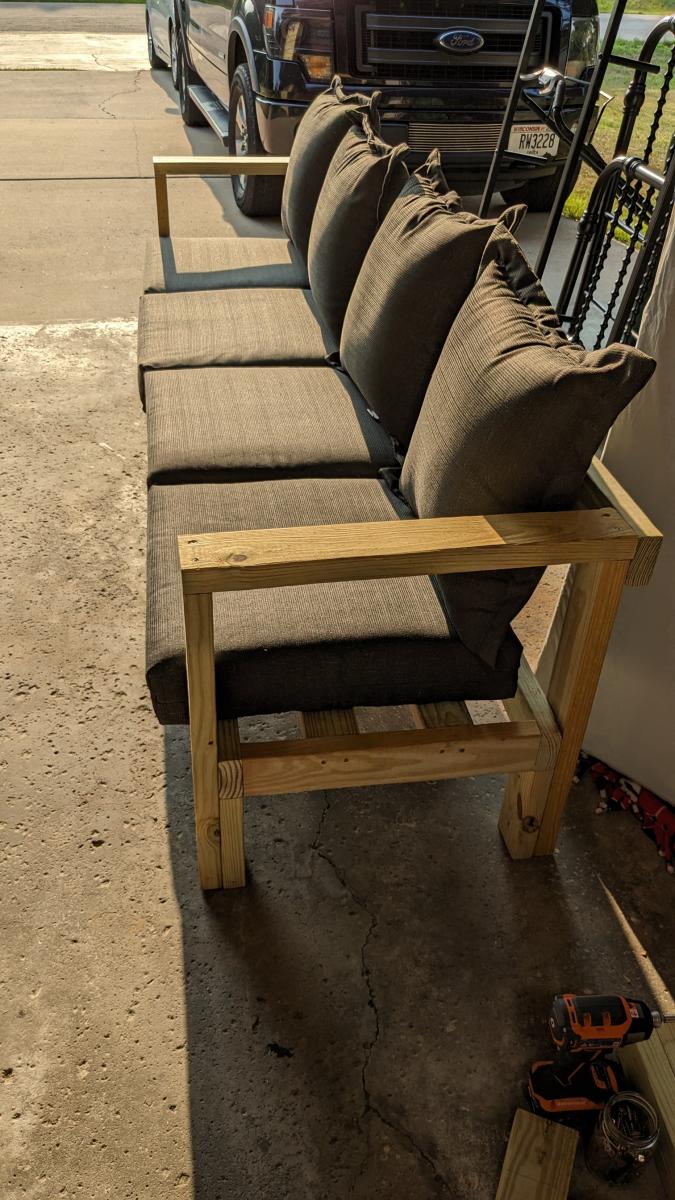
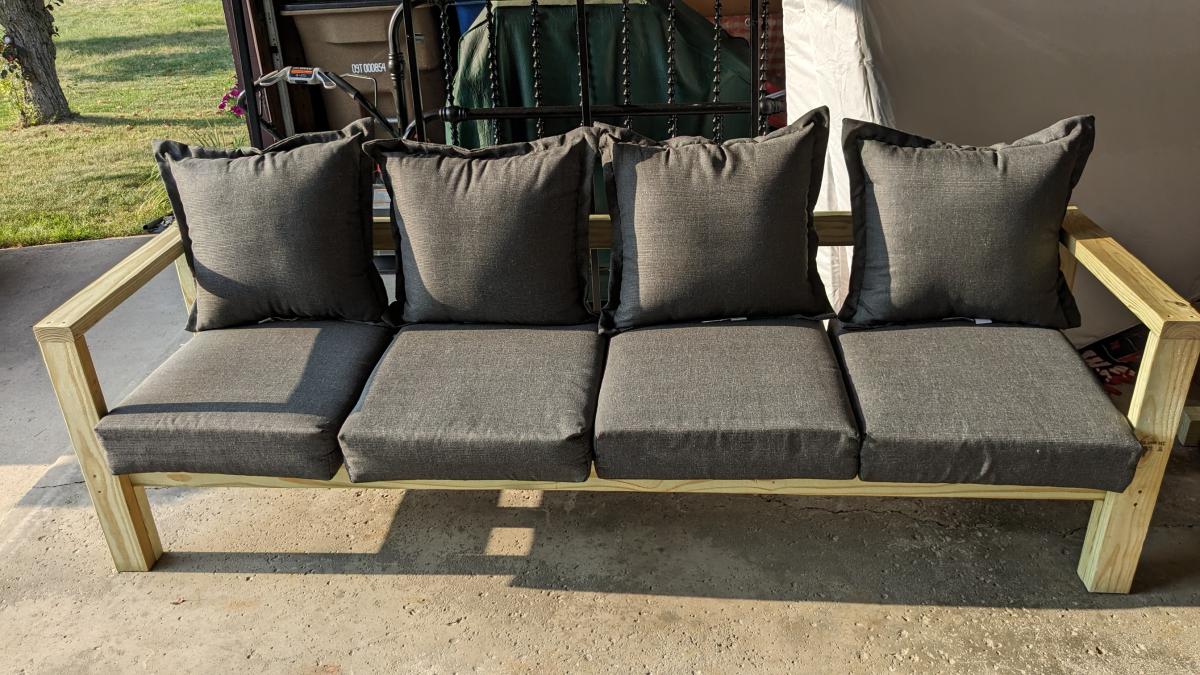
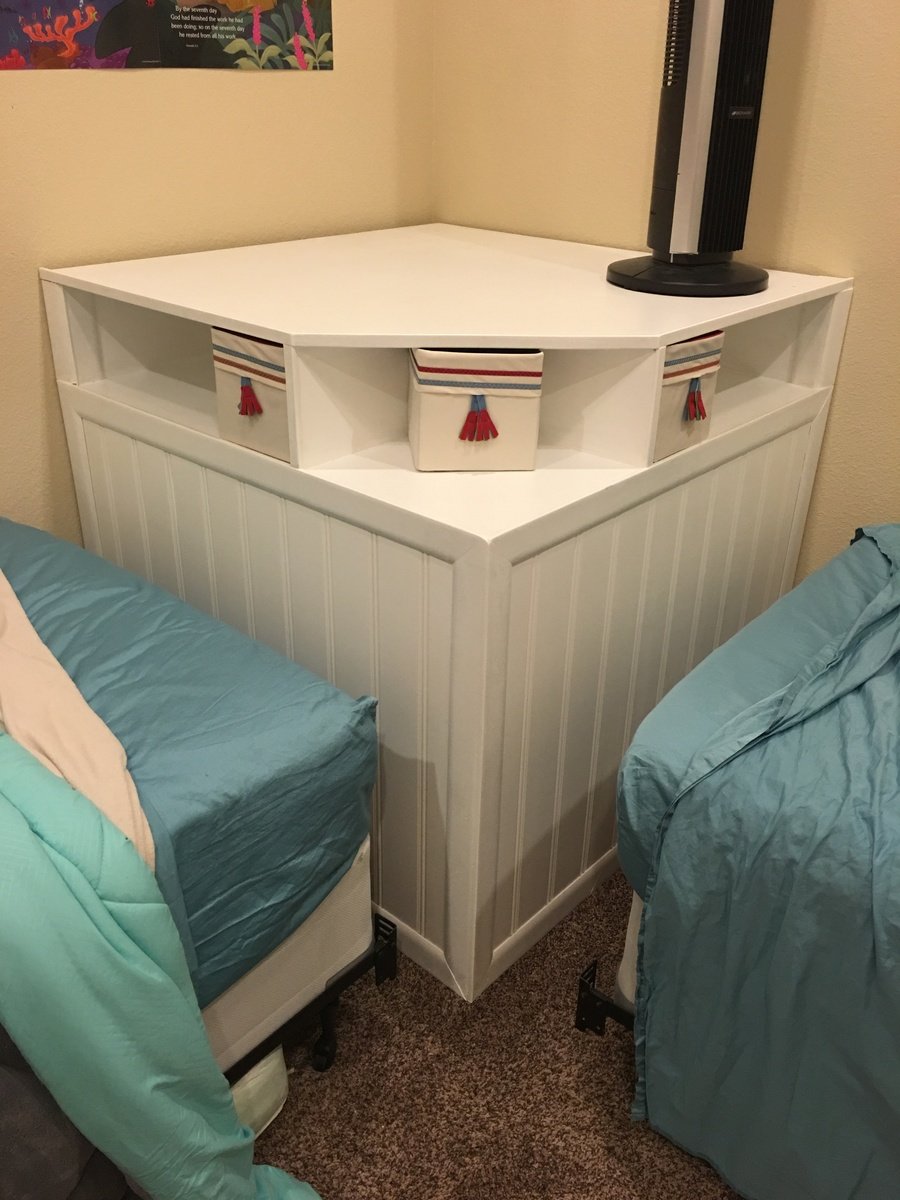
Excellent idea to design the size around the cushions you had! Thanks for sharing ❤️