Community Brag Posts

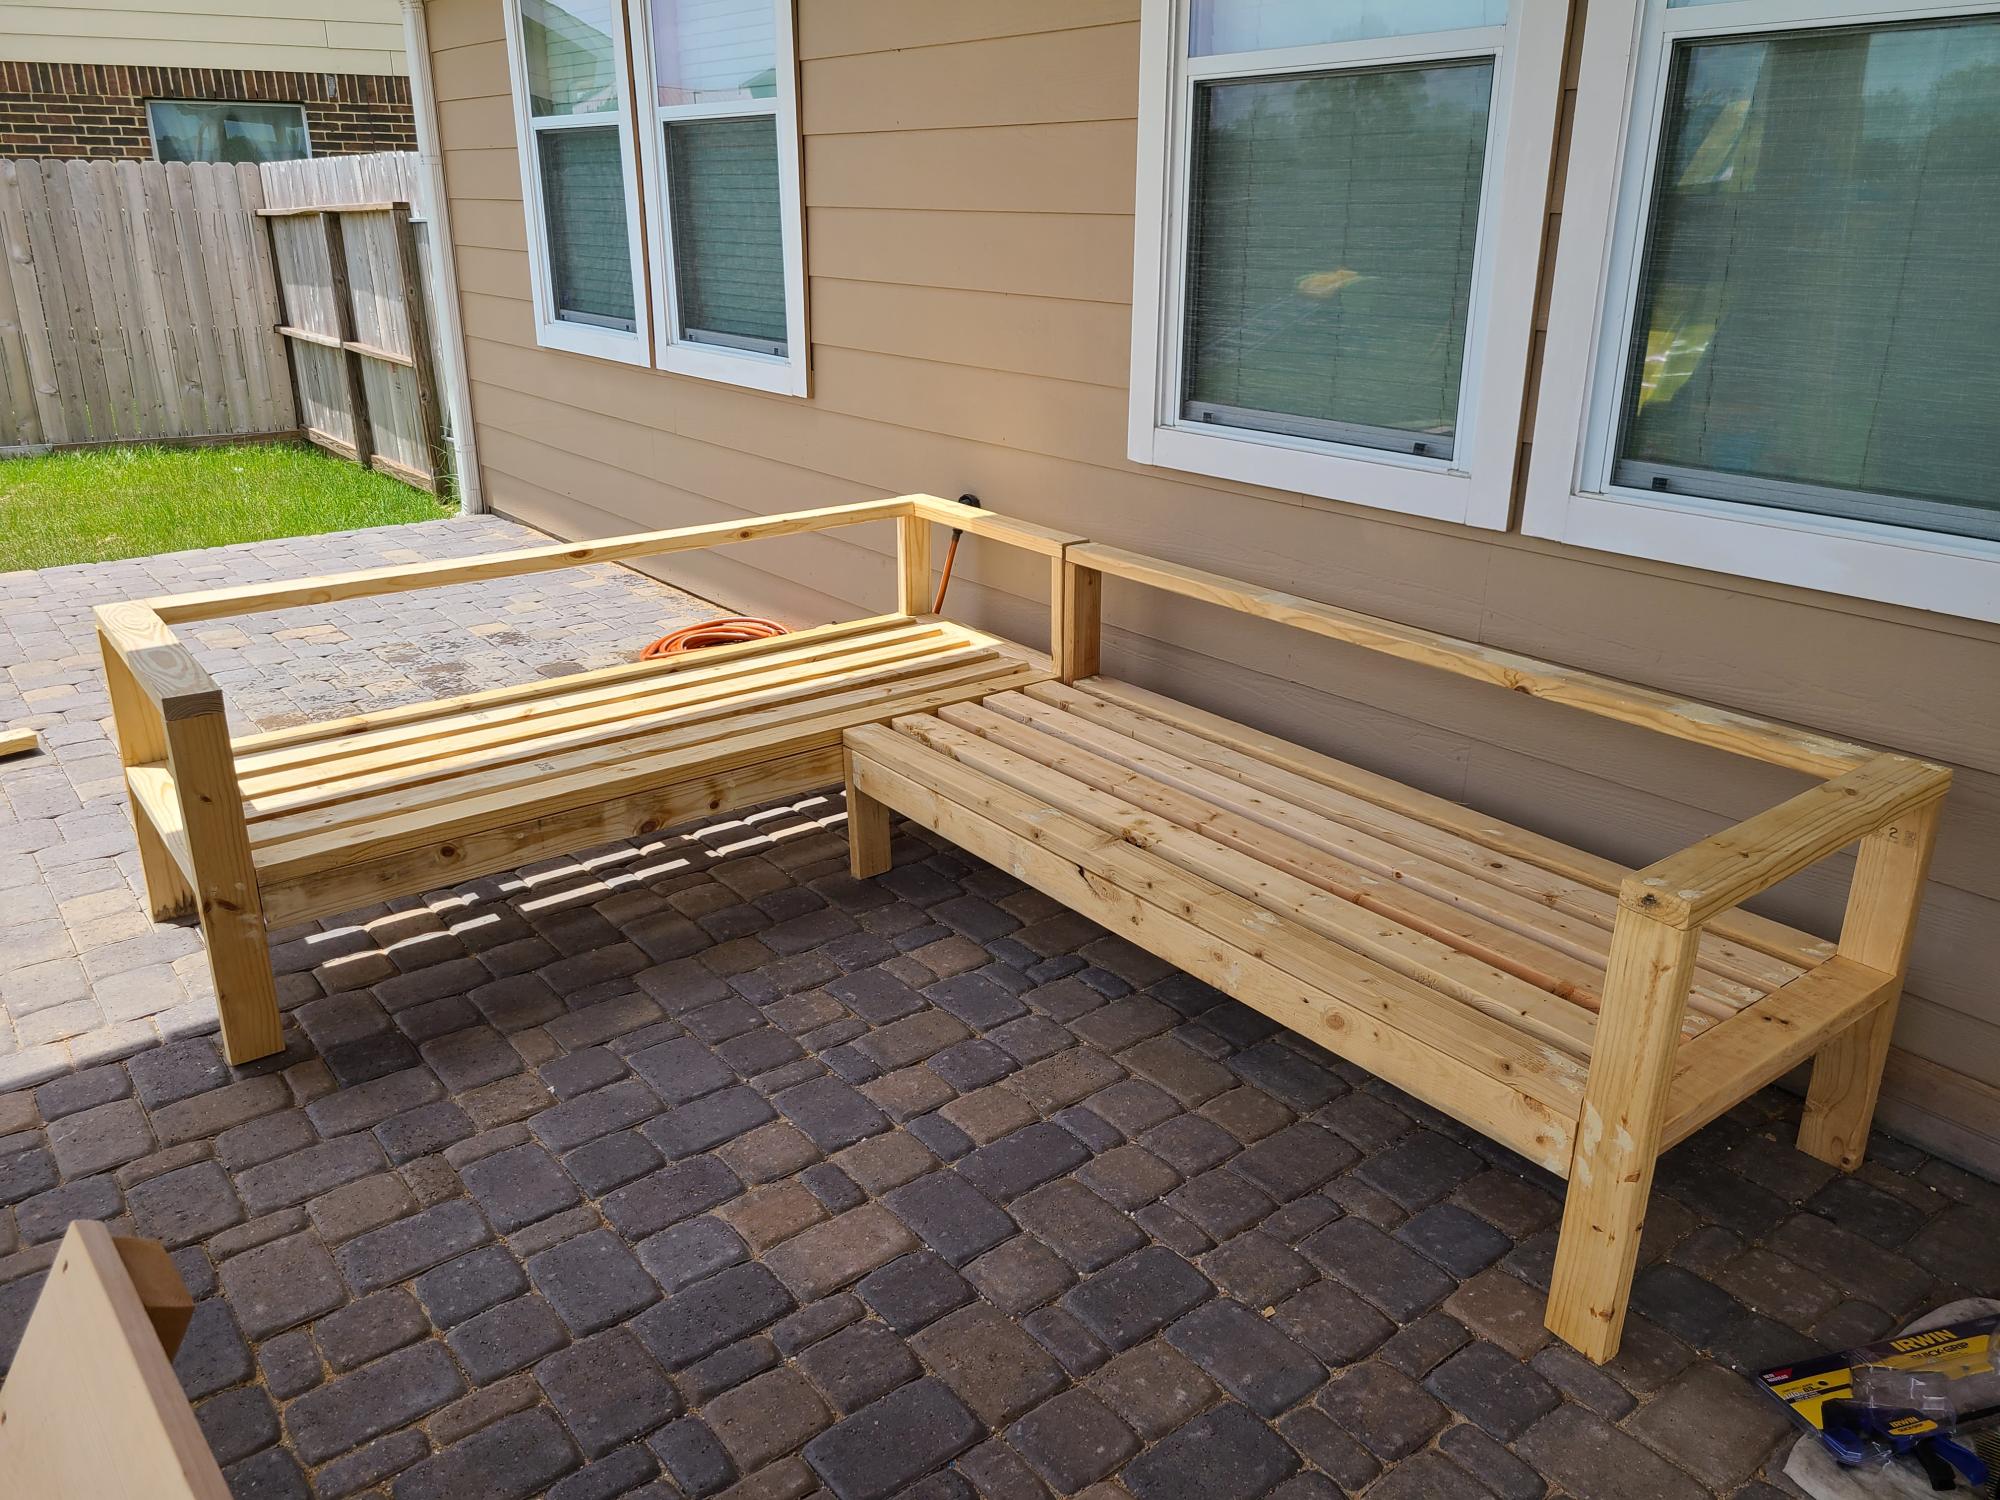
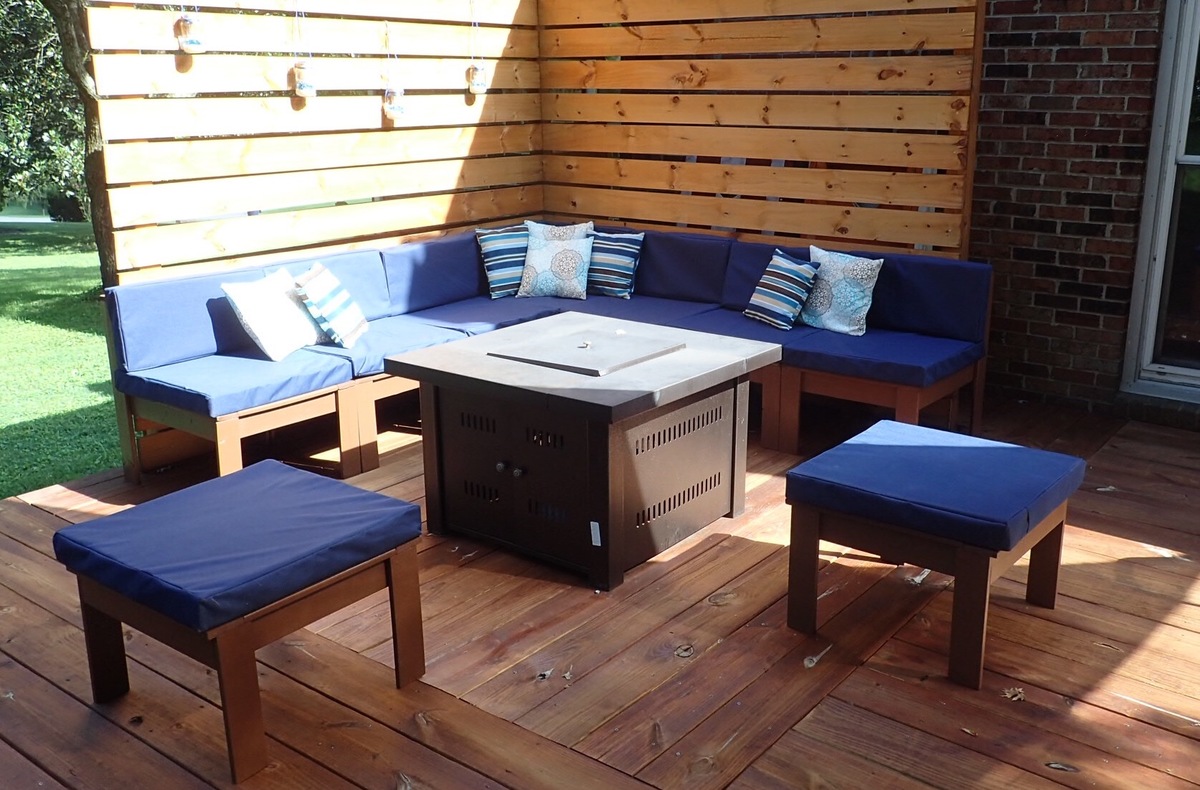
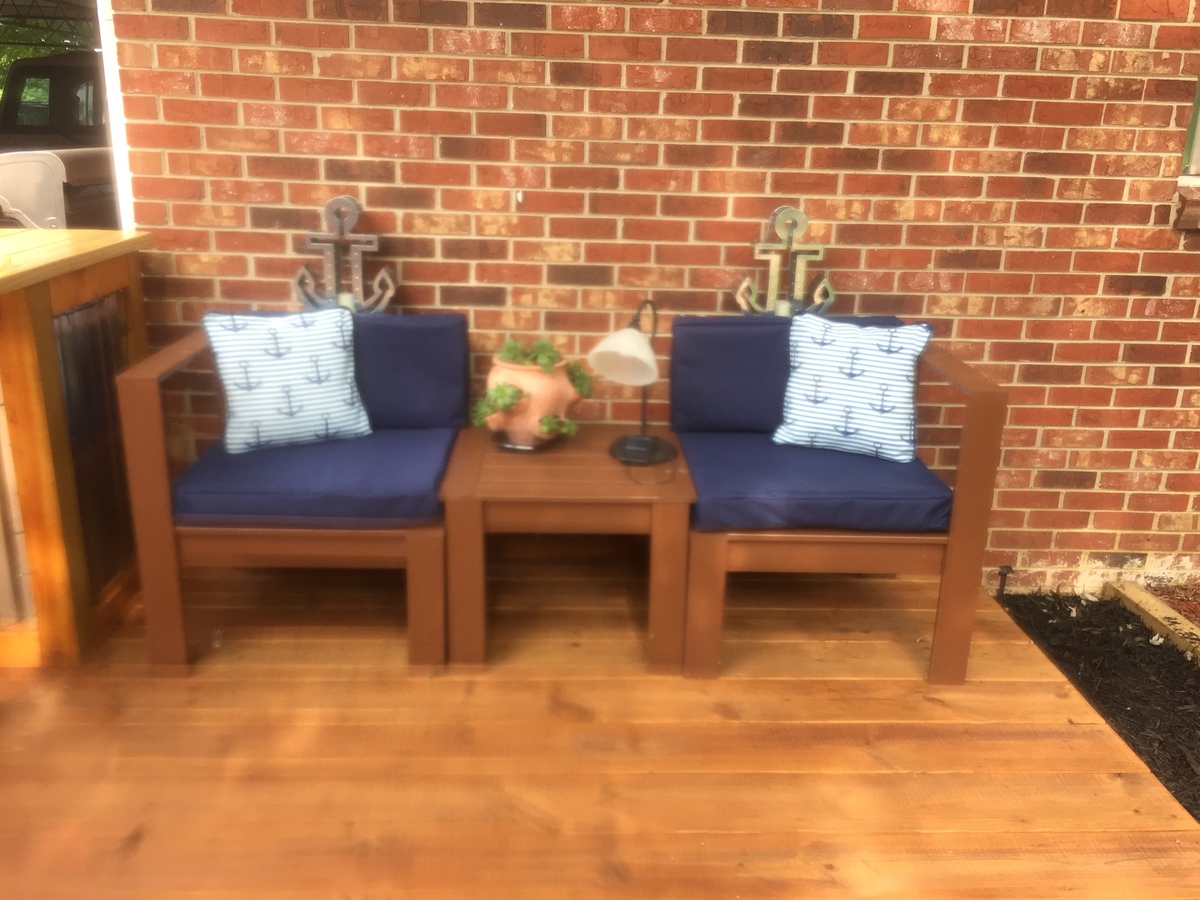
Fire Table Sectional and corner conversation set!!! Perfect!!!!

Submitted by Anonymous (not verified) on Tue, 08/02/2016 - 14:45

This was the first time I had ever worked with some of the tools and really done any serious building.  We built a new deck onto the back of my home and I could not stand the cost of the furniture to make it complete.  Thank you Anna I have become fearless with tools!!  Our deck has become even more special!!

Estimated Cost
Furniture ~ $280
Cushions ~ $250
Estimated Time Investment
Week Long Project (20 Hours or More)
Recommended Skill Level
Beginner

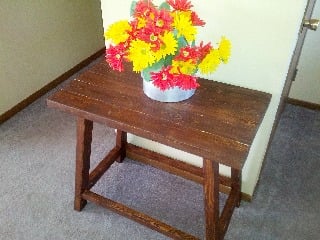
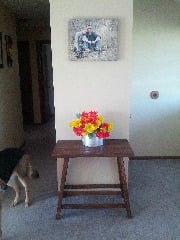
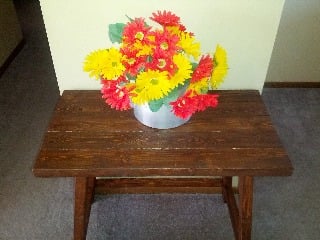
Truss End Table

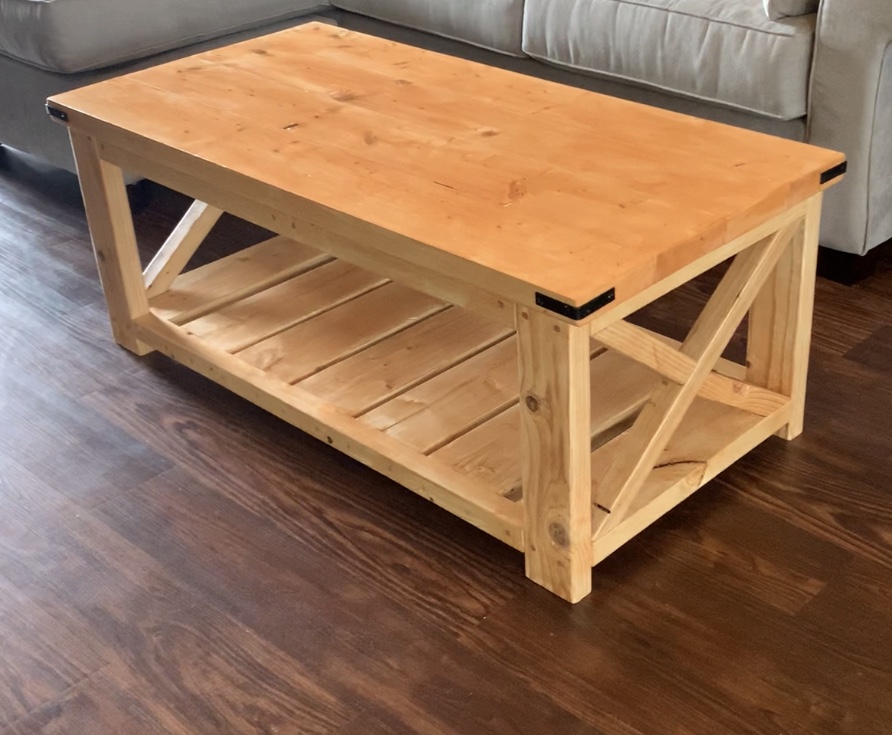
I had trouble with this project. I wasn't sure of the terminology, off square and such. It went well, I ended up not putting the truss part on due to not paying attention when cutting the wood.

Built from Plan(s)
Estimated Cost
$20
Estimated Time Investment
Afternoon Project (3-6 Hours)
Finish Used
Rust-Oleum Ultimate Dark Walnut
Recommended Skill Level
Beginner

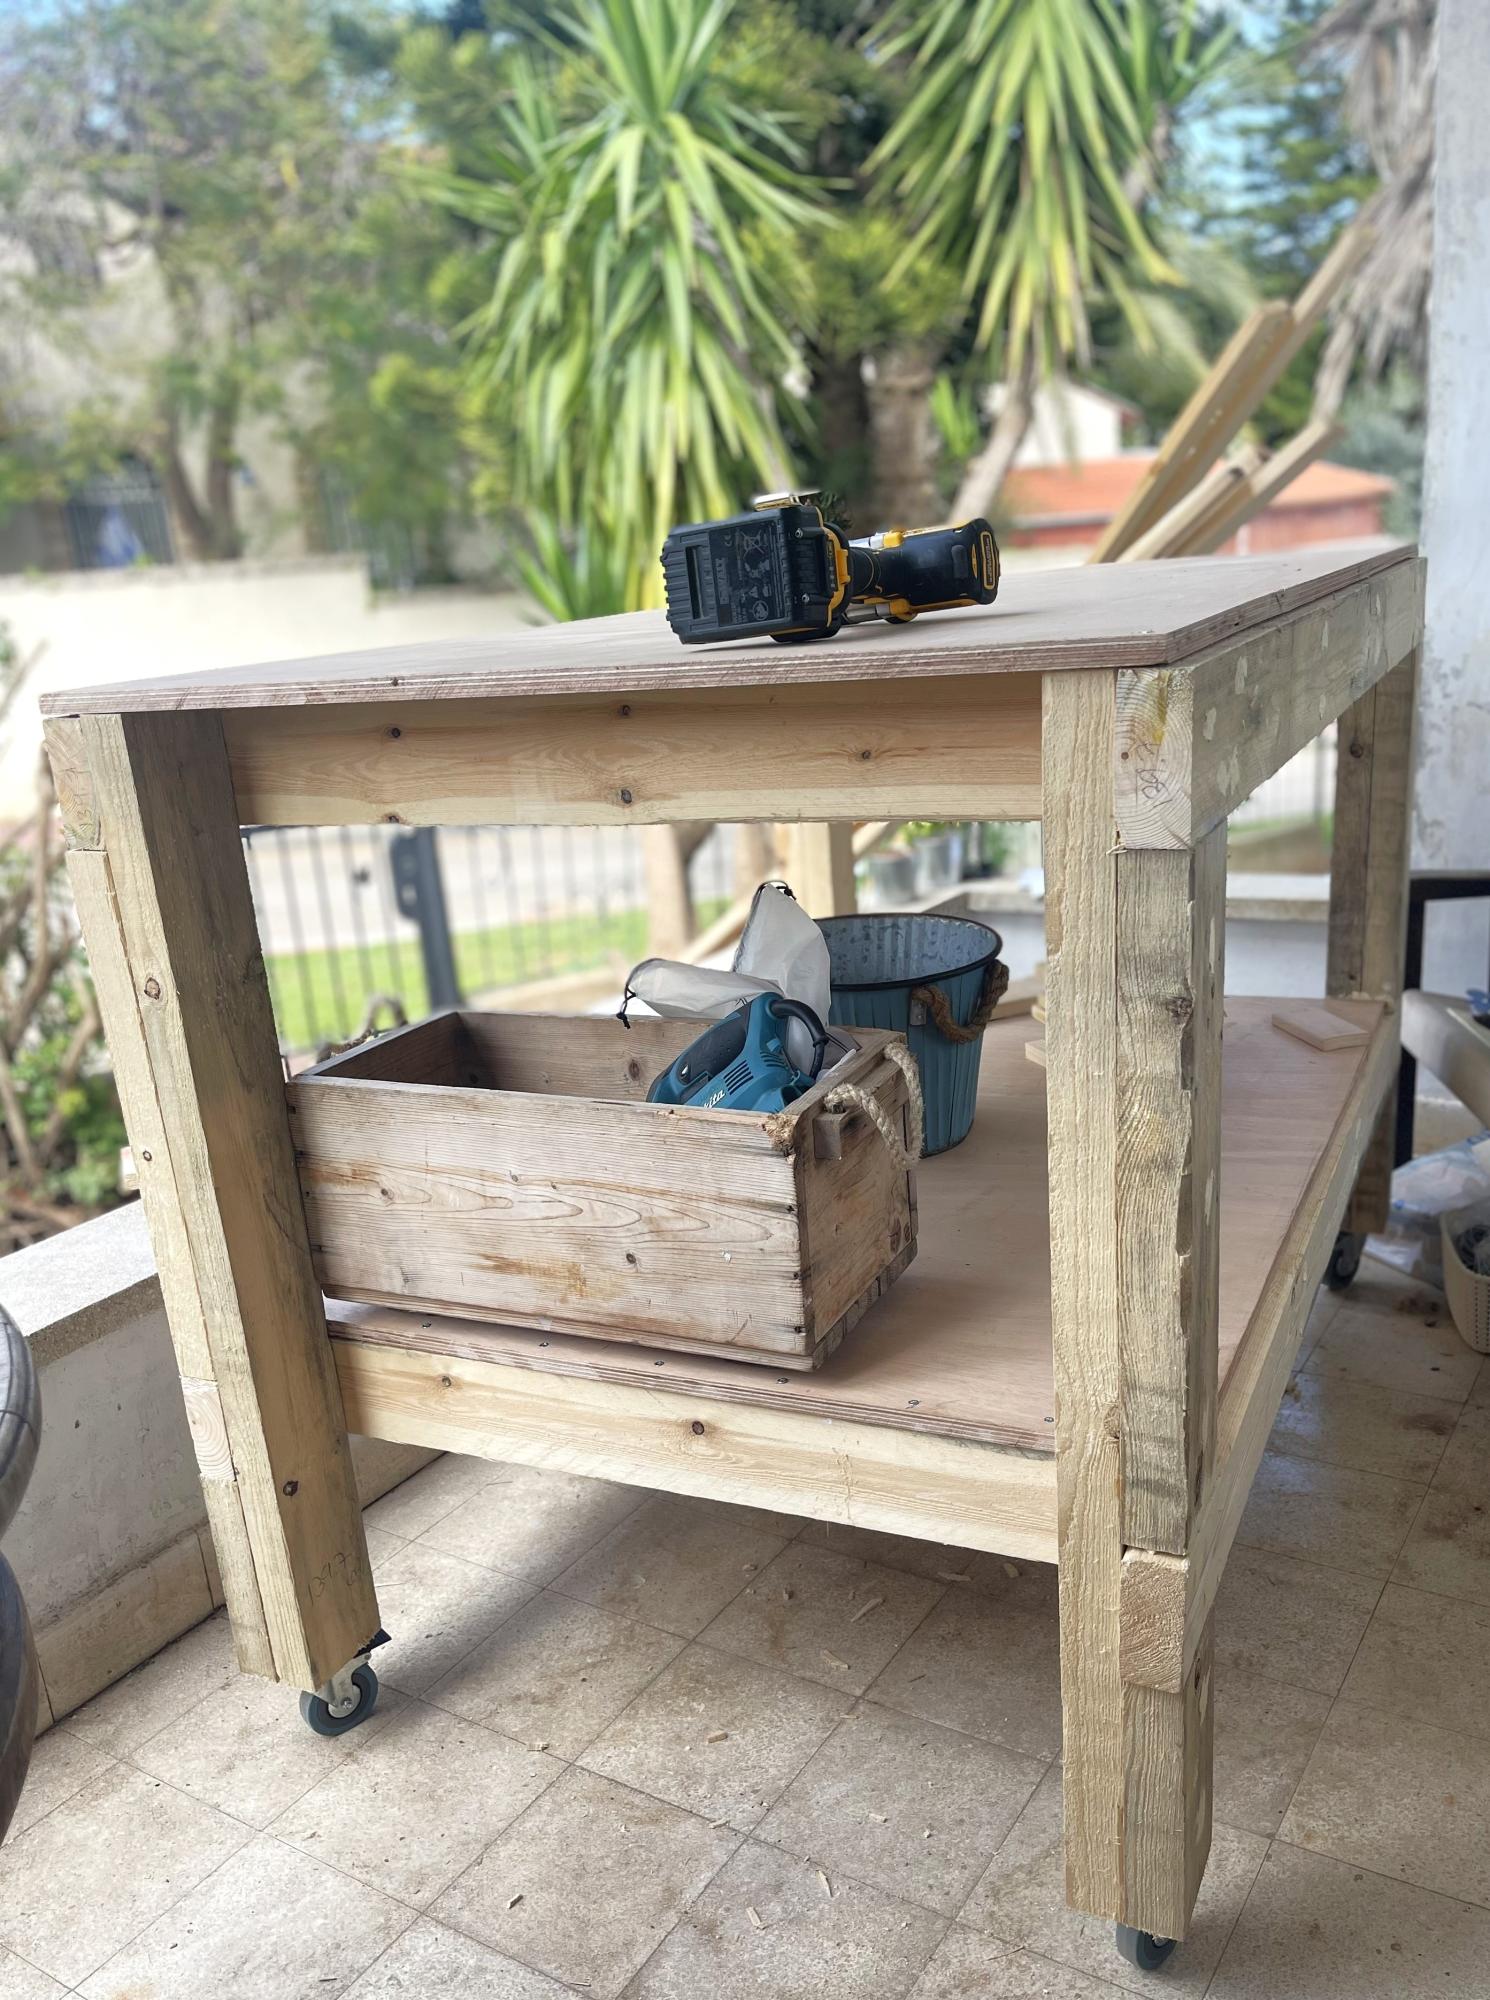
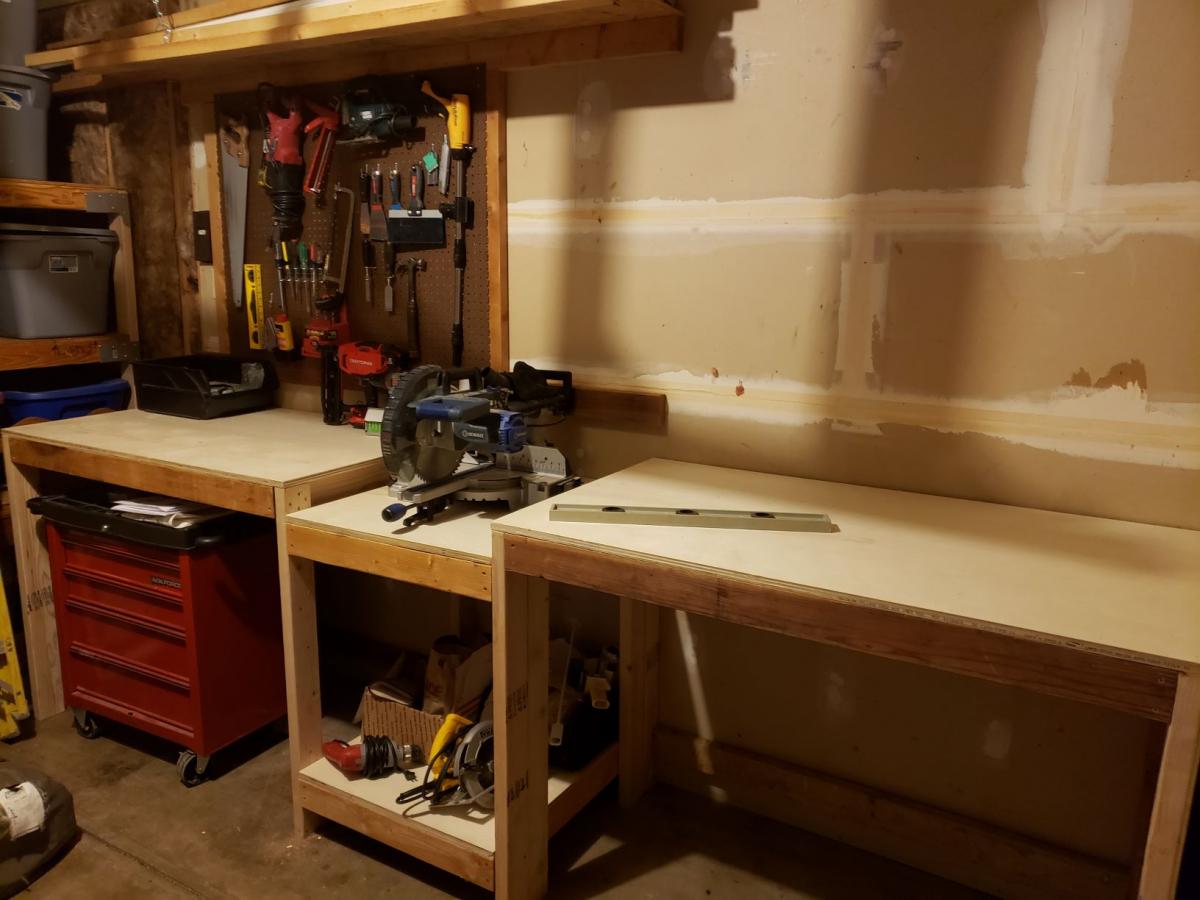
Ultimate Workbench for me

Submitted by ianr on Mon, 06/22/2020 - 15:13

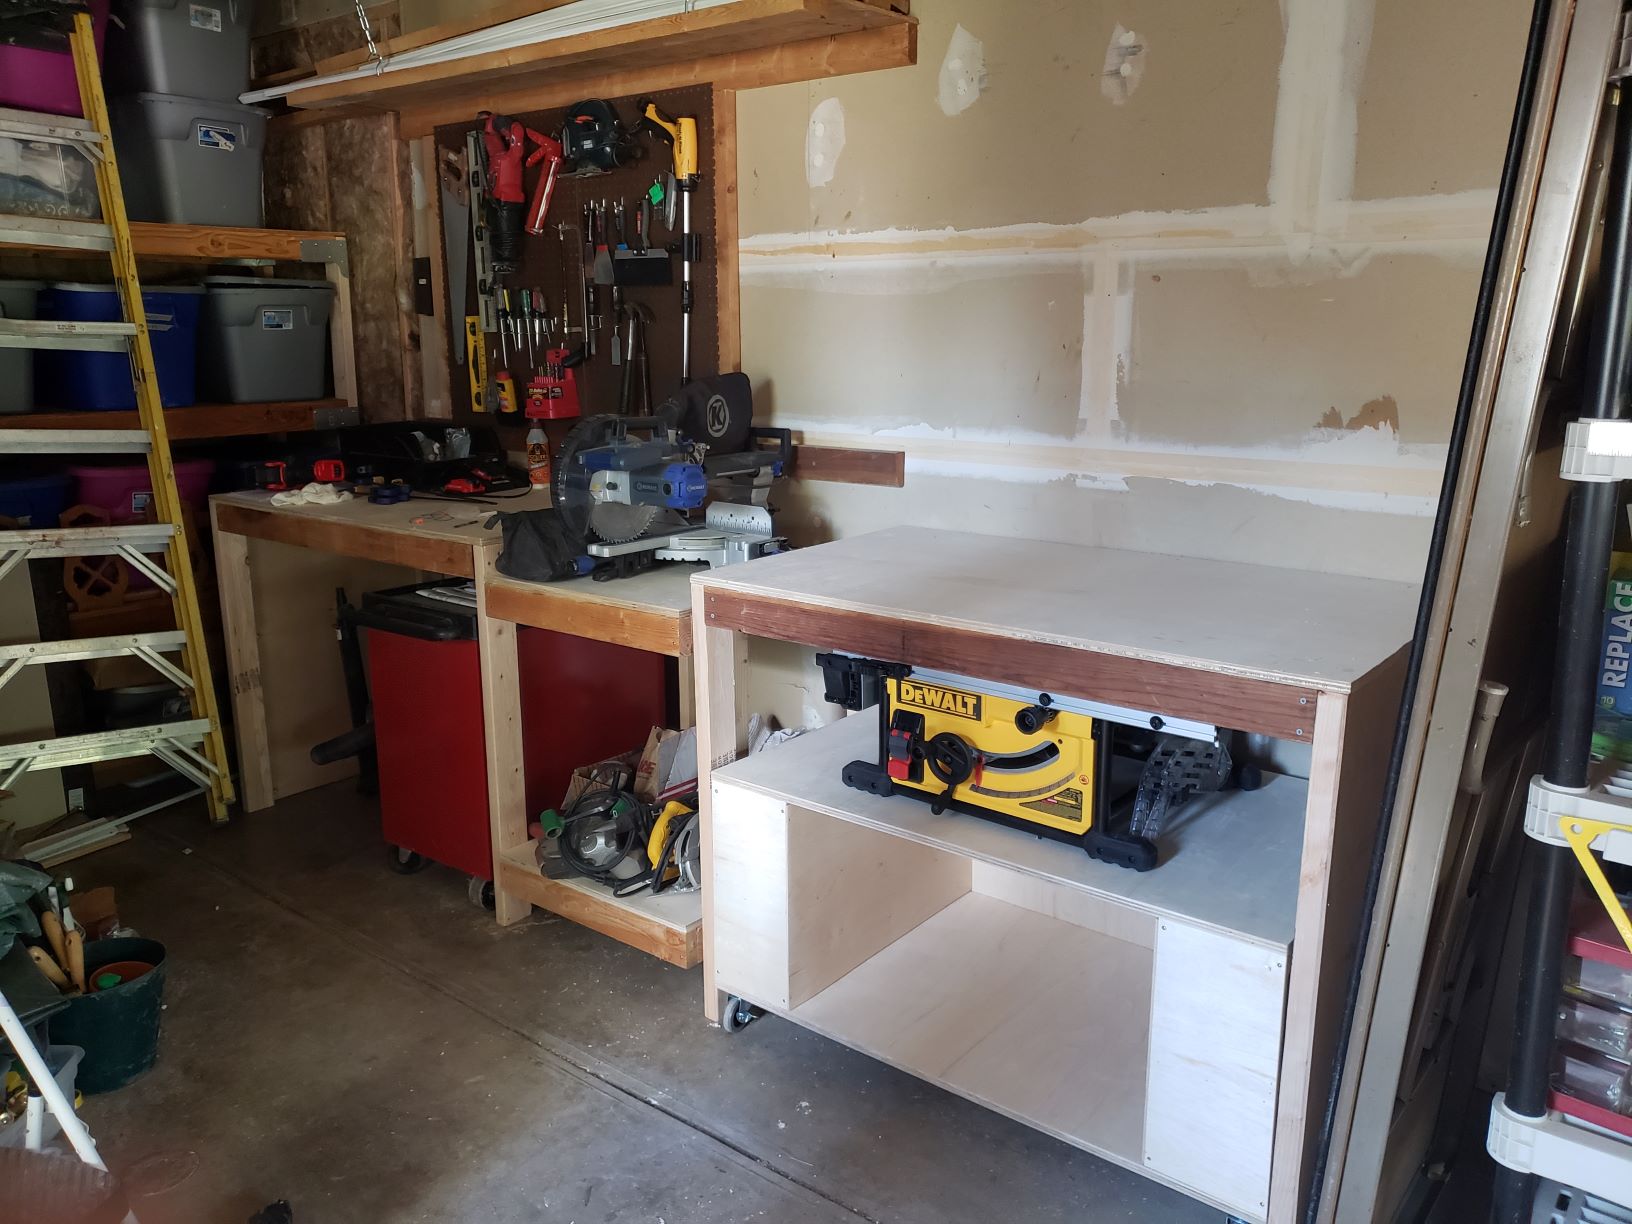
I altered the original plans in the following ways:

  • Only built one rolling cart because I already had a multi-drawer tool chest that fit right under the workbench.
  • Built the right half of the workbench as a separate piece from the miter table because attic access is right above it and we need to move the workbench to get to it.
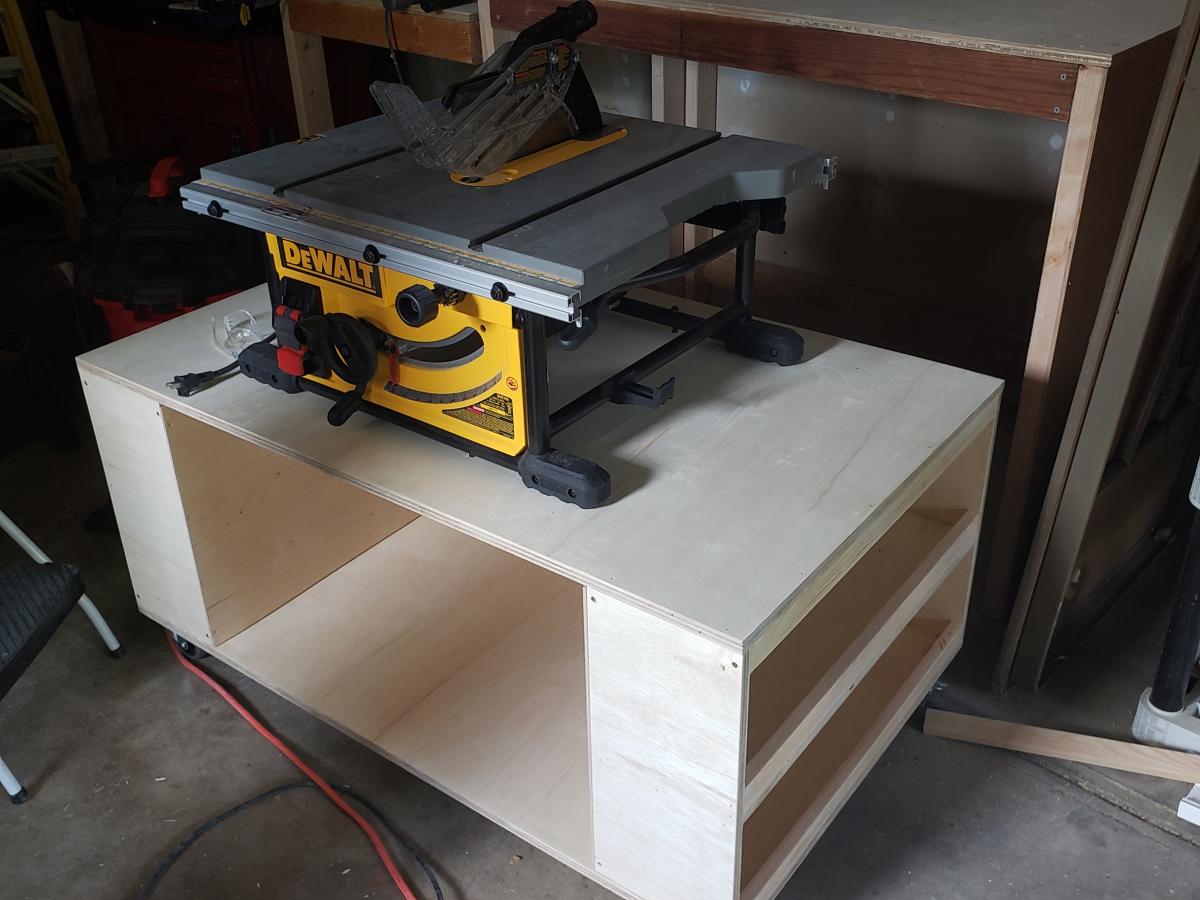
  • Built a half cart for the table saw because the Dewalt contractor saw extends too far to the sides to have it boxed in.
  • I'm going to add a sliding plate that locks down for my miter saw so I can pull it away from the wall without dragging or lifting it.
  • I used a nail gun with two inch nails instead of staples since I don't own a staple gun that holds staples that long.

I'm not that experienced with projects so here are a couple of things I learned:

  • Attach the castors far enough under the cart so that the wheel never extends beyond the sides.
  • Watch what grade sandpaper you use on the plywood. It's easy to strip off a layer.
  • This was not a one-person project for me. Even with clamps, I still needed help bracing parts and rotating pieces.

Thanks for the great plan! Now I can start on all the other projects on our improvement list.

Estimated Cost
350
Estimated Time Investment
Weekend Project (10-20 Hours)
Recommended Skill Level
Intermediate

Craft Table by Southern Chic Love

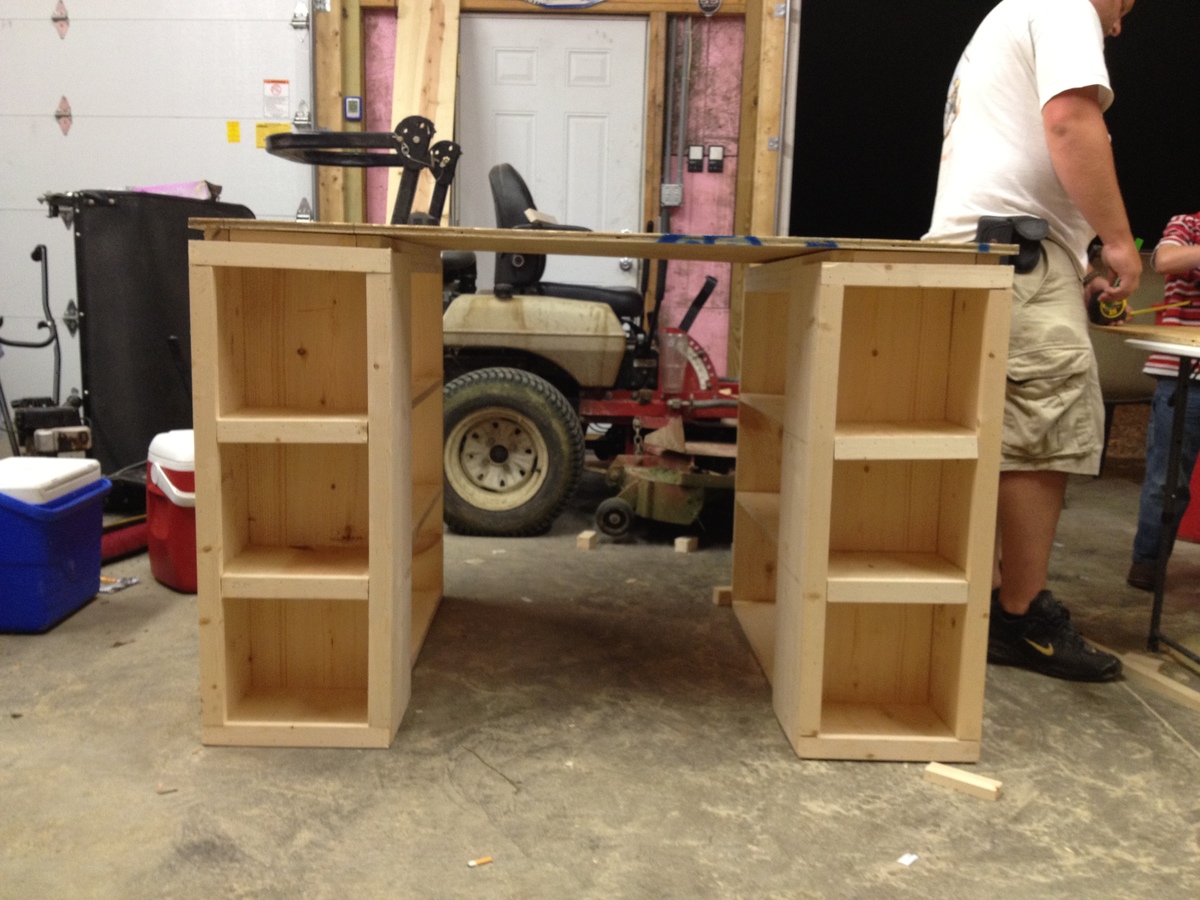
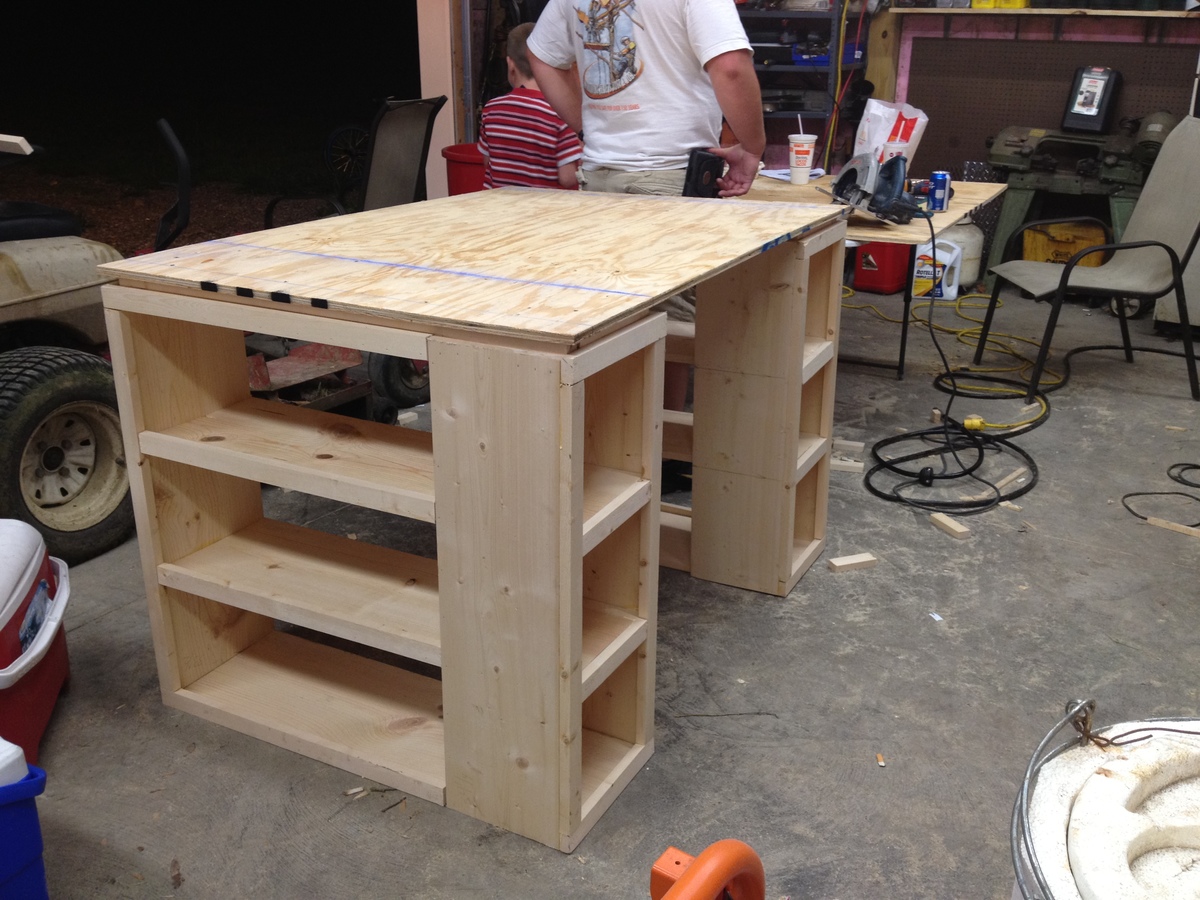
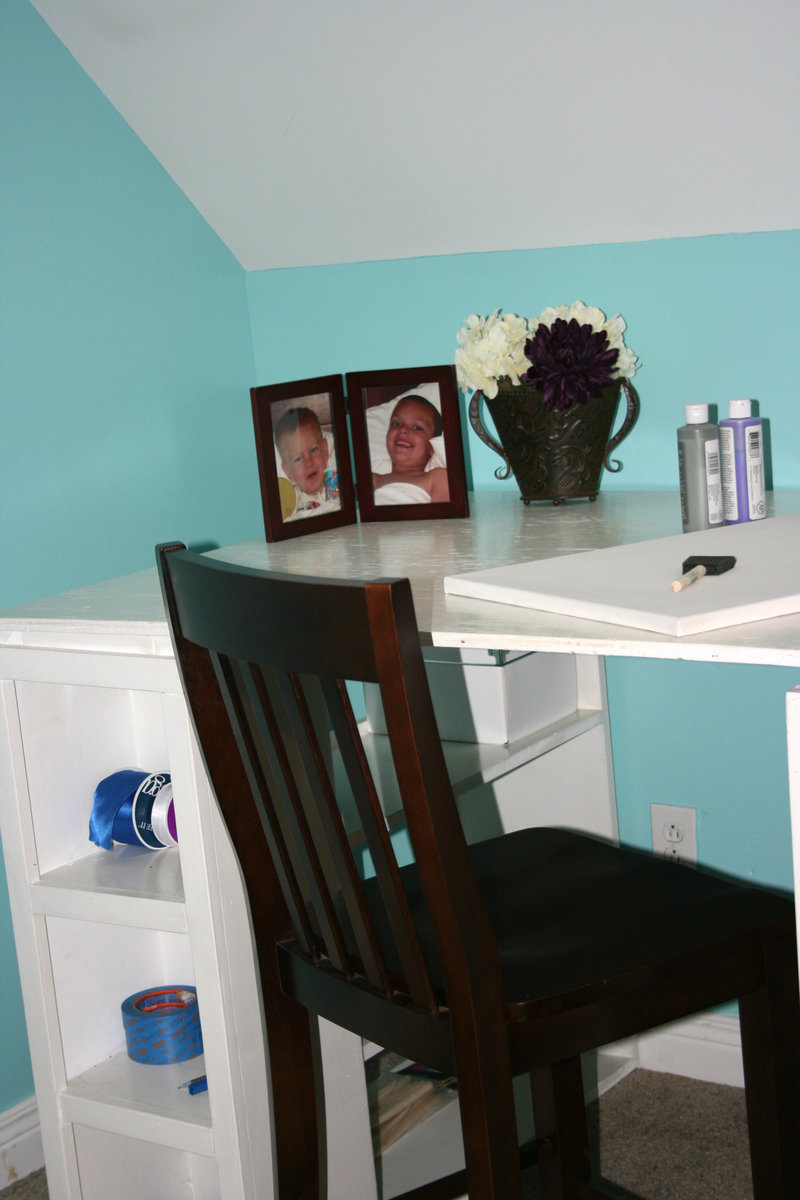
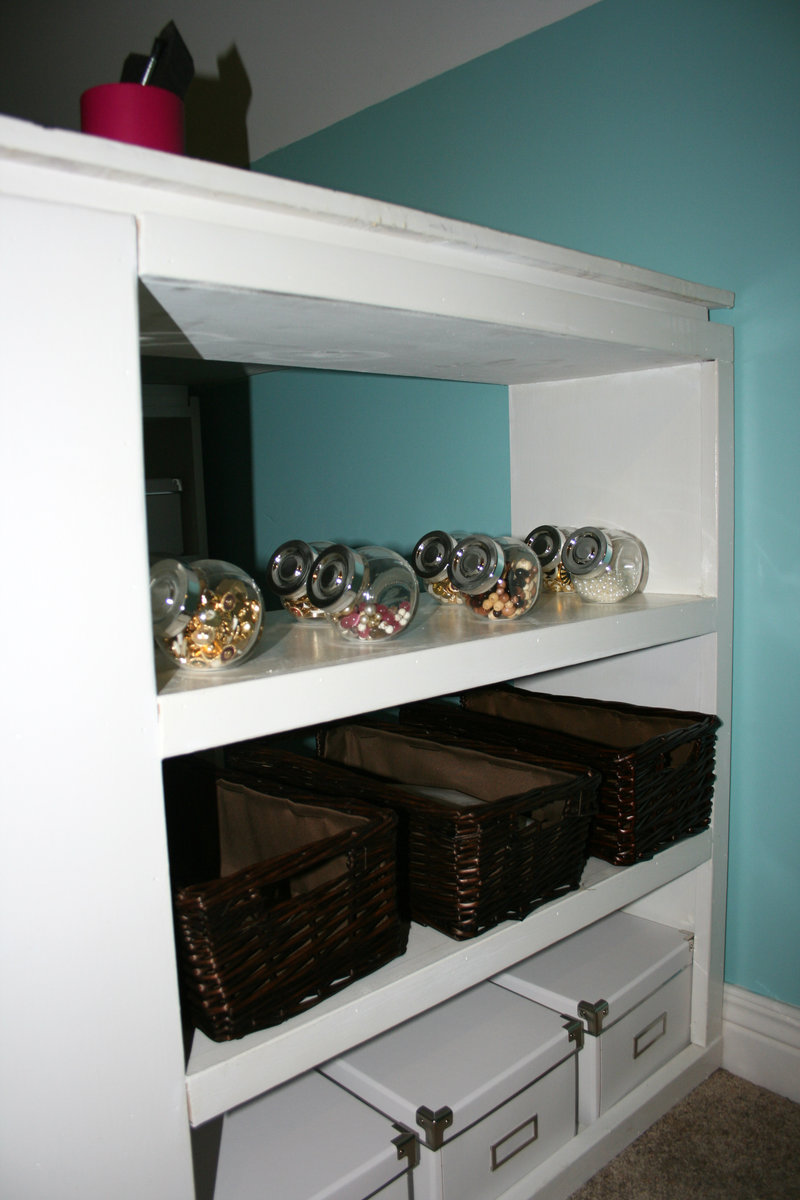
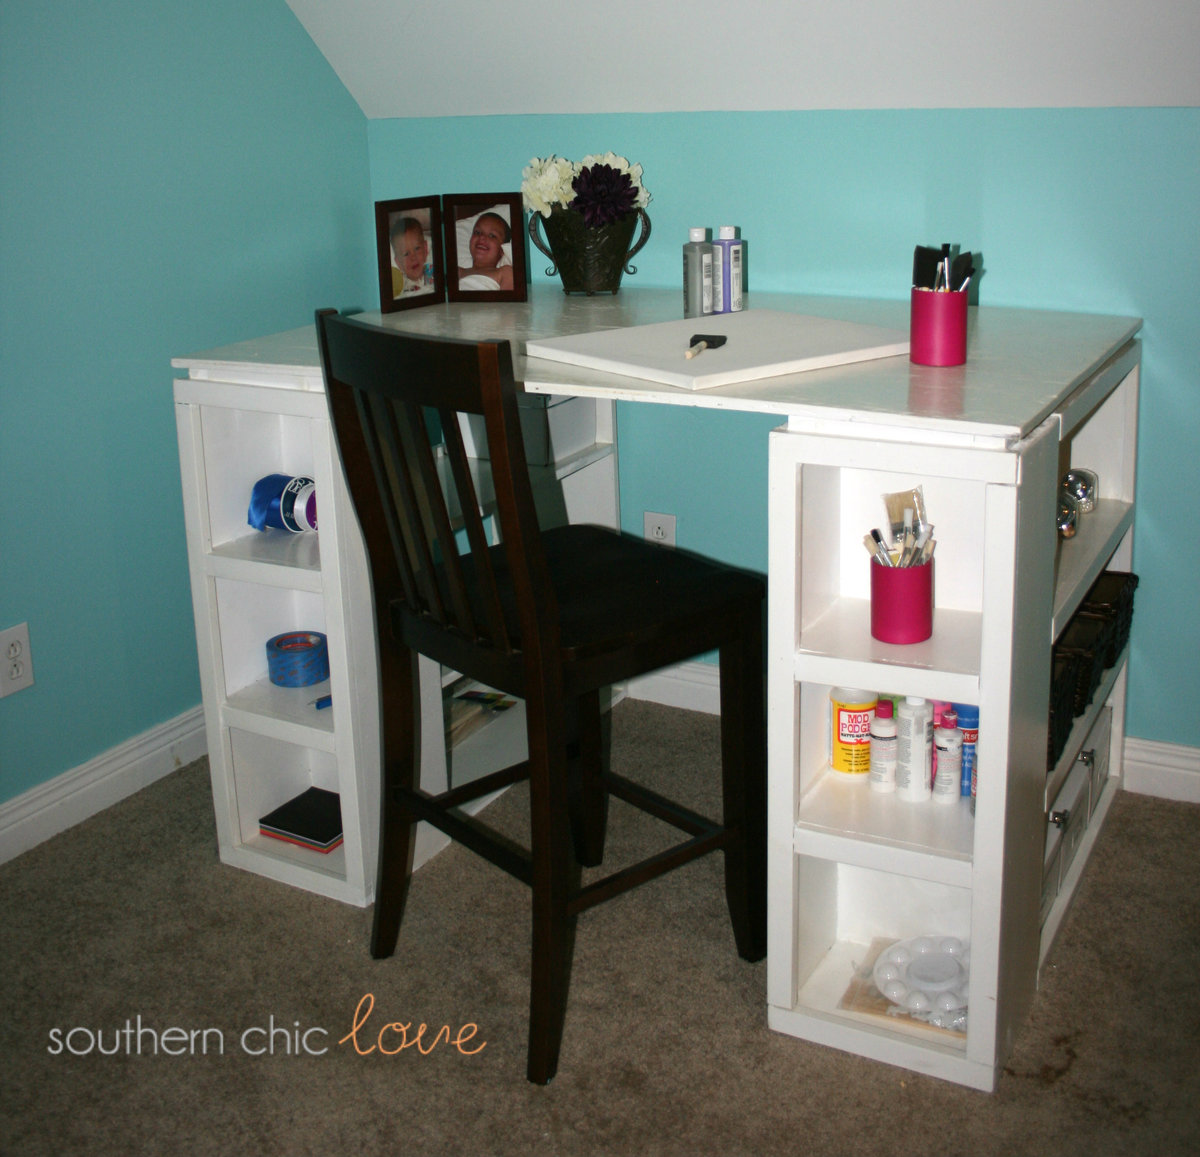
This is my very first Ana White build! I needed a table to go into my craft room and stumbled upon Ana White. What an AMAZING site! After browsing and finding many projects i would like to give a whirl i finally decided on this modern craft table. My husband and I have worked together on many different projects and decided we would try this one. The plans were very easy to follow although we did make a few mistakes along the way. I painted it white and finished with several coats of poly. All in all we love it and have a list of other builds to do next.

Make sure to check us out at SouthernChicLove.Blogspot.com!

Built from Plan(s)
Estimated Cost
$100-$150
Estimated Time Investment
Weekend Project (10-20 Hours)
Finish Used
I used basic laytex white gloss paint finished with several coats of poly.
Recommended Skill Level
Beginner

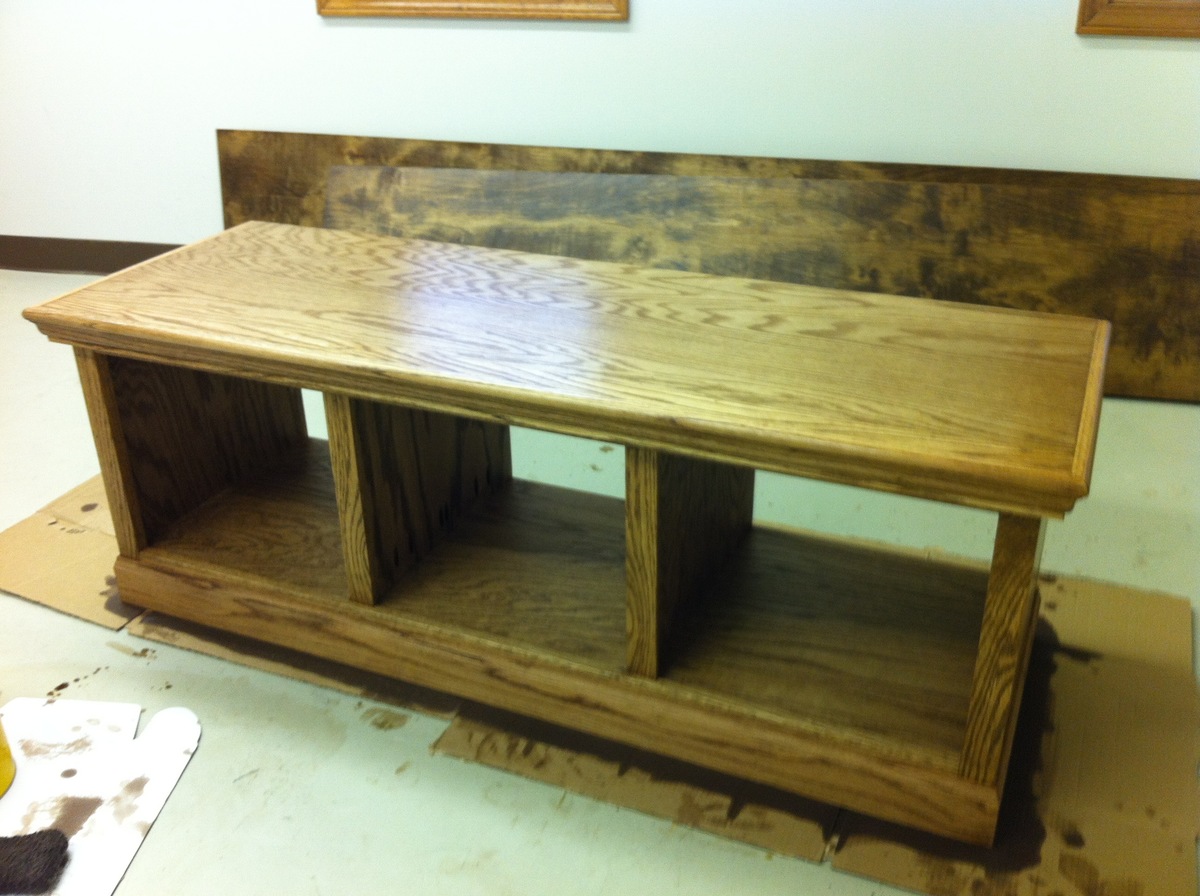
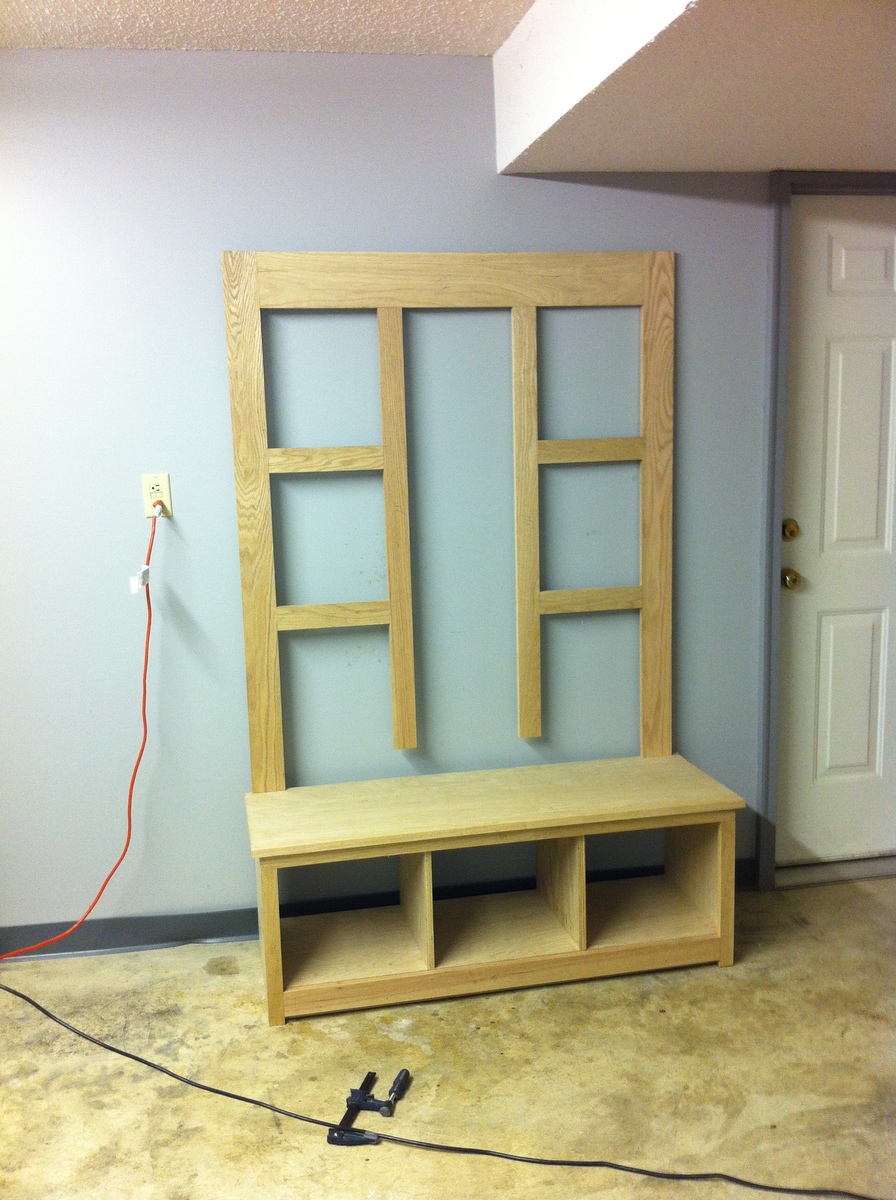
Fancy Pants Hall Tree

Submitted by theJam on Thu, 09/06/2012 - 19:37

This is not my first build, as I built some tables for my shop using various plans.

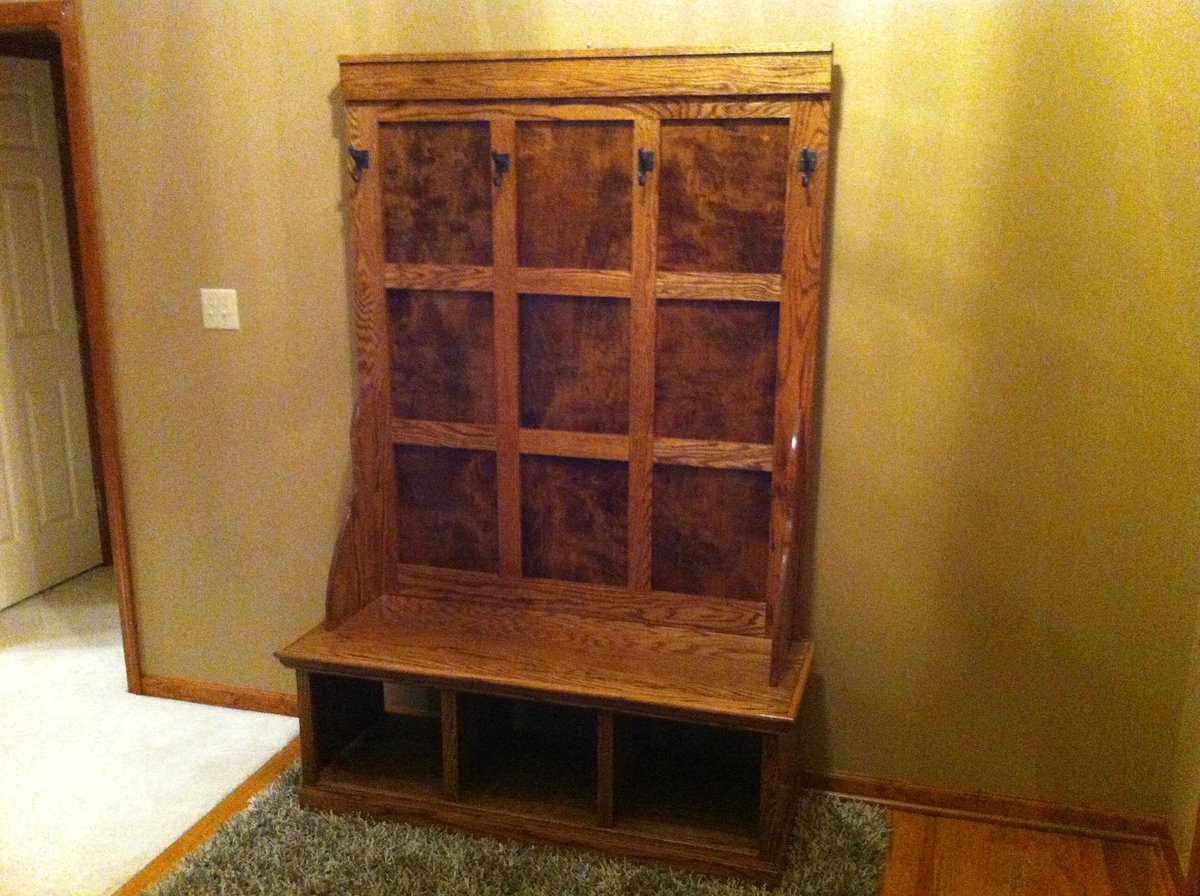
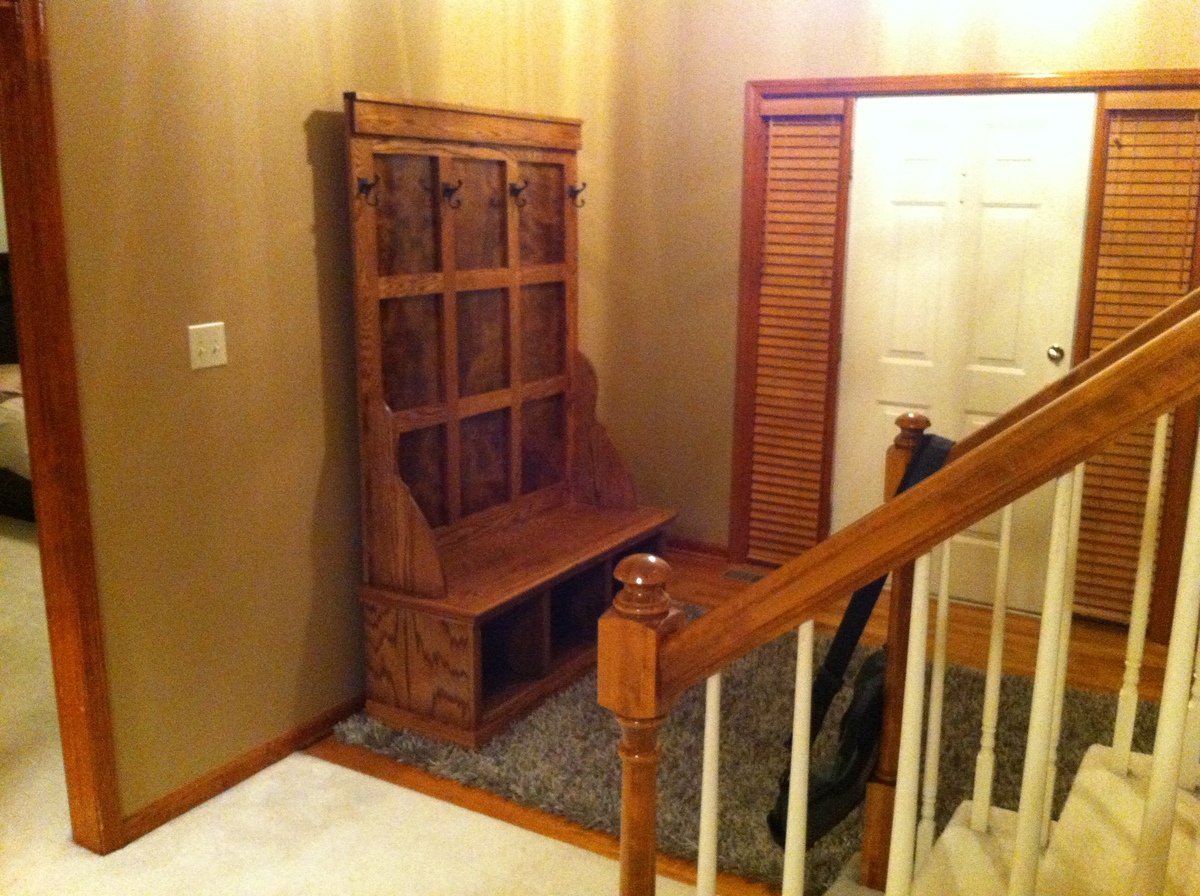
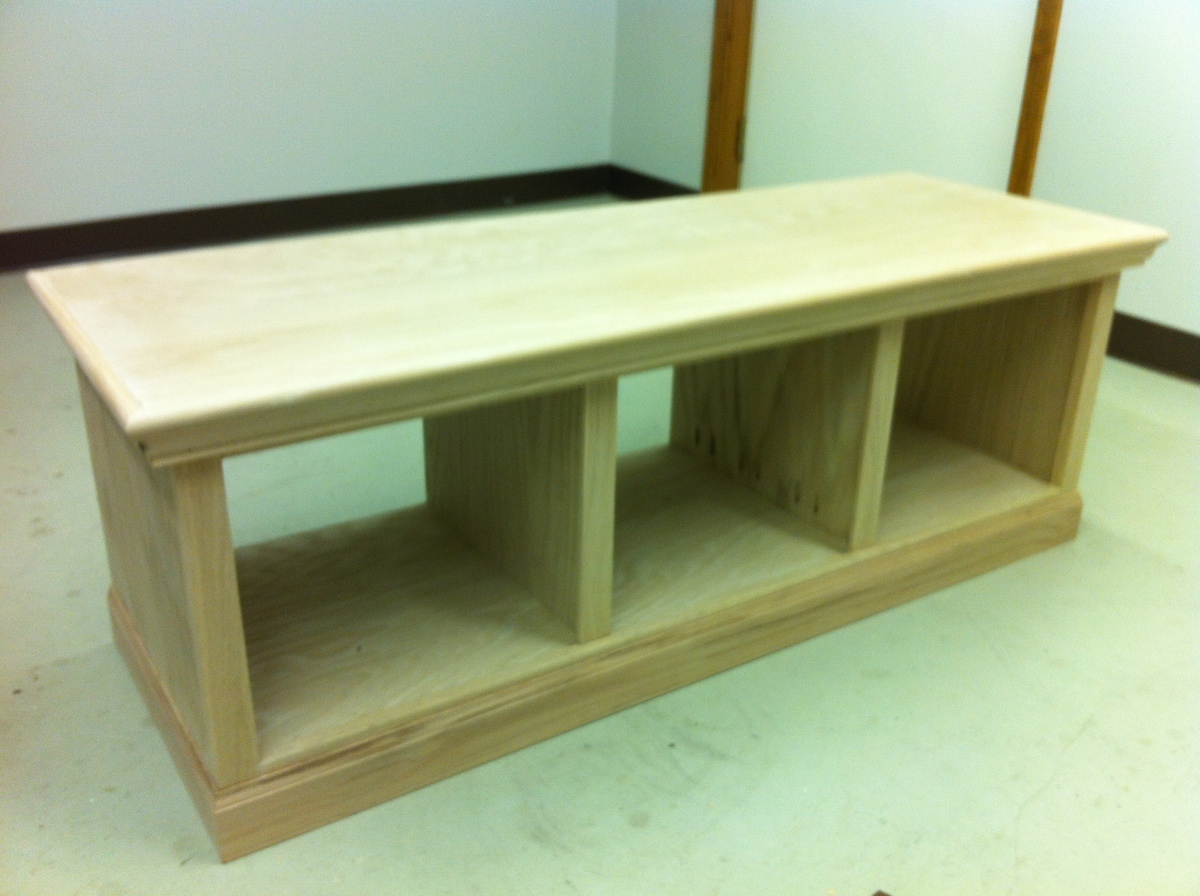
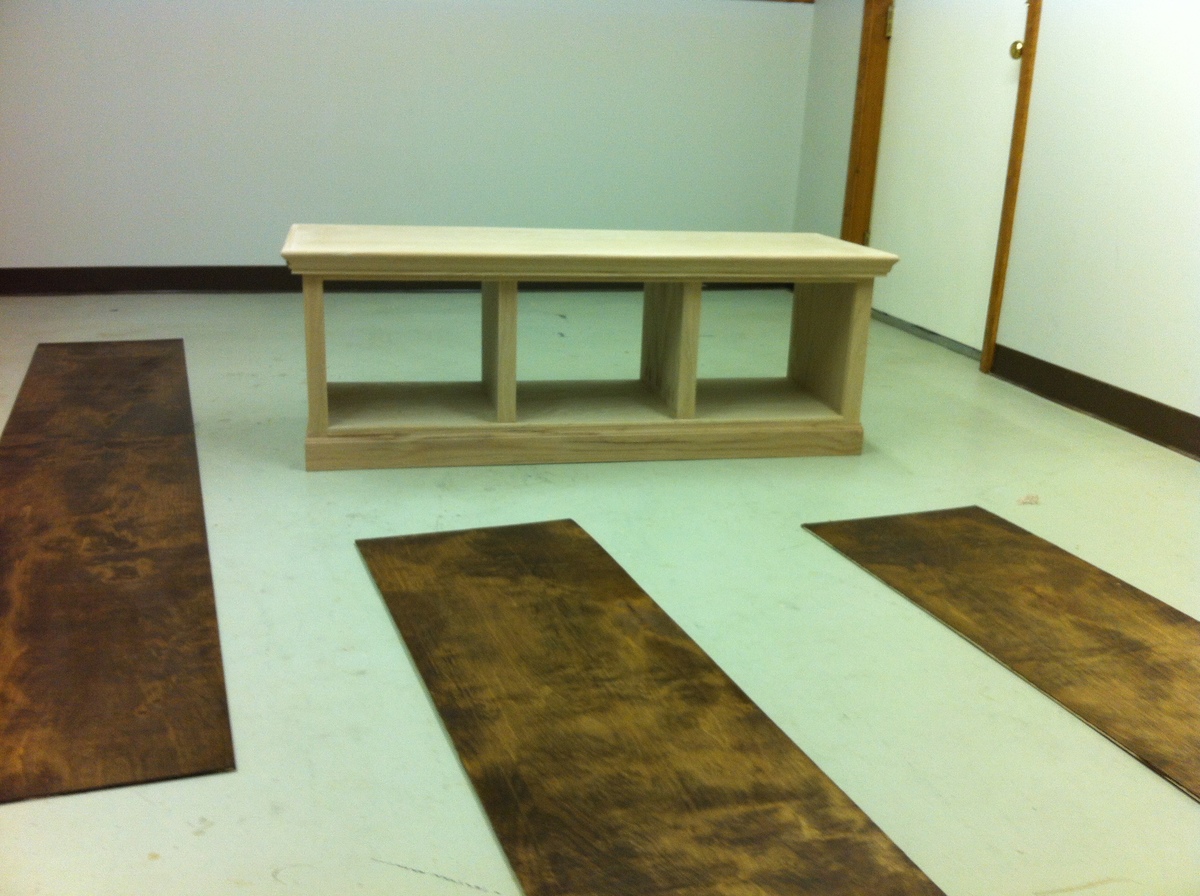
Anyway, here it is, the hall tree! I changed up the trim a bit. So much of me went into this, and a couple of times I pulled out the crowbar and started over on the moulding and on the cross supports on the top because I was a bit of a perfectionist... something I need to learn to control with this new found hobby.

Let me know what you think! Already the picture have about 50 likes on my facebook and people want me to build them one! I think I'll just send them the link... !!!

Built from Plan(s)
Estimated Time Investment
Week Long Project (20 Hours or More)
Finish Used
Minwax Early American Stain and Minwax Quick Drying Polyurethane
Recommended Skill Level
Intermediate

Comments

bd

Sat, 04/06/2013 - 09:03

What did you use for the back plywood panel? Oak? I'm having difficulty finding oak plywood in anything except 3/4", and it looks like there's a contrast between wood types. Is that just a difference in stain or difference in wood?

Thanks!

justindalby

Thu, 10/16/2014 - 08:35

I love your version.  I really like the moulding that you put on the top piece of the bench.  Since there is a lip on the top piece (overlaps the bottom section of the bench), how did you attached the moulding so that the top of it lays flat and flush with the top piece? I assume that you made some sort of hidden spacer between the lip and the moulding.  Is that correct? 

Also, how did you attach the back plywood to the decorative cross beams, finish nails?

Thanks for sharing!

Shoe Organizer

Submitted by moemoore on Mon, 10/08/2012 - 04:05

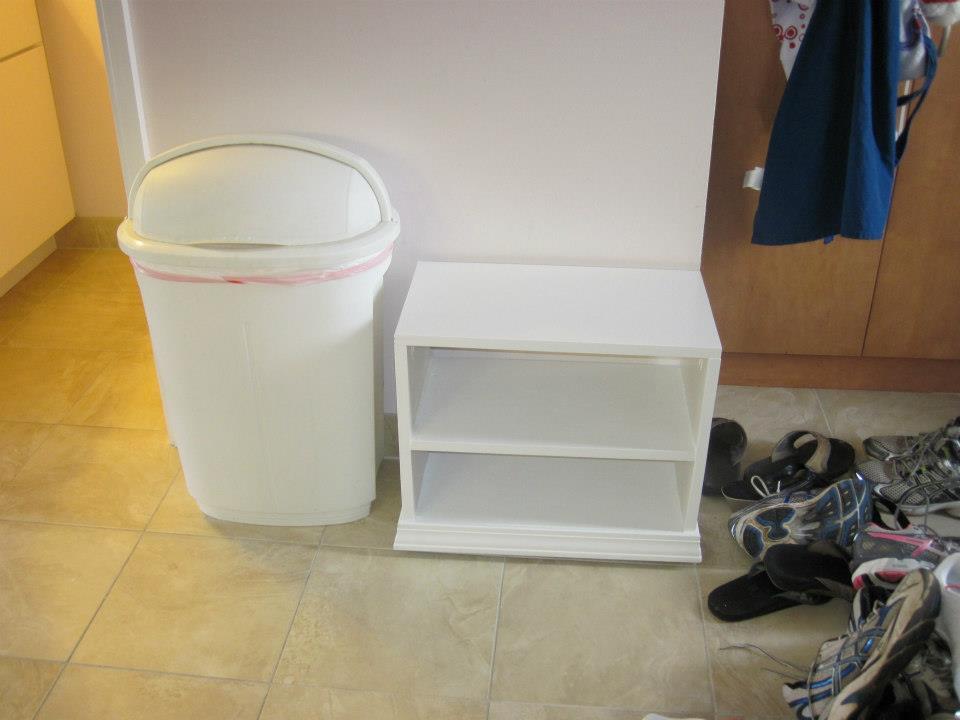
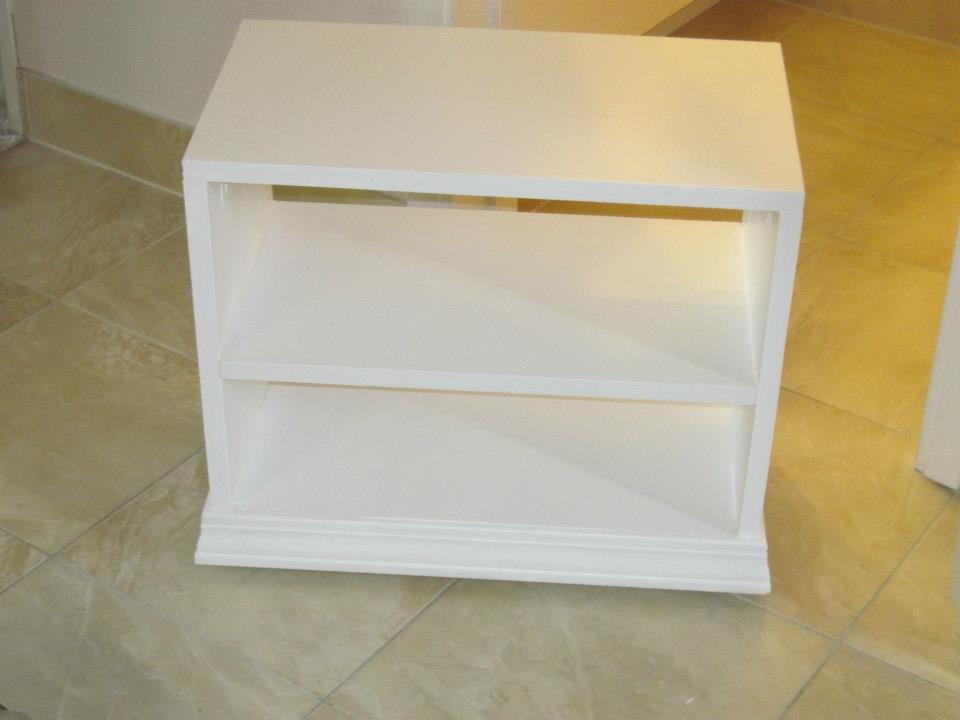
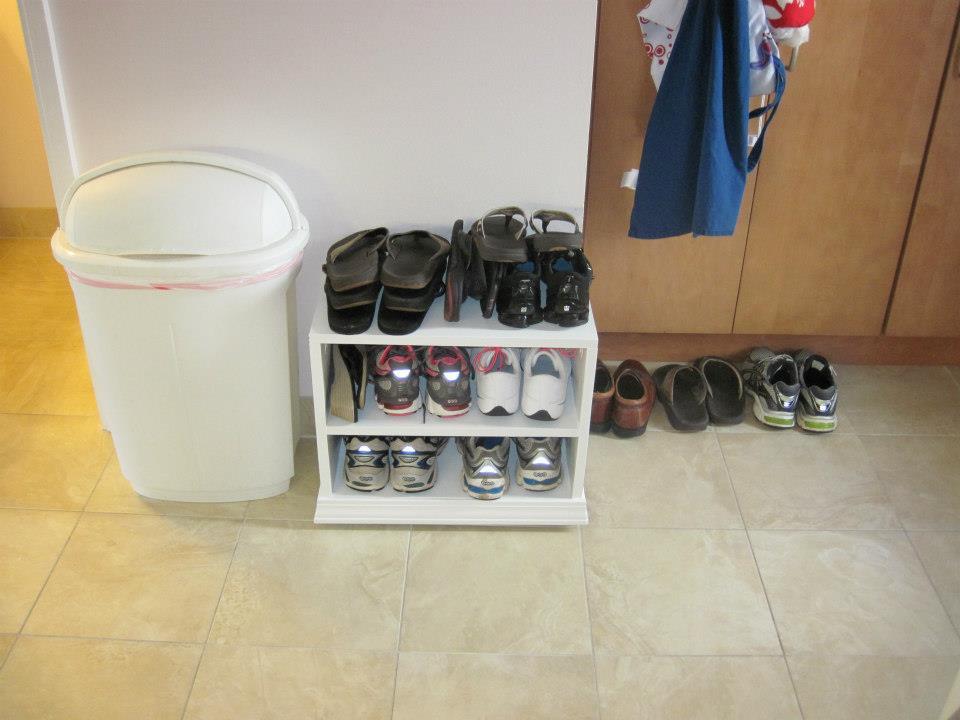
Between my husband and I, we routinely have 10 pair of footwear by the front door. In Hawaii, its tradition that you remove your shoes at the door. Unfortunately for us, our condo doesn't have much room by the door. As such, there would often be a pile of footwear as you entered the unit, which is the kitchen. I have tried various shoe organizers over the years, and none really fit the bill, or the space we had. So I built one myself.

Its a pretty basic box, with 1 fixed shelf. All joined with my Kreg jig (of course). I also attached some casters on the bottom to make it easier to move out of the way if needed. After assembling and painting, I picked up some moulding and added it to the bottom, which helped to hide the casters. Then I used some old liquid nail/caulk I had to fill in the holes.

Estimated Time Investment
Afternoon Project (3-6 Hours)
Finish Used
white paint
Recommended Skill Level
Beginner

Ipex Bookcase

Submitted by MikeO on Sat, 08/01/2020 - 12:35

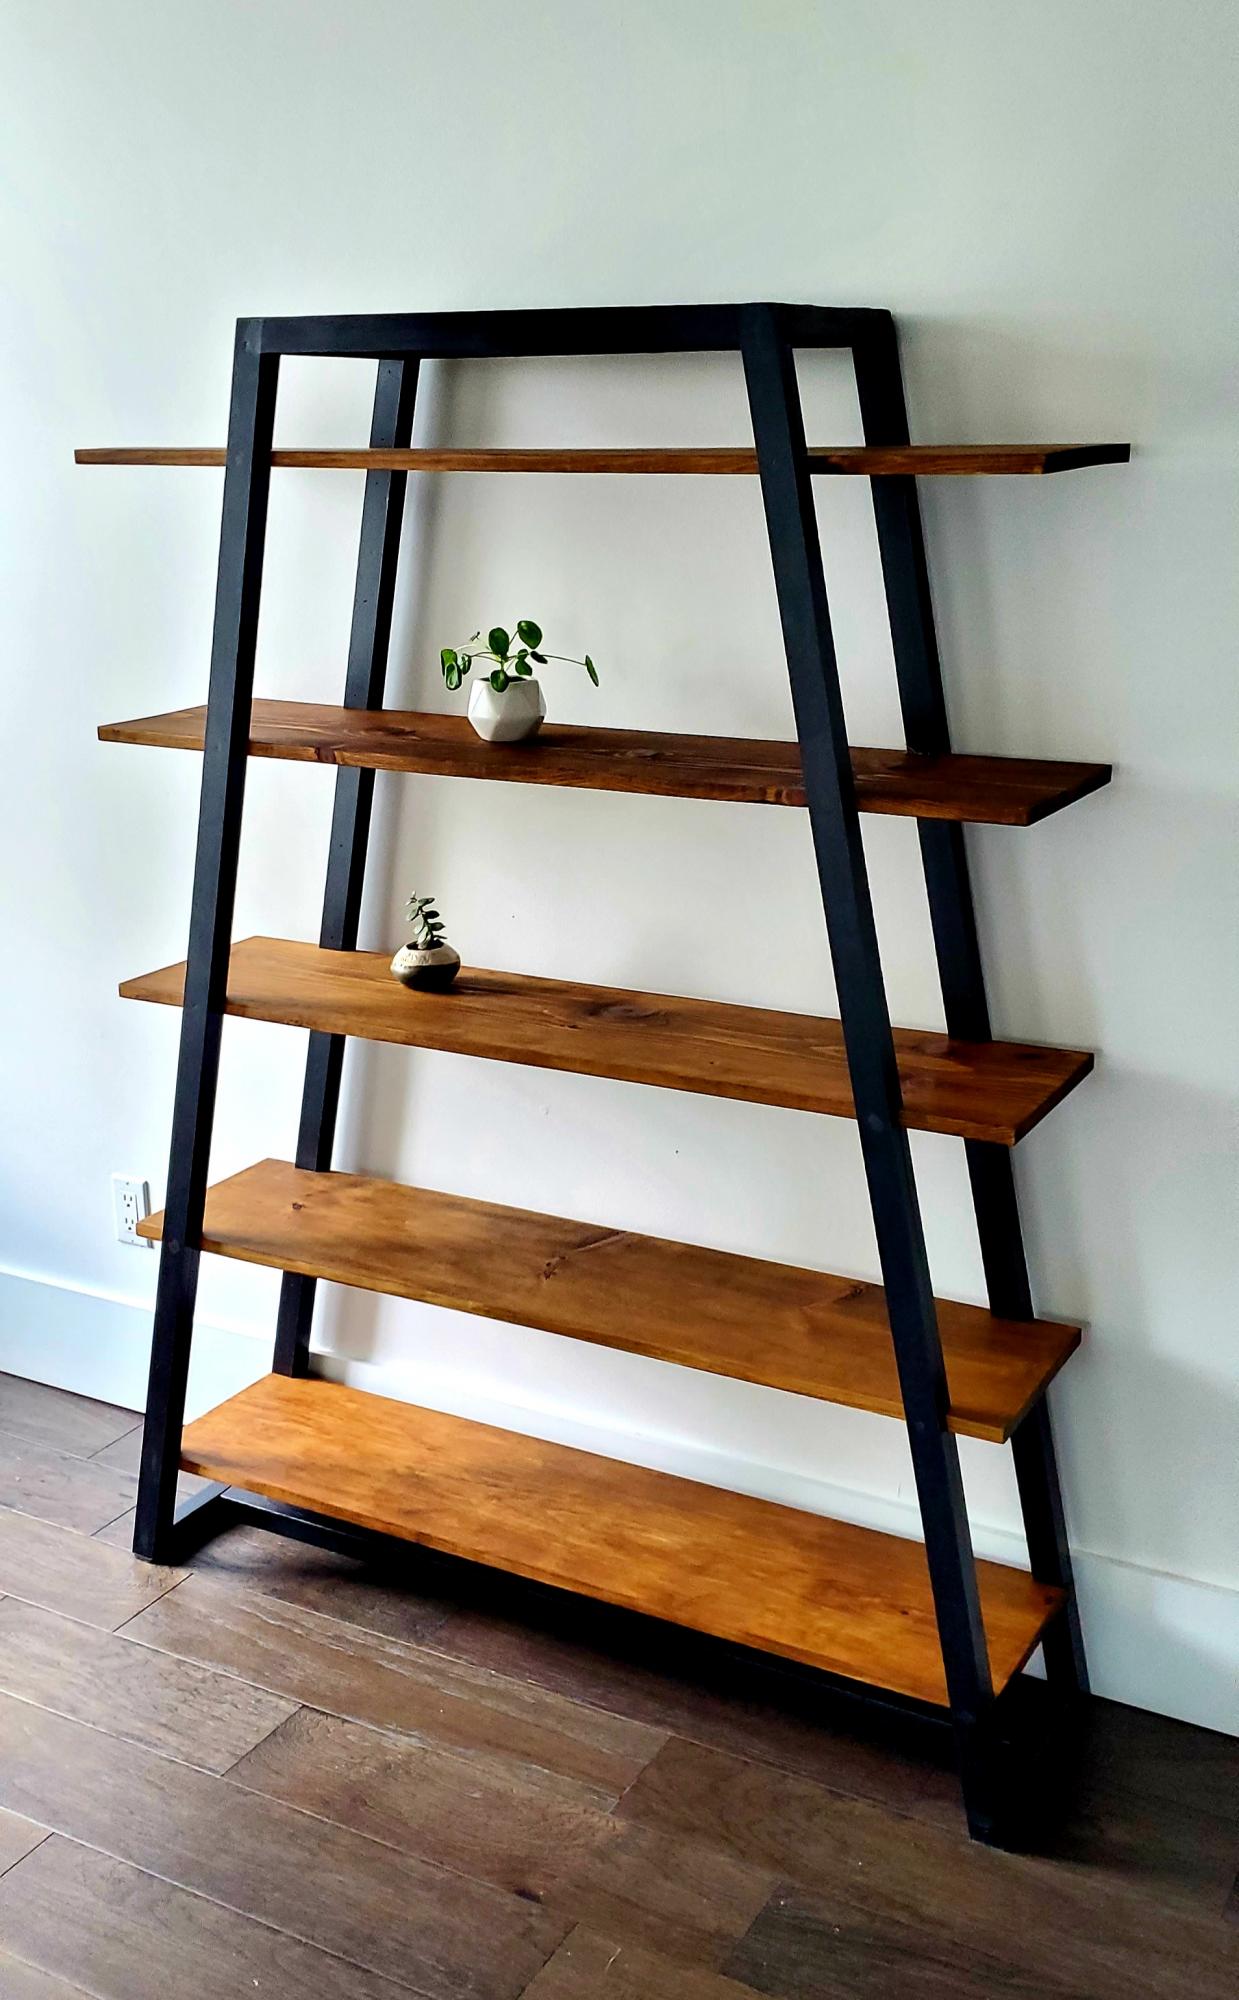
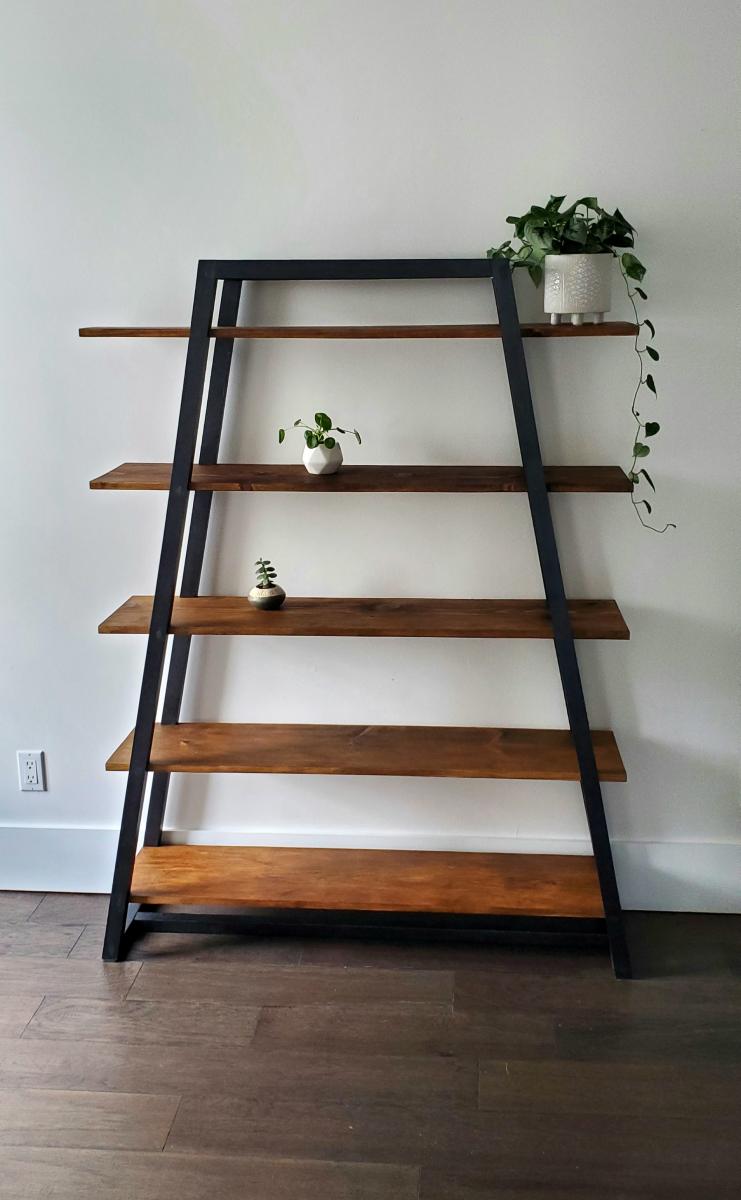
Painted the arms in a metallic onyx paint, shelves are Briwax dark brown.

Built from Plan(s)
Estimated Cost
$100
Estimated Time Investment
Day Project (6-9 Hours)
Finish Used
Briwax dark brown, metallic onyx paint
Recommended Skill Level
Intermediate

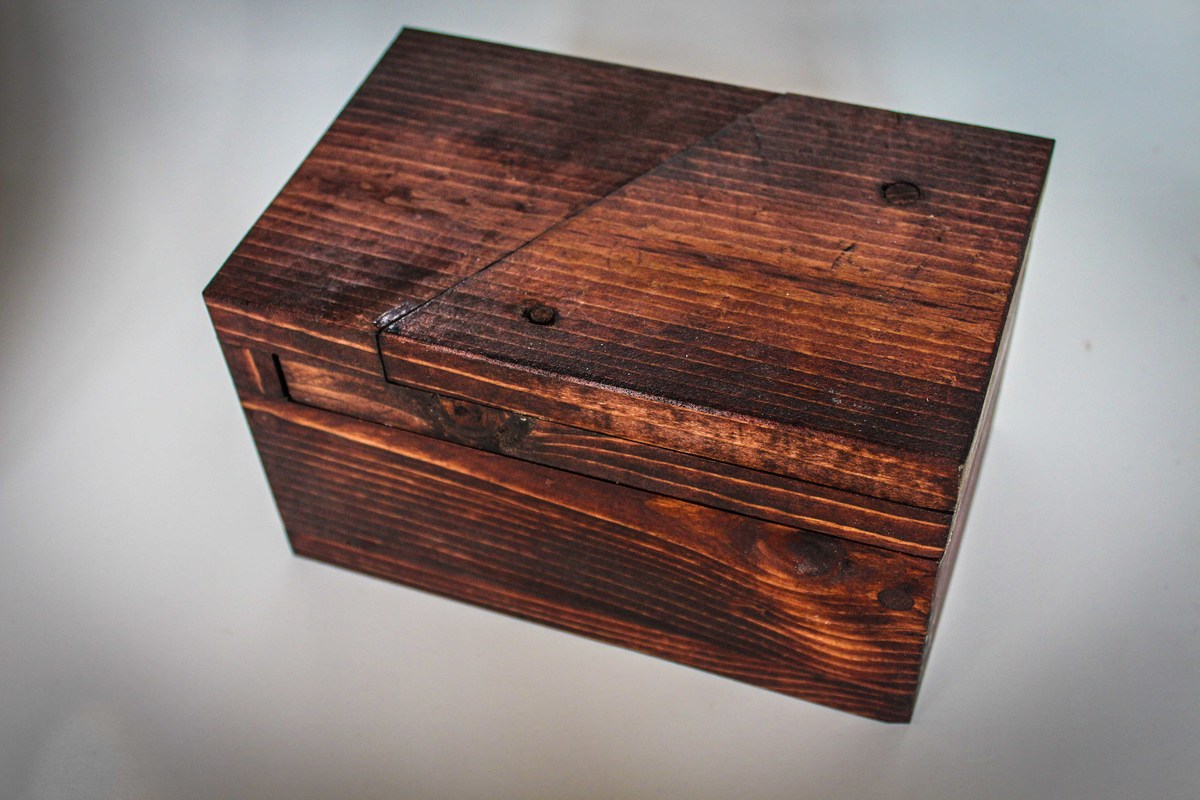
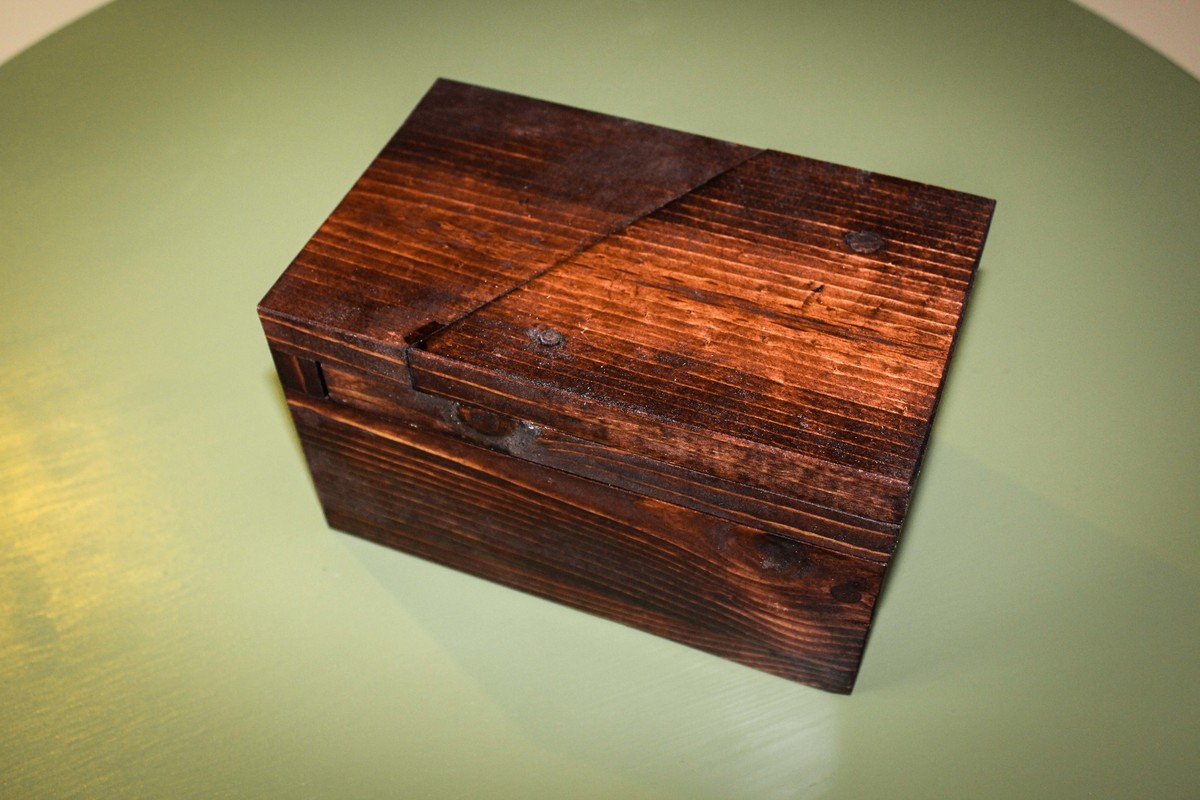
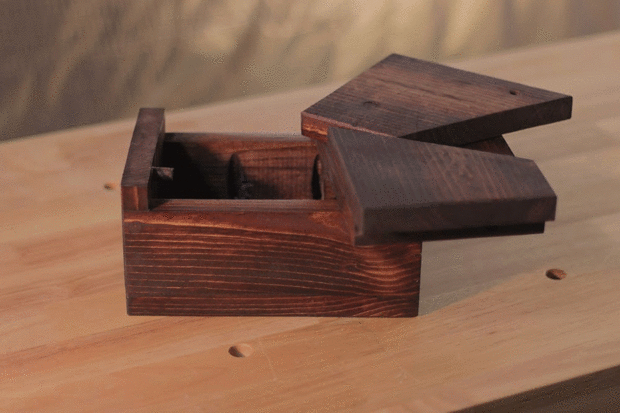
Puzzle Box (Unabox)

Submitted by mtairymd on Sun, 08/24/2014 - 15:03

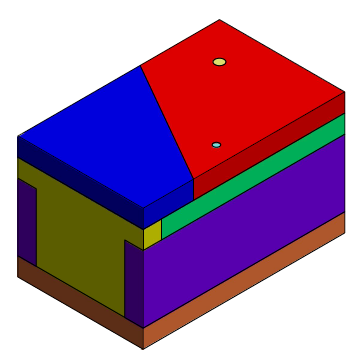
This is a simplified version of the Unabox from Make Magazine.

Build Instructions:
http://www.instructables.com/id/Puzzle-Box-Unabox/

Video:
http://youtu.be/VTaoUHsGau8

If you like this, please see my other puzzle box.
http://www.instructables.com/id/Puzzle-Box-4/

Estimated Cost
$10
Estimated Time Investment
Afternoon Project (3-6 Hours)
Finish Used
Red oak stain
Recommended Skill Level
Starter Project

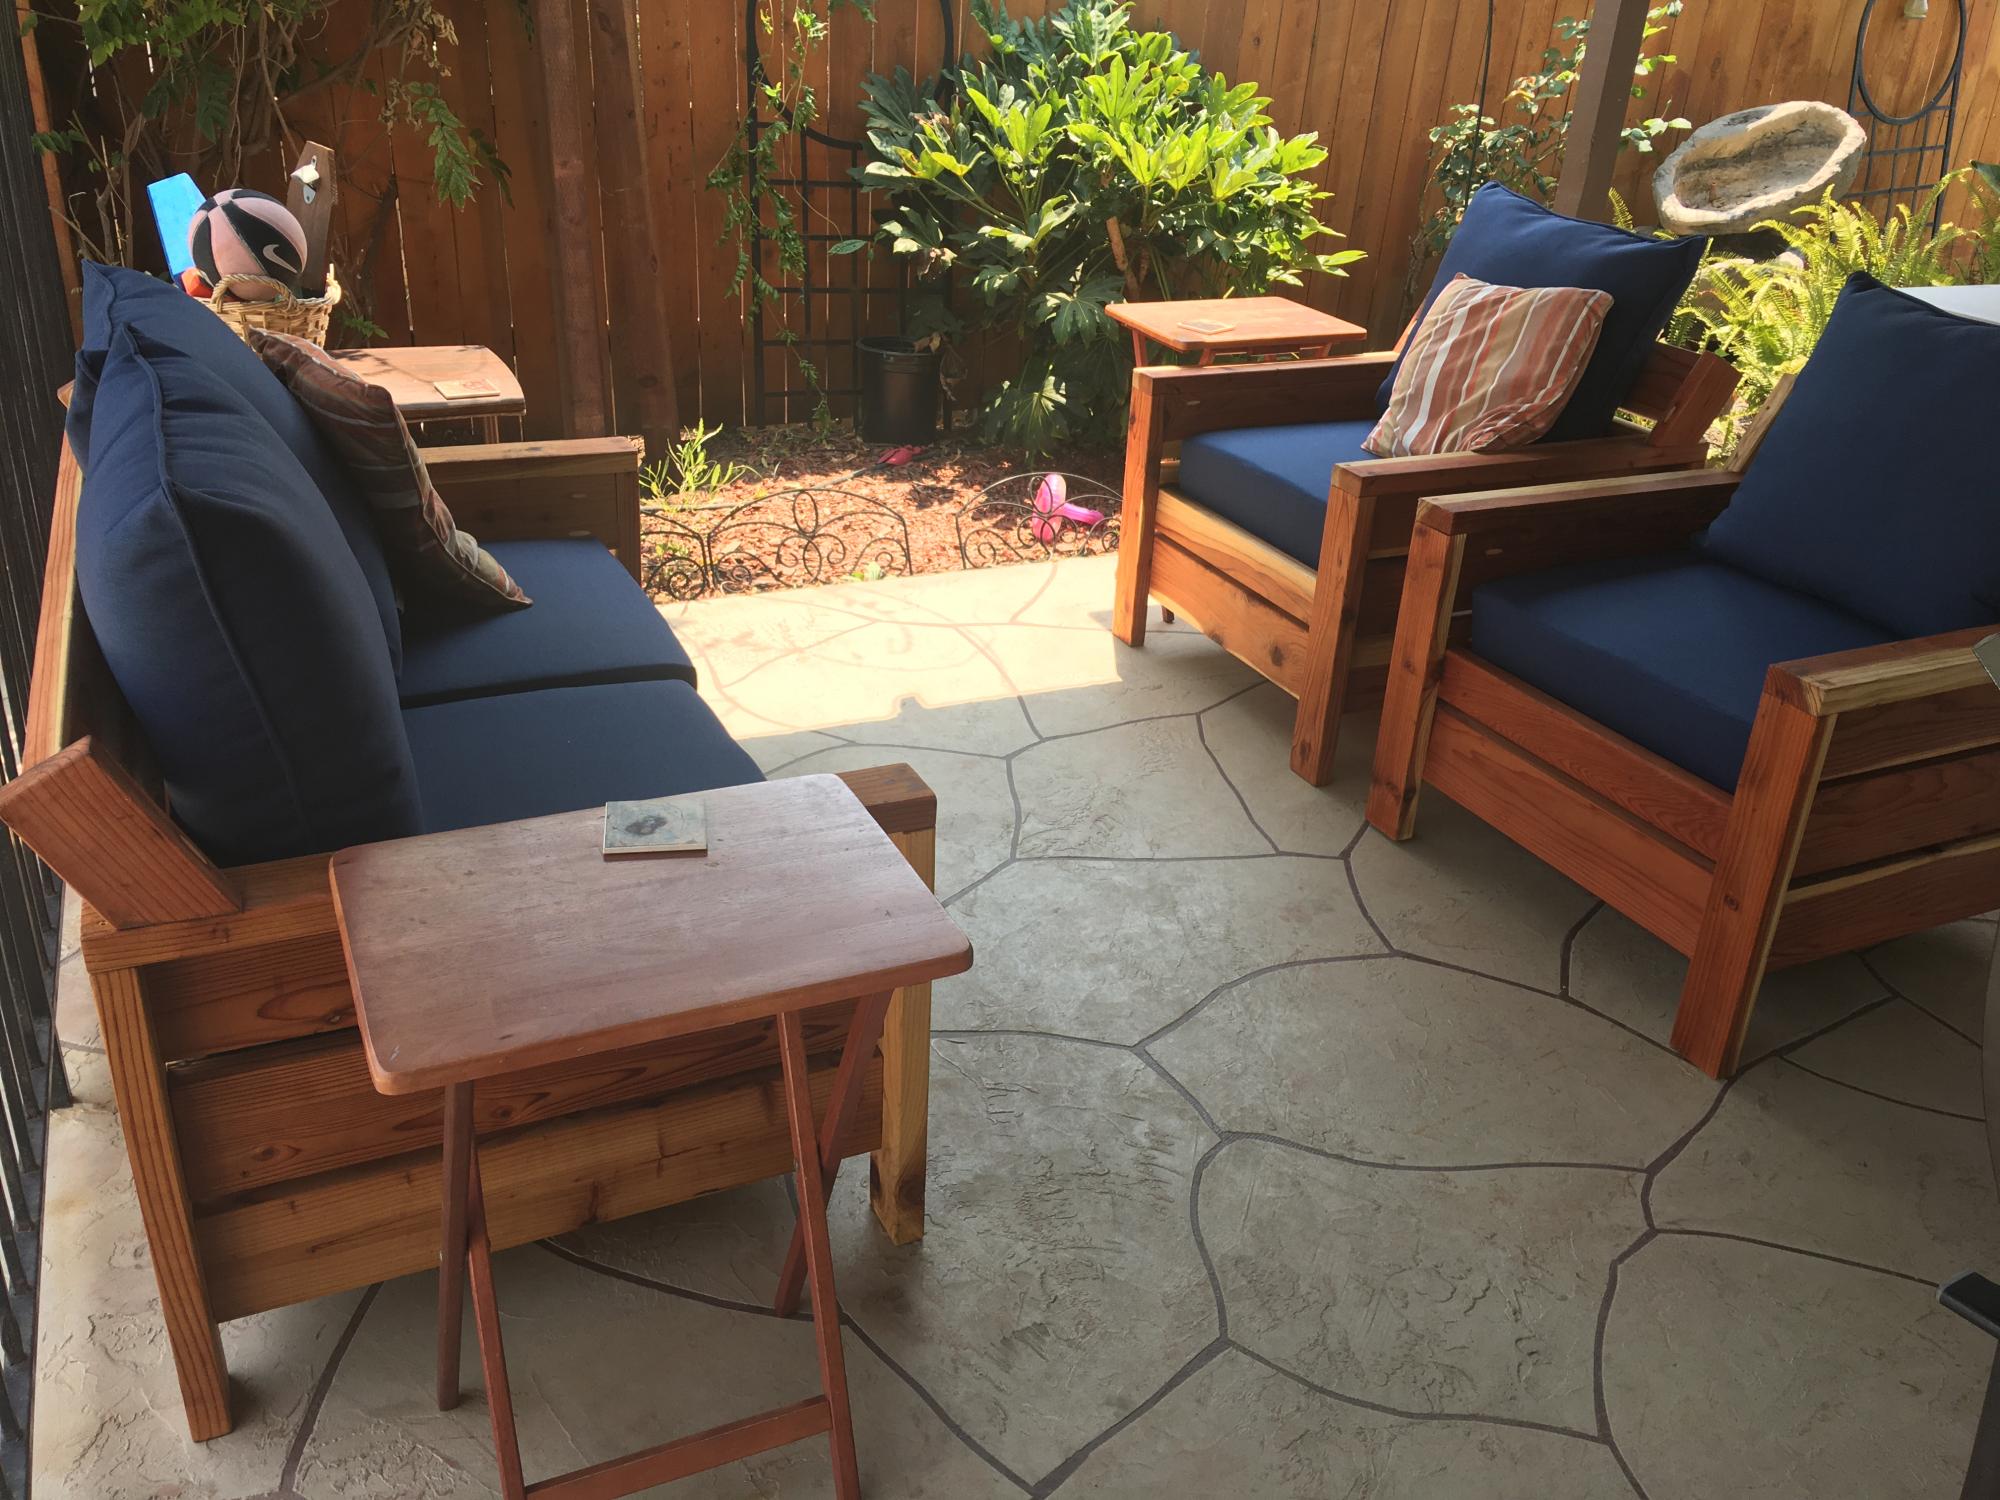
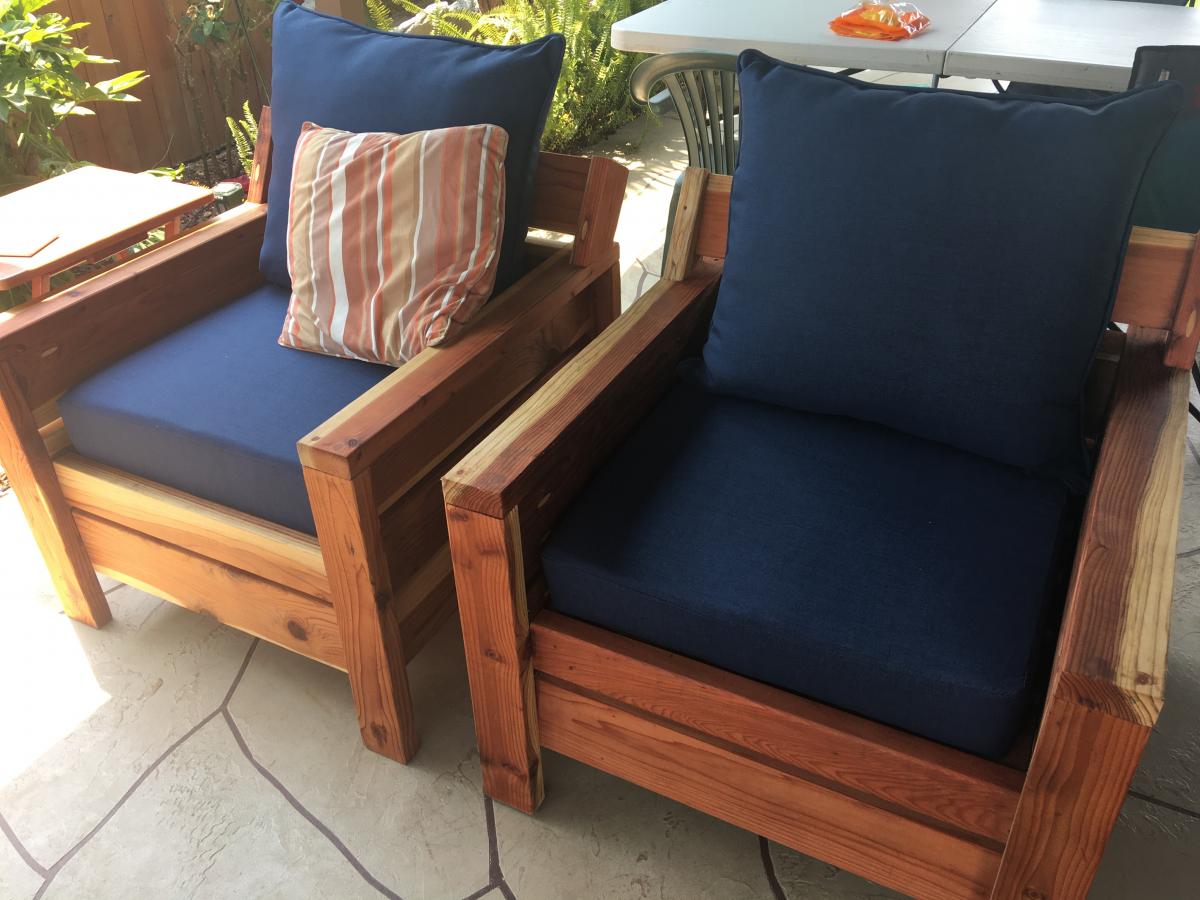
Modern outdoor chairs and sofa

Submitted by goose71 on Mon, 08/24/2020 - 23:09

Saw some of the other brags which includes a raised backrest so I incorporated that into my build. There's a 30 degree angle on the backrest (two 2X4's and one 2X6)

Estimated Cost
$500
Estimated Time Investment
Week Long Project (20 Hours or More)
Finish Used
Thompson’s water seal, clear.
Recommended Skill Level
Beginner

Easy DIY Workbench on Wheels

Submitted by Anonymous (not verified) on Wed, 09/09/2020 - 13:26

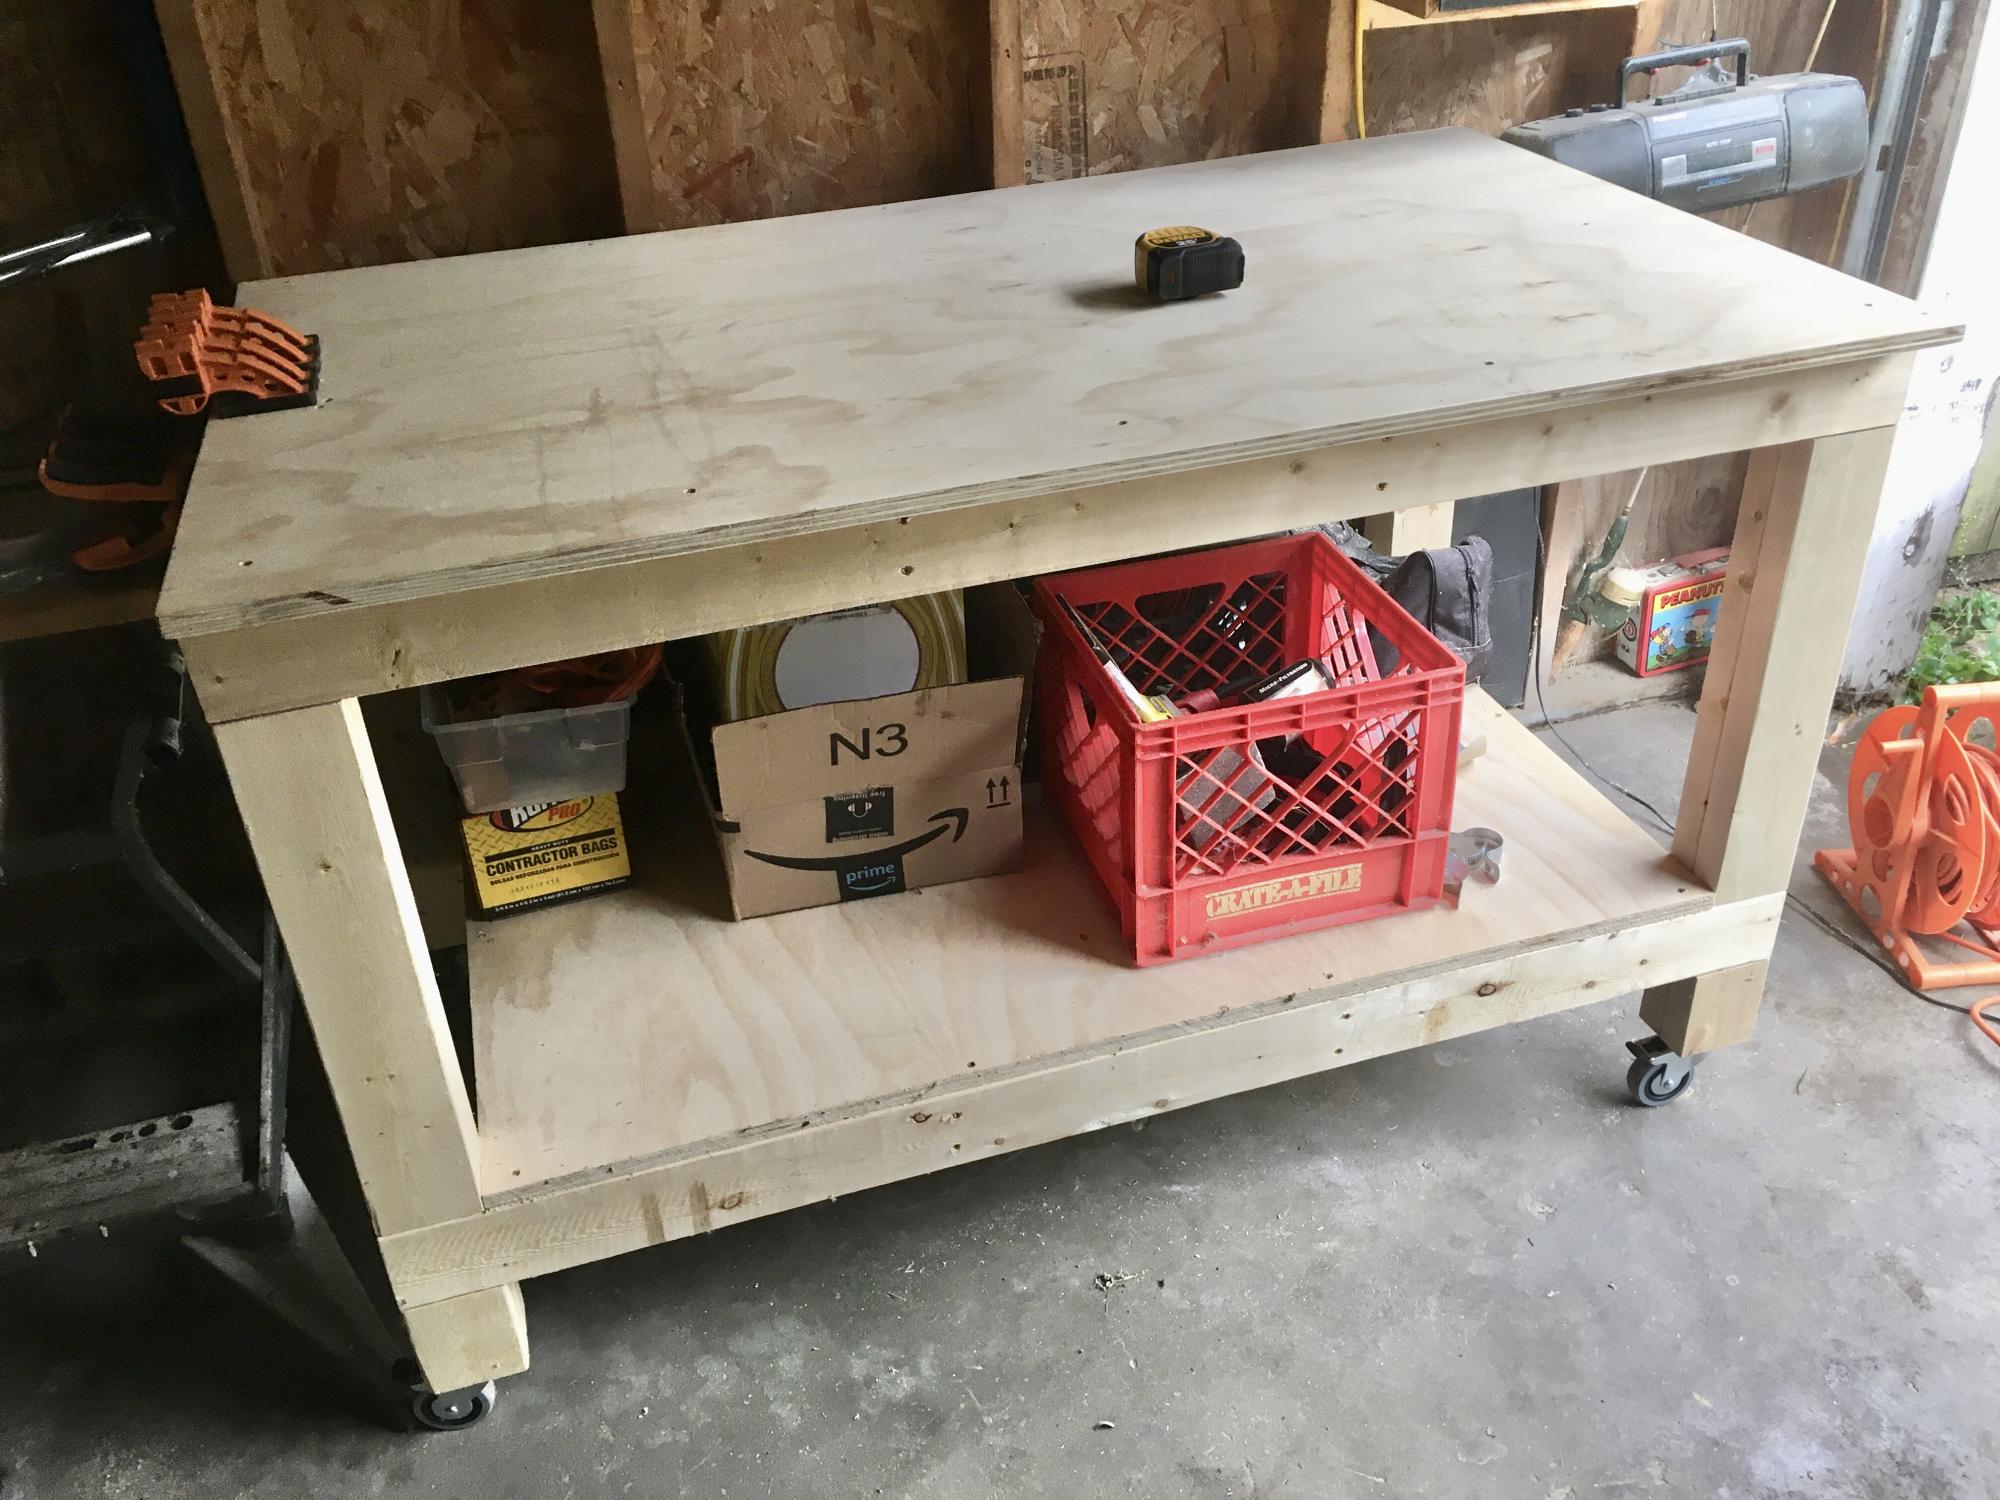
I needed a workbench and Ana's easy plans were perfect for what I needed. I have a small one-car garage that I do my projects out of. The garage also provides storage for bikes, kayaks, gardening tools, etc. I customized the dimensions a little, making the bench only 30" deep to better fit the space available, and to add wheels to be able to roll the bench out into the driveway if needed. The lower shelf provides some good storage for me as well.

Estimated Cost
$90
Estimated Time Investment
Afternoon Project (3-6 Hours)
Finish Used
none
Recommended Skill Level
Beginner

Loft bed with desk...

I just wanted to share the loft bed I built for my daughter based on the plans available here. I added a desk, painted an existing chair I had built to match and included pink LED lights around the inside of the bed. Thanks for everyone sharing their ideas, plans and pics..!

Estimated Time Investment
Week Long Project (20 Hours or More)
Recommended Skill Level
Beginner

Comments

Cindy from Indiana (not verified)

Wed, 12/26/2012 - 18:08

Really awesome job! I'll bet your daughter loves it!

mosouza

Fri, 08/14/2015 - 21:39

Awesome! Do you have plans up for the desk area? I would like to incorporate that similar style. Thank you.

Square X Base Pedestal Gym Floor Table

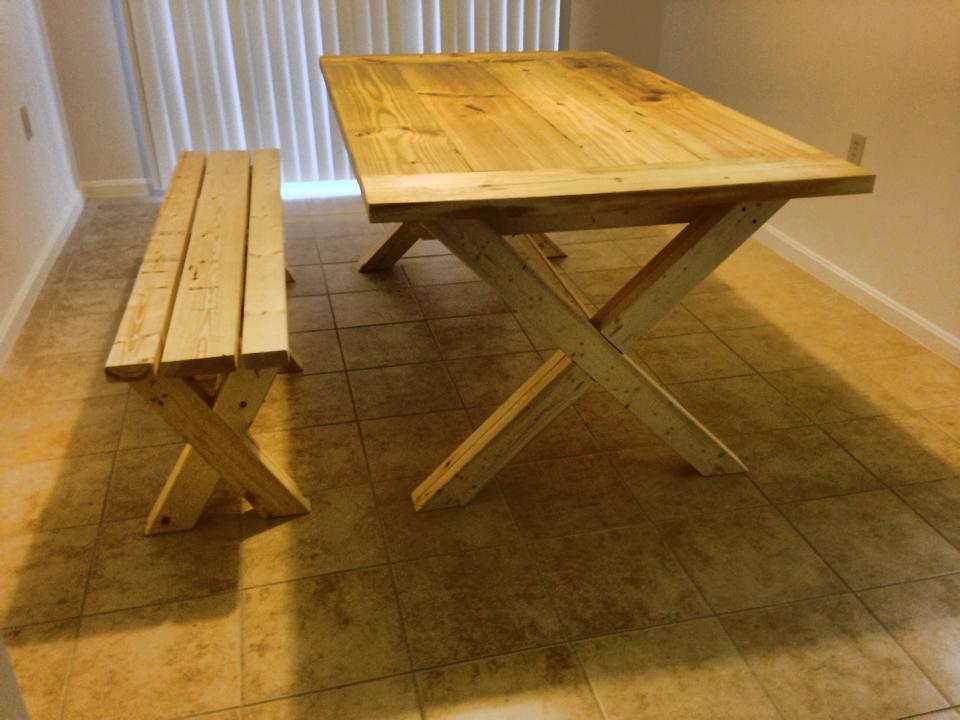
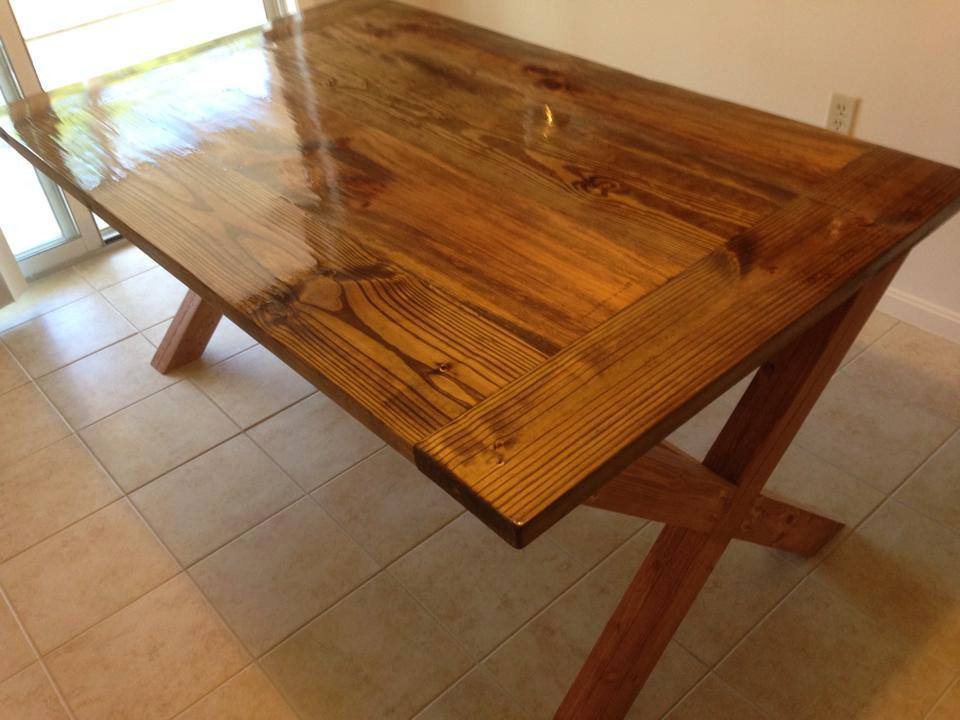
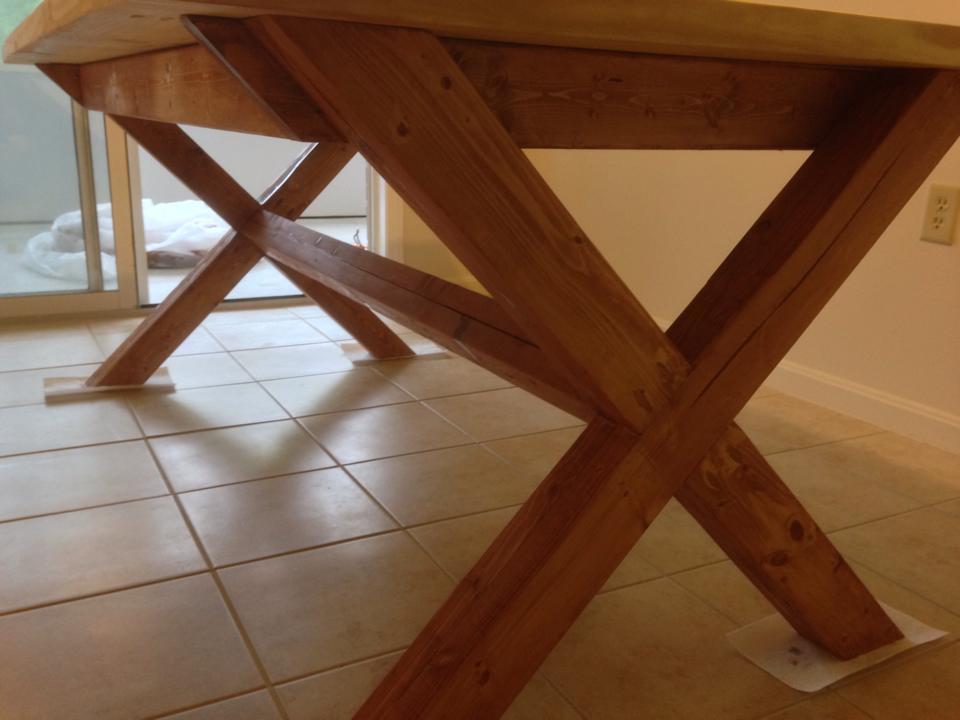
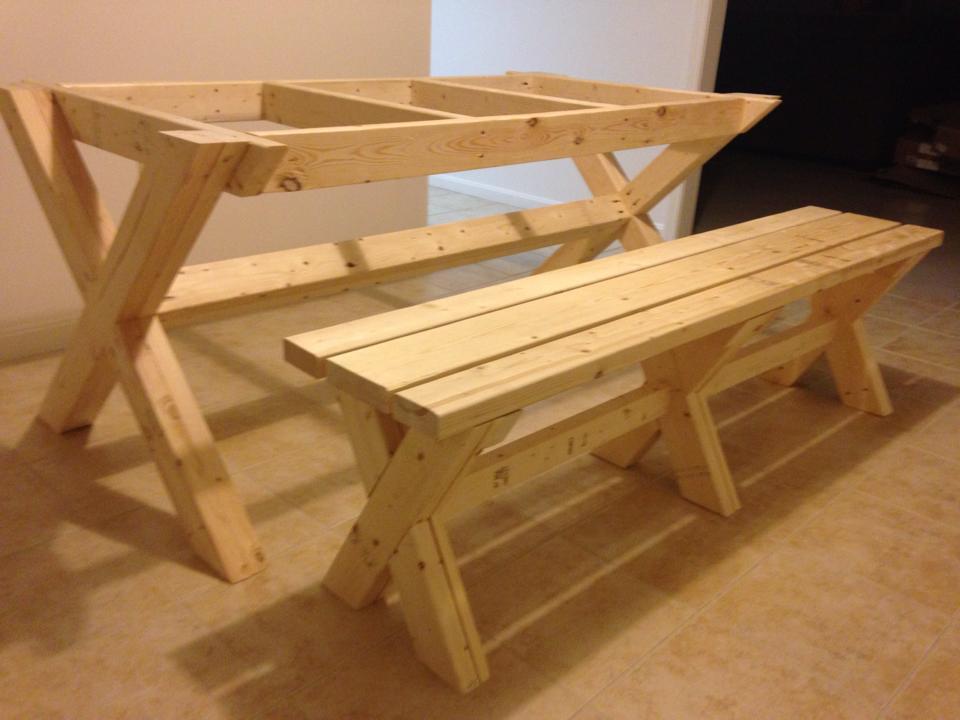
I used the "square x bass pedestal" plans to complete this 4' card table. The top is made from reclaimed gym flooring from the local high school. The "x base pedestal" provides a nice sturdy base for the large table. The project was completed over several weekends when I had time to work on it. 

Estimated Time Investment
Week Long Project (20 Hours or More)
Finish Used
I painted the base and frame around the top with a black gloss paint. The top and base both have 3 coats of water based polyacryllic.
Recommended Skill Level
Intermediate

Fancy + Mimi's Hall Trees

Submitted by Anonymous (not verified) on Sun, 02/05/2017 - 13:28

Took the fancy hall tree bottom and added Mimi's hutch to the top. Added a little bead board to the bench and top edges to cover up the plywood, and voila! My wife's Christmas gift. 

Estimated Cost
$250-300
Estimated Time Investment
Week Long Project (20 Hours or More)
Finish Used
White paint and polyurethane
Recommended Skill Level
Intermediate

R.H. Stype Testle Dining Table

Submitted by Rich2727 on Fri, 10/31/2014 - 09:30

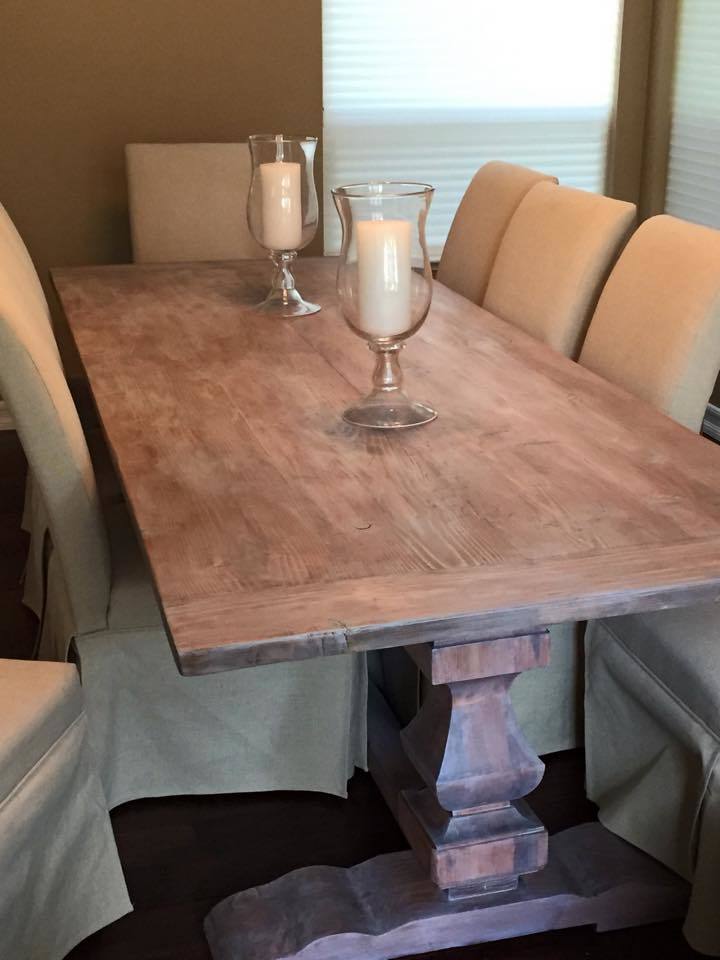
Was inspired to build this table after a visit to R.H. with my wife and realized a table this size and style would cost us about $3000.

So I decided to build myselft.  With a little help from Ana's plans and my own modifications, I think I got pretty close to the Restoration Hardware Trestle Table.

I bought the pedestals at Osbornewood.com and asked them not to drill the leg holes and ordered it in pine.  That was the most expensive part of the table, about $380 a piece.  The rest of it is Douglas Fir.

I created a template and shaped the feet myself out of 4X8 beams.  I was able to use my jig saw and a Bosch 10" blade.  I made the rough cut with it and then sanded the rest of the shape using my belt sander.

The pedestals have a hollow center and were too tall so I cut them down and created plugs and glued them into the pedestal.  The bottom plug has a large threaded rod and is glued and bolted to the feet, and the top plug was used to create the horizontal supports for the table top.  I too created a template for this and used a jigsaw to cut the shape.

I then used Minwax American English, then weathered oak, (Like in one of Ana's stain posts).  I then wanted to give it that weathered/reclaimed wood look so I add a fair amount of the White Pickling stain.  I wanted a little less of the red tones and more brown...I may sand and refinish it someday, but it is in the house for now and can't wait for our first dinner party.
Built from Plan(s)
Estimated Cost
$1000
Estimated Time Investment
Week Long Project (20 Hours or More)
Finish Used
American English, Weathered Oak, White Pickling
Recommended Skill Level
Advanced

Comments

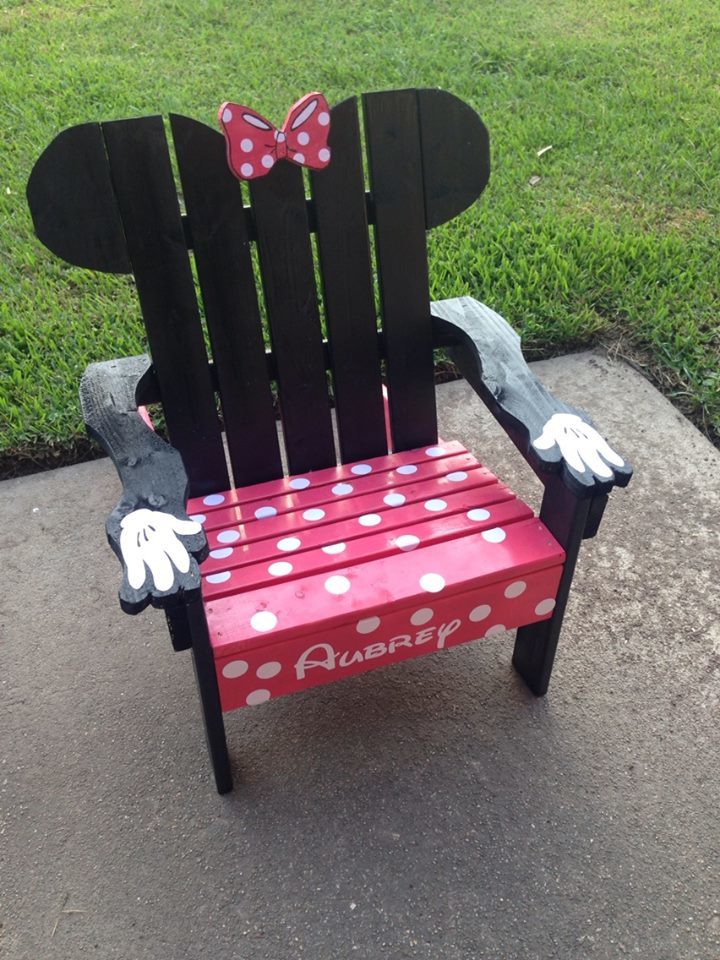
Adirondack Minnie Mouse

Submitted by vangy04 on Fri, 11/14/2014 - 08:29

My daughter is into everything Minnie Mouse right now so I figured, why not!

Built from Plan(s)
Estimated Cost
$15
Estimated Time Investment
Afternoon Project (3-6 Hours)
Finish Used
I used stickers for the white details, but my daughter promptly peeled them all off. I suggest paint.
Recommended Skill Level
Beginner

Comments

pr22joyce

Thu, 09/08/2016 - 12:08

I have looked, clicked all over this site to download the plans for the Minnie Mouse Adirondack chair.  Can someone please help?

KelHad

Sun, 02/19/2017 - 13:28

Has anyone been able to locate the plans for the Minnie Mouse chair yet?

I still can't find them.

Back