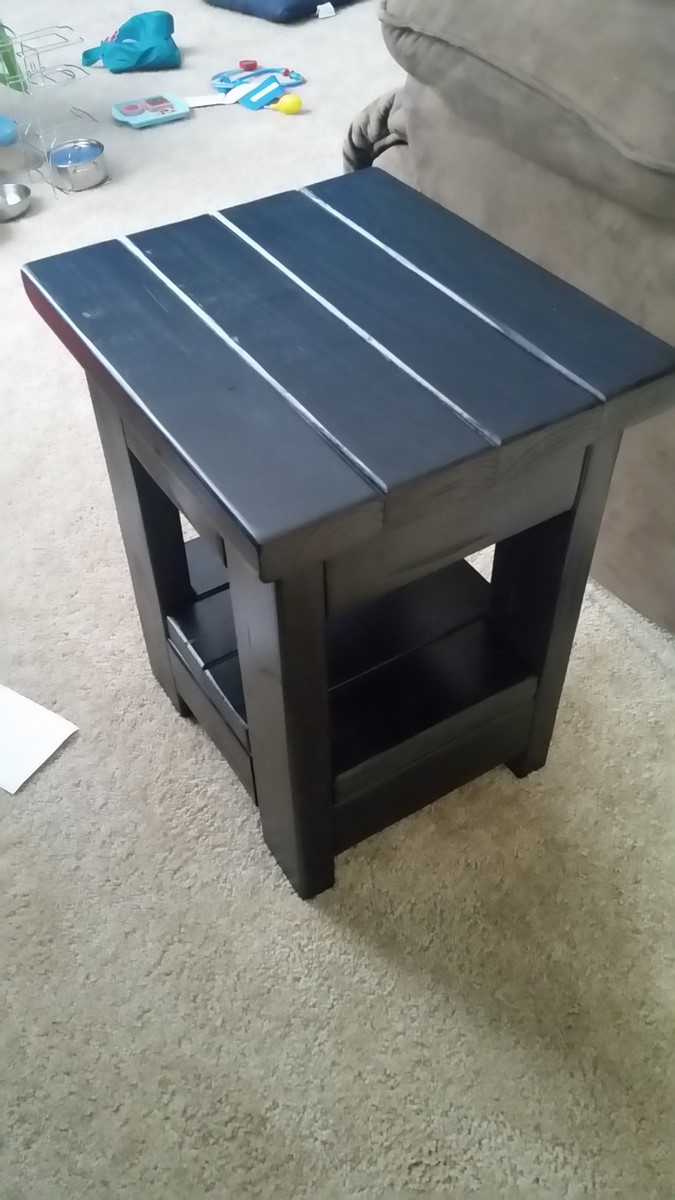
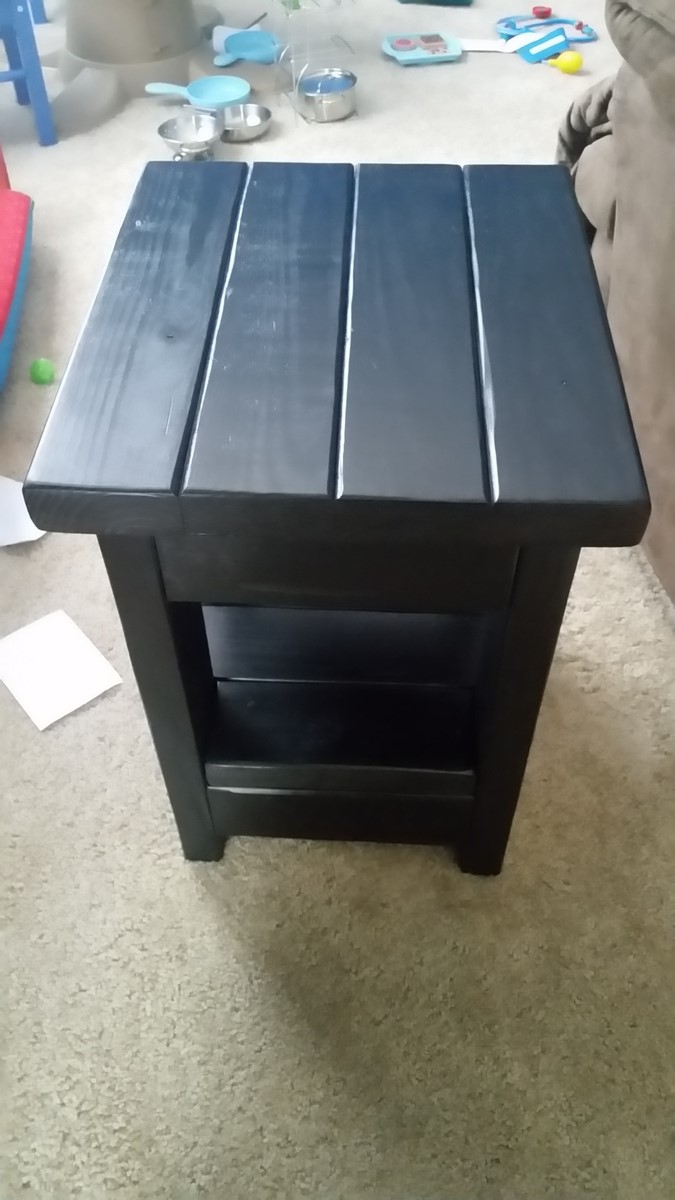
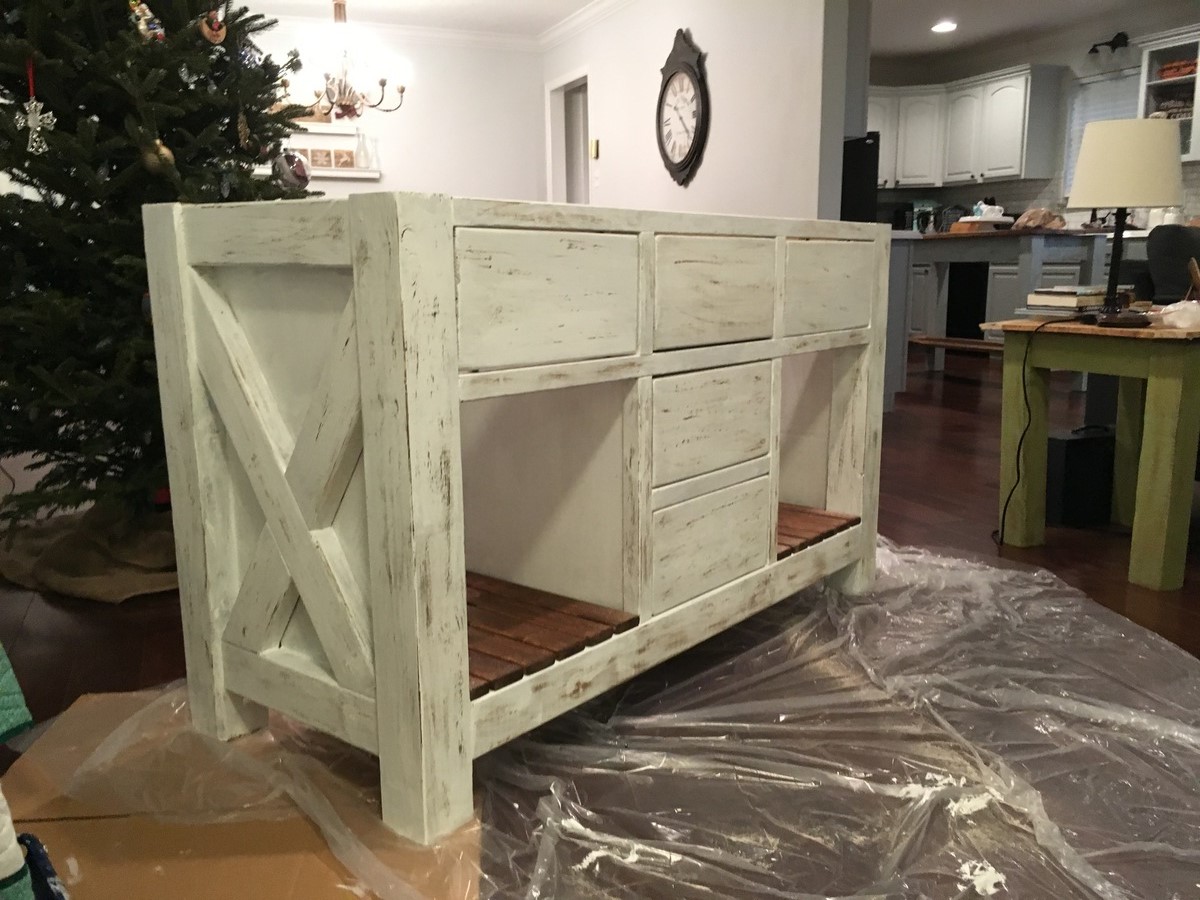
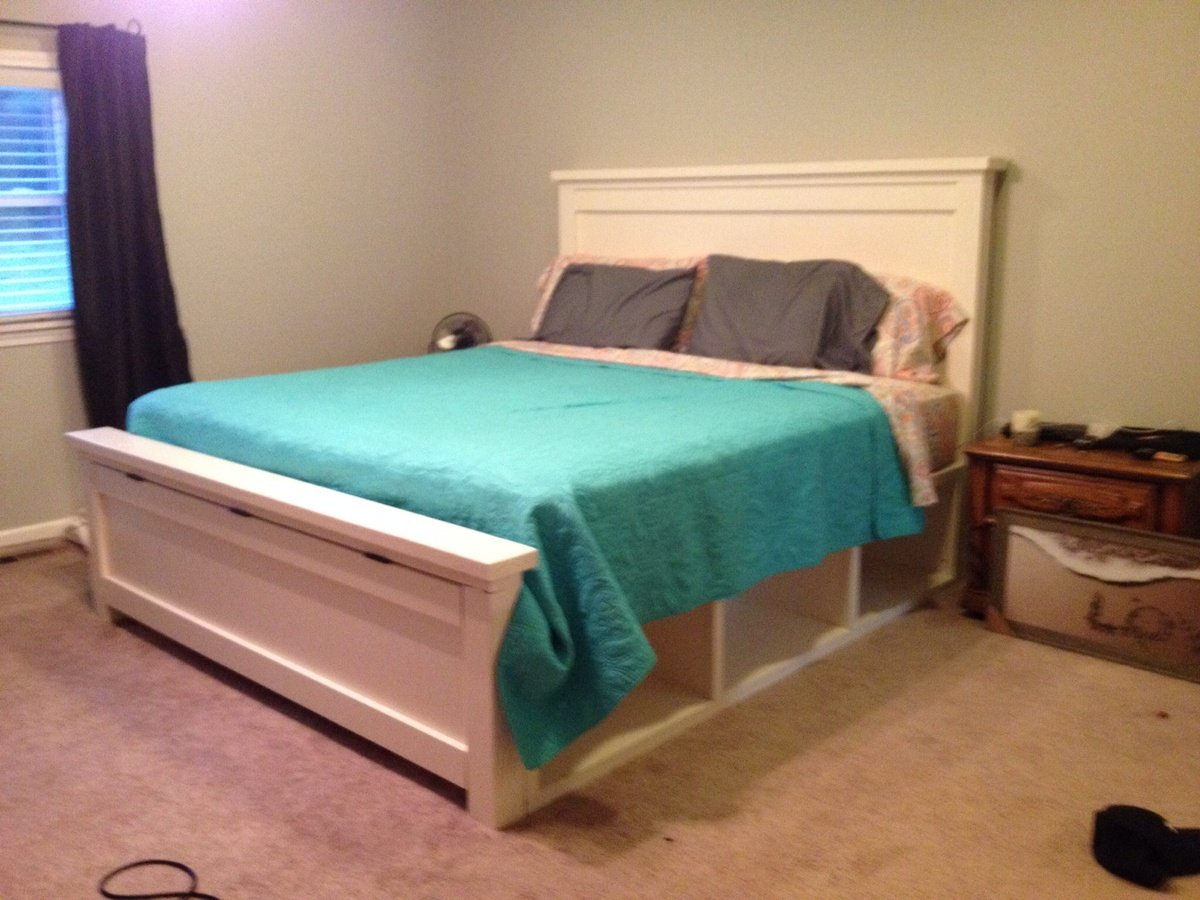
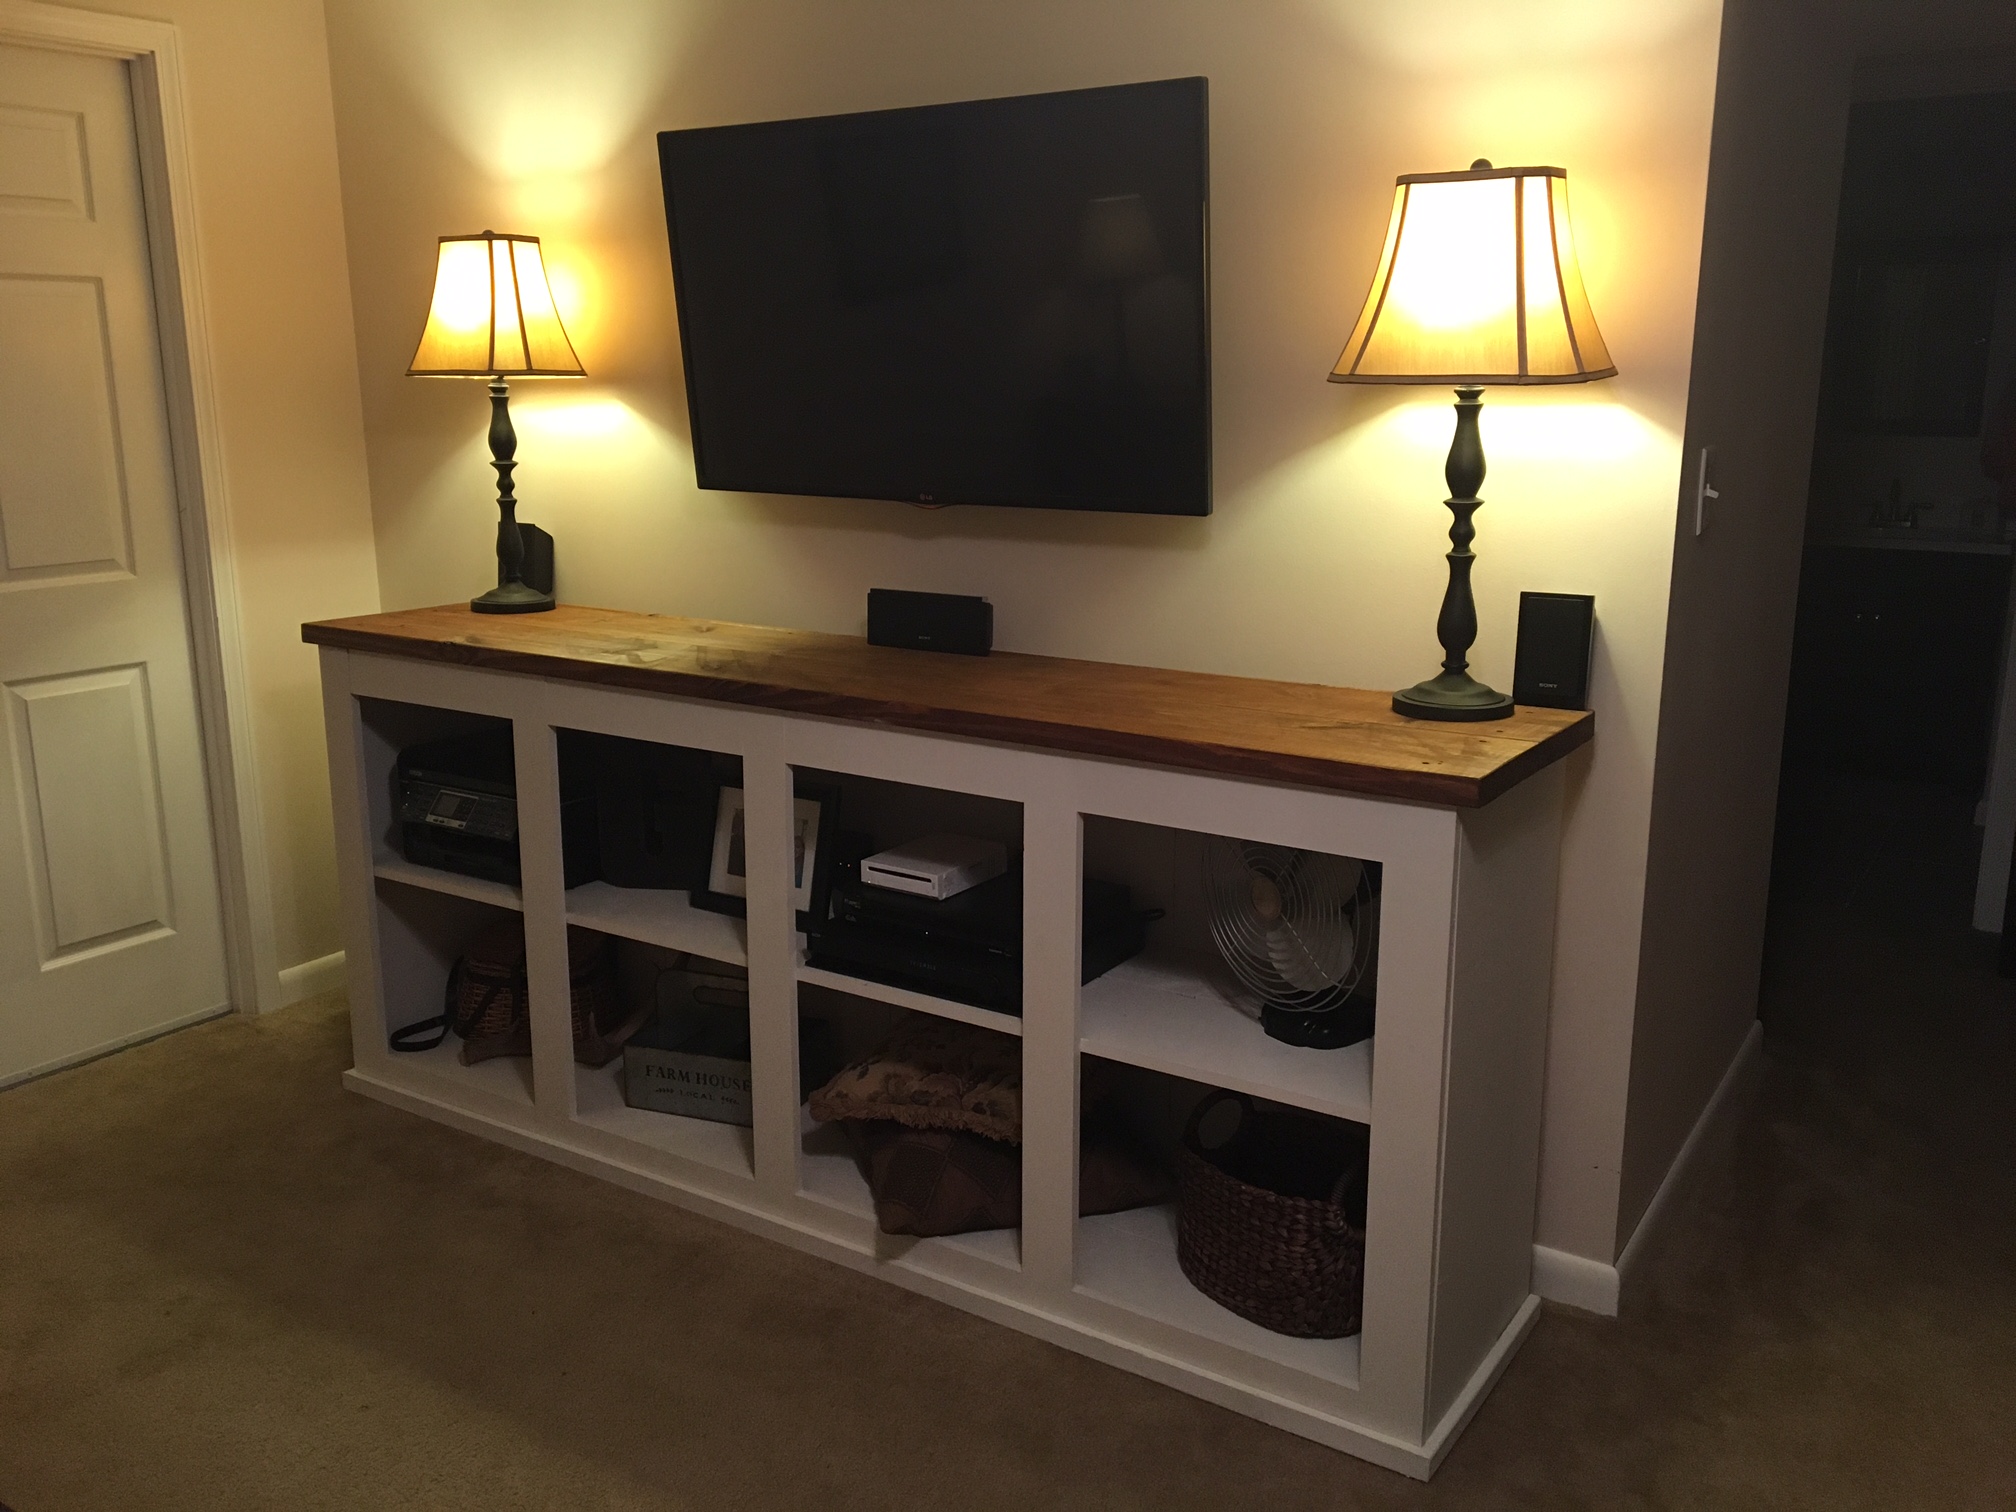
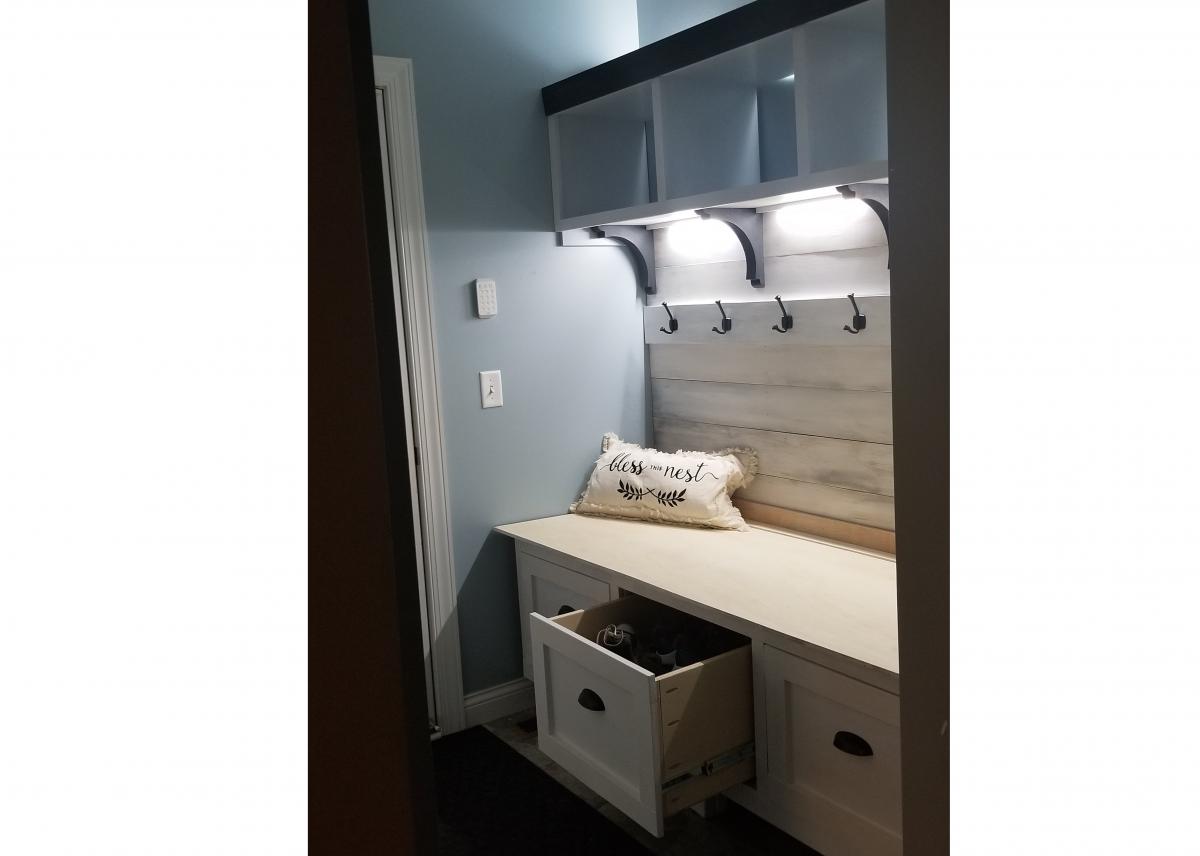
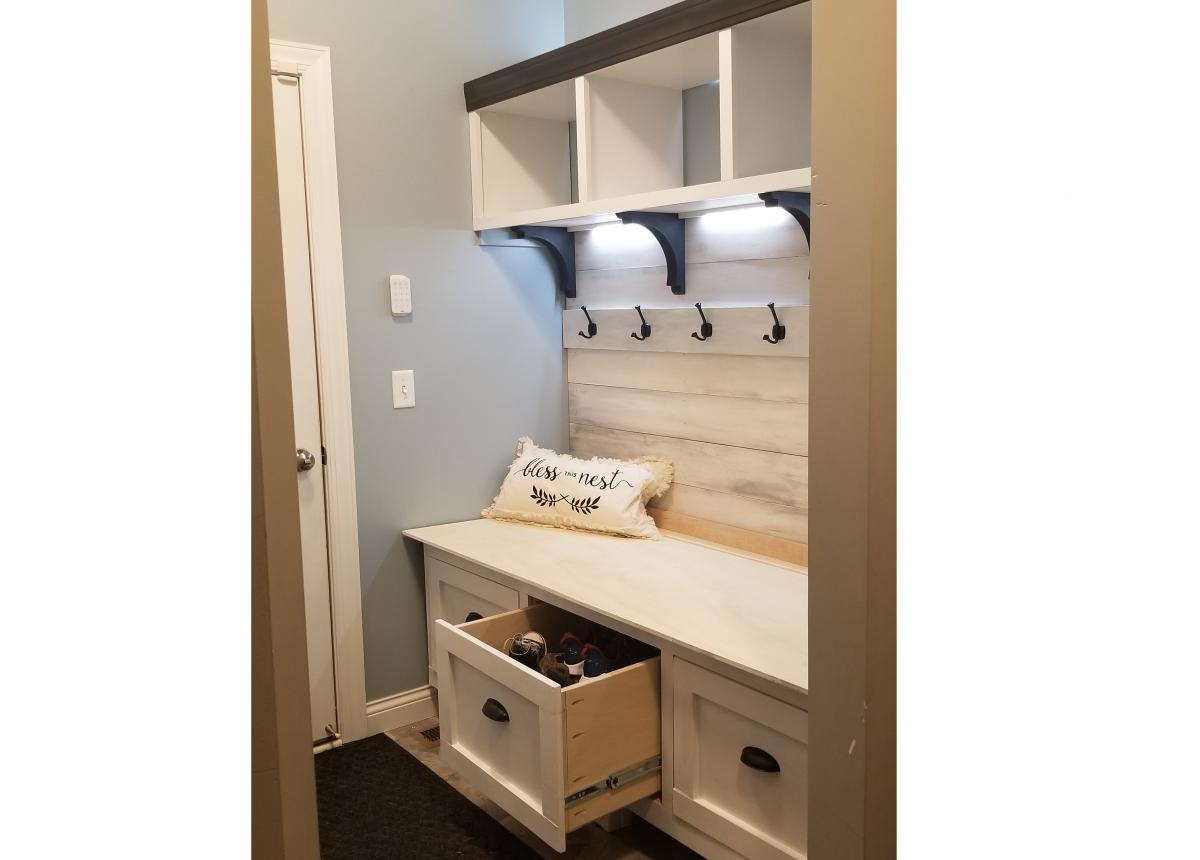
Mud Room Bench
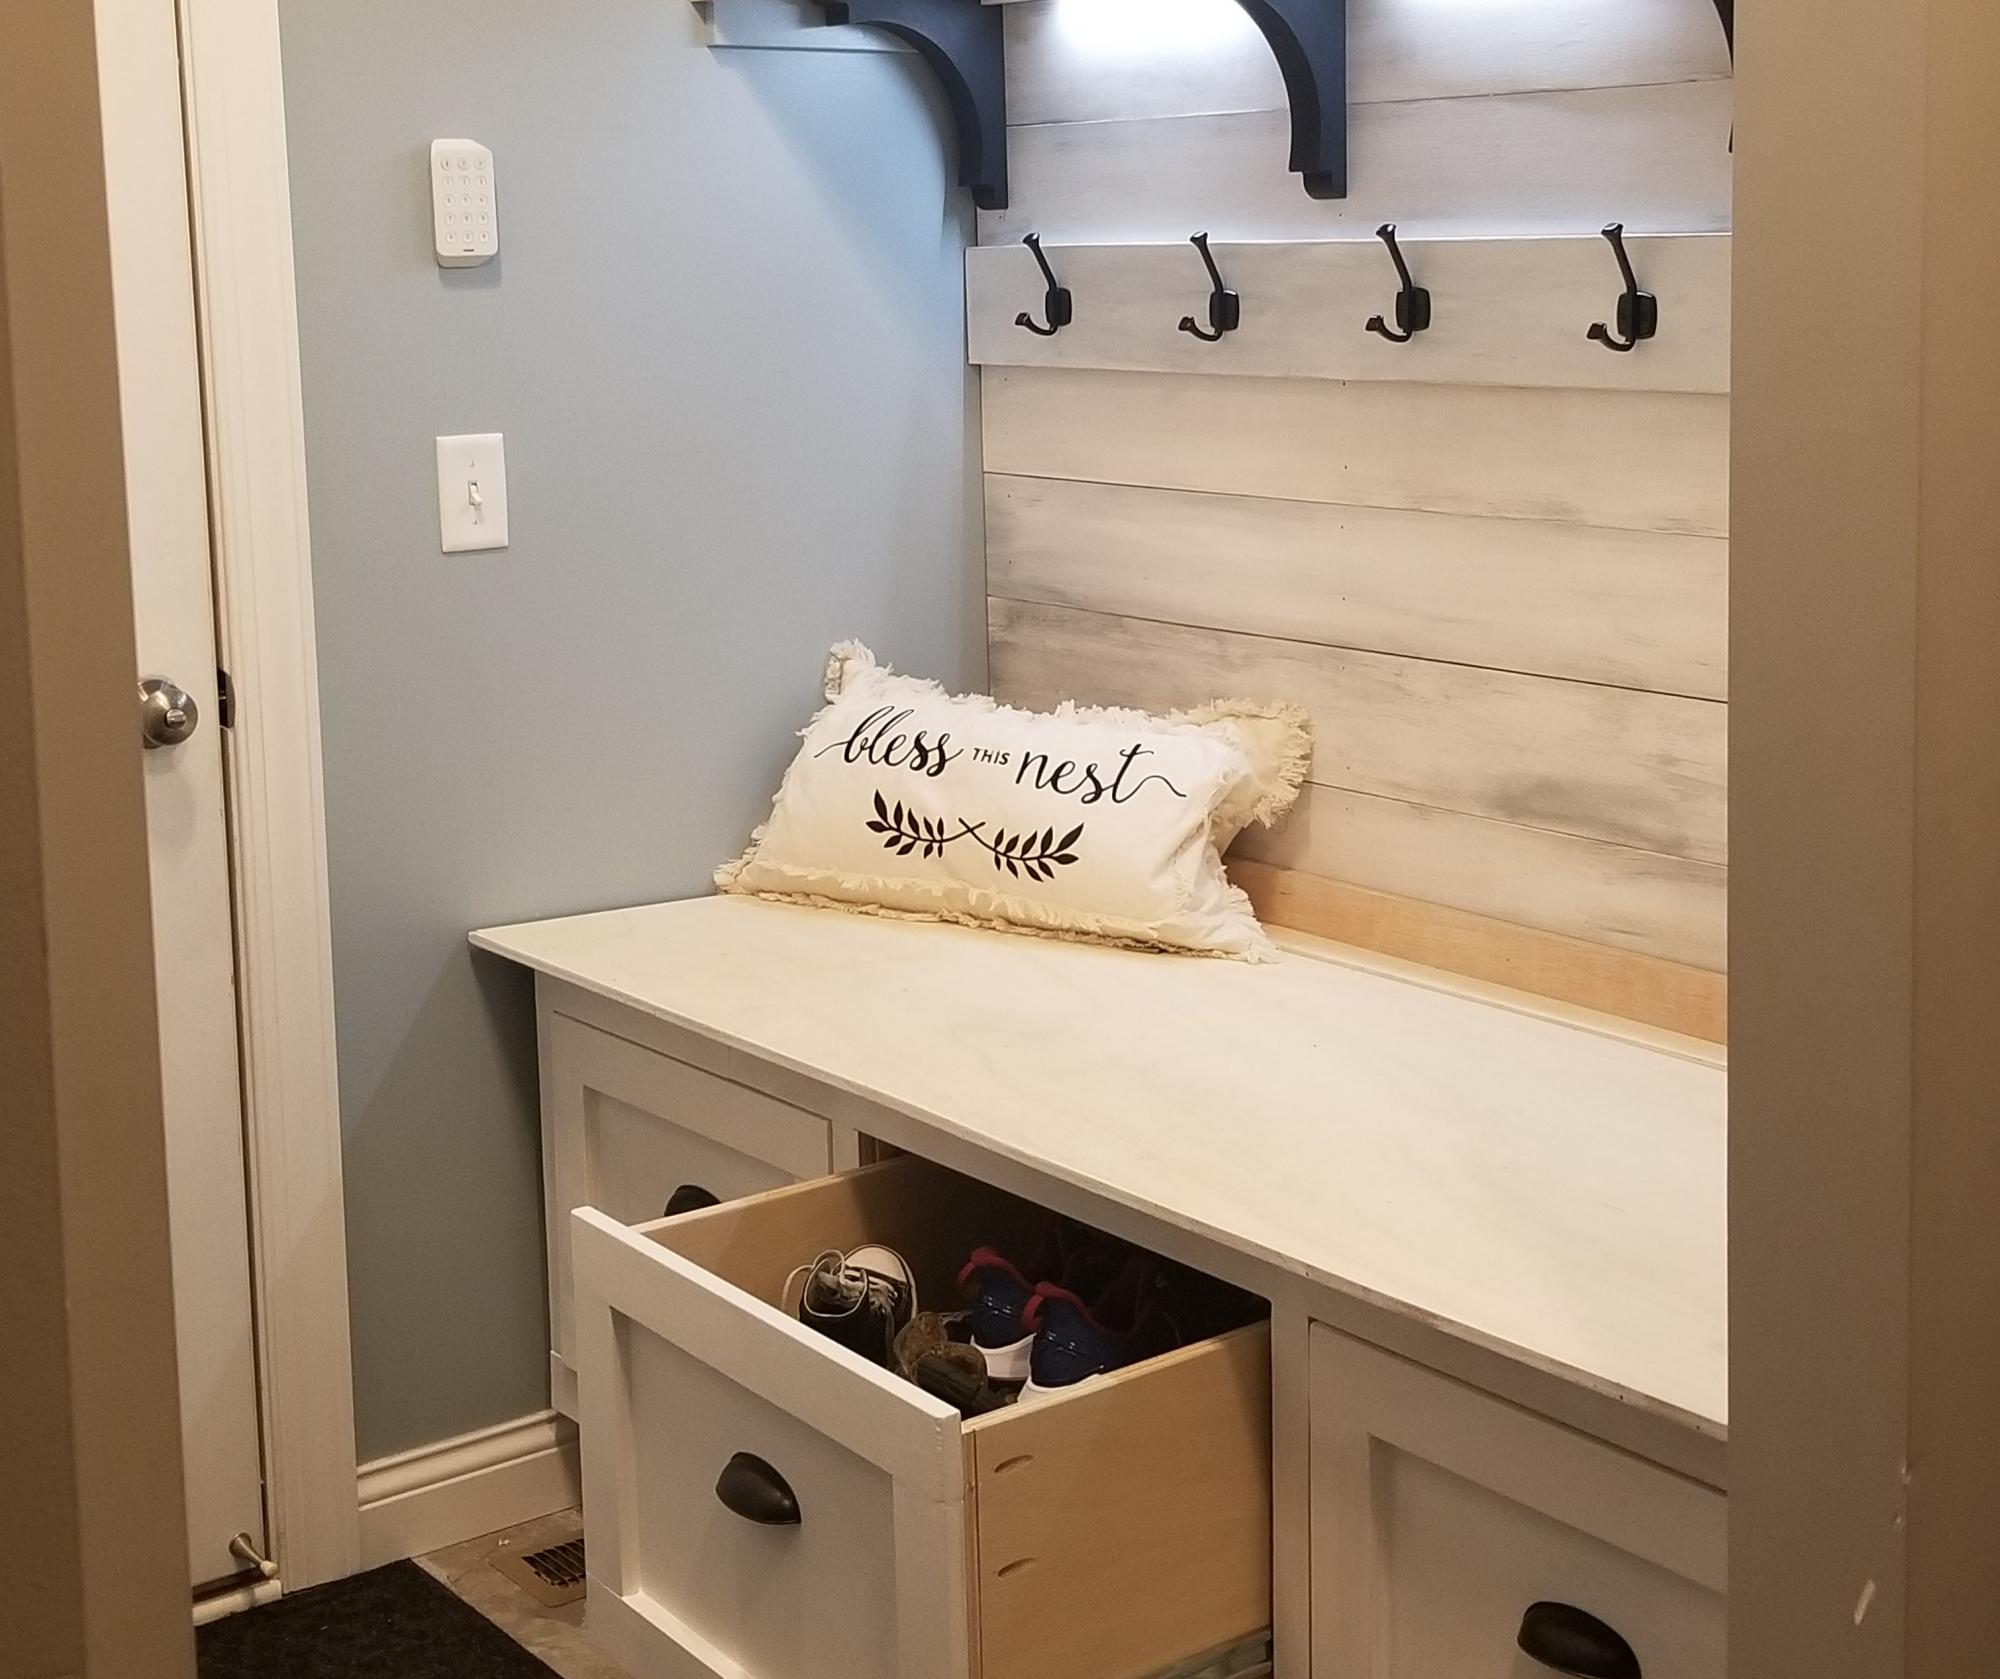
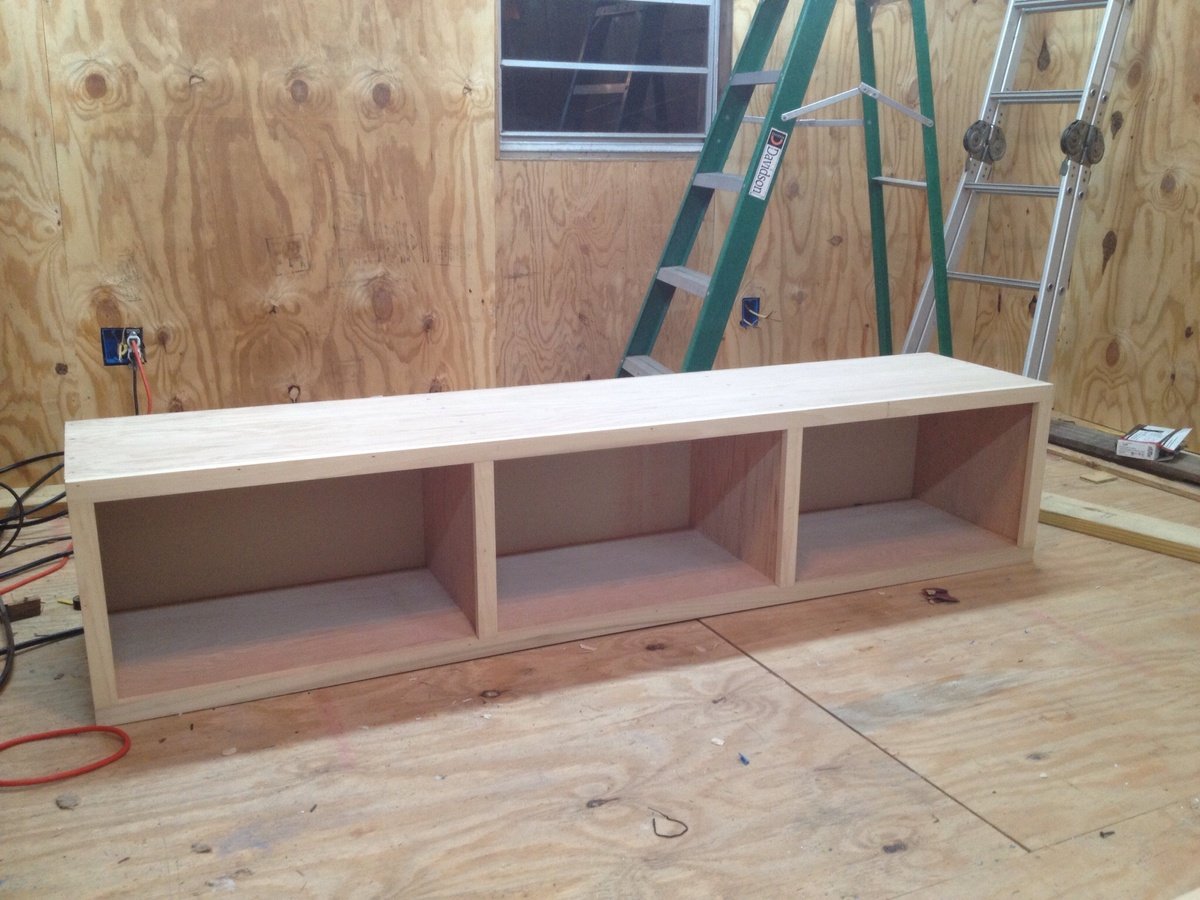
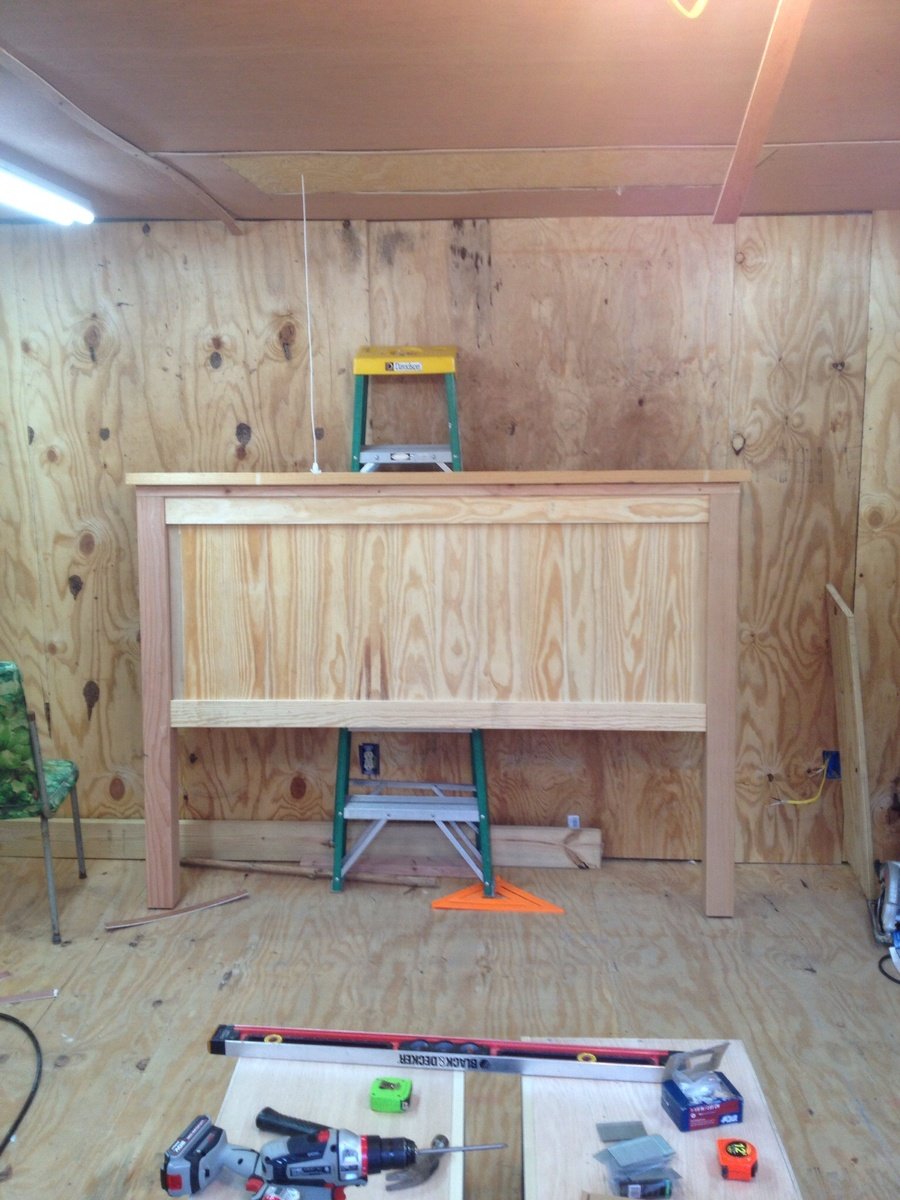
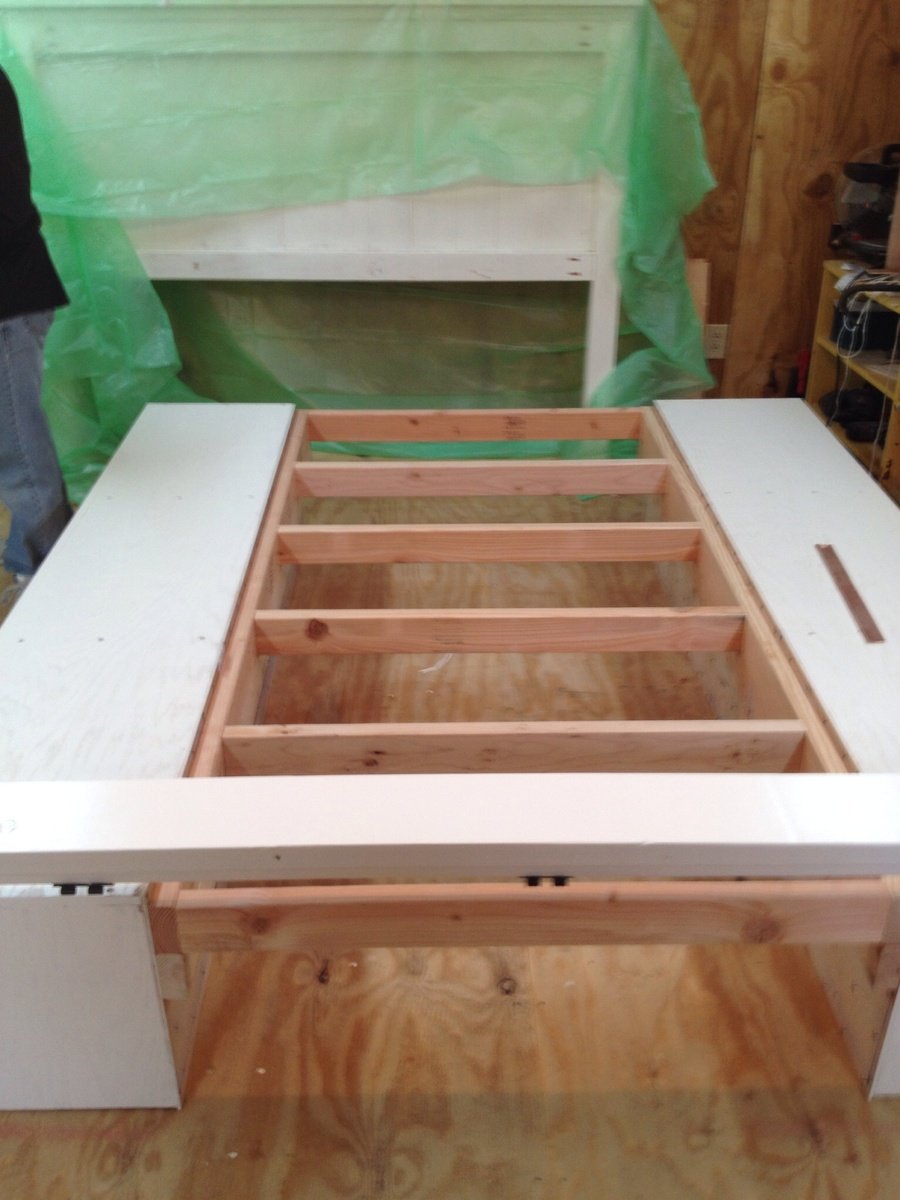
This plan started with Ana's "Mudroom Bench with Easy Drawers" project as a base. I painted 1/4" strips of plywood to give the look of distressed wood on the wall. The shelves above was a simple box with dividers. I made extra deep drawers for ALL my kids' shoes and it is so nice to just grab all the errant shoes and toss them in there out of sight! I also outfitted it with motion-detection lighting so no more fumbling for the light switch in this dark passageway.
Built from Plan(s)
Estimated Cost
$400
Estimated Time Investment
Weekend Project (10-20 Hours)
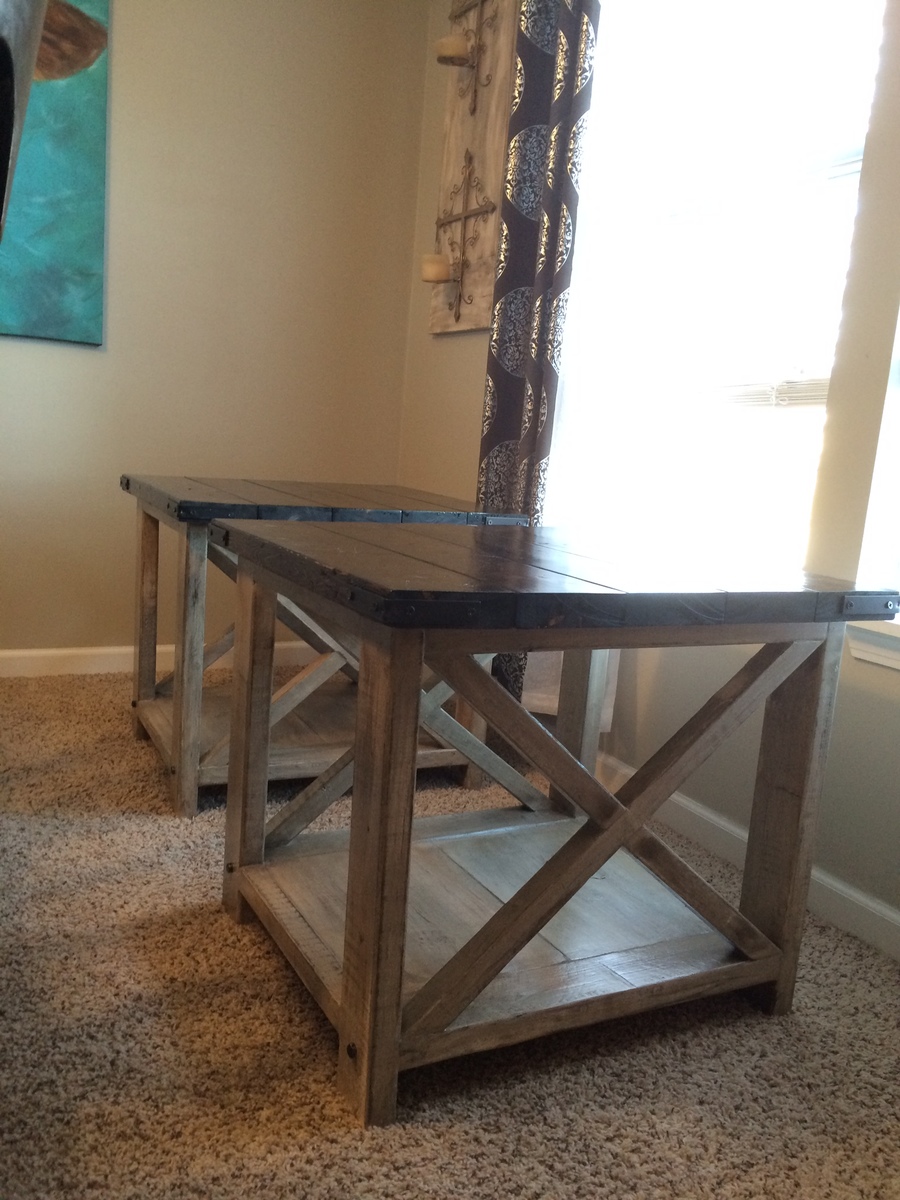
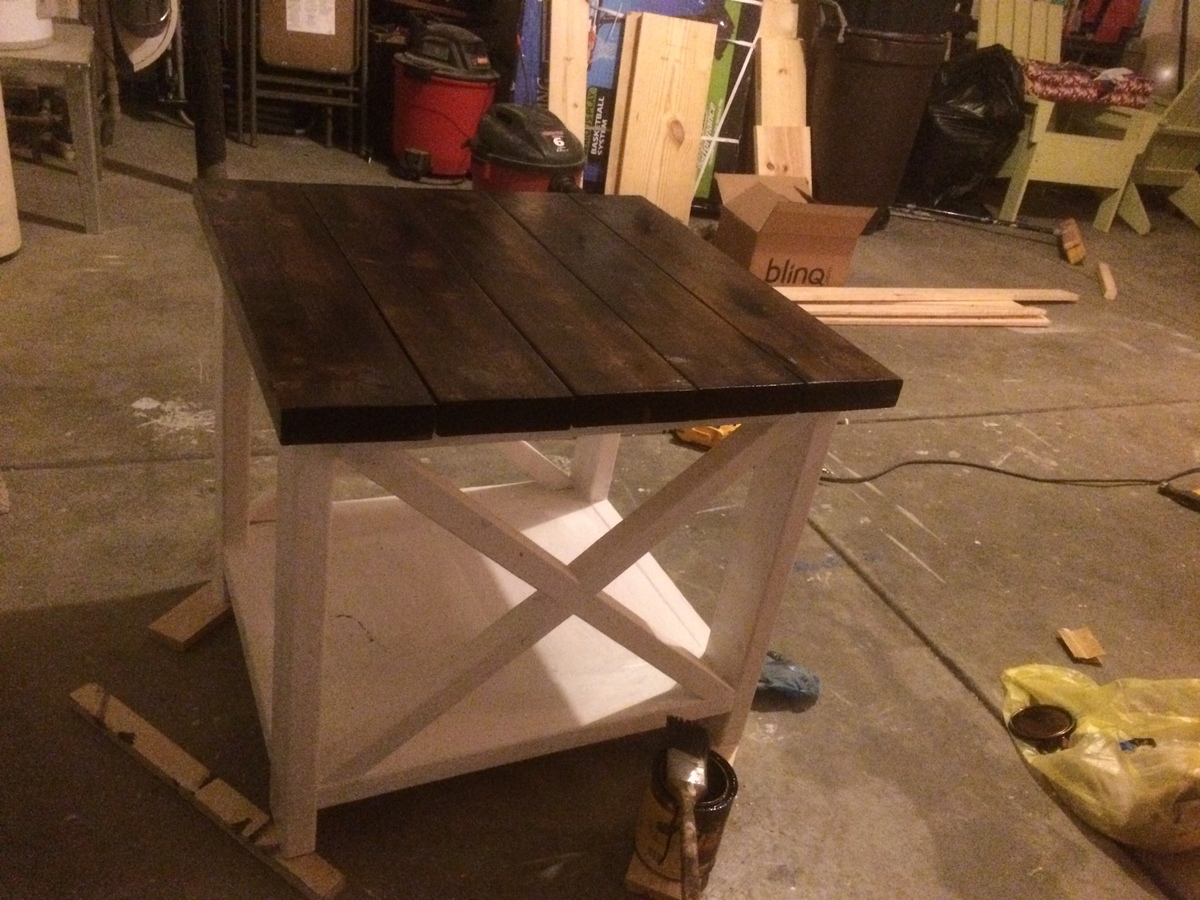
Finish Used
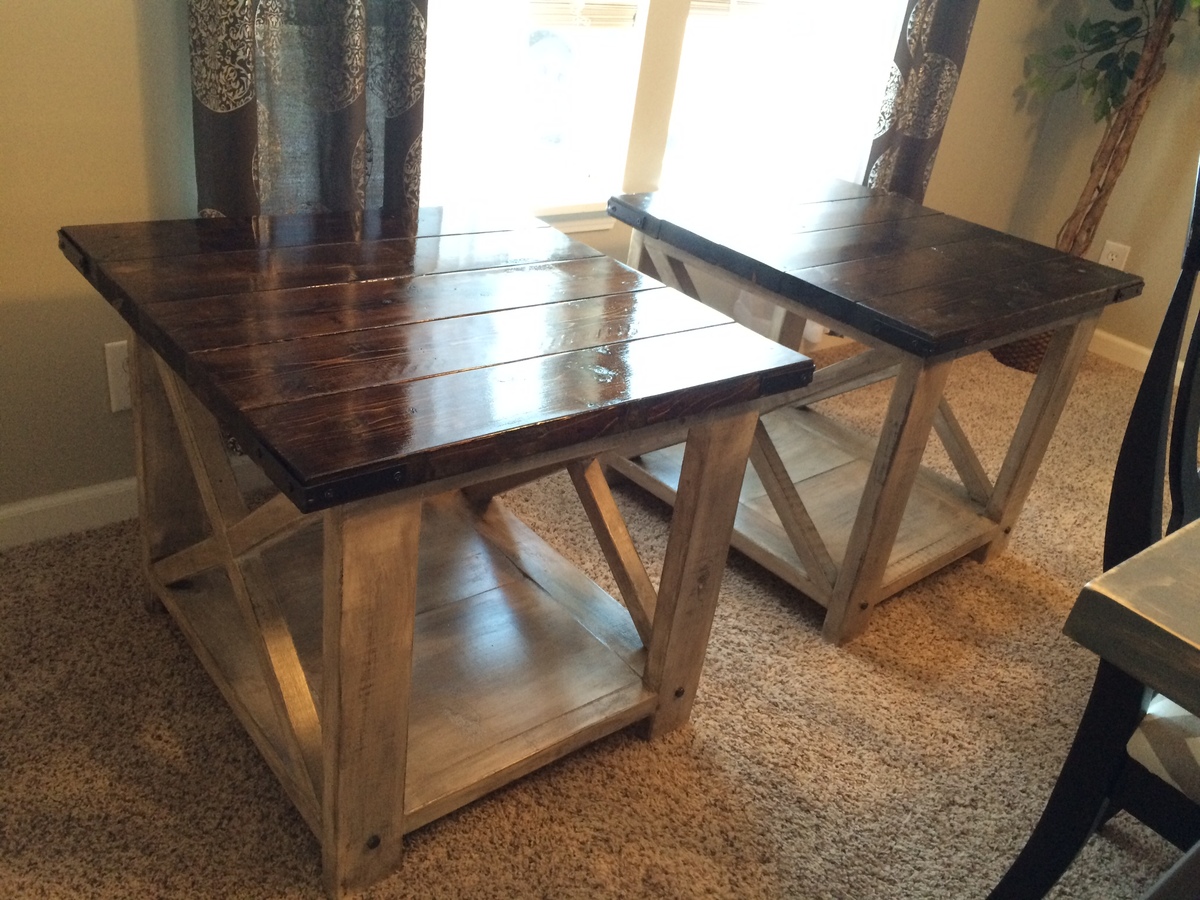
white enamel, black is chalk paint with wax finish
Recommended Skill Level
Intermediate