Community Brag Posts

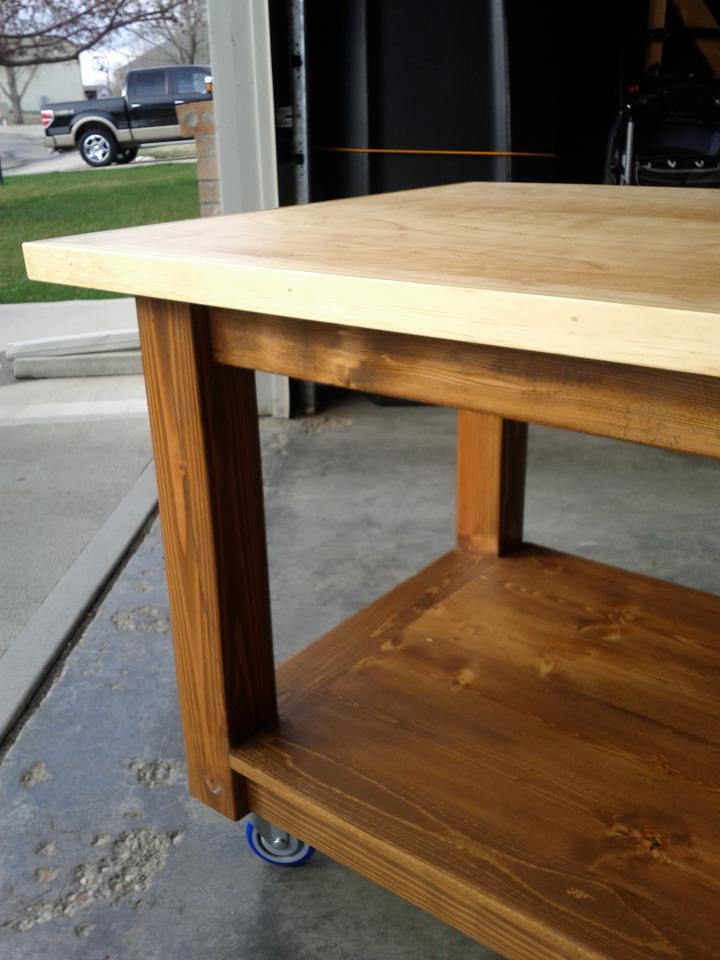
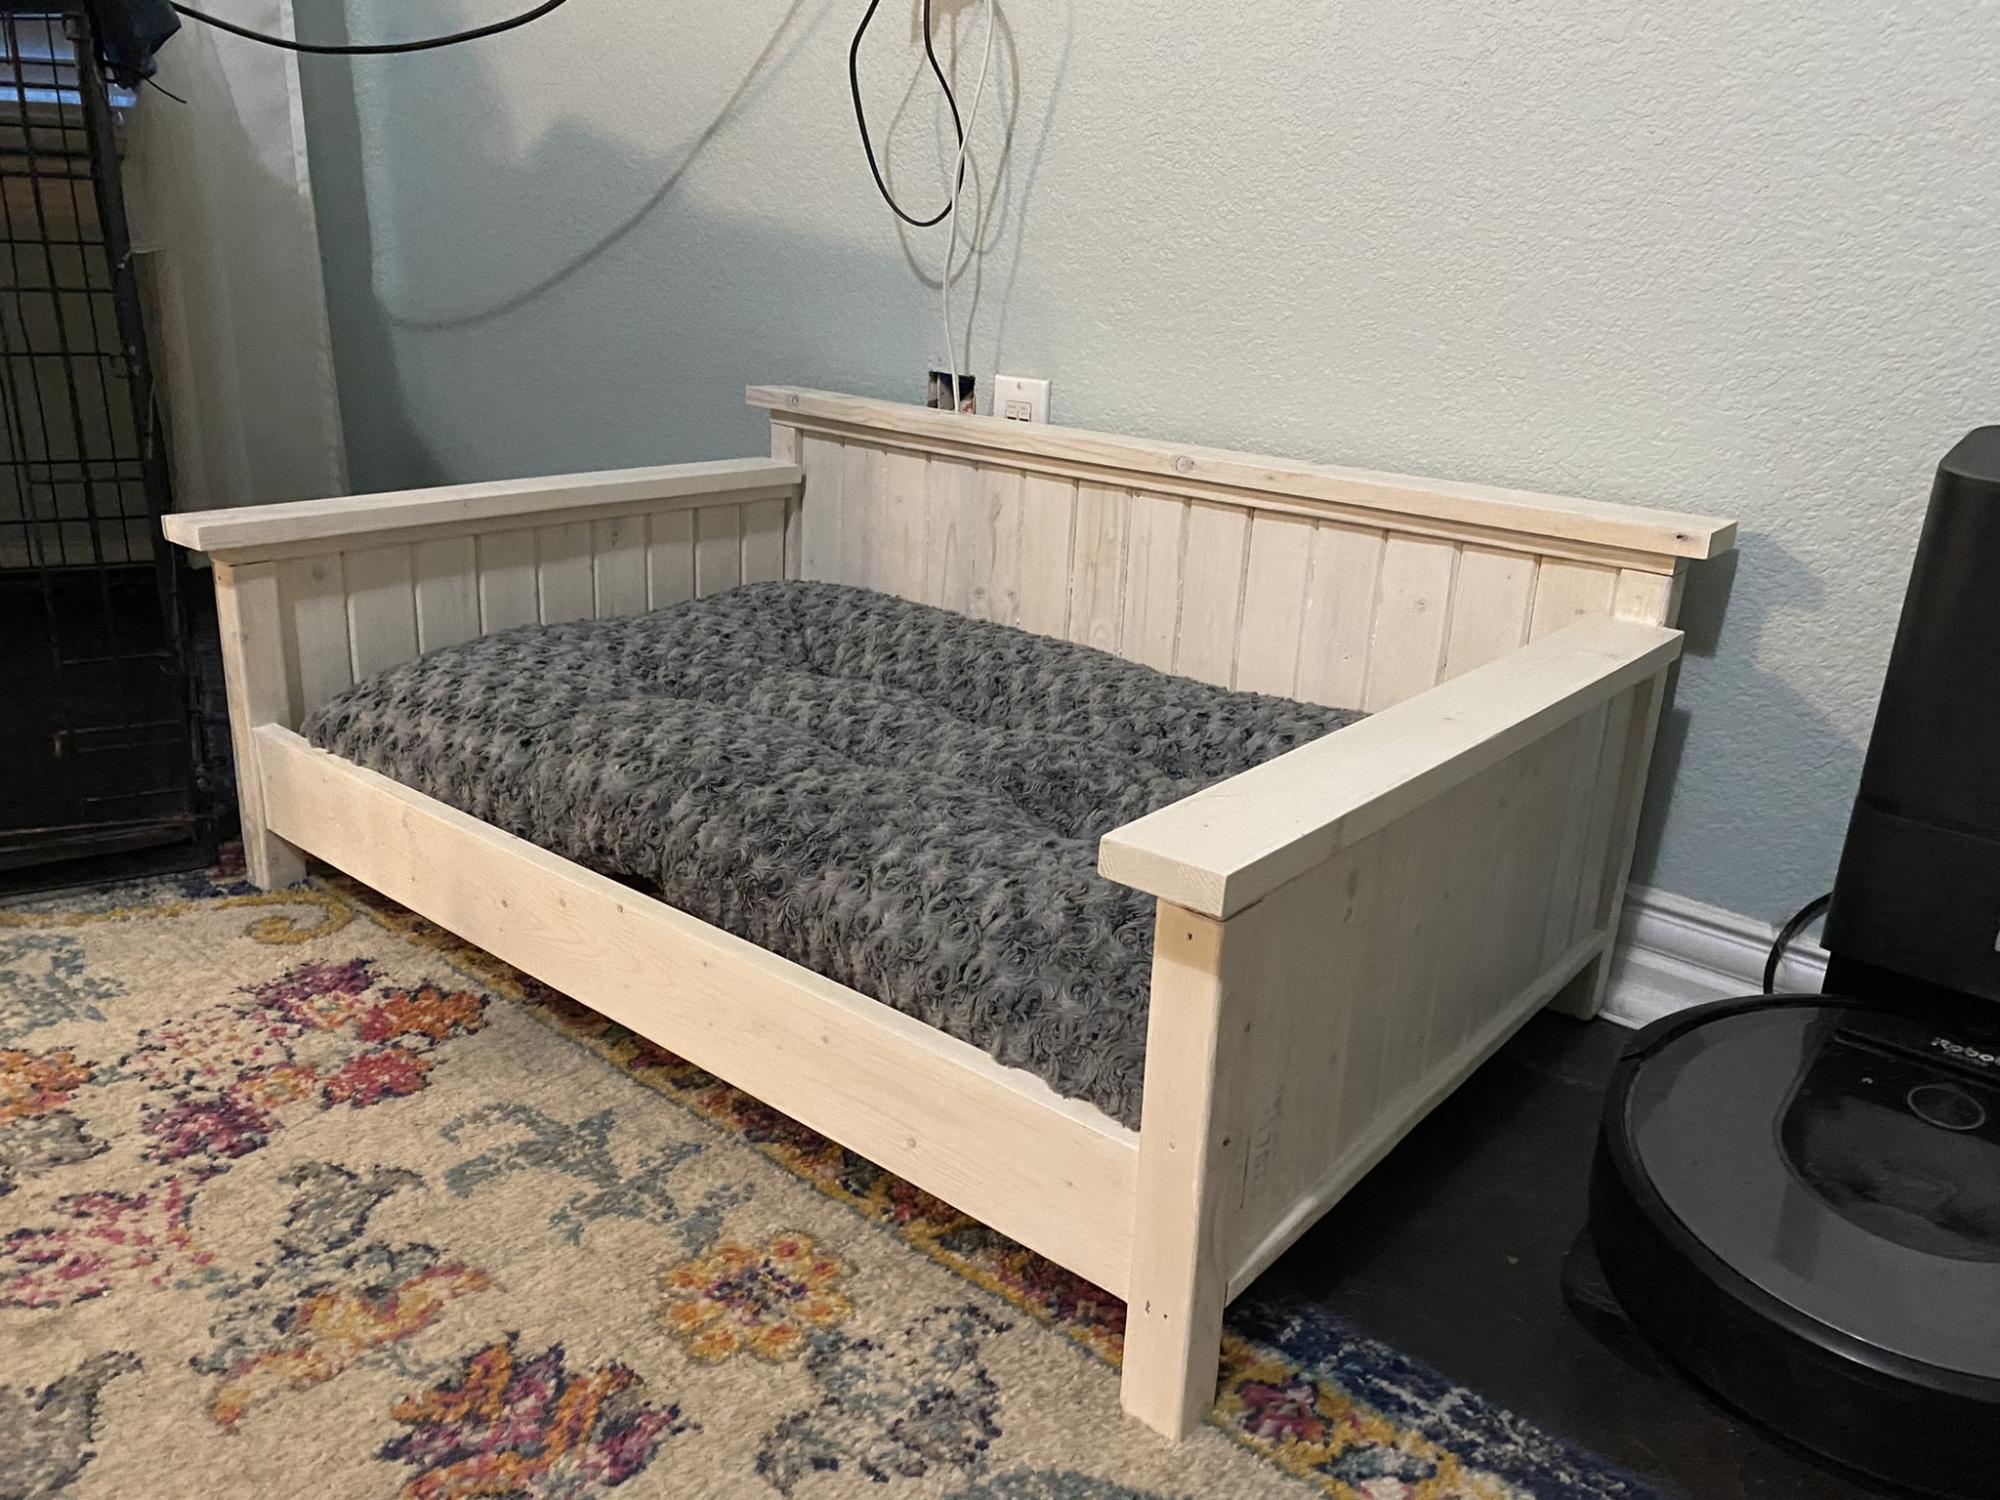
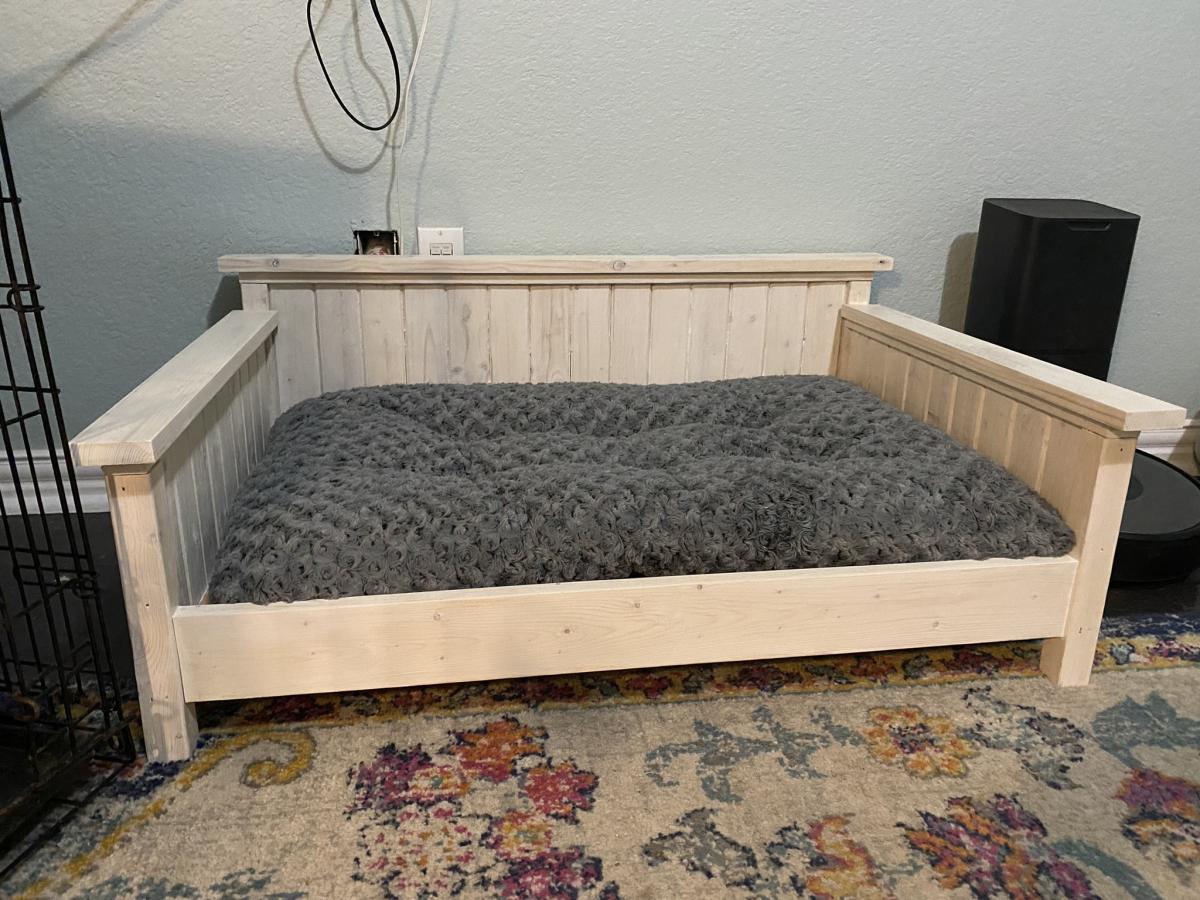
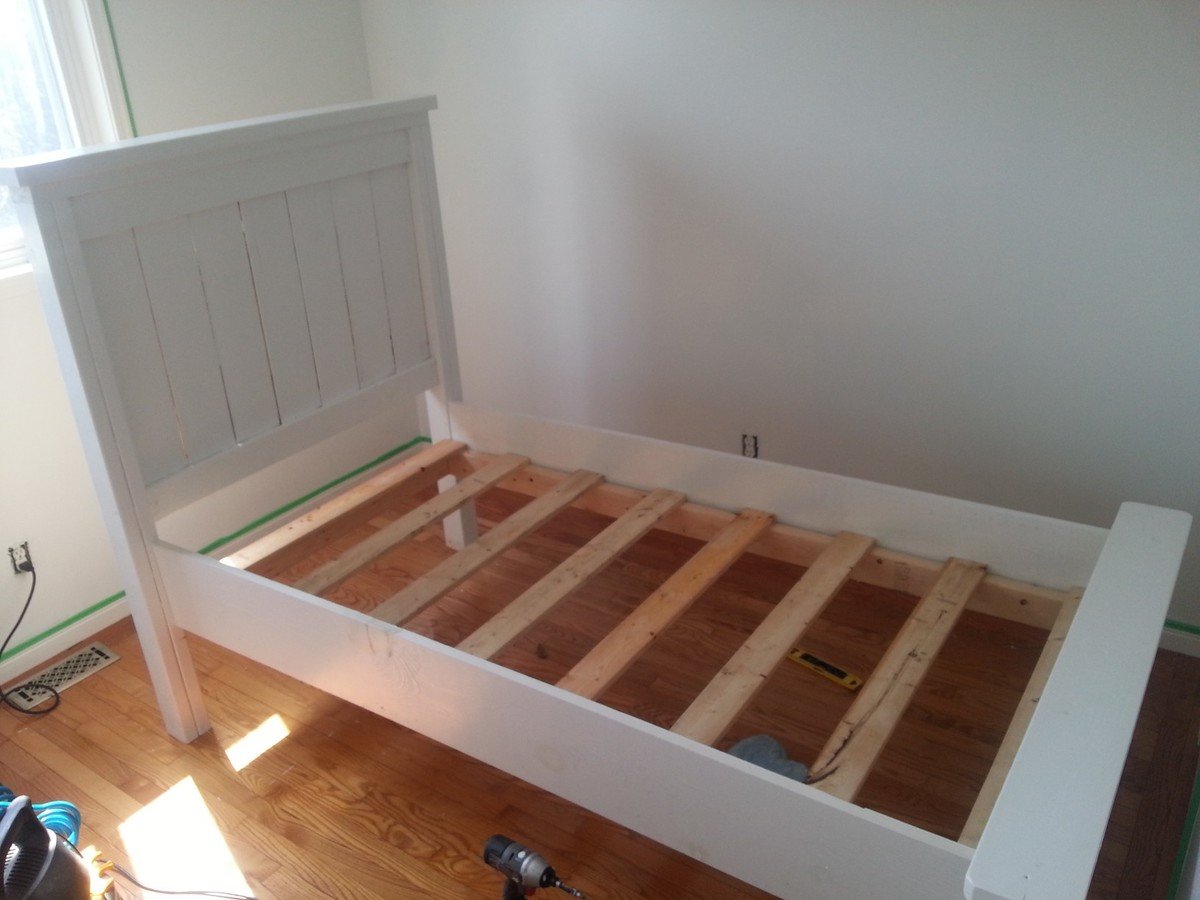
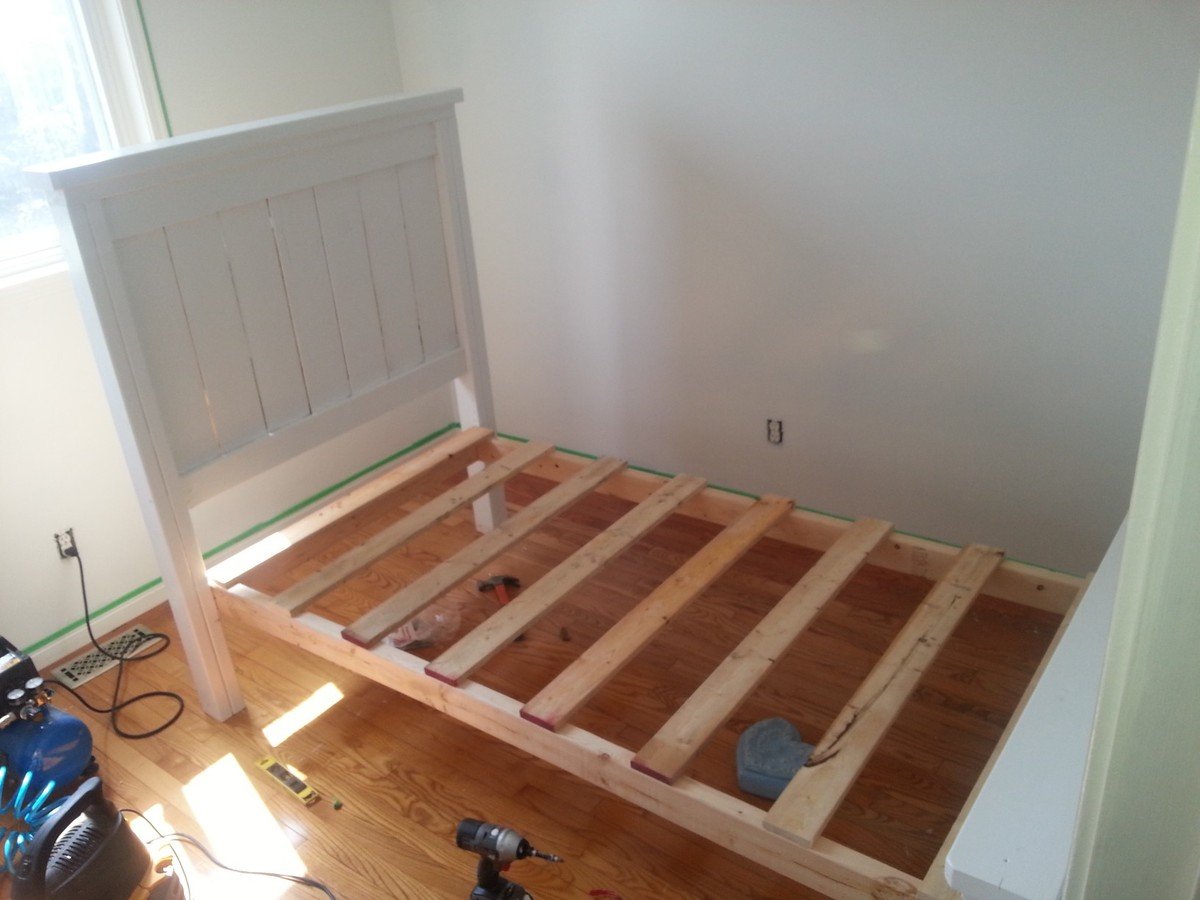
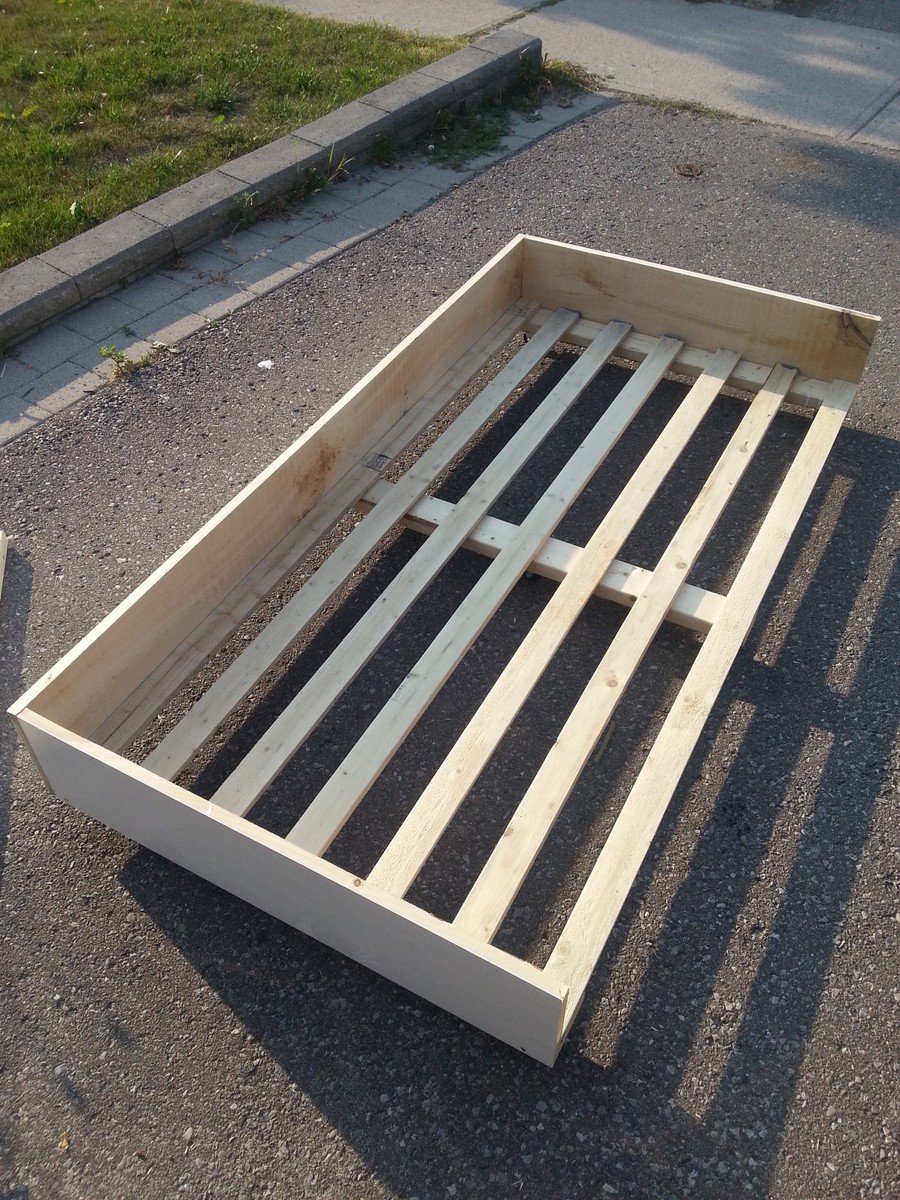
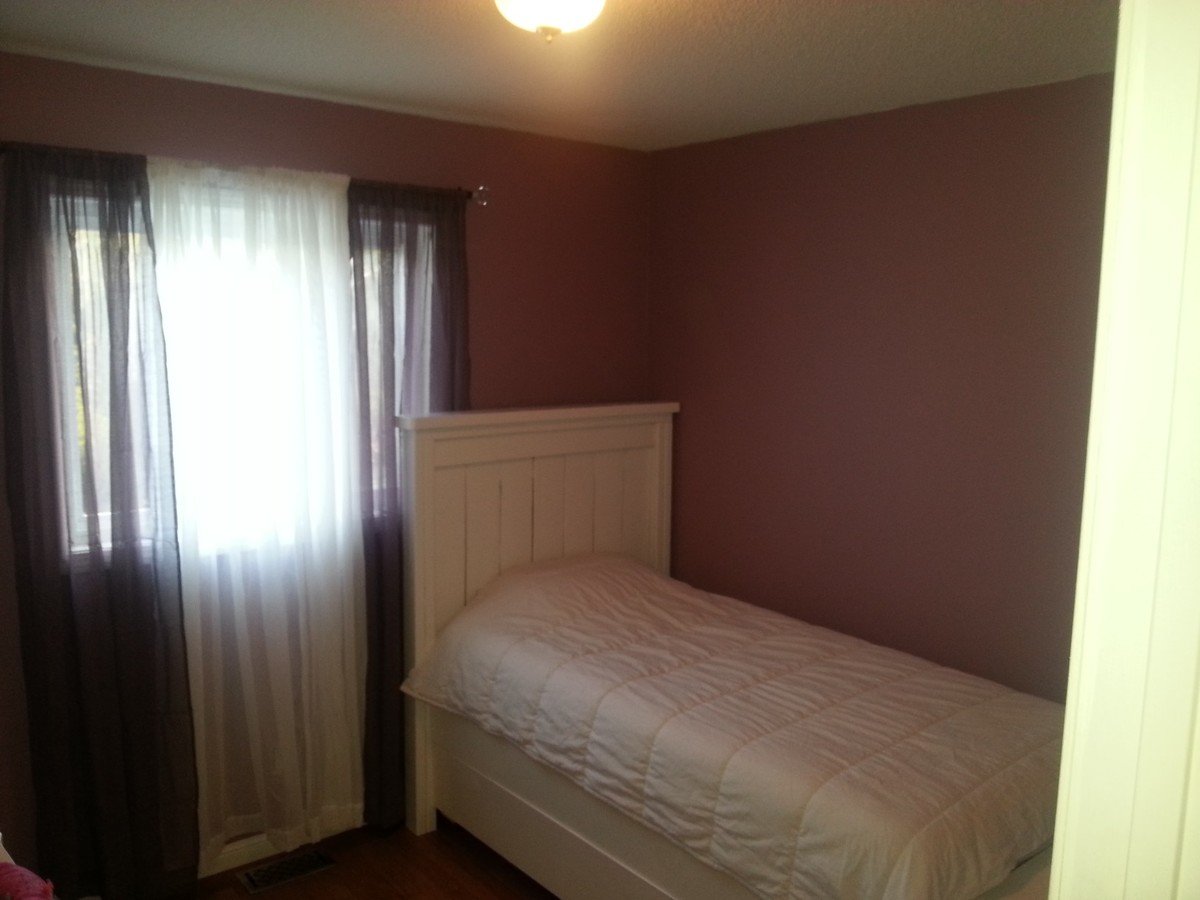
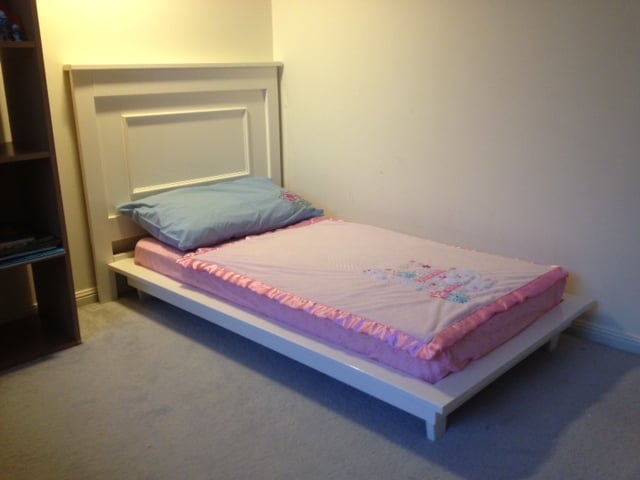
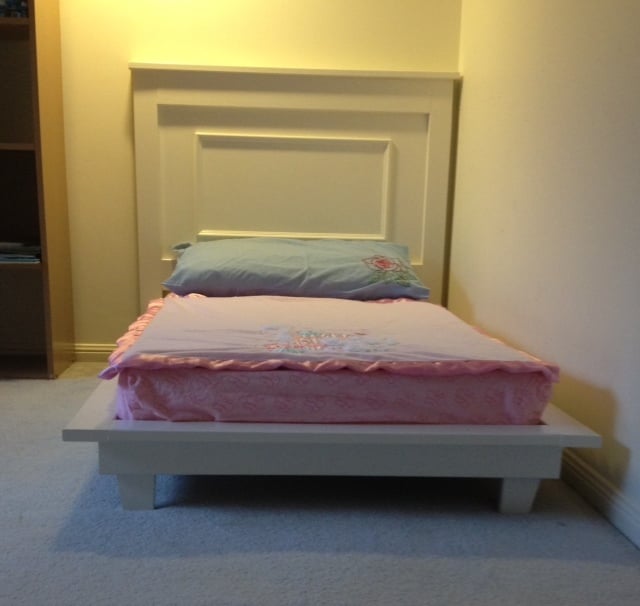
White Washed Queen Headboard

Submitted by sawdust on Tue, 02/12/2013 - 11:39

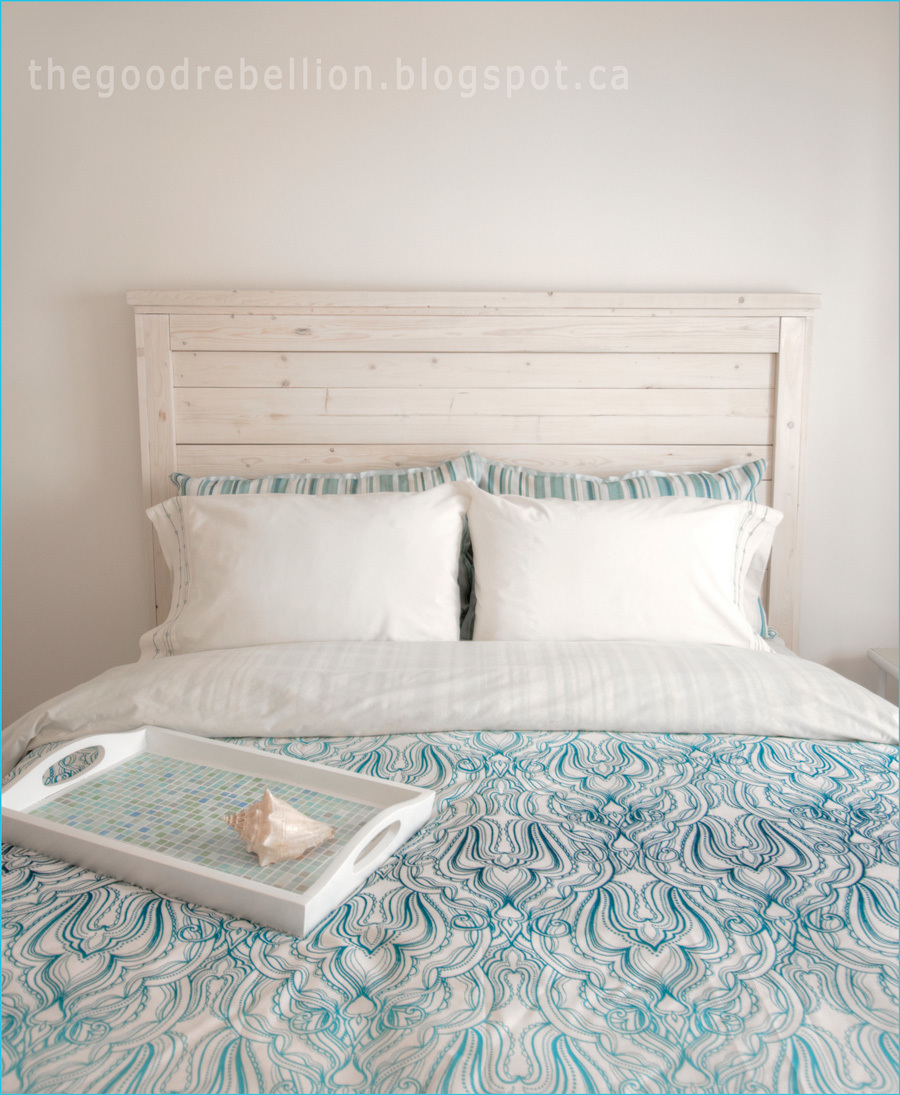
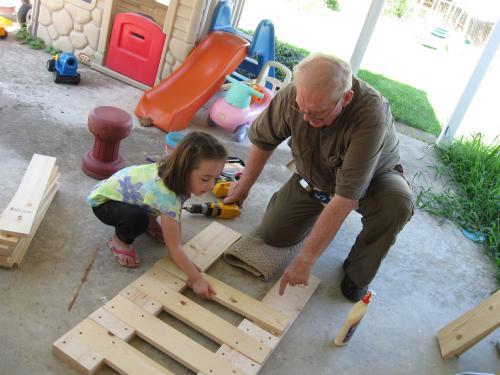
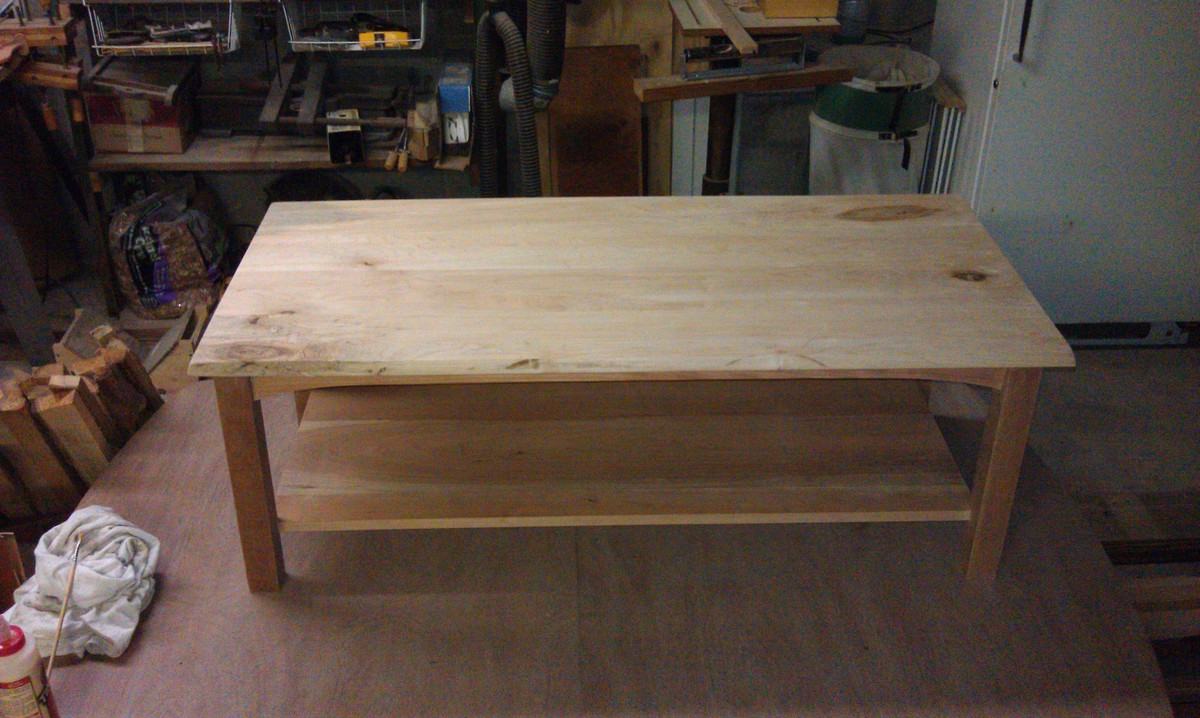
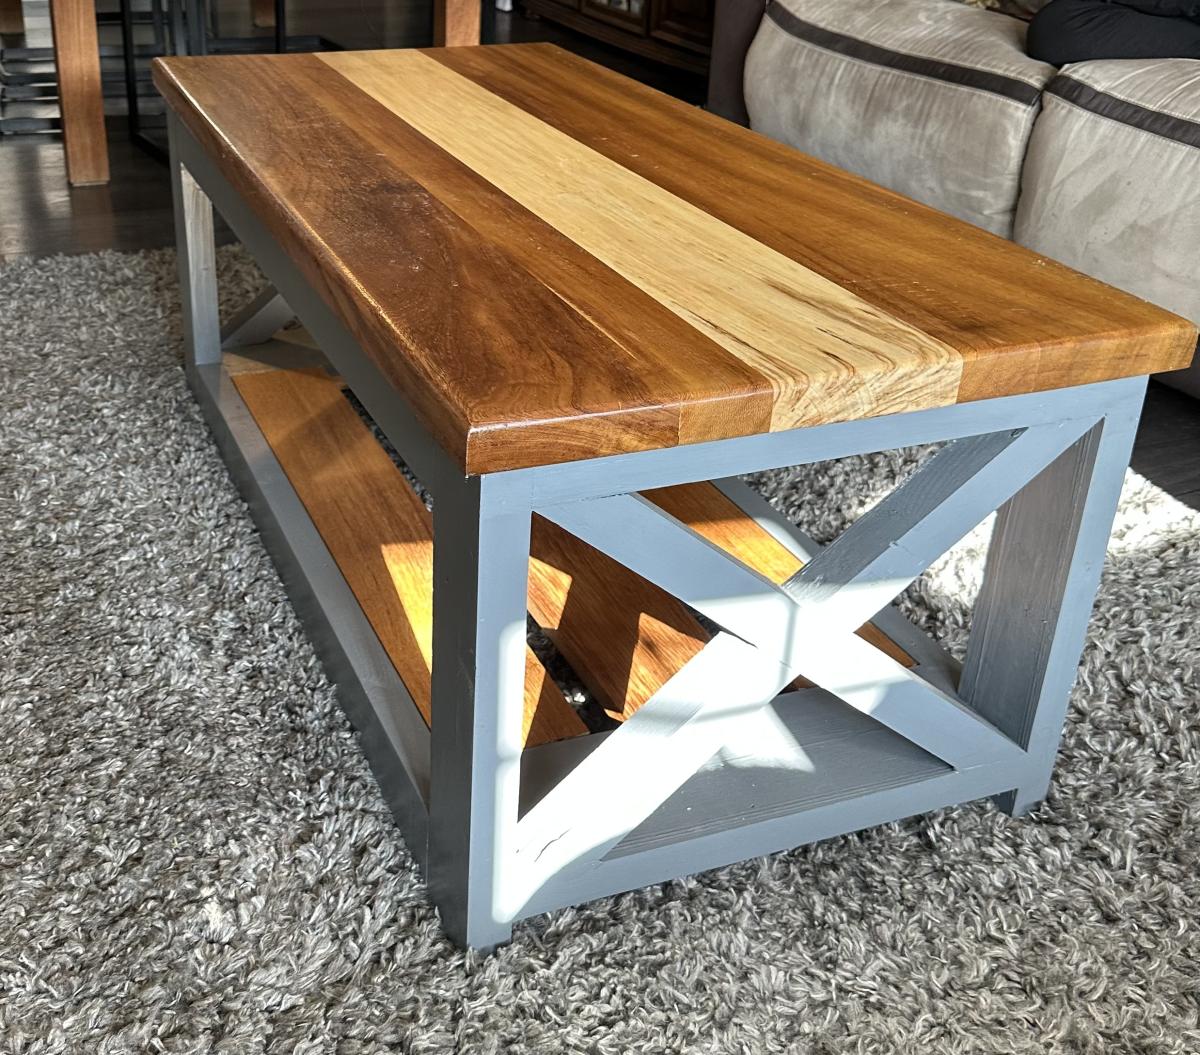
This is my first piece of furniture I've ever made from a plan. I would recommend this for someone who is new to the craft. I also sanded each board before I put it together. I just find this easier to do than sanding it afterwards. Plus, it gives me the chance to look at the grain and see where I might want it. Both the stain and clear coat I used can be washed out of your brush with soap and water.

Estimated Cost
$90.00
Estimated Time Investment
Weekend Project (10-20 Hours)
Finish Used
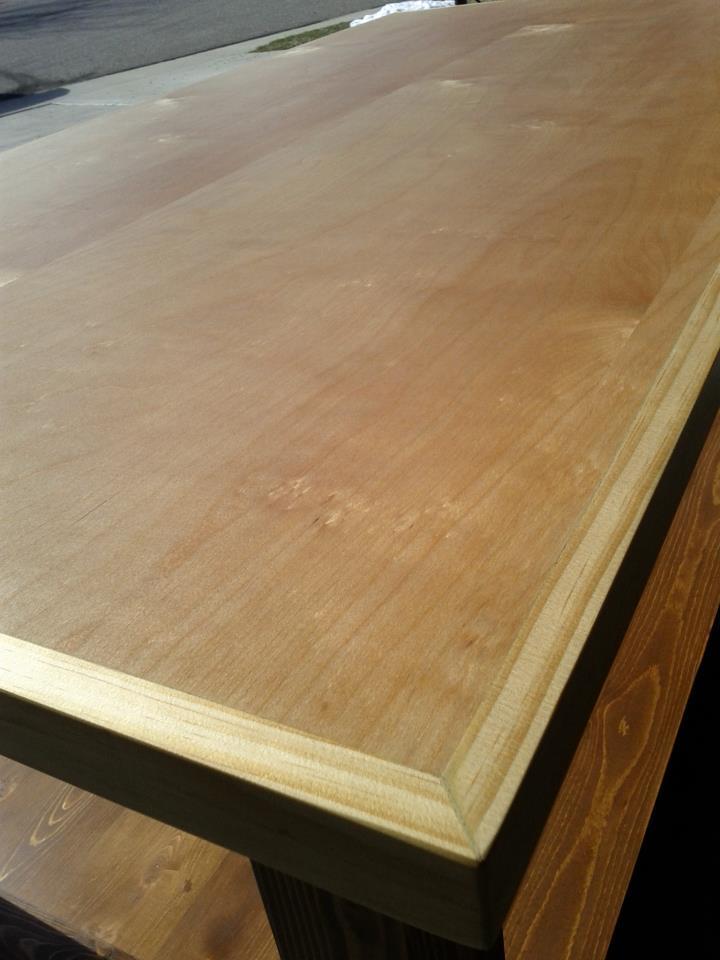
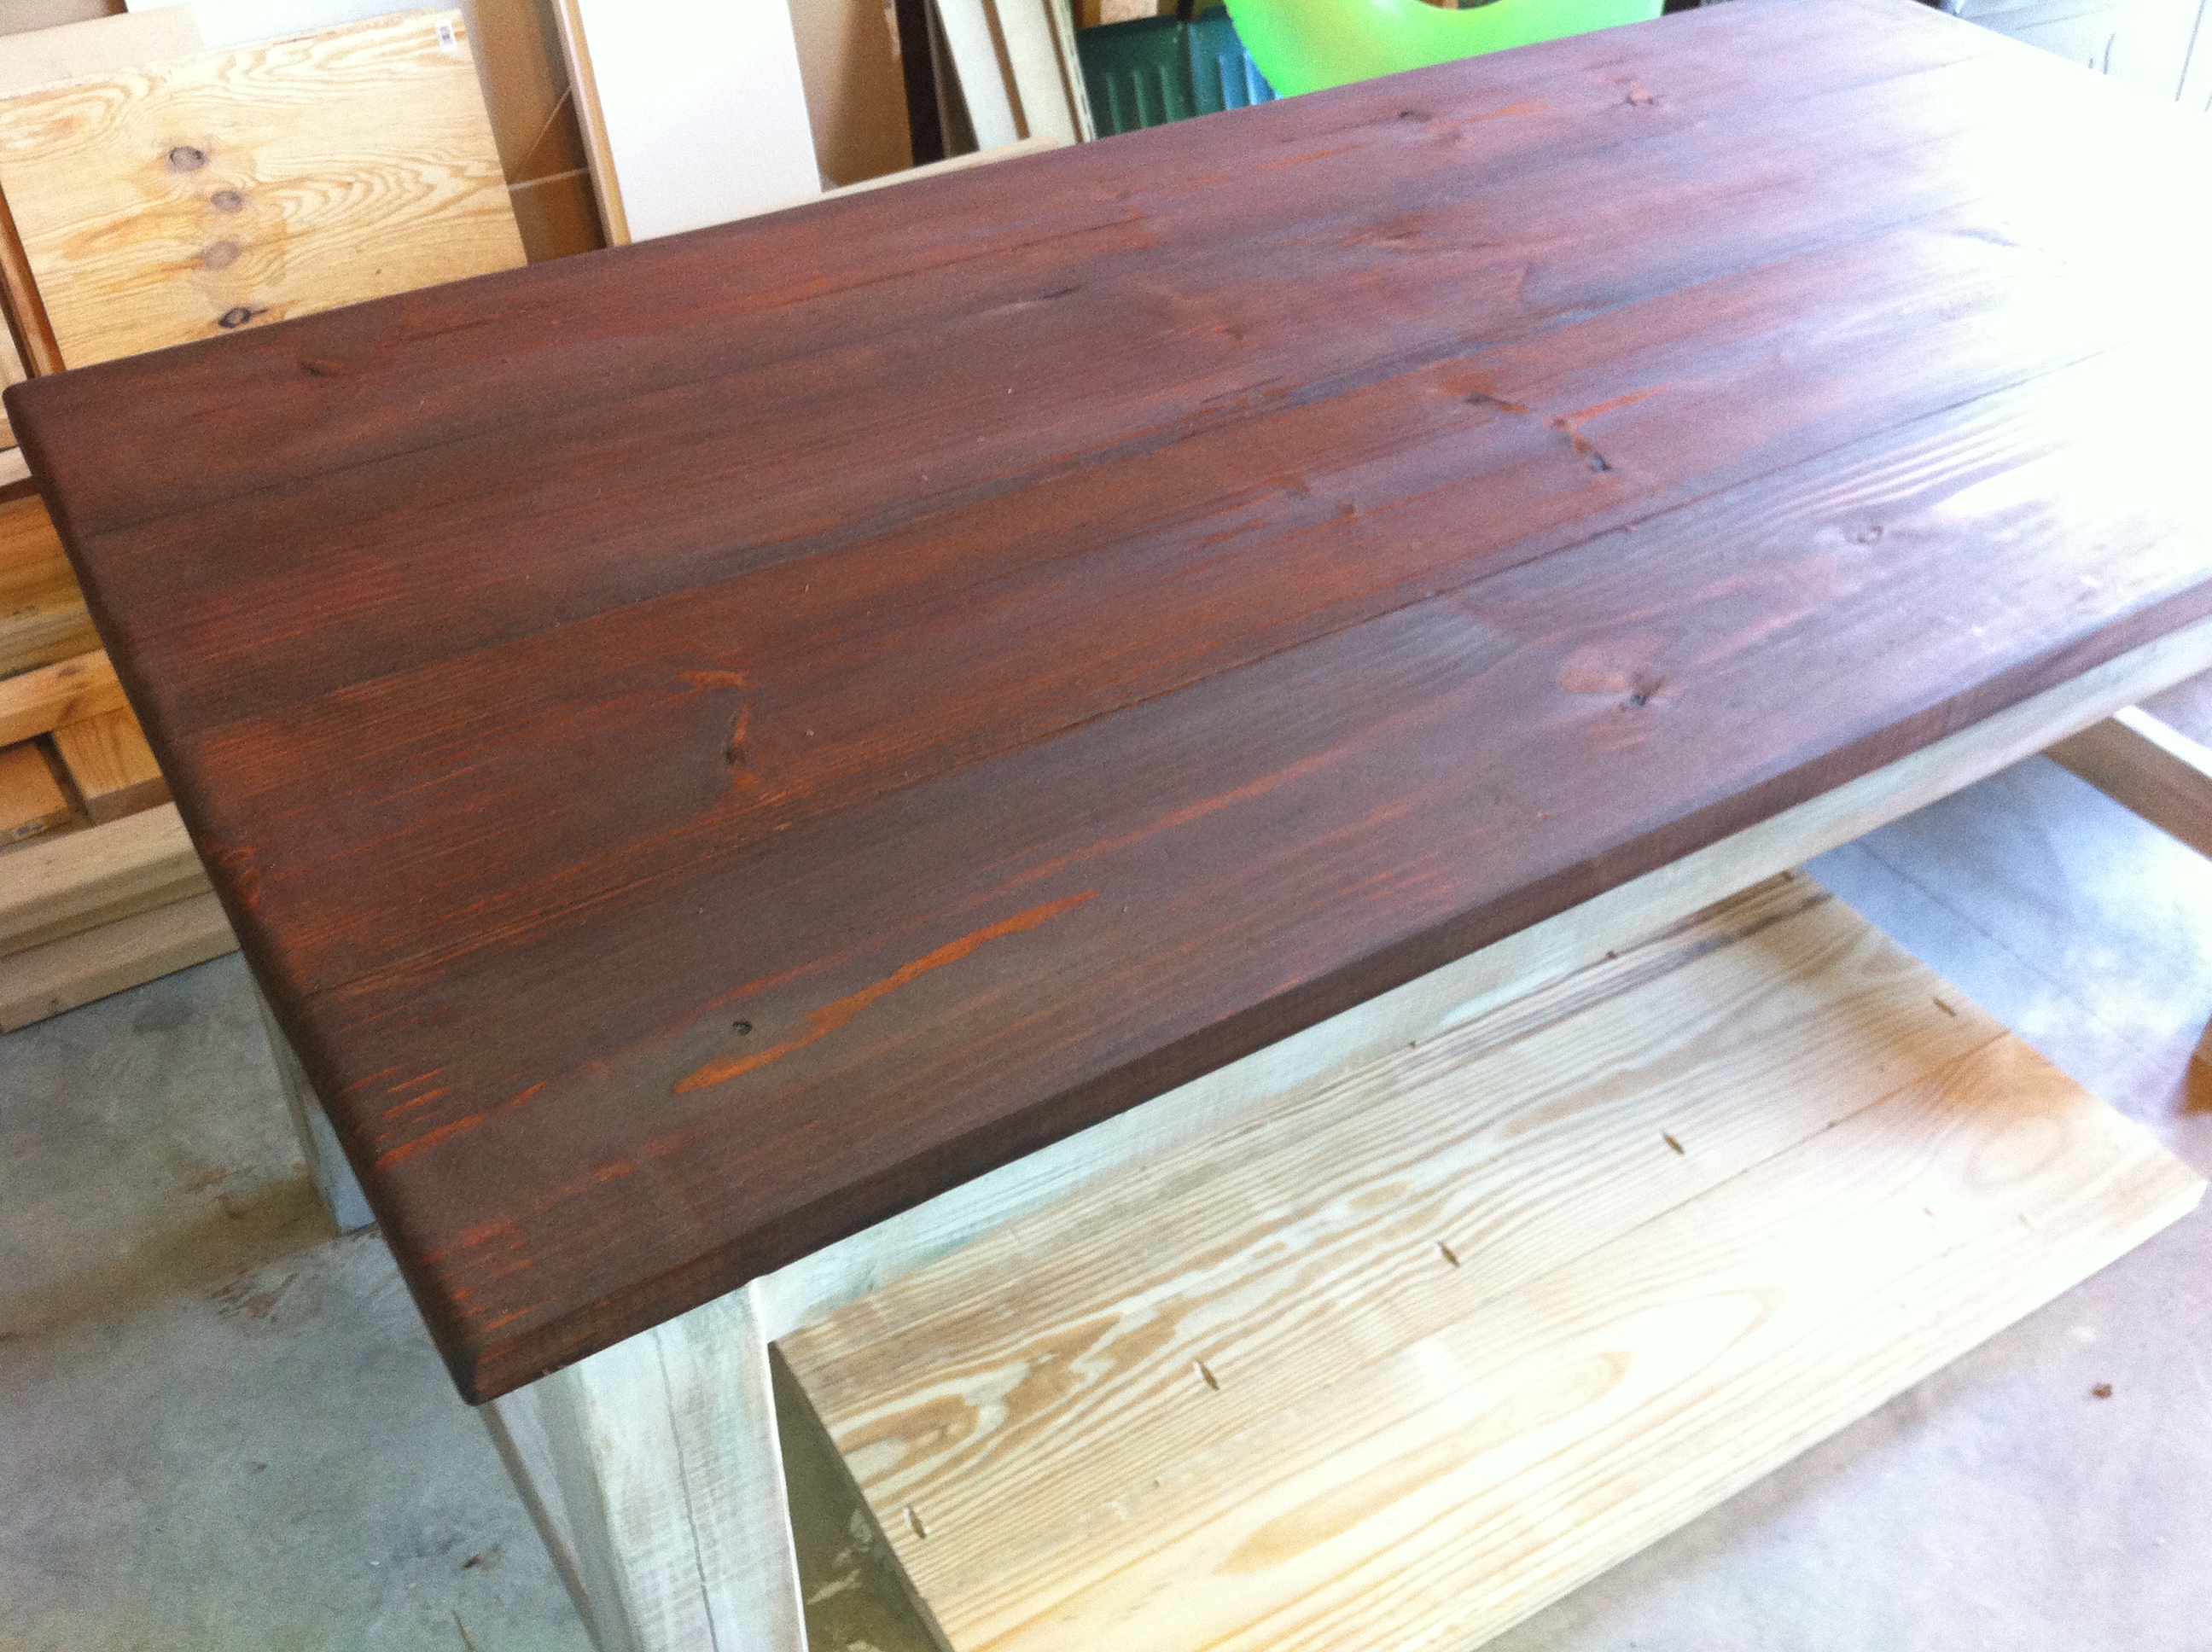
Minwax white wash pickling stain - one application with a foam brush.
A very forgiving stain and easy to use.
Minxax Polycrylic clear satin - one coat with a paint brush.
Recommended Skill Level
Starter Project

Comments

spiceylg

Wed, 02/13/2013 - 05:18

Really like the white wash look, great job! Also, love the bedding and the tray. Did you make that tray, too?

A twist on Modular Family Entryway Mudroom System - Pullout Rolling Bench Cart

This is a twist on the Modular Family Entryway Mudroom System - Pullout Rolling Bench Cart . There have been many posts on the net for a mudroom locker set such as the one I have. In our case we had a mudroom with a closet, not much room to move when sliding the doors open, and as well we have kids that need a place to sit in order to put boots/shoes etc on. I took advantage of my husband's work assignment out of the country to rip back the closet,to 20 inches deep and open it up and added a bench for seating, baskets above for out of season/rarely used stuff, and used rolling cubbies below, but in my case I wanted storage bins instead. My thinking was so that I could make it look clean pretty quickly by just chucking every thing in to the bin... These are tall enough for our boots. In the bottom of the bins I put a piece of outdoor carpeting, then a plastic grid, and over that another layer of outdoor carpeting so if the footwear is wet it will drain and dry-no biggie to vacume or sweep out. Best deal: I can simply roll them out of the way when I want to sweep underneath! I measured cubby space to basket size above, and made the bins below after doing the bench and middle supports, to ensure a good fit. The bench top is an old piece of pine board I sanded, stained and used 4 coats of marine varnish so it would take lots of wear and tear.

Estimated Time Investment
Week Long Project (20 Hours or More)
Finish Used
minwax walnut stain, and marine varnish benchtop
behr marshmallow paint
Recommended Skill Level
Intermediate

Comments

Workbench

Submitted by Binda B on Thu, 04/11/2013 - 10:34

I needed a workbench to be able to create all of these wonderful plans. I used one of Ana's table plans and modified a little. I followed exactly, then I added a second top made out of birch pure bond plywood. I then put 1x2 edging to hide the edges. I used some pretty heavy duty casters with the double locking feature, I had to buy this off the internet.
This was my second build, the first being a 10 dollar ledge.
The plan is from Ana's book, the kitchen island. I can't seem to find it online.
This took me a long time due to limited time, because of work and kids. About 4-6 hours per week, for 2 1/2 months.

Estimated Cost
$ 250, this includes expensive casters, stain and extra plywood. $100 dollars for the wood if doing the table from the plan
Estimated Time Investment
Week Long Project (20 Hours or More)
Finish Used
I needed experience in staining and wanted some protection, so that is why I stained this workbench. I used Minwax pre stain, Rust-oleum early American on the base, and left the top raw (I figured it would get scratched up). Then I used Tung oil 5 coats on the bottom and 6 for the top. Finished with one coat of furniture wax. It is a bit slick, I should not have had so many coats of Tung oil, but I was experimenting :)
Recommended Skill Level
Intermediate

Comments

2 x 4 Garage Shelves Built into Basement Storage!

Hello Everyone! This is my FIRST brag post here on Ana-White.com - but not the first project that we've built from her awesome plans. :) 

We have an unfinished basement that desperately needed some shelving because 1. It's our workshop in the Winter and 2. We don't have an official 'storage' room in the basement of our split level home. When I saw these plans I immediately thought they could be modified to fit our space and get my stuff off the floor! 

I modified the plans just enough to fit our space. After reading through them completely, I realized for an 8 ft wide space (beside the stairs) I only needed three supports for the shelves. Easy! The only trick was fitting the shelf into the space AFTER installing the shelves. Because I had walls on two sides (unlike the tutorial) I couldn't do the shelves as the last step. 

I LOVE how these turned out! They are a strong as a ladder (we tested them... :)) and they hold everything I need them to, and a little bit more. It's a definite improvement on my previously messy, cluttered, saw-dust covered space ... :) 

Estimated Cost
Our space was 8ft tall by 8ft wide, so we ended up purchasing about $60 worth of 2x4s to complete the project. We also used 2.5" screws, which are around $4 per box of 75.
Estimated Time Investment
Afternoon Project (3-6 Hours)
Finish Used
None - we left the wood bare and natural because it's just for storage - not for looks. :)
Recommended Skill Level
Beginner

Bray and Harper's Playhouse

Submitted by Anonymous (not verified) on Fri, 06/23/2017 - 06:49

This playhouse was built by my 4 year old son and I. We used the general plans and even added the drop down desk. Most of it was built using my miter saw stand, another great idea by Ana White!

Estimated Time Investment
Week Long Project (20 Hours or More)
Recommended Skill Level
Intermediate

White Bunk beds with ladder instructions

I redid this whole room for less than $600! Make sure you take your time with cuts and fitting. I did this with my father in law (my daughter even got to help out!), and it's less than perfect due to some rushing! More details on my blog.

I also couldn't find any 4x4's. Instead of doubling up on 2x4's, I just used one. That allowed me to change the tops of the head/foot boards to only 48" instead of 50 1/2. You can get enough for a head and foot board out of one board this way.

After looking at a TON of bunk bed ladders online, I designed my own. Just some leftover 2x4's. The sides are 47 1/2 inches long, and the rungs are 13 1/2 inches long. It's screwed to the bunk bed from the back so you don't see the screws.

Estimated Cost
$300
Estimated Time Investment
Weekend Project (10-20 Hours)
Finish Used
Sanded the heck out of everything, then two coats of Behr primer, followed by 2-3 coats of Behr semi-gloss in New Day Dew (it's a Disney color)
Recommended Skill Level
Beginner

Maple/Cherry Coffee Table

Submitted by tctaylor79 on Mon, 04/11/2011 - 07:02

This has been a work in progress for about 4 years.  My wife and I started this project before we were married.  Between a wedding, moving into our first house and having our first child we've had a real hard time getting in the shop to finish this project.  I'm proud to say that's it's finally together and just needs a few coats of poly. Any feedback would be greatly appreciated.

Built from Plan(s)
Estimated Time Investment
Week Long Project (20 Hours or More)
Finish Used
None yet, Poly will be applied in the near future.
Recommended Skill Level
Intermediate

Modified Simple Outdoor Dining Table

Submitted by ewood on Tue, 05/31/2011 - 08:04

Wanted a Patio table and when I saw the plans on this site I really liked it; I just changed the plan a bit. Everything was screwed from the underside of the table, also I attached the legs with 2" lag screws.

Built from Plan(s)
Estimated Time Investment
Weekend Project (10-20 Hours)
Recommended Skill Level
Beginner

Comments

Farmhouse Doggie Daybed

Submitted by jkjackson on Sun, 04/24/2022 - 18:42

This was adapted from the Farmhouse bed plans to match our king size farmhouse bed.

Comments

Cottage Bunk Bed

Submitted by kottmer on Tue, 06/12/2018 - 09:58

I used the surf bed plan and put a plywood face on the front and added the roofline, windows and flower boxes. The steps double as a bookshelf. 

Built from Plan(s)
Estimated Cost
$400
Estimated Time Investment
Week Long Project (20 Hours or More)
Finish Used
Semi-gloss paint
Recommended Skill Level
Intermediate

Comments

Ana White

Thu, 06/14/2018 - 11:32

This is adorable!  Glad you used the surf bus plans - those plans are so easy - smart to just add your own front too it!  Very much appreciate you sharing a photo.  Great job!

Twin Farmhouse Bed with Trundle

Took the farmhouse plan and added a Trundle.   Was initially going to build two farmhouse beds for my two girls, but thought adding the Trundle would free up some much needed floor space.  The girls love it!

Estimated Cost
$150
Estimated Time Investment
Day Project (6-9 Hours)
Finish Used
Latex paint
Recommended Skill Level
Intermediate

Rustic Farmhouse Table

This table was quite simple to build. The hard part was the sanding and the painting/staining. It is sturdy. I also like that I can sand or touch up stain if it is ever damaged. Most store bought tables don't have that ability since the table top is usually a veneer.
Step by Step Summary on my blog - http://thequaintcottage.blogspot.com

Built from Plan(s)
Estimated Cost
I think it cost under $50 with all the lumber, stain and screws. Me likey!
Estimated Time Investment
Day Project (6-9 Hours)
Finish Used
The base has a faux-aged paint finish. Top is Red Oak stain.
Recommended Skill Level
Beginner

Comments

JES

Sat, 07/09/2011 - 18:47

Your paint job for the legs is awesome. I went to your blog to look at the whole process. Great work. The colors for the legs and top go together beautifully. Wonderfjul job! :) J

The Quaint Cottage

Sun, 07/10/2011 - 17:45

Thanks! I really didn't know if all the colors were necessary or if it would turn out how I pictured it in my head, but I just posted a close up pic of the finished leg and hints of the colors show. It is as close to I could get to weathered boards without waiting years to make them.

grandeb3660

Tue, 08/30/2011 - 14:52

Would really LOVE to have the step by step for this table. Love, love, love it!

2 Drawer Modern Nightstand (with Charging station)

Submitted by mt51 on Mon, 09/02/2013 - 22:21

I really liked the look of the 2 Drawer Modern Nightstand but I wanted to add a twist to it. Since I can't live without my devices (laptop and phone), I decided to add an open slot to the middle shelf of the nightstand for power cables. It also has a space that I added in the back that can hold a power strip. Embarrassed that I did not paint the back of the nightstand but I was really done at that point after a long weekend's worth of work!


Pin For Later! 

2 Drawer Modern Nightstand (with Charging station)


Estimated Time Investment
Weekend Project (10-20 Hours)
Recommended Skill Level
Intermediate

Table + farmhouse benches

Submitted by Marimac on Tue, 11/17/2015 - 09:59

I've fixed up an old table and borrowed Ana's plans for farmhouse bench. I've modified them, and this is the outcome.

Estimated Cost
about 300-400€ (in Finland)
Estimated Time Investment
Week Long Project (20 Hours or More)
Finish Used
Legs "Kitchen white"
Tops "Raindeer"
Recommended Skill Level
Beginner

American Girl Dollhouse with Farmhouse Bed, Bunk Bed, and Furniture

Submitted by Anonymous (not verified) on Tue, 01/08/2019 - 08:46

I've been building Ana White American Girl doll furniture for my two daughters for the last three years, culminating with my biggest build of all - a modified version of Ana's dollhouse.

My wife kept telling me it would end up being huge, and she was right.  The great news is that it doubles as storage when the girls aren't playing!  2 Bedrooms, kitchen, living room, bathroom, and upstairs bonus room for dance and gymnastics.  78" tall x 76" wide, mounted to the wall studs for safety.   Lots of joy in our home on Christmas day.  Thanks Ana!

Estimated Cost
$300
Estimated Time Investment
Week Long Project (20 Hours or More)
Recommended Skill Level
Intermediate

Comments

Kids Desk

Submitted by kellystern on Mon, 01/09/2023 - 16:03

I modified the plan to allow for wider shelves on the legs. I also made the width of the desk 22” instead of 24” to accommodate the size of the repurposed coffee table I used for the desktop.

Built from Plan(s)

Comments

Leaning orchard ladder

Submitted by Anonymous (not verified) on Sat, 01/02/2016 - 04:43

I wanted something quick and easy to display or hold magazines or blankets. I used two 3x5x8, cut the bottom at 5 degrees and the top that leans against the wall at 85 degrees. You don't have to do this, but I liked the look. Last, I drilled 8 holes at 1 1/4" diameter to fit 1 1/4" dowel cut in inch increments: 18, 17, 16, 15, 14, 13, 12, 11. I used a brad nailer to hold the dowels in place from behind.

Estimated Cost
$30.00 - the dowels are the most expensive.
Estimated Time Investment
An Hour or Two (0-2 Hours)
Finish Used
Old flat wall green/blue.
Recommended Skill Level
Starter Project

Rustic X coffee table

Submitted by Anonymous (not verified) on Sat, 02/18/2023 - 02:39

Wanted a new coffee table and loved the plans for this. I wanted something slight different though with a solid hardwood top.
I used only reclaimed timber. The frame is from old construction lumber which I planted and squared off. The top and bottom slats are iroko and sycamore sourced from commercial wood recycling project.
I had a little bit of wood left over so made some matching coasters and coaster holder

Built from Plan(s)

Comments

Fillman Toddler Bed

Submitted by brogers67 on Thu, 10/24/2013 - 01:37

First build and totally happy with result . The excitement and smiles of our 18 months old grand-daughter was worth every effort !

Estimated Cost
$20 Aud
Estimated Time Investment
Weekend Project (10-20 Hours)
Finish Used
Acrylic White Gloss
Recommended Skill Level
Starter Project

Comments

JoanneS

Thu, 10/24/2013 - 13:20

Love this bed! What a super cute room for your grand-daughter! Looks totally professional, would never guess this is a first build -- Great job!

Rustic Farm Potting Bench

Submitted by Anonymous (not verified) on Fri, 03/10/2023 - 06:24

I built this 10’ long potting bench to fit into a 12’ barn stall. It fills the need to have a work surface plus room for storage on top and underneath. The hooks provide a place to hang my many hand tools and my Bluetooth speaker.

Built from Plan(s)

Comments