Community Brag Posts

DIY Outdoor Sofa, Chairs and Coffee Table

Submitted by Anonymous (not verified) on Thu, 07/27/2023 - 13:22

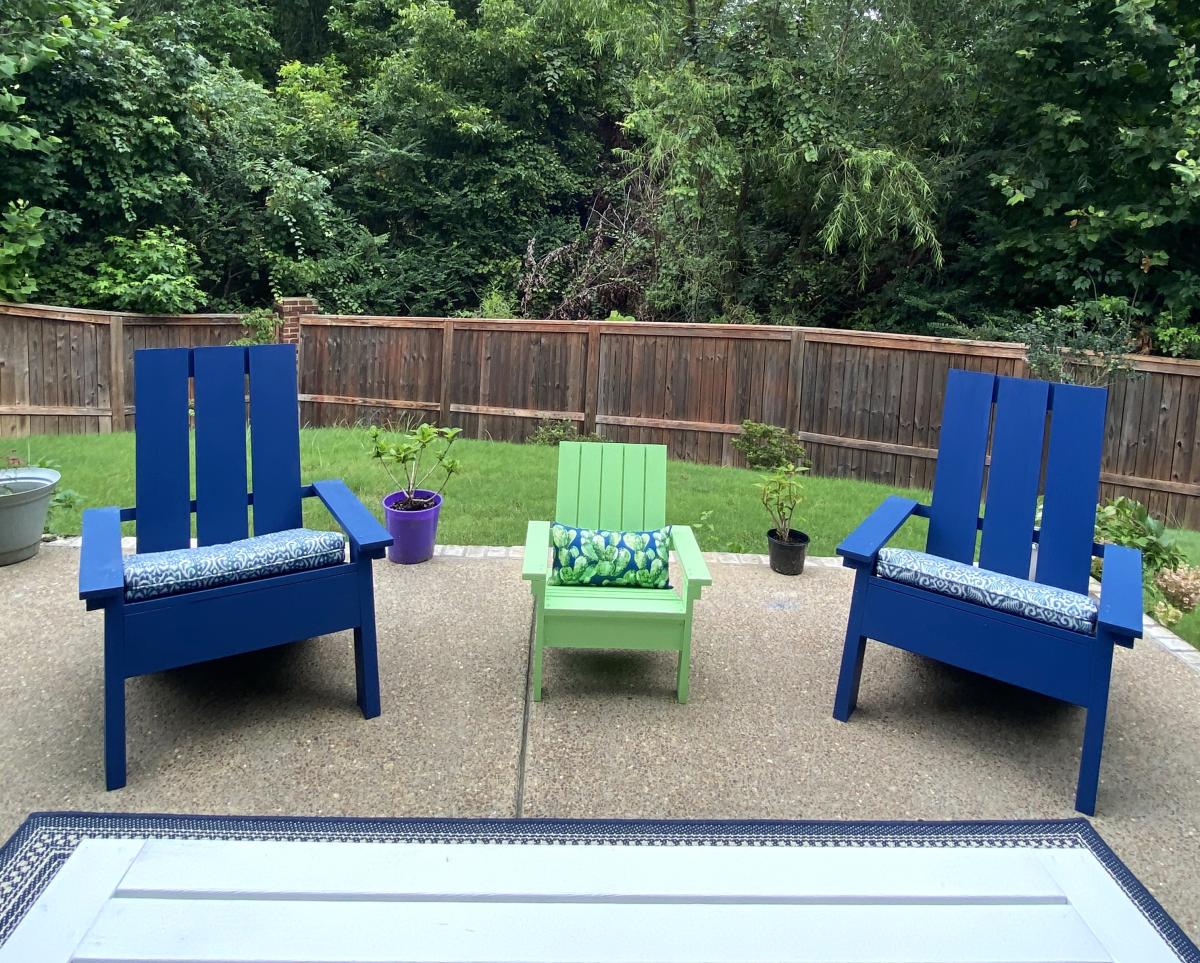
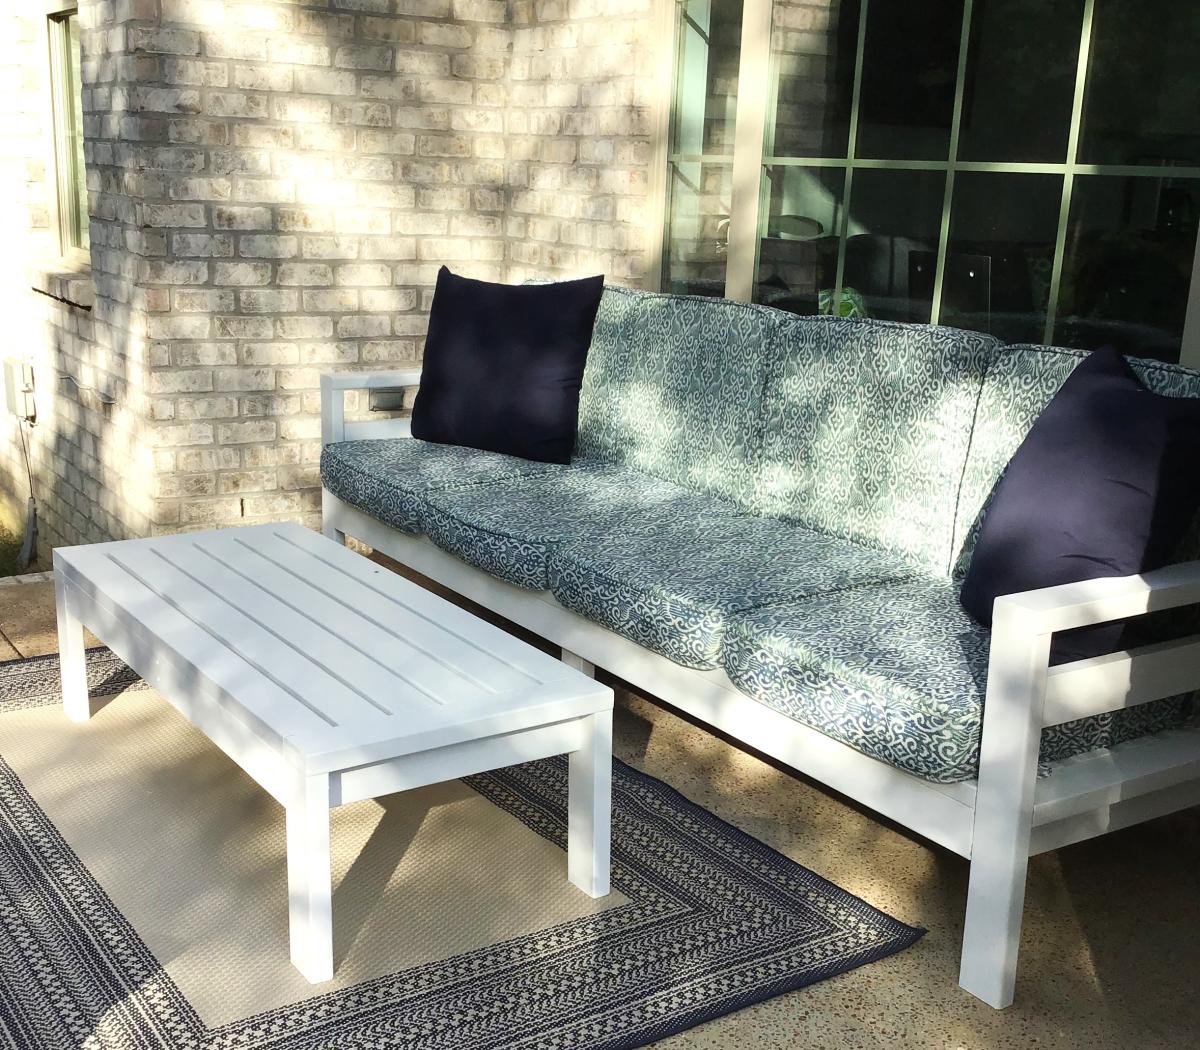
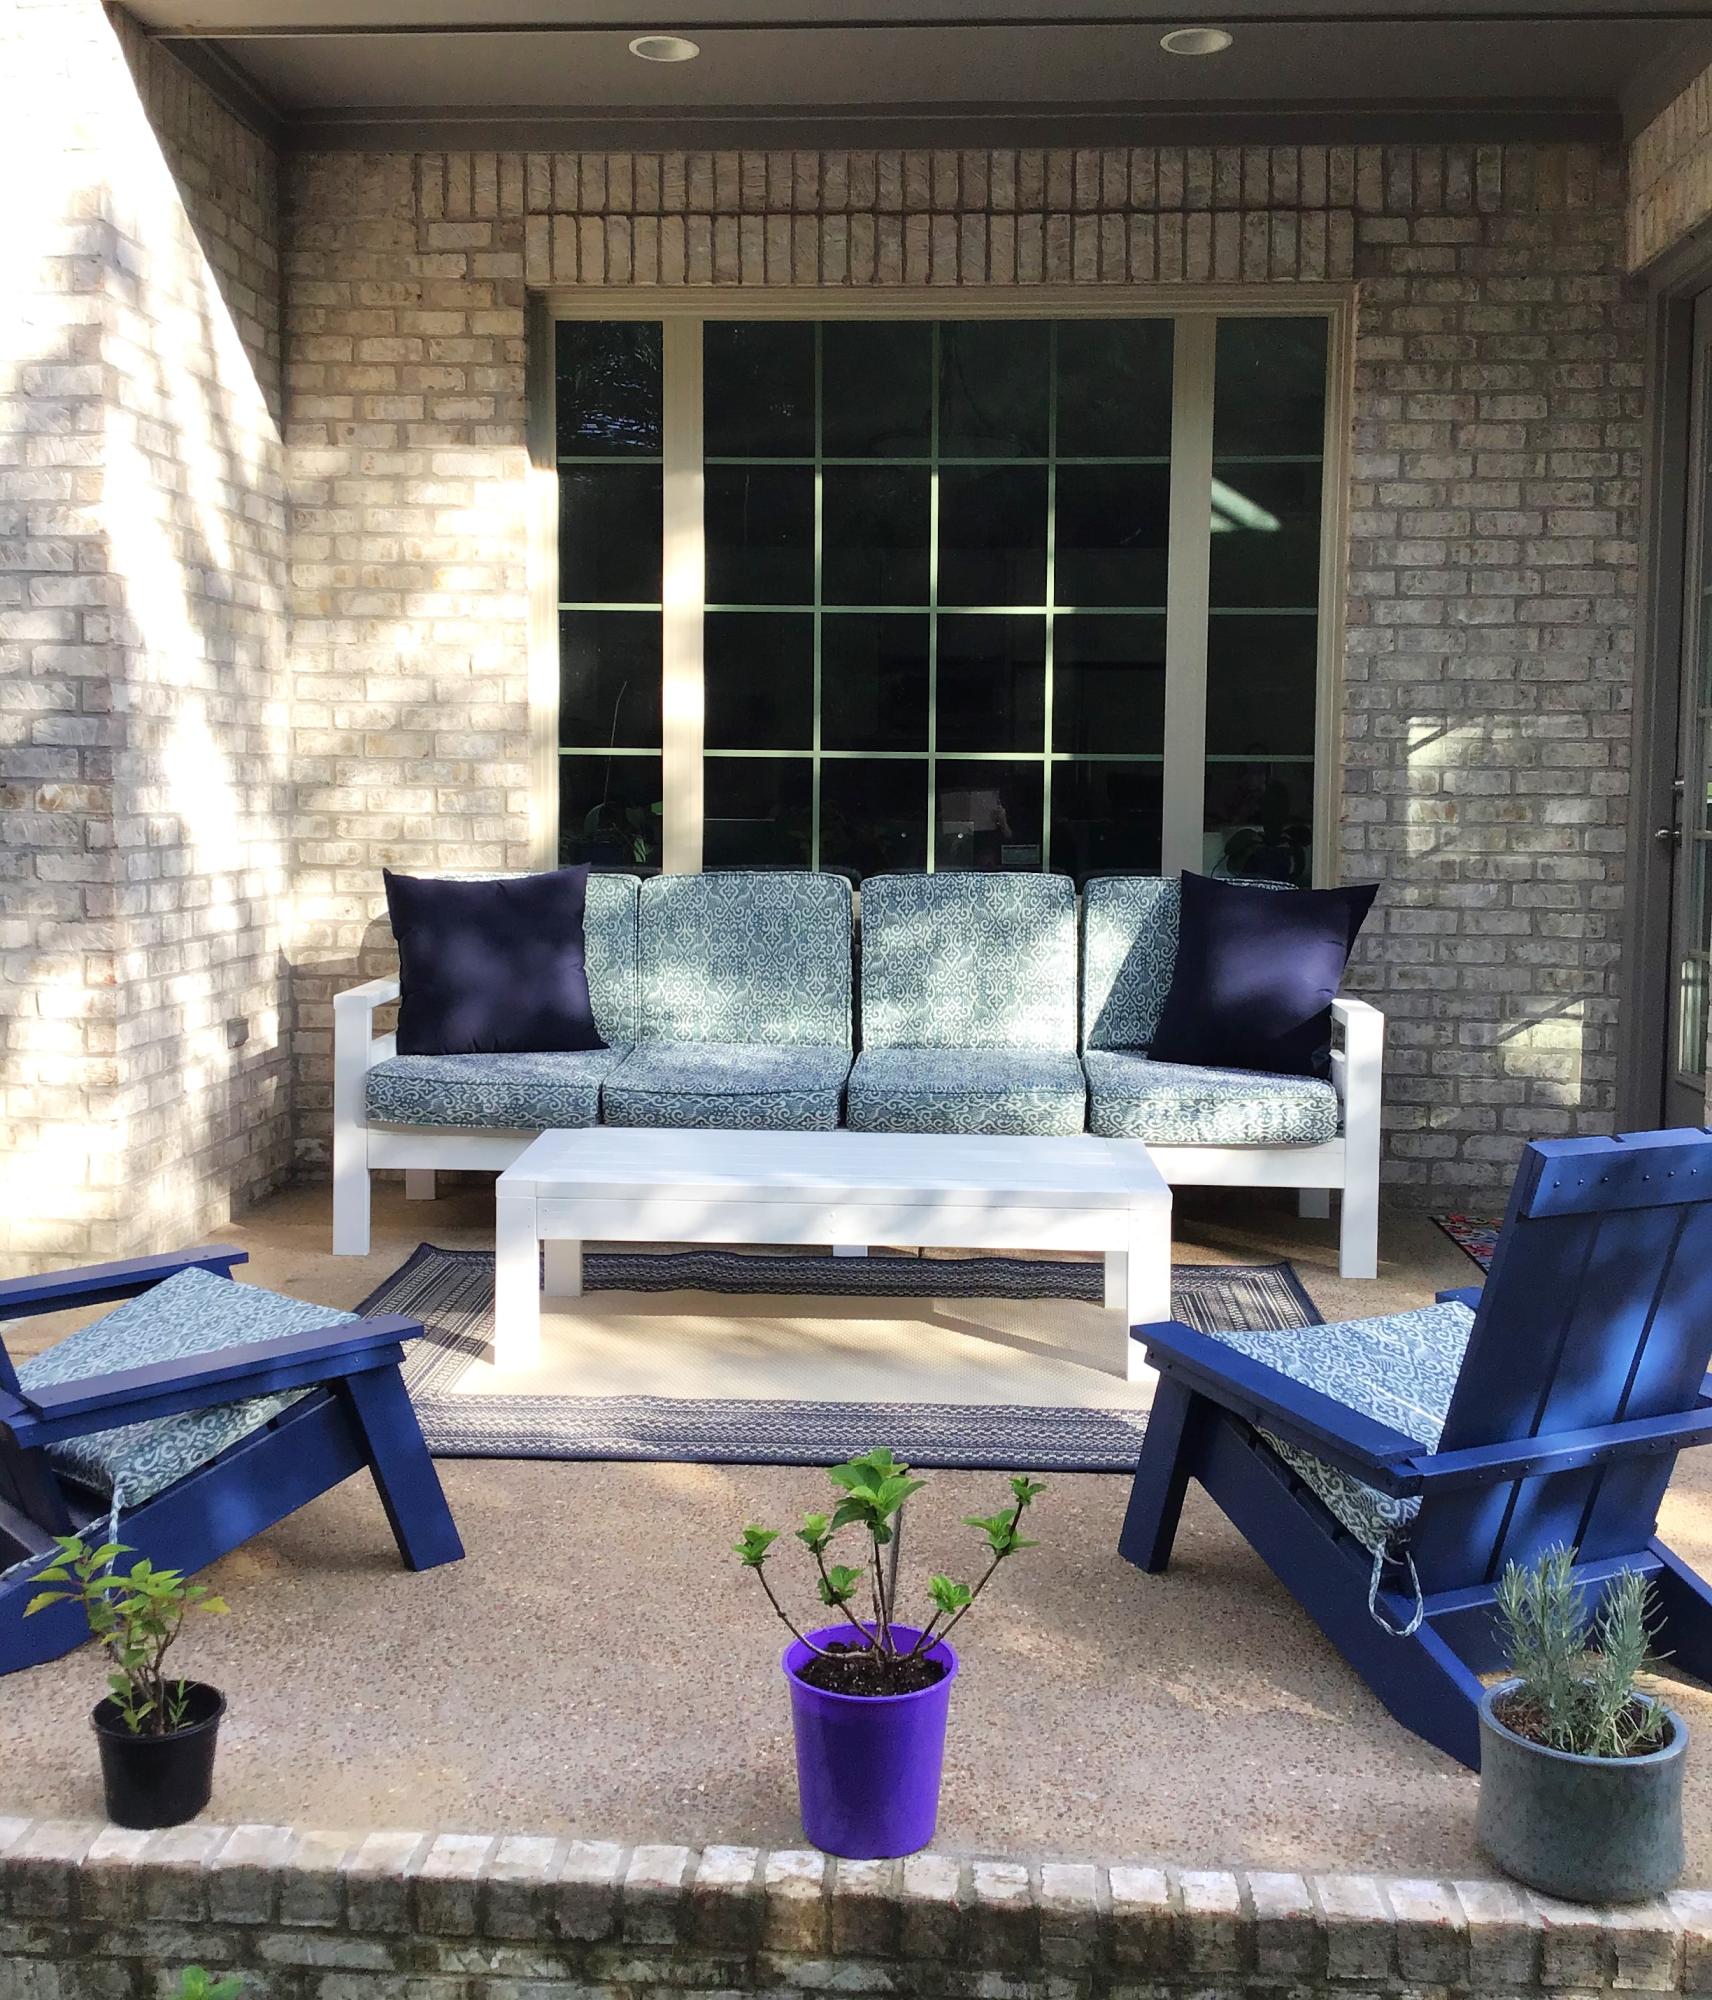
I decided to build my patio furniture and built a couch, with cushions, coffee table, 2 Adirondack adult chairs and one child’s Adirondack chair. It was so much fun to plan and build all of the furniture and so enjoy going out there on cool days! Thanks to Ana White for all of the plans! This is my 20th Ana White project! On to my next project! Plans were outdoor modern sofa, modern Adirondack chair, kids Adirondack chair, 2x4 outdoor coffee table.

JoAnne

Seasonal And Holiday

Cube Storage Shelf

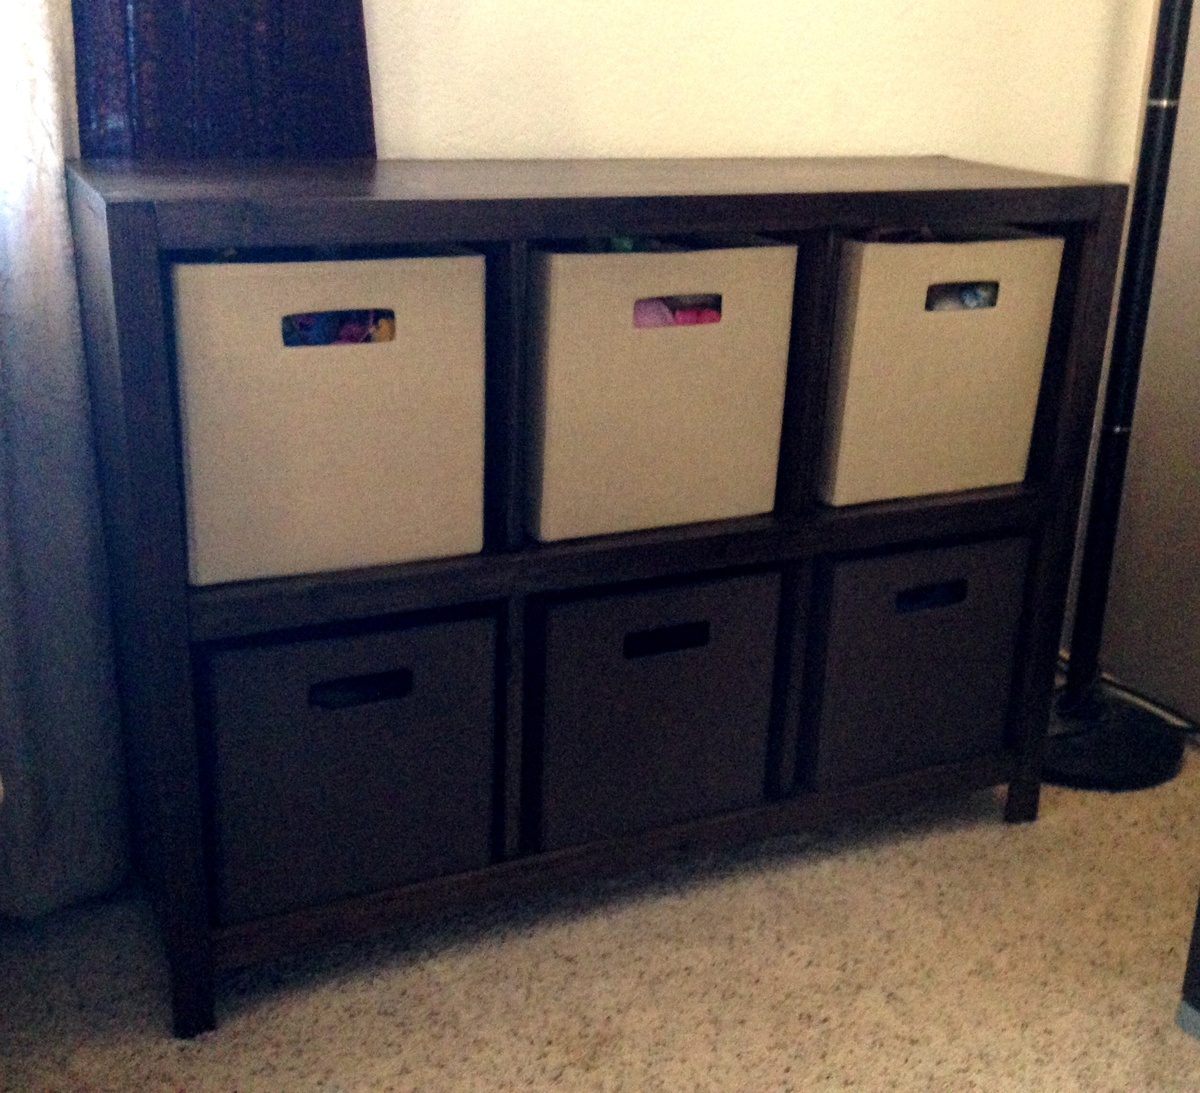
This is another piece for my living room to go along with the console table I've already finished. My hope is to replace all of the furniture in the living room with matching pieces to finally have a house that doesn't look like it was decorated through the Salvation Army.

This one has the specific purpose of a toy box for our two year old. Now she has a place to store her toys that she keeps in the living room instead of just piling them up in that corner. It's based on the 6 cube bookshelf design and finished with three coats of Varathane's Kona poly blend over regular pine.

Built from Plan(s)
Estimated Cost
$50
Estimated Time Investment
Day Project (6-9 Hours)
Finish Used
Varathane's Kona polyblend
Recommended Skill Level
Starter Project

Comments

Tall Rustic X Bookshelves

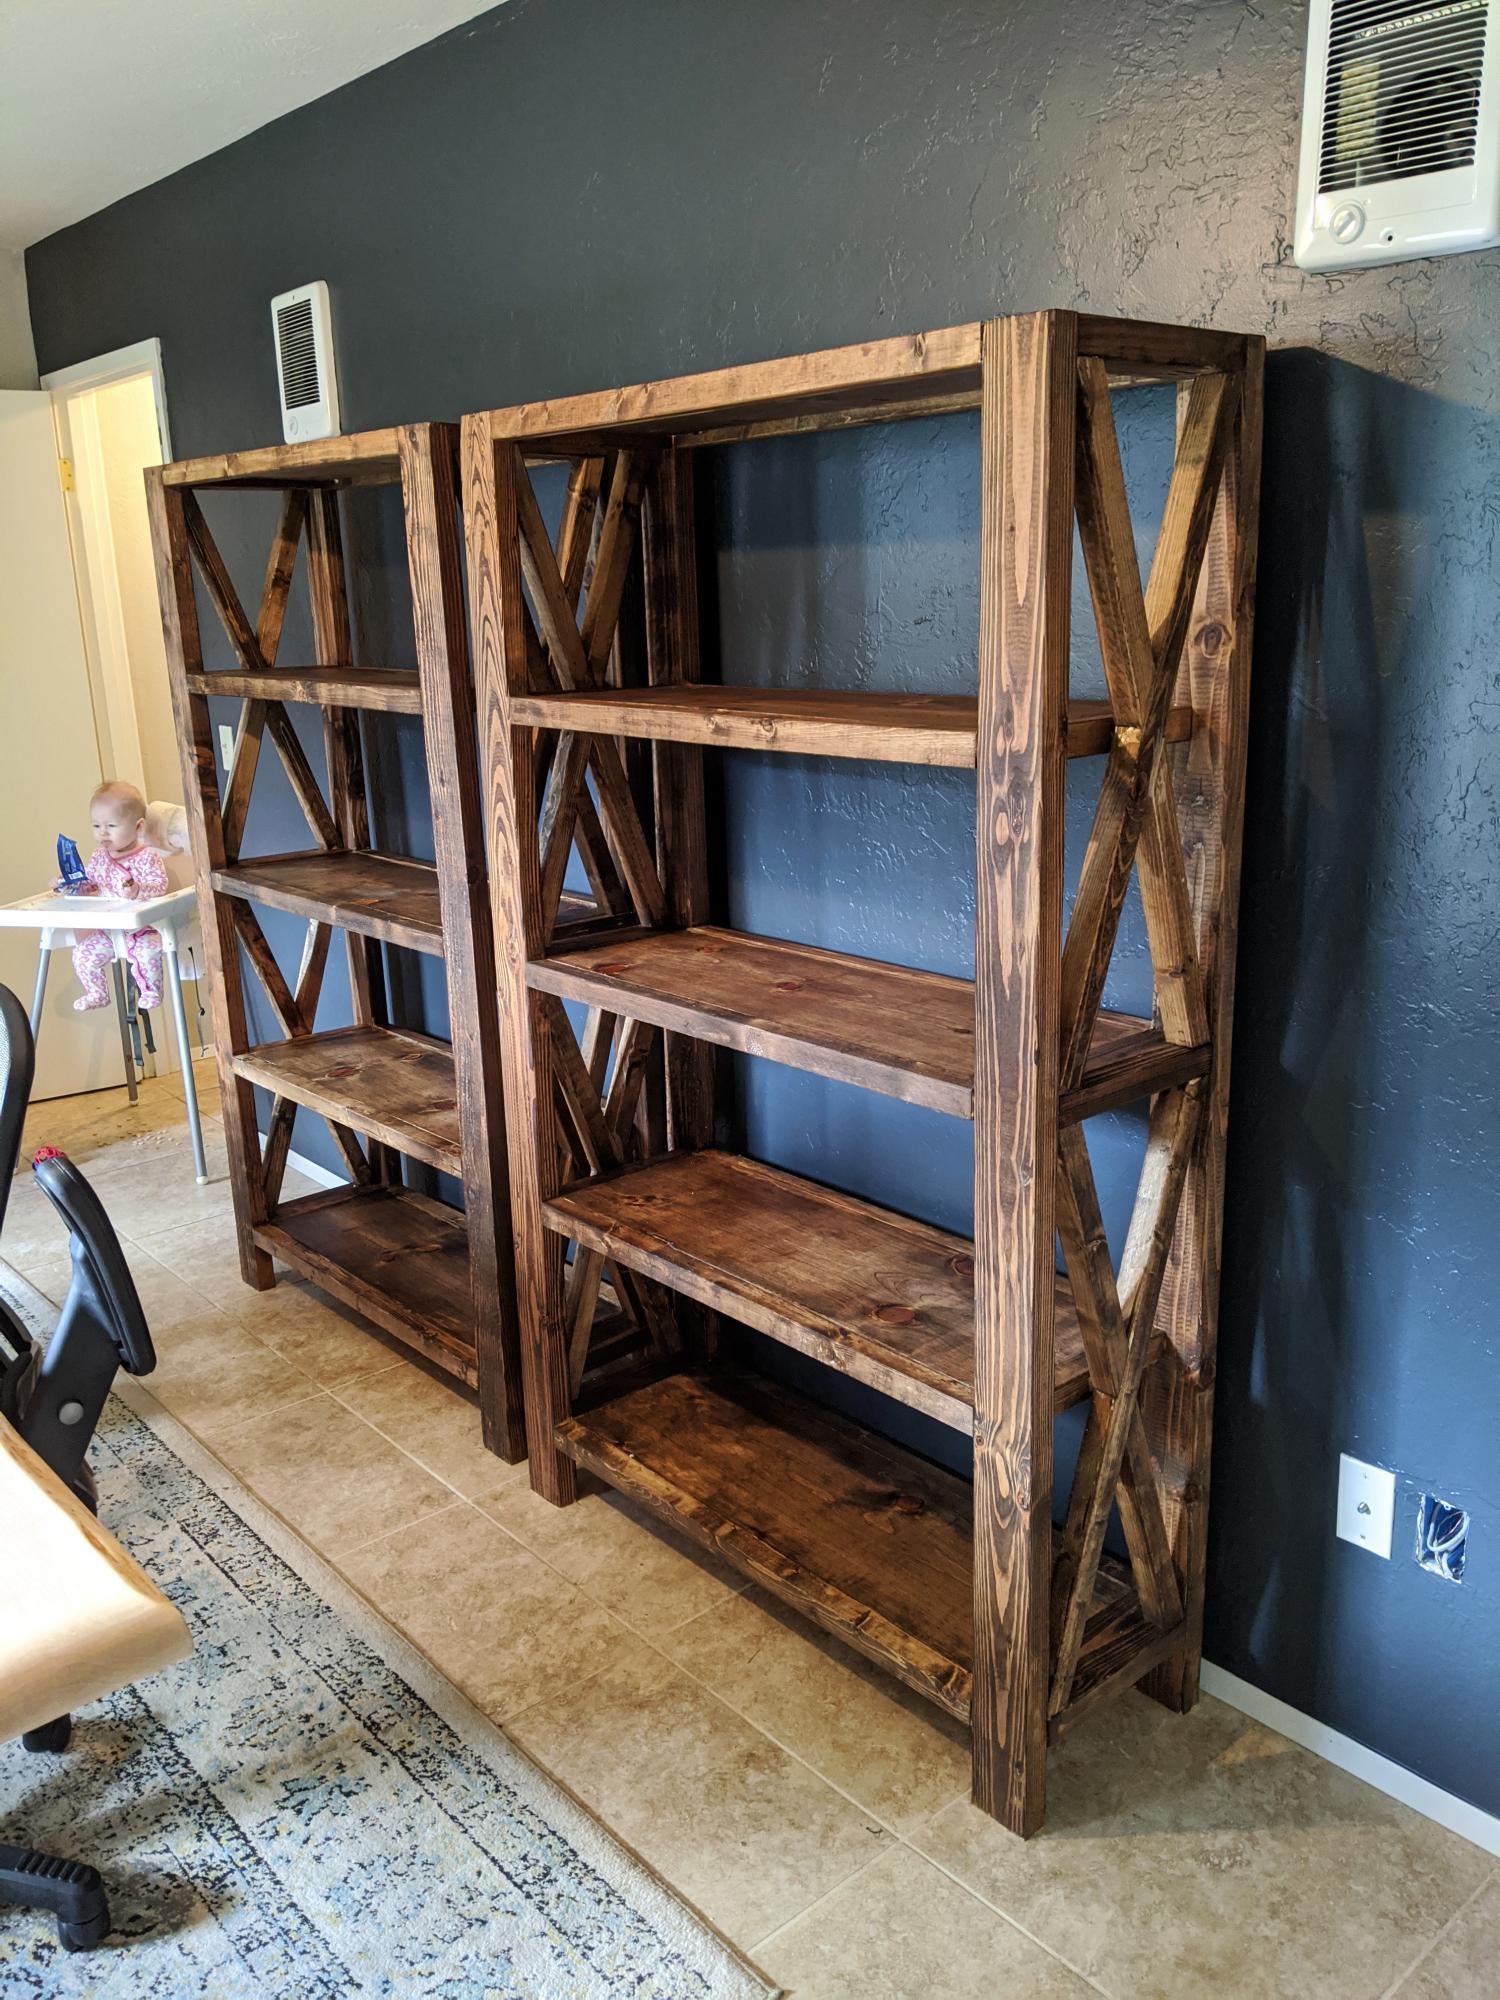
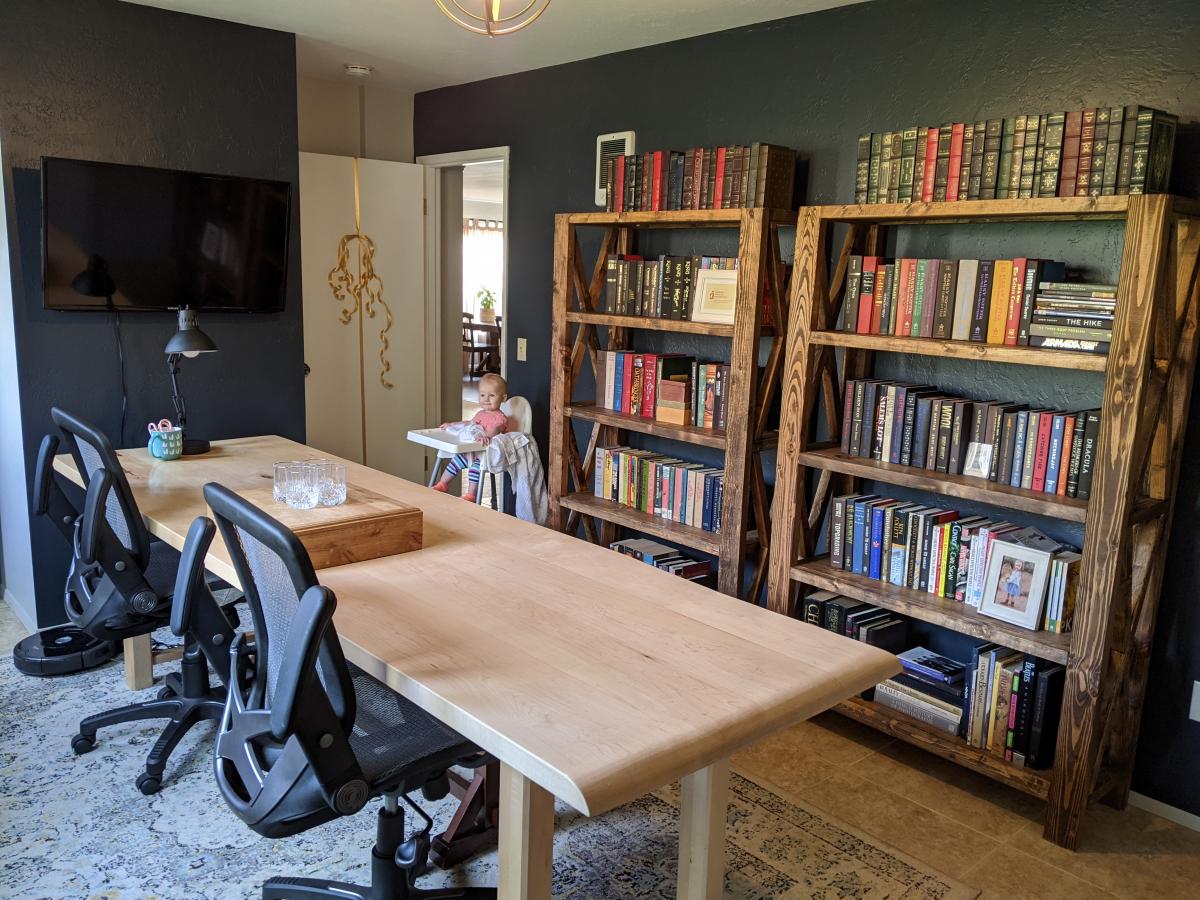
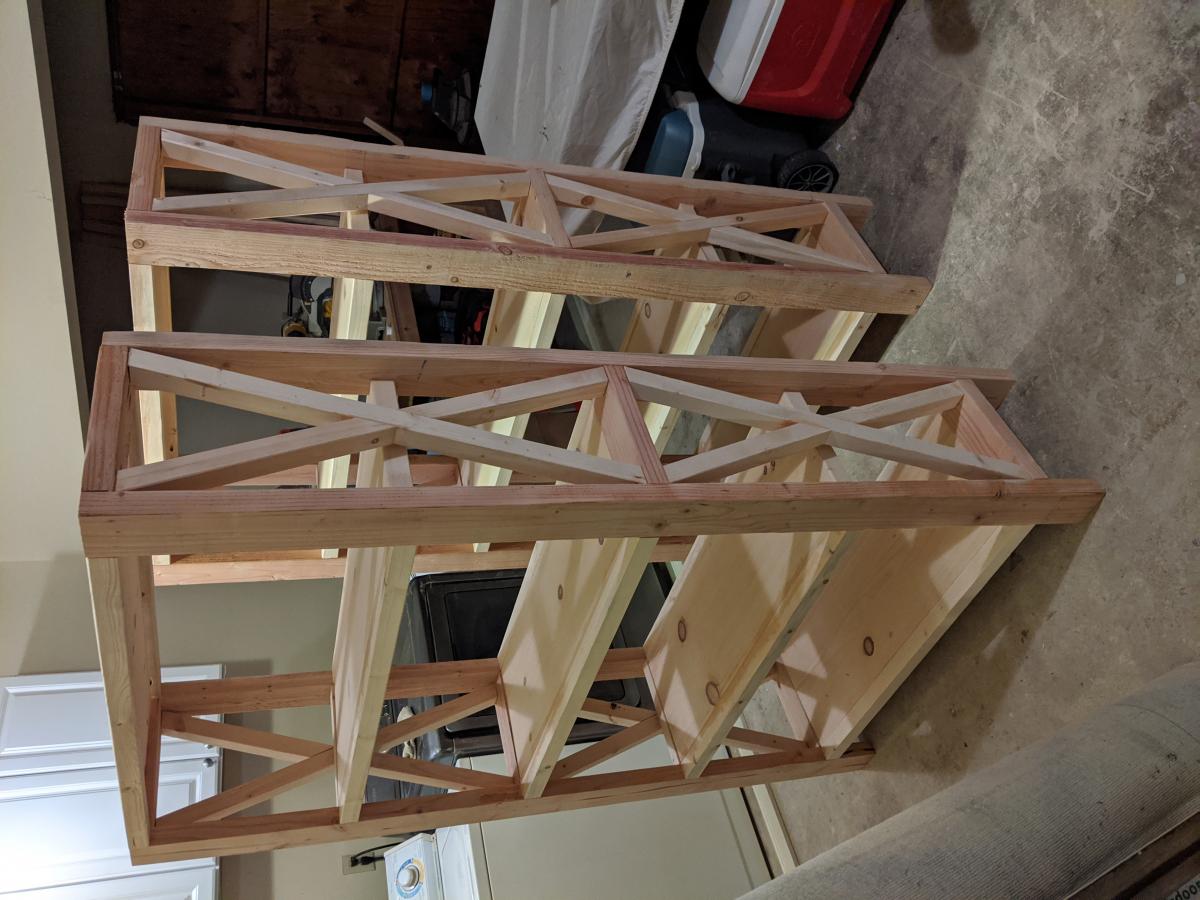
I followed the Rustic X Tall Bookshelf plan to make a set of bookshelves for my husband for Christmas! It was my second ever woodworking project. The plan was really easy to follow and so fun to make! I ended up using an additional shelf piece on the very top for a more modern spin on it. I also bought a pocket hole jig to use on this project. I'm happy with how it turned out!

Built from Plan(s)
Estimated Cost
$75 per shelf
Estimated Time Investment
Weekend Project (10-20 Hours)
Finish Used
MinWax English Chesnut Wood Finish and Paste Wax
Recommended Skill Level
Intermediate

crab+fish make a work bench

see the full post at:
http://crabandfish.blogspot.com/2012/06/fish-made-work-bench.html

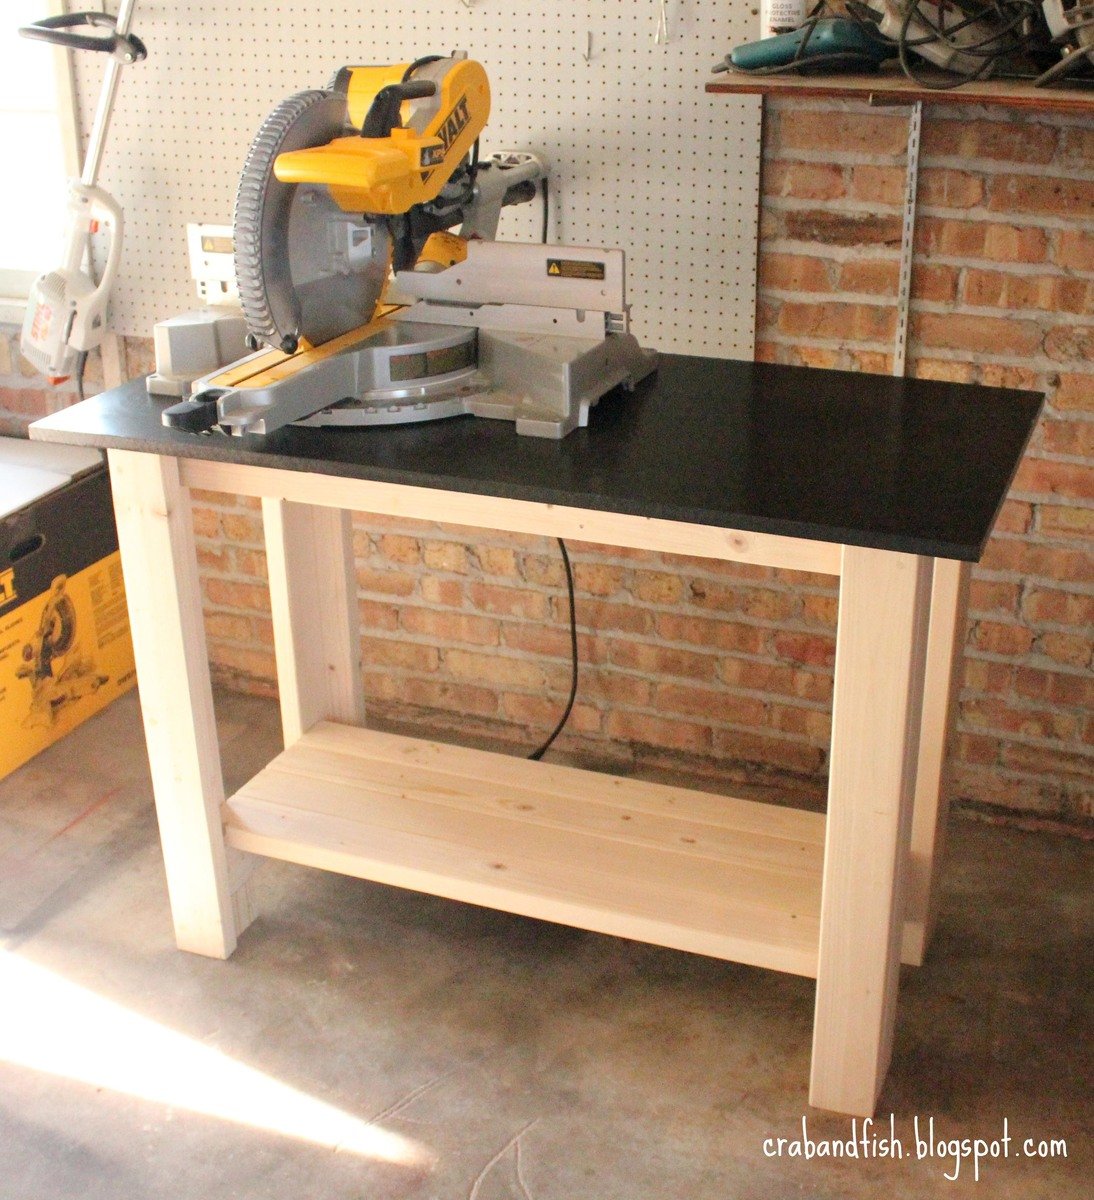
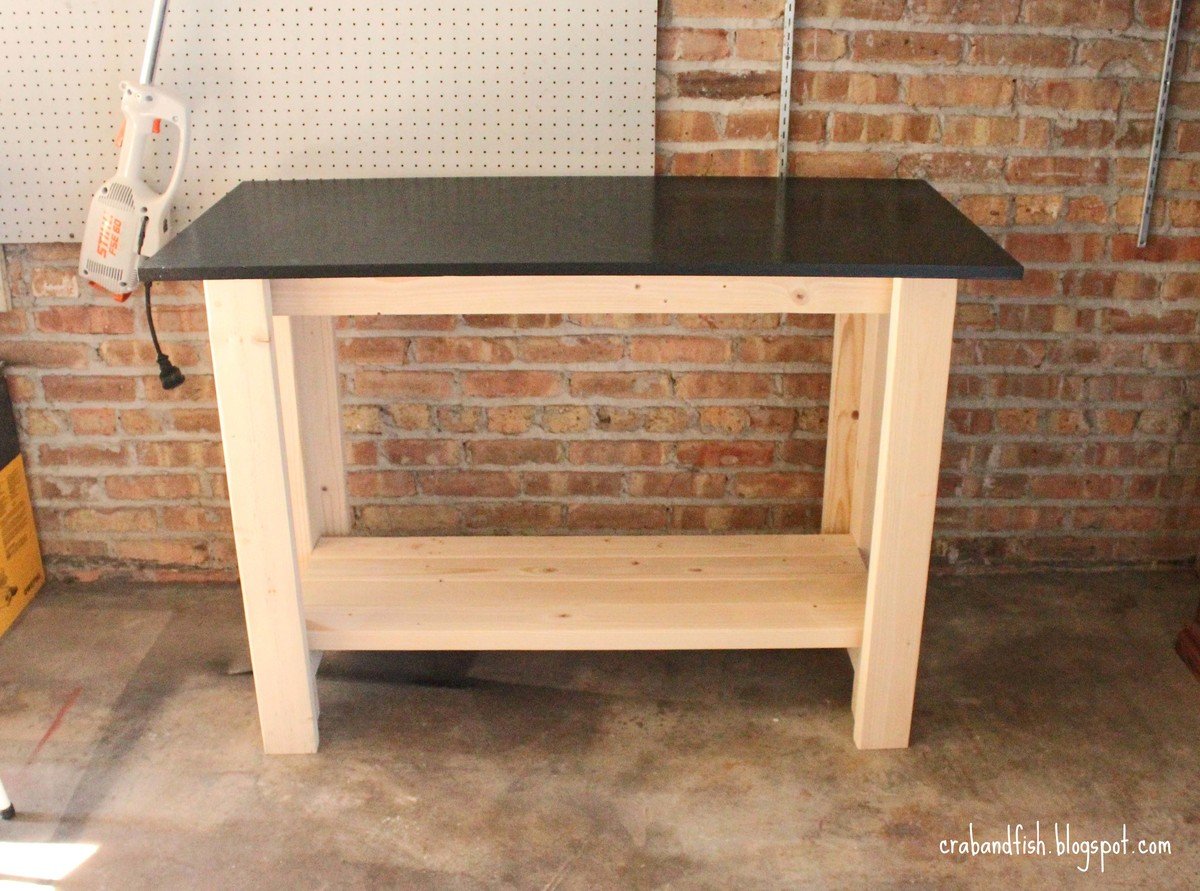
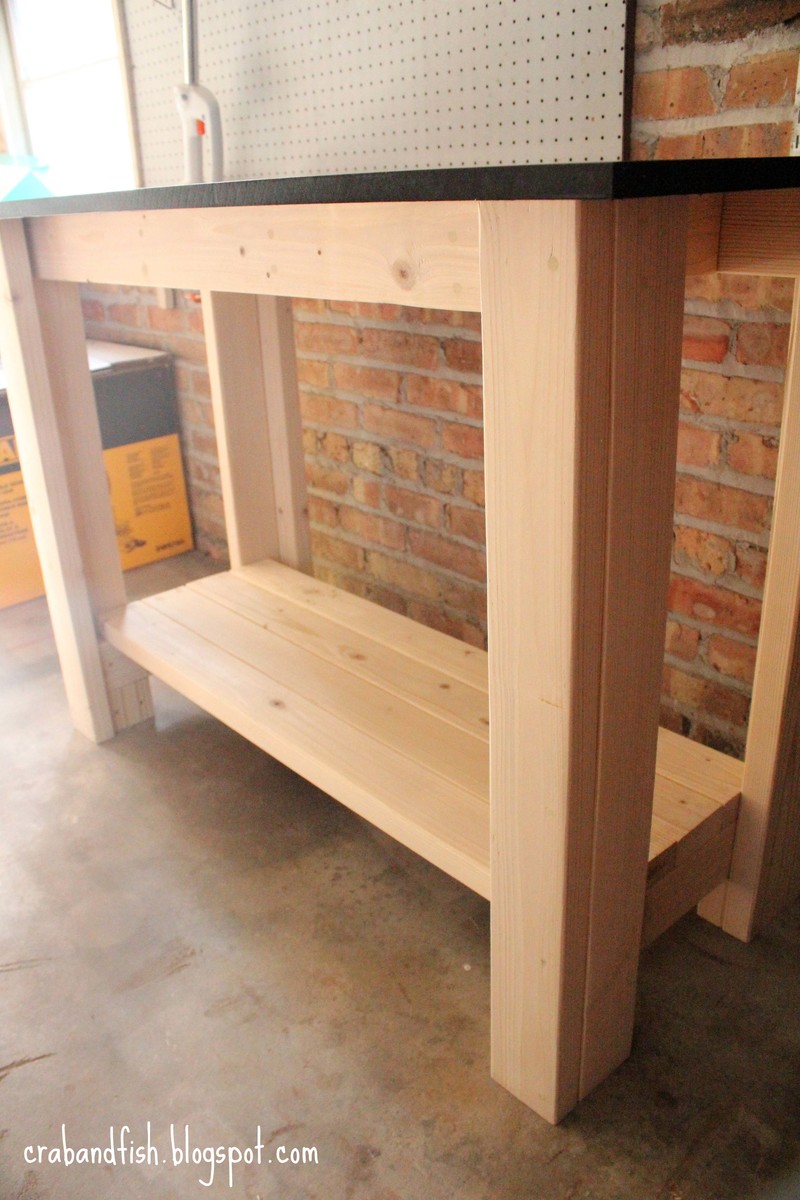
we bought our first home two months ago and have been doing a lot of small improvement projects. we decided to build your sturdy work bench in order to have a dedicated space for cobbling new projects together.

Built from Plan(s)
Estimated Cost
$45
Estimated Time Investment
Afternoon Project (3-6 Hours)
Finish Used
glossy black paint for counter, bare wood legs
Recommended Skill Level
Beginner

Comments

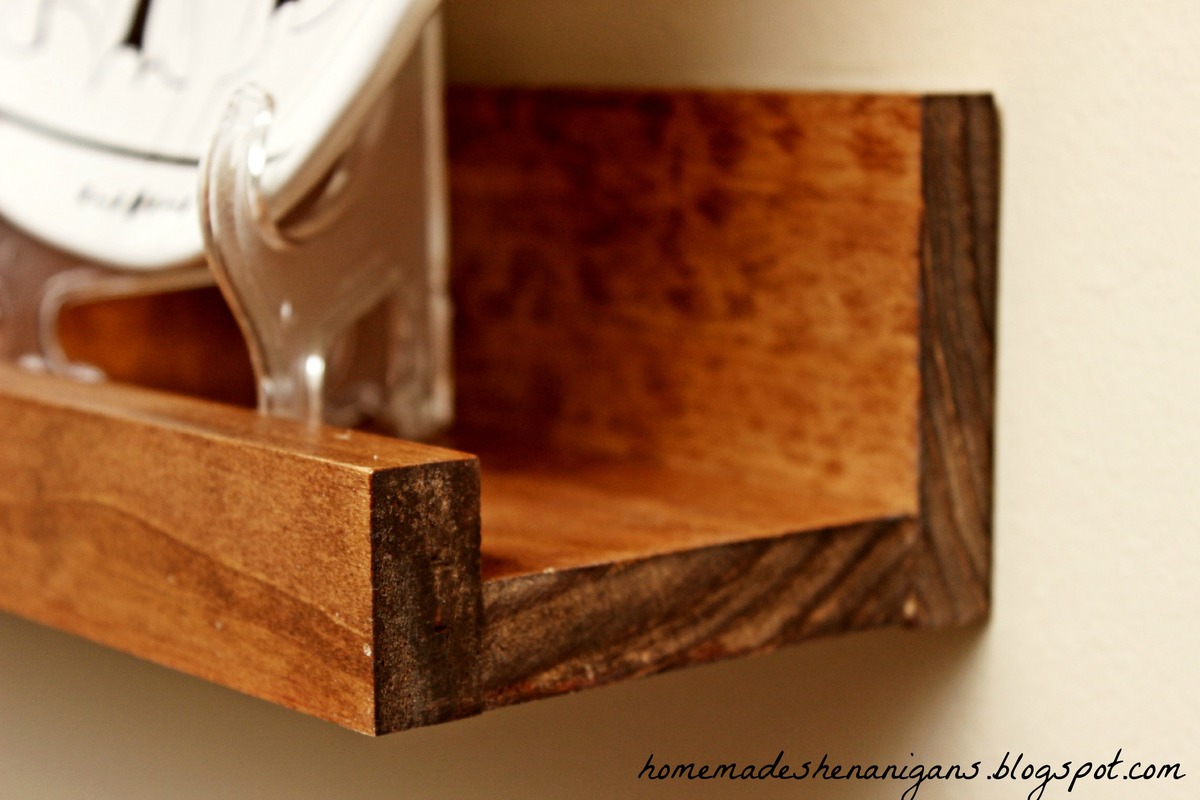
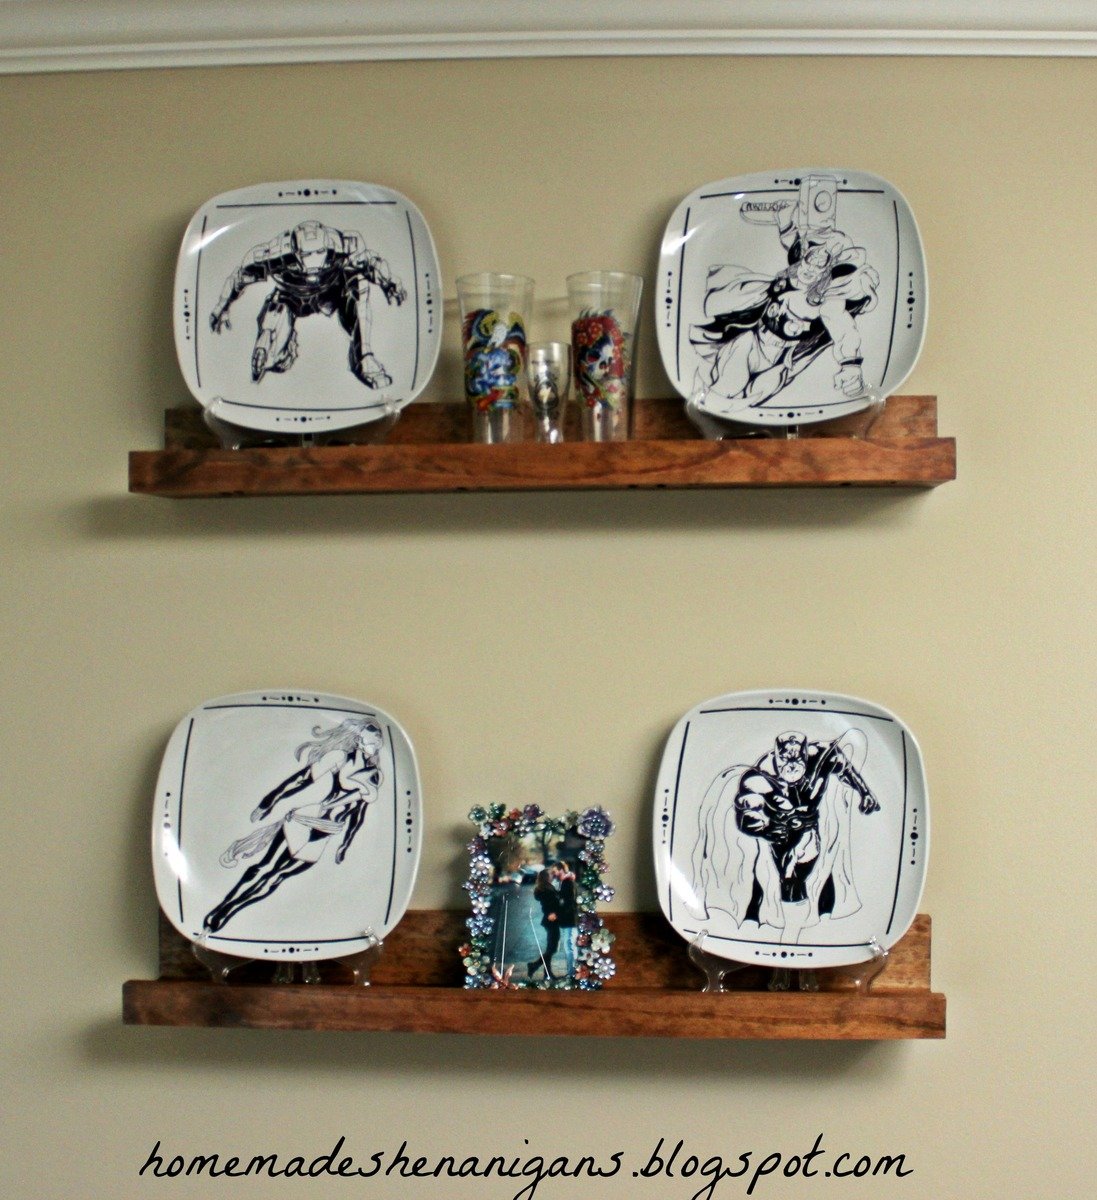
Dining Room Shelves

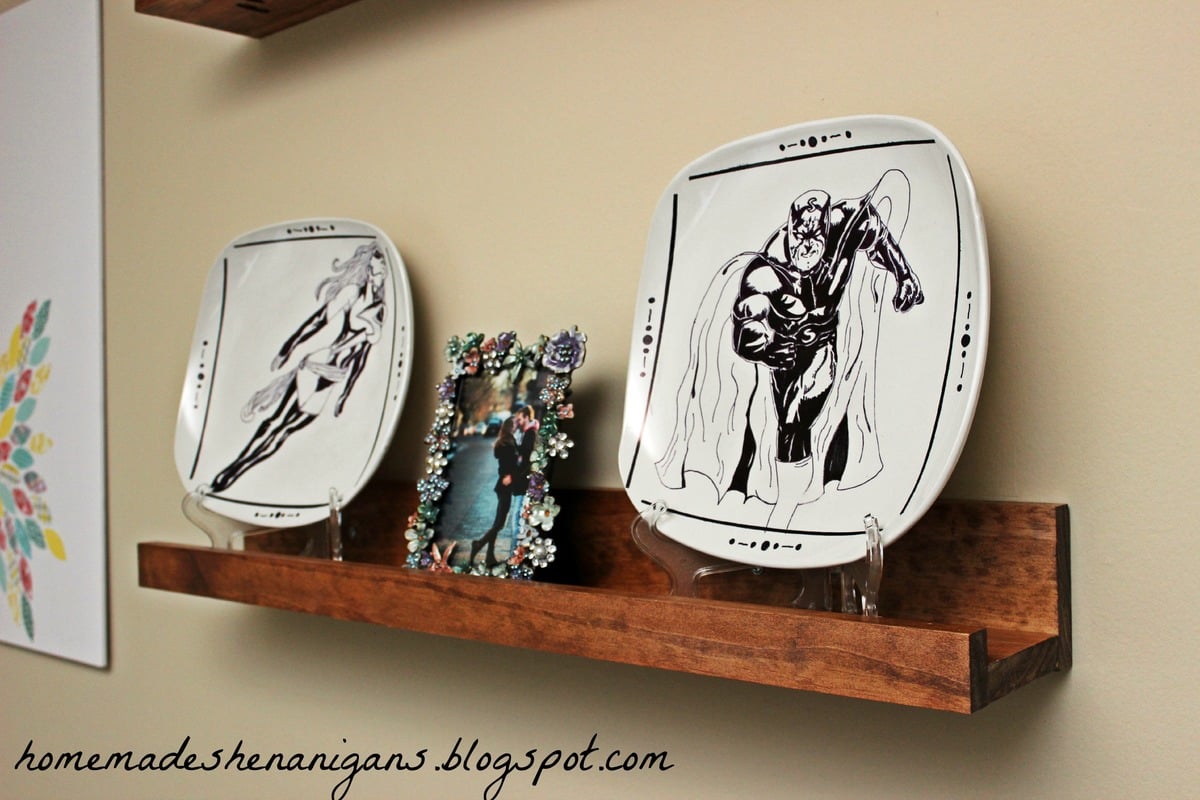
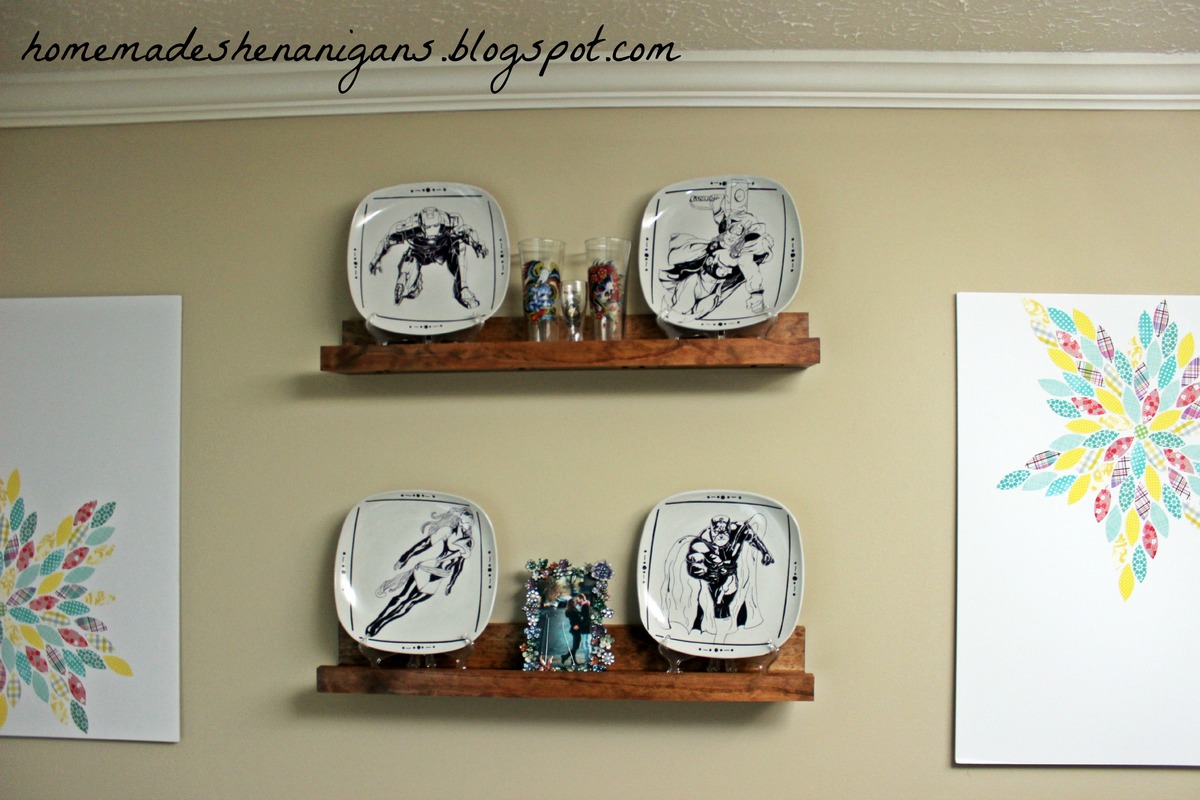
My shelves are about 2.5 ft long. I wanted a display area in my dining room to show off some plates I had made for my boyfriend a while back.

Built from Plan(s)
Estimated Cost
$30.00
Estimated Time Investment
Afternoon Project (3-6 Hours)
Finish Used
One coat Rustoleum Dark Walnut stain with one coat Miniwax Gunstock stain on top. Two coats of polyurethane.
Recommended Skill Level
Starter Project

Rustic Modern 2x6 Platform Bed

I recently moved to Boulder, CO and finally have a garage where I can actually work on projects. Since I moved here with practivally nothing, I decided I should build my own bed. This is probably one of the most ambitious wood working projects I've attempted. I also tend to be slightly anal, so I've probably spent way more time on this project than most people have or will.

After reading the plans and other Brag Posts, I felt I was ready to start. I ordered the Kreg Screws, and a few other supplies I would need for the Project on Amazon and was off to the races. Several trips to Home depot to get various pieces of wood, (since I wasn't going to fit it all in my Subaru in one go), I finally had most of the lumber for the bed frame. Let me tell you, it's not easy getting straight pieces of lumber (as mentioned before, I'm a little anal). I decided to go with oversized lumber, since I would have more usable leftover pieces for other projects.

I spent several hours after work during the week, and several more on the weekend, sanding down all the lumber with 60 Grit, then applied the first coat of Stain, to raise the grain. I was out of town for the weekend, and let the stained wood sit in my garage while gone. When I got back, I noticed a lot of marks which I didn't notice before staining. Some of these were from the belt sander I used to knock down really rough parts of some of the lumber. But most of the marks were because I put too much pressure on my random orbital sander.

Lesson learnt: Sanding takes time, and patience! DO NOT press down hard on the sander, if you don't want marks on your wood. These marks will be significantly more prominant after staining.

I decided to sand everything again, 60 grit, then 100, then 150. I gotta say, the wood feels so much nicer to touch and I'm glad I decided to re-sand. I spent a few hours after work to get most of the head board pieces done, but noticed that the 2x4 had warped beyond repair... I'm going to get the upper and lower 2x6 pieces ready to assemble with my kreg jig this weekend, and then decide if I want to add a 2x4 in the middle like the plans call for.

I decided to go with just 2x6s for the headboard, I used the Kreg Jig to put it all together, I also attached 4 supports made of some scrap Plywood I got from my neighbor for the headboard.

I stained it all with a Staining pad twice, then applied 3 coats of Poly with a brush. I didn't sand between coats since I was applying very thing coats and I had already sanded everything down with 150 grit. 
Estimated Cost
$100-150
Estimated Time Investment
Week Long Project (20 Hours or More)
Finish Used
Stain: Minwax Oil based Dark Walnut - 2 coats with a staining pad
Varnish: Satin Water based Indor Polyurethane by Varathane - 3 coats with a brush.

http://www.homedepot.com/p/Minwax-1-qt-Wood-Finish-Dark-Walnut-Oil-Based-Interior-Stain-70012/100376185

http://www.homedepot.com/p/Varathane-1-qt-Clear-Satin-Water-Based-Indoor-Polyurethane-200241H/100169146
Recommended Skill Level
Intermediate

Comments

username.

Fri, 03/02/2018 - 19:17

Sick job dude! What stain is that? I like the color of it and might use it for mine. Did you notice a stain odor at all after applying the stain and covering it with the poly? 

Farmhouse Bed

Submitted by ValBryant on Wed, 08/15/2012 - 14:24

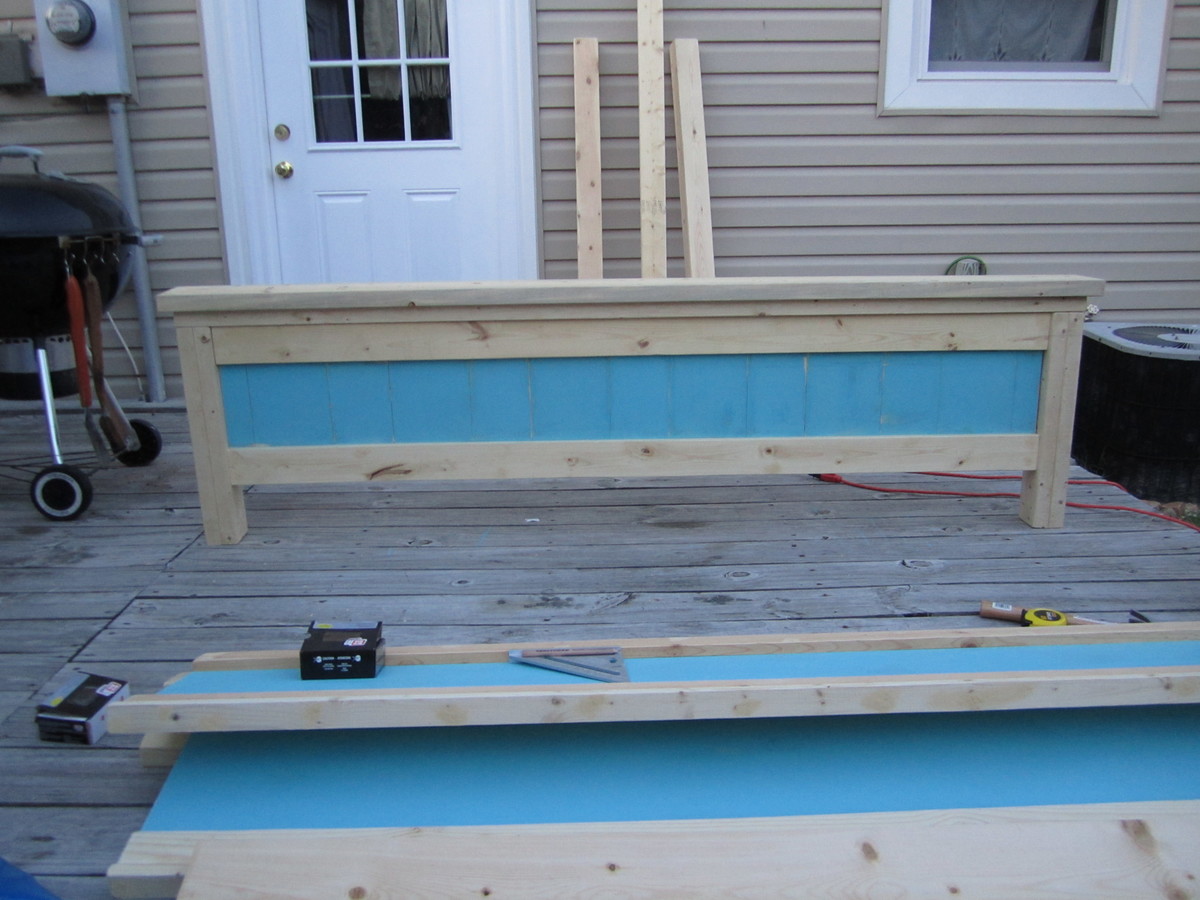
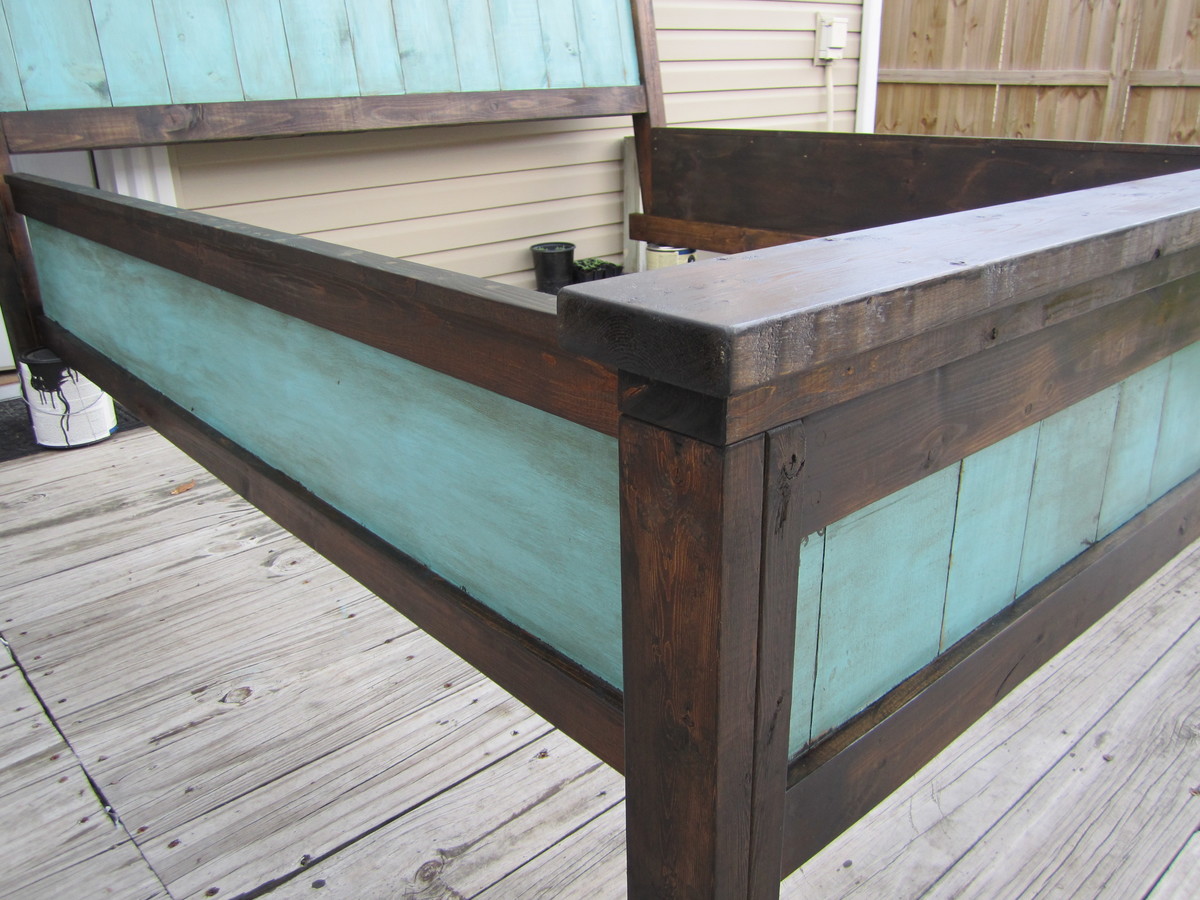
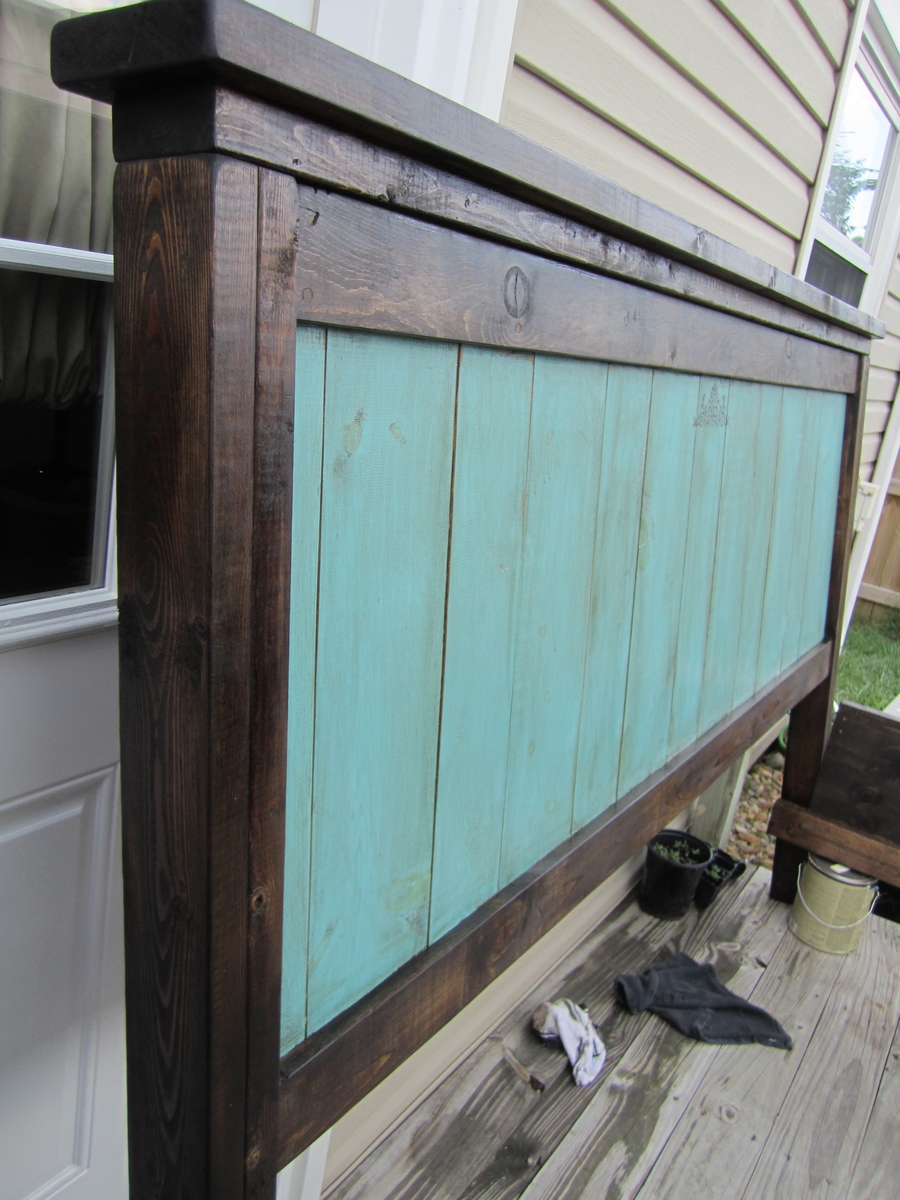
This was our first build alone. I've helped my dad build various things through out the years but was this first time me and my husband built something together.
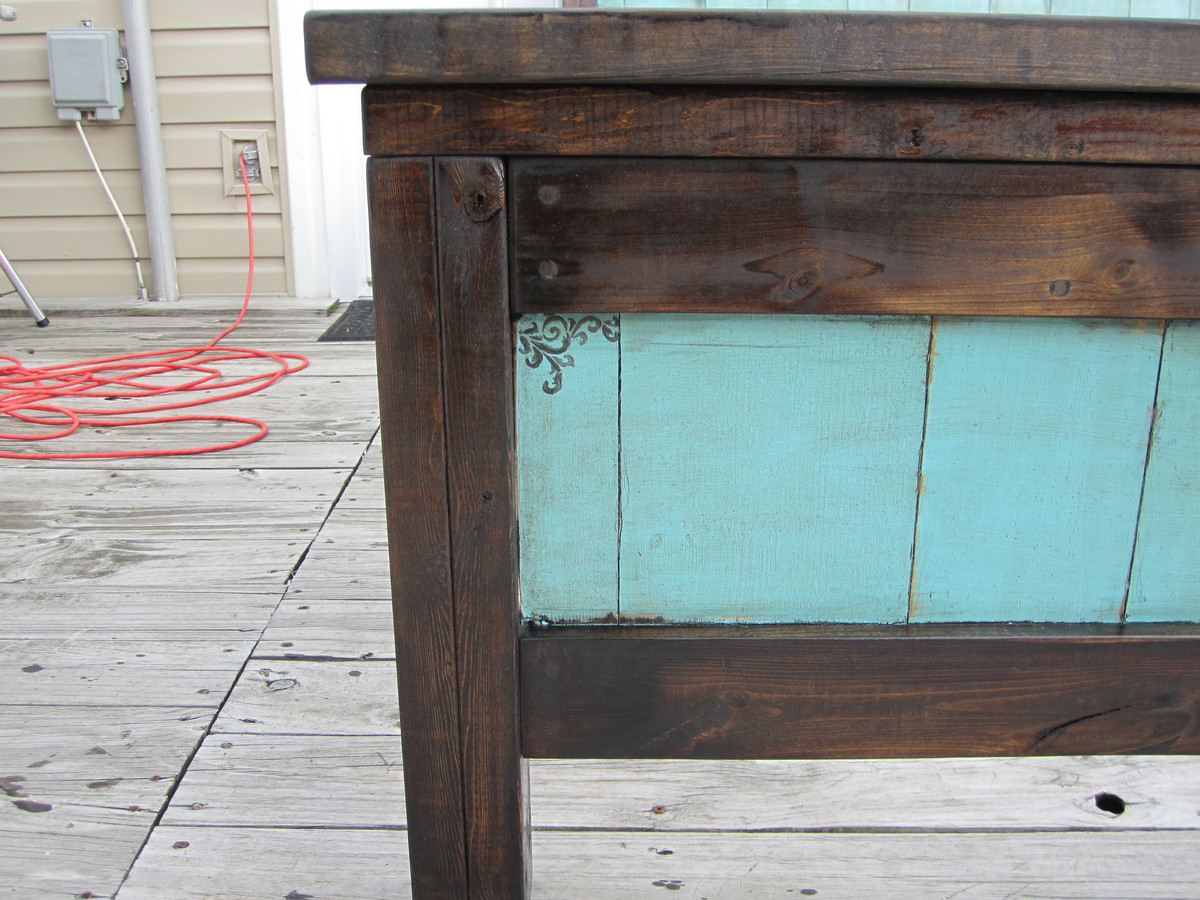
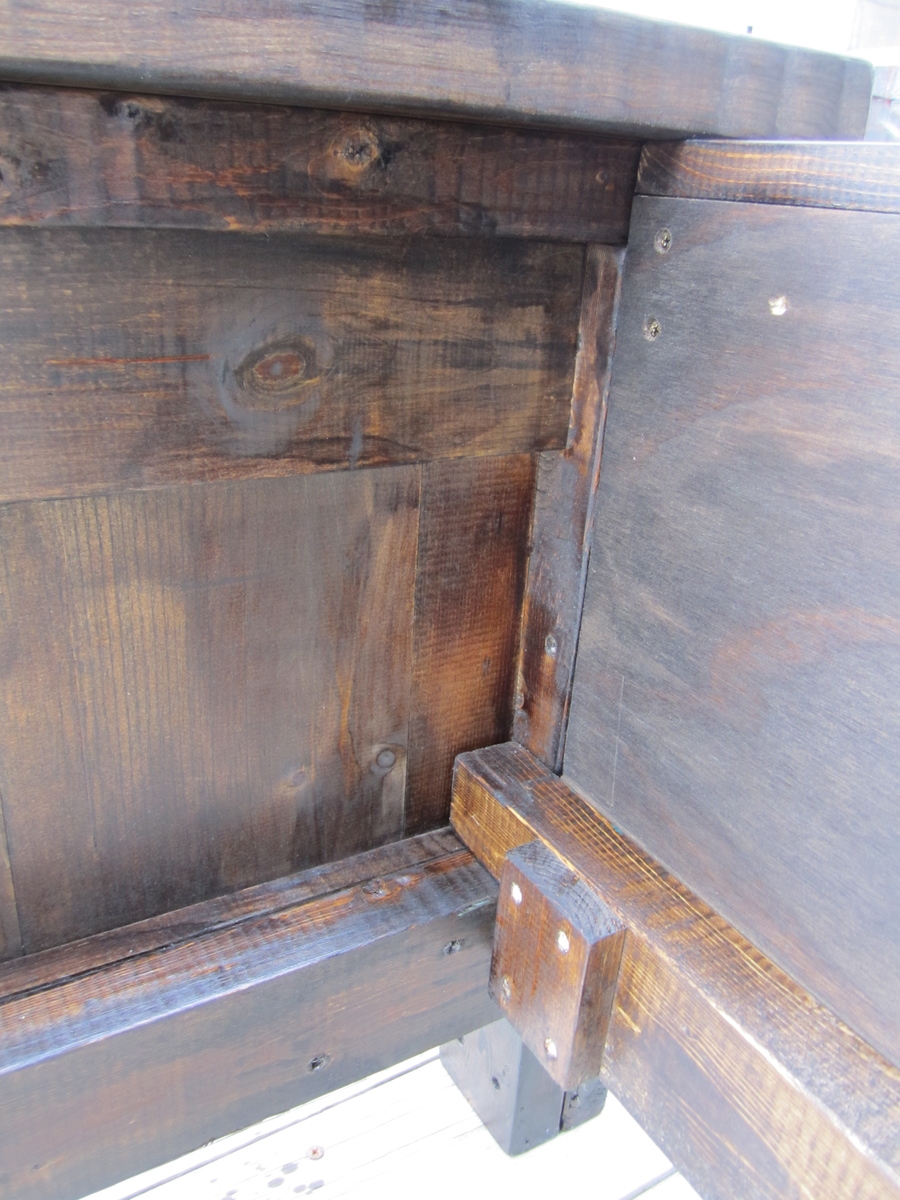
The bed plans were great and it went together easily. We couldn't find untreated 4x4 posts so we went with two 2x4 sandwiched together, and then we bolted the headboard posts to the footboards. The side rails are plywood trimmed with 1x3's and topped with a 1x2. We also used L brackets to attach the side rails to the head and footboards and addition to bolts on the headboard and 2" screws on the footboard. We needed to assemble the bed in a way we could easily disassemble because we are moving soon.

Estimated Cost
160+
Estimated Time Investment
Weekend Project (10-20 Hours)
Finish Used
I followed one of Ana's featured finishes, distressed turquoise with chocolate glaze.
I used dark walnut stain and Valspar's semi-gloss Sea Exposure, and Valspar's Glaze.
Recommended Skill Level
Beginner

Comments

Floor to Ceiling Canned Food Storage

Submitted by Anonymous (not verified) on Fri, 04/19/2024 - 13:56

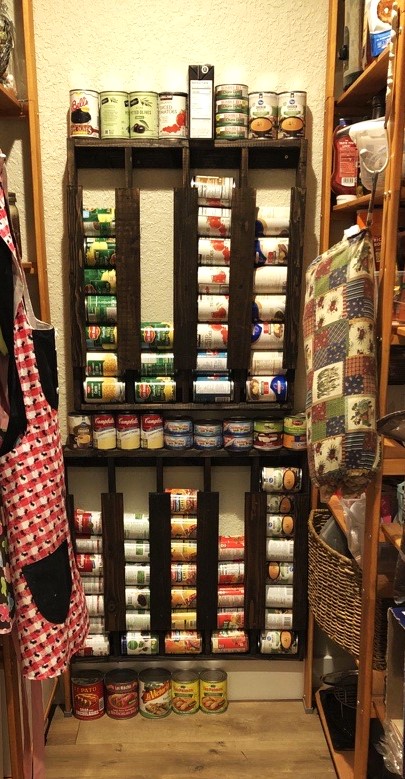
Loved these plans. Top unit was built exactly to specs. Bottom unit was built to accommodate one column of cans. I have also built one for my sis-in-law and will be building one more for this pantry. Love this project!

Leah

Built from Plan(s)

Modern Outdoor Patio Chair

Submitted by Hemann85 on Tue, 07/07/2020 - 11:15

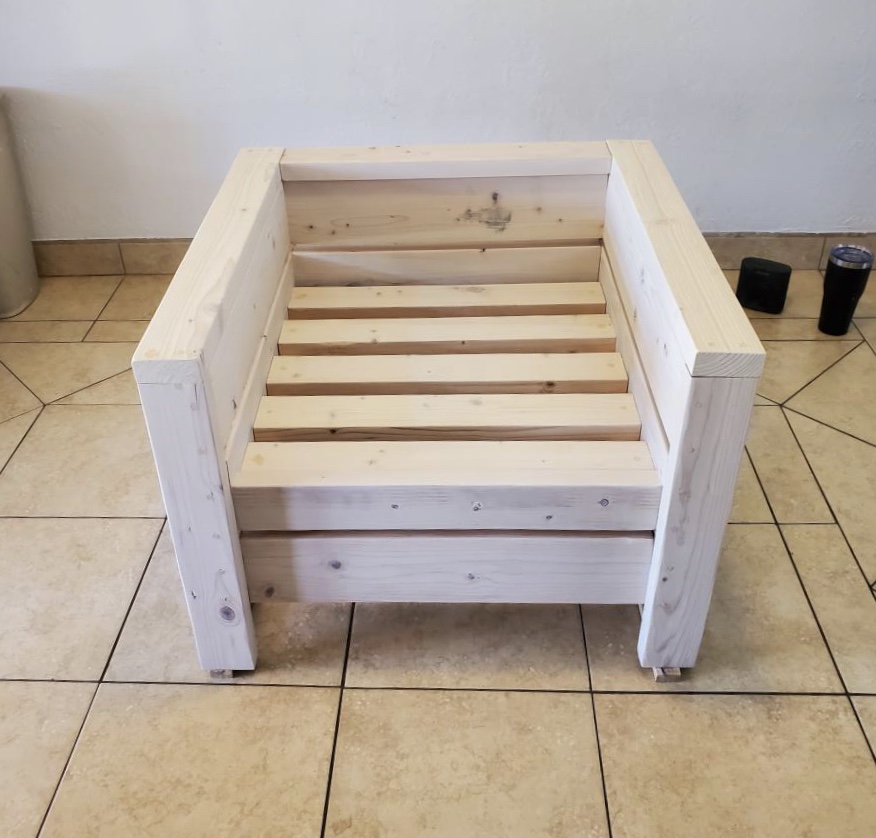
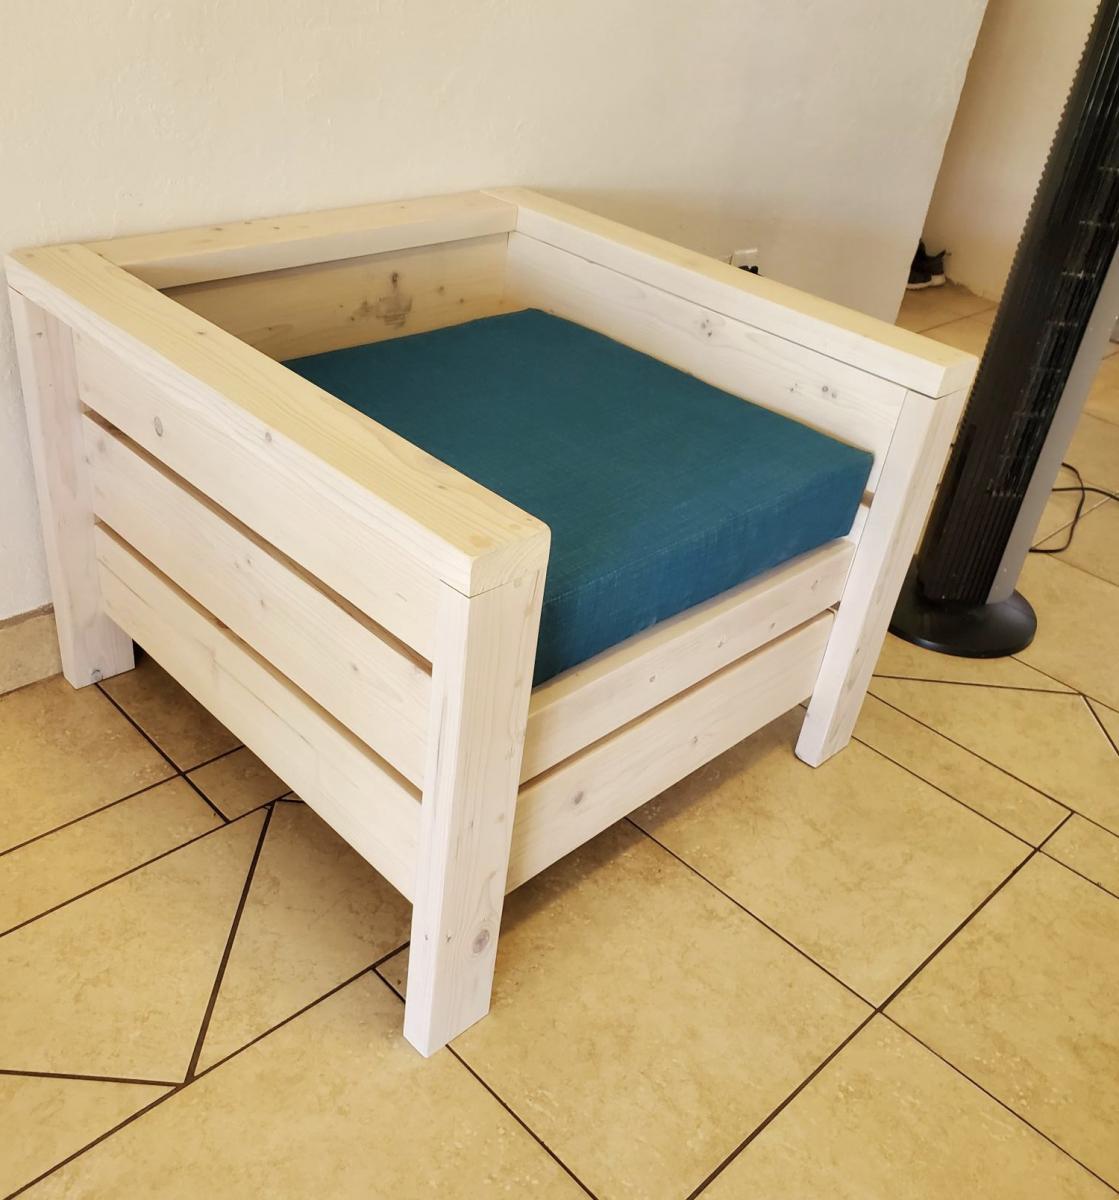
I just built this chair but I think I will be adding a back support for a larger cushion. The stain is a semi translucent white with a touch of grey.

Estimated Cost
$50
Estimated Time Investment
Afternoon Project (3-6 Hours)
Finish Used
Valspar semi-translucent
Recommended Skill Level
Beginner

Flat Wall Bookholders

Submitted by Veronica P on Mon, 07/07/2014 - 20:09

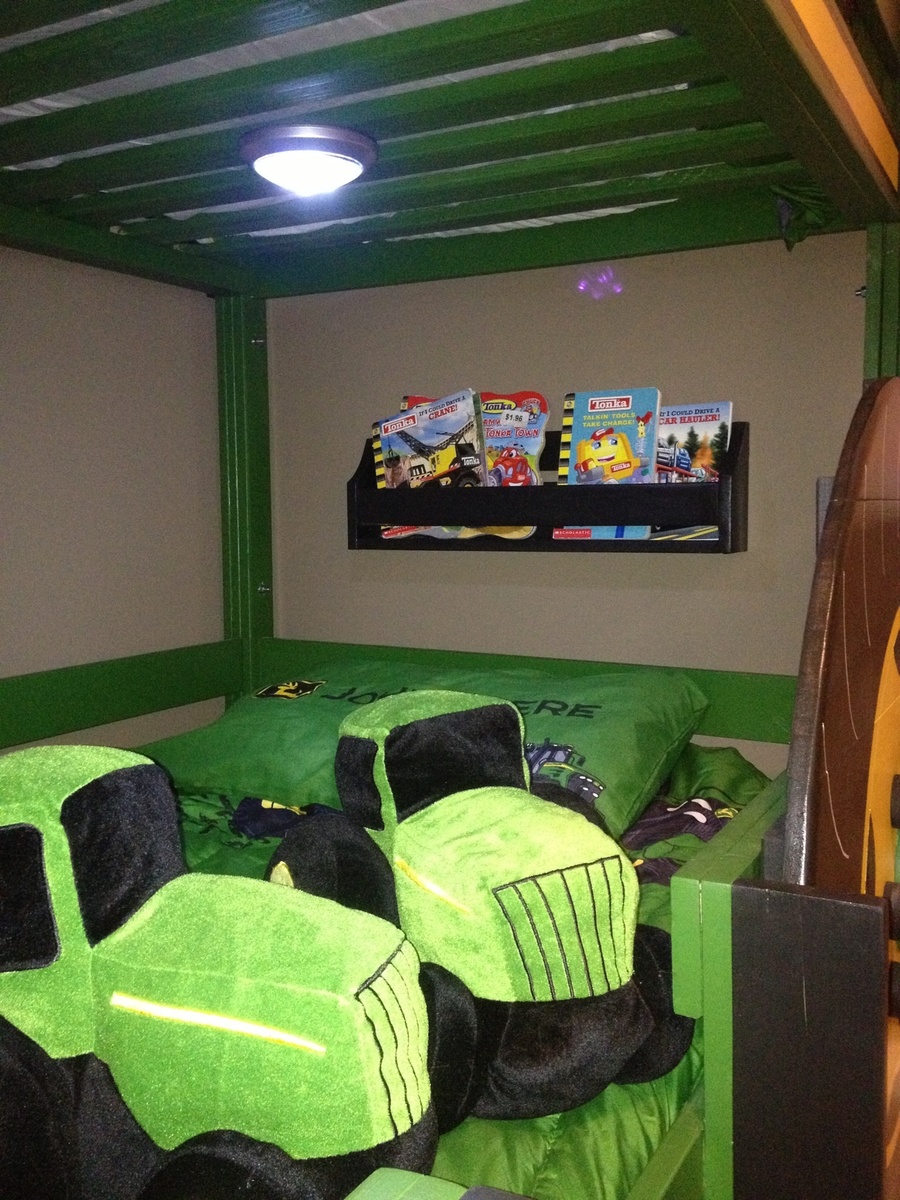
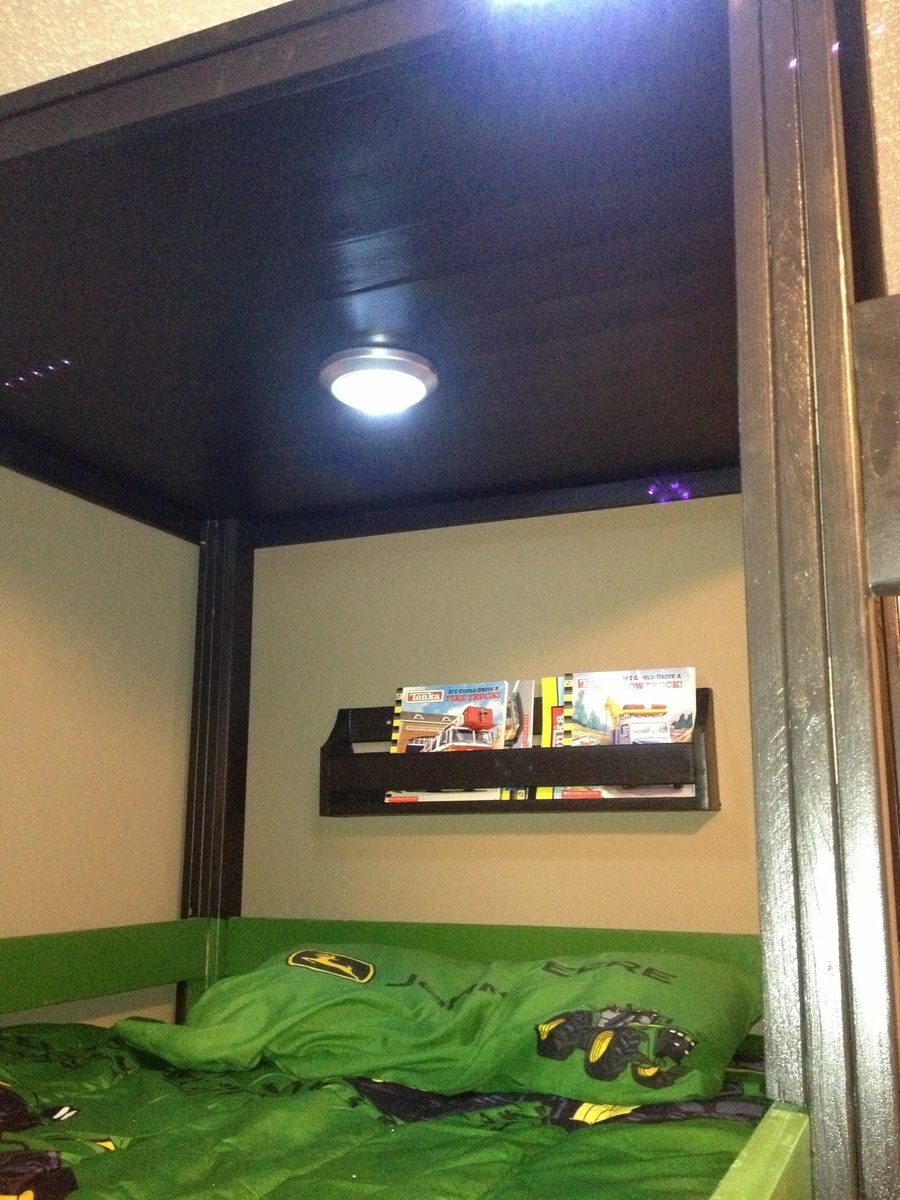
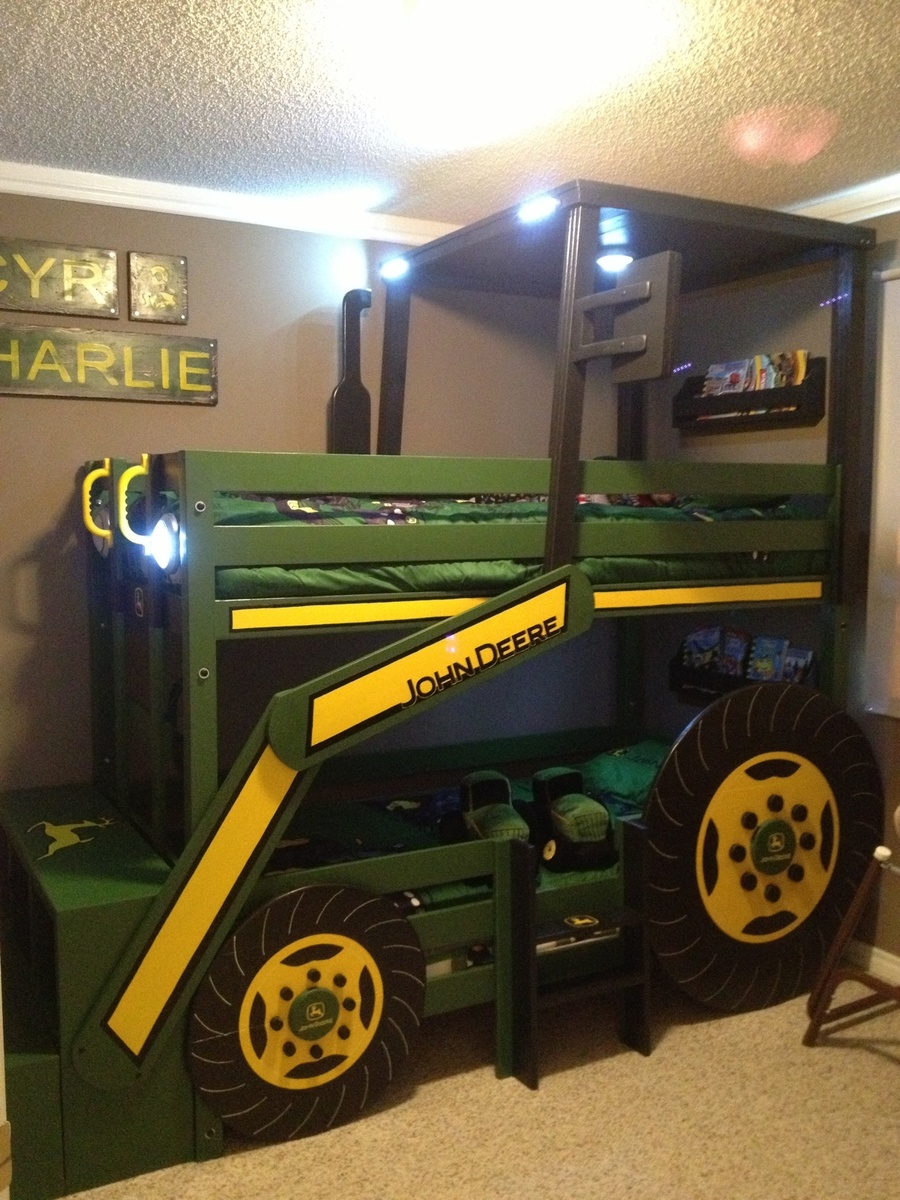
These flat wall bookholders are the perfect little shelves to add storage for books to my boys' new tractor bunk bed. What a great simple plan!

Estimated Cost
Unknown as I used scrap.
Estimated Time Investment
An Hour or Two (0-2 Hours)
Finish Used
Black paint and a couple coats of poly.
Recommended Skill Level
Starter Project

Modern wood dresser

Submitted by Anonymous (not verified) on Thu, 12/08/2016 - 08:07

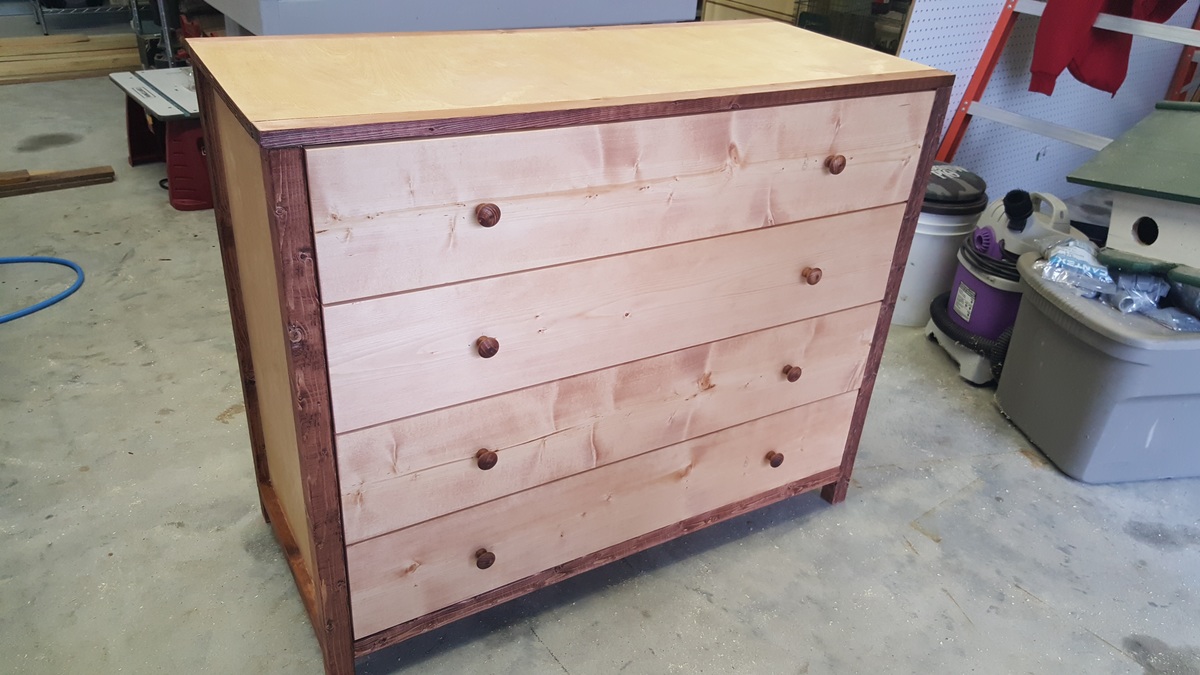
We didn't paint it, but I think it turned out well. We followed the plan almost exactly and it came out great!

Built from Plan(s)
Estimated Cost
150
Estimated Time Investment
Weekend Project (10-20 Hours)
Recommended Skill Level
Beginner

2x4 Essential Adirondack Chair

Submitted by mricks1960 on Mon, 11/16/2020 - 11:31

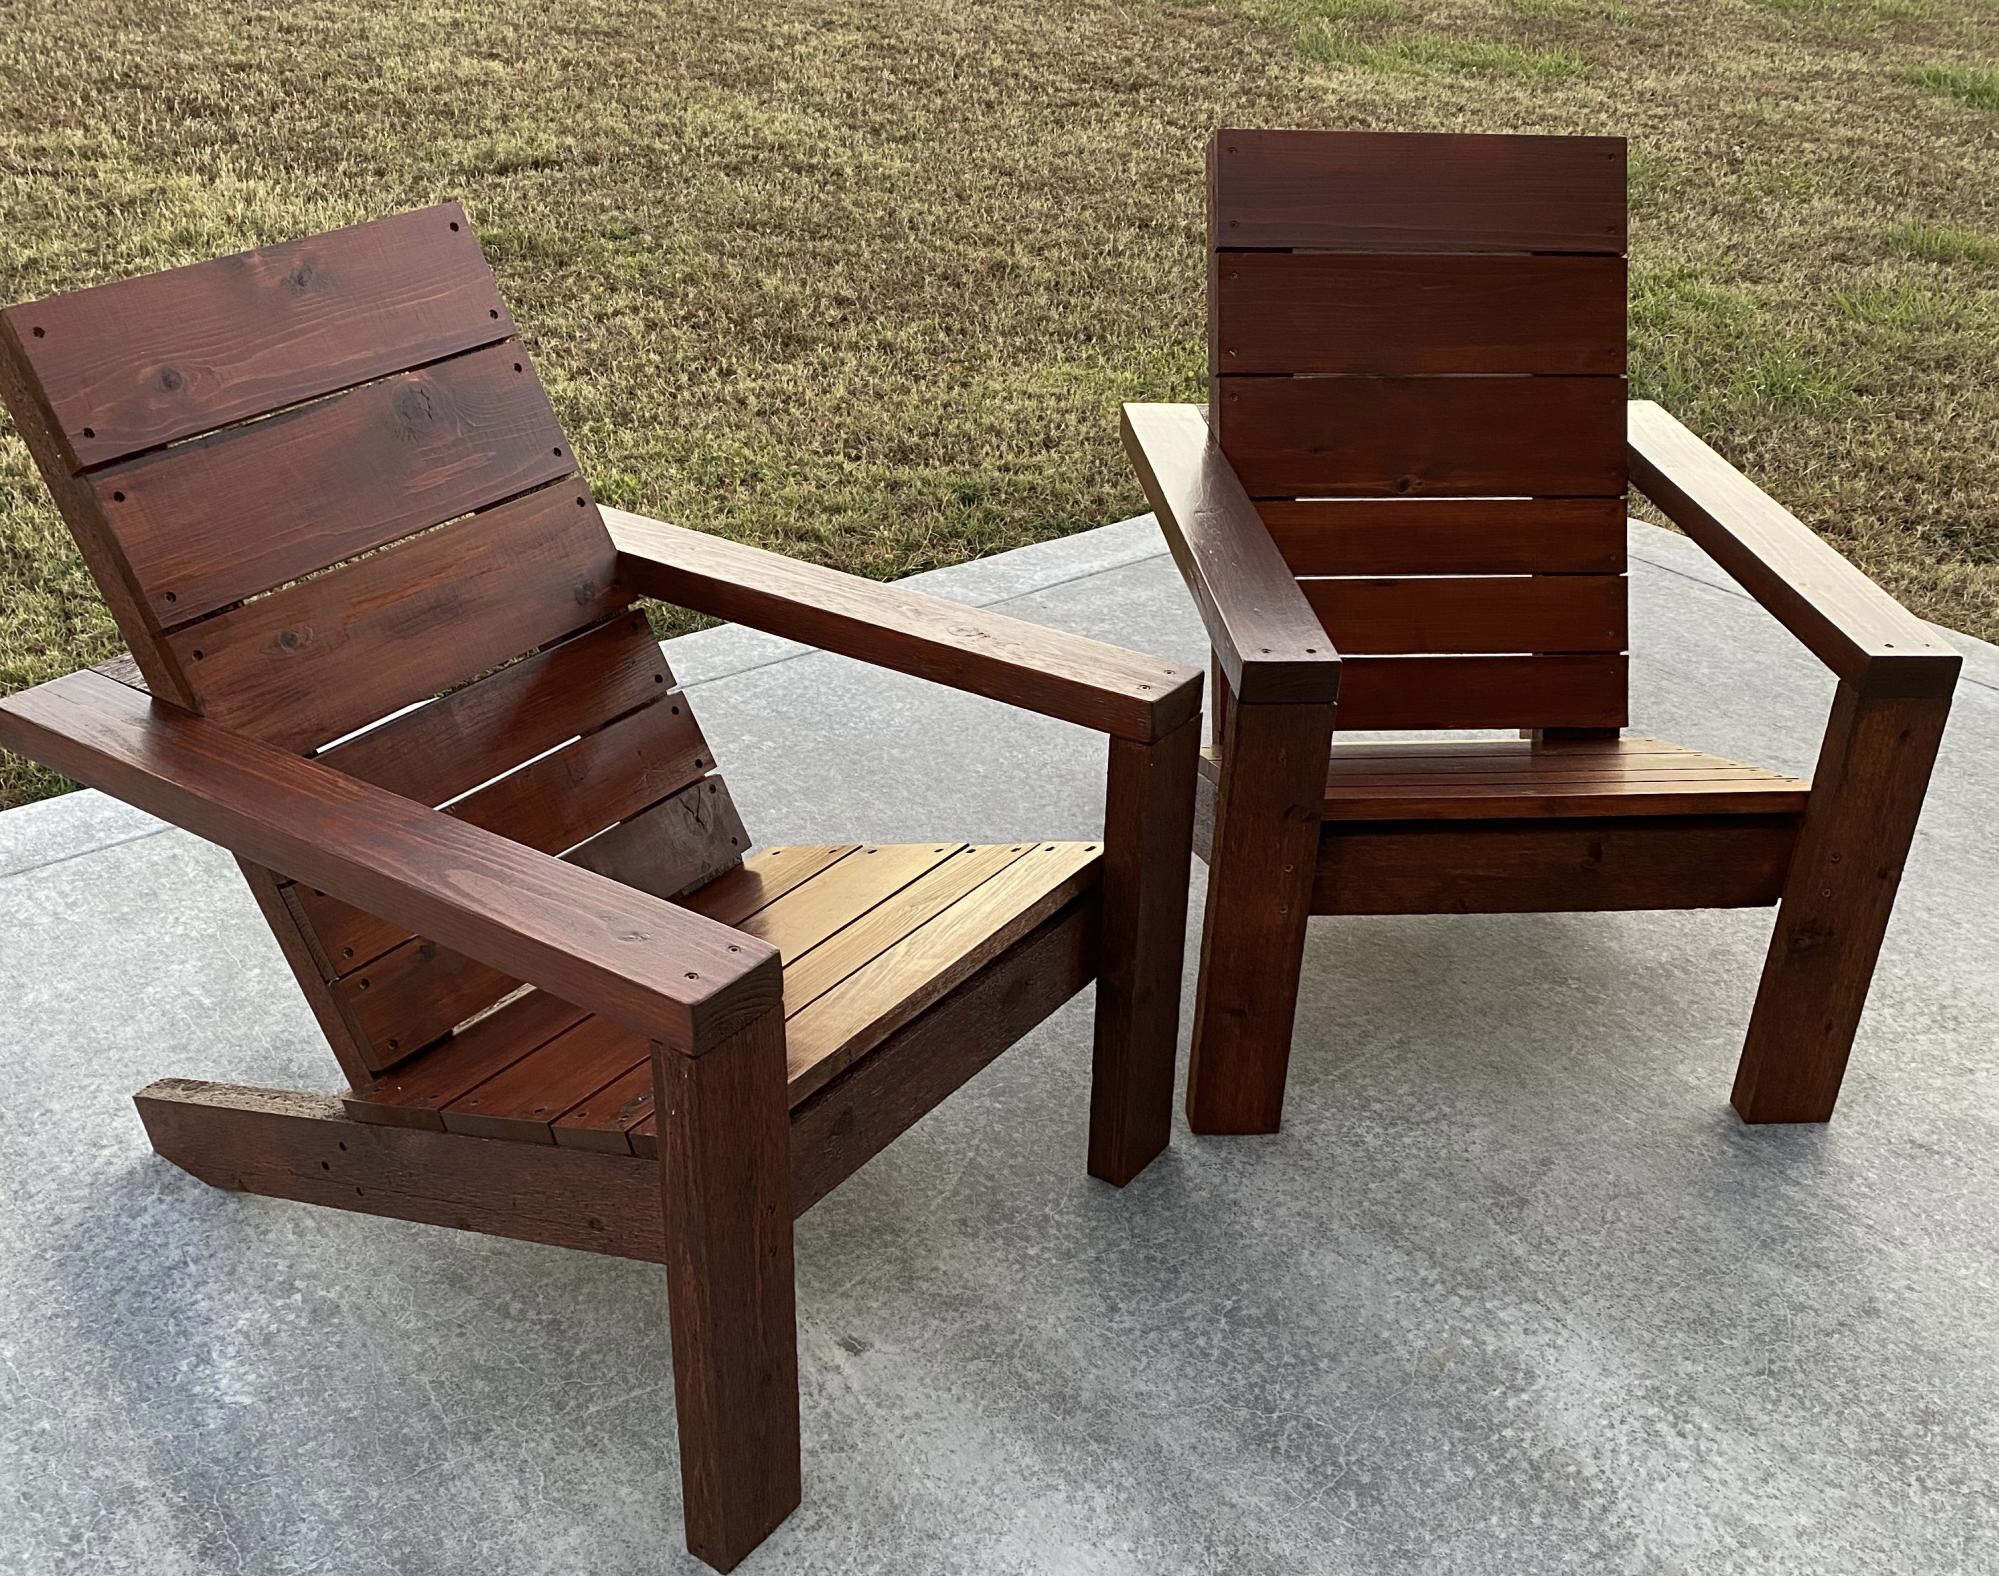
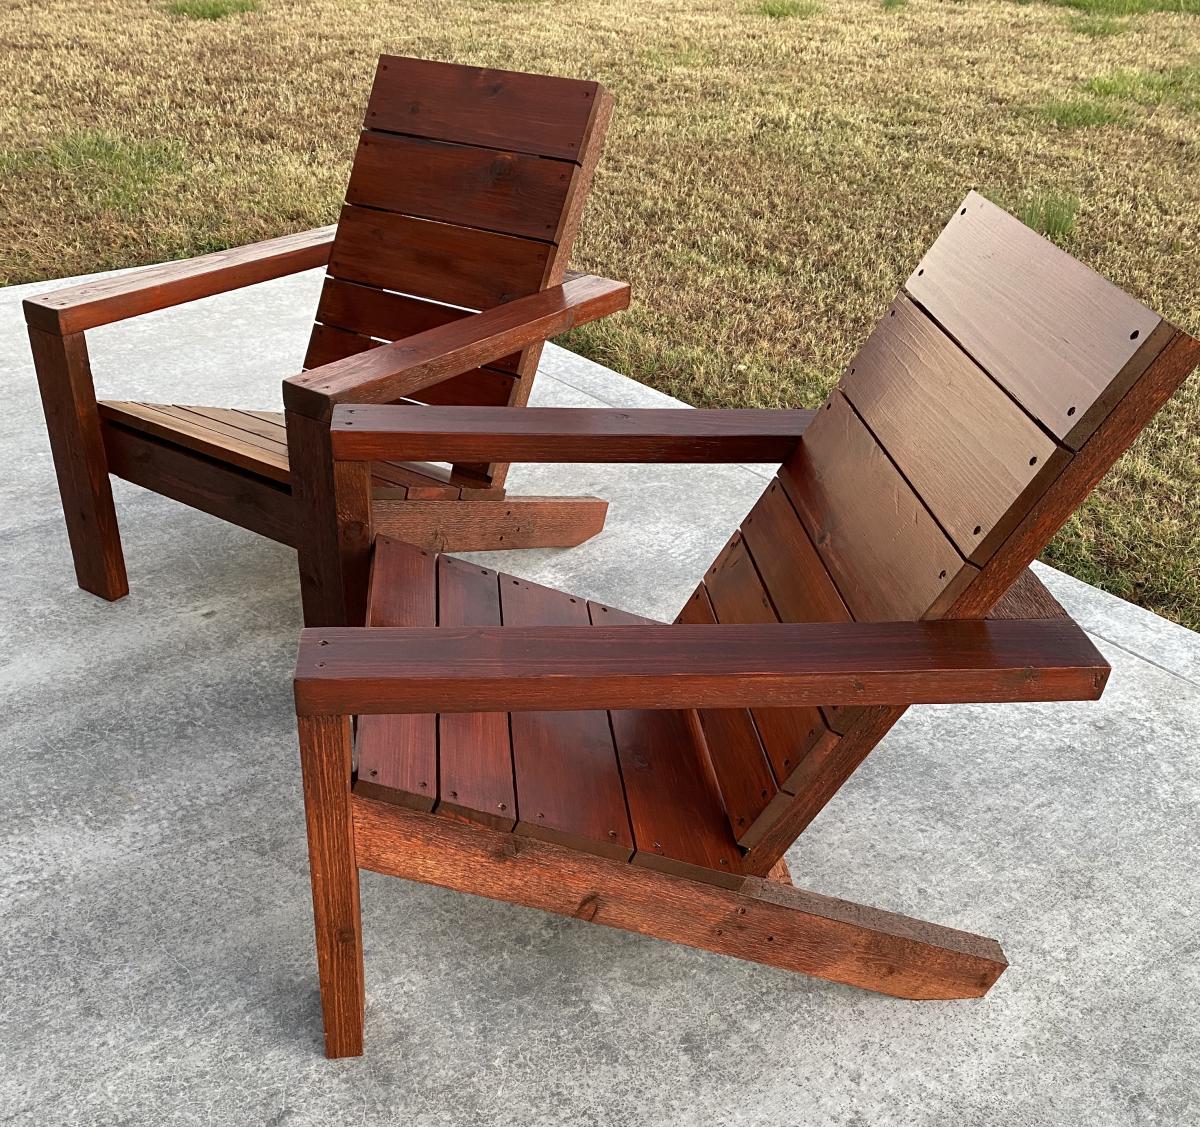
I used Western red cedar to build my chairs. The build was a little more expensive but well worth it. The chairs were stained with Cabot’s Australian Timber Oil ( Jarrah Brown). Thanks for the plans Ana, your site is awesome and you do a great job! Mark


Comments

Laundry Station

Submitted by Anonymous (not verified) on Mon, 02/27/2017 - 10:03
We followed these plans, but instead of building two cabinets, we combined them with one side in the middle. We also used pine planks on top. The sides are painted with chalk paint, and the top is finished in dark wax. 
Built from Plan(s)
Estimated Cost
$200
Estimated Time Investment
Afternoon Project (3-6 Hours)
Recommended Skill Level
Beginner

Comments

Front porch planters

Submitted by Anonymous (not verified) on Thu, 01/07/2021 - 20:21

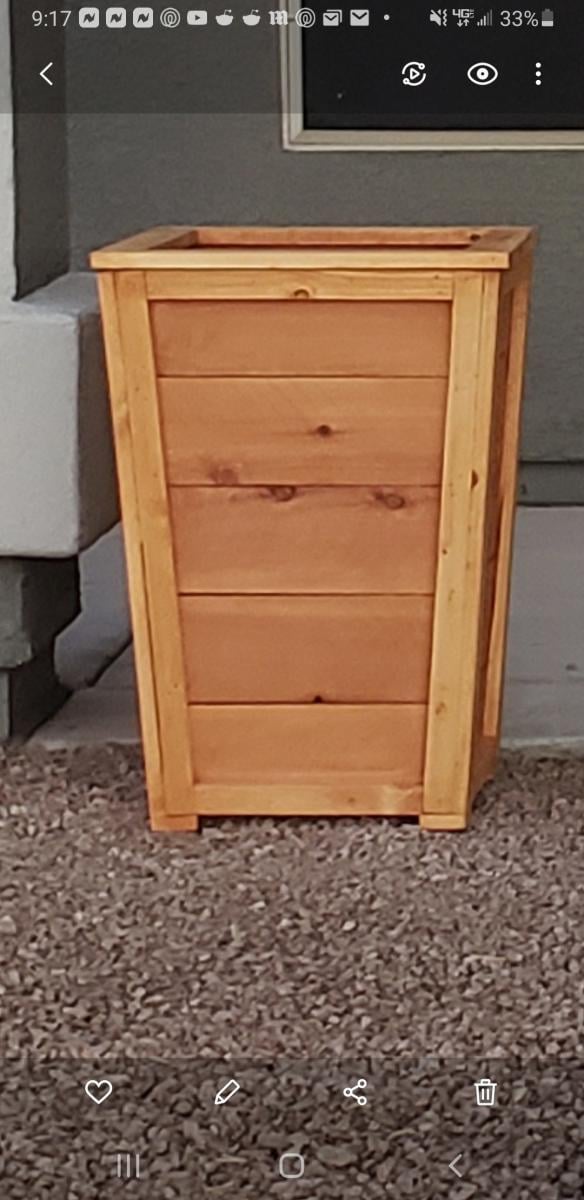
Followed your plan but added extra 1 x 2 trim to the sides, feet made from 1 × 3 and 1x 3 trim around the top

Built from Plan(s)
Estimated Cost
$35 per planter
Estimated Time Investment
Afternoon Project (3-6 Hours)
Finish Used
Cedar Naturaltone Behr Waterproofing Wood Finish
Recommended Skill Level
Intermediate

Comments

Seasonal And Holiday

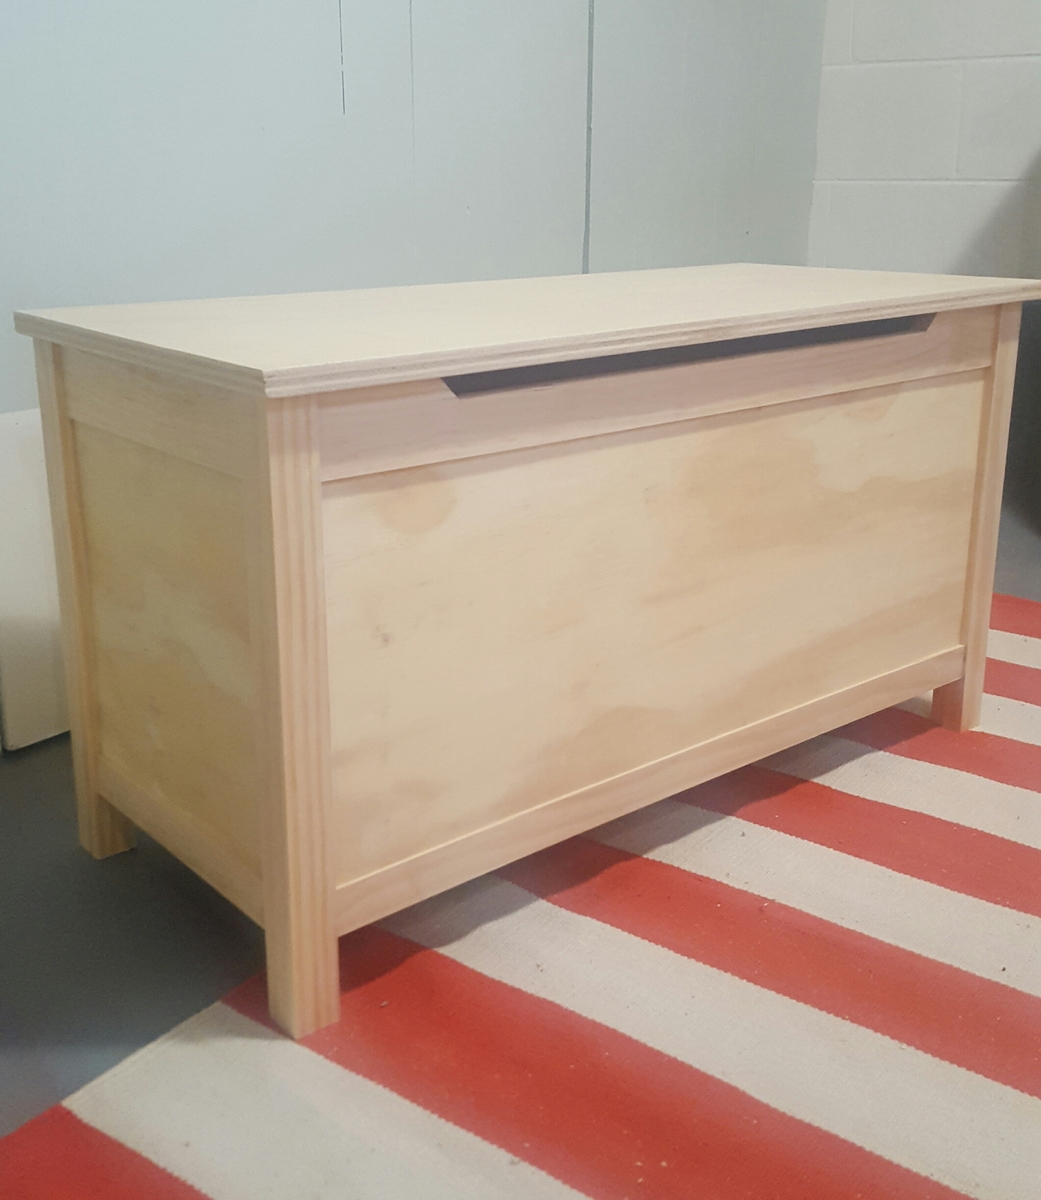
Modern Toy Box

Submitted by Anonymous (not verified) on Sun, 03/19/2017 - 14:32

I had a wonderful time making this toy box and learning new techniques. Having access to a table saw really made this project turn out awesome. I was able to get 1/4" shims made that allowed for easy, precise offsets. The family just loved it!

Built from Plan(s)
Estimated Cost
$100
Estimated Time Investment
Weekend Project (10-20 Hours)
Finish Used
ProClassic white paint
Recommended Skill Level
Intermediate

Garden Enclosure with Custom Gate

Submitted by Anonymous (not verified) on Mon, 05/29/2017 - 09:54

I found the plans on the website last year but we never got around to building it.  So this year it was first on the list!!  I wanted a large enclosed garden because we had a hard time keeping our dogs out of our last boxed garden.  I followed the plans pretty closely, making minor changes to give us more room for planting. 


I did not use the corner wood pieces for bracing because I did not like how they looked.  Instead I used brackets made for decks that I can't see from the outside of the garden.  I also made a custom gate to mimic the custom railings I had made for our deck.  Added brackets to the outside for hanging baskets. Still needs to be stained and sealed.  Hoping to get that done next week.


Note:  I bought 22 2cubic feet bags of Miracle Grow Flower and Vegetable soil to fill the garden boxes.

Approximate costs were around $180.00 for wood/stain/gate hardware, netting and deck screws.

Approximate costs for the soil was $140.00.


I hope  

Built from Plan(s)
Estimated Cost
$180 for project
$140 for soil
Estimated Time Investment
Afternoon Project (3-6 Hours)
Recommended Skill Level
Beginner
Seasonal And Holiday

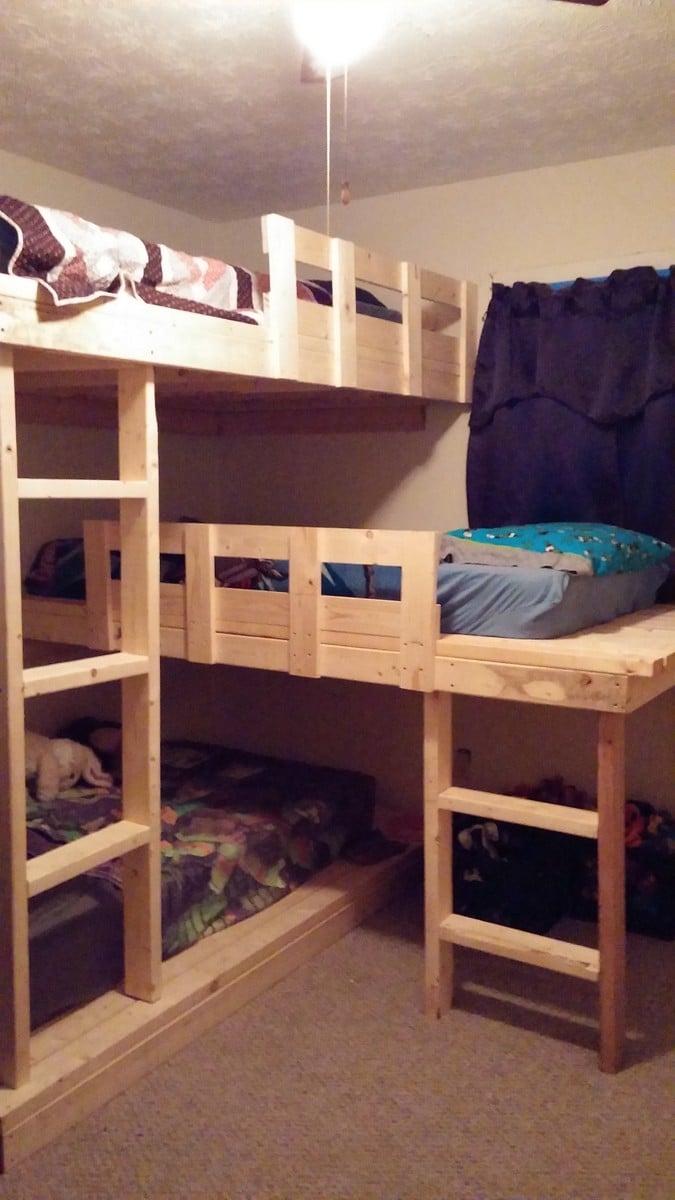
Triple Bunk Beds

Submitted by hughes3627 on Tue, 03/03/2015 - 07:22

We needed a space saving alternative to individual twin beds...these were very simple to make. Our boys love them! We kept the same deminsions as the original plans and ended up having a little extra room on each bed for storage as well as toy storage under the second bed. Worked out very nicely and left space for the next project...a study station :)

Built from Plan(s)
Estimated Cost
About $230
Estimated Time Investment
Weekend Project (10-20 Hours)
Finish Used
Natural
Recommended Skill Level
Beginner

Comments

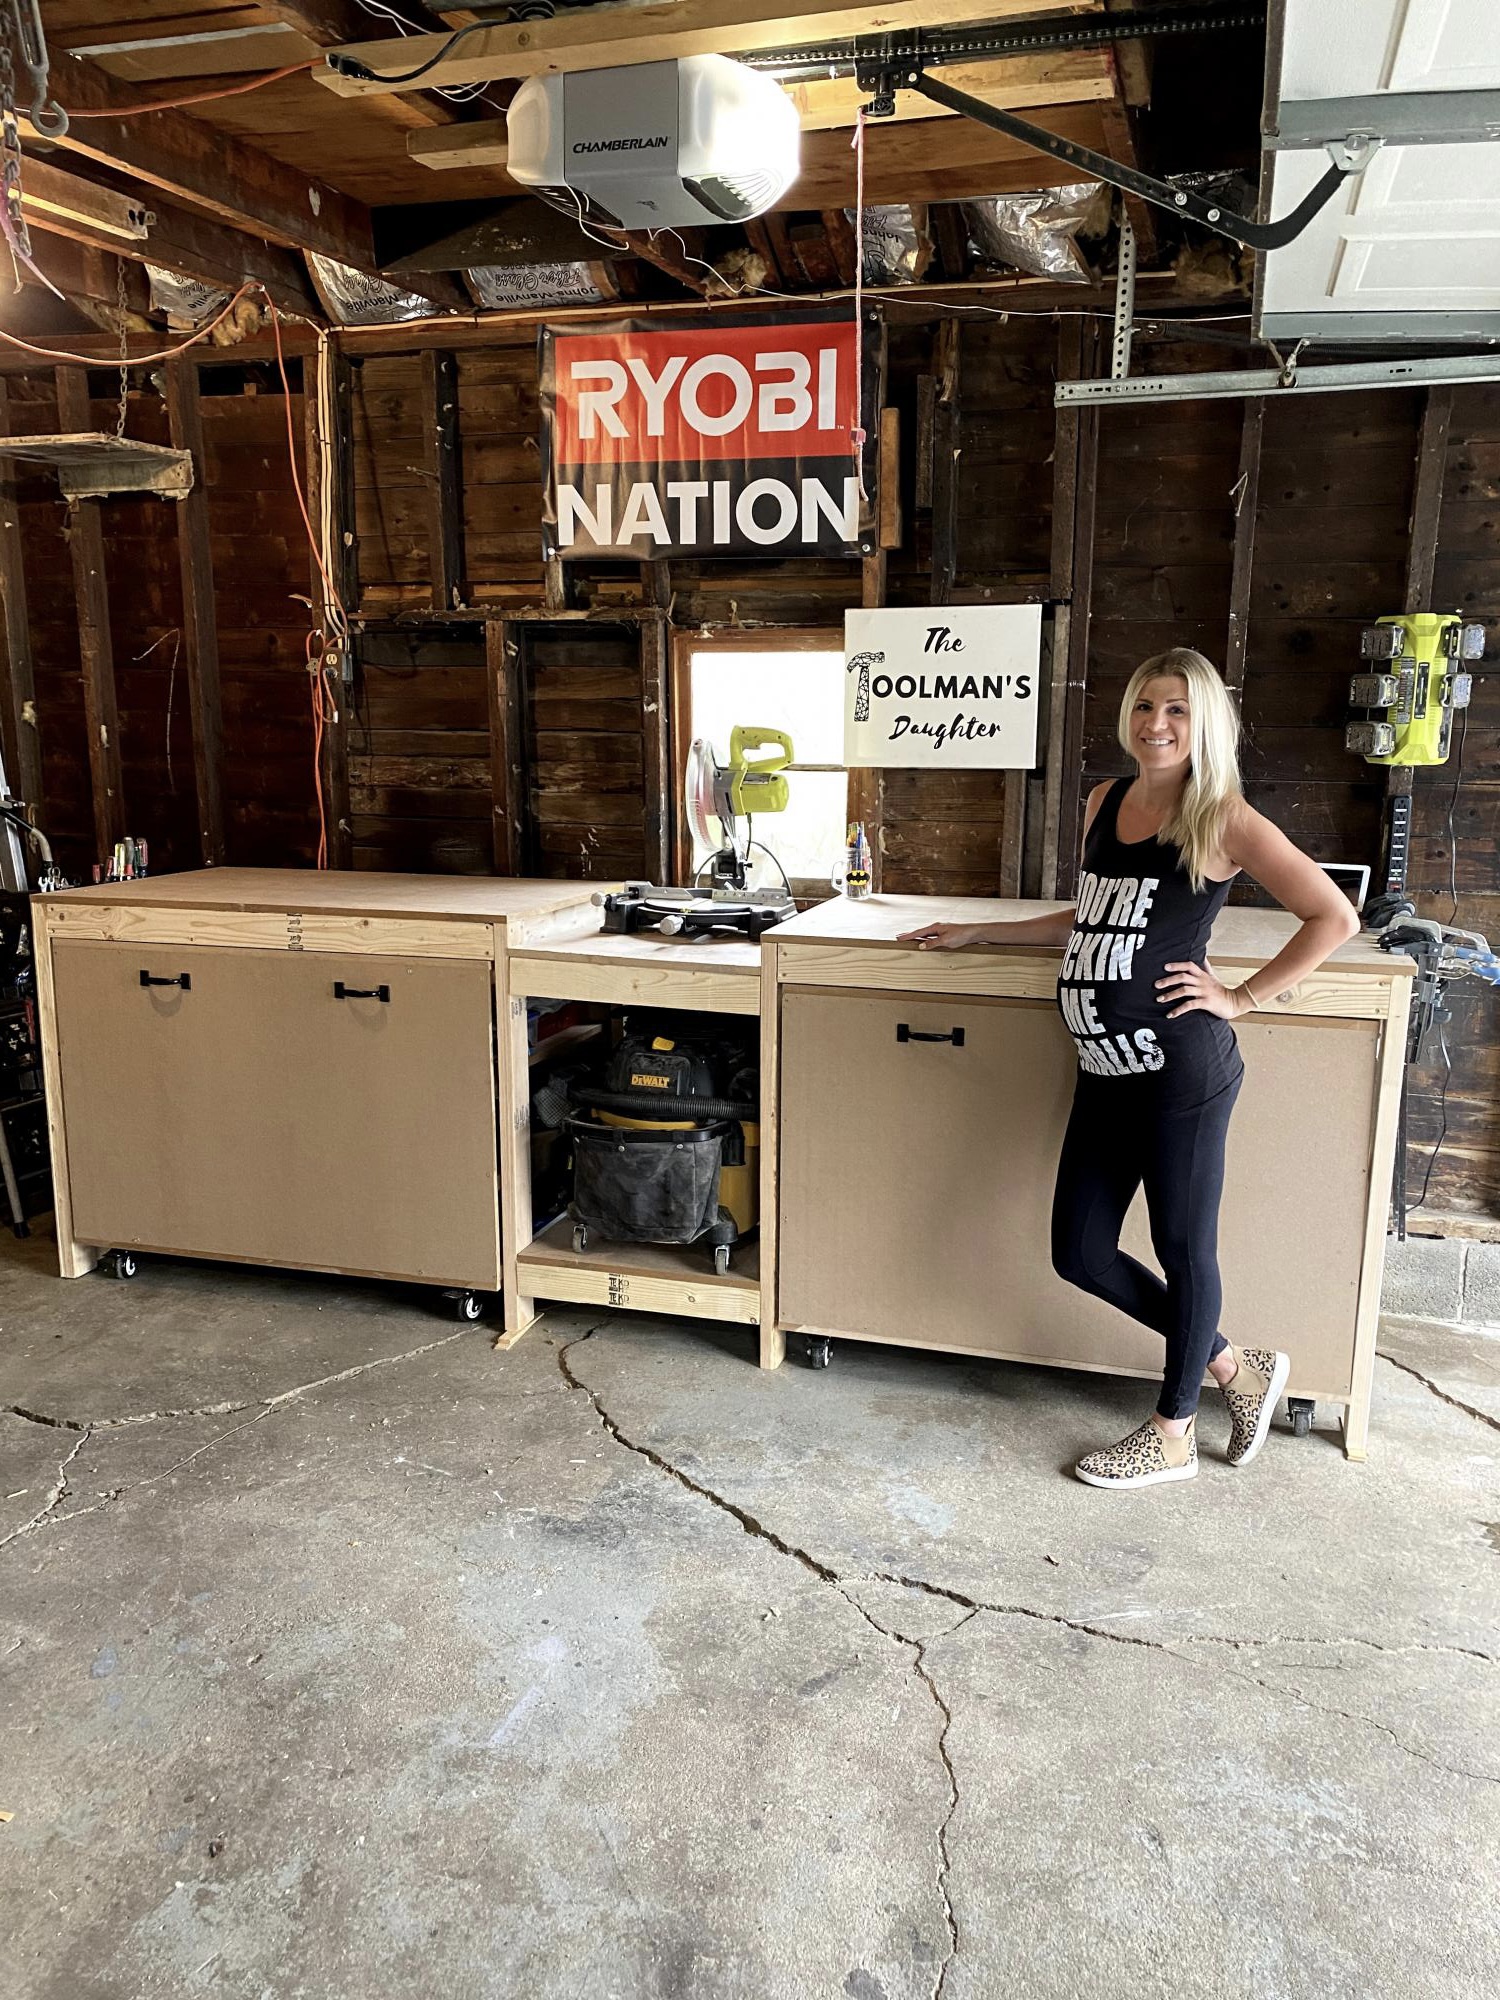
Mega work bench with miter station

Submitted by Anonymous (not verified) on Mon, 10/04/2021 - 16:51

When I was 8 months pregnant and going through my “nesting phase” I knew I needed to get my garage organized. Prior to building this, my tools were all over the place. To try to get it done before the baby came, I called my dad to help me out, and we built it together in just a couple days. It was a weekend I will never forget and I smile every time I walk into my shop knowing we did it together.

Comments

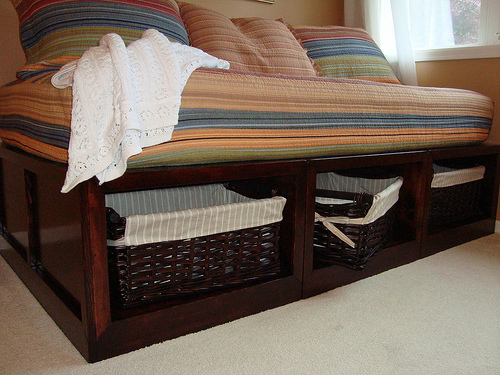
Storage Daybed

Submitted by ferbit on Thu, 03/10/2011 - 08:15

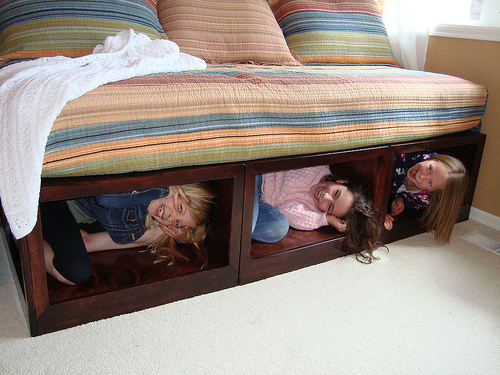
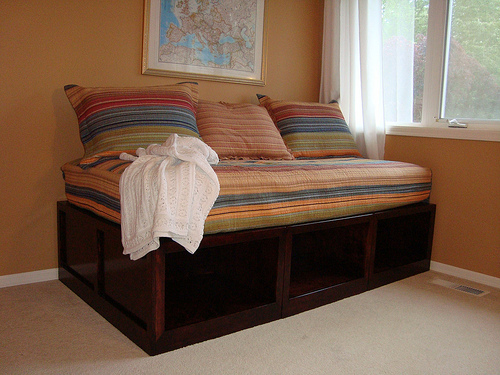
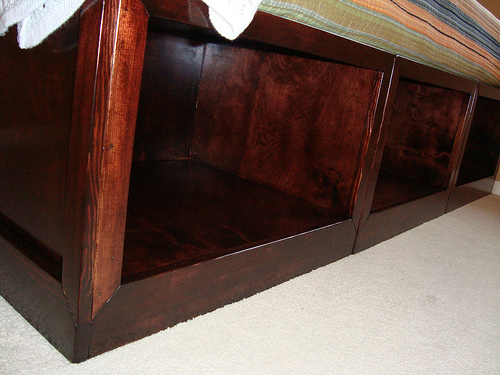
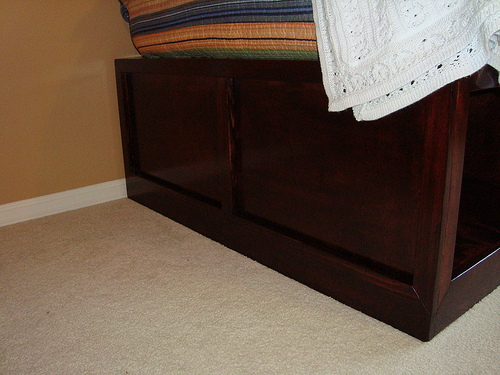
Ana White storage daybed with baskets! Of all the projects I've done based on Ana's plans, this is my favorite. It was my first staining project EVER so I was terrified. I am so in love with how this turned out. The boxes were made using birch plywood and the trim was all pine. Lots of gorilla wood glue (I think it's the least drippy) and a mix of nails (using our new nail gun) and countersunk screws. I used screws for the plywood and nails for the trim. After sanding... and sanding... and sanding... :) Finish is two coats of Minwax Red Mahogony stain (conditioned it first) and then three coats of Minwax Fast Drying Polyurethane in semi-gloss. Did I mention how much I love this color????? I did my best to get all of the glue sanded out, but I did miss in a few spots (end of this cubby...) But I am still thrilled because you can hardly notice. I've used a miter saw before, but never MITERED corners like this and I am so proud of my self with how they came out! :) I used longer, narrow felt pads along the bottom of each bench (for on each). On the bed is the Katy 5-Piece Daybed Set from Amazon. I got the sweater-like throw on Overstock.com. Baskets from World Market! :)

Built from Plan(s)
Estimated Time Investment
Week Long Project (20 Hours or More)
Finish Used
I did two very dark coats of Minwax Red Mahogany stain. Meaning, I glopped it on with a disposable staining pad pretty heavy and then let it sit on the wood for a full 15 minutes before wiping it off. :) I did this for both coats.

For ME, prepping it with the wood conditioner first made all the difference in the world! It really evened out the wood grain variations and gave it a beautiful store-bought look.

I did a test on some scrap without conditioner and the wood grain was too prominent for me (and a lot of people like that look). I love the more muted grain look.
Recommended Skill Level
Intermediate

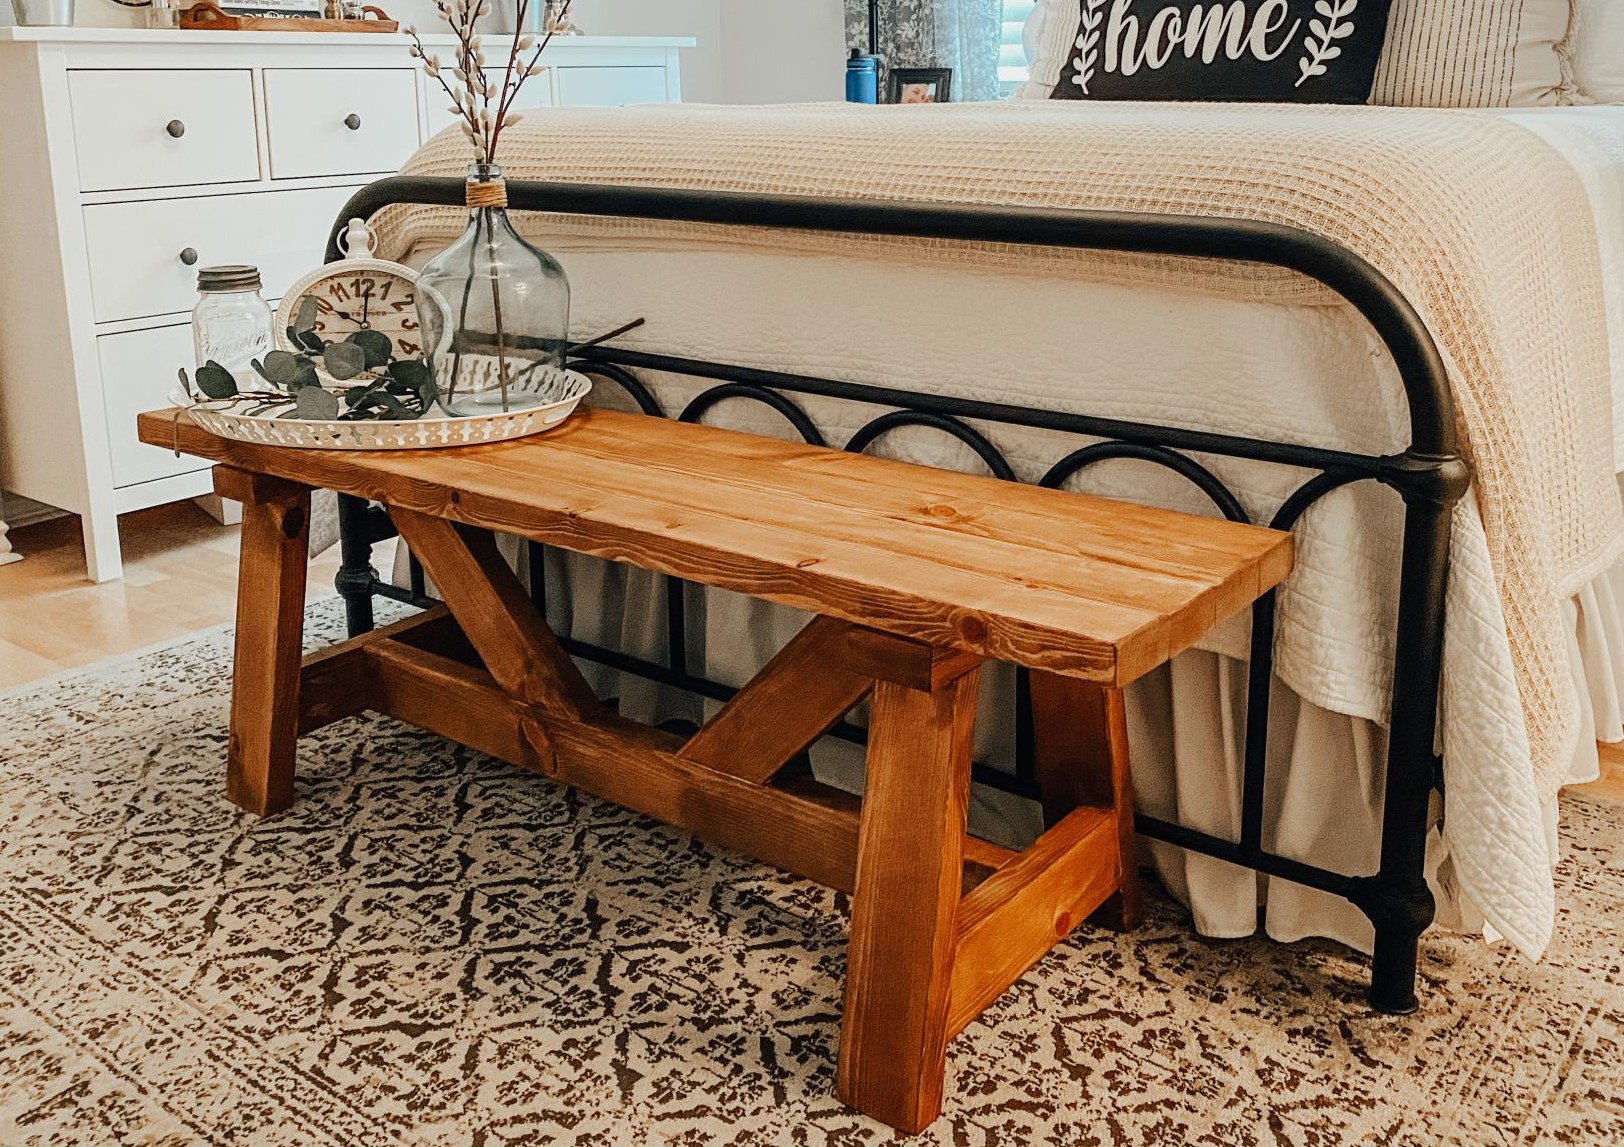
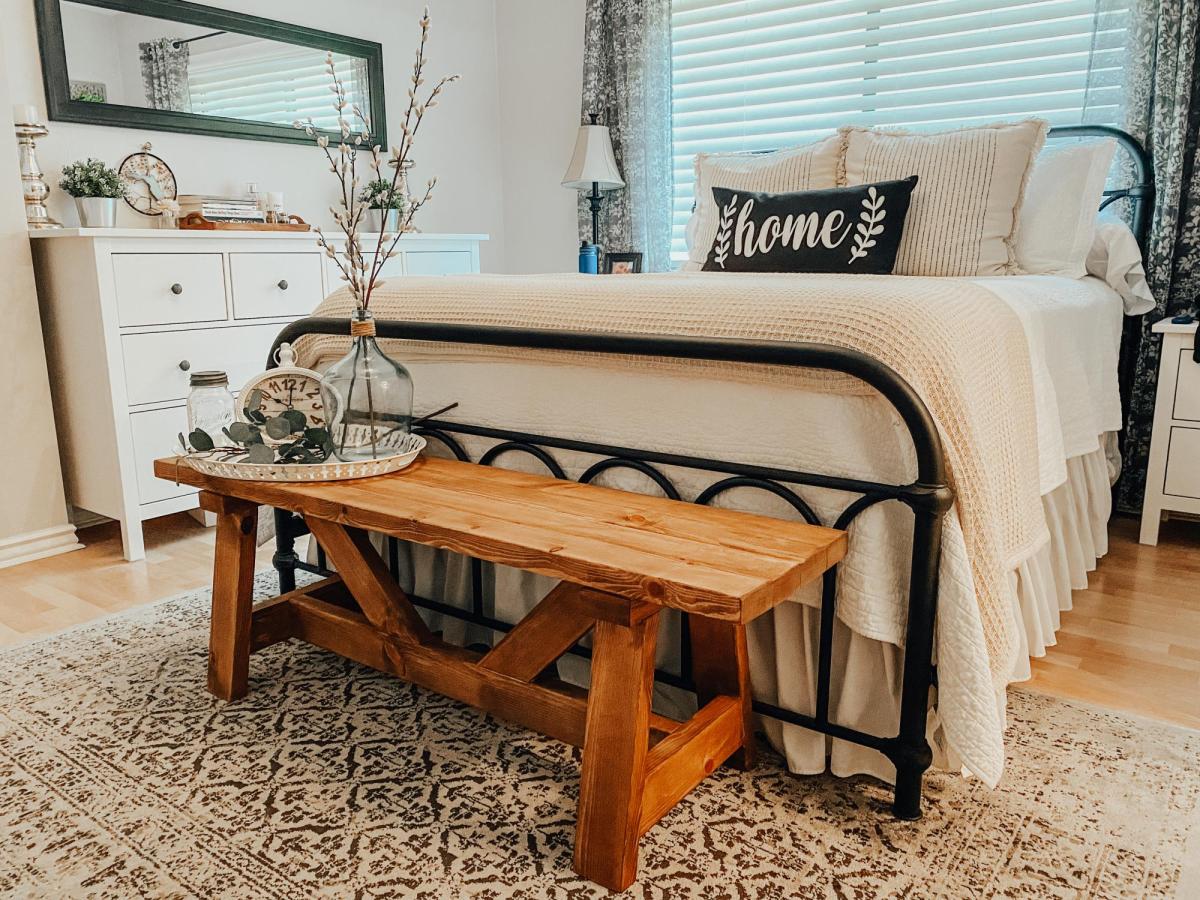
Farmhouse Bench

Submitted by Anonymous (not verified) on Thu, 10/07/2021 - 03:47

I used the plans from the site and it came out perfectly! Didn’t even make a wrong cut-pretty good for a super beginner.

Built from Plan(s)

Comments

Back