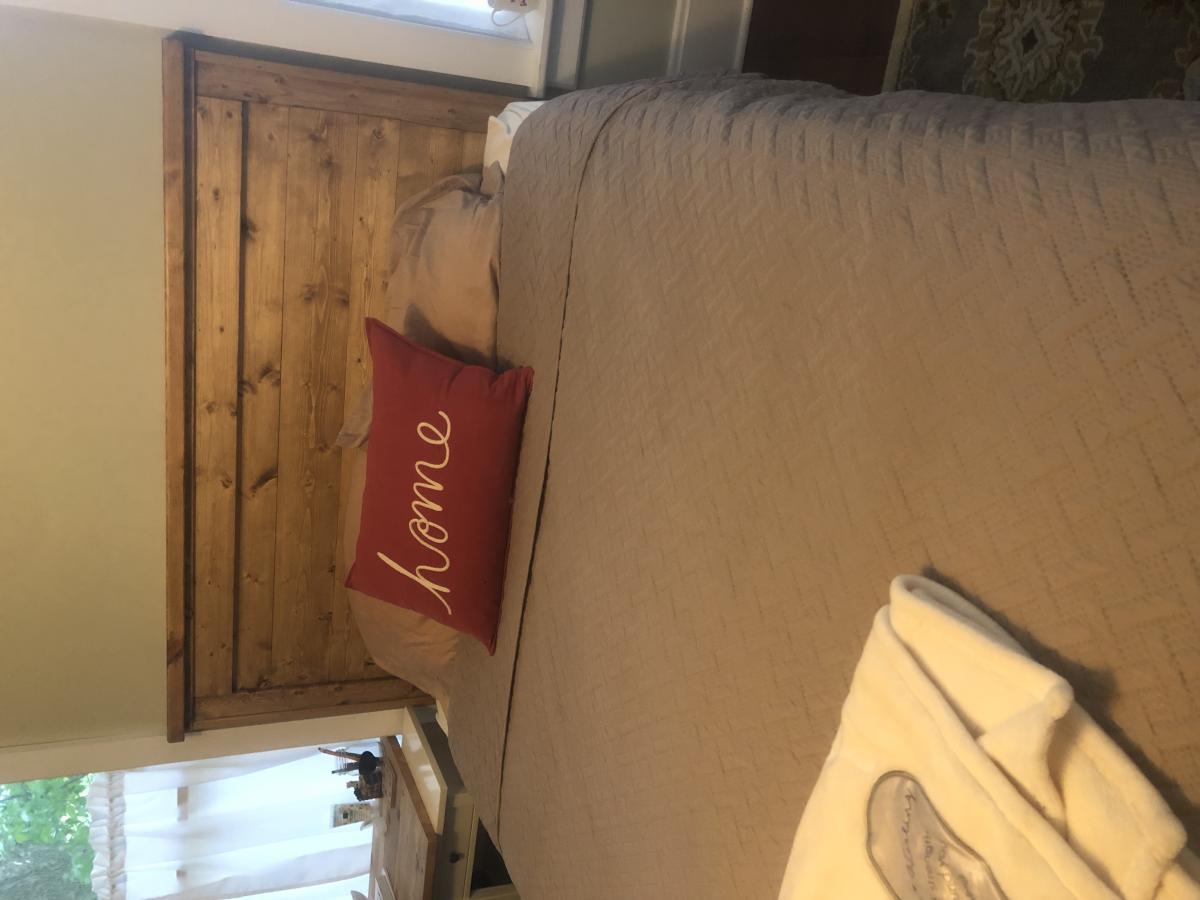
Farm house Queen bed

I made this a little shorter and less wide to fit between my two windows. Thanks so much for these plans!
Built from Plan(s)
I made this a little shorter and less wide to fit between my two windows. Thanks so much for these plans!
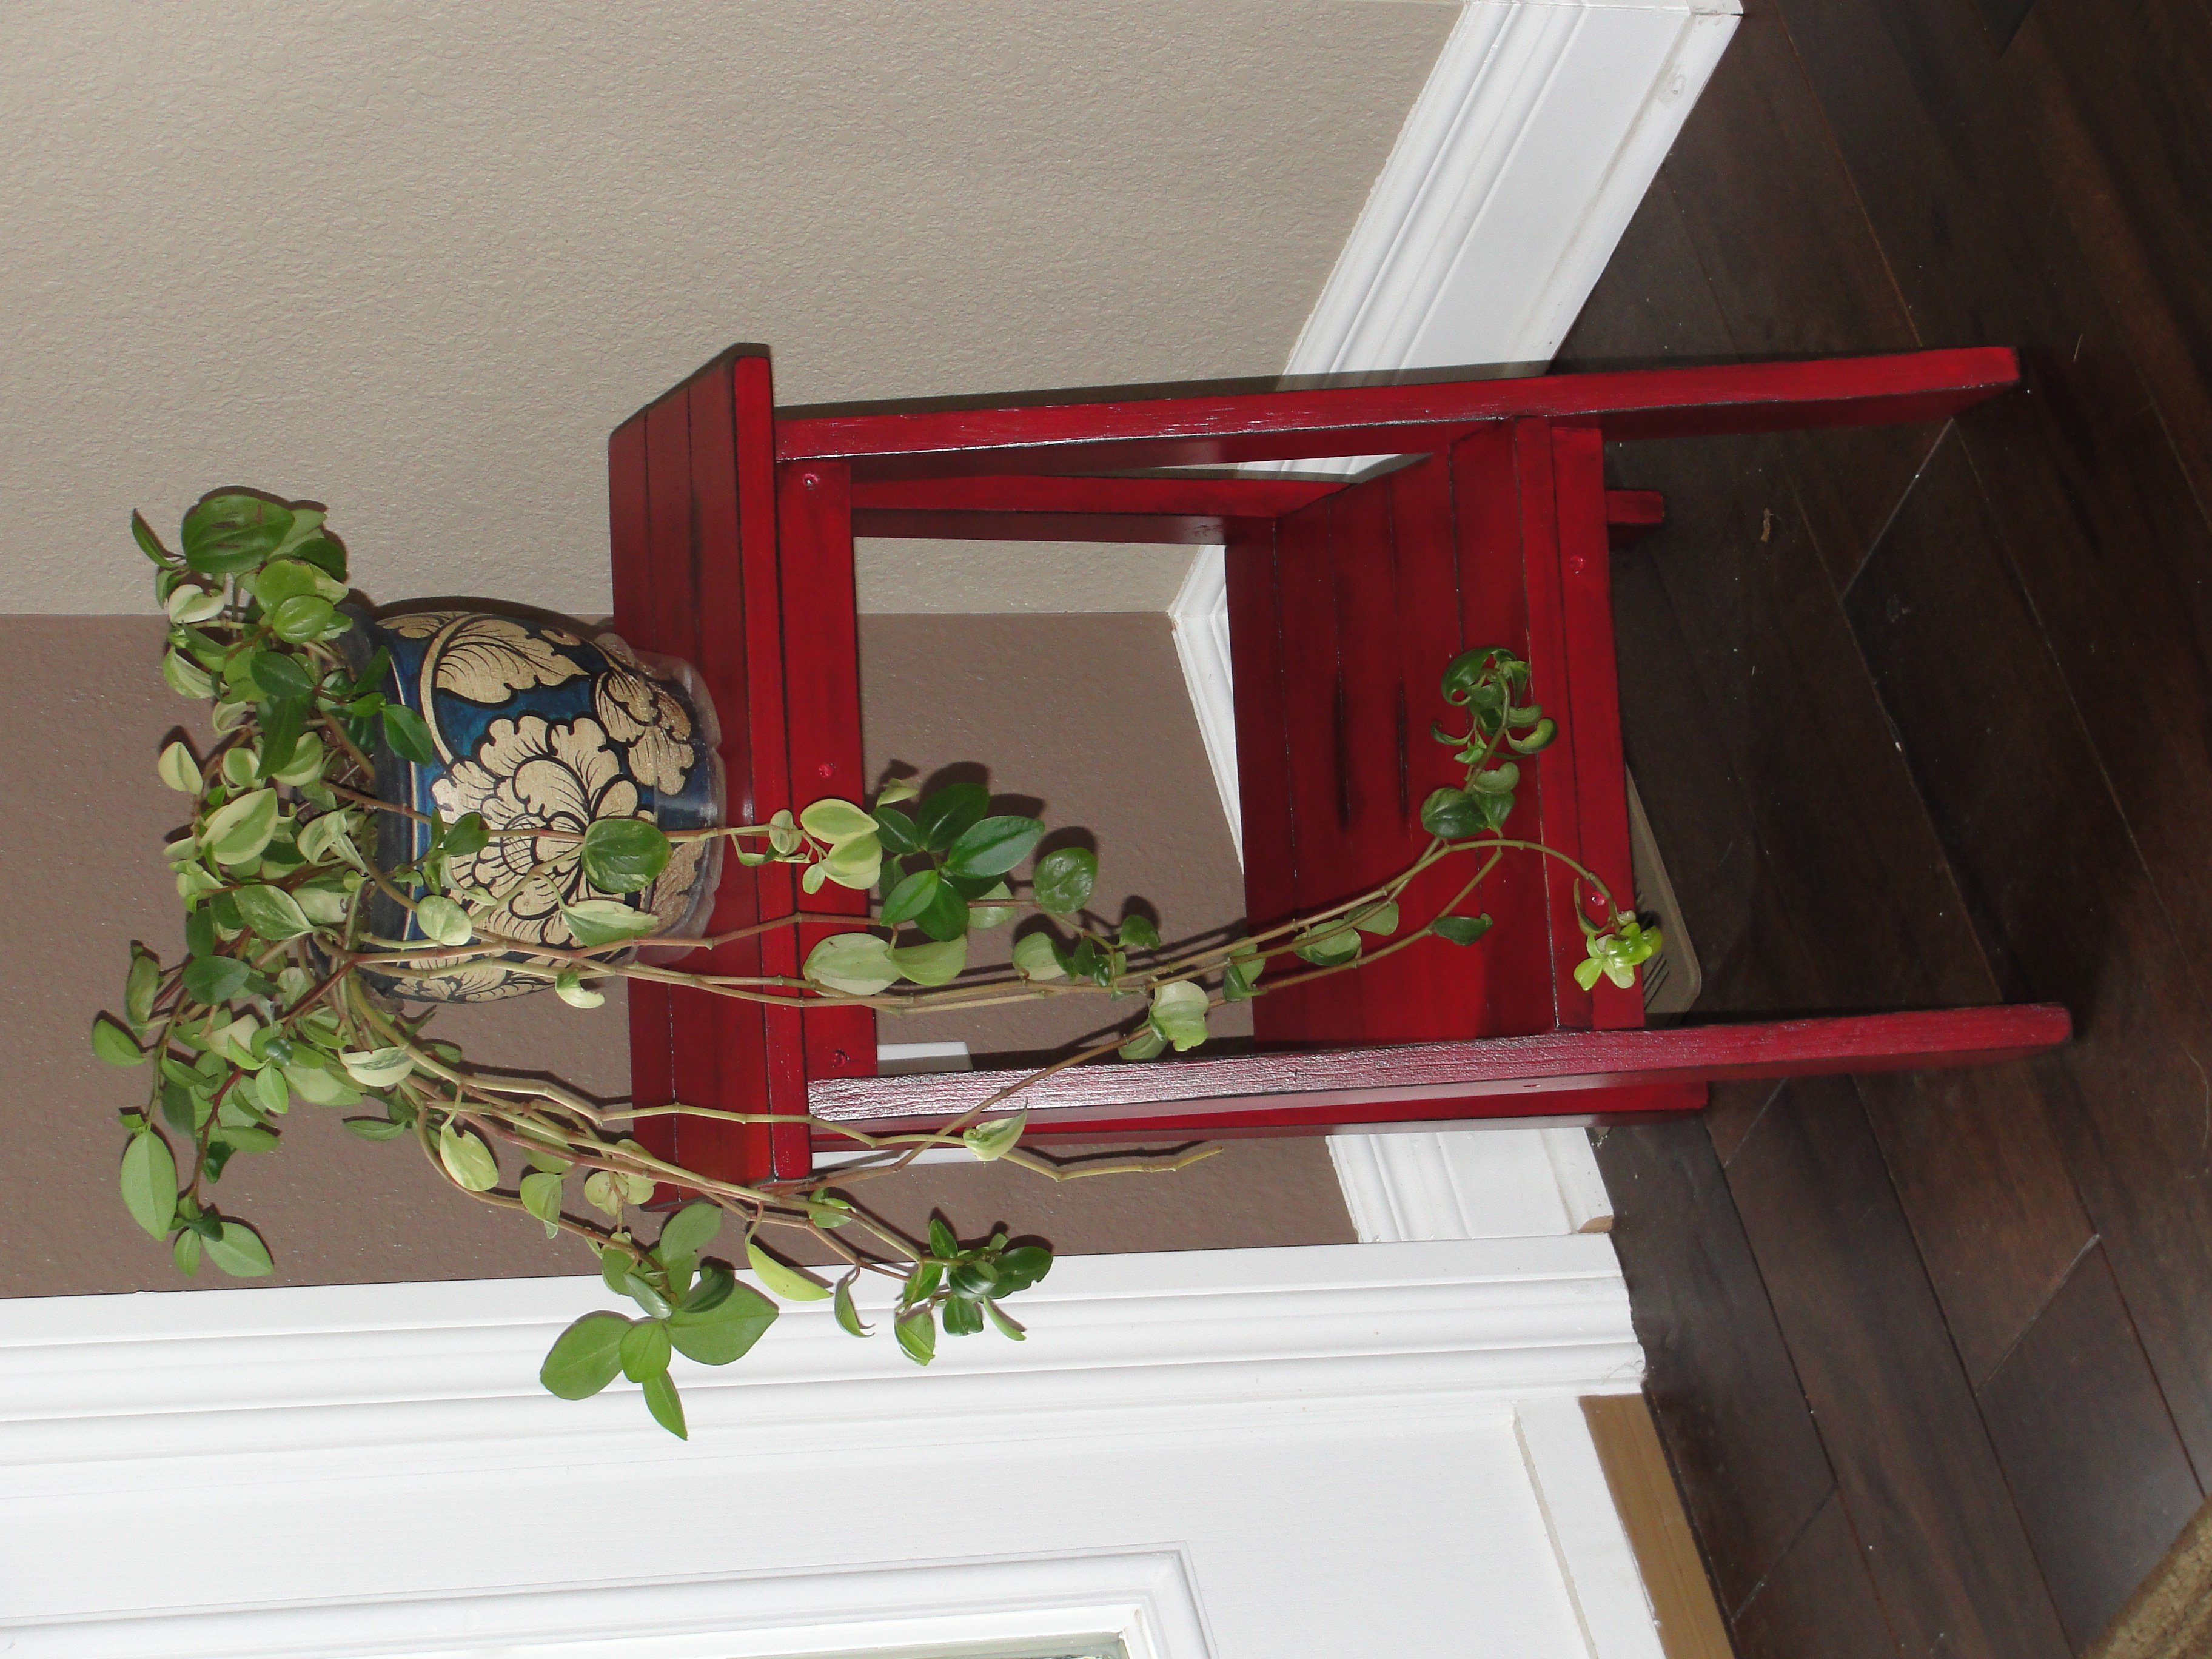
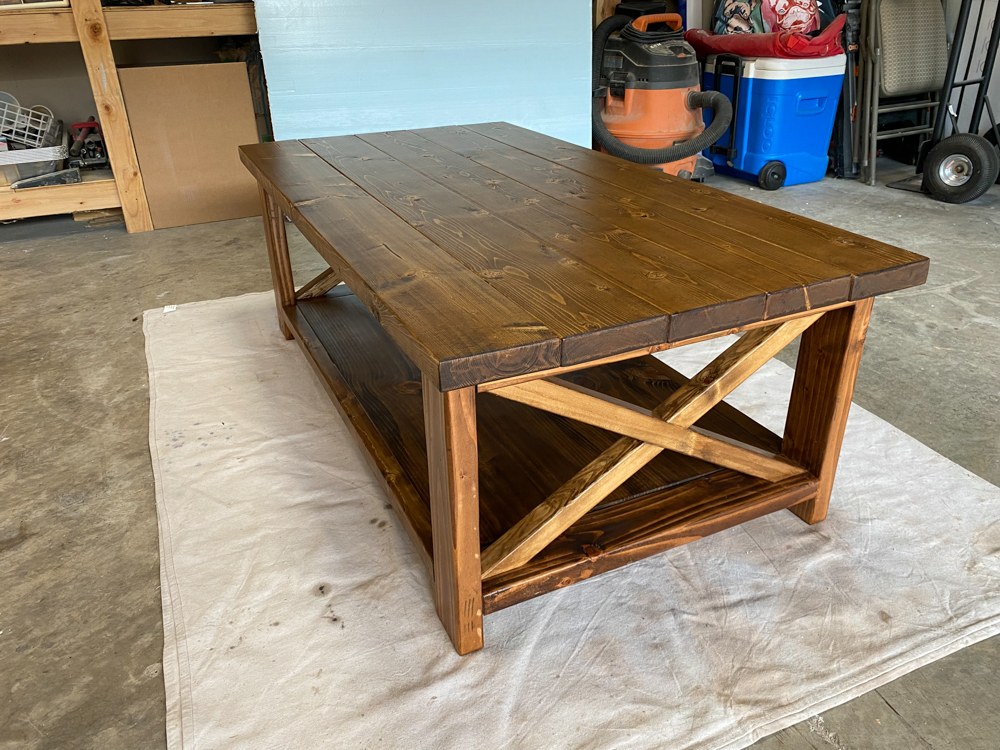
I love this little table!
I made 3 at the time. One for me, one for my sister, and one for my mom.
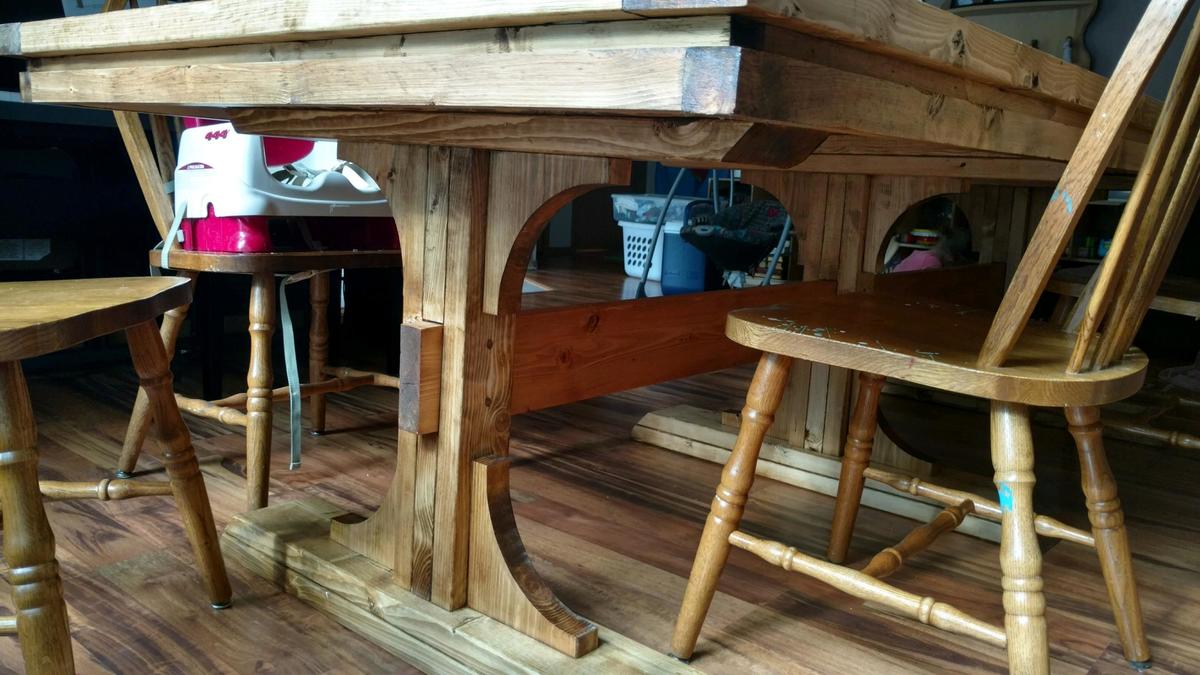
I had a little trouble with it not being level when I finished. I just sanded the bottoms of the legs until they all cooperated.
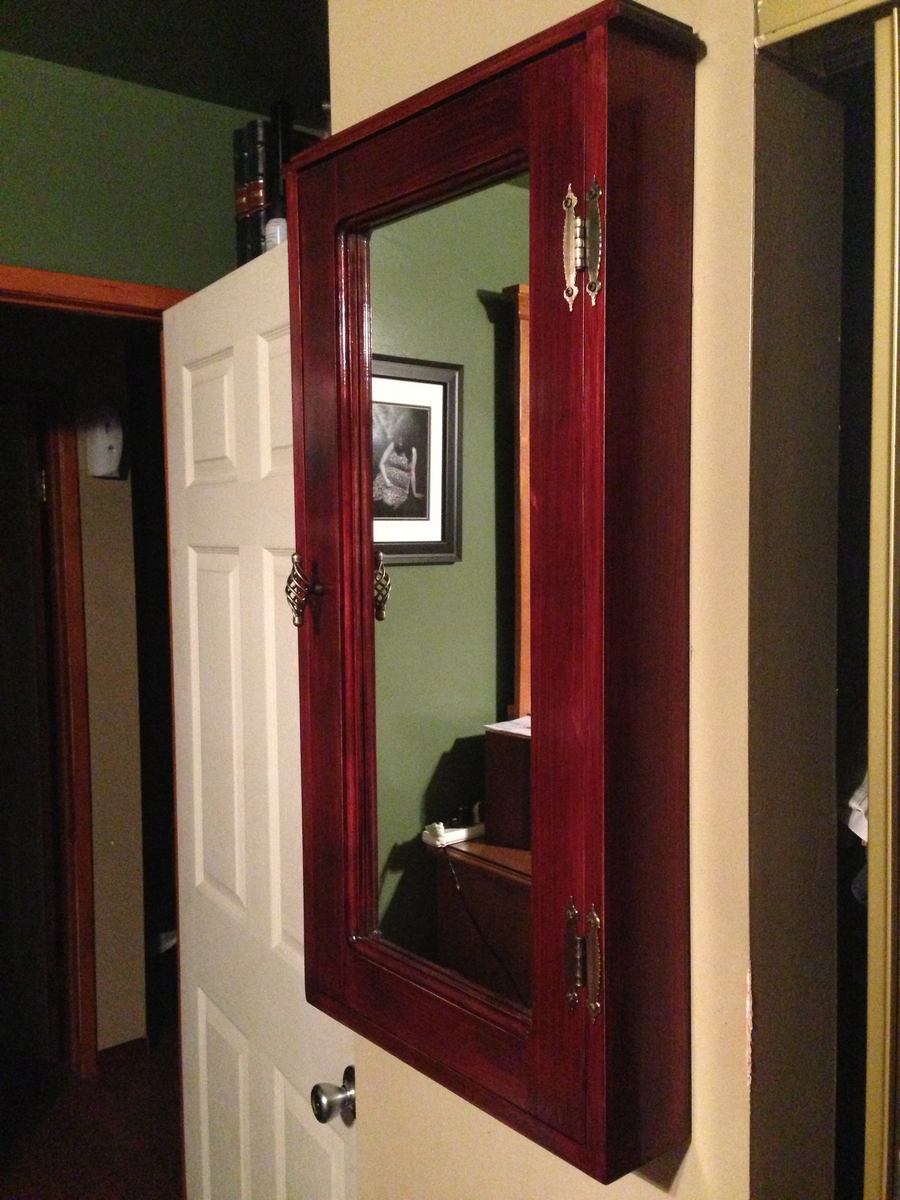
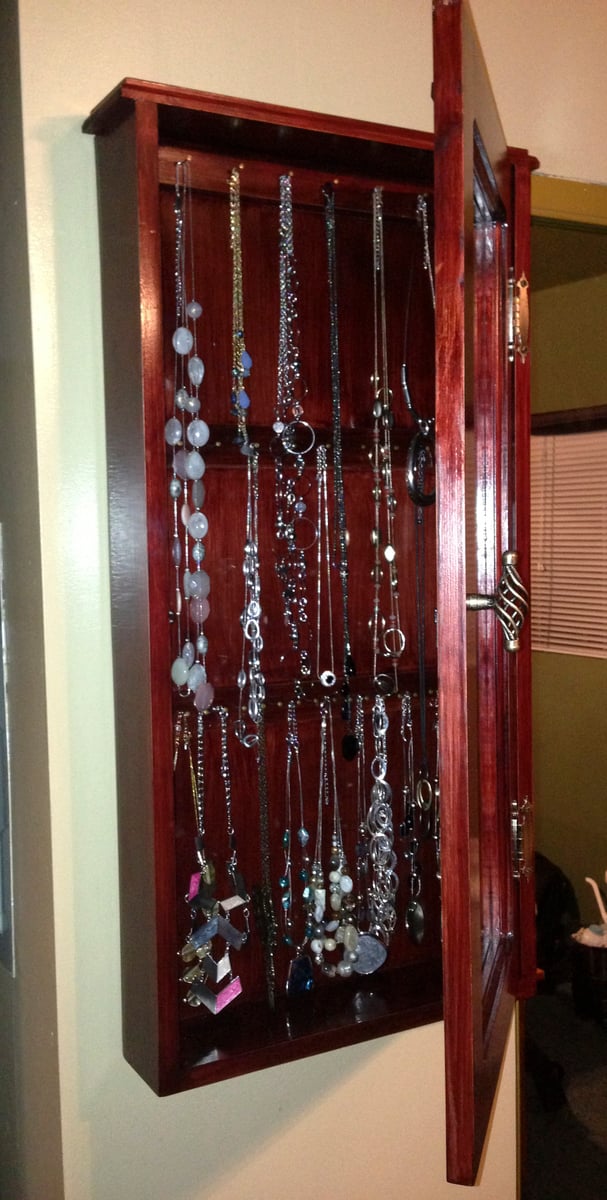
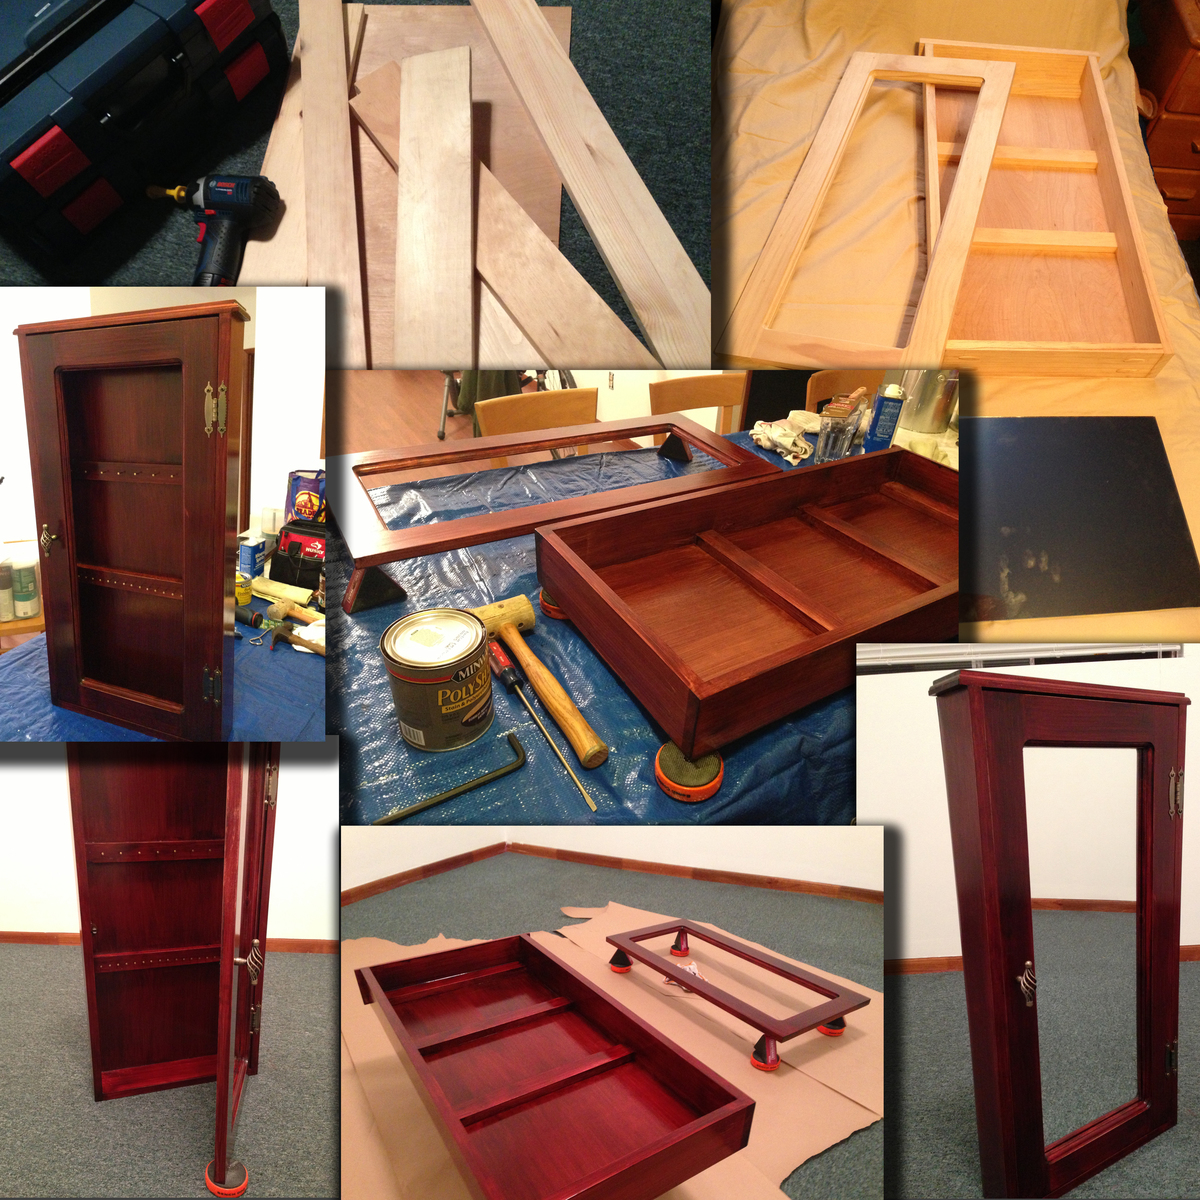
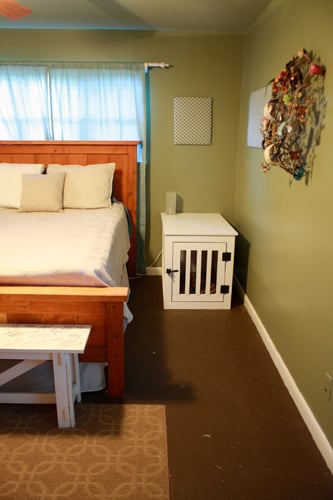
Saw the plans on this site and decided to make a jewelry cabinet for my wife for mother's day and she loved it.
Mon, 05/20/2013 - 16:02
Thanks fkowalec - my wife is wanting me to make another for her and she has even had friends ask if I'd make them one.
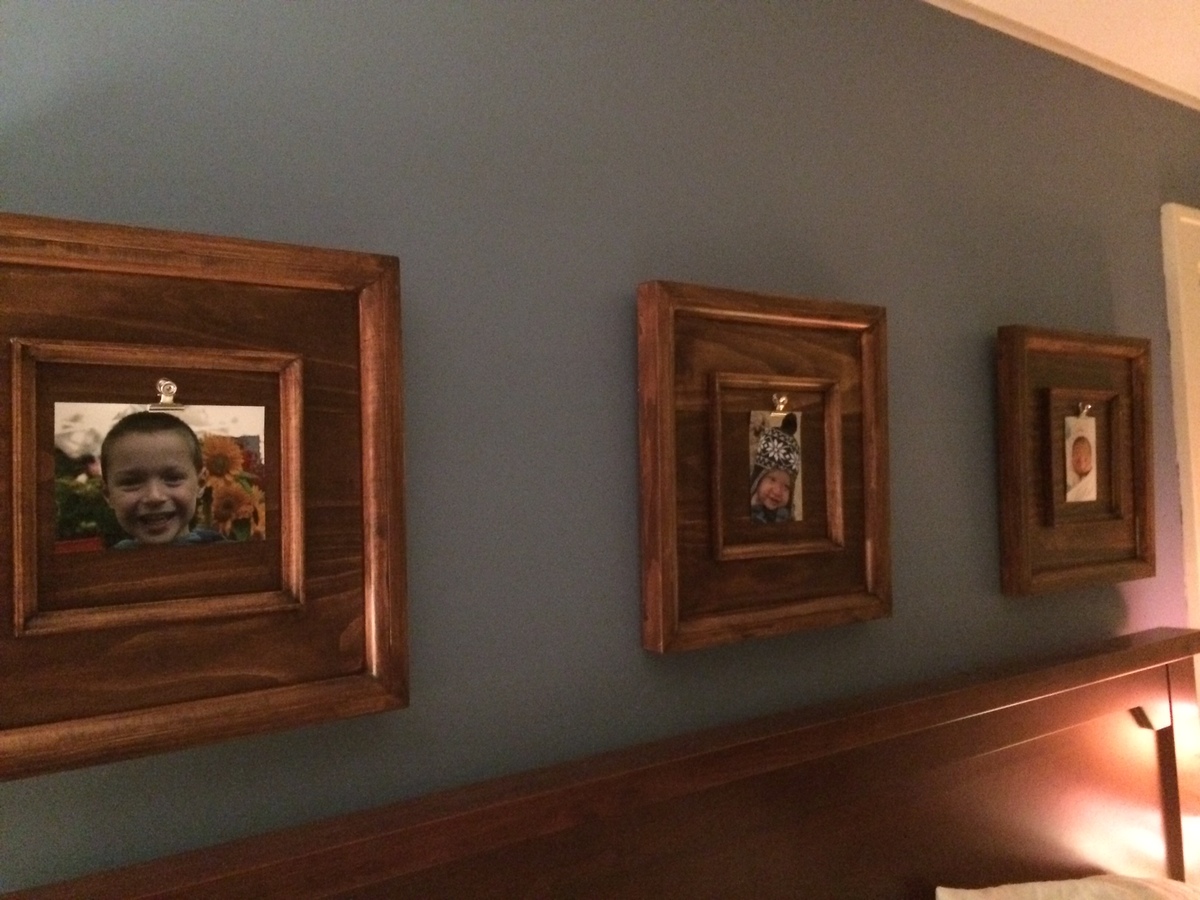
I made these from select Pine, they were super easy to do, look great and I love that I can change the pictures up easily.
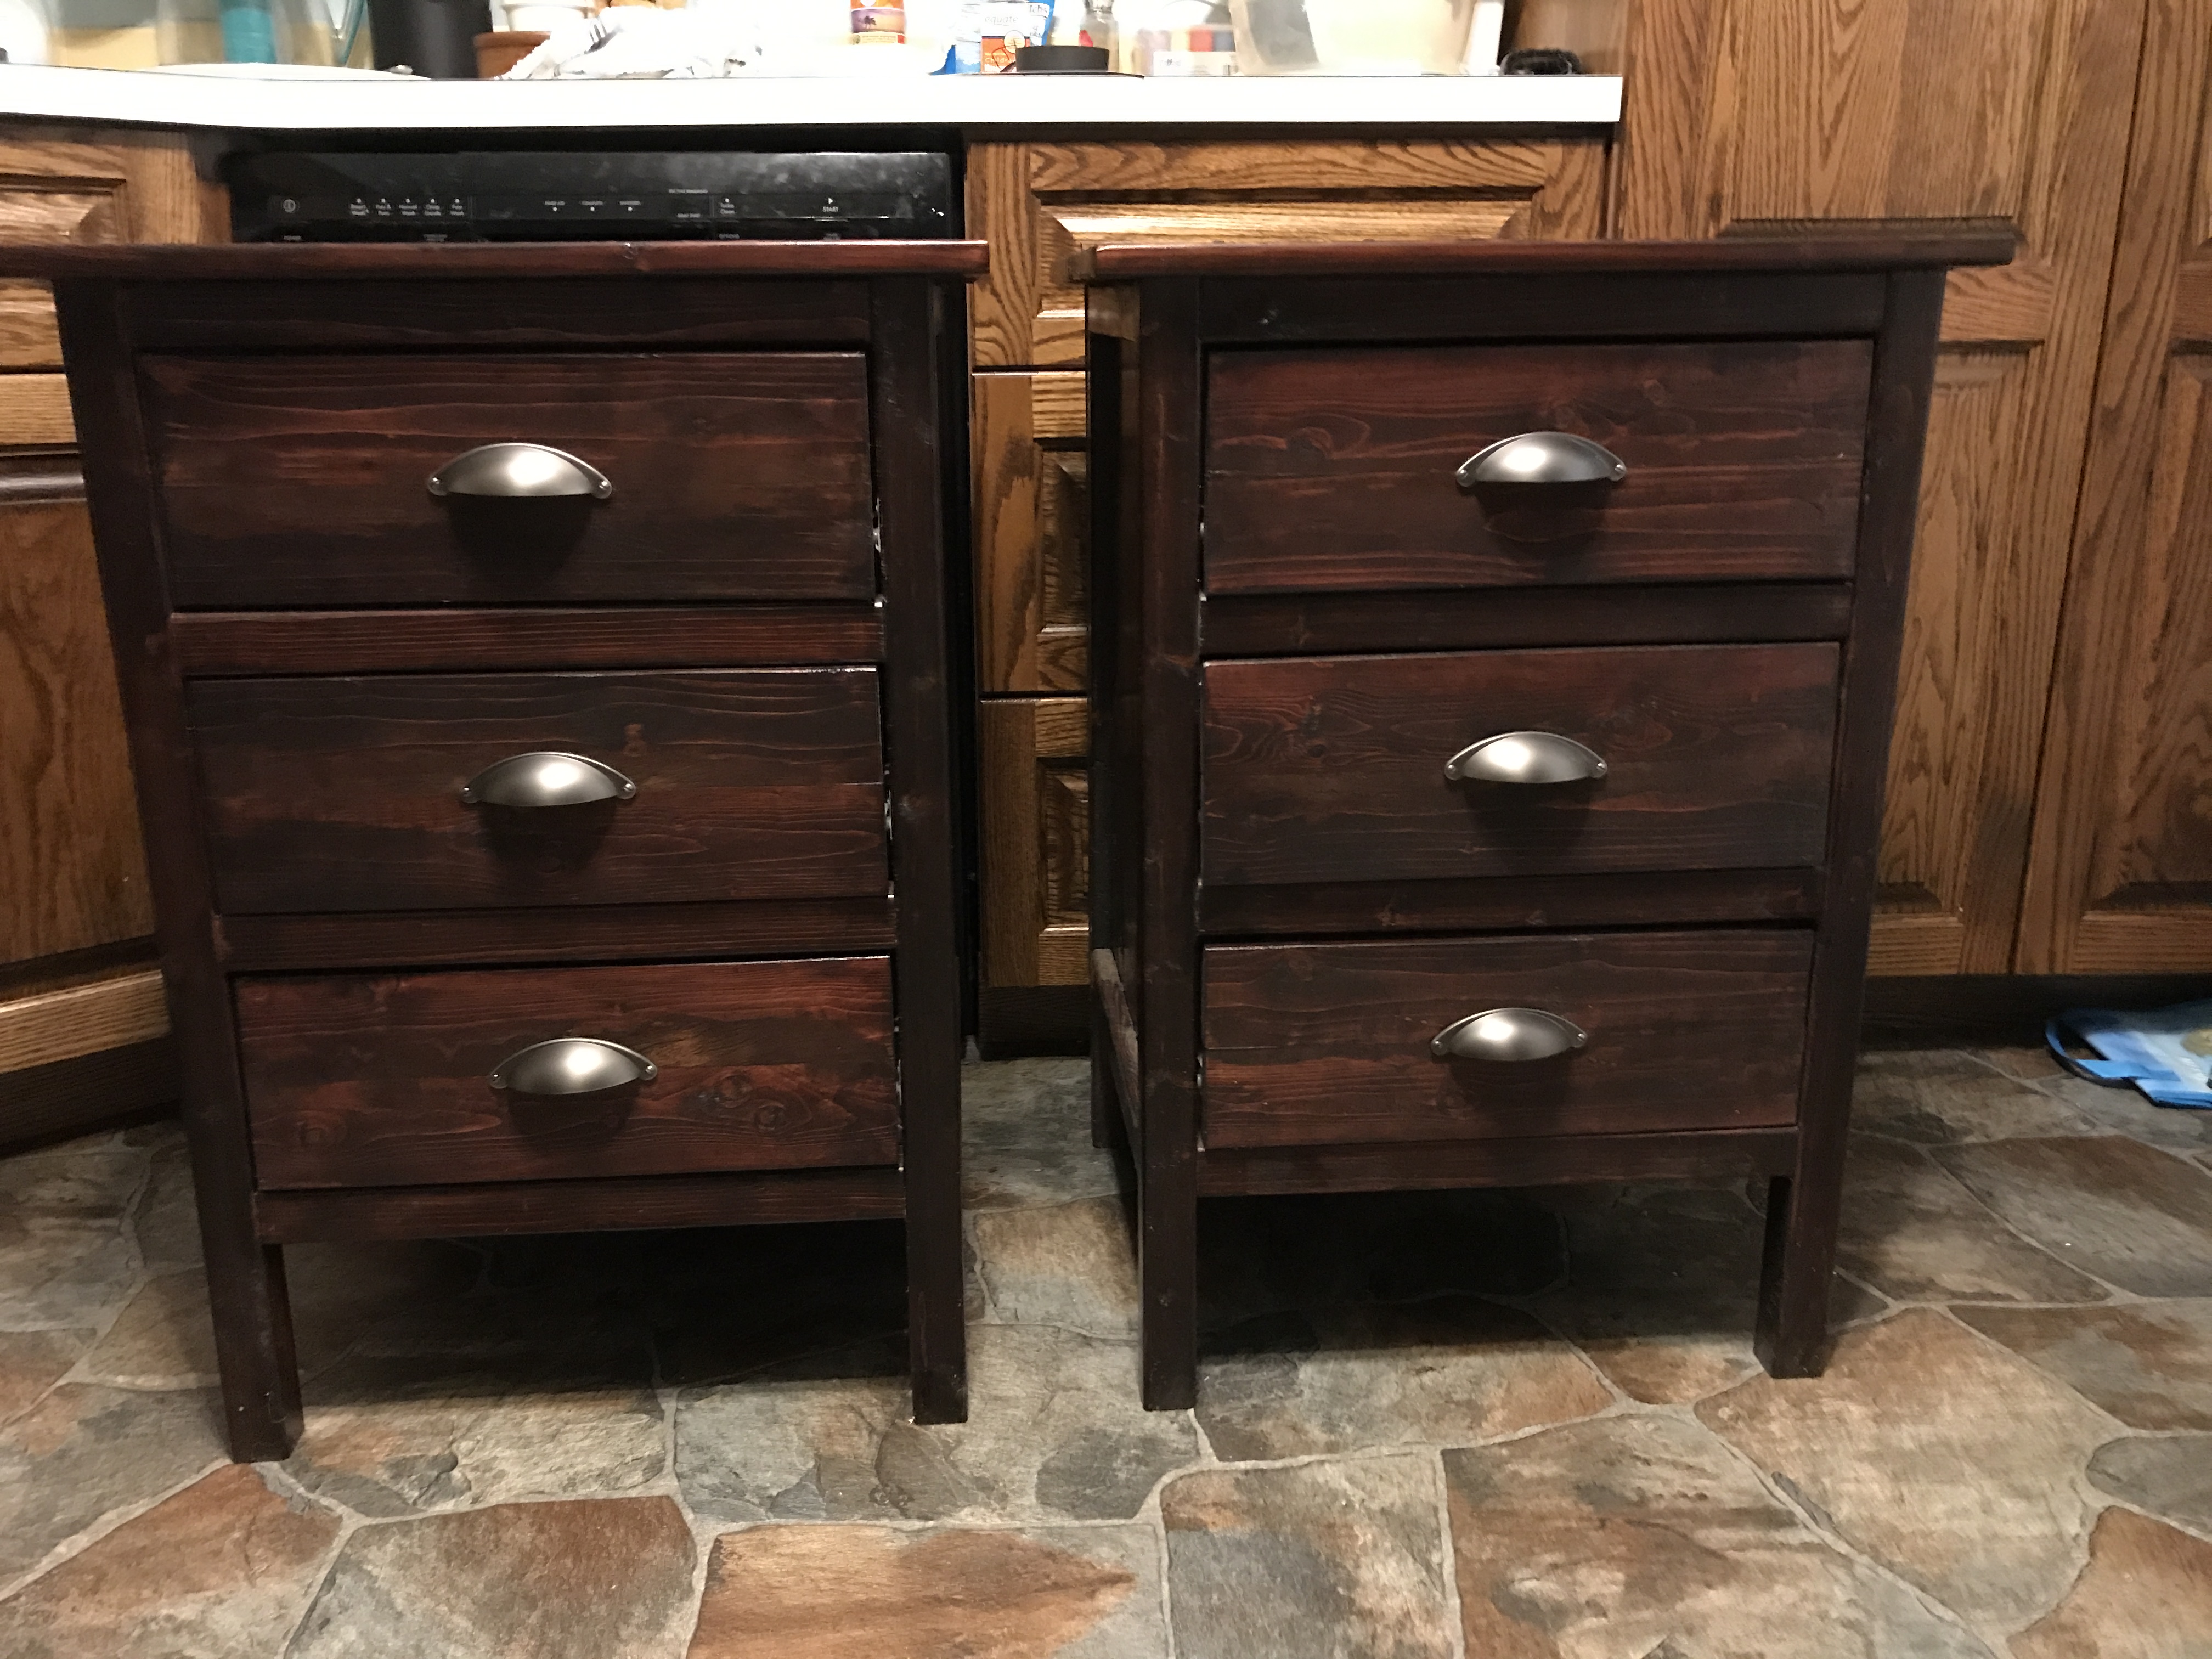
Decided to build these as I could find anything tall enough to be bedside tables. Easy to follow plans that came together quickly.

Love your projects!
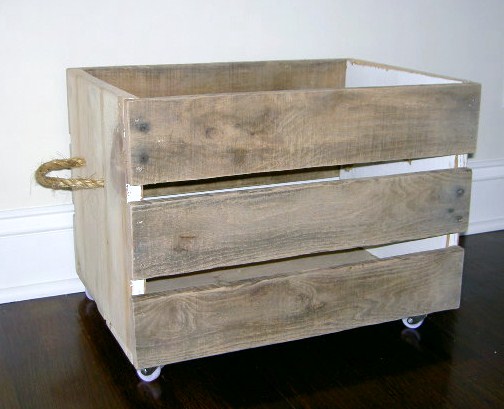
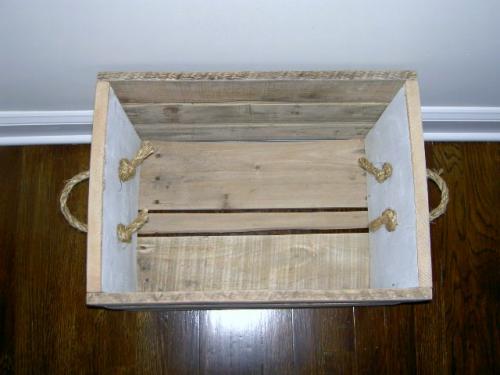
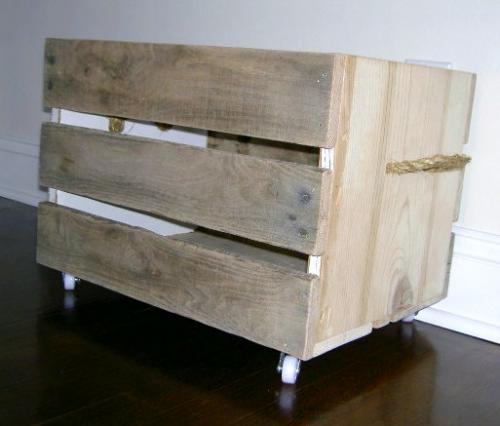
Crate cart made from pallet wood.
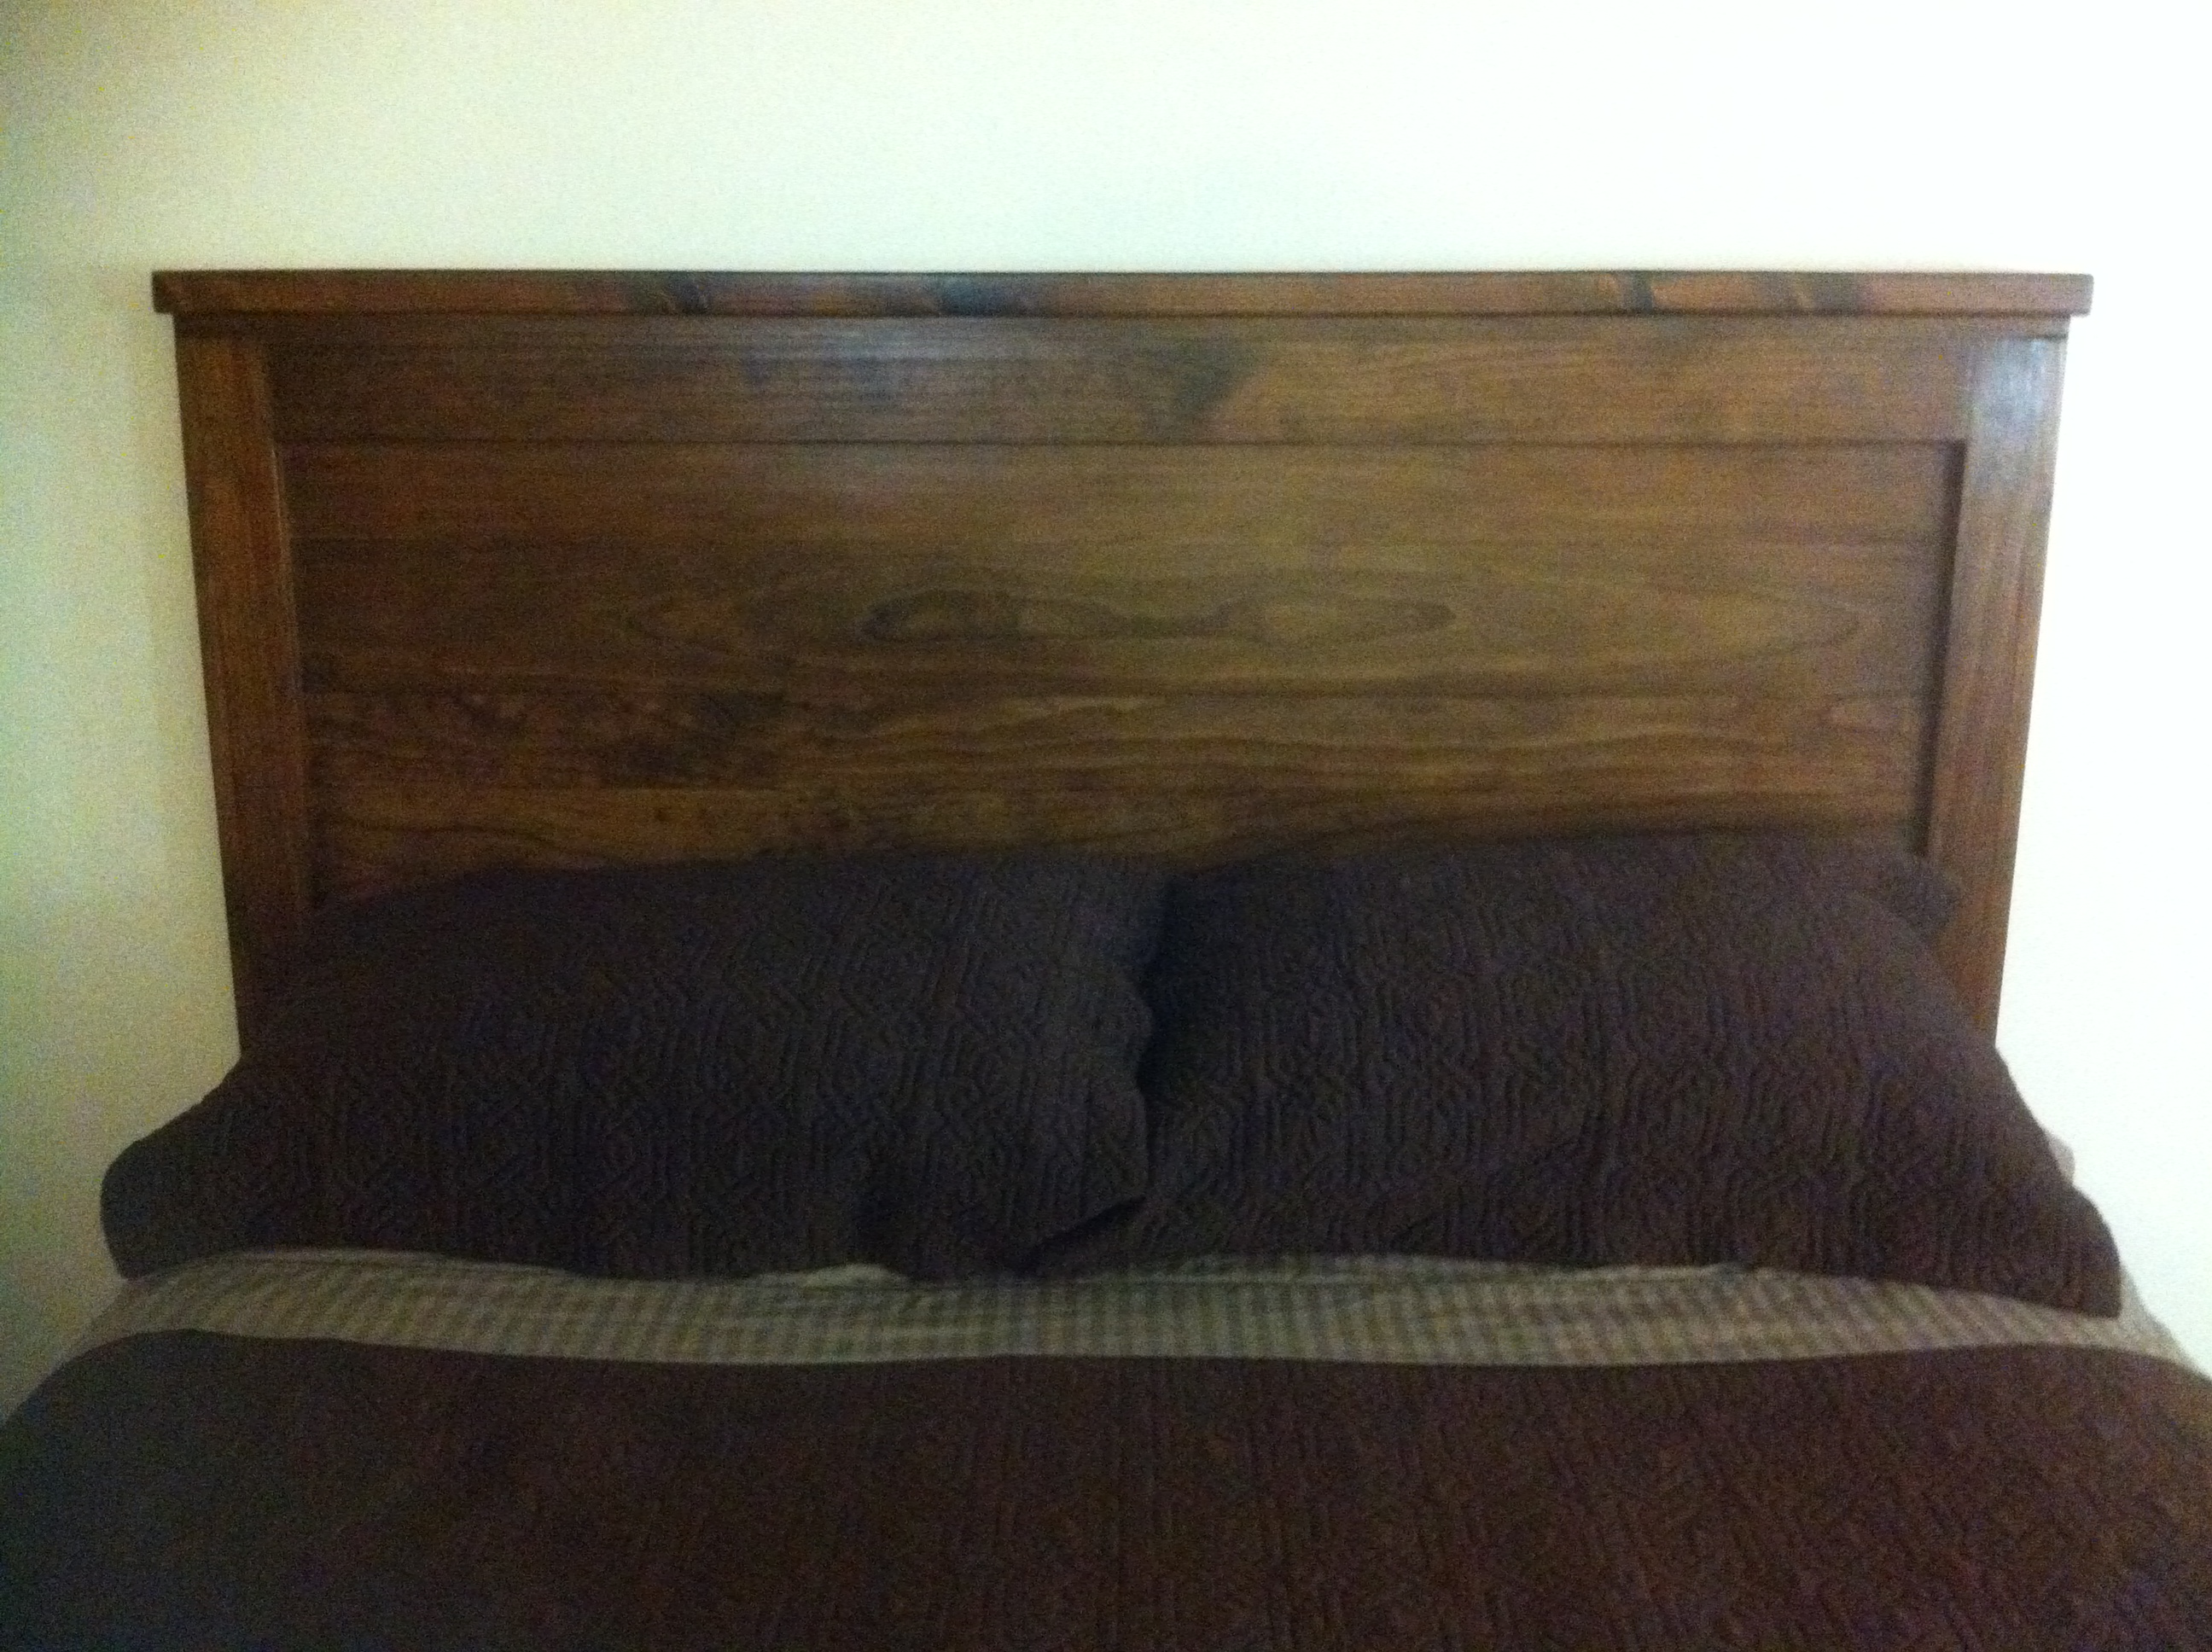
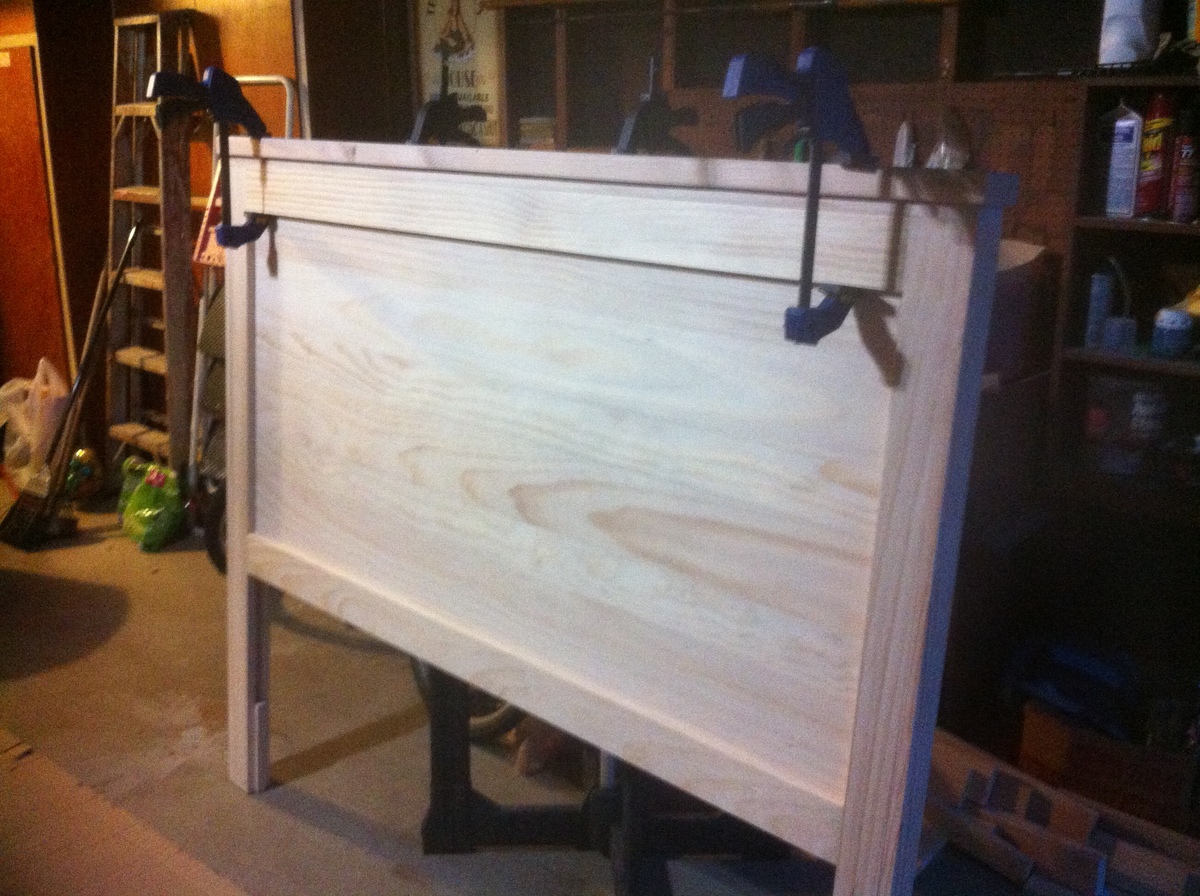
This is my first project, and it turned out really well! I bought the wood at Home Depot. It is pine (except for the crowning 2x4, that's douglas fir because Home Depo didn't have that size in pine) and I probably spent about $150 just on the wood, and then I also bought a palm sander, corded drill, circular saw, and Kreg Jig. I also bought pre-stain, stain, and polycrylic finish which added another $45. Plus I spent money on sand paper, clamps, Kreg Jig screws, and some nails.
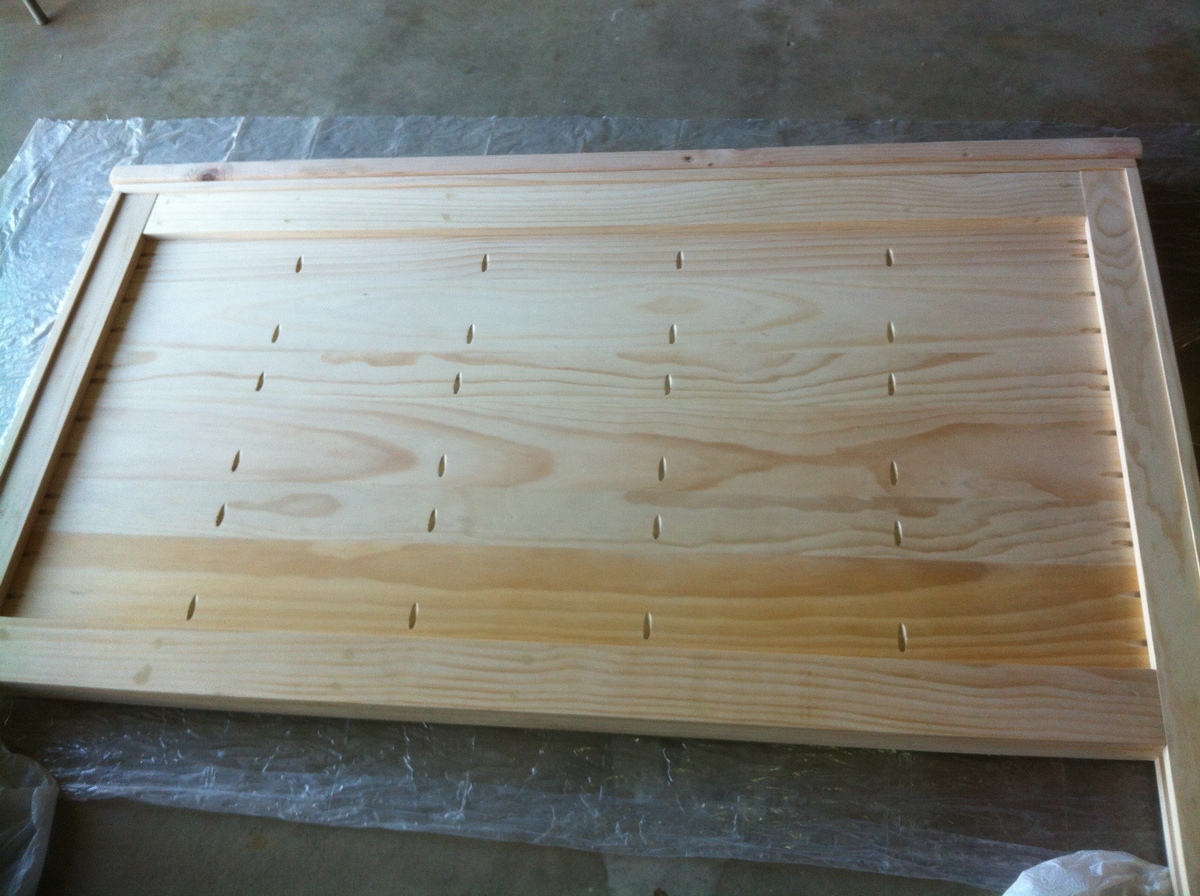
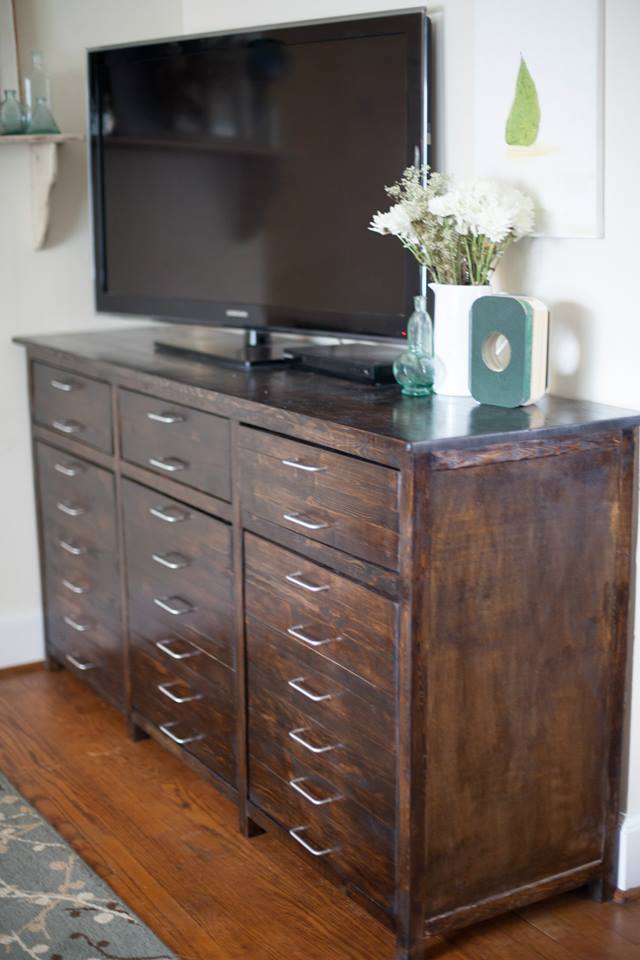
I included the picture of the back to show how I used the Kreg Jig. I used it to not only attach the middle part to the sides, but I made the middle part one connected piece so it would be extra sturdy, tight, and pieces would not bow when leaned against. The back isn't pretty, but it's against the wall so no one can see. The Kreg Jig is awesome and I'm glad I bought it so I can do other projects.
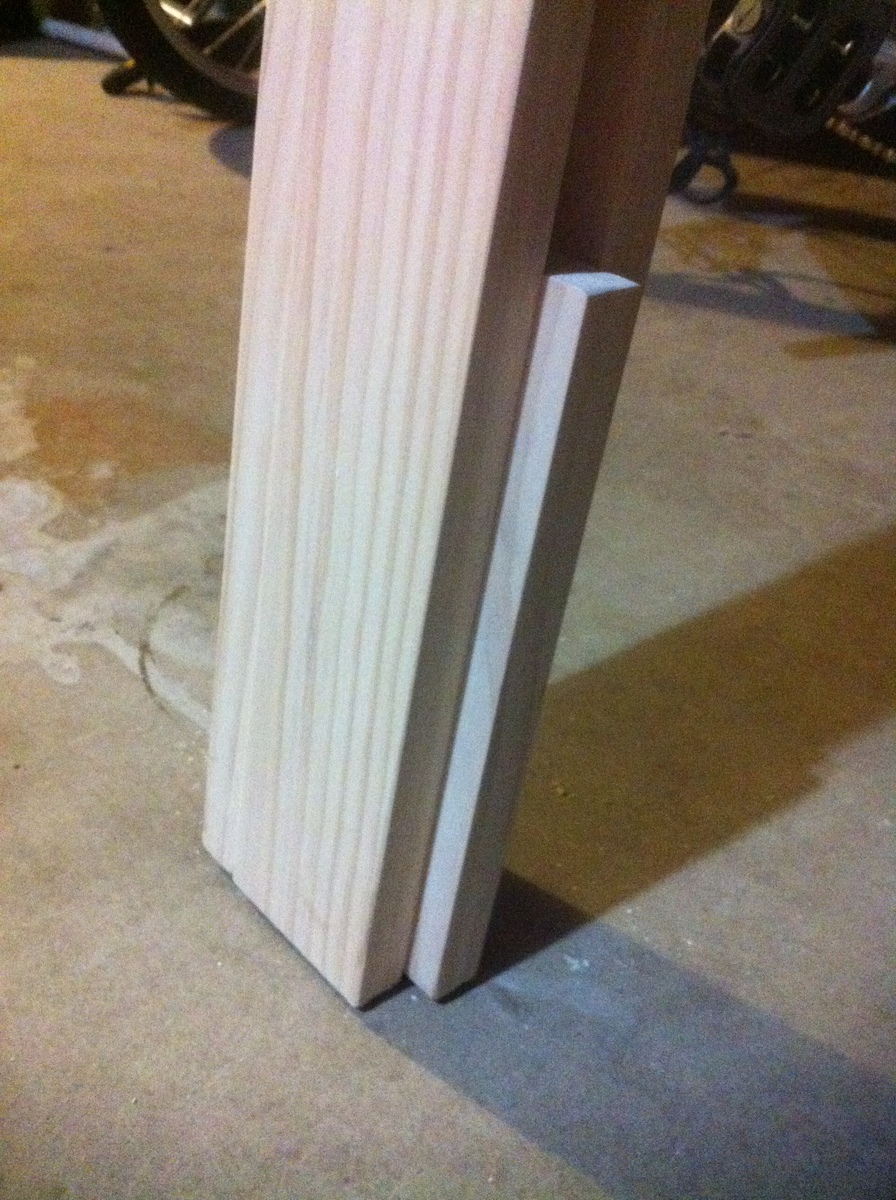
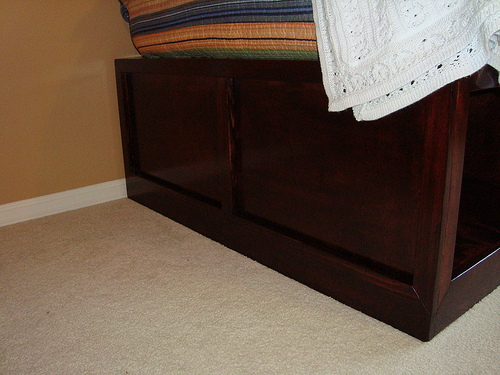
I also included a photo of the bottom of the side. I used a scrap piece of wood to make it more sturdy since that's where I drilled the holes to bolt it to the bed's metal frame.
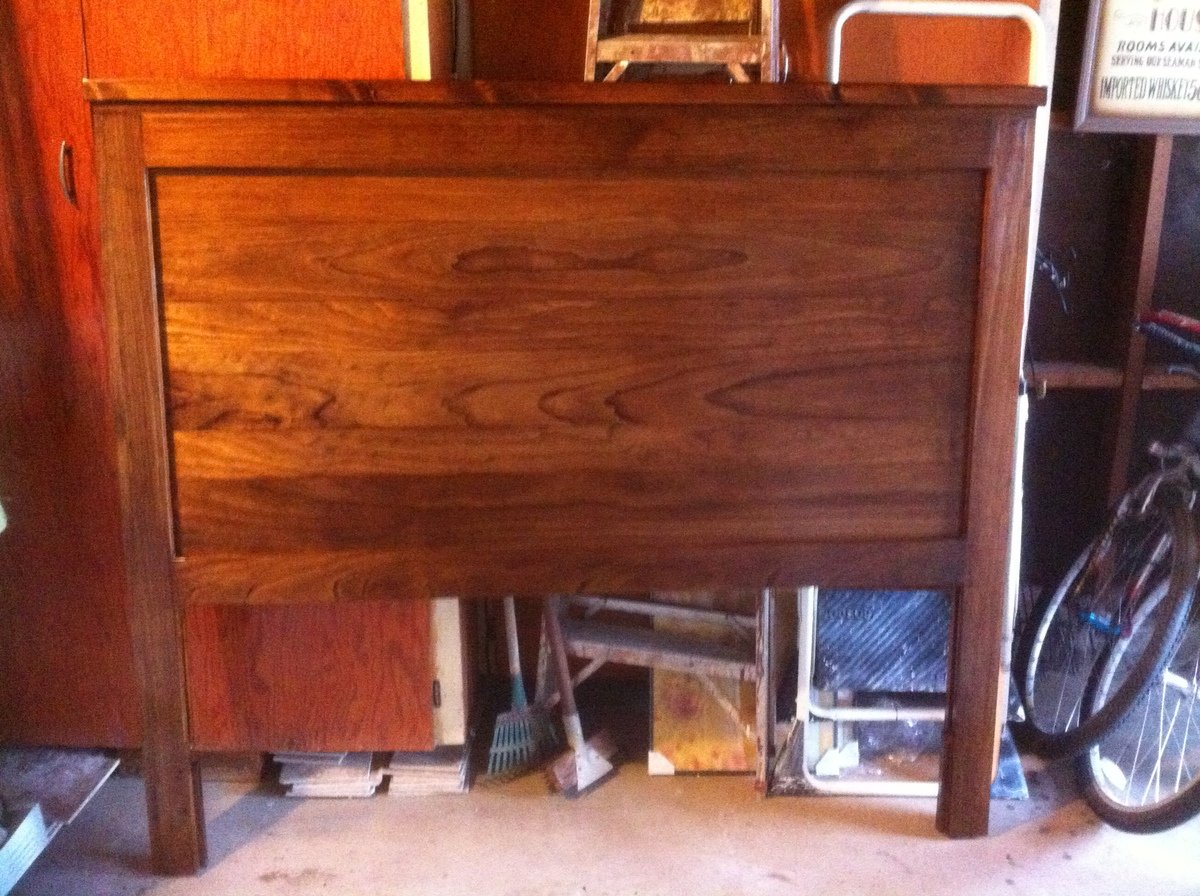
Between sanding, assembly, and finishing I worked on this over the course of about two months on the weekends. If you don't sand much and keep the finish more simple you could potentially get it done really fast. But since this is something we plan on using in our master bedroom for years to come I wanted to try to make it perfect. It still has a handful of mistakes (I learned a lot), but my joke is "it's a reclaimed wood headboard."
Now that I've got the tools I'm on to building matching side tables, and pending that goes well the plan is to build a dresser.
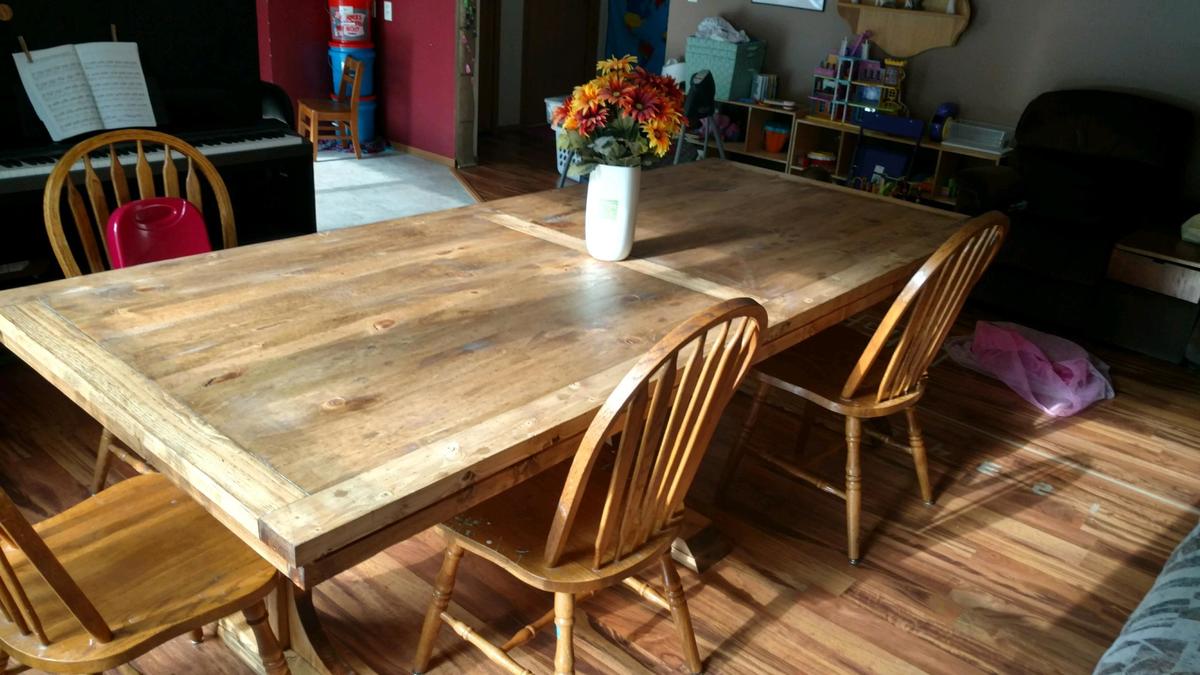
We made this and a dresser just like it. We wanted matching furniture.

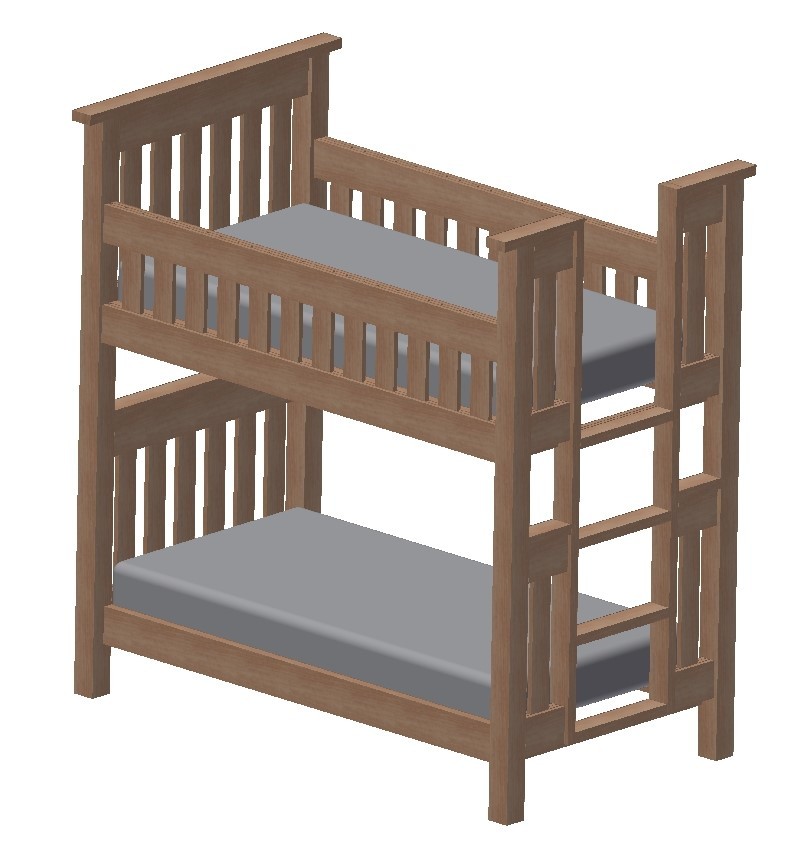
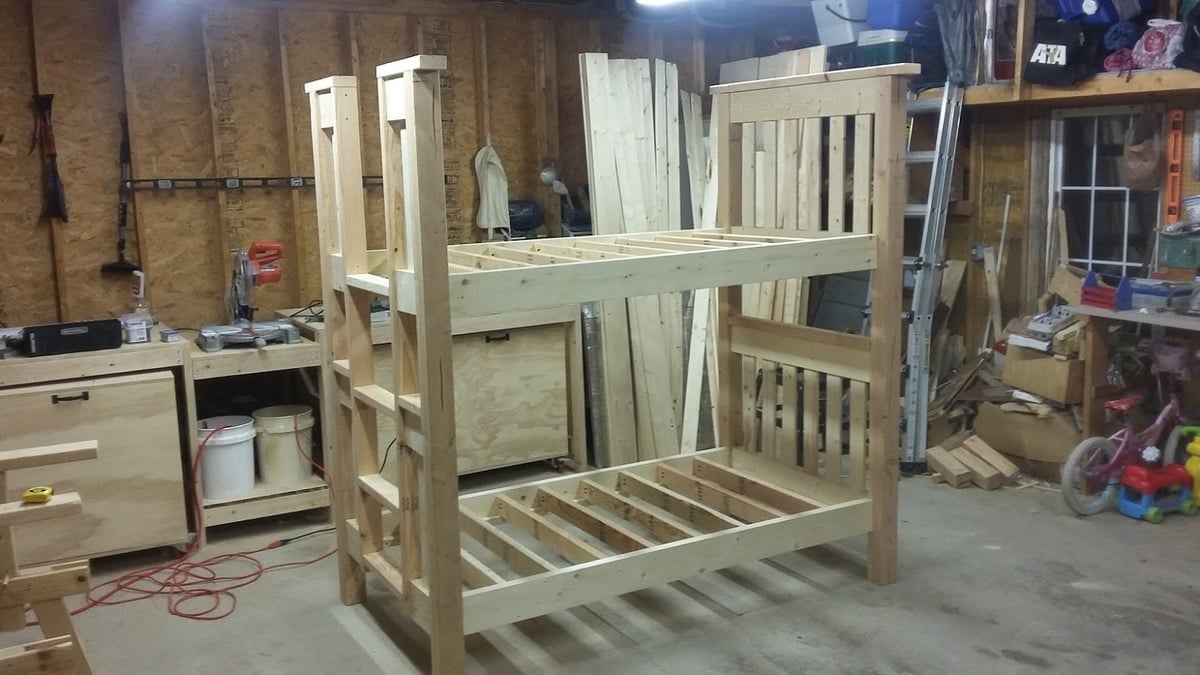
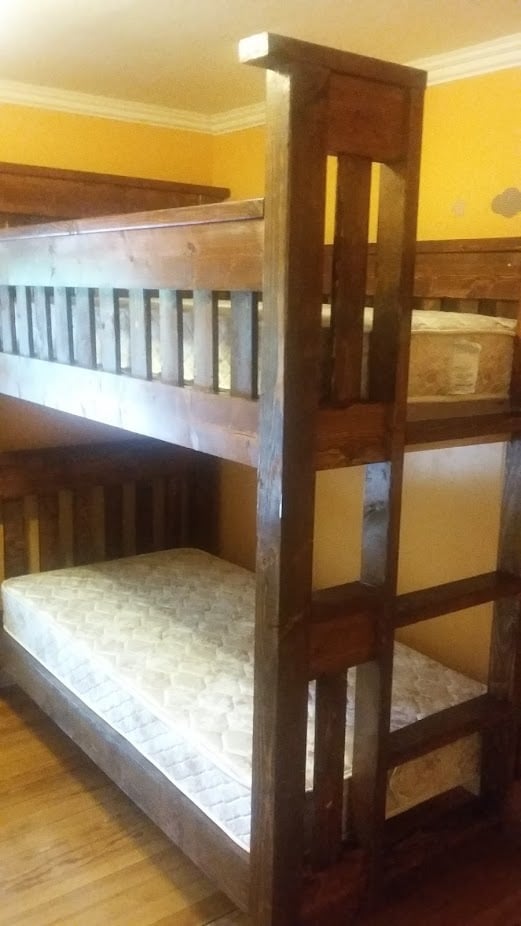
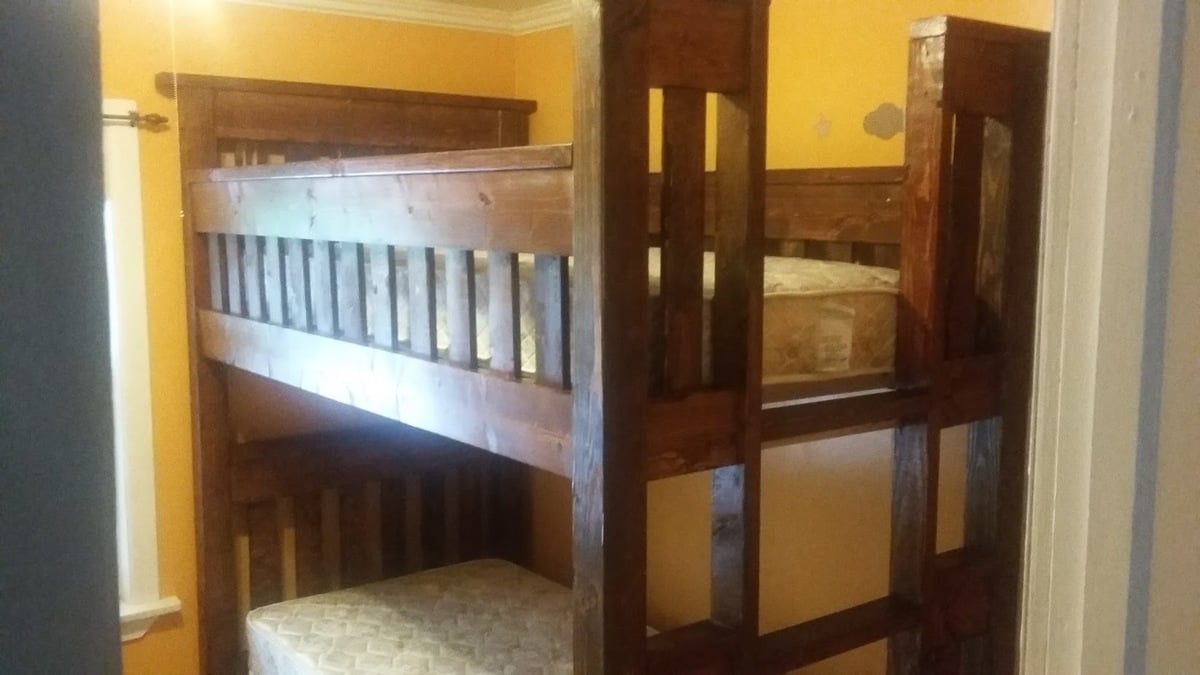
I built the Simple Bed for one of our kids and now we wanted a bunk bed. I saw many plans for bunk beds based on the Simple Bed plans, but I didn't want the ladder on the side. I made some changes and designed the bed in 3D using Autodesk Inventor. It didn't turn out much different than I planned. It's super heavy, but very stable. My wife did a great job on the stain.
Mon, 06/04/2018 - 06:07
The beds look amazing!
Did your wife stain the bed after it was assembled?
If so, how long did it take her to stain it?
Mon, 06/04/2018 - 06:08
The beds look amazing!
Did your wife stain the bed after it was assembled?
If so, how long did it take her to stain it?
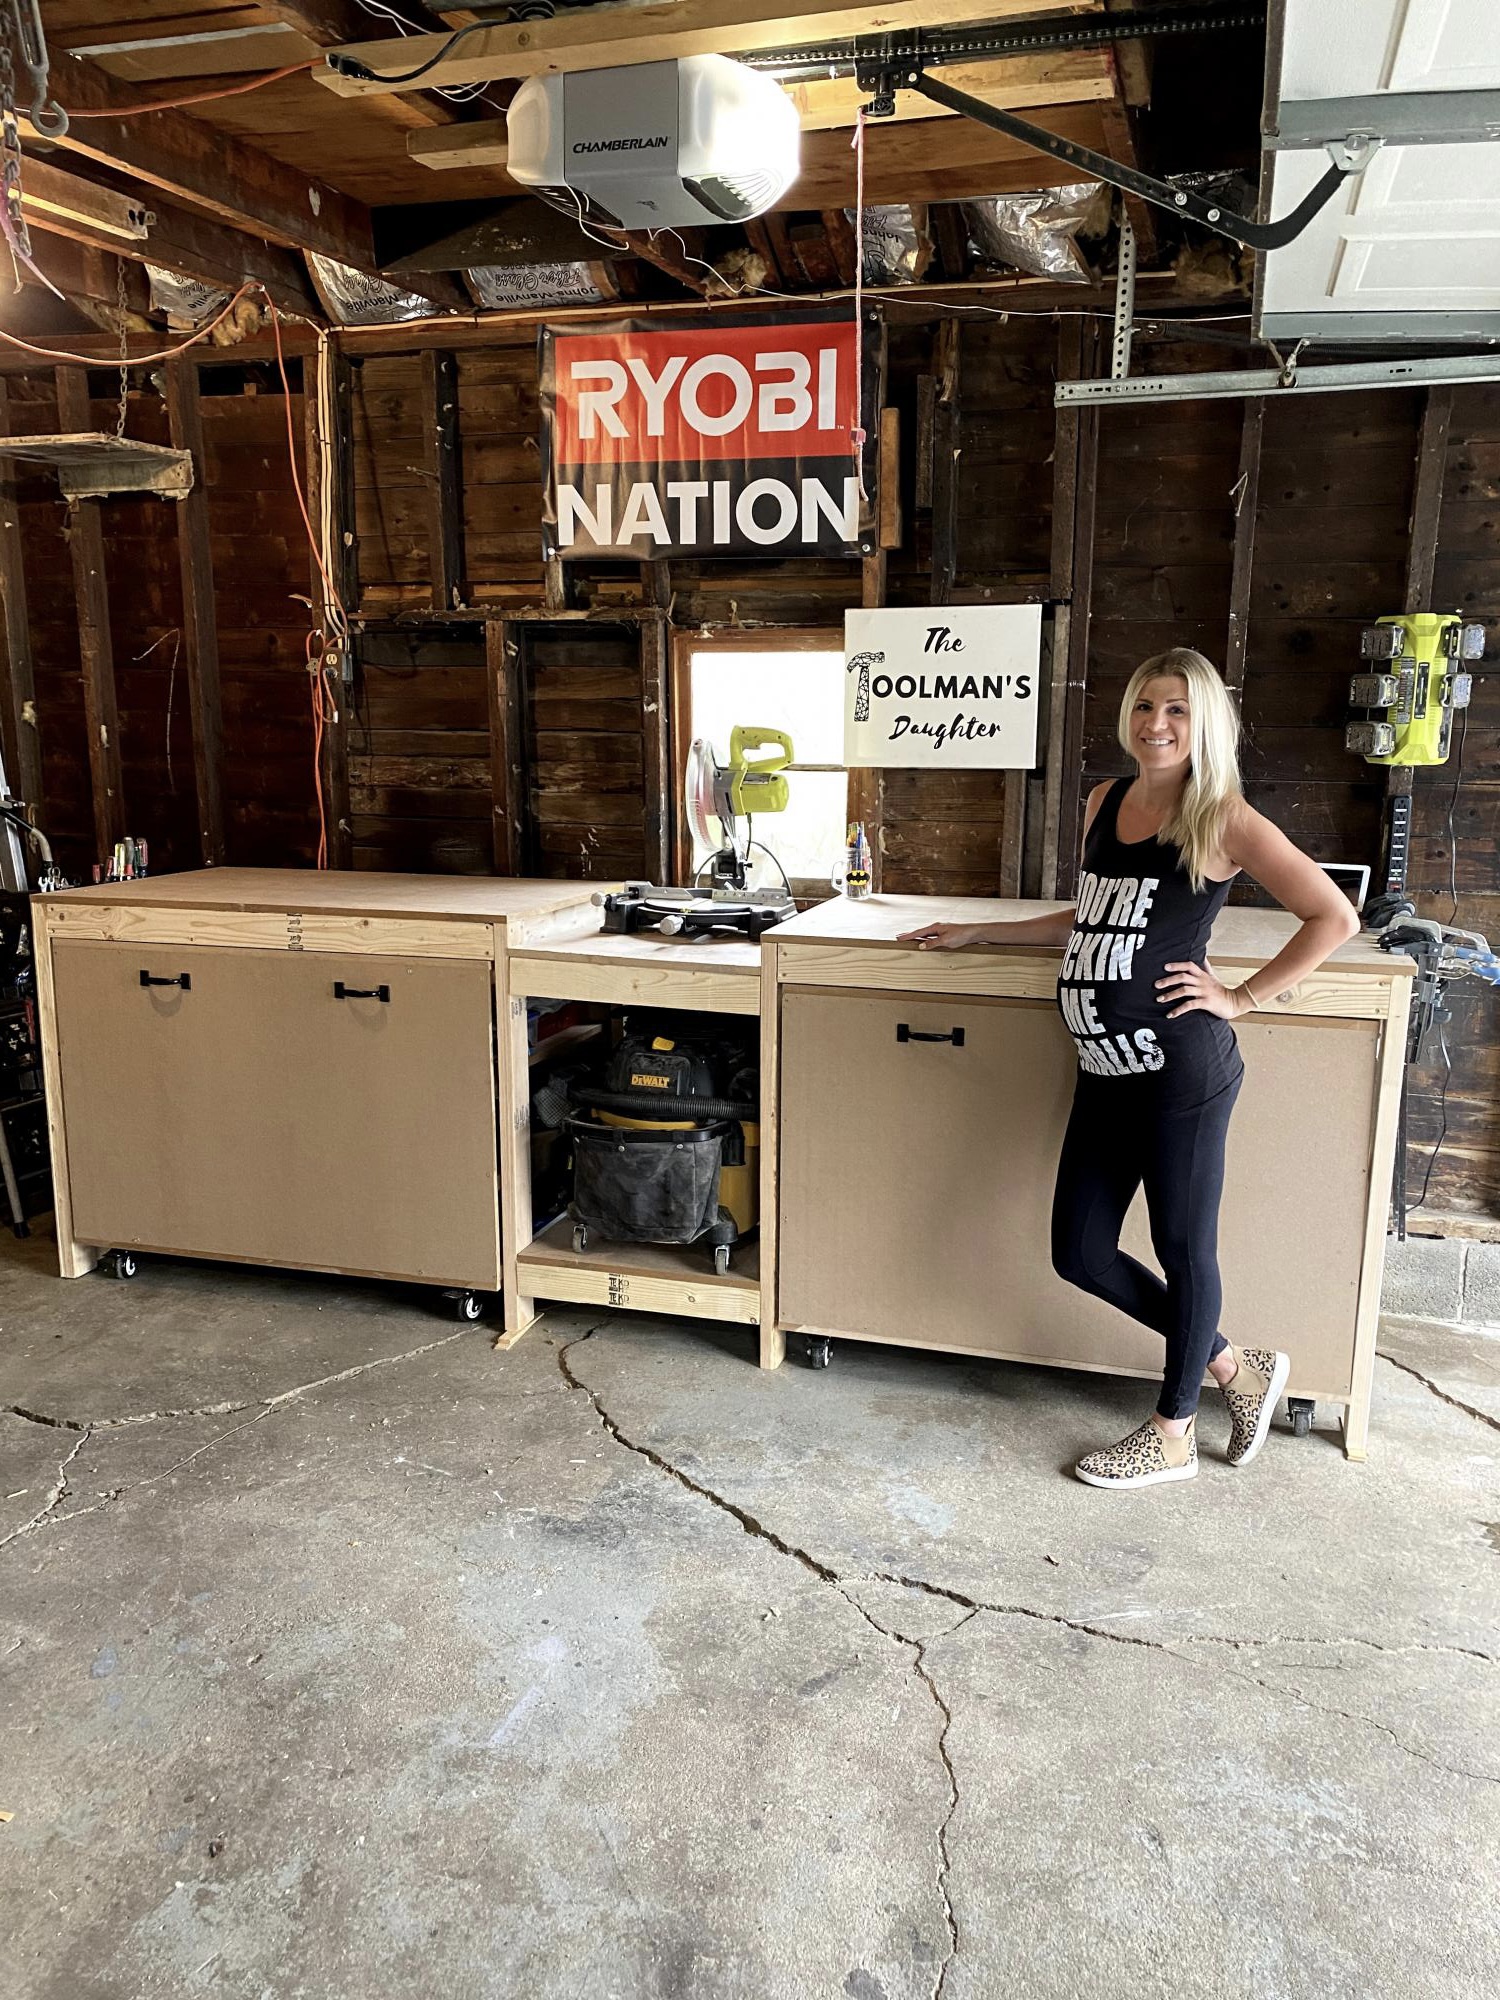
When I was 8 months pregnant and going through my “nesting phase” I knew I needed to get my garage organized. Prior to building this, my tools were all over the place. To try to get it done before the baby came, I called my dad to help me out, and we built it together in just a couple days. It was a weekend I will never forget and I smile every time I walk into my shop knowing we did it together.
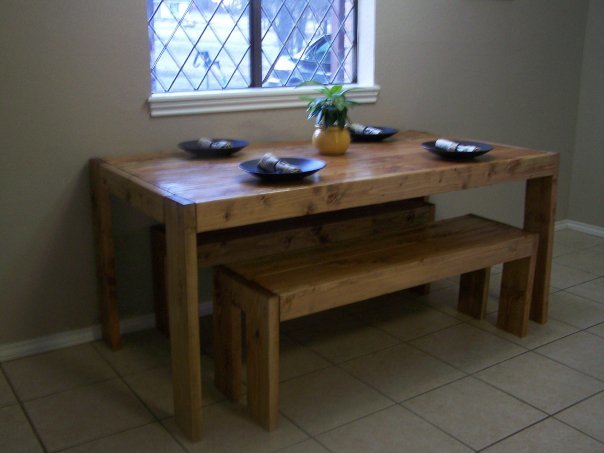
This was our first project. We followed Ana's directions basically word for word. It turned out beautifully! We like the look and easy care of the benches.
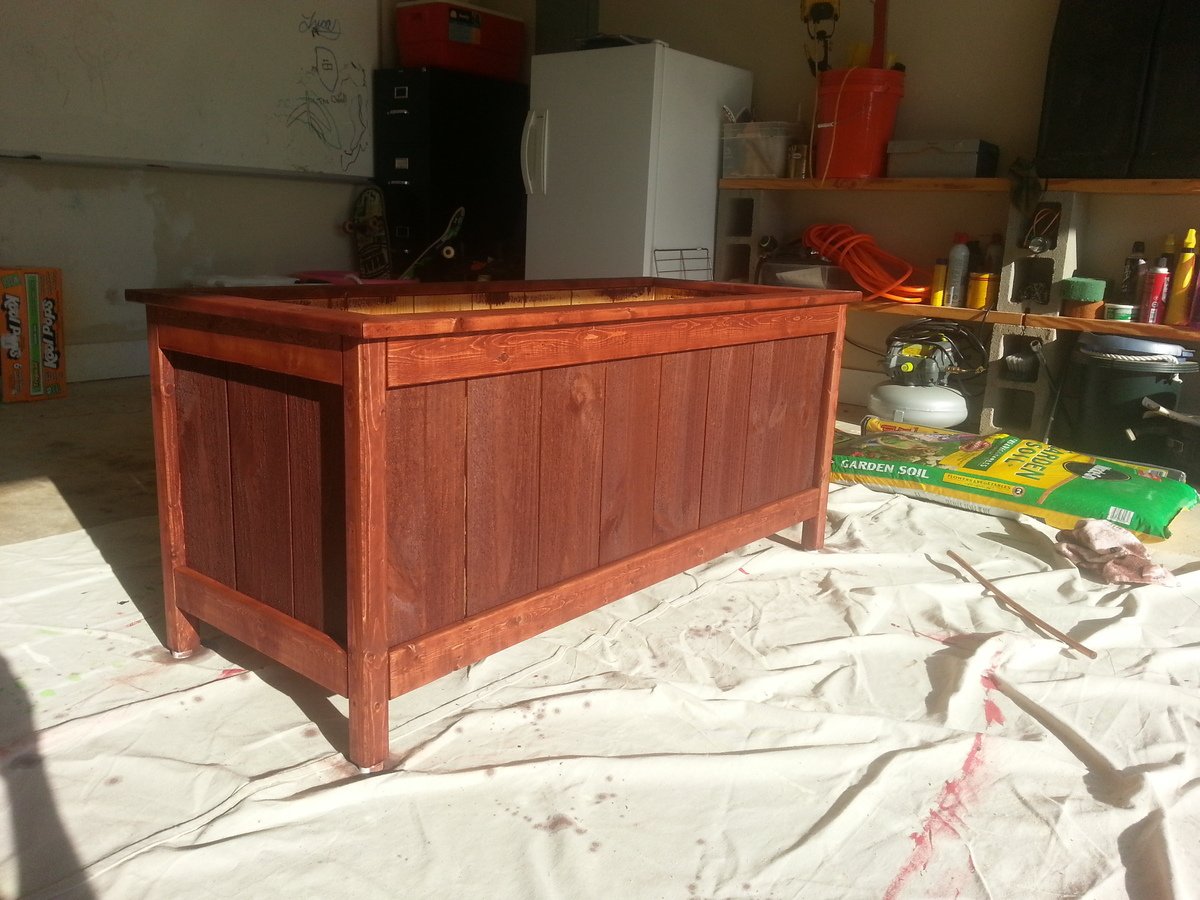
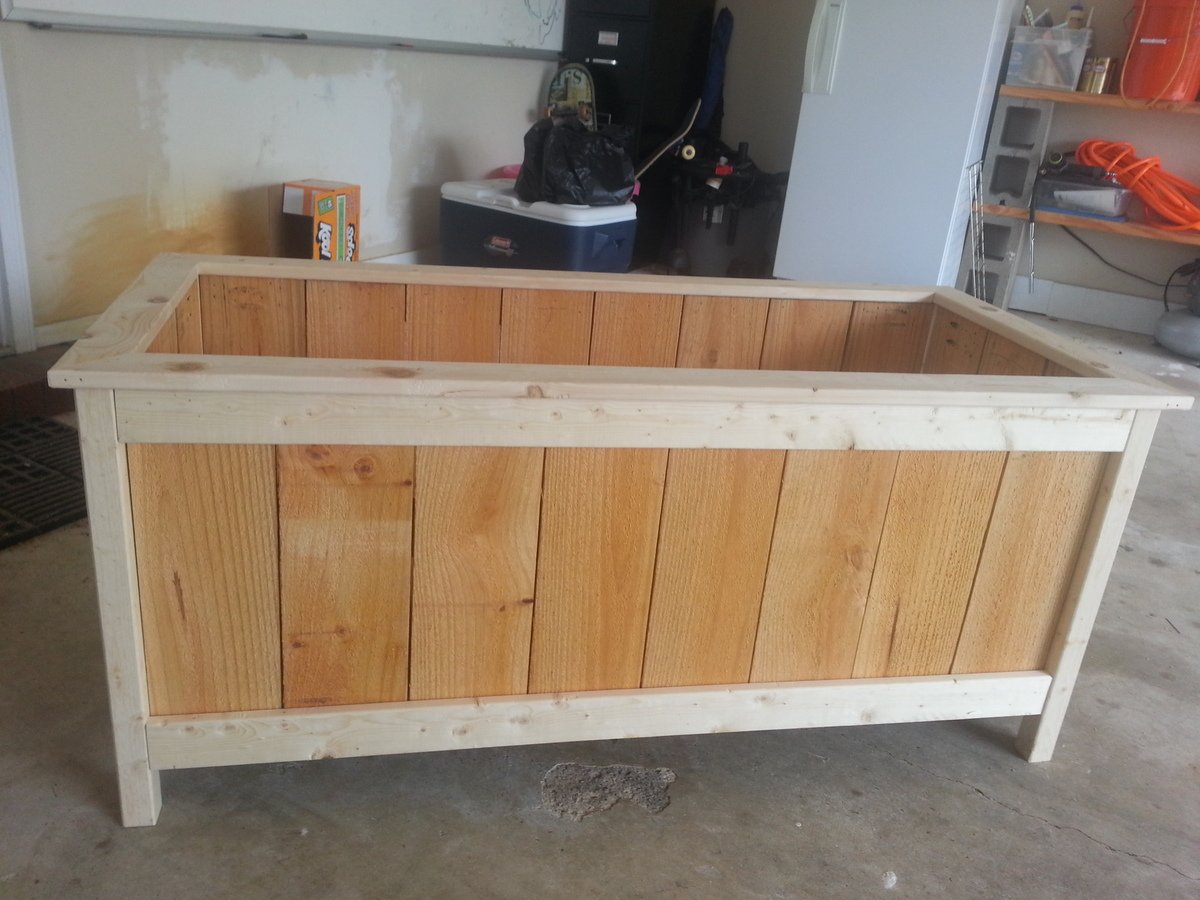
I modified the plan a little to make a rectangular 4 foot long planter and added a top.

Sun, 06/26/2016 - 18:25
I know it's been 3 years, but do you recall how many cedar boards you bought? This is the exact size i need. Thanks.
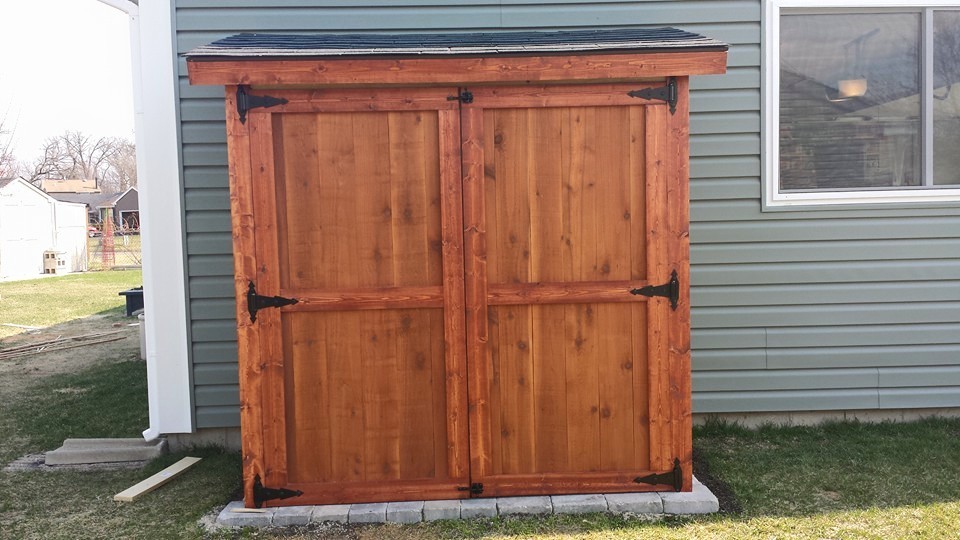
I poured a 3 1/2" concrete pad first then bolted the completed shed to it.
Shed was easy enough to make, the plans were well done. Spent about 25 total hours on shed, including staining. Hinges were very expensive ($20 a pair with latches), spent about $400 NOT INCLUDING gravel, sand, & concrete for the pad or clamps.
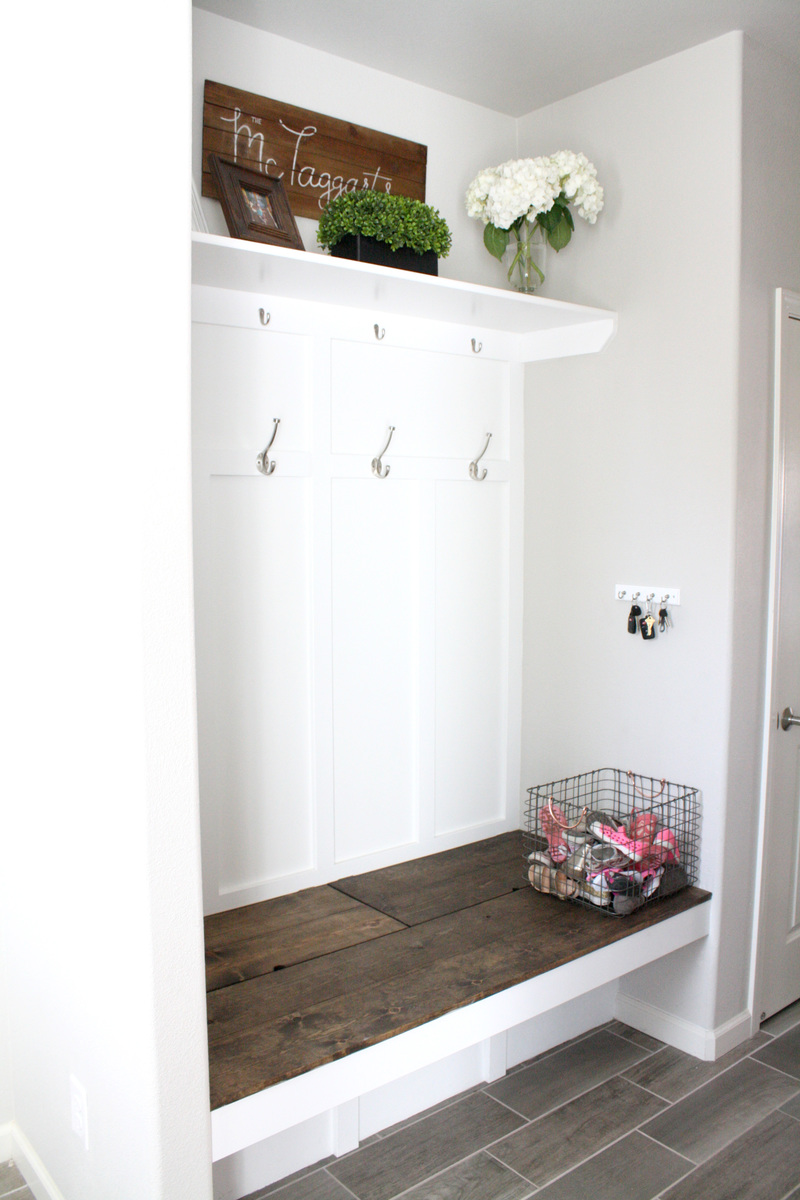
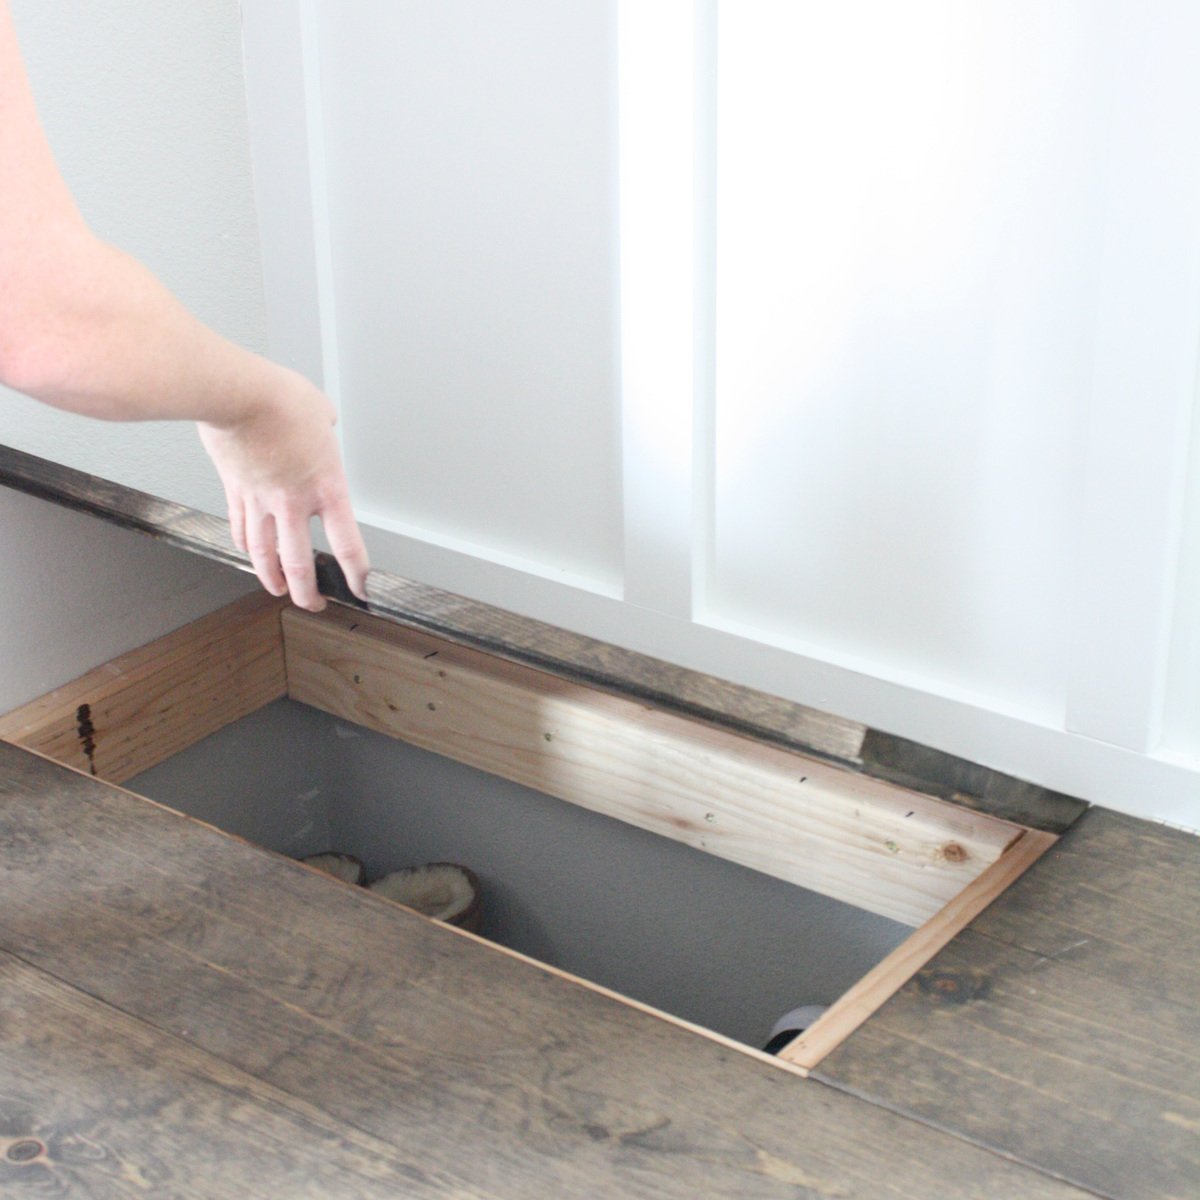
We combined several ideas to create this built in mud room bench. I searched high and low for the design I wanted and loved Ana's hidden storage. It's perfect for off season stuff that would otherwise take up space in a closet. It's such a pretty, functional space that gets so much use.


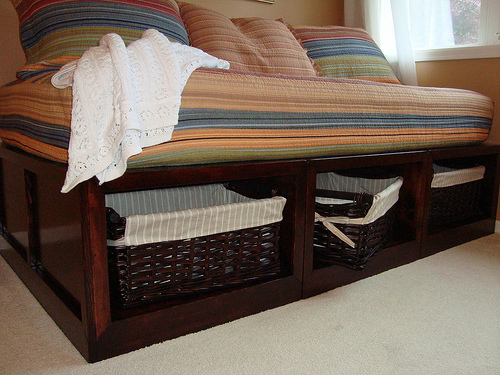
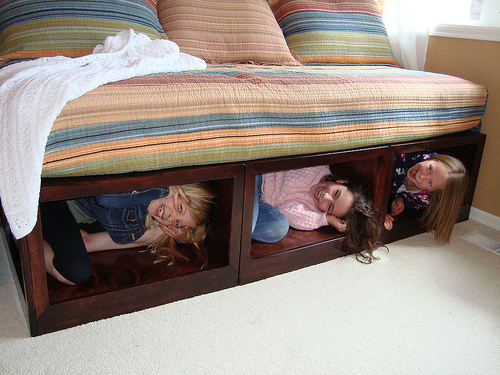
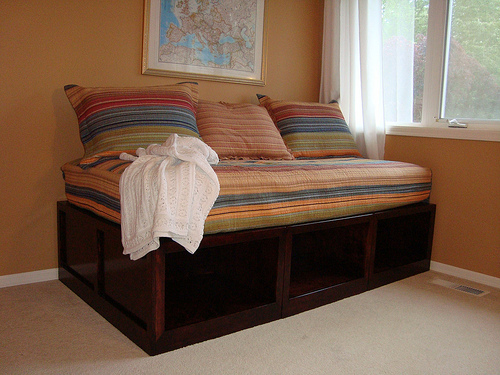
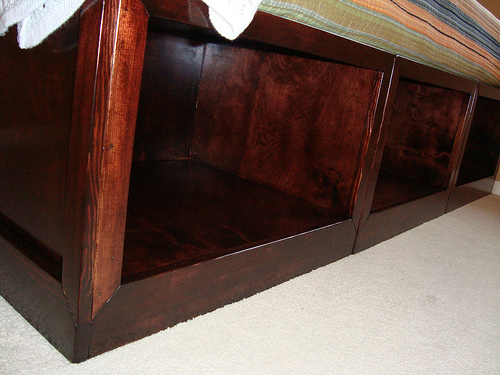
Ana White storage daybed with baskets! Of all the projects I've done based on Ana's plans, this is my favorite. It was my first staining project EVER so I was terrified. I am so in love with how this turned out. The boxes were made using birch plywood and the trim was all pine. Lots of gorilla wood glue (I think it's the least drippy) and a mix of nails (using our new nail gun) and countersunk screws. I used screws for the plywood and nails for the trim. After sanding... and sanding... and sanding... :) Finish is two coats of Minwax Red Mahogony stain (conditioned it first) and then three coats of Minwax Fast Drying Polyurethane in semi-gloss. Did I mention how much I love this color????? I did my best to get all of the glue sanded out, but I did miss in a few spots (end of this cubby...) But I am still thrilled because you can hardly notice. I've used a miter saw before, but never MITERED corners like this and I am so proud of my self with how they came out! :) I used longer, narrow felt pads along the bottom of each bench (for on each). On the bed is the Katy 5-Piece Daybed Set from Amazon. I got the sweater-like throw on Overstock.com. Baskets from World Market! :)
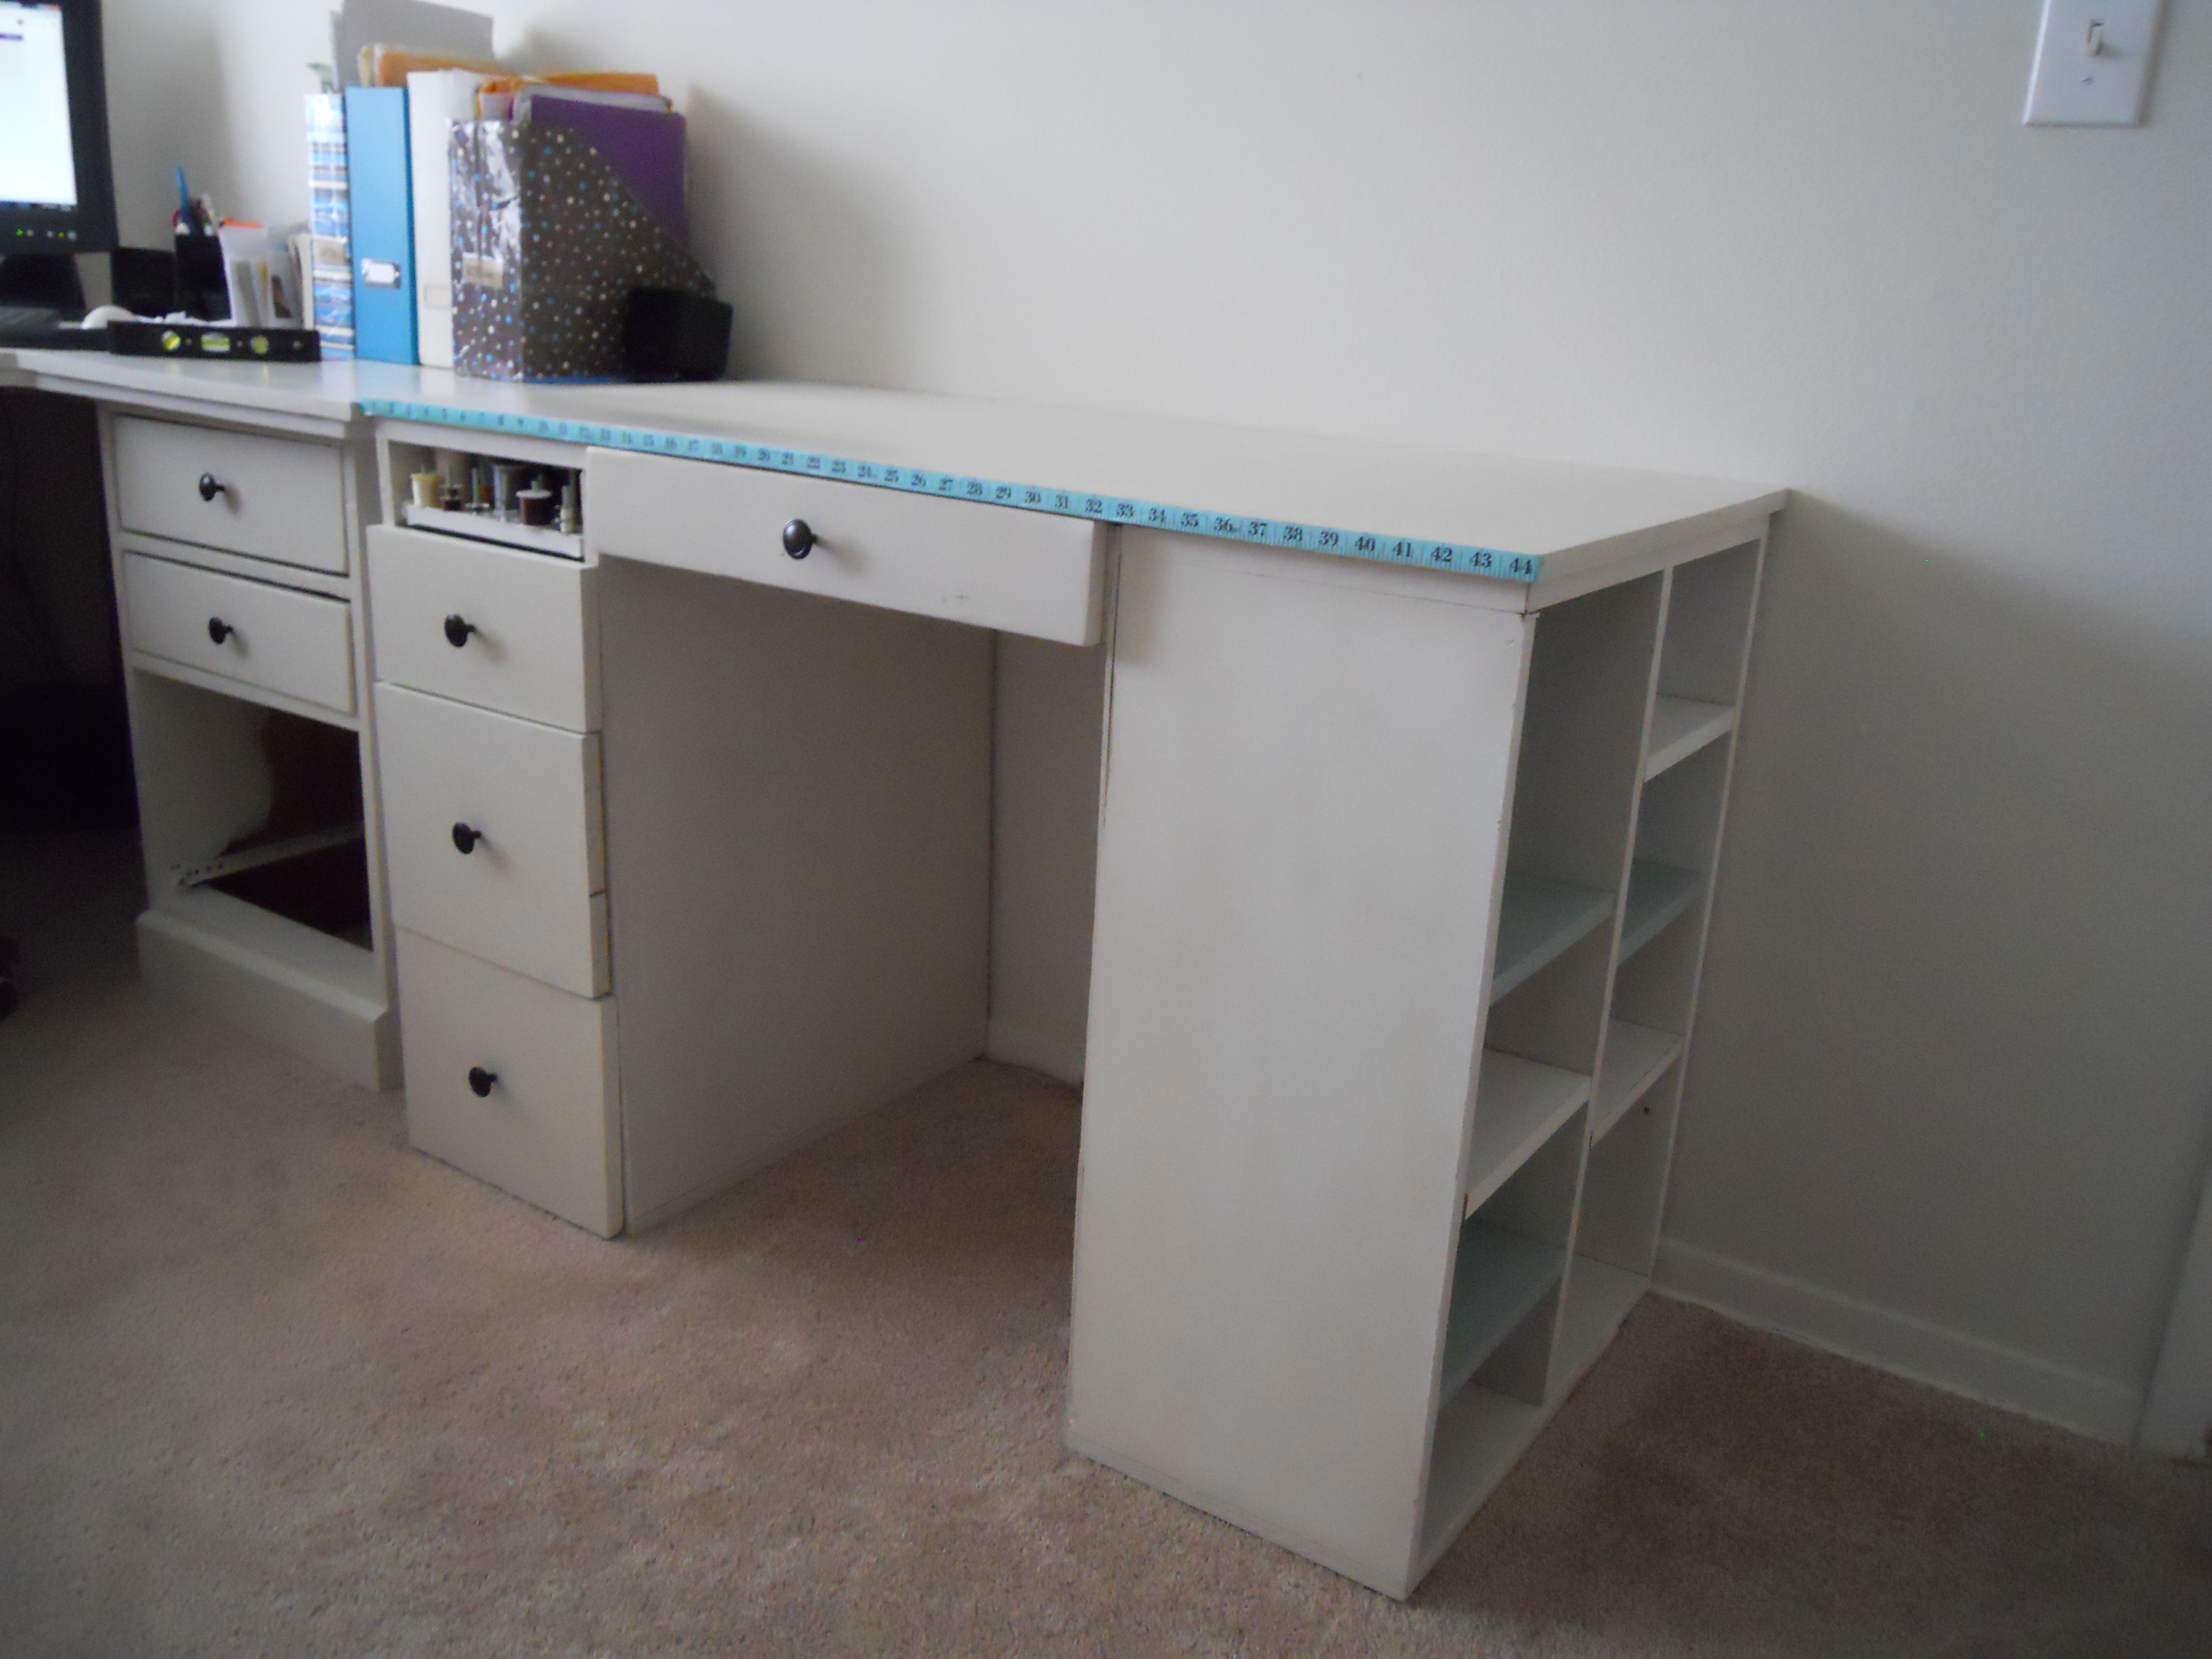
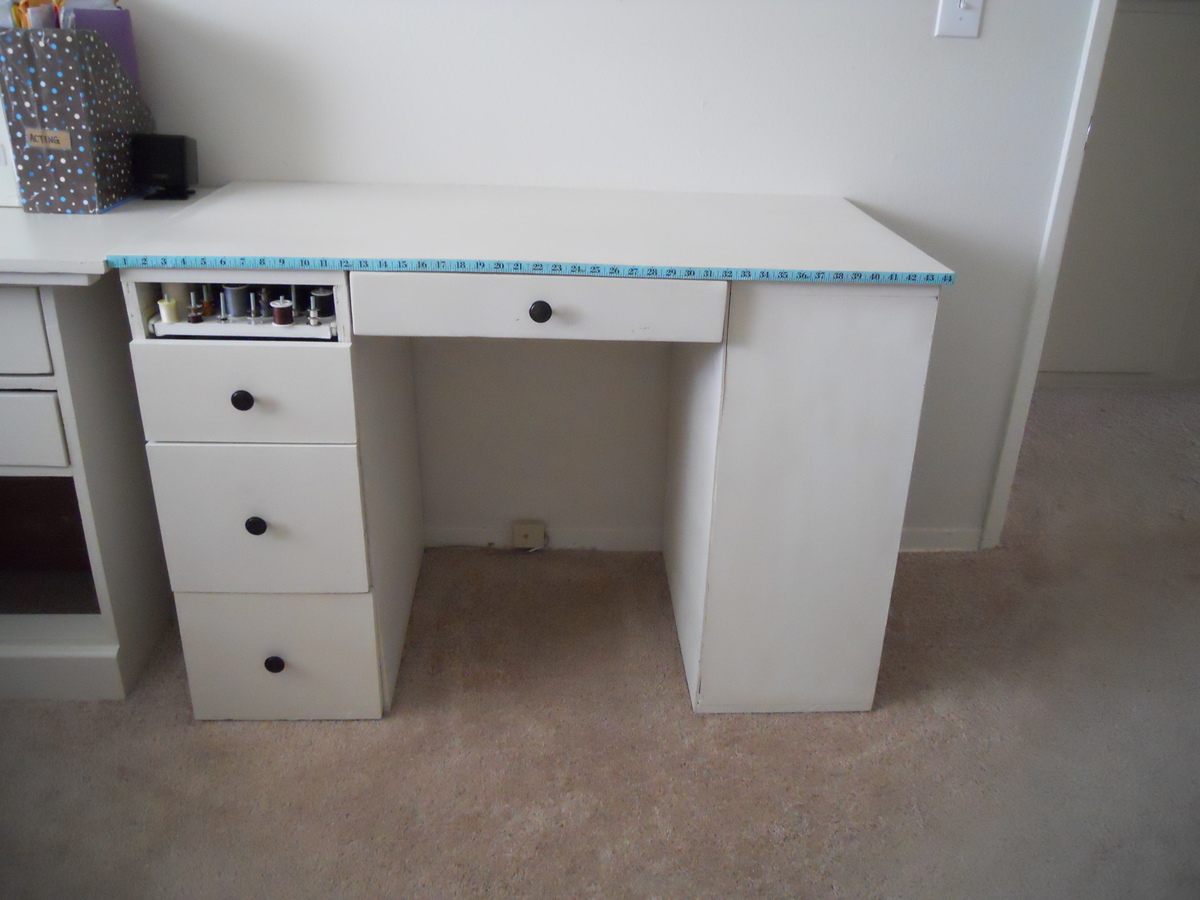
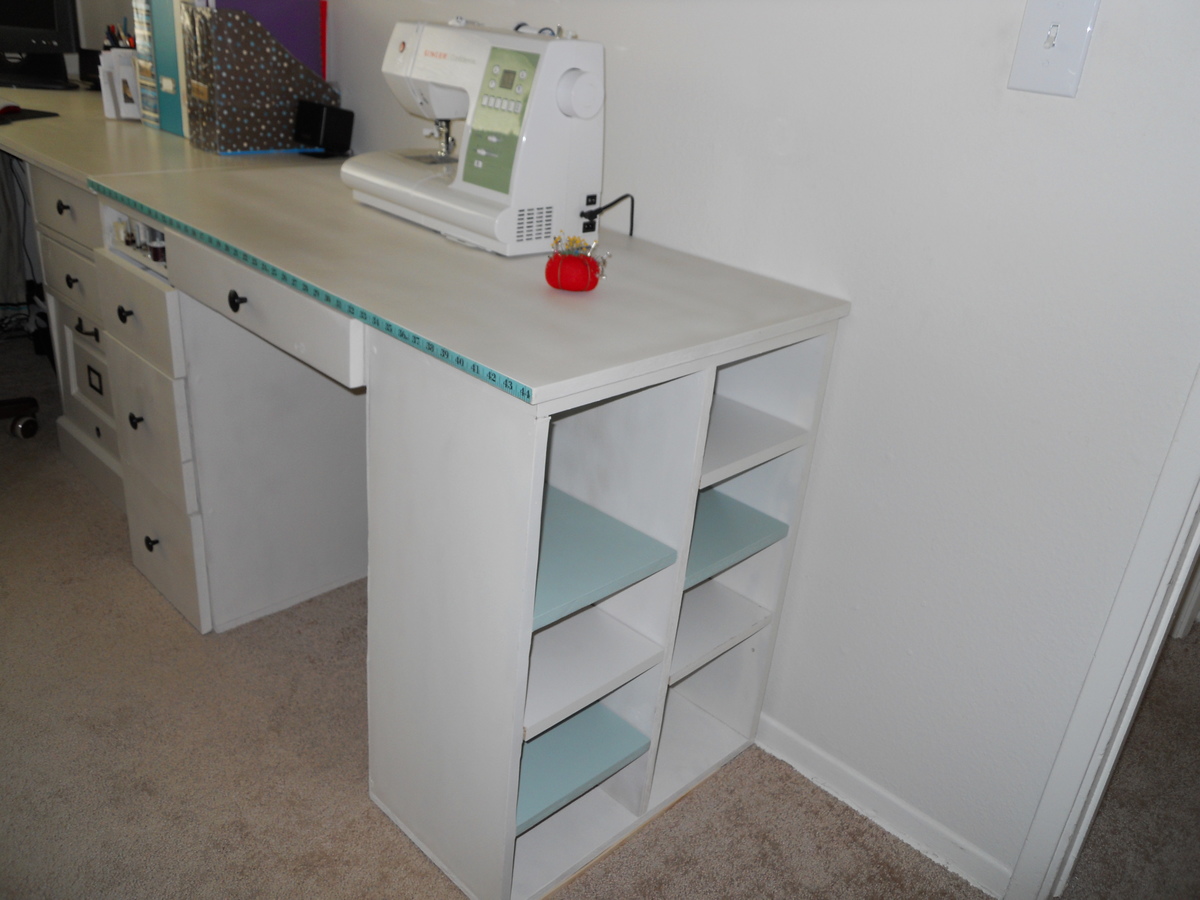
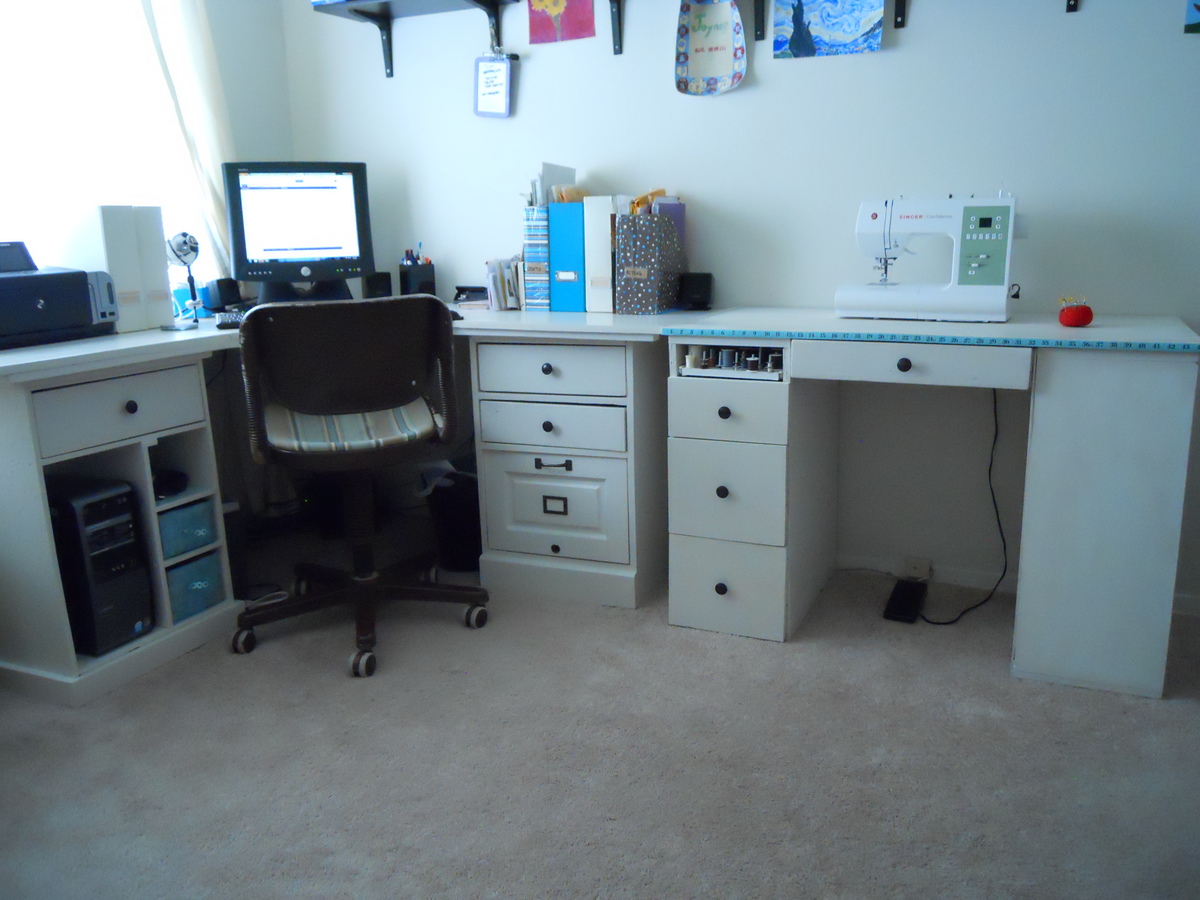
With some modifications, the Cubby bookcase Craft Table!
Particular things I changed to fit my needs:
Made it to fit next to the corner desktop so I could have one long cohesive workstation that looked more built-in. That meant drawers on the left instead of cubbies. I glued a tape measure on the front for material cutting.
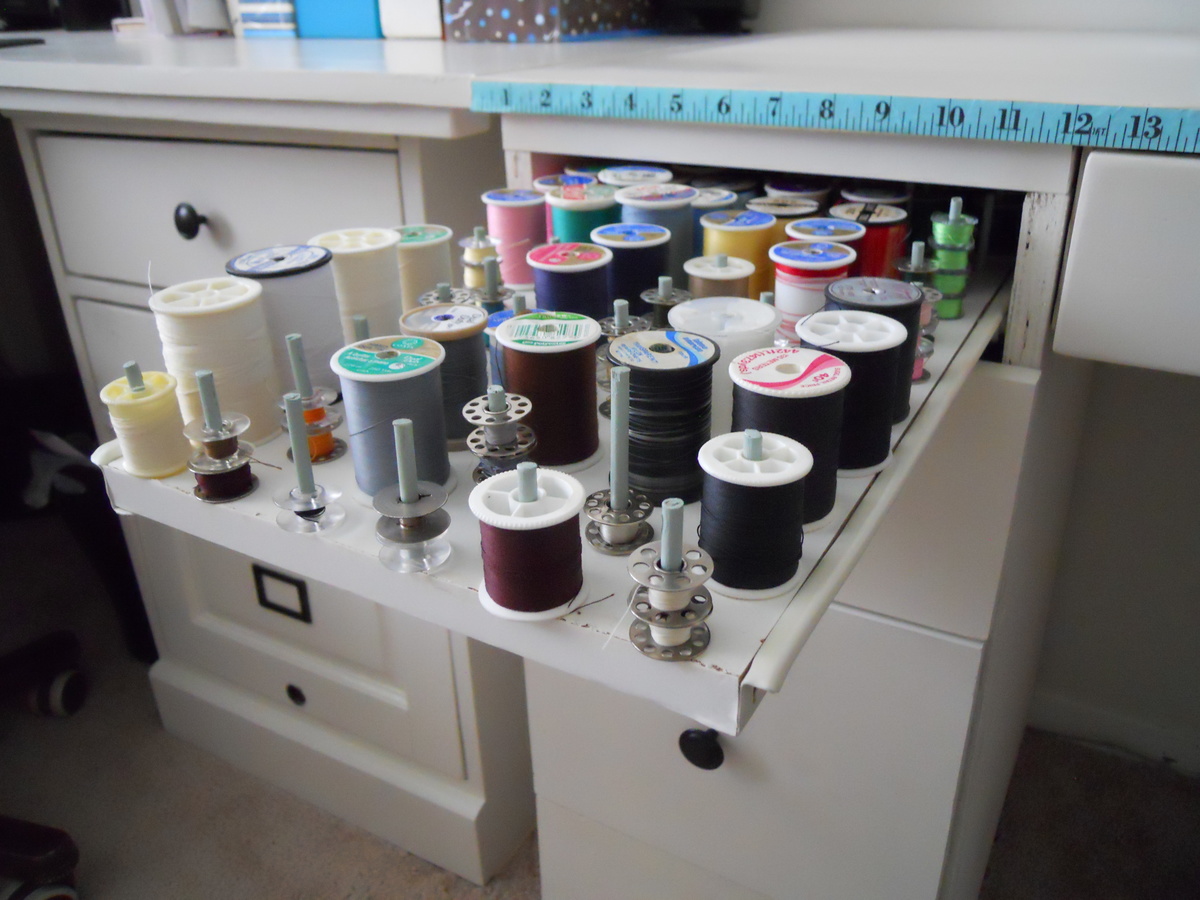
And, the piece de resistance: A roll-out spool holder.
I am VERY happy with how this turned out. Thank you Ana!
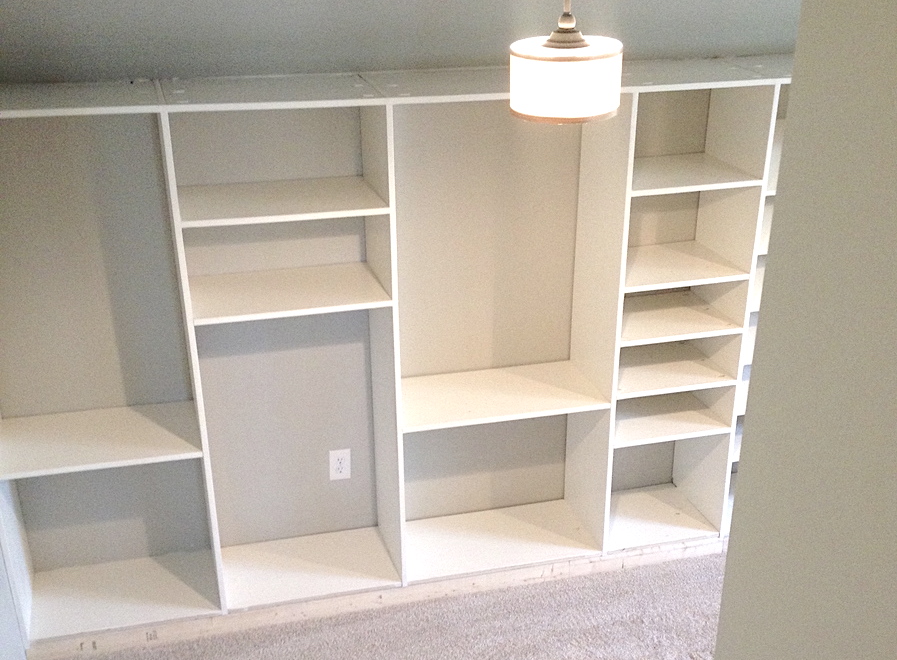
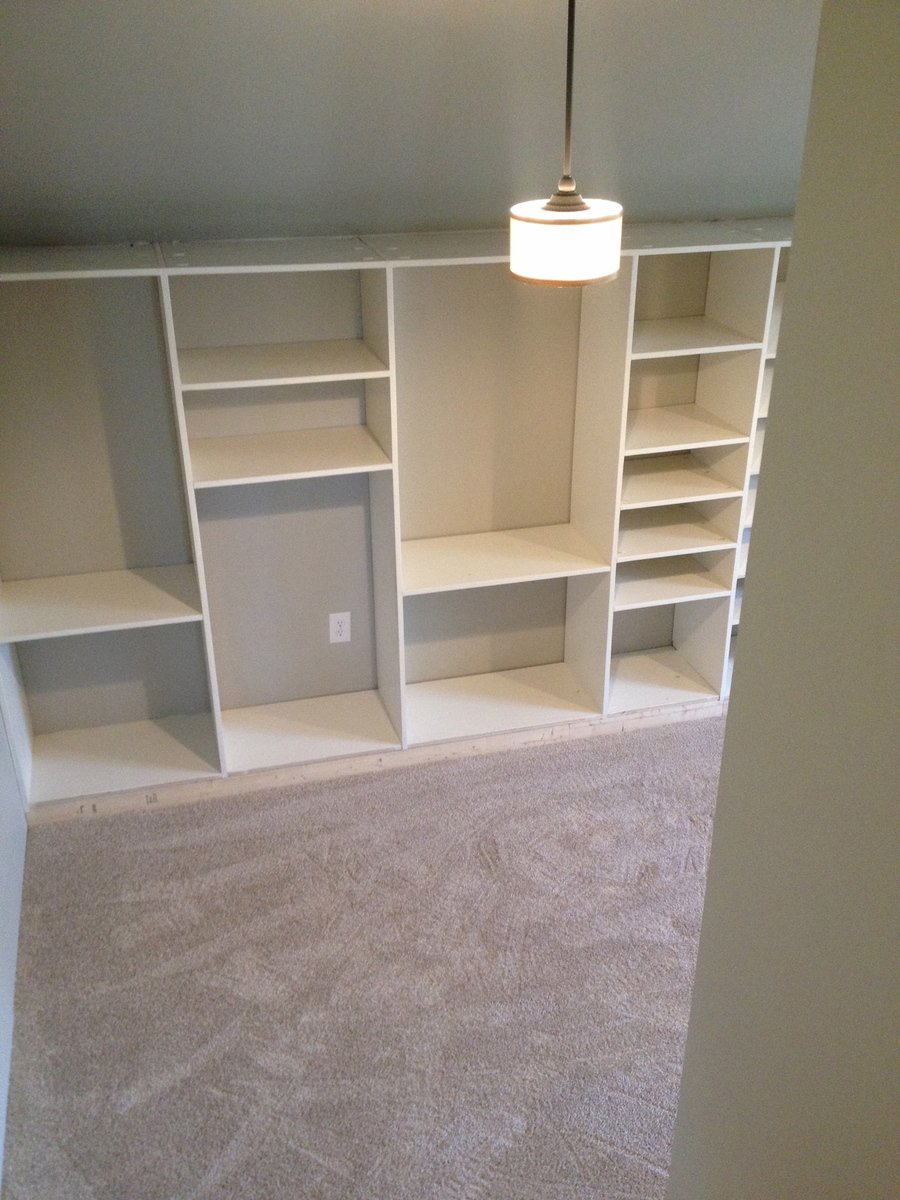
We used an unfinished attic space above our garage that was connected to our bedroom to make a walk-in closet with great shelving. This project took a lot of time but we are so happy with the results! There is a side for my husband and a side for me. Although it is hard to see we also incorporated a small door/bookshelf into the room to allow us access to attic storage space.


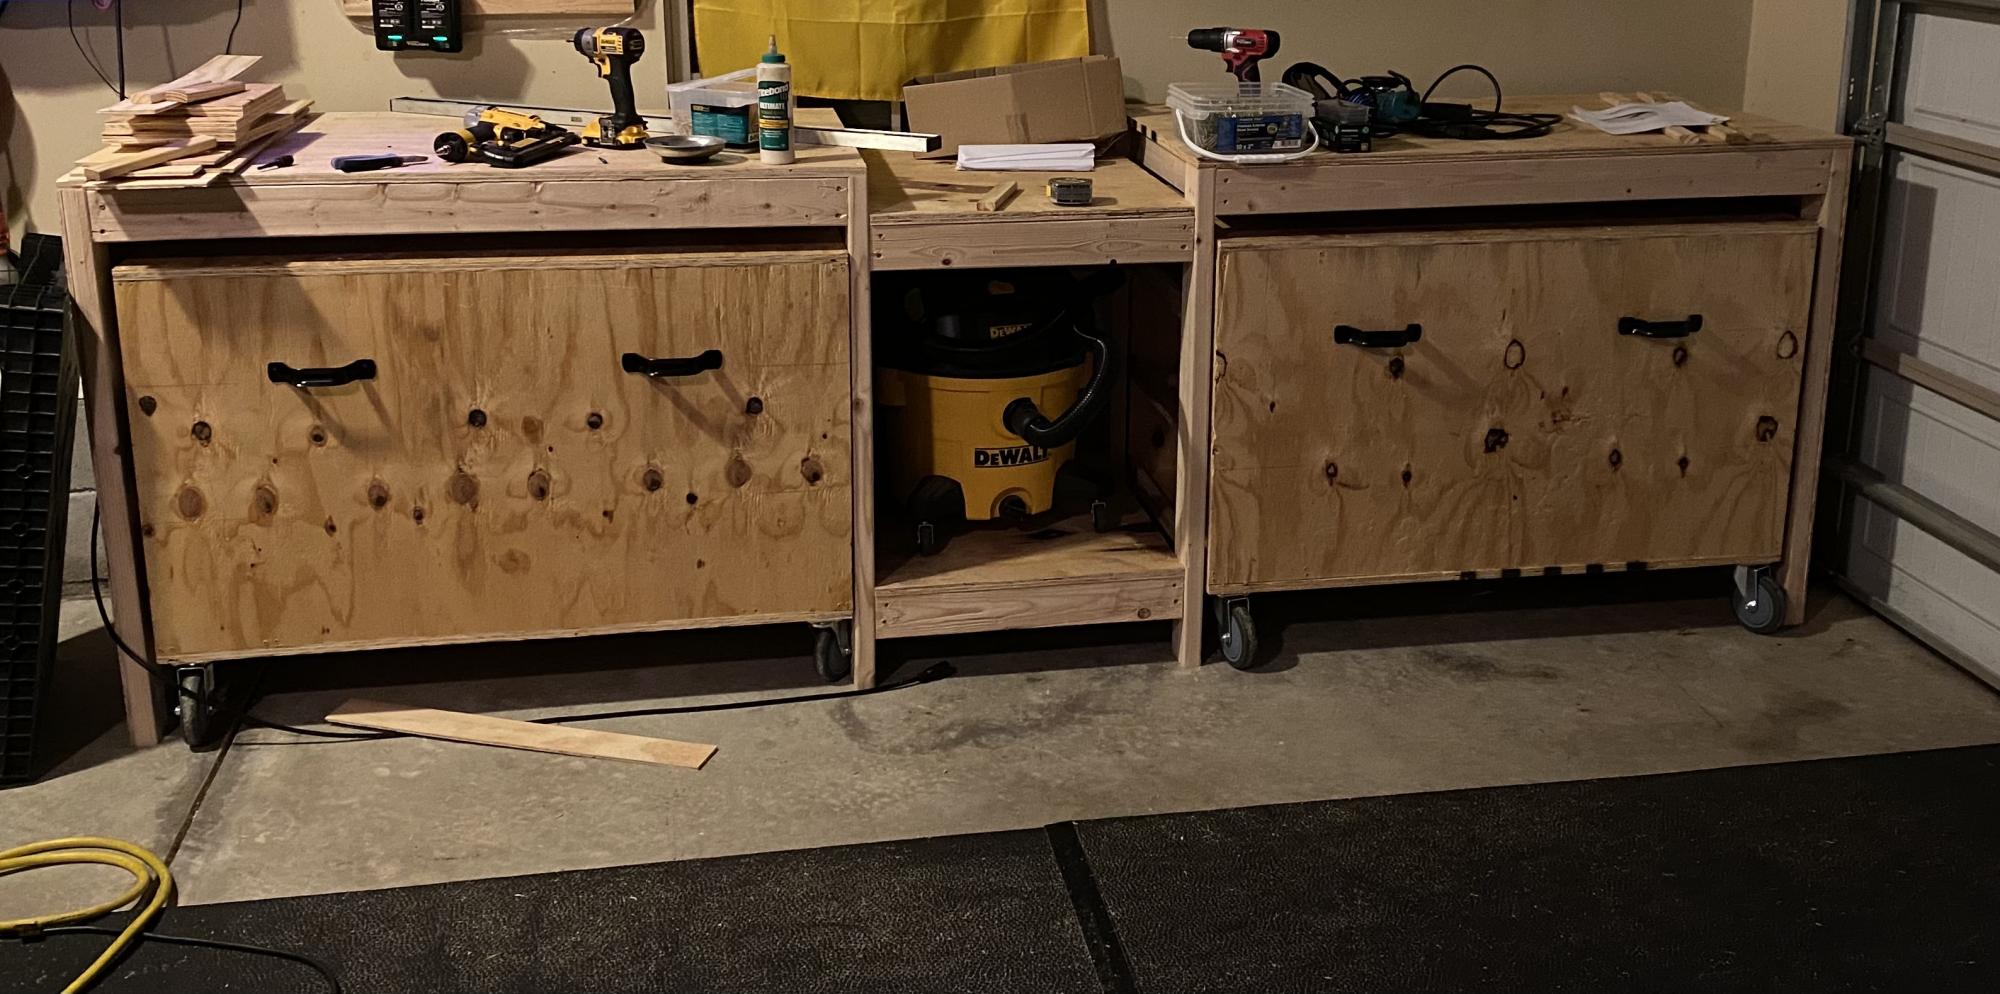
I have been searching for a way to maintain some neatness in my garage. Search stopped the second I found these plans. I am able to fit everything I need while keeping the garage neat and full of open space! I would most definitely recommend this build for anyone looking to save space, build something that is practical, and is completely customizable. Also, it took a buddy of mine and myself a day of hanging out to get the project done to include breaks for pizza!


Comments
Ana White Admin
Tue, 10/05/2021 - 09:49
Wonderful mods!
Perfect solution for between the windows, thanks for sharing!