Community Brag Posts
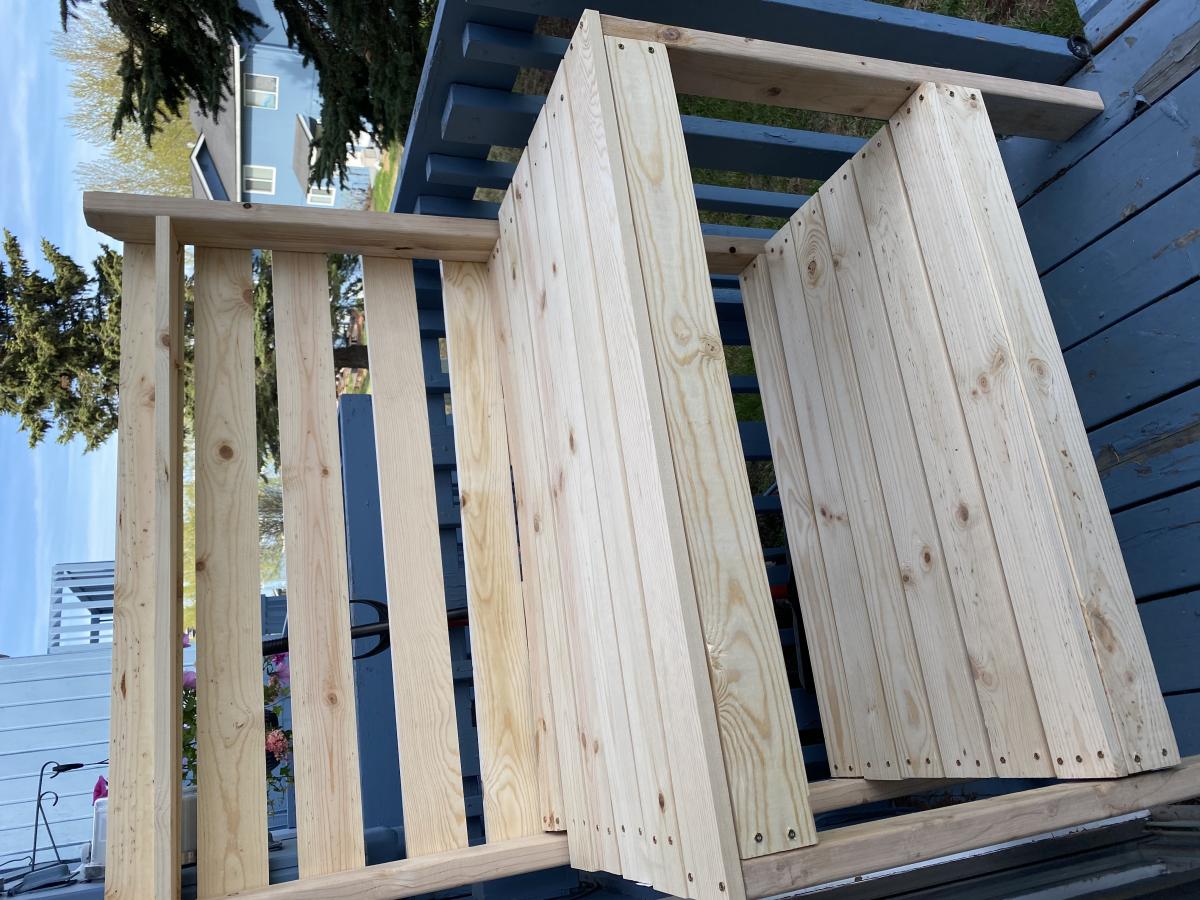
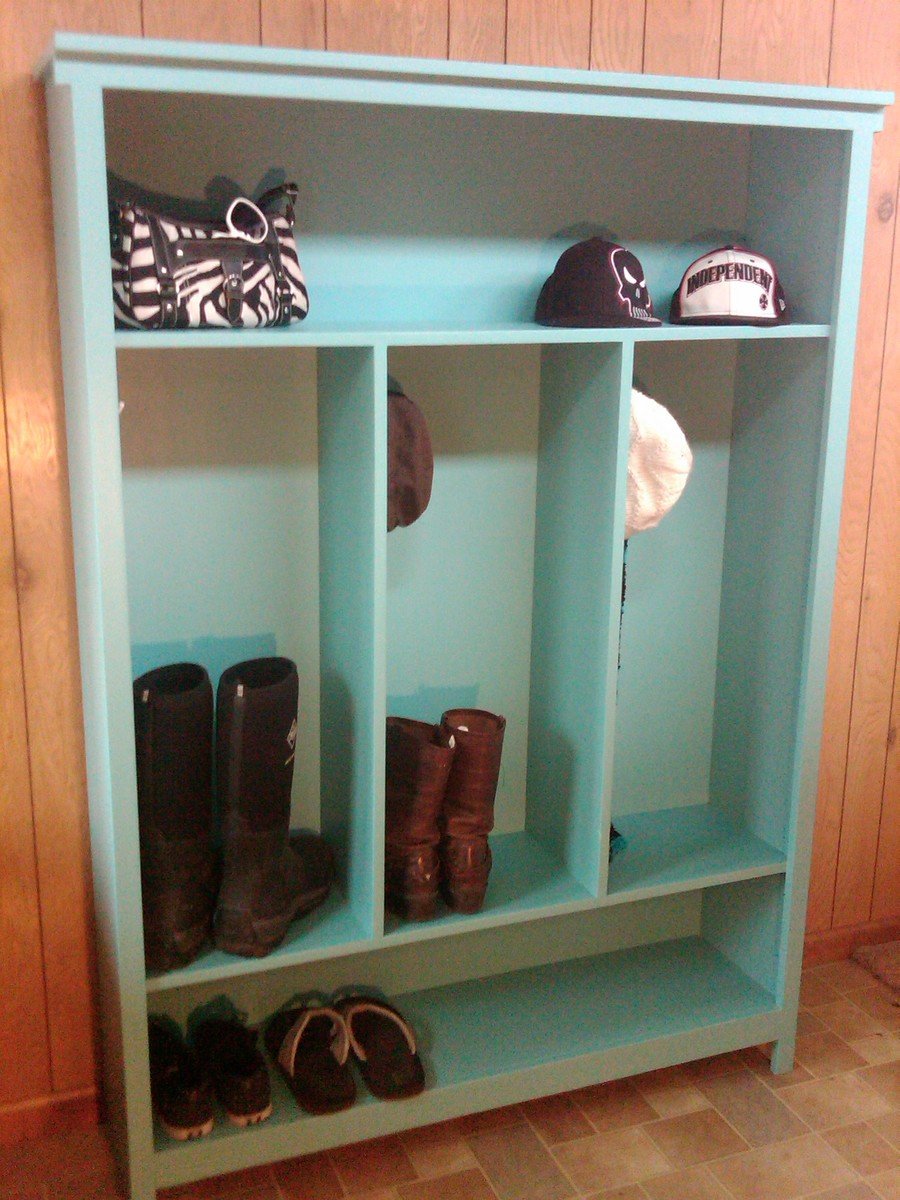
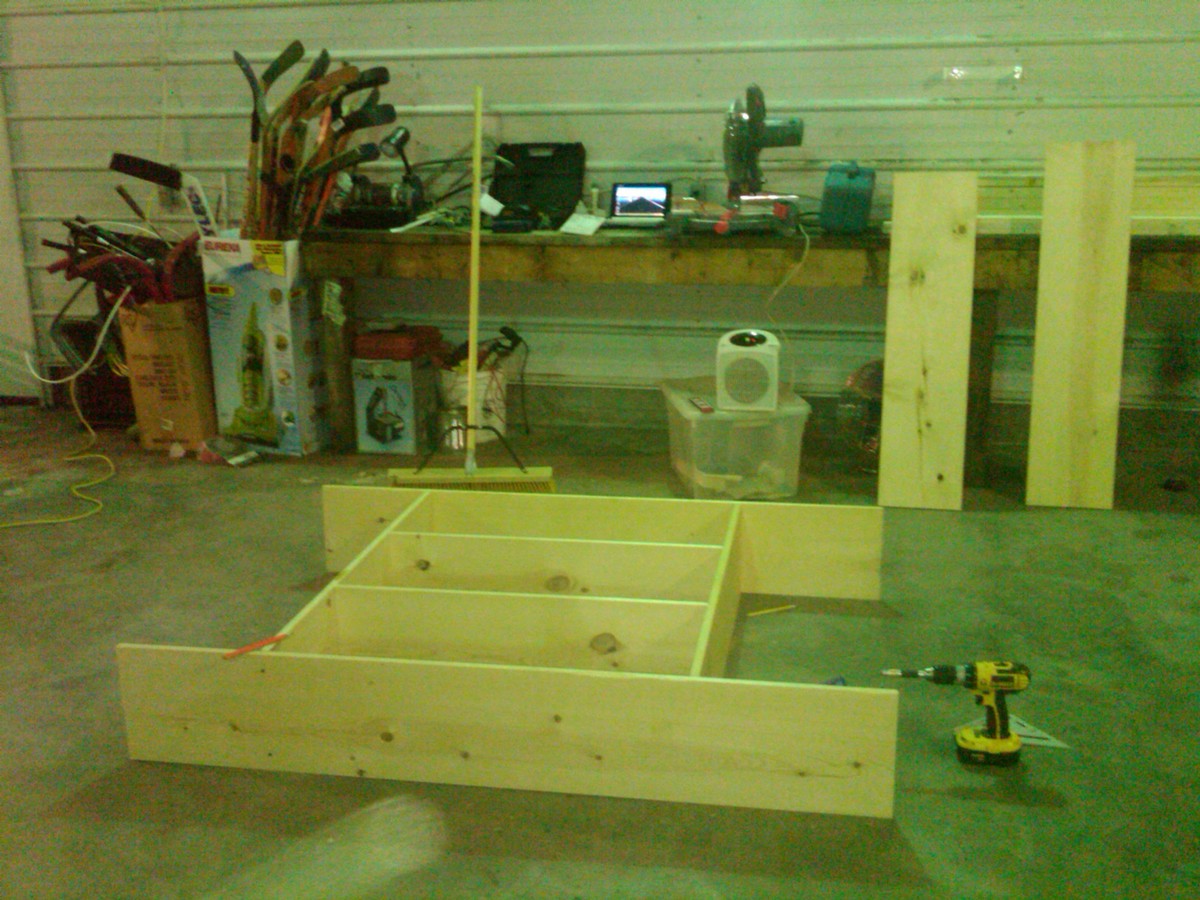
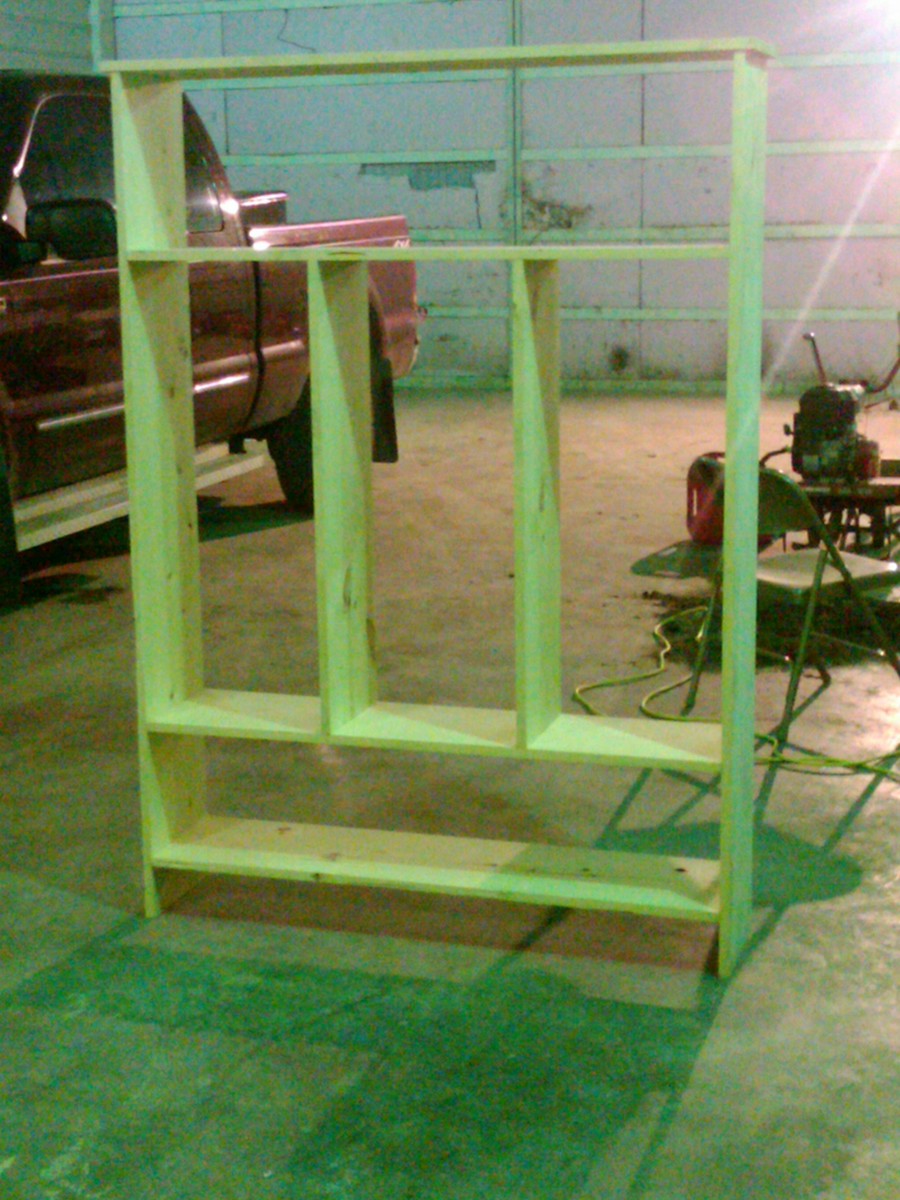
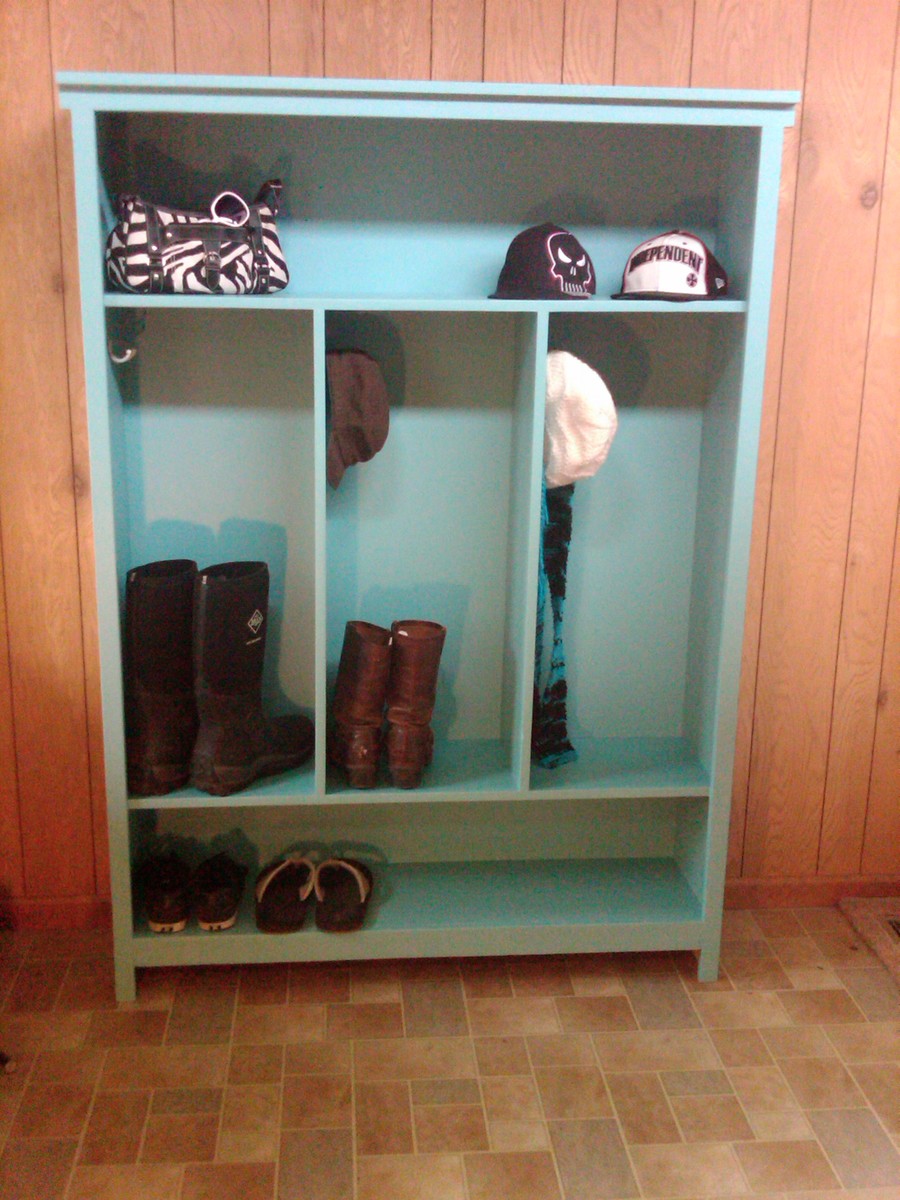
New Locker!
This was such a fun and easy build! I love, love, love it! I work at a lumber yard, so I was able to have my awesome lumber guy get me some good straight boards. Straight boards are a must! I had my husband help get the first peices screwed together, but after that, it was easy enough to do myself.I don't have a cool nail gun, but I do have a rockin' hammer drill that did the job. I also don't have a kreg jig (birthday wish!) but using stainable/paintable wood putty, the finish came out great.I used the screws I had on hand, 2 1/2 drywall screws, and 1 1/2 finish nails for the frame.I used 1/4 Lauan for the backing, I painted it before nailing it on.
Super fun easy build. It feels nice to build my own stuff, and my husband it totally diggin' me using the power tools:)
Kyli
Built from Plan(s)
Estimated Cost
$60
Estimated Time Investment
Weekend Project (10-20 Hours)
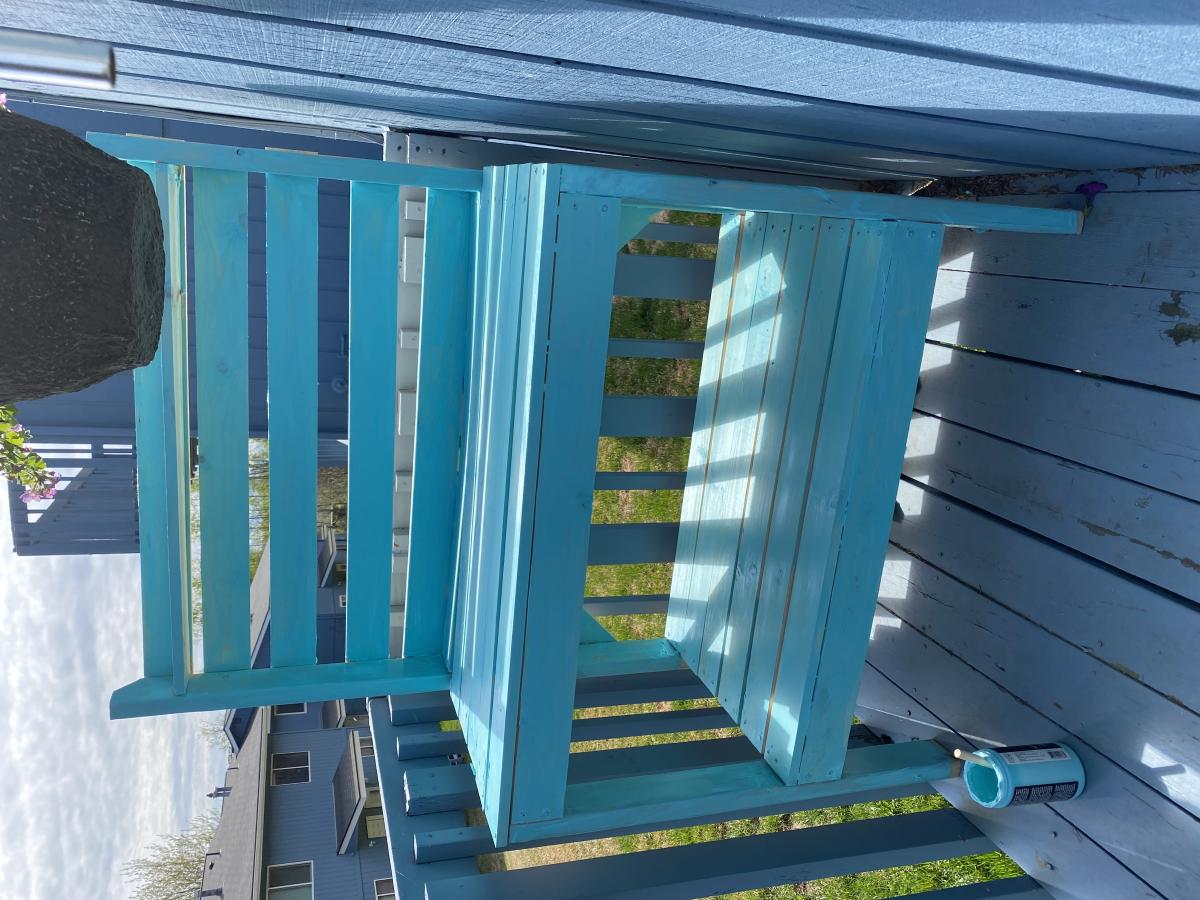
Finish Used
To finish I sanded with my random orbital sander (120 grit), primed twice, and painted twice, sanding between coats. I'm pretty sure I used the color Playa Azul from Do It Best.
Recommended Skill Level
Beginner
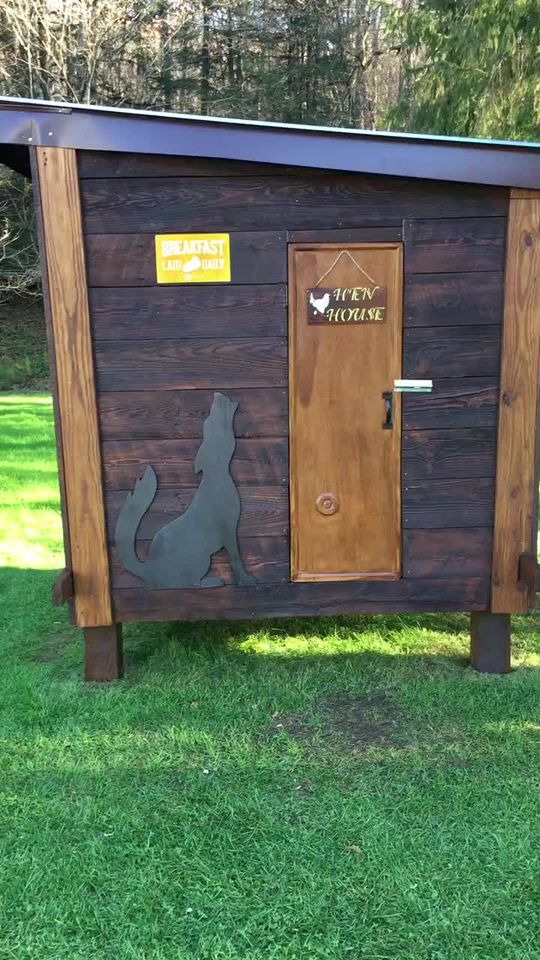
My incredible chicken coop and run!
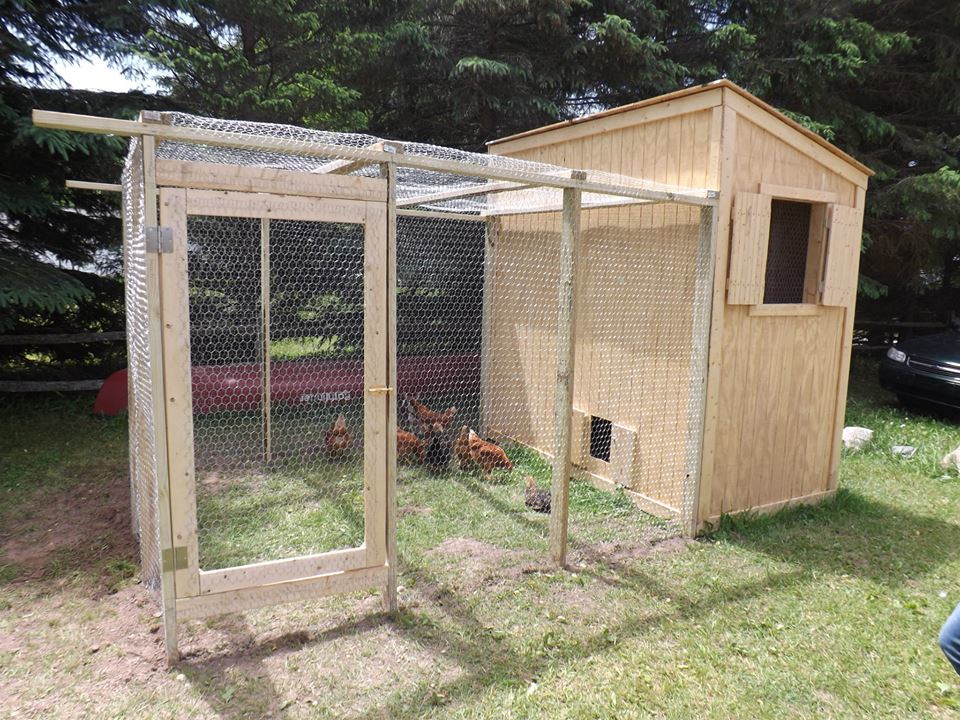
This was my first attempt at building anything....ever. It was so incredibly fun and I certainly learned a lot. My 8 little chickens are loving their new home and I can't wait to build my next project!
Built from Plan(s)
Estimated Time Investment
Week Long Project (20 Hours or More)
Recommended Skill Level
Intermediate
Comments
Wed, 06/19/2013 - 11:51
Chicken Run
Hello! Could you repost the picture / info on your chicken run? I keep getting "page not available" and I've been trying for days :O) I think I want to build that chicken shed (too big for 3 hens?? It's just so cute!) and a run like that to go with it! Thanks! Have a great day!
Perfect for my farmhouse table
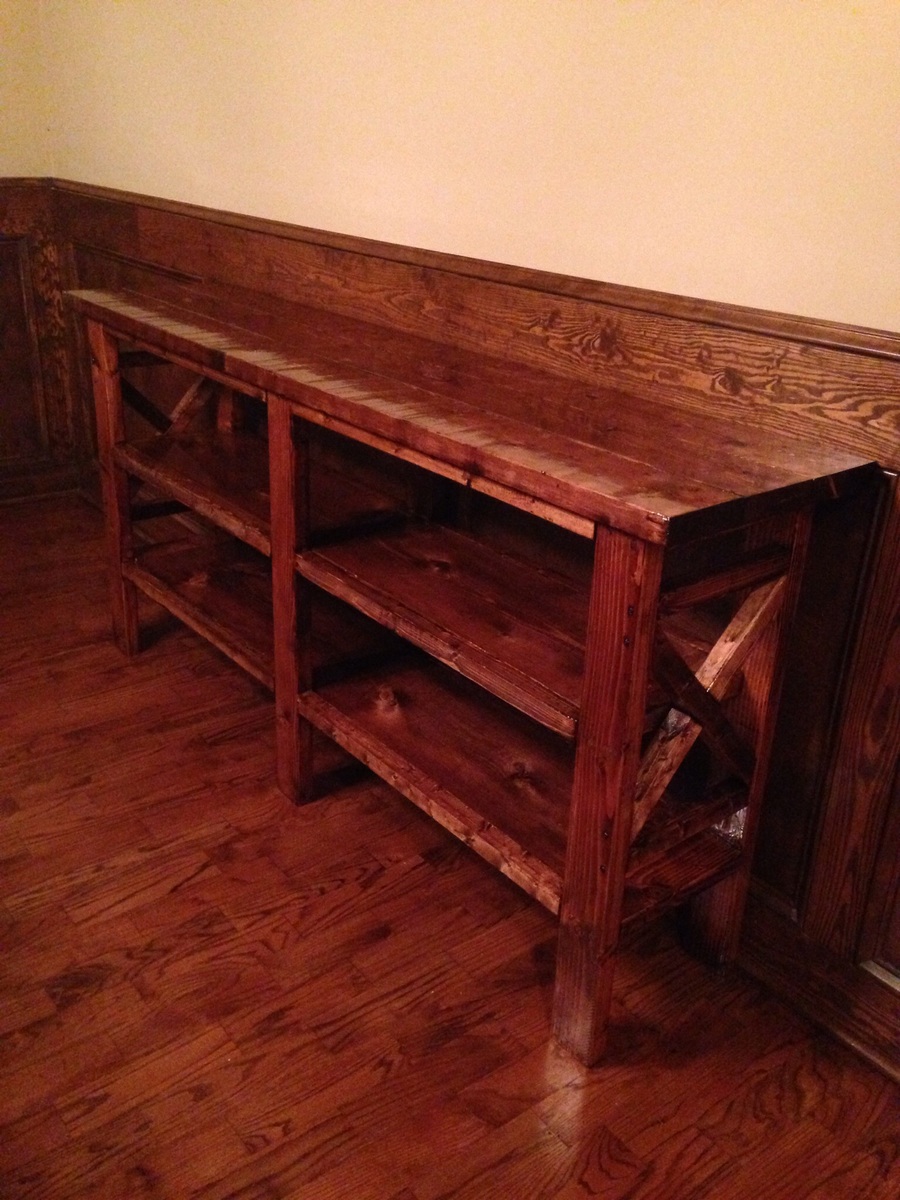
Built to go with my farm house table. It looks amazing.
Built from Plan(s)
Recommended Skill Level
Intermediate
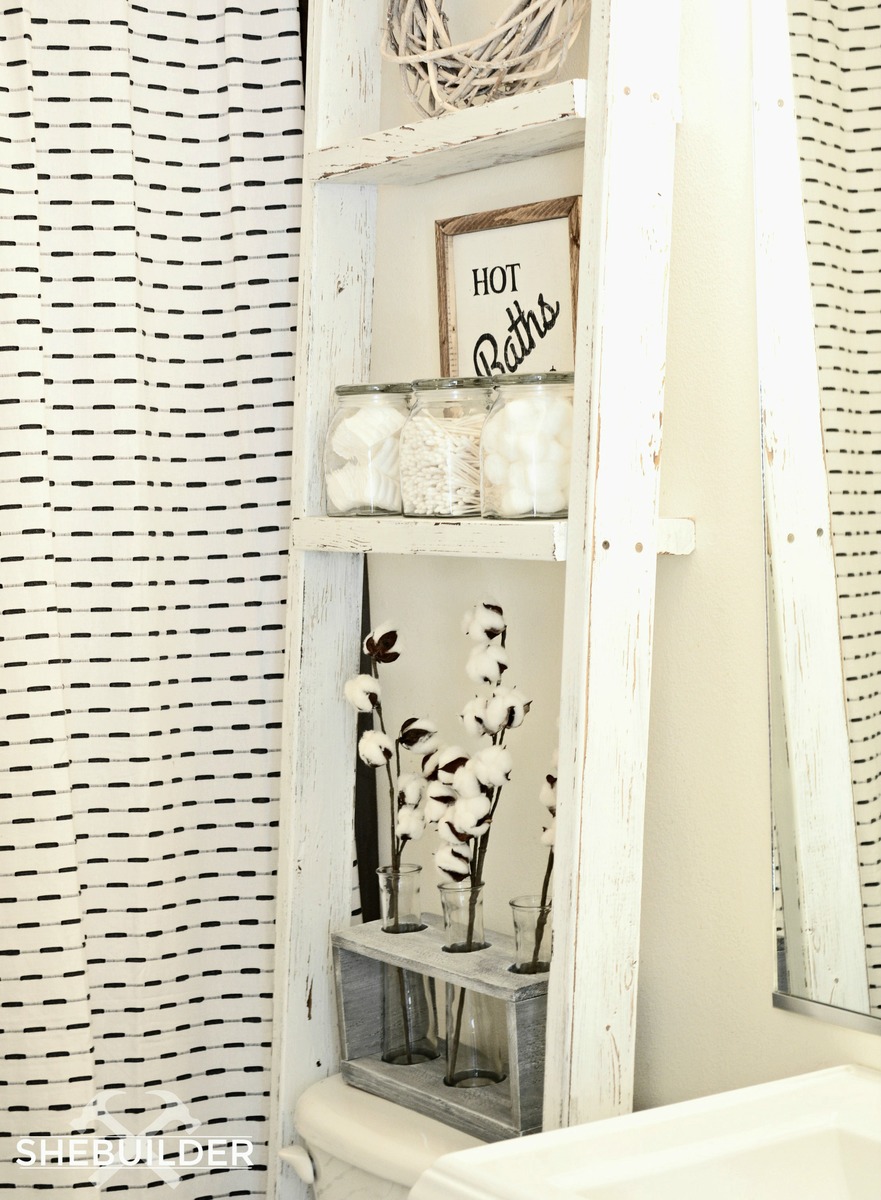
Above Toilet Storage Ladder
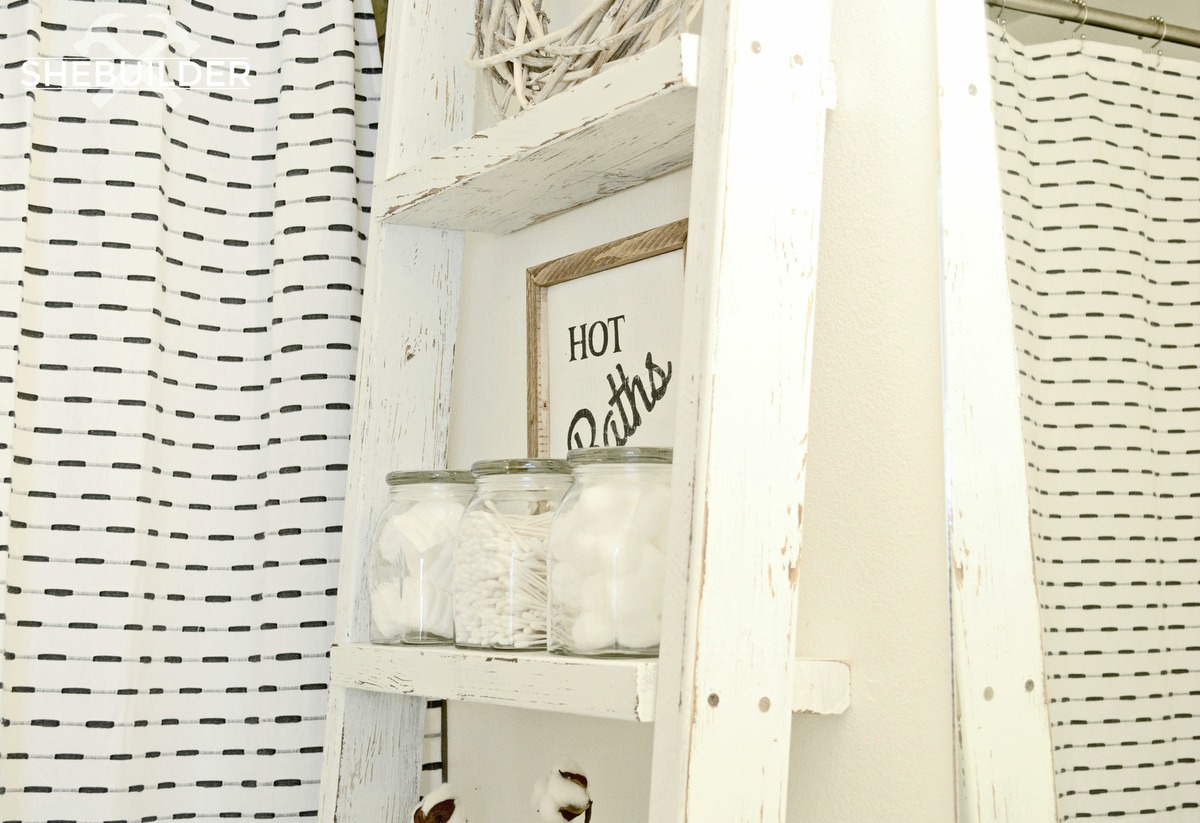
I was inspired by Ana's Over the Toilet - Leaning Storage Ladder to create my own! This build is about as easy as it can get! Just 3 easy steps. More pictures and details can be found HERE.
Let's chat wood!
Lumber:
(2) 8' - 2x4
(1) 8' - 2x6
(1) 8' - 2x8
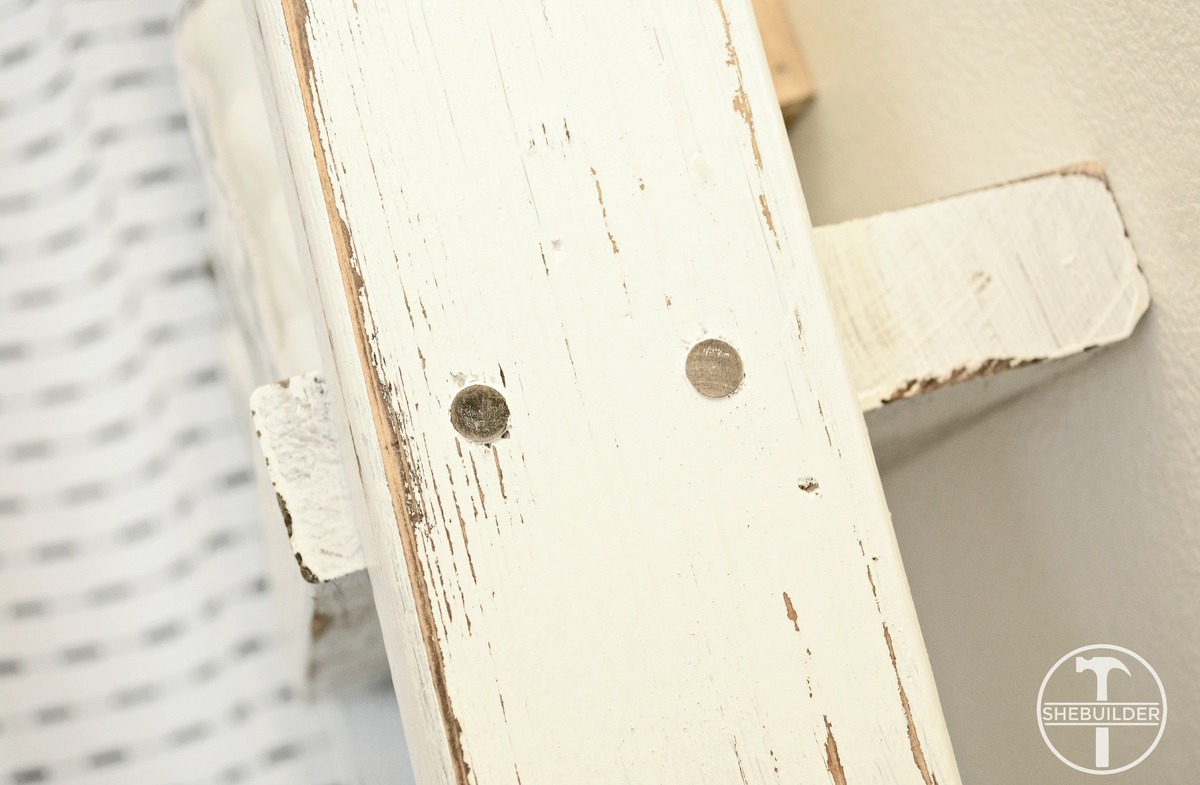
Step 1:
Drill pocket holes into ladder legs.
Step 2:
Attach shelves with 2" wood screws.
You will attach your smaller 2x6 shelf at 17" from the top of each ladder leg and your larger 2x8 shelf at 34" from the top of each ladder leg as well.
I plugged each hole with 3/4" pine wood plugs.
Step 3:
Sand and paint
Happy building!
Miranda

Built from Plan(s)
Estimated Cost
$25
Estimated Time Investment
Afternoon Project (3-6 Hours)
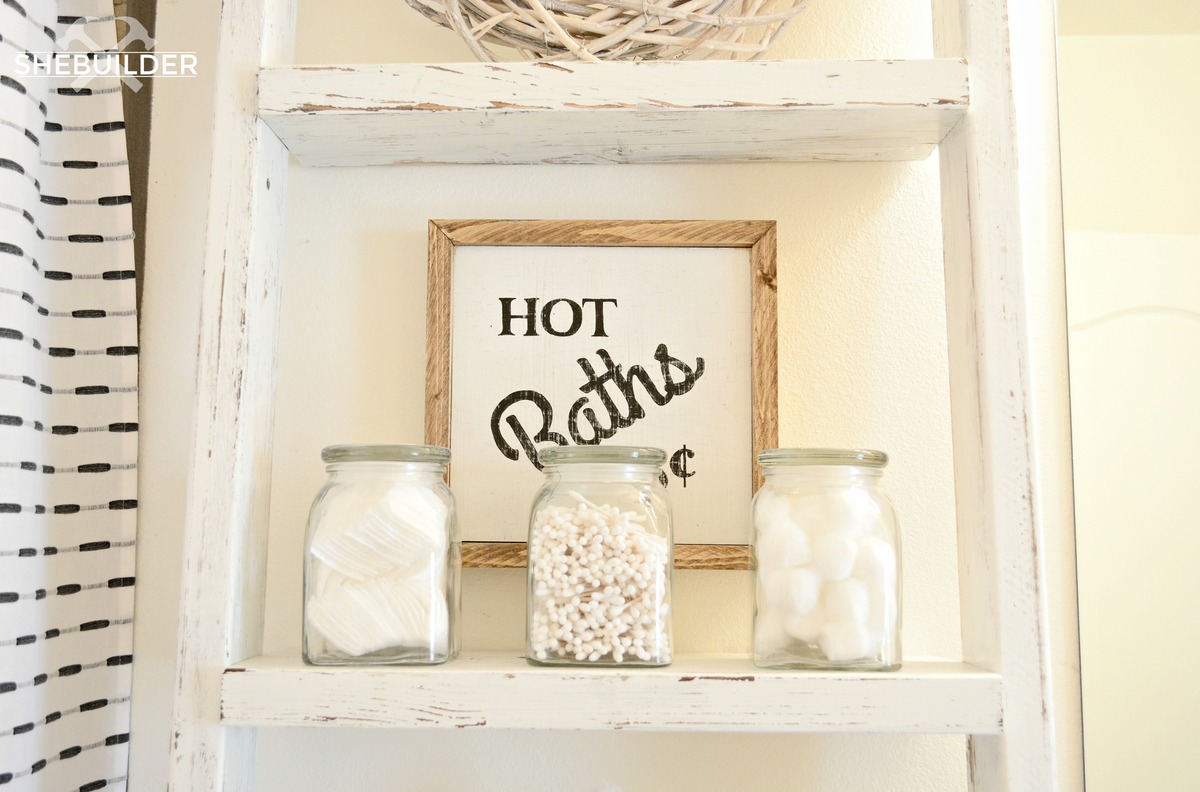
Finish Used
I used stain first, then painted over it with Rustoleum's Painters Touch Paint in white.
Recommended Skill Level
Beginner
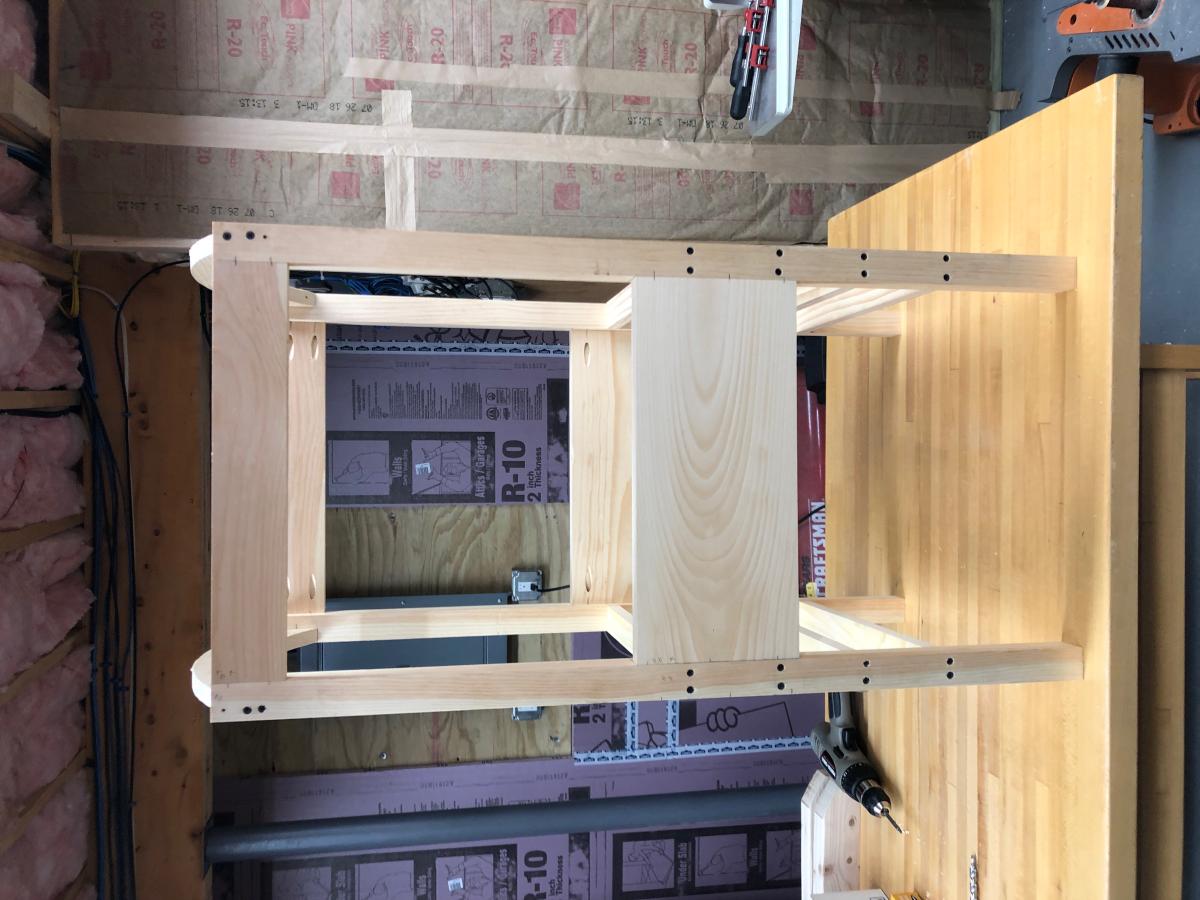
The Littlest Helper Tower
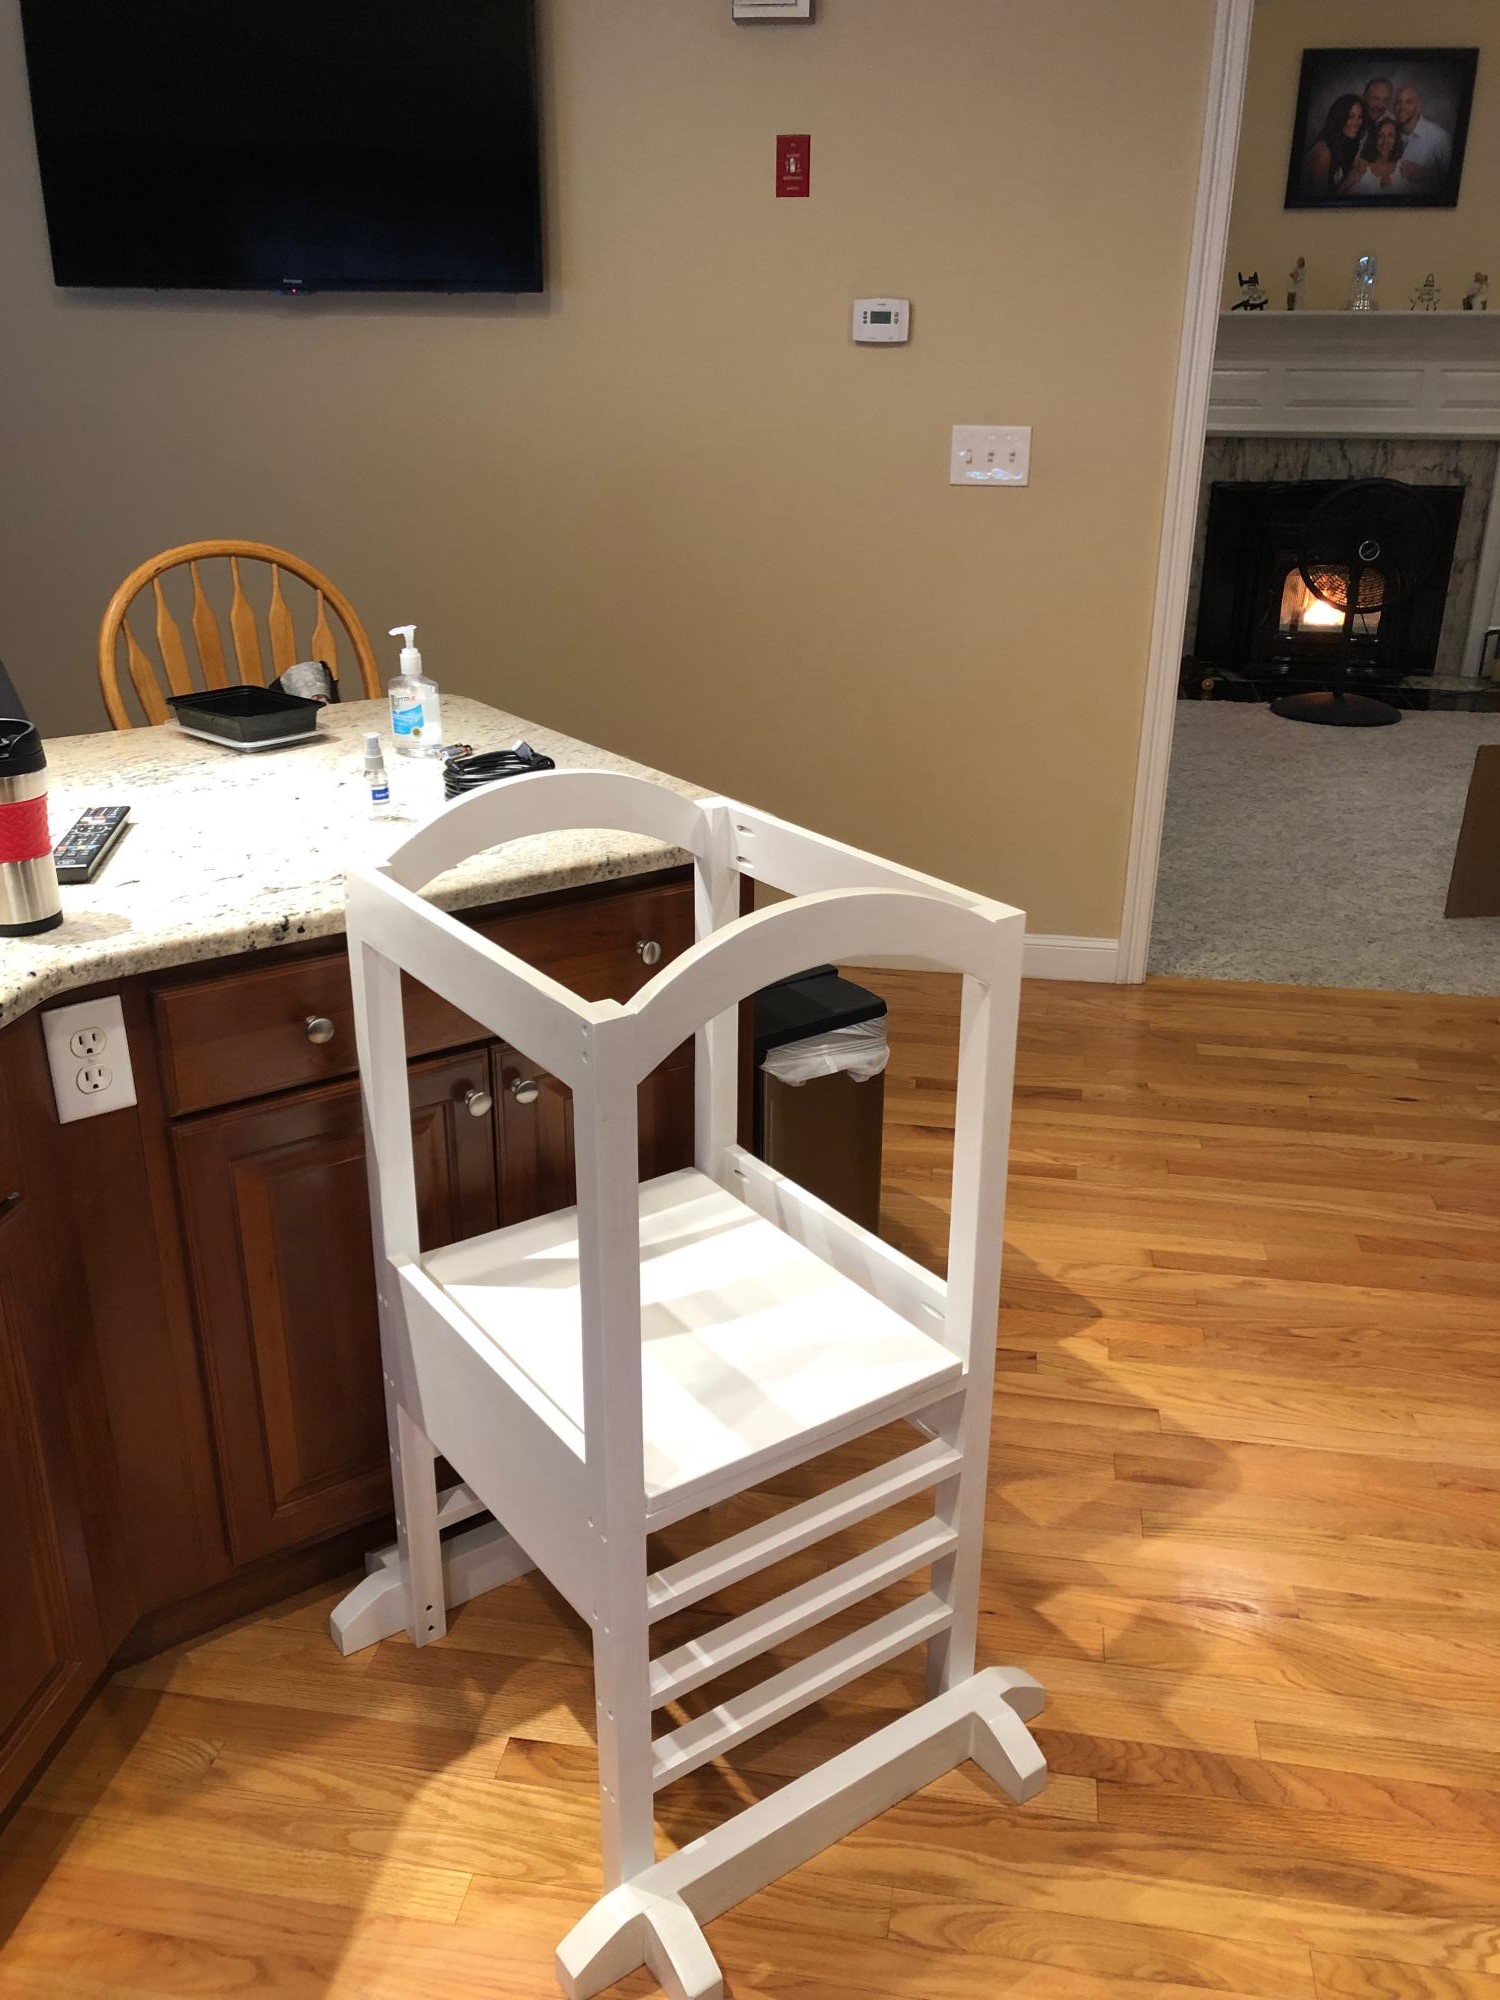
Built from supplied plan. Slight modifications made to curved rails and larger dimensional lumber used for corner rails.
This tower was built for my granddaughter Amara
Paul S.
Built from Plan(s)
Comments
Raised Garden Bed Variations
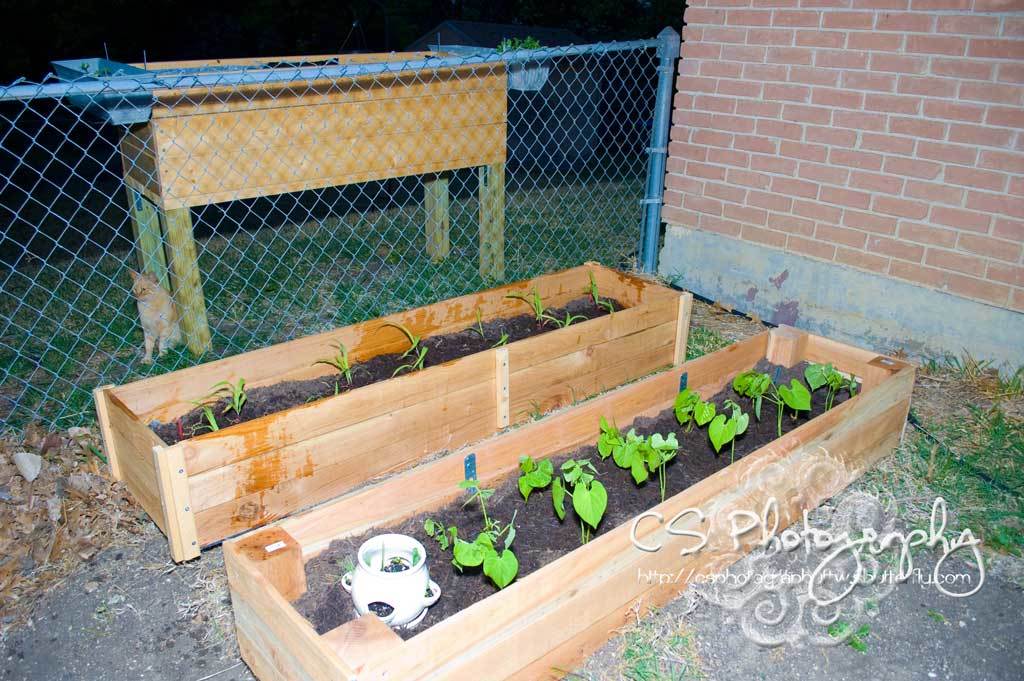
Our 1x6 cedar fence posts were like $2.39 each, but the 1x4's were $1.17 each, so $9.36 for the cedar plus about $2.50 for the trim. But on the 2nd bed, we opted to use 4x4 @ 8' cedar that I got for half off (@$8) because there were 3 "beat up" pieces left. So our total was @ $13 each.
Built from Plan(s)
Estimated Cost
$13.00
Estimated Time Investment
An Hour or Two (0-2 Hours)
Finish Used
No finish
Recommended Skill Level
Starter Project
Play Kitchen Extreme Remodel
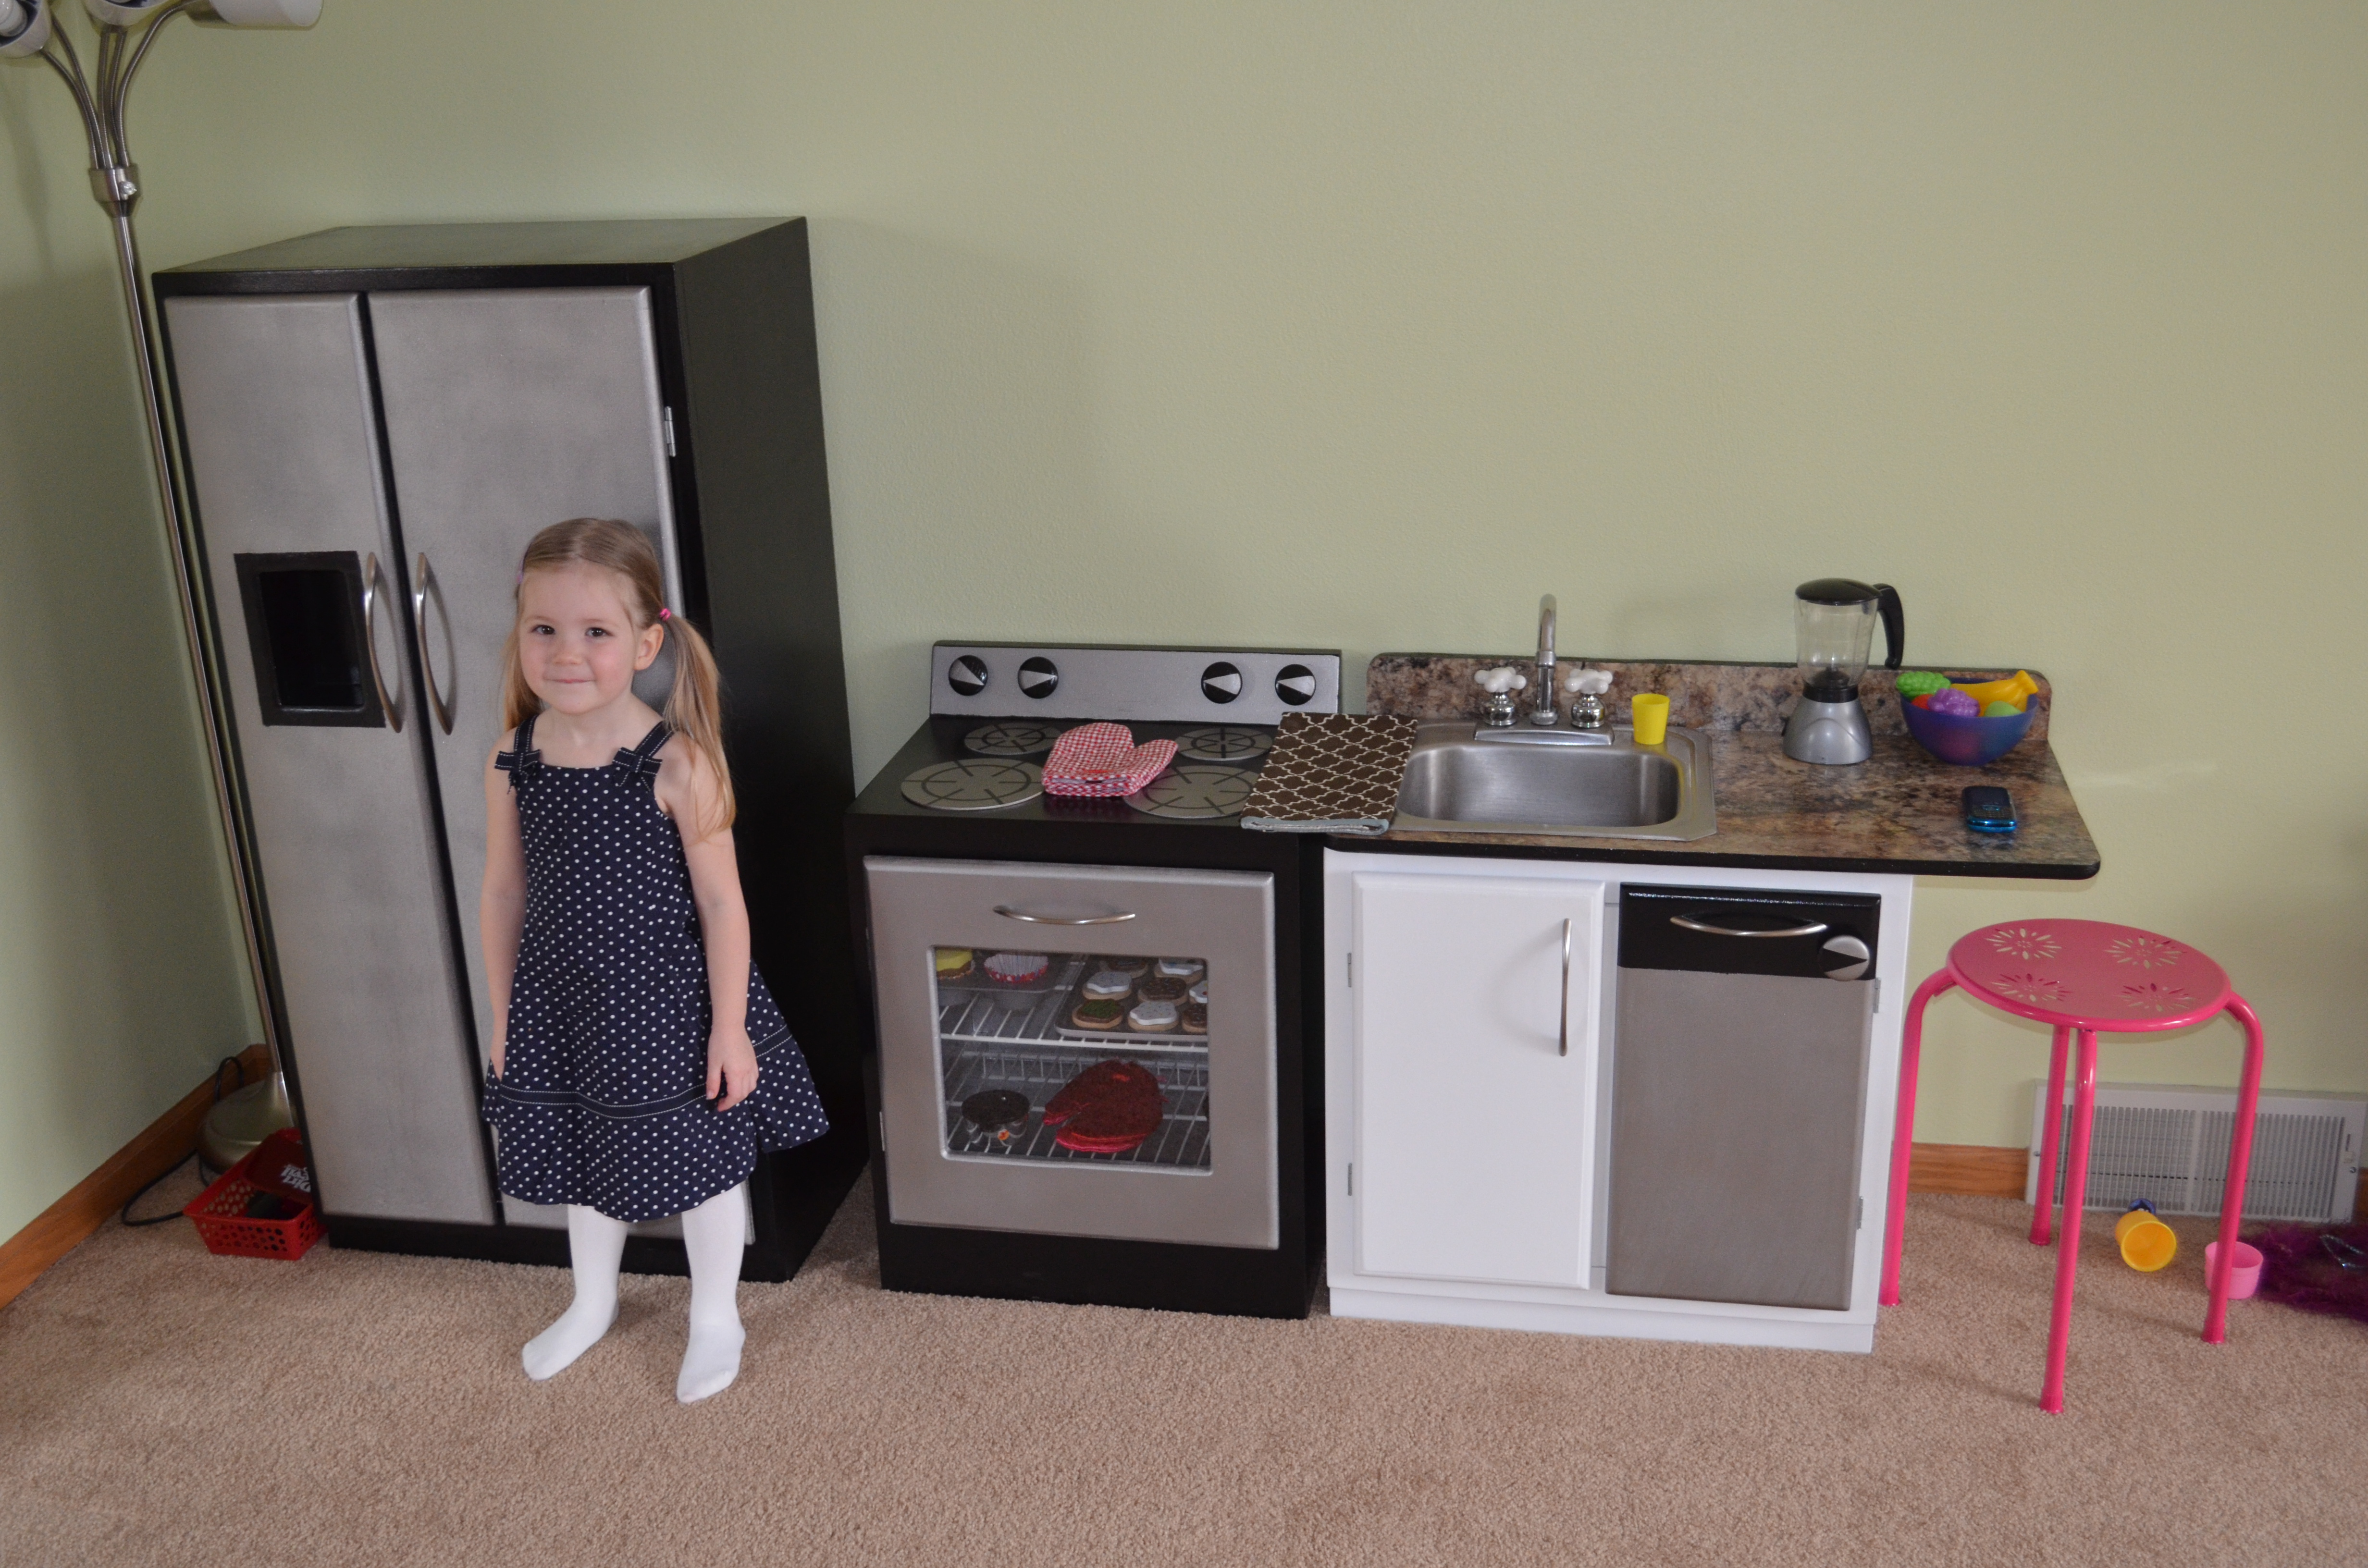
My wife and I were perplexed about what to get my 2nd daughter for her 3rd birthday. We were also tired of all the plastic around the house. I was browsing and saw your kitchen plans.
Interestingly, one year ago we remodeled our main kitchen when my wife was 8 months pregnant. So we used our kitchen as the model and built a smaller scale version for my daughter. Complete with stainless appliances and accessories. The counter/backsplash was the sink punch out from our main kitchen counters that I kept after I installed them.
My daughter was thrilled with the way it turned out!
Estimated Time Investment
Week Long Project (20 Hours or More)
Finish Used
Kilz, Rustoleum magnetic primer/black enamel/, stainless steel spray paint, white latex
Recommended Skill Level
Intermediate
Wardrobe
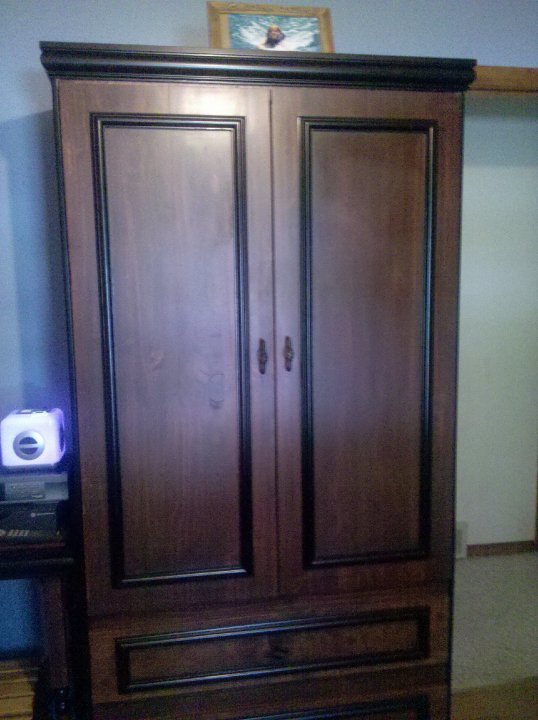
I built this wardrobe for my daughter. I wanted cubbies to keep her folded clothes neat and easily accessible, yet giving her two drawers for undergarments and accessories.
Finish Used
Dark cherry stain on main parts. Black paint used on all of the trim.
Recommended Skill Level
Intermediate
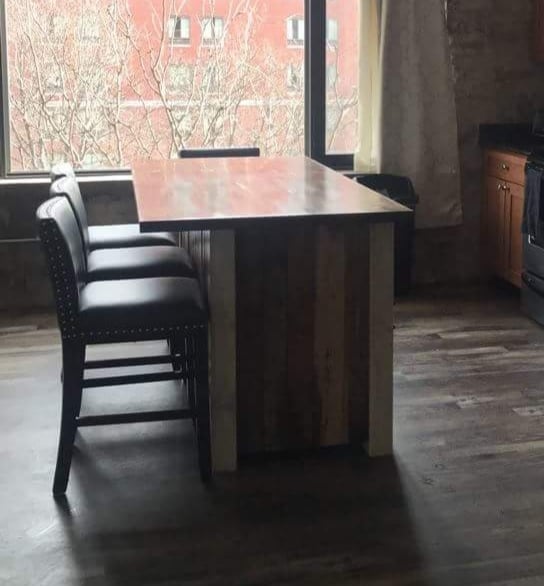
Kitchen Island with Butcher Block and Reclaimed Wood
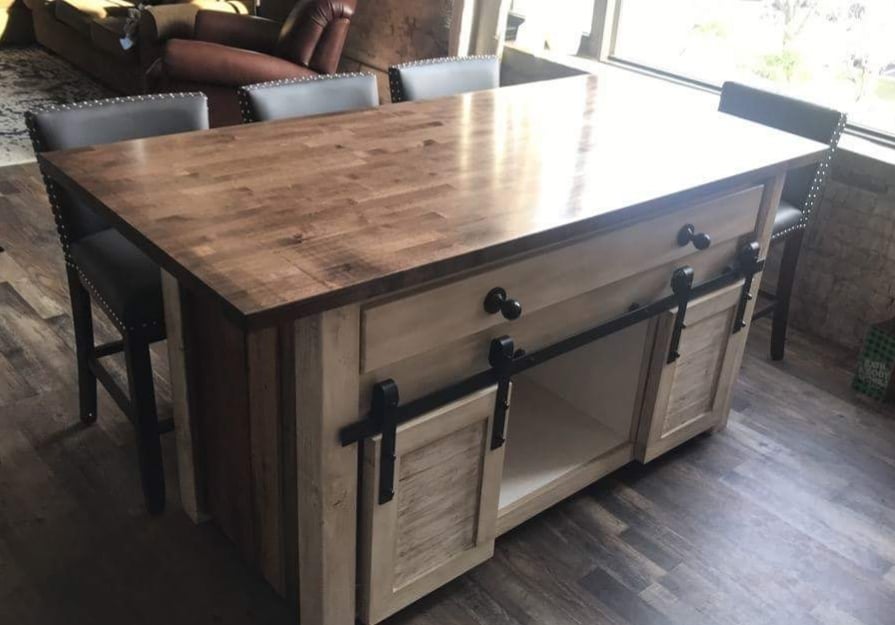
Custom Kitchen Island with a butcher block top and reclaimed pallet wood on the sides and back. Sliding barndoors cover the lower cabinets and hammered black gate knobs finish out the upper drawer.
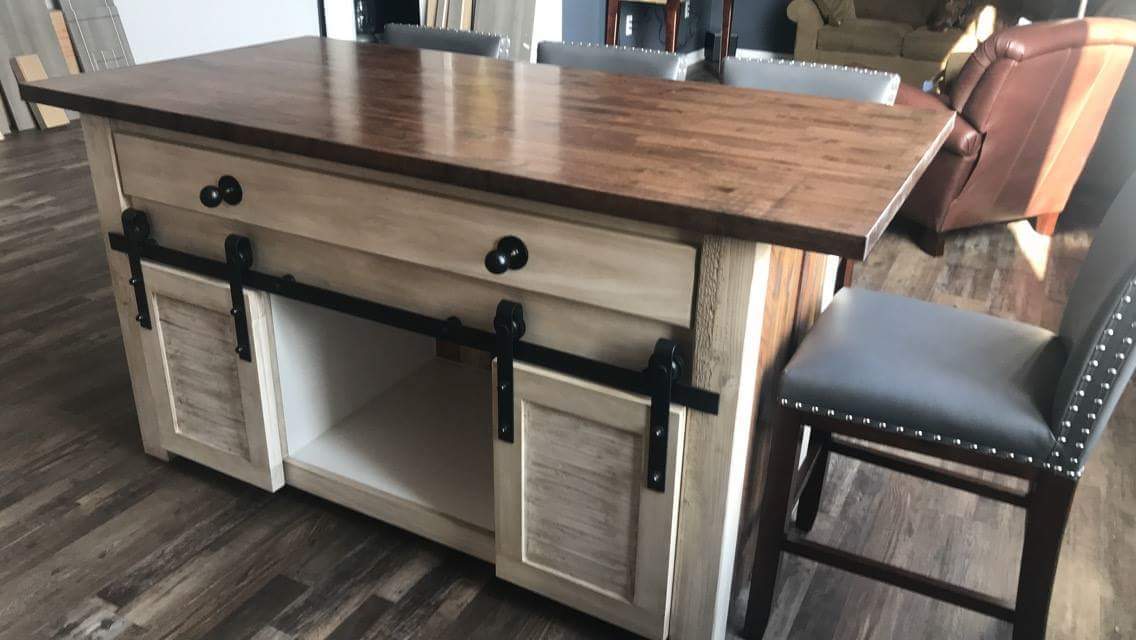
Estimated Cost
1500.00
Estimated Time Investment
Week Long Project (20 Hours or More)
Recommended Skill Level
Intermediate
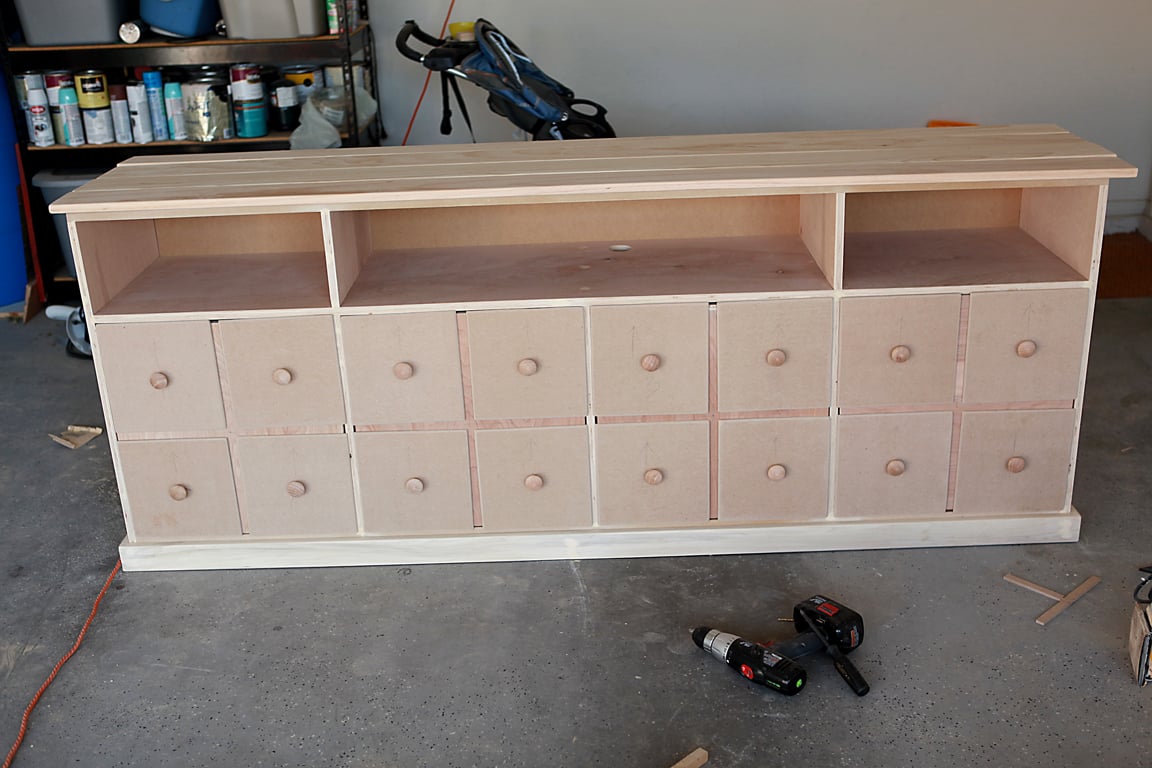
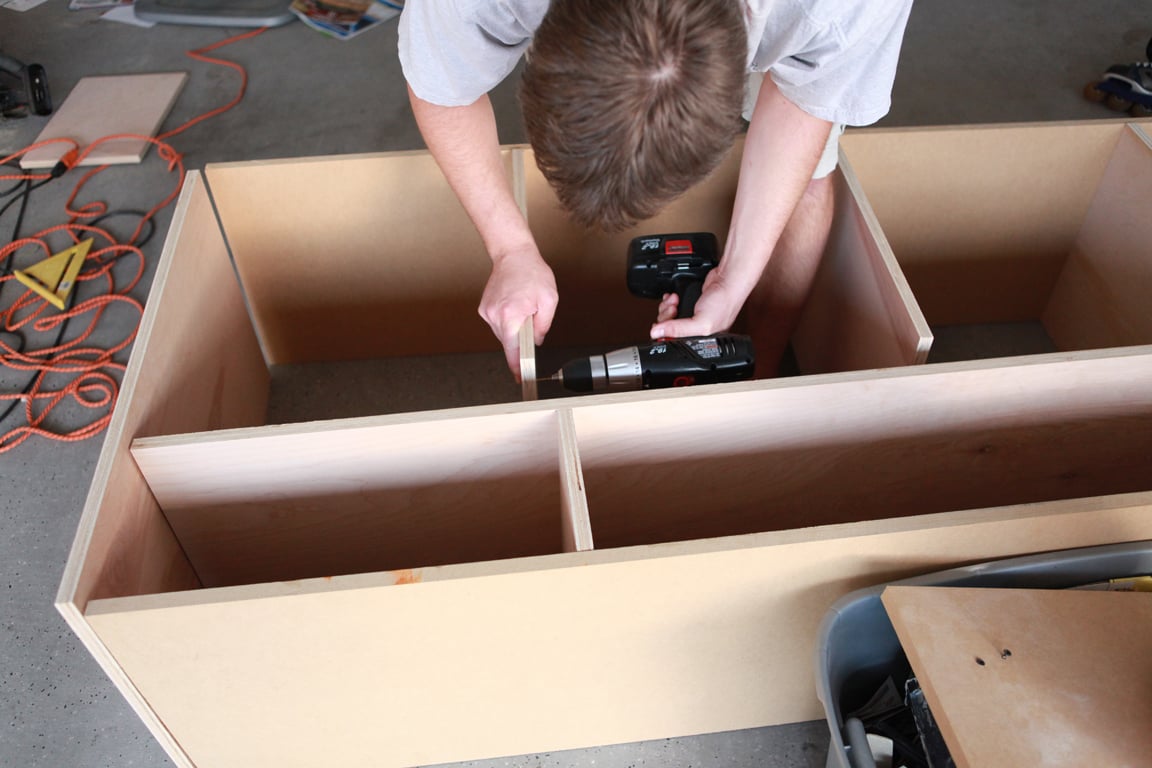
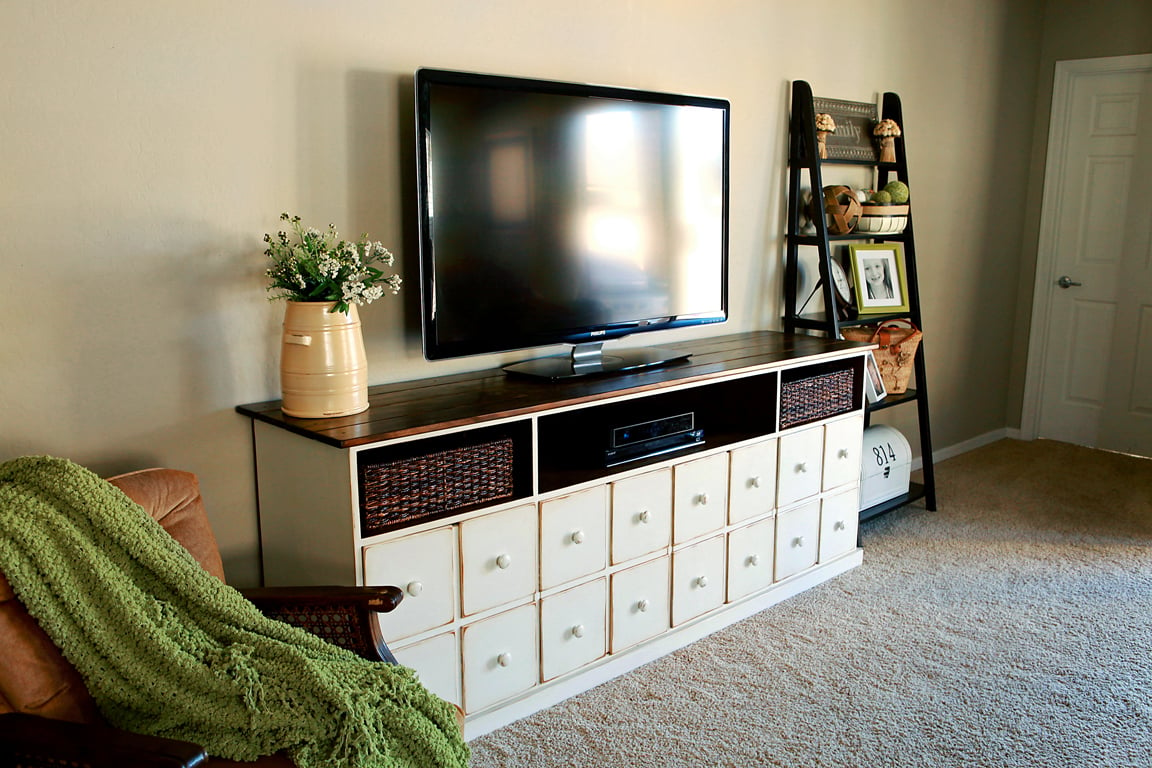
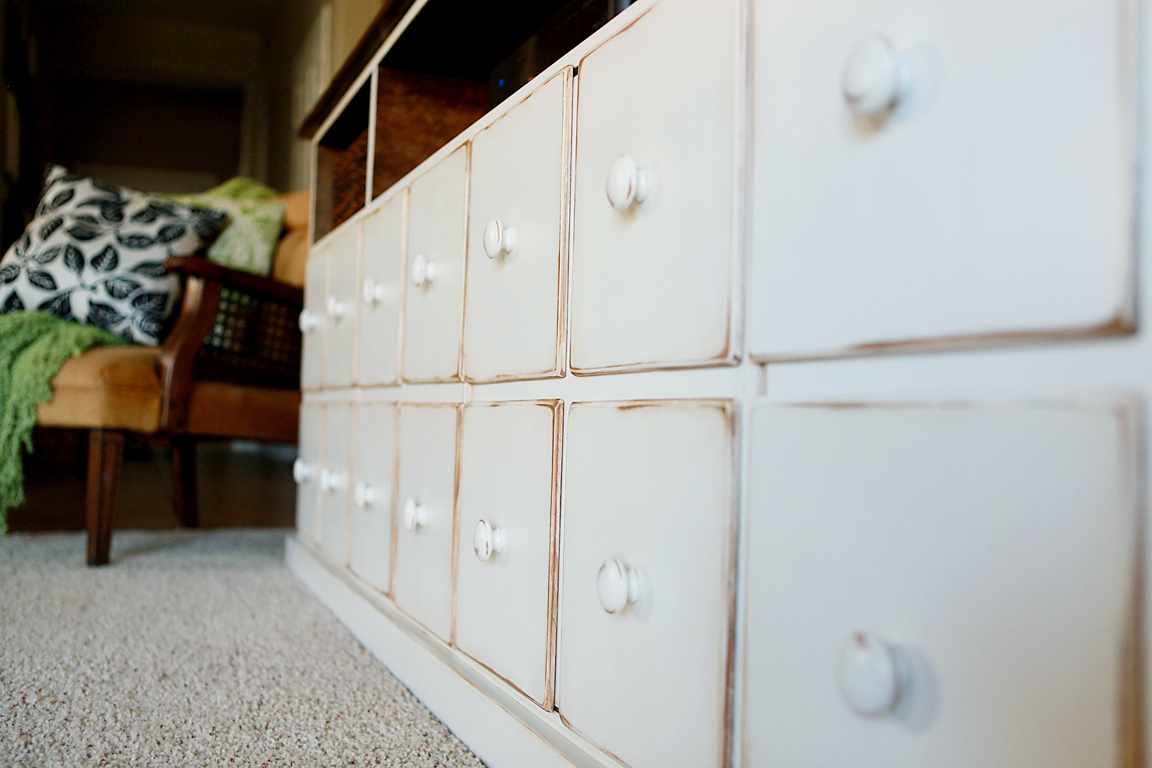
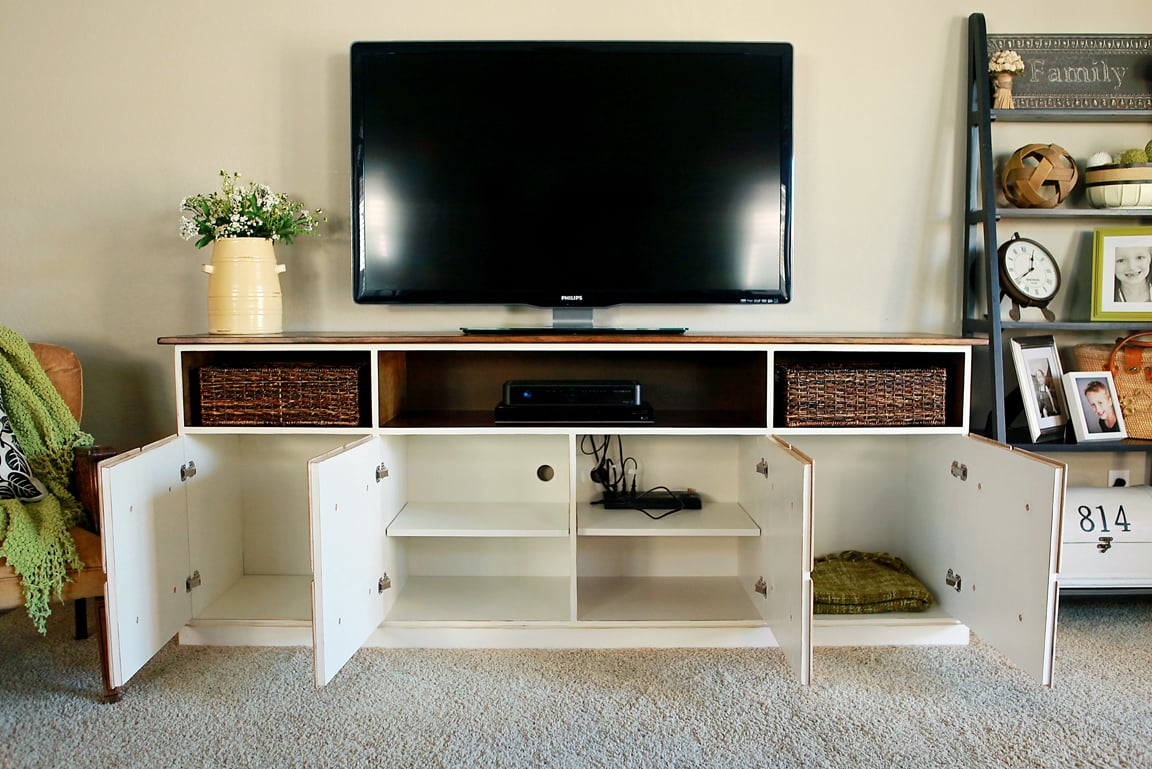
Apothecary Media Console

My husband and I worked on this in the evenings. It took us about a month, just because we didn't have the time to devote all at once. We modified Ana's plans for the Apothecary Media Console to accomodate a surround sound bar in the center and to custom fit our baskets. We went with 4 cupboards to keep a uniform look. The faceplates were painted before we permanantly attached them with gorilla glue. . . one of the last steps. The finished cabinet is approximately 86 inches wide by 33 1/2 inches tall by 18 1/2 inches deep.
Built from Plan(s)
Estimated Cost
$350.00
Estimated Time Investment
Week Long Project (20 Hours or More)
Finish Used
wood filler,
gorilla glue,
minwax wood stain - dark walnut,
minwax wipe on poly,
Valspar color match interior latex paint,
Valspar clear mixing glaze,
Glaze mixed with Olympic paint sample satin "Pumpernickel",
polycrylic,
150 fine sandpaper
gorilla glue,
minwax wood stain - dark walnut,
minwax wipe on poly,
Valspar color match interior latex paint,
Valspar clear mixing glaze,
Glaze mixed with Olympic paint sample satin "Pumpernickel",
polycrylic,
150 fine sandpaper
Recommended Skill Level
Intermediate
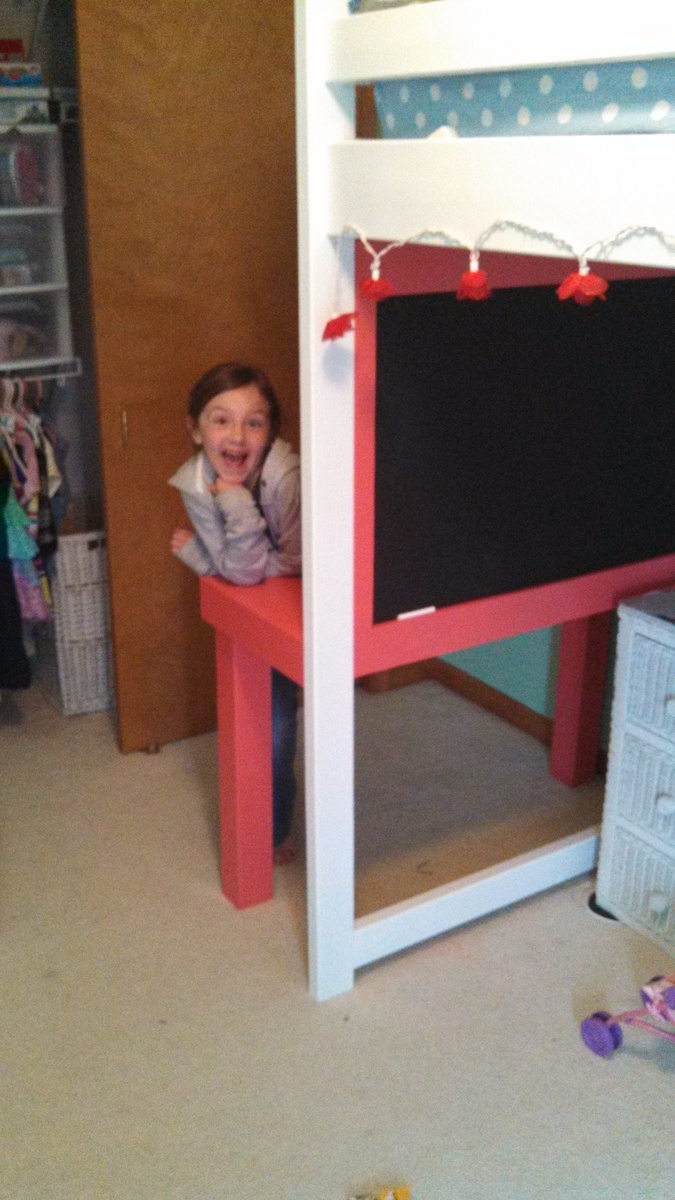
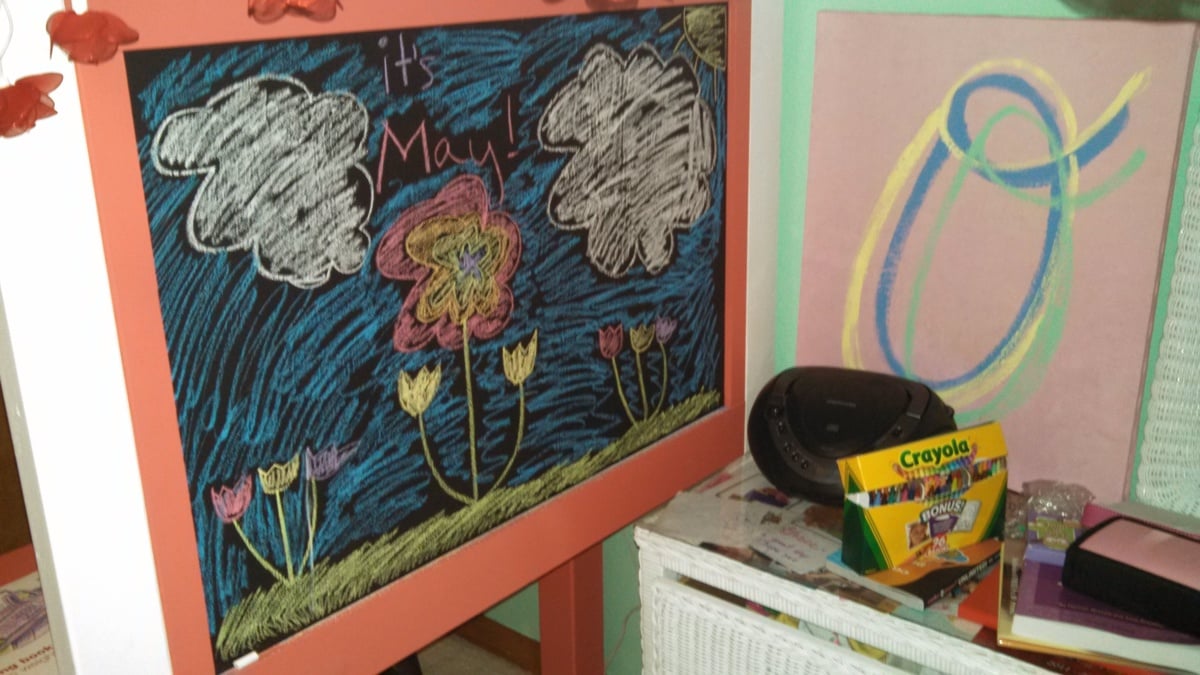
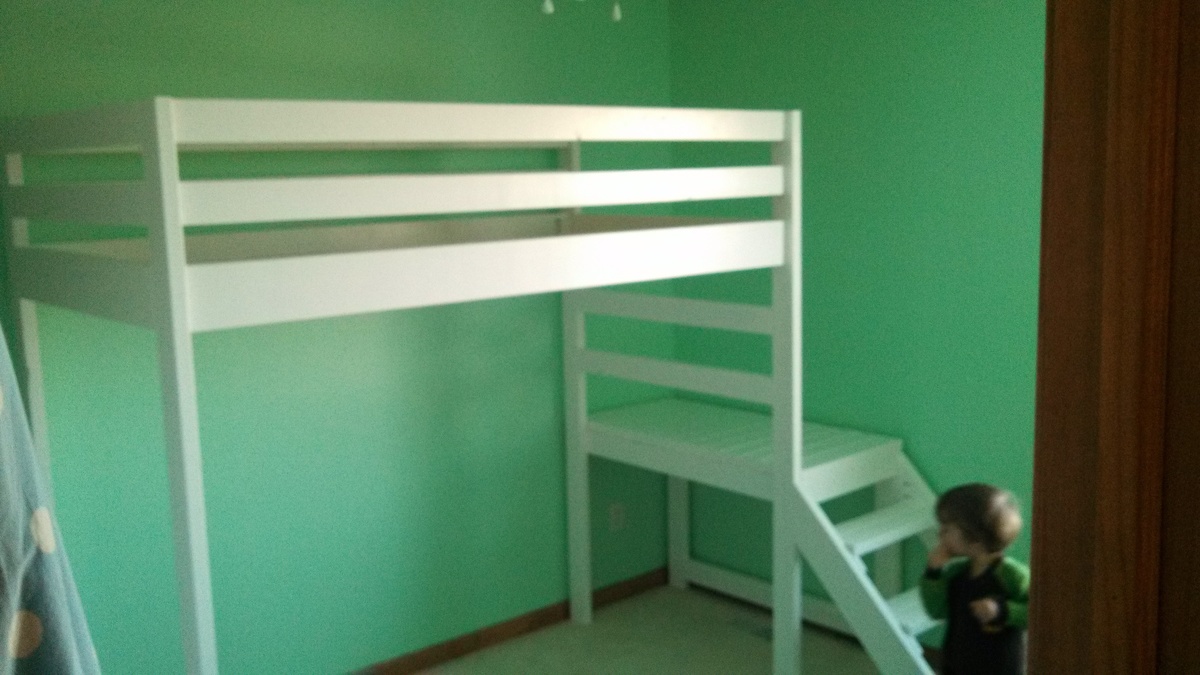
Camp Loft Bed w/Add on Desk & Chalk Board
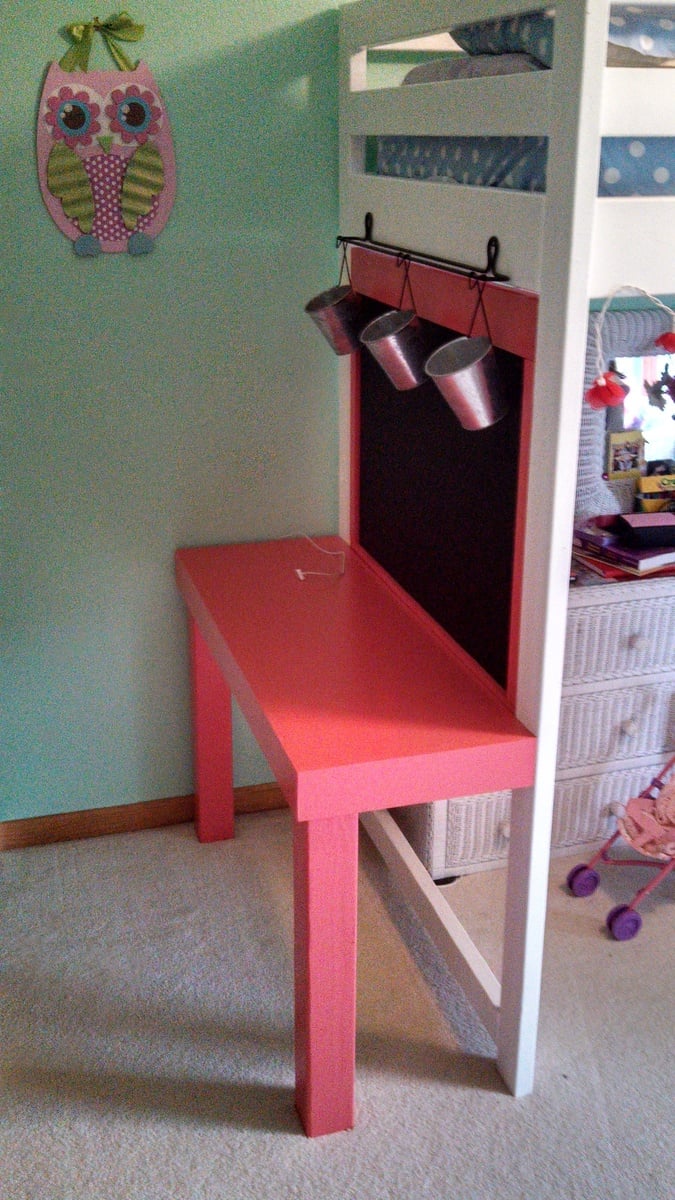
I added a small attached desk to the Camp Loft bed plans and framed a 1/2 inch sheet of scrap plywood painted with chalkboard paint. i then Reused an old "hanging herbs" fixture bought from IKEA for art supplies. My daughter calls it her "Art Studio"!!
Built from Plan(s)
Estimated Cost
$50
Estimated Time Investment
Afternoon Project (3-6 Hours)
Finish Used
Semi gloss enamel paint and Rustoleum chalk board paint.
Recommended Skill Level
Beginner
Comments

Fri, 06/28/2013 - 13:35
I love that your daughter
I love that your daughter calls it her art studio. Adorable! and the color is perfect!
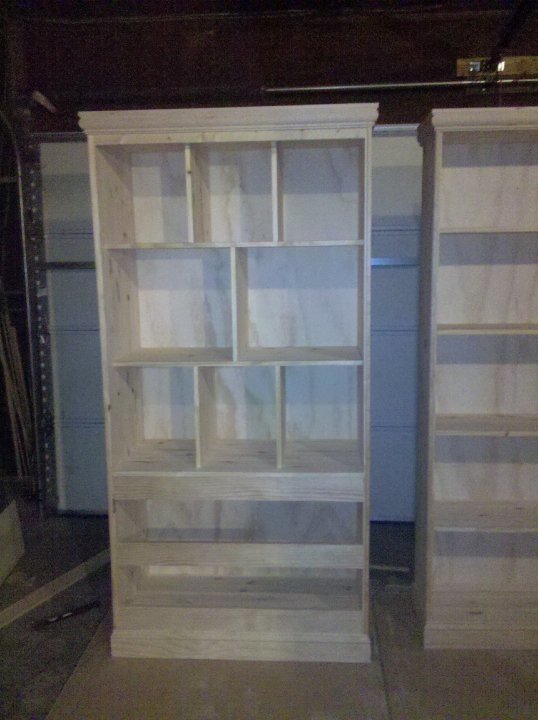
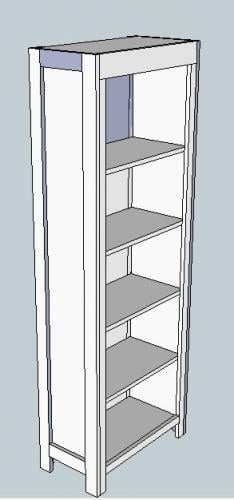
Ballard Design Bookshelf Knockoff
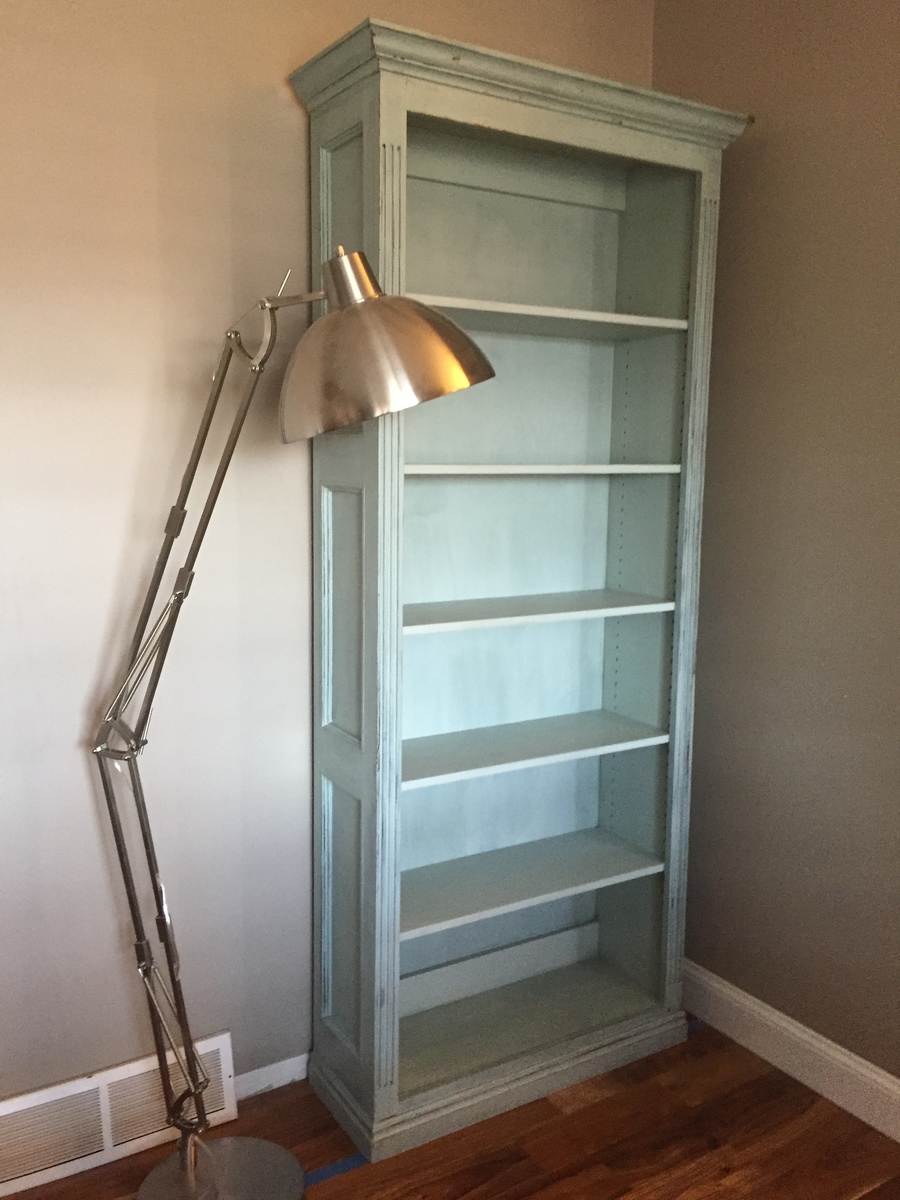
I fell in love with the Ballard Designs Turin bookshelf. But it was way too expensive and not the right size for my space. So I made up my own version!
Made from plywood with a poplar face frame. For the side panels I just nailed on poplar rails & stiles, then routed a simple cove molding with my router. The base molding and crown molding I bought by the foot from HD. I routed the fluting on the face frame with a hand held palm router and a small U-groove bit.
Estimated Cost
$100
Estimated Time Investment
Weekend Project (10-20 Hours)
Finish Used
Custom color milk paint. I used Old Fashioned Milk Paint in oyster, soldier blue, and tavern green, in a ratio of 3:1:1/2. First, I stained the piece in dark walnut. Then I rubbed on furniture wax in the areas I wanted the milk paint to resist. I applied the milk paint, lightly sanded to distress, then waxed everything.
Recommended Skill Level
Advanced
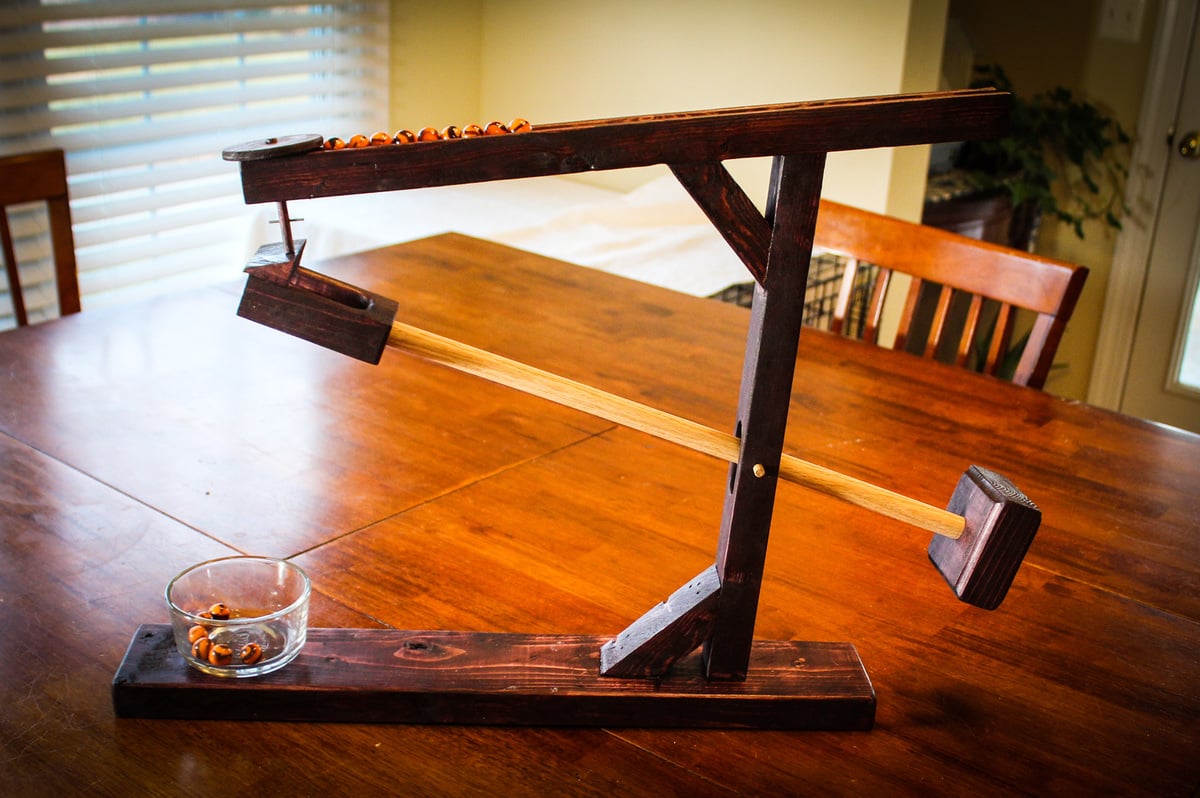
Wooden Marble Roller Machine
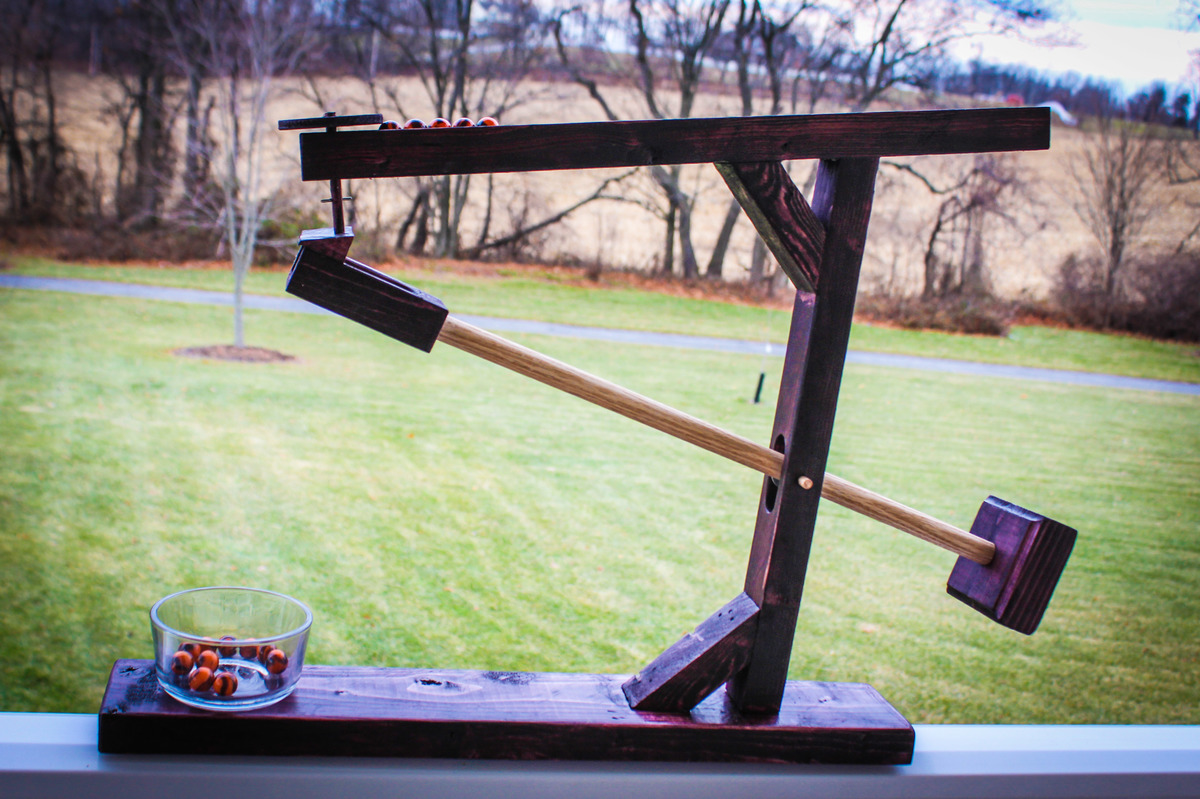
I saw a picture of marble machine years ago and I finally got around to trying to make my own. I seriously had doubts about getting it working; so I didn’t want to invest money in nice wood. Therefore, besides the dowels, everything you see was made from a scrap 2×4.
As expected, it was a challenge to get mechanism worked out. I had to remake the cup and adjust the pivot point but I eventually got it working as shown in video.
Build Instructions: https://www.instructables.com/id/Wooden-Marble-Roller-Machine/
In Action: https://youtu.be/sel0w0gXGQk
Estimated Cost
$5%
Estimated Time Investment
Afternoon Project (3-6 Hours)
Finish Used
Dark Cherry
Recommended Skill Level
Intermediate
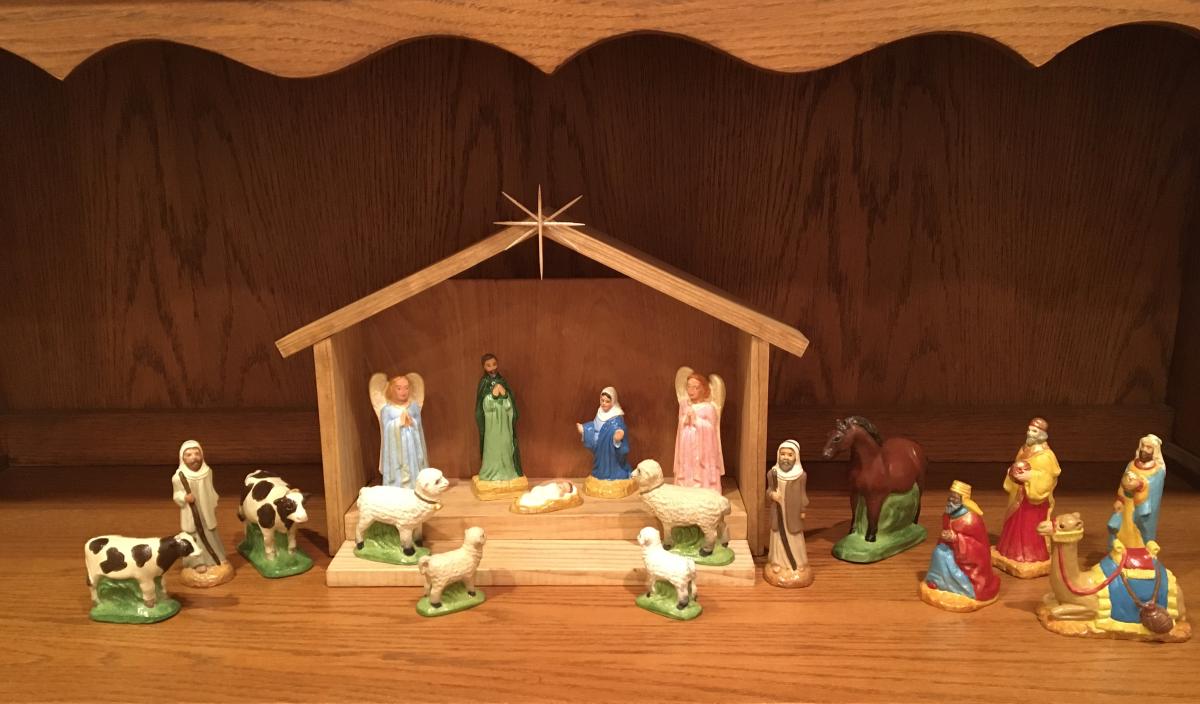
Nativity stable
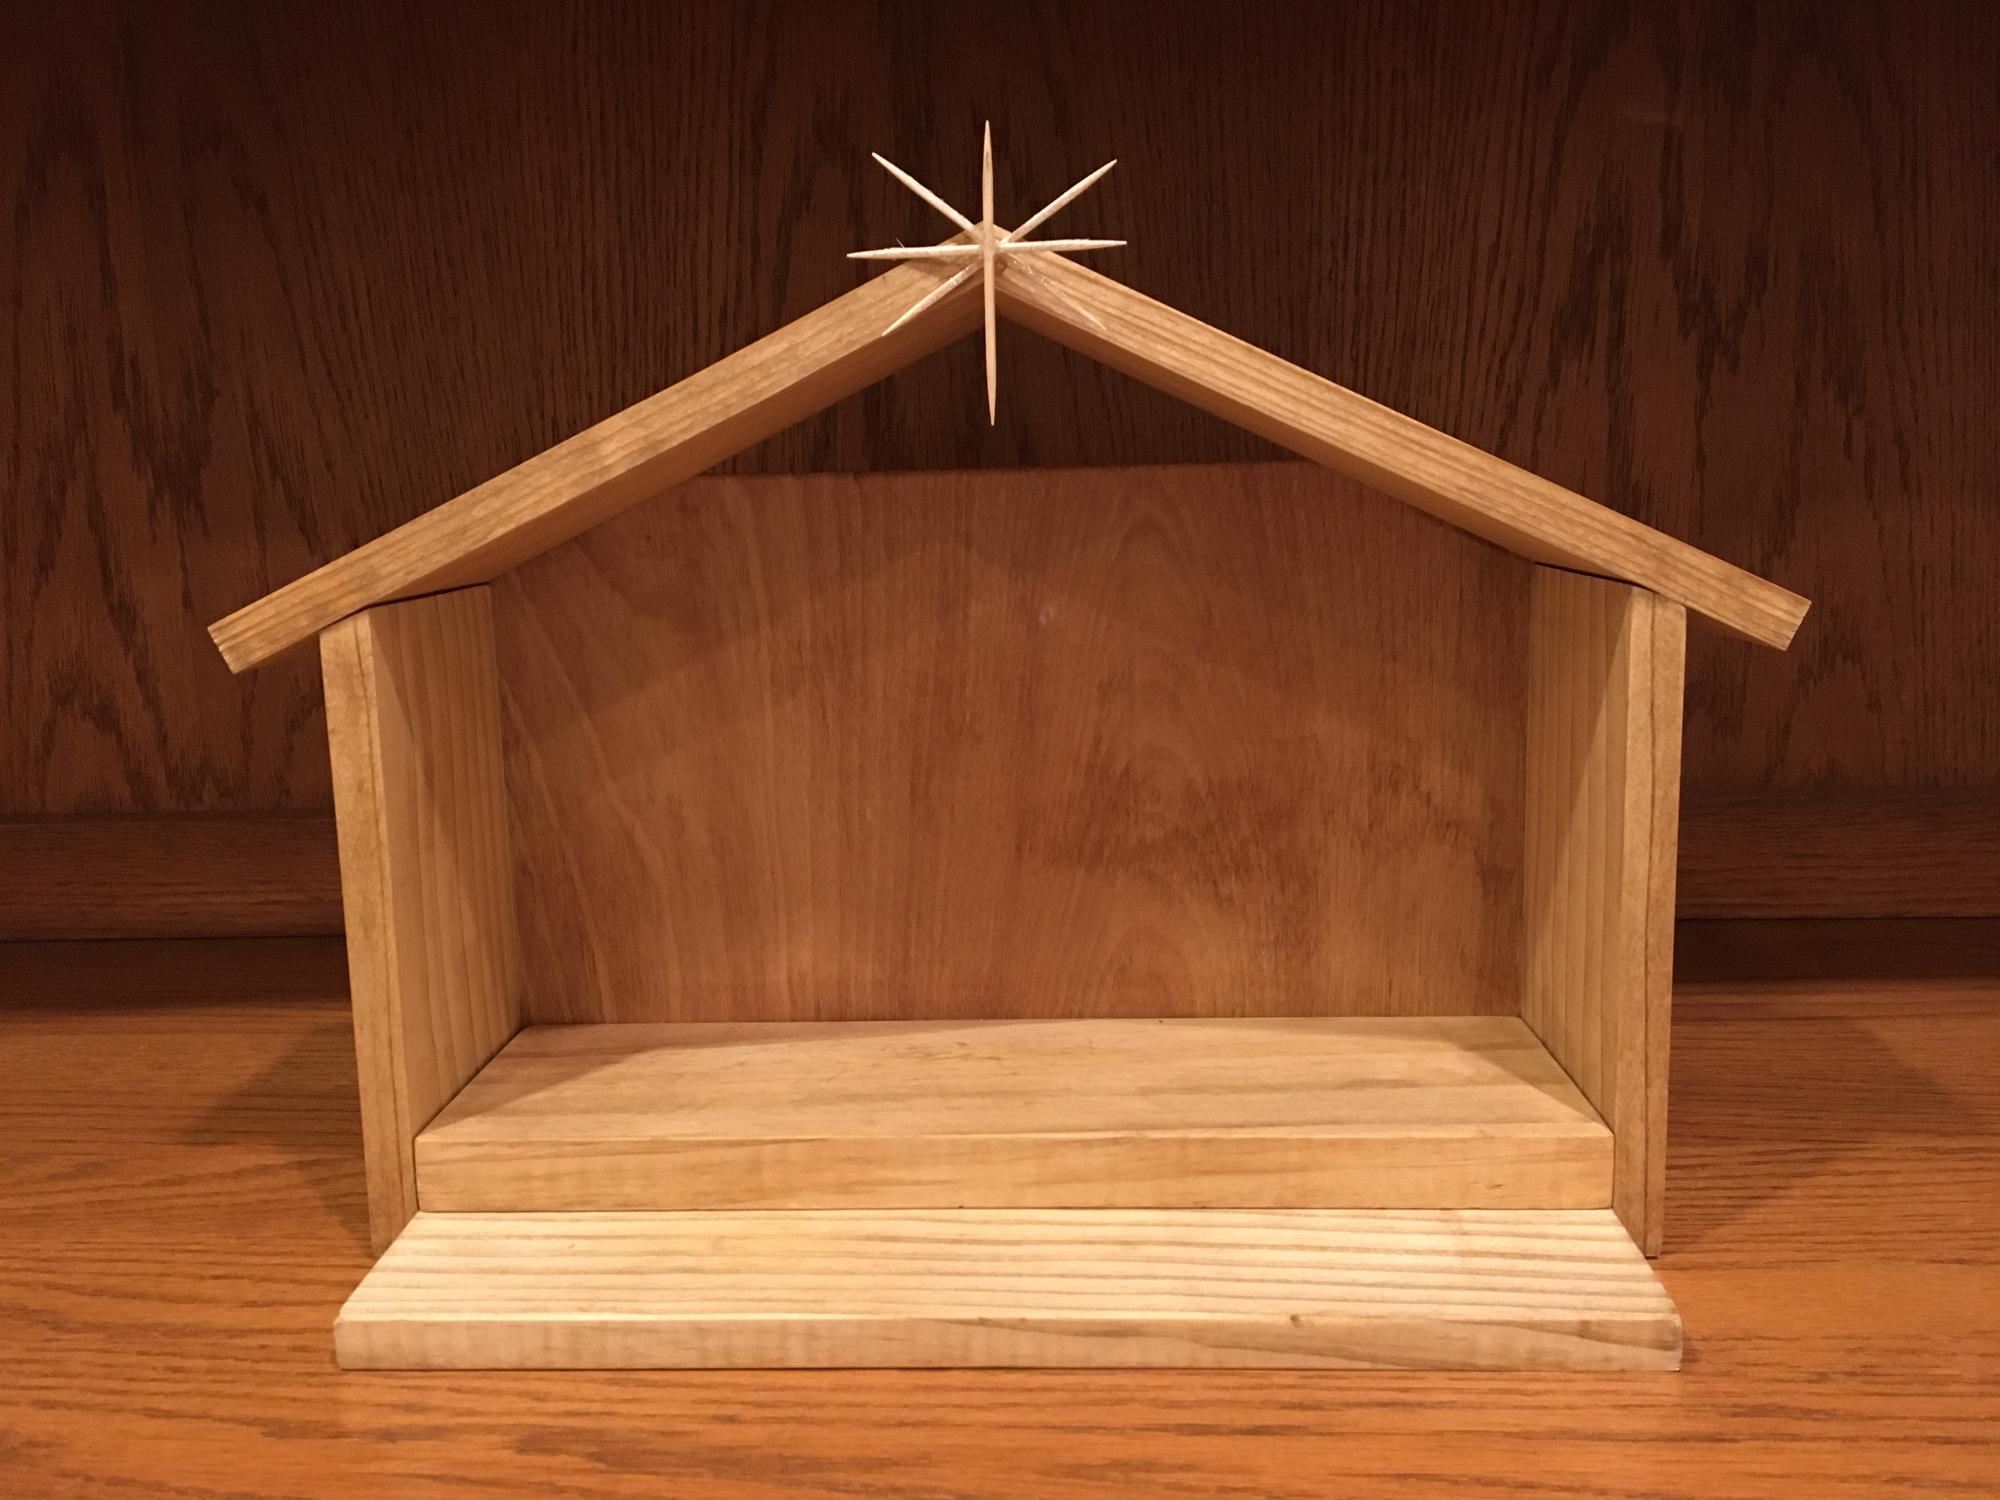
Stable made from scrap wood I had on hand (plus a few toothpicks).
Built from Plan(s)
Comments
Mon, 11/29/2021 - 05:42
Lovely manger!
Awesome use of material, it looks great! Thank you for sharing, God Bless~
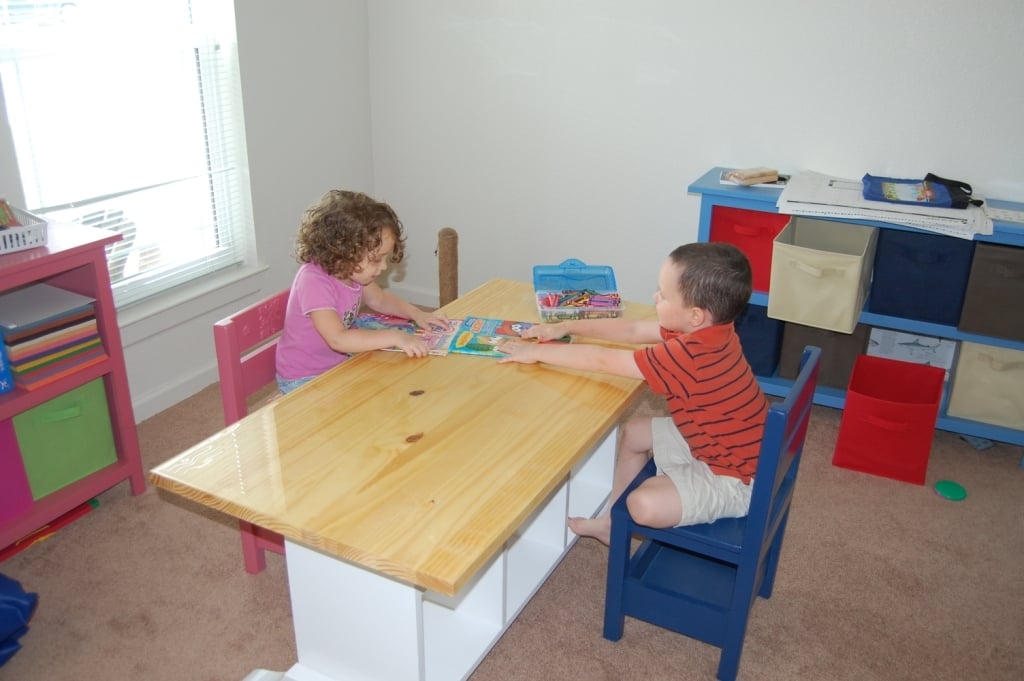
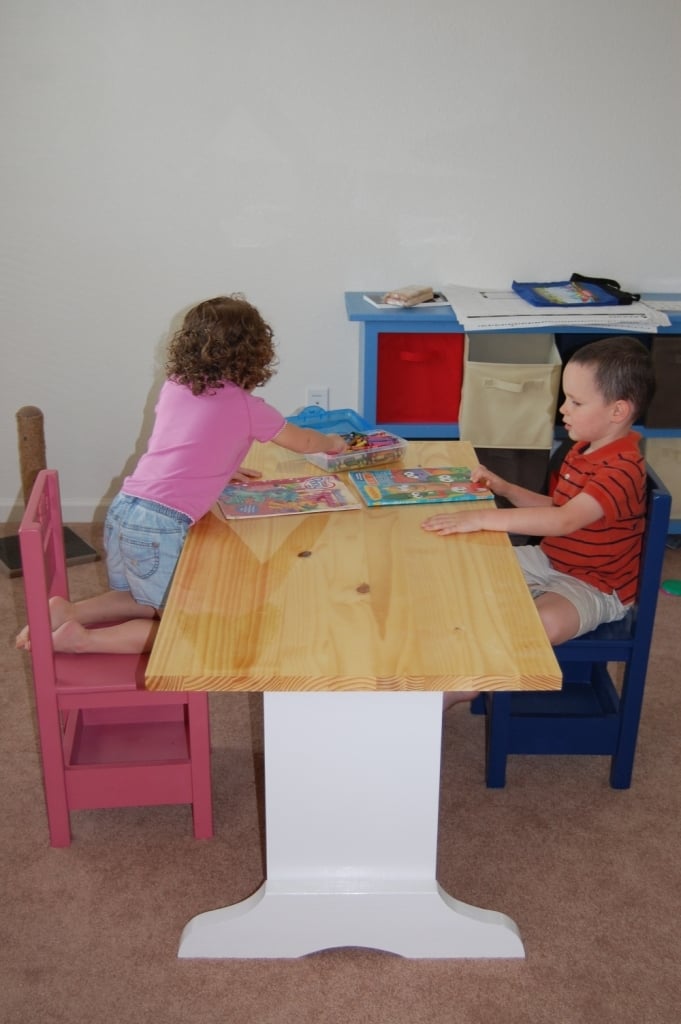
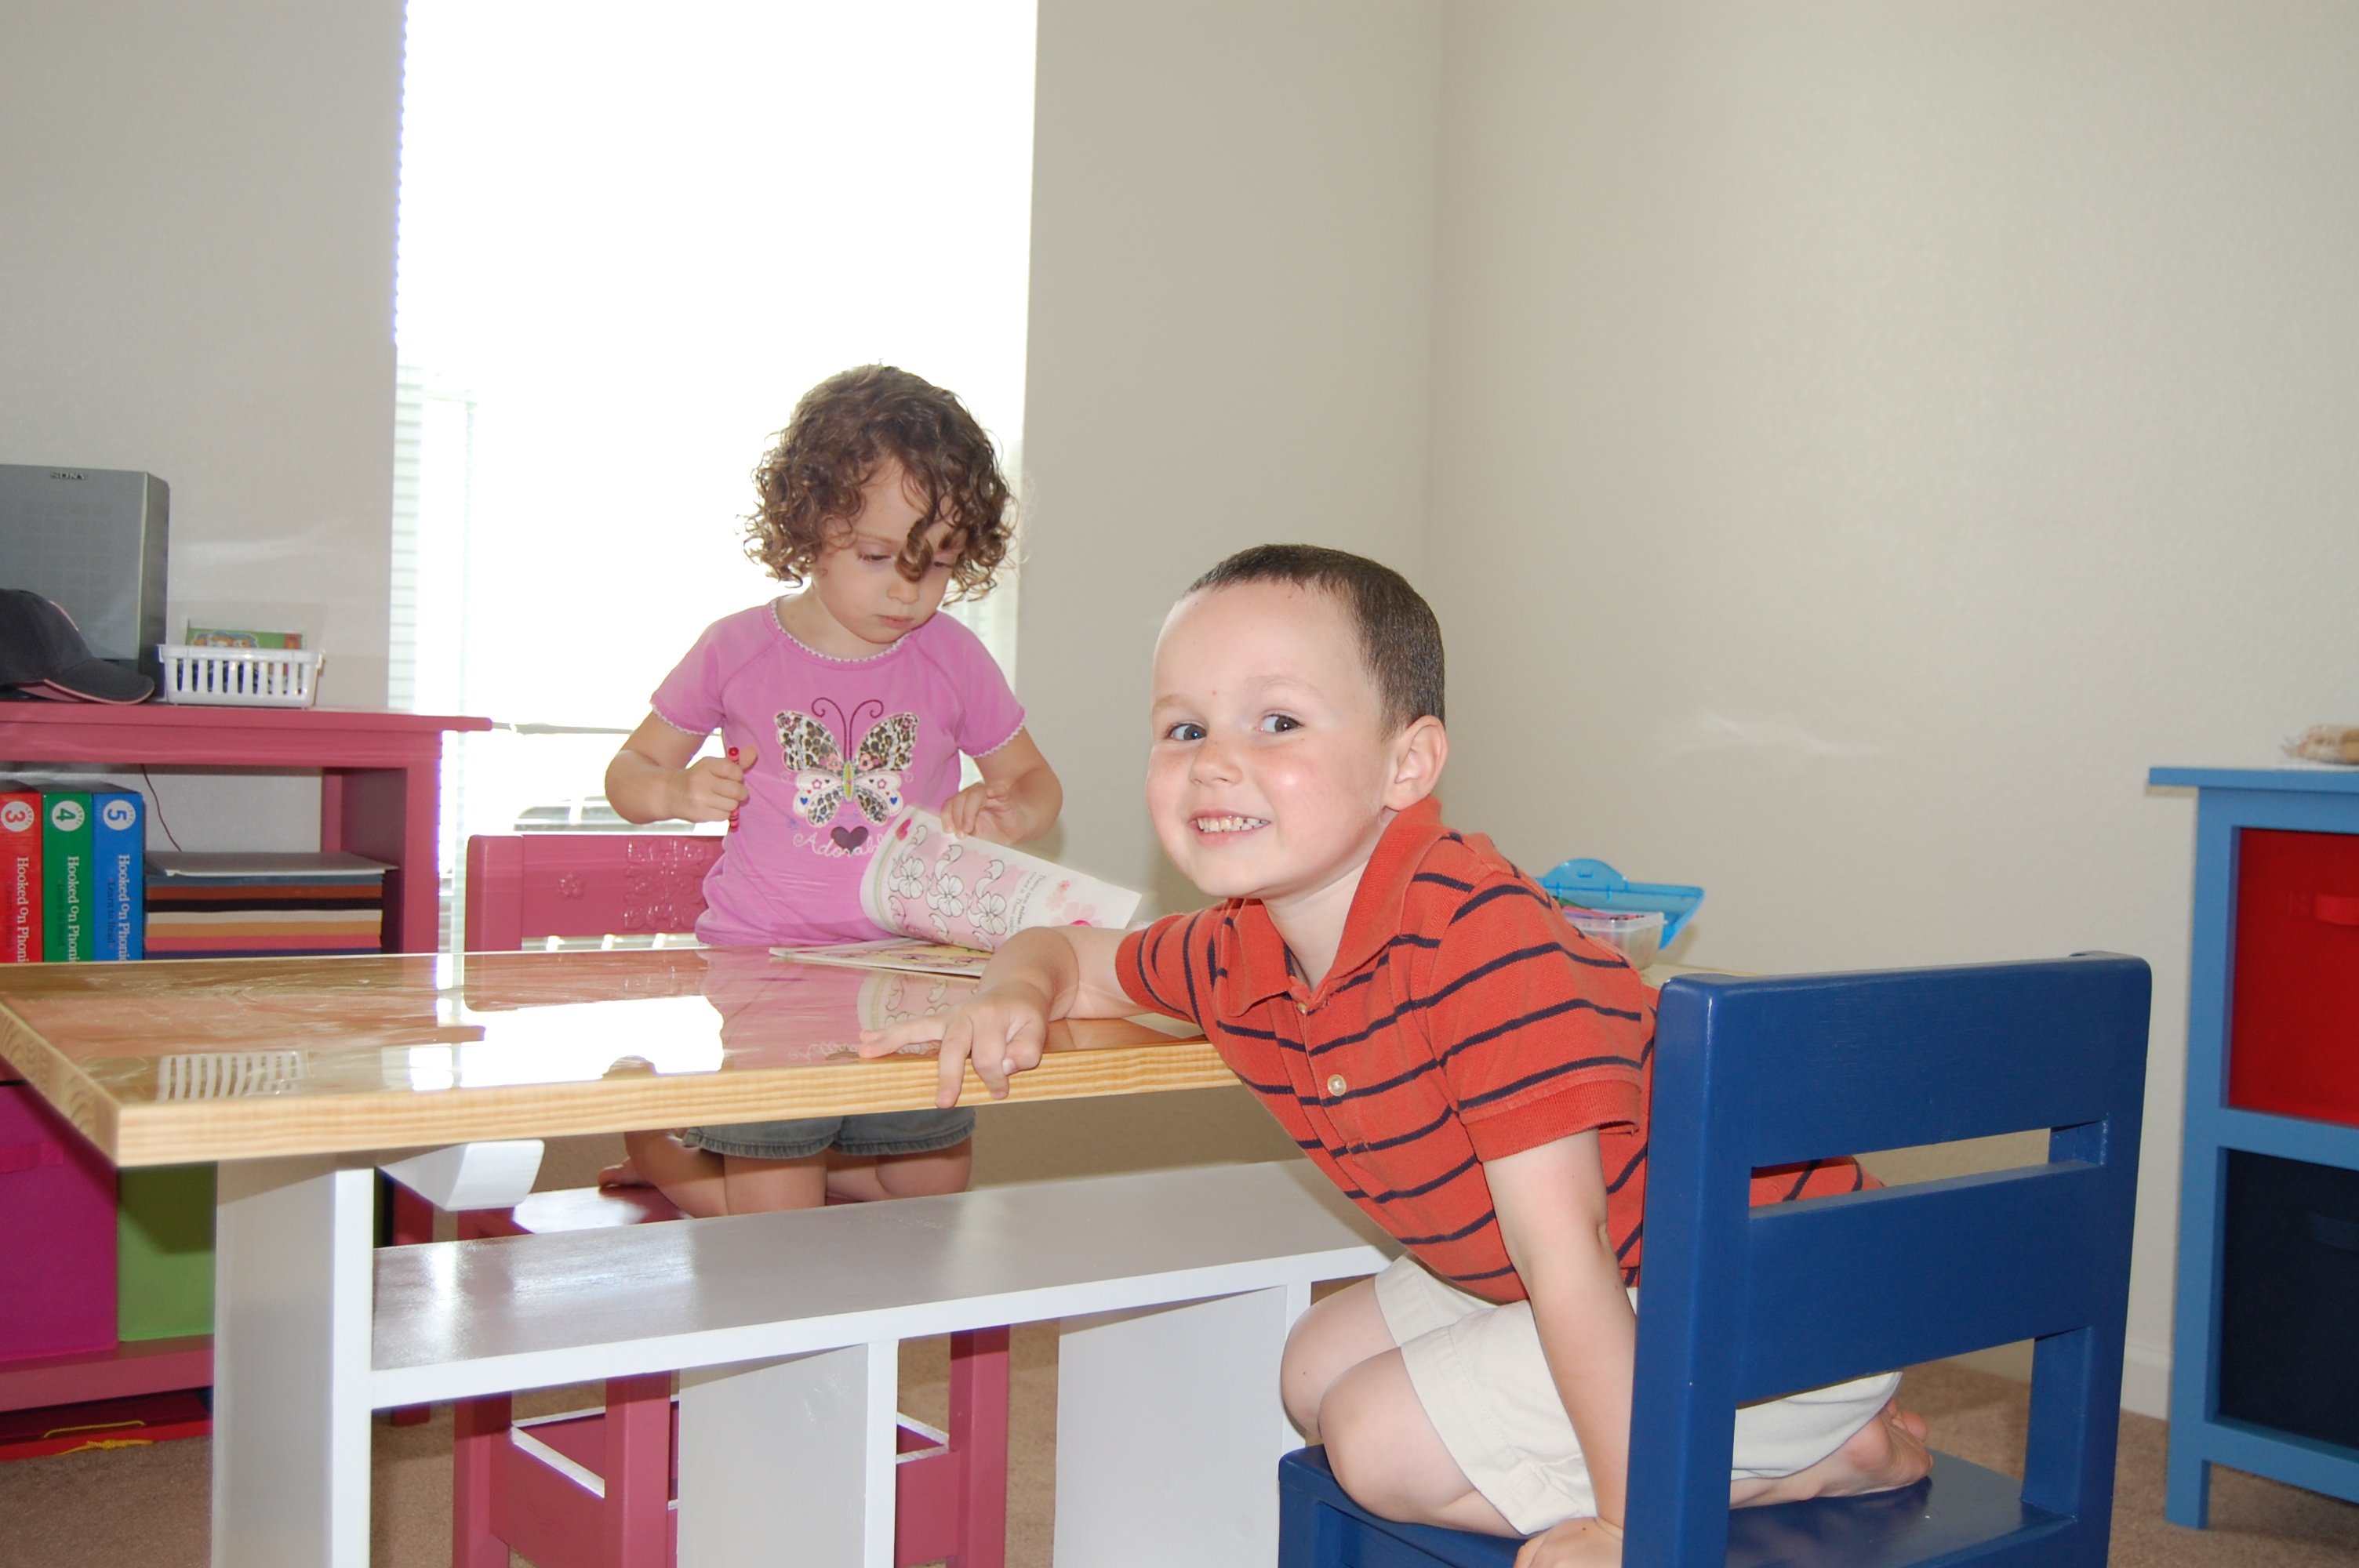
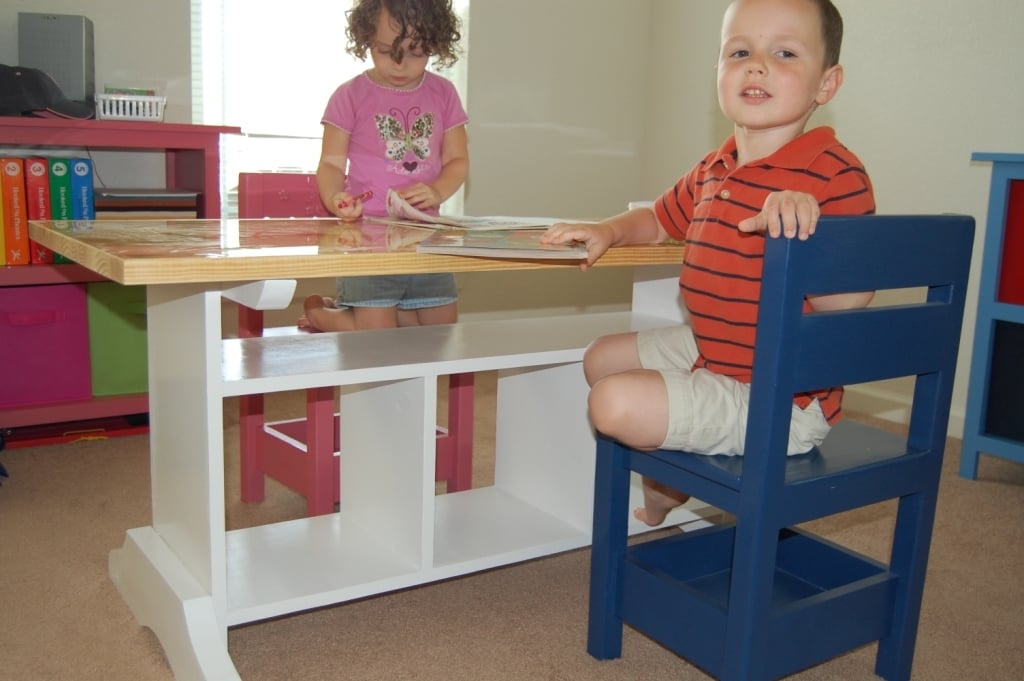
Children's Homeschool-Craft-Play Area in our Living Room - 3 of Ana's plans

My husband just finished the Elementary Trestle Table from Ana's plans. I painted the base white and he polyurethane'd the pine project panel for the top. He also used "Super Glaze" on the surface for a thick shiny protective coating. I made the Storage chairs from Ana's plans last year, they were my first real project. I also made Grace's Bookshelves a while back, you can see them a little in the background, one is pink and one is blue. We love Ana's plans and are always printing and planning what we're going to build next.
Built from Plan(s)
Estimated Cost
$60
Estimated Time Investment
Weekend Project (10-20 Hours)
Finish Used
Paint, Poly, Super Glaze
Recommended Skill Level
Beginner
Comments
Wed, 02/07/2024 - 06:16
Nice Table
Love the shine on the table.
Do you have the plans for the table? I made this table and the chairs in 2020, but now can't find the designs for the table. Thank you for any assistance.
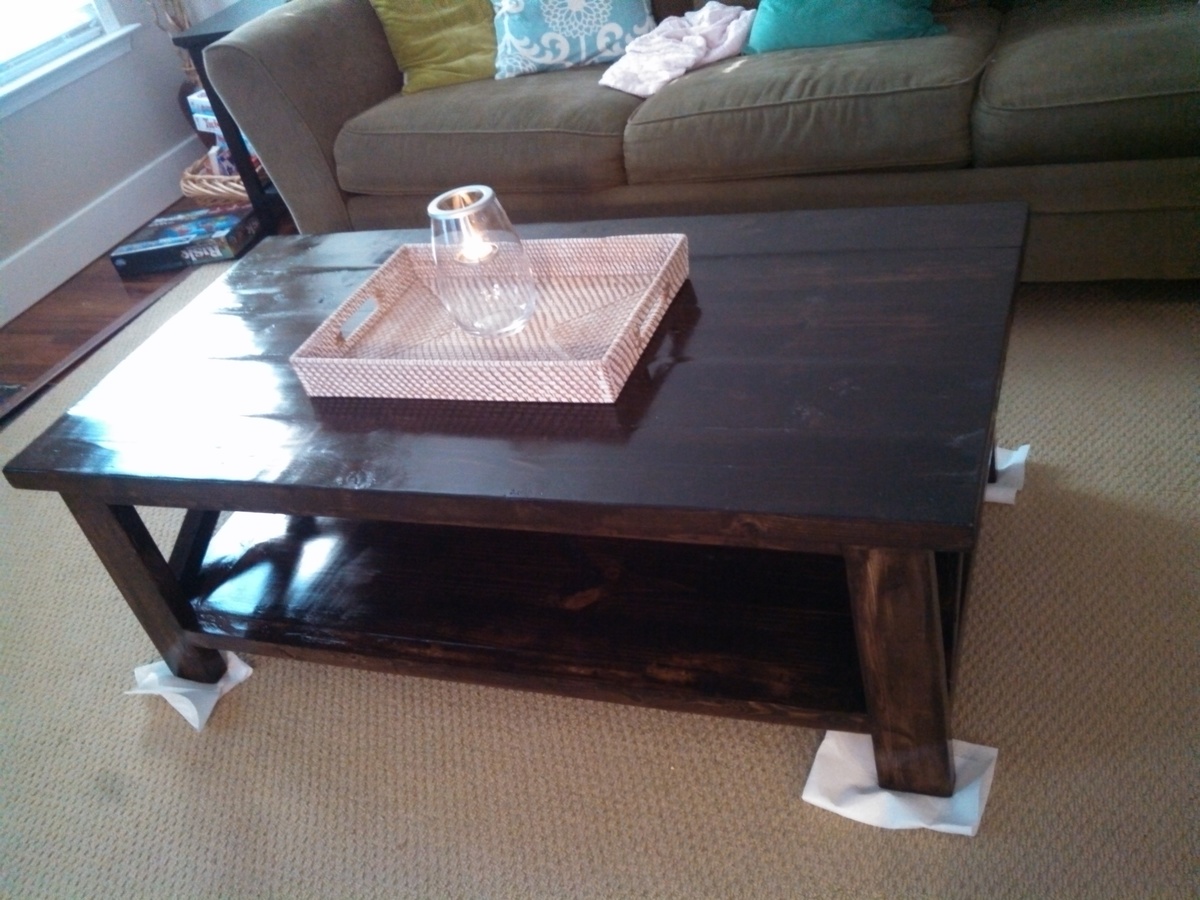
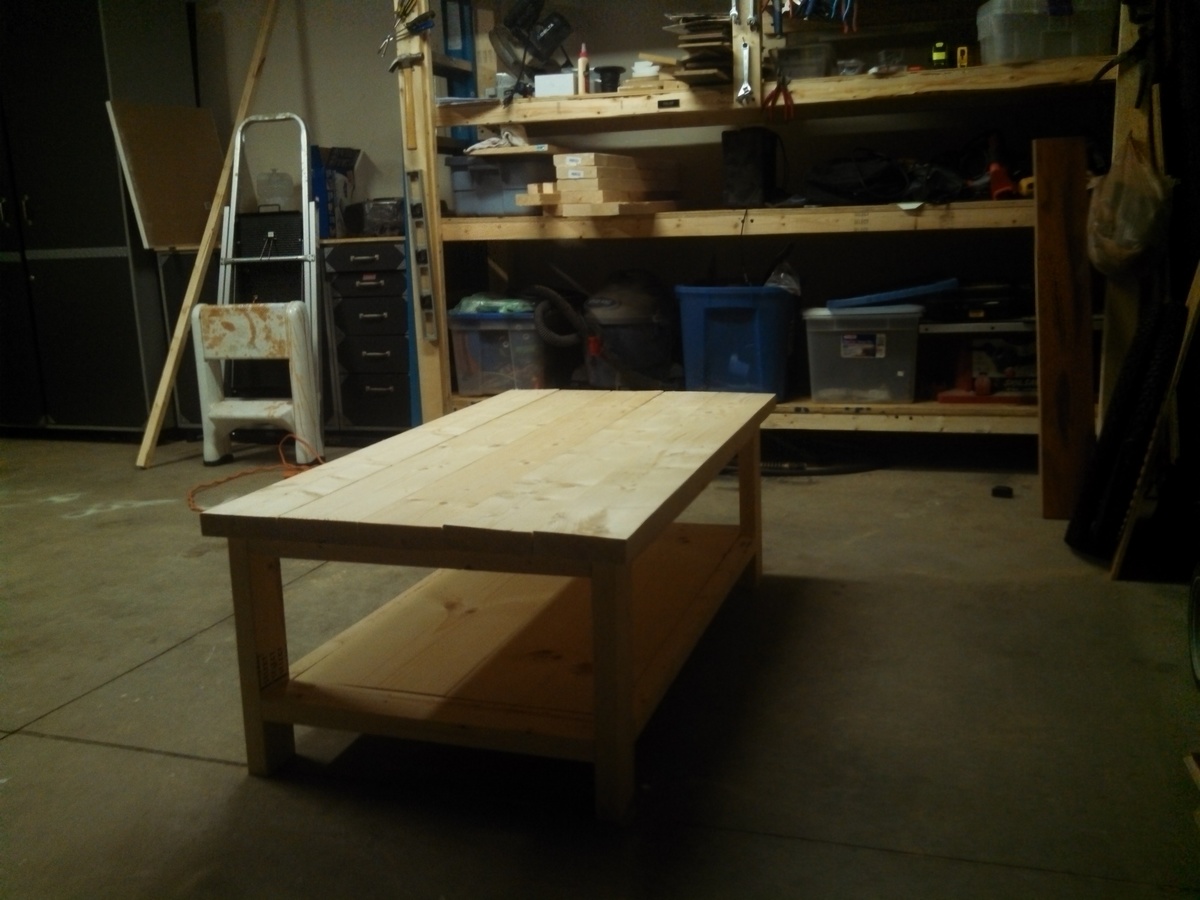
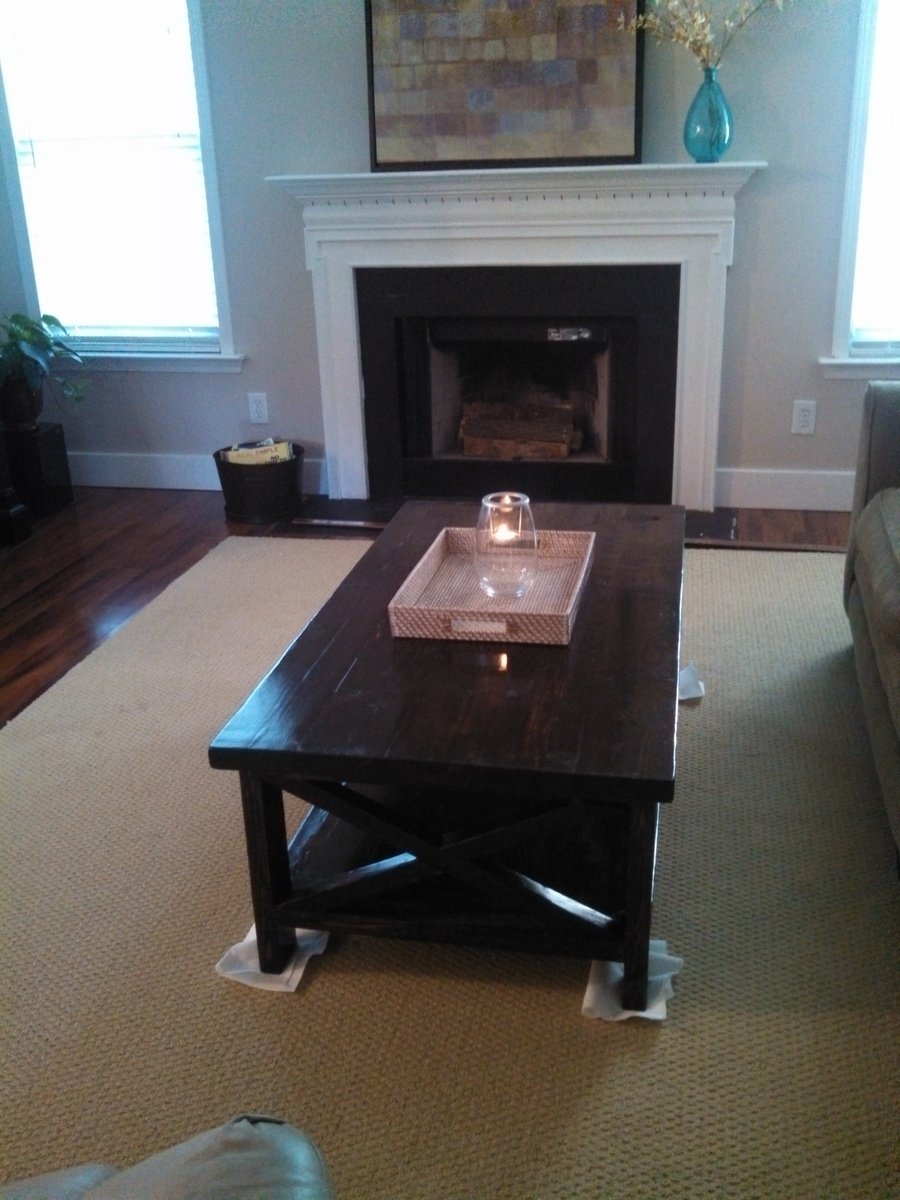
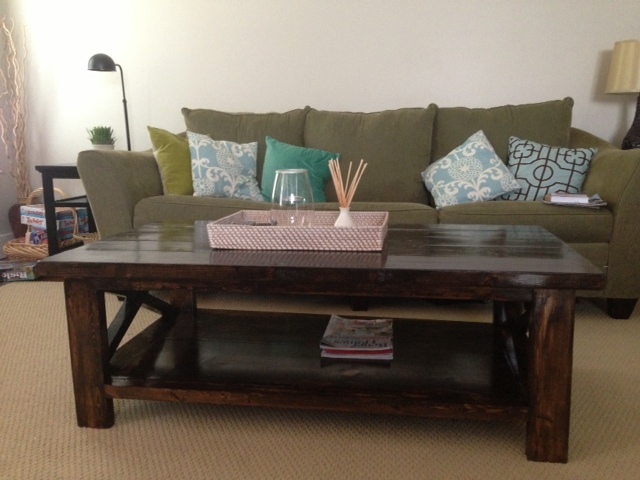
Rustic x Coffee Table
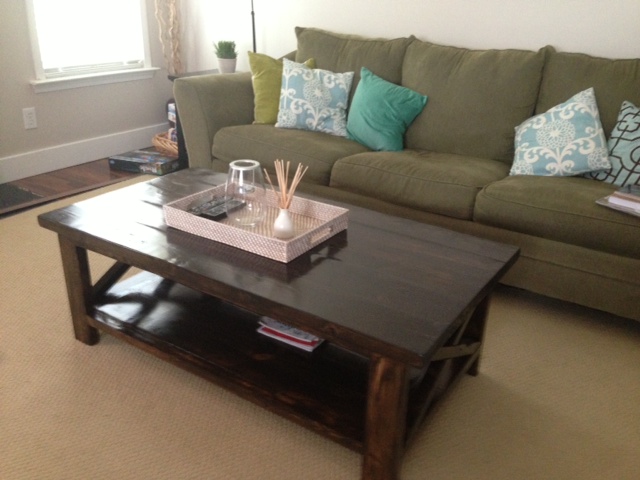
This was my very first project. People ask me how much it cost me to make it, and I don't know that you can quantify the satisfaction of making our own furniture. The whole family helped in making this table. We elected for the Rust-o-leum Kona stain and then a semi-gloss poly. i think my next project will be a kitchen table, some built-ins as well as taking my son's favorite college team logo to embed onto a chair. Thank you for making the available and easy to follow.
I worked on this in the evenings after work so it took more than a day or two to complete. Plus sanding, staining and finishing if done right took over the course of a couple of nights.
Built from Plan(s)
Estimated Time Investment
Weekend Project (10-20 Hours)
Recommended Skill Level
Starter Project
Comments
Sandbox fun
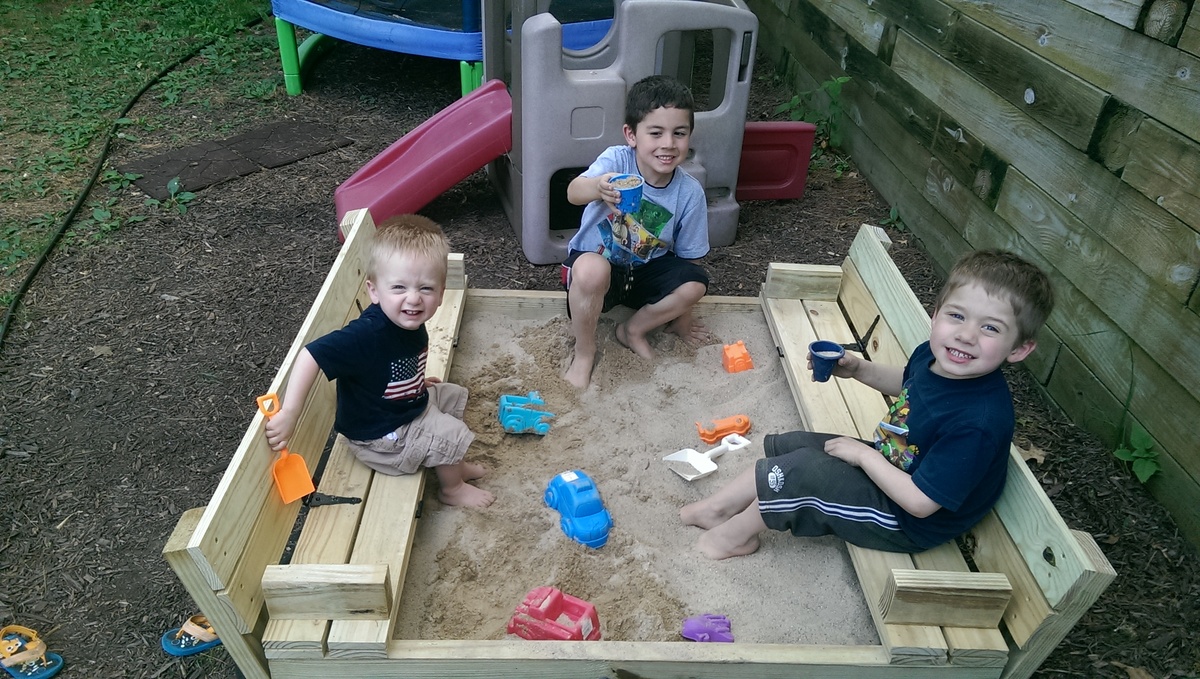
3 boys playing in the sand.
I used 2x8's for box base. I ran into spacing trouble, 1x4's must have been really new, they were about 1/16" over 3 1/2". I had to reduce spacing on each gap a hair to be able to close.
Built from Plan(s)
Estimated Time Investment
Afternoon Project (3-6 Hours)
Recommended Skill Level
Beginner
Modern outdoor chairs and tables

Project is still in progress but so far this has consisted of a firepit, 20x20 slab, 4 cypress columns, bistro lighting, 2 modern outdoor chairs, 1 modern outdoor bench, 4 matching tables, and a project screen. To come: flower bed, projector storage stand with casters and hinged top, outdoor speakers, and possibly a green egg stand, and extending power to the back of the slab.

Built from Plan(s)
Estimated Cost
$75 per chair, $100 per bench, $40 per table
Estimated Time Investment
Week Long Project (20 Hours or More)
Finish Used
Thompson waterseal (transparent)
Recommended Skill Level
Intermediate
Caden Leather Ottoman (Pottery Barn knock-off)

This is a knockoff of the Pottery Barn "Caden Leather Ottoman". Made from Ash and American Walnut.

Comments
Ana White Admin
Sat, 11/06/2021 - 17:45
Very nice potting bench!
That's a great way to spend time at home, thank you for sharing!