As an on camera actor, I found myself with zero work during the pandemic. All productions were shut down and my day job no longer existed. It was time to get creative.
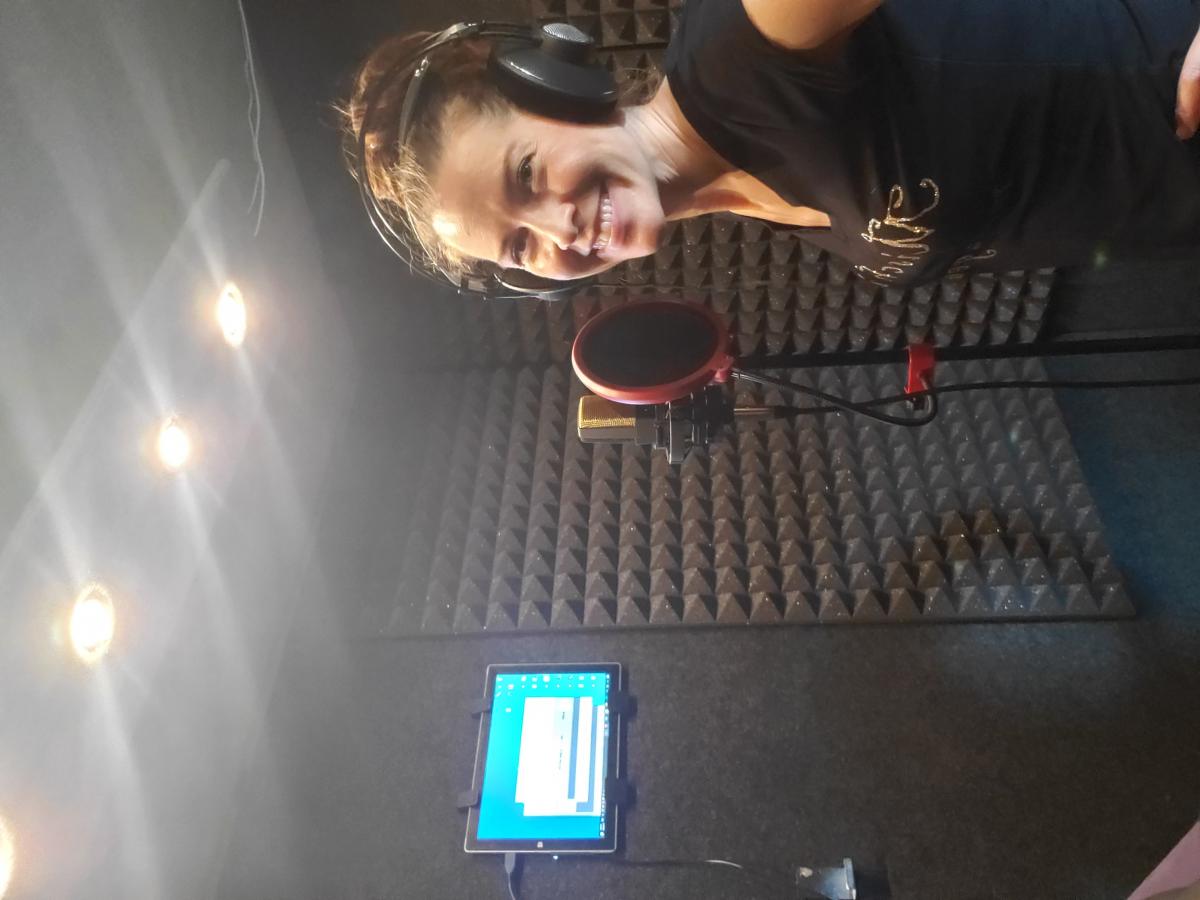
Voice over work started booming, particularly for actors who could record from home, because recording studios were shut down. I've dabbled a bit in voice over and had been interested in diving in and took my first step by buying a sound reducing booth called a whisper room.
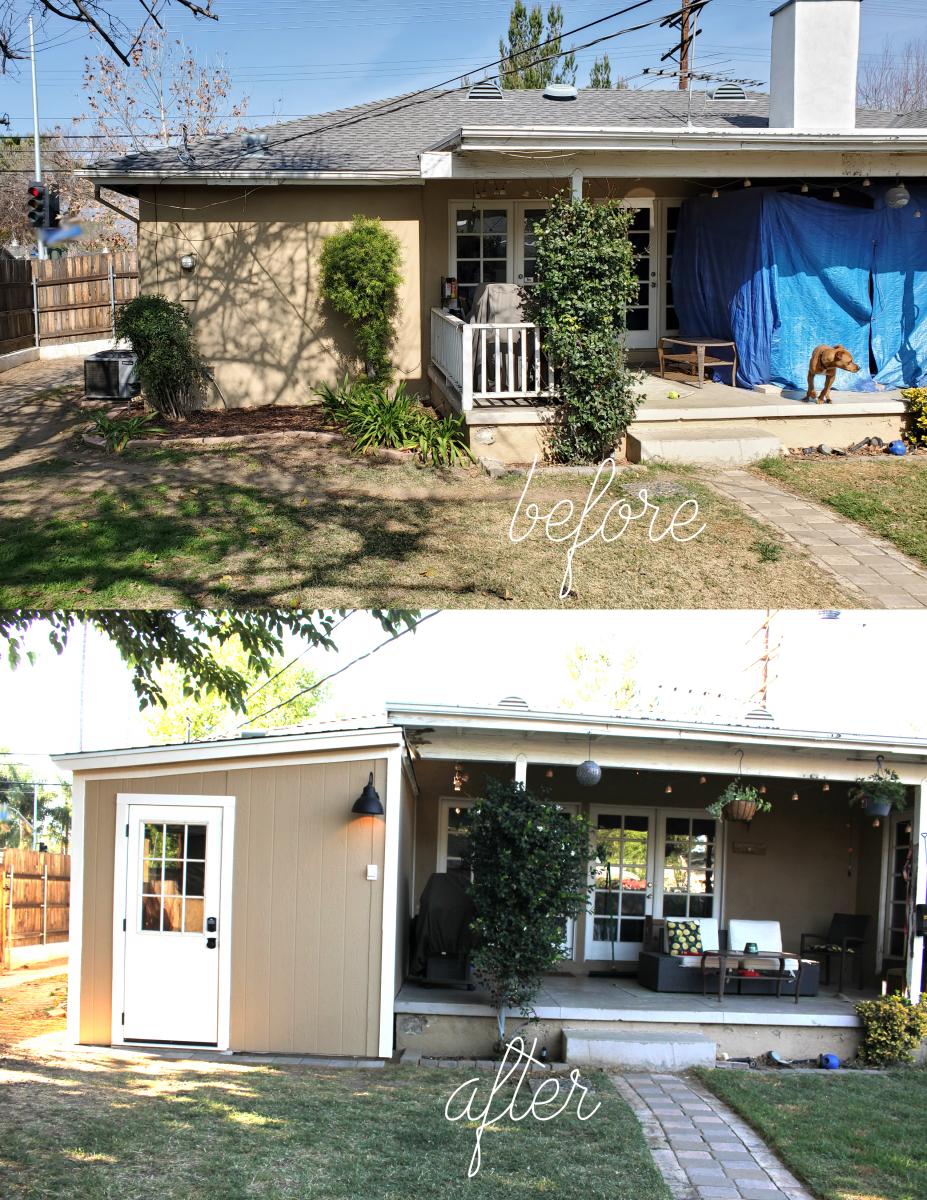
The problem? There was nowhere in our house to to put the 6'x8' booth. So it sat on the back porch for months, covered by a tarp.
For a woodworker, this just wouldn't do! It was time to build an out building to house the booth and have my own outdoor recording studio. I read endless books and watched videos on building recording studios and made my plans over a few months.
Finally, in March, I excavated the land and prepped it for a pour. We had a concrete guy come in and pour the slab.
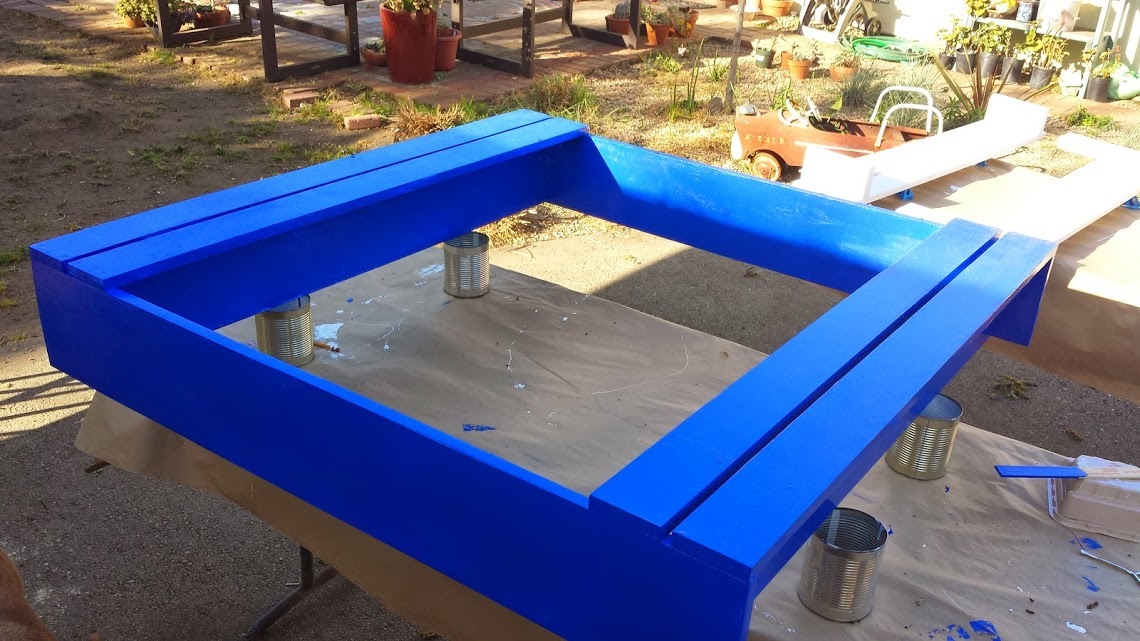
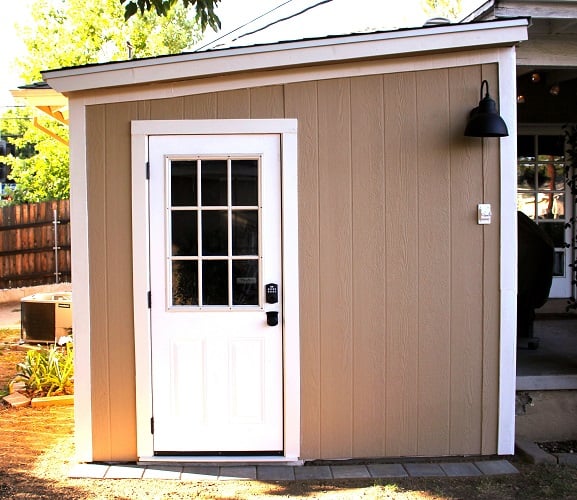
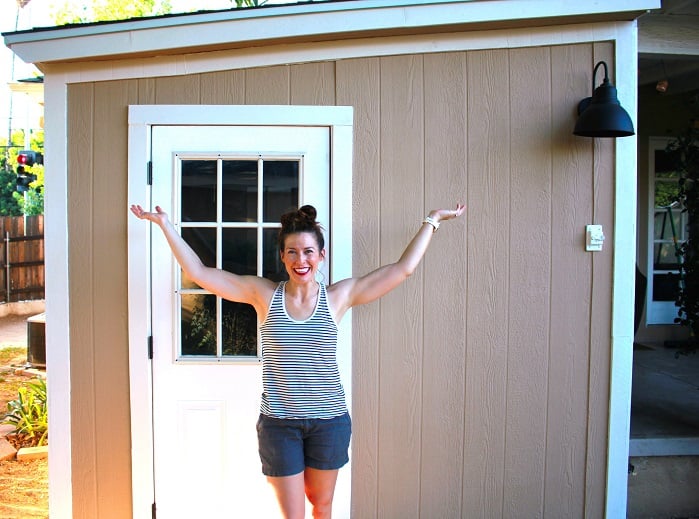
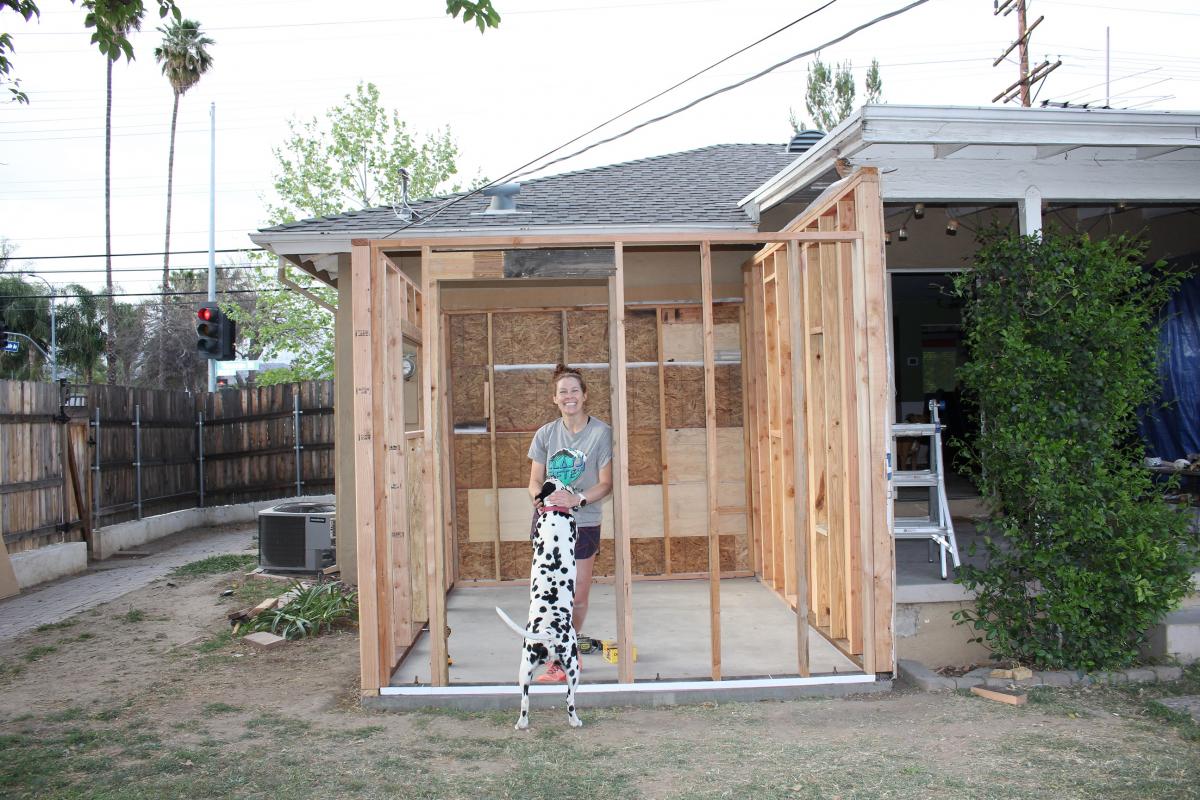
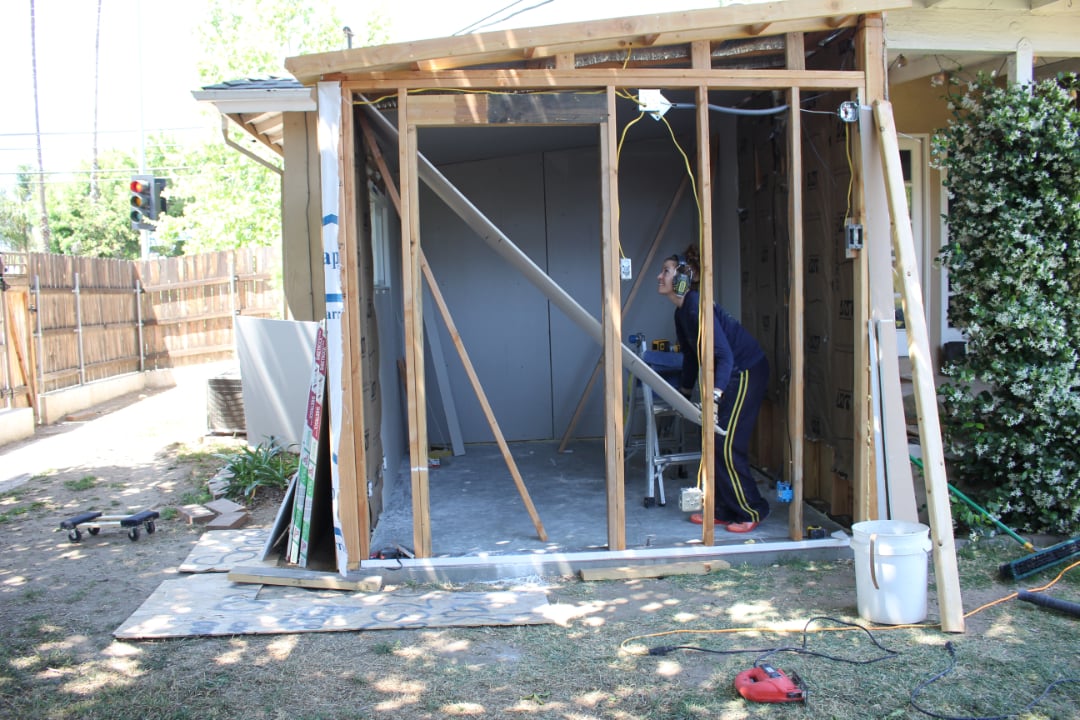
As soon as that set, I began work from the ground up in building this fancy shed. It took me 3 months, but I learned so much about the basics of building a house, and now I am auditioning for professional projects in my beautiful studio. I couldn't be prouder.
I ran electric, ethernet, I put in flooring, I roofed, drywalled, made a custom door threshold, inserted a window and framed every last bit of this building. There were bumps along the way- to be expected in a one person build- but she's done and ready for work.
I documented the build from start to finish here: https://www.youtube.com/watch?v=yPcEW6cqhcQ


Comments
whitney_smith
Thu, 01/10/2013 - 11:20
Nice...
Too bad I don't have any spare wall space either! lol
Pam the Goatherd
Fri, 01/11/2013 - 08:30
First I have to clear out the
First I have to clear out the garage...
FurnitureDreamer
Sun, 09/07/2014 - 06:58
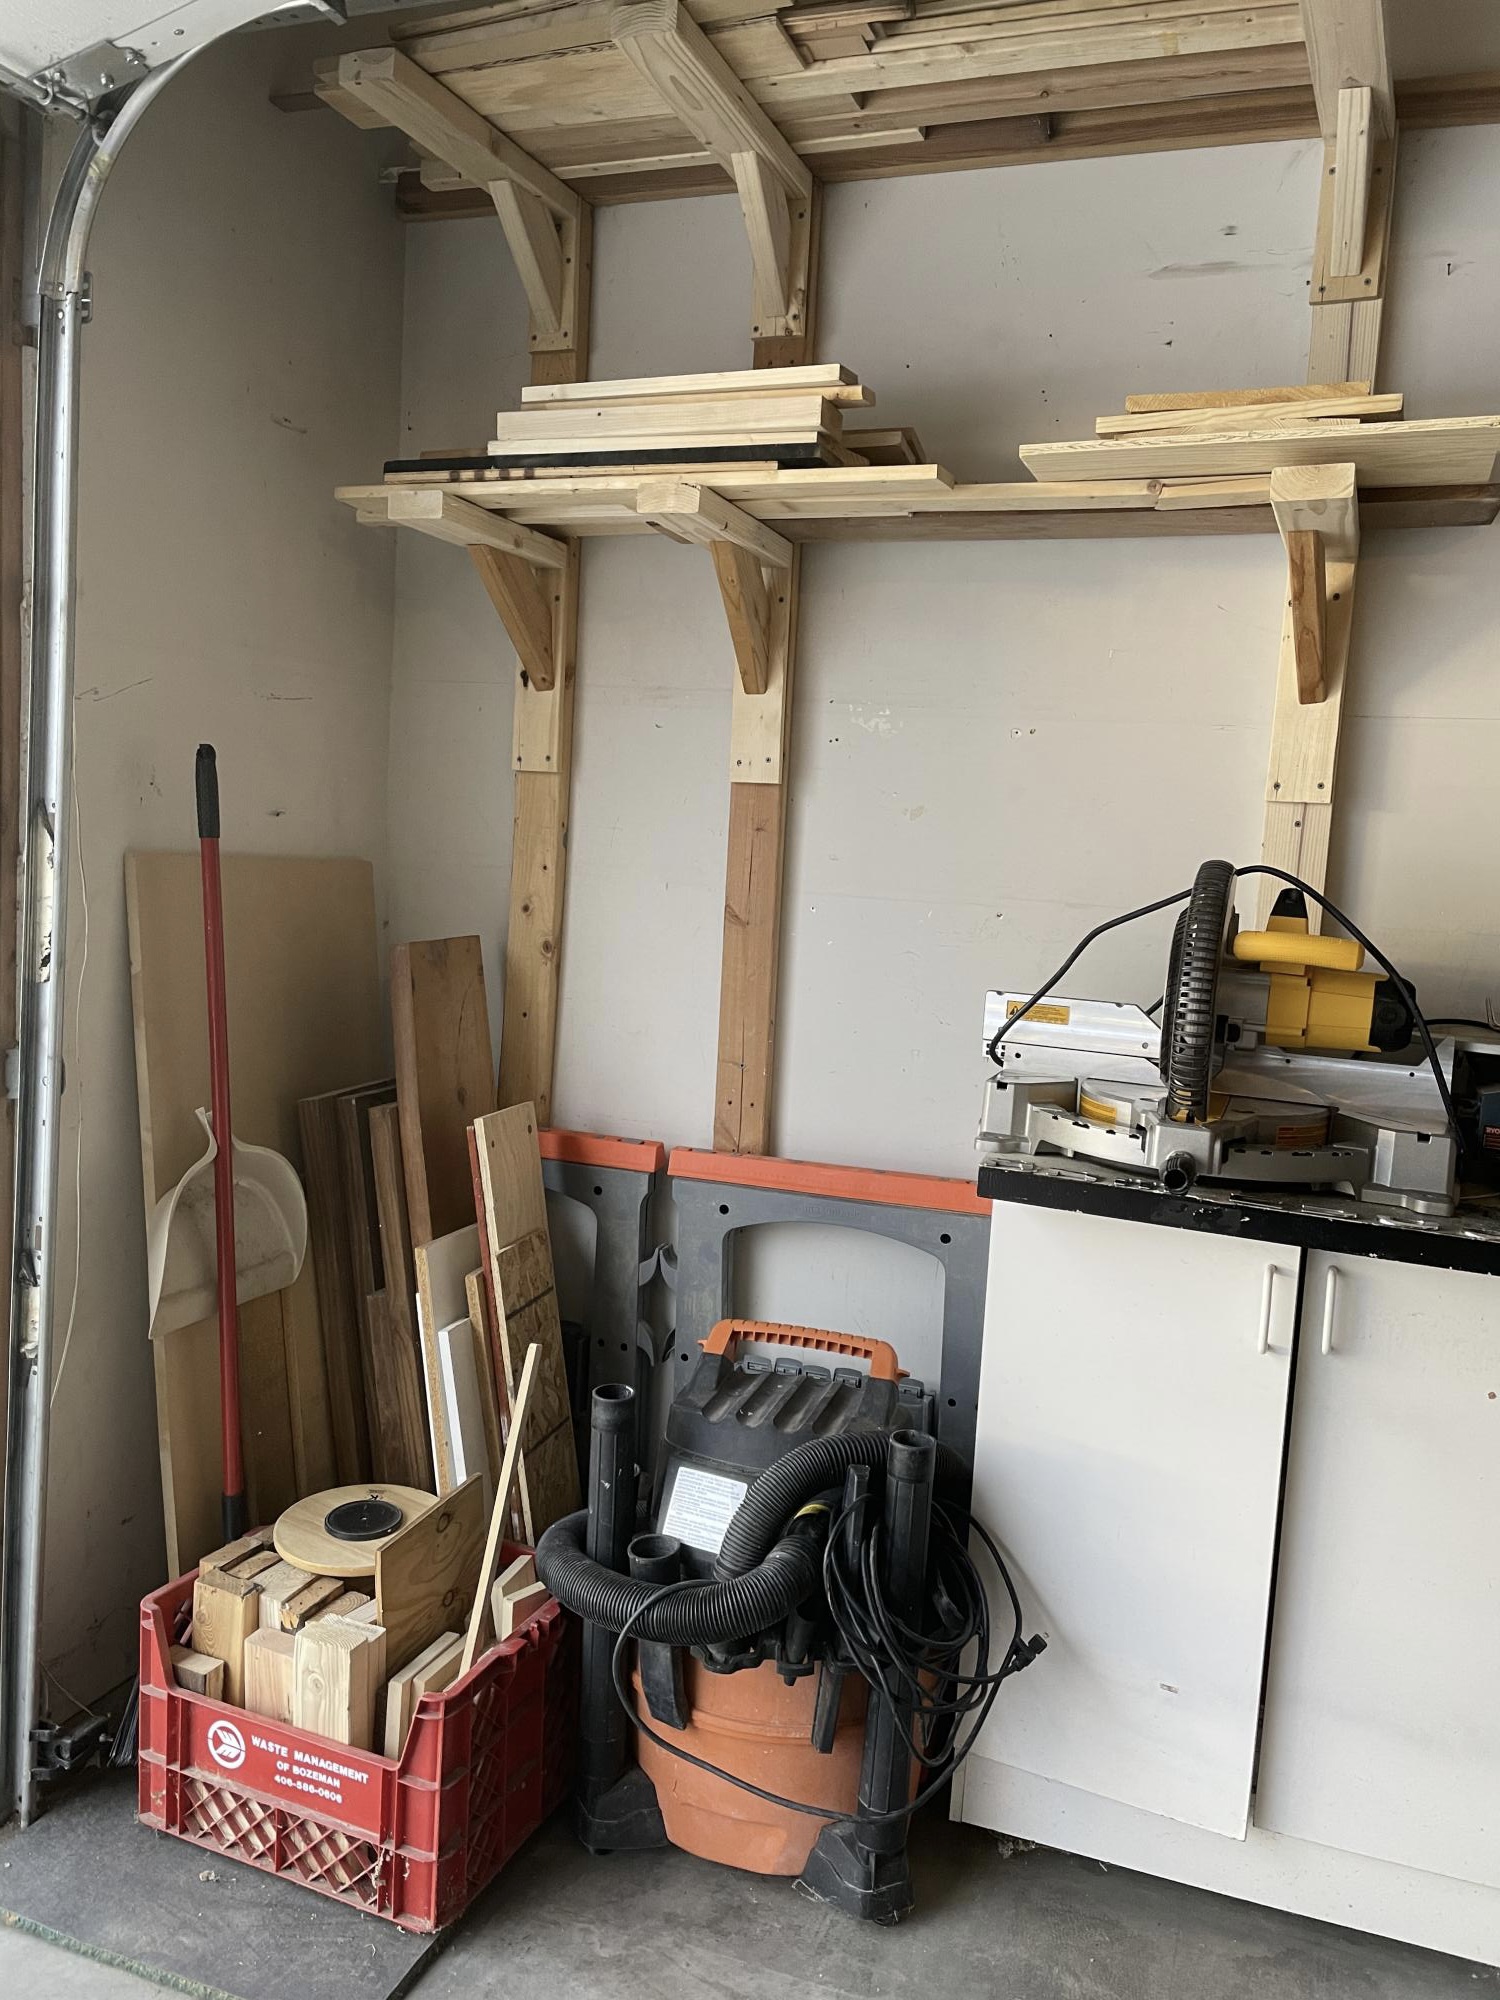
Simple
I like how simple your storage system is. Looks great.