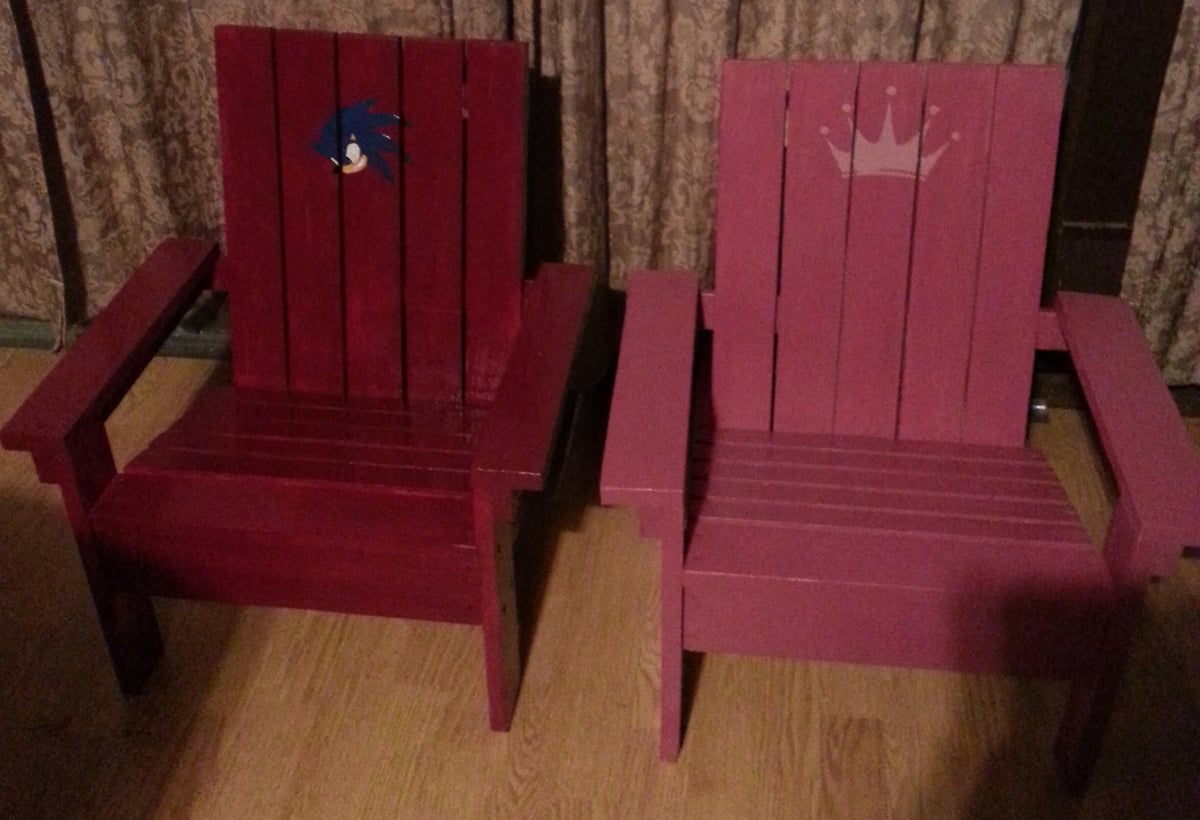
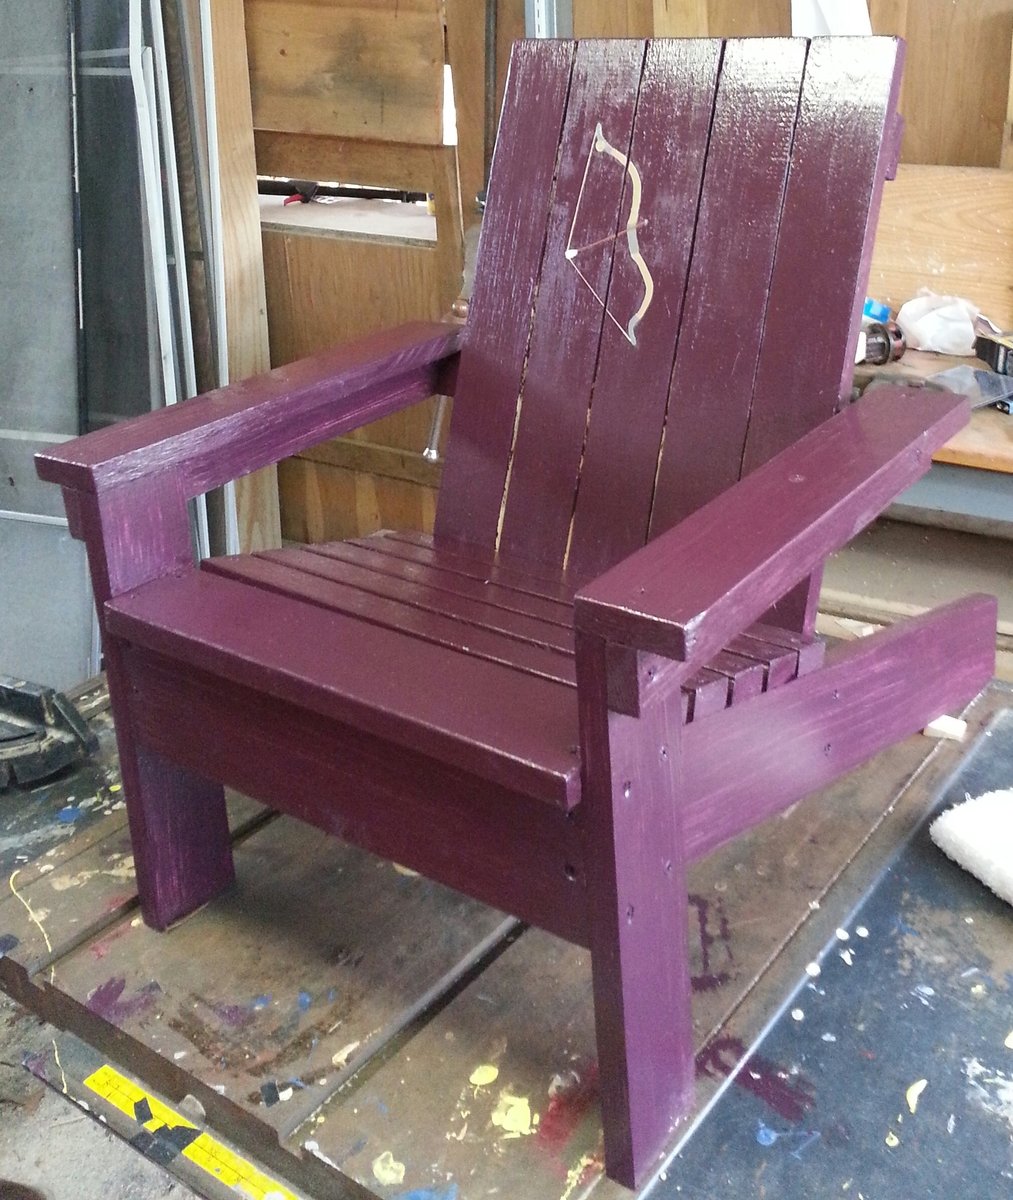
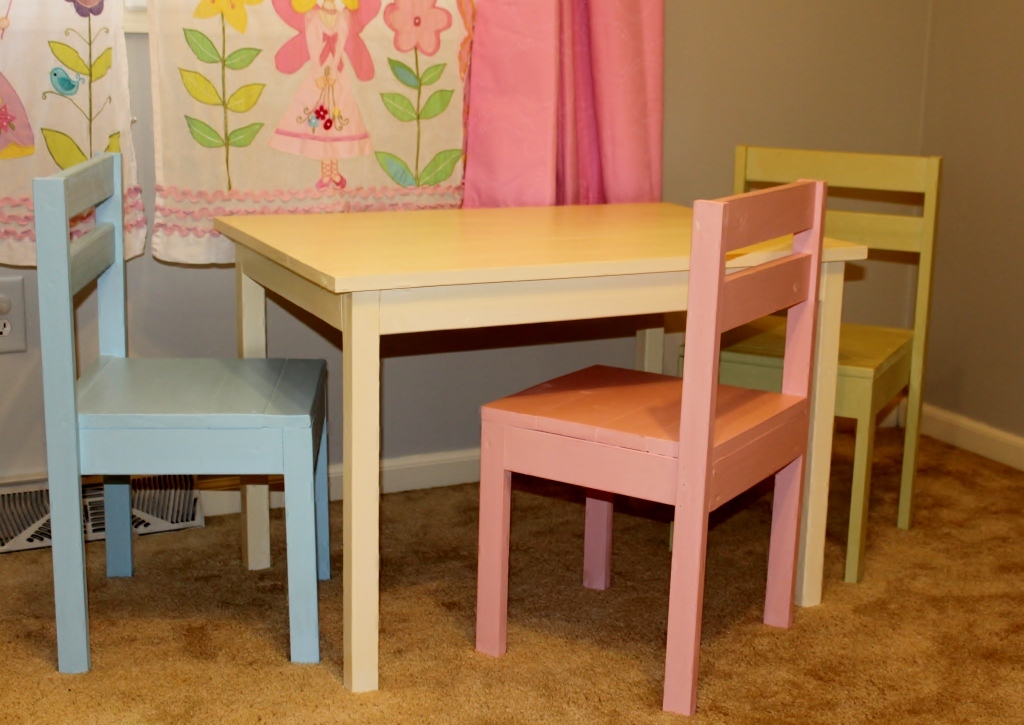
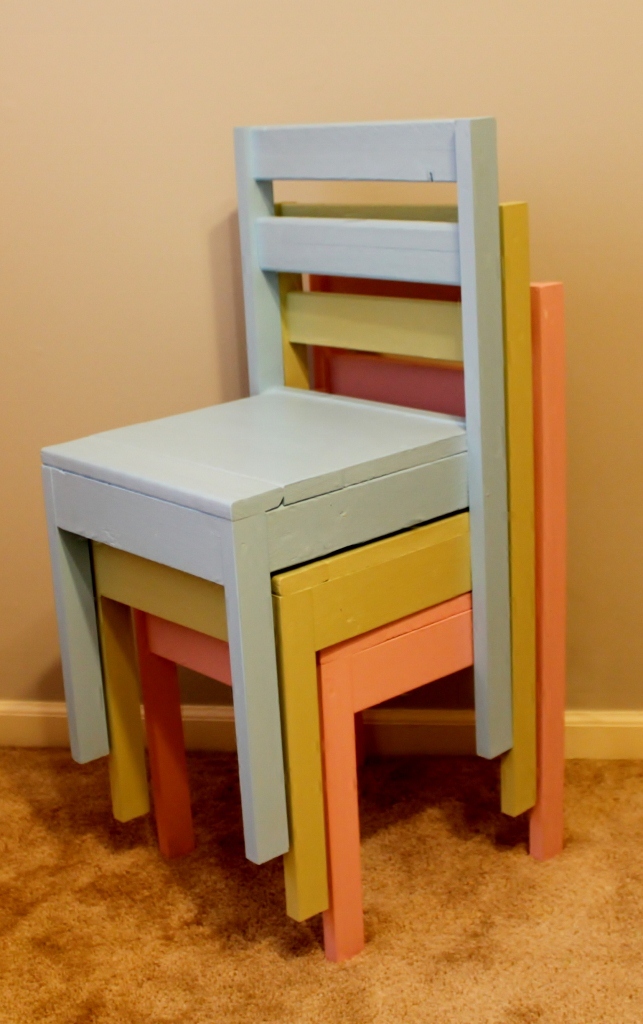
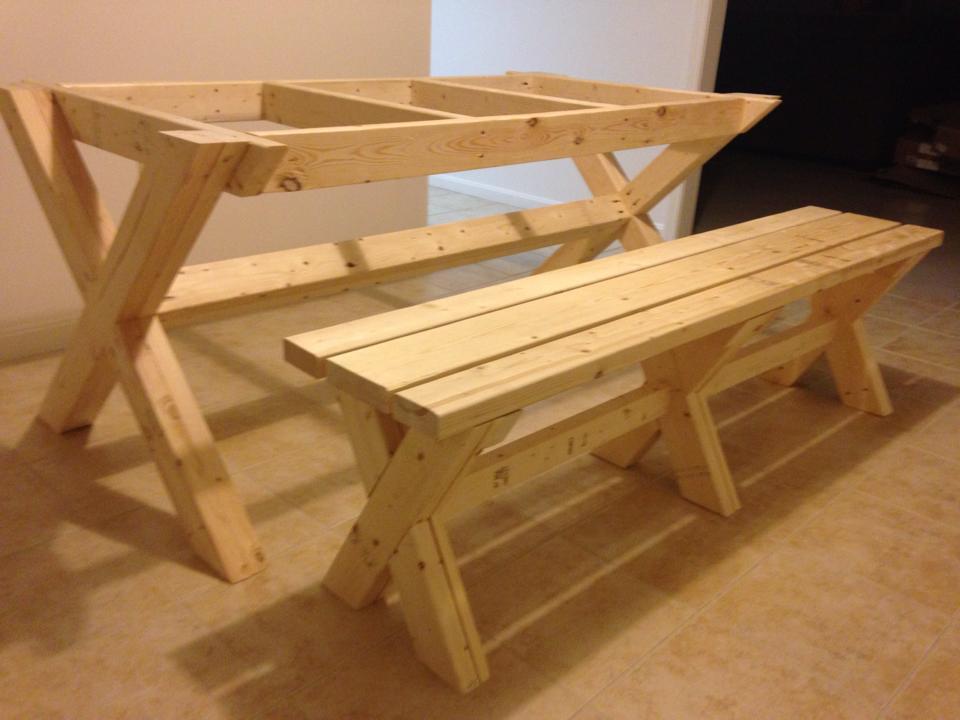
kids Adirondack
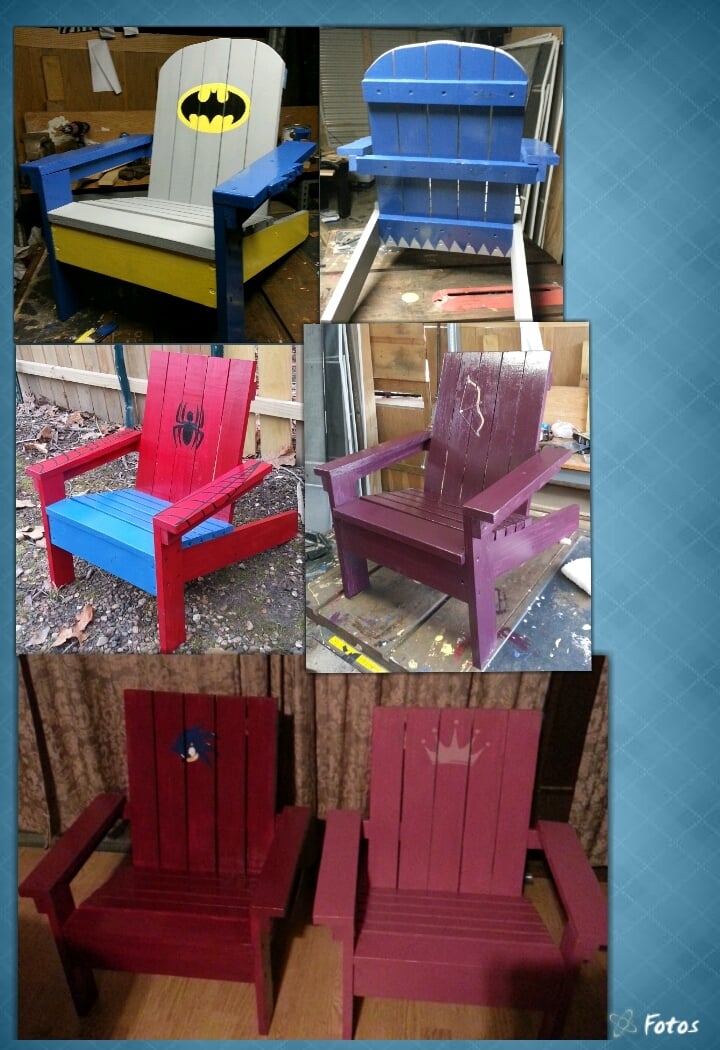
I started msking tgese for my kids and couldnt stop. first was the sonic and princess then spiderman then batman and last the brave chair.
I combined Ana's plans for Daybed with Storage Trundle Drawers and a Storage Headboard with a Small Hutch.
This is my 3rd daybed with storage drawers. It's such an easy build and gives so much extra space. The entire project took about 40 hours. I used Minwax stain in Classic Grey and three coats of polyurethane. For the drawers, I used 1.5" casters. I drilled a hole through the back of the headboard to feed cords through. Then I put the whole thing in the back of my truck and drove 500 miles for the final assembly. :) In the provided photos, some of the pieces are flush because I hadn't permanently attached them.
We built this bench for the church that lets us use their facilitys for our home school group.
The perfect table to toss and fold my laundry! I love how it turned out. It’s practical, stylish and perfect for my laundry room vibes.
Another #anawhitediy for the win!
Our first woodworking project! A sewing desk that was featured on this site.
I wanted a jig/guide that would allow me to cut multiple pieces of wood exactly the same length using my Mitre saw. Designed this Jig and apart from the 4 screws you see everything is pocket holes. Now when I build from Ana's plans and my own designs I can guarantee all the pieces that need to be the same length will be!!
This was the first time I had ever worked with some of the tools and really done any serious building. We built a new deck onto the back of my home and I could not stand the cost of the furniture to make it complete. Thank you Anna I have become fearless with tools!! Our deck has become even more special!!
Fellow Alaskan here!
Wood and screw Materials costed $320
The metal storage buckets are outdoor drink buckets from Home Depot $200 for 8 of them!
There are 4 storage buckets on each side! We took this from your farmhouse plan and altered it for king size. And in after thought he made a baby co-sleeper to match, 30$ to make!
I made 2 of your Potting Tables to use as my display tables for my wood working kiosk.
Mike
So my husband and I have this thing...I find the projects, he builds the projects and I get to finish it. I'm more of the artsy one and he is more hands on. So this is the first table we did from Ana!
I had some leftover yellow pine, and when I saw addictedtodiy.com's Fall Centerpiece post (http://addicted2diy.com/2013/10/31/diy-fall-centerpiece/), I knew what I wanted to do with it. That's right - make my own version.
Now if you view Katie's post, she obviously has a much larger table than I do, but if you like hers, she did a very good tutorial on how she created hers. I think both are beautiful.
I fit mine to my dining space and the jars that I had saved. I also modified my version to take advantage of my kreg jig since I am sadly lacking my own nail gun. One day, I will have one. One day.
If you want more specifics, take a trip to my blog post (http://www.trekkiemom.com/2014/05/table-centerpiece.html) for my exact cuts, etc.
I love this X Console! Thanks for the plans!
I built this for my wife, she loved the design and it was something we were able to do together. I did use 2x6 instead of 2x4 that the plan called for, it really made the bench extra sturdy.
A shape chicken coop built in just two days about 9 hours east to do. But heavy to move but everyone is loving it!!!!
Cecilamor
I made this table and chairs set to go with my daughters new playhouse bed. I used mostly of scrap wood for the chairs so they each have a slightly different look. The chair seats are solid rather than slats.
this is my intro to woodworking by myself and i think the table turned out ok. ana's website sure helped allot.
Hands down one of the most popular items I get asked to build!
Thank-you Ana for the awesome plans.
~ Alexis Rustic Decor
Thank you Ana White!
A medicine / bathroom vanity I built for my son’s master bathroom. Constructed of 3/4 oak veneer , 1x2 and 1x3 red oak for the face frames and doors. I used a combination of dowels and dominos to assemble. The metal for the doors was purchased at The HD. Finished off with Minwax English Chestnut stain and 4 coats of Shellac.
Gary Fox
This small vanity is having a huge impact in our powder room! We were thrilled to remove the builder's grade prefabricated vanity and replace it with this custom built table finished in multiple layers of homemade chalk paint and that will soon house a vessel sink.
Comments
Ana White
Sun, 06/09/2019 - 13:02
These are so fun! Love all…
These are so fun! Love all the different designs!