Toddler's Green Step Stool
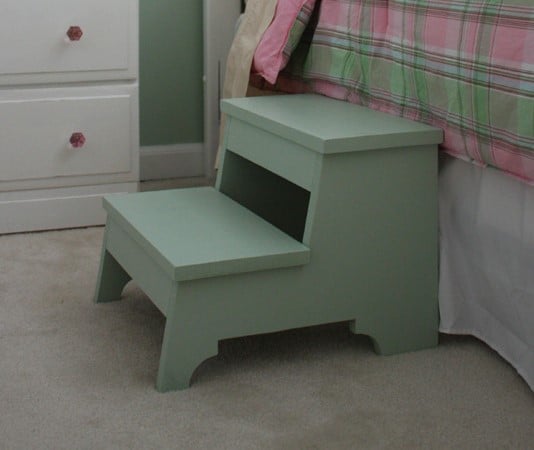
The Vintage Step Stool in green. I made this for my 2 year old so she can climb into her big girl bed :-) The color is the same as her walls and her name sign above the bed.
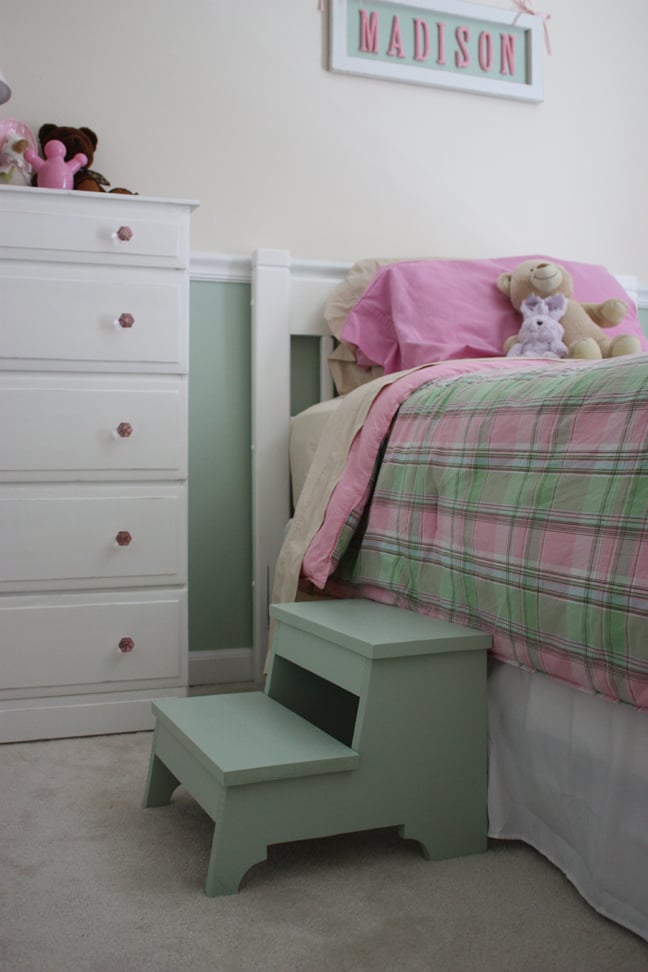

The Vintage Step Stool in green. I made this for my 2 year old so she can climb into her big girl bed :-) The color is the same as her walls and her name sign above the bed.

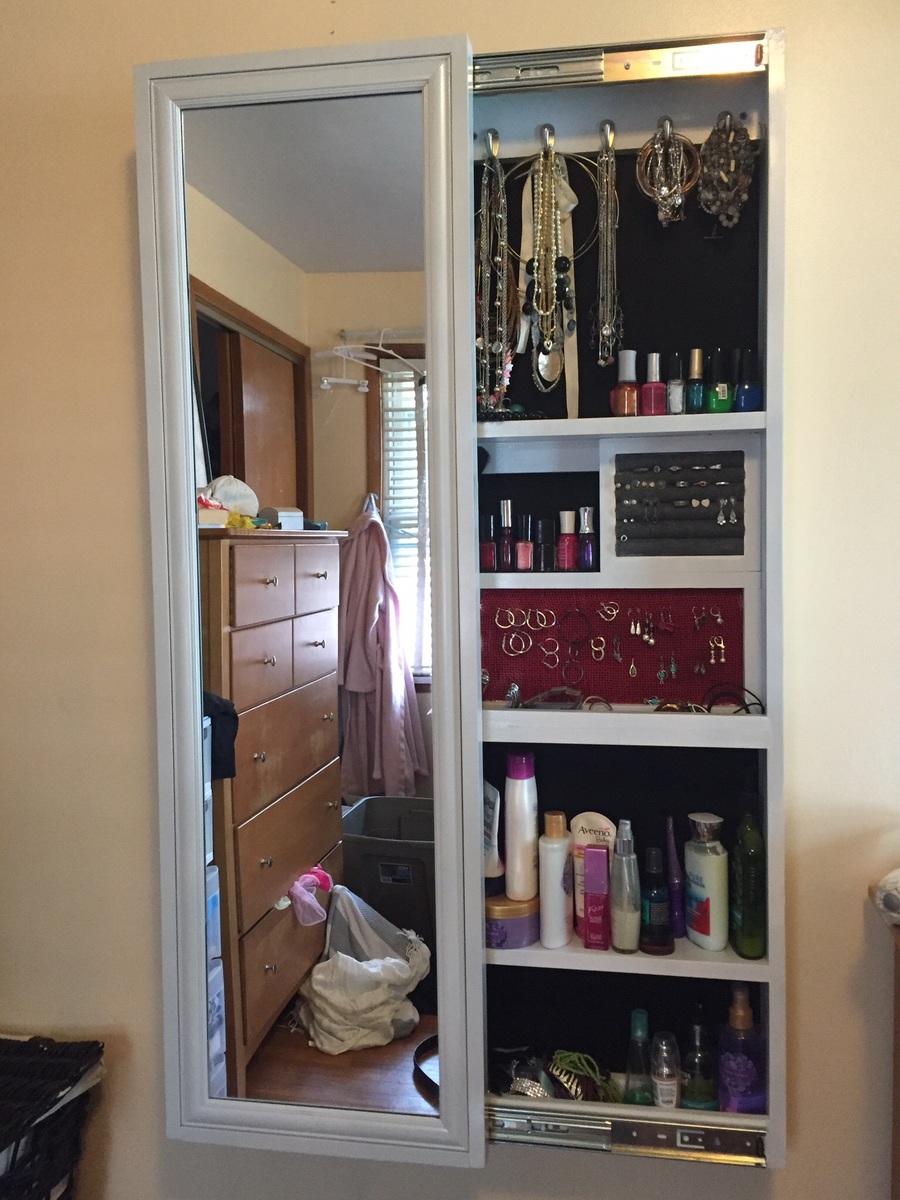
Thank you Anna for providing the template plans for this project. My wife had a mirror leaning on the wall in our bedroom that rarely got used and jewelry all over the dresser. So thanks to you I was able to turn this cheap mirror into useful storage and organize her jewelry. Thanks!
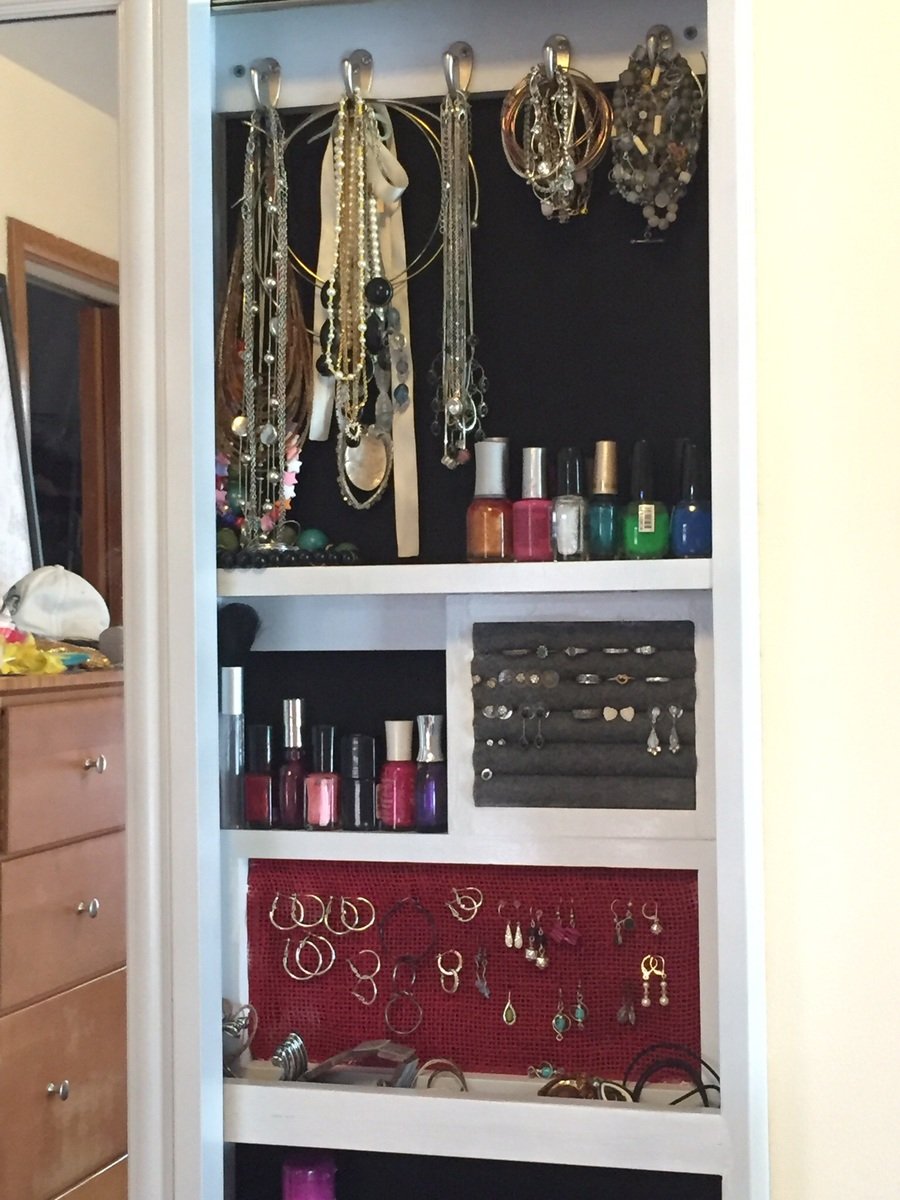
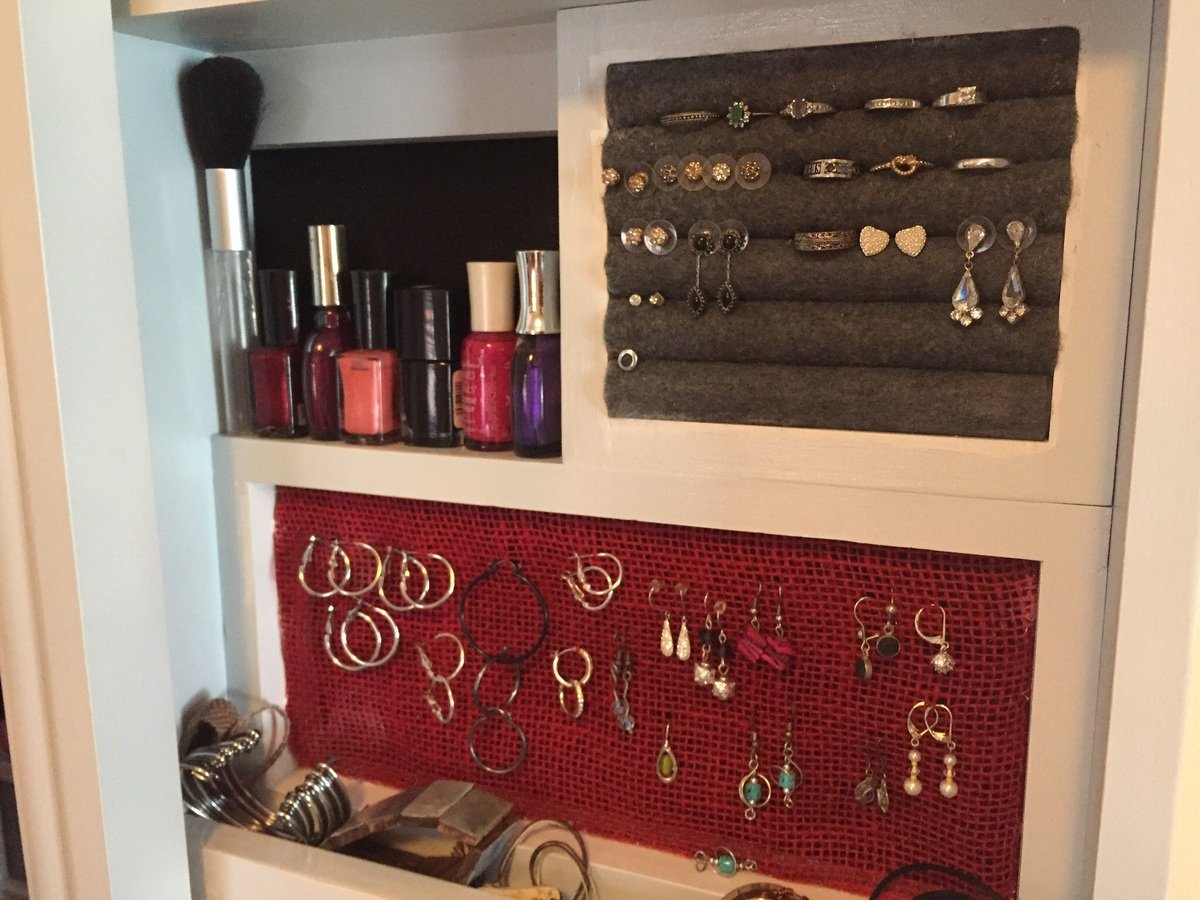
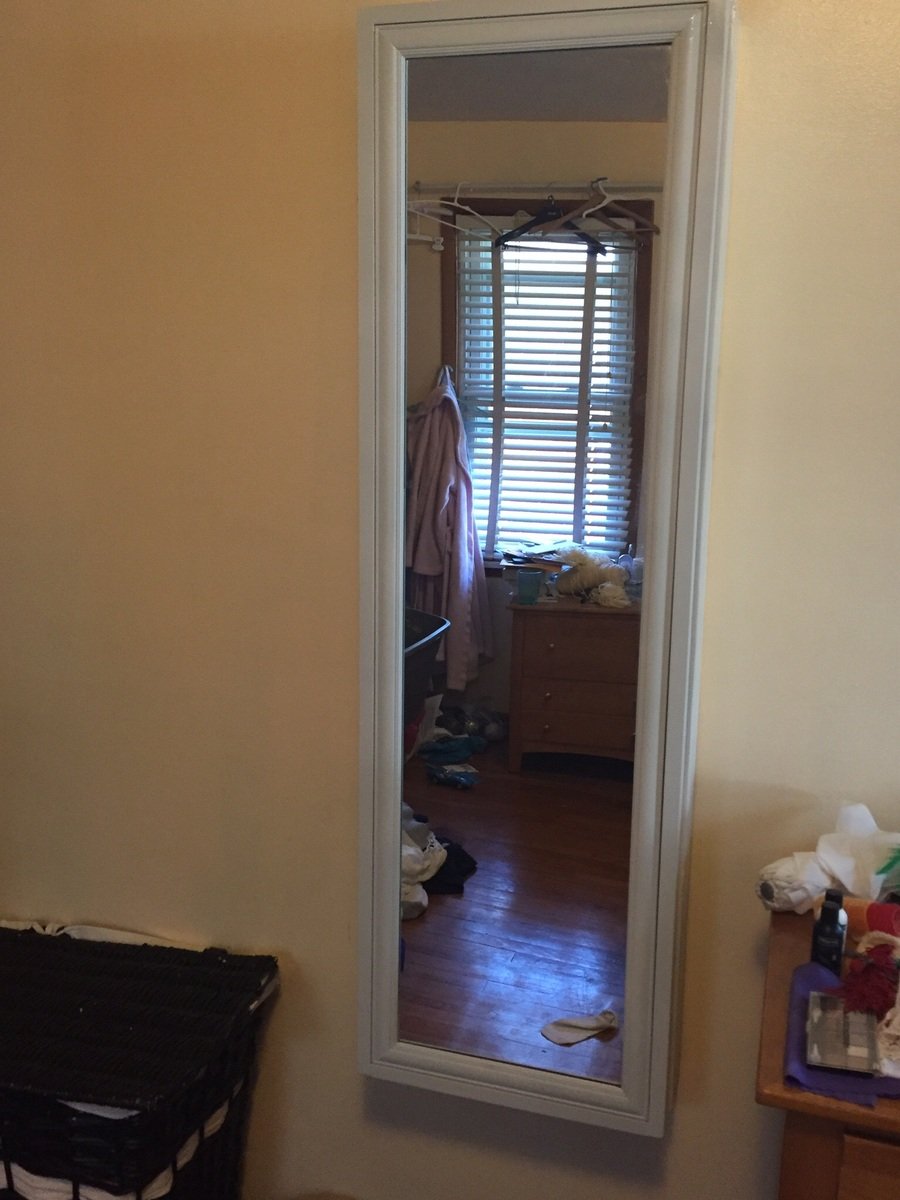
Wed, 10/07/2015 - 10:18
Thank you for building!!! Your post just made my day, I'm so happy to see your build! I love the customization with the jewerly holders too! Thank you so much for sharing!
Sun, 09/17/2017 - 20:49
How did you attach rails? I still cannot figure out the best way to do it...
Thank you!
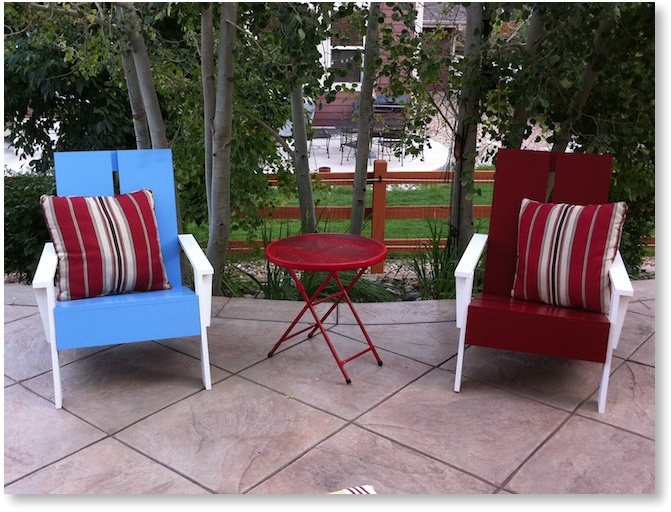
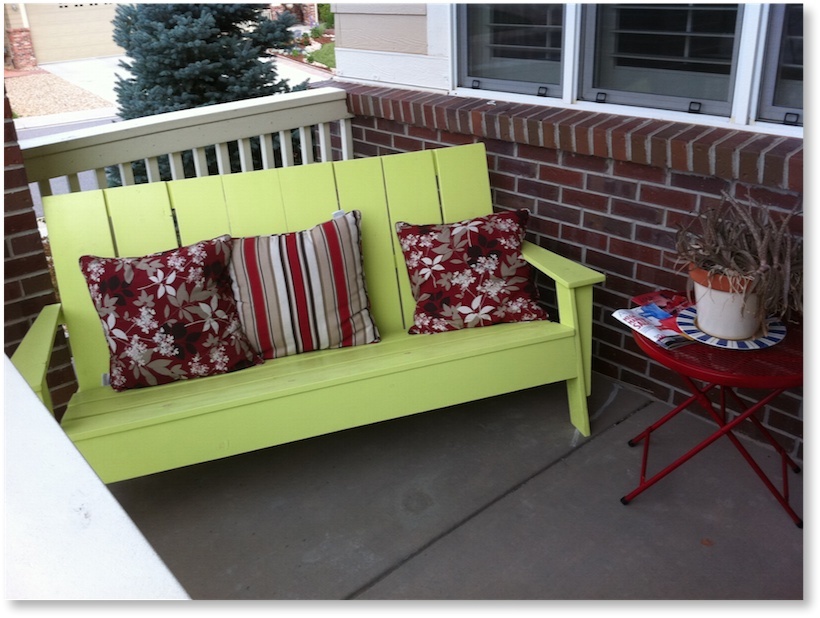
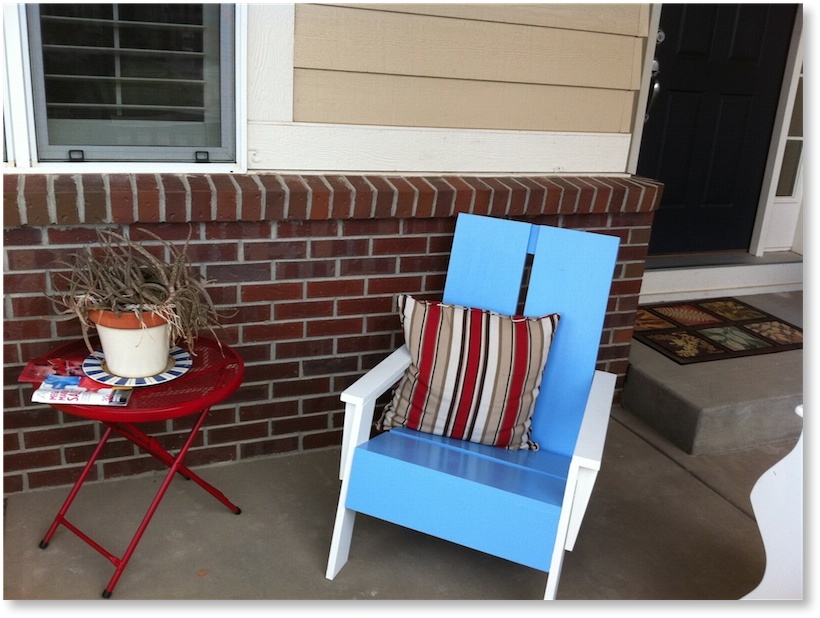
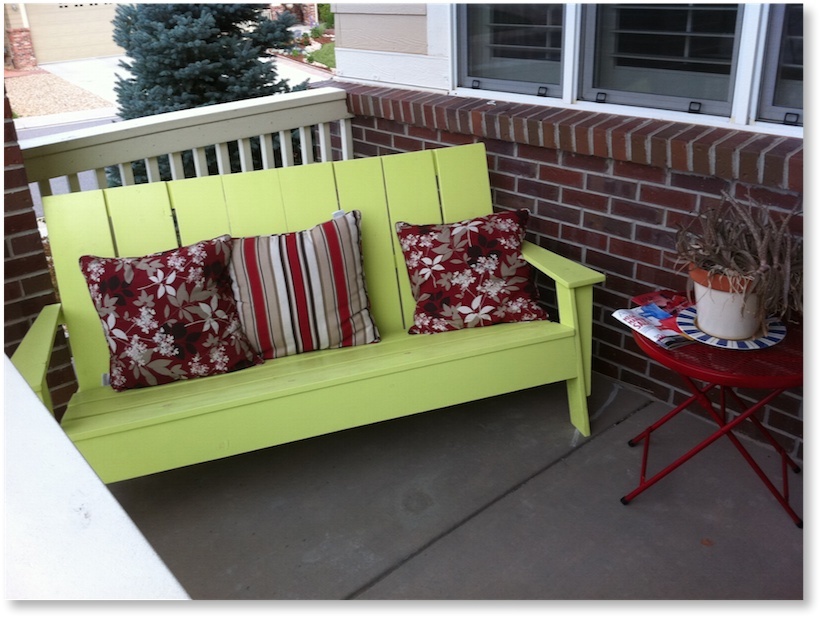
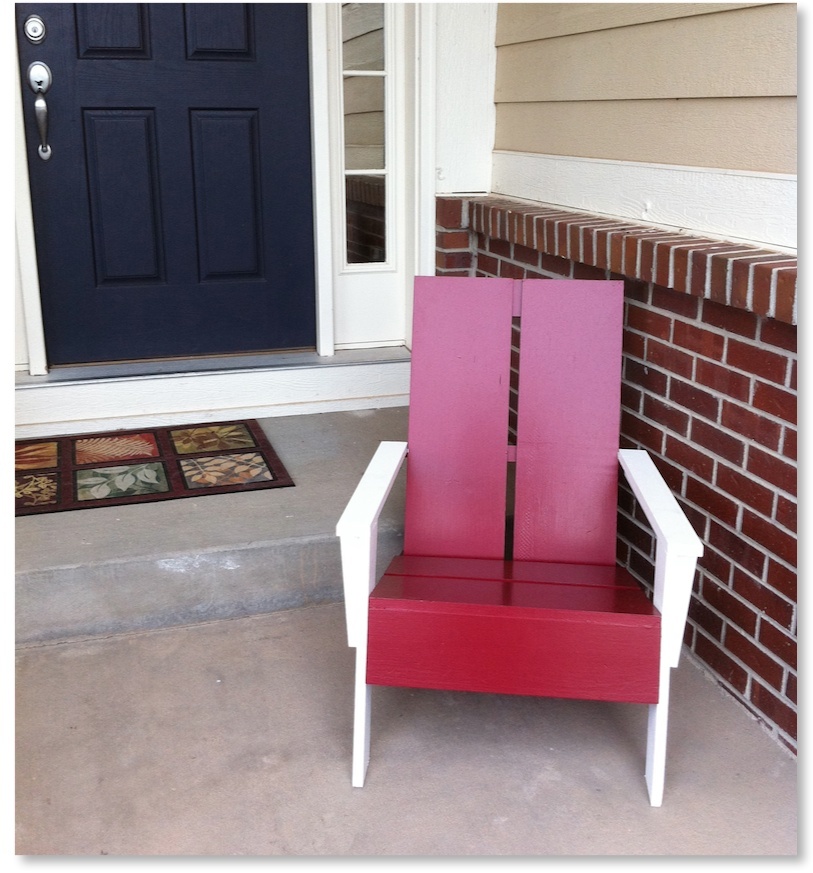
I started about a year ago building my bench. It has been on Ana's Site before- especially for the color- Citron from Orange. I also modified the arm supports to look more modern and changed the boards to be 10" on the seat and 12" on the backs.
This year my neighbor who is a painter and I teamed up and built 6 chairs and another bench! I cut all the wood, then my neighbor primed and painted all sides except one flat. After assembly, another 2 coats of paint went on all surfaces.
It was about $400 in material for 1 bench and 6 chairs (bought from Blue)
Oh- BTW. The table is from Target with a coat of red Rustoleum!
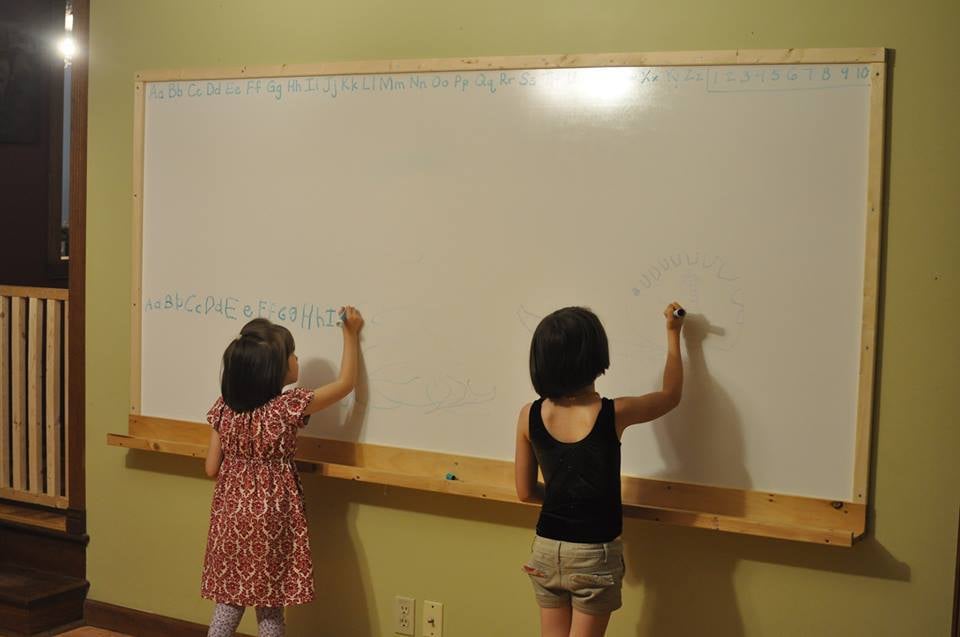
We wanted to put up a whiteboard to use for homeschooling and were amazed at the cost of even a small one. We got some shower board from Lowes that measures 8 feet by 4 feet, put 1x2" boards over the top and side edges and screwed through them into the wall studs, and added a Ten Dollar Ledge shelf we'd already been using for the kids' books. Super easy and it looks great!

I wanted a character filled leave outside table for my pergola. I wanted to use reclaimed boards of some kind. I got estimates starting at $1,000 and I wasn't even sure I liked them. Then - hurray - I found your blog and started browsing through the DIY plans for farmhouse tables. I had a couple of ideas. First, I needed to find the wood. I found the gorgeous (still caked with manure) 2" thick barn threshing boards for a very reasonable price and they were long enough, at 8 feet, for my dream table to start taking shape.
The idea of creating with wood has always appealed to me, but I have never had any idea how to begin. Enter your plans + my lovely friend Lisa and her miter saw. As per the easy to follow instructions I went shopping for the wood. I chose a lovely cedar board which I think will weather nicely without taking away from the great patina on the top of the table.
Again - as per the easy to follow instructions - my friend and I put together the table, cleaned up and popped a bottle of sparkling wine to toast - all in about 3 hours!
BIG thanks to you and your inspiring work!


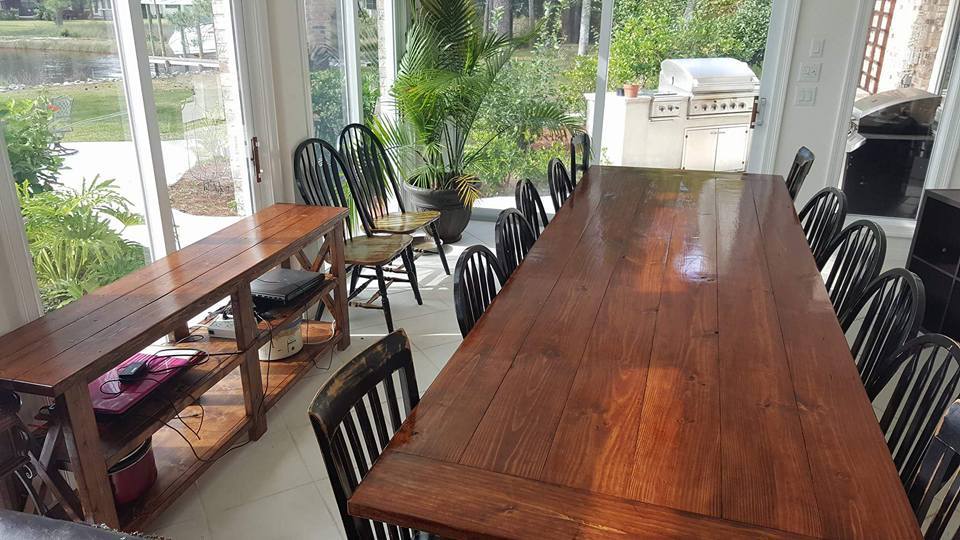
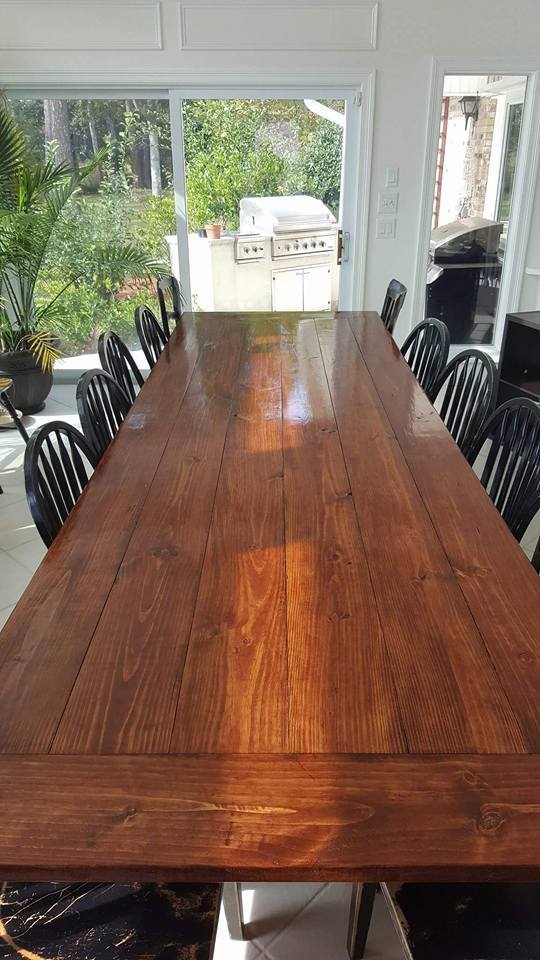
I used Ana's plans for this project, but had to deviate since I built it for a friend who needed a table for 14!! This thing is huge, 12 feet long, and about 44 inches wide. I made it out of pine, 2x8s for the top but stuck to the plans for the frame. It weighs about 200lbs or more, and had to move it with 4 guys...used an enclosed trailer to move it from my house to theirs. They love it so that's all that counts! Oh ya, in the picture, you will see Ana's rustic X console table too!
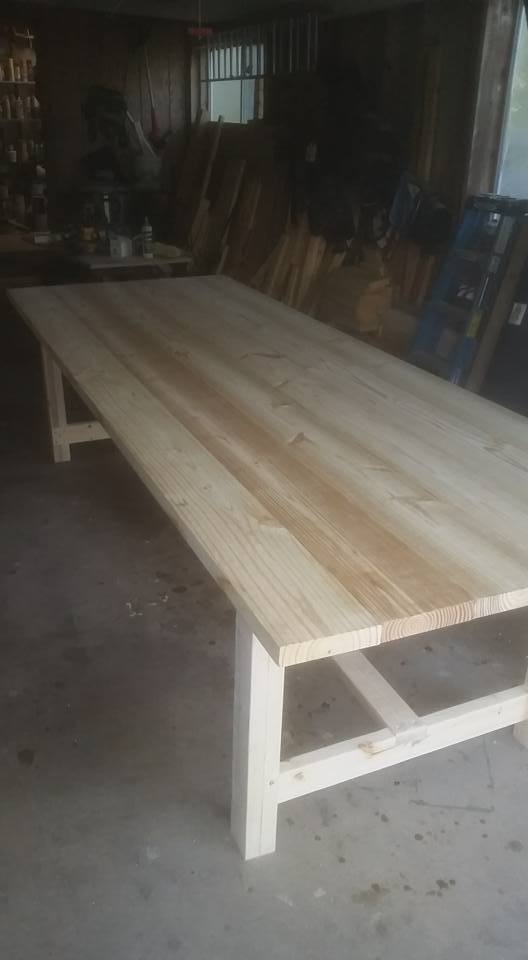
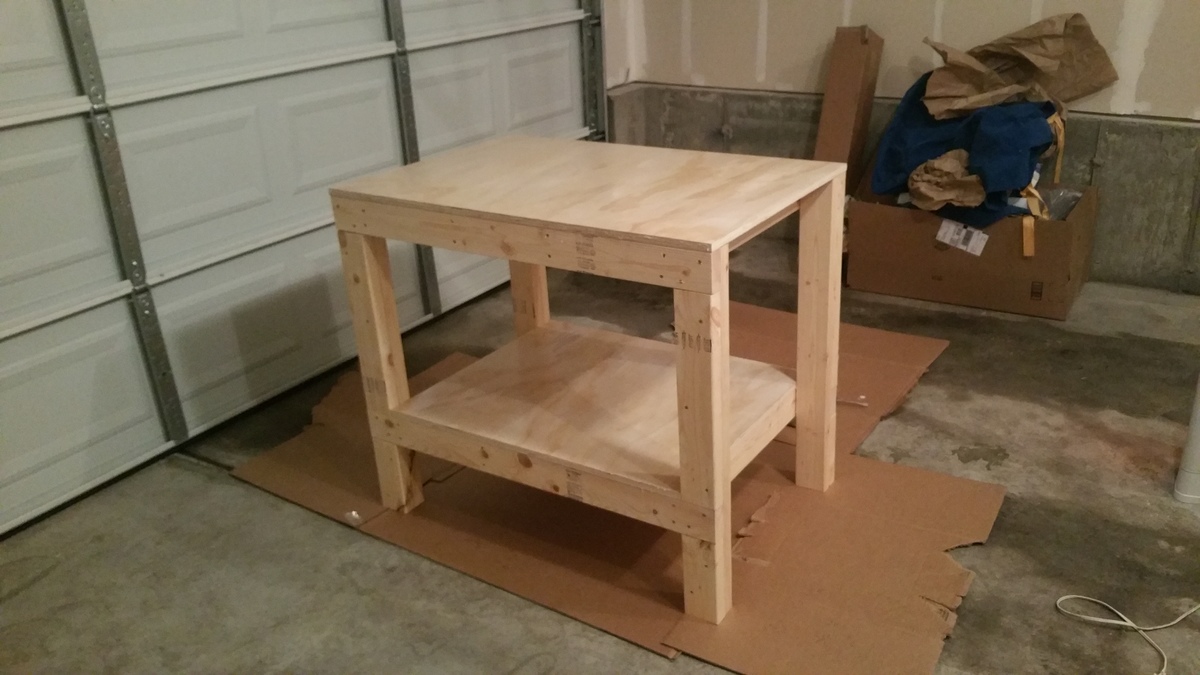
Easy project. I needed this bench a bit smaller due to space constraints so this is 28" x 42". I kept the height the same and finished the surfaces with some thick polyurethane. It should be noted my cost was a bit higher due to buying a sanded plywood, coated self-tapping screws and a more expensive polyurethane. I also went a bit slow on this project and it took about 2.5 hours including application of the single coat of poly.
Sat, 12/19/2015 - 09:10
Very nice job and great looking workbench! Thanks so much for taking the time to share!
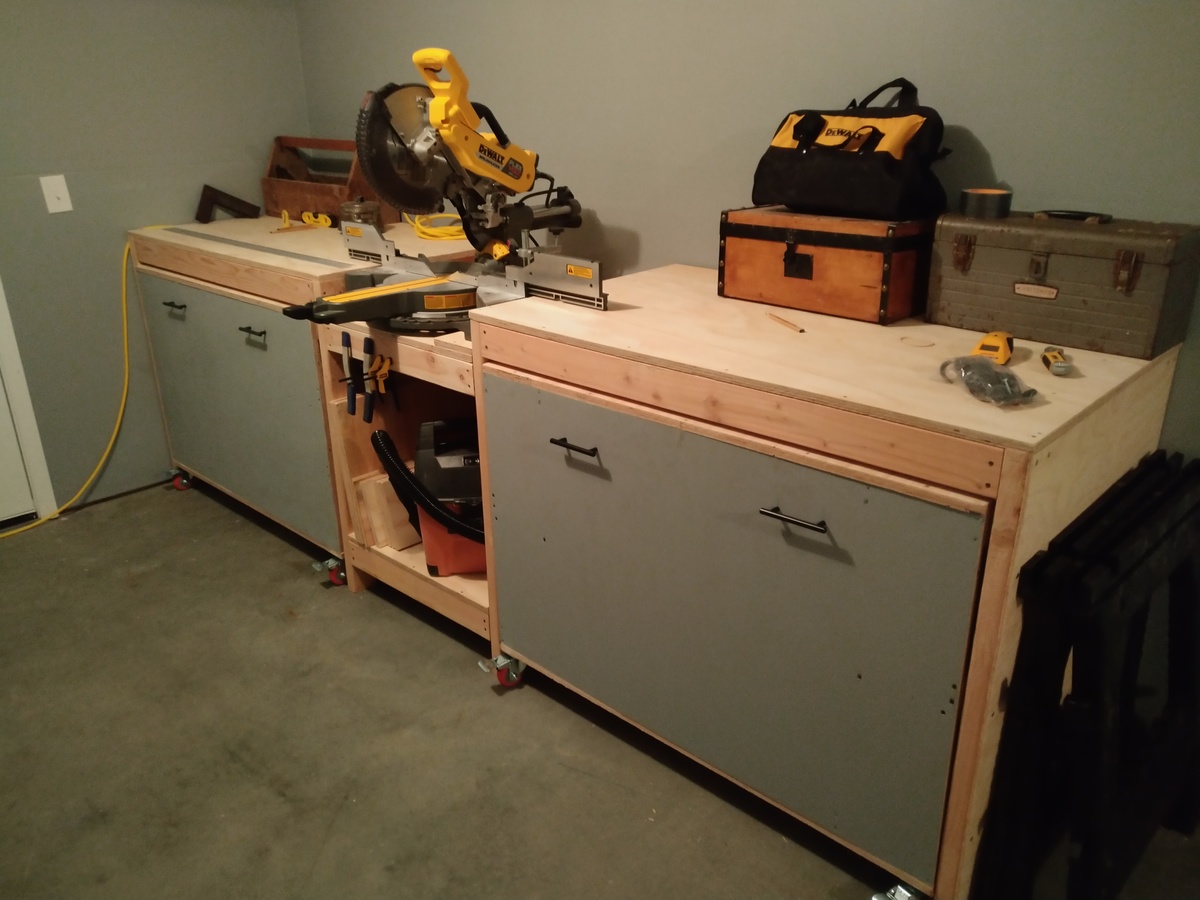
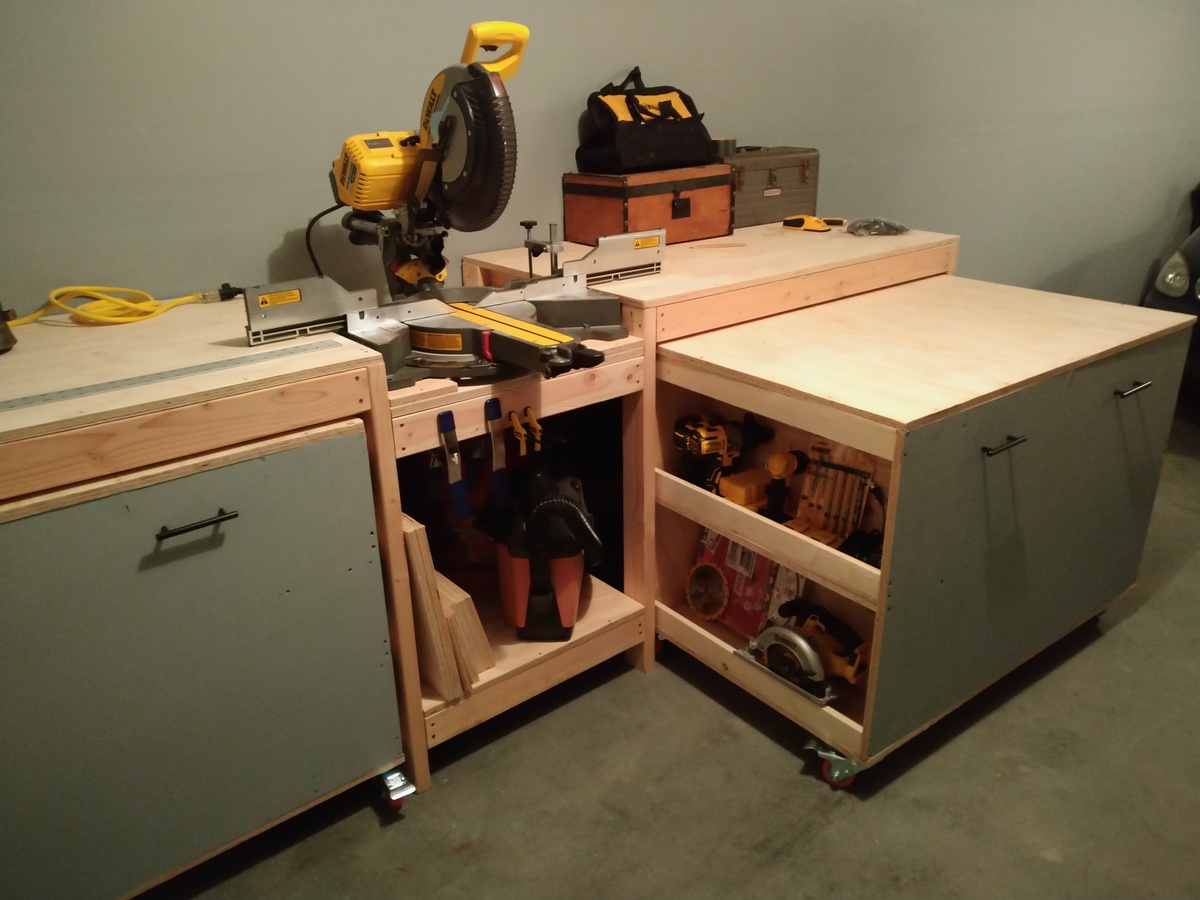
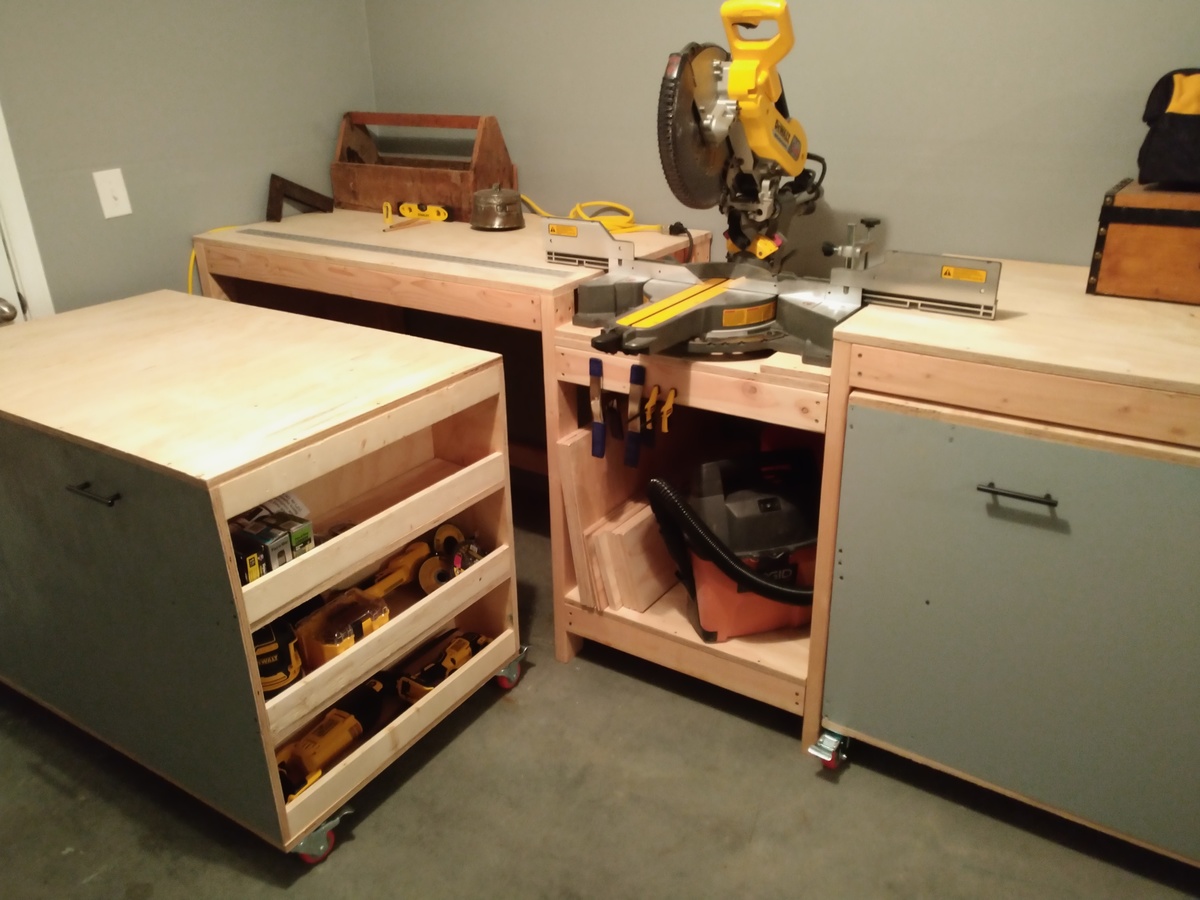
Really enjoyed the build.
You don't really need a Brad nailer or stapler, I did it with good old hammer and nails. Just brace it well when nailing into unsupported beams. You also don't need a tablesaw, I did all the plywood cuts with a circle saw. The shelves in the original plan are deceptively small. After building one side with the shelves how the plan has them, I decided to build the other cart with only one shelf for two on each side instead of four, gives a lot more space. I didn't add any shelves to the other side of the left cart, planning on adding hooks to hang extension cords and such in there. Make sure you predrill, I still had cracking issues even with the self drilling screws. I would recommend splurging on quality plywood especially for the tops and front.
I plan on adding a dust hood and shelves above each side. Also going to do the tablesaw and bench tool mods to the carts when I get those tools.
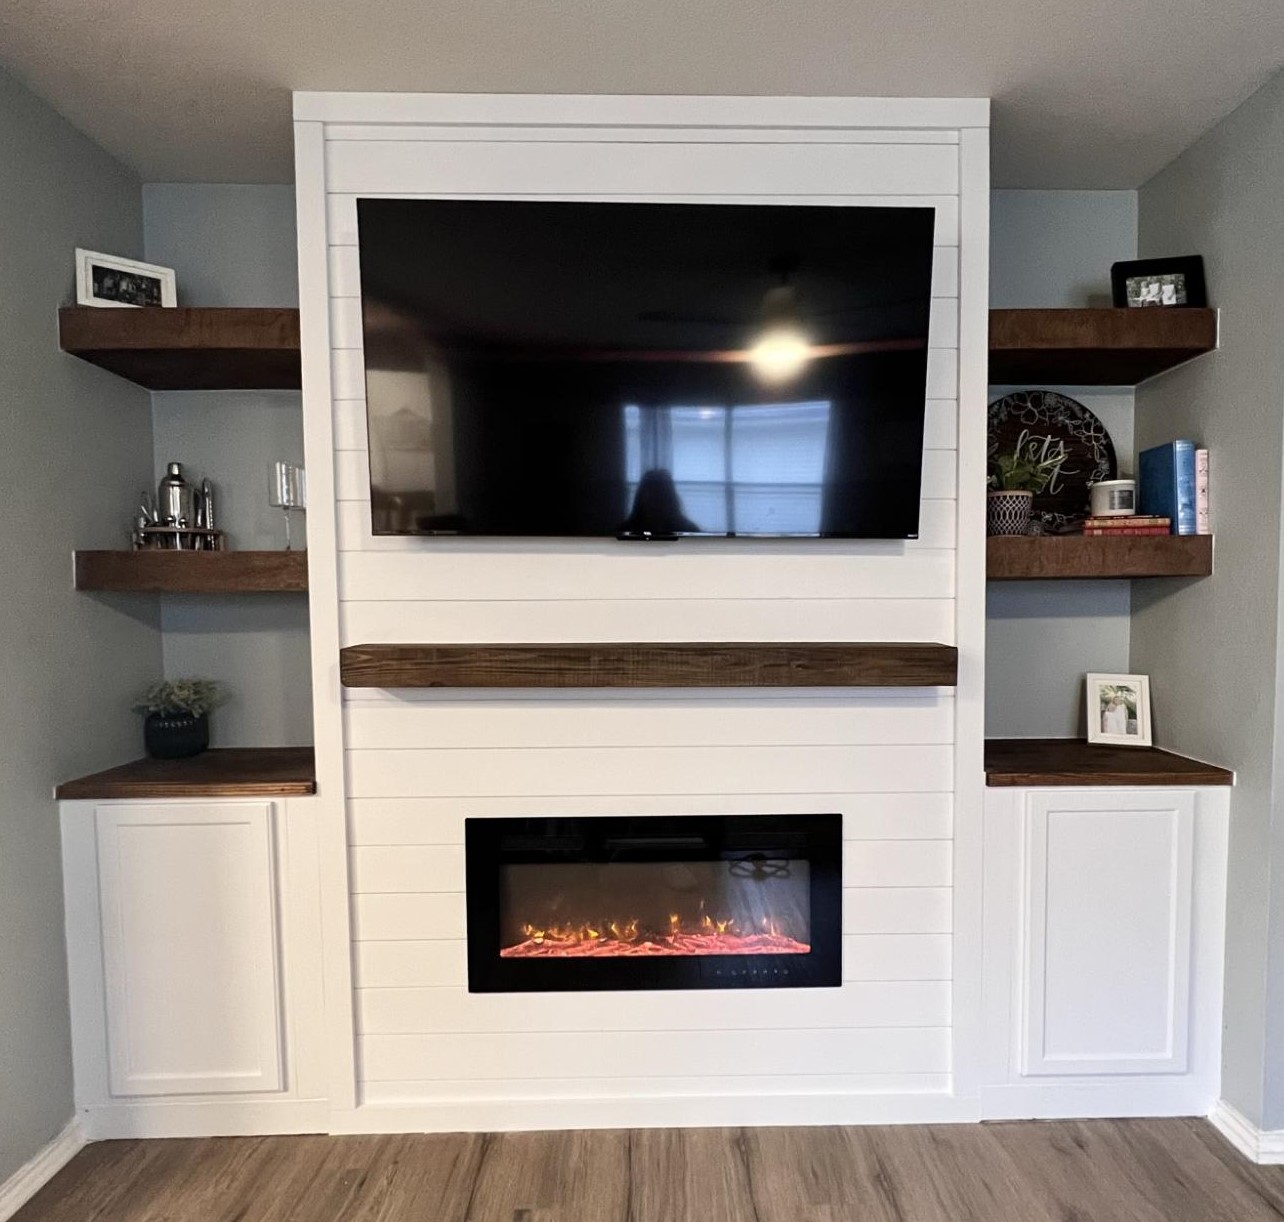
Built this fire place using Ana’s plans and bought the same insert she had. Loved the way it turned out! I added the cabinets and shelving to each side.
Mon, 02/13/2023 - 13:39
Love the open shelves and side cabinets, beautiful work! Thank you for sharing.
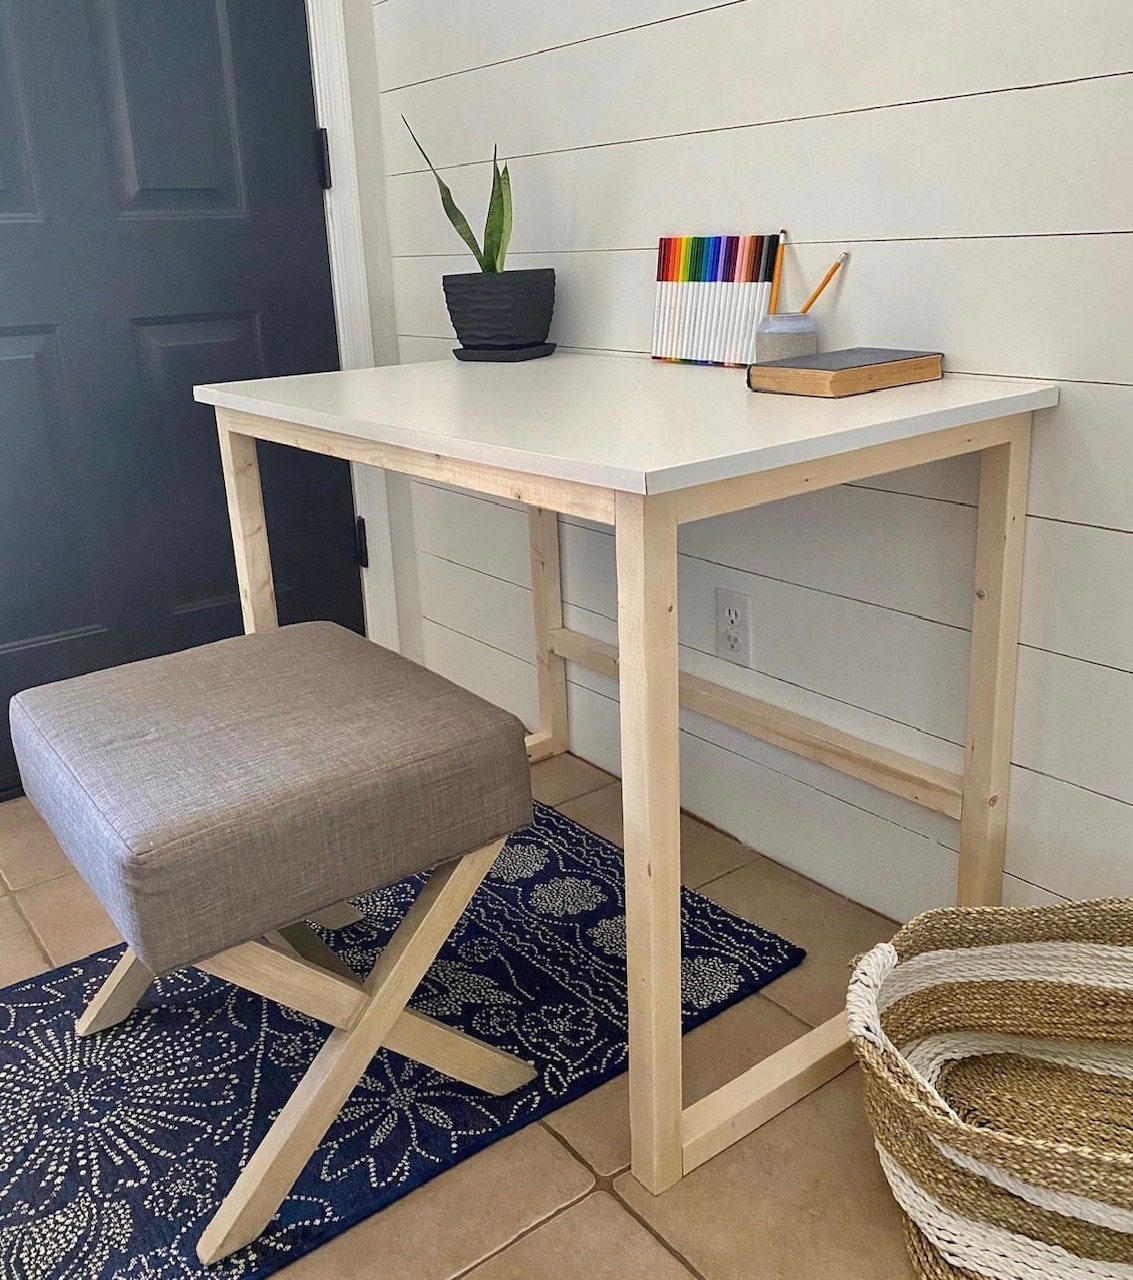
"I built these from @anawhitediy plans online. Love how they came out. Super cute style too. I've been selling them online to support my DIY habit." Monica
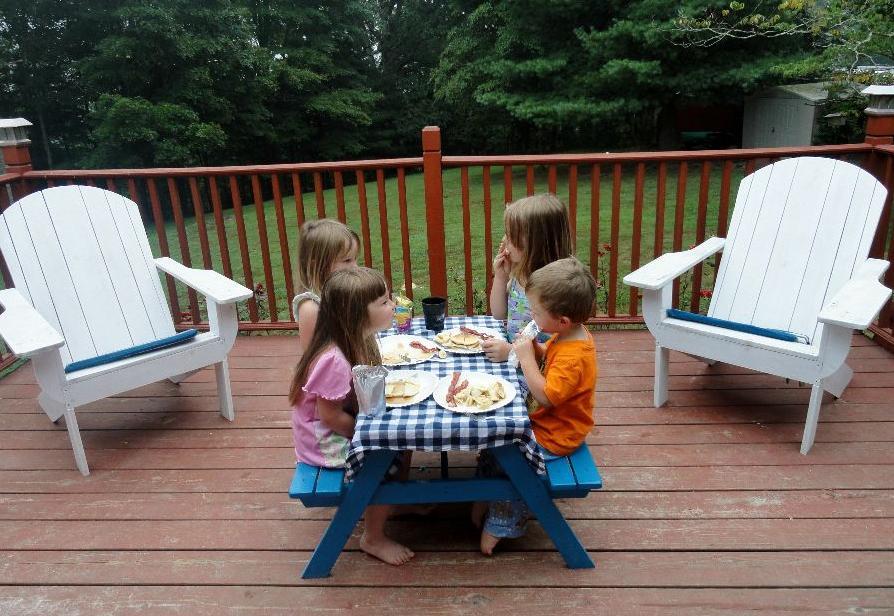
This spring I was able to build the preschool picnic table for my son. Today we fully used it for a picnic breakfast with the cousins. It can easily fit up to four kids ages 2 to 7. (I also built the chairs in the fall)
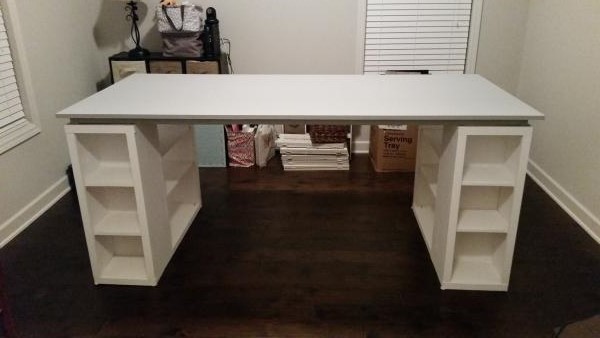
This was a fun project to get my feet wet again in woodworking. We adjusted the plans slightly. Our table is 80" x 40". It is supported and bordered with a 2x4 frame that ties it all together. As my friend said, you can stand on that thing. Lots of fun, and can't wait for my wife to enjoy it.
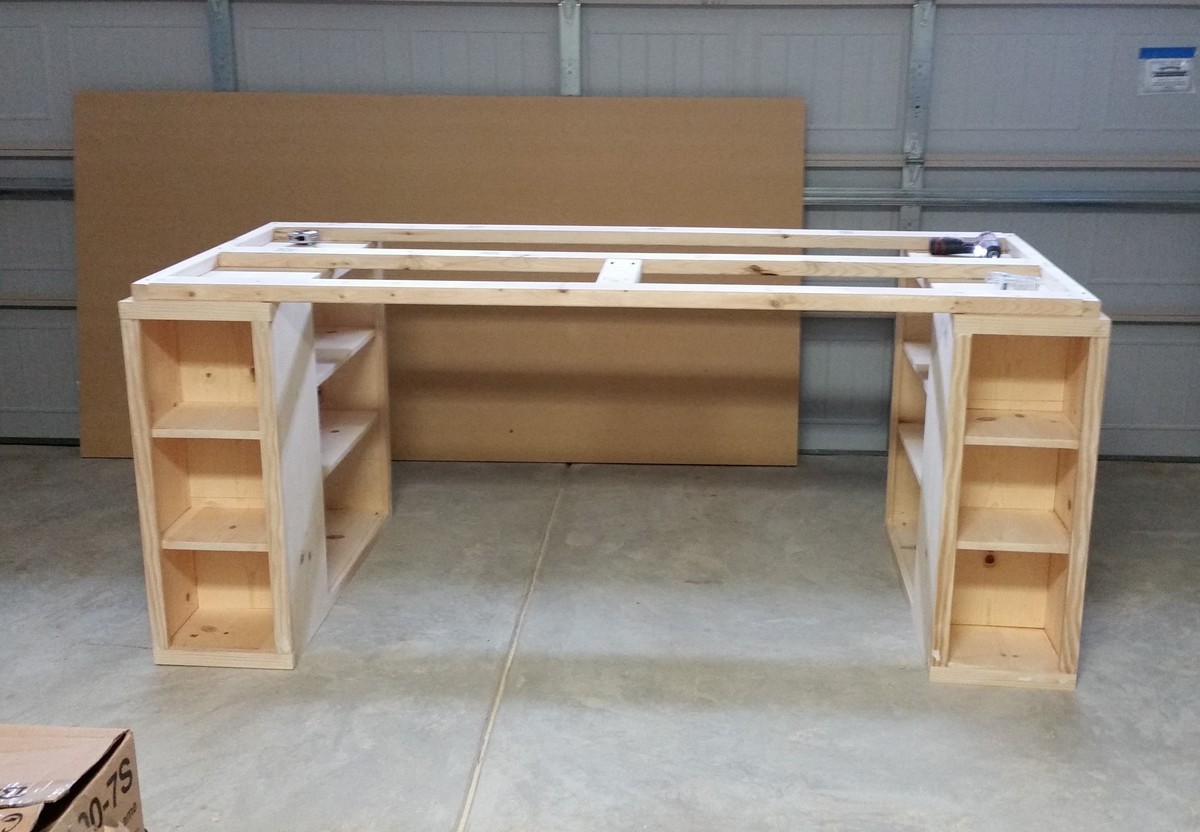
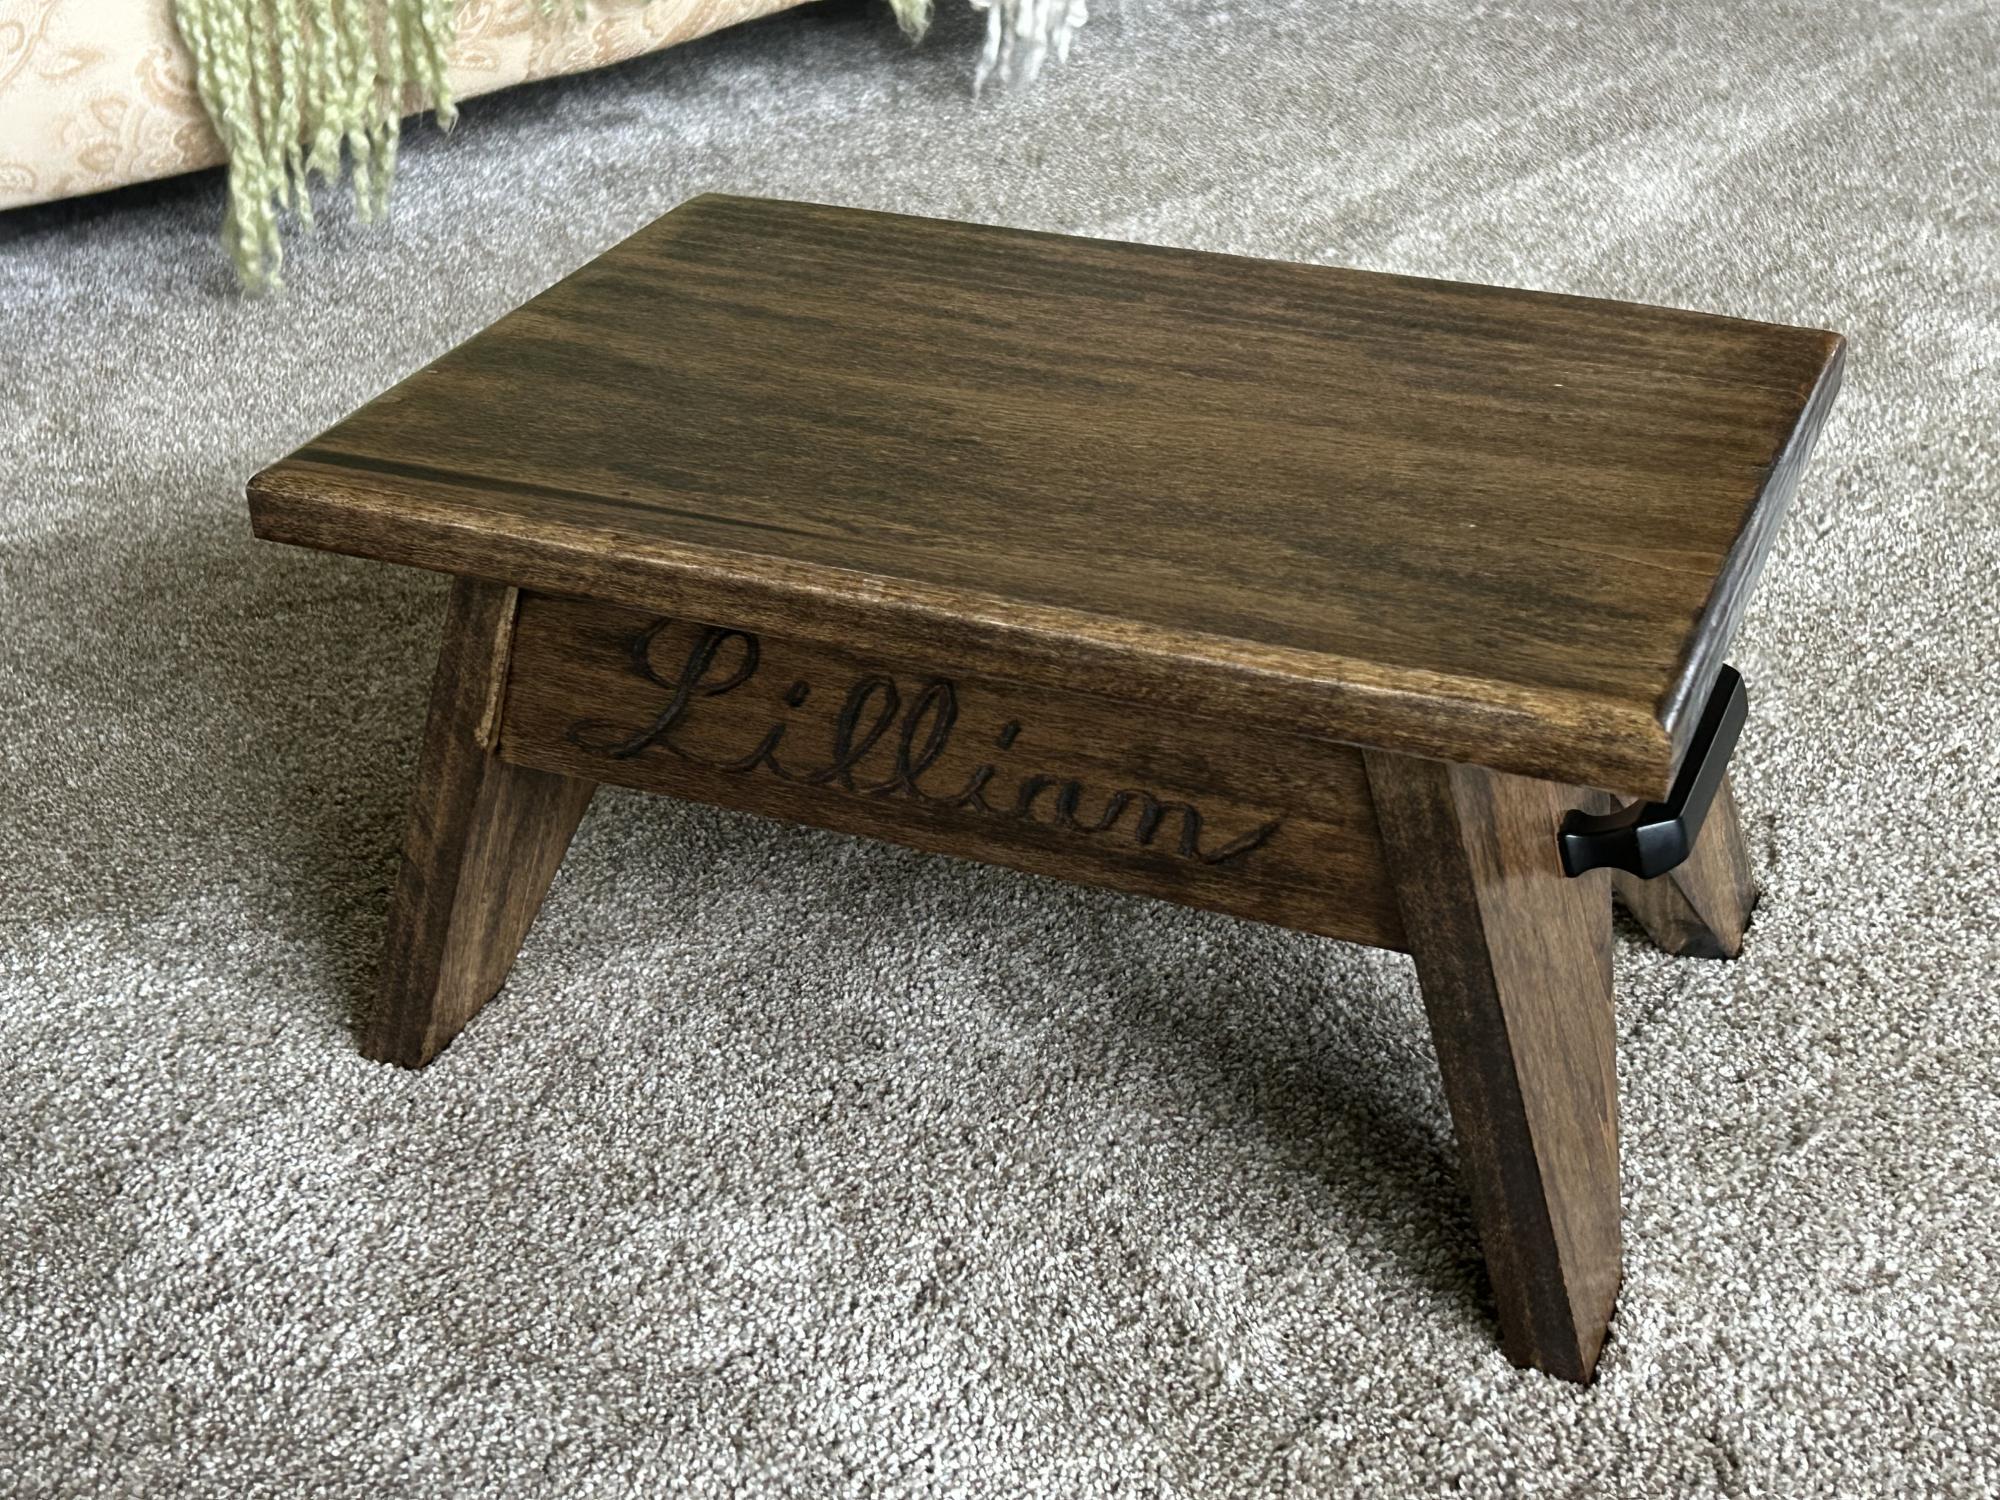
My niece is turning 6 soon and I built this step stool for her birthday. I used the design for the Simple Step Stool but angled the legs in more because I thought it looked better. To help personalize it, I carved my niece’s name into the front using a v-groove carving tool. I hope this will be a gift she holds onto for many years to come.
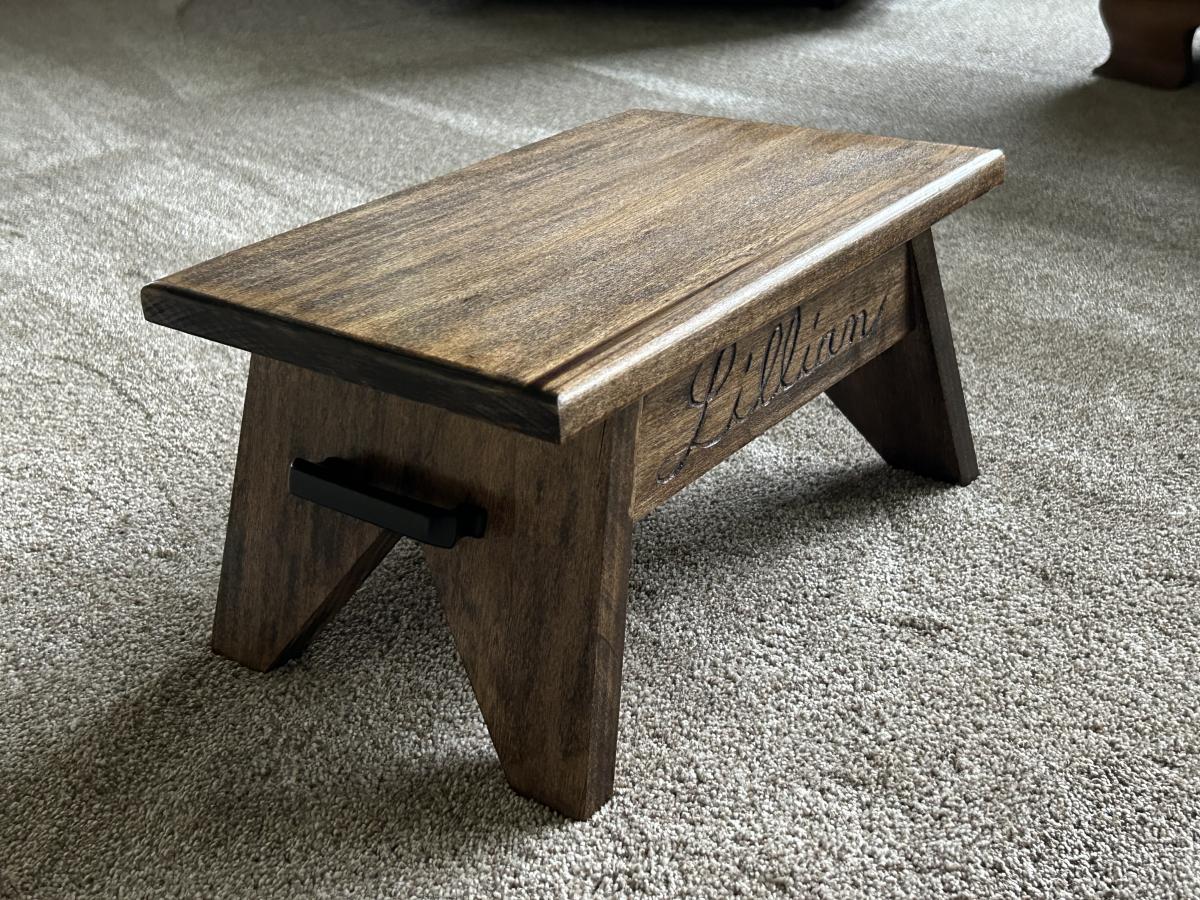
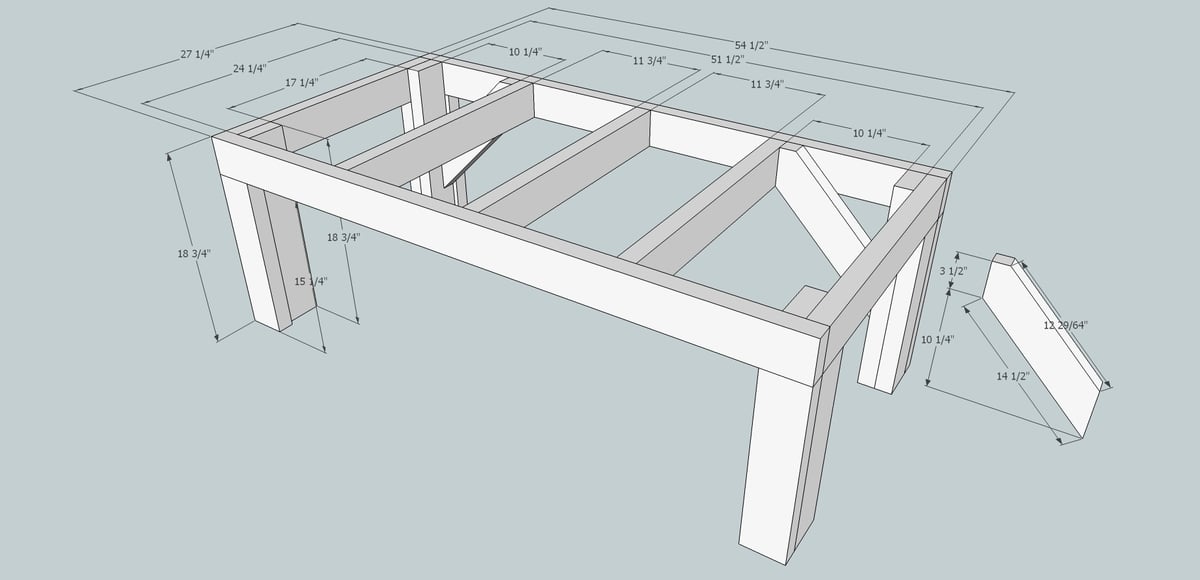
I modified Sausha's design, taking out the bottom shelf, adding a back brace, and putting fascia boards on. I also put in a 2x4 between the underframe and each back leg at a forty-five degree angle as braces. My legs are a bit different too. I used three 2x4's. The first leg piece goes from the plywood top to the ground. I put four screws between it and the frame. Then I took two 2x4's and placed them butted at a ninety degree angle around it flush with the frame above.
Mon, 01/23/2012 - 13:08
I have been drooling over the original pedestal plans since they posted. When I showed them to my dad the first thing has said we could have more clearance without the bottom plat form. I am going to copy your plans this week end thank you very much.
I did want to ask do you have any vibration issue without the bottom plat form?
Thank you for sharing, great sketch –up!
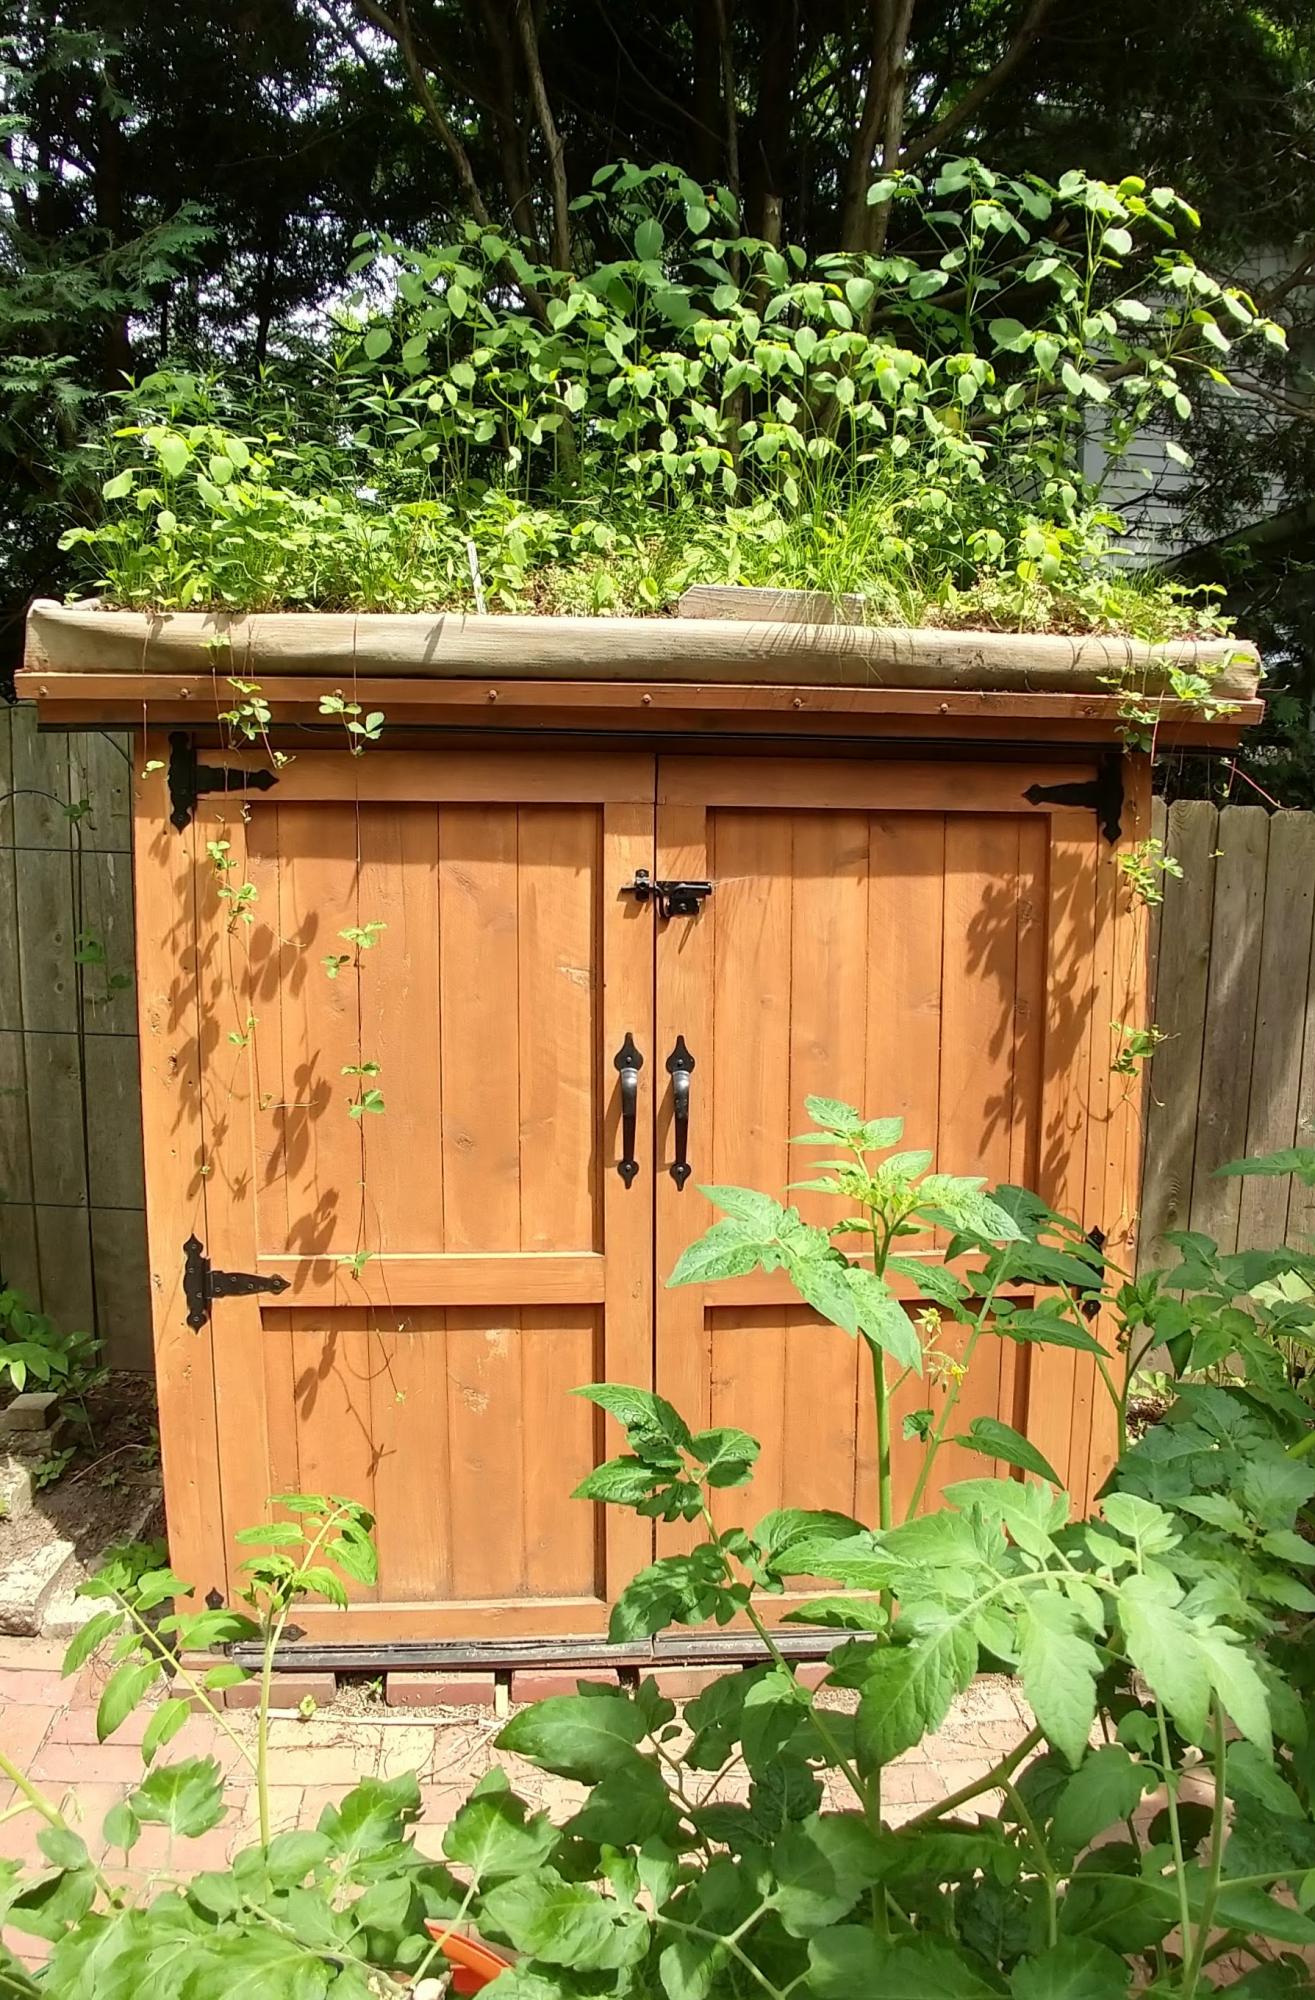
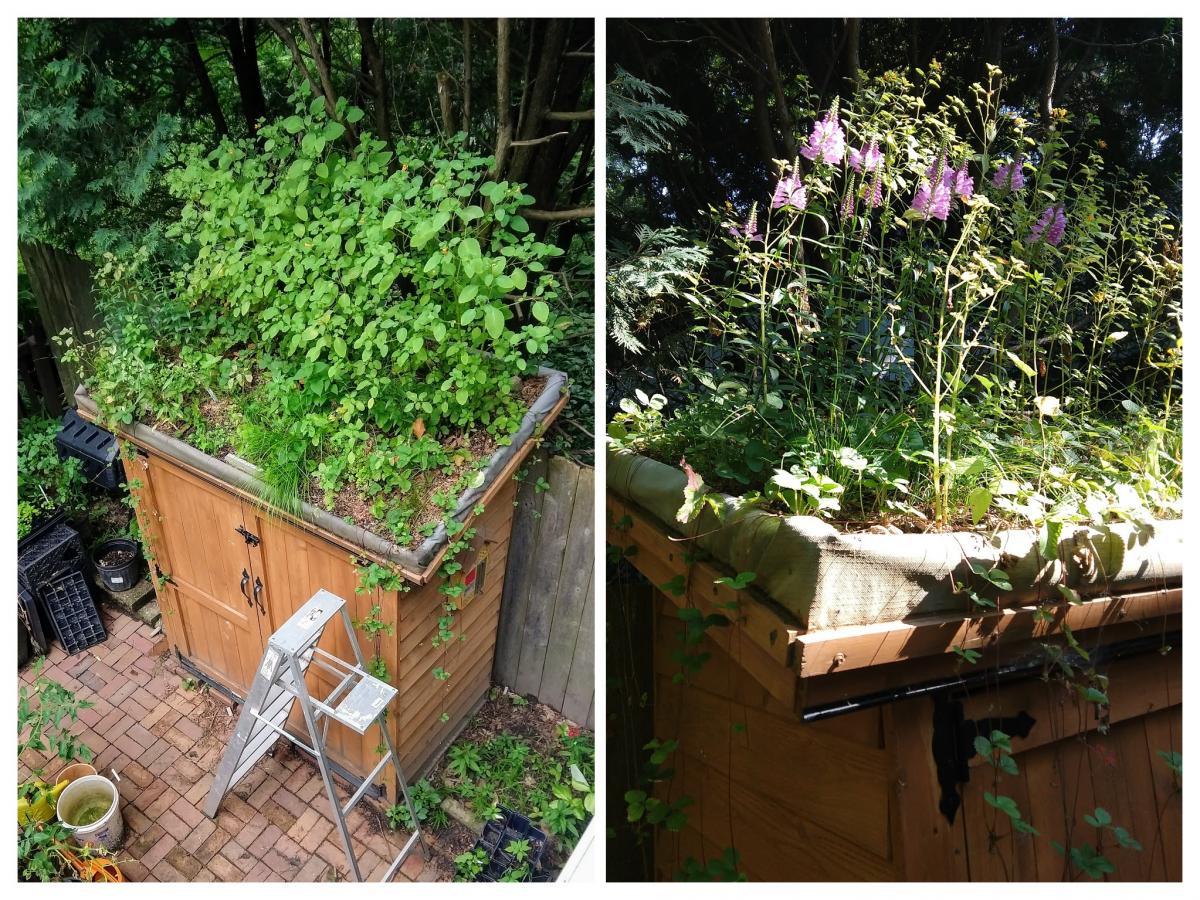
I built the shed during the summer of 2018, following Ana's plans but with the addition of a green roof. After almost a year the vegetation -- a variety of native plants from the upper Midwest -- has started to fill in pretty well. My carpentry skills are rudimentary so the project took a long time but was worth the effort.
Thu, 09/02/2021 - 19:03
Absolutely love this. Are plans available so I can make this as a generator enclosure???
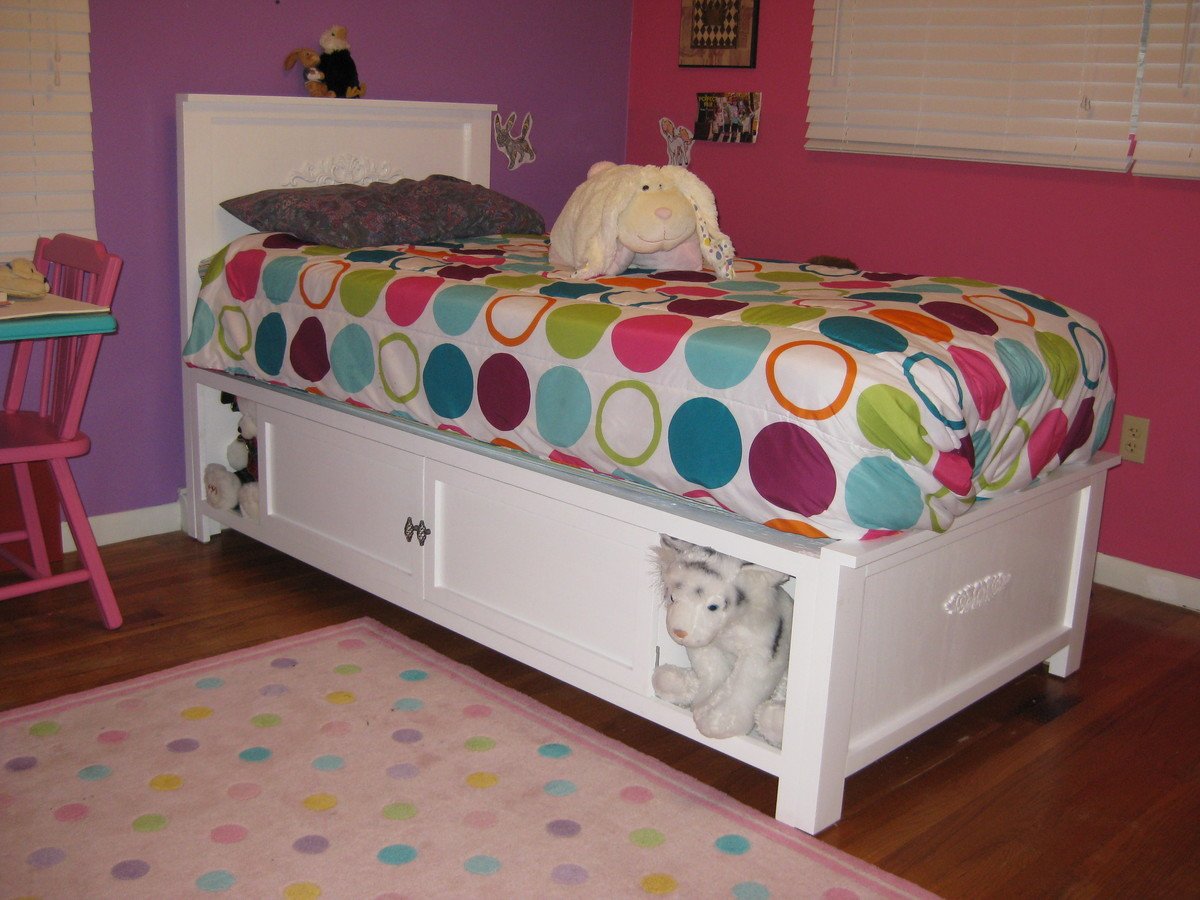
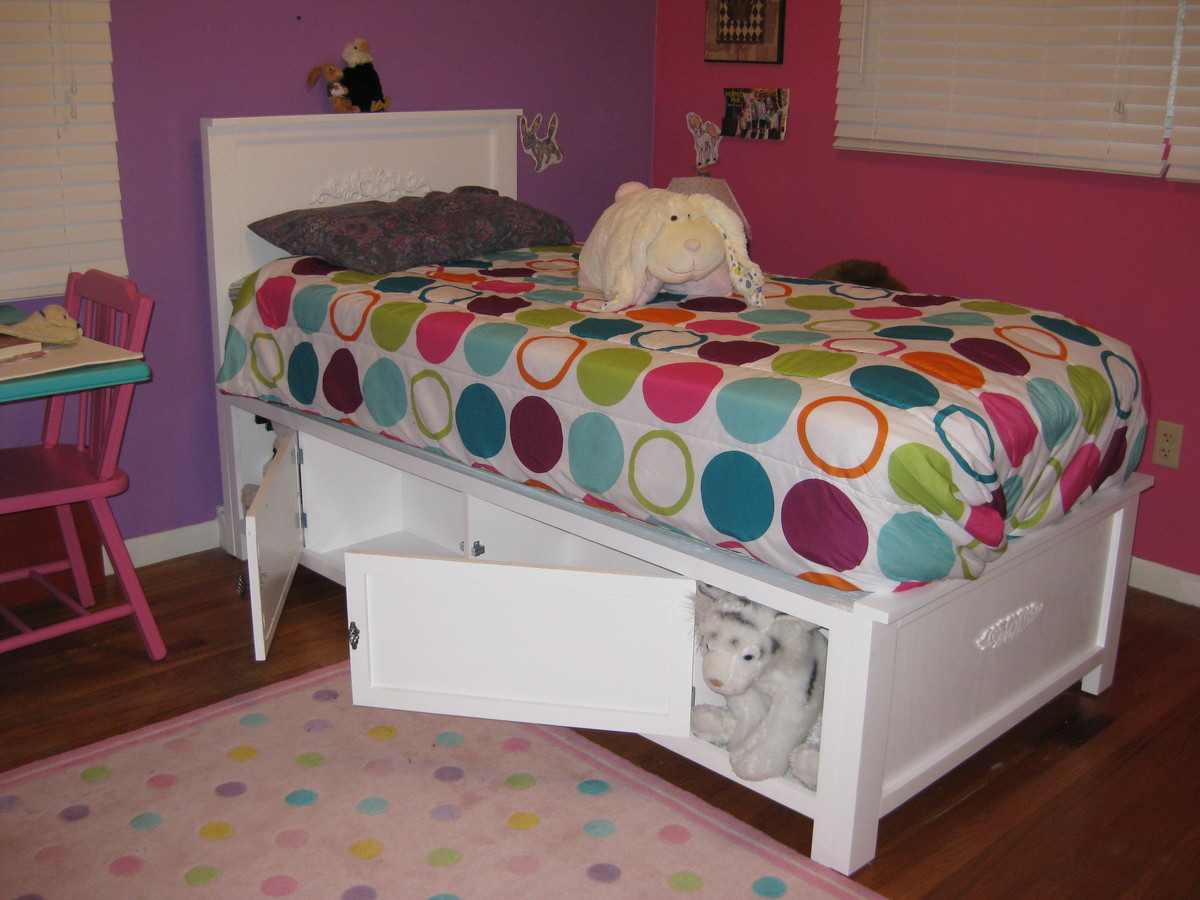
I built this bed for my daughter as a X-mas gift. The build didn't take long at all to make. I followed the plan pretty close. I did a few things differently, but it turned out much the same. I used sanded plywood instead of the particle board for the headboards and foot boards. I was able to remove the feet that show up at the footboard of the bed by putting a long cleat on the back sides of the storage units that sat about 12 inches back from both ends of the head and foot of the bed. I finished the bed in gloss white latex paint. The finishing of the bed took the longest part, followed by sanding.
The Most difficult part of this bed for me was the hinges. I wish that I would have done them a little differently, but they work. Easy fun project.
Wed, 05/09/2012 - 17:33
I dont understand how the headboard goes together. Did you use a Kreg Jig to assemble the headboard? If so, how does the Kreg Jig work?
Is it the same for the footboard?
Any advice you can share with me would be great!
Thanks! :)
Fri, 02/05/2016 - 21:22
I would like to remove the little feet like you did on the Emma's Storage Bed. If possible could you provide more details on how you did this? Thank you so much - I like your bed!
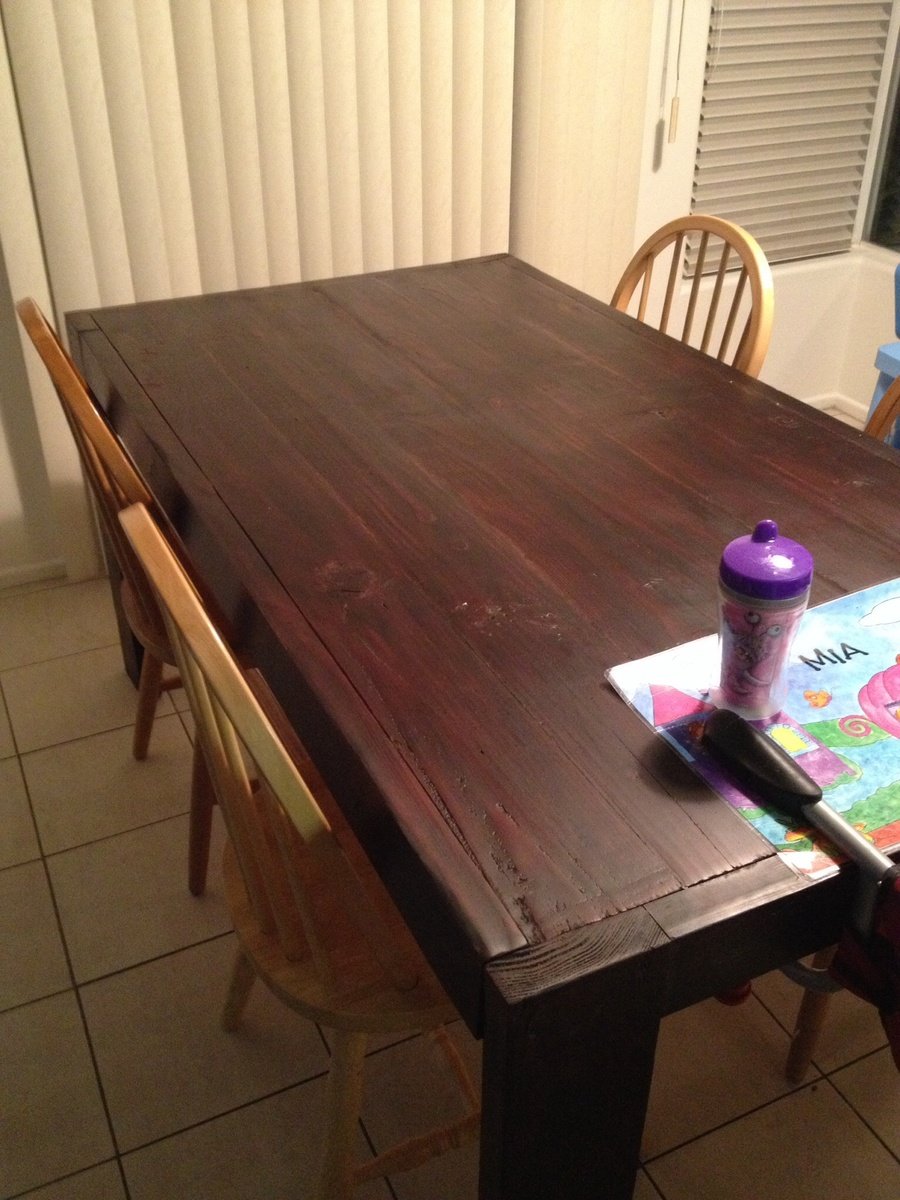
This was a fun project that I made for my wife. I saw a Crate & Barrel table with legs that alternated directions. The plans were easily adapted to match. I stained the standard pine boards with Minwax Prestain, Minwax Red Mahogany stain (2 coats) and sealed with a matte polyeurathane. The matte finish cut down any shine and should prevent any fingerprints from showing up, though witha 2-year and 6-year old this is inevitable. I may still add some small 3-4" triangular braces on the ends of the table at the legs to add stability, but it seems quite stable as it is. The bench is next on the list, but this will have to wait until after Thanksgiving.
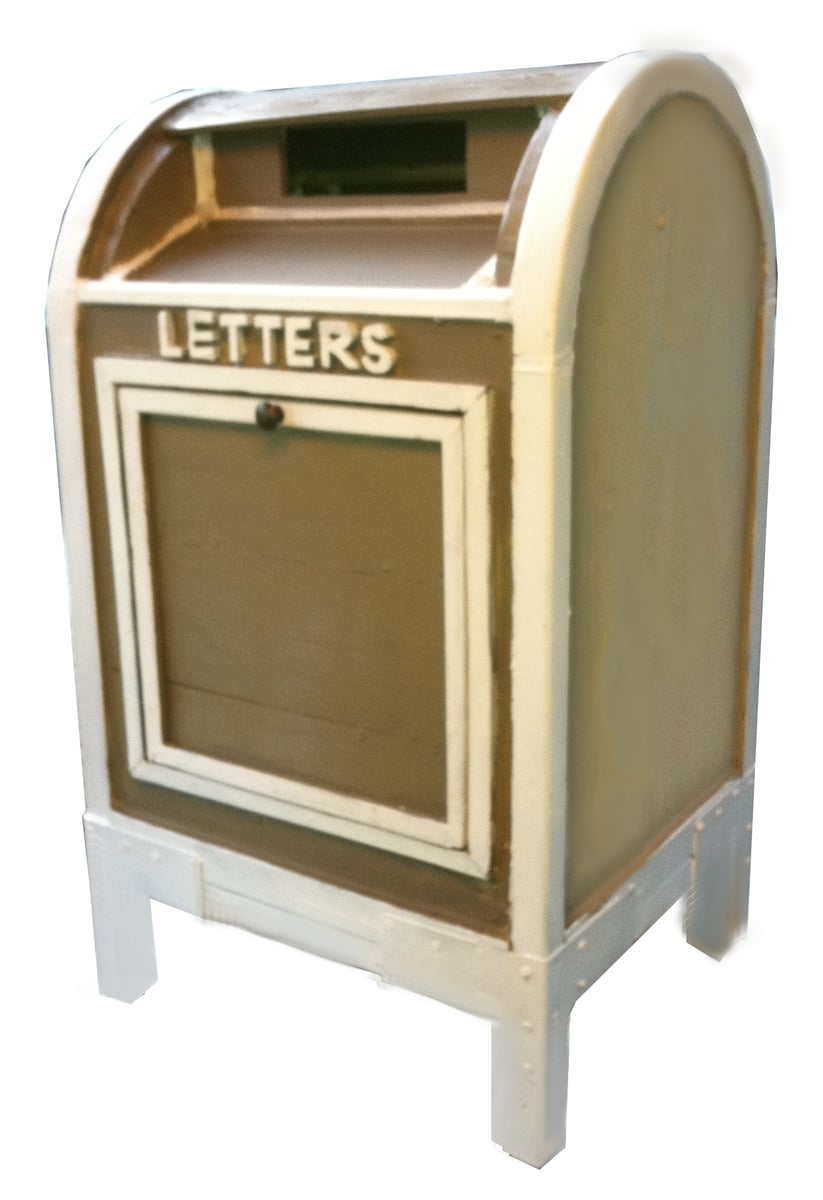
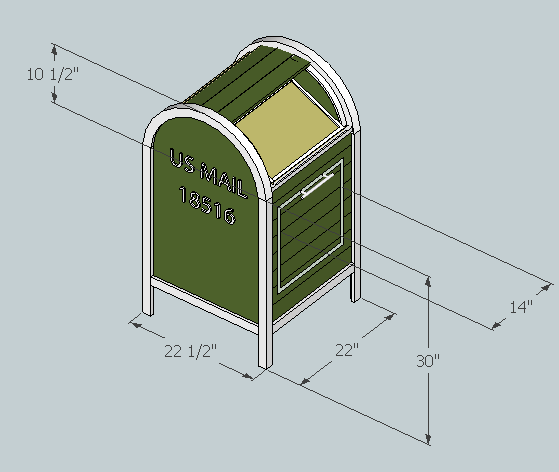
So I've always loved the old mail collection boxes. I have also always been dissatisfied having a ordinary mailbox. In steps the East Fork Mailbox. Tada! No more ordinary.
Ana posted plans for Grace's Mailbox, and that's what I'm linking this post under, but there isn't really a whole lot of similarities outside the shape.
I don't know that it's really worth it to anyone for me to post actual plans. Since 100% of the materials I use are rescued/salvaged (every last board and screw), the plan shopping list would usually fall somewhere between goofy and impossible. When I build anything, the materials I have on hand dictate my plan, not the other way around.
Having said that, if anybody is ever interested in a real plan from me, let me know. I would be willing to work on a redesign in order to accomodate a more conventional materials list, just don't be surprised if I encourage you more than once to go scavenging for materials.
I did uplod this project to the Sketchup 3D Warehouse, but it's not perfect. I was in a hurry, so nothing is grouped as it should be. Also, the center section of my mailbox is a large drawer mounted on slides for packages and outgoing mail. The Sketchup model doesn't reflect that. Download it for a reference model if you'd like. http://sketchup.google.com/3dwarehouse/details?mid=551fcbbeb0e75c3dc2c3…
One more note: I built my mailbox 41", to take into consideration the terrain and road. USPS regulations dictate mailboxes meet certain dimensional criteria. You can find the regulations online or go chat with your postmaster.
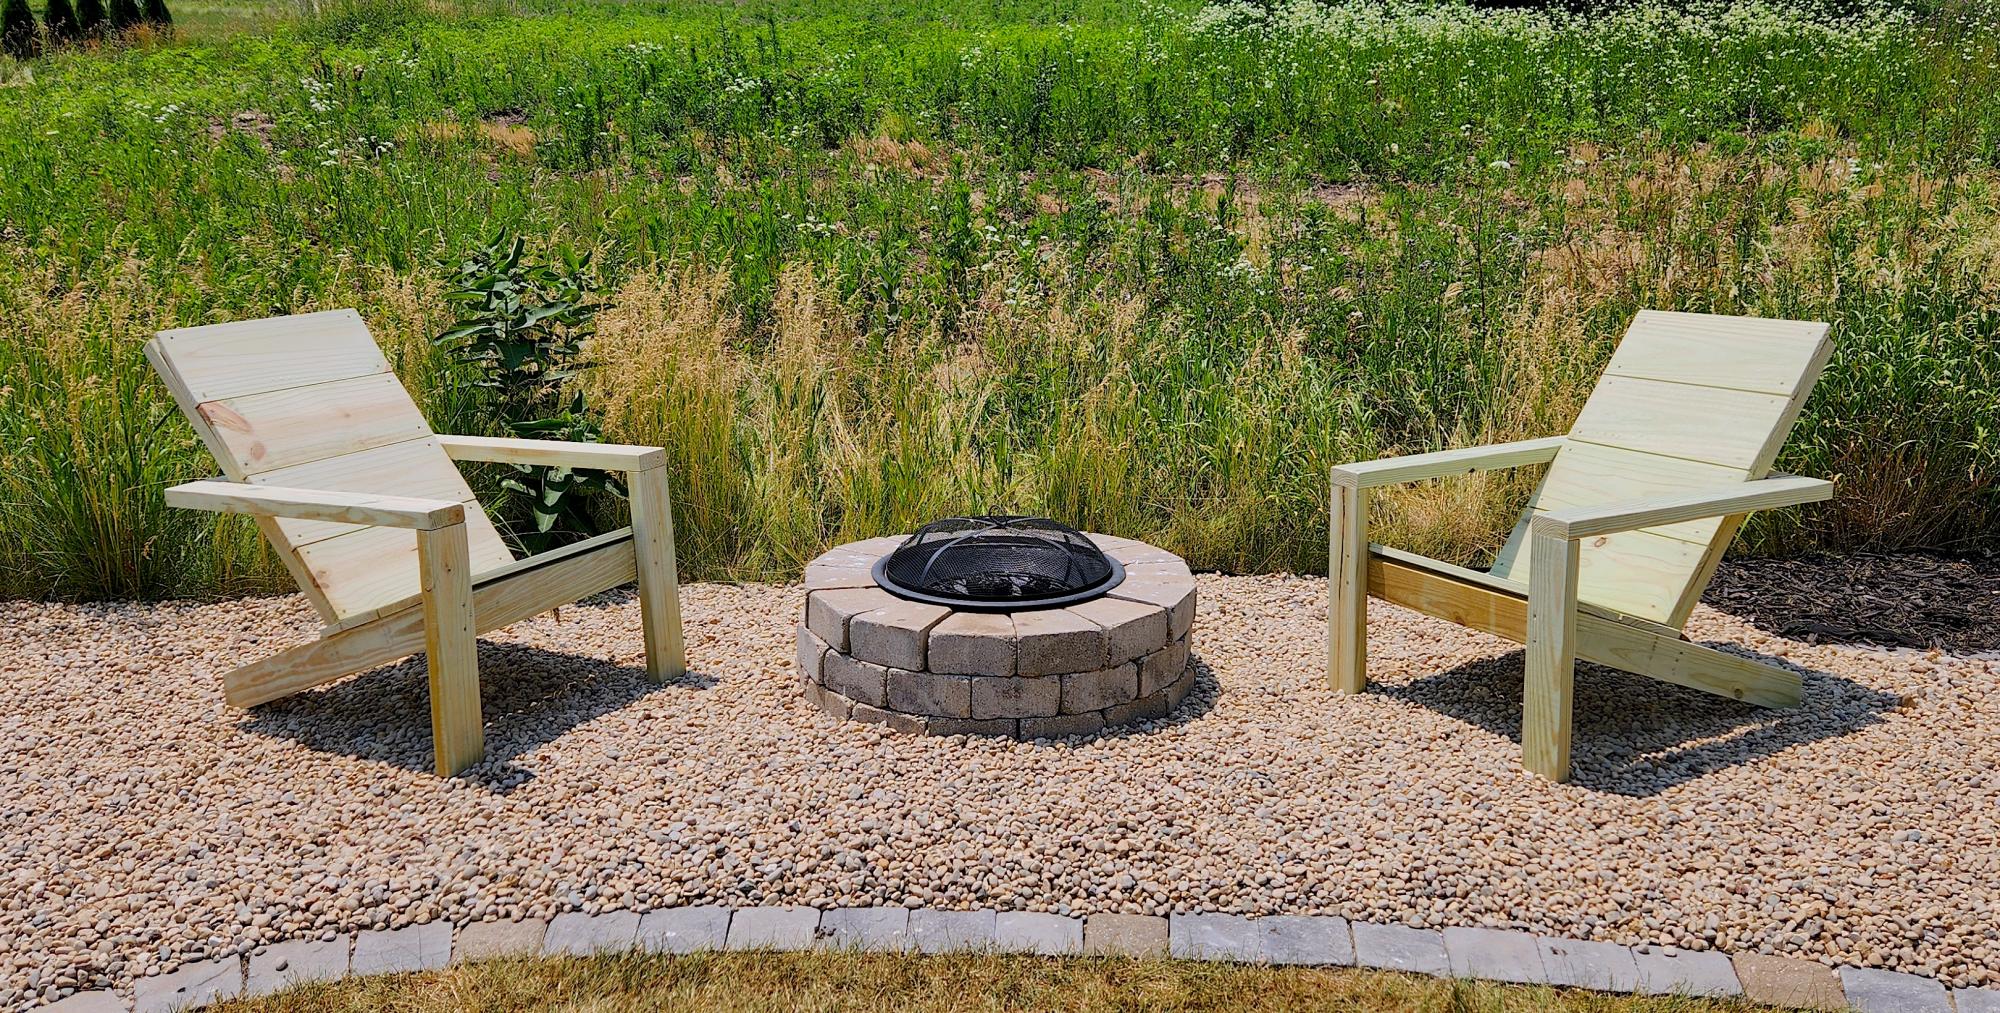
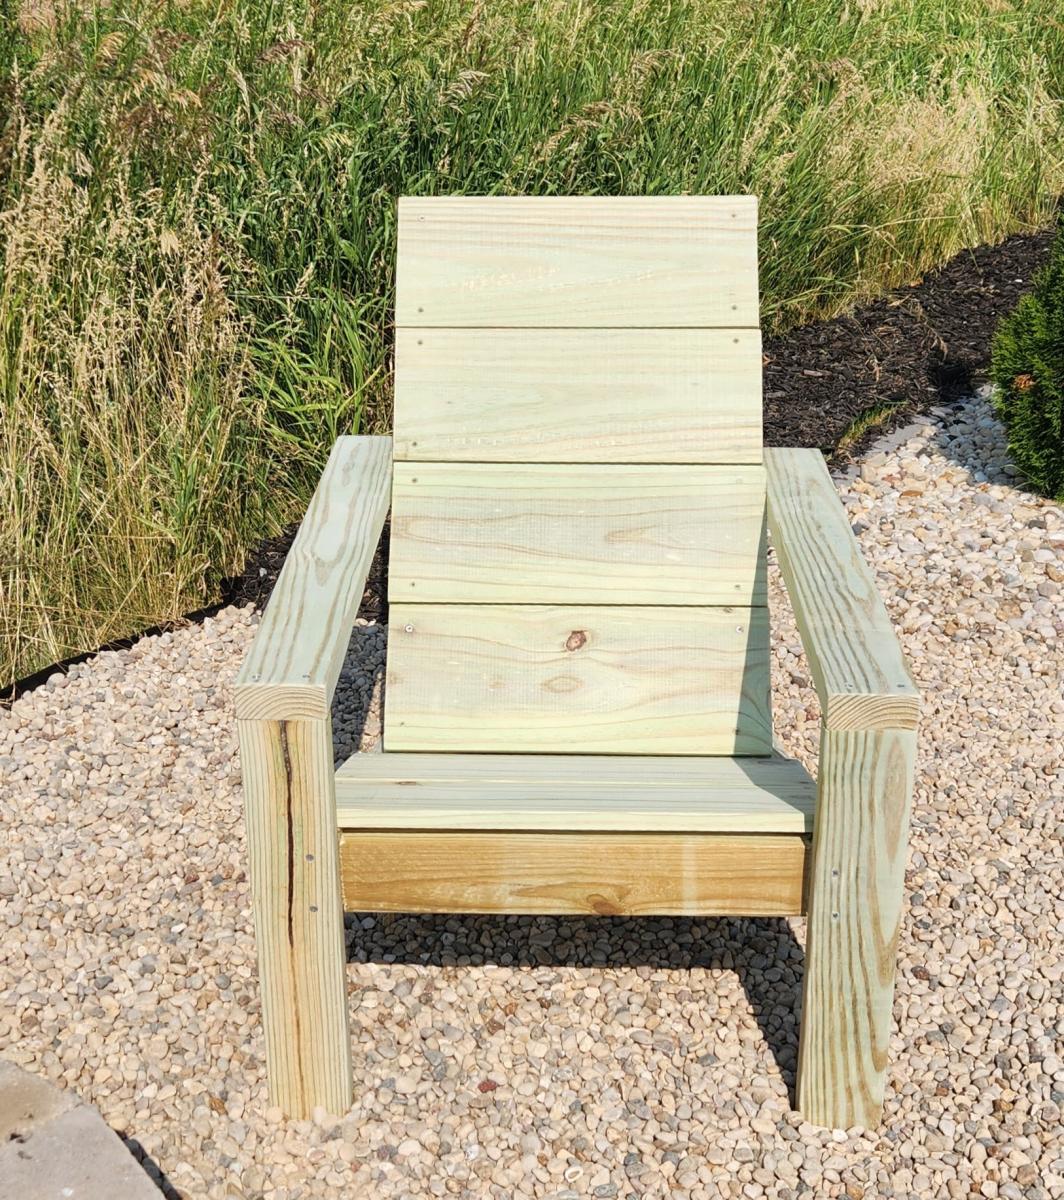
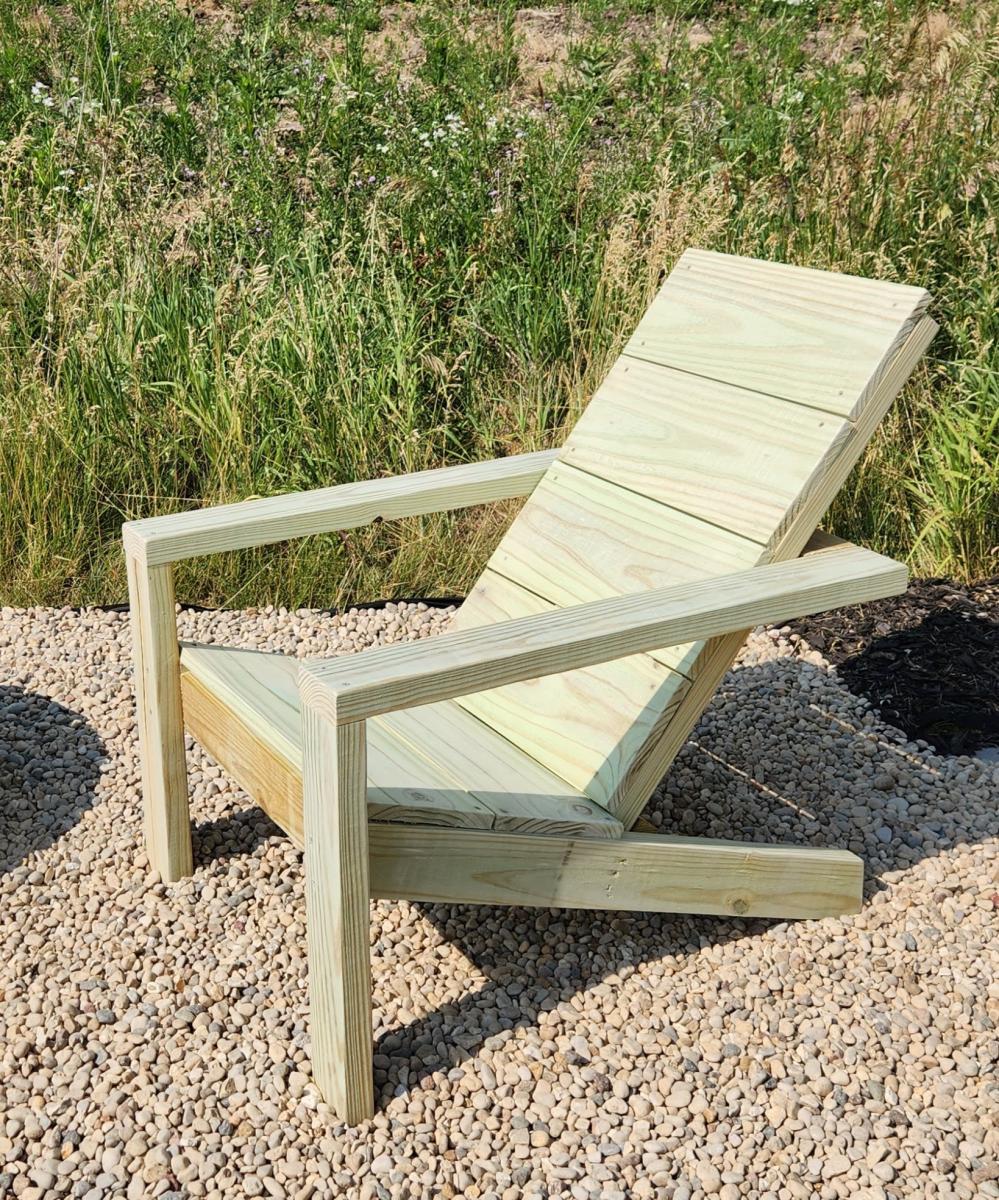
I used treated lumber for my project. One chair took me 2 to 3 hours from start to finish and the 2nd chair went a lot faster! The plans were so easy to follow, Thanks Ana!
- Built by Kara
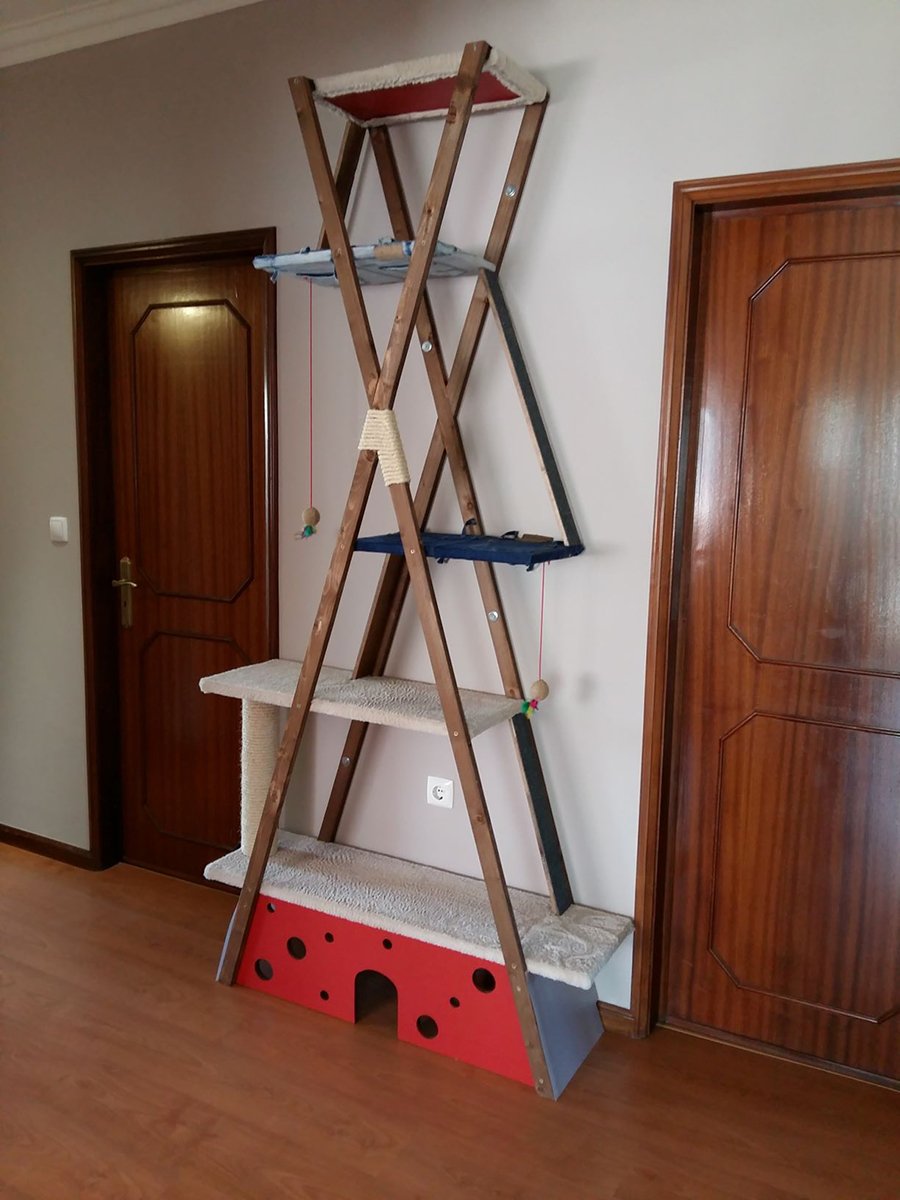
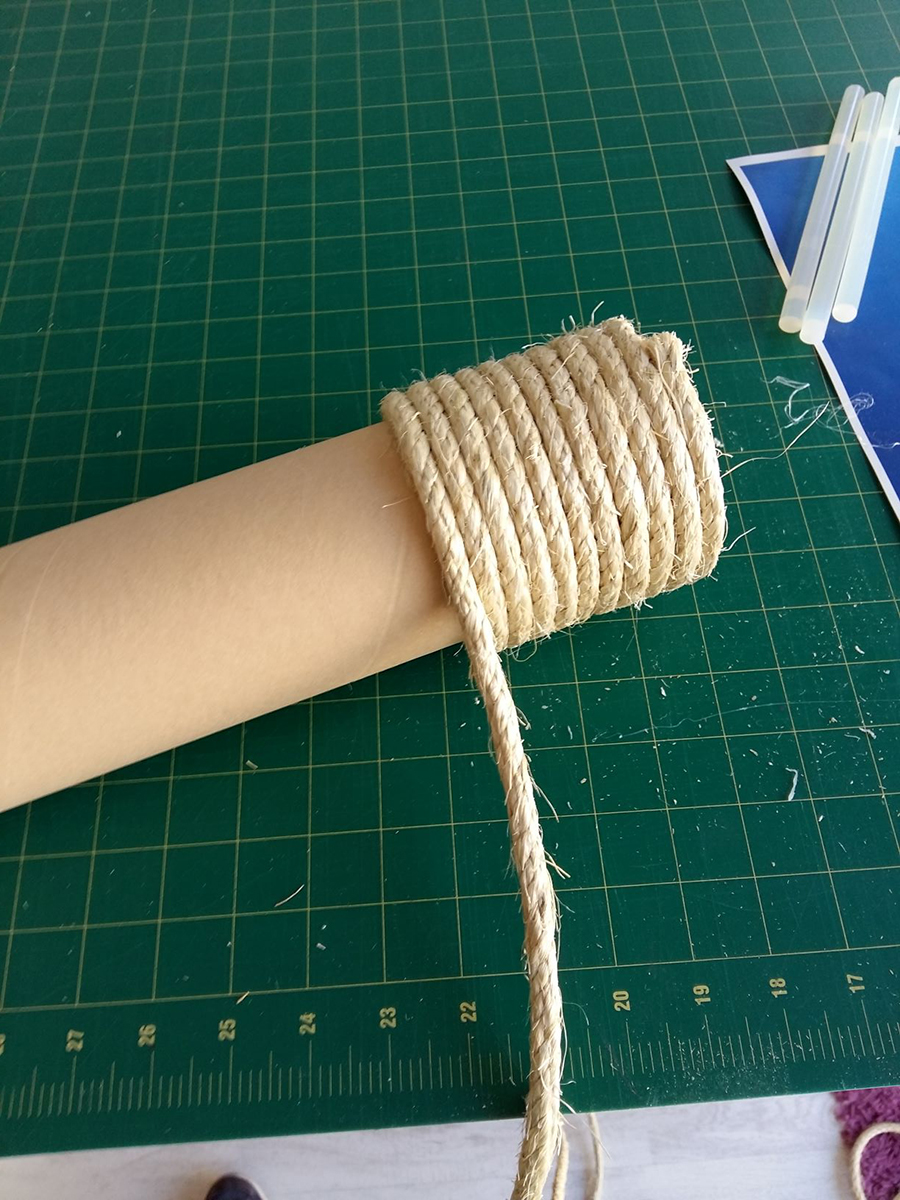
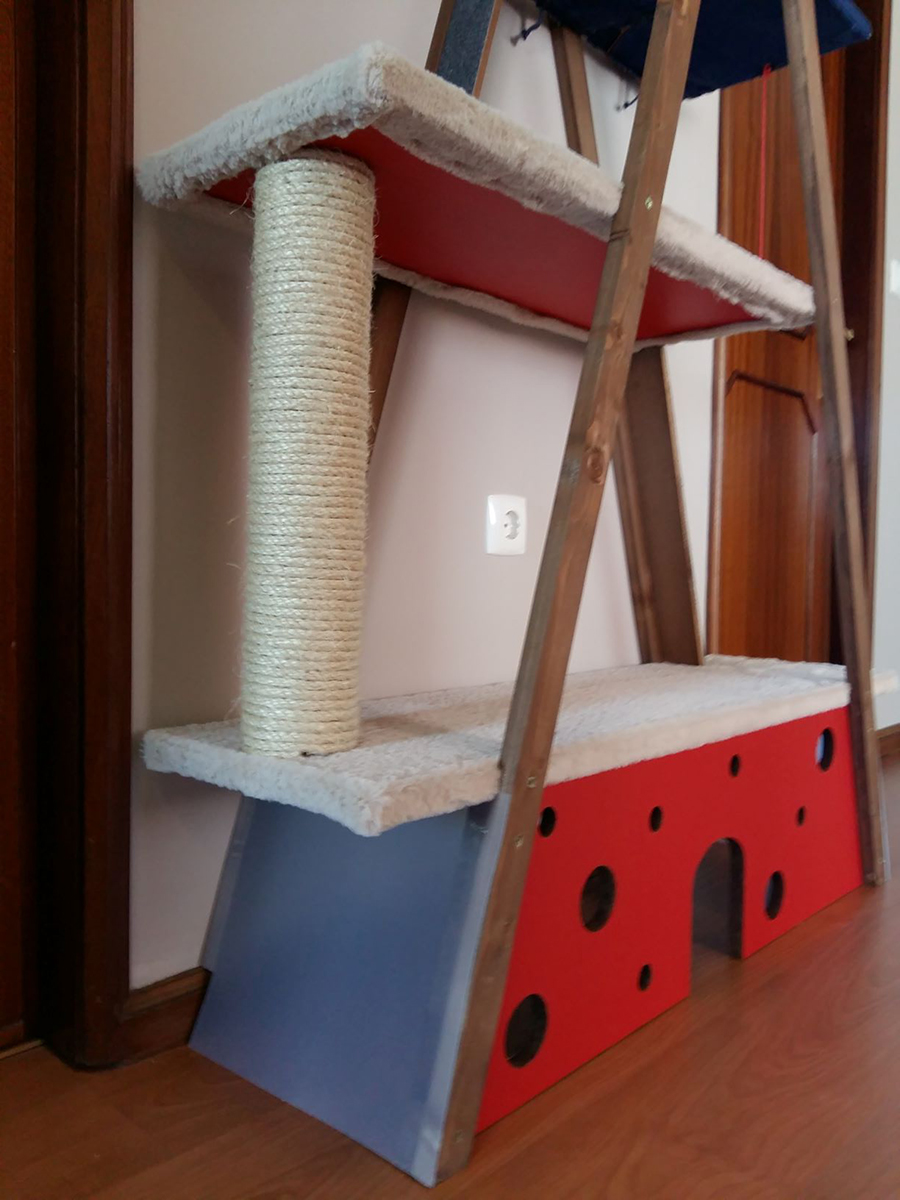
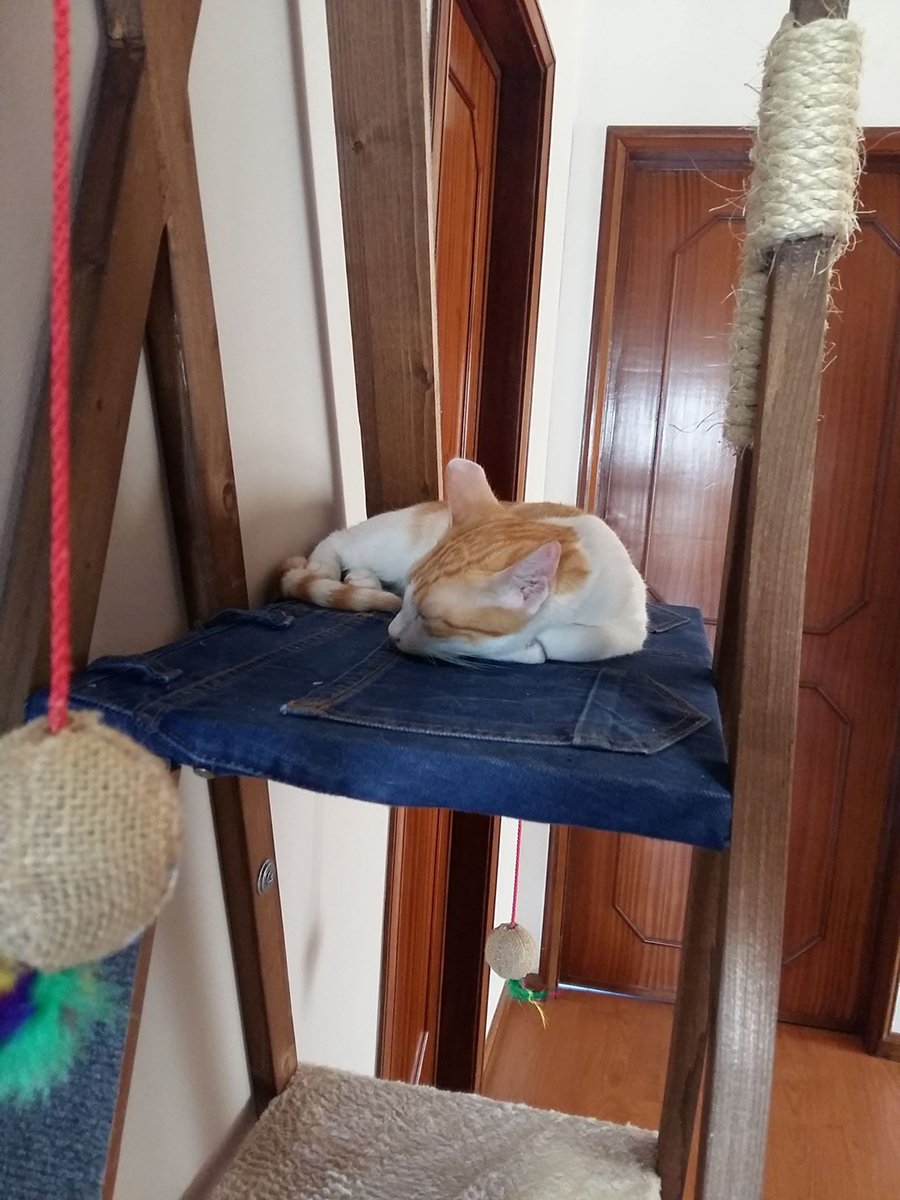
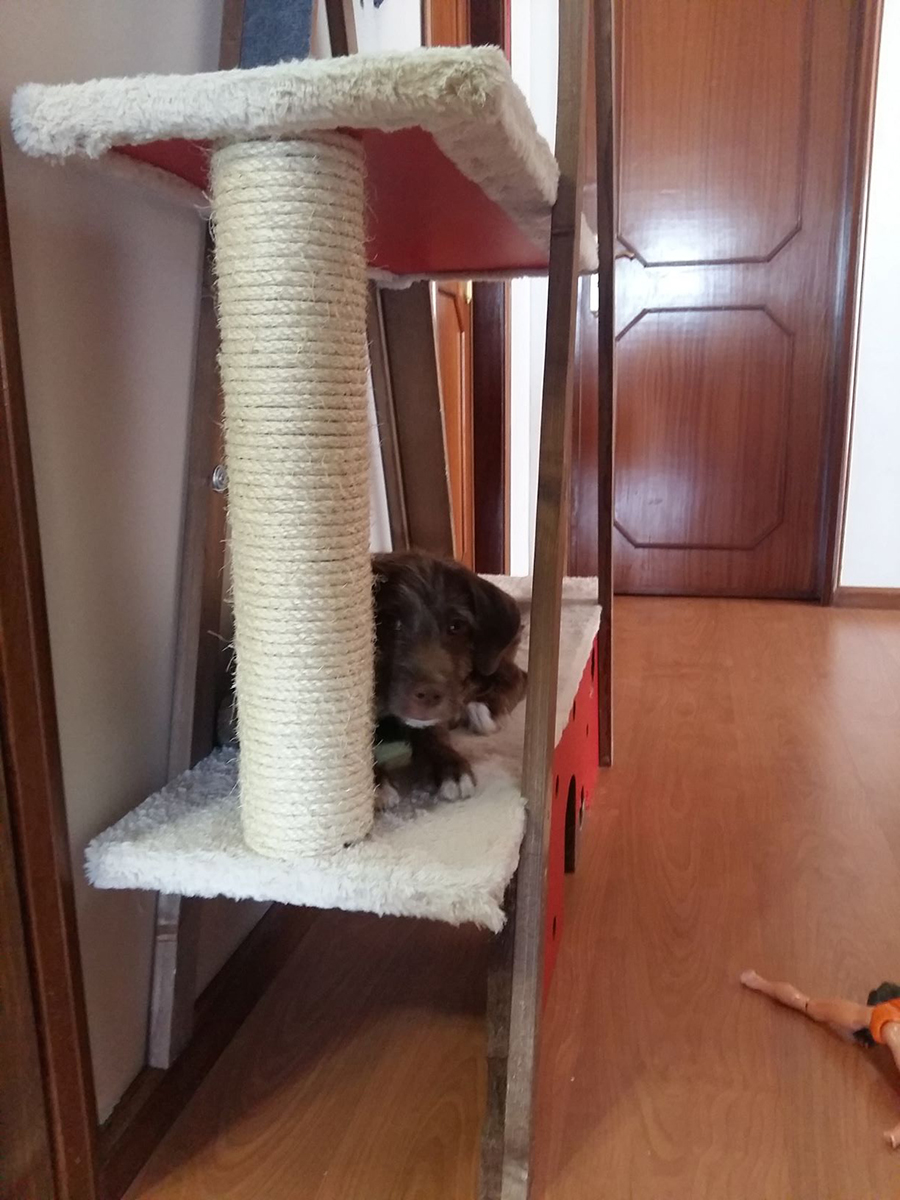
This project started with the need of a cat scratcher and evolved to this! :D
Buying one was out of the question cause they are too small and too expensive.
Even the dog loves it!
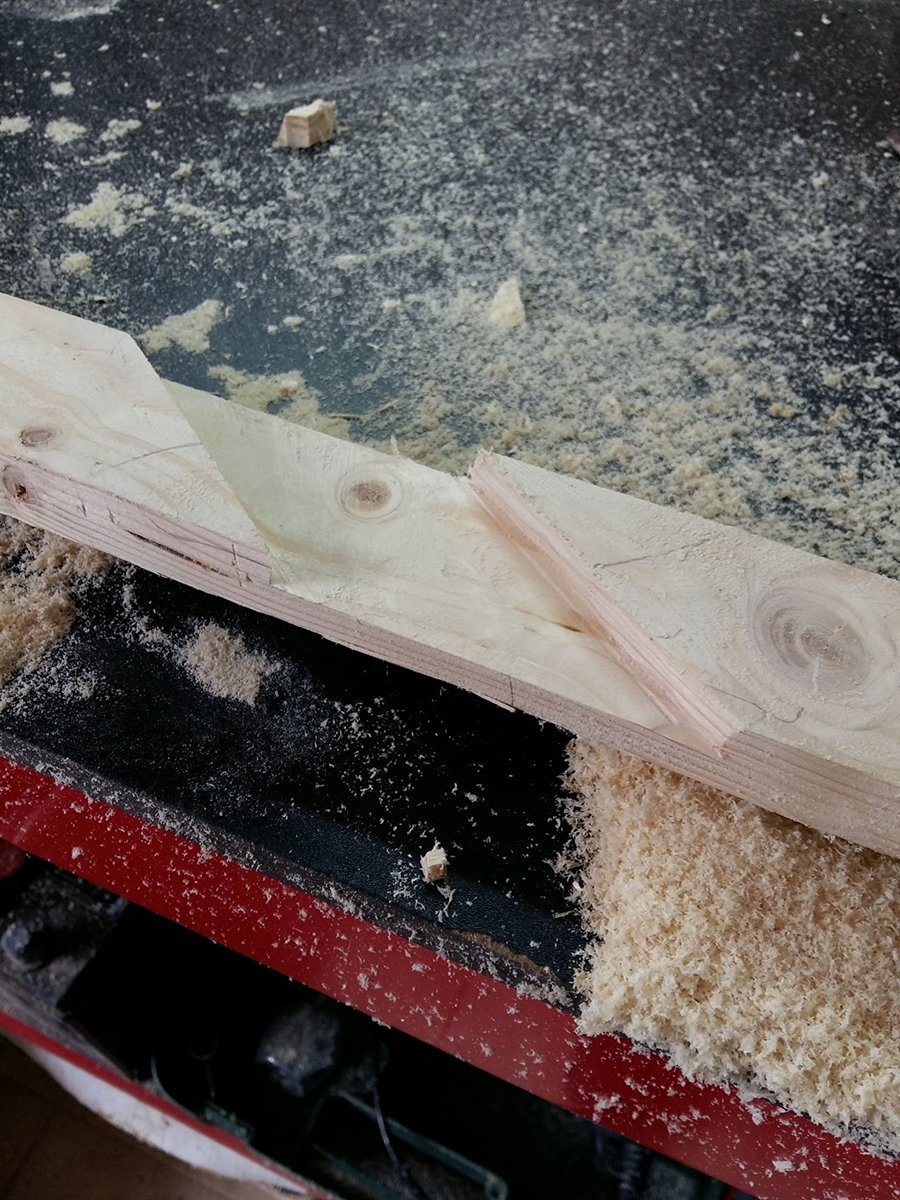
I dont have any plans because it was made to fit that specific wall and its pretty basic but if you have any question about it I will gladly answer.
