Community Brag Posts

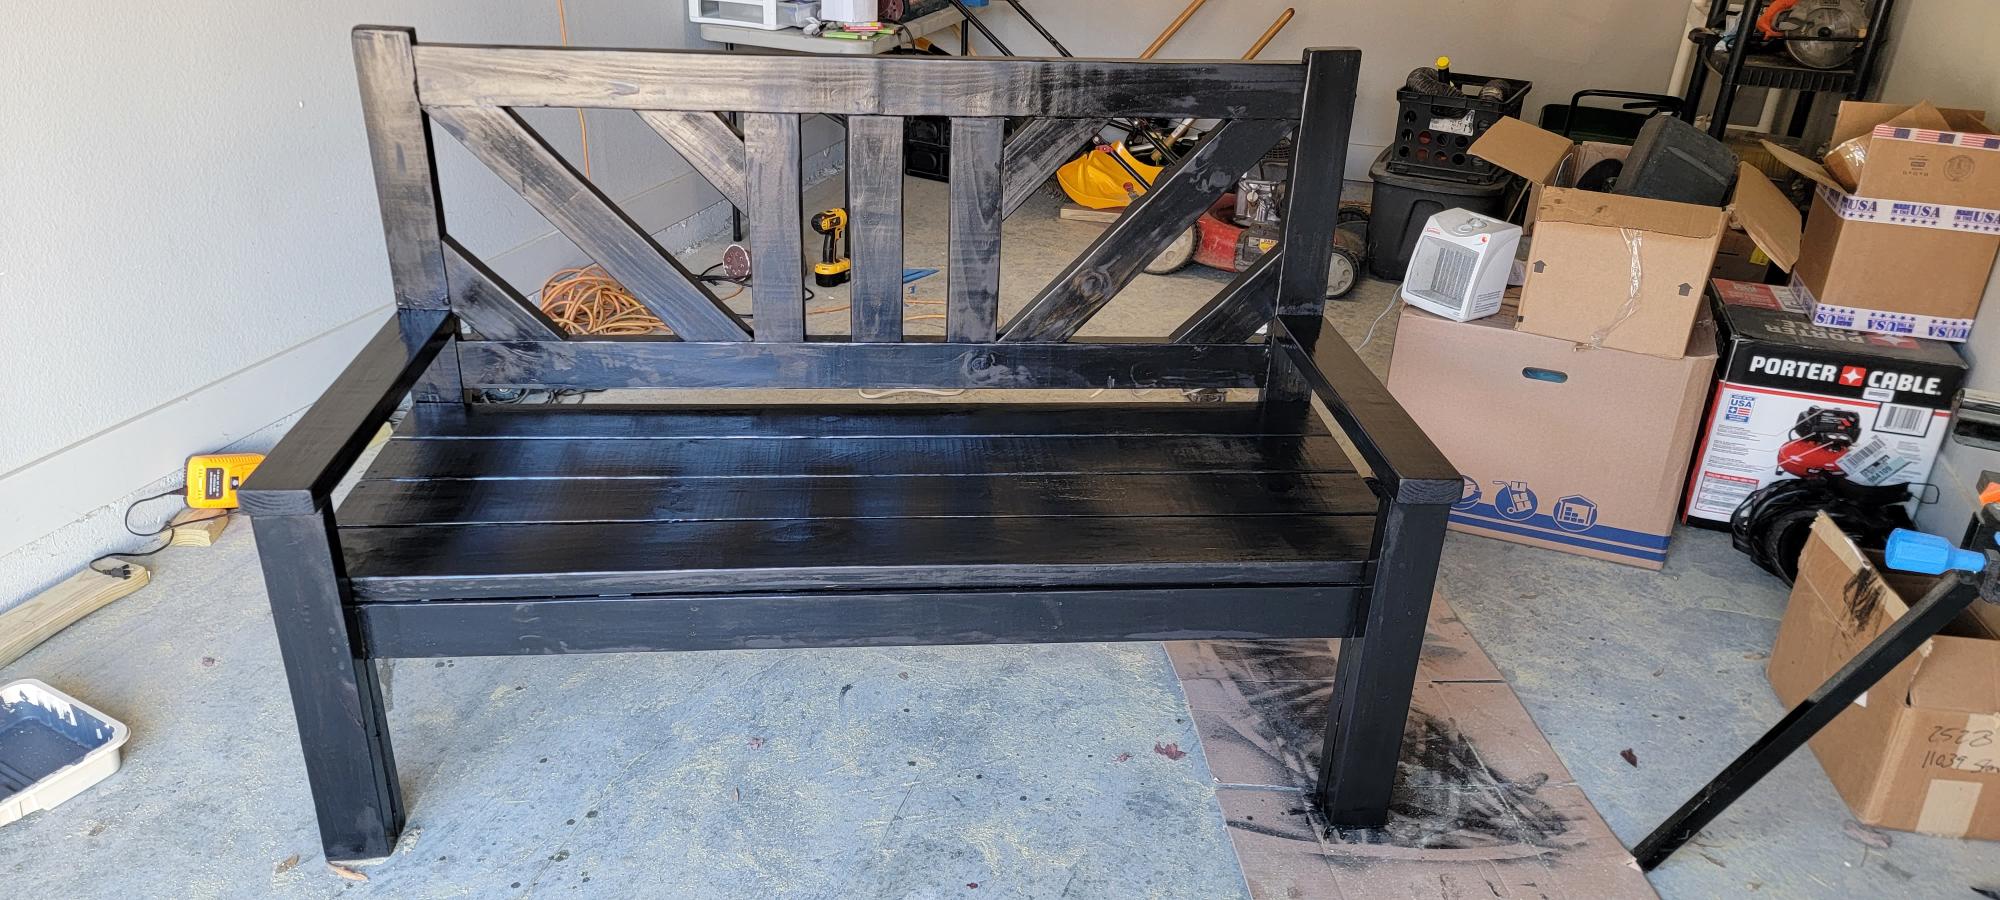
Outdoor bench

Submitted by Anonymous (not verified) on Tue, 06/13/2017 - 06:11

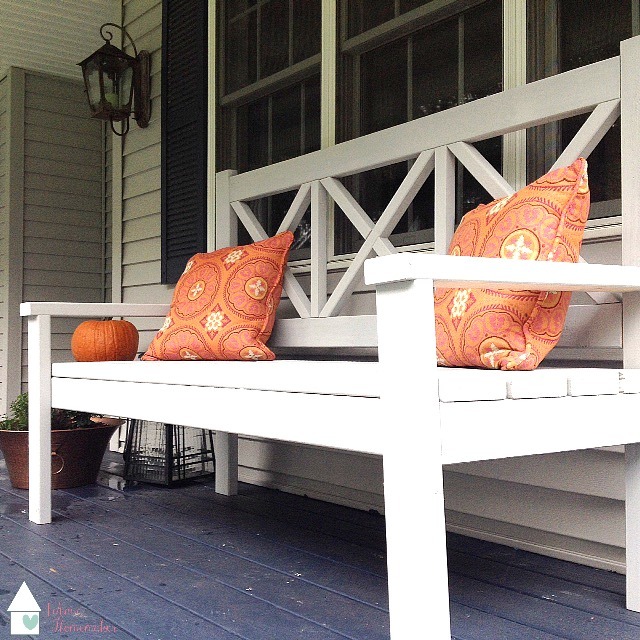
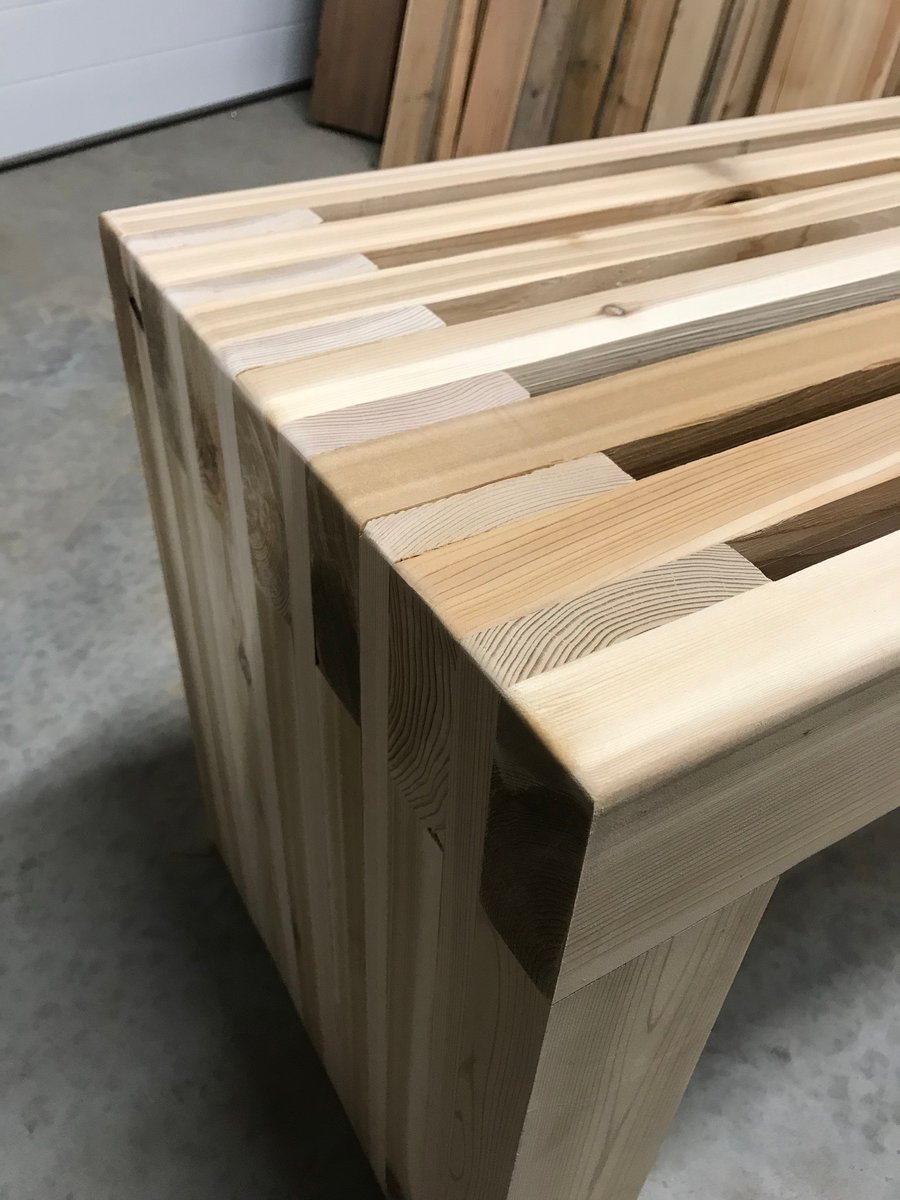
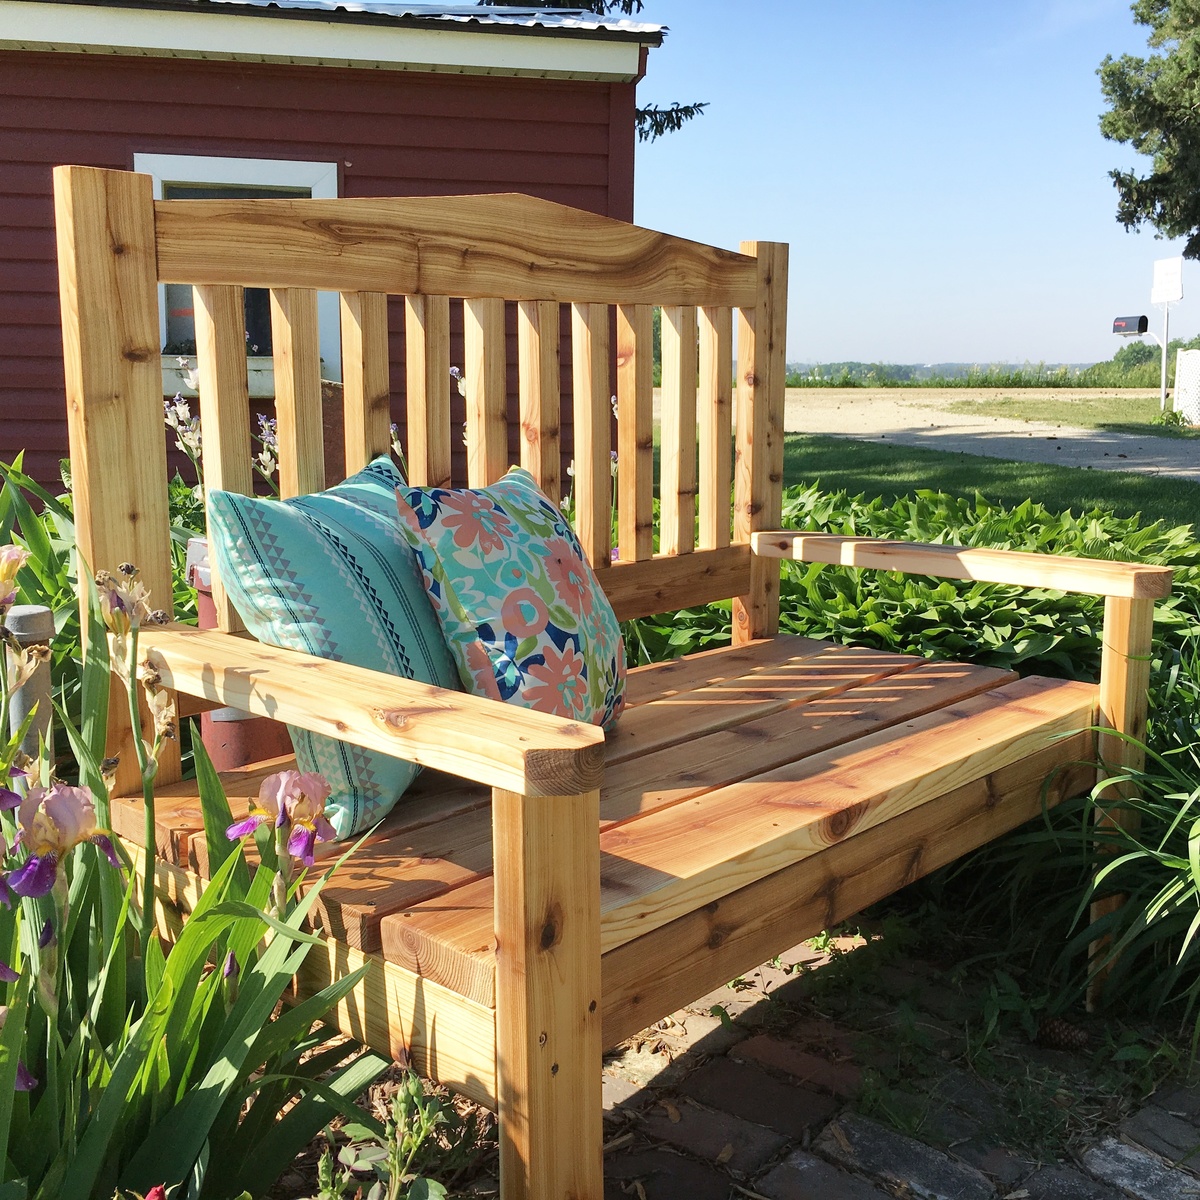
I used the x-back bench plans to build this bench, but trimmed the length down to 4 feet to fit the space.  It's constructed with cedar and is so beefy and sturdy. It has stood it's own against several storms already and I couldn't be happier with how it turned out. Thanks Ana for all the free plans and tutorials! 

Estimated Cost
$150
Estimated Time Investment
Day Project (6-9 Hours)
Finish Used
Thompson water seal in clear
Recommended Skill Level
Beginner

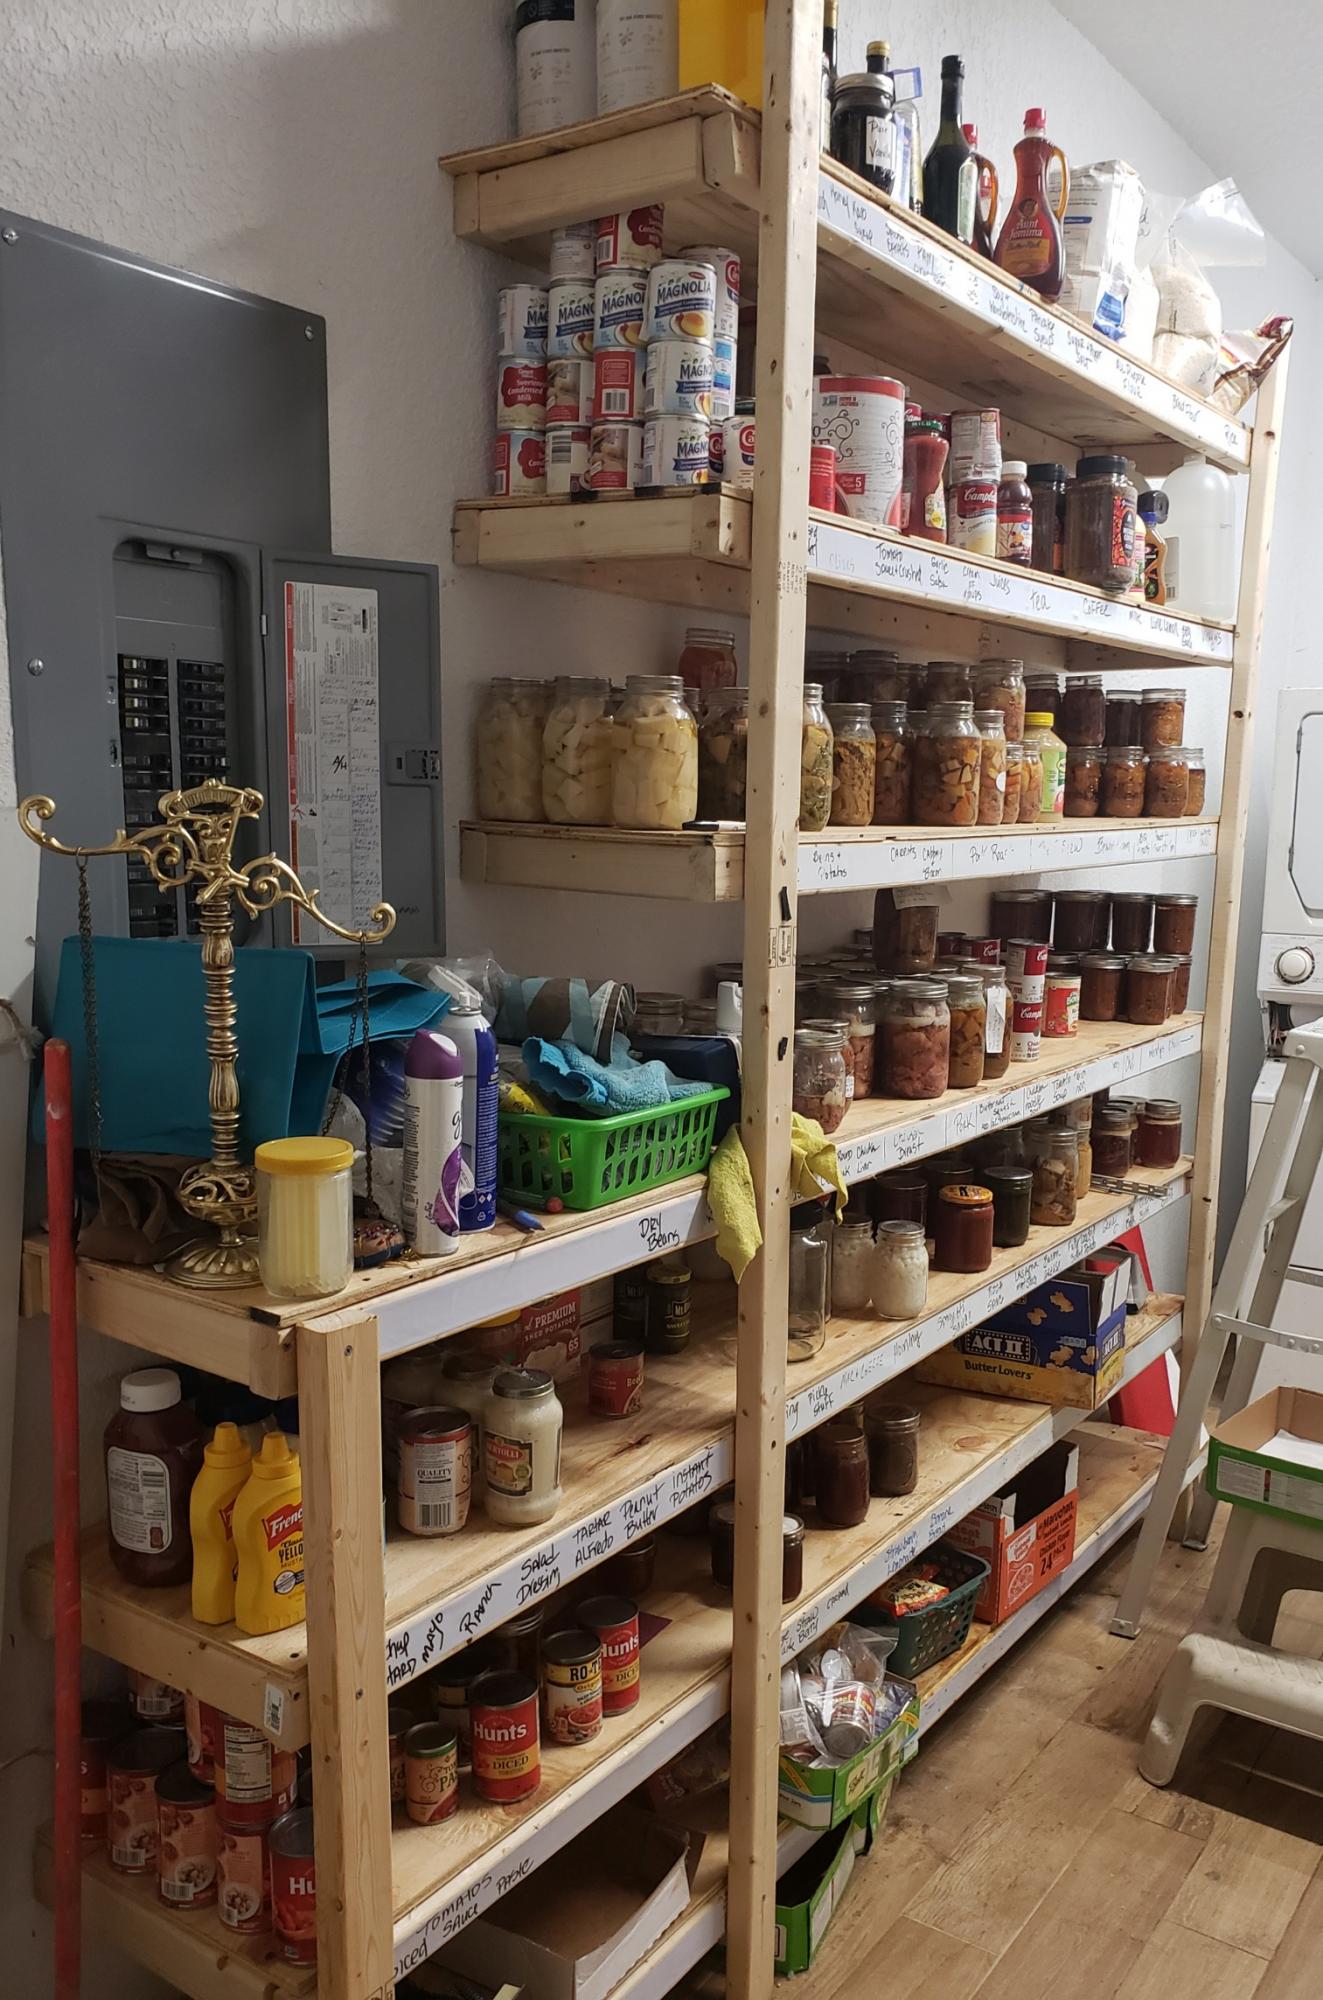
Canning shelves

Submitted by Anonymous (not verified) on Mon, 10/04/2021 - 12:11

I was 58 when I built these. Super easy. I also built these in my kitchen to store all my gadgets..
Thanks Ana. You have so many things I want to try.
April E

Comments

Alice’s Table and Chairs

I built this set for my friends little girl, Alice. She’s the same age as my son Benjamin, and needed a kiddie table and chairs!
I had some trouble with the chairs, I need to work on my clamping and squaring. Now that I have picked up a better countersink bit my issues with screws should be solved though!

The table was super easy with the kreg jig! I got it clamped down well for each corner and the aprons/legs screwed together like a dream! I love that the table doesn’t have a single screw marring the surface of the wood, they’re all pocket holes underneath!

The chairs have a few more screw holes than they should’ve had, but they don’t look too bad. I decided to leave them unfinished so she can decide on the right finish for her space.
Thanx so much for the easy to follow plans Ana!

Built from Plan(s)
Estimated Cost
~50$ (honestly, I can't remember!)
Estimated Time Investment
Weekend Project (10-20 Hours)
Finish Used
Unfinished
Recommended Skill Level
Beginner

Cedar Boxes made with Pallet Wood

Submitted by flashfire on Fri, 09/15/2017 - 22:19

Thanks for the plans, I was able to make this for a friend's birthday. I made it from pallet wood and it was so easy, I did a mitred top though because I wanted it to look neat and trim. .

Built from Plan(s)
Estimated Cost
Nil
I used pallet wood
Wood glue & screws I already had
Estimated Time Investment
Week Long Project (20 Hours or More)
Finish Used
Linseed oil
Recommended Skill Level
Beginner
Seasonal And Holiday

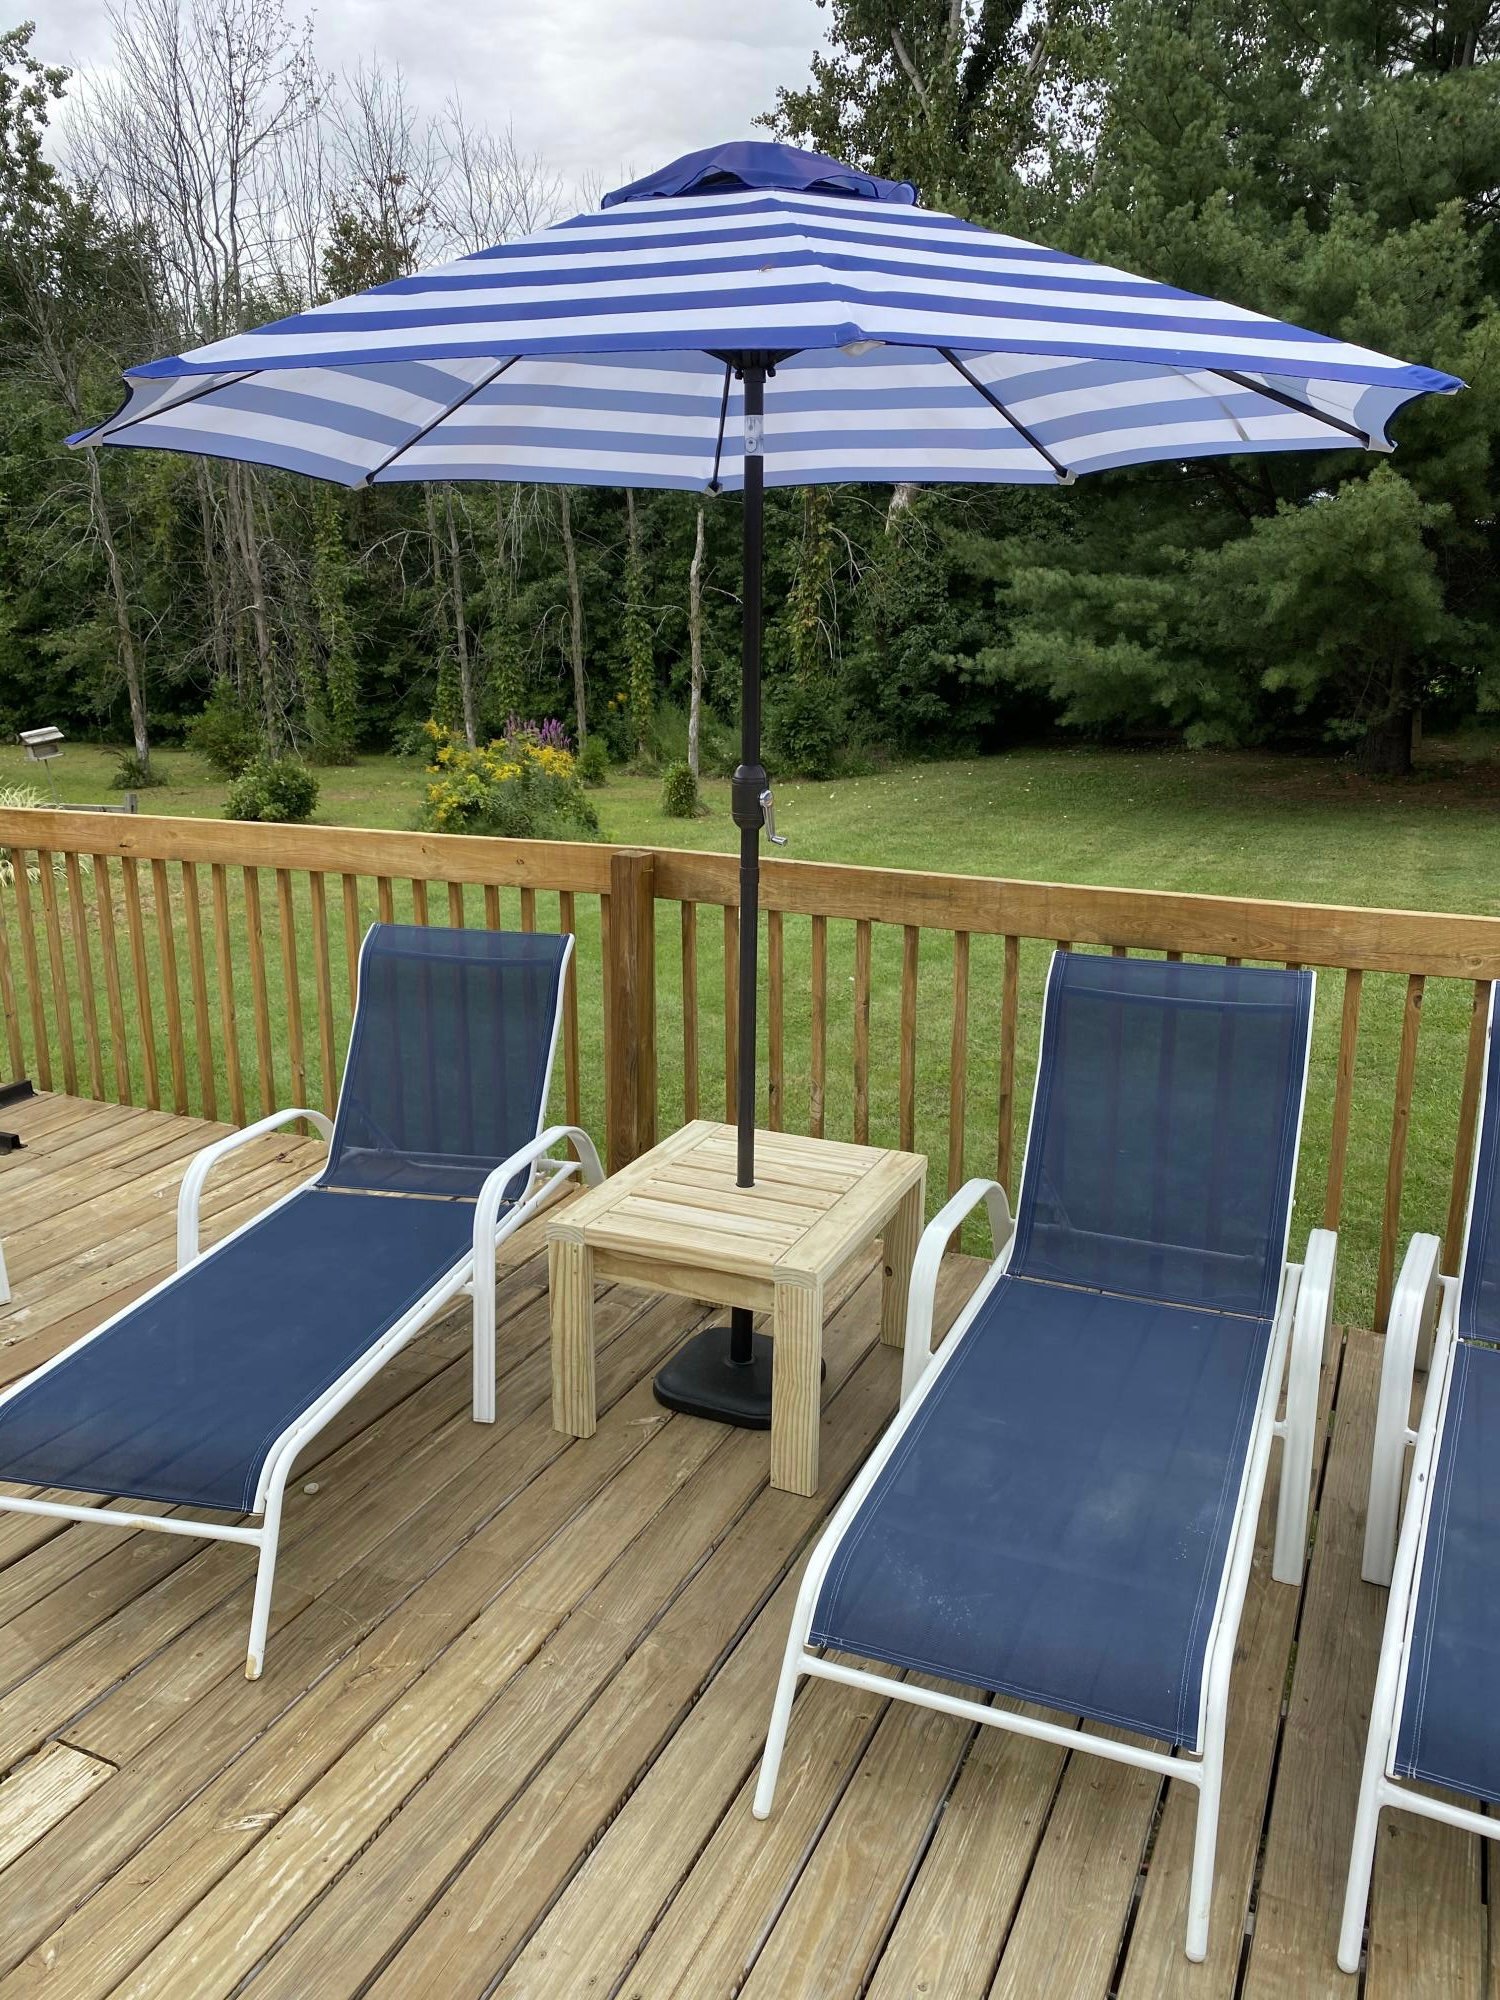
Outdoor 2x2 end table

Submitted by Anonymous (not verified) on Sun, 11/07/2021 - 04:19

I made the end table a little taller than the instructions and the top boards further apart for rain to fall thru, then drilled a hole so it can be used as an umbrella stand too!

Built from Plan(s)

Comments

Hall Tree Storage Bench

Submitted by ScottyG on Sat, 12/02/2017 - 14:46

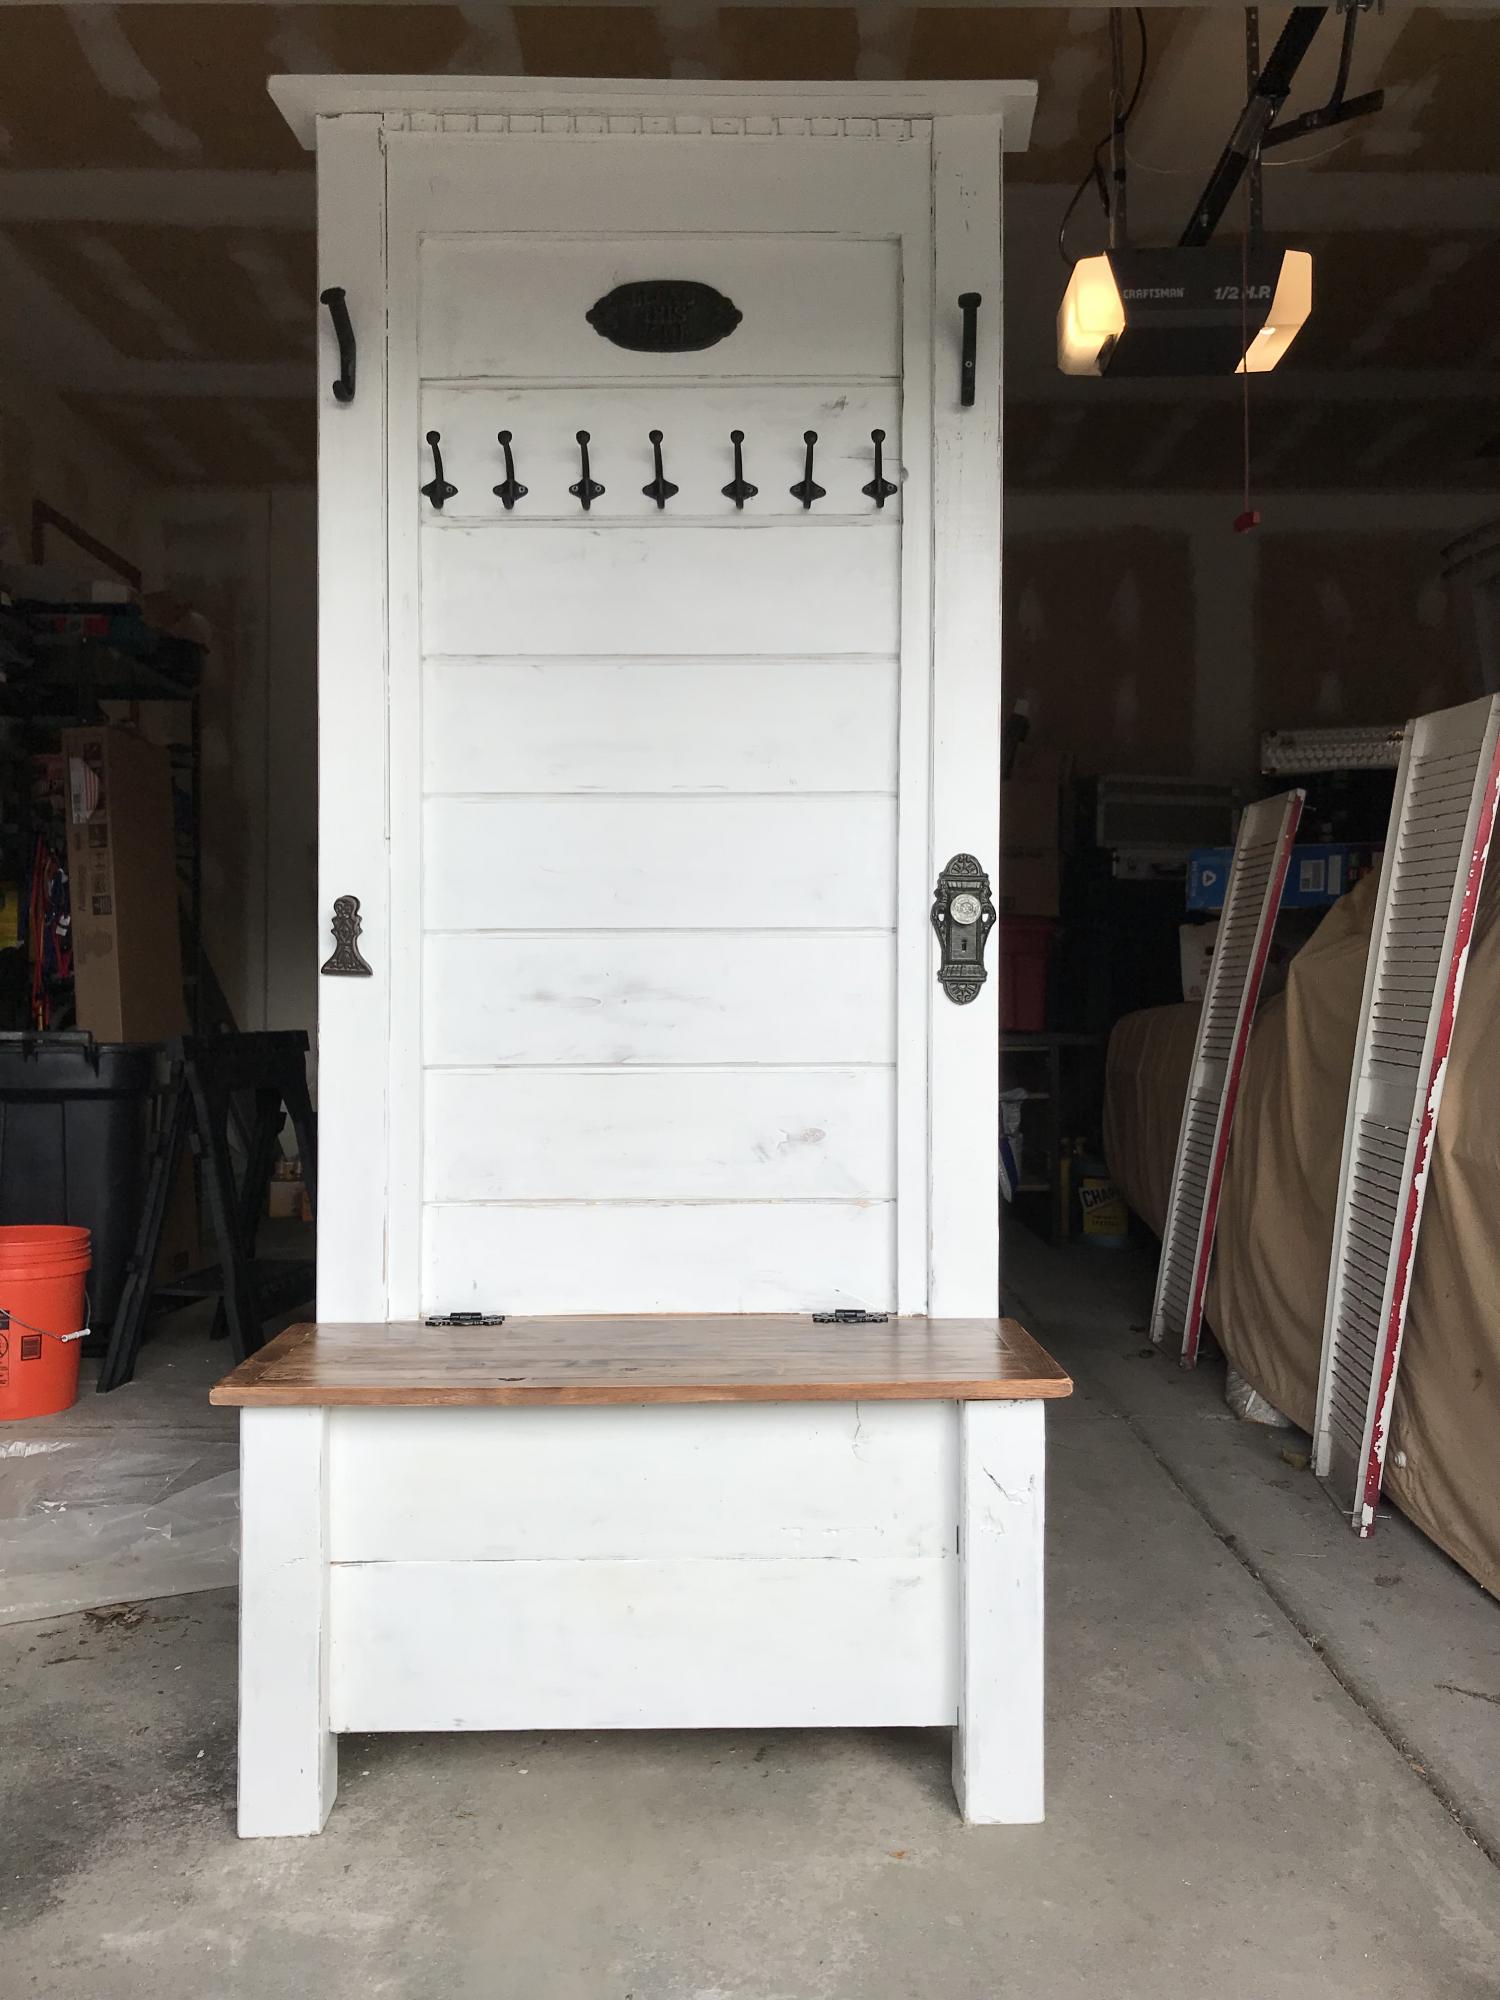
Hi Ana!  This project was pretty much inspired by ALL the great things you build on this site, as well as from watching a 'Fixer Upper' marathon (hence, the white color and shiplap).  Last Christmas, I promised my sister that I'd build her a hall tree since she's now up to 10 grandkids and needed more hooks for all those coats and hats.  Unfortunately, I also came down with a WICKED case of vertigo, so no power tools for yours truly. : (

Well...  The vertigo finally cleared up, so it was time to get out my trusty ol' Kreg Jig and fire up the tools.

This project started with 2 4x4s.  I cut 17 1/2" off each, then used the long pieces as the back and the sort pieces as the front legs.  Then I built a rectangle (shored up by some cross supports) out of 2x3s and used those to attach the back legs together with pocket holes.  I did the same thing with the 2 front legs, then attached the 2 sets of legs together with shorter pieces of 2x3s that framed up the side.

Next, I added a front to back support to the underside, and then attached the bottom of the seat on top of that.  I built the front, back, and side pieces of the bench section by cutting a couple of 8' x 8" x .5" planks to size, and attached 2 pieces to each side by gluing and nailing them to the frame.   Then, I rans some shiplap up the back (glued and nailed to the back frame) and topped it all off with a mantle.

For the seat, I used a 12" project board ($11 at Lowes for a 6 foot section) because I love all the knotty details and nail marks.  I framed it out with 1x1 and attached with pocket screws on the underside.  I finished that piece by staining it in Rustoleum Dark Walnut.

As for the rest, I just framed the shiplap section with leftover 1x1s, then sanded and stained the whole piece with the same Dark Walnut stain (so that something would show through after distressing).  Finally, I applied 2 coats of Rustoleum Linen White Chalk Paint (LOVE that stuff!), distressed it, and topped with one coat of Minwax 1 Coat Poly (ALSO love that stuff), and added some hardware and country do dads from Hobby Lobby (Rustic Hooks, 'Bless This Home' Sign, Decorative Doorknob, and "Mitten Clip" for wet mittens and gloves coming off little hands) .  What do you think?  ヅ
Estimated Cost
About $100
Estimated Time Investment
Weekend Project (10-20 Hours)
Finish Used
Rustoleum Dark Walnut Stain (Bench Seat), Rustoleum Linen White Chalk Paint (Rest of project), sealed with Minwax 1 coat poly.
Recommended Skill Level
Intermediate

1st Porch Bench I made

Submitted by Anonymous (not verified) on Sun, 12/26/2021 - 16:49

This is the first bench I have ever made.

Comments

Farmhouse bed - King

Submitted by Rusnok33 on Fri, 01/19/2018 - 06:38

We made the farmhouse bed with a few modifications. We distressed the wood and did a whitewash finish. Absolutely love how this turned out!

Estimated Cost
250
Estimated Time Investment
Weekend Project (10-20 Hours)
Finish Used
Stained with tea, then with apple cider vinegar and steel wool stain. Has two applications of the steel wool stain to deepen the aged wood look. Last painted with a basic white paint to white wash.

*Note: wood was warped but adds to the more rustic look. This may not be for everyone!
Recommended Skill Level
Intermediate

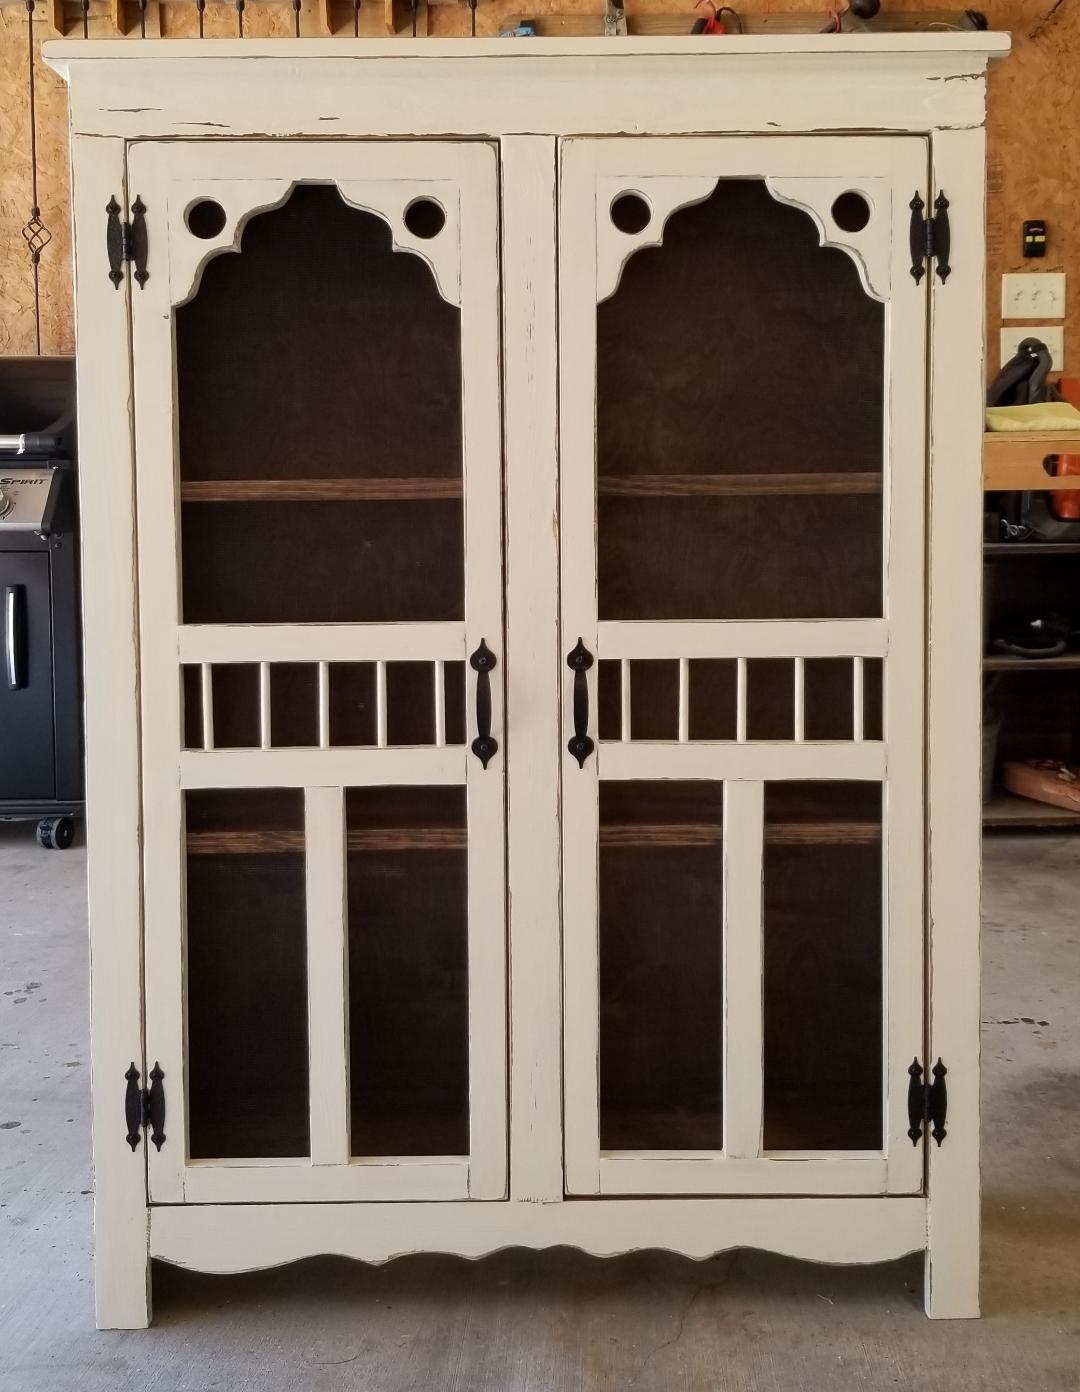
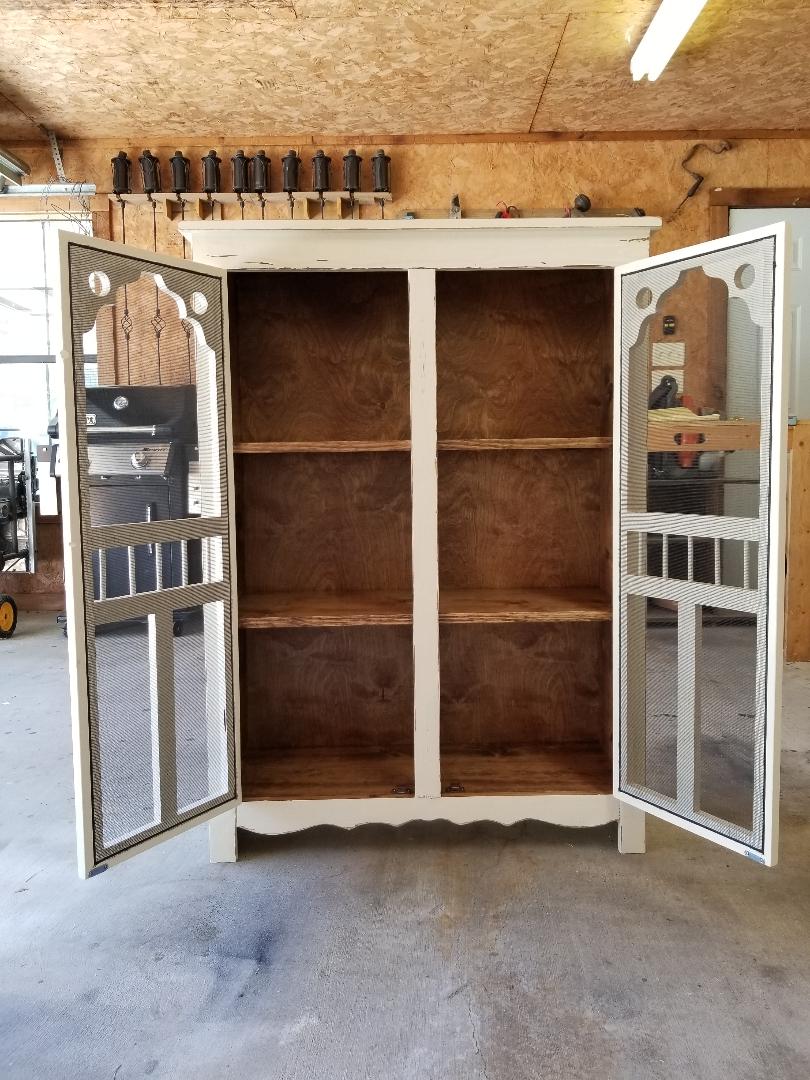
Patrick's Jelly Cupboard

Submitted by srodge1 on Thu, 01/06/2022 - 16:48

I love, love how this turned out. I was originally going to build it exactly as the plans are written, but somehow a screen doors came into the design. Thanks again Ana for sharing!!

Built from Plan(s)

Comments

DIY Providence Bench

Hooray! I recently finished building a dining room bench. For this project, I used the Providence Bench plans by Ana White. I started this project in May, and two months later it is finally complete! I am really happy with how the bench turned out! It is pretty sturdy and makes for a nice addition to the dining room!

Built from Plan(s)
Estimated Time Investment
Weekend Project (10-20 Hours)
Finish Used
ECOS Paint Woodshield Stain in Pine Needles and their Satin varnish
Rust-Oleum White Semi-Gloss
Recommended Skill Level
Beginner

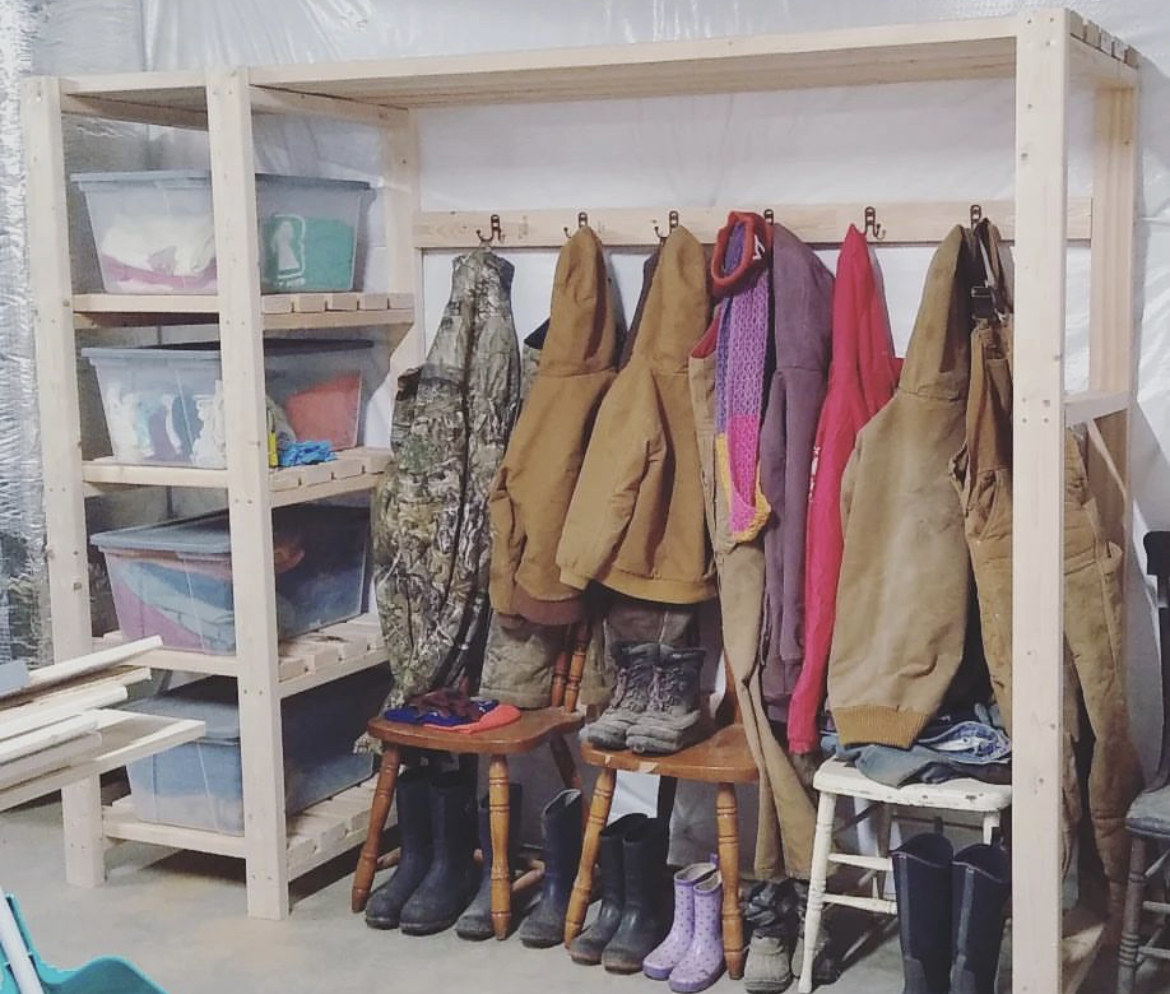
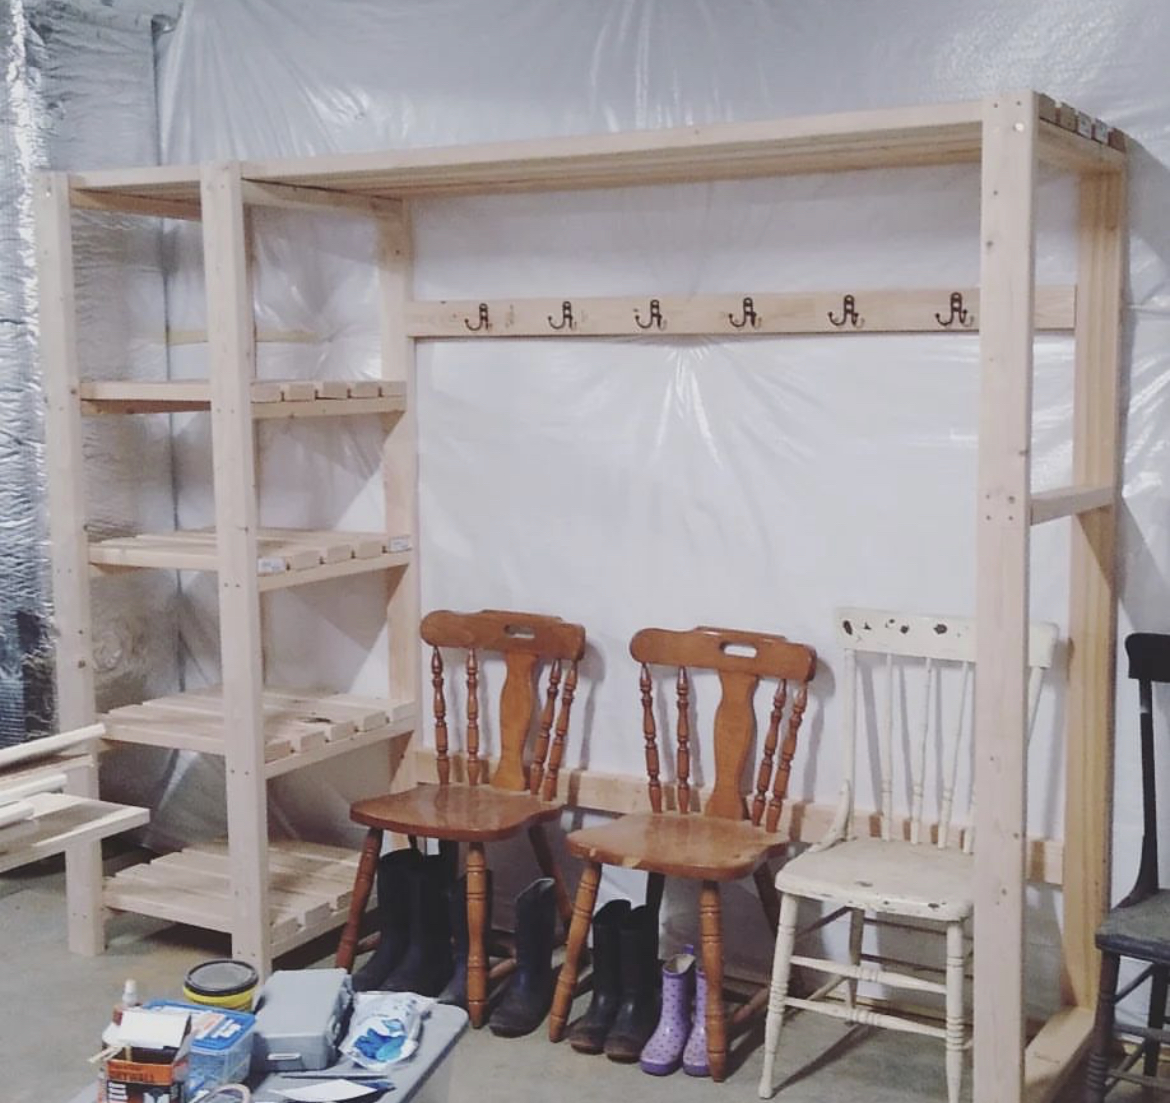
2x4 Entryway System

Submitted by Anonymous (not verified) on Tue, 01/25/2022 - 14:31

Freestanding closet shelving modified to make a mudroom!! More details in link below. 

Comments

Corner Cabinet Storage Shelf

Submitted by sssmile14 on Sun, 07/24/2011 - 19:32

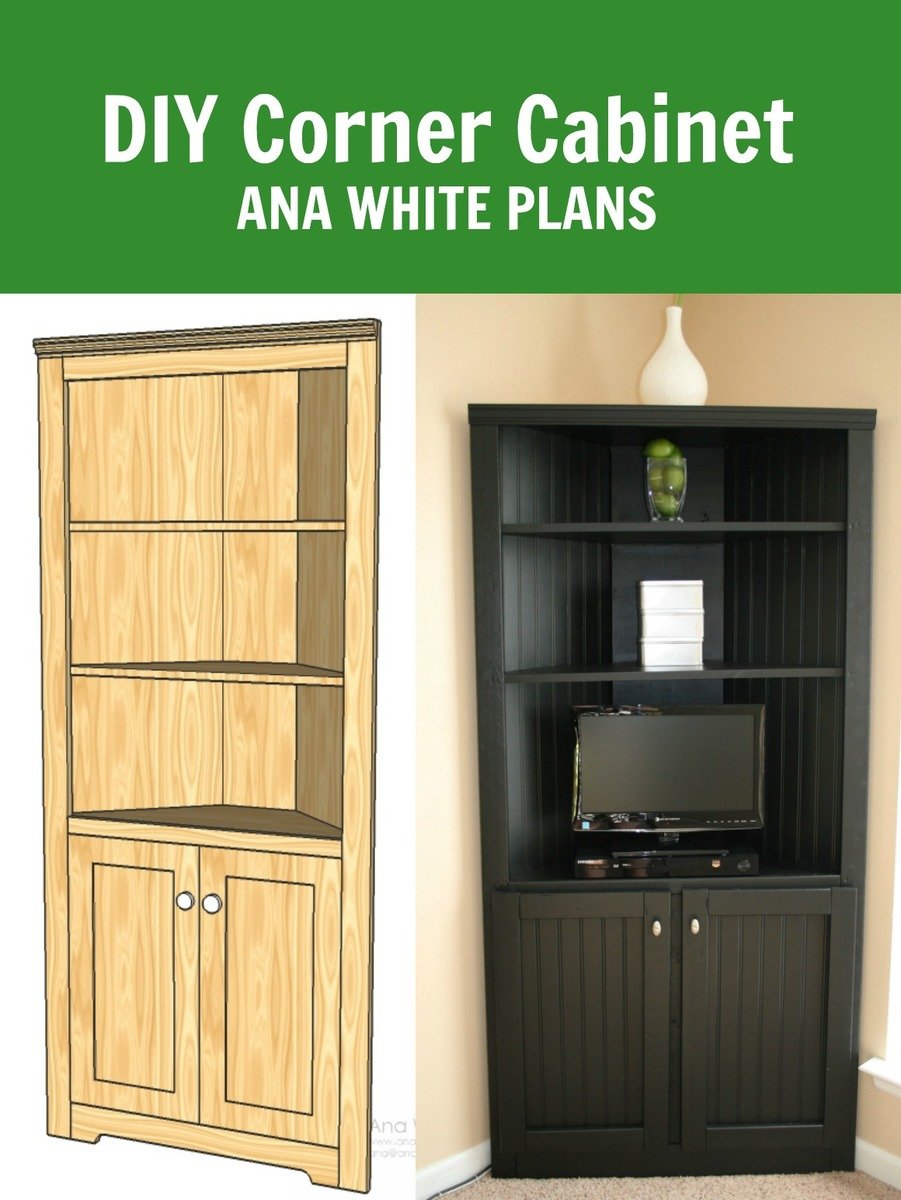
We built this corner cabinet shelf in three days (only because it is over 100 degrees here, so we had to wait until 9:00 at night to work on it) for our office space. We love, love, love it and can't believe how nice my corner cabinet turned out. Only our second building project ever. :)


Built from Plan(s)
Estimated Cost
80.00
Estimated Time Investment
Afternoon Project (3-6 Hours)
Finish Used
Kilz Satin Paint- Black
Recommended Skill Level
Starter Project

Comments

kellerkb

Mon, 06/03/2013 - 21:20

Hello, I would appreciate help finding the plans for this project! Thanks!

cerberus456

Tue, 08/02/2016 - 14:54

I do cedar. Thank you very much for the drawings. This site is to become one of my favorites.

Greetings from Xalapa Veracruz Mexico


My first Ana White project!

This was my first Ana White project and I can't wait to start another. I love the bench and it was easy to follow the plans. You can find the entire story of this build on my website.

Estimated Cost
$50
Estimated Time Investment
Weekend Project (10-20 Hours)
Finish Used
Chalk Paint by Annie Sloan in Paris Grey
Recommended Skill Level
Beginner
Seasonal And Holiday

My "Heck- I'll give it a go" Altered Farmhouse Table

Submitted by snabowne on Thu, 07/28/2011 - 21:03

Our kitchen table buggered out so I decided to give making one a try. This was my first project. With seriously low funds available- I asked around to family for scrap lumber. Turns out the old lumber in the barn was black walnut! I had to plane and join it by hand so it took quite a bit longer to make.
I made the table one foot shorter and one foot wider. It seats 6 comfortably on the sides. Thank you so much for the plans!

Built from Plan(s)
Estimated Cost
$65.00 (but the walnut top I got for free).
Estimated Time Investment
Week Long Project (20 Hours or More)
Finish Used
Outdoor Polyurethane
Recommended Skill Level
Beginner

Comments

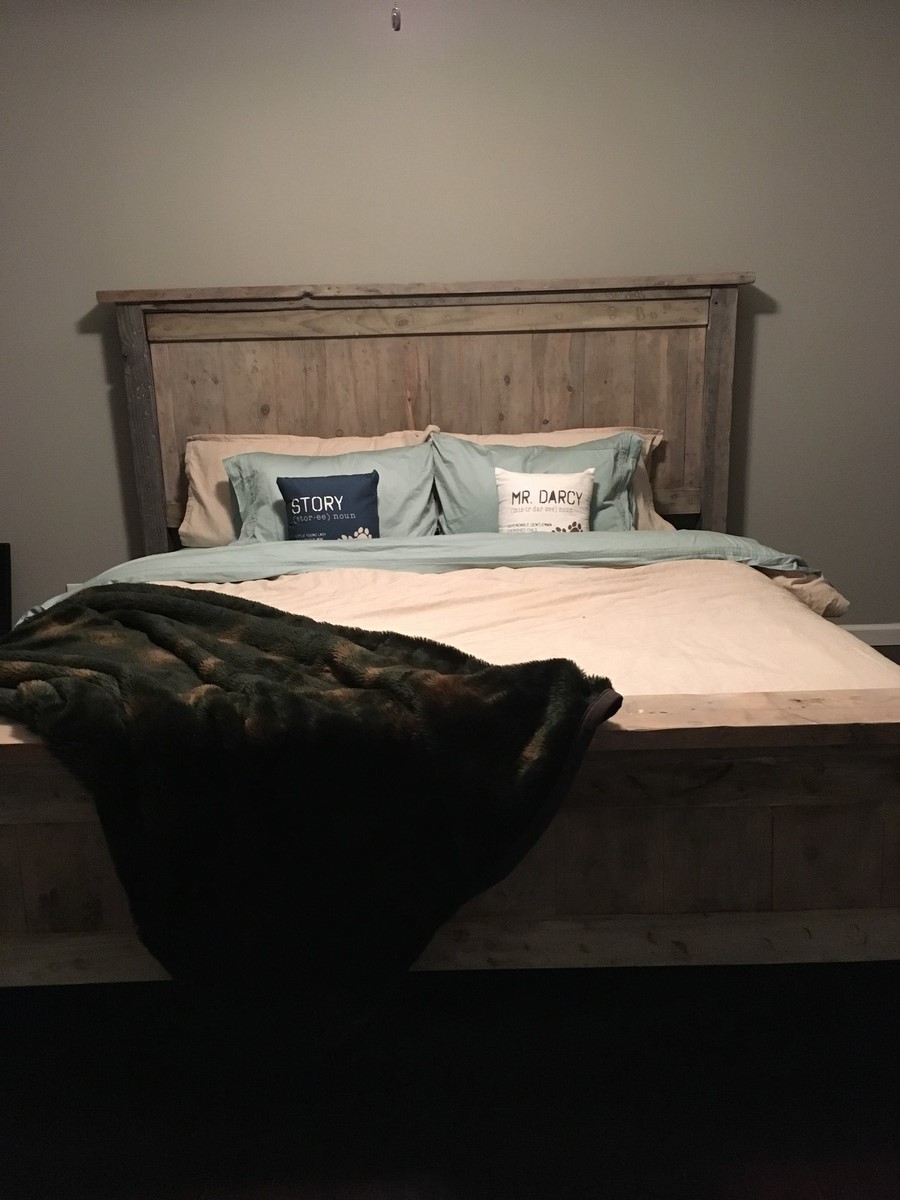
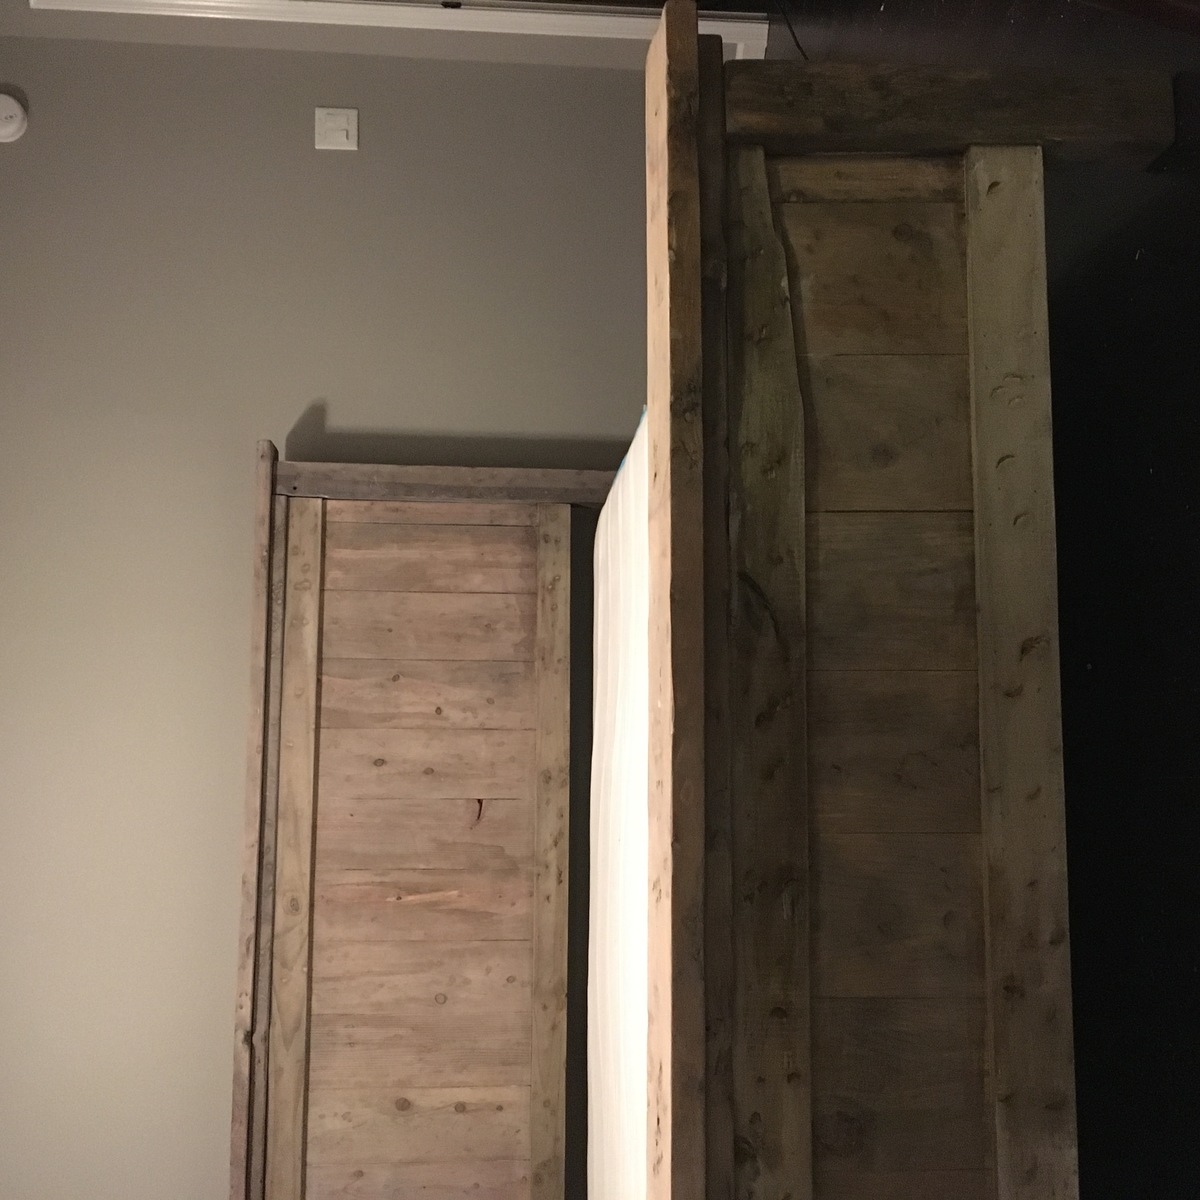
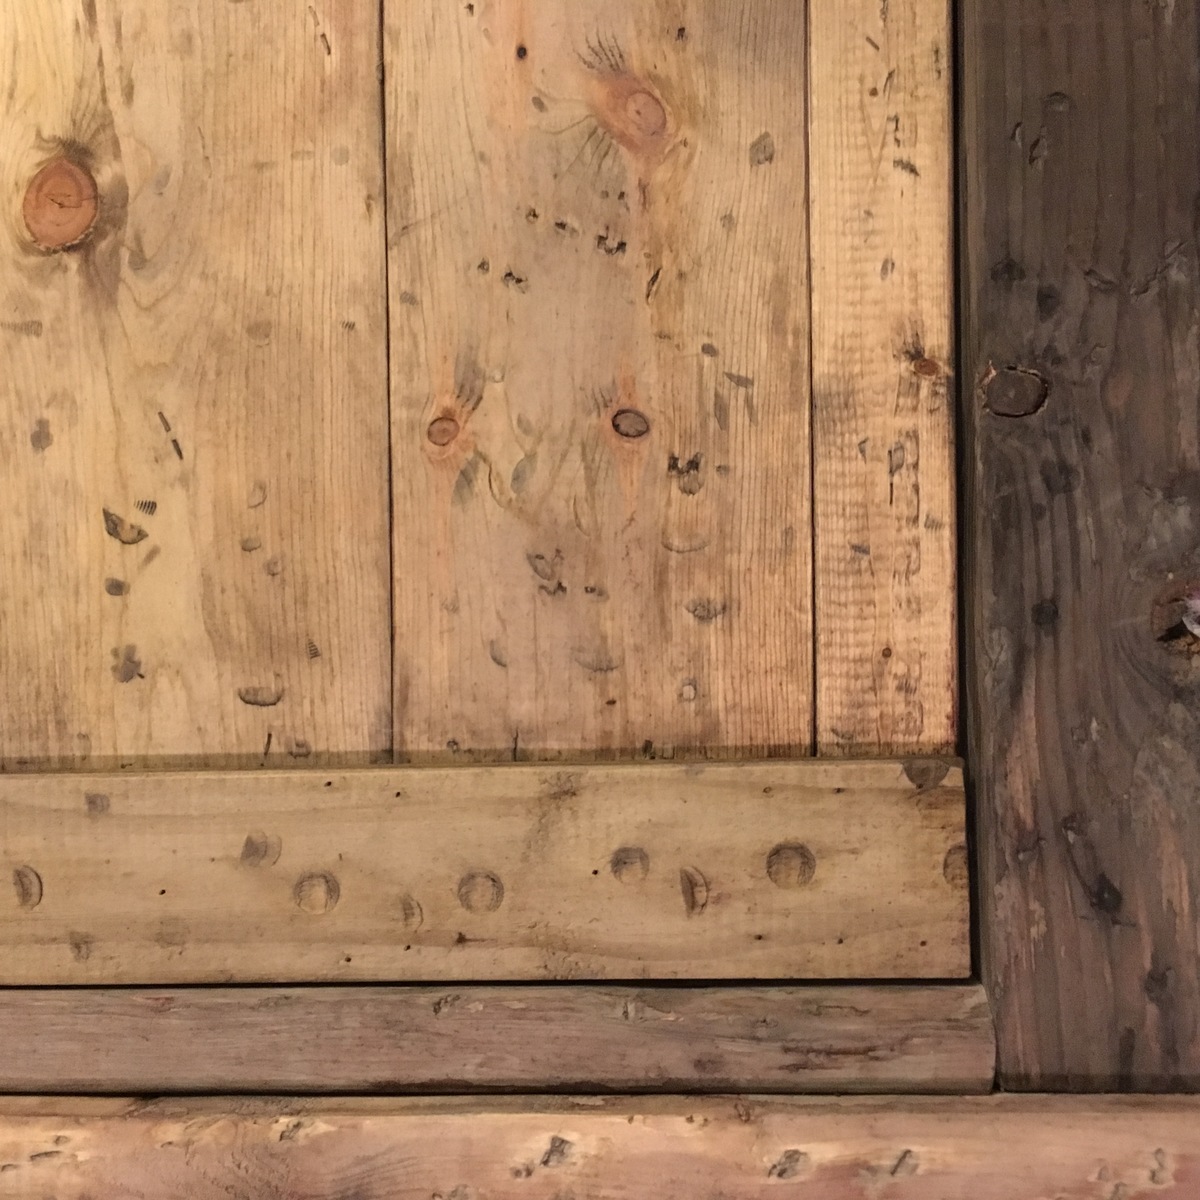
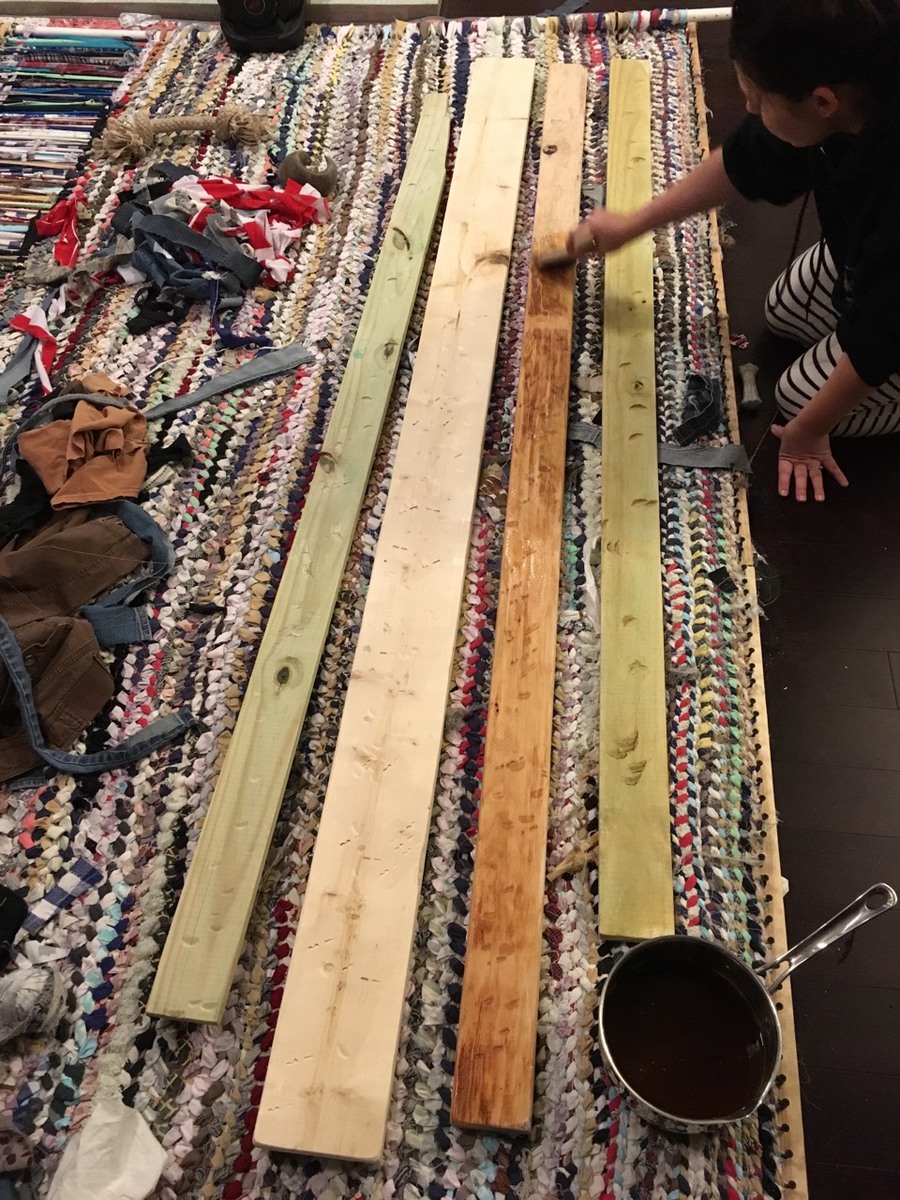
Reclaimed wood headboard + footboard

Submitted by Anonymous (not verified) on Sun, 12/30/2018 - 19:42

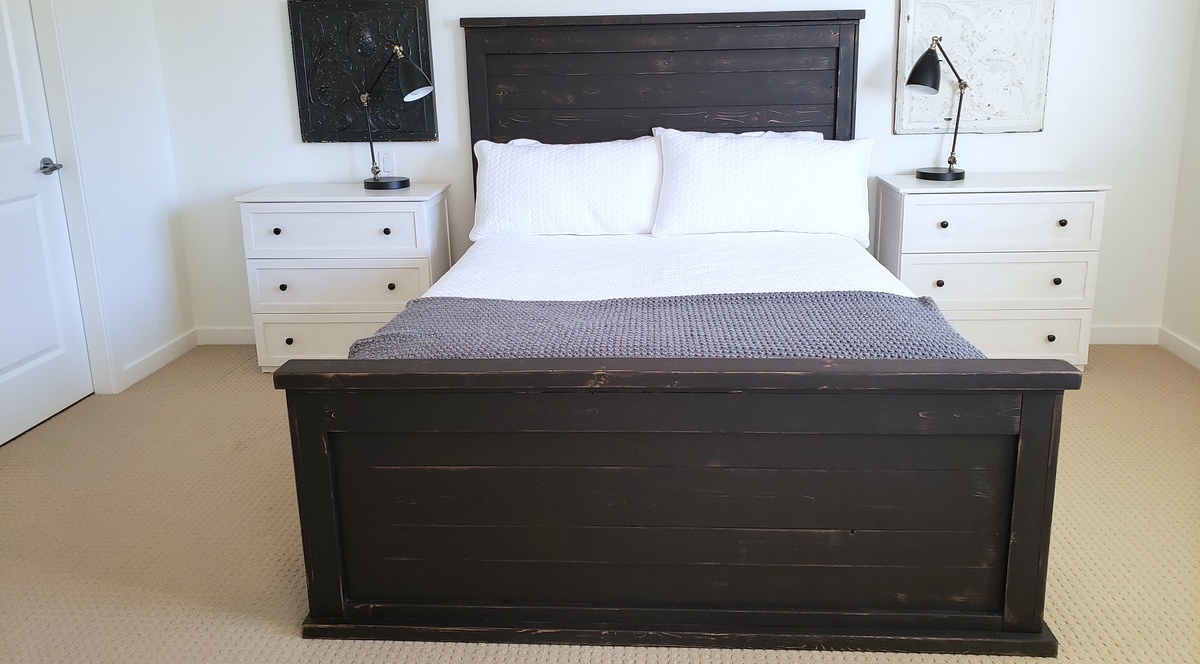
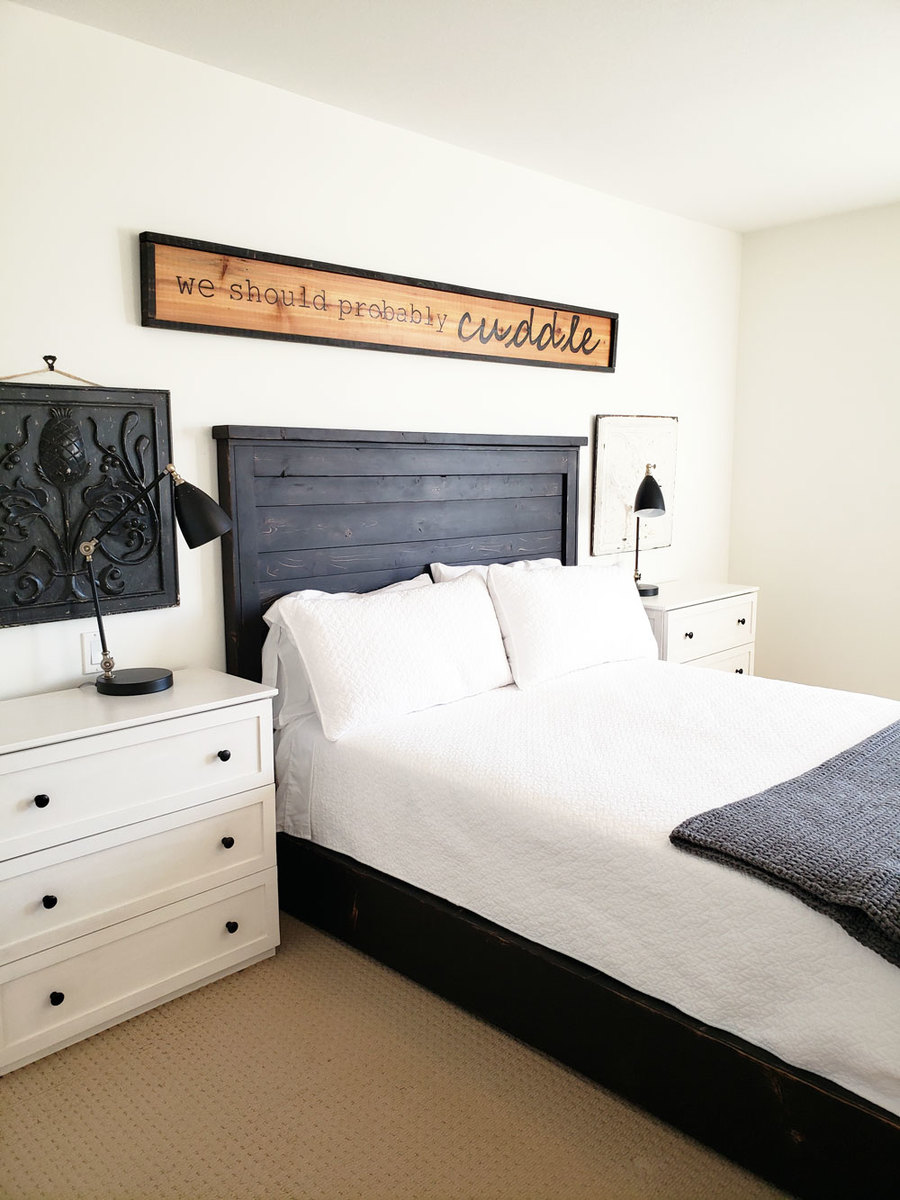
At 43, I feel like I finally have the bedroom I have wanted for many years.  Lots of thought on creating a bed, but this is the first time it's come to fruition.

Estimated Cost
$100-150, including the wax to finish the bed off. Lumber seems to cost more in Canada! Plus, I added in a footboard and rails.
Estimated Time Investment
Day Project (6-9 Hours)
Finish Used
Black paint, sanded down and then Country Chic Antique Wax applied on top.
Recommended Skill Level
Beginner

Comments

Shoe crates

Submitted by stcarroll on Fri, 08/26/2011 - 10:08

We desperately needed something next to the door to put shoes in. I didn't quite yet have the courage to attempt the shoe dresser (http://ana-white.com/2011/01/shoe-dresser) and there are lots of scraps in our shop from my husbands projects. I tried these crates out and they were super easy and super fast to throw together during nap time. I primed and painted because I used plywood instead of 1x12.

Built from Plan(s)
Estimated Cost
FREE!!!!!
Estimated Time Investment
An Hour or Two (0-2 Hours)
Finish Used
primed and painted with left over paint we had from misc. projects.
Recommended Skill Level
Starter Project

Comments

clucaswvu04 (not verified)

Fri, 09/09/2011 - 08:54

I loved the vintage crate plans but hadn't thought of a good use. We have a shoe problem in our house too. With 3 kids, they all get mixed up and it drives me crazy! We've tried an over the door shoe organizer; but that hasn't been especially helpful because the 2 youngest would need a stool to reach anything about the bottom 2 rows. I think I just found my weekend project - one for them each in a different color should do the trick. Thanks for sharing

Cedar Slat Top Bench

Submitted by Anonymous (not verified) on Tue, 01/15/2019 - 21:48

I really enjoy making this bench. I build them out of cedar and vary from 4’-6’. My customers love them. Simple prep work consisting of planing all boards to same dimensions can save a lot of time in sanding. Building 3 more this week. 

Estimated Time Investment
An Hour or Two (0-2 Hours)
Recommended Skill Level
Beginner

Comments

Reclaimed Wood Look Bedside Table - Modified

Submitted by lishamarie on Thu, 09/01/2011 - 18:42

I built the reclaimed wood headboard for our master bedroom, and then found some awesome reclaimed-look stools at Pottery Barn on sale. About a month after that, Ana came out with her reclaimed wood bedside table plans. I was slightly bummed that I already had these cool stools, but then I realized that I had a whole guest room that I could build for! My guest room has a beach theme so I painted my tables white. The room is also kind of small, so I decided that I would put in one drawer and put in a shelf on the bottom. That way it wouldn't look so huge in the room. I love it! And I found these cool bronze starfish knobs at Lowe's. I got a little overzealous at times and I have pocket hole screws in places that are visible, but not that visible. It could be better. All in all, I'm very happy with the way it turned out.

Estimated Cost
$60 (for two)
Estimated Time Investment
Day Project (6-9 Hours)
Finish Used
Valspar Flat White Spray Paint and Valspar Clear Flat topcoat. I sanded all the edges with 150 grit sandpaper before applying the topcoat. After the topcoat dried, I lightly sanded it again with 220 grit sandpaper to smooth out all the bumps.
Recommended Skill Level
Beginner

Comments

leejae76

Sat, 10/15/2011 - 18:14

Curious about how the bottom shelf is supported - how did you attach it to the solid side panels? Looks great! :)

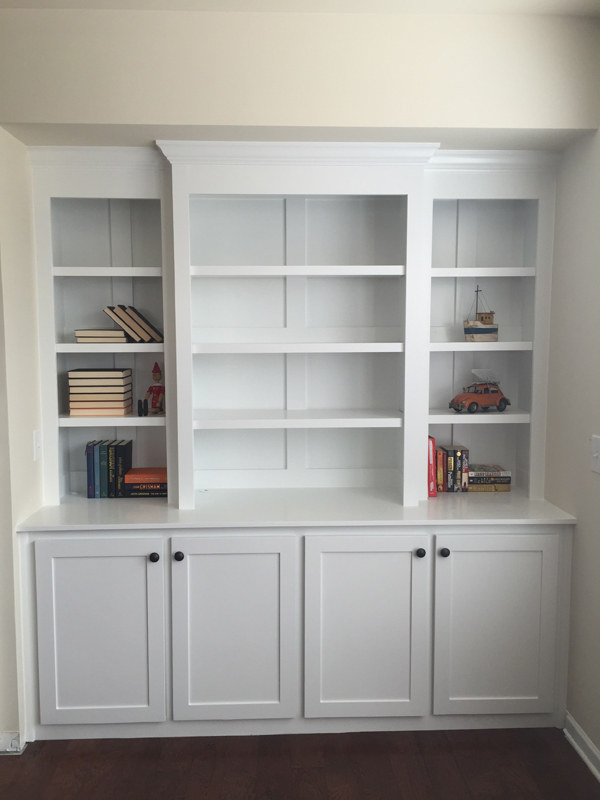
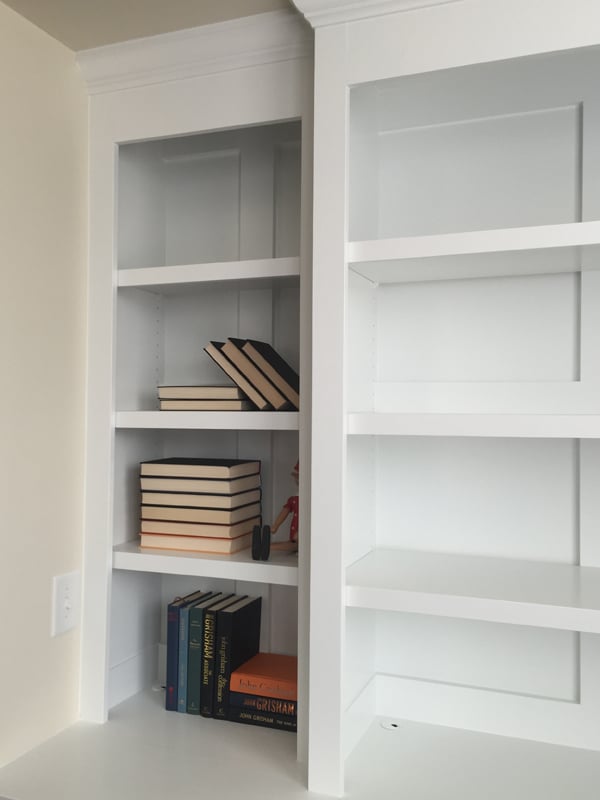
Built in bookcase with lights

Submitted by AndyH on Sat, 12/12/2015 - 14:19

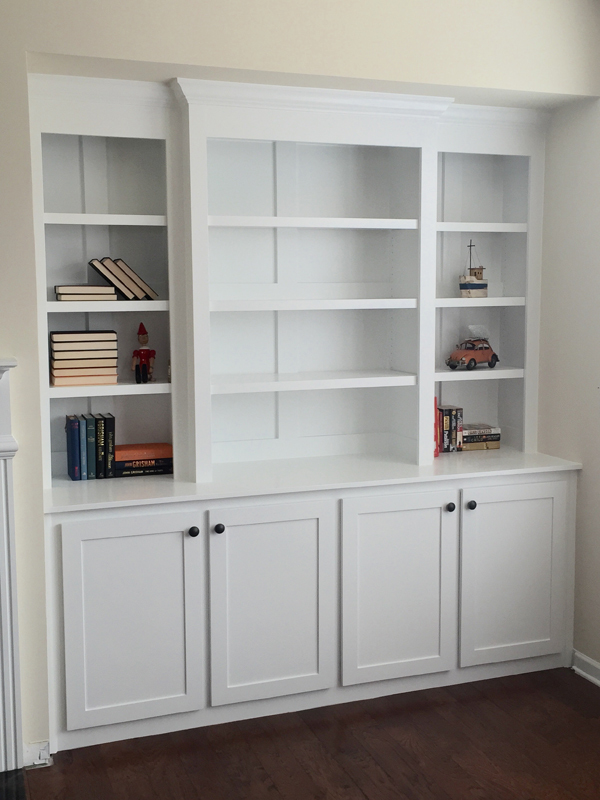
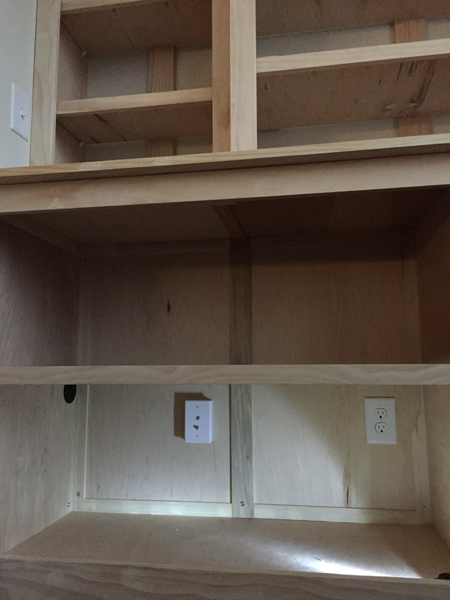
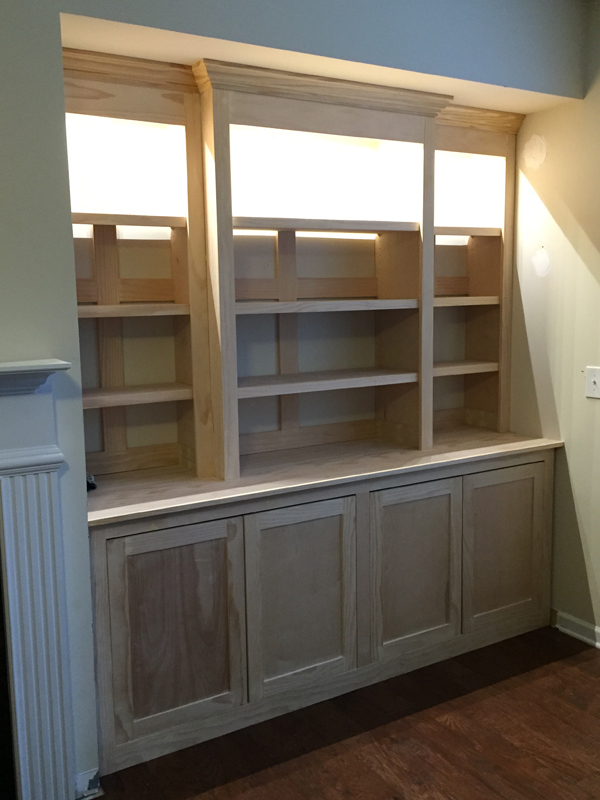
Built in bookcase with lighting and power outlets in cupboards for audio and DVD equipment to feed to the wall mounted tv (to the left).

The photo with the lights is when it was unfinished and I also decided that I didn't like the inset doors and so made new overlay ones. Now I have four doors I need to use on another project...

Estimated Cost
$1000
Estimated Time Investment
Week Long Project (20 Hours or More)
Finish Used
Sherwin Williams Pro Classic Extra White Satin.
Recommended Skill Level
Intermediate

Comments

Ana White

Mon, 12/14/2015 - 05:43

Inspiring to see such amazing work!  Love the attention to detail and precision.  Ana

Bown

Sun, 09/10/2017 - 18:45

Did you go by a plan? I'd like to do this but I definitely need a step by step plan.

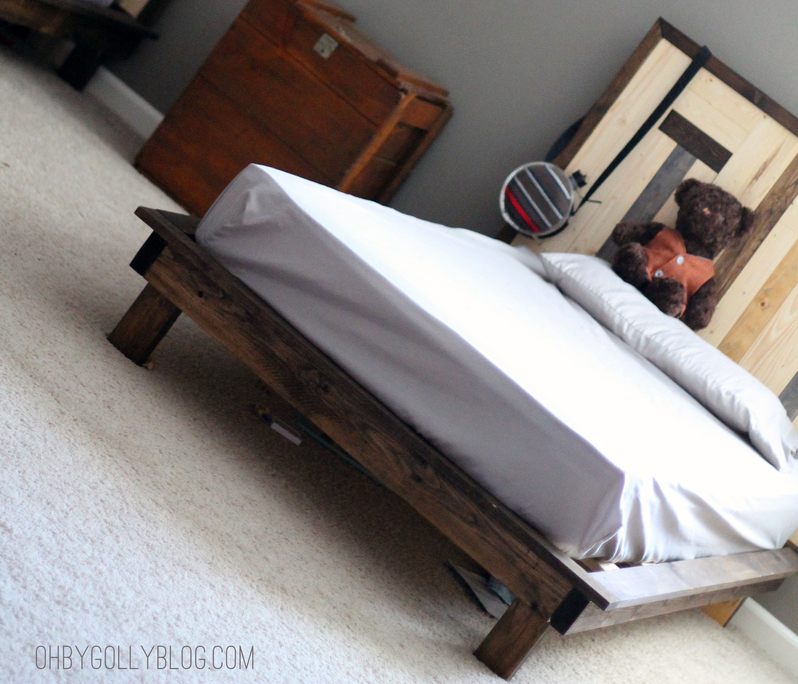
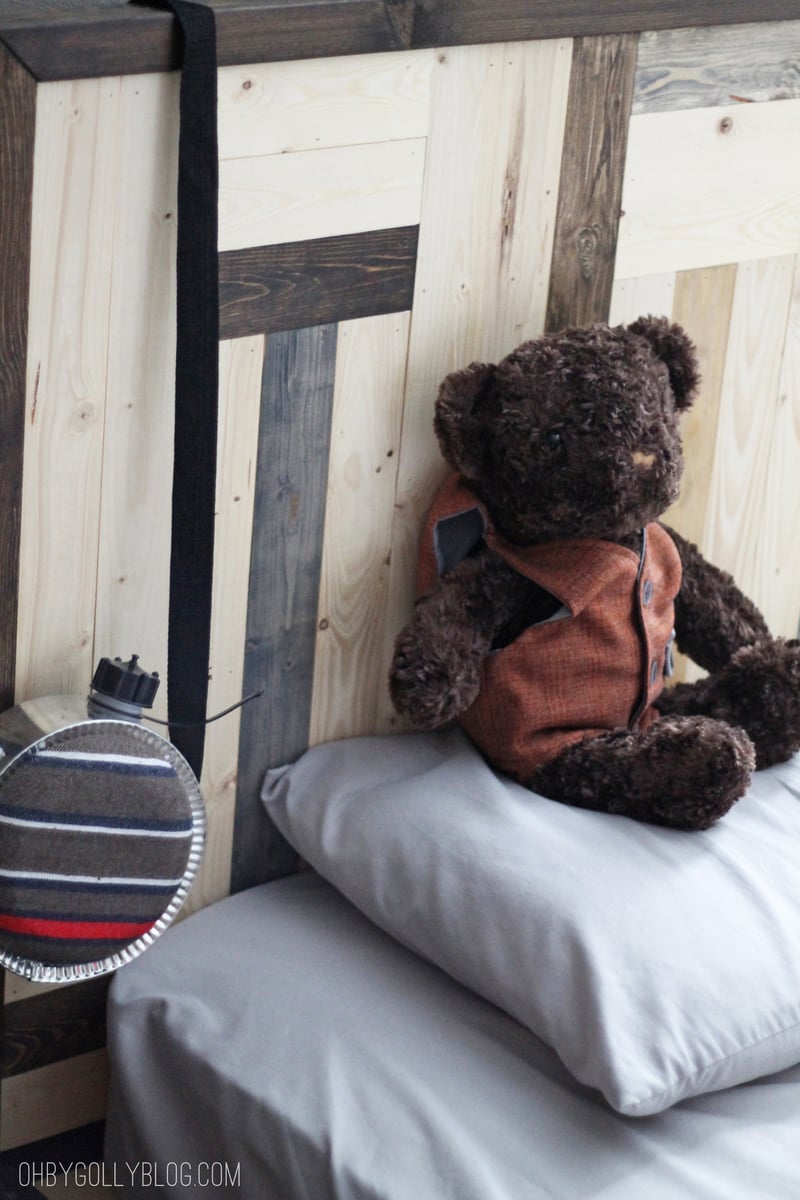
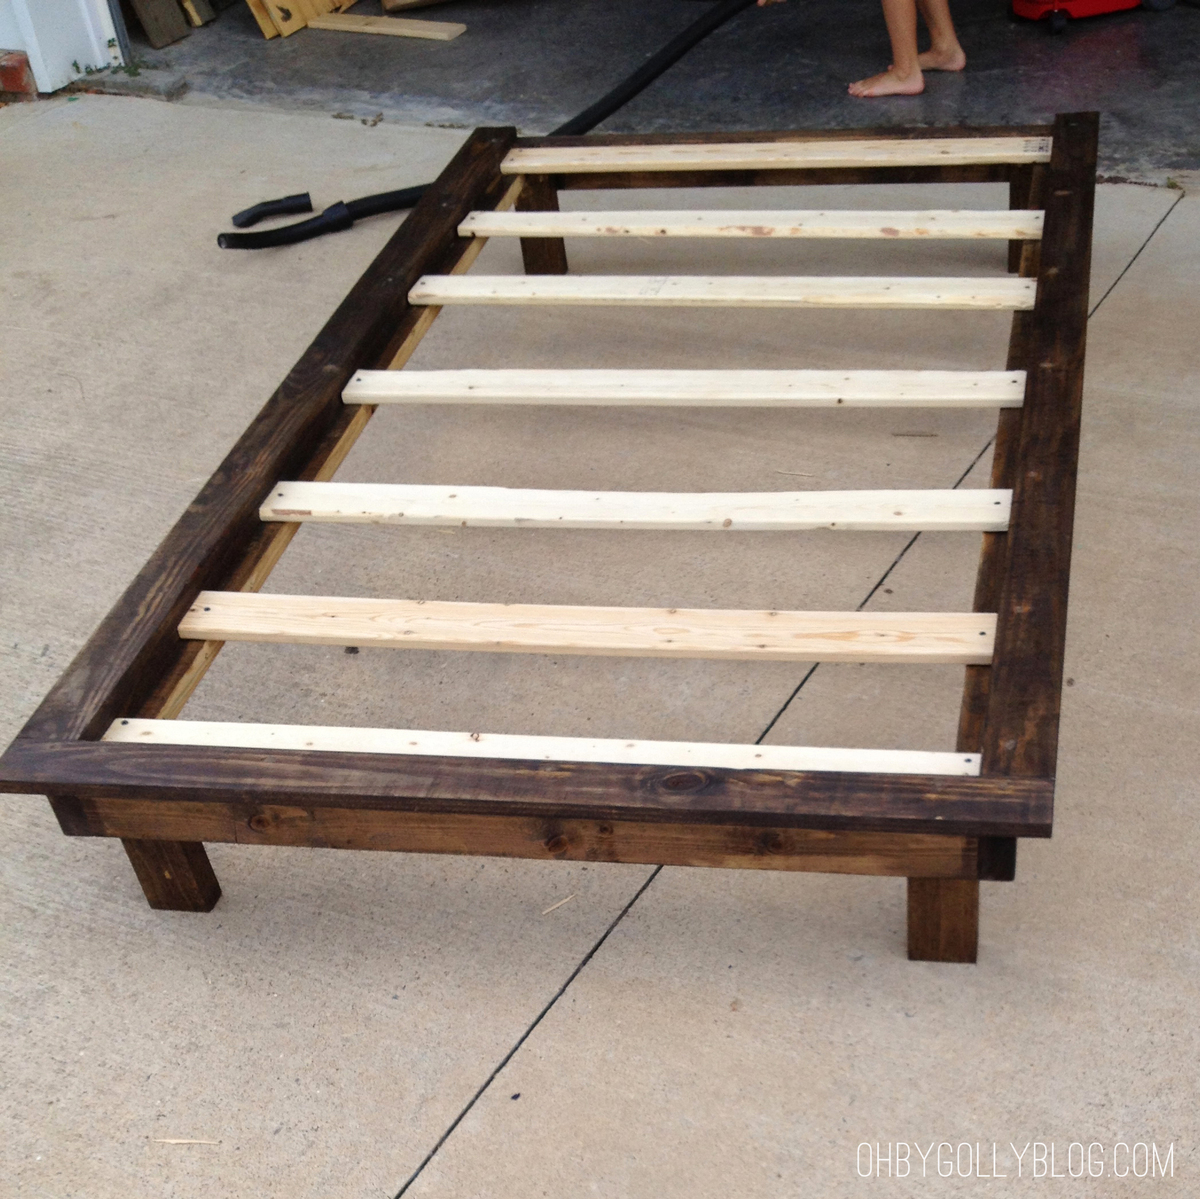
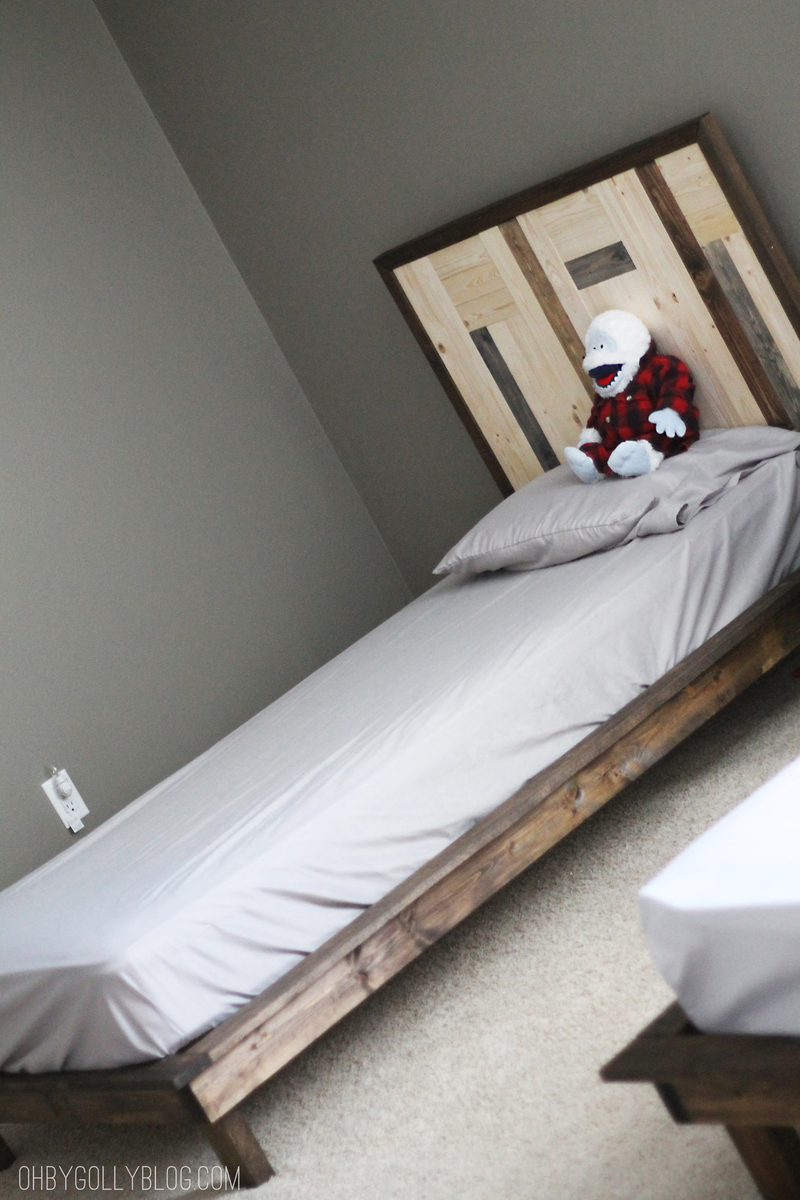
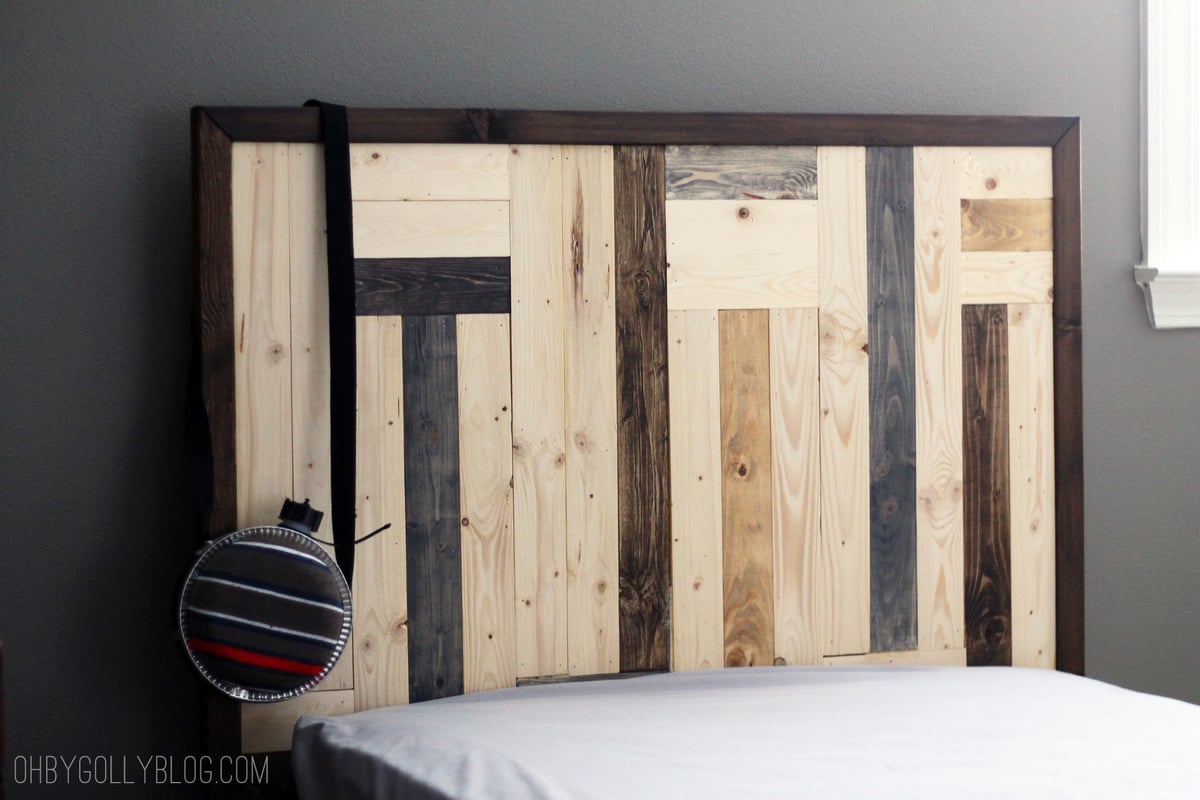
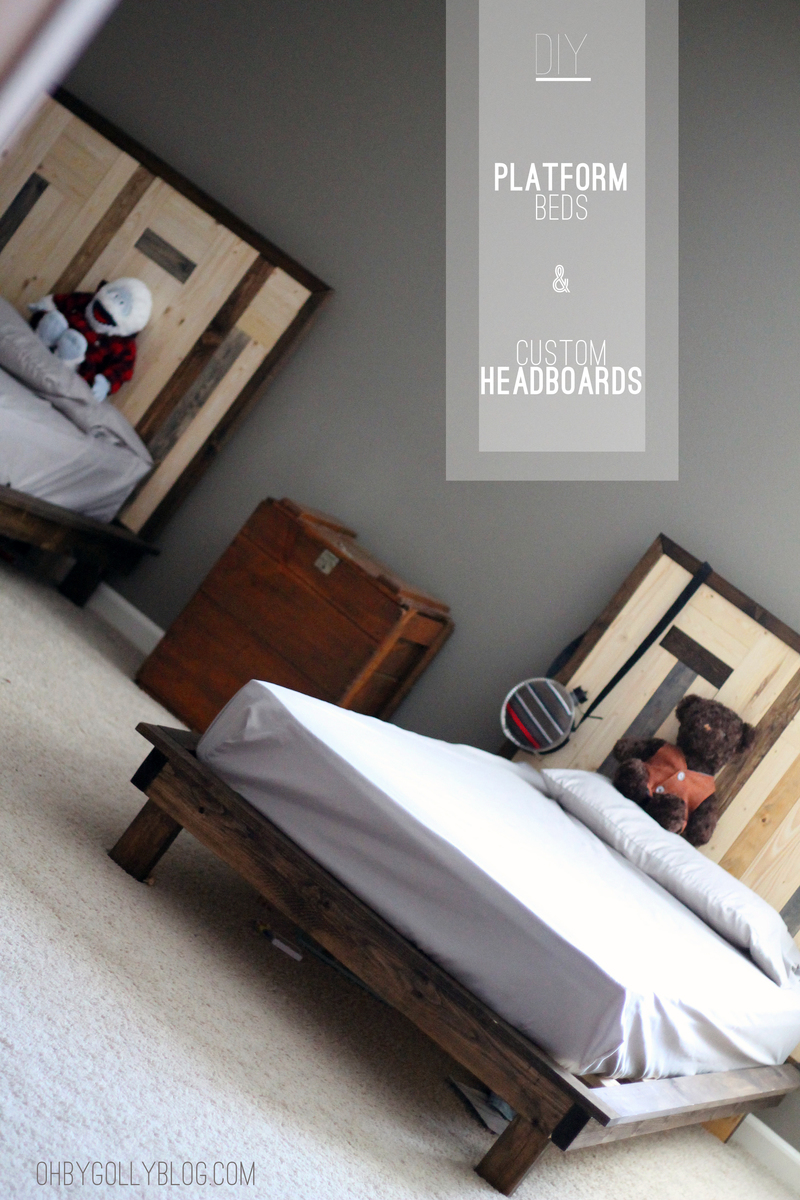
Custom Headboard and Filman Platform Bed

Submitted by ohbygolly on Mon, 10/07/2013 - 19:50

More images and details can be found at http://ohbygollyblog.com/?p=4029 Come visit me!

Estimated Cost
1 bed= $120
Estimated Time Investment
Weekend Project (10-20 Hours)
Finish Used
Minwax wood stains
Recommended Skill Level
Beginner

Comments