Community Brag Posts

Storage cabinet

Submitted by coryjon on Fri, 06/20/2014 - 04:34

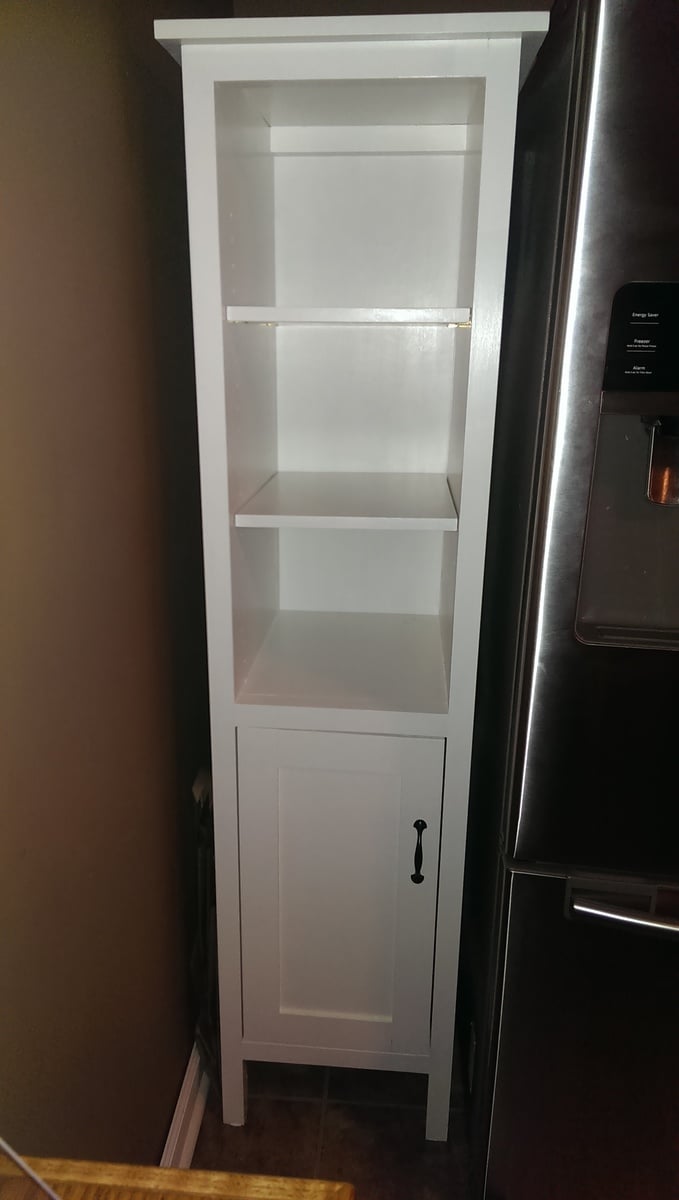
We needed some extra kitchen storage with a baby on the way and this project did the trick! We needed something skinny since space is a premium in our kitchen. I am happy with how this turned out. I made the shelves adjustable using the Kreg shelf pin jig, which worked amazingly.

Finish Used
Valspar Swiss Coffee in semi gloss
Recommended Skill Level
Beginner

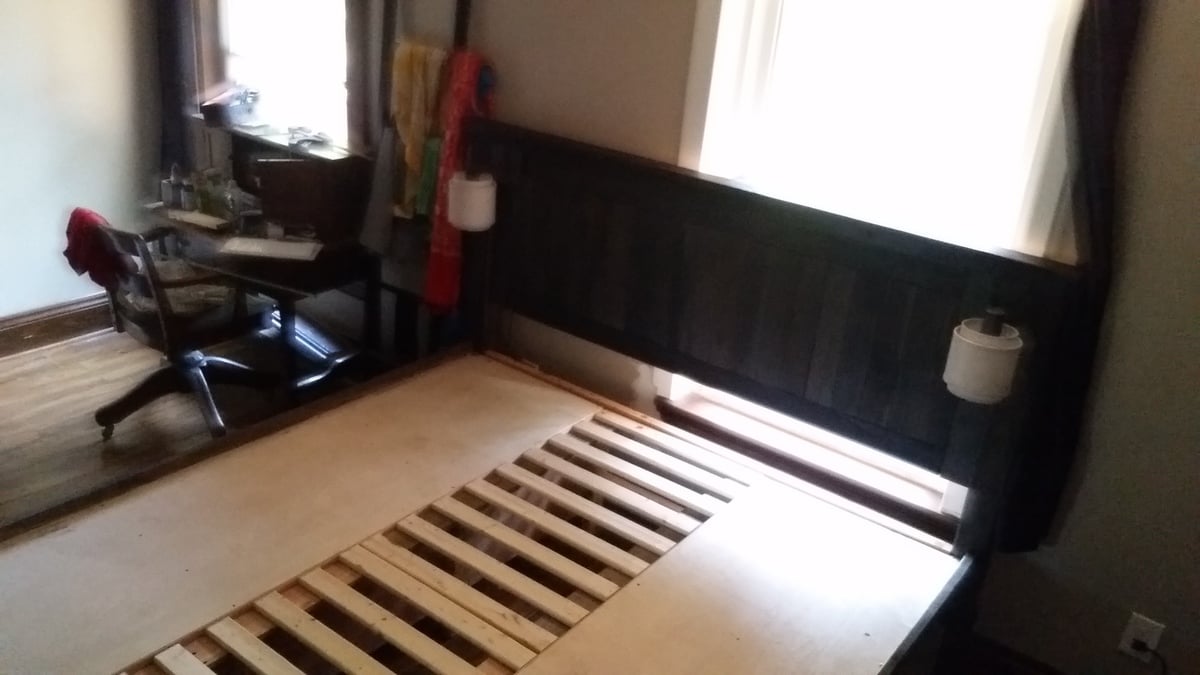
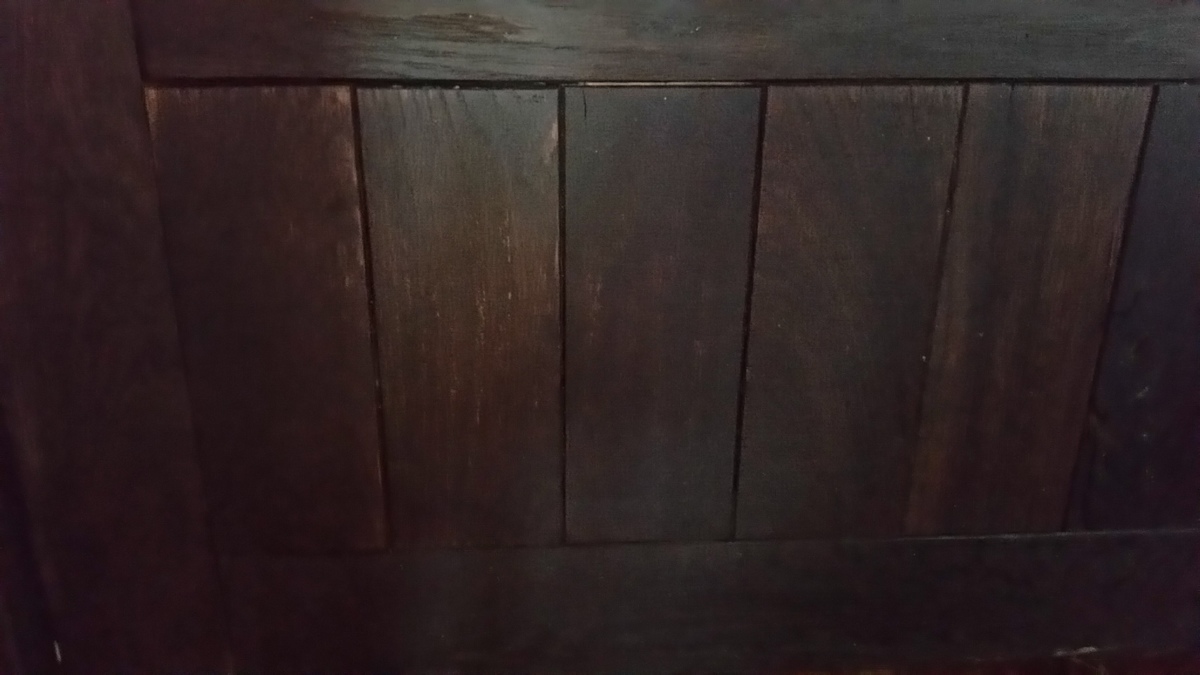
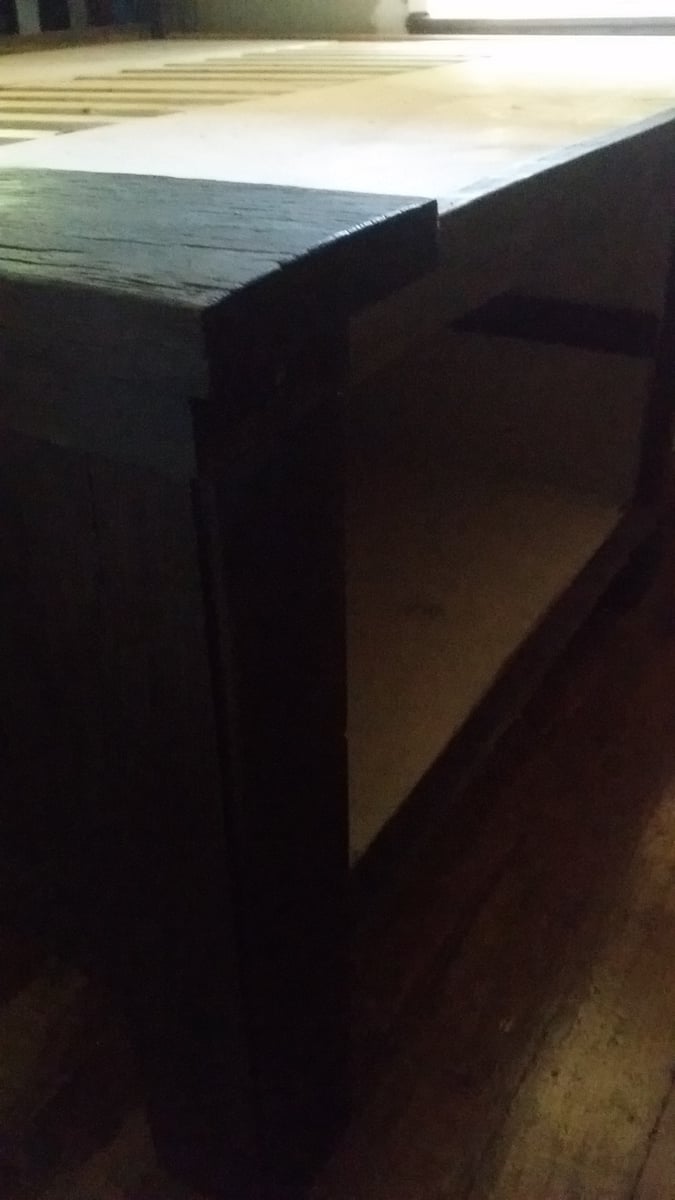
CalKing Farmhouse Bed with Storage with Upcycled Solid Oak

Submitted by fitgirl on Thu, 09/22/2016 - 13:49

So why did I decide to build my own bed?

1. Cal King Frames are hard to come by in Canada and if purchased from a store, they cost an arm and a leg.  Also I wanted a new mattress made of solid latex - very spendy -  so our budget was already maxed out from that.

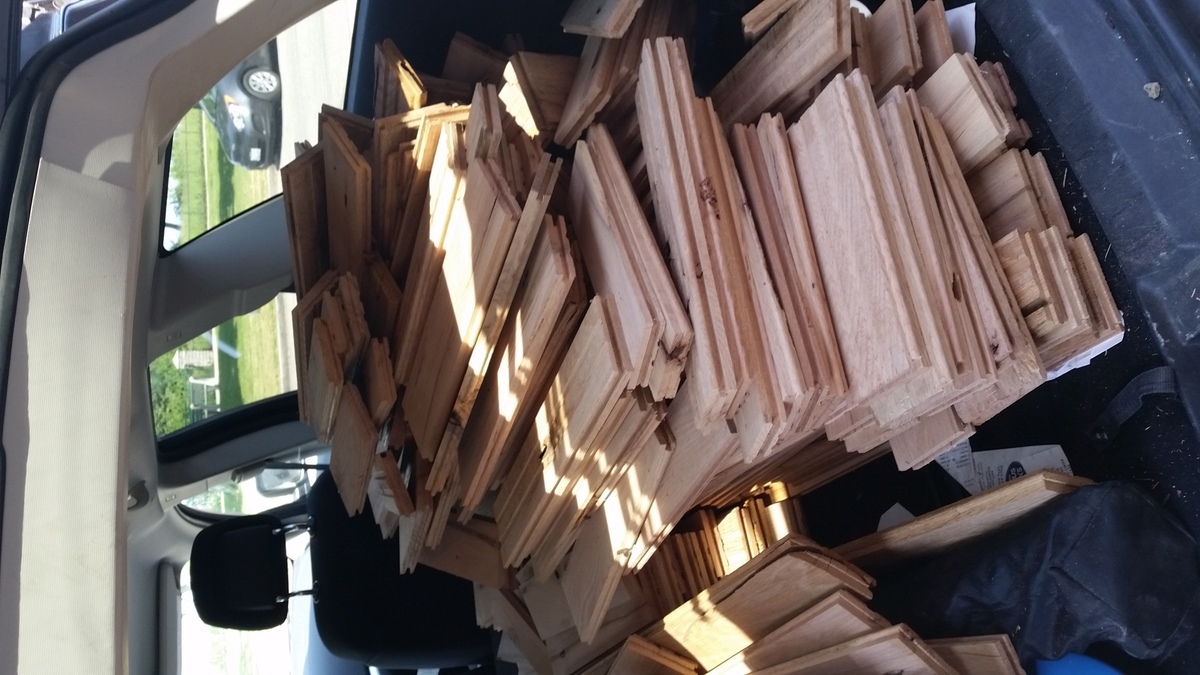
2. You come across a Kijiji (canada's craiglist) listing for 200sq ft of 3/4" solid oak flooring

3. You know Ana's plans will help tremondously and it gives you the boost to finally decide - yes I can build my own furniture.


So the upcycling made this all doable!  Some random Kijijier thought to pass along the left overs from a flooring install (the other option was burning it he said)  I said thank you very much and took all that wood home.  Now he had bought raw rustic grade oak.  Only $1.89 a sq/ft to buy FYI) 

So it was not perfect, with many pits, wormholes, cracking and complete holes. But the raw oak was great for a number of things - the distressing was real - no extra effort required, also the raw oak was easily stained with my homemade iron acetate stain (steel wool and vinegar) and I was able to bevel the edges without ruining an existing finish.

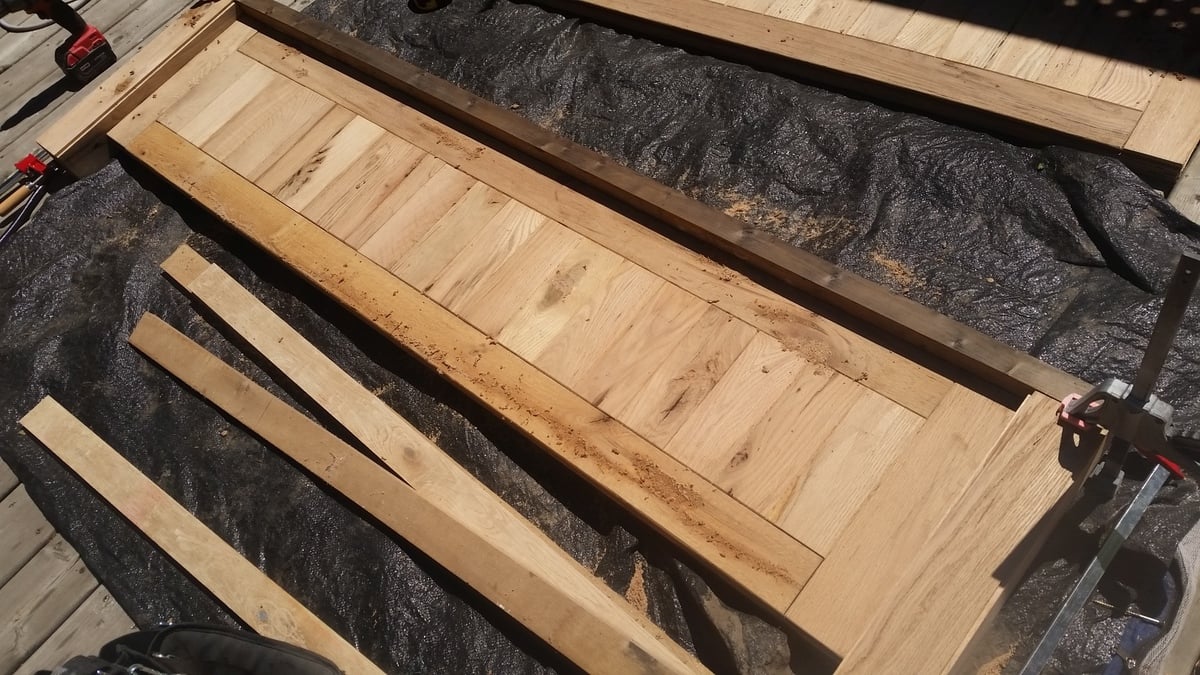
Thankfully I only needed a few long boards for the framing and was able to use the better short boards for building out the foot and headboards.  I improvised the posts on the end with a clever mitered 4 board combination.  Cutting just the tongue and the inside edge of the floorboard created a inset detail on the post that is very forgiving to my crappy cuts and ended up doing the trick.  I also saved my sawdust from cutting to mix with glue and fill the major holes and pits in the wood.  This took the stain very nicely and didn't add any extra cost to the project.  Anyways if anyone wants more suggestions on making use of cut off material just message or comment below.

By the way the plan is awesome and I much appreciated it during the process.  I did complicate things by making the drawers 24" deep vs 16" and having to upcycle a product rather than just buying material.  

To make use of the depth with a cal-king I decided to go with 24" deep drawers - fyi this means more material, more dollars,and more weight!  Huge amounts of weight, once since I decided to go with 3/4" Birch ply for the build.  I lift for fun and fitness so I managed, but beforewarned - the plywood frames are awkward and heavy.

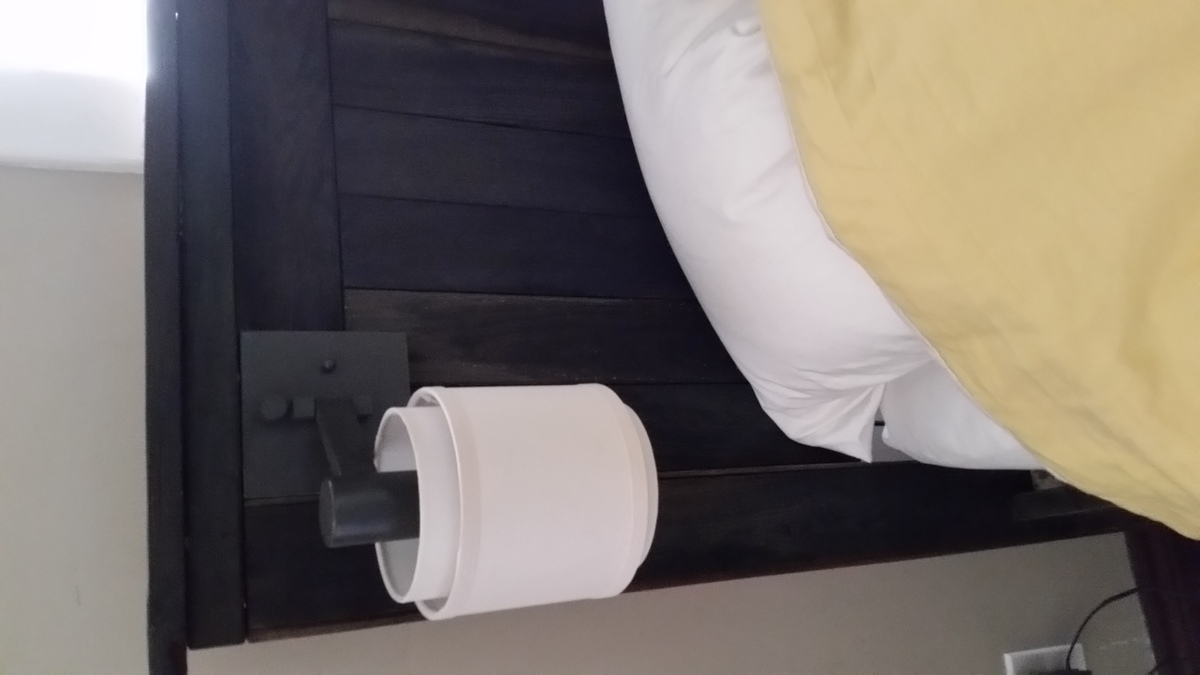
I ended up needing 4 sheets of 3/4" Birch ply b/c of the upgraded sizing.  Even at 50% off (lucky me) this still was $160 in plywood + $50 for Luann for drawer bottoms and closing the back of the frame behind the drawers.  I also used full extension drawer slides so that I can actually access all that storage so set me back another $180.   I got the lights from Lowes for $60 for the pair.


Total cost $500 + free oak floor cast off + time = a priceless project
  

Estimated Cost
$500
Estimated Time Investment
Week Long Project (20 Hours or More)
Finish Used
Iron Acetate (homemade Steel wool soaked in Vinegar) Topcoat made with homemade beeswax/coconut oil blend.
Recommended Skill Level
Intermediate

so sweet - step stool

This is something I didn't know I needed until I built it - just wanted a quick, simple project - now it is finished, I use it frequently (It does hold an adult's weight!). I used radiata pine as per plans, but 3 pieces of cypress pine (fence pickets) for the threads. Very clever design & just a sweet piece of furniture. I like my timber au naturel, so finished it clear.

Built from Plan(s)
Estimated Cost
$20
Estimated Time Investment
Afternoon Project (3-6 Hours)
Finish Used
three coats of clear, water based polyurethane
Recommended Skill Level
Beginner

Comments

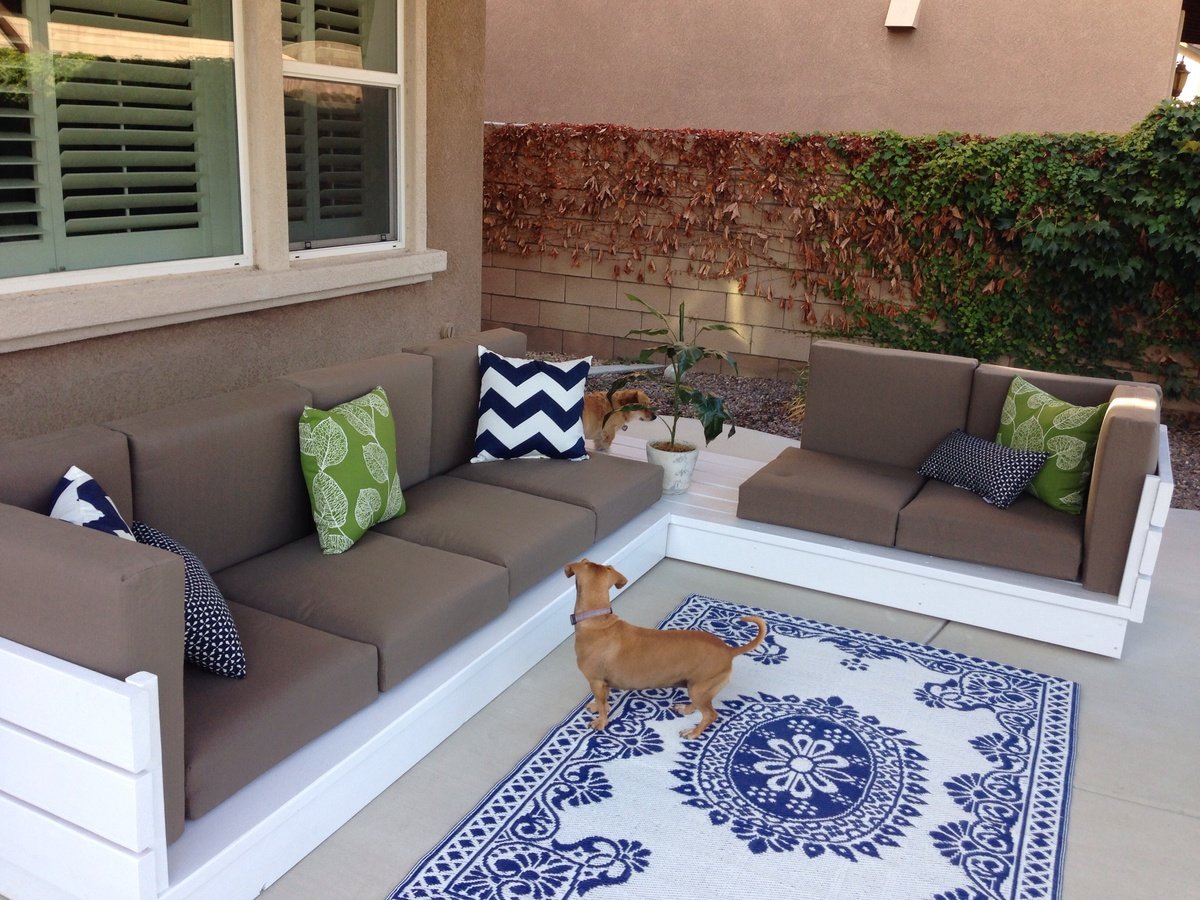
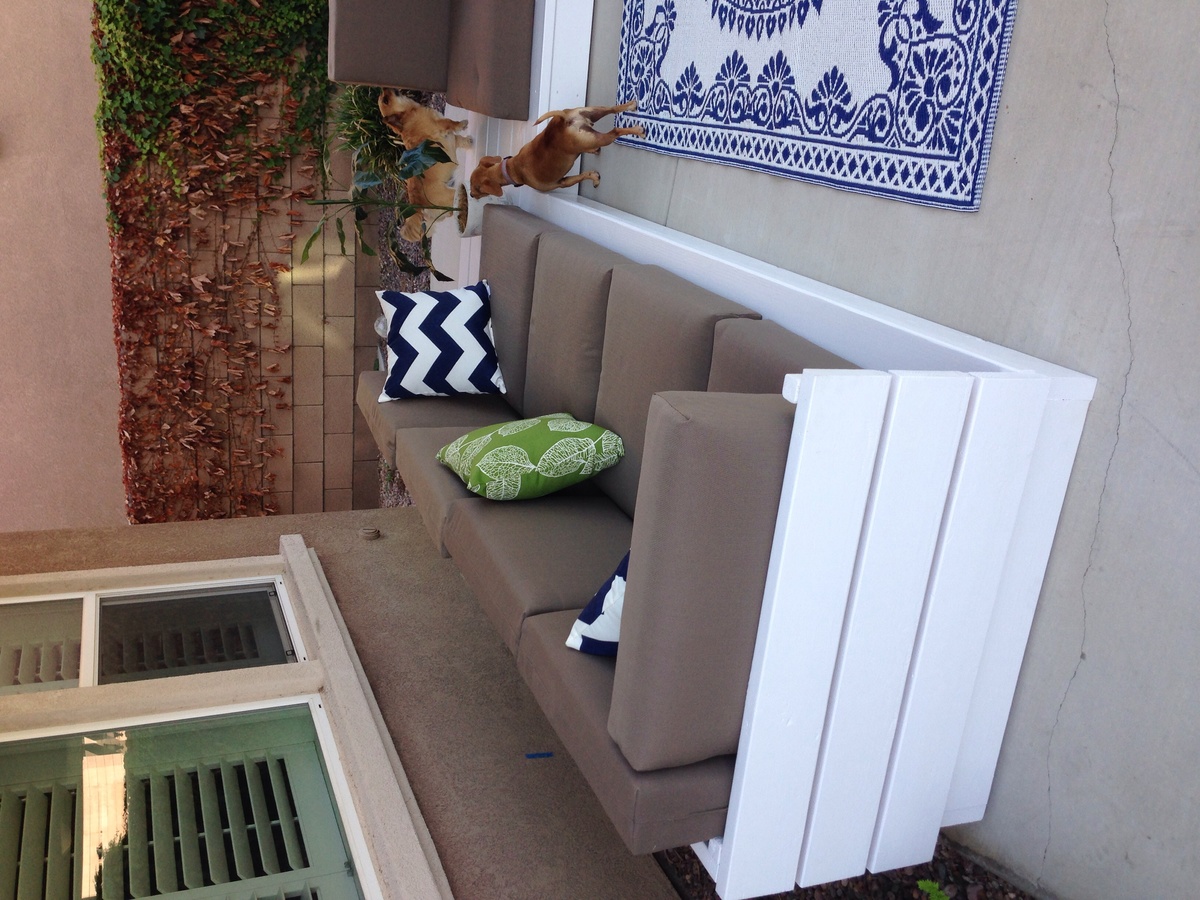
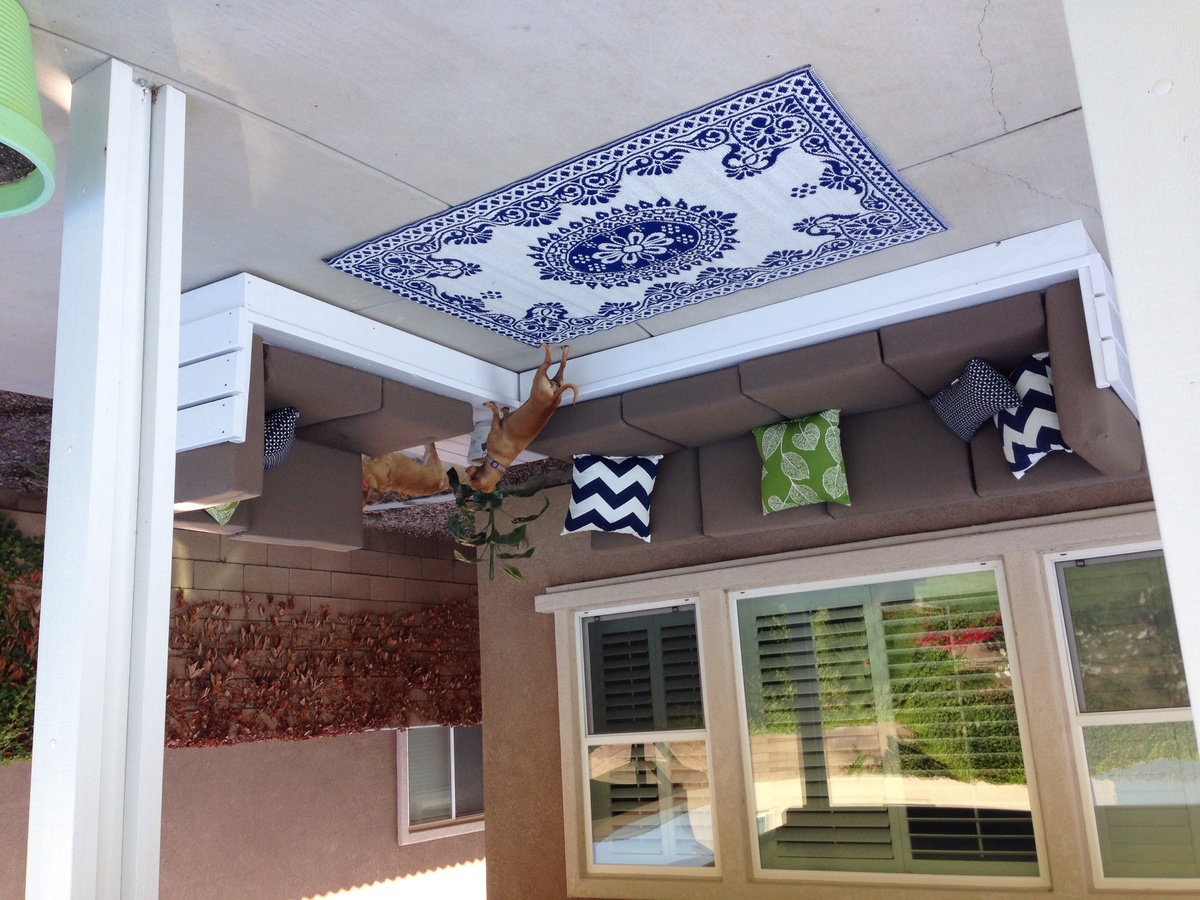
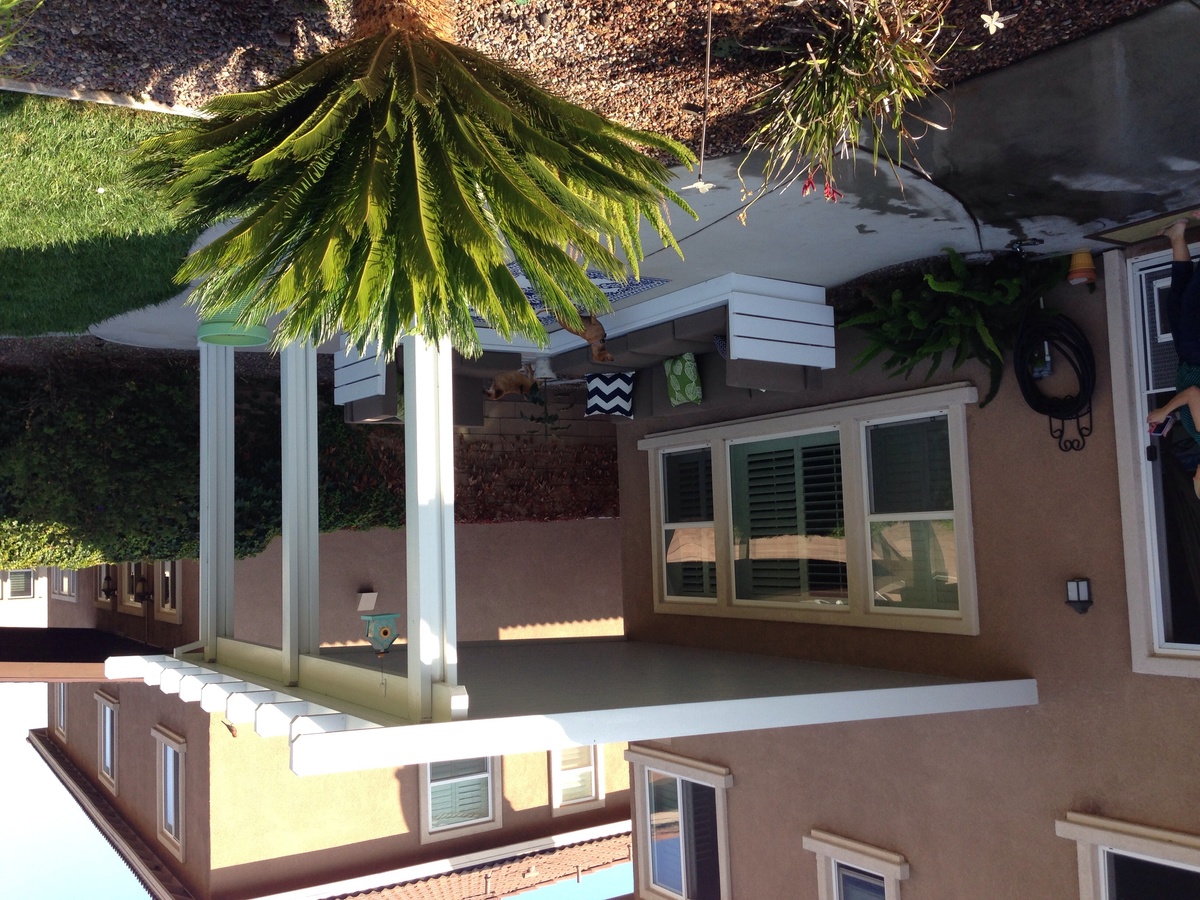
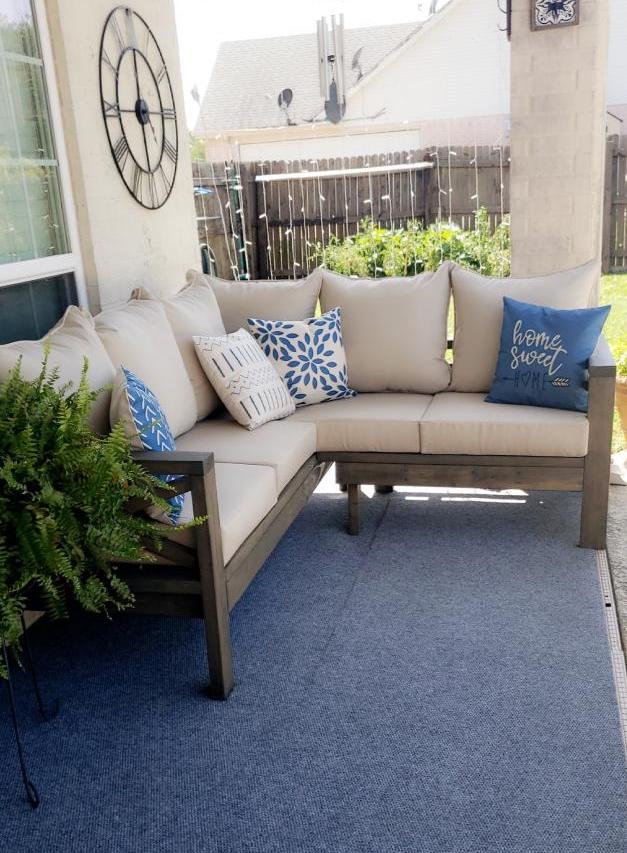
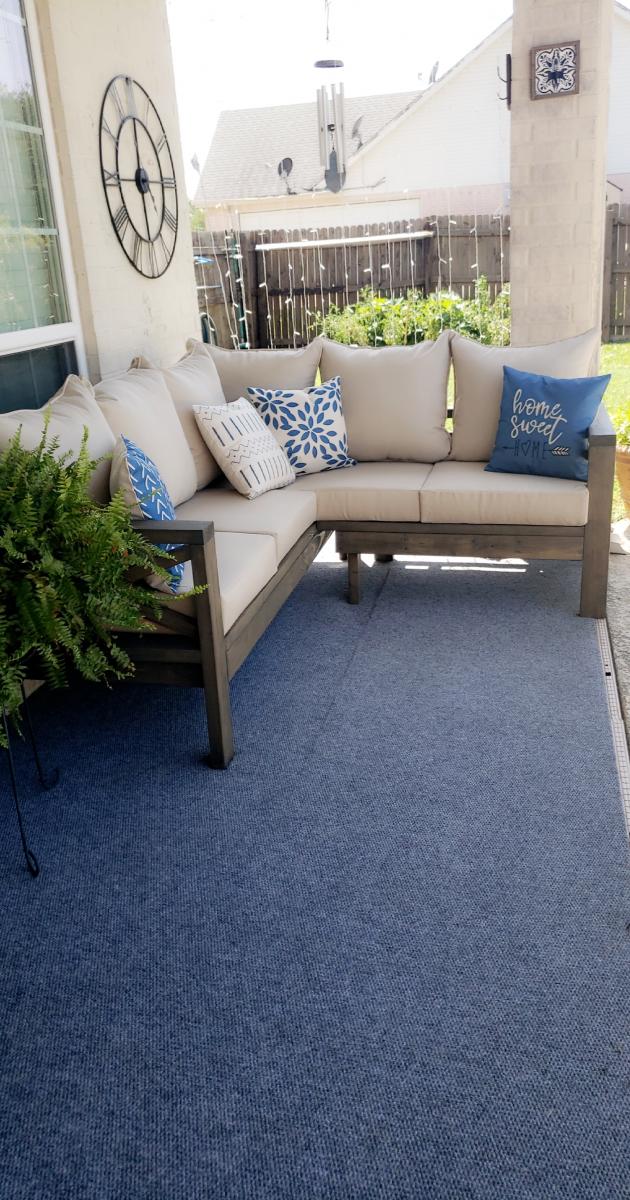
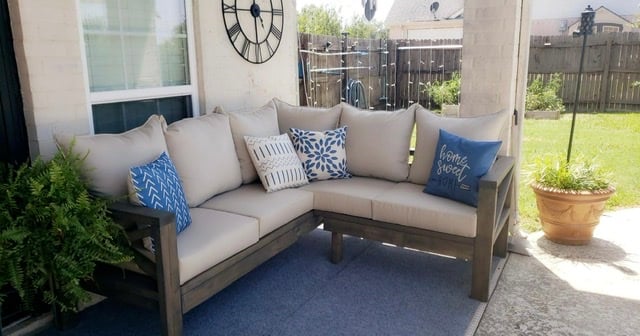
Outdoor sectional

Submitted by Tri4fun on Thu, 07/03/2014 - 11:35

Wanted something for the outdoors. The minute I saw Ana's post I new this would be my starter project. Next on the list is work bench. Then coffee table for sectional, then some chaise loungers!

Built from Plan(s)
Estimated Cost
100 for wood, 300 for cushions.
Estimated Time Investment
Weekend Project (10-20 Hours)
Finish Used
White Valspar exterior paint/primer. Great coverage
Recommended Skill Level
Starter Project

Comments

Seasonal And Holiday

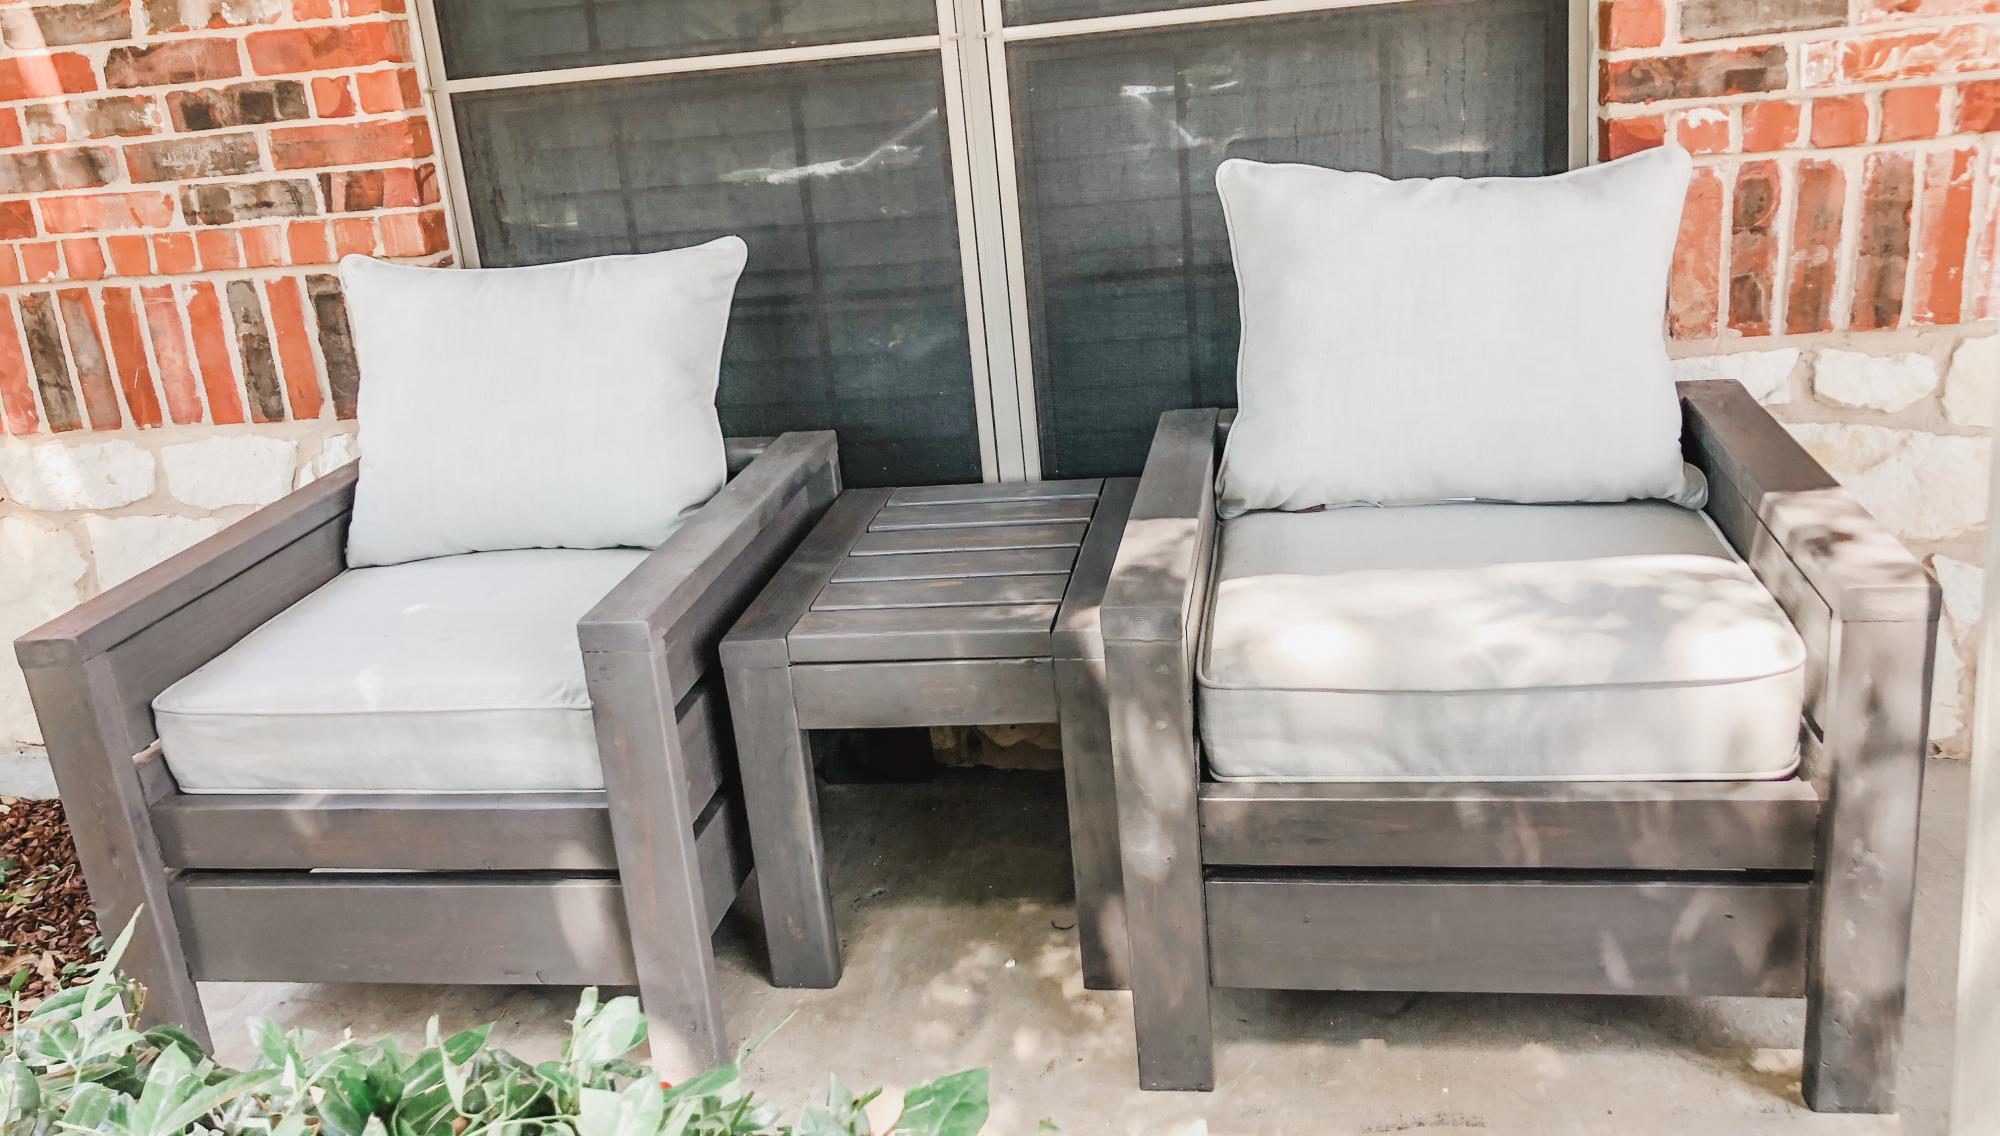
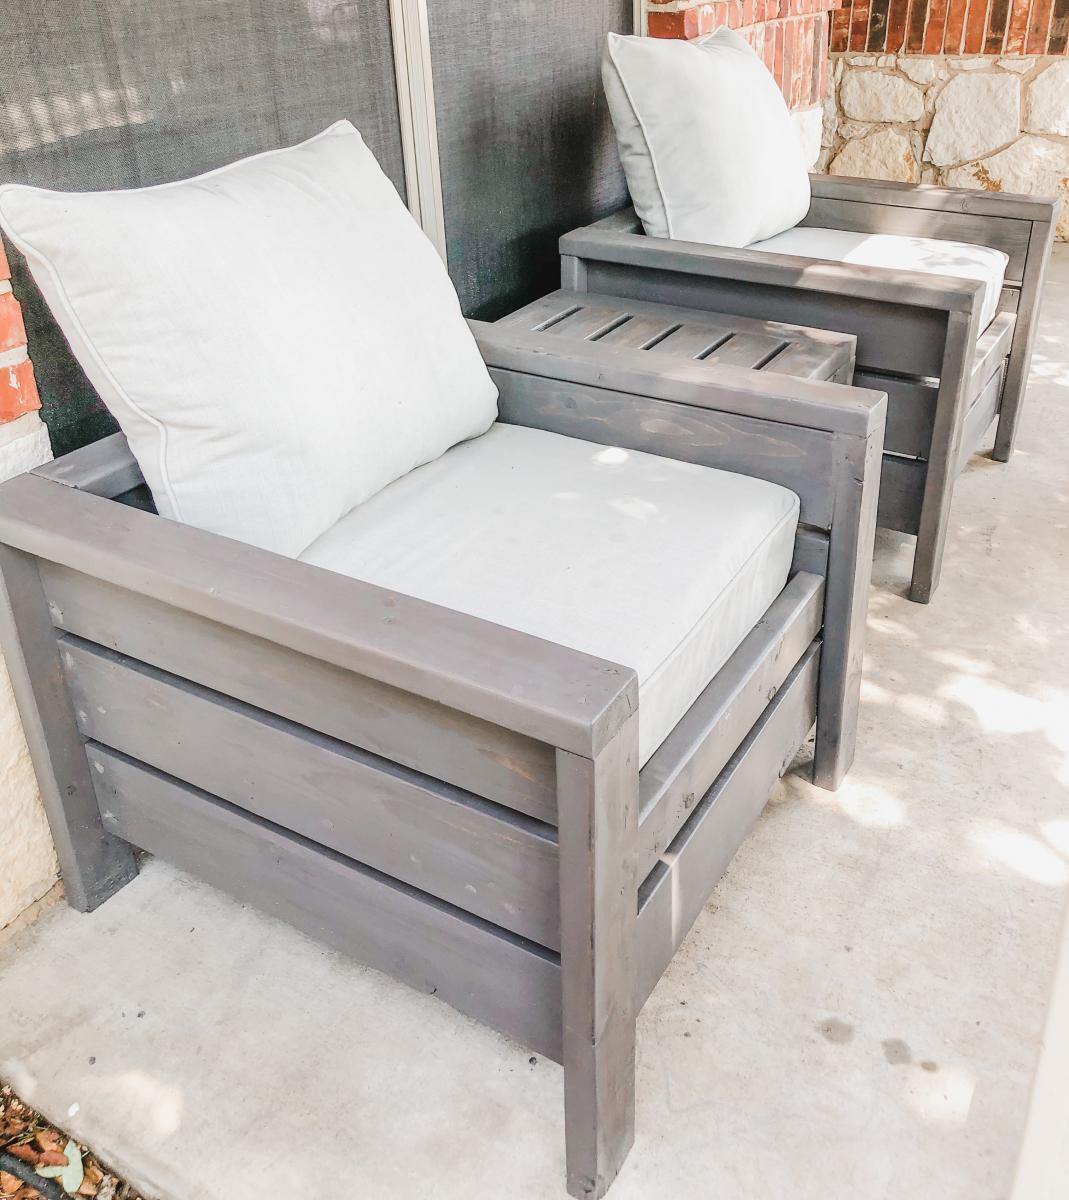
Modern Outdoor Chairs

These were so easy to build and look amazing! The only challenge was finding cushions. Finally found the 25x25 cushions at Lowe’s.

Estimated Cost
$60 each
Estimated Time Investment
Weekend Project (10-20 Hours)
Finish Used
First coat SW New Ebony Stain
second coat Varathane Briarsmoke
Recommended Skill Level
Beginner

Sandbox

Submitted by megan_m on Tue, 09/18/2012 - 17:38

Thank you Ana for these plans!
This is a wonderful sandbox for toddlers, my kids love it. I build it a couple months ago, and it's gotten quite a bit of use already. So far it's even stood up to them jumping on it when it's closed, which is the only thing I was worried about. ;)
I'm not an experienced builder but i built this in an afternoon with the kids playing around in the yard with me, so this was a great project for me!

I used Minwax Polyshades, a stain and seal in one to finish this project. (I thought that would be a neat idea to skip a step, but I should have known that's usually a bad idea) I noticed that it didn't turn out to be nearly as dark as I expected and though I like how it turned out on this project just as well. I don't think that I'd buy another can when this one is used up.
Built from Plan(s)
Estimated Cost
$60-ish
Estimated Time Investment
Afternoon Project (3-6 Hours)
Finish Used
2 coats of Minwax Polyshades in Royal Walnut.
Recommended Skill Level
Beginner

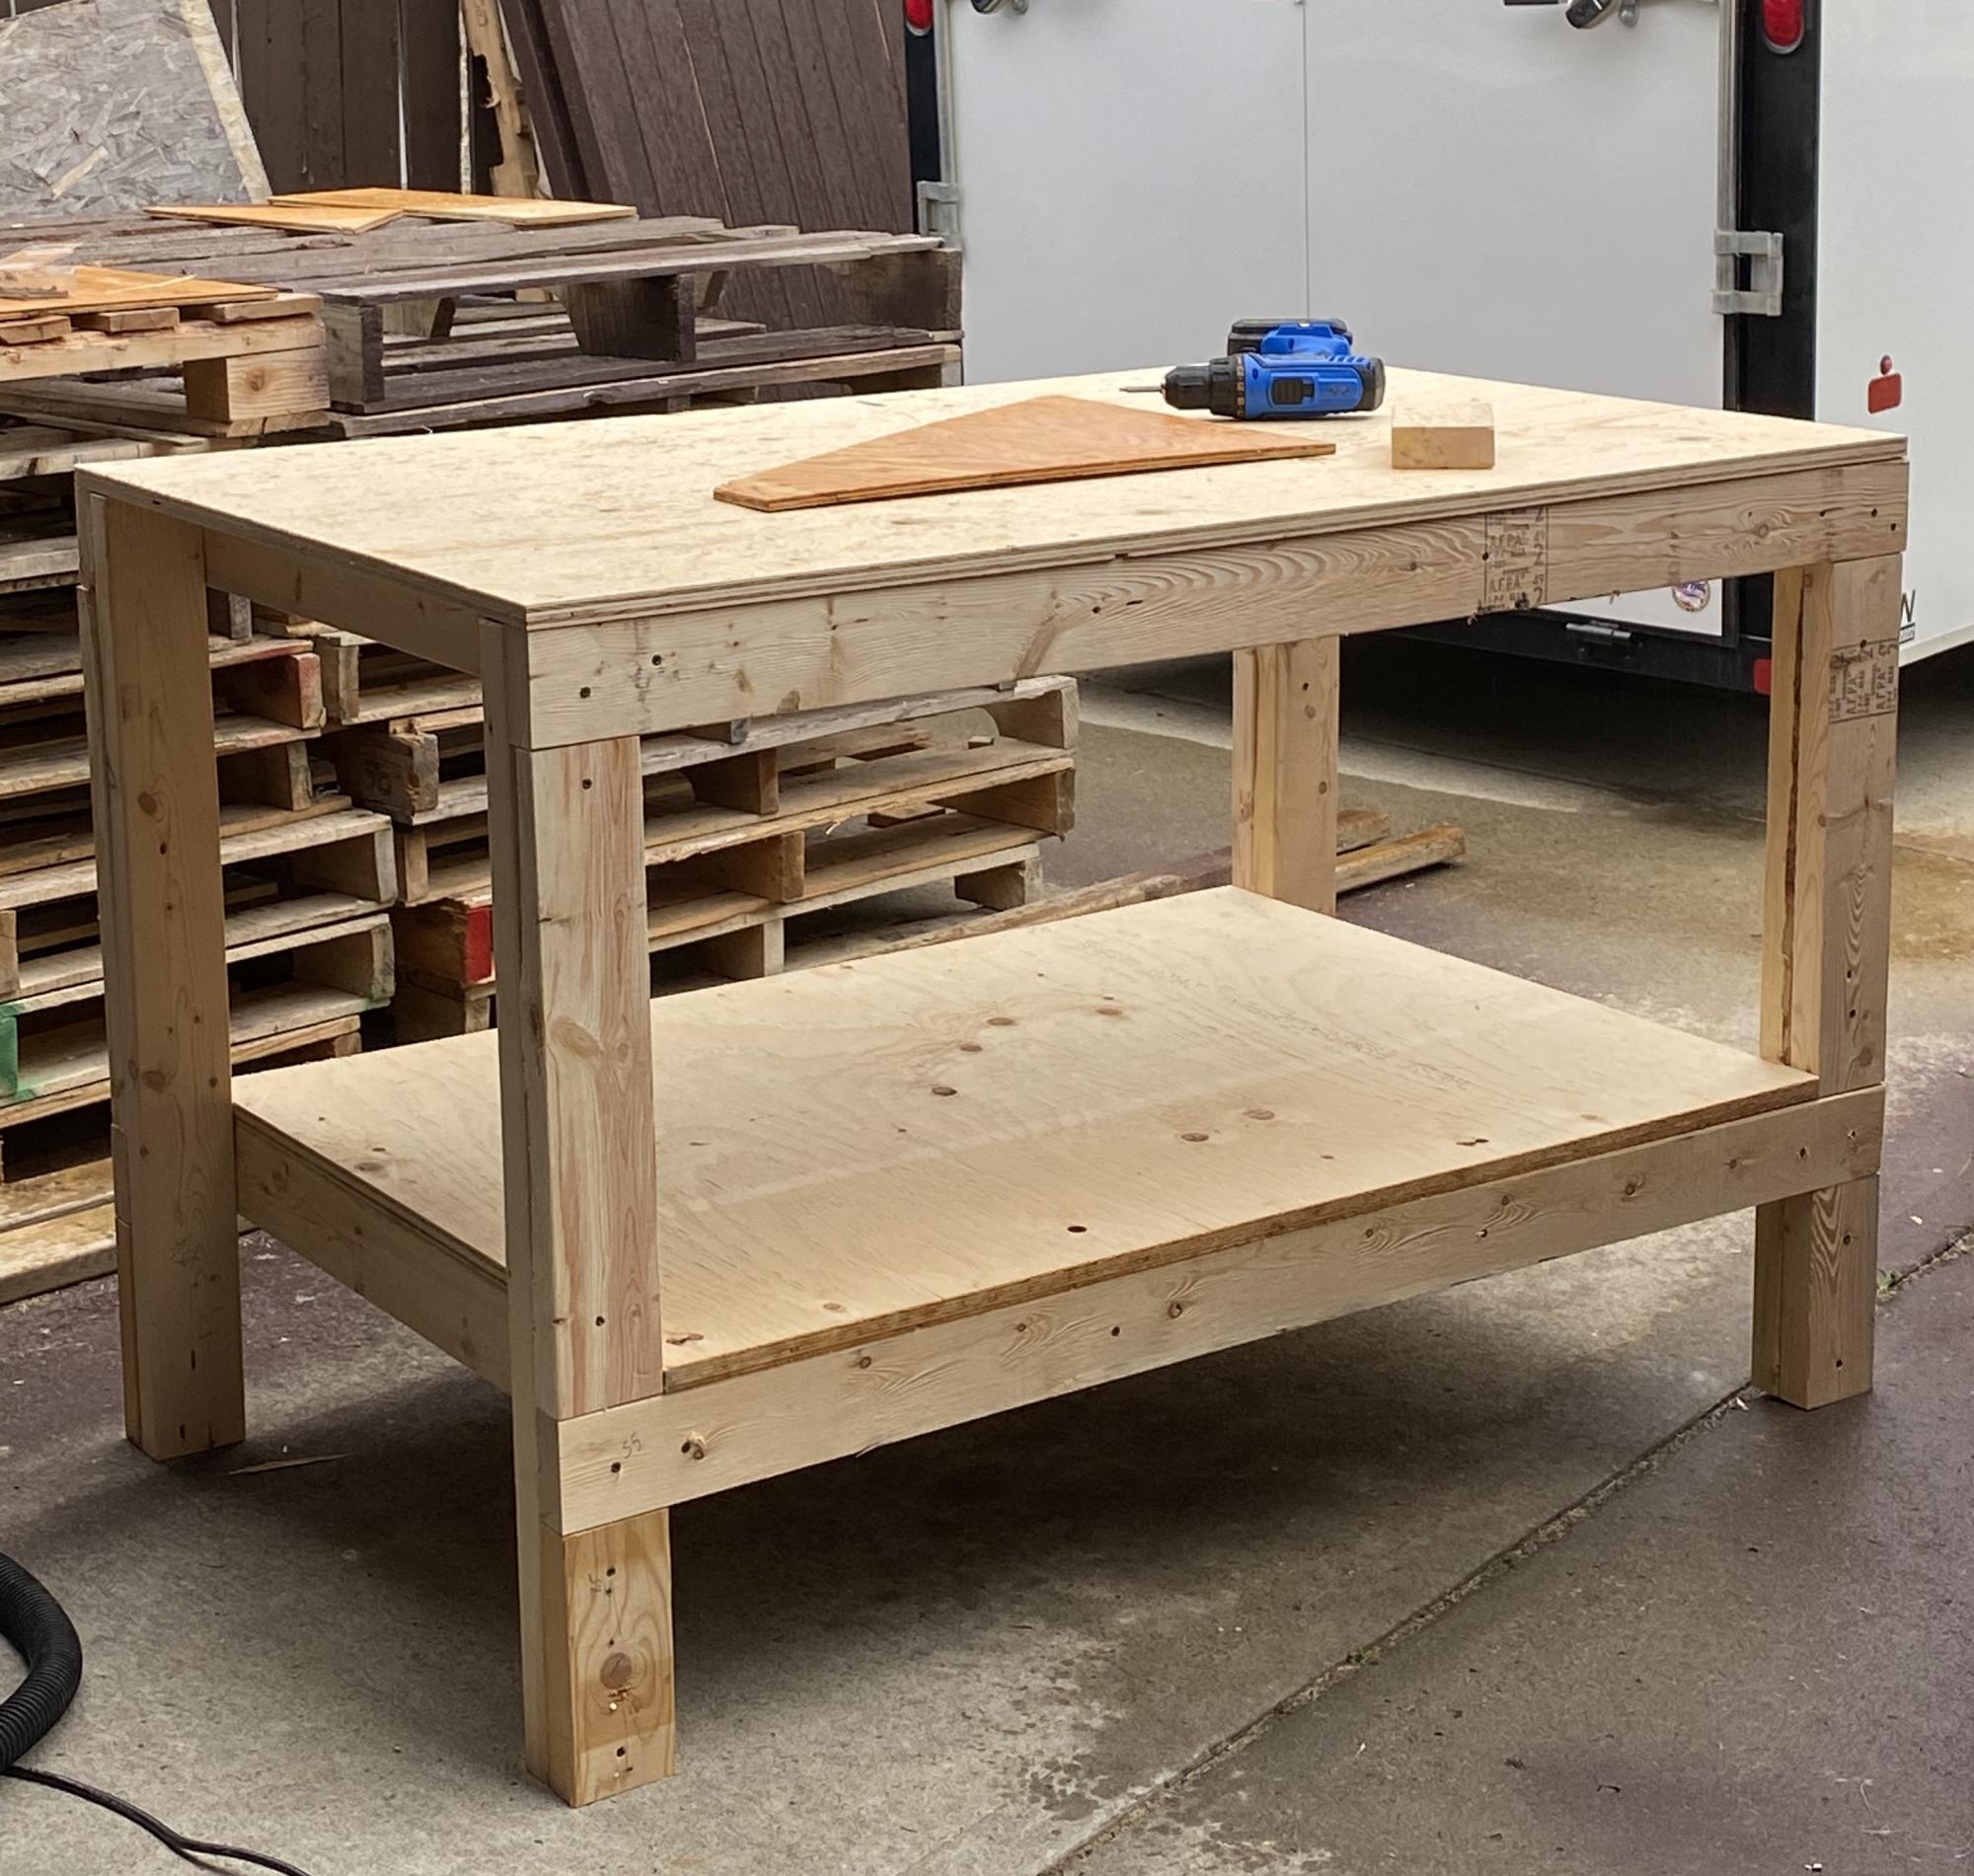
My work table

Submitted by ewebrat on Fri, 07/24/2020 - 13:19

Started to renovate hubby’s bathroom, got annoyed with lack of space on his work bench, built my own. Since this pic, I’ve added locking casters, a power bar up one leg, and a plain metal tool holder on one side. Still have some thoughts rattling around in my head about various other upgrades. Super plans, easy one-woman job.

Estimated Cost
$100
Estimated Time Investment
Afternoon Project (3-6 Hours)
Finish Used
No finish. I want to add a 1/4 or 1/2 MDD top, but that’s the only not-naked original wood.
Recommended Skill Level
Beginner

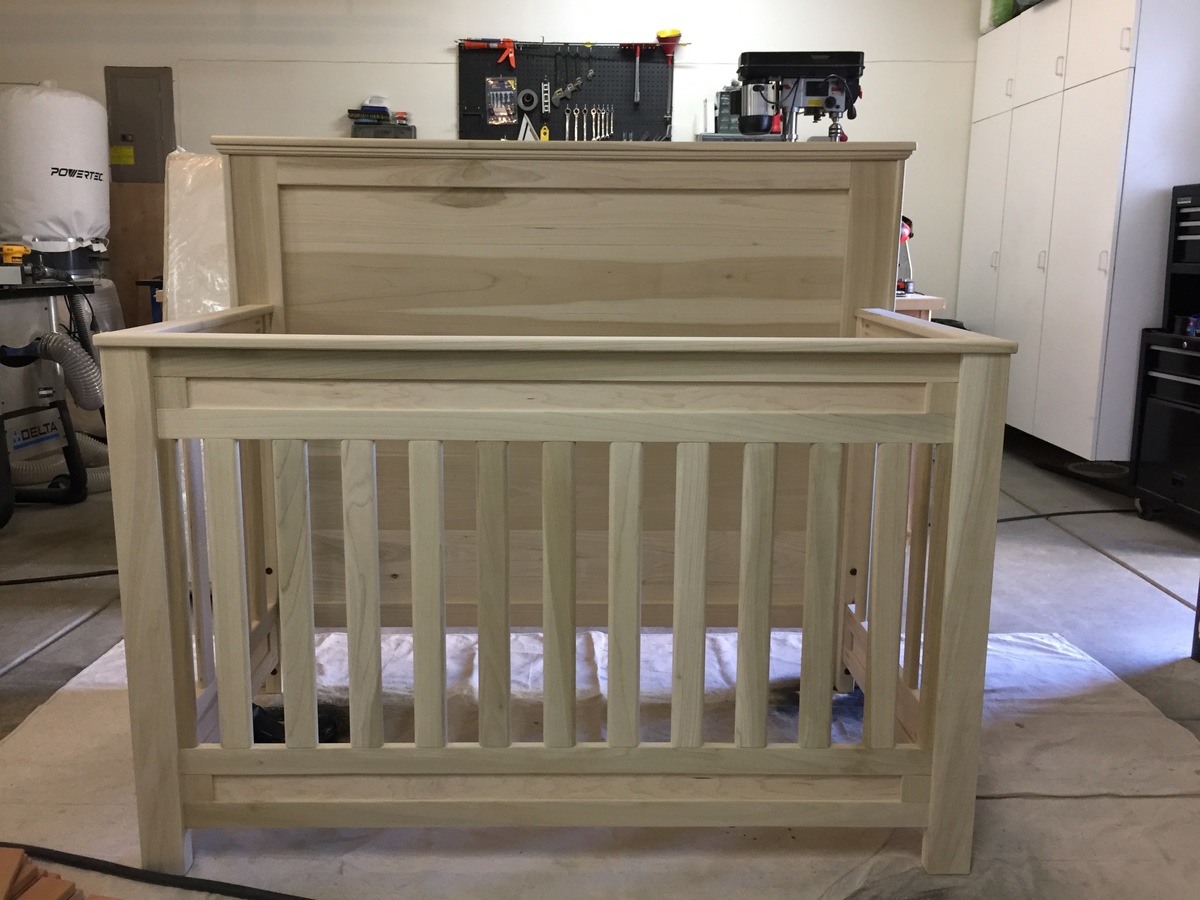
Kaitlyn's Crib

Submitted by MCdesigns on Sun, 11/06/2016 - 10:05

So this is my first post of one of my projects, and super excited to share!   I have to say this is one of the most rewarding projects I have ever done.  First time Dad and so excited to meet her!  My wife is now 35 weeks. I have built many furniture projects in the past but I will admit this one intimidated me more than anything.  There are so many safety regulations on cribs and so many stories and blogs online about child safety it made my head spin.  I almost let the fear get the best of me and just bought a crib.....but the DIY in me said NO, and here it is!  After it is all said and done I couldn't be more happy and a proud Father at the same time!  I am still working on finishing this project, so I will add more pics as they come along.  We will be painting it a light gray color and top coating with a water based polycrylic. This is made to be convertable, and will also become a Full size bed.  Thank you Ana White and other users for inspring us all! 

Estimated Cost
Around $280. I buy all my lumber as rough stock from a local hardwood supplier, and joint/plane myself.
Estimated Time Investment
Week Long Project (20 Hours or More)
Finish Used
Behr Latex paint/ Minwax water based polycrylic
Recommended Skill Level
Intermediate

Comments

greyboarder

Tue, 02/27/2018 - 12:02

This crib is terrific and just what I am looking to build for my son and daughter in law.  Do you have any dimensions or even rough plans you could share?  I will certainly work ast sketching m own but if you have something you are willing to share it would serve as a great starting point.

Thanks so much,

Mark

greyboarder

Wed, 02/28/2018 - 06:37

My wife and I are going to be first time grandparents in the spring and have been asked by our son and daughter-in-law to build a crib - one just like the one you built.  I think it wil be a fun project.  Could you share any dimensions, drawings or other pictures rom your build?  You can reach me at my email address:  [email protected].

Thanks,

Mark

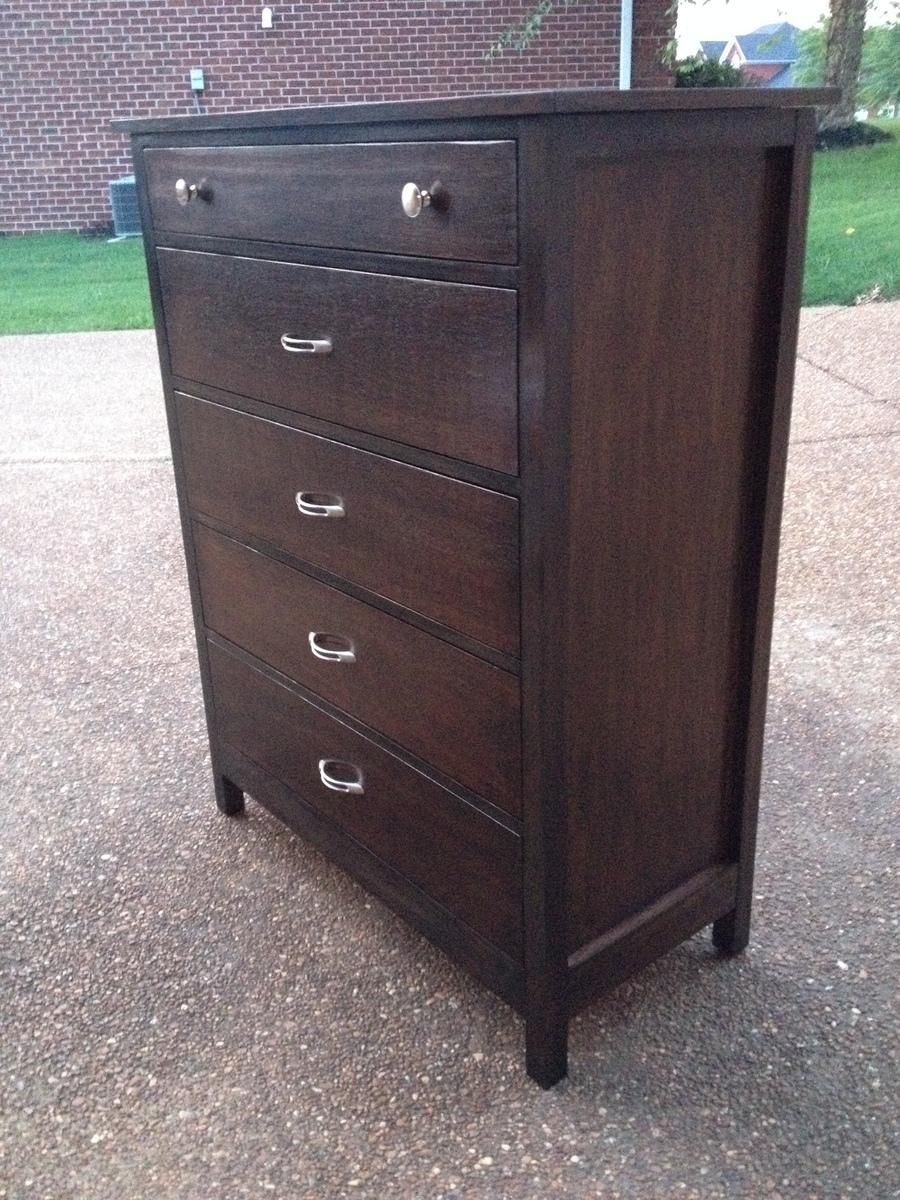
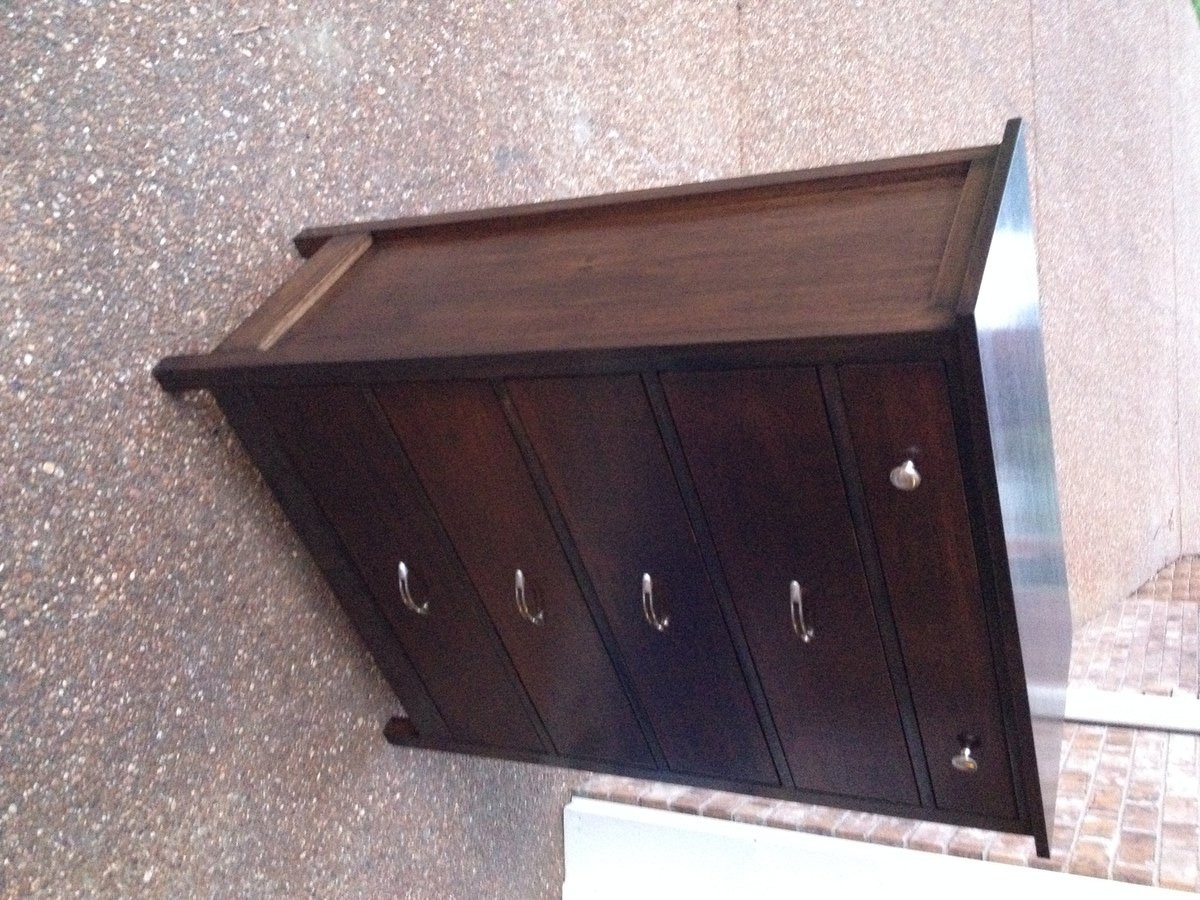
Chest of drawers

Submitted by charae22 on Mon, 08/04/2014 - 08:35

I needed this to be a little taller, so I added another drawer. Other than that, all the other dimensions were the same. I built it in one weekend, but the finishing took about 5 days (for drying time between coats). I was trying to match a baby bed (expresso) so I stained it dark. I also used plywood on the sides, top and drawer fronts instead of pine boards. It really turned out great and matched the bed perfectly.

Estimated Cost
$90
Estimated Time Investment
Week Long Project (20 Hours or More)
Finish Used
Minwax Wood Conditioner, 3 coats of English Chestnut, 2 coats of Ebony (Minwax), 3 coats of Minwax Wipe-On Poly.
Recommended Skill Level
Beginner

Comments

sharshar1960

Mon, 08/04/2014 - 11:11

LOVE the finish on this piece! Can you elaborate on the two stains? Did you alternate?

In reply to by sharshar1960

charae22

Mon, 08/04/2014 - 11:43

No, I didn't alternate. I needed the base color to be a deeper brown so it took 3 coats of English Chestnut. Then 2 coats of Ebony over the English Chestnut, to get the black, layered look. I put each coat on, then wiped it off after a few minutes. On the last layer of Ebony, I only lightly removed the stain. The brown shows through in some areas which is exactly what the bed had. I used the oil-based Minwax.

tmclifton

Tue, 09/09/2014 - 19:43

I love the finish!  Did you use the satin wipe on poly, or gloss? 

cirkit1

Wed, 10/21/2015 - 11:44

can you comment on the stain with sandeply.  did you use sanding sealer?

i have read many a comment on issues with staining sandeply but yours looks awesome.

i like the approach.

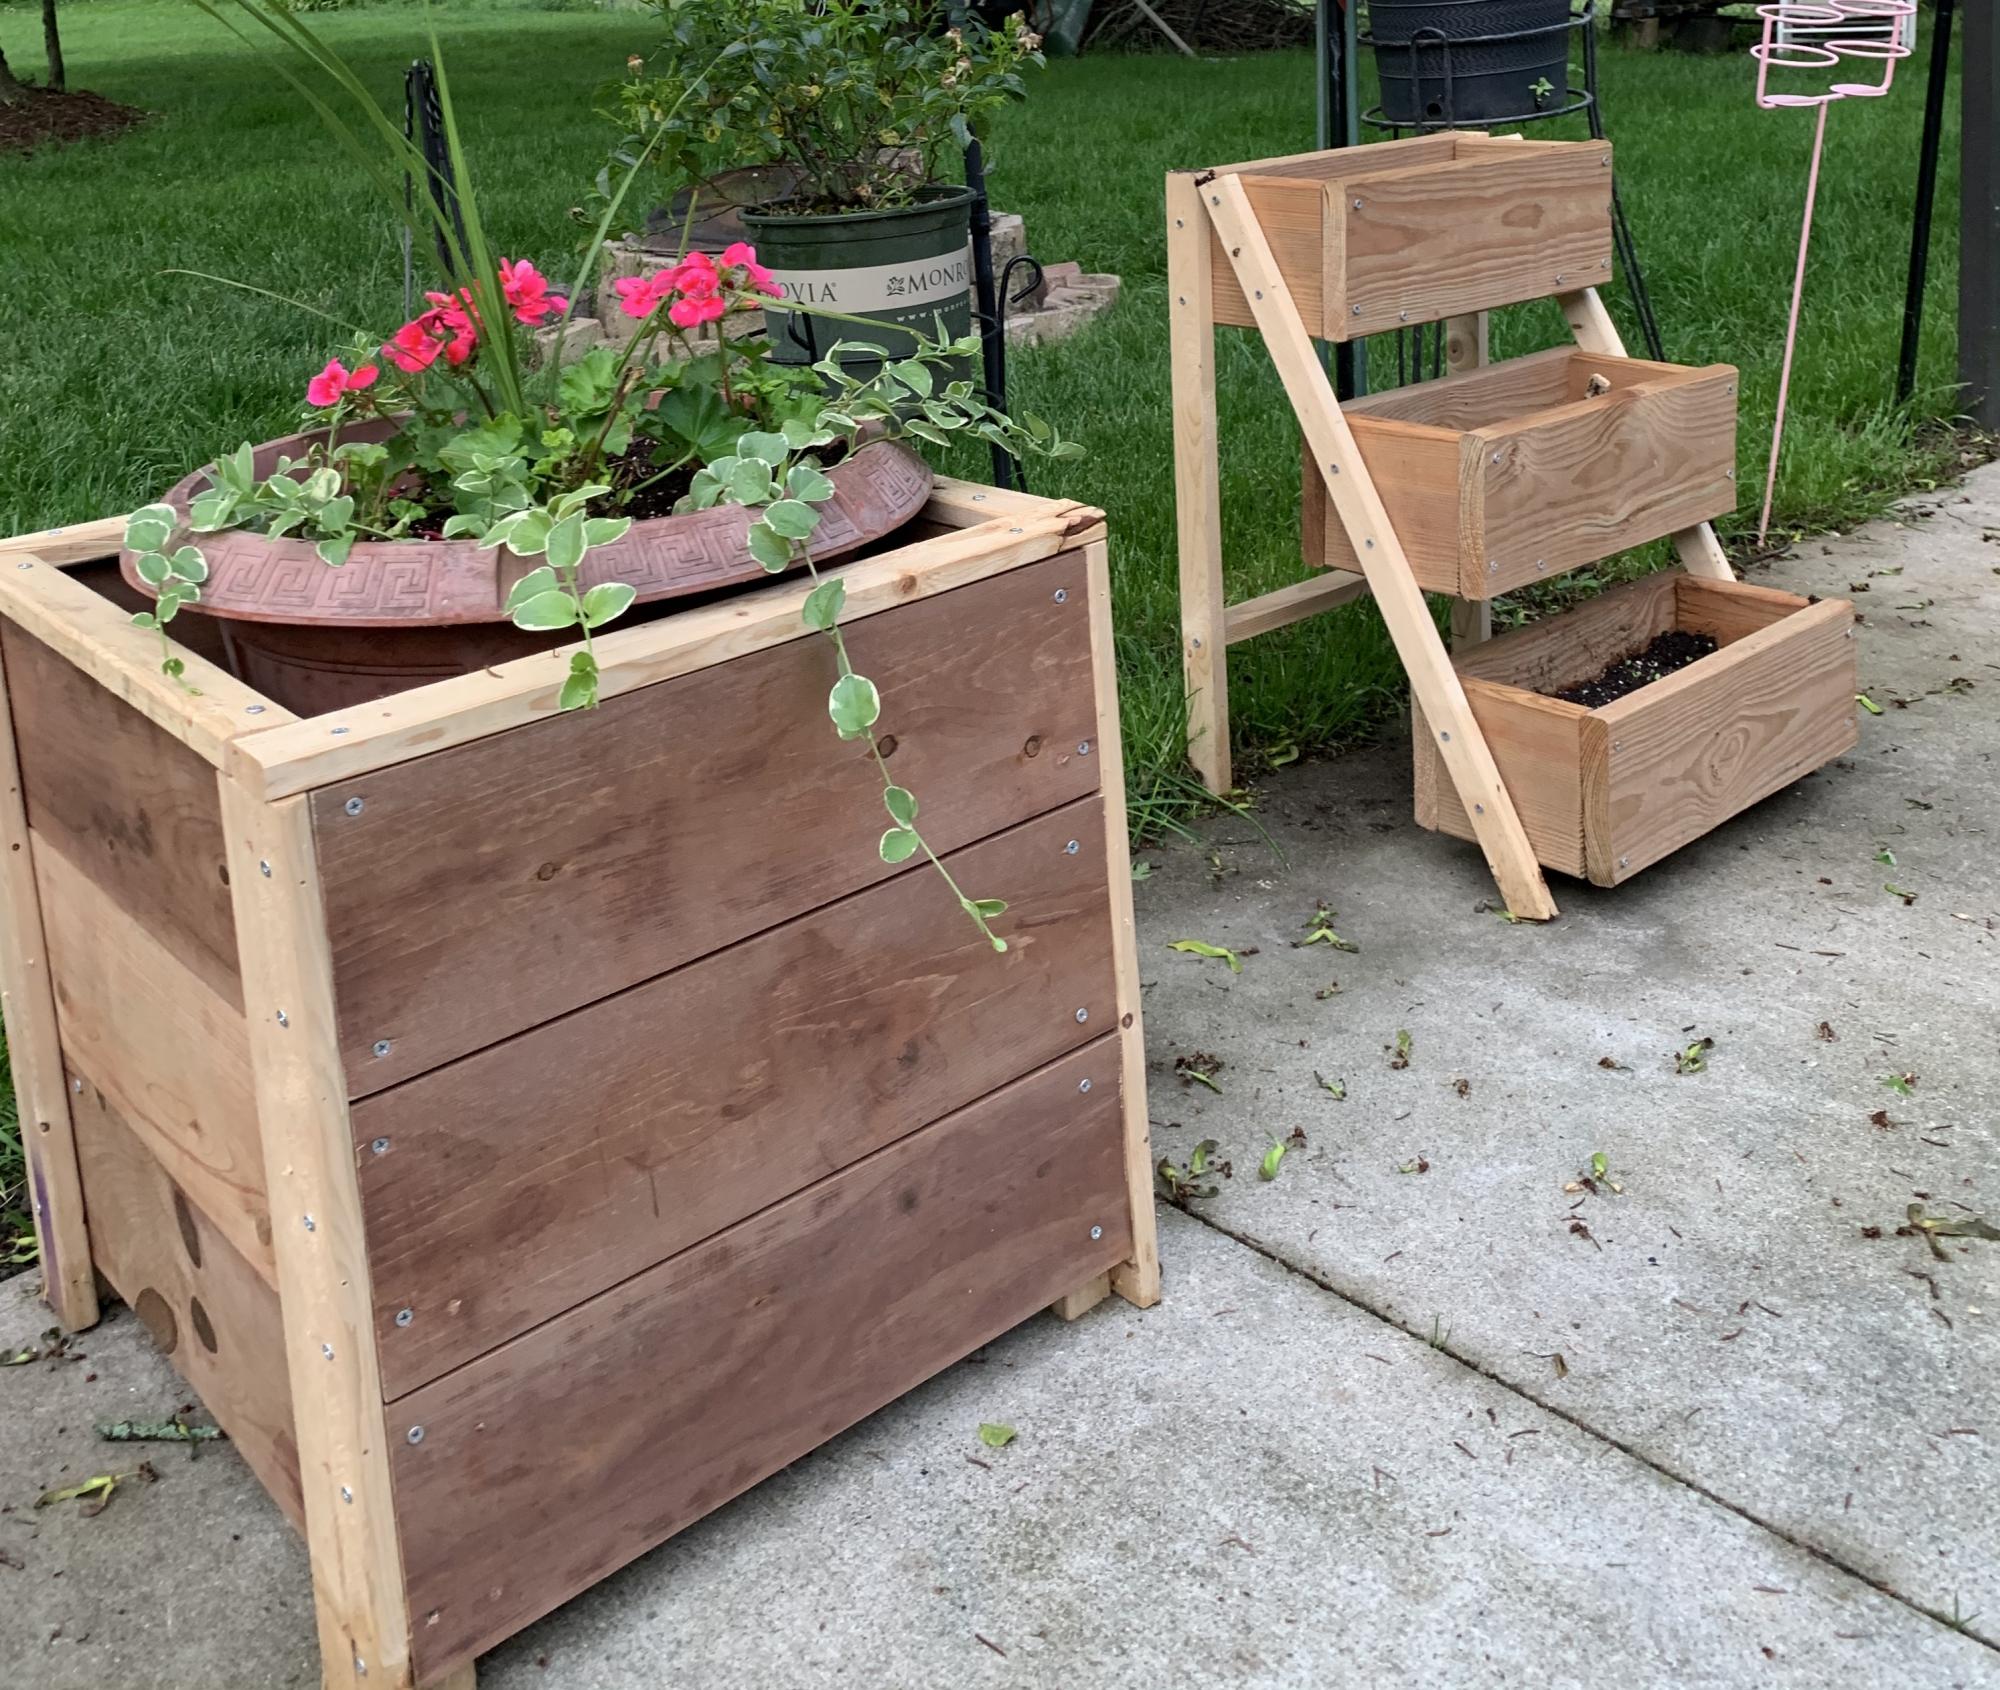
Cedar planter and 3 tier planter

Submitted by Anonymous (not verified) on Tue, 08/04/2020 - 17:48

My very first attempts at wood working. My new COVID-19 hobby 🥰

Estimated Cost
20.00
Estimated Time Investment
An Hour or Two (0-2 Hours)
Recommended Skill Level
Beginner

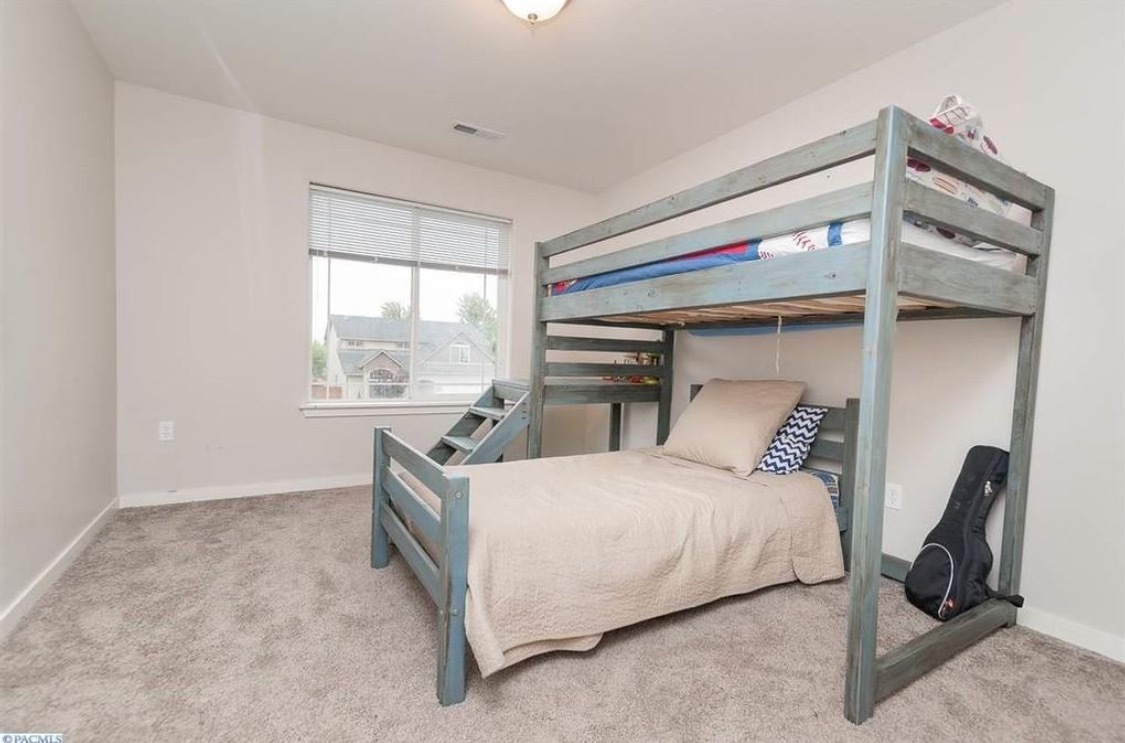
Loft bed with stairs

This project was so fun to make. When we have a bigger room, we will put a slide on the other end. My son loves his bed!!
Estimated Cost
$80
Estimated Time Investment
Day Project (6-9 Hours)
Finish Used
Used homemade chalk paint with antique wax sealer.
Recommended Skill Level
Beginner

Comments

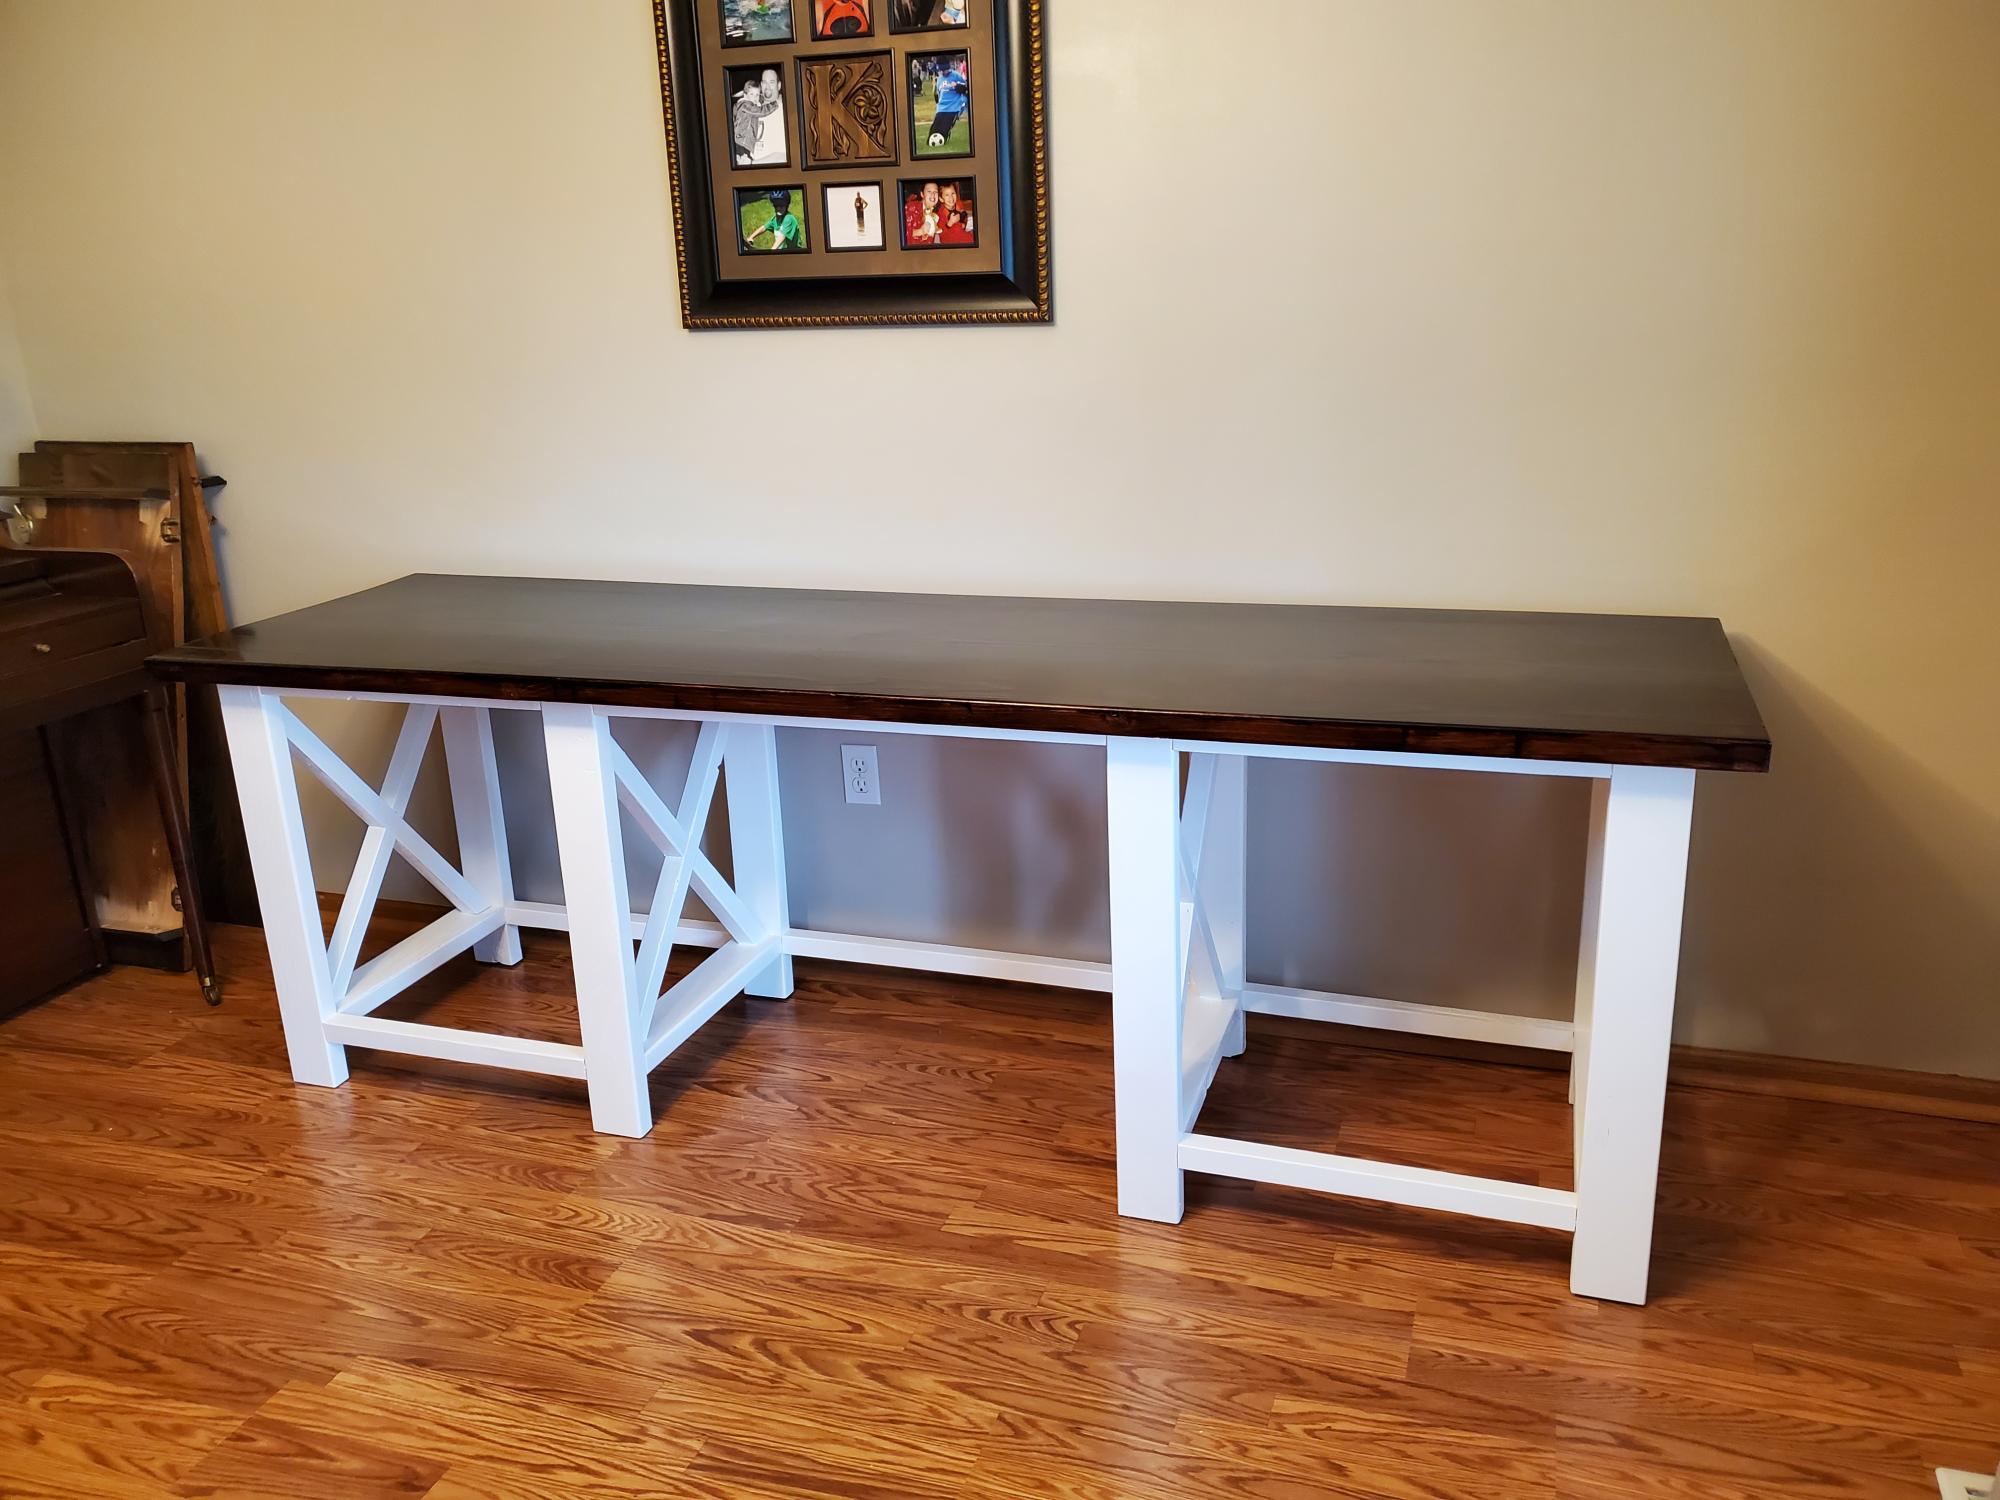
Farm House Desk

Submitted by Anonymous (not verified) on Tue, 08/25/2020 - 16:27

After learning I'll be working from home permanently, I asked my husband to use his talent to make me a desk. I have been sitting on a barstool since March and it just wasn't comfortable.

Viola. An Ana White farm house desk. It turned out wonderful and I'm so much more comfortable. He just needs to add the shelves when there is room in the garage again (he's now fixing our son's car with his brother!)

Built from Plan(s)
Estimated Cost
100
Estimated Time Investment
Weekend Project (10-20 Hours)
Finish Used
White enamel paint and minwax polyshades
Recommended Skill Level
Intermediate

Ten Dollar Ledges

Submitted by solomonson on Wed, 11/21/2012 - 21:42

After a floating shelf fail, I threw this one together with scraps. Time investment below includes waiting for paint to dry and hanging it up.

Built from Plan(s)
Estimated Cost
scraps
Estimated Time Investment
Day Project (6-9 Hours)
Finish Used
Valspar Antique White, latex.
Recommended Skill Level
Beginner

Farmhouse play kitchen

Submitted by Brittmason on Sat, 01/07/2017 - 18:40

We wanted to make our daughter a play kitchen for her birthday. We have a farmhouse sink so we wanted her to have one just like ours. My husband built it out of wood. We wanted the cabinets to look like Shaker cabinets so we added trim to them & the Fridge. We bought the handles from Home Depot.  If you have any questions I will be happy to answer them. 

Estimated Cost
$200.00
Estimated Time Investment
Weekend Project (10-20 Hours)
Finish Used
We used Behr paint in a custom color I would call Dusty Pink. We sprayed painted the handles, knobs & burners.
Recommended Skill Level
Beginner

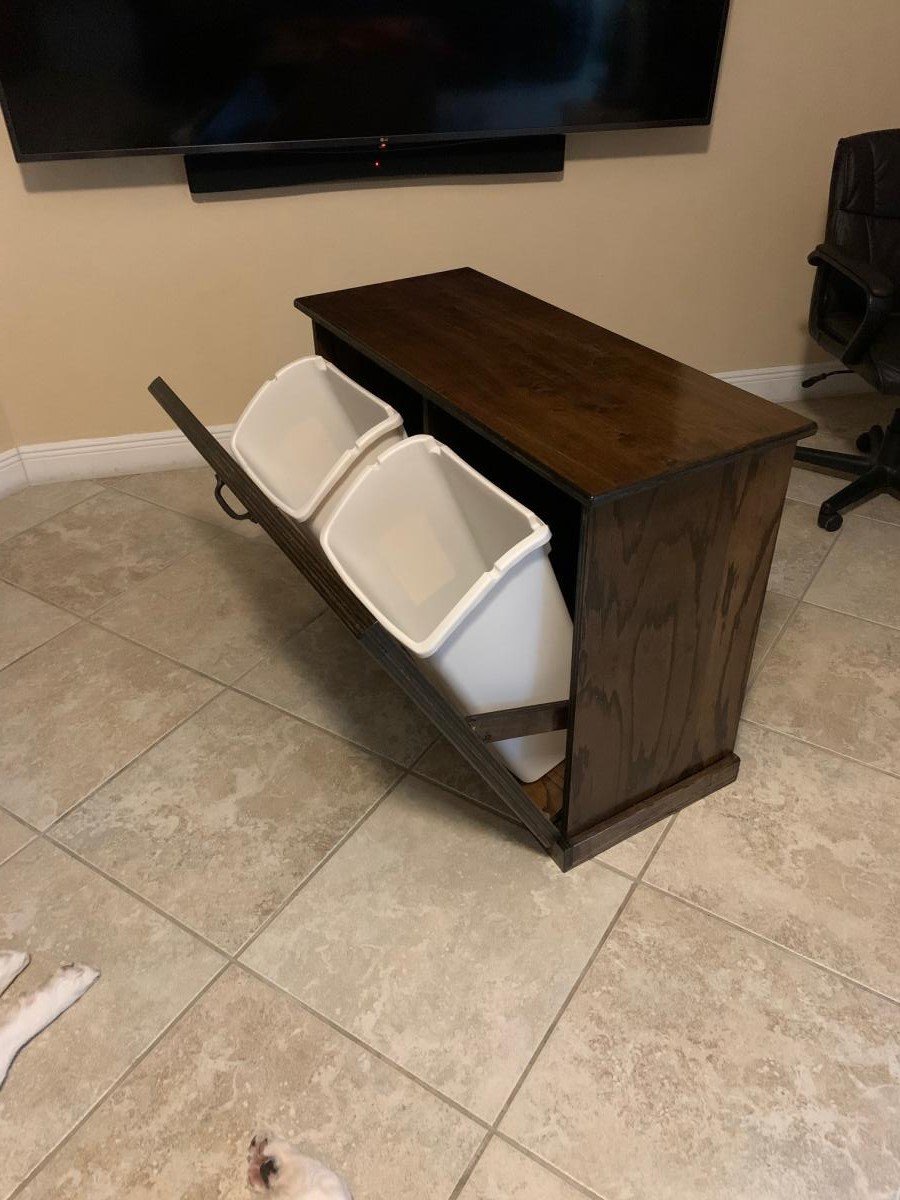
Tilt Out Recycling Center

Submitted by ppavel on Fri, 09/18/2020 - 07:36

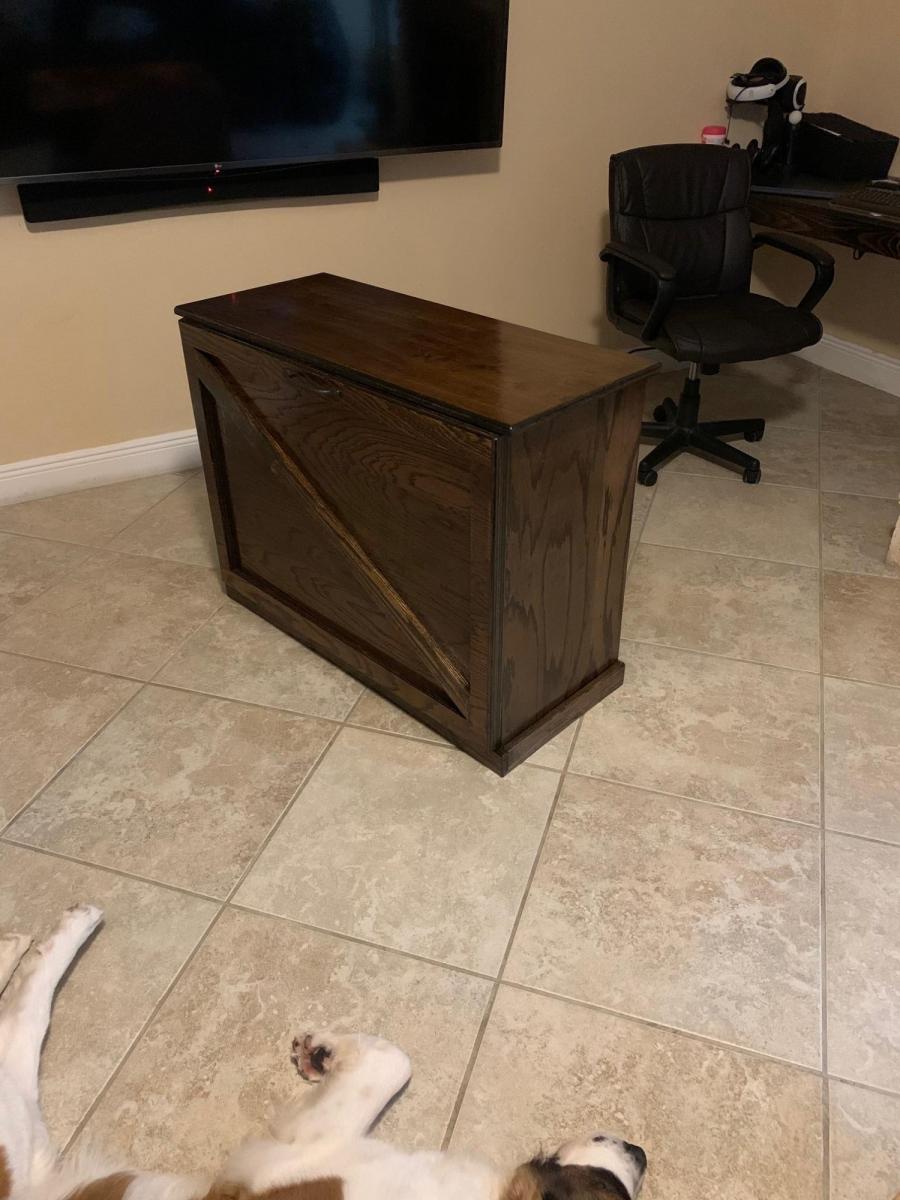
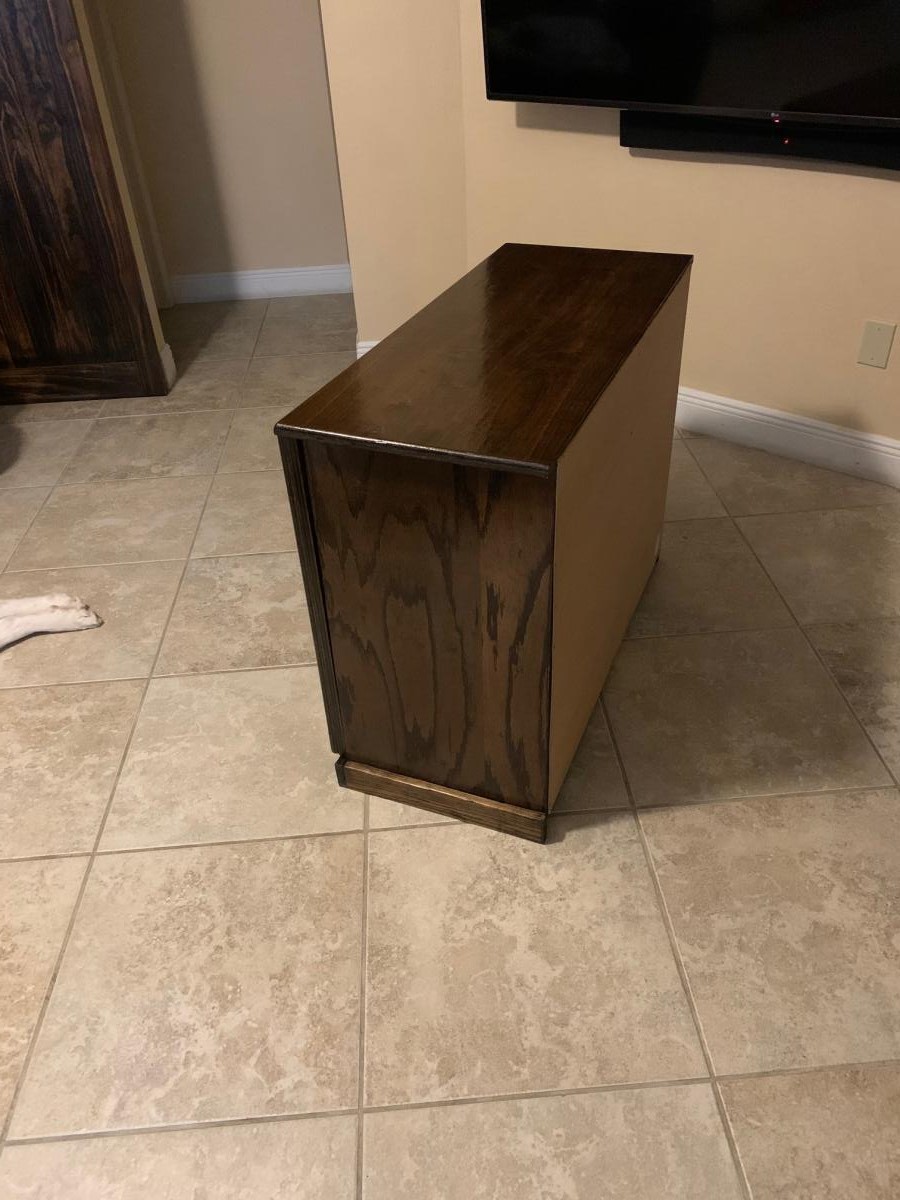
Tilt Out Recycling Center to match the floating desk and barn door in the same room. Great project from the recycling center plans. (slight modification)
Estimated Cost
$80
Estimated Time Investment
Weekend Project (10-20 Hours)
Finish Used
Espresso Stain (Minwax)
Polyurethane Finish (3 coats)
Recommended Skill Level
Beginner

Comments

Sliding "barn" door from reclaimed pallet wood

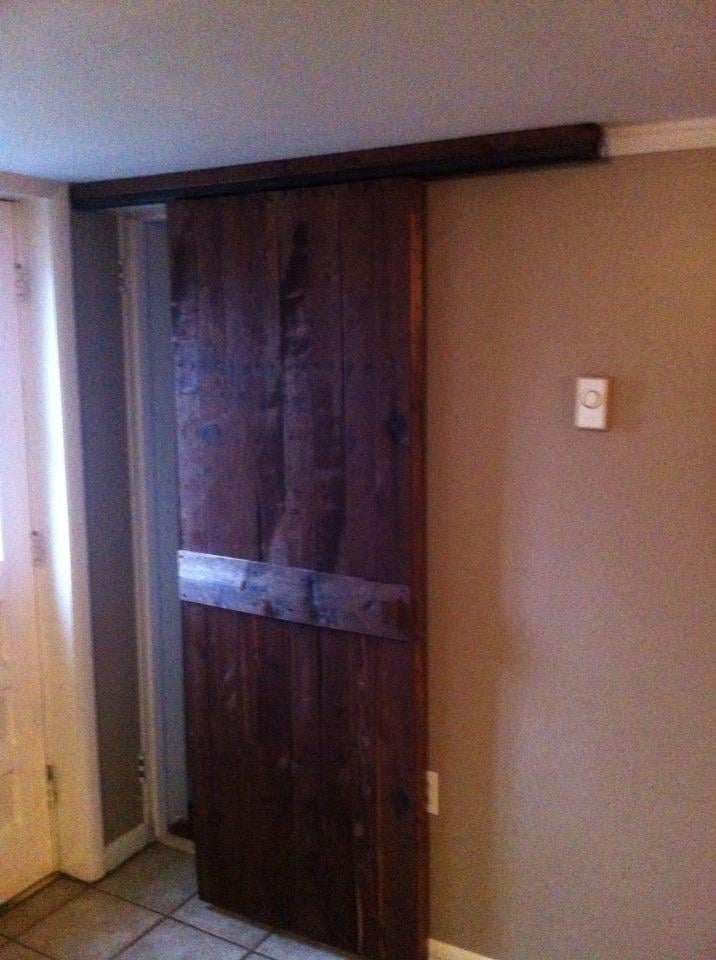
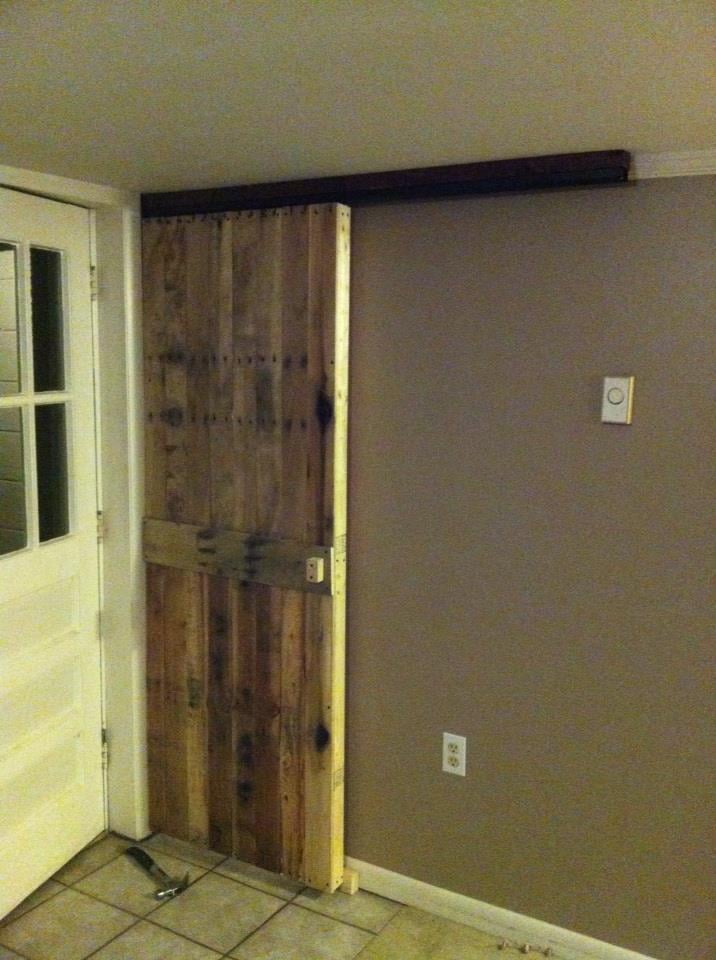
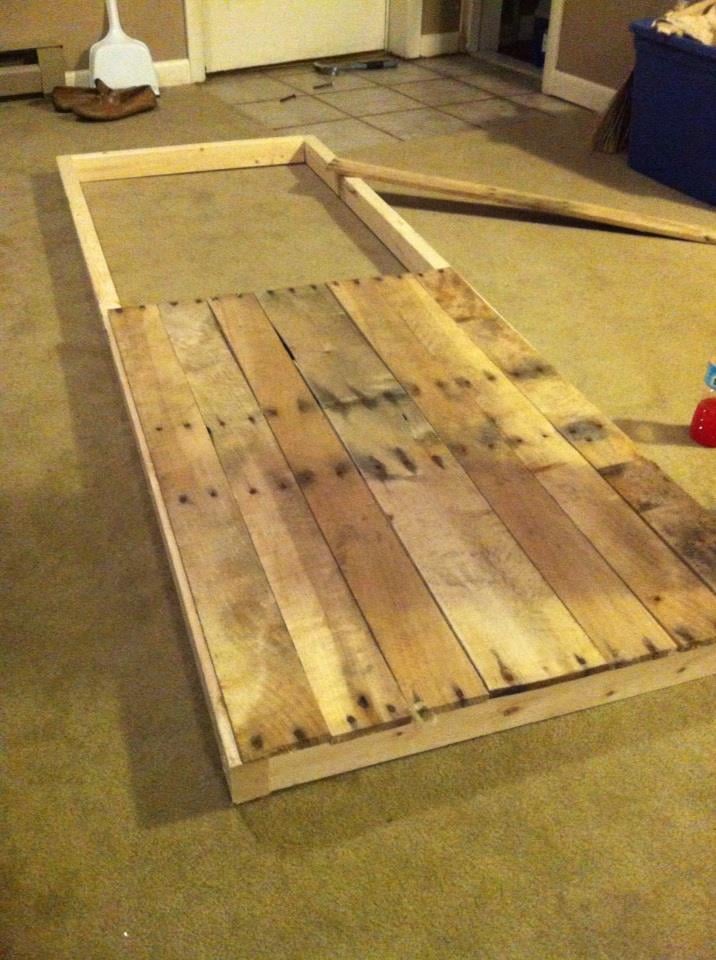
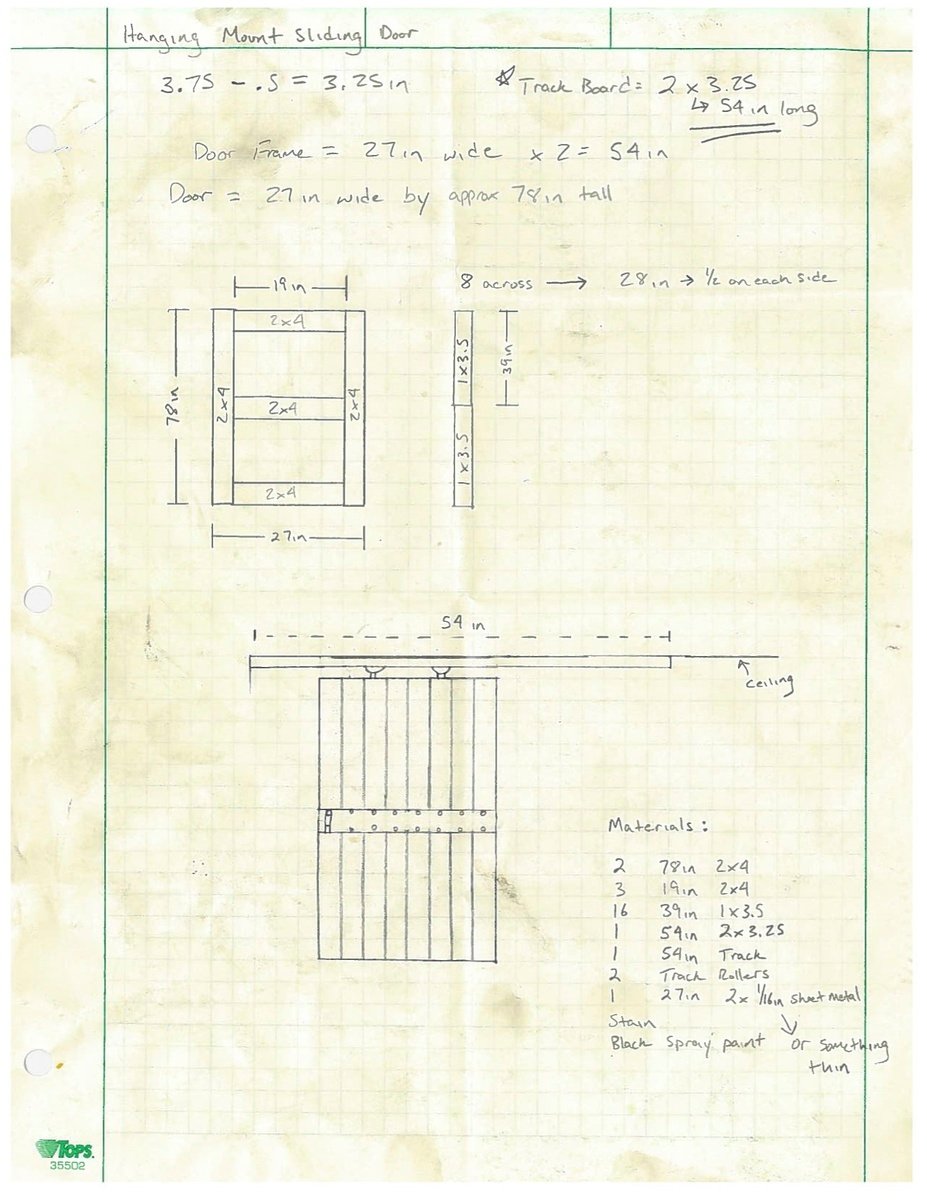
I saw many different sliding door projects online, so I did my own spin on one. I was able to get several old pallets for free (pine and oak). I went to Lowes and bought a few 2x3s which I used as the frame, and the track hardware which was only $13! Most doors I see are mounted from the wall, but since I have 7' ceilings downstairs I mounted mine from the ceiling. This project only took about 4 hours total and cost about $40 when you figure in costs for screws, stain, etc. The most difficult part was taking apart the pallets. Using a reciprocating saw with a 12'' demolition blade is the best way to take them apart. Thanks for the idea Ana.
Estimated Cost
$40
Estimated Time Investment
Afternoon Project (3-6 Hours)
Finish Used
Minwax Dark Walnut
Recommended Skill Level
Beginner

Comments

BREATHESMILEBE

Mon, 05/13/2013 - 20:00

Hi!!
This looks so awesome! I came across this and was hoping to repeat it. You mention that you found the door hanging hardware at Lowes for $13. I can't seem to find it. Do you happen to remember the name of it? I'm entering "hanging door hardware" into Lowes and Home Depot and can't seem to find any hanging door hardware at all. I'd appreciate the help. Thanks!
Tina

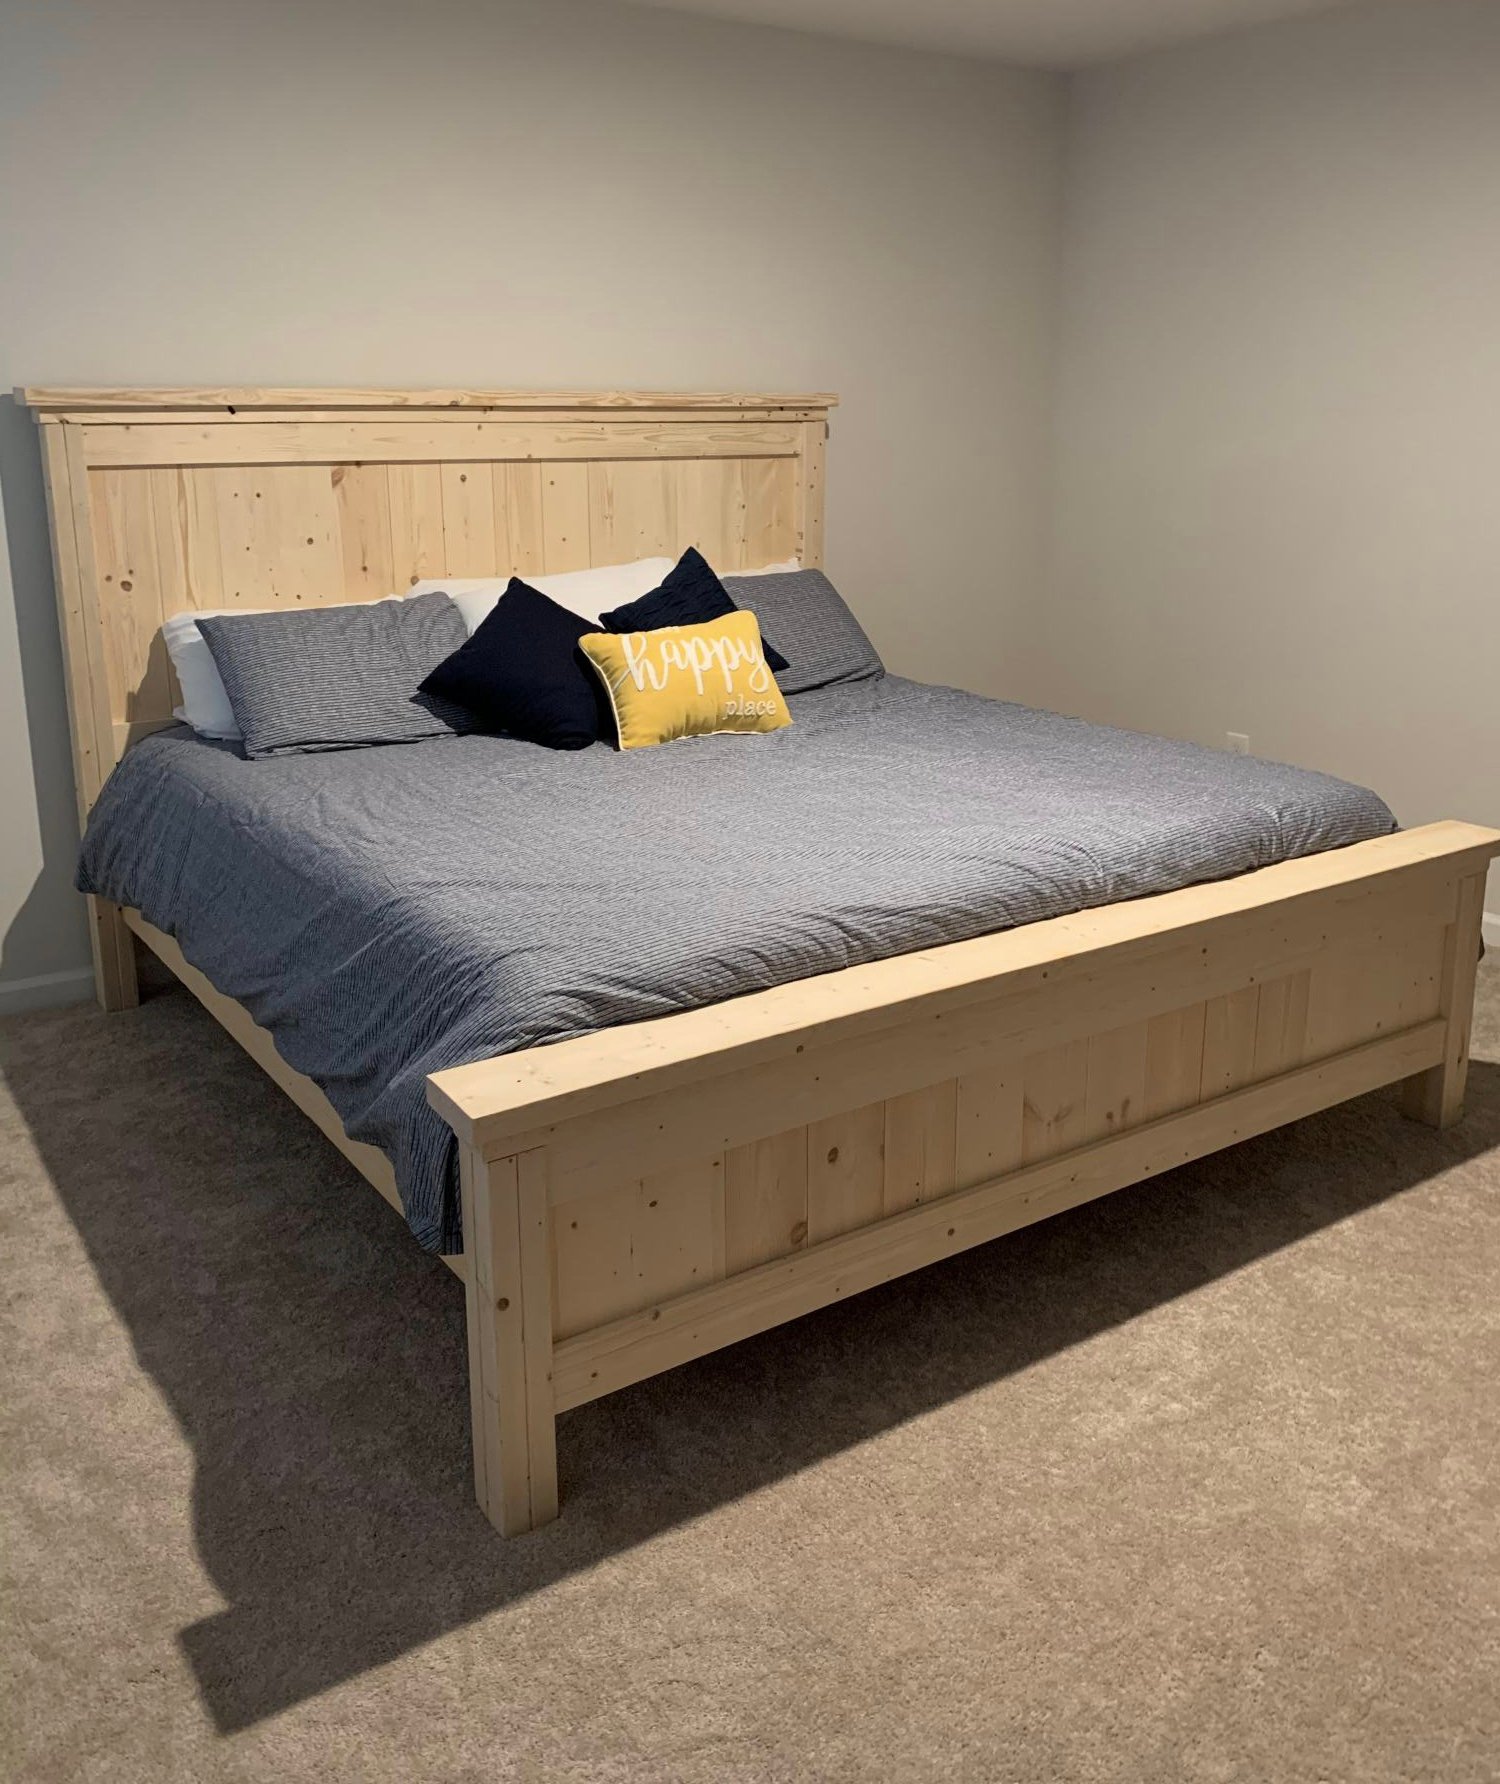
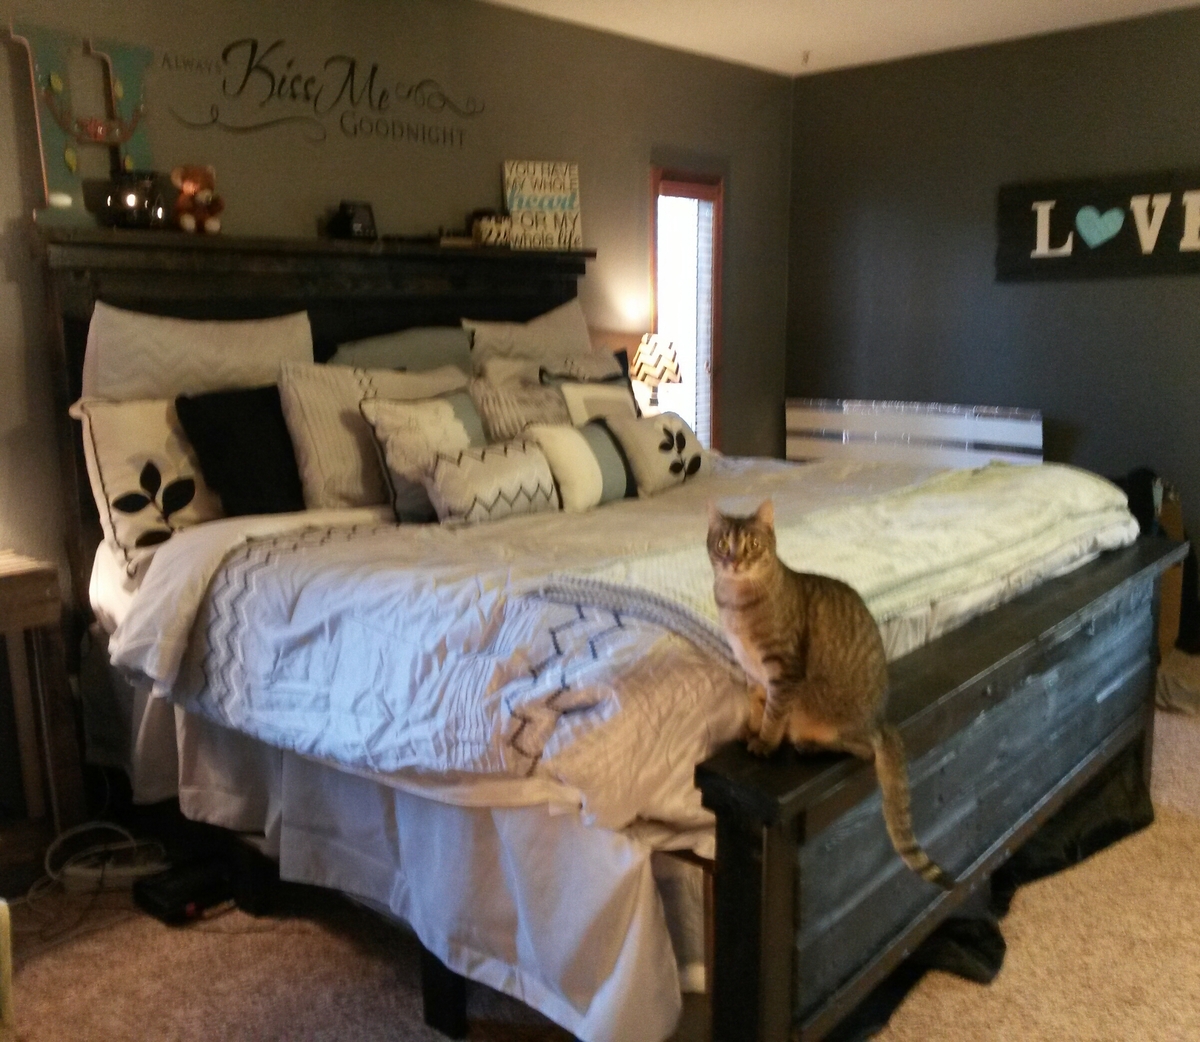
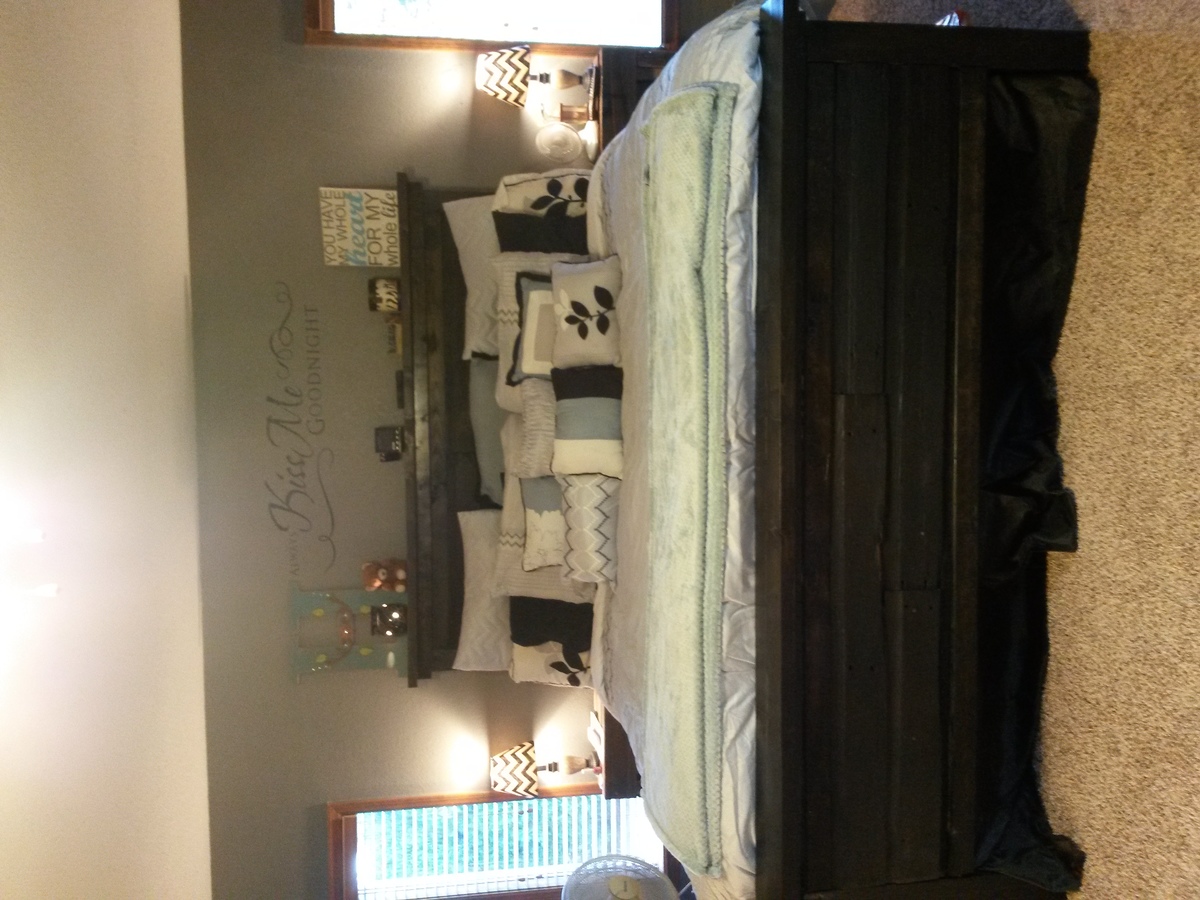
king bed from reclaimed barn wood

Submitted by rebarn14 on Fri, 10/03/2014 - 07:24

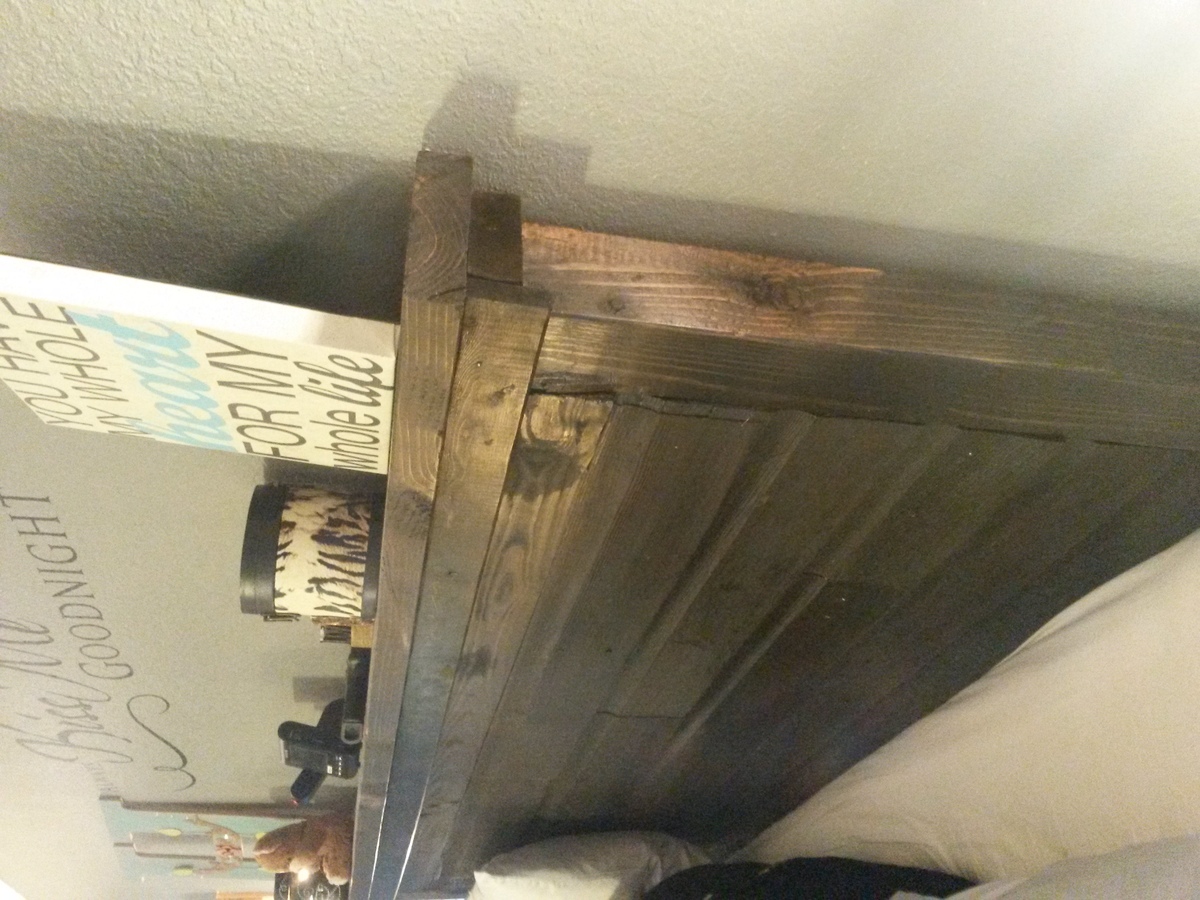
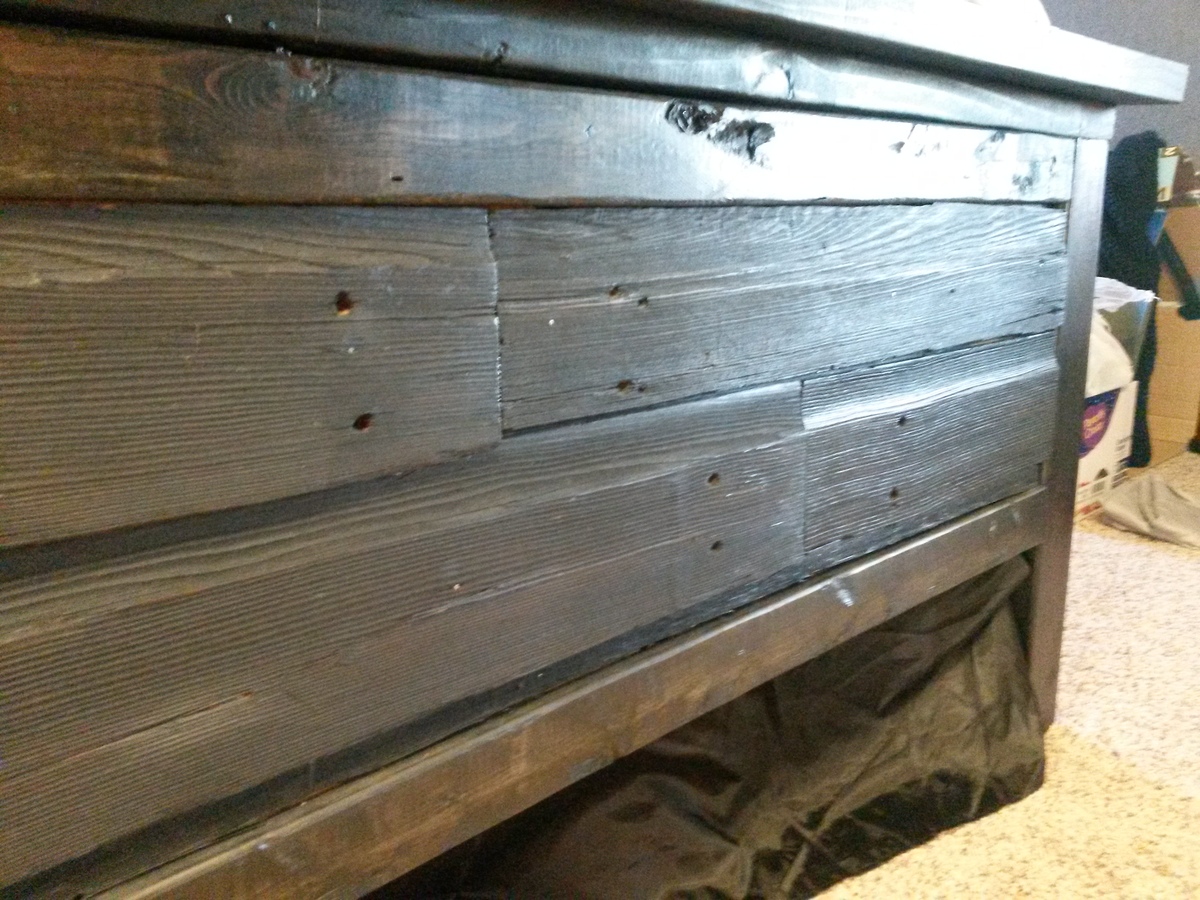
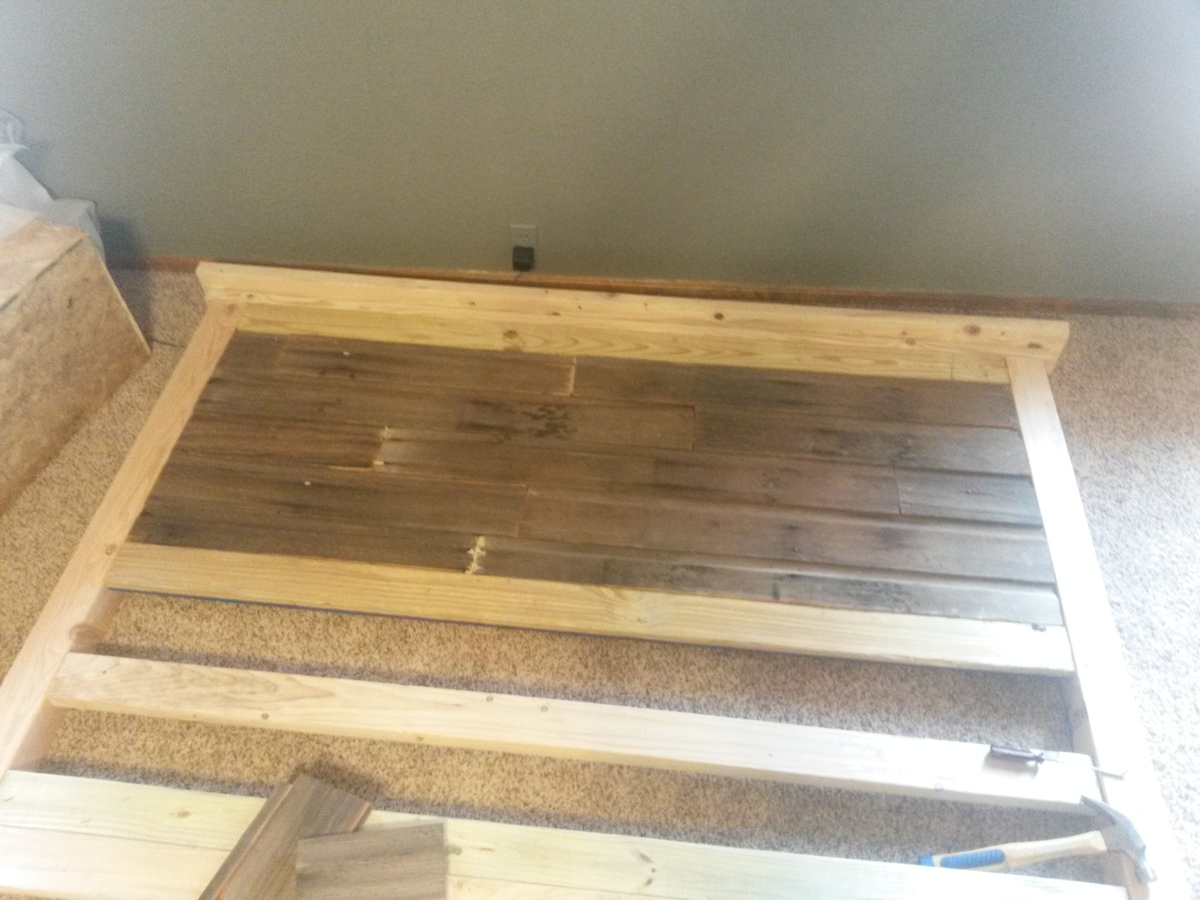
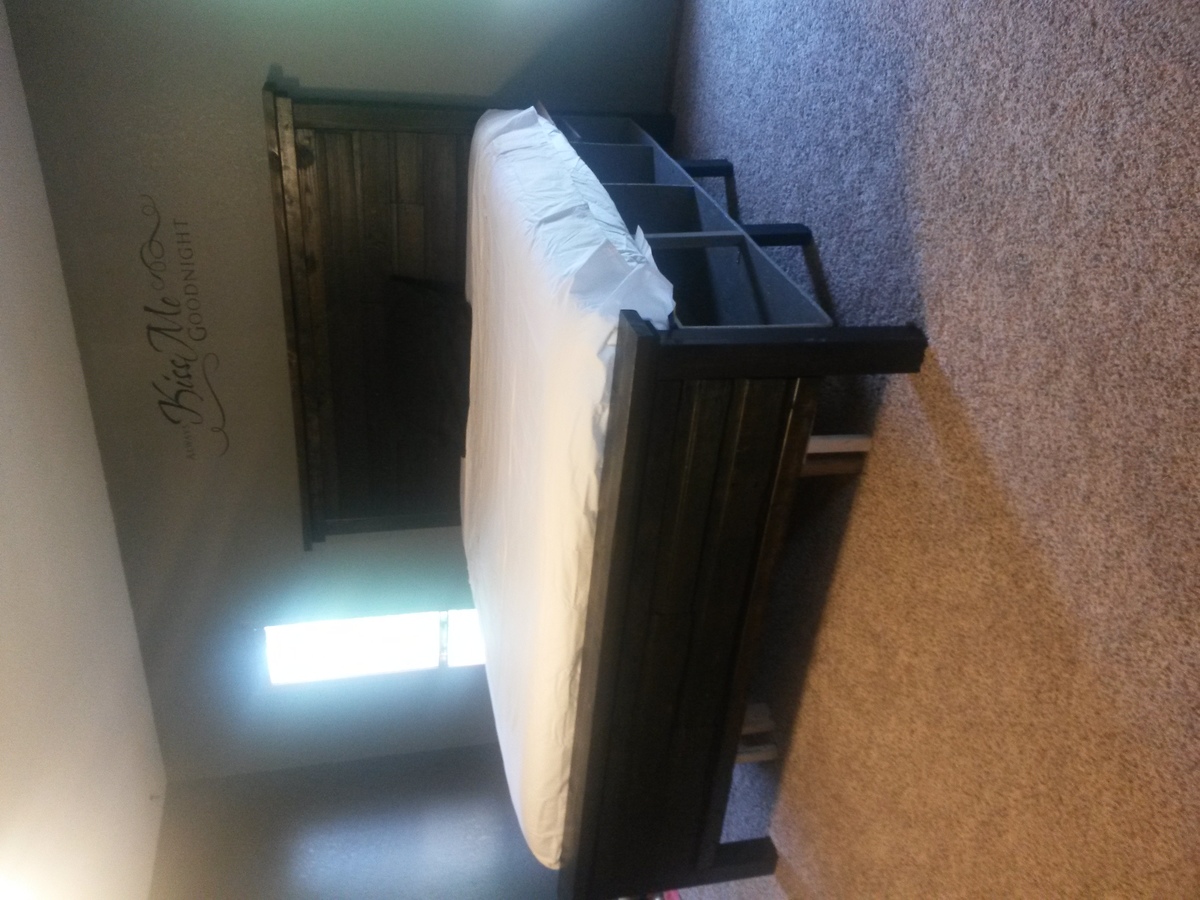
First project from dad tearing down his barn. Used ana's plans for queen bed and added to fit king dimensions. Husband also requested a tall bed so I added 6 inches to her measurements.
Estimated Cost
$80 bc I used reclaimed wood. Most of that is screws and plywood
Estimated Time Investment
Weekend Project (10-20 Hours)
Finish Used
Stained with a mix of dark oak and black. Many coats of polyurethane bc it soaked in to the old wood
Recommended Skill Level
Beginner

Hall Tree - 1st Wedding Anniversary Gift

Submitted by Smokeydog on Tue, 10/07/2014 - 08:09

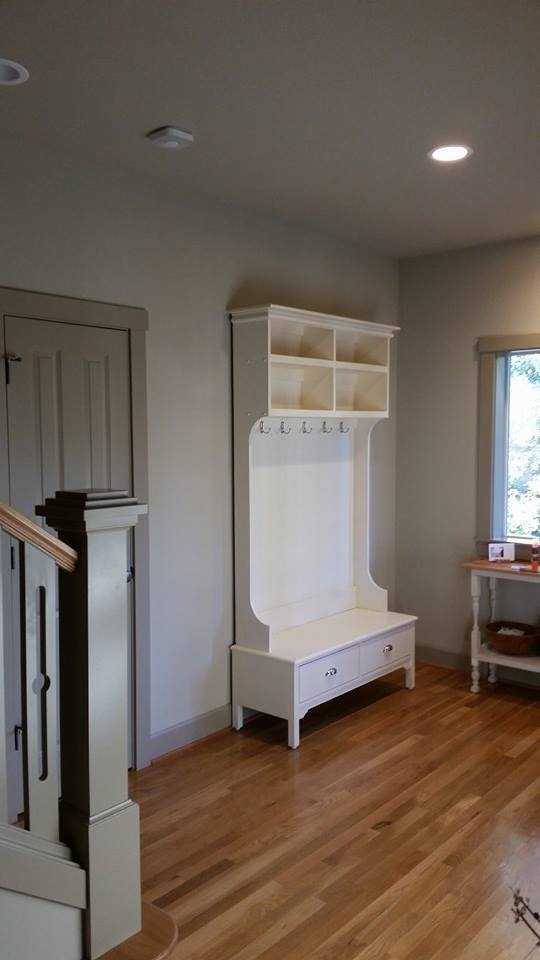
I combined Mimi's Hall Tree with the Alexia Bench for this project.  It really turned out great. My son and his wife love it. It also made me feel pretty good that I built something for them that hopefully will be passed down to future generations. 

Estimated Cost
300.00
Estimated Time Investment
Week Long Project (20 Hours or More)
Finish Used
Satin spray paint.
Recommended Skill Level
Intermediate

Mater Chair for a child.

Submitted by justjeff52 on Mon, 12/01/2014 - 13:44

This is a chair I made from the Super Easy Adirondack Chair plan from your website.

Estimated Cost
$75.00
Estimated Time Investment
Weekend Project (10-20 Hours)
Finish Used
paint
Recommended Skill Level
Intermediate

Comments