Community Brag Posts

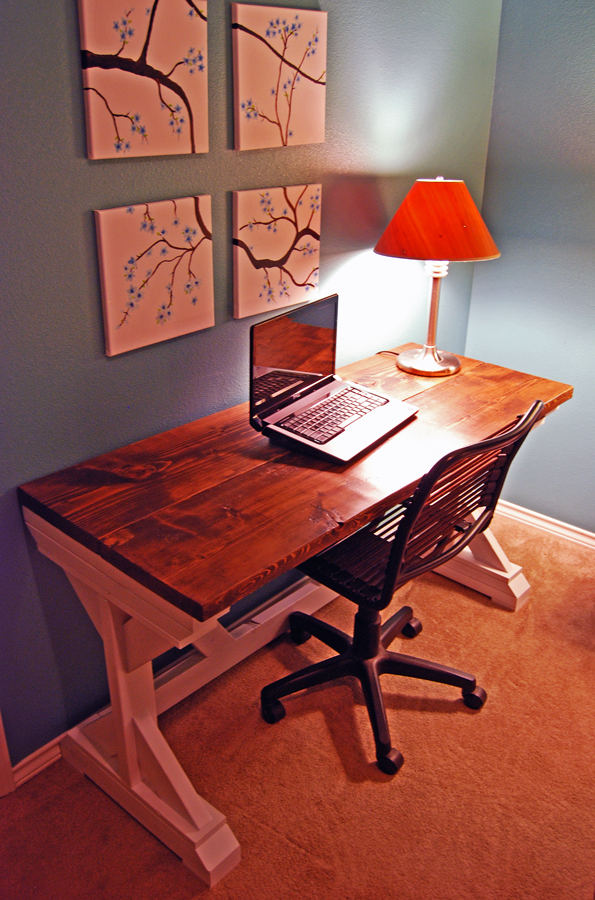
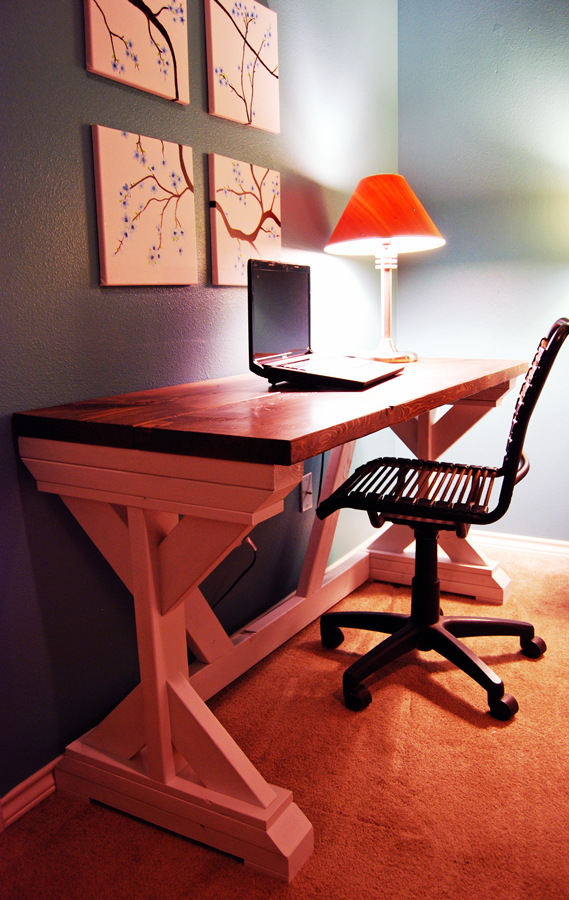
Rustic Desk

Submitted by frmoody on Sat, 09/11/2021 - 06:10

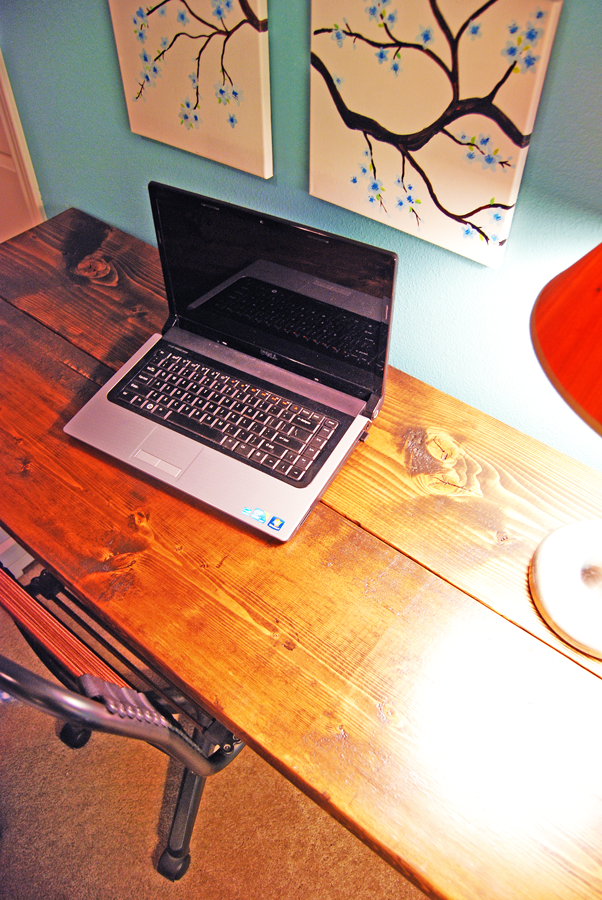
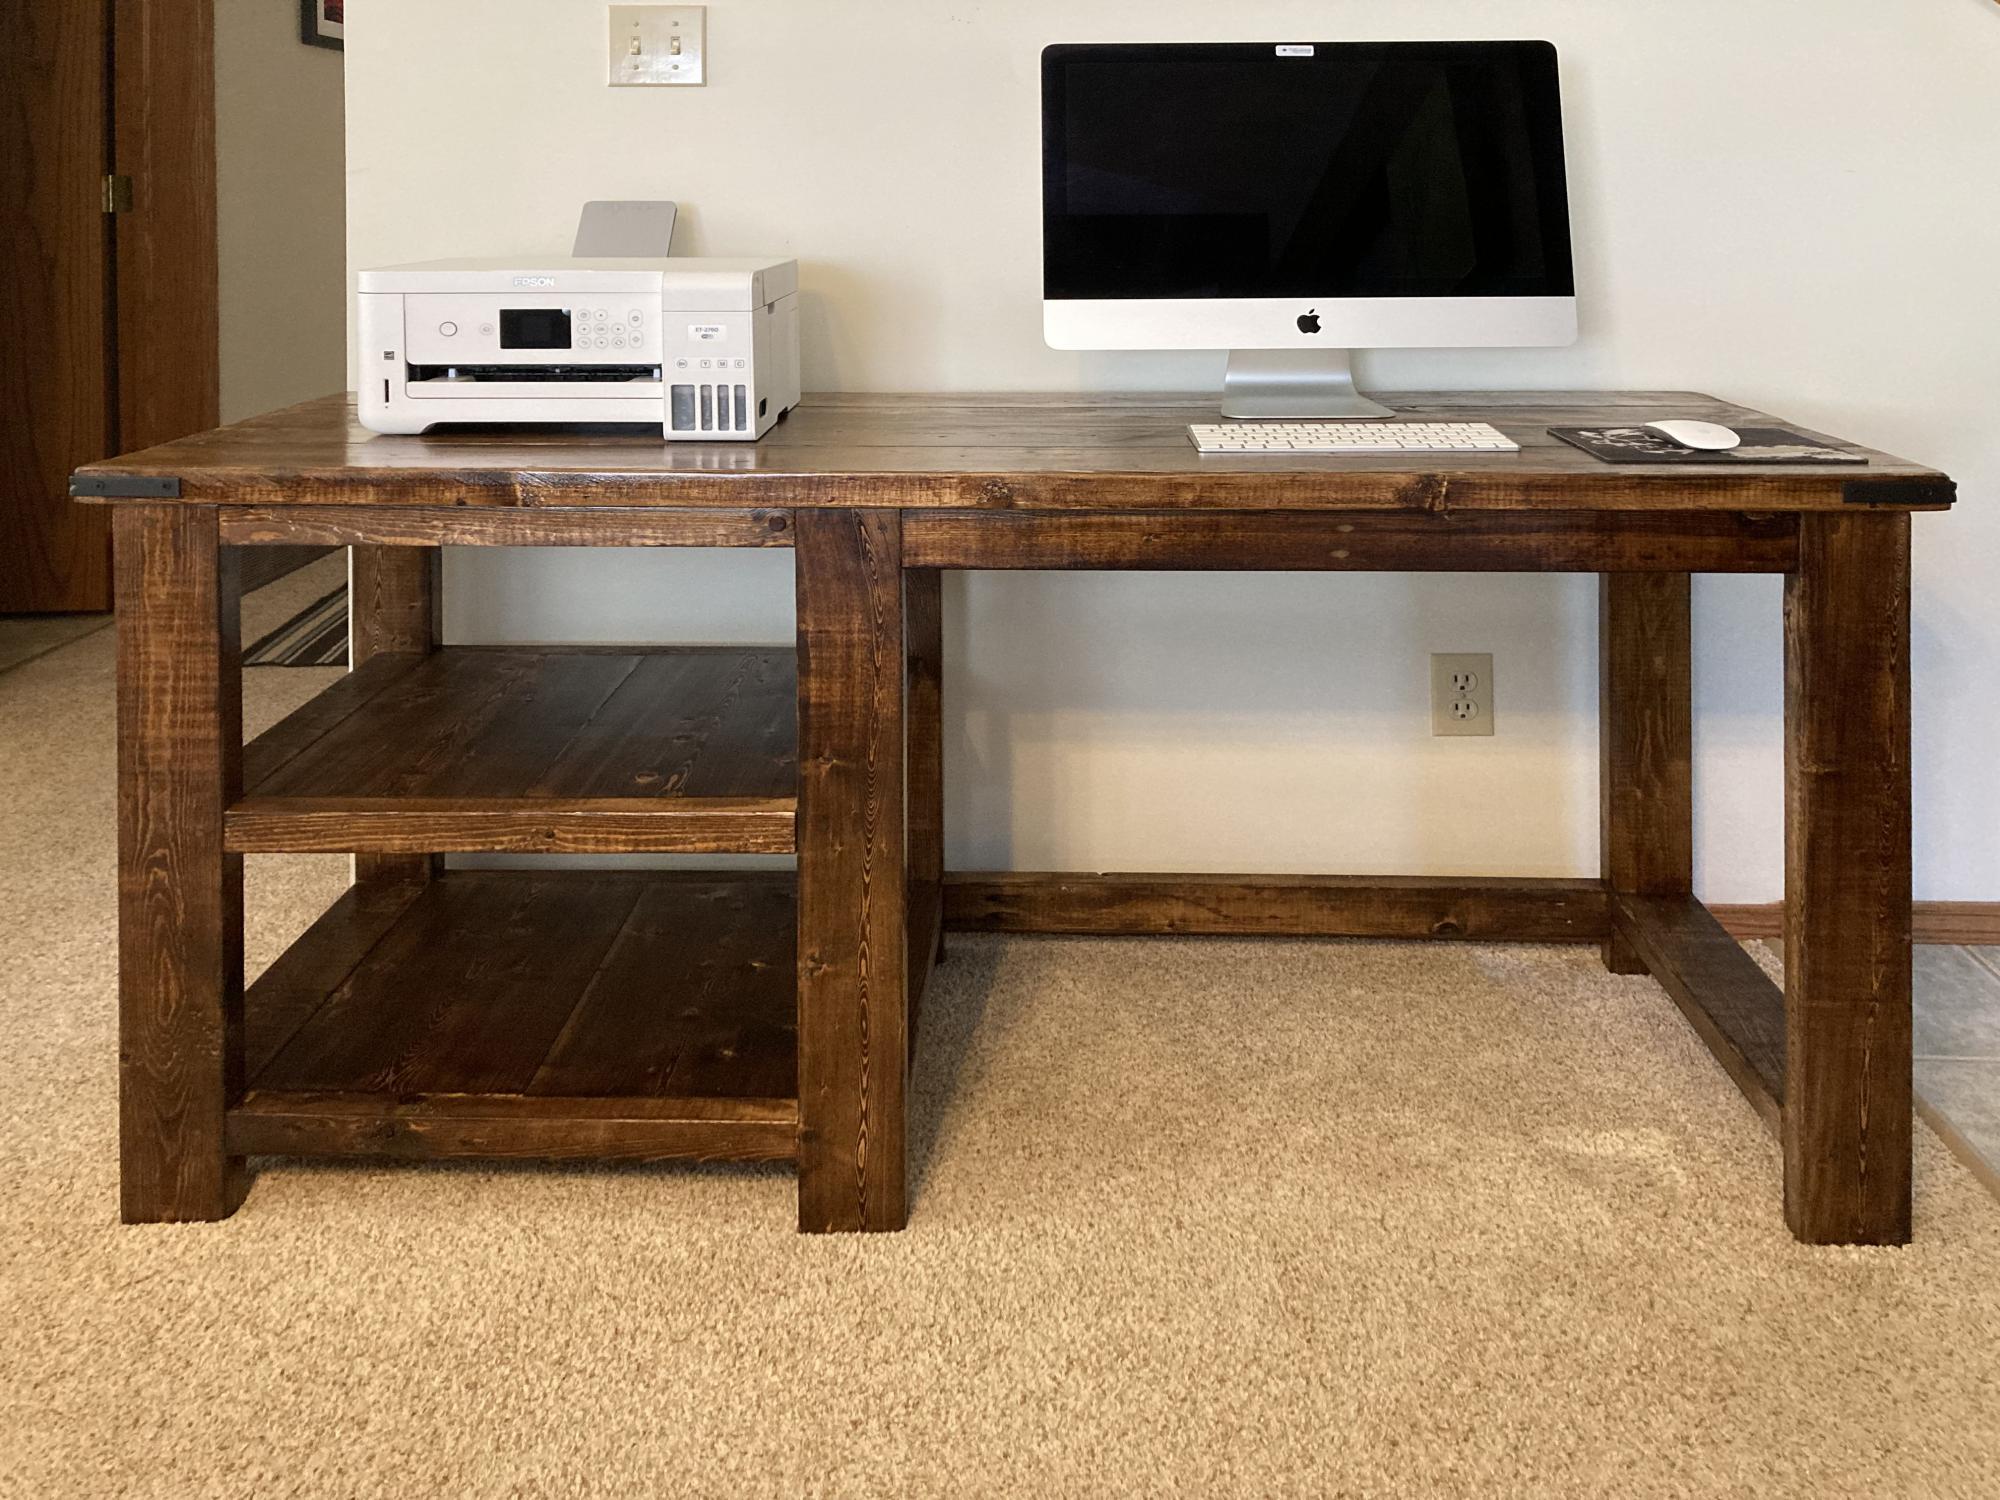
I have build several of these rustic desks. I left the "X" off of this one as I had trouble getting it to fit properly. My last desk I had no issues but not this time. I use MinWax "Provincial" stain followed by three coats of Varathan 3X glossy finish on the top and two everywhere else. I also added a cross piece between the two end sections to better secure the top to.

Built from Plan(s)

Comments

Outdoor Console Table

Submitted by scokenour on Wed, 05/01/2013 - 16:32

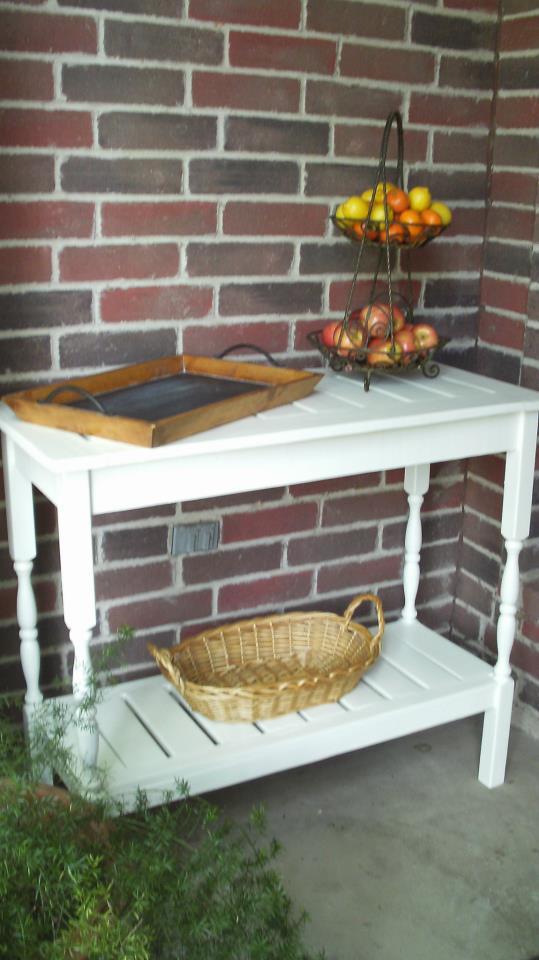
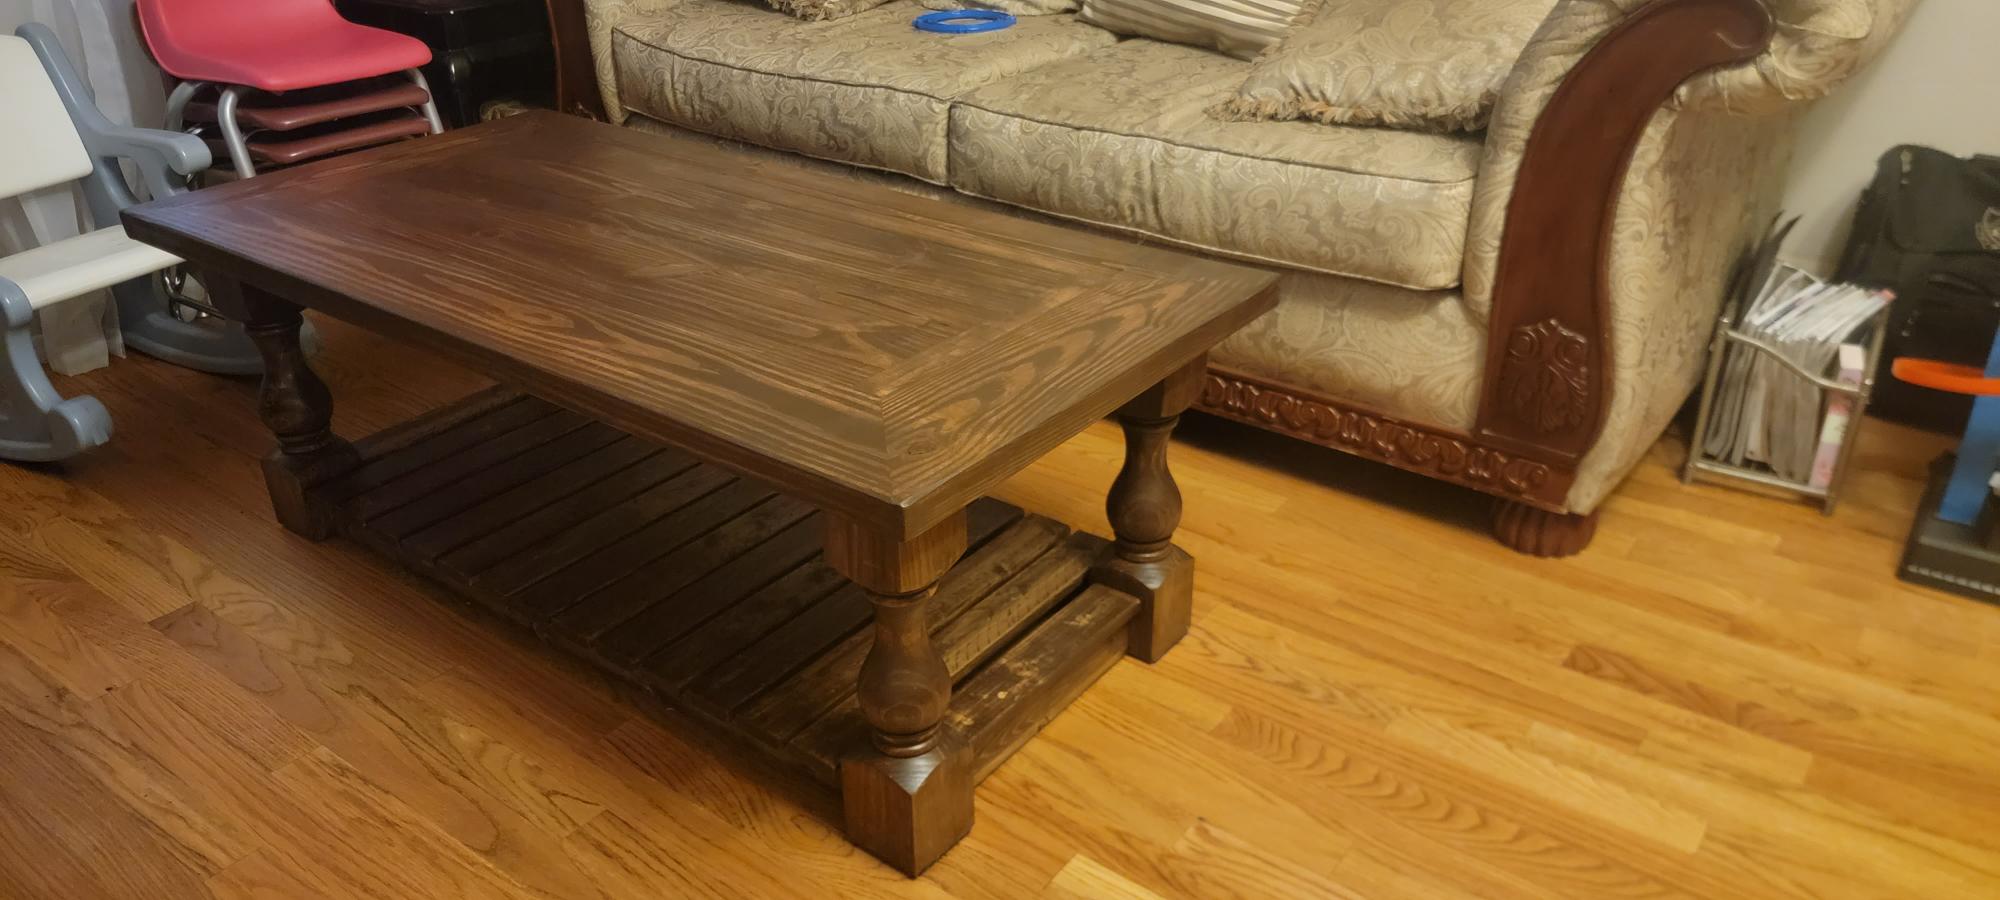
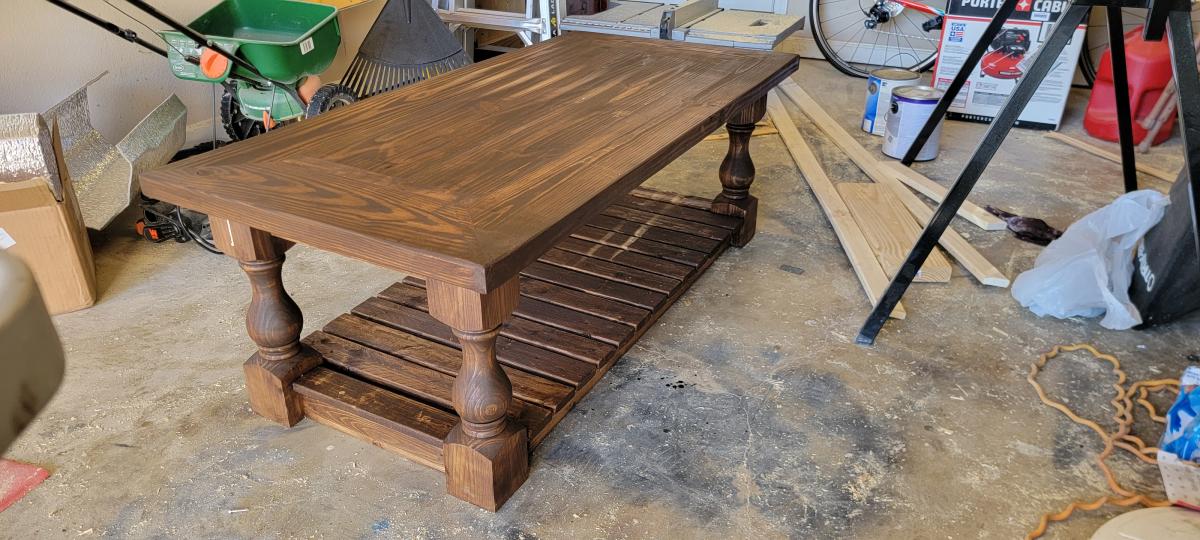
I have a small booth at a local Outdoor Market & a client asked if I had any outdoor tables - she needed some for an upcoming party. I tried convincing her that a potting bench would be perfect (since Ana already had plans for that), but she wanted something a little different. She shared a picture of a "Faraday" console table by Pottery Barn, so I used that as my inspiration. I opted for a counter-height table vs. a table height, but both can be easily achieved using the same size balusters, just cut accordingly. I did have a hard time finding "chunky" balusters with a "flat" section on both the top and bottom. I didn't want to use pre-made legs because they are too pricey. At both Orange and Blue they had "skinny" balusters, but at the Orange near my home I found 1 thicker baluster. I had to go to another store to find more in stock, so supplies may vary in your area. The balusters were less than $3 each. Ana was so kind to create plans and I hope you enjoy your table as much as my client enjoyed hers!

Estimated Cost
$40
Estimated Time Investment
Afternoon Project (3-6 Hours)
Finish Used
exterior grade semi-gloss
Recommended Skill Level
Intermediate

Comments

spiceylg

Thu, 05/02/2013 - 07:31

Really like this and love how you used balusters for legs for added detail.

Rustic End Table

Submitted by mtairymd on Sun, 03/22/2015 - 09:04

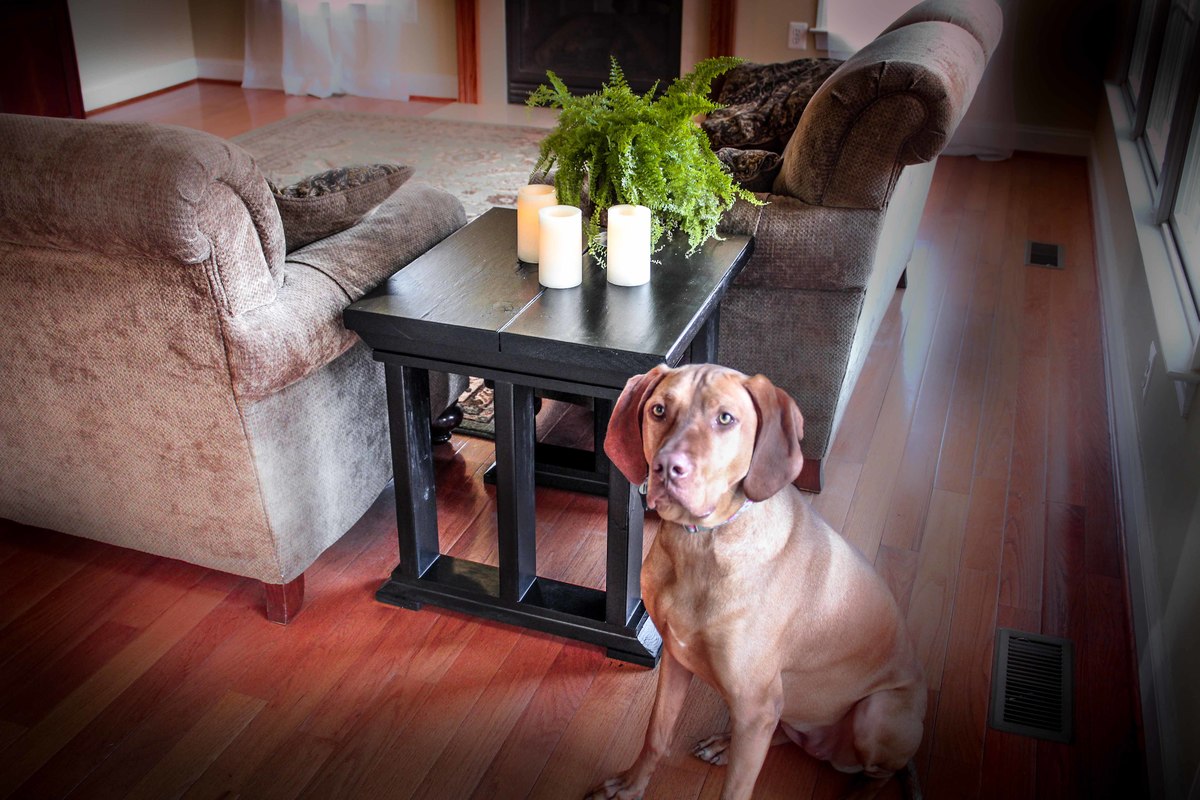
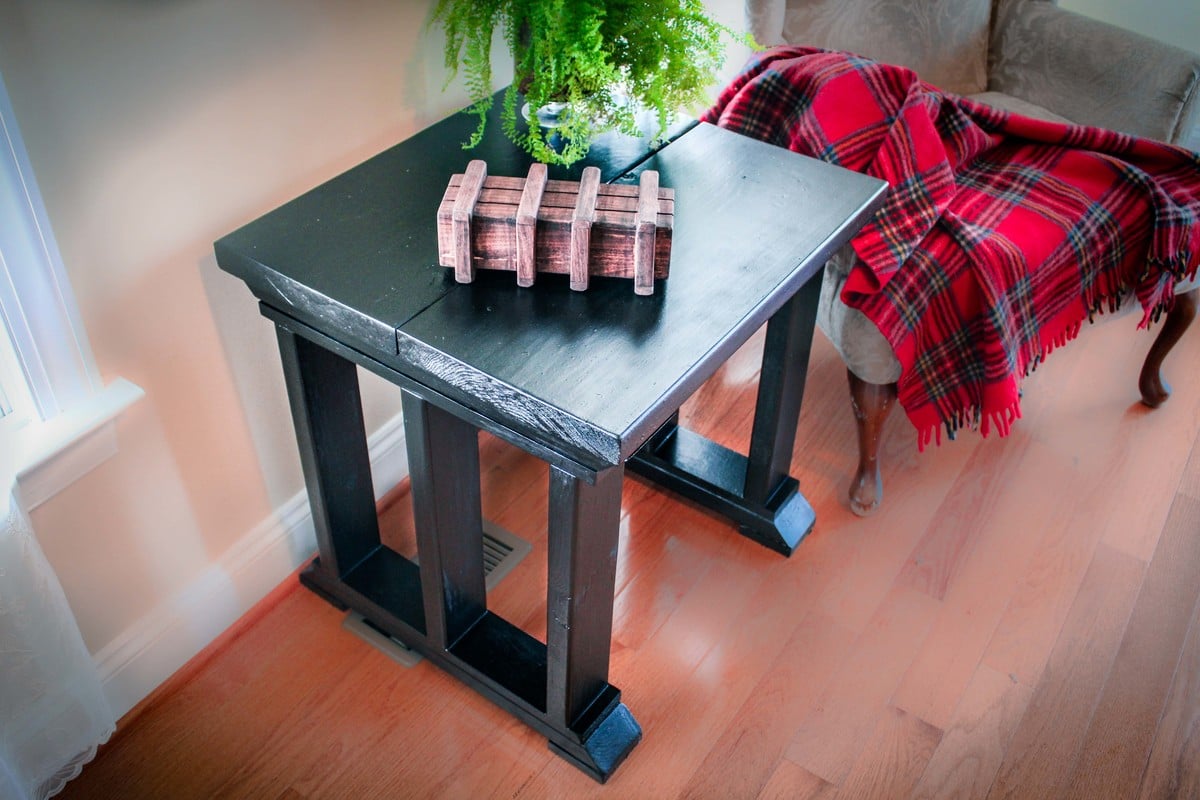
This End Table matches the shelf from a few weeks ago which is my attempt of matching the $55 Fancy Desk from Ana White.  As with the shelf, the design is simple, easy to make and is relatively low cost (under $25).   

Estimated Cost
$25
Estimated Time Investment
Afternoon Project (3-6 Hours)
Finish Used
PolyShades Classic Black Satin Stain and Polyurethane from Minwax
Recommended Skill Level
Beginner

Comments

Brayden and Harper's Playhouse

Submitted by Anonymous (not verified) on Fri, 06/23/2017 - 07:51

Built by my son and I. Followed the awesome plans for that most part. 

Recommended Skill Level
Intermediate

Comments

Modern Loveseat and Couch

Submitted by Anonymous (not verified) on Sun, 09/26/2021 - 12:00

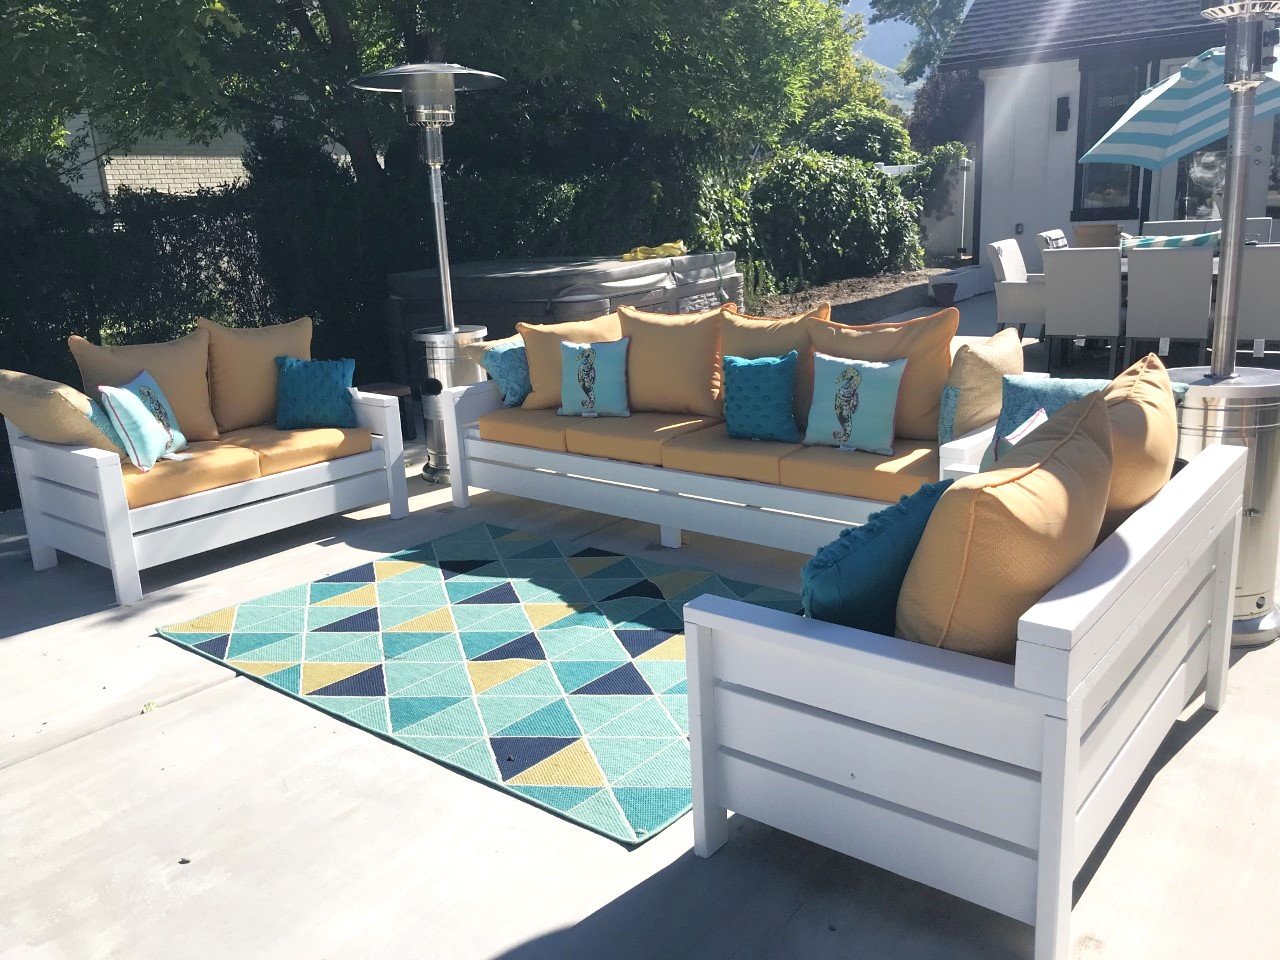
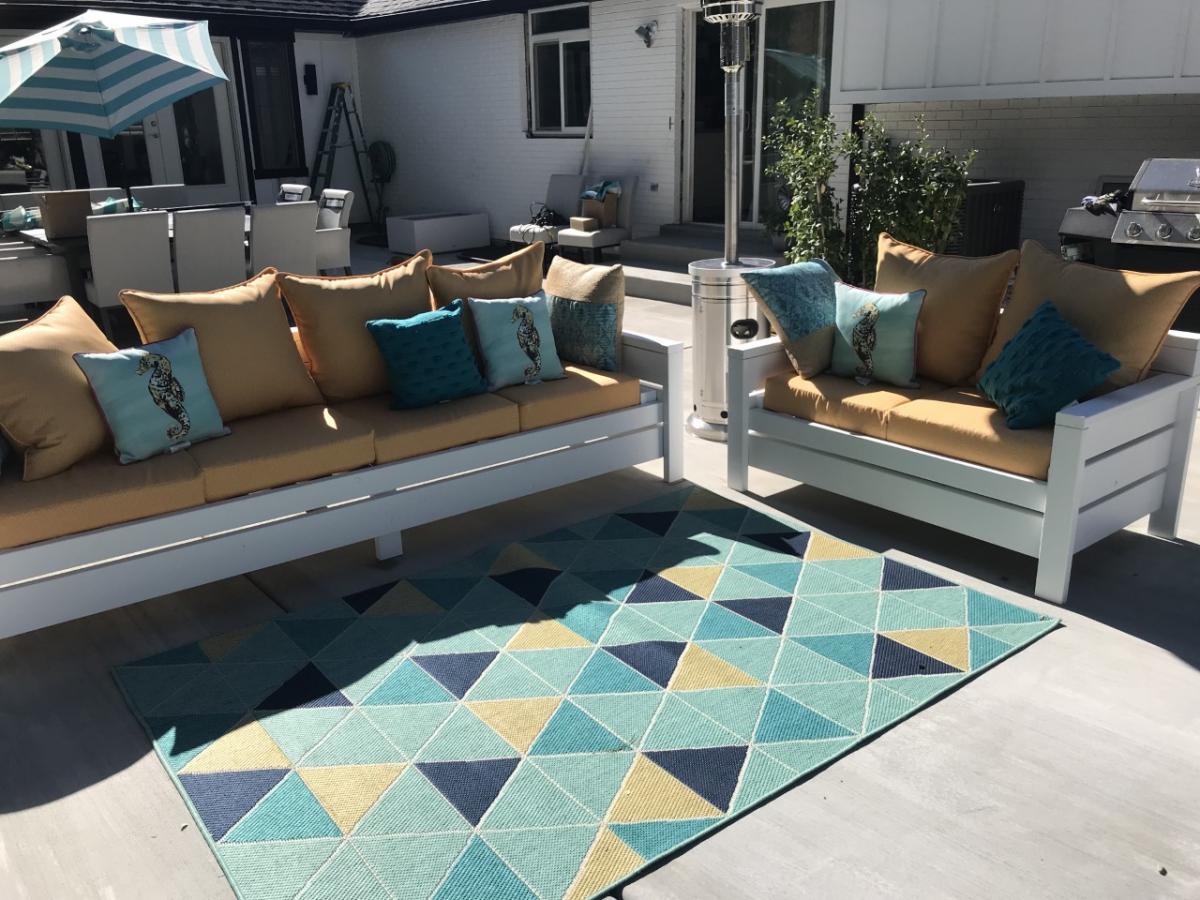
We were looking for outdoor furniture big enough for our whole family and friends but everything we looked at was over $5000 and really not well made. Ana to the rescue.
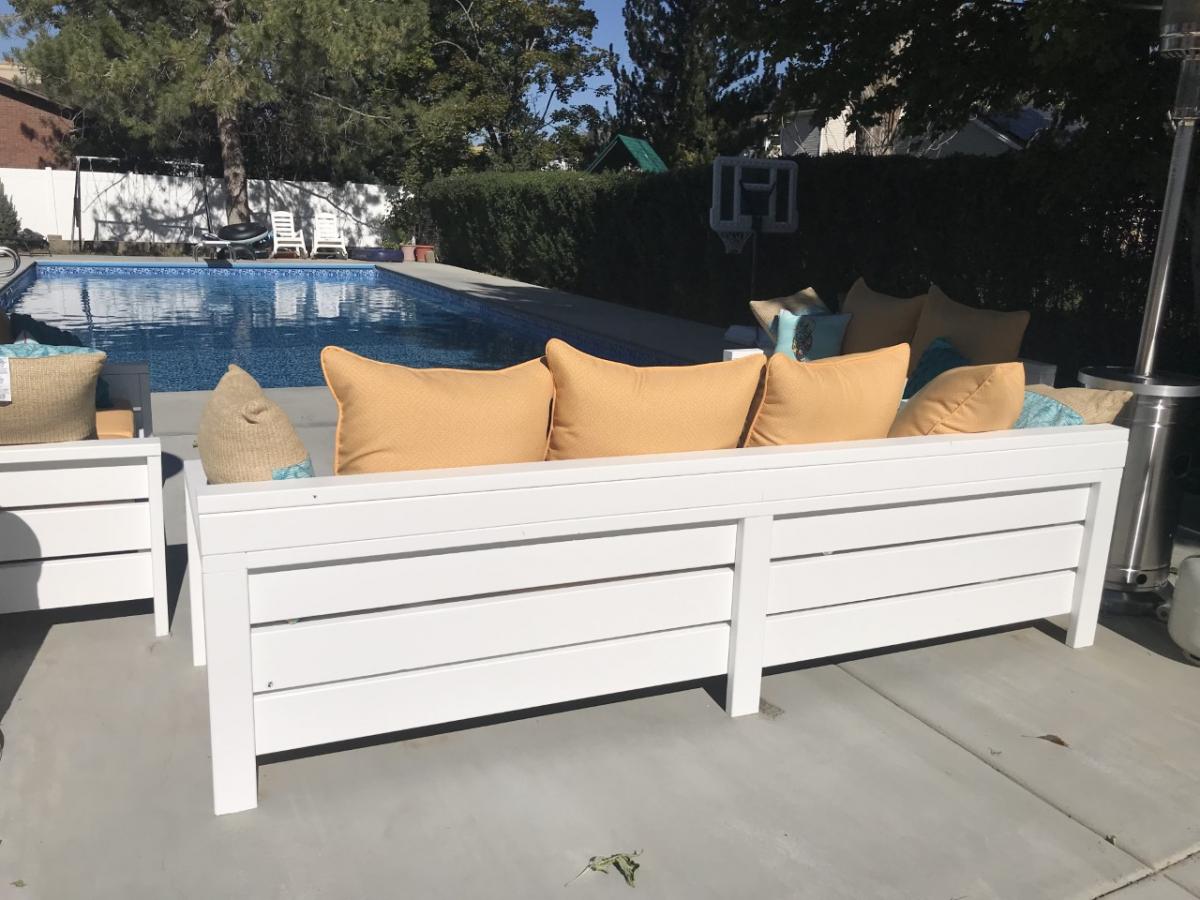
We built 2 loveseats and created a couch by doubling the dimensions.
We built the whole thing out of redwood so total wood was about $1000
The cushions were from Overstock and Lowes, approx $300.
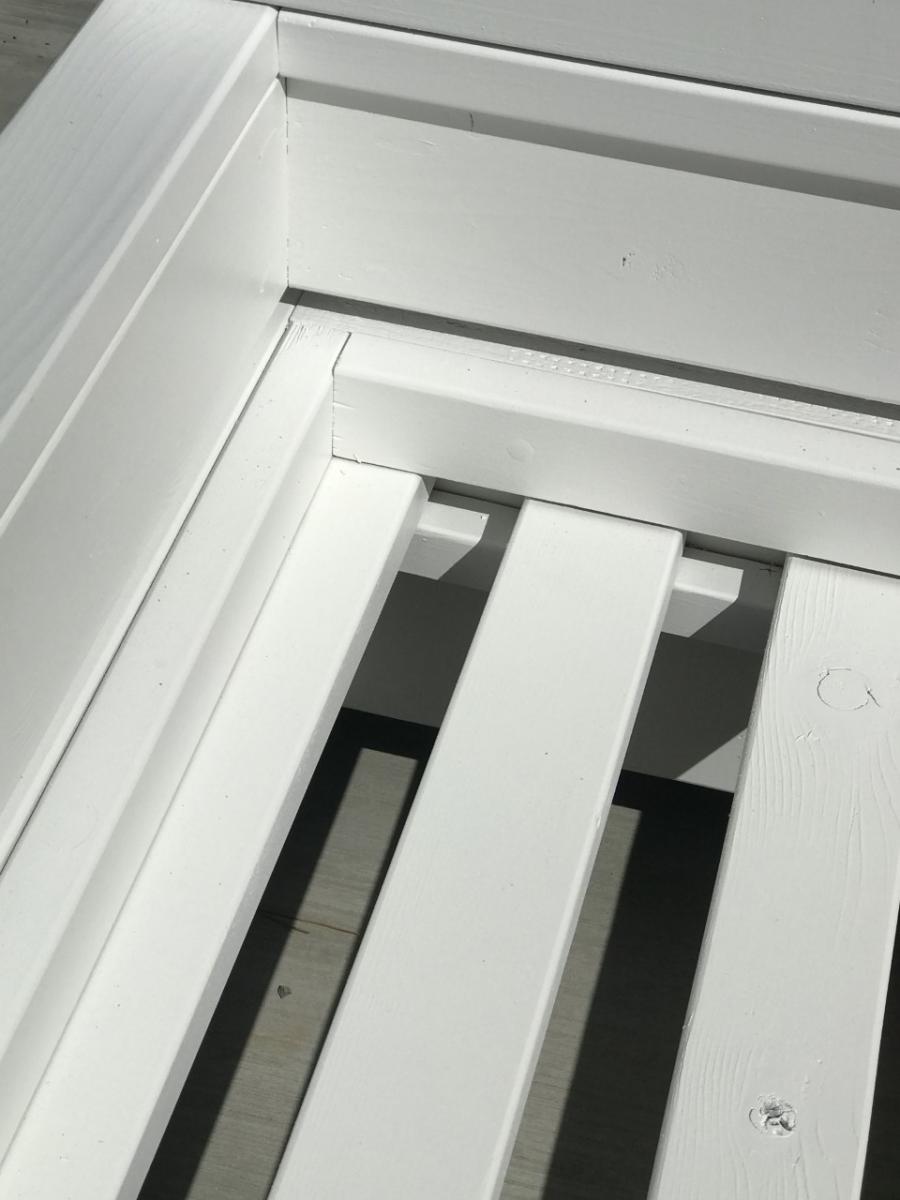
There was a too much wiggle room with the cushions so we made a built-in frame to hold them in place. If we built another I would have cut the width down slightly.
We placed a 4X4 and another 2X4 on top of the back to provide more support.
All in all, love the way it turned out.

Seasonal And Holiday

My first DIY project!

Submitted by Celeste808 on Sun, 05/05/2013 - 10:30

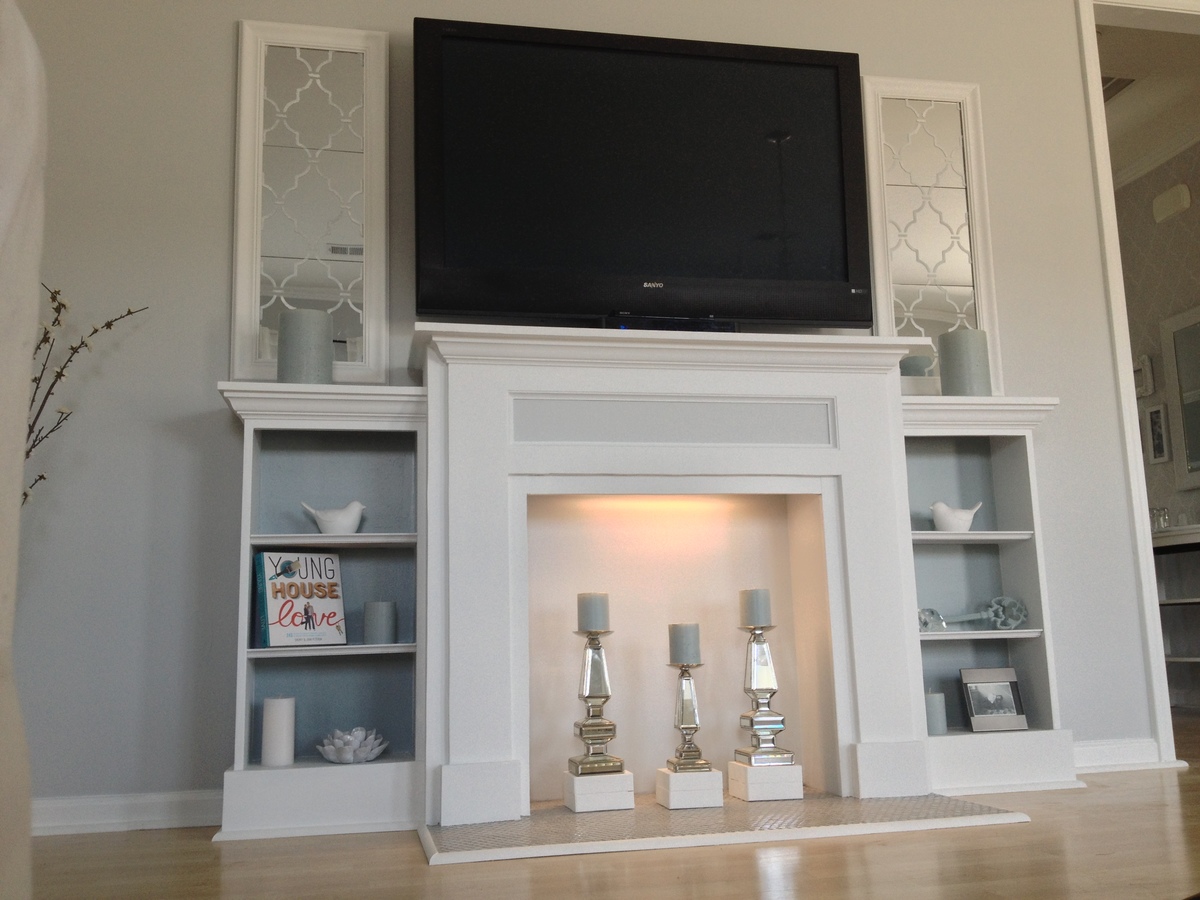
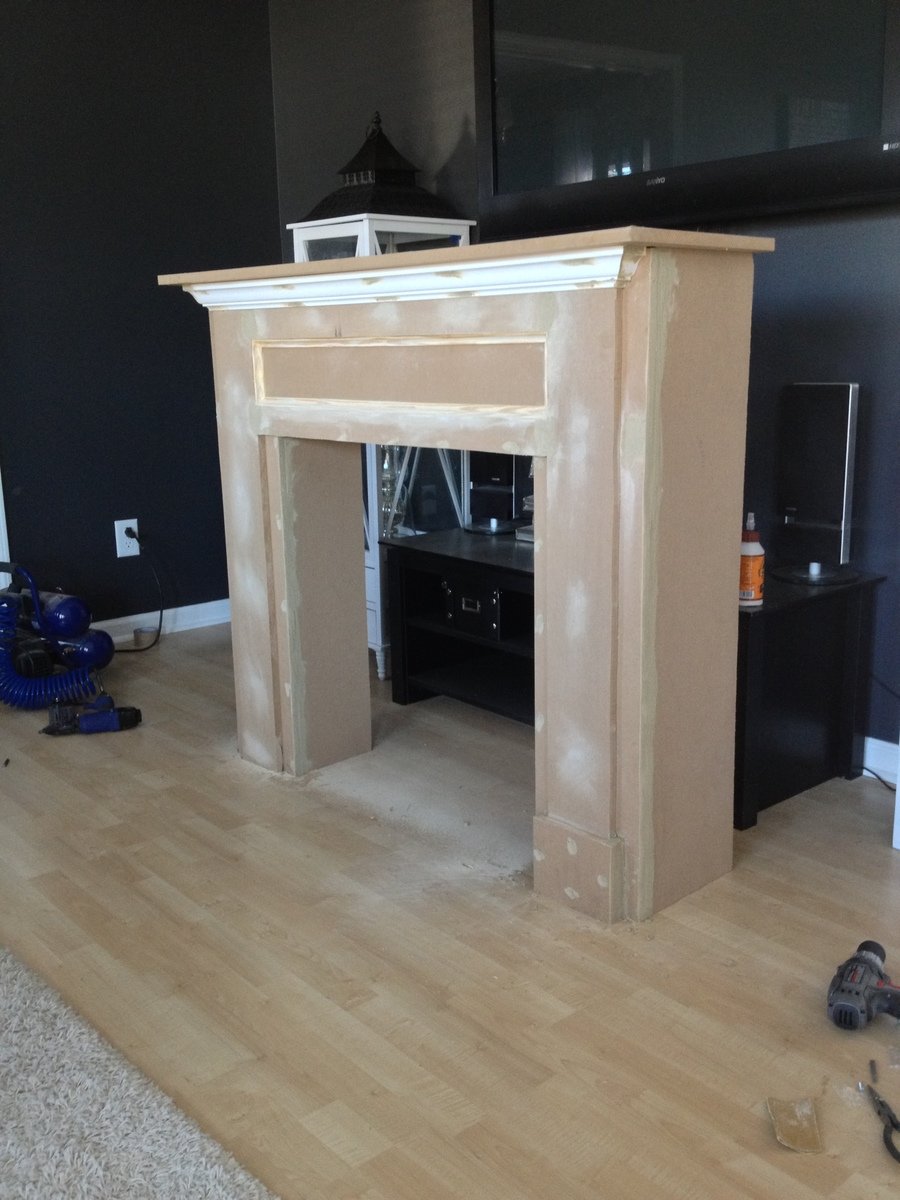
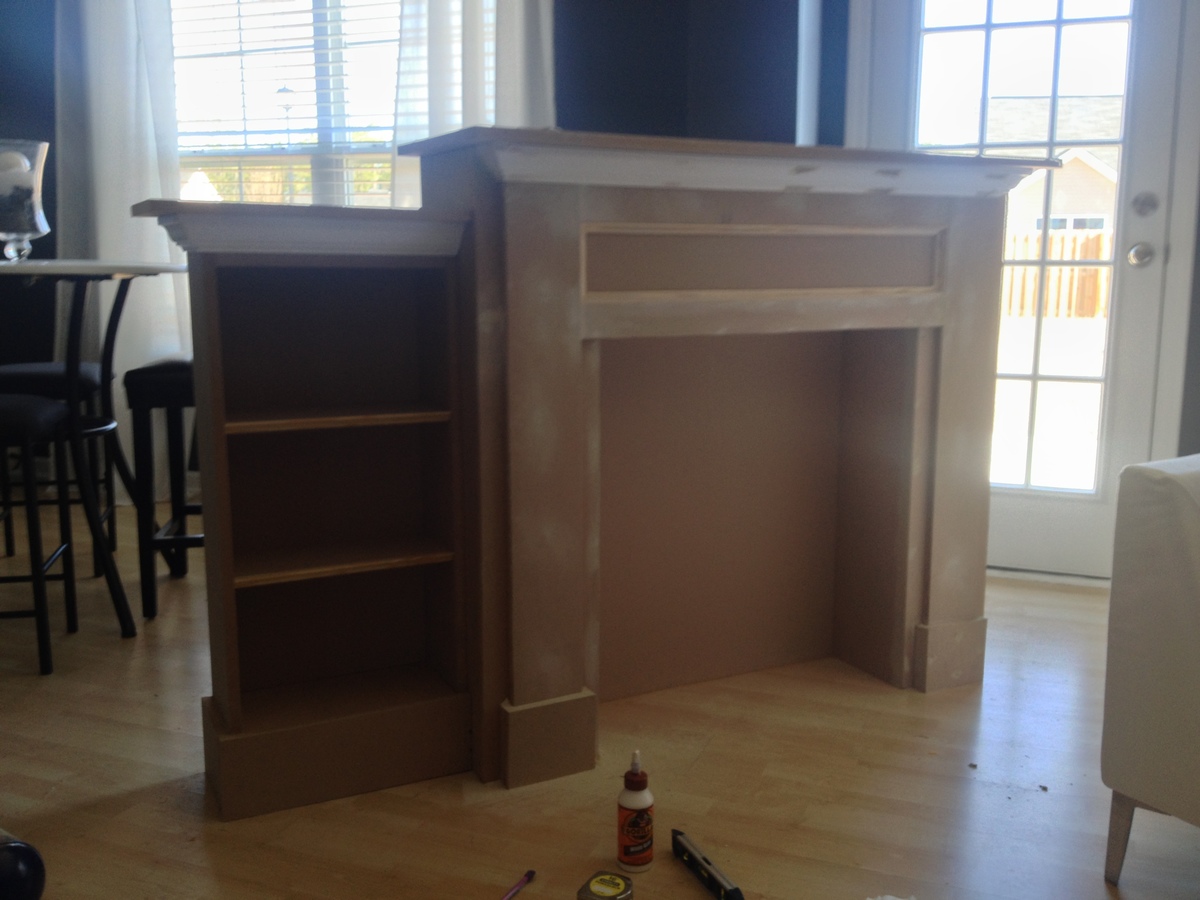
Finally Completed!!! Thank you rainy Saturday! So I wanted a new entertainment center of sorts... couldn't find one that was just what I wanted..... so why not just build what I want! Just DIY it. ;)

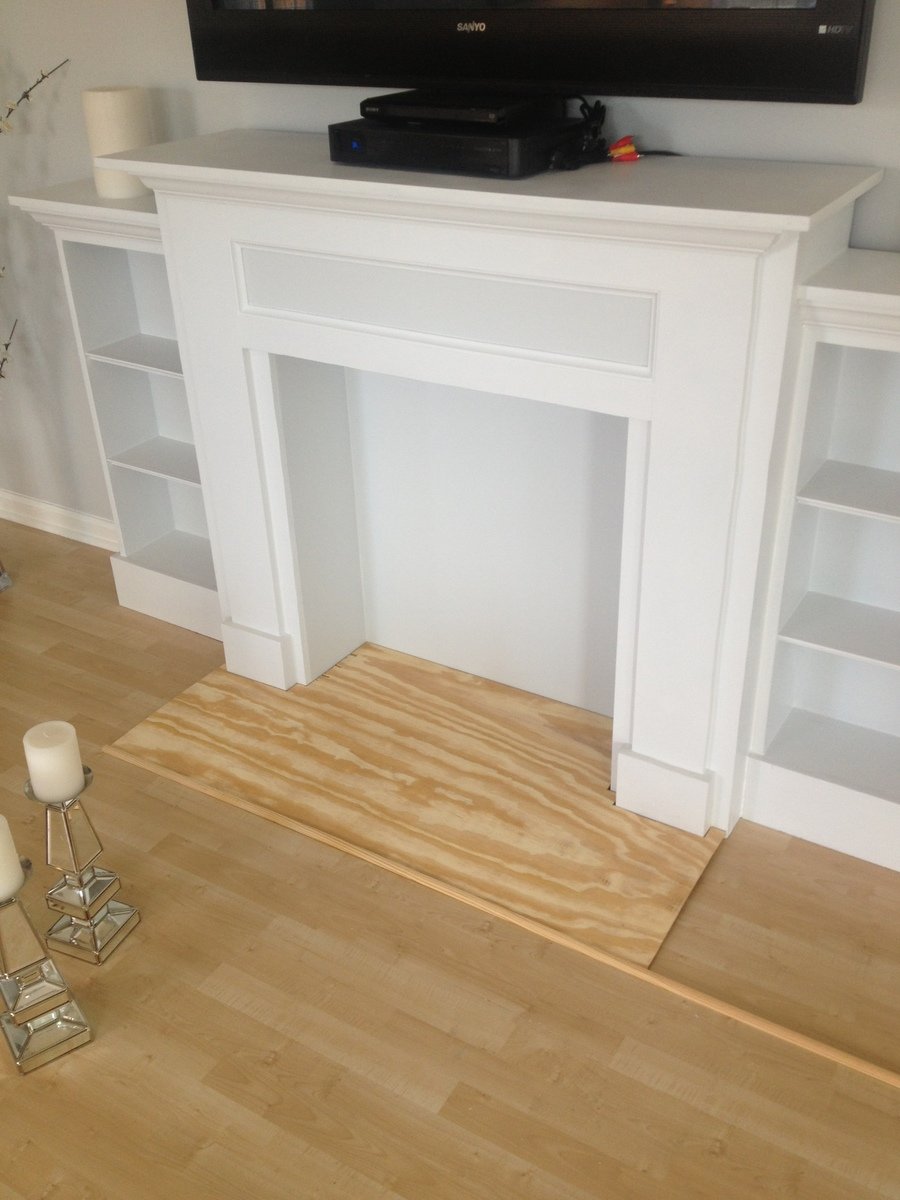
I used the faux fireplace plan and modified it to have attached shelves on the sides. I also added an extra strip at the top of the fireplace opening so I could mount an LED bar light.

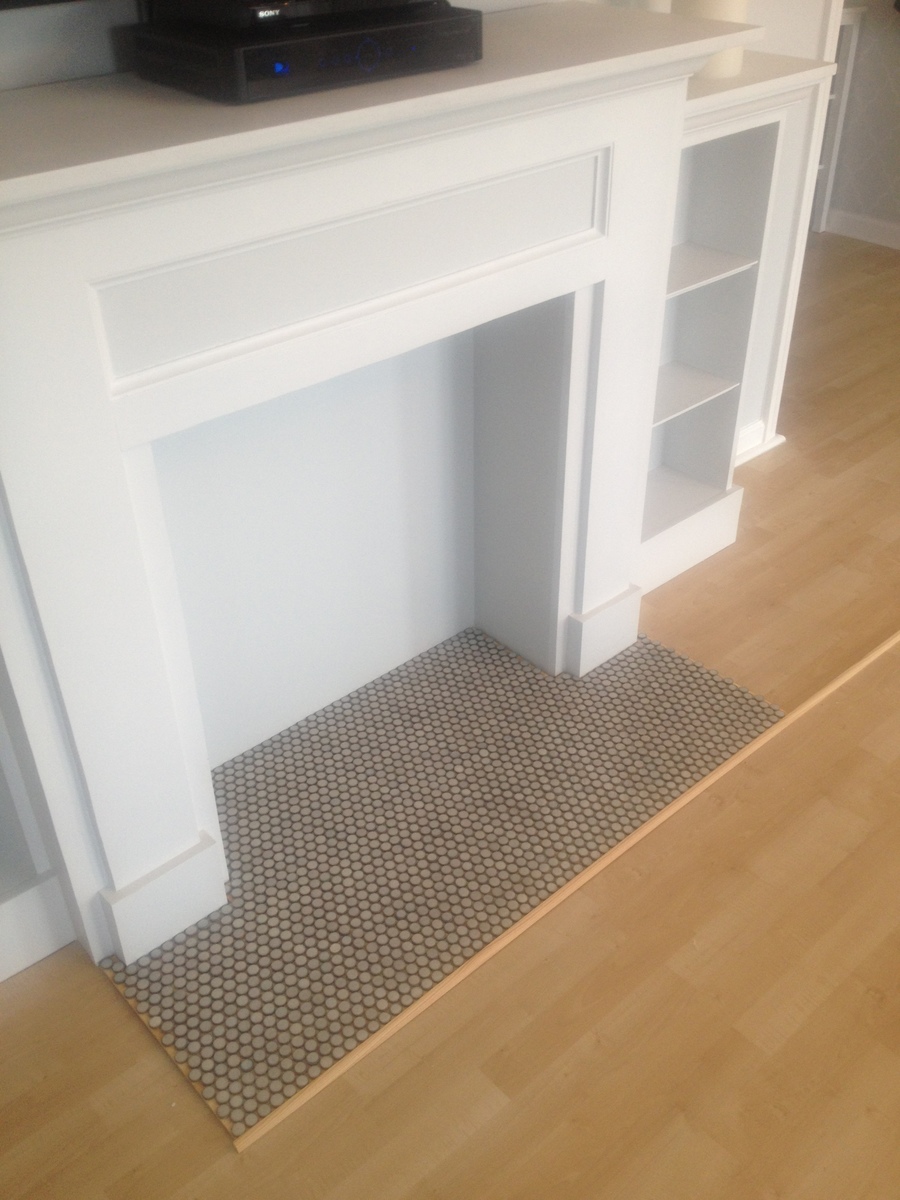
I used 1/4 plywood to make a tile base, penny tile, and 1/2 quarter round to finish out around the entire bottom.

Total project cost was less than $200 including the tile and light!

Best part is the whole thing is movable!

Thanks Anna White for such an awesome plan to start with!

Estimated Time Investment
Week Long Project (20 Hours or More)
Finish Used
MDF & plywood
Recommended Skill Level
Beginner

Comments

spkramer

Wed, 07/03/2013 - 10:24

This whole unit is great. My wife LOVES it, which means I will be building it! Did you purchase the two shelf units or build them yourself? Did you use a pattern or plan? Thanks!

Alisonwunderland

Wed, 07/31/2013 - 13:09

This is amazing! Exactly what I'm looking for! Did you change the depth of the mantel to make sure the shelves would be deep enough to hold things?

Celeste808

Sat, 08/03/2013 - 18:25

I did make the depth of the fireplace deeper so I could have room for the halves on the side. I just sketched out the dimensions I wanted the side shelves and built them along the same lines as the fireplace. Wasn't hard to figure out and just made it to fit the size I needed. The inset of the fireplace does not go all the way back to the wall either, that way the power strip can fit on the floor behind it. Glad you like it and thanks for the compliments!

EAnne

Wed, 07/23/2014 - 14:54

Hi Celeste 808, What a wonderful faux fireplace WITH the bookcases, especially. I'm hoping I can try this in our space challenged bedroom. Did you by any change reply to the chap who asked if you had some kind of dimensions or plans you could pass along to us? I would love to see if we can make it work in the space we have available.
Thanks again for the inspiration,
e

jrybolt26

Mon, 10/28/2013 - 18:25

I absolutely love what you did with this. I am going to have my fiance help me make this for our house. If you still have the dimensions and details of how you built the whole unit I would greatly appreciate it if you could post it.

mommyof2cuties

Sun, 04/13/2014 - 13:00

This is gorgeous & I can't believe it's your 1st project. I would love to build this too. Did you use any particular plans for the side units? If you have any tips or information to share, that would be great! I've actually been trying to make up my own plans using Sketch Up, but that's not working too good, lol. Again, great job & thank you.
Lynda

emswave

Sun, 02/08/2015 - 12:31

I'm dying to know the dimensions you added to the width. Also, the dimensions of the book shelf. I have been trying to draw up plans for the last week and I'm stuck with trying to figure it out by looking at your pictures.

PLEASE HELP!

Thanks!!

mrittgers1

Mon, 07/27/2015 - 09:15

Do you have the blue print of how you built the mantel and side book shelves? I am wanting to go buy supplies to build this tonight!!!


Thank you!

X Desk

Submitted by blenz on Tue, 03/24/2015 - 12:34

Pretty straightforward build, fun to use and build!
 

Built from Plan(s)
Estimated Cost
$70 ish
Estimated Time Investment
Afternoon Project (3-6 Hours)
Recommended Skill Level
Beginner

Comments

Potting Table

Submitted by Anonymous (not verified) on Sun, 06/25/2017 - 17:11

Thanks Ana, built it out of pressure treated wood for South Florida. Had the Home Depot cut most of the wood from your plans.


Estimated Cost
$80
Estimated Time Investment
Afternoon Project (3-6 Hours)
Recommended Skill Level
Intermediate

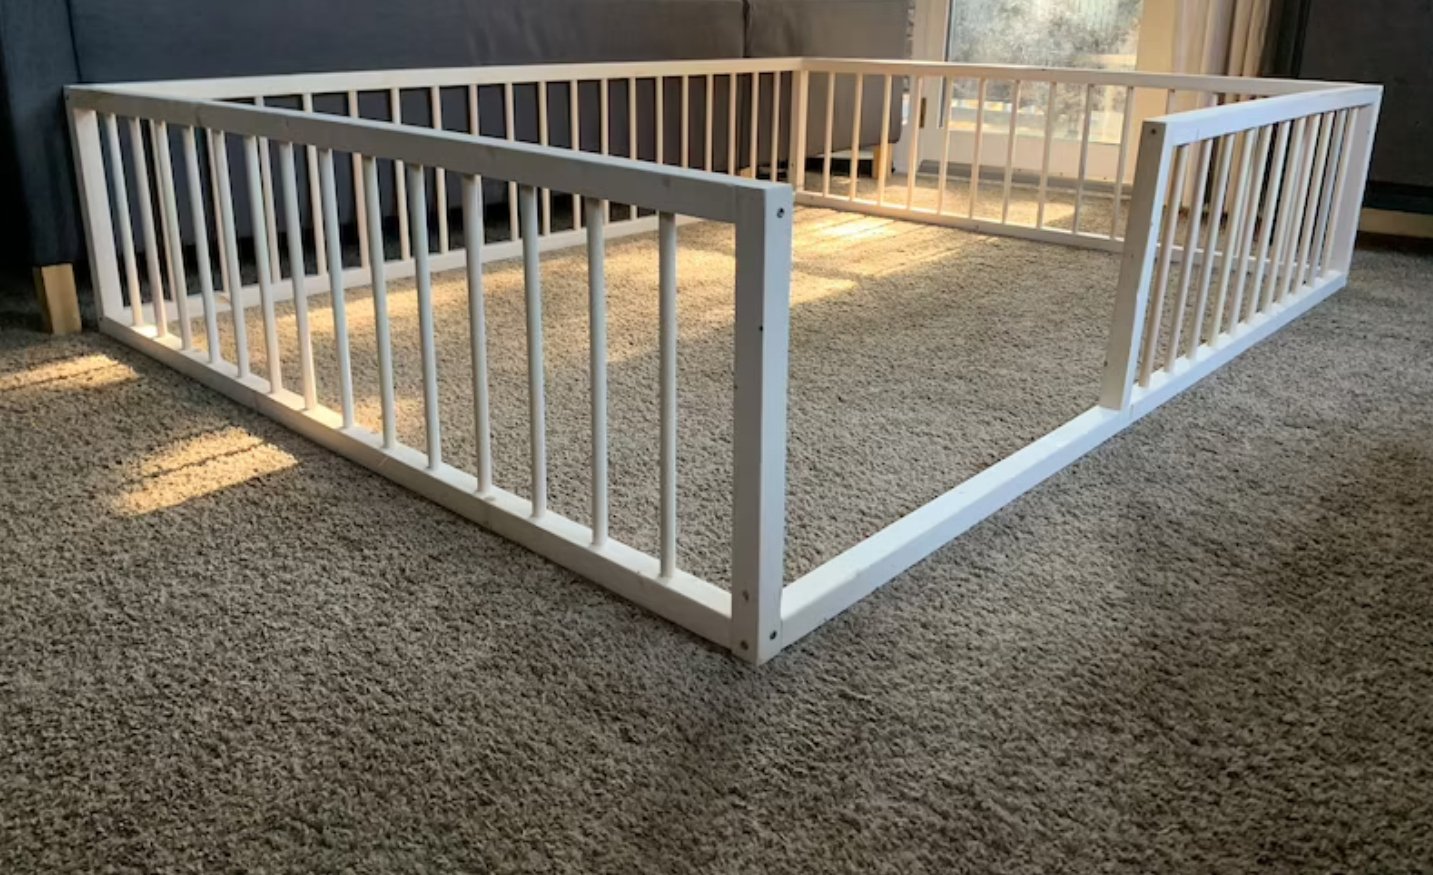
Montessori bed

Submitted by Anonymous (not verified) on Mon, 10/04/2021 - 12:24

Was a little challenging at first but I was able to pull it off and it came out to be perfect

Comments

Flip Top Storage Bench

Submitted by DMax2010 on Tue, 05/07/2013 - 05:56

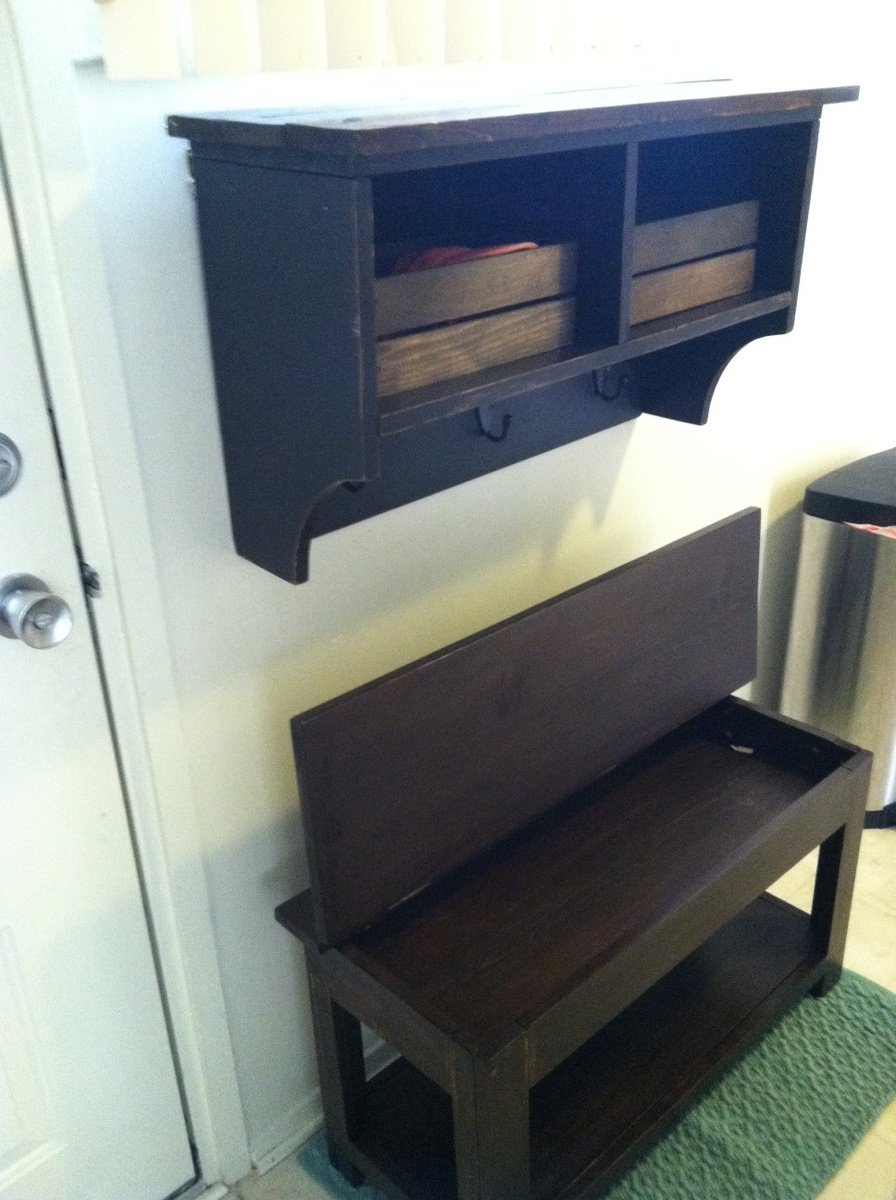
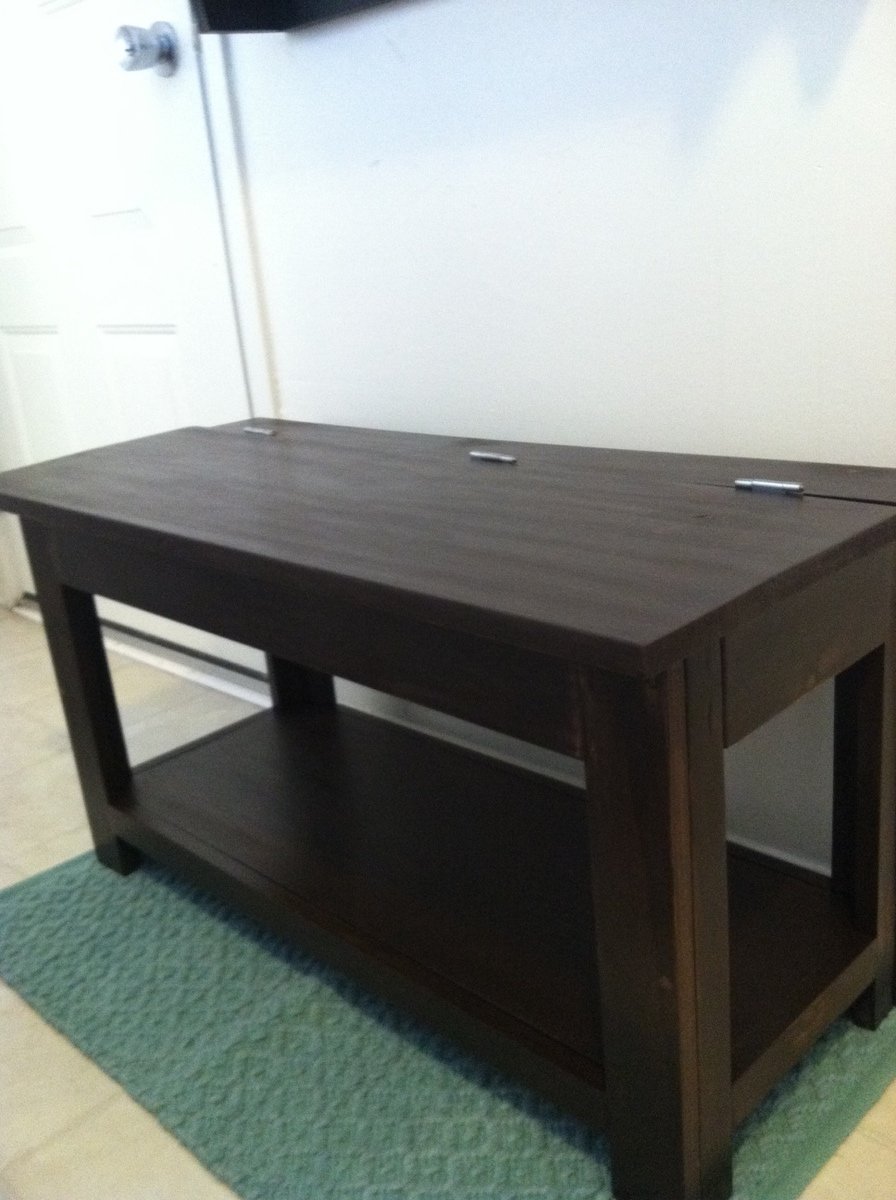
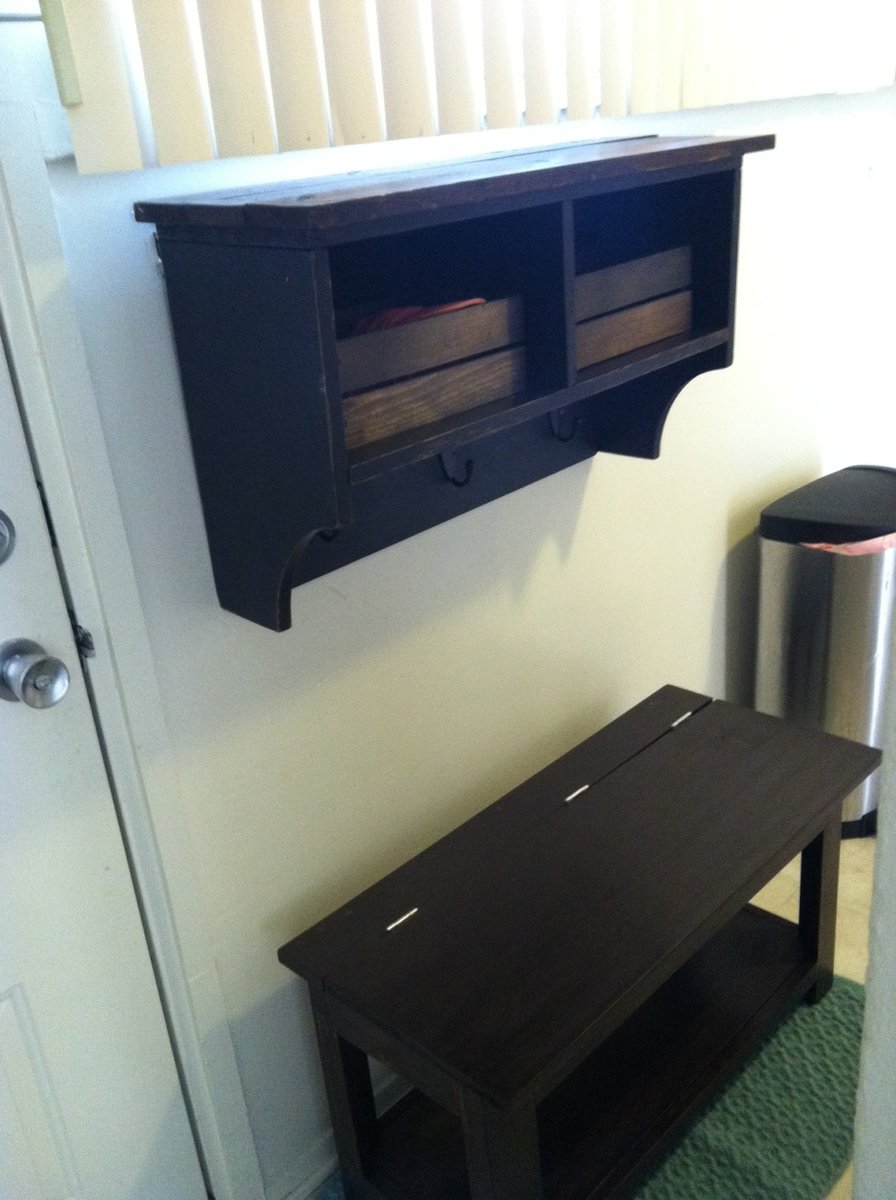
I made the entryway cubby from the book and finally couldn't stand the pile of shoes (3 year old) in the front entryway any longer! So I made the bench and my son is thrilled that he can open and close it and put things in it. I have a few touch-ups to do yet from the pocketholes and countersink holes, but I love it! It was really easy to do. I did modify the plans to fit my entryway, so it's about 36 inches long.

I love it!

Estimated Cost
40.00
Estimated Time Investment
Weekend Project (10-20 Hours)
Finish Used
Minwax Pre-Stain Wood Conditioner (1 coat)
Rustoleum Dark Walnut Stain (3 coats)
Rustoleum Soft-touch matte polyurethane (2 coats)

I sanded in between coats of finish and in between polyurethane coats
Recommended Skill Level
Beginner

Charging station/nightstand/bookshelf

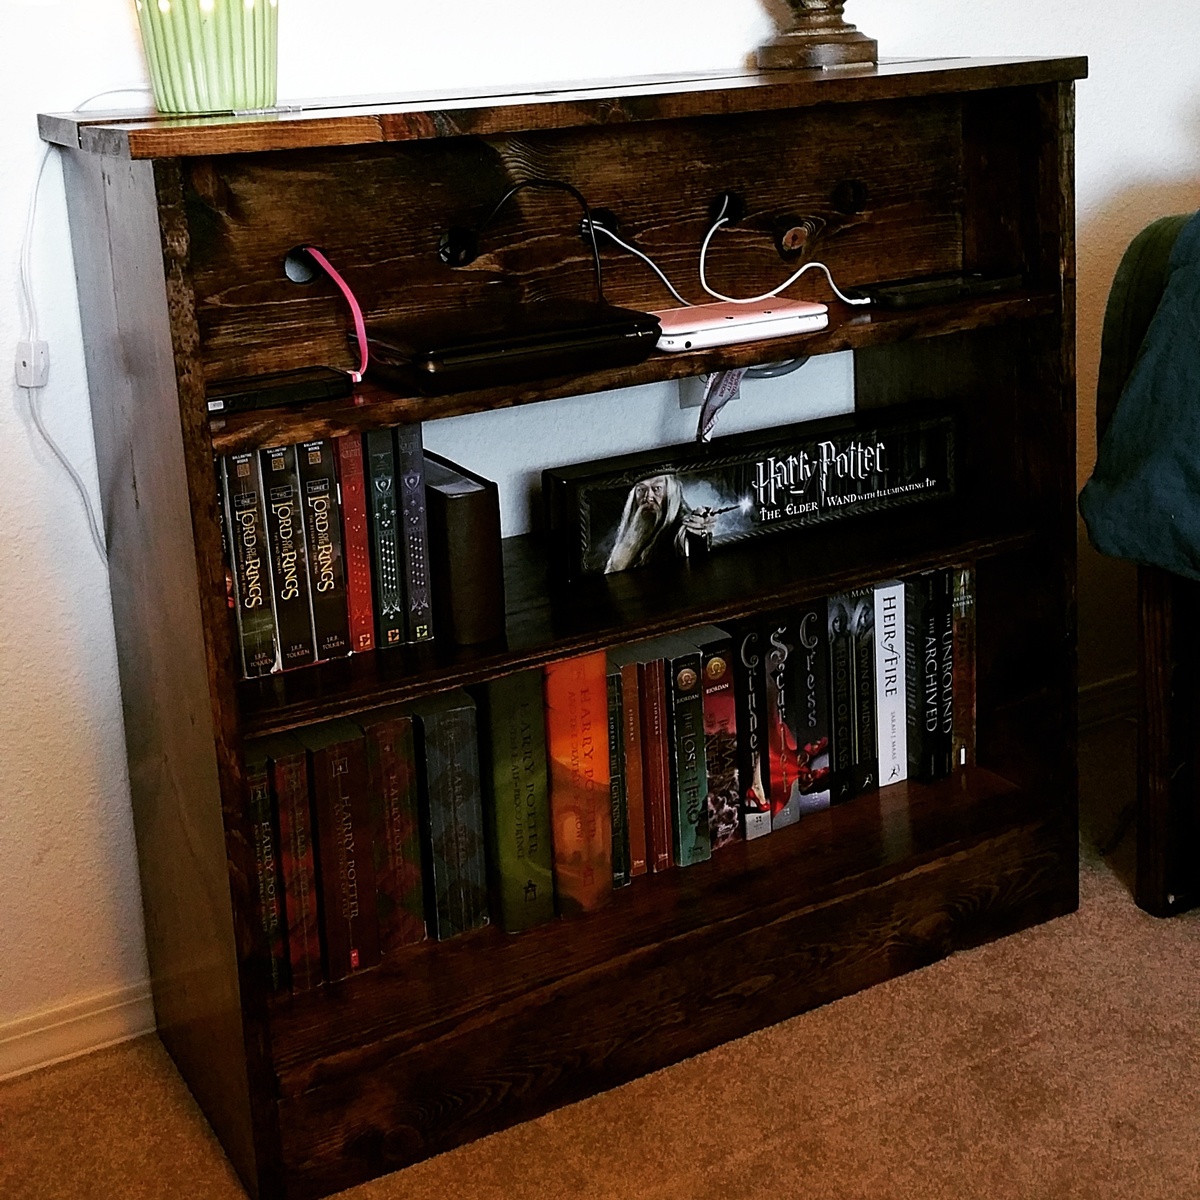
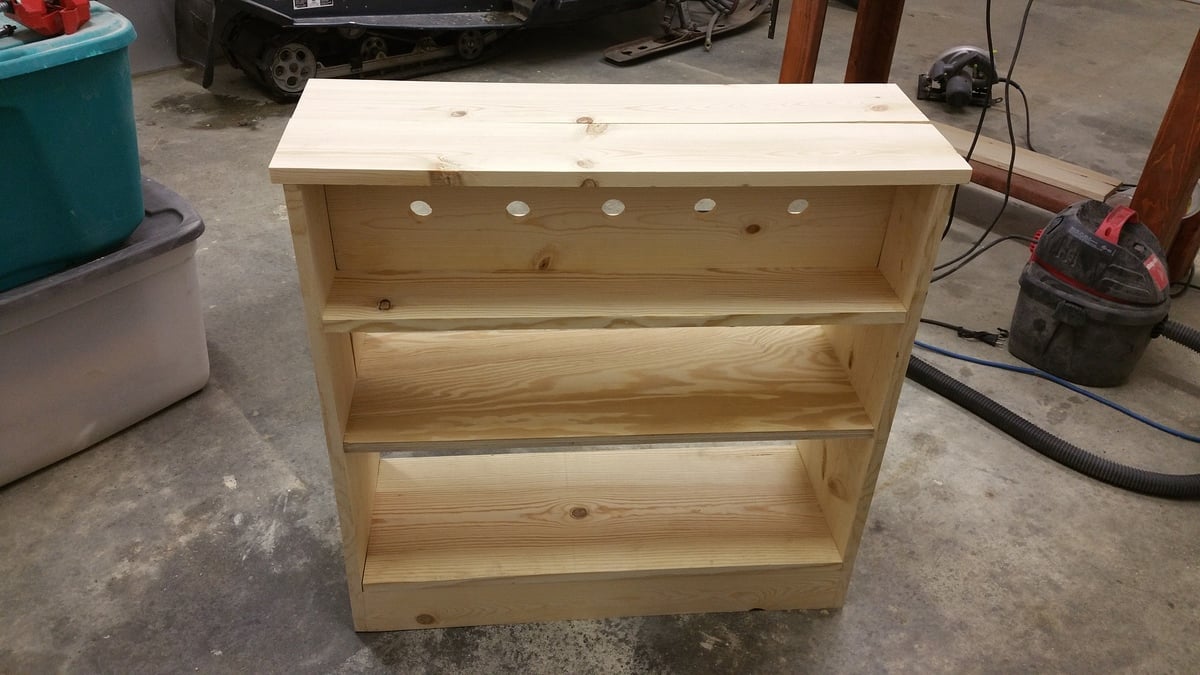
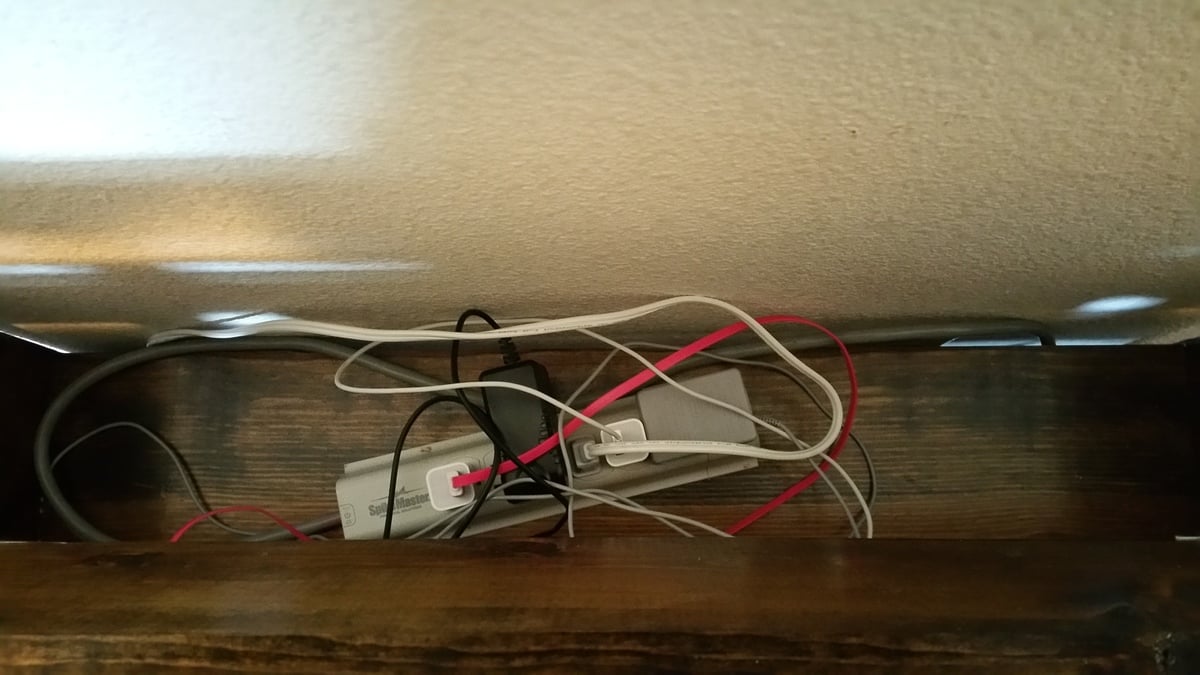
I made this a little bit taller and left off the doors since what we really needed was more bookshelf space. I'm very happy with the way it turned out!

Estimated Cost
$50
Estimated Time Investment
An Hour or Two (0-2 Hours)
Finish Used
Dark walnut and two coats of semi-gloss polyurethane
Recommended Skill Level
Beginner

Adjusted Pew Bench

Submitted by Anonymous (not verified) on Tue, 06/27/2017 - 21:13

I liked the other brag post with shorter arms

Really helps add storage to my office.  Thanks Ana and Shanty 2 Chic

Recommended Skill Level
Beginner

Latest Project

Submitted by Anonymous (not verified) on Mon, 10/04/2021 - 12:45

Built this for my mother in law. Was so excited how it turned out.

Built from Plan(s)

Comments

Gardening Shelf

Submitted by MMTruncale on Thu, 05/09/2013 - 08:23

I wanted a gift for my mom. Something special and unique I think she would really like. Once on a guest post Ana posted a jewelry holder using a board, and some mismatched knobs.

My mom likes to garden. She works so hard on her back yard, and spends a lot of her time there. How could I make this outside proof? A few Pinterest finds later I found my answer: Water Spigots.

Voila! This is what we came up with.

** It's not going to hang by a string. It will be attached to her fence. This is just for picture purposes.

http://www.countryliving.com/homes/makeovers/fast-makeover-projects?src…

Estimated Cost
$20
Estimated Time Investment
An Hour or Two (0-2 Hours)
Finish Used
No finish. We wanted a rustic look. It came out perffect.
Recommended Skill Level
Starter Project

Work bench with wheels

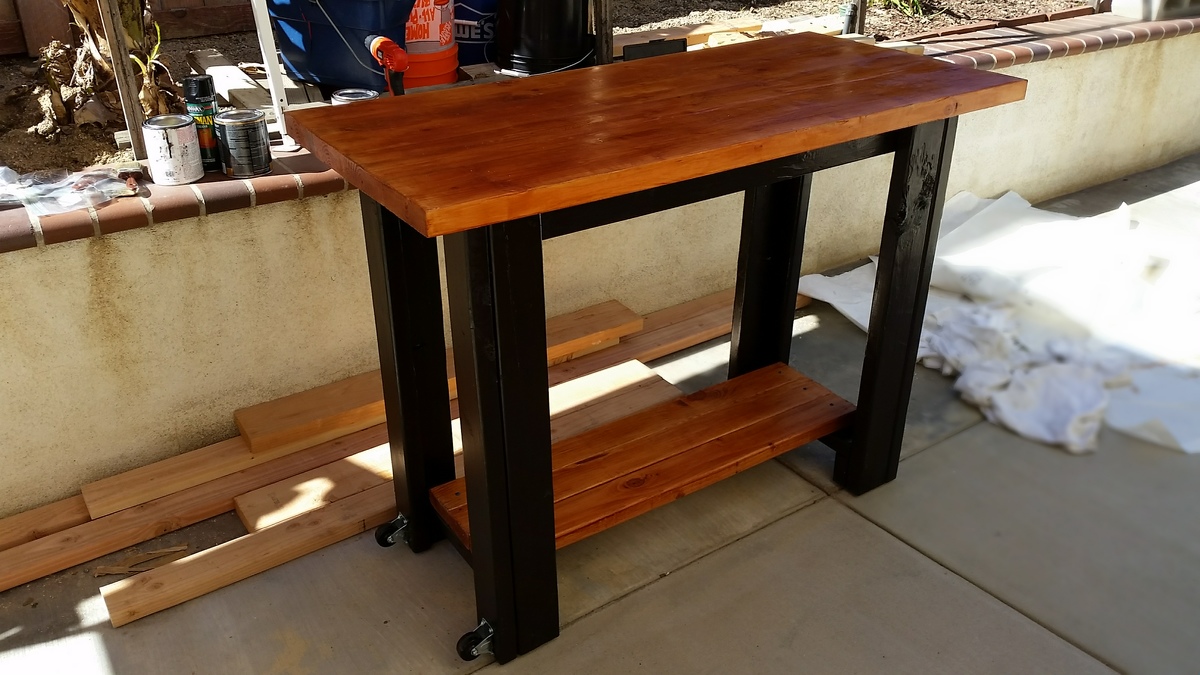
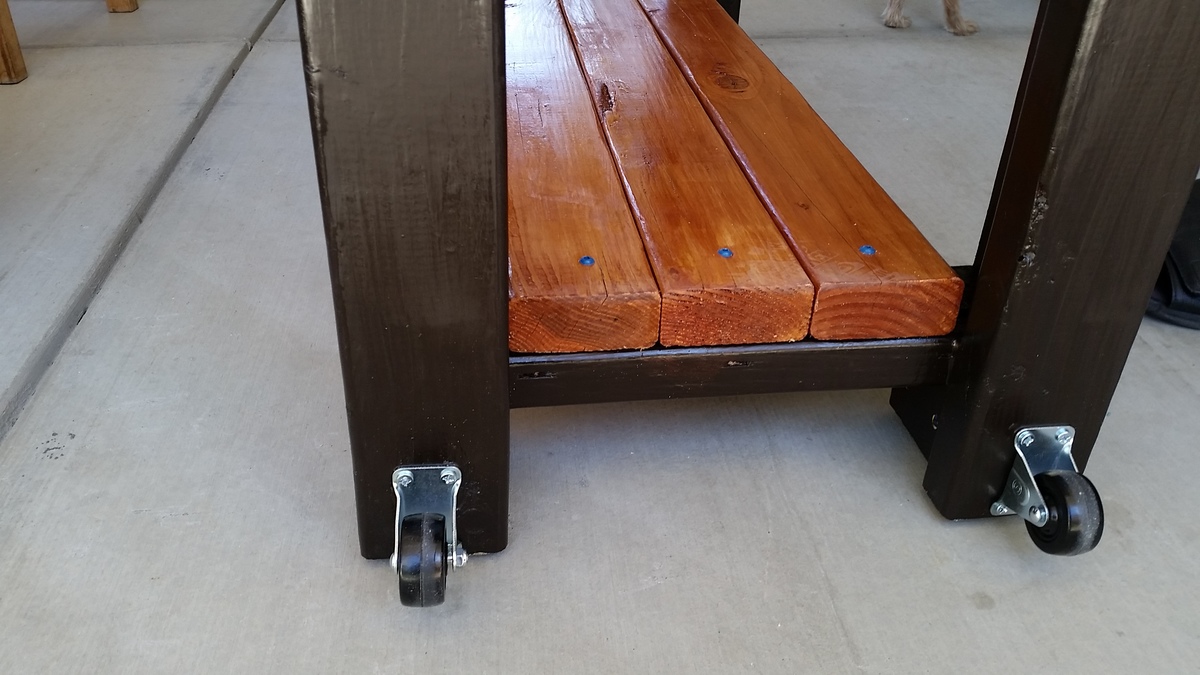
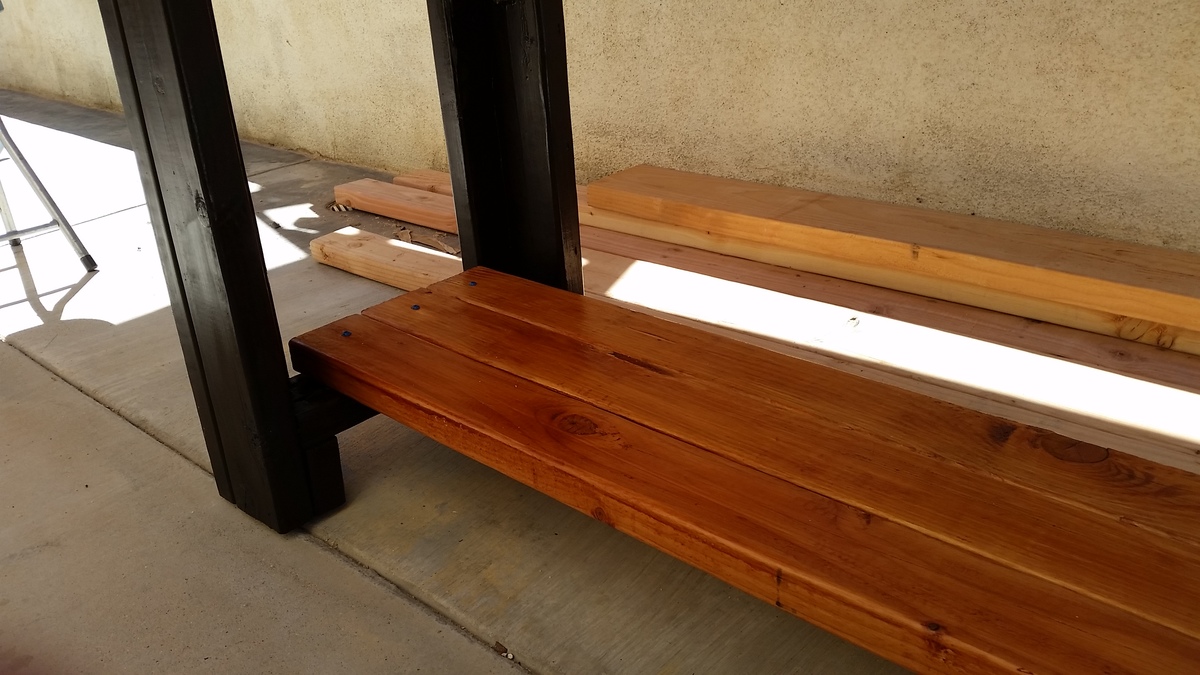
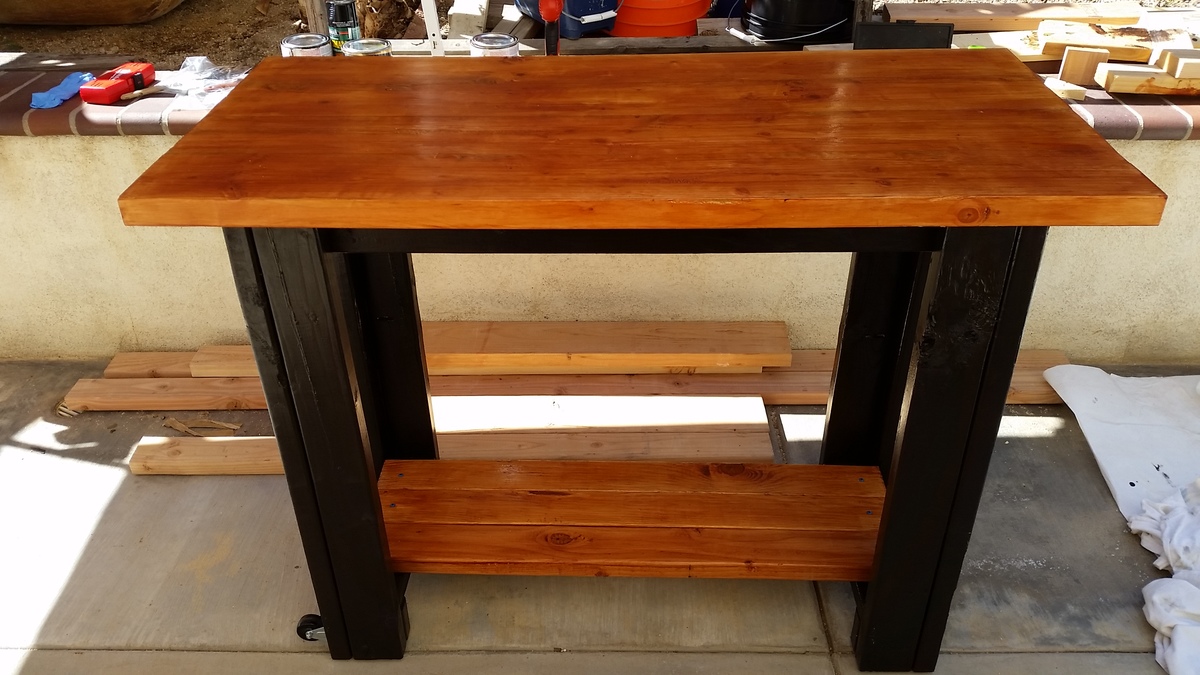
Built this over a week because the table top needed to dry and harden. I decided to paint the whole thing to make it look decent. I Kreg jigged four 2x6's together and added wood hardener to the table top. It was pretty weak because the wood was still wet so I had to dry it out for a few days. I also filled in the gaps with wood filler and then used a belt sander to smooth everything out. Everything else were just 2x4's. I knew it would be heavy so I added wheels to move it around and as a final touch I am adding 90 degree iron accent brackets to the table corners but I haven't got those delivered yet. I also added rubber screw-in feet so that the bottom doesn't chip when you move it around. Got those from Home Depot for $3

Built from Plan(s)
Estimated Cost
$100 for wood and paint and sandpaper
Estimated Time Investment
Week Long Project (20 Hours or More)
Finish Used
Kona stain, Golden pecan stain, polyurethane
Recommended Skill Level
Beginner

Comments

play table

Submitted by Anonymous (not verified) on Fri, 06/30/2017 - 06:40

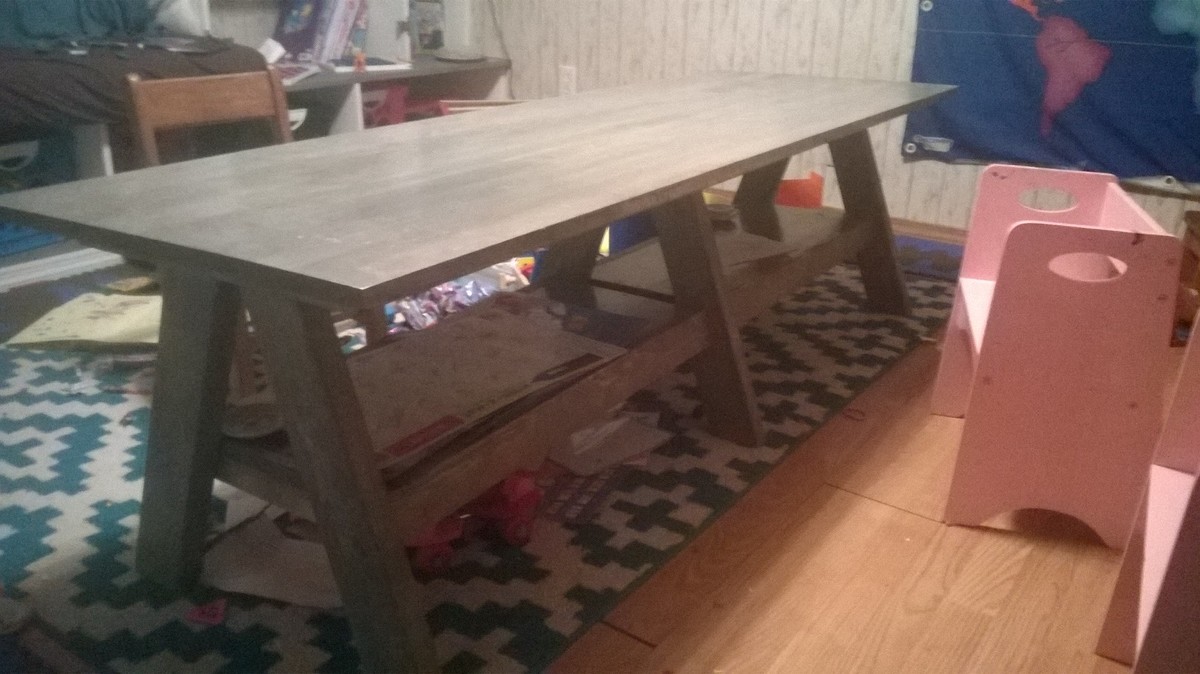
This one was fun to build. I feel in love with it when I saw it. I used weather grey stain from rustoleum and I love how it turned out.

Built from Plan(s)
Estimated Time Investment
Day Project (6-9 Hours)
Finish Used
weather grey stain from rustoleum, with 3 coats of gloss clear coat
Recommended Skill Level
Beginner

Full Kitchen Set

don’t know when I first stumbled across Ana’s site. But – when I started printing the plans that I wanted, and I printed a whole 2 inch binder – I knew I was addicted.

It was November and I wanted to build the whole kitchen, the hutch, fridge, sink and stove. (I get obsessive about things) That was a lot of building! Being the numbers dork I am, I ran to my excel sheet – planned out all the cuts to use as little MDF as possible. I used three sheets of MDF – which totaled about $90, the accessories and flat black paint ran a little under $30, so in total the four pieces were $120, for all 4 pieces! My full story of my husbands blizzard drive to the depot, and 120 cut’s later are in my blog: http://mycreativeescapes.blogspot.com/

I work full time and I have three kids 4 and under, so I had NO idea when I was going to do it, but – I knew I was going to do it – and as a christmas present!

My dad helped me with the first two pieces, and I finished it up. It secured my love for building!

Overall the building was super easy – after a few popped nails, I got the hang of the nail gun. After the first piece, I figured out the tricks to be able to build it myself. Clamps are my new best friend!

The finishing – ahh good times, nothing like the wife wanting to use the power tools, and the husband wanting to do the paining. He insisted! We had flat black paint, so we did most of it in flat black. We wanted to do “Stainless” but the chrome didn’t look very good because we painted on the primer with a brush – we didn’t spray it, so when we sprayed on the Chrome spray paint – you could see the brush strokes. So we ended up painting most of it black as you can see in the picture.

This is what the project looked like pretty much done, just drying. My plans are resting on each piece, the clamps are holding the oven door together. And the plastic bin is my sink!

Ana – you truly are an inspiration! Your plans are awesome, and your generosity is amazing! I seriously have a binder full of your plans, and I am going to guess about every other blog post will be featuring your work. My first project was a simple bookcase, then the entire kitchen set, then the bench with the butterfly hinges that revealed storage for my mom (for christmas, it made her cry!). I can’t wait till the weather is warmer so I can build more! Thank you from the bottom of my heart! Next – I will post some pictures of my three little nut bags playing with there new kitchen from Santa, and my two girls and my niece sitting on the bench I built my mom.
Estimated Cost
$90-$120
Estimated Time Investment
Weekend Project (10-20 Hours)
Finish Used
Sanding, priming and painting with flat paint, tried "chrome" spraypaint - didn't work so well.
Recommended Skill Level
Intermediate

Cat Tree/Condo

Submitted by Joni on Sat, 05/11/2013 - 07:22

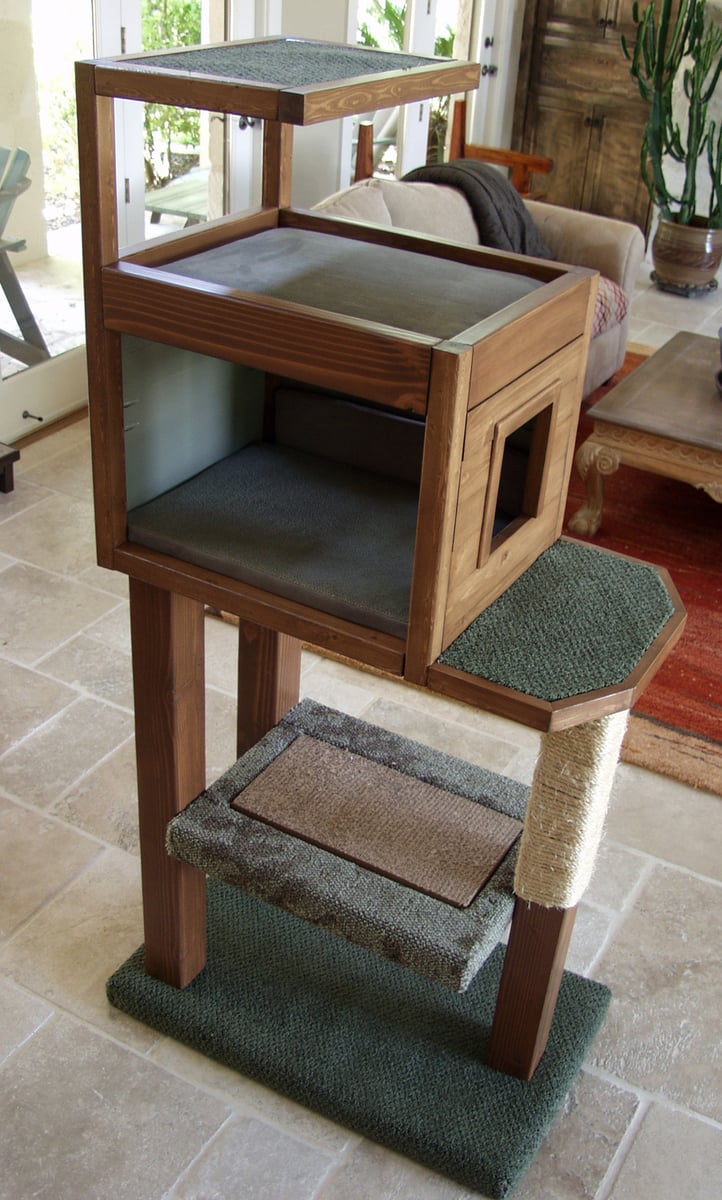
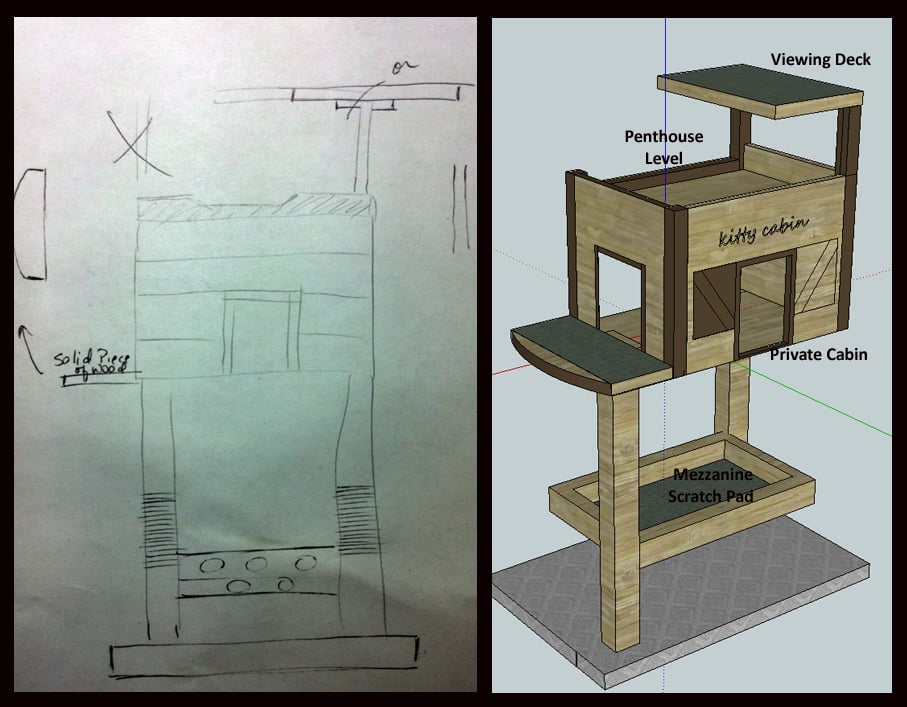
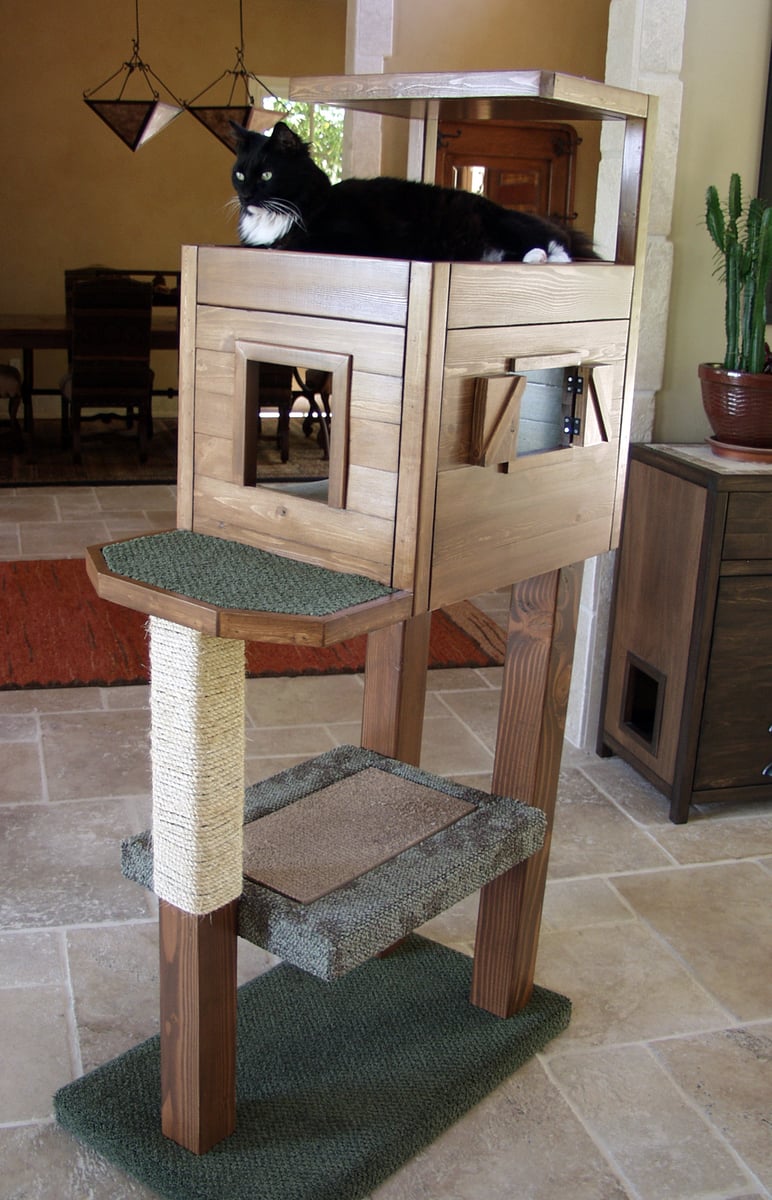
I always wanted a cabin-type cat tree where my cats could crawl in and feel safe, but still have a great view of the birds out of a window. I tried to draw my vision on paper, but that had a hideous result. Learning Google SketchUp (at least the basics) was an absolute necessity. I could never have built this without drawing it in 3D first, and seeing how the boards would connect, etc.

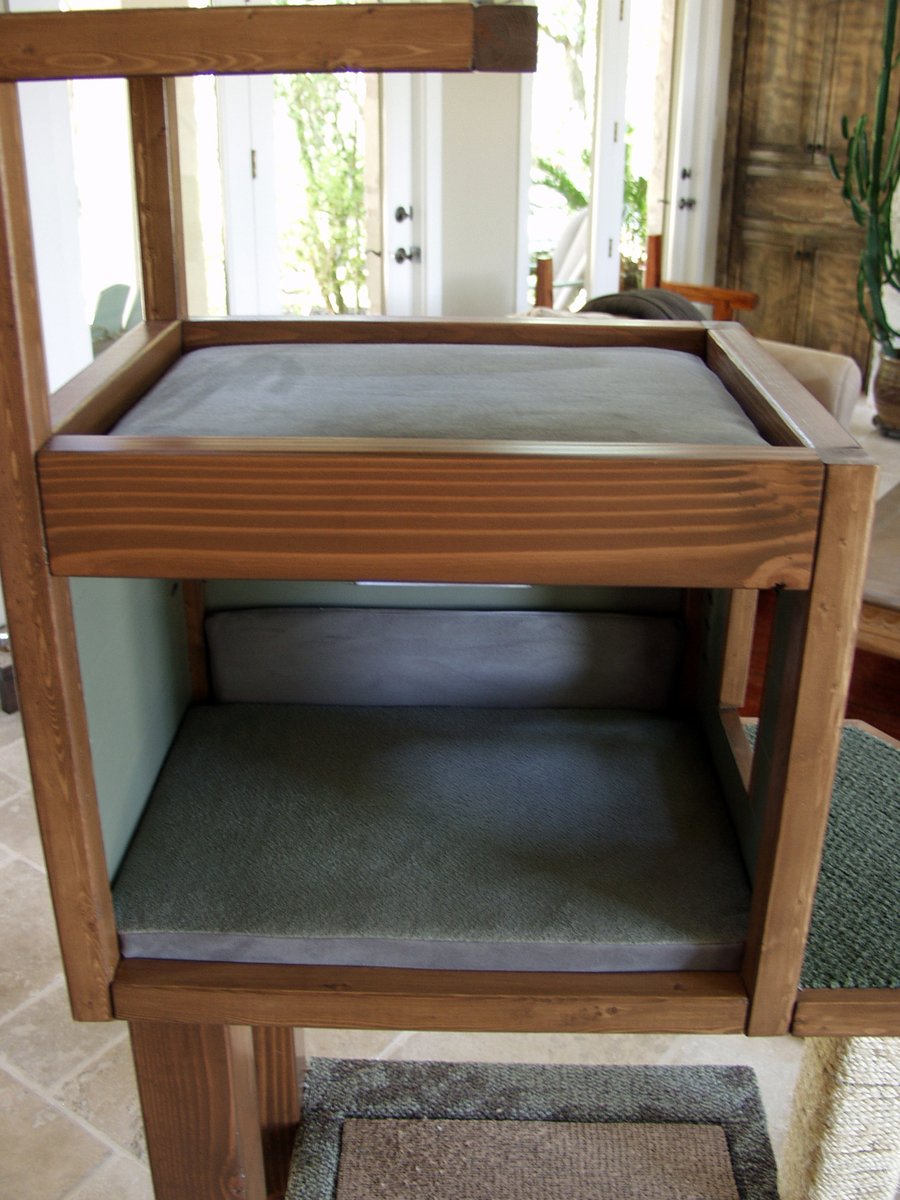
For the scratch pad, I built a frame out of 2x4s on top of plywood, covered it with carpet, and dropped the standard size scratch pad in place. This is the cat's favorite feature. I put barn doors on the window with tiny hinges so that I can close for added privacy. The tree sits against a window so that the back side is totally open. I made cozy zippered cushions for the platforms (that can be taken off and washed). I covered the carpeted areas with spare carpeting.

Estimated Cost
Approx. $30 for can of paint, varnish and a 4x4 (all other was scrap material)
Estimated Time Investment
Weekend Project (10-20 Hours)
Finish Used
Combination of Minwax Water-based stains: 6 parts Colonial Pine: 1 part American Walnut, followed 3-4 coats Minwax Polycrylic
Recommended Skill Level
Intermediate

Comments

bhoppy

Fri, 07/12/2013 - 09:36

Would you mind sharing your dimensions for this? It is absolutely beautiful!

Jodi W

Sun, 08/25/2013 - 08:10

Do you have the plans somewhere? I really want to build this (even got the okay from the hubby!) but I don't think I could do it without some serious guidelines...

Joni

Fri, 08/30/2013 - 15:55

First, sorry for the late notice; I just happened to look and saw the comments/questions.

I don't have plans...all I have is a google sketchup diagram that I created as a guideline for my construction (which is included in the photos), which is not to scale. Actual measurements are:

* Base (green carpeted base): 33.5" x 19"
* 4x4 legs: 35" tall
* 'Mezzanine' scratch pad level: 22" x 17.5"
* Mid-level base: 18" x 32"
* Enclosed cabin: 18.25" x 22.5" x 17" high
* Highest point: 56"

This has turned out to be a fantastic hit with the cats. They use all 5 levels, but the scratch pad and cabin are their favorite spots. If you need anything else or additional pics, please contact me.

Jodi W

Fri, 08/30/2013 - 18:15

Thanks for the dimensions, Joni! I'm trying to learn SketchUp so I can draw up my own plans, also. If I can't figure it out, I'll hand it off to my 12 year old, who is a pro at it (go figure). I know my cats will love it if I can manage to get it built!

Joni

Thu, 10/31/2013 - 14:30

Bhoppy -- I looked at your cat tree on facebook. It's awesome! The sturdiness of it shocked me too. And I was initially worried that my cats might knock it down!!

The worst part of building it was getting that lower scratch pad level on straight with the 3 posts. I'd never want to do that again!
Thanks for sharing, Joni

gregmasciola

Fri, 01/02/2015 - 01:18

Funny, almost every time I'm looking for ideas or inspiration when I want to build something, I end up back on this site. I was searching for pictures of cat trees and this was the only one that made me say "Holy crap, that's EXACTLY what I want!" My cat will love it!

M0710NM4N

Mon, 04/27/2020 - 20:41

Not sure if anyone is still around to see this, but I fell in love with this tree the second I saw it. Wondering if anyone created a detailed plan and might have it handy or possibly a detailed sketchup and wouldn't mind sharing the save file?

In the event nobody has either... I'm planning on having someone else build this for me as I don't have the tools nor skill to do it myself. I have a few questions:

1. The tree base/platform, what's a good recommended thickness?
2. The platform for the scratchpad... is there any certain reason it's so much thicker compared to the other platforms?

Thanks.

whiteroses9

Sun, 09/12/2021 - 11:51

Reverse engineering this project, using just 2x4s. None of the photos show the undersides. How are the plywood pillow bases attached for the top and bottom of the cabin? and the base of the top viewing platform?

Pottery Barn Logan Knock Off Media Build

Submitted by anb80 on Tue, 03/31/2015 - 12:37

This was one of our early builds.  I"ve learned a new way to do doors since then so hope to replace these before we move.  I love all the storage on this unit!  The finish on the tops is a metallic glaze I made.

Estimated Time Investment
Week Long Project (20 Hours or More)
Recommended Skill Level
Intermediate

Outdoor sectional

Submitted by Anonymous (not verified) on Tue, 07/04/2017 - 06:51

Our version of the outdoor sectional.  We couldn't find 24" wide pillows so we modified the design to accommodate 22"x24" ones.  We also added a 1x8 held on with pocket screws to provide some additional support on the back and help keep the pillows from falling through.

Estimated Cost
$110 in wood
Estimated Time Investment
Weekend Project (10-20 Hours)
Recommended Skill Level
Beginner

Keepsake Box

Submitted by Anonymous (not verified) on Mon, 10/04/2021 - 13:43

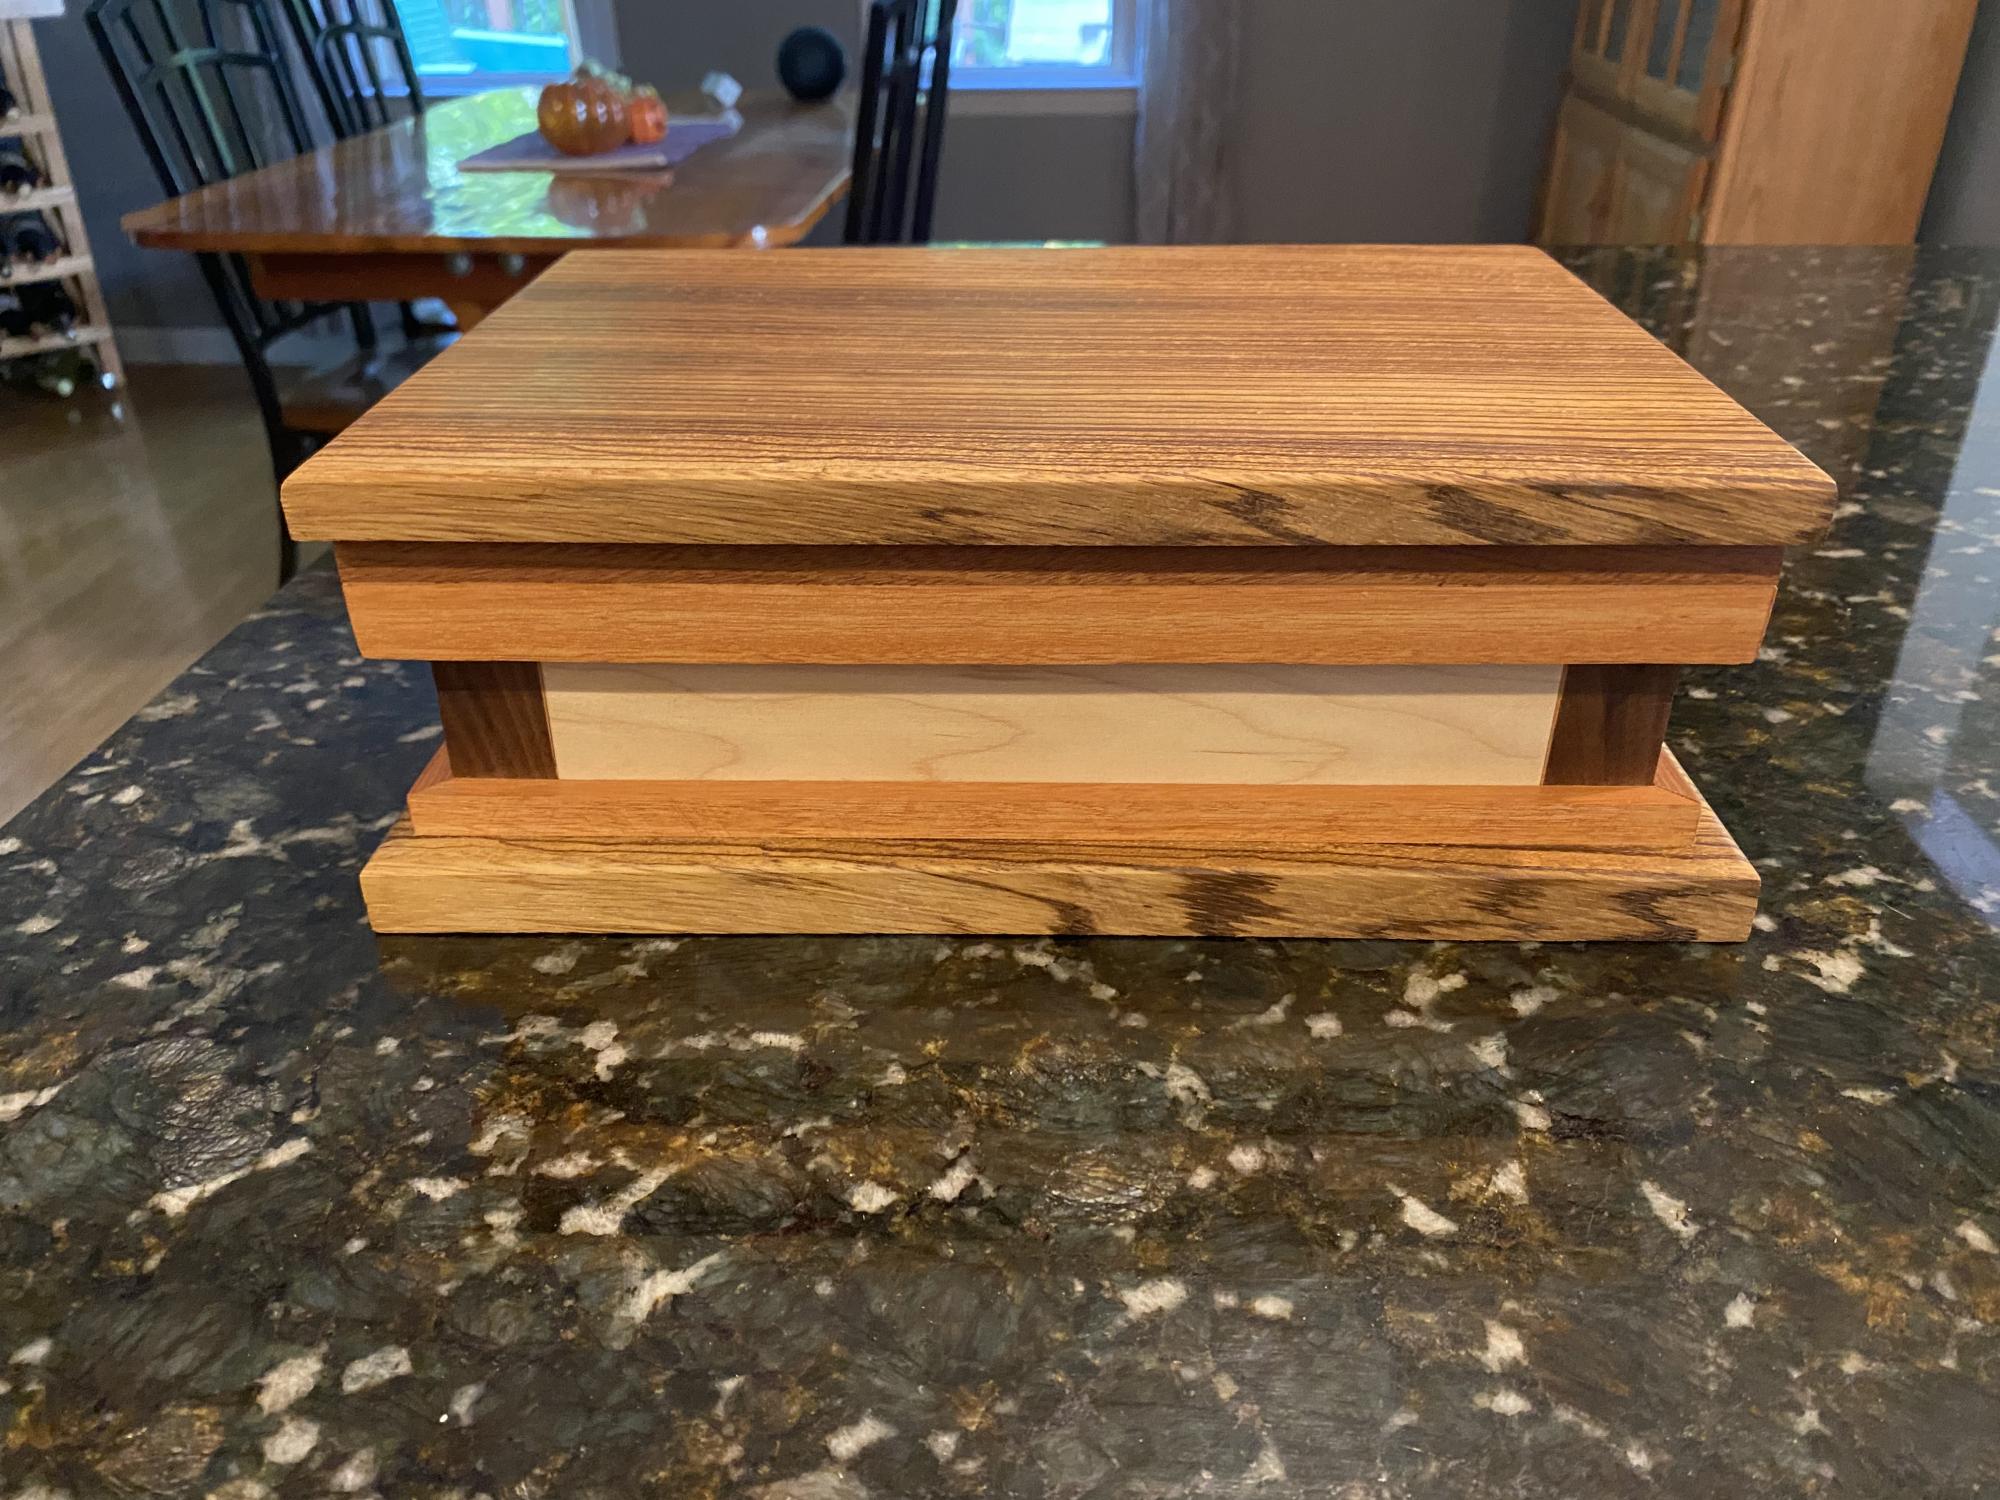
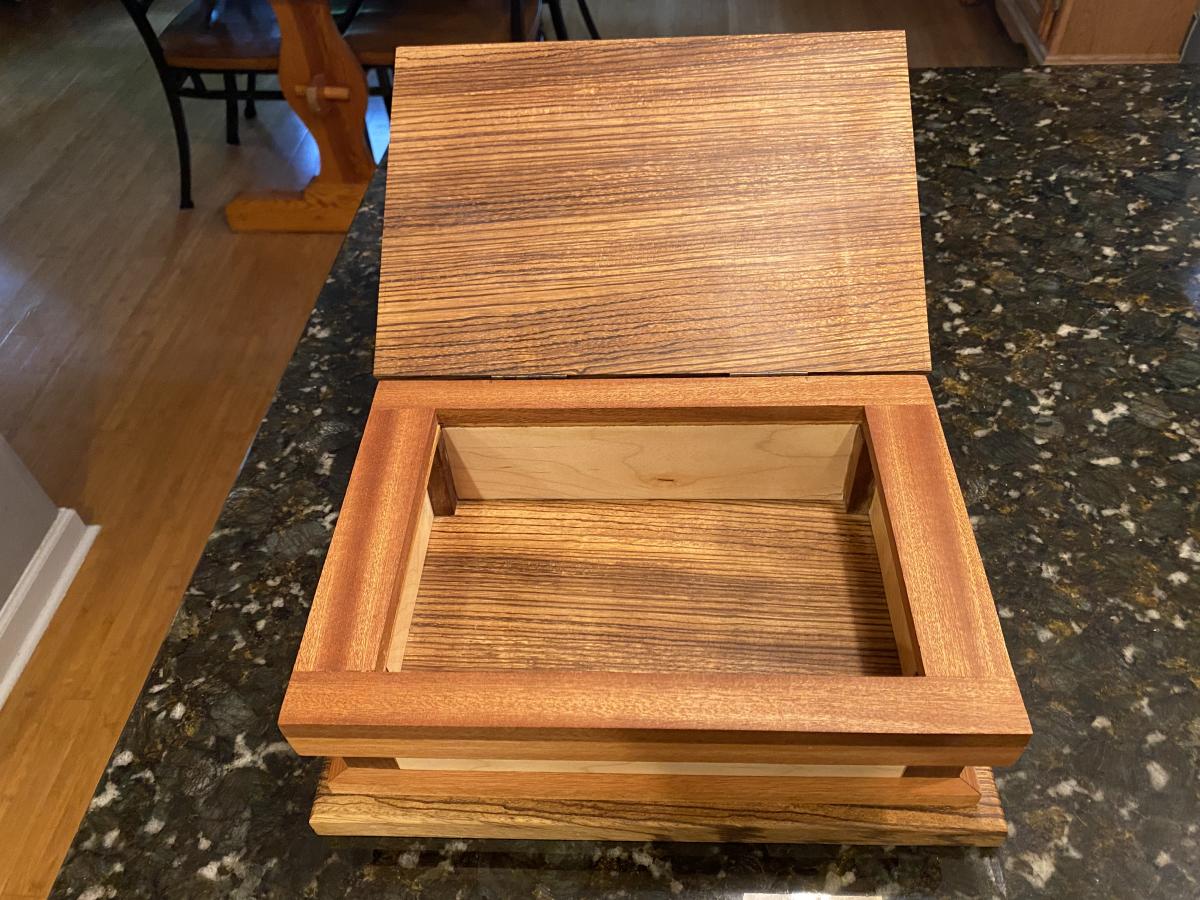
Keepsake box made of maple, black walnut, mahogany and zebra wood.

Comments