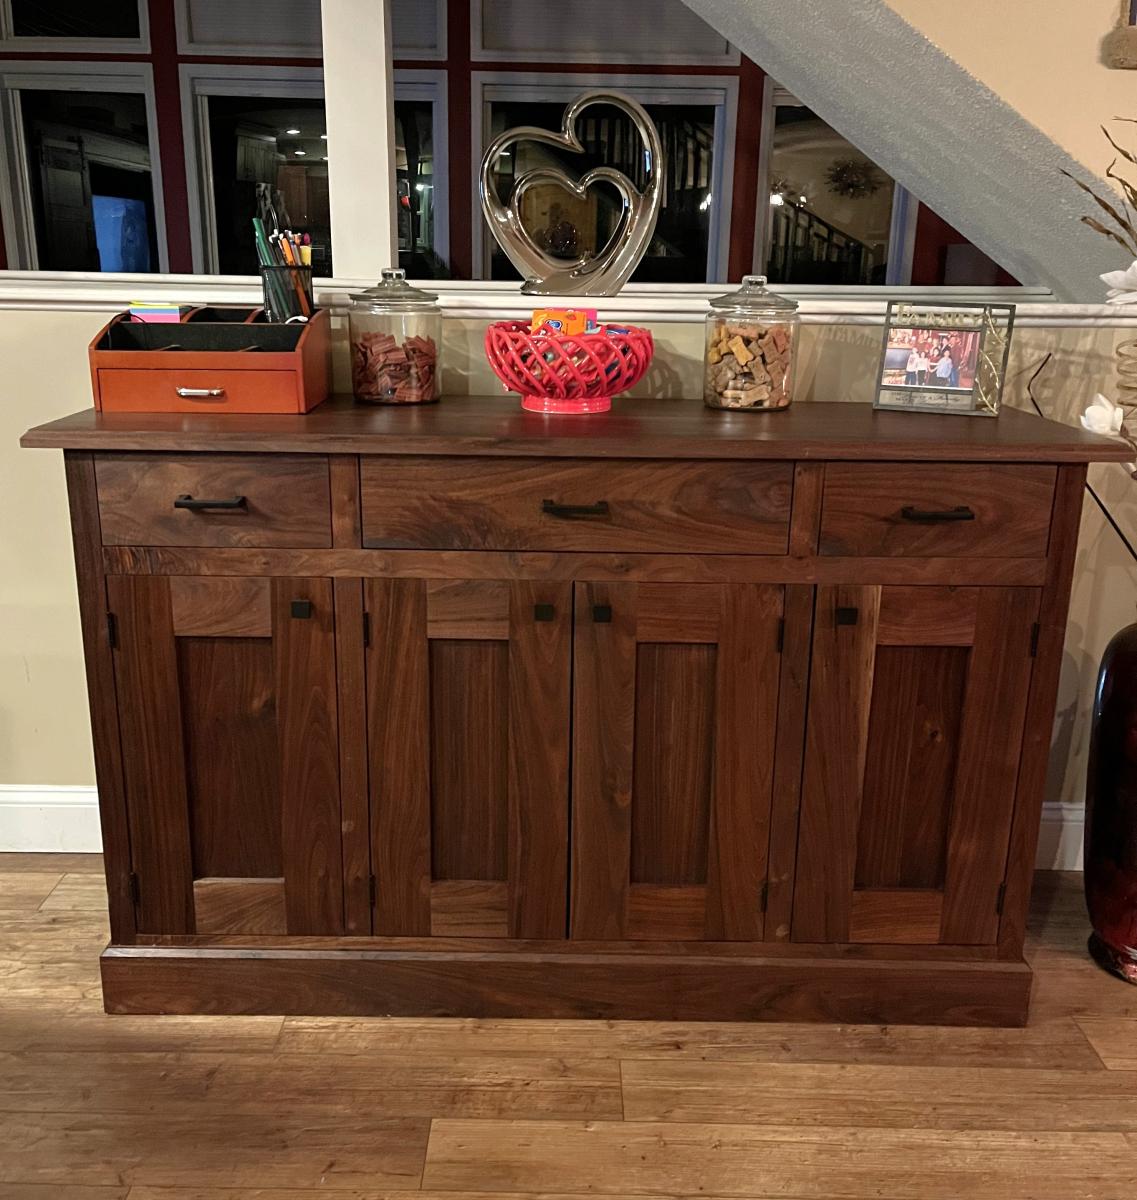
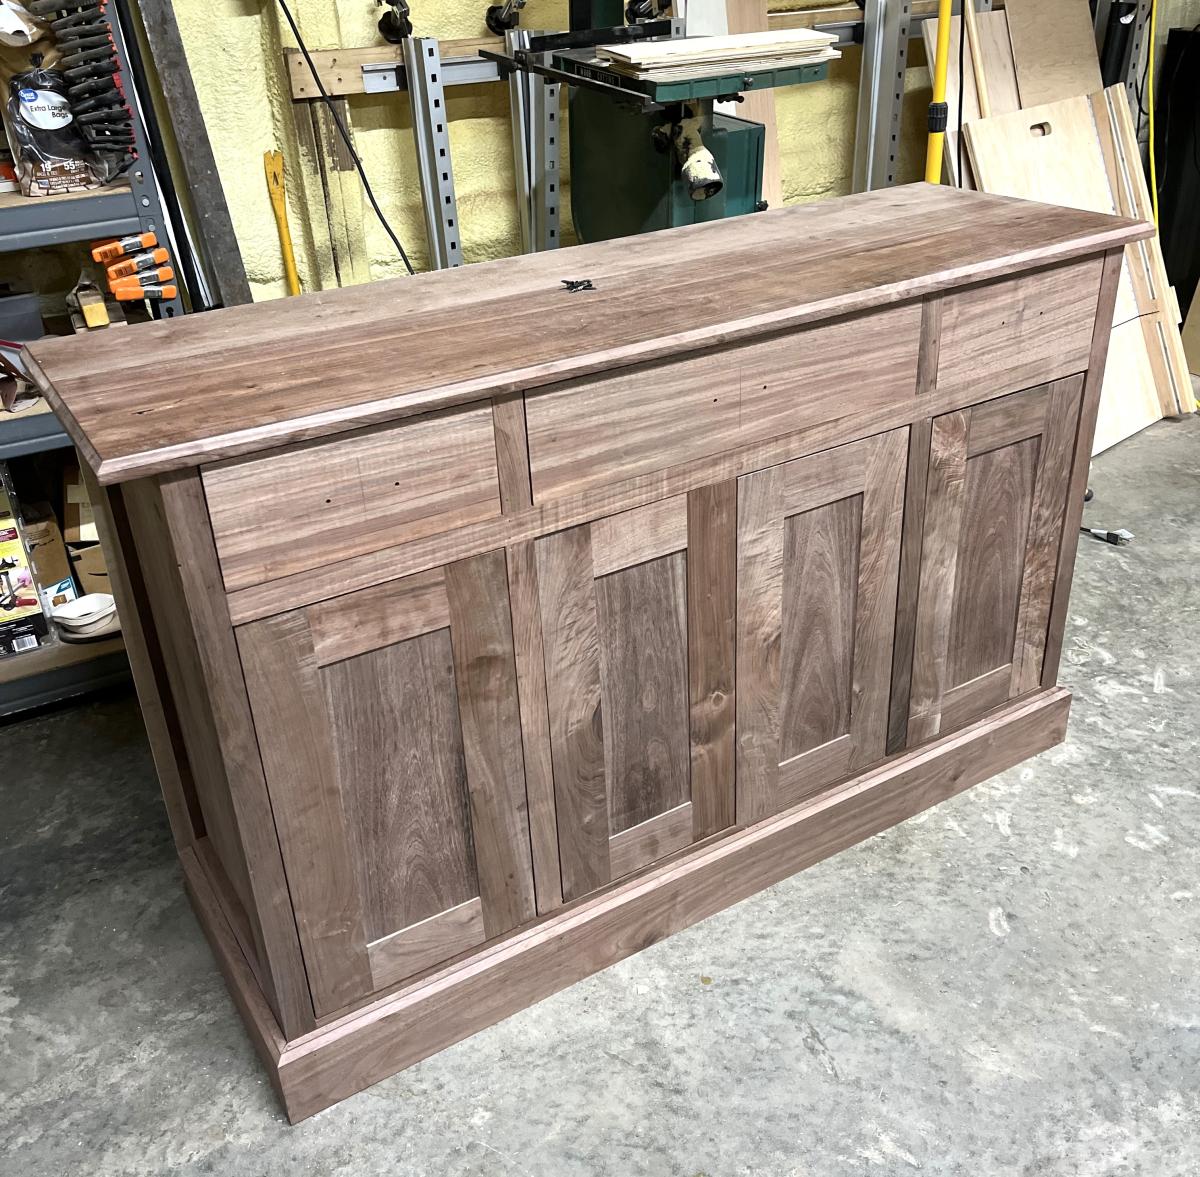
Planked Wood Sideboard
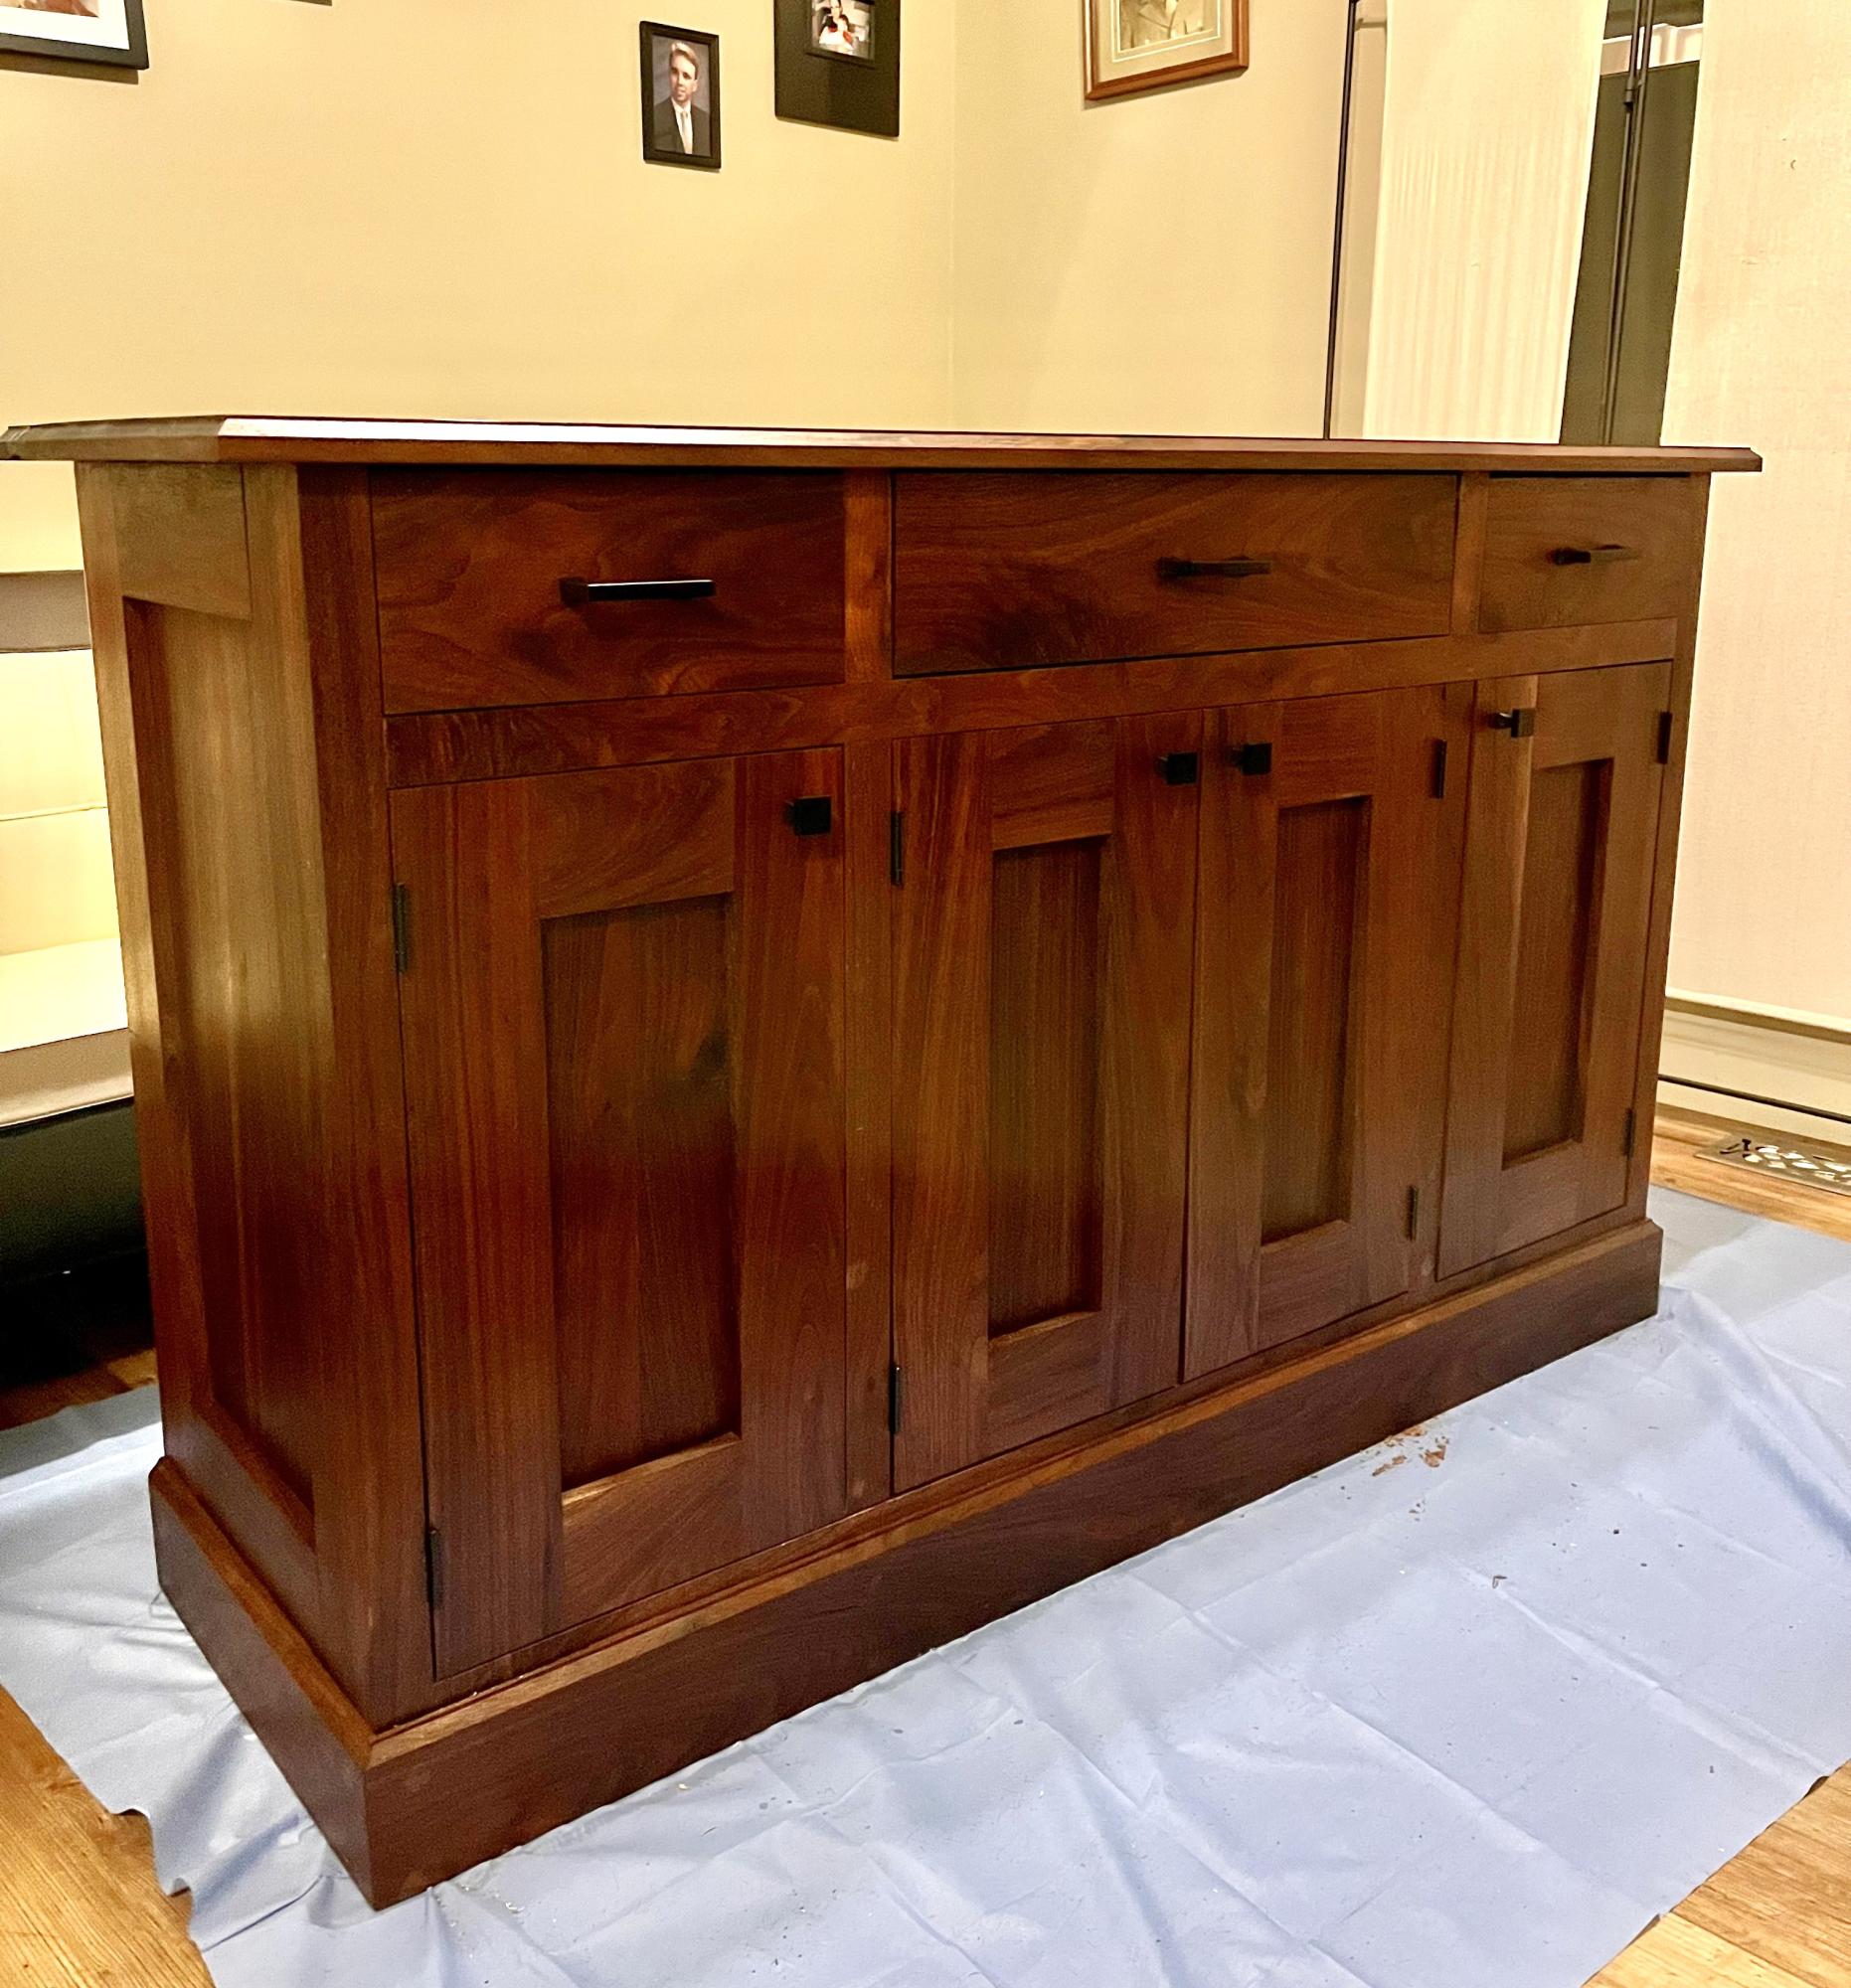
I used a modified version of the Planked Wood Sideboard to fit the space I had. With the exception of the frame, it’s made of walnut. I love the way it turned out. Thanks Ana!!
Adam Benns
Built from Plan(s)
I used a modified version of the Planked Wood Sideboard to fit the space I had. With the exception of the frame, it’s made of walnut. I love the way it turned out. Thanks Ana!!
Adam Benns
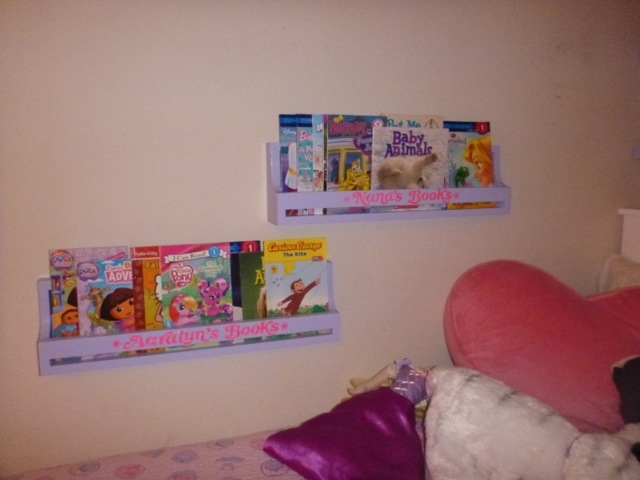
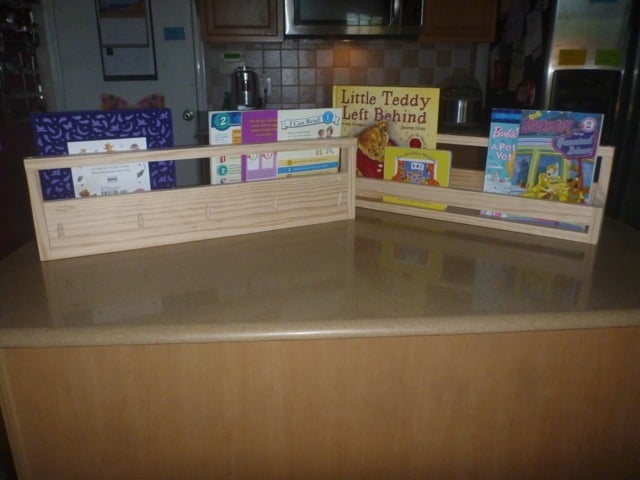
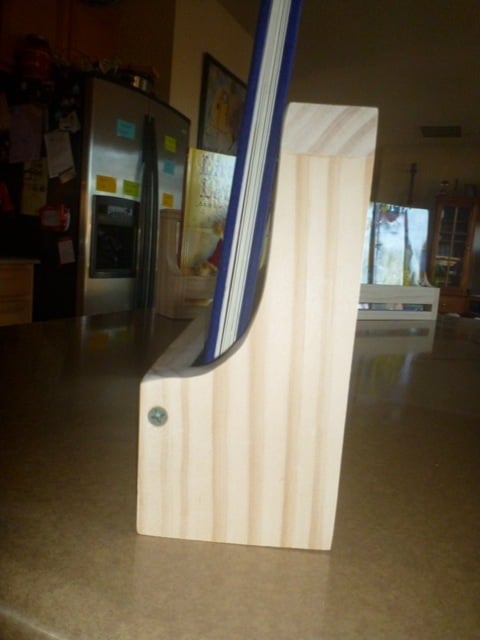
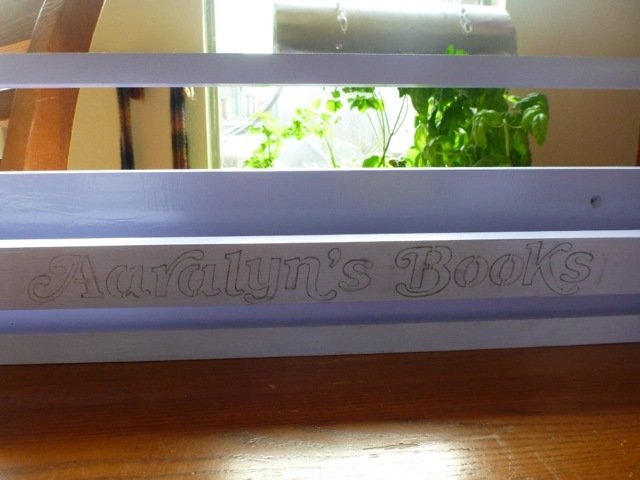
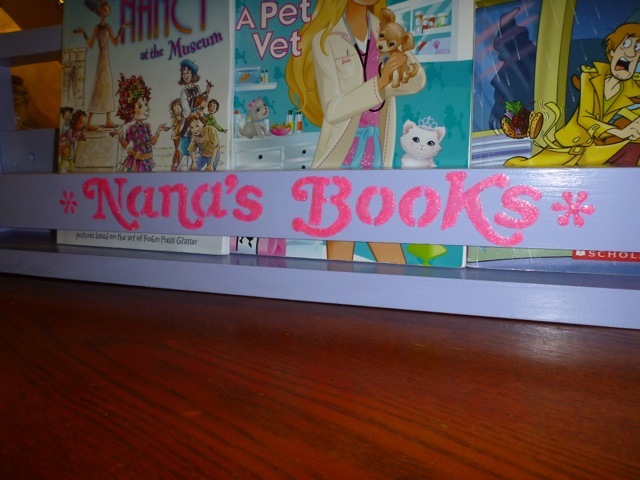
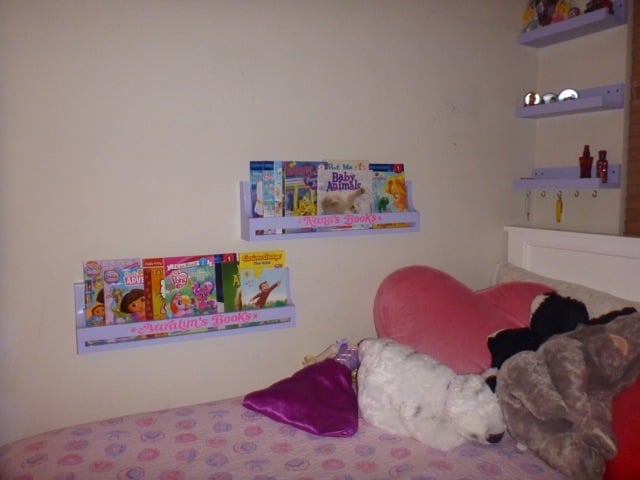
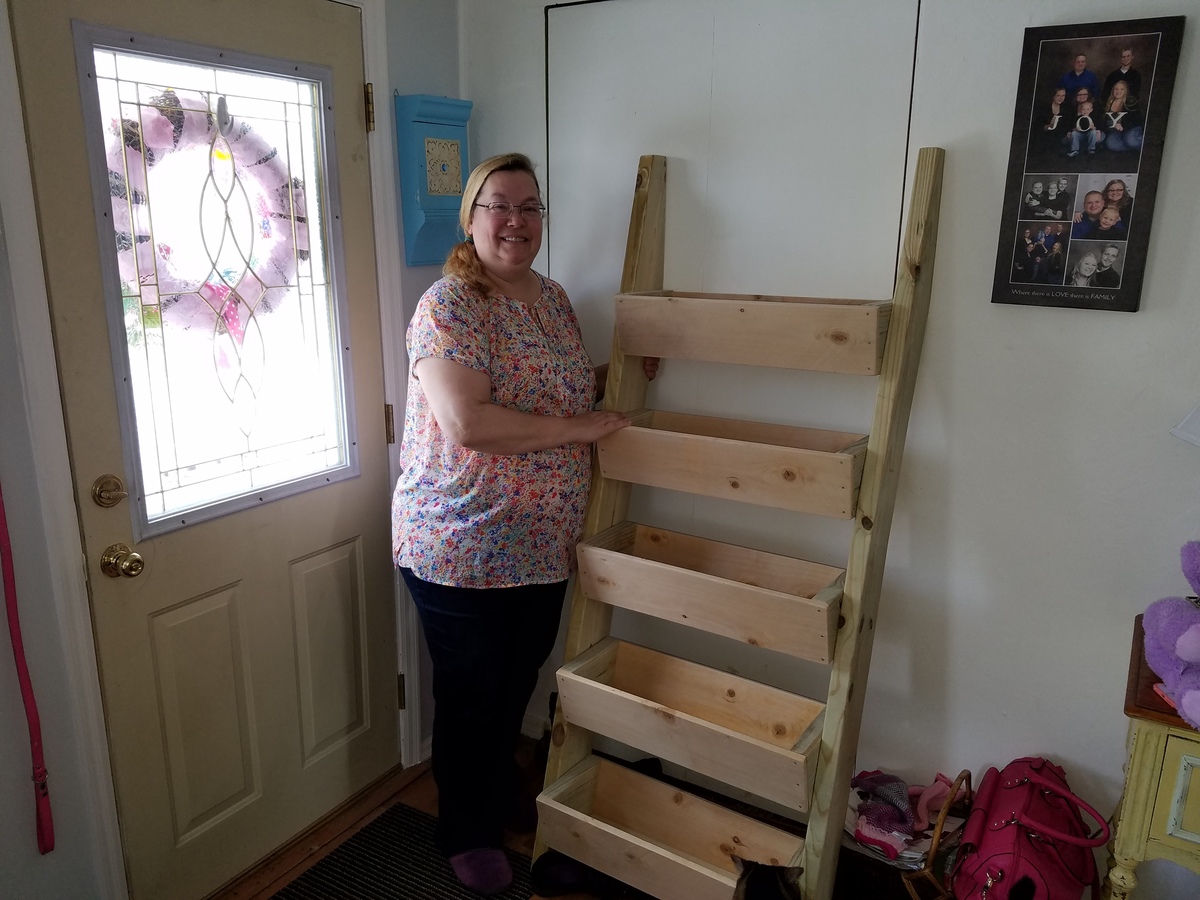
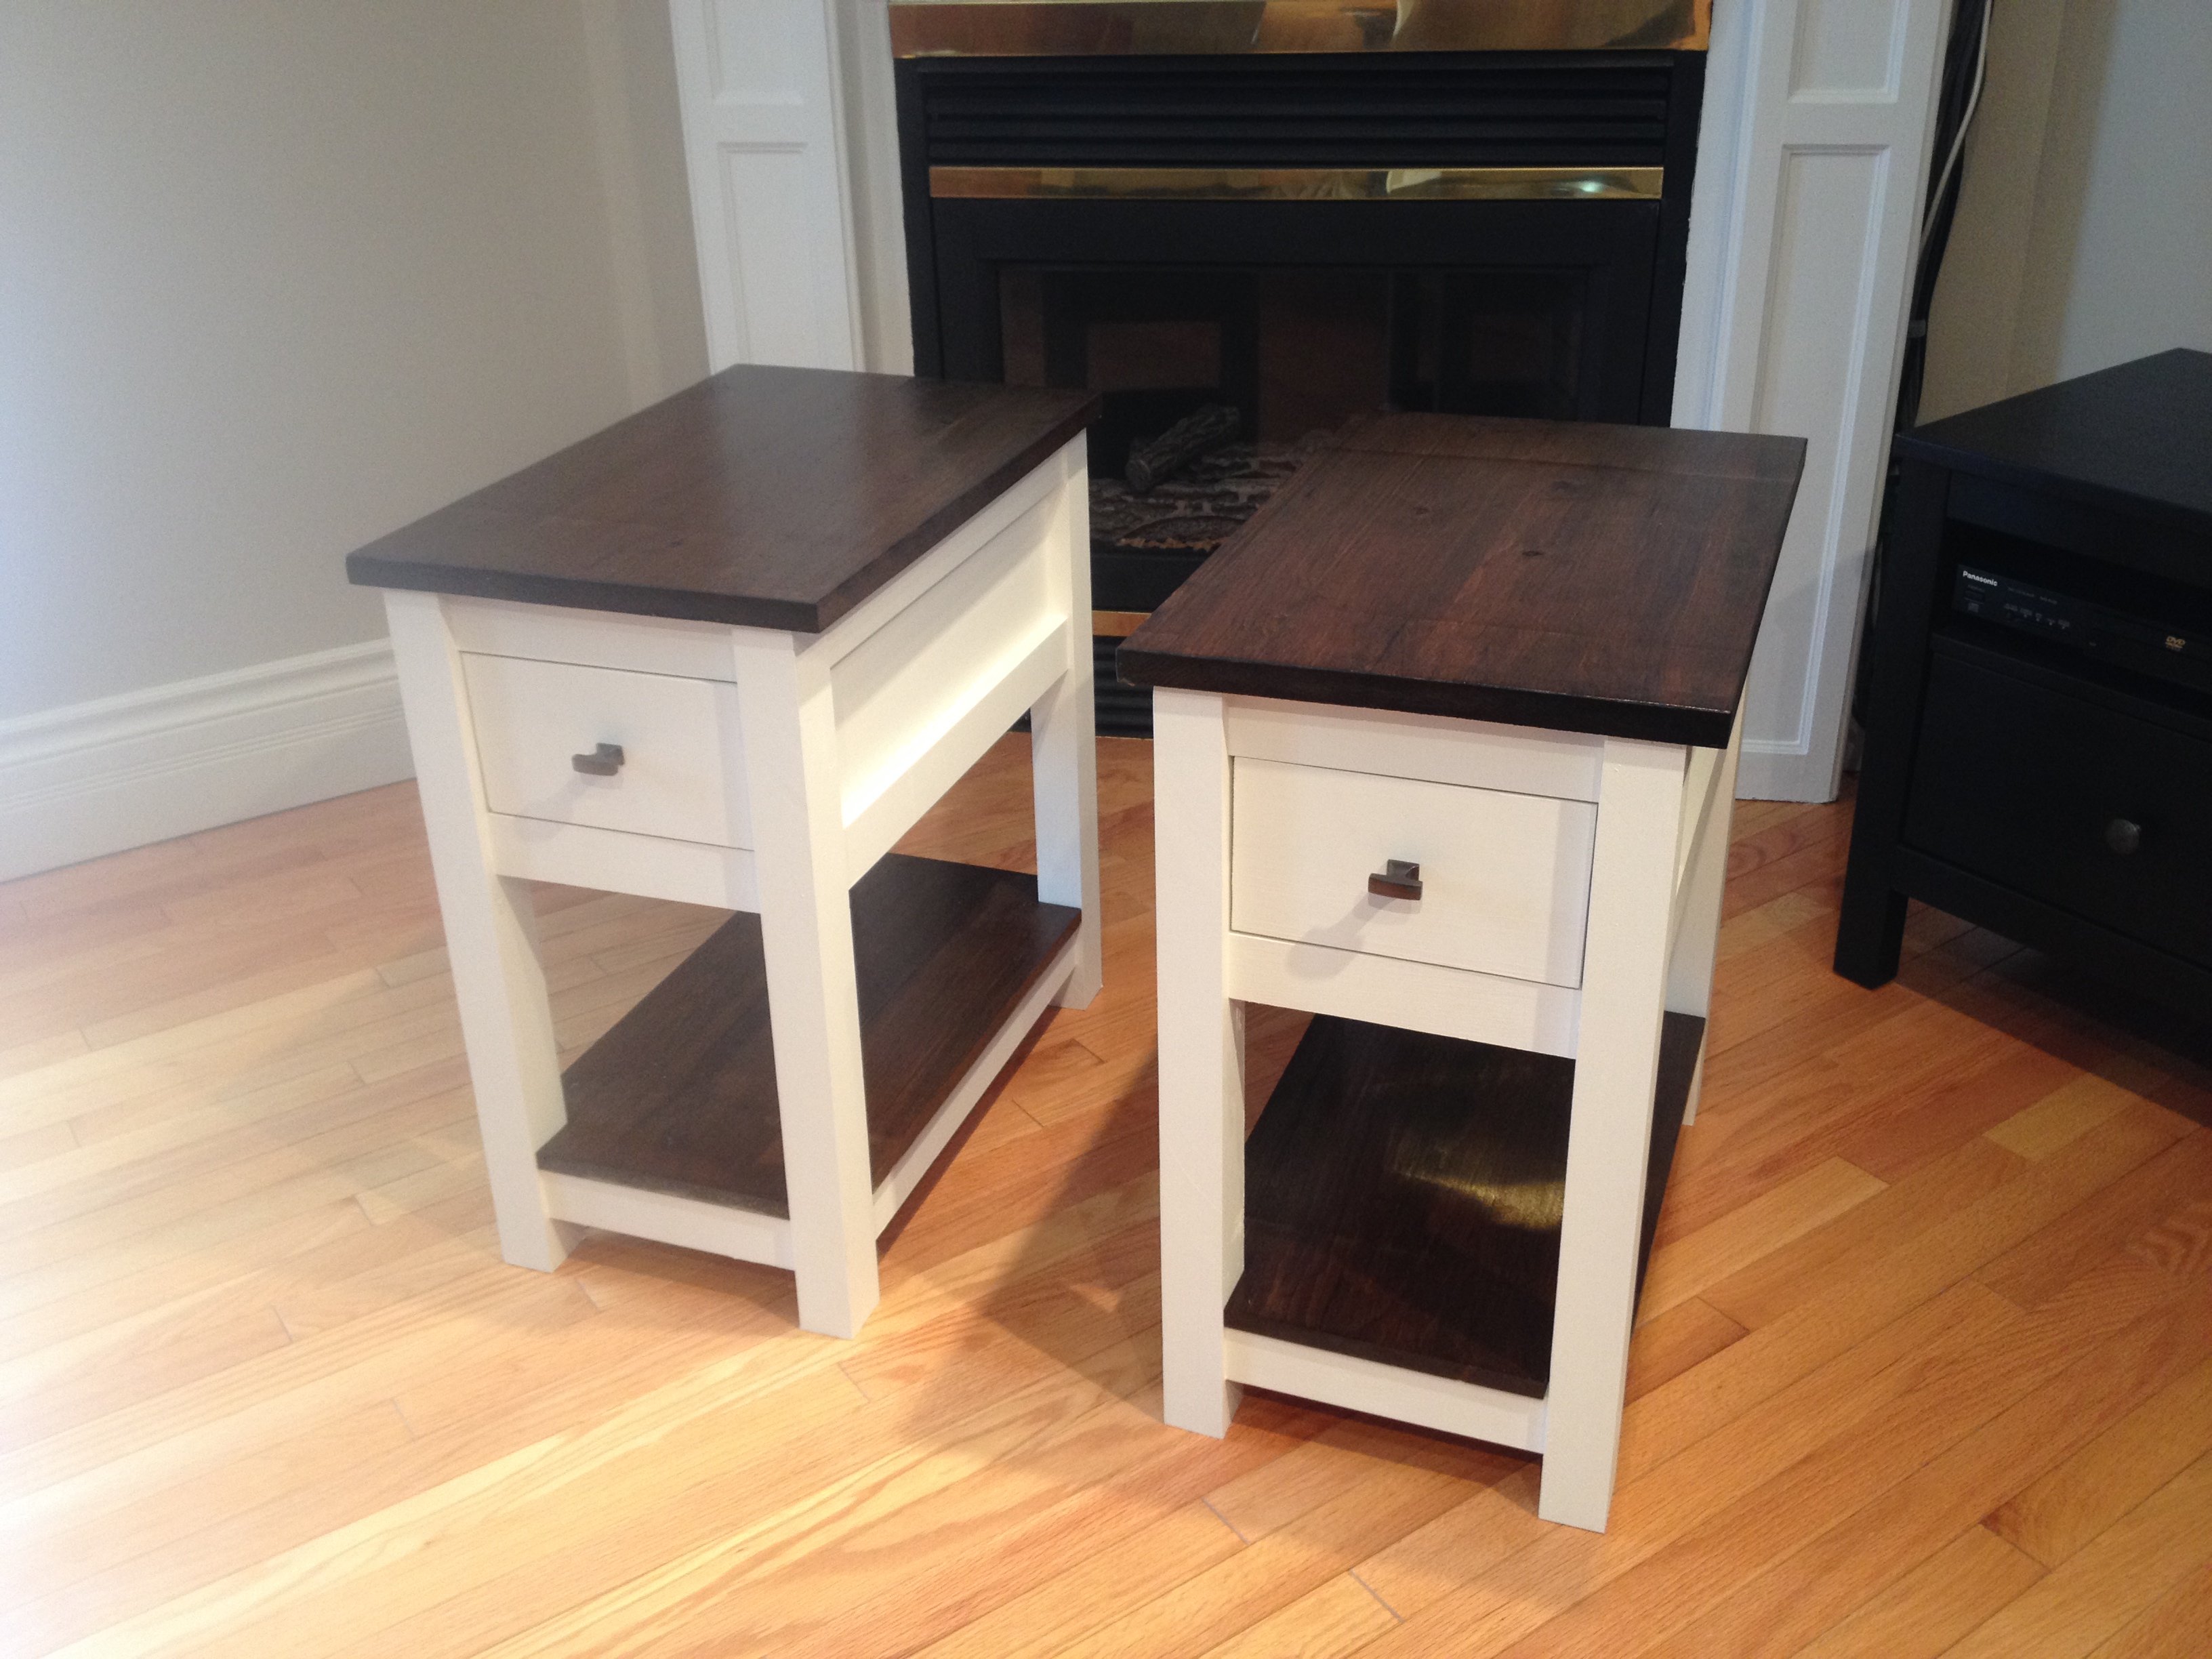
These came together nicely but I definitely advocate the right tool for cutting the curves on the sides. Also, the next time we make them, and we most likely will, I will make the roomy version. The wider size will give us a little more room for a few extra books. All in all the girls are very please with them. I like that they are just above their bed to make night time reading easy and fun. Couldn't have done it without you Ana. Thanks.

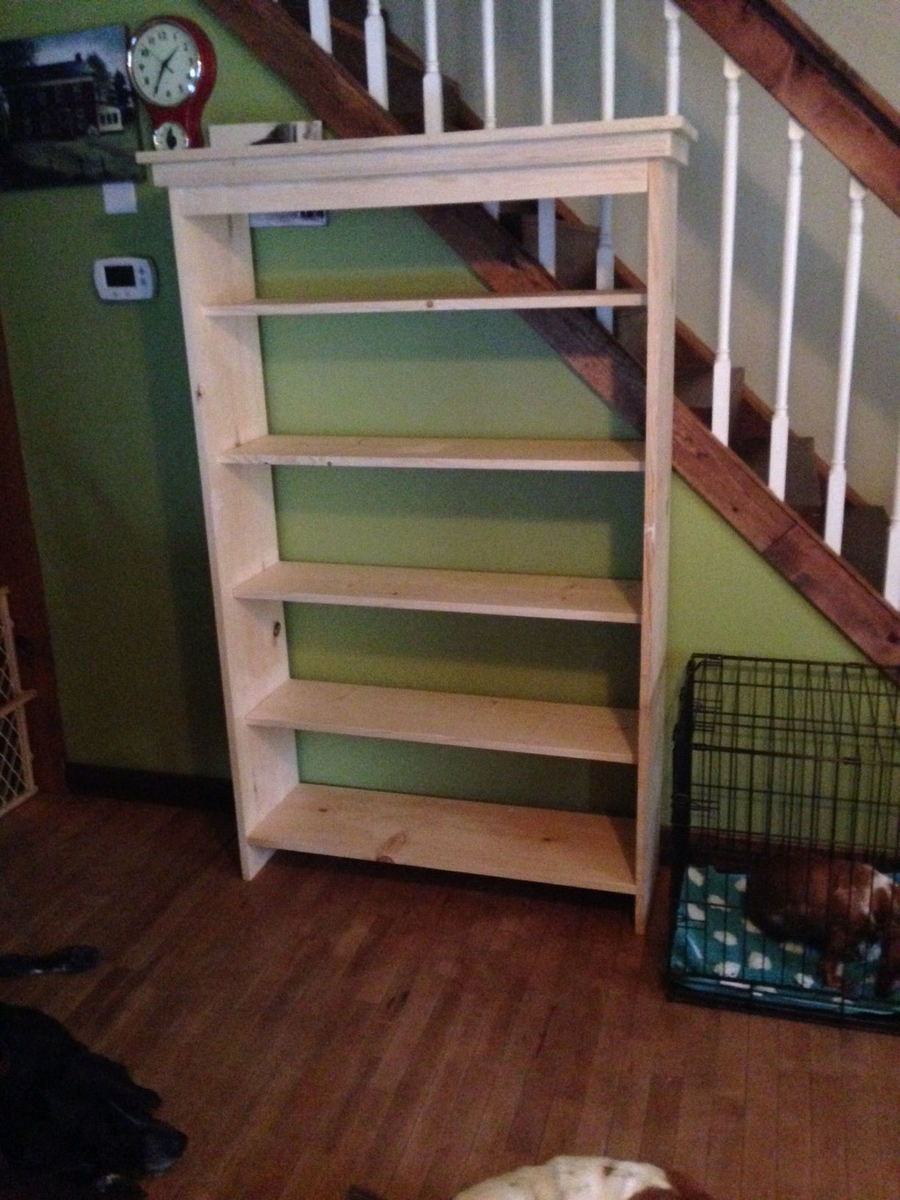
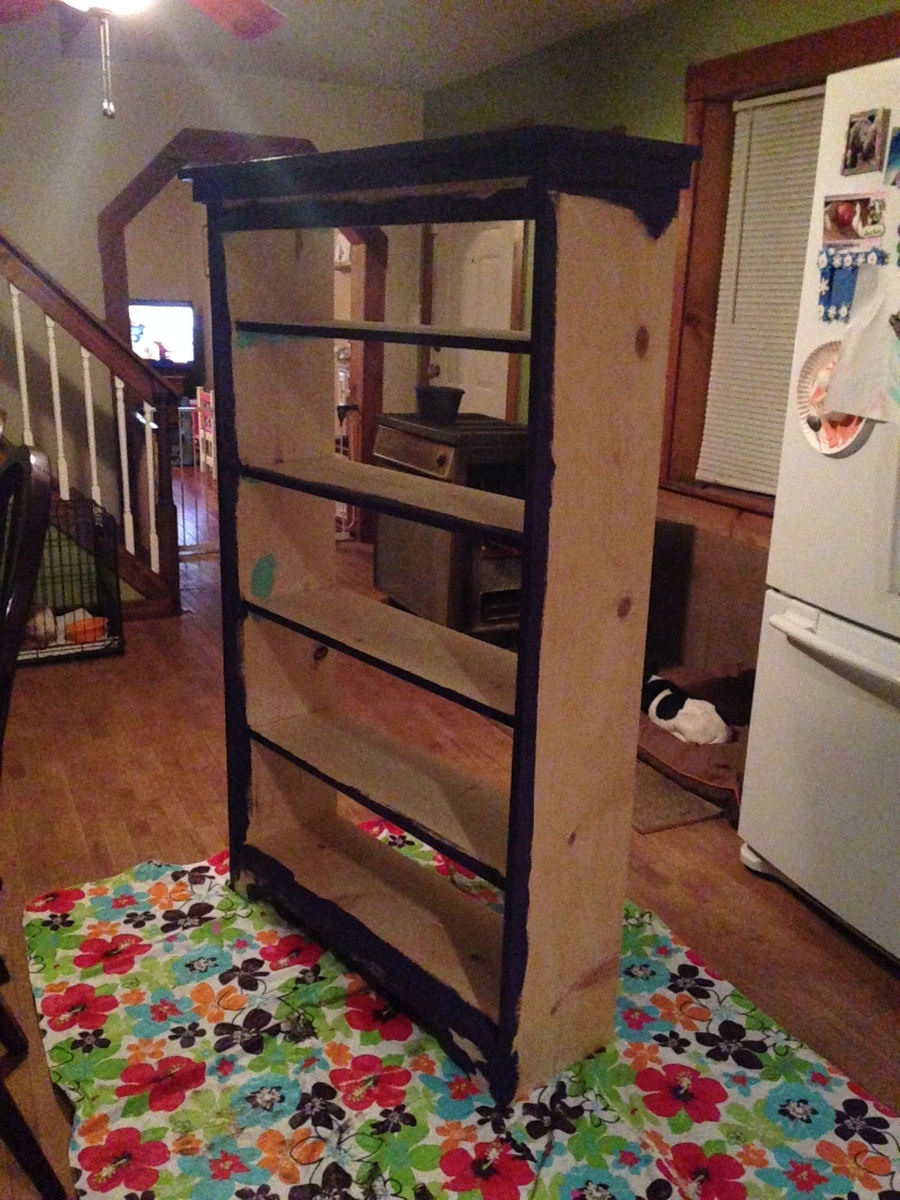
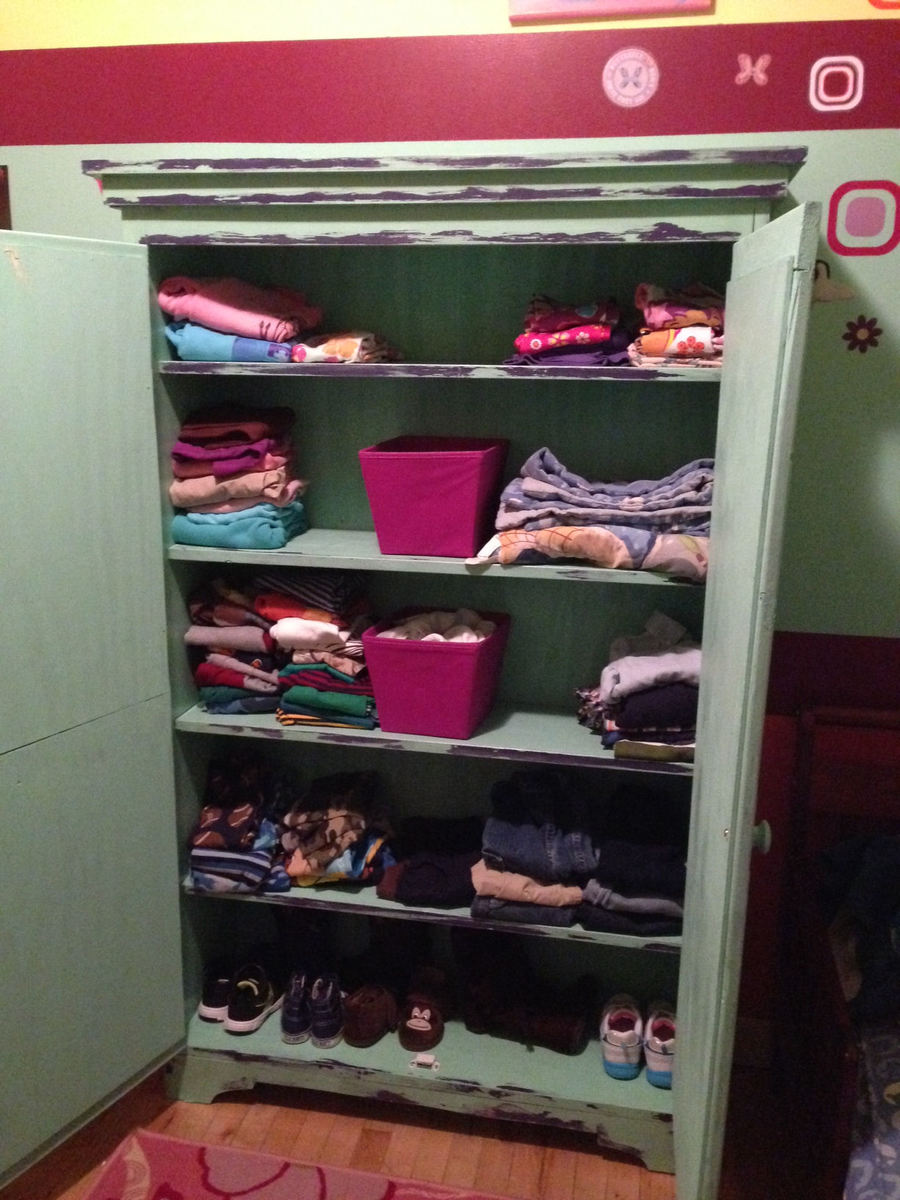
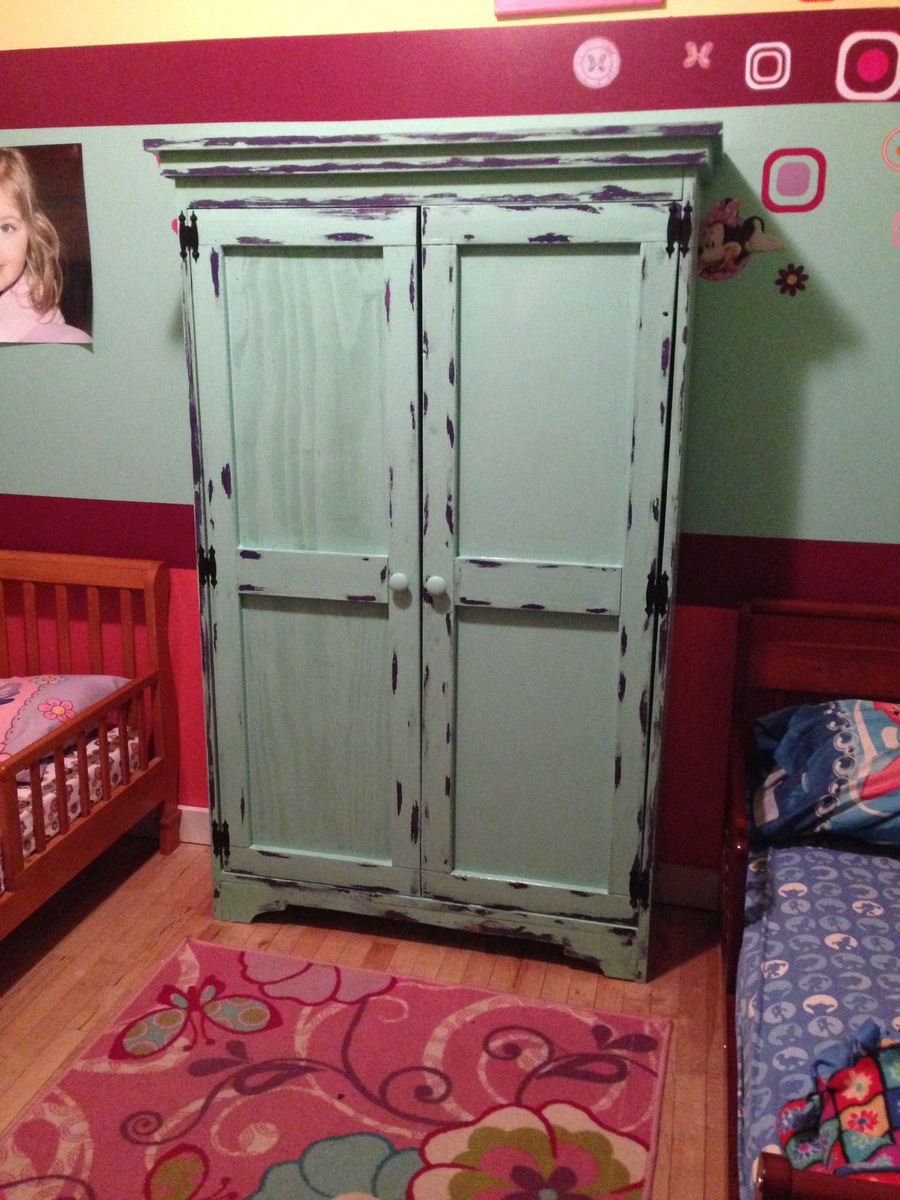
We needed something to put clothes in. A dresser wouldn't of been big enough, so I decided on the armoire. I shortened the height so I'd only had to buy 2 1x12's. Everything else is the same. The 1x12's were so warped I had a heck of time with the doors.
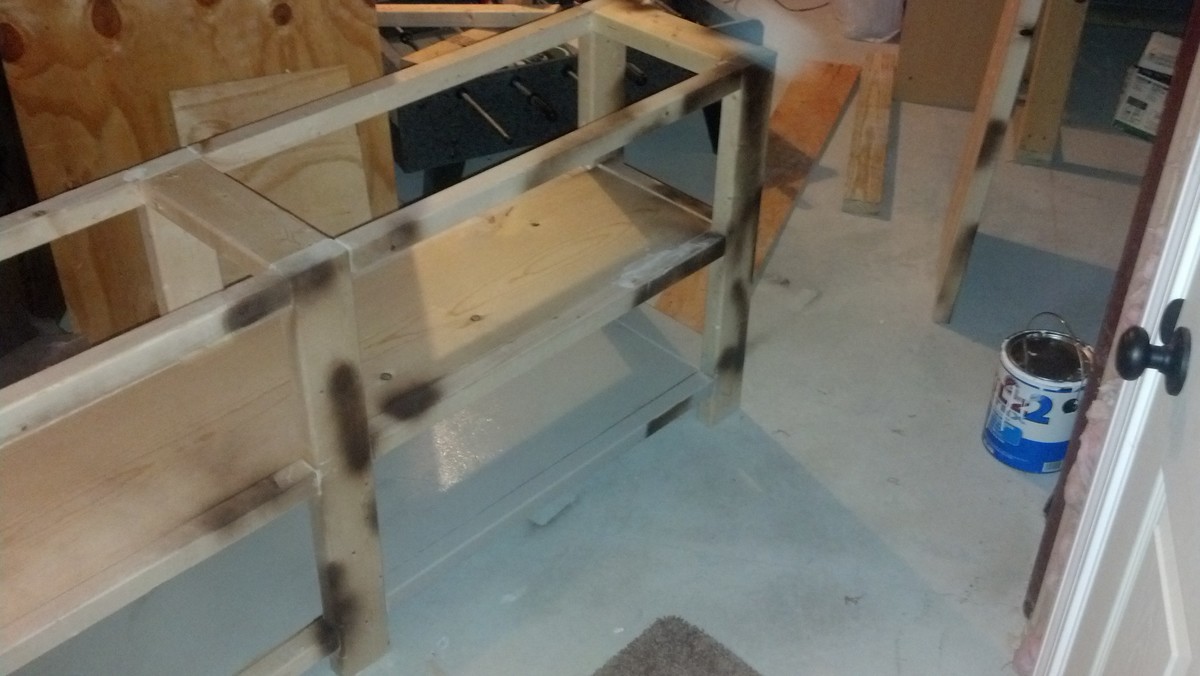
I'm not digging the distressing. I tried the Vaseline thing. Never again it was a mess. I'll just stick to sanding it down from now on.

This bed came out beautiful! Thank you for the plans.
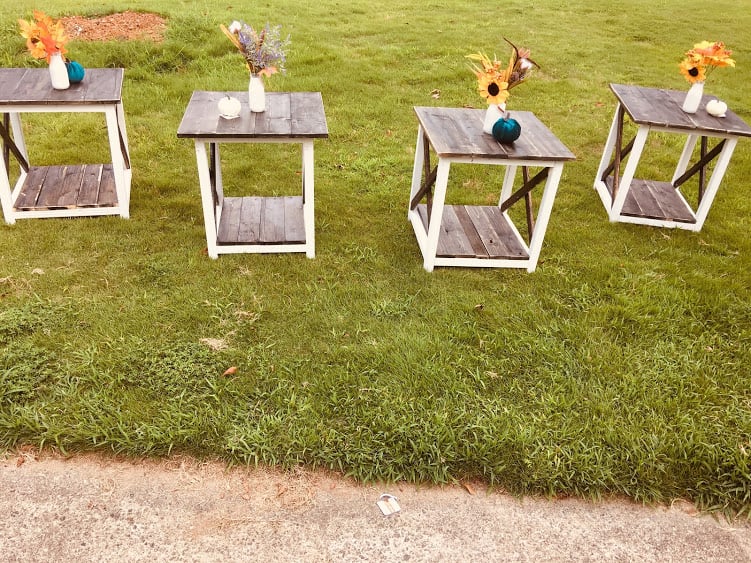
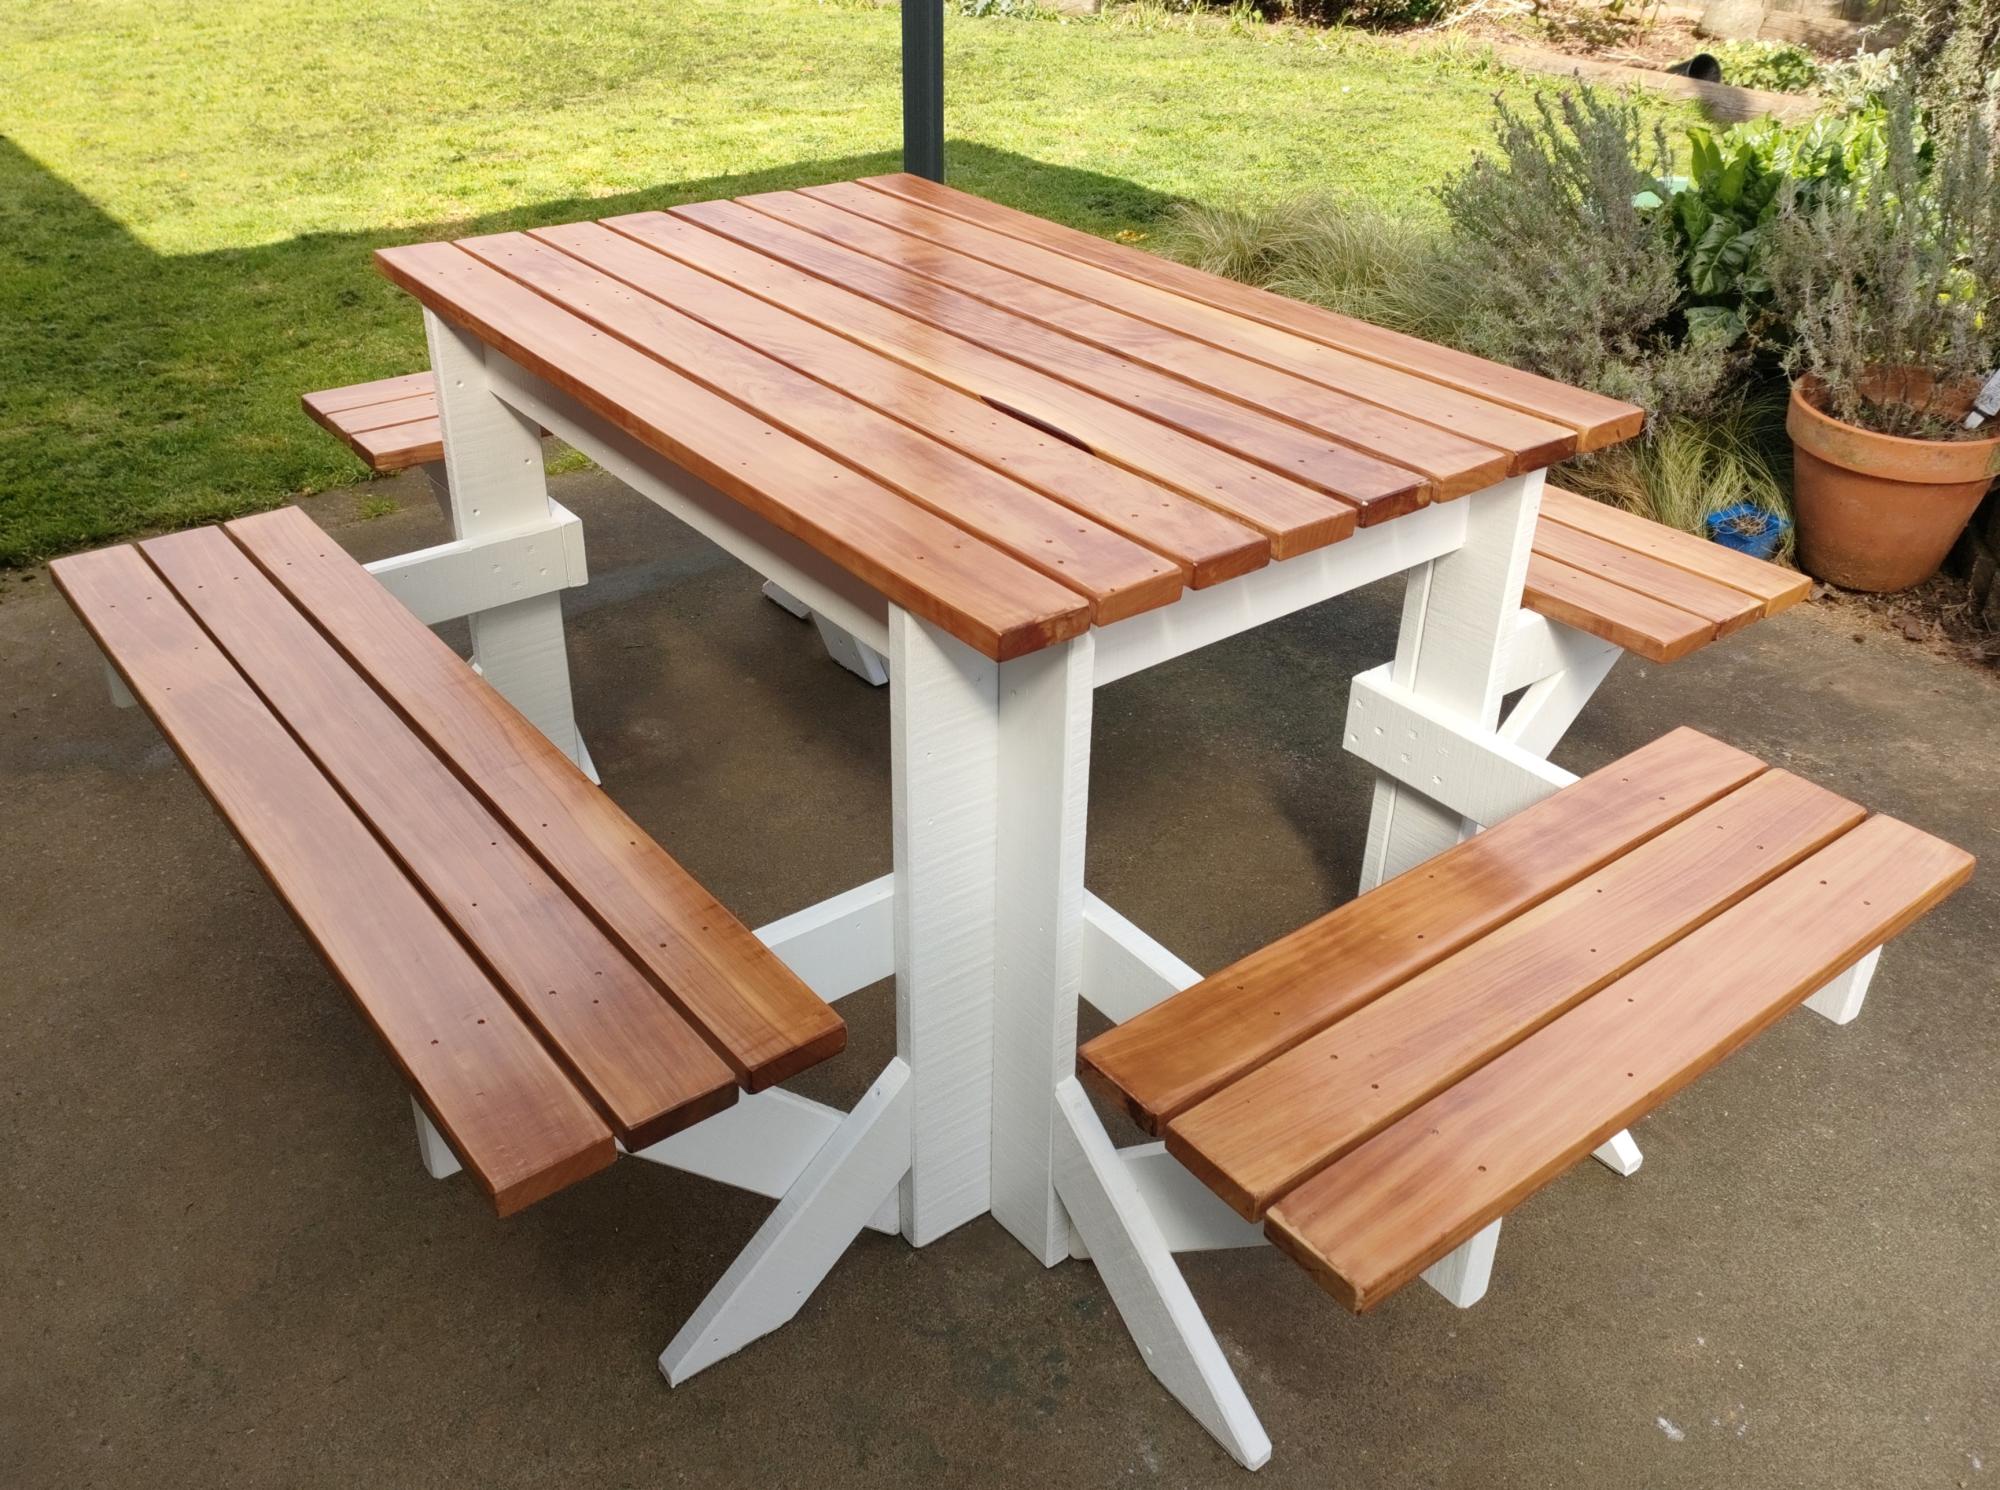
This is a simple super fun build, you can easily make several in one day and there are so many options on finish. I
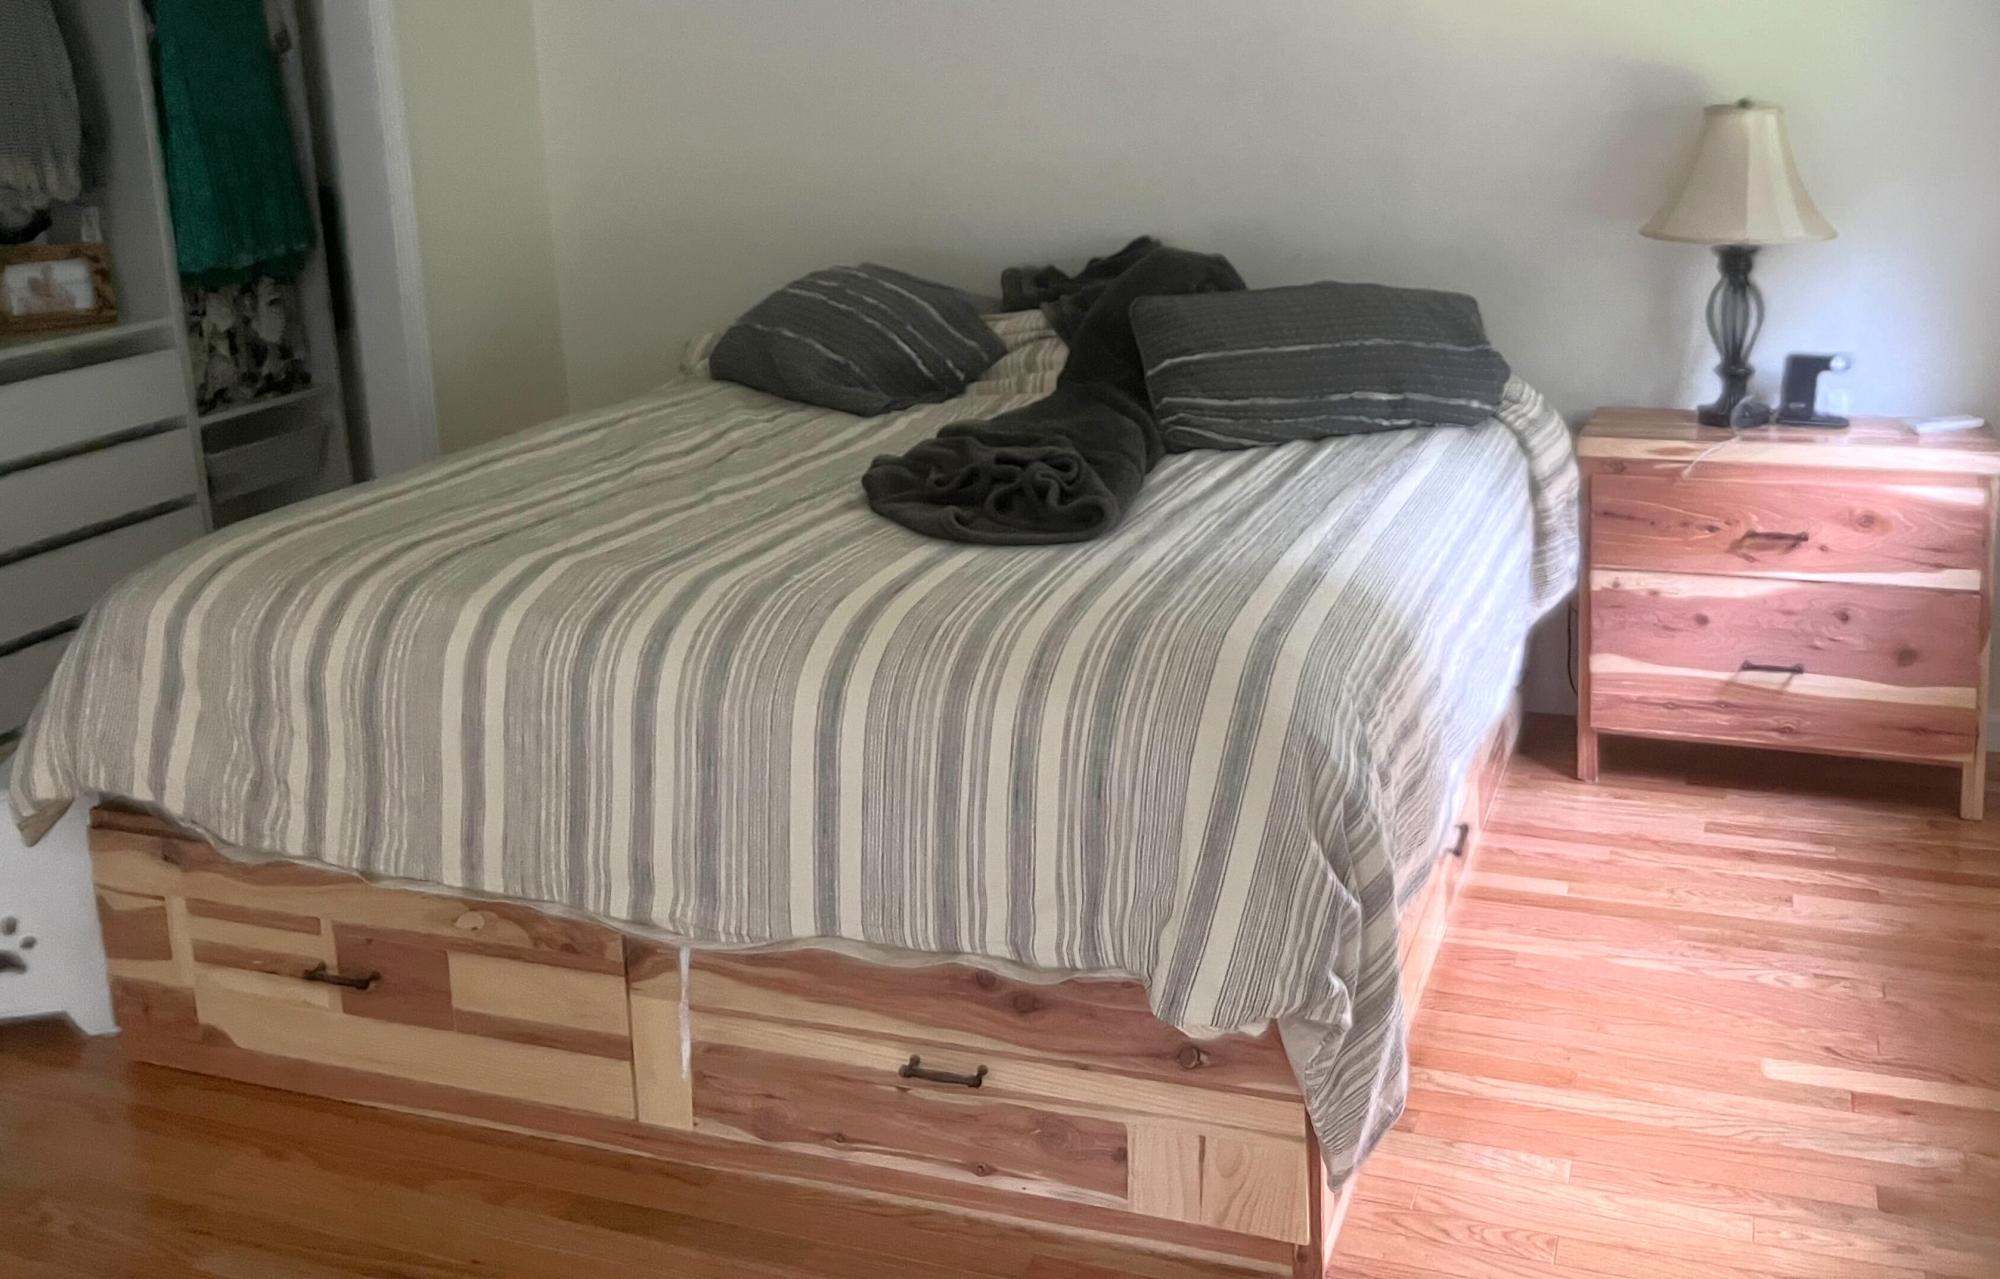
Made from RedCedar and WhitePine. All rough cuts from the local mill.
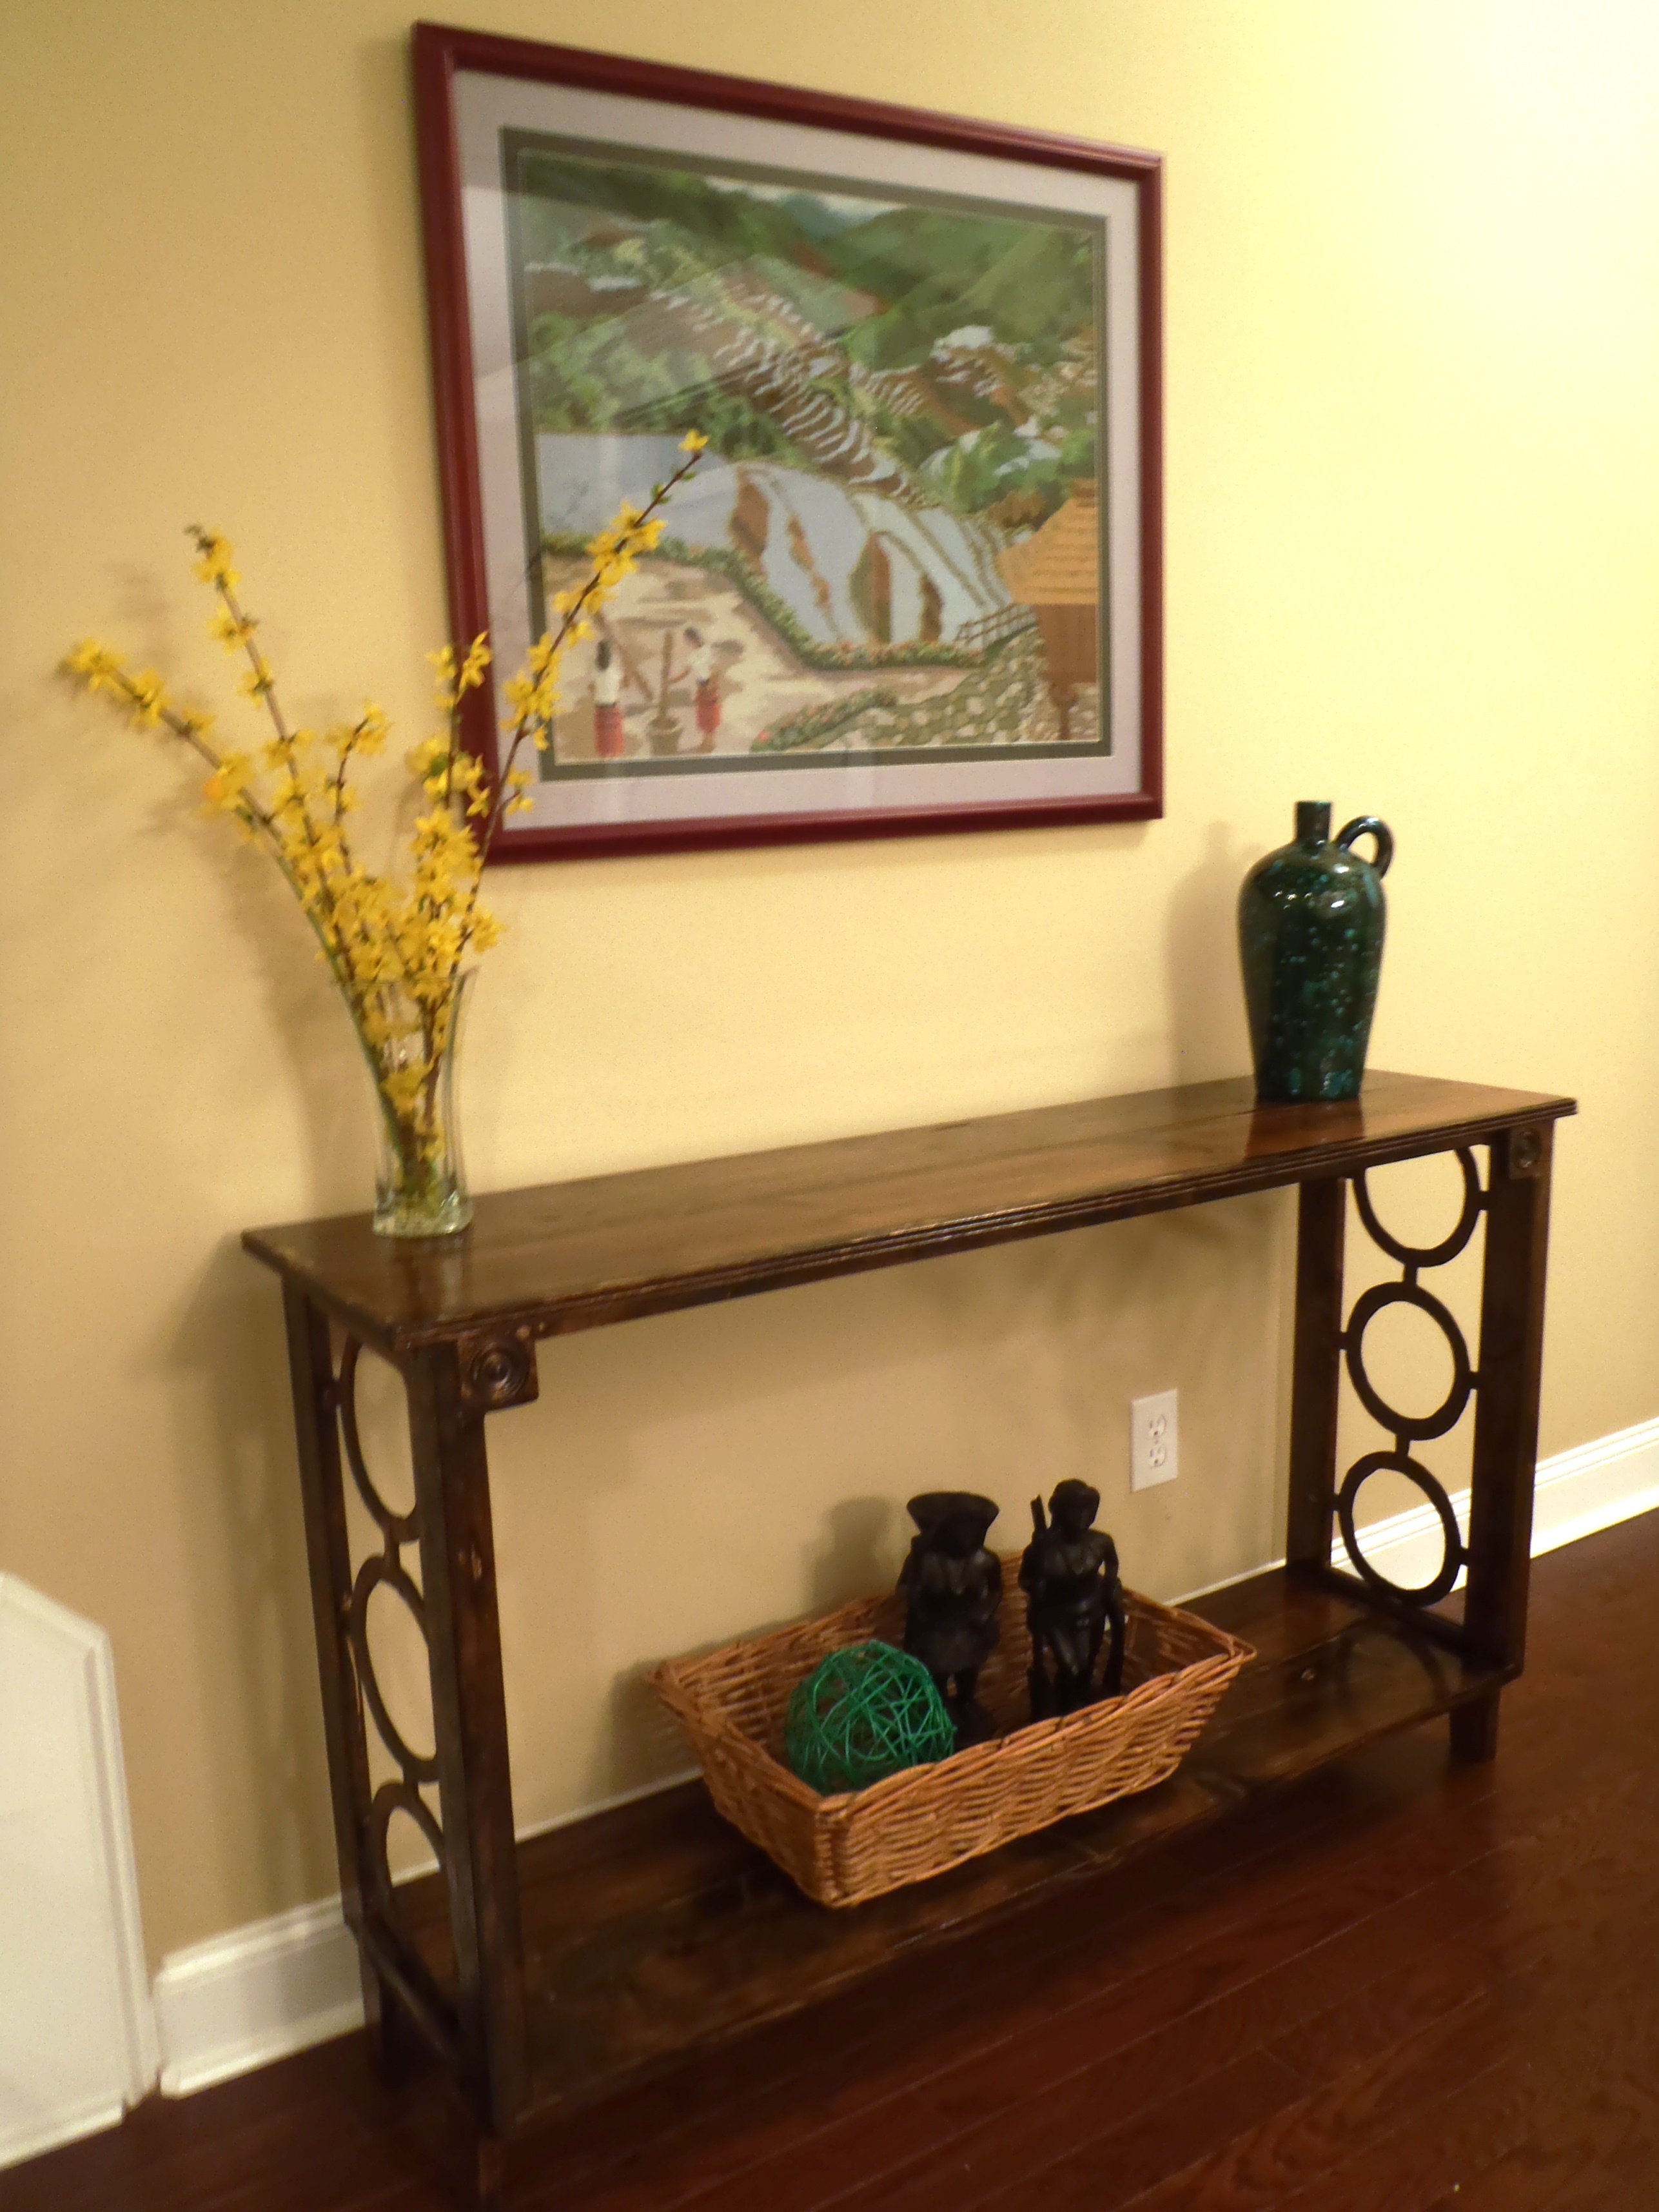
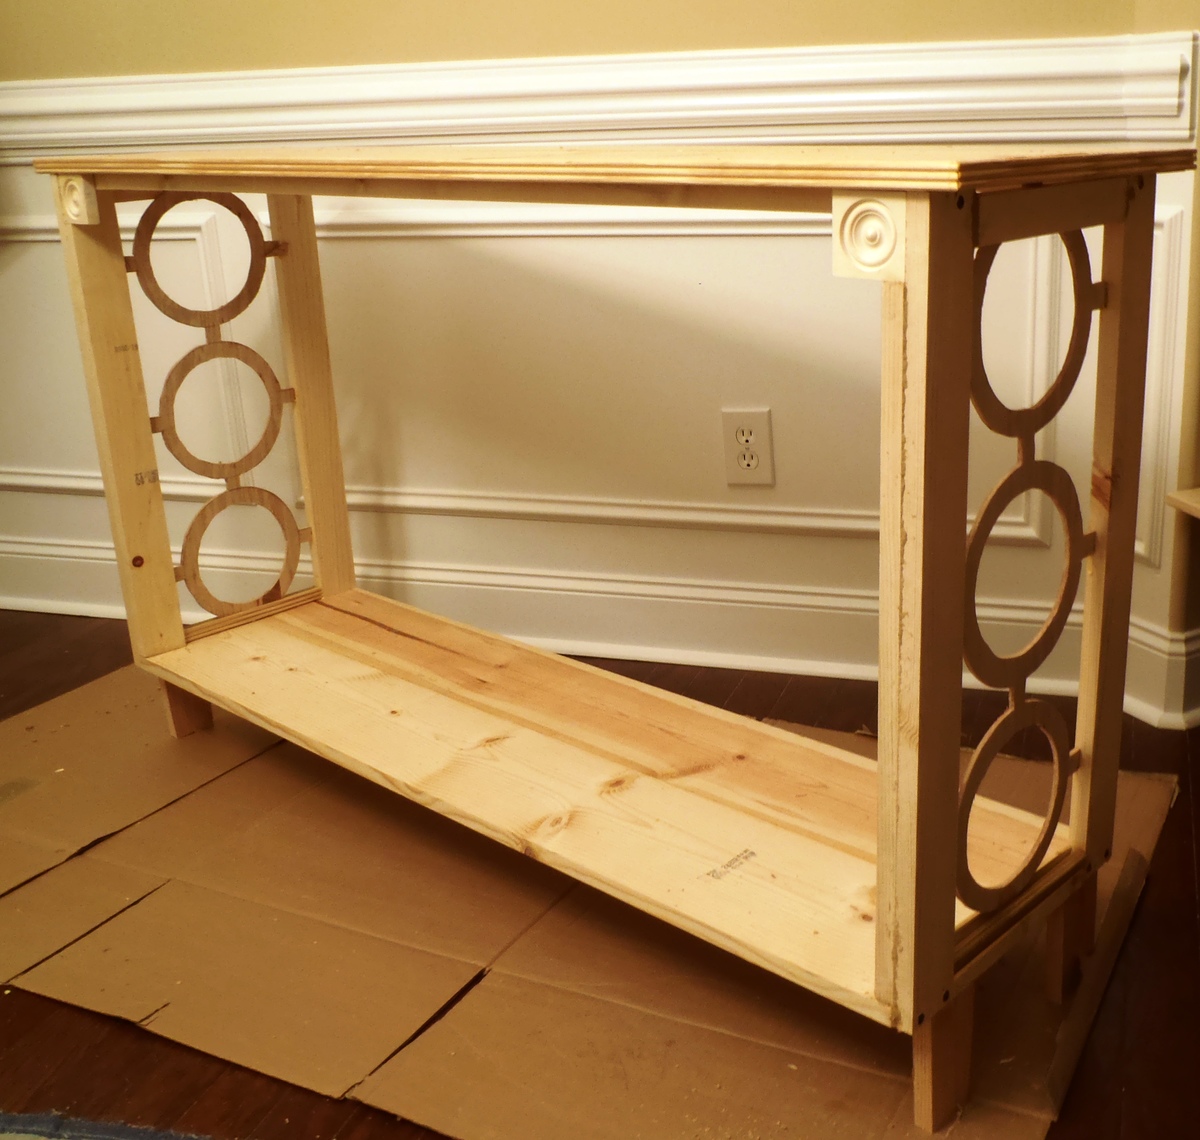
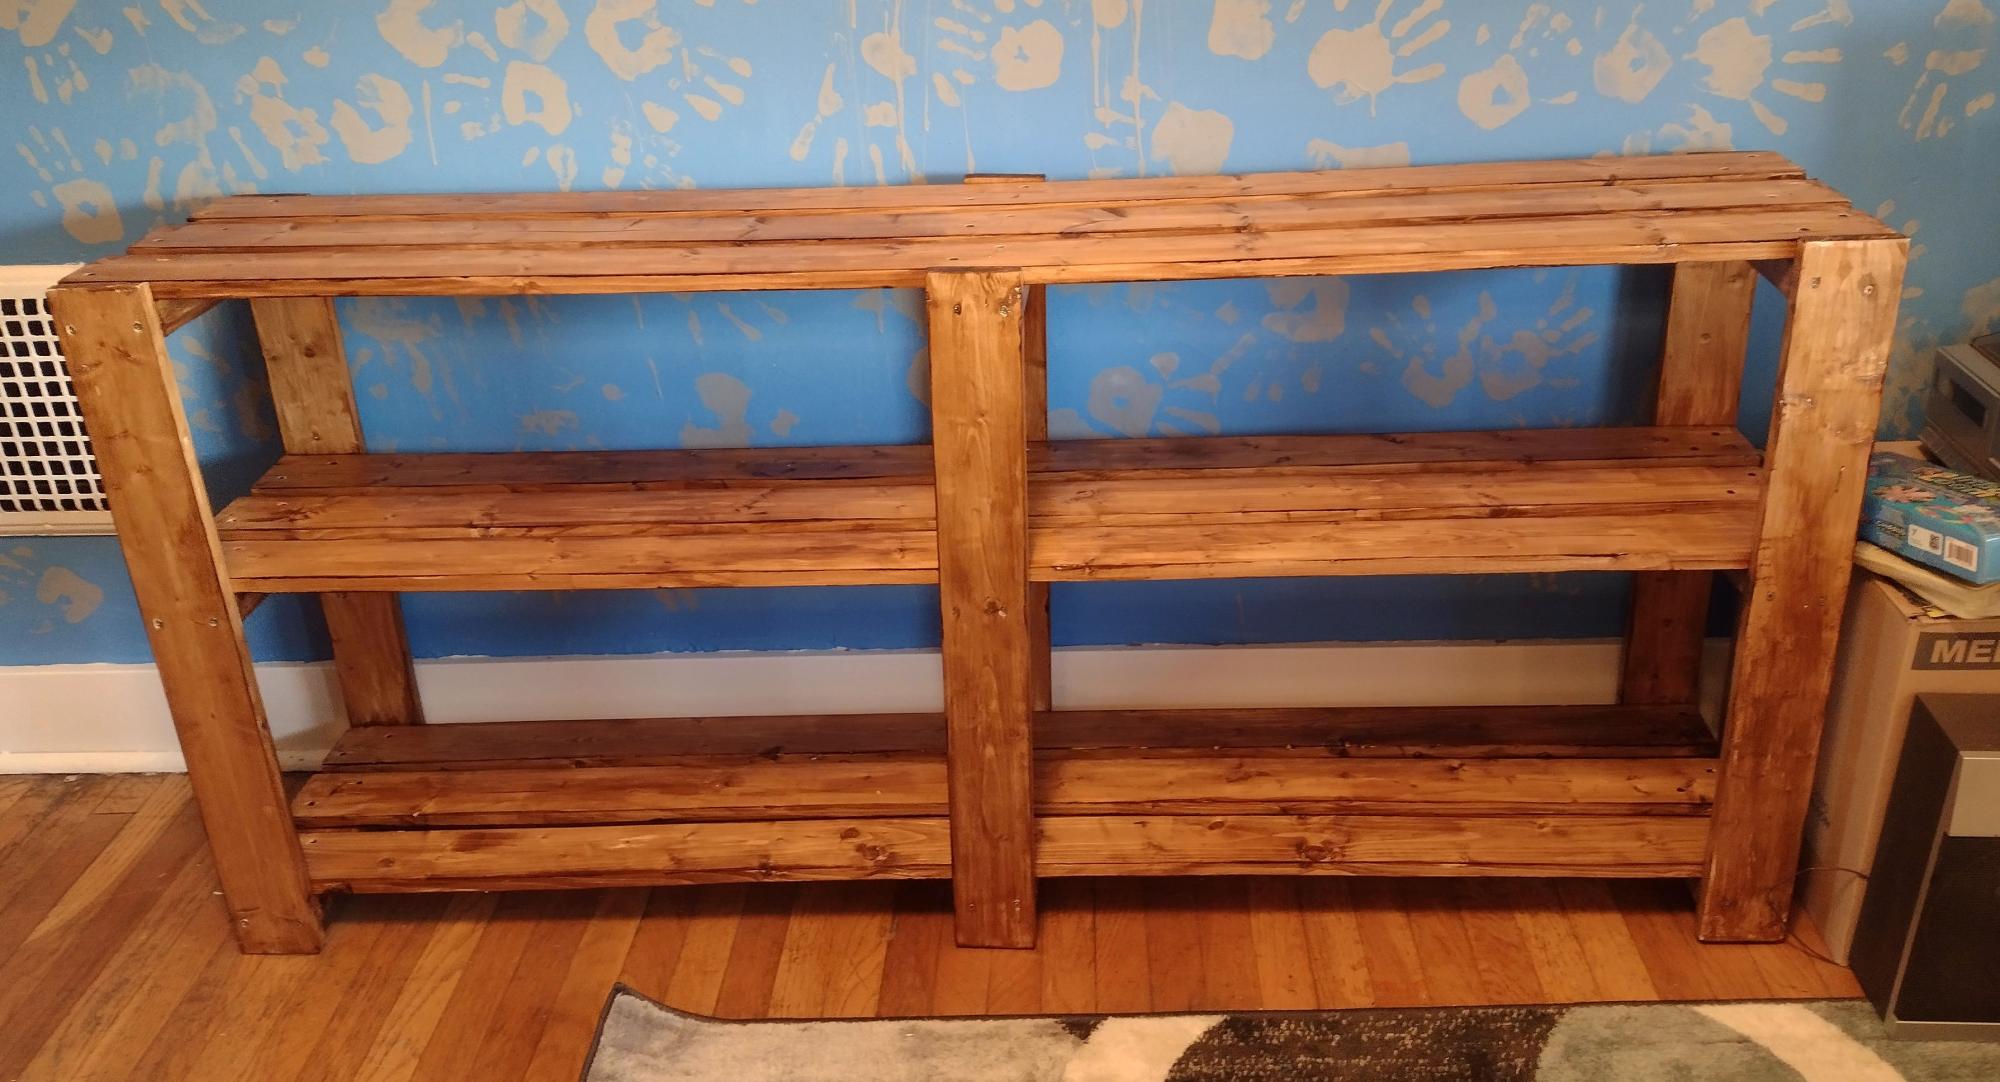
I wanted a hallway side table, using Ana White's Simple, Cheap and Easy console table directions (as usual with most of my built) and revising the measurement and adding some thing in here and there I was able to build me this! Thanks to my new jigsaw my husband bought me :) Measures 55" long, 34" height and 14-1/2" depth.
Thu, 04/12/2012 - 13:17
I am looking at making this soon and really like what you did with the sides. Any tips should I decide to go a similar route on mine? I haven't done that type of work before with my jigsaw and am not sure can pull it off but it looks so good!
Tue, 07/24/2012 - 11:11
could you pretty please share how you did the sides and everything on this table...I love this exact table (the one you built) and it would be PERFECT in our family room under the t.v. Pretty, pretty please :)
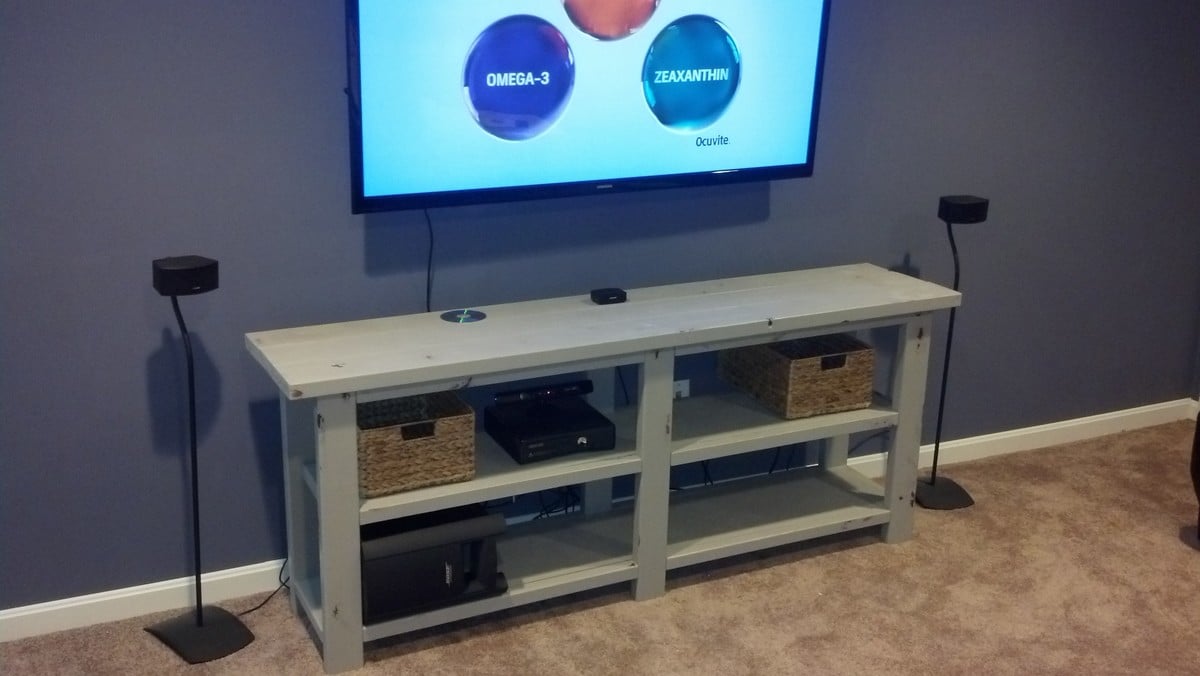
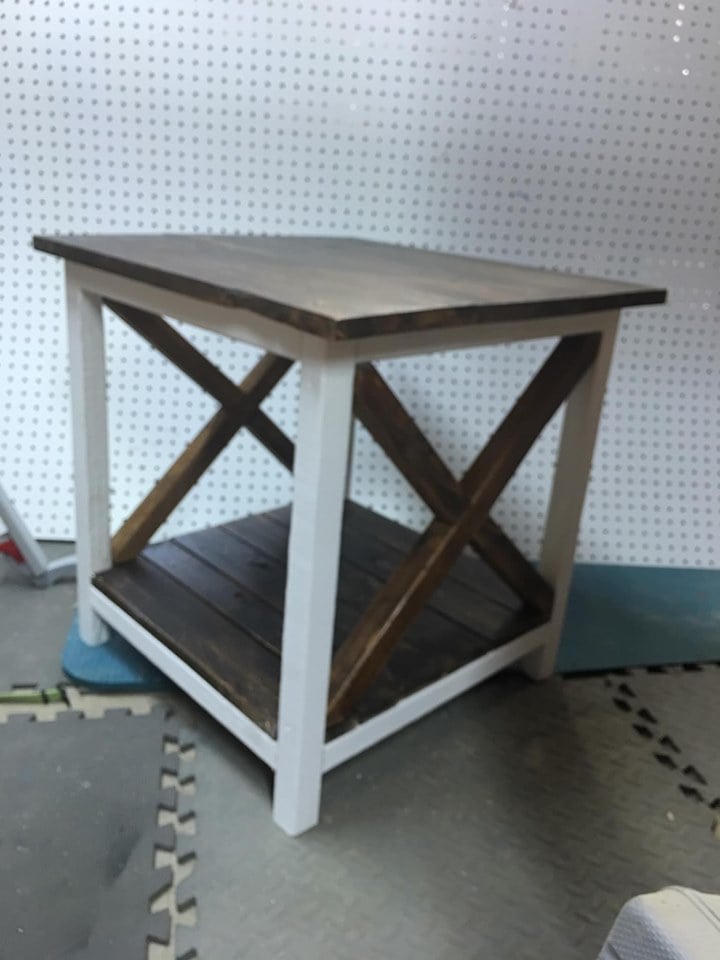
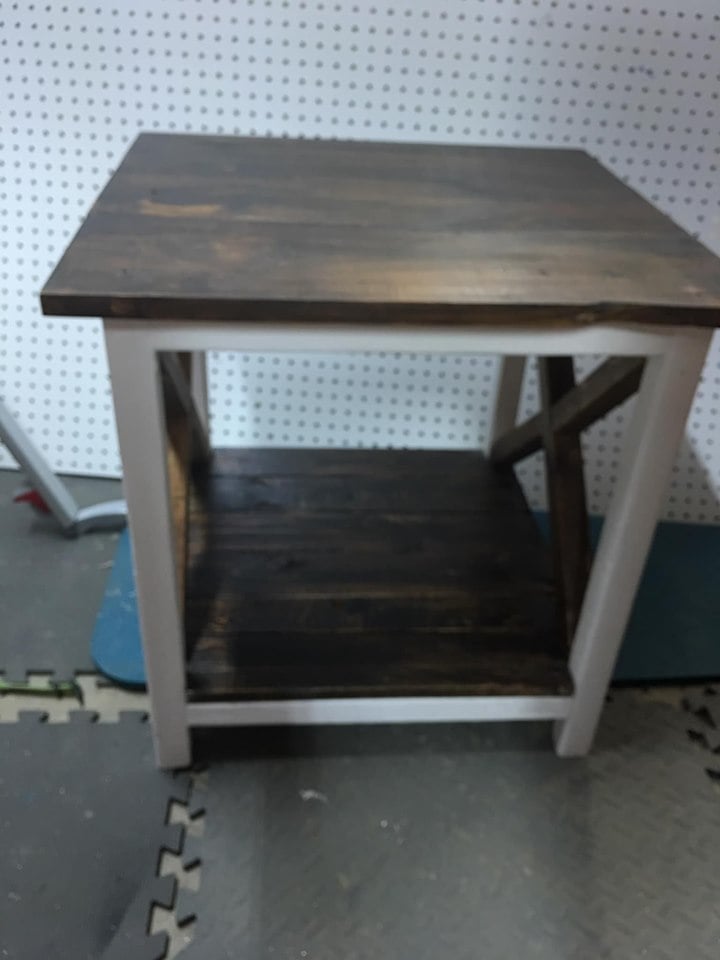
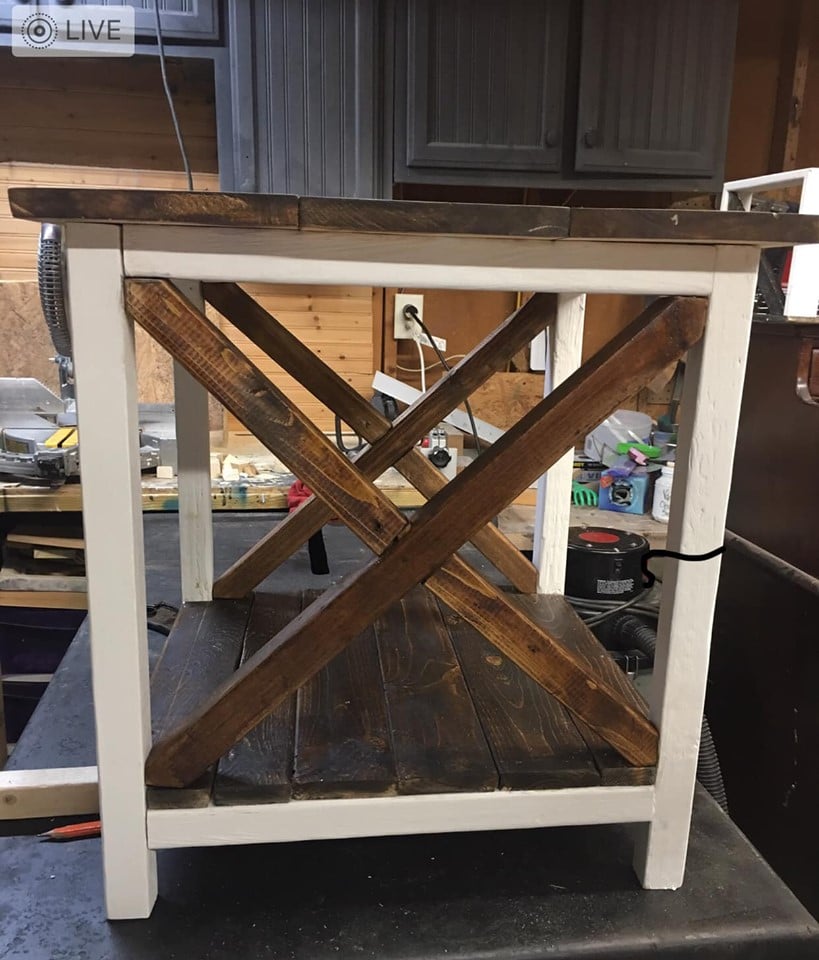
Rustic X Console, minus the X. And I used the finishing techniques from another project. I also built a bar before I found this site and we painted the bar stools the same color as this console to tie in the two spaces in the finished basement. I would say the most stress was that I couldnt find straight boards.. so being square was a challenge. Also when you follow the plans, it says to make both sides ( figure 8s) then attach the shelves.. I put the 2x4s on the top to connect and then did the shelves. I figured if all the pieces were right lenght, then it was best way of assuring the project would be as square as possible. I know it would be on carpet, so I wasnt too worried, but when I brought in into basement to paint, all 6 legs sat very flush on the ground with the slightest of wobble. So, I would say rest one side on the ground.. line up the 2X4s that connect the two sides at the top and then go from there, then do the shelves.
Had a blast building this for my mother. Only problem now is everyone in my family wants one!
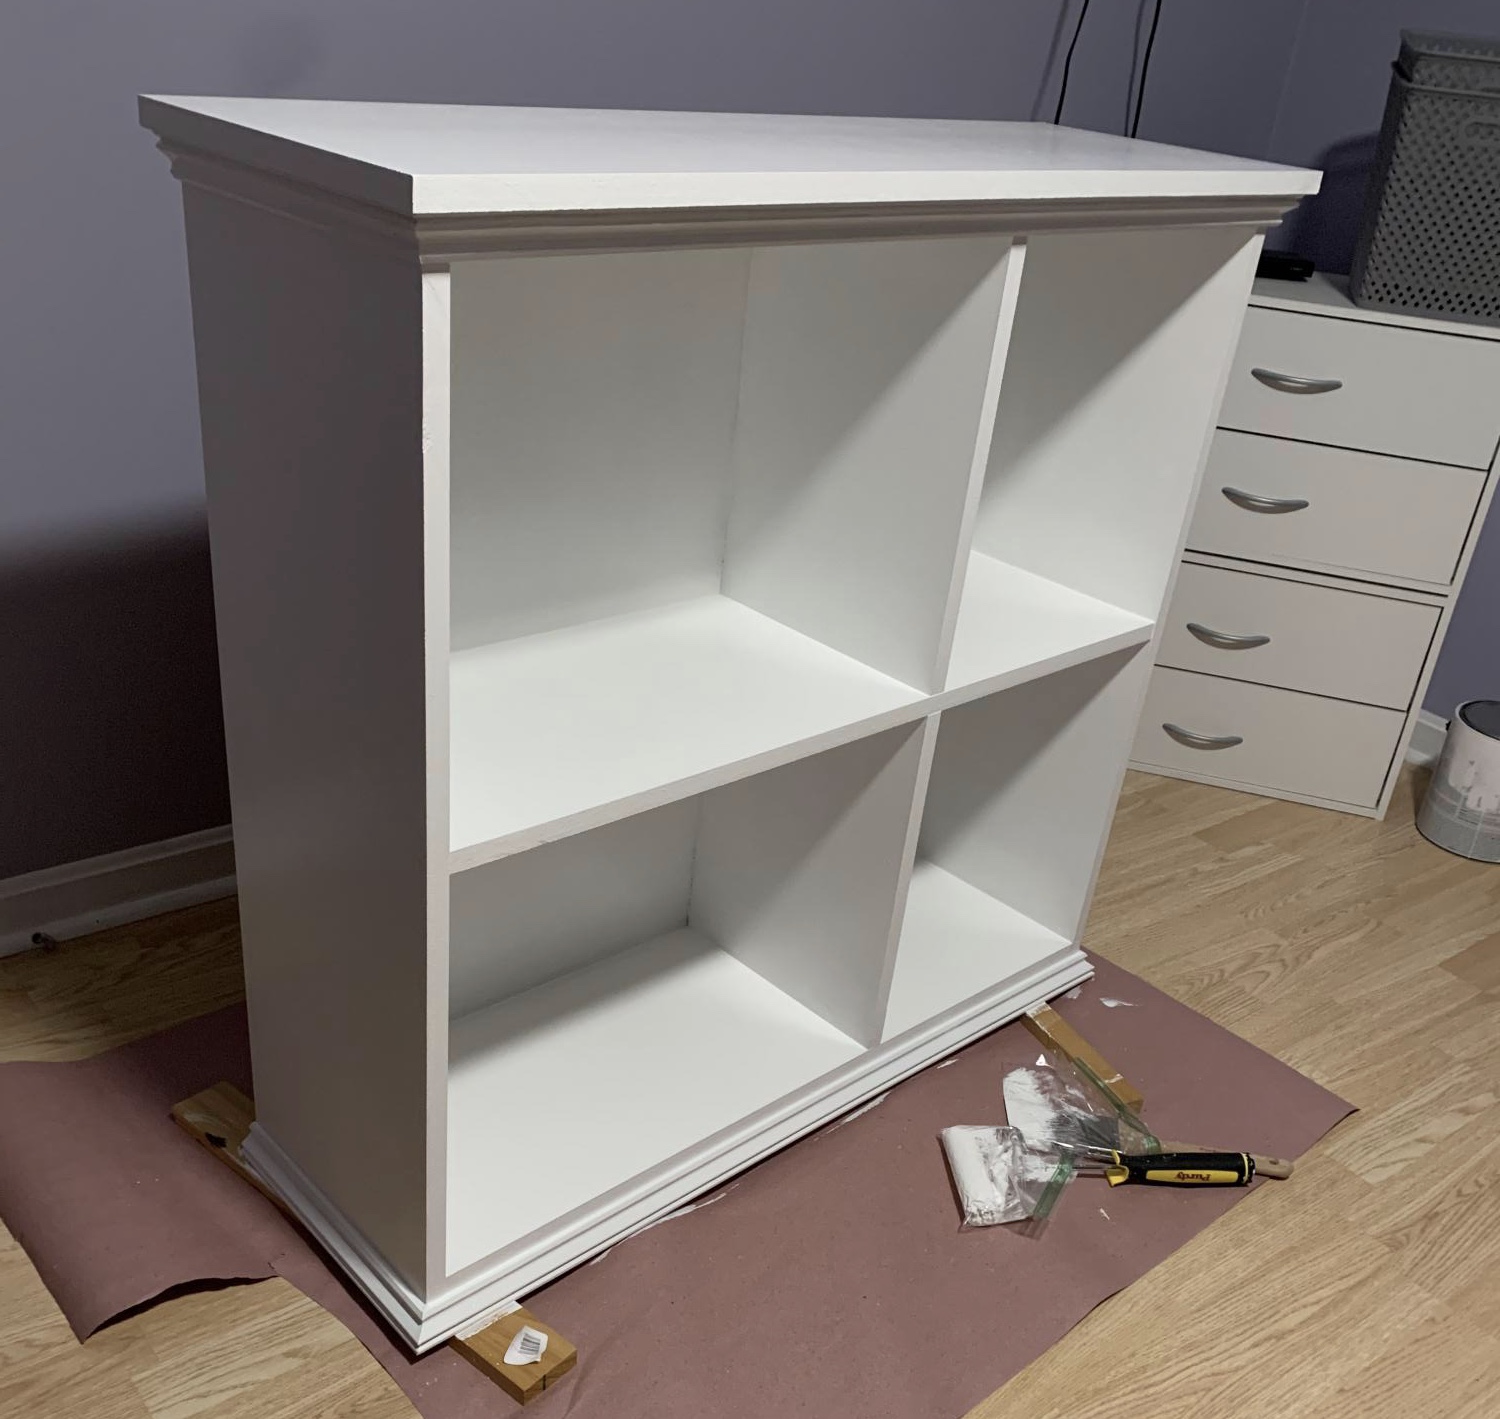
My wife wanted a bookcase for her office. She had an idea on what she wanted, so this is what I came up with.
Made the case with 3/4” MDF.
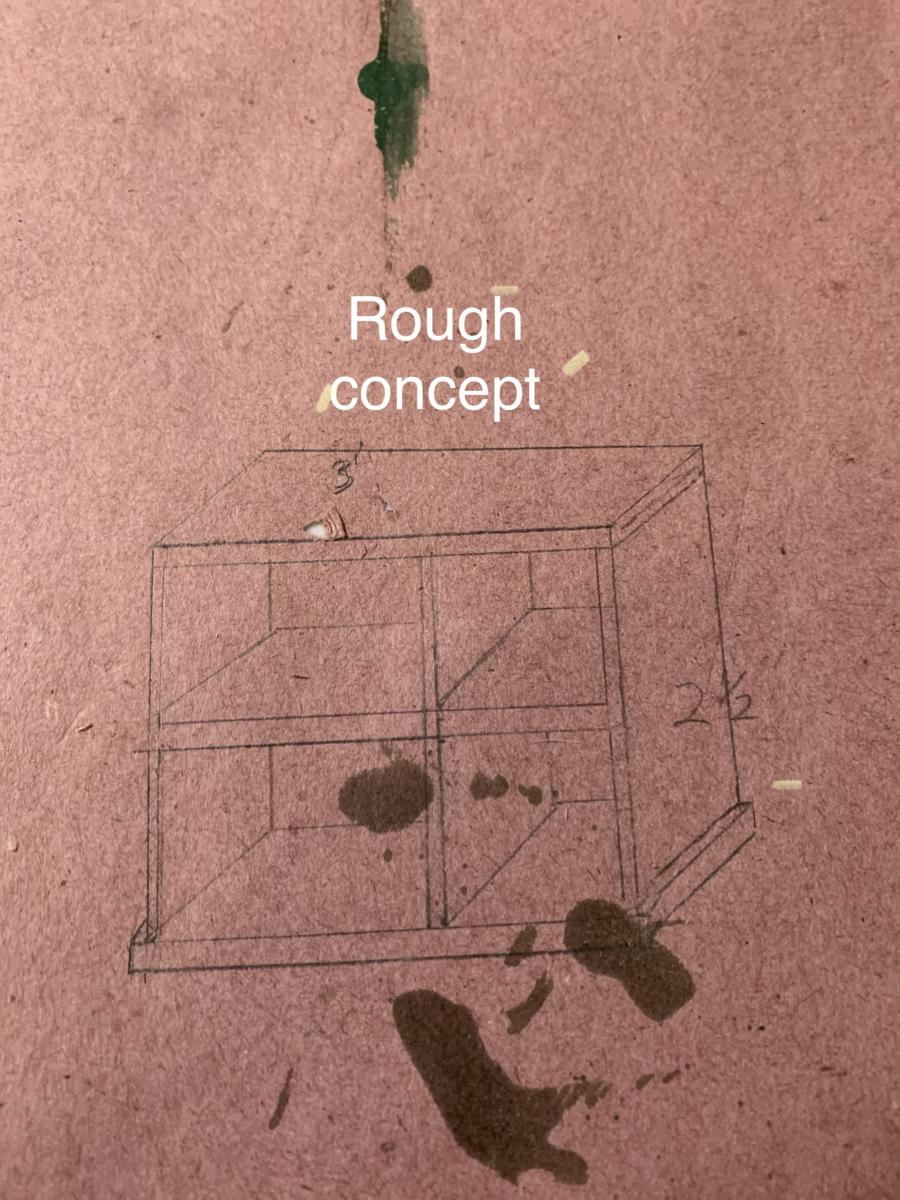
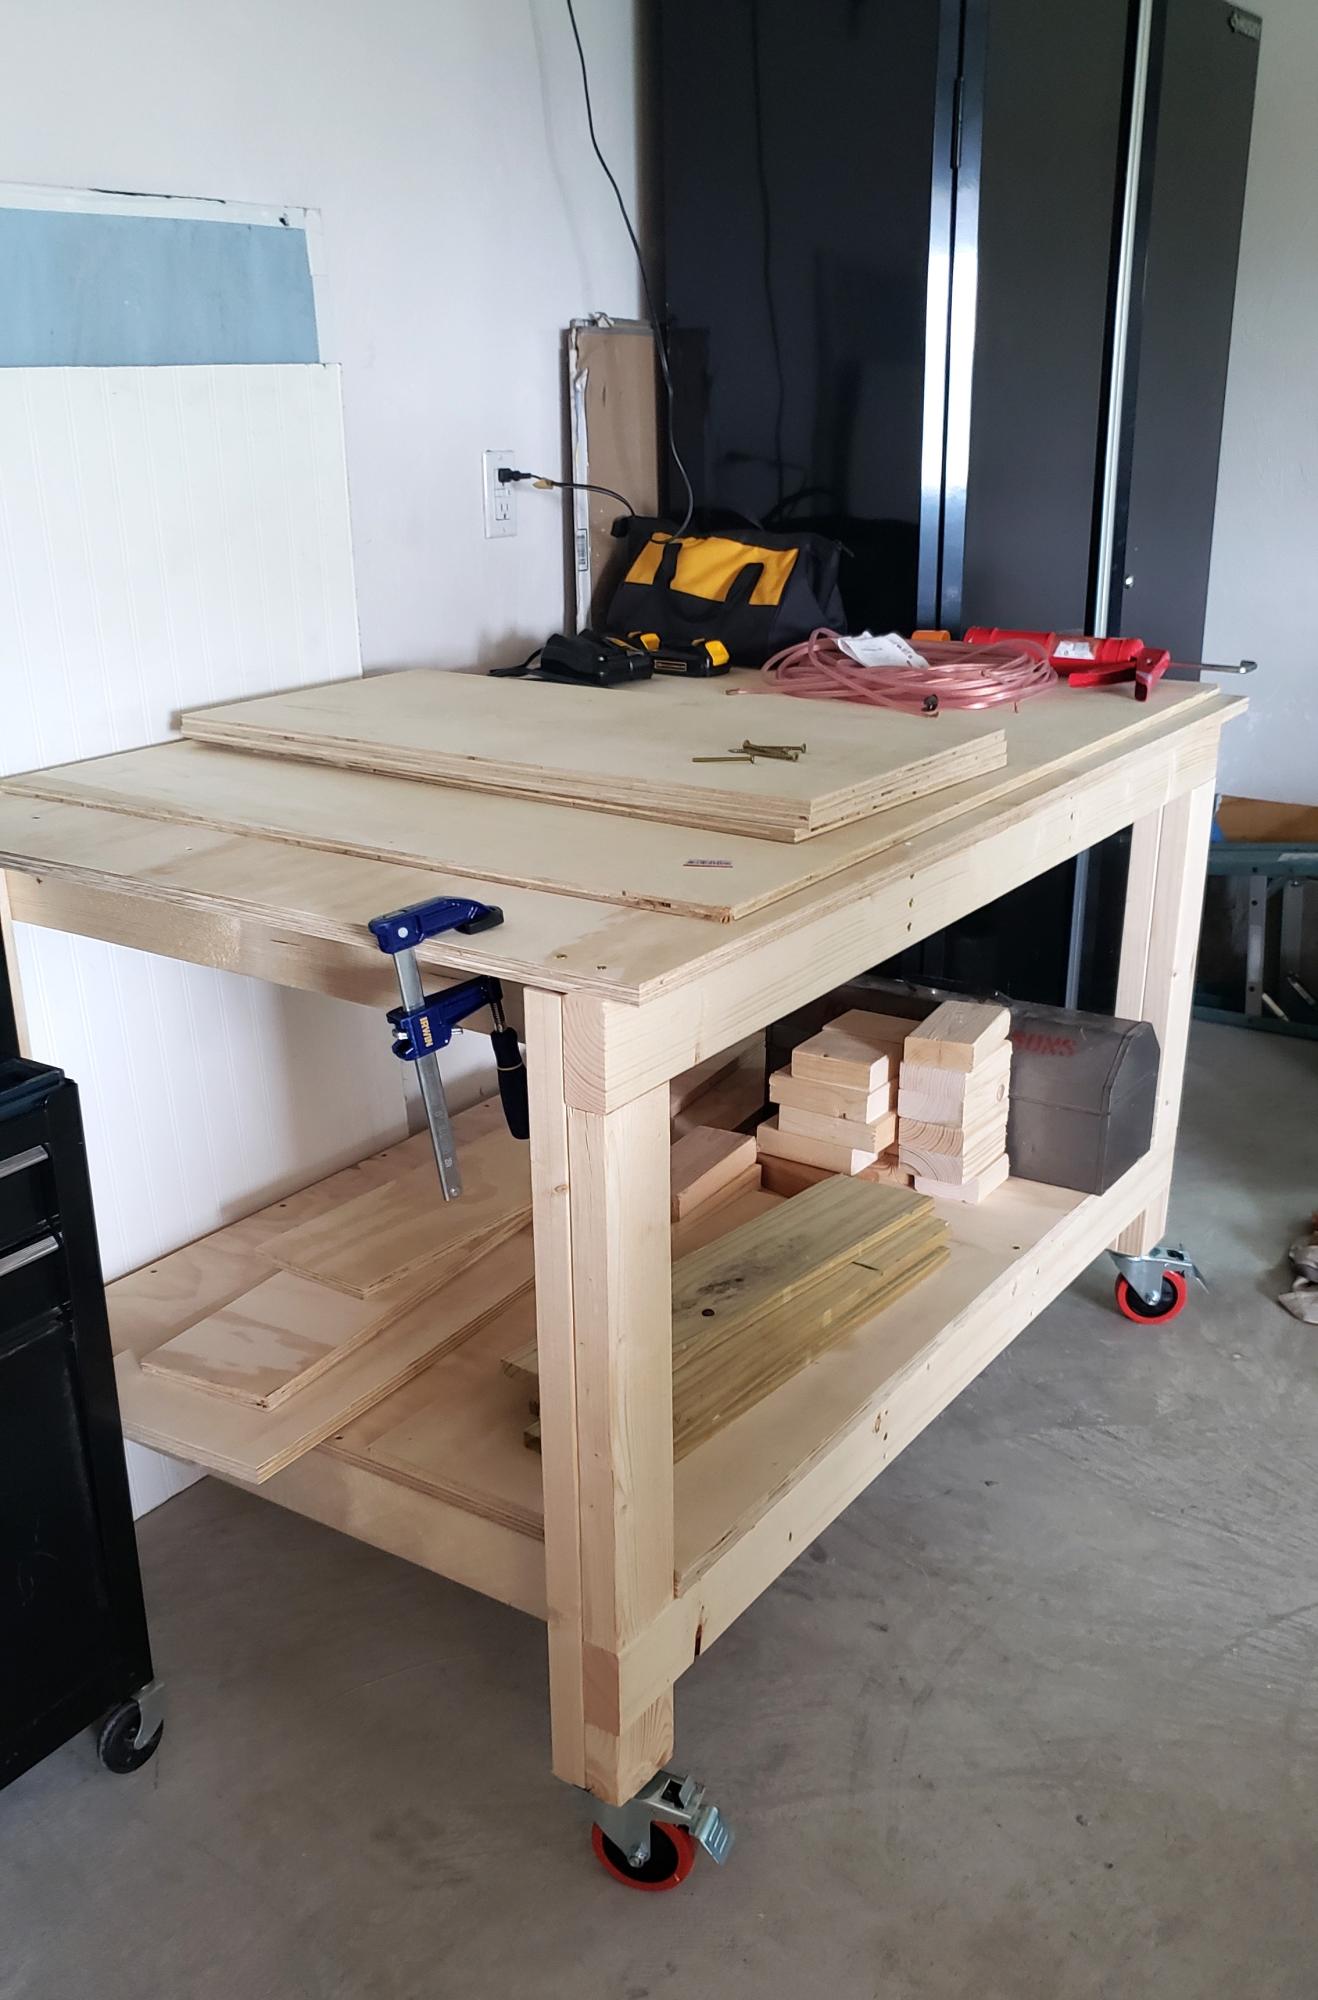
Easy to build workbench. I added an extra 2 1/2 inches (width) to the top plywood cut. This gave me a 1 1/4" lip to the front and back sides. I wanted to be able to clamp on all sides of the bench. Also added casters since I wanted to use this as an outdoor table for entertaining if needed and to simply have mobility with the bench. So far I love it!
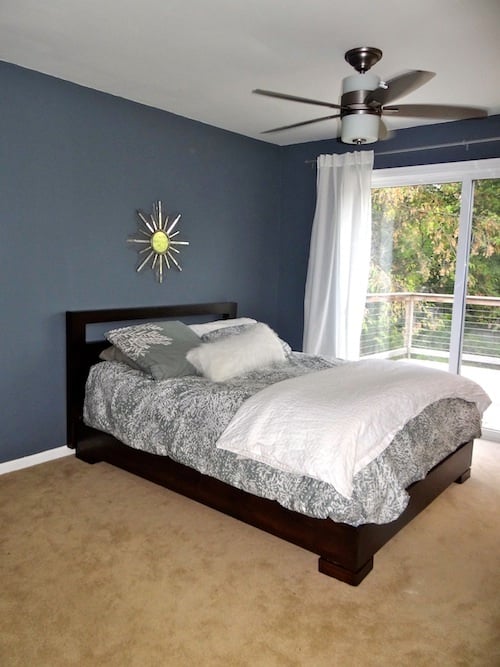
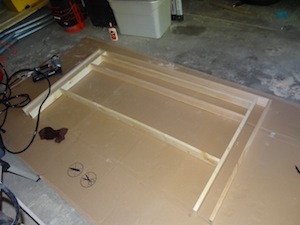
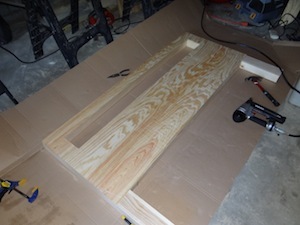
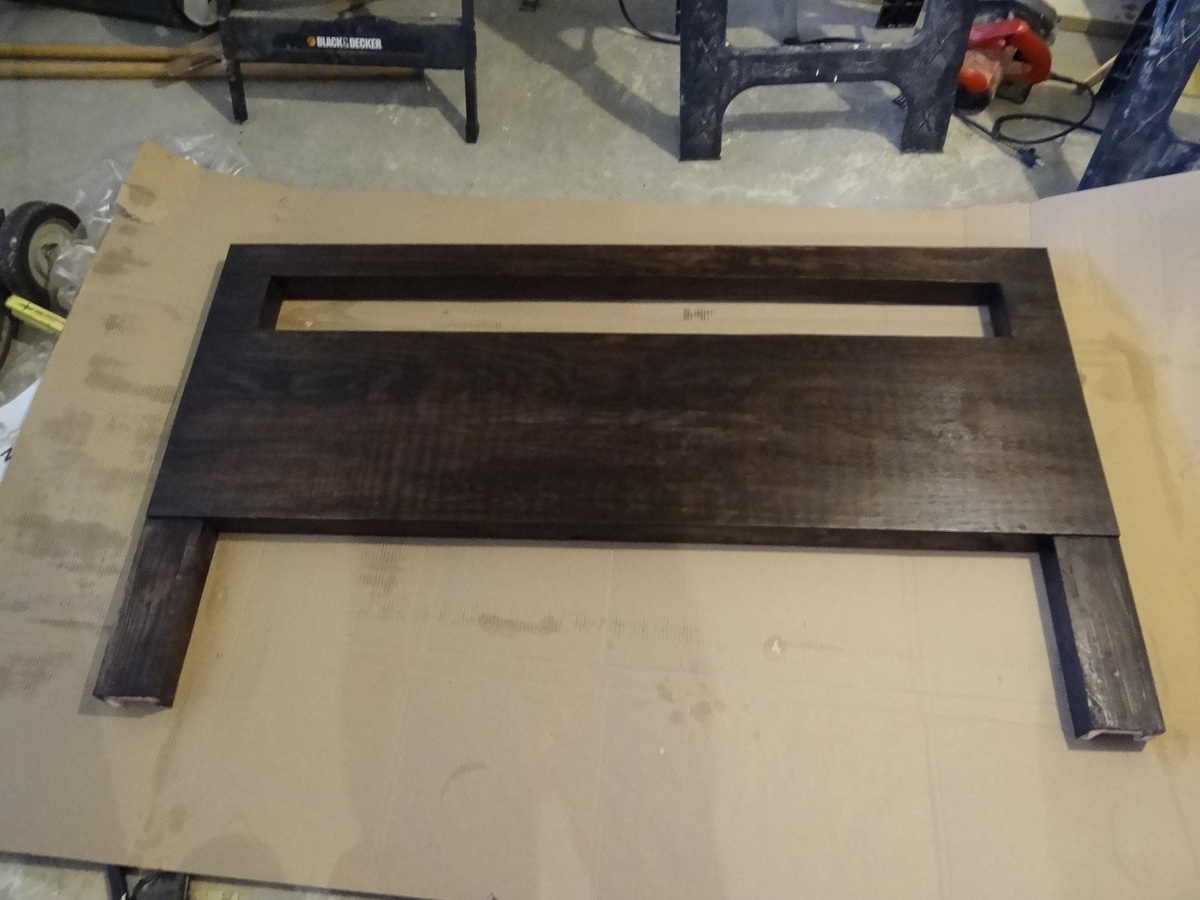
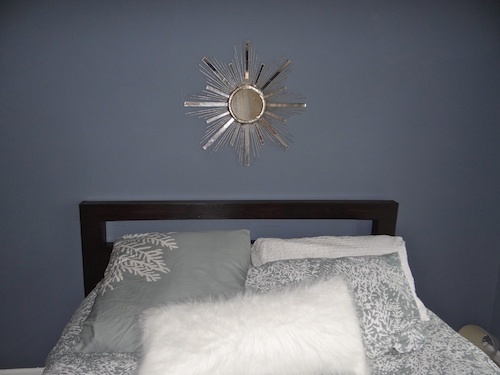
I was so thrilled to see this cut out, modern headboard included in Ana's plans, since I had been lusting over the expensive West Elm version for months. It was really easy, and I'm thrilled with the results.

This is another piece for my living room to go along with the console table I've already finished. My hope is to replace all of the furniture in the living room with matching pieces to finally have a house that doesn't look like it was decorated through the Salvation Army.
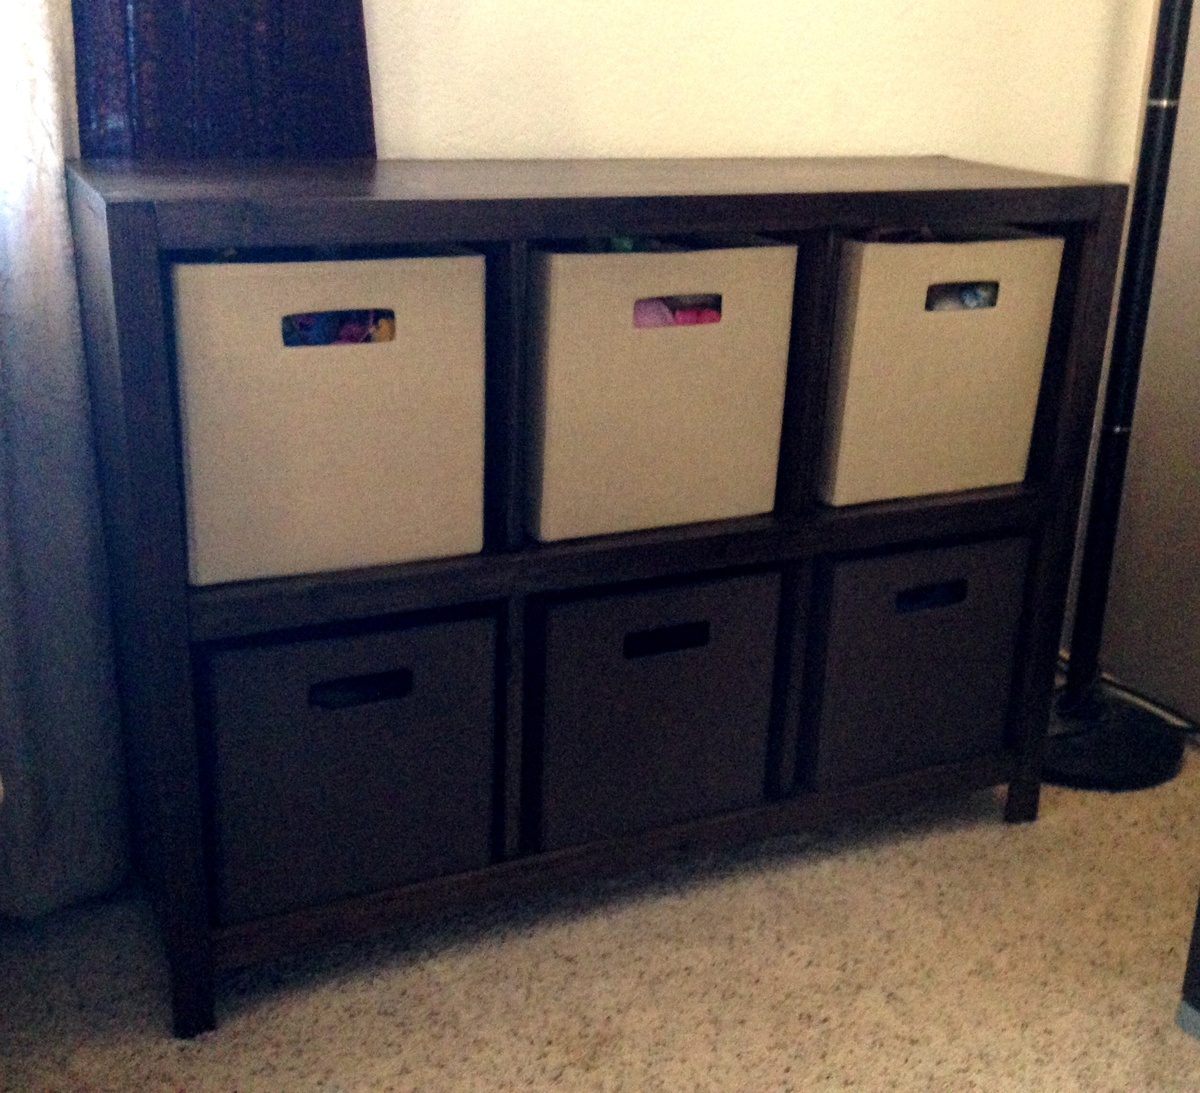
This one has the specific purpose of a toy box for our two year old. Now she has a place to store her toys that she keeps in the living room instead of just piling them up in that corner. It's based on the 6 cube bookshelf design and finished with three coats of Varathane's Kona poly blend over regular pine.
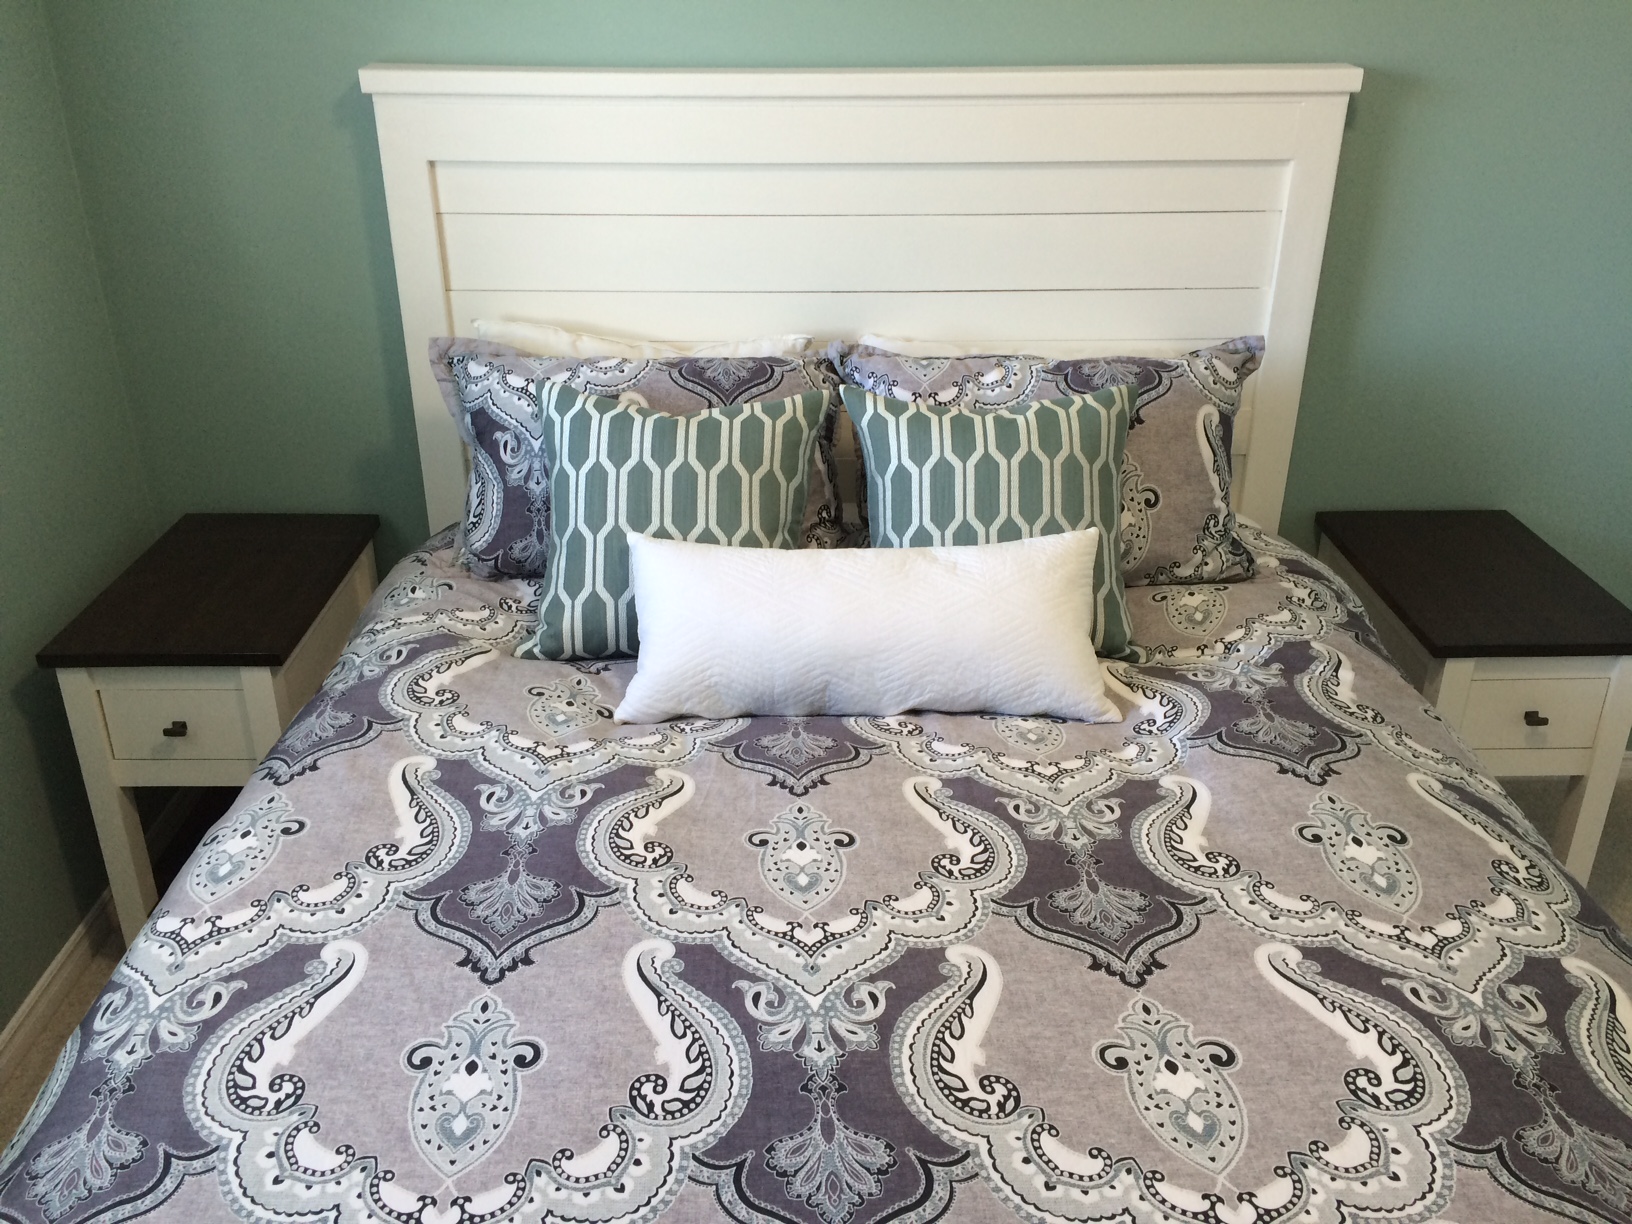
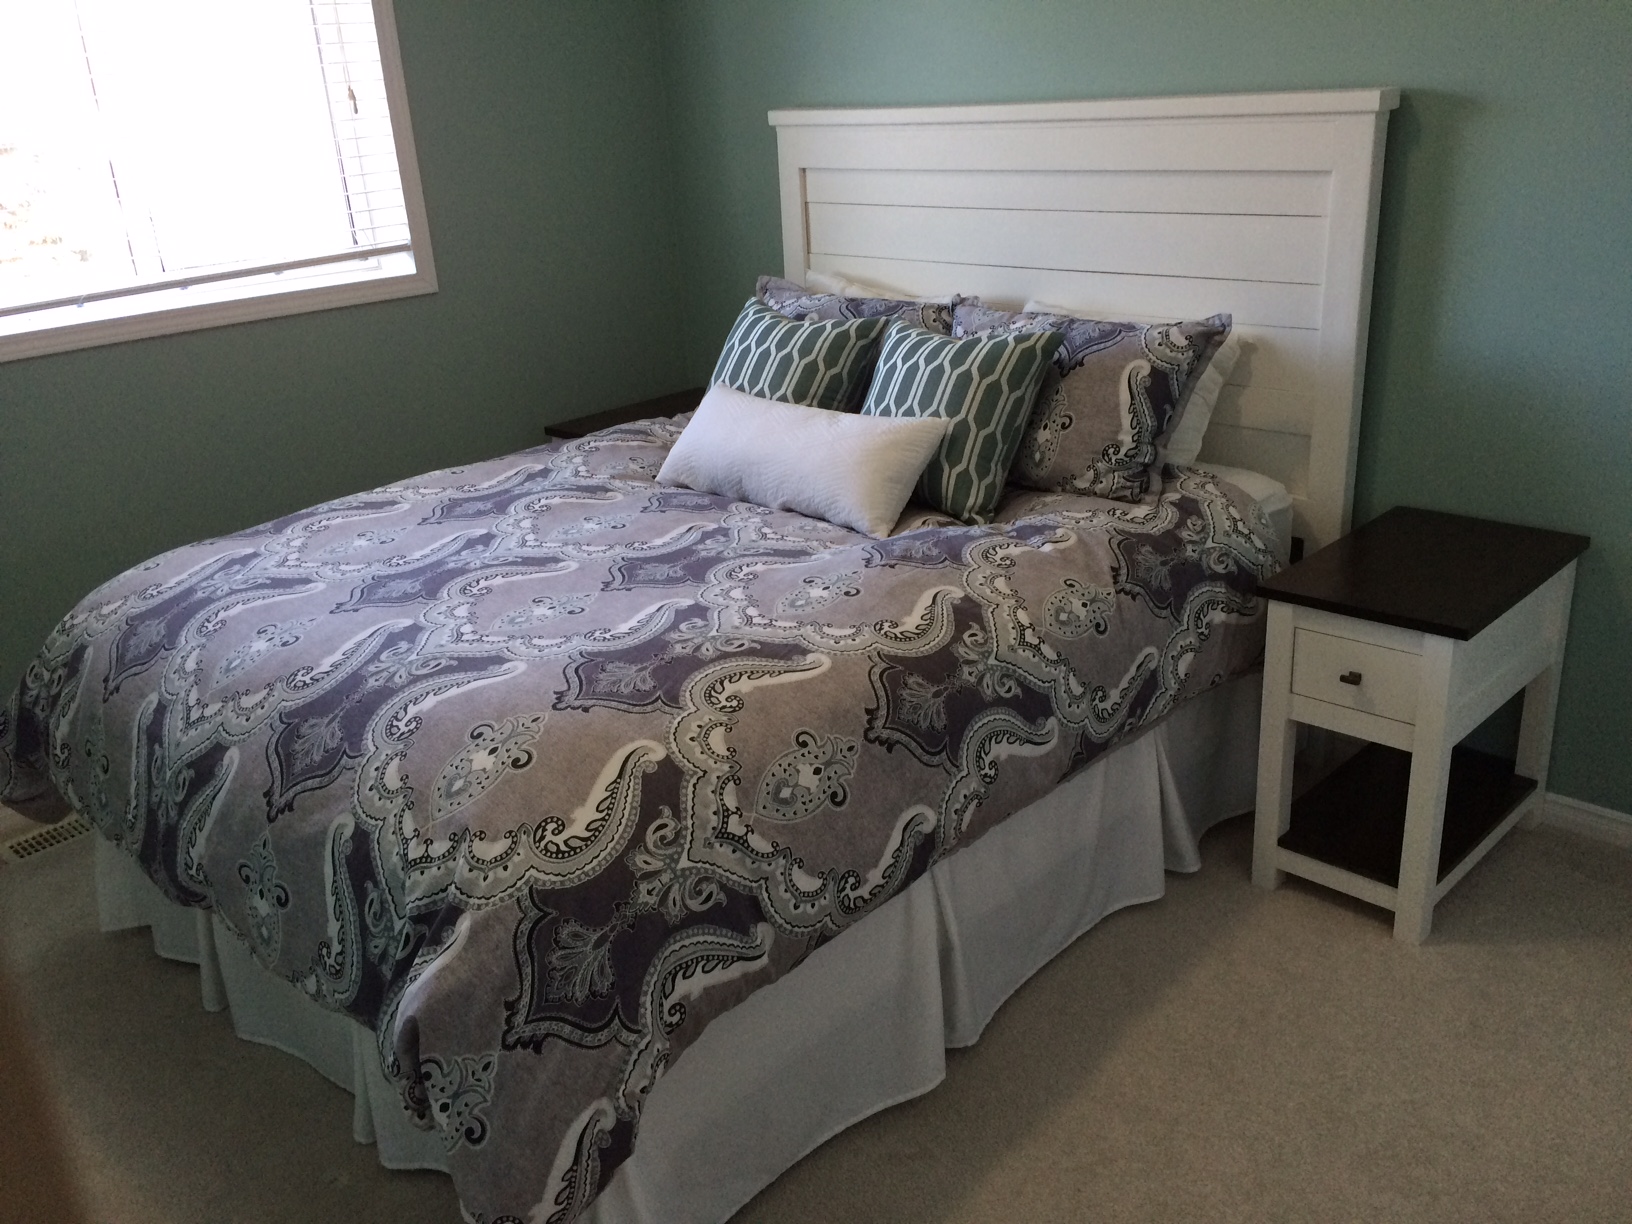
Great, matching bedside tables and headboard. Made it mostly from pine, and scrap lumber.

Needed a new coffee bar to fit a specific area. Changed the plans to fit my needs and this is the result. Spent a few hours a day over two weekends, probably 8-10 hours in all (paint/stain/poly included)
My son needed more shelves/storage in his room. Modified this a bit shorter in length and with to fit better in his space. Easy to build and love how it turned out!

Ever since I saw this cupboard, I wanted it. So when I got a free day I jumped at the chance to build it. I love it! The only problem is trying to figure out where I want to put it.
Fri, 11/02/2012 - 19:29
In an afternoon? I would have taken a couple of days. You did a great job.
Thu, 02/19/2015 - 19:11
Hi Ana - I dont mean any disrespect but how do you figure this project costs $30-40. I bought just the boards no hardware or plywood and its cost me $60. Pine #2.
Please let me know your thoughts and where you buy your wood from.
Fri, 02/20/2015 - 12:00
The cost estimate is from emilyr, posted almost three years ago. Lumber prices fluctuate, but $30-40 is still quite low. I estimate about $100 to buy the lumber (pine) on the shopping list from Ana's plan at current prices in my area.

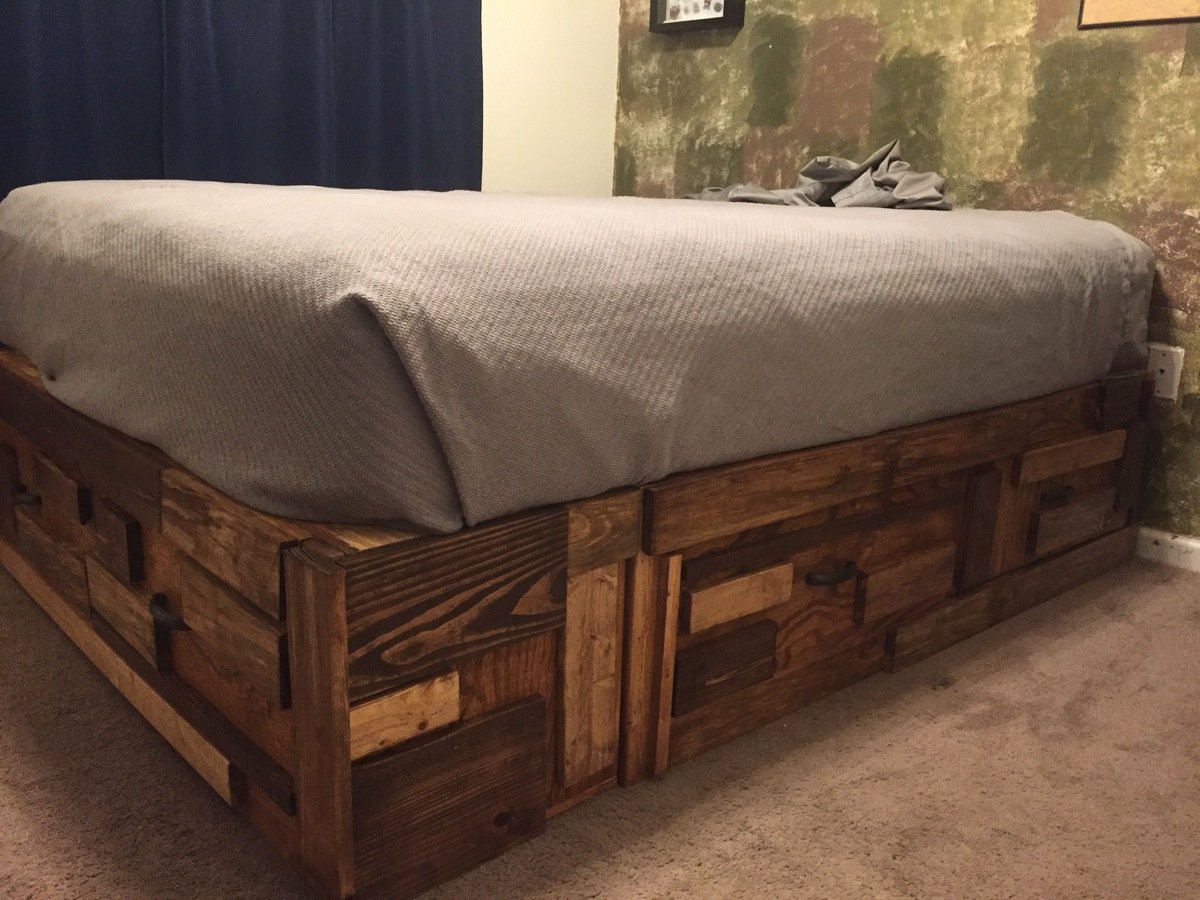
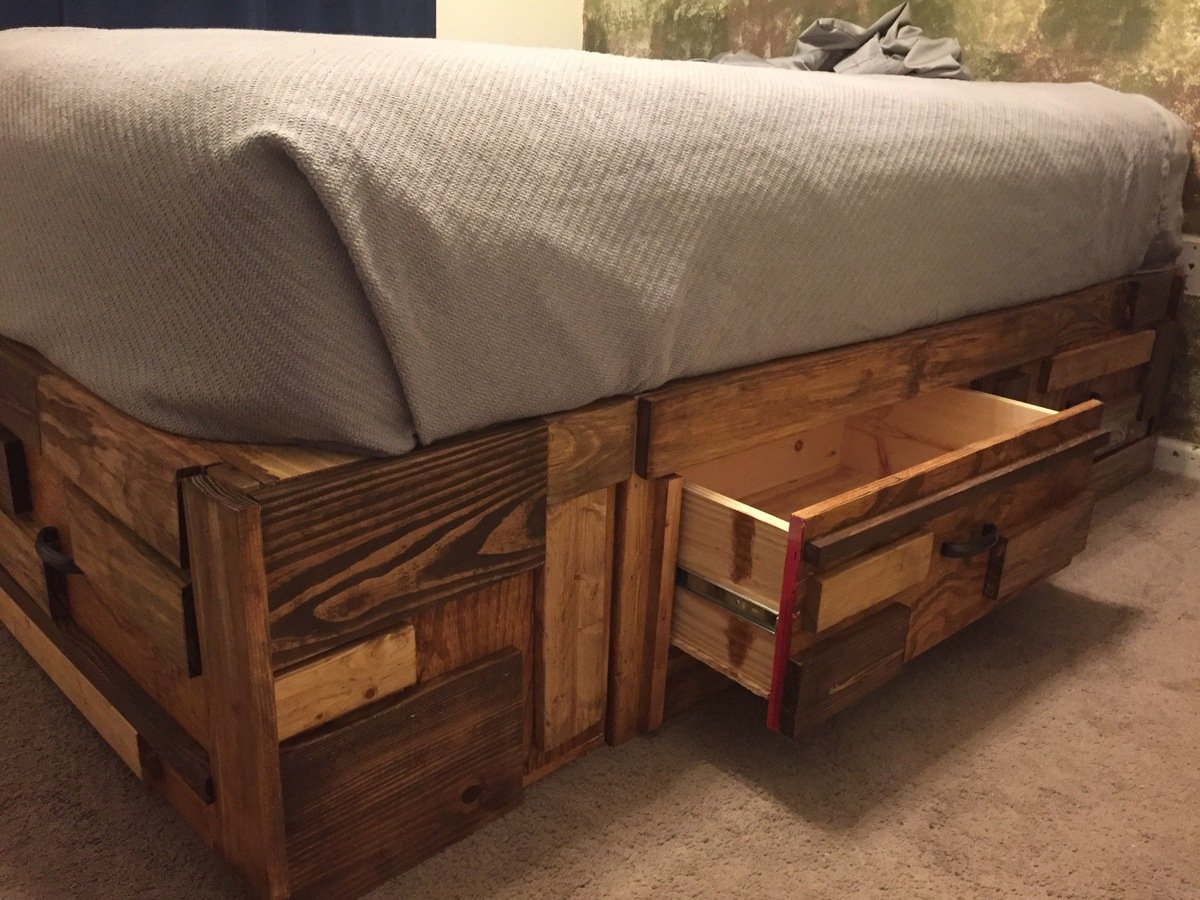
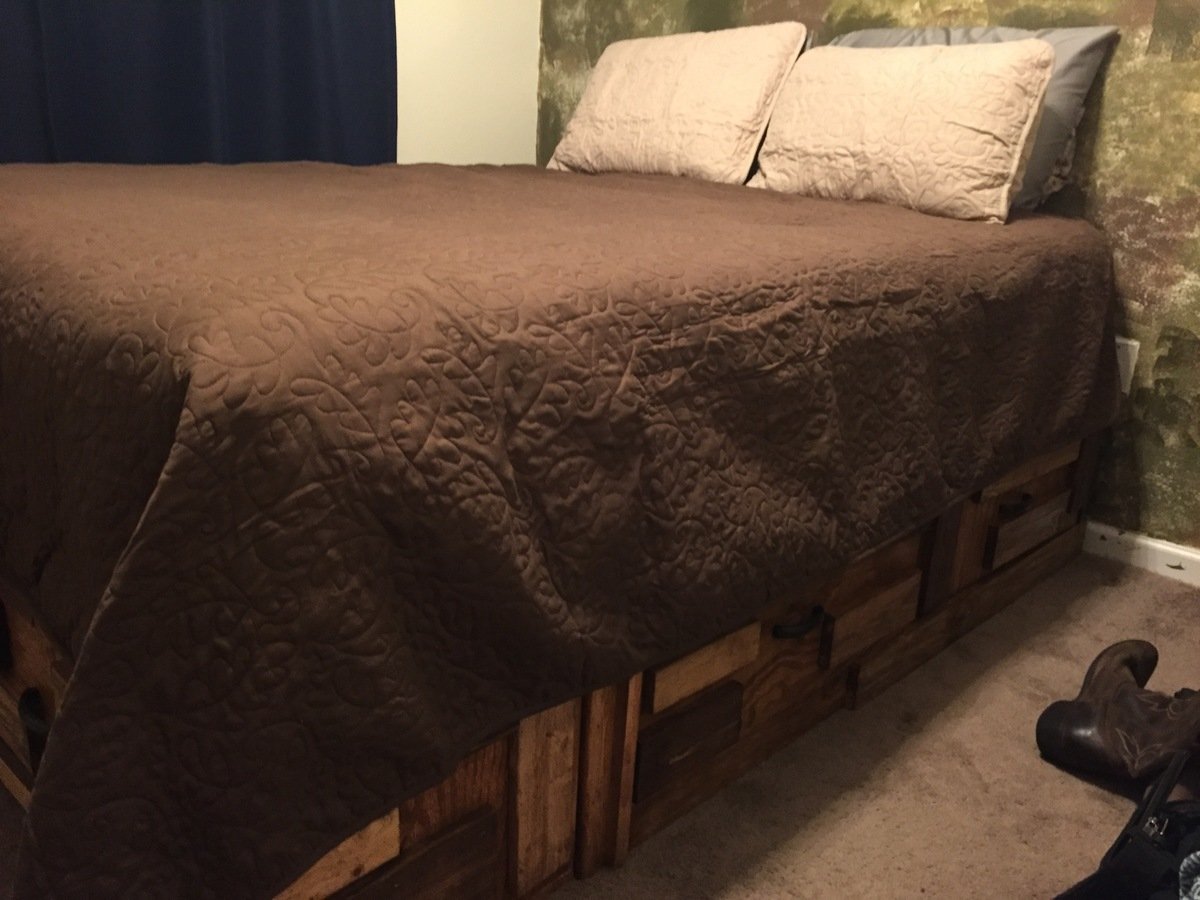
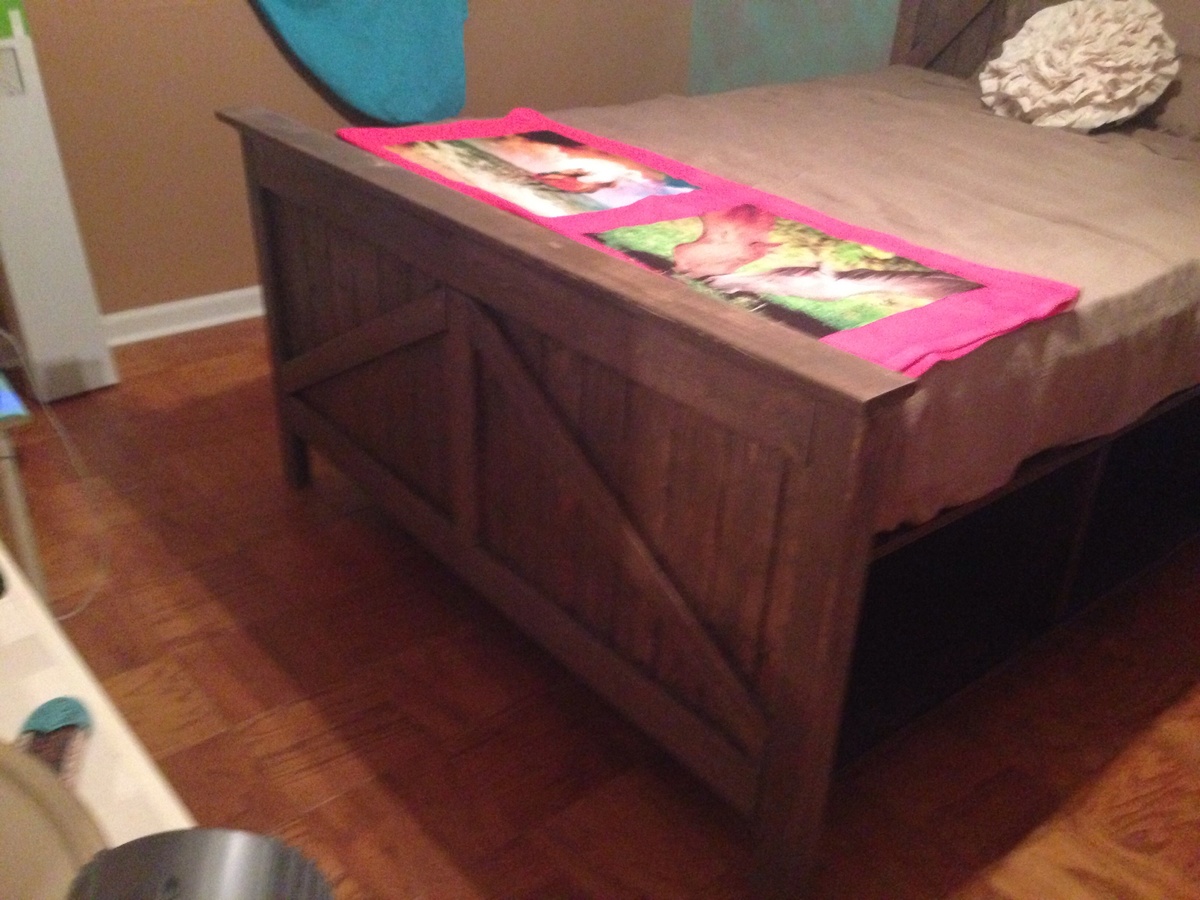
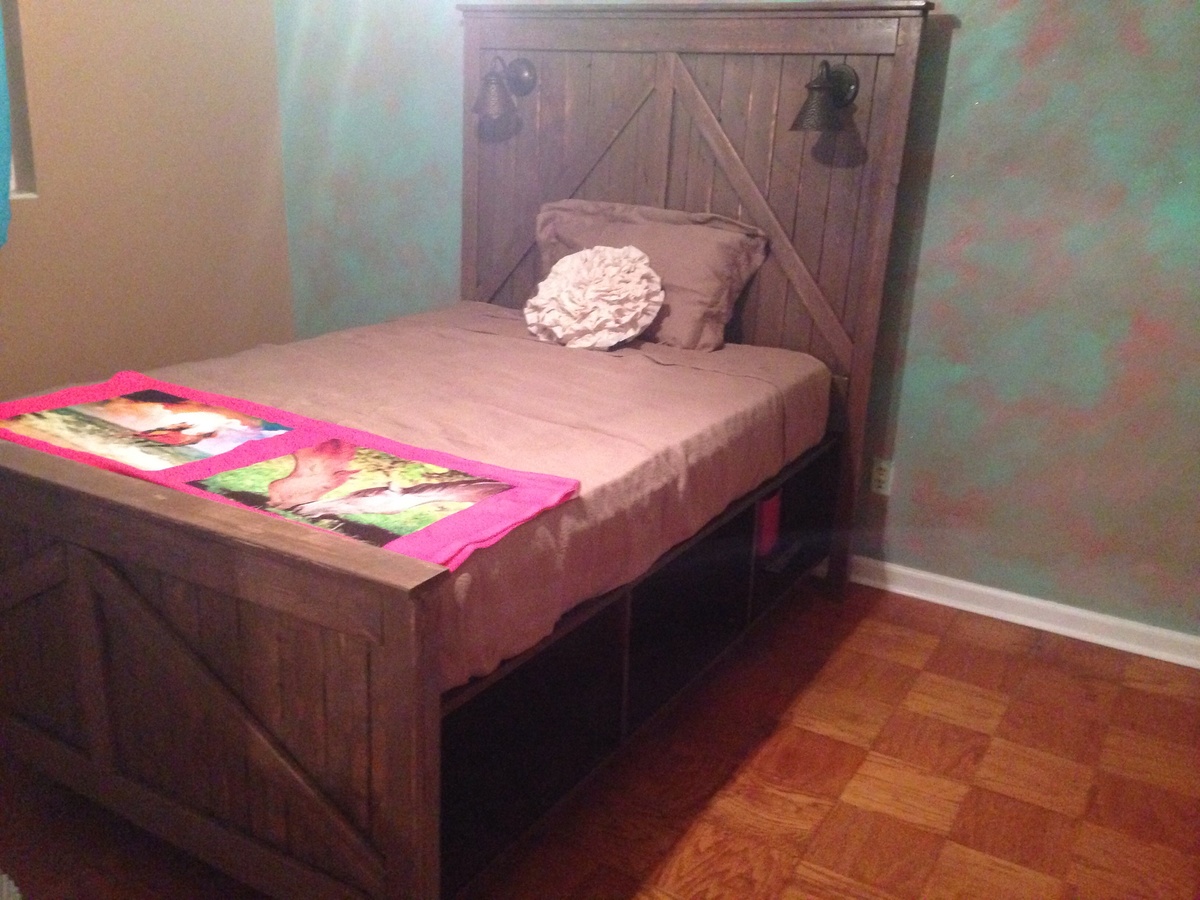
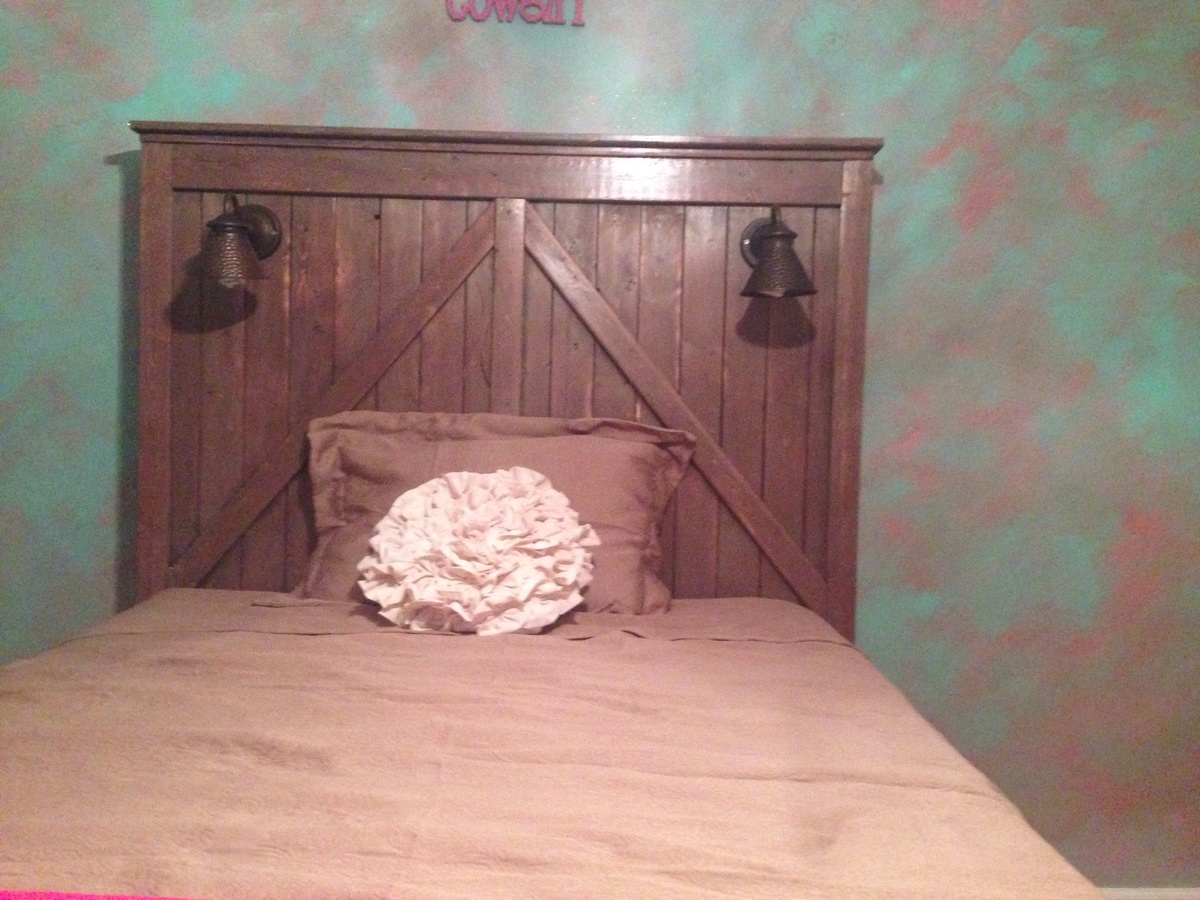
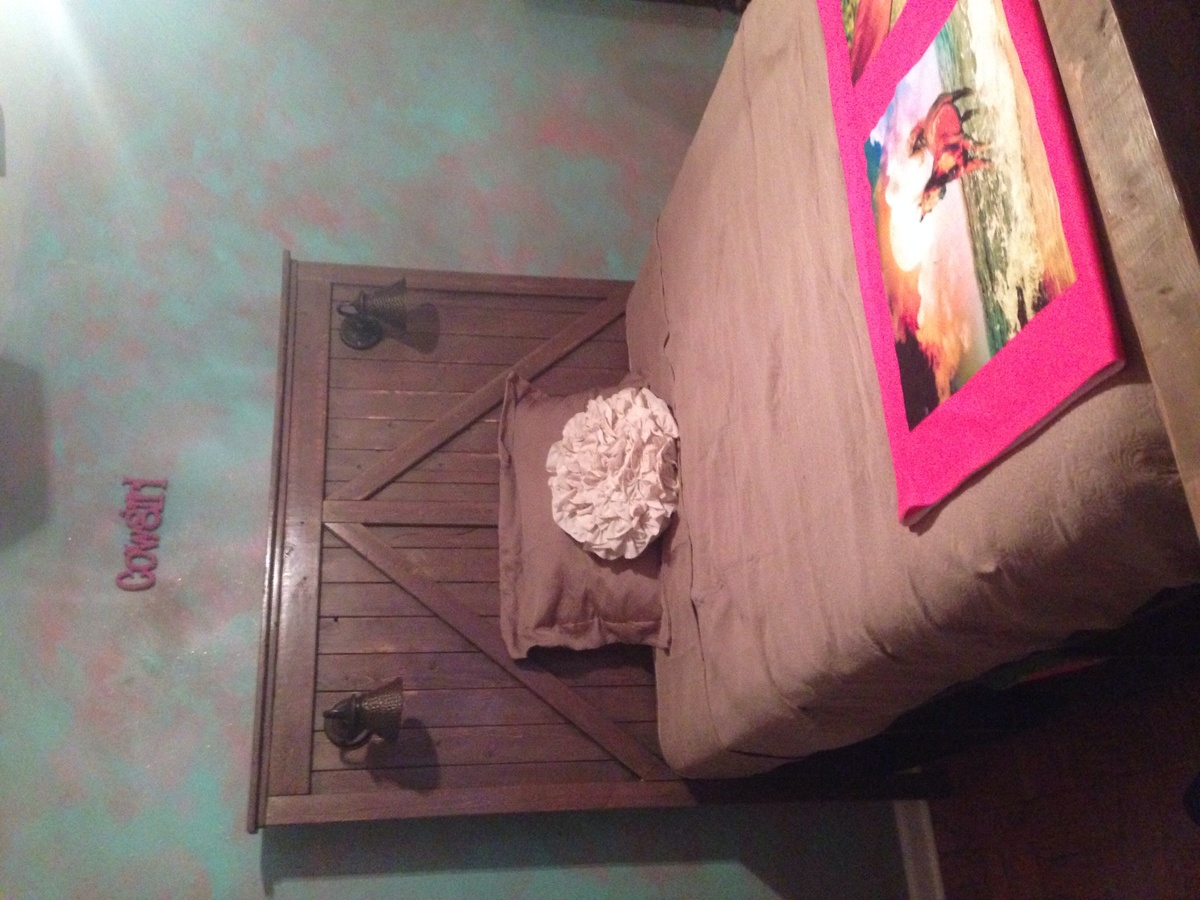
This is the first project I have done; we used a couple of different plans to make this bed. I had to change dimensions to make this into a full size bed. Overall I am very happy with the way it all came together. We made this for our 8 year old daughter and now I'm working on a vanity! I used the twin headboard plan made taller and wider for a full, I made a footboard to match and the storage bins bellow are from the modified farmhouse queen made a little smaller to fit a full.

These wood plans were great! Easy to follow and an awesome first project for my hubby and I to build together. Only hitch for us was by choosing to make the longer bench we didn't check the placement of the feet before attaching it. When we were done we weren't able to push the benches under the table so we had to redo that step.
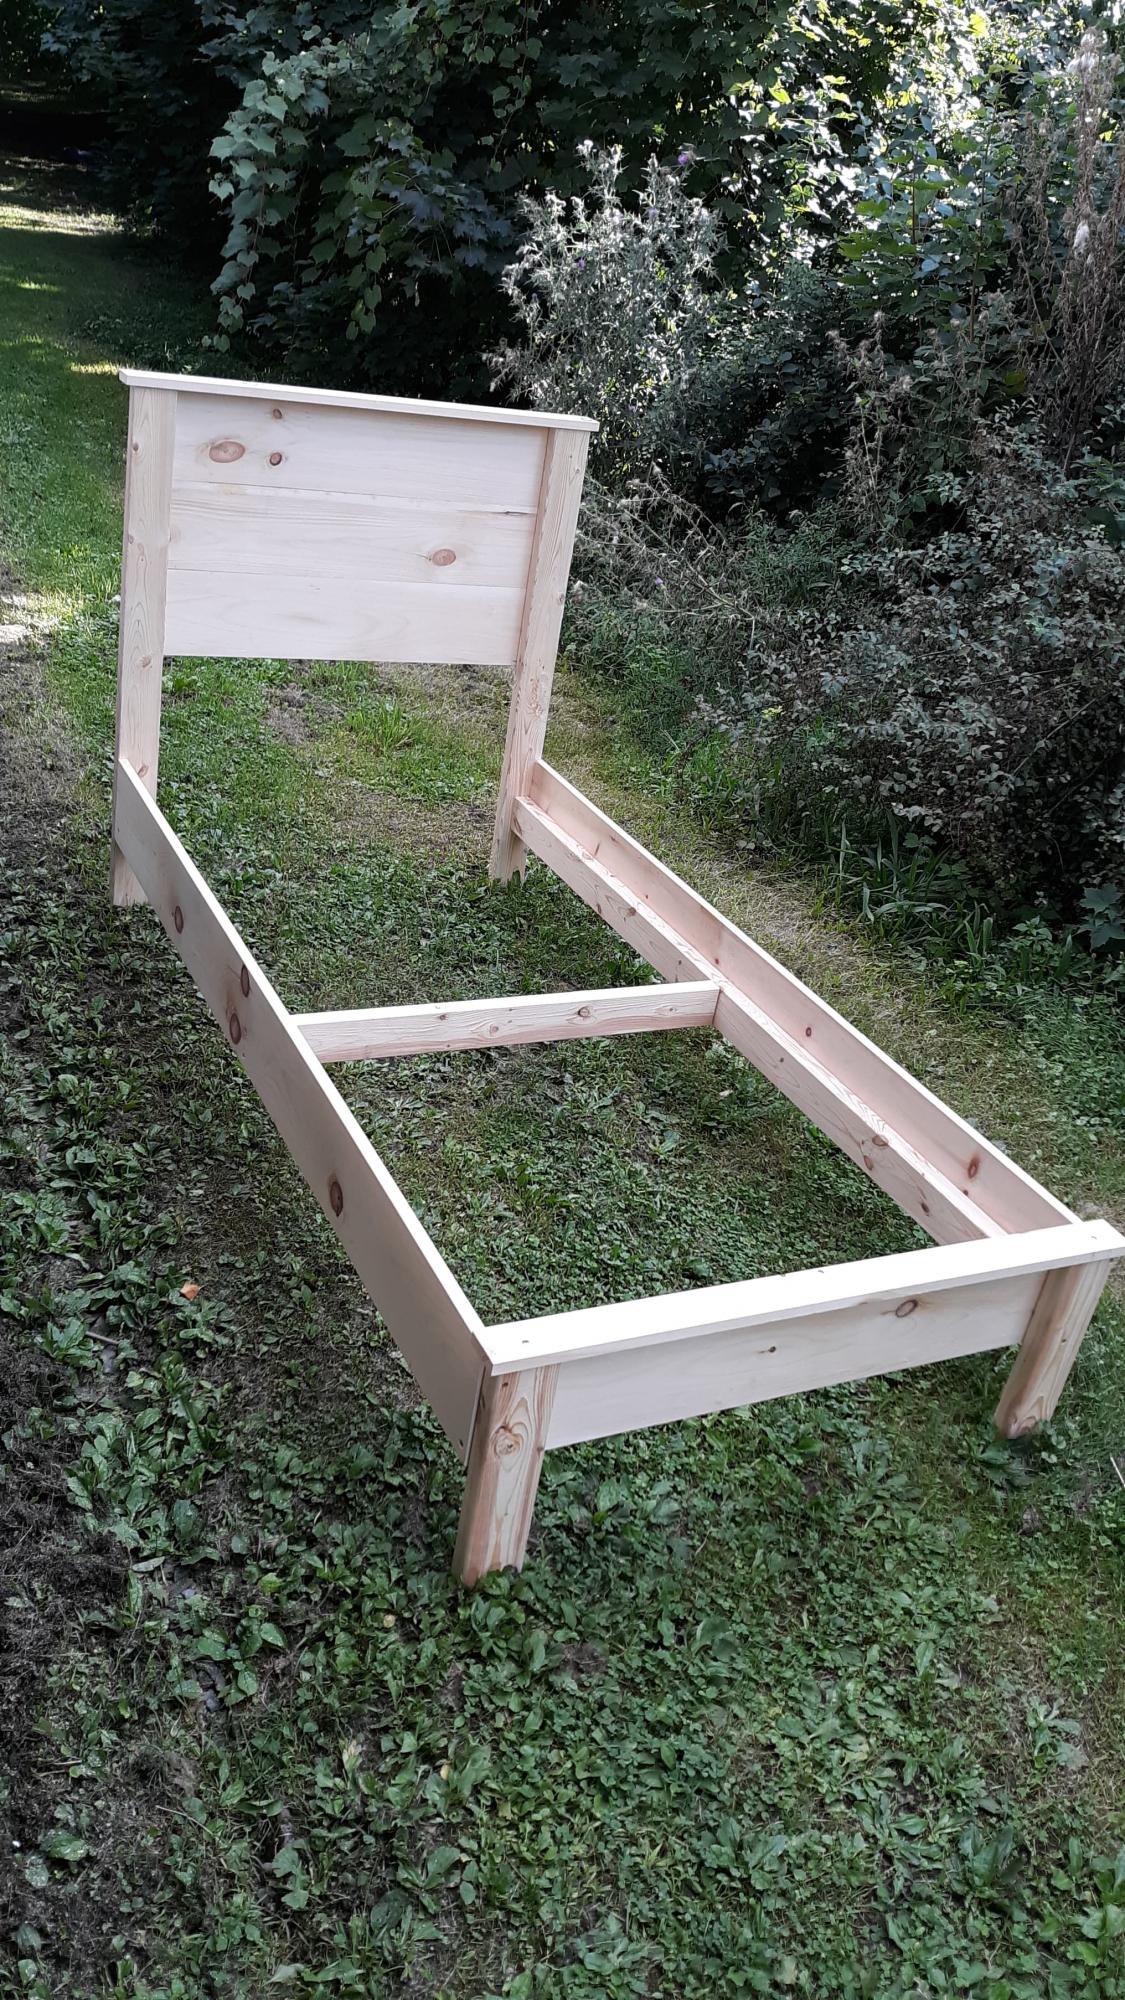
My daughter has a twin XL bed, which we had been unable to find a frame for since getting it. After 2 years of her mattress and box springs on the floor, this plan came out and a plan was hatched to get it made. The biggest change we needed to do different from the twin plans was to make the side rails and the side rail cleats 5" longer to accommodate the XL length. We also added a middle support to keep the side from bowing out, and the cleats are at the bottom of the siderails, as we are using a boxpsring and mattress.
Mon, 03/28/2022 - 09:47
Hi do you have the measurements and what to buy for this bed frame? We also have a twin xl mattess and cannot find a frame anywhere