Community Brag Posts

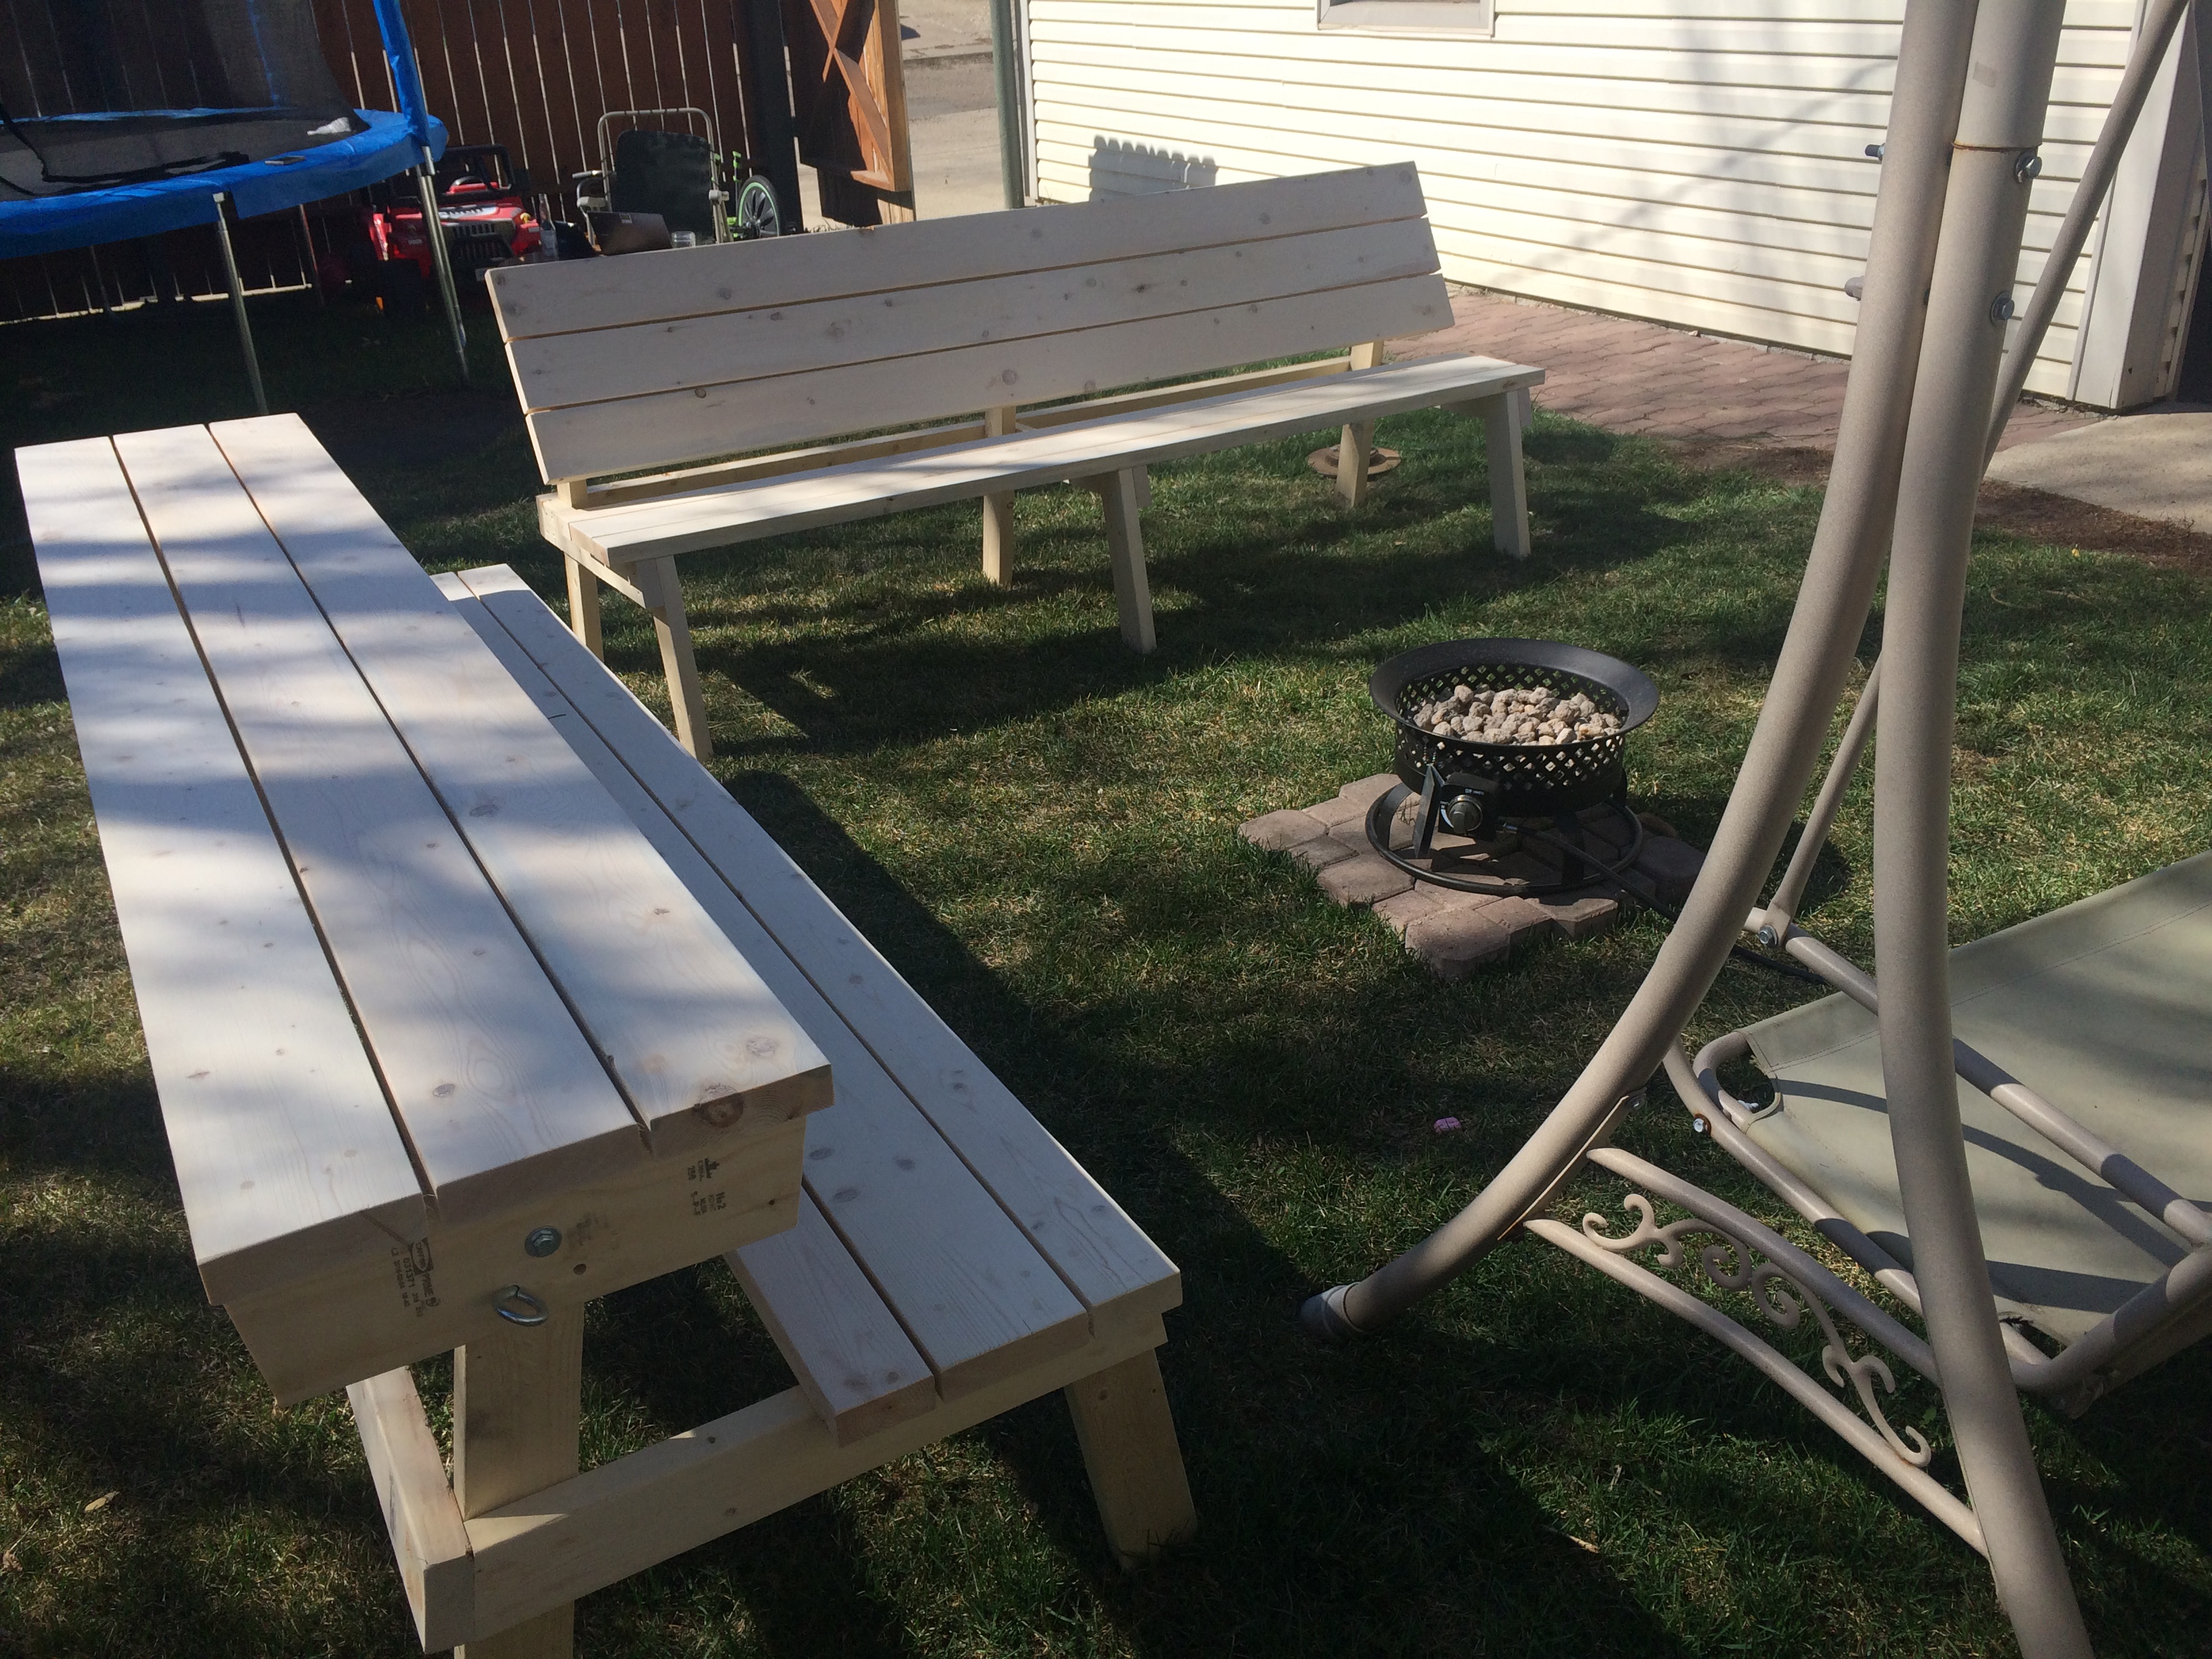
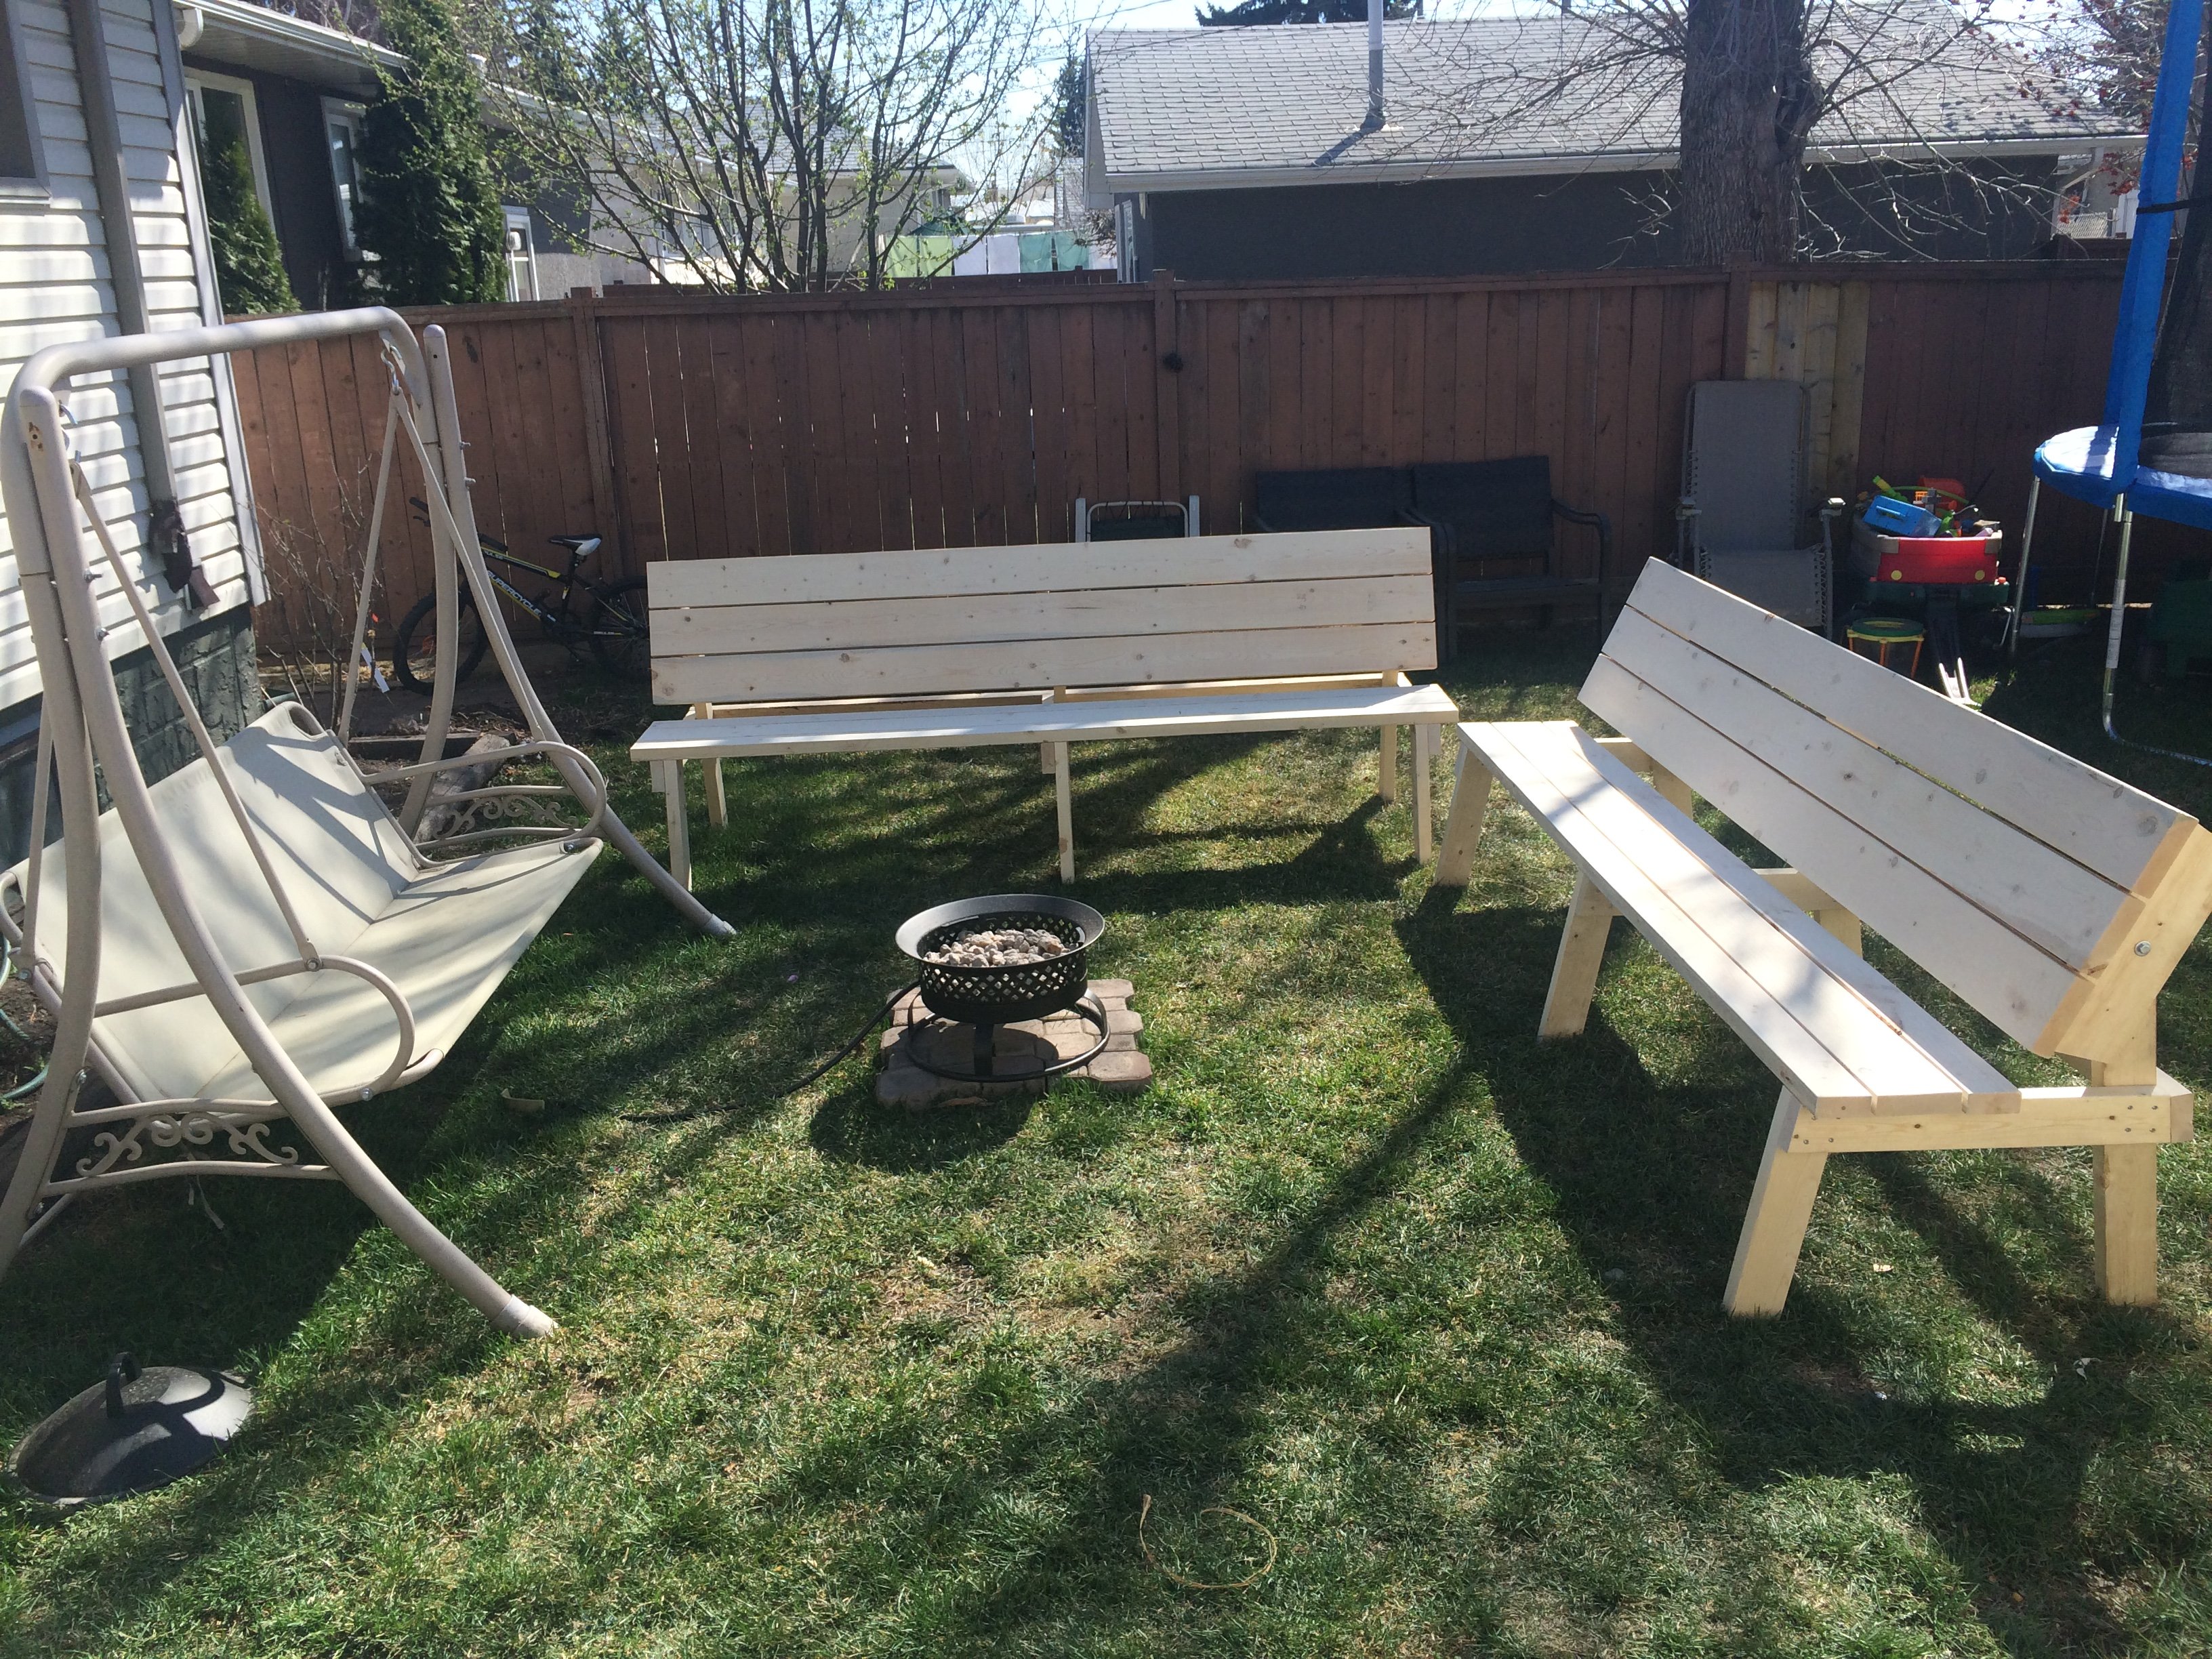
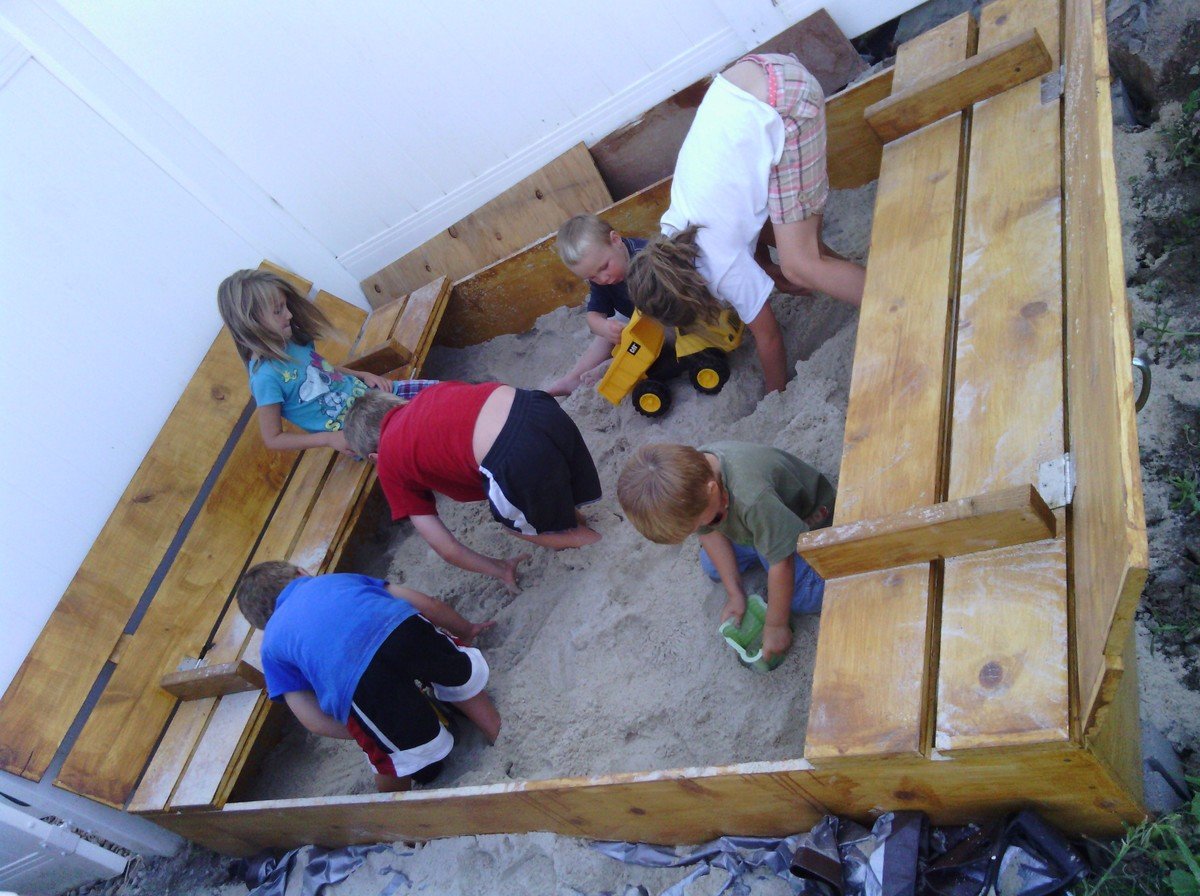
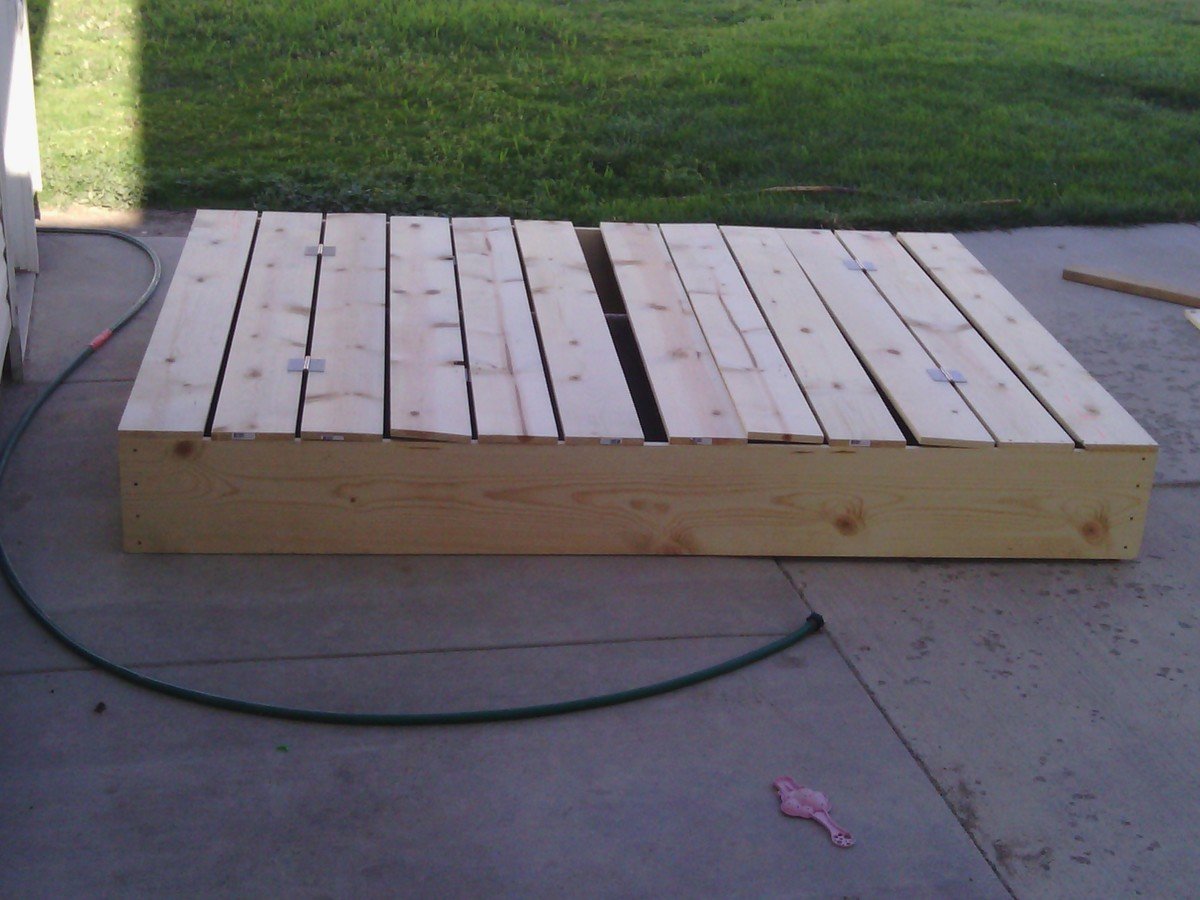
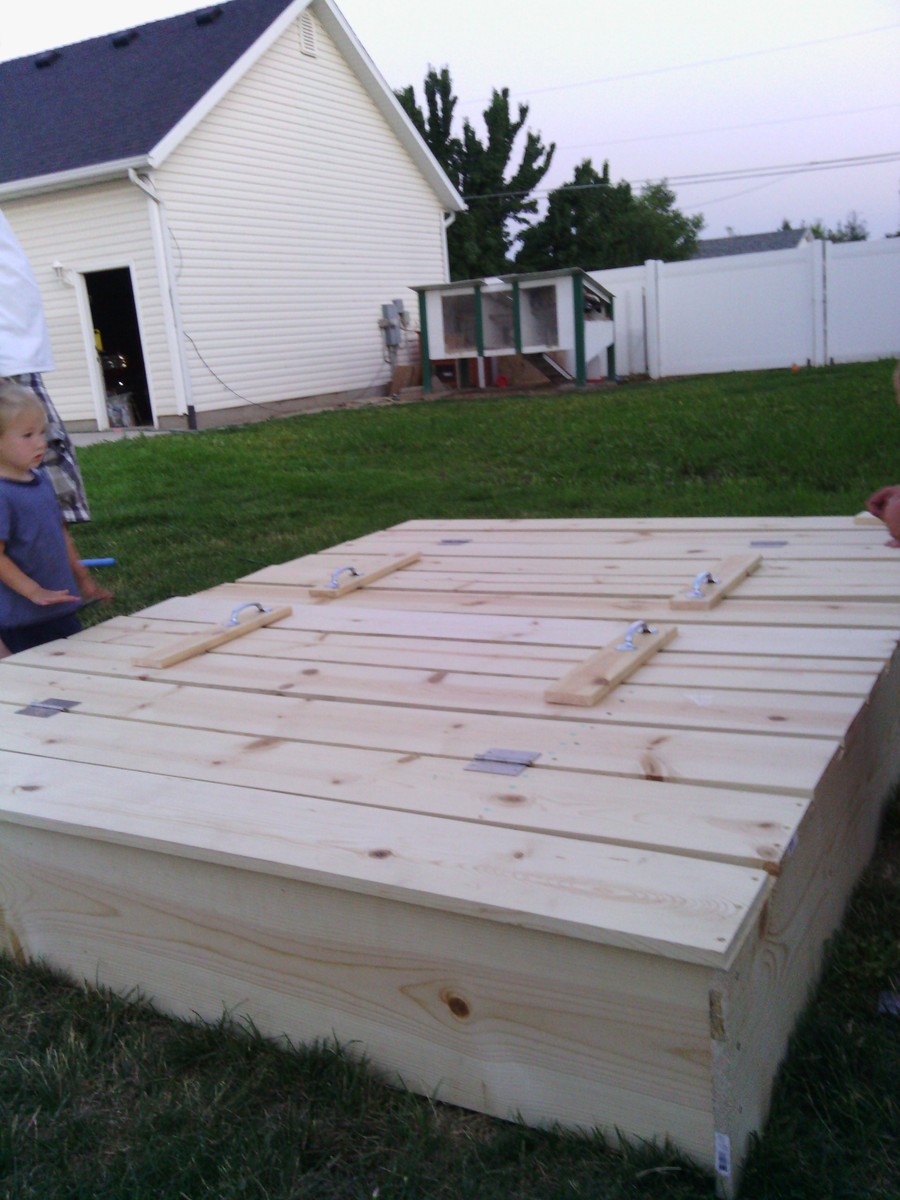
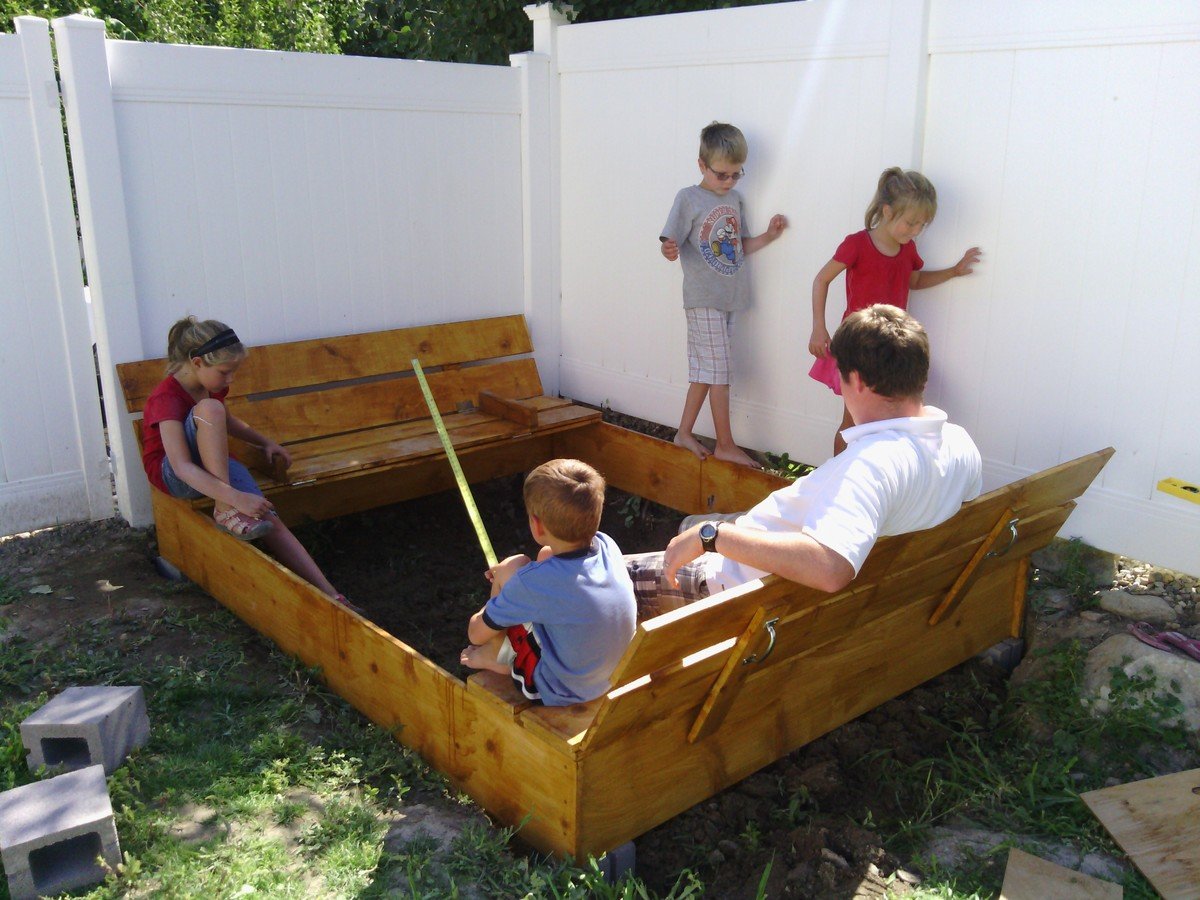
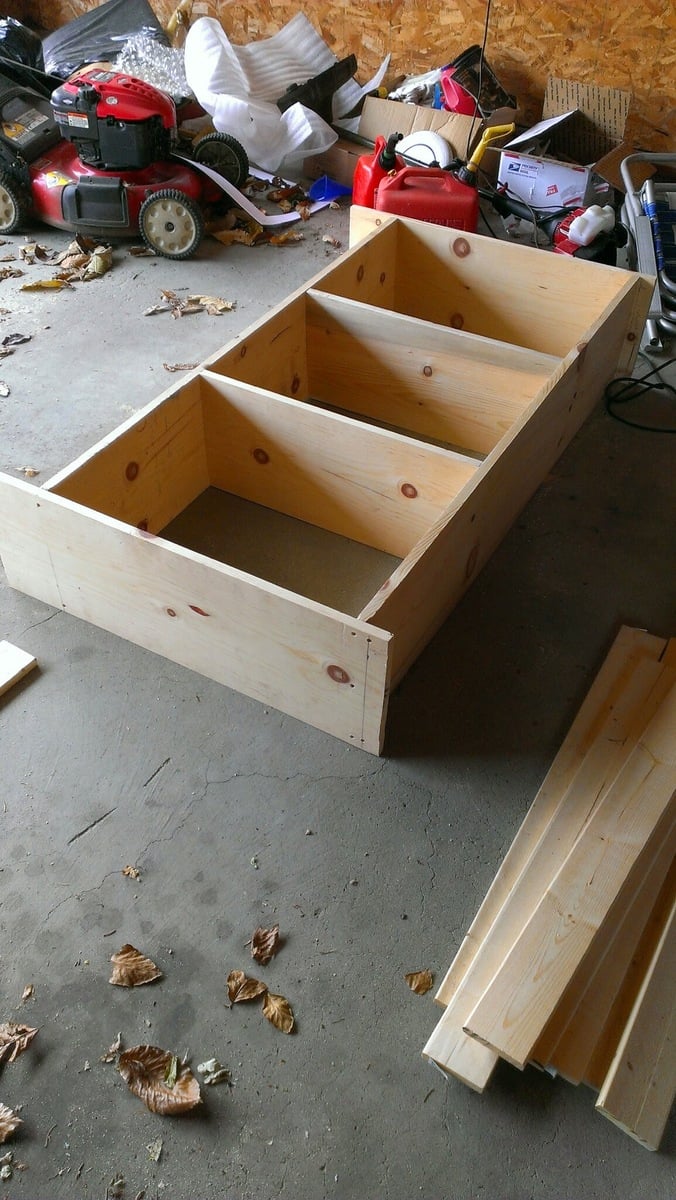
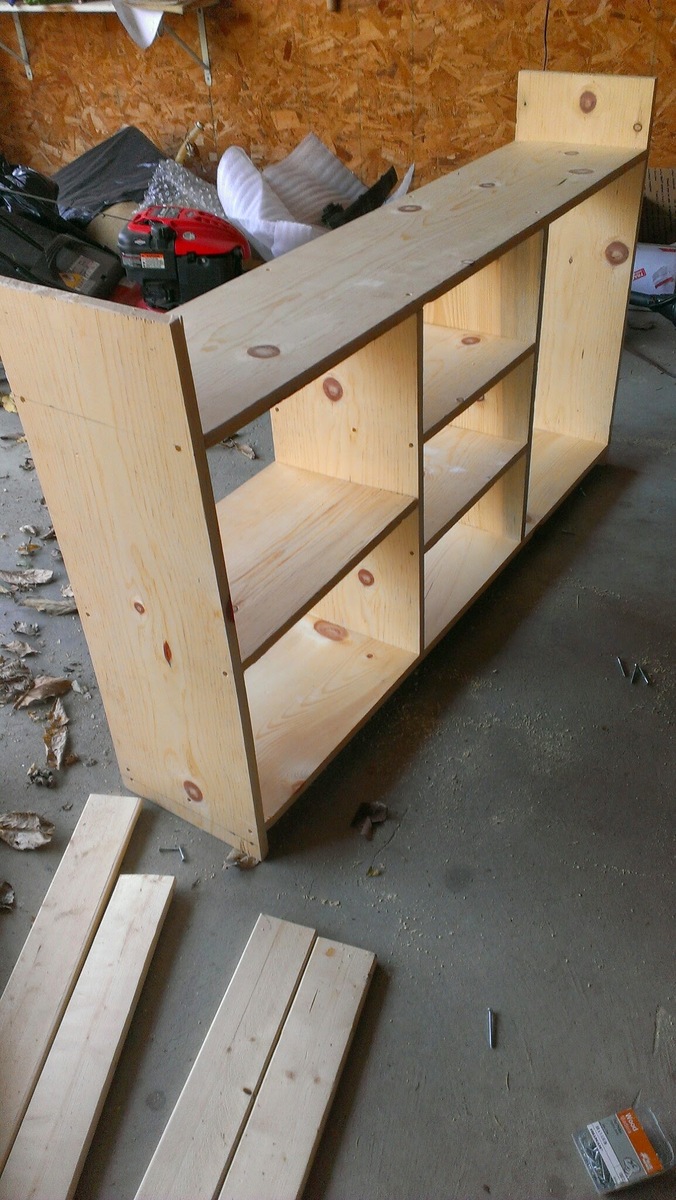
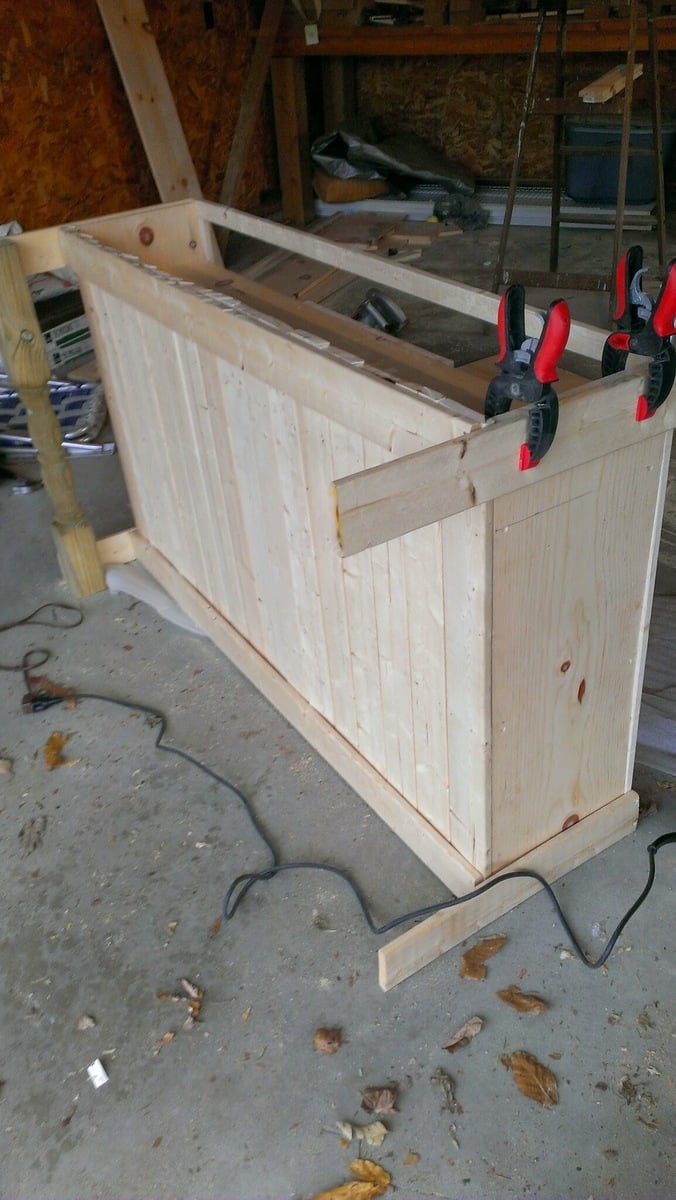
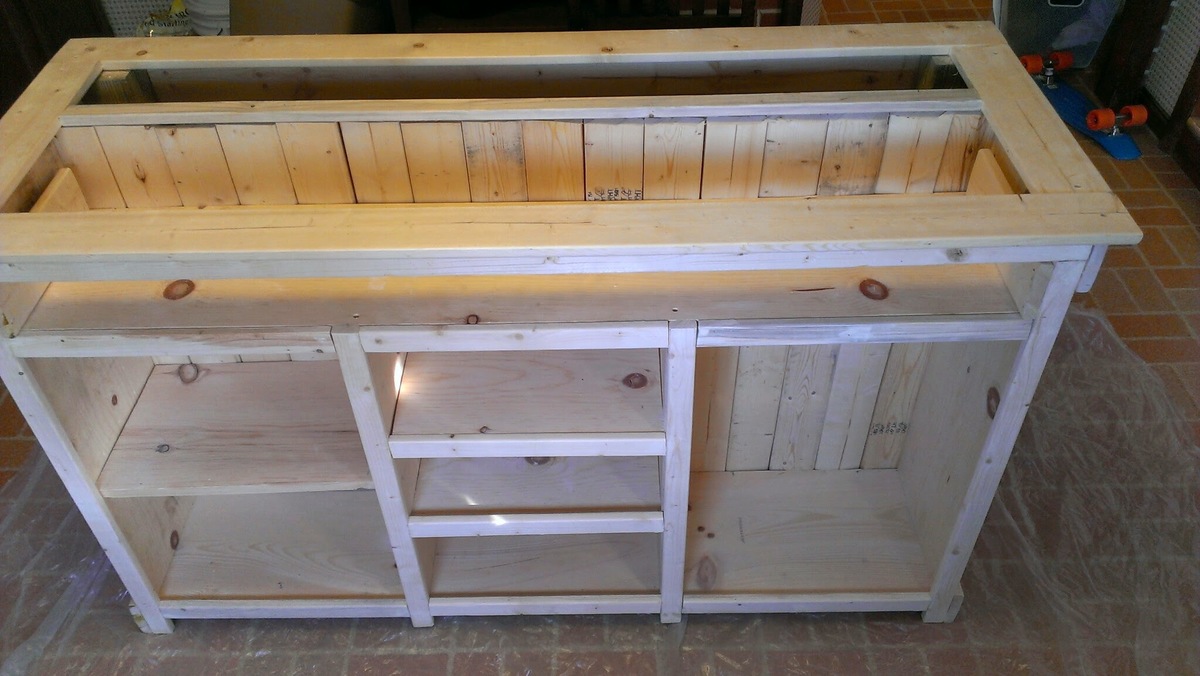
Modified folding table/benches

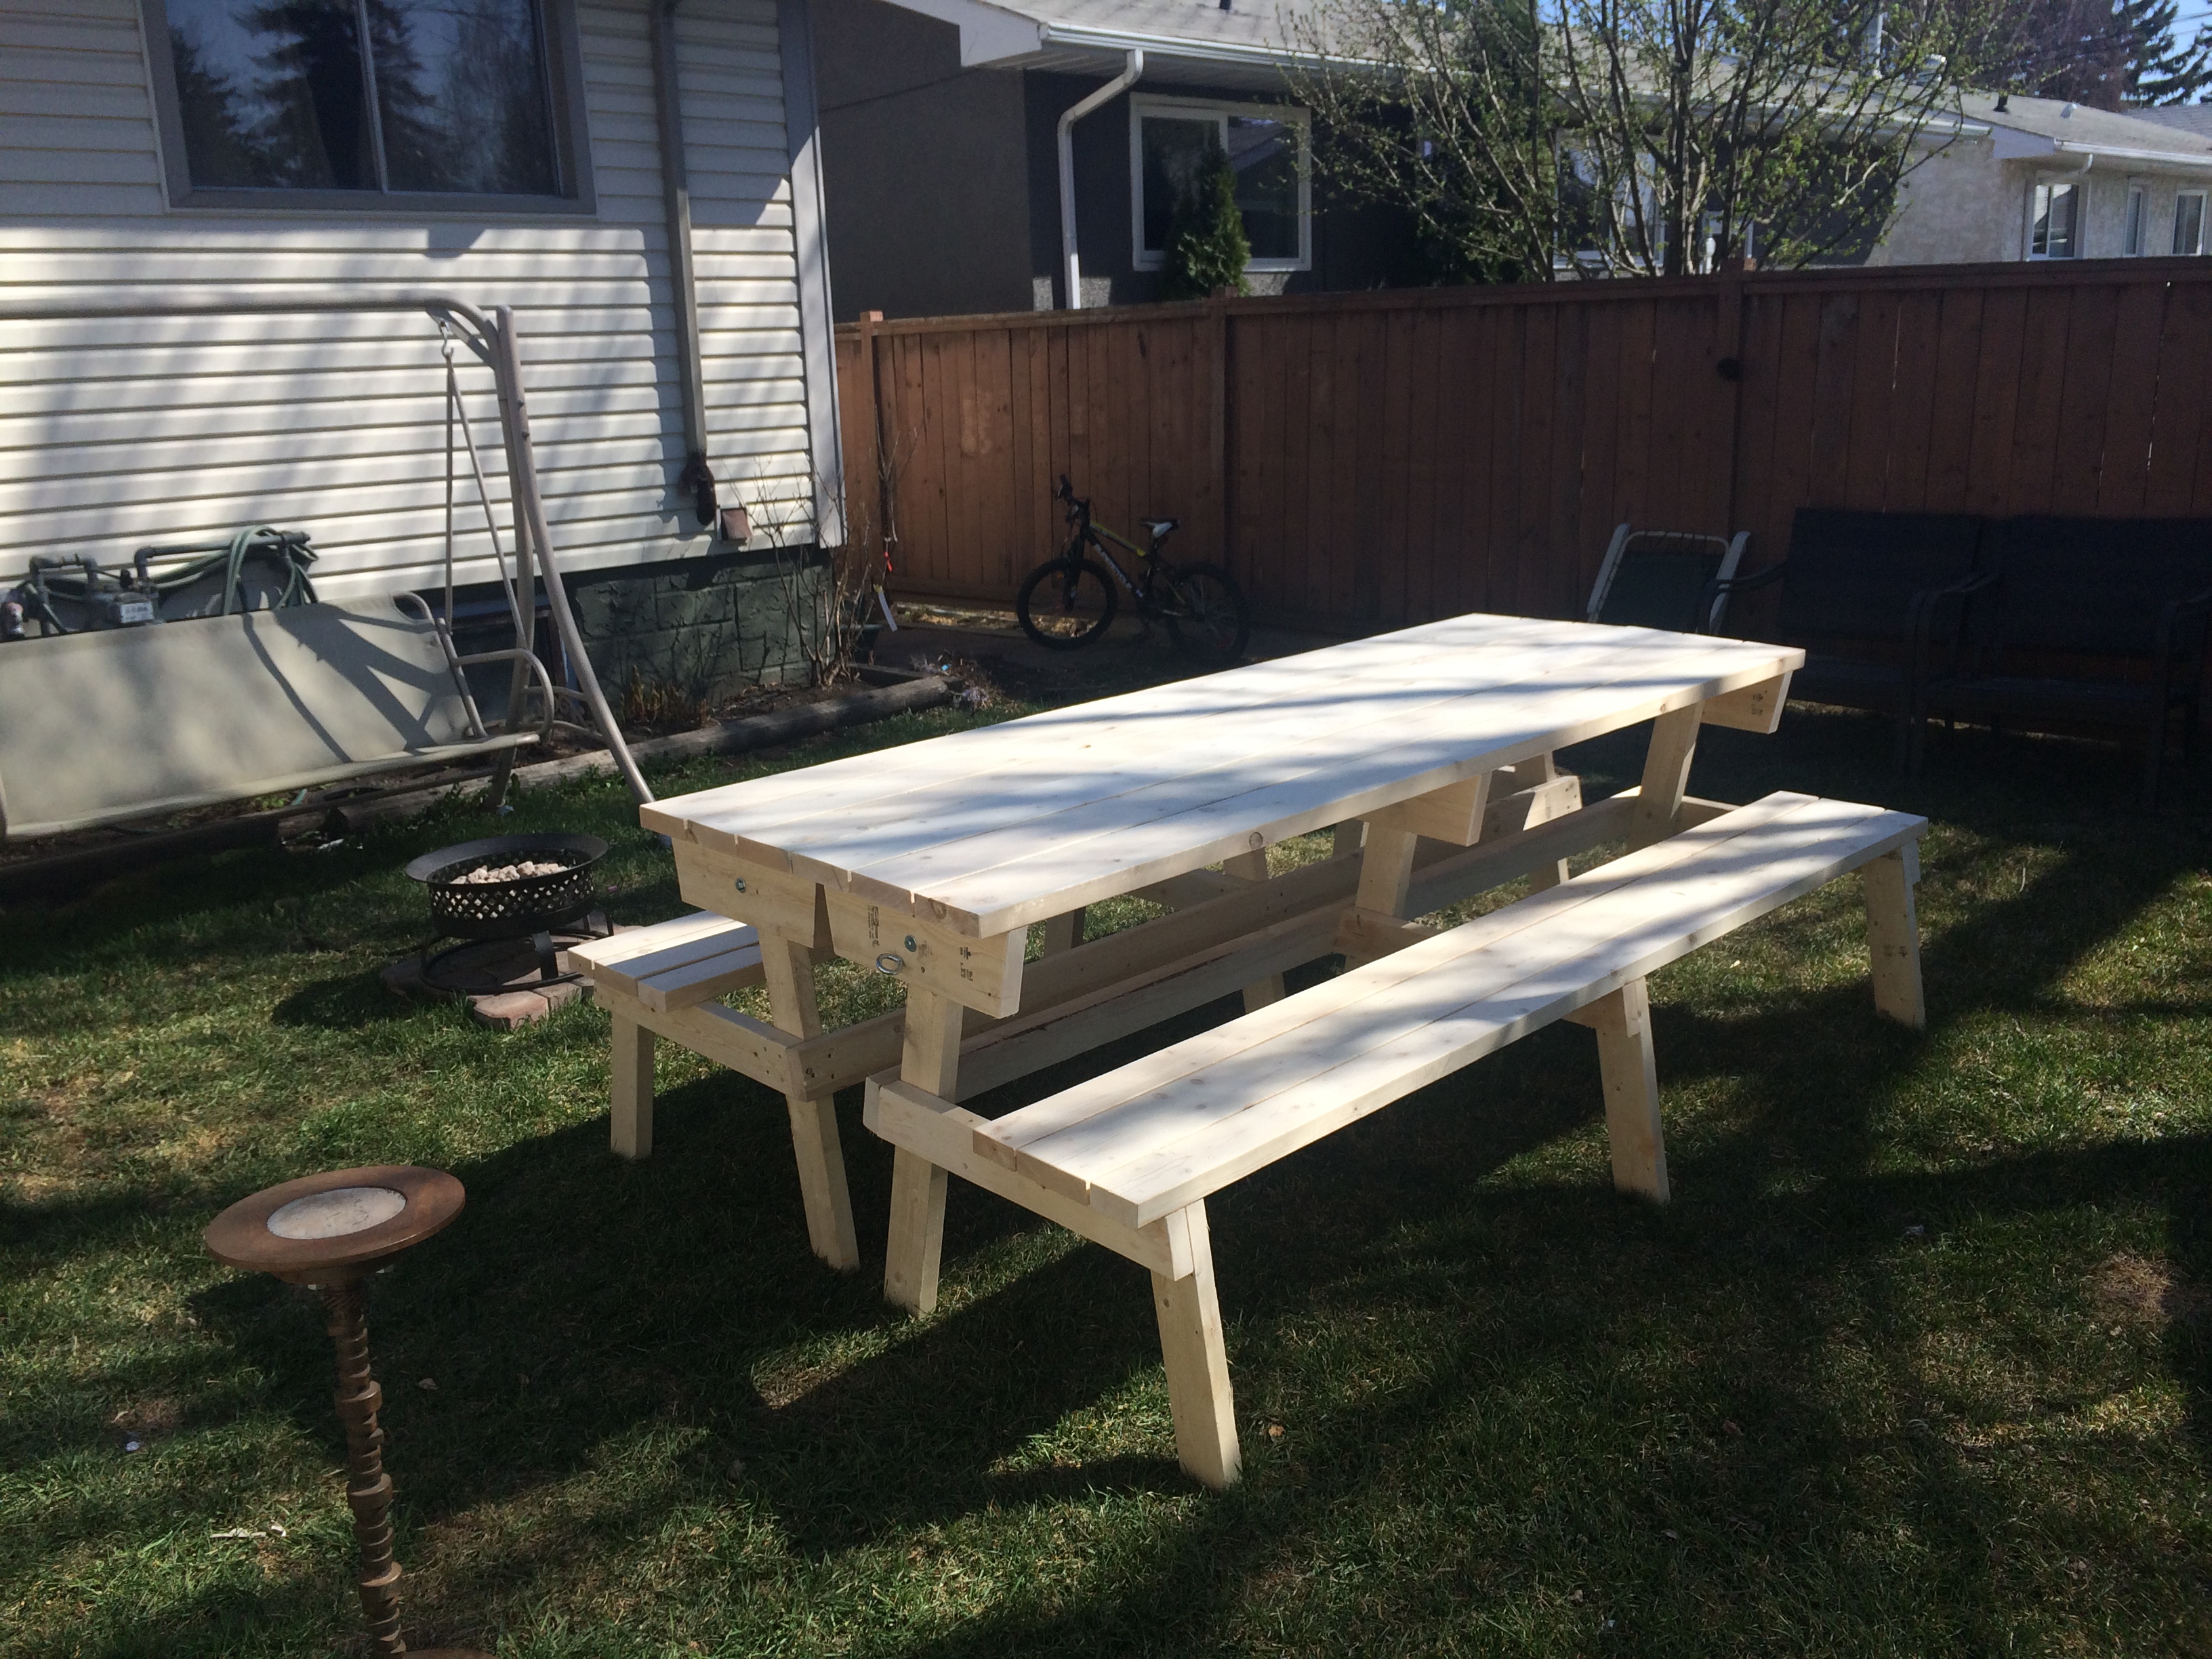
Loved doing this build, I have been thinking of making these for a while.

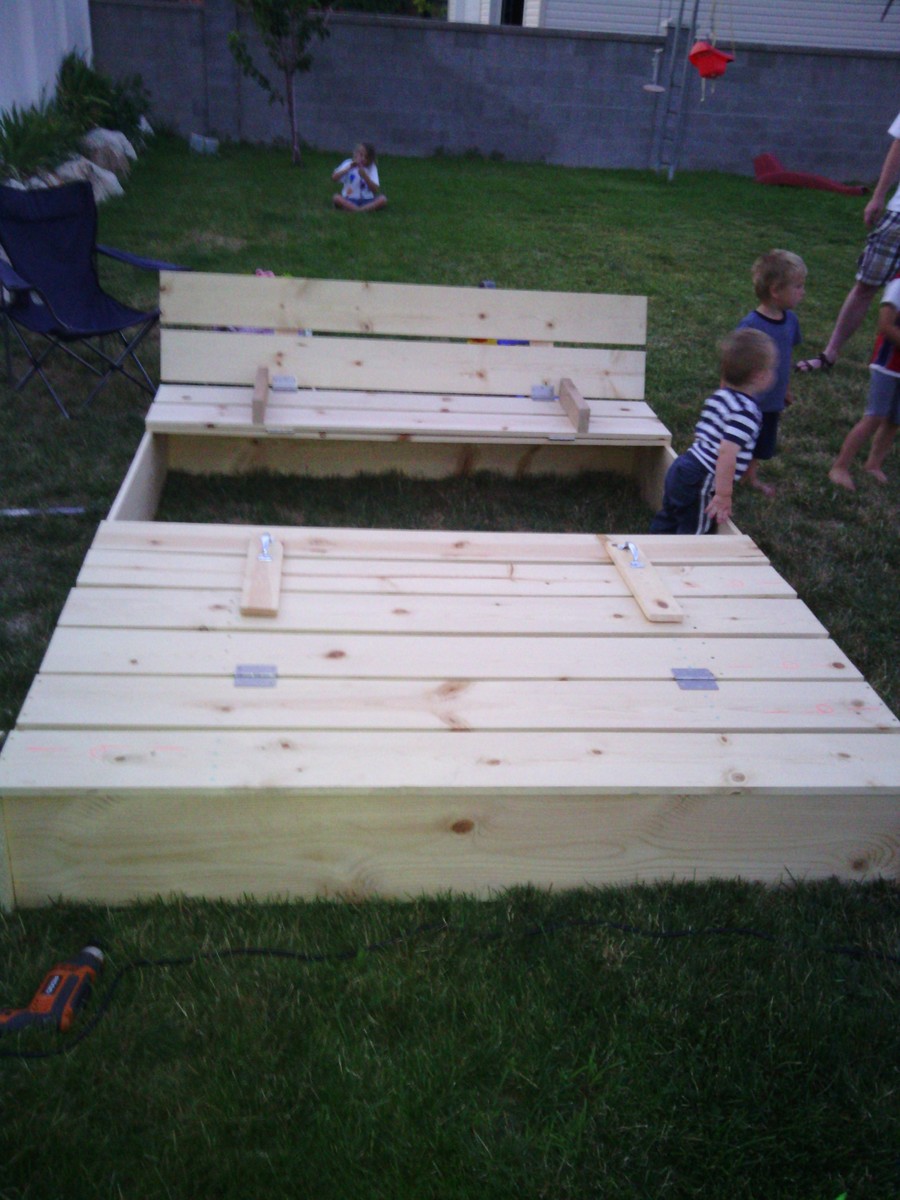
Based off of a few of the comments I read, I modified the plans a little bit. Instead of using three 2 x 6s for the benches, I used two 2x4s with one 2 x 6 in the centre. Shortened up the bench support length by 3" to make up for the difference. This allowed for a smaller seat, which is easier to get in and out of when in table mode, but still plenty to sit on when used as a bench.

I am trying to come up with an alternate system for pinning the table in each position. I have found that after only a few uses, the table has some wiggle in the top, most likely from the bolts going in and out repeatedly. I would love some ideas on how to get these to hold nice and snug when in each position!

I posted a few pictures of these on my Facebook page, where I now have been asked how much I am selling them for and have about 3 orders already placed! Looks like the spring will be busier than expected!

Estimated Cost
For the two, 8 foot benches, about $80 for the lumber, and $10 bucks for the hardware. So totaled at about $90.00 Canadian for the 2, prior to any staining.
Estimated Time Investment
Afternoon Project (3-6 Hours)
Recommended Skill Level
Beginner

New Room for Hayden

I promised my daughter that I would build her a new room for her birthday (in February). I finally got around to it in late March and I couldn't be more excited! She picked out the paint color (blue) for her room. And I got to work! Every time I go in her room I smile and feel so incredibly accomplished! I did the whole project myself! The only exception was carrying it up to her room. I overcame my fear of the circular saw which was awesome. The only problem was my oldest took one look at the room, fell to the ground in tears and wanted to know why her little sister had a "better" room than she did. And where her bed was! So I told her we'd get her a desk - she looked at me and said "No Mommy - I want you to build it!" I love that!

Estimated Time Investment
Weekend Project (10-20 Hours)
Finish Used
Prime and painted.
Recommended Skill Level
Intermediate

Comments

dananryan

Sat, 04/21/2012 - 09:11

You have every reason to feel accomplished! The room looks stunning. And you've already inspired your daughters to DIY. Time to build some memories ;-)

Abdul Wahid (not verified)

Sun, 04/22/2012 - 02:48

thankyou very good idea

barnes7483

Sun, 07/12/2015 - 19:31

Okay I have found the plans for the bed, the towers and the hutch on top but i cannot find plans for what the hutch is sitting on.  I know its non on the bed or that would shorten it.  Where can i find plans to build the headboard that the hutch is on?

Pergola Project

Thank you for the plans! They were easy to follow and my girlfriend and I are very happy how the pergola turned out. I used the 2x6's and 2x4's due to being in Nebraska with heavy snow and high winds often to give it more durability. I can't wait to start on the sectional. Total cost was about 350 dollars...so cheap in comparison to what they sell for.

Built from Plan(s)
Estimated Time Investment
Week Long Project (20 Hours or More)
Recommended Skill Level
Beginner

Comments

Jade (not verified)

Fri, 05/11/2012 - 14:43

love this

taylorgdaddy

Sat, 05/12/2012 - 05:22

Thank you Ana, I have had multiple people say it looks like it is on fire...hilarious :) We will be adding outdoor fabric over the top for shade and gathering outdoor curtains on the posts. Will take another pic when that is complete. This site is awesome and I will continue to support you as much as I am able.

Thanks for the comment Jade!

lipstickandsawdust

Sun, 05/13/2012 - 06:03

Very nice Pergola, the color is perfect and the construction rocks! This is on my list of to- do projects for my mom. I have not really made any "outdoor" projects yet. So, I'll keep getting my feet wet with indoor projects.

taylorgdaddy

Thu, 05/17/2012 - 08:31

Thank you lipstickandsawdust! I can send the other plans that I combined with Ana's which showed how to do the cut out notches if you like this construction better. Have a great weekend.

Forrest (not verified)

Tue, 08/28/2012 - 09:24

You mentioned that you combined another set of plans when it came to cutting the notches. That's one of the hang ups I have getting started is that I'm not sure how best to do that. What did you do? The pergola looks great!

jdlemmons

Thu, 05/17/2012 - 11:45

My husband is DYING to have a pergola. I showed him the plans and he is down to build and is really excited for it! That's our next project as soon as I finish our bed (haha!). Did you paint or stain this?

taylorgdaddy

Sat, 05/19/2012 - 05:01

I is the Behr weatherproof stain and the color was "coffee". It took two gallons which was two coats. Post pics when your husband is done I would like to see them. Good luck with the bed.

YankeeBelle

Fri, 05/25/2012 - 18:54

Great job! I want to build one too! The original plans say advanced, but on this post it says beginner.....watcha think? Can I do it? (so far I've made a picture frame and framed out some trimwork). Thanks for posting....btw, I love the twinkle lights!

slee (not verified)

Wed, 06/27/2012 - 17:00

You did an awesome job! I'll be showing my husband these pics and hopefully they will inspire him to make us one too! I'd love your modifications to the plans also since we have heavy snow etc.. up here in Quebec too. Thanks for sharing!

jeremy bales (not verified)

Thu, 09/20/2012 - 06:47

Im trying to build a 10x10 just like this but im trying to figure out exactly what wood dimensions I should order before i do. Im going to use cedar and I know i want to use 6x6 posts and I want to use 2x6 on top like yours but i cant figure out what exactgly I need to order. My wife wants me to do the decorative around the posts as well.
Please help!

sully82384

Sun, 04/28/2013 - 11:27

Hi I was hoping you would share your plans with me I live in oregon I wanna make one of these but I plan on using 12 ft 4x4 posts putting them 3 ft in the ground and I like the way you used 2x4's and 2x6's id like to know the dimensions you used if you modified anas plan what was your spacing and what degree did you cut the outside piece's on the 2x4's and 2x6's I love the design you created from anas plan

Radiator Covers

Submitted by pde00311 on Mon, 02/24/2014 - 22:15

We loved the radiant air in our new early 20th century house, but as our daughter learned to crawl, we needed to prevent her little fingers from touching the two radiators that were still uncovered. After I finished my first few builds, I custom designed these radiator covers with 1x2s, 1x3s 2x2s and 1x12s. Needless to say, I got a ton of use out of my Kreg Jig. On the middle panel of the larger cover, I used a bit of decorative metal that they sell at the Big Box stores (of course, it would have been easier to use more of it, but I am a bit paranoid about little fingers touching a metal cover). For a final touch, I covered the top of the larger cover with decorative glass. For the smaller cover, I matched the distressed pink throughout the rest of my daughter's nursery.

Estimated Cost
200
Estimated Time Investment
Weekend Project (10-20 Hours)
Finish Used
Behr camembert paint (for the larger living room) and Behr Kashmir pink paint with distressed w/Martha Stewart vintage gold specialty finish (for the nursery)
Recommended Skill Level
Intermediate

Large 6 X 8 Sandbox

We wanted to make a large sandbox for lots of kids. We love that it has an easy cover and two large benches to sit.

Supplies and Steps are shared at http://myhomedonemyway.blogspot.com/2013/07/building-6-x-8-sandbox.html

Built from Plan(s)
Estimated Cost
$250
Estimated Time Investment
Day Project (6-9 Hours)
Recommended Skill Level
Beginner

Comments

Planked Wood Sideboard - Rustic Yet Refined

Submitted by becada on Mon, 03/03/2014 - 08:06

This was my first finished project using plans from Ana's site, and I am very pleased with the finished product. Every aspect of the finished sideboard is based on something from the site. I started with the plans for the Planked Wood Sideboard, and made no modifications as the dimensions were perfect for our basement family room. I decided to inset the back (http://www.friendly-home.net/2012/02/gigantic-rustic-sideboard.html) as Ana explained that Hillary had done, and love the final result. This will allow us to use this to potentially divide a room in an open concept space at some point in the future.

For the finishing process, I decided to follow the "Rustic Yet Refined" finish tutorial highlighted on both the Ana-White site (http://ana-white.com/2013/08/rustic-yet-refined-wood-finish) and Jen Woodhouse House of Wood (http://jenwoodhouse.com/blog/2013/06/07/diy-dining-table/). I fully intended to complete the 9 step process, but found that after we applied the Minwax pre-stain wood conditioner, followed by Minwax special walnut stain and wiped it off within 15-30 seconds, the finish mirrored the restoration hardware finish that we were going for. We decided not to proceed with layering on the weathered oak or applying the whitewash, and went straight to the spar urethane satin coats.

Overall, the project was a success, but was difficult to finish during the Minnesota winter as it was unbelievably cold and was forced to complete the finishing process in our basement/laundry room, which extended the length of the project. I am very excited to begin building other pieces from Ana's plans.

Built from Plan(s)
Estimated Cost
$250-300
Estimated Time Investment
Week Long Project (20 Hours or More)
Finish Used
Minwax pre-stain wood conditioner; Minwax Special Walnut (natural bristled brush); Helmsman Spar Urethane in Clear Satin (natural bristled brush)
Recommended Skill Level
Intermediate

Comments

Farmhouse Kitchen Island

Grabbed some cheap whiteboard for my first project. My wife was looking at buying an island and I decided to surprise her by trying my hand at building one. Turned out to be an enjoyable new hobby that I hope to continue (plus, Laura now says I am her "favorite husband!").

Materials breakdown:
The lumber is white board from Lowe's for $115
The countertop is laminate Pragel from Ikea for $59 (cut to size)
Paint, polyurethane and drawer hinges were $50

I had another $75 in tools, glue, wood filler, nails, etc, because this was my first project.

Estimated Cost
$225
Estimated Time Investment
Weekend Project (10-20 Hours)
Finish Used
Green paint with black and chestnut dry-brushed distressing. Two coats of polyurethane.
Recommended Skill Level
Intermediate

Comments

Pastor Priestley

Wed, 04/02/2014 - 17:42

We just moved into an old house with a garage and the previous owners left a work table and an ancient Craftsman jig-saw, circular saw, and scroll saw (all from 1956). They were a bit sketch, but they got the job done!

gozinehtalaee

Tue, 11/15/2016 - 00:15

I love that. It have a nice design. ین درها دارای تکنولوژی مدرن و پیشرفته بوده و استفاده از آن سهل و آسان می باشد. وجود موتور توبولار و مرکز کنترل پیشرفته الکتروند فرانسه در آن باعث ایجاد امنیت، آرامش خیال و سهولت کارکرد آن بصورت دستی و اتوماتیک شده است. این مدل درب اتوماتیک به دلیل کم حجم بودن و جمع شدن در زیر سقف فروشگاه ها و یا مراکز تجاری و یا به صورت عمودی در سوله ها و کارخانه ها، هم باعث کارآیی بیشتر و هم دارای زیبایی مضاعف می باشد و کاربرد آن در مراکز تجاری، فروشگاه ها و صنعتی باعث ایجاد امنیت، راحتی و سهولت در استفاده از آن شده است .

US Flag gun case

I threw some plans together for this.  Going to make another one and tweak it a little but overall I'm happy with the way it turned out. I used dark walnut stain and 4 coats of poly.

Estimated Cost
$150
Estimated Time Investment
Afternoon Project (3-6 Hours)
Finish Used
Dark walnut and polyurethane.
Recommended Skill Level
Intermediate

Comments

Wood Garage Shelves

Submitted by Anonymous (not verified) on Tue, 02/20/2024 - 08:40

This was made using Ana's "Garage Shelf" plans. I modified it for a corner spot between two exiting cabinets, so it took a bit of thought, but the Ana's technique for the build made it so easy.
AND I used up scrap wood that I'd been hording in the garage for the build.
Thank you Ana!

Fancy Jewelry Box

Submitted by Matt L on Mon, 06/29/2020 - 19:52

Great plans and a fun build. I made some modifications. My drawers are 1.5” high and 10” long. It allowed for 6 drawers. Overall height is 13.75” and length is 17.5”.

I used rabbits and dados rather than butt joints. There is flocking in the drawers.

Built from Plan(s)
Estimated Time Investment
Week Long Project (20 Hours or More)
Finish Used
Garnet Shellac at a 2# cut. Wiped on. I used 4 coats sanding with 400 grit after coats 2 and 3. I used 0000 steel wool after coat 4. Then I applied Paste wax.
Recommended Skill Level
Intermediate

Modern Outdoor Chairs and Sofa with Coffee Table

At the start of the COVID situation, I decided to make a furniture set for my three seasons room. I figured, i had all the tools, so why not. We used the Modern Chair and Modern Love Seat ( but extended the love seat for 3 seats). I added a middle support on the couch to accommodate the longer length. I also added the backs, because we found out that the cushions we ordered liked to fall off the back. I just made a 10 degree cut on 2x4's and added a 2x6 piece for the top of the backs. I also ripped a 2x4 down to make the table top close to seamless ( I did not properly join the 2x4's) It was a great project, my wife and i enjoy doing these projects together. We cant put a children's play set together, but we can create things from scratch.

Estimated Cost
$300
Estimated Time Investment
Weekend Project (10-20 Hours)
Finish Used
Varathane Stain ( Carbon )
Varathane Sparthane Satin Finish
Recommended Skill Level
Beginner

Jelly Cabinet for Heather

Submitted by itzann on Tue, 10/09/2012 - 07:14

This project was built by my husband, for our daughter who needed some storage for her card-making and scrapbooking supplies. I had the easy part of doing the painting and purchasing the hardware. The hinges and handles are from Home Depot. It is a challenge to find good lumber at our big box stores. That was probably the most difficult part of the build...dealing with warped wood. This piece is suited for the primitive and rustic look so it didn't matter that the wood had some dings and splintering from the edges. Everything was sanded well and these marks just added to the character. He did encounter some problems with drilling the 1 and 1/4" kreg screws into the frame of the door. The wood wanted to split. Also, the plans called for magnetic closures but we could not determine how those would be installed as the shelves do not reach to the doors. So we cut some wooden swinging closures and attached them to the top of the cabinet. They seem to work well. One modification if he builds this again (and our other daughters are now putting in their orders!) would be to add a wooden support down the center front so that the doors would have something to close against. The way it is now, the doors could be pushed inward and put a lot of stress on the hinges. We were very pleased at how this project turned out! Thank you for the plans.

Built from Plan(s)
Estimated Cost
$75.00
Estimated Time Investment
Week Long Project (20 Hours or More)
Finish Used
Top coats are Benjamin Moore Regal, Pearl Finish in Frappe color. I started by thoroughly sanding and then primed using Ace Royal Shield Primer (latex). Then I sanded again to remove the raised grain. The final coats of the Benjamin Moore Regal were applied using a Fuji HVLP spray gun. The inside of the cabinet (shelves) were sanded but not finished in any way. We like the look of the unfinished pine for the shelving.
Recommended Skill Level
Beginner

Comments

lawson4450

Tue, 10/09/2012 - 13:20

I like the way that came out and I agree its hard to get good wood at the big box stores it took me a while to go through the stacks they had there to find straight pieces. The other thing I had an issue with was the 1 1/4"
Kreg screws as well but if you dont over drive them it generally will not crack the wood. Just be gentle and if it still does turn the clutch down on the drill that will help as well.

itzann

Thu, 10/11/2012 - 18:11

Lawson4450,
Thank you for your comment, and for the advice on the Kreg screws!

We are in the process of cleaning up our garage, so that future building projects are easier to do! One thing my husband also built was a small workbench, with a lower shelf to store the Kreg jig, screws, etc on. It comes in handy as we always know where to at least find the Kreg stuff! We should also keep some notes on the shelf, too, to refer to when the wood cracks, etc.
-Ann

itzann

Thu, 10/11/2012 - 18:13

Patrick,
I think the plans said to make the shelves 1 x 10? And because a 1 x 12 was used for the side frame, the shelves therefore didn't reach to the doors.
Ann

itzann

Thu, 10/11/2012 - 18:04

Aisha,
Thank you for the photo of the magnetic closure. That makes a lot of sense! We could still add those, and also leave the swinging locks in place, too.
-Ann

HRagg (not verified)

Sat, 10/13/2012 - 10:43

I am the lucky receiver of this jelly cabinet. It is exactly what I had in mind when I was on the hunt for one. I was so pleasantly surprised when my parents came to visit and showed me my early birthday present in their trunk! :)

Twin Farmhouse Bed with Trundle

We made the traditional Twin Farmhouse bed using Ana's plans. We did modify the height of the headboard and foot board in case we decide to move the bed to under her window.

I was very particular about the sizing and placements of the sideboard/trundle. I did not want a big gap between the mattress and the trundle. Also, did not want the actual bed mattress to sit down too far into the 1X10 and look like a crib.

Very happy with the results. Thanks so much, Ana!!!

Estimated Time Investment
Week Long Project (20 Hours or More)
Finish Used
2 coats Valspar Antique White, semi gloss
2 coats Minwax Polycrylic
Recommended Skill Level
Beginner

Comments

ladybug618

Mon, 08/18/2014 - 05:01

This looks great! I see you have carpet (as do I) did you use caster wheels? It looks like it's resting on the floor. I want t build but, I'm concerned about the ease of sliding. Tips appreciated.

Thanks in advance.

Modern Outdoor Chair with Backrest

Submitted by PoppaZotch on Mon, 08/17/2020 - 11:53

Per request of my wife, I opted to add a backrest to the chair. I feel as though my backrest design keeps with the style of the original build. I accomplished this by cutting the 2x4 vertical arms of the backrest at 13 inches with a 10 deg miter cut at the base. This allows you to keep with the 3/4" on the 2x6 backrest slats. I finished it off with a 2x4 top plate. I'd also note that I made slight modifications to the plans to accommodate 24" cushions.

Estimated Cost
$100
Estimated Time Investment
Afternoon Project (3-6 Hours)
Finish Used
sanded to a 220 grit
Recommended Skill Level
Intermediate

Truss table

My husband built this table for me as an 8th Anniversary present.  It came out absolutely beautiful! For the first time,  we can host  family and friends with plenty of room. I paired it with some chairs that we already owned. He will be building the matching bench soon.

He left out the 45 degree diagonals,  may add them later.  It is so sturdy, they are basically decorative. 

Built from Plan(s)
Estimated Cost
$200
Estimated Time Investment
Weekend Project (10-20 Hours)
Finish Used
Min wax golden pecan for top
Behrman Roman plaster paint, satin finish
Satin poly on top.
Recommended Skill Level
Intermediate

Ana White chicken coop with modifications

We started with the basic chicken shed coop plans and modified it some. We wanted the peak to be in the front for ease of access and to allow leaves from tree overhead and rain and snow to fall to the back away from the entrance. The windows raise from the inside using 1/8" wire secured on the inside with a rope cleat hook.

We added Dutch doors. We added latches for the pop door to keep it iopen or closed as needed. Dutch doors also have decorative latches and eyehook latches to secure them when they are fully open. I rested the shed on 12 in. x 8 in. x 12 in. concrete patio pier blocks to allow drainage. we extended the roof about 6 " to allow for extra protection and avoid dripping whe  it rains.

On the inside I have a roost and a poop deck. Hanging from the poopdeck I have their feed to keep it off the floor and keep shavings, etc. from getting into the food. The poop deck  and the floor are covered with comercial grade tile to facilitate easier cleaning.

Built from Plan(s)
Estimated Cost
$1,000 including tools (Keg Jig) decorative hinges, wood, sheathing, shingles.
Estimated Time Investment
Week Long Project (20 Hours or More)
Finish Used
White KILZ primer, Glidden Kenya for walls of coop and basic Glidden white. and Glidden red for Dutch Doors, for 1X6 under roof Glidden dark brown
Recommended Skill Level
Advanced

Comments

anxo-a

Sat, 03/14/2015 - 02:50

Hi!

I love your coop and the modifications you made - I was planning on doing the same thing with the placement of the door. I was wondering if you could post a couple of photo of the inside of the coop? I'm especially interested in where you placed the roost.

Thank you so much for sharing!

Back