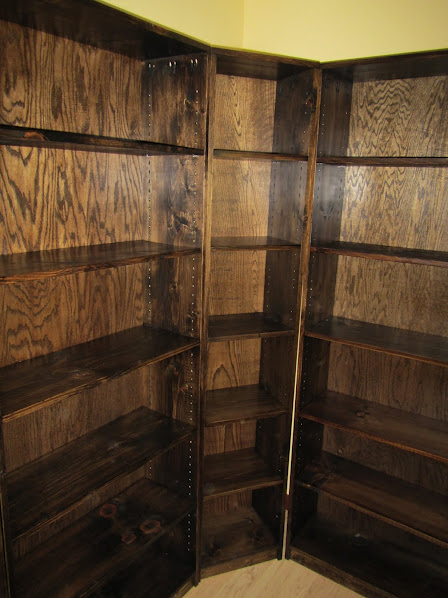
My wife wanted matching bookcases for our library rather than the hodgepodge collection we had assembled over the years. We looked at several different options but the trick was getting them to our house in a cost and time effective manner. We came across the Willy Bookcase plans here and, after pricing the wood vs. pre-built options, decided to strike out to build our own bookcases.
The library took 5 McMansions, 1 Highrise, and 1 3-Bed/2Bath bookcase. We liked Ikea's Billy corner bookcase set, so we purchased a corner bookcase bracket from them to create the effect and stabilize the Highrise between two McMansions.
We decided to do the entire length of the bookcase sides with shelf holes to allow for maximum flexibility in spacing of the shelves. We fixed the middle shelves across all units to match the top of the short 3-Bed/2Bath.
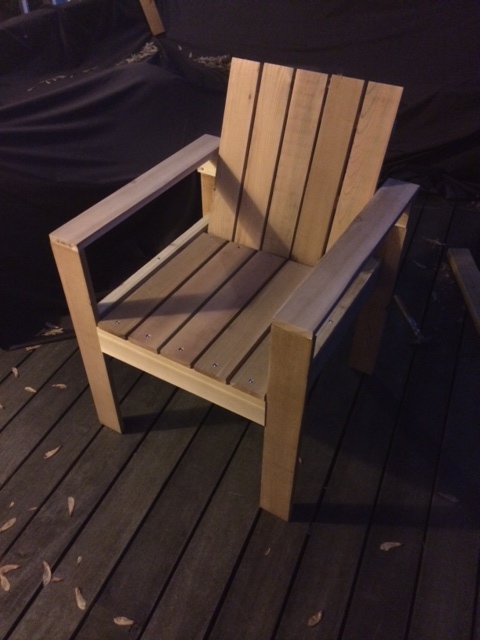
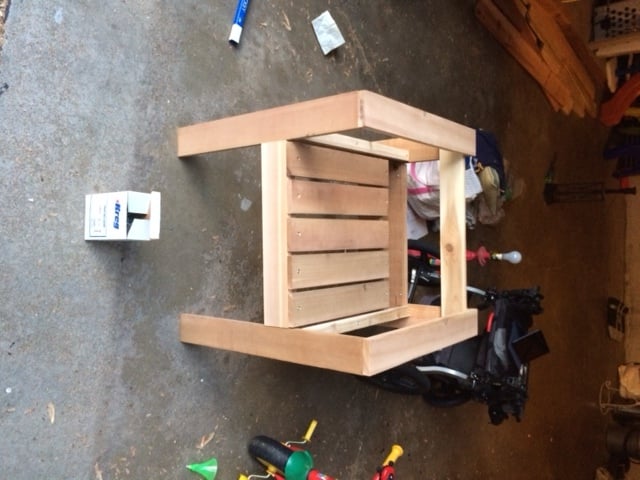
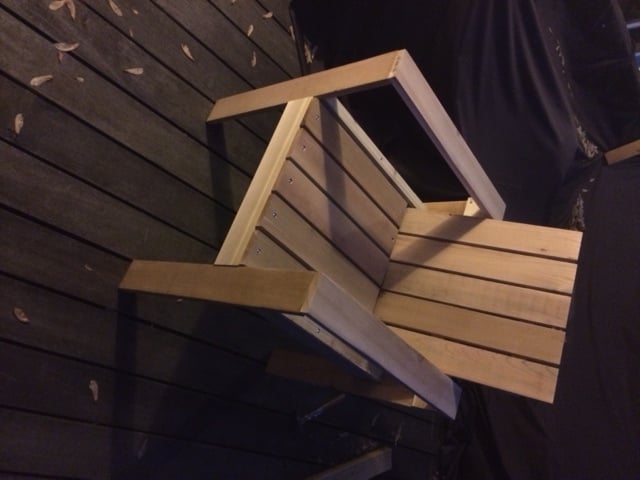
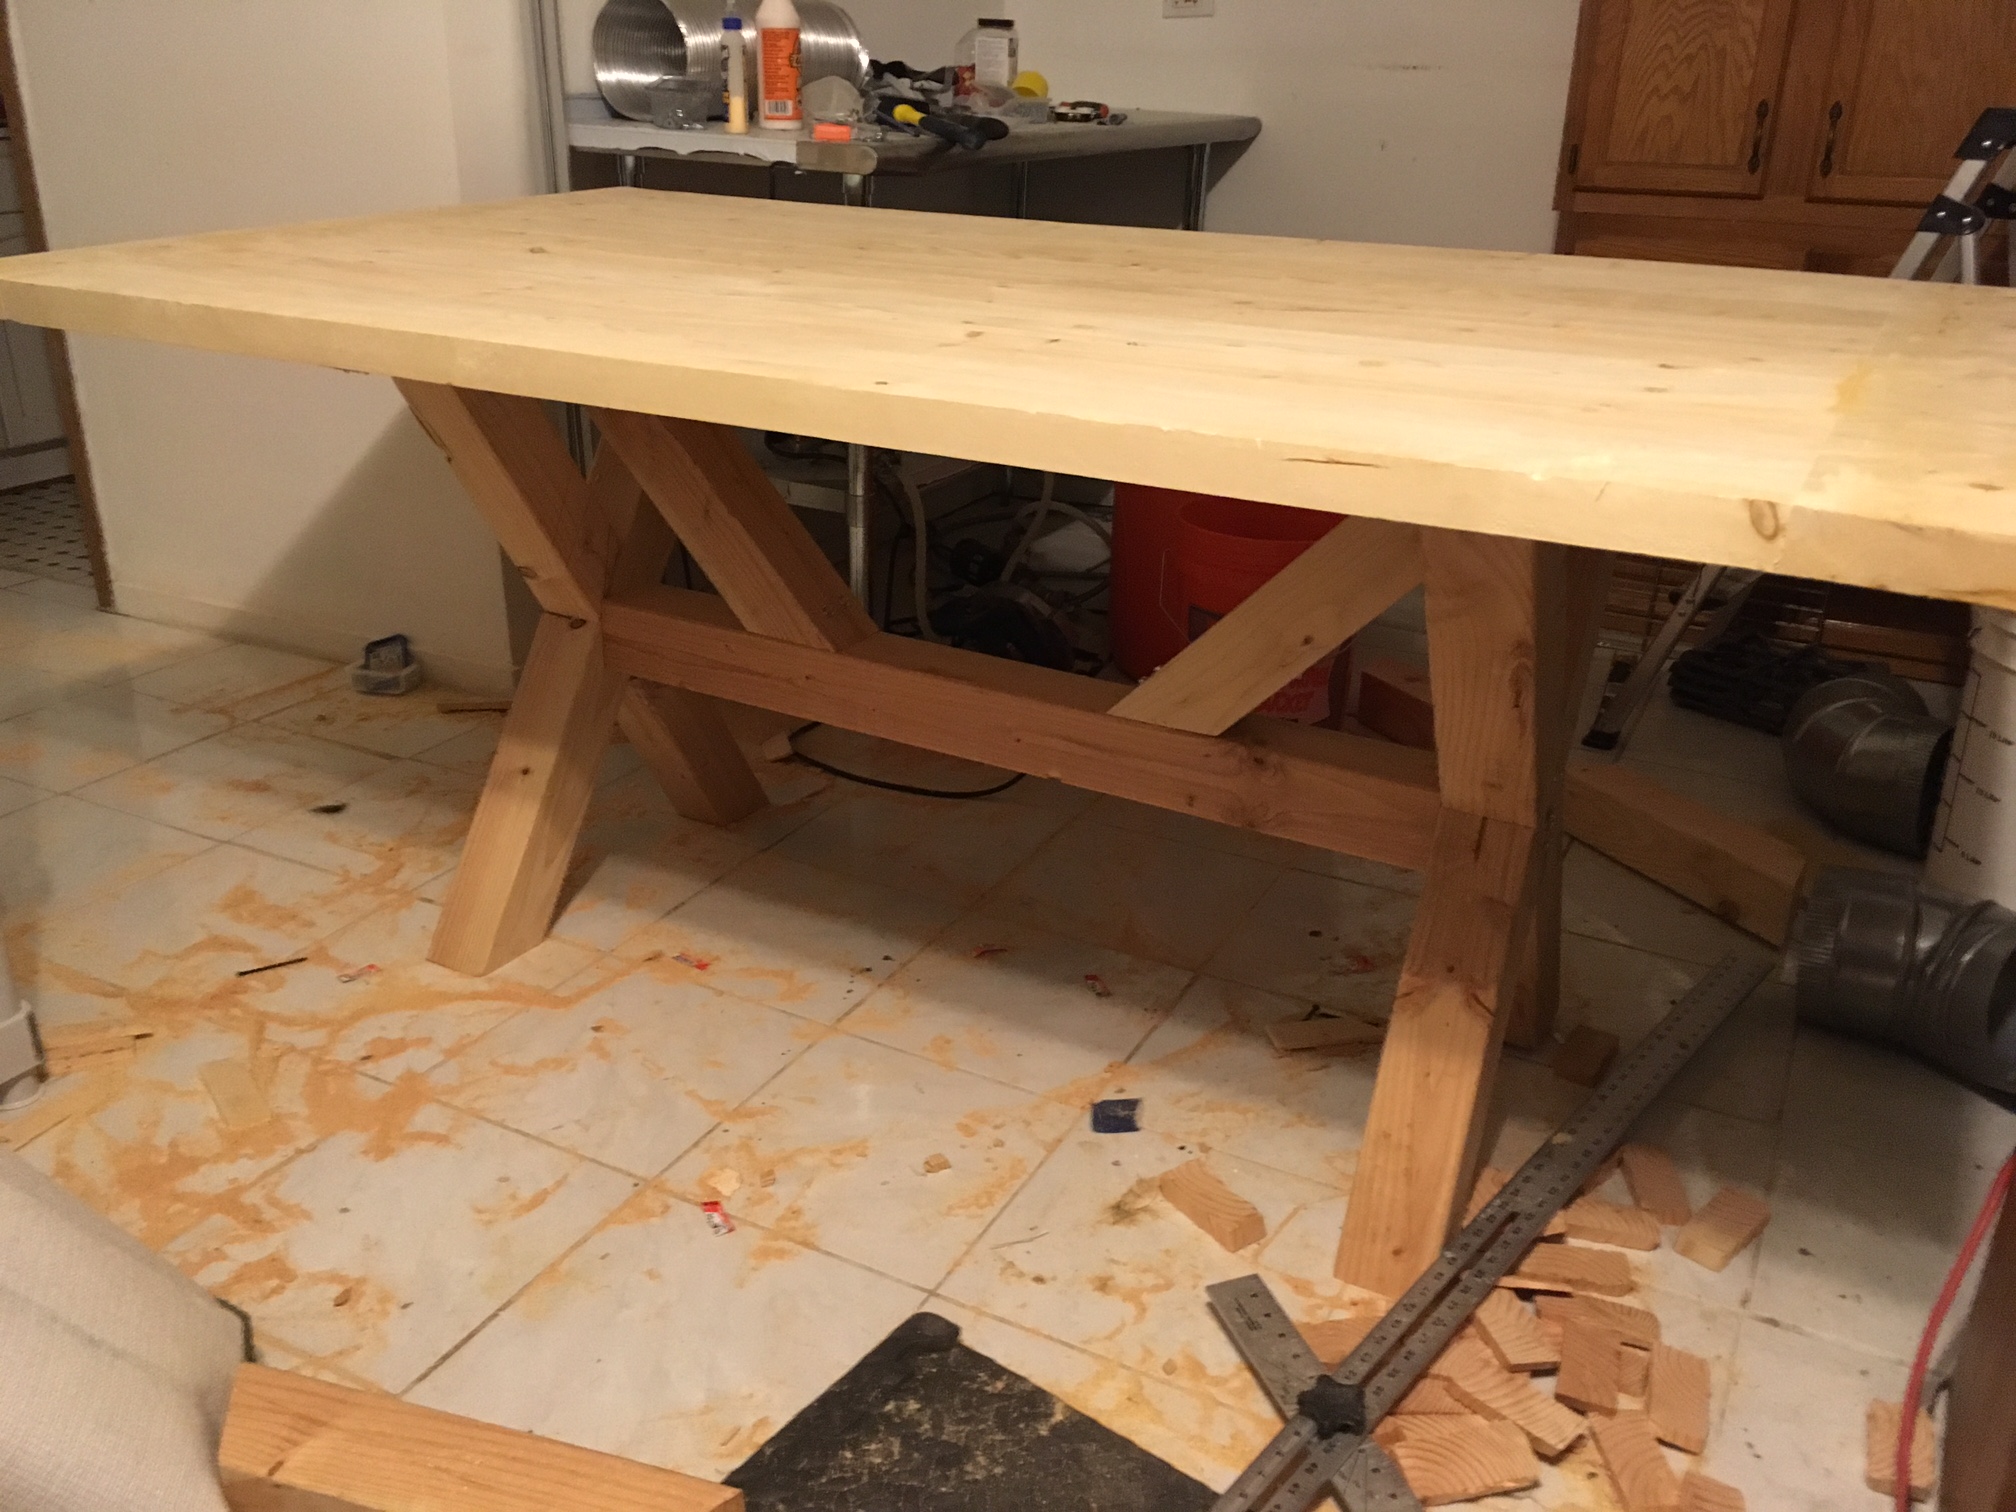
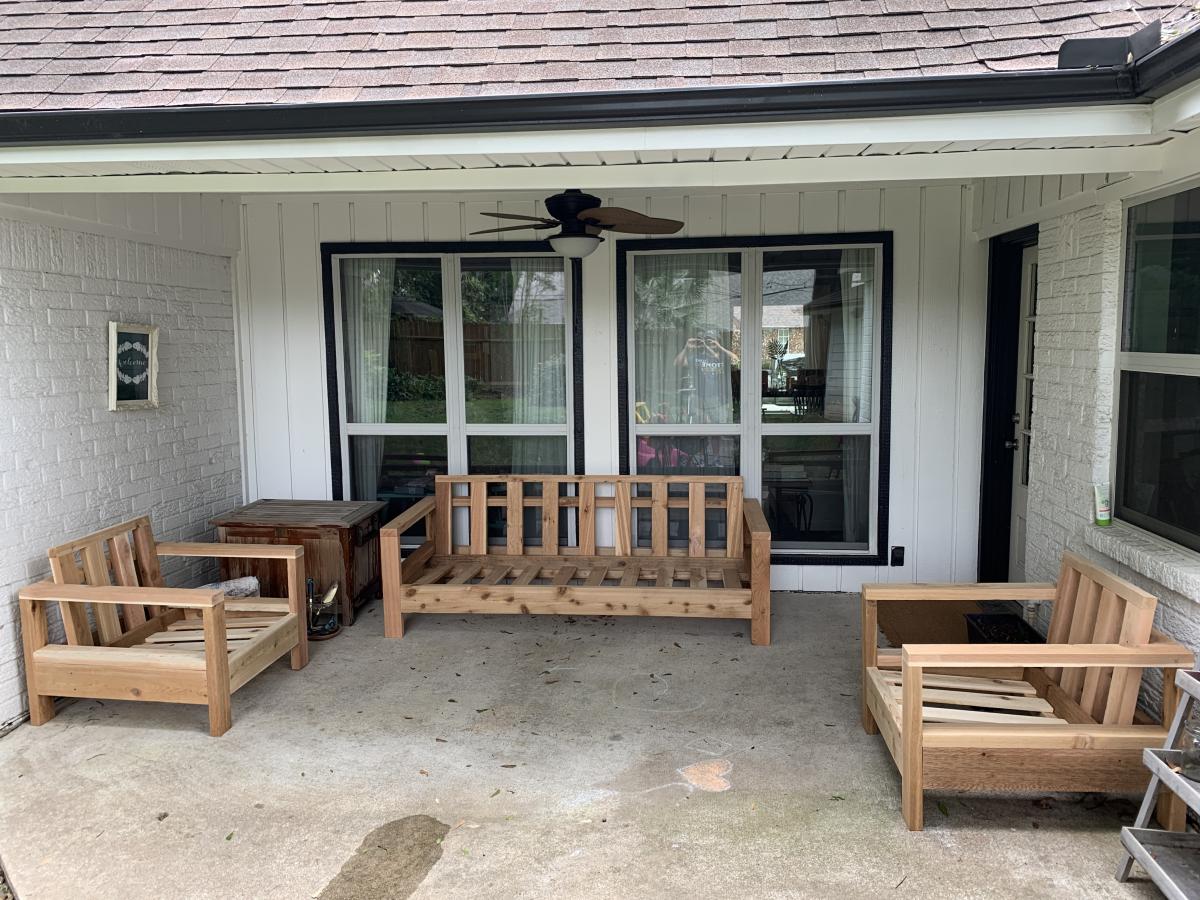
The simple design made the project simple overall - a single bookcase is an easy weekend project. Since we decided to use stain with wipe on poly, finishing took the vast majority of the time (four hours to cut, sand, and build, 44 hours to finish...) Purchasing a good shelf pin jig and making consistent measurements is a necessity for mass producing shelves with consistent spacing on the shelves.


Comments
spiceylg
Wed, 07/25/2012 - 10:34
wow
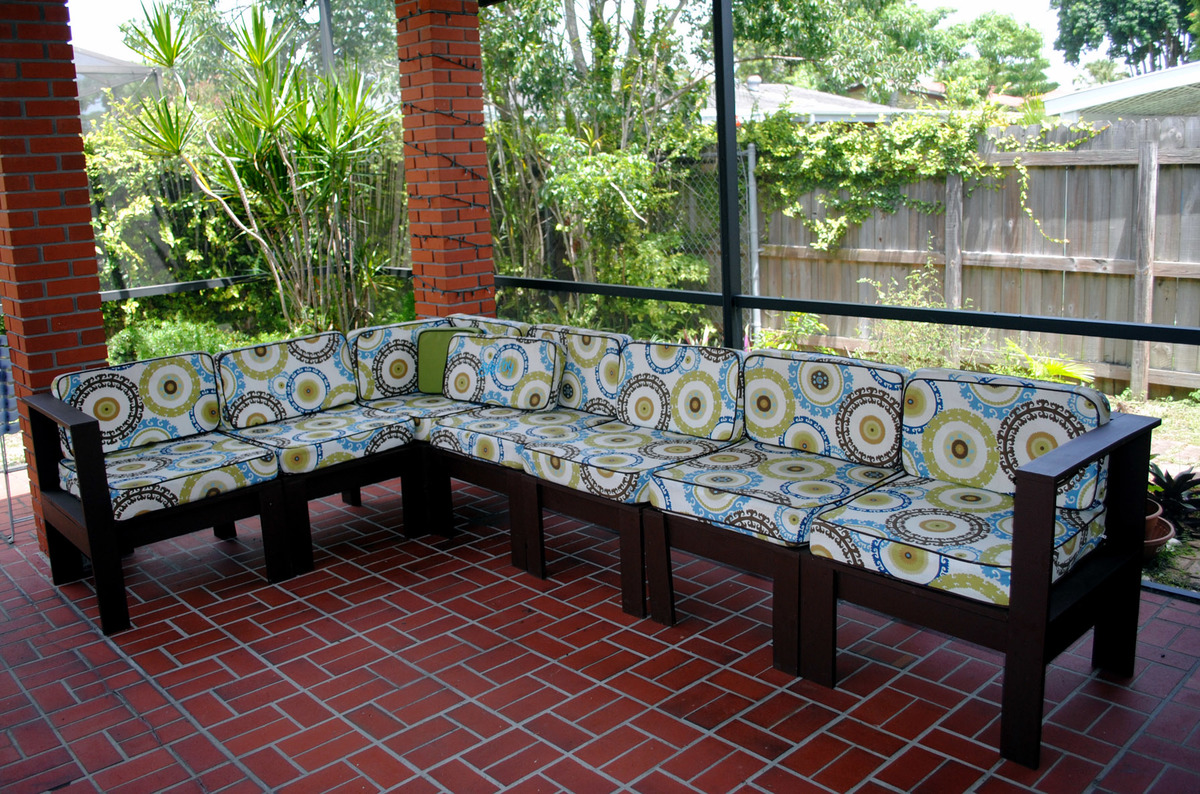
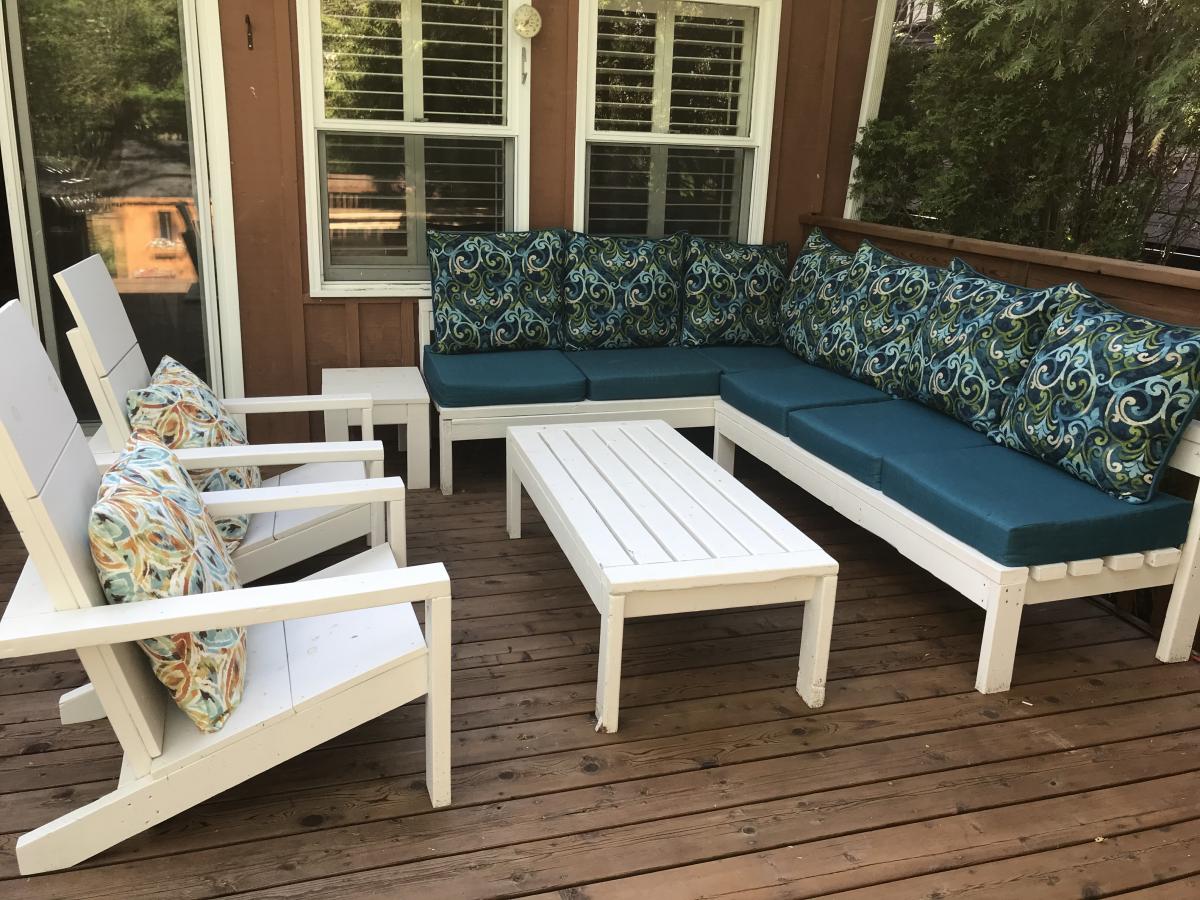
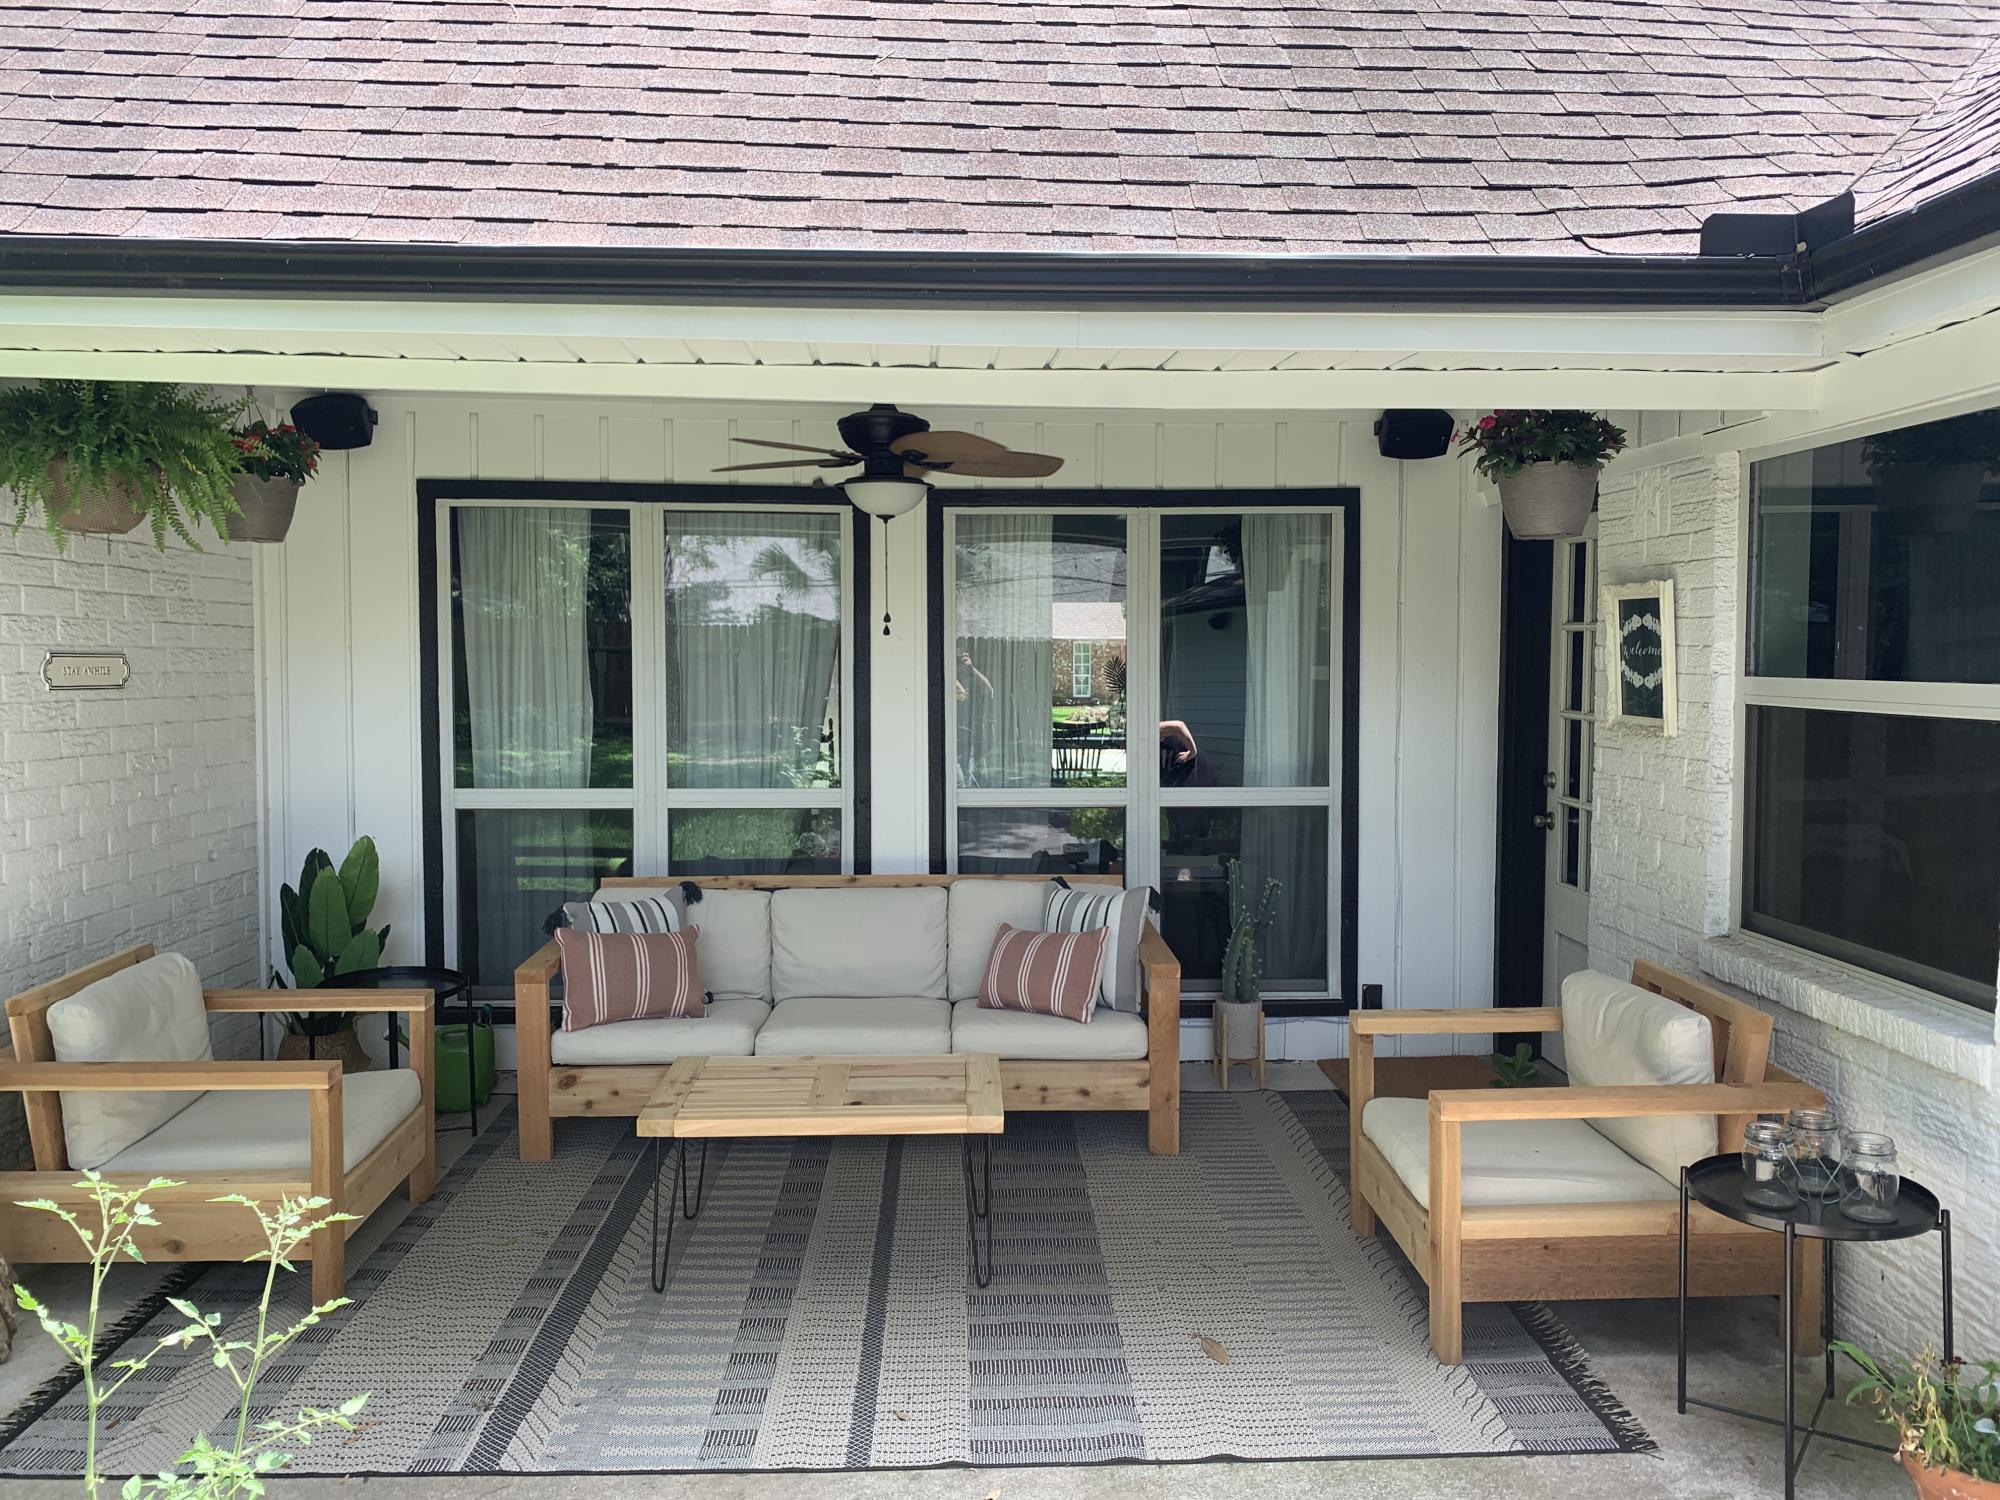
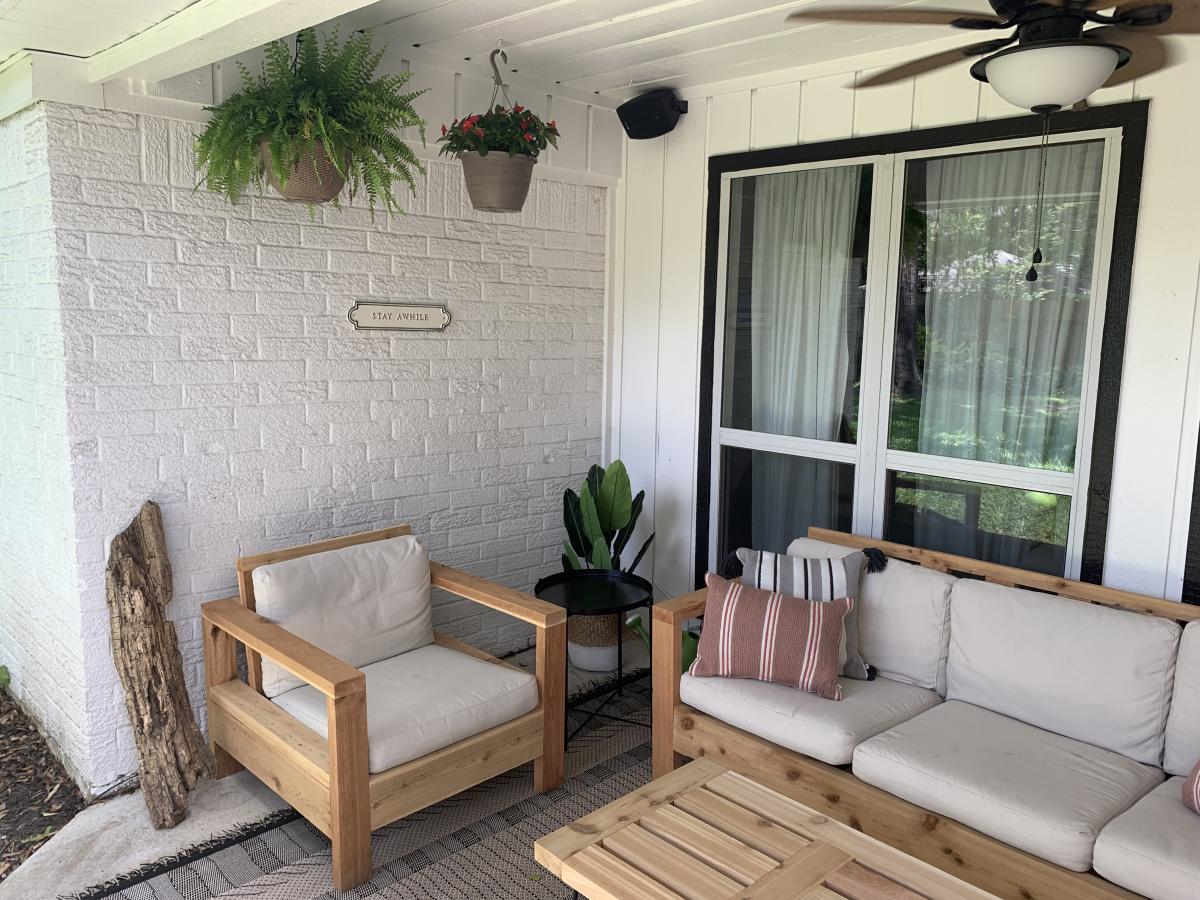
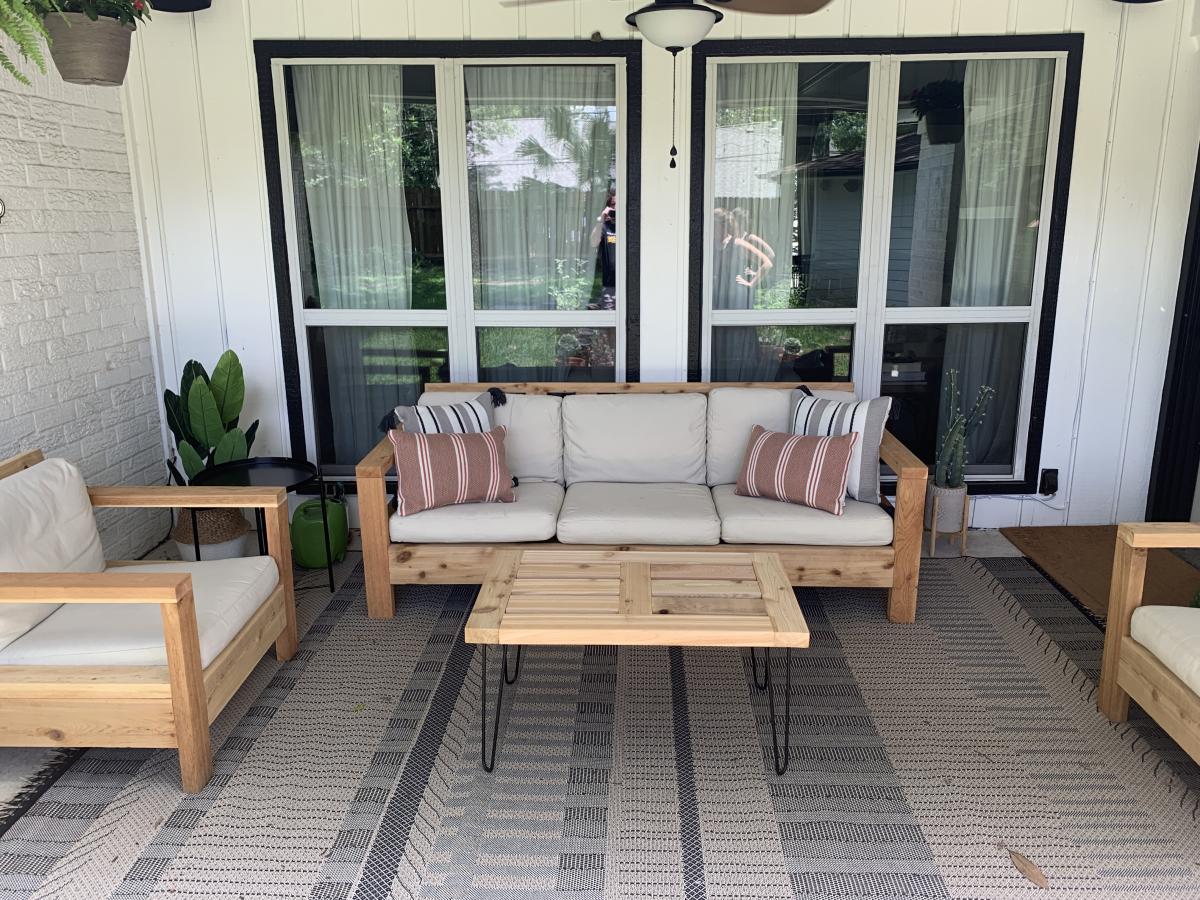
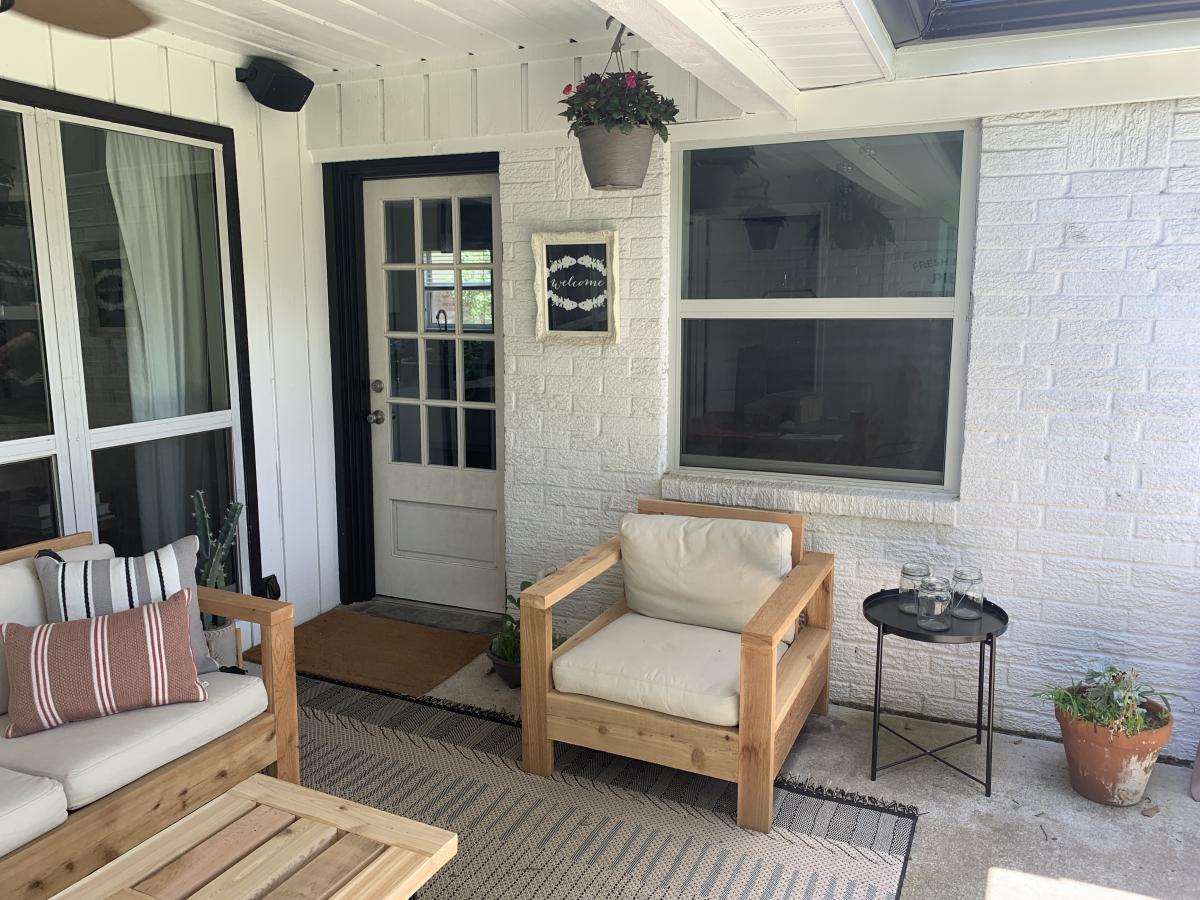
You did a great job and those cushions are fab. I am a sewing novice and was too afraid to take them on.
JoanneS
Thu, 07/26/2012 - 16:32
Spectacular!
You did such an awesome job on this. And it's your first project -- wow, it looks like it came right out of a furniture store and cost thousands! The piping on your cushions is a wonderful touch and it looks so flawless. Just beautiful!
Michelle212 (not verified)
Mon, 10/22/2012 - 08:15
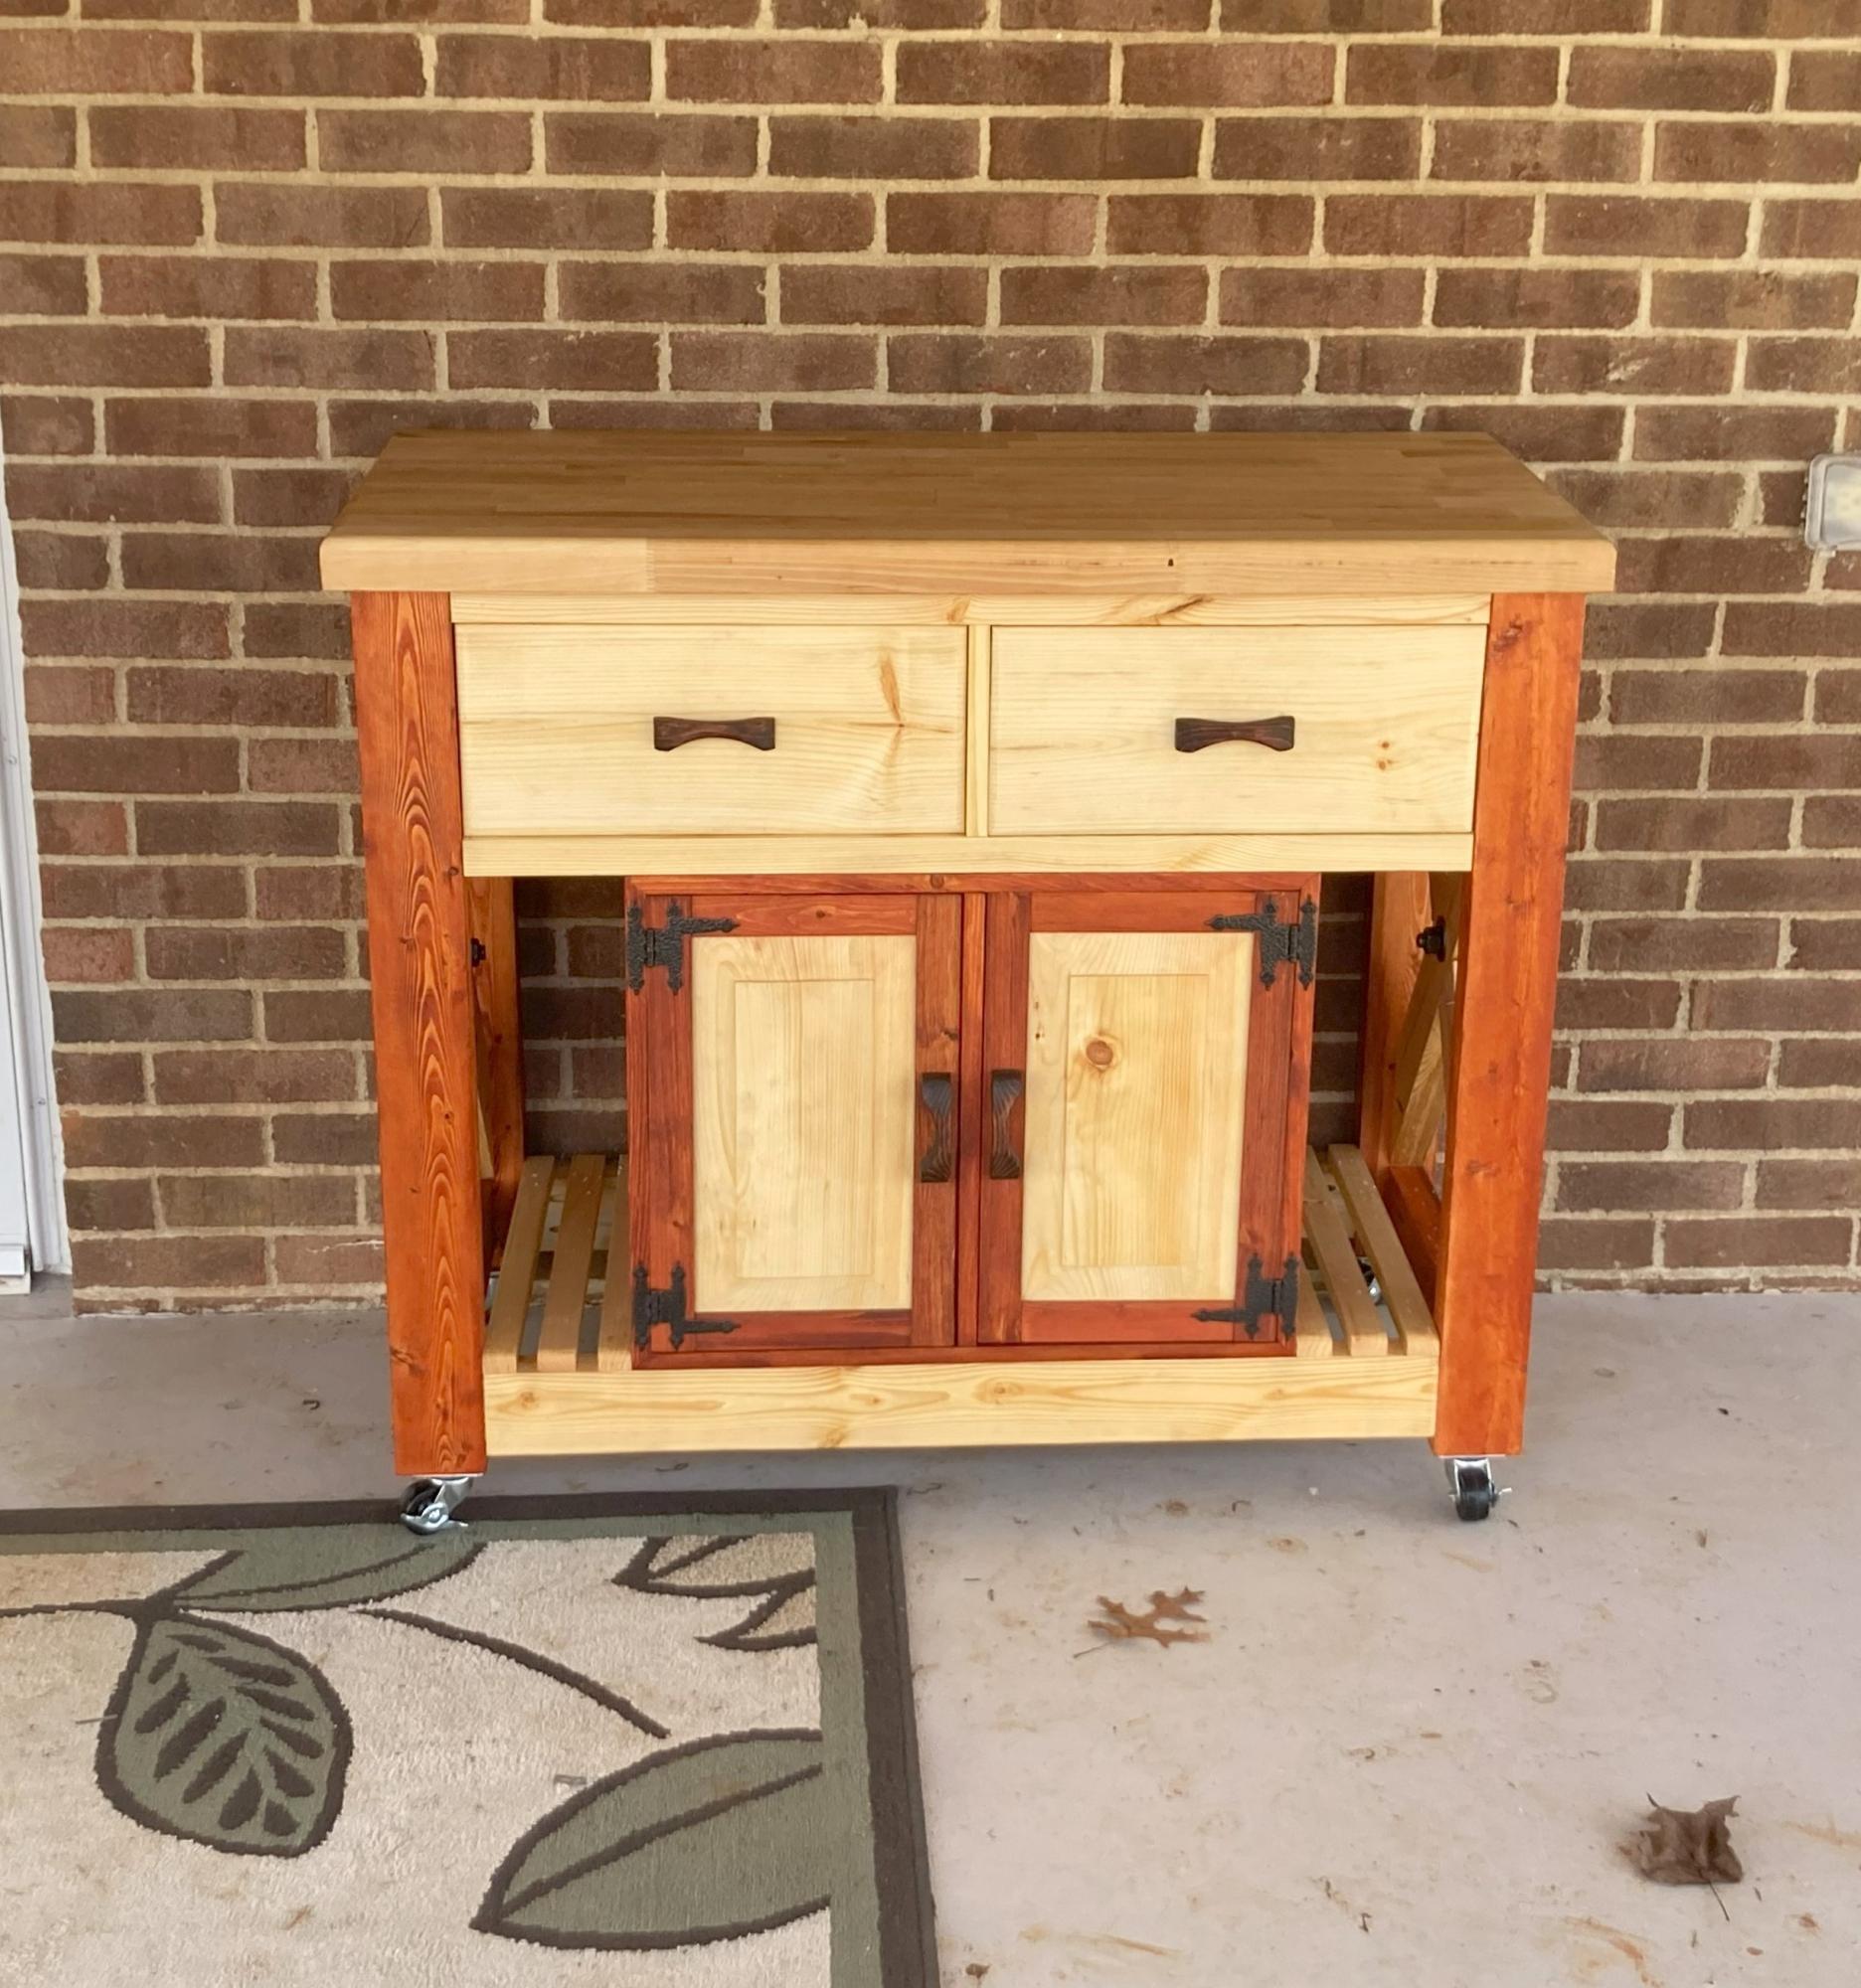
Wow, this is really great. I
Wow, this is really great. I love that color - How did you do the stain/paint? Is it meant for outdoor use?