Community Brag Posts

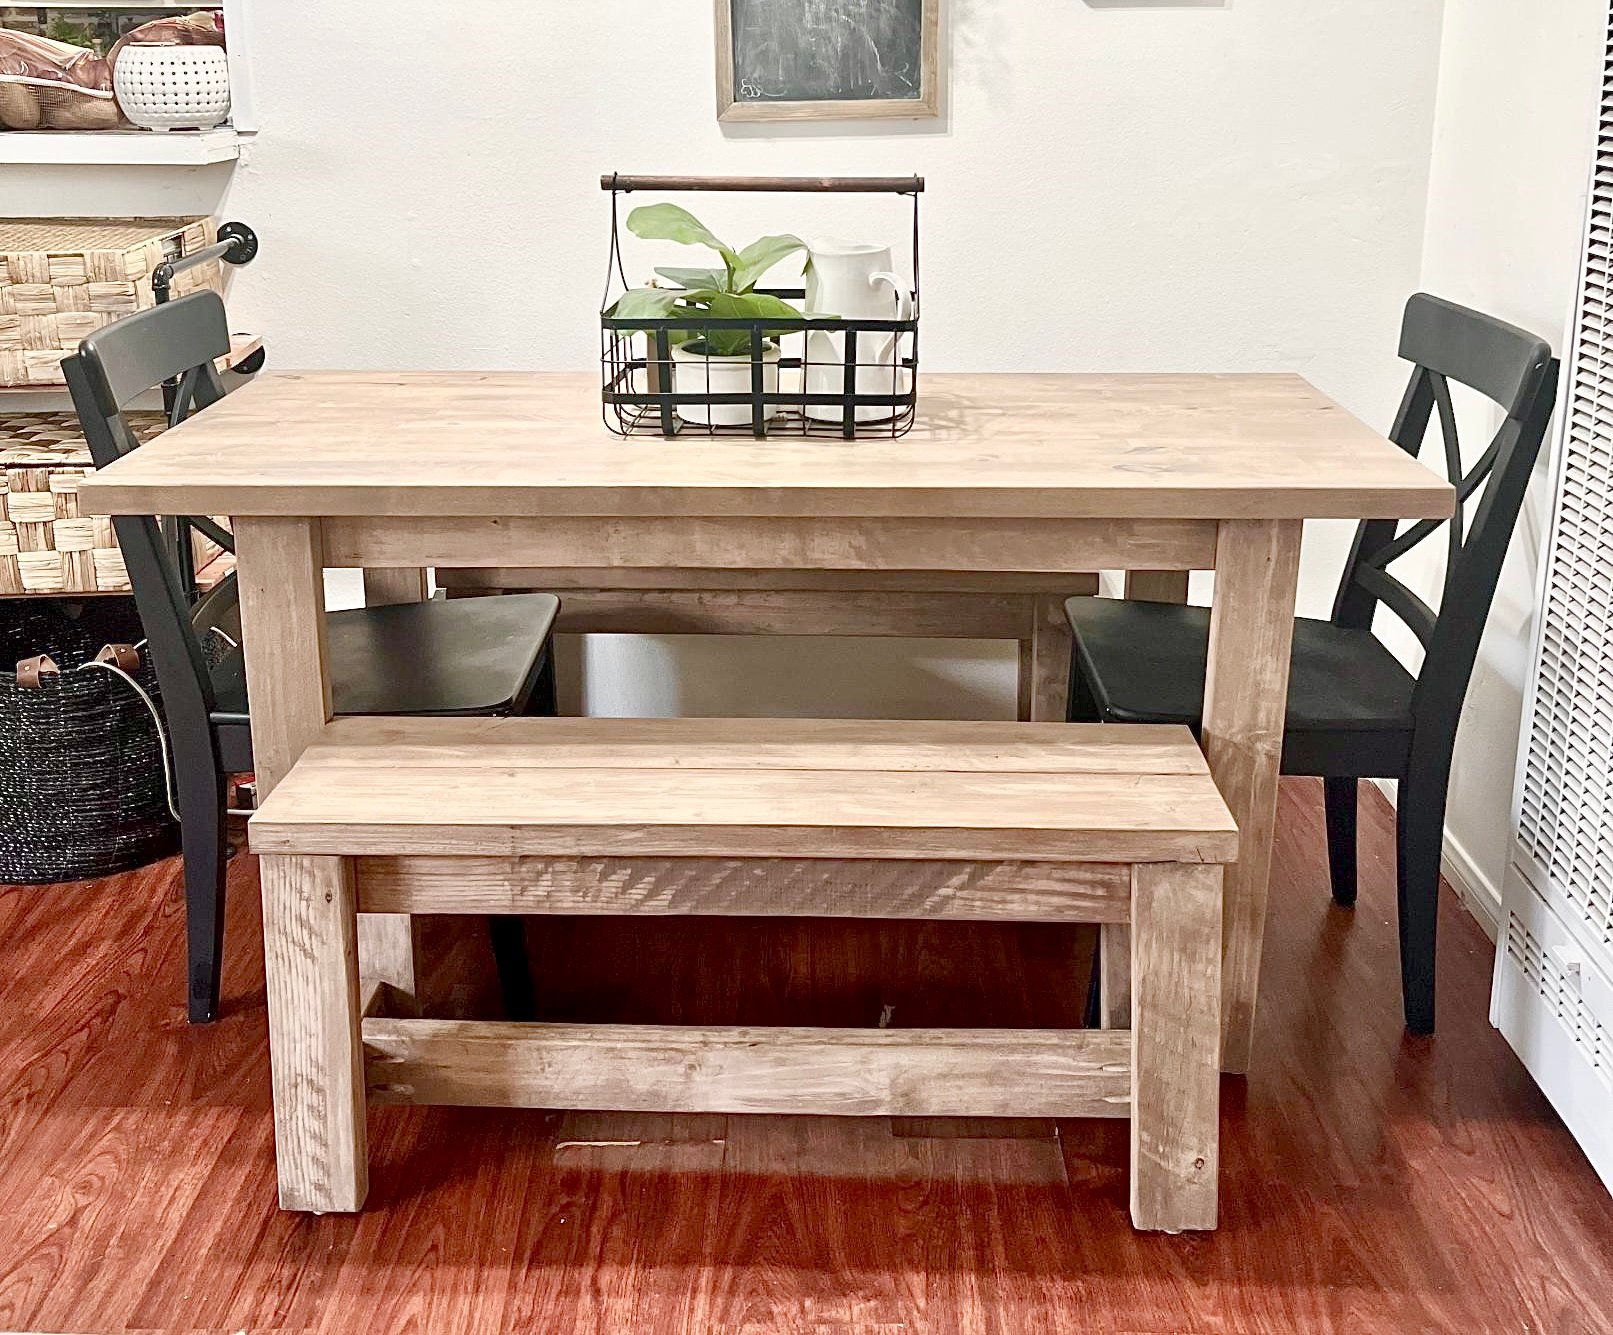
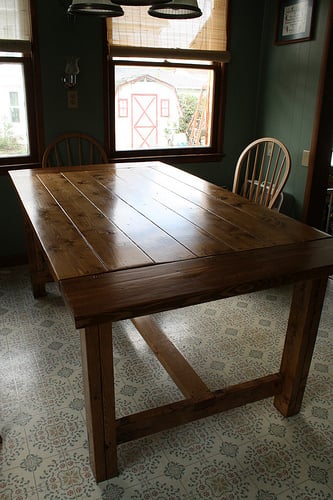
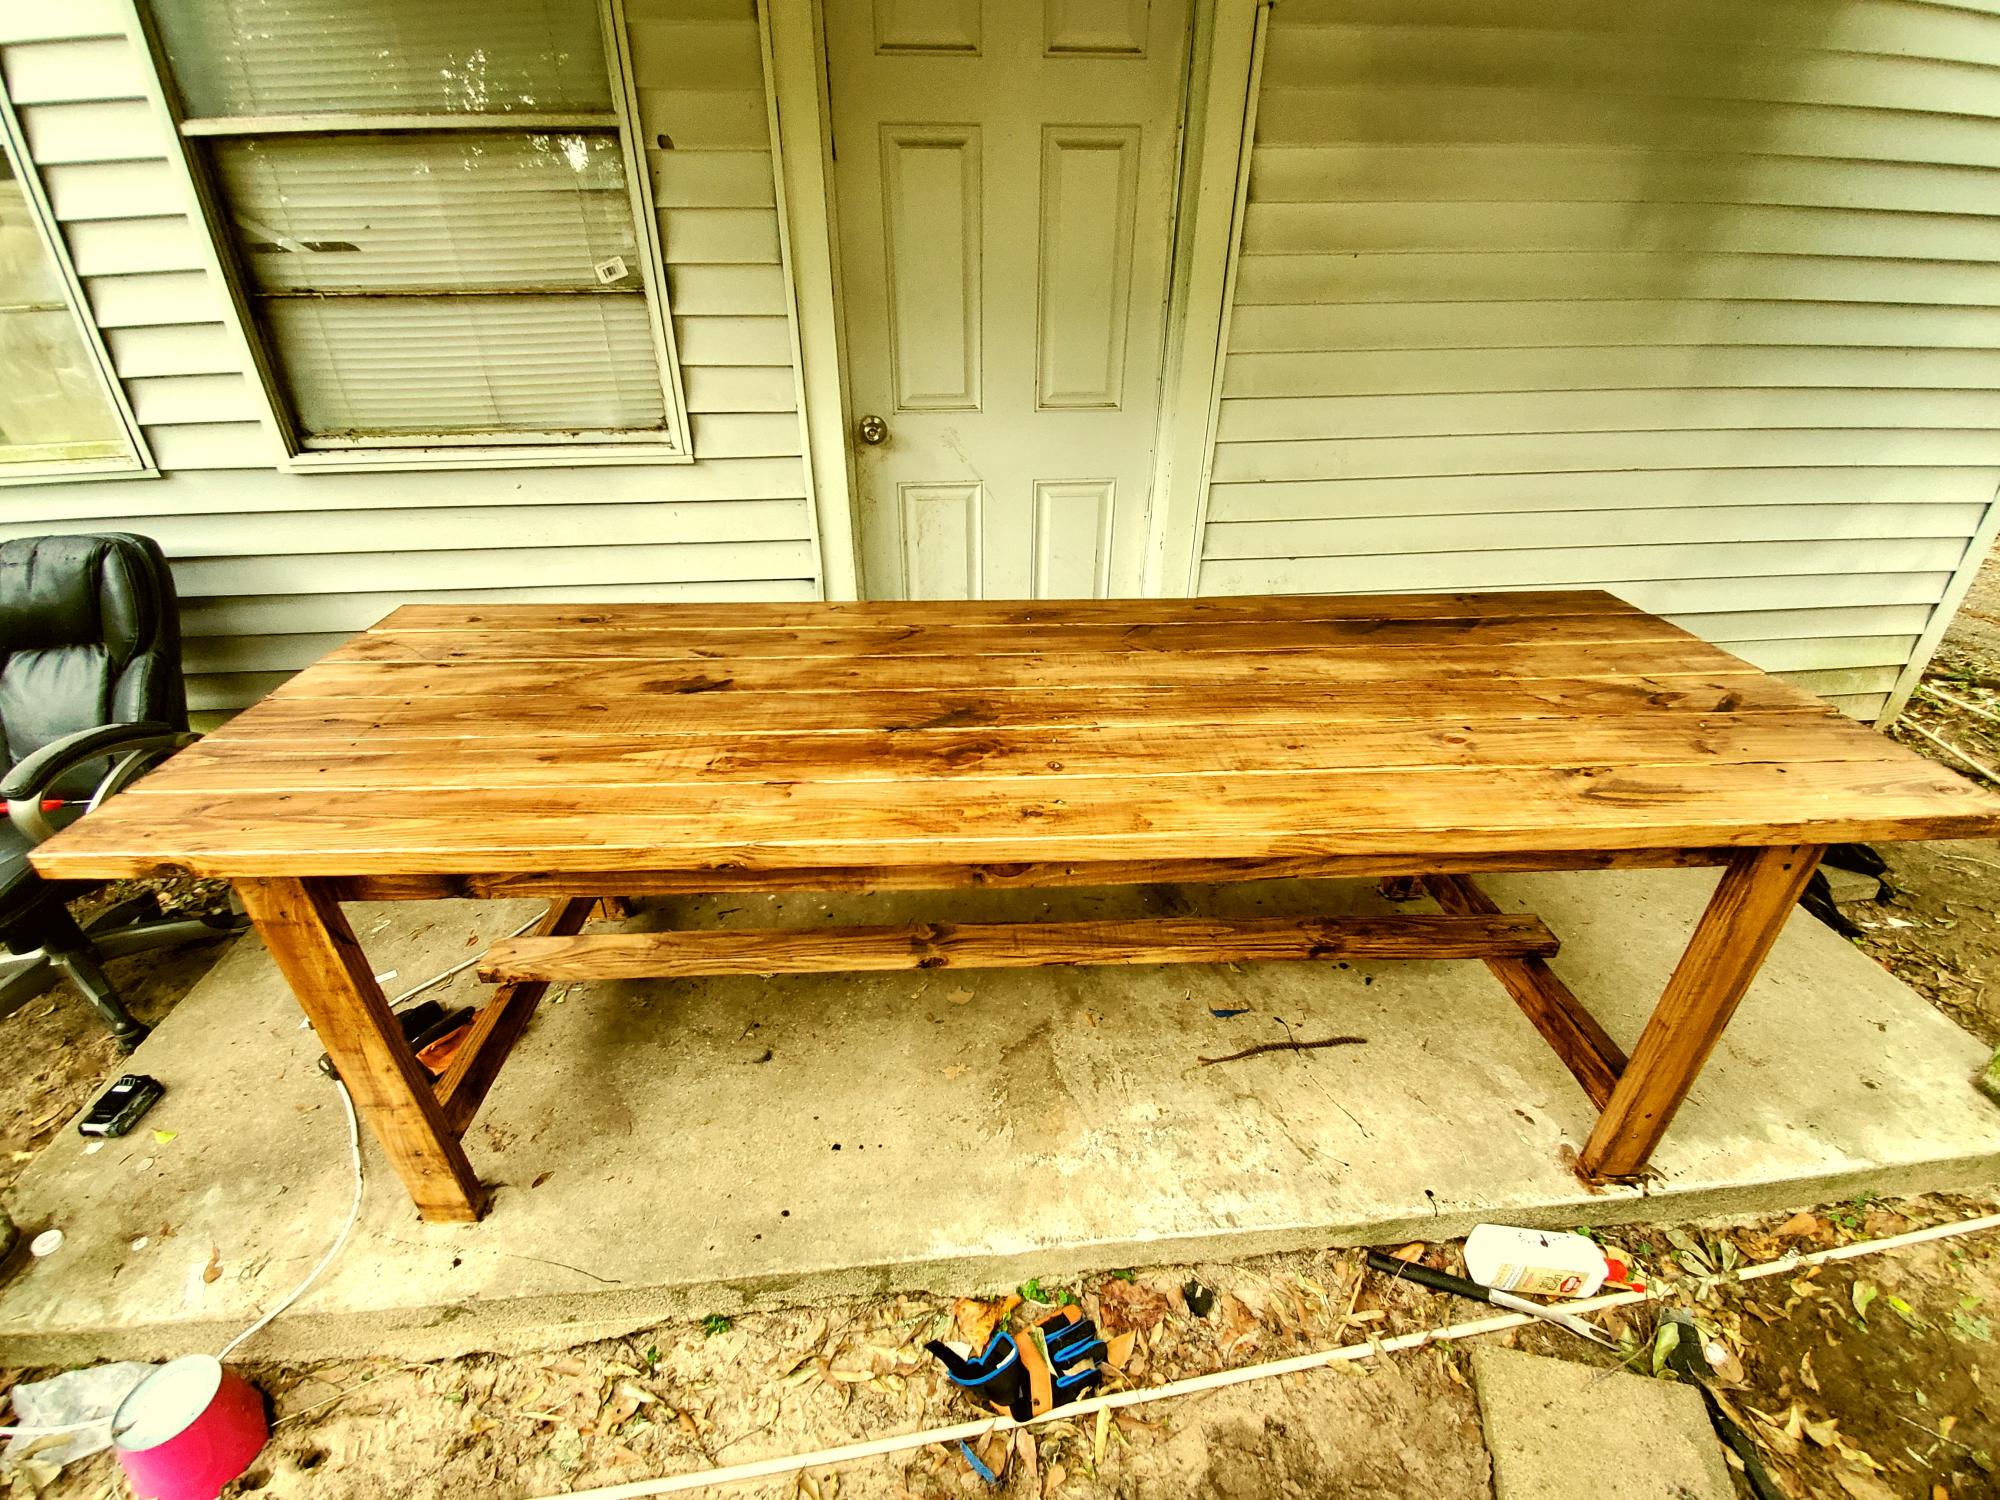
Farmhouse coffe table

Submitted by vmederos on Fri, 10/04/2019 - 14:22

This was great easy project I could do for my wife while she was at work and surprise her before she came home. I use the same color recommended stain but added the valspar white glaze to makenit more gray and weathered look. Sealed with a matte finish.

Estimated Time Investment
Afternoon Project (3-6 Hours)
Recommended Skill Level
Intermediate

Comments

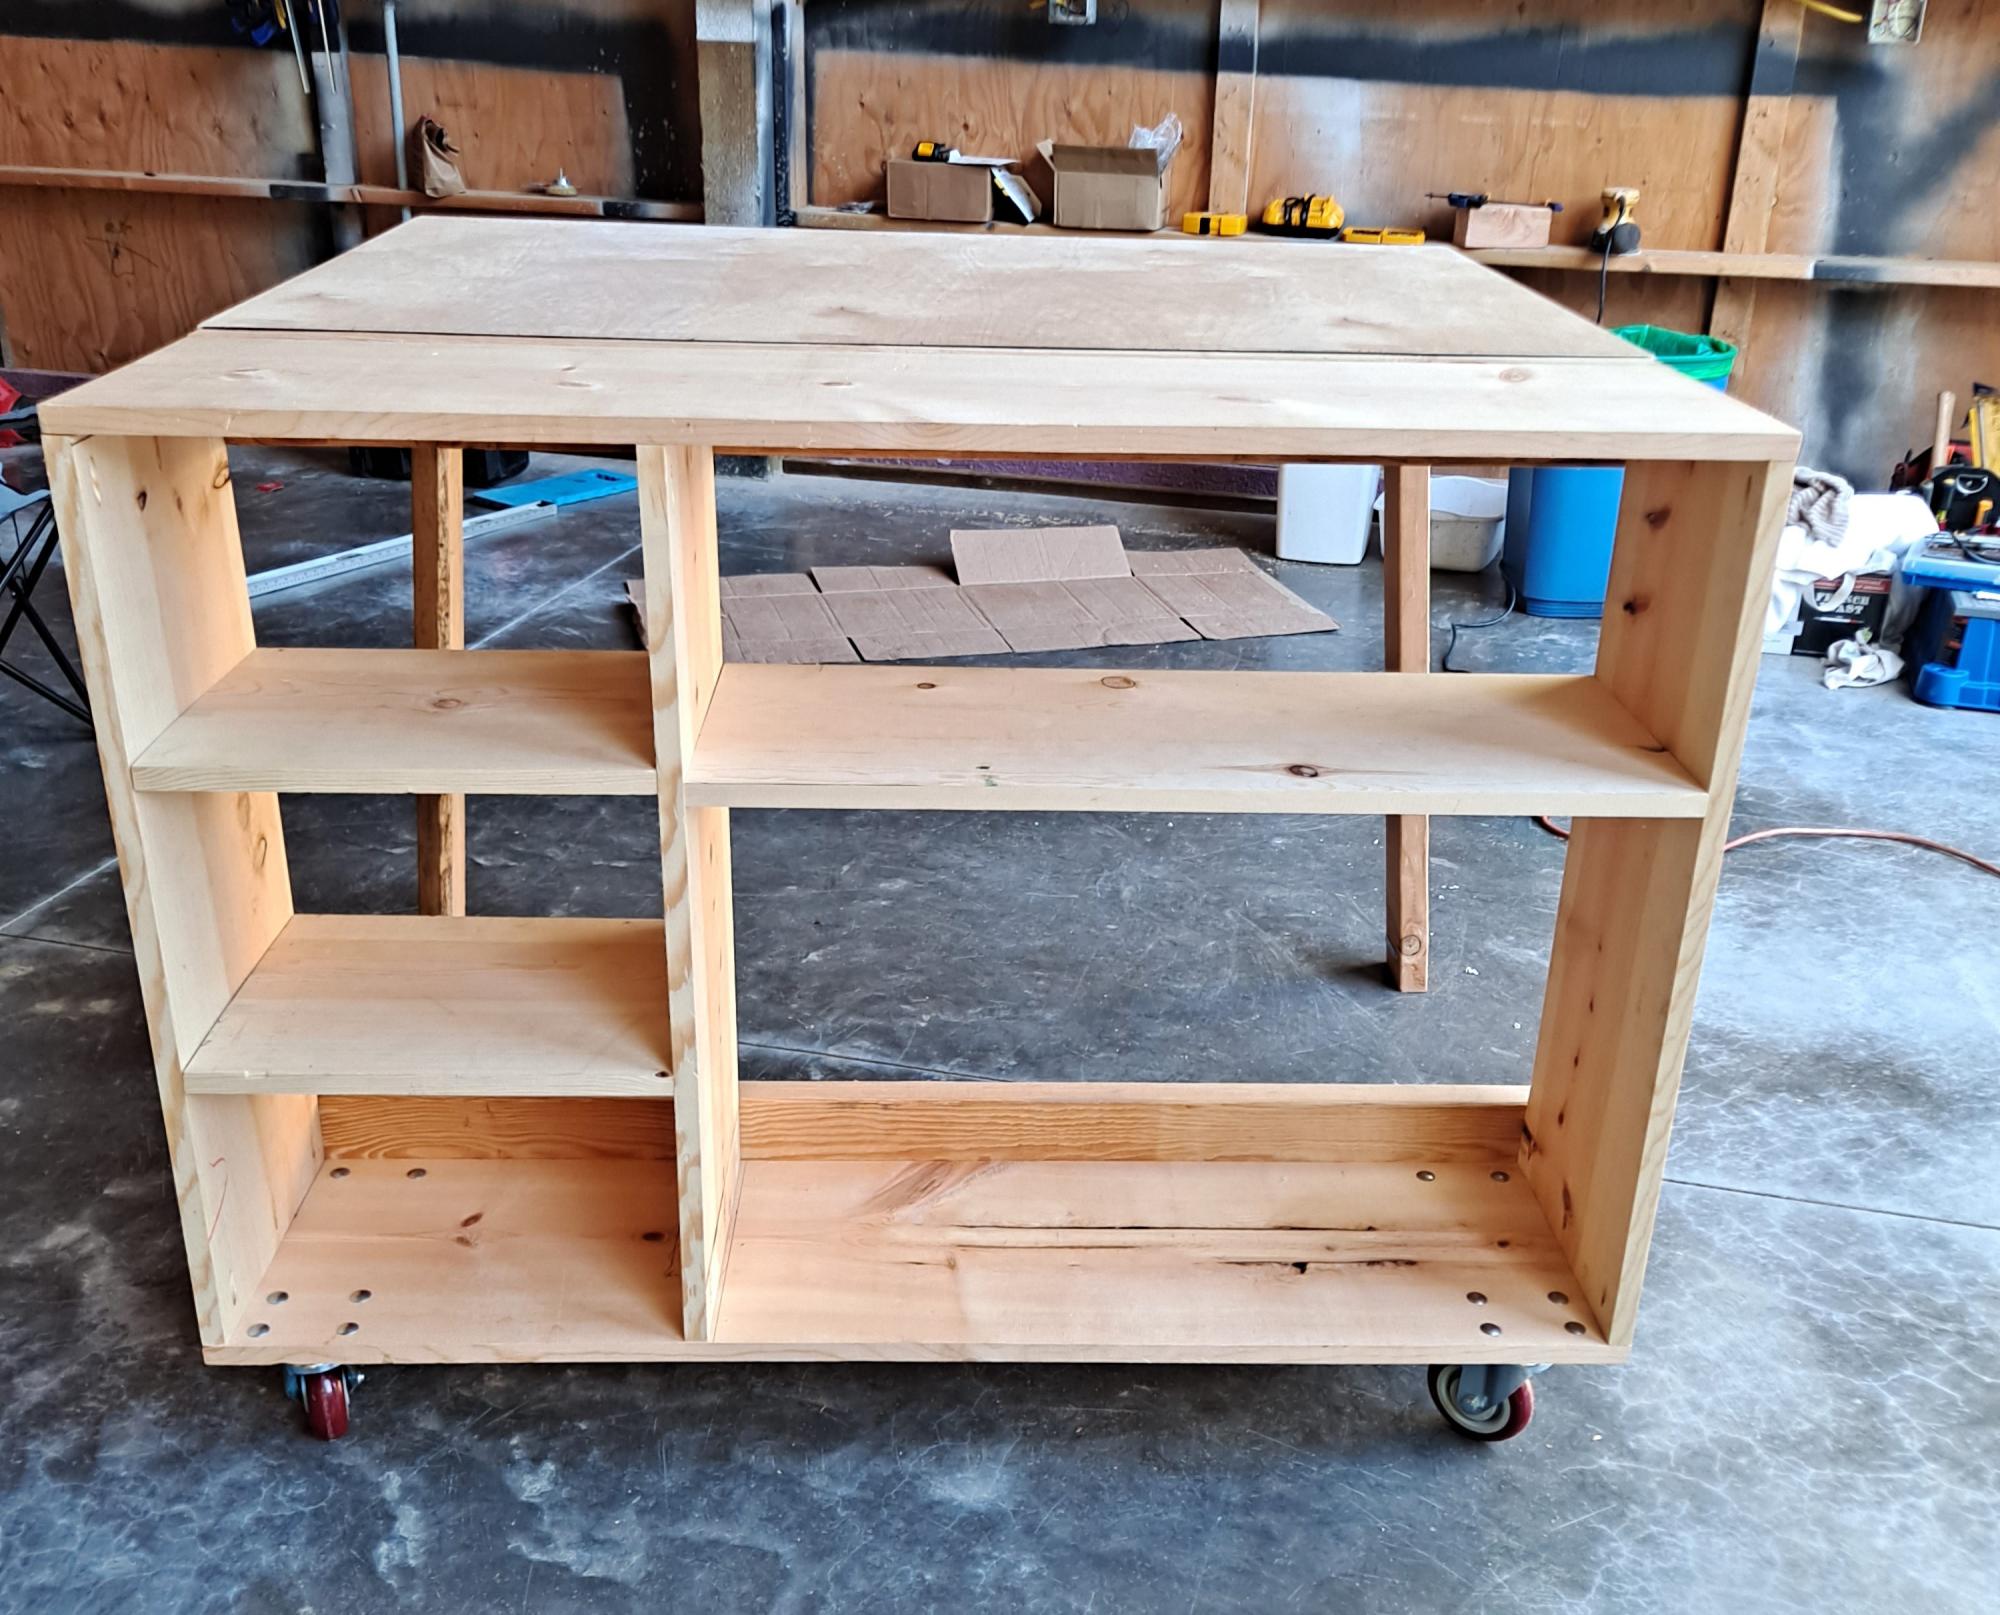
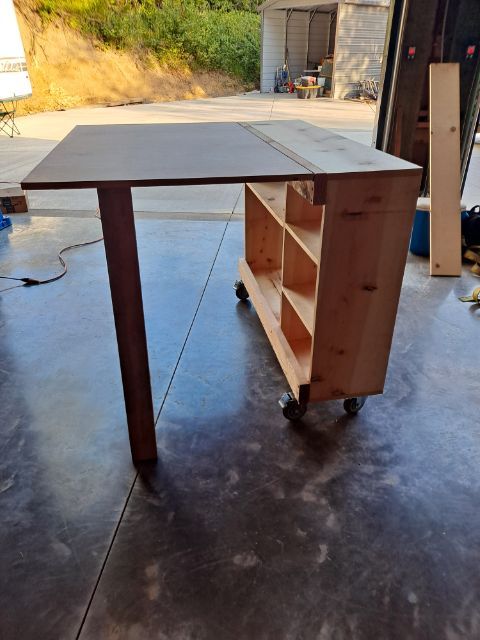
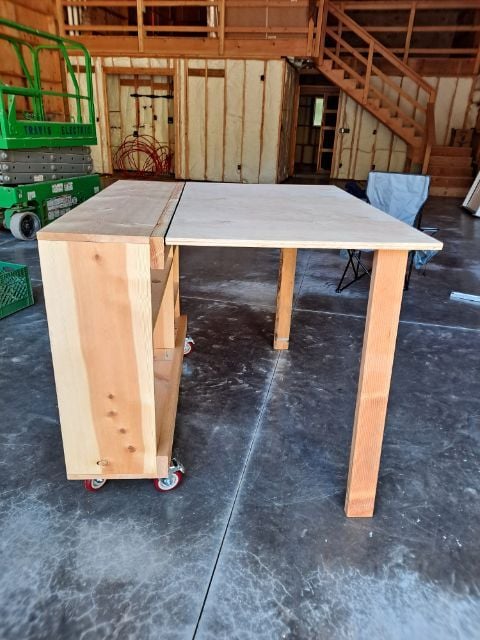
Folding Worktable

Made the portable worktable as my craft table. I'm limited on space so the fold down table was just the key. Thank you Ana. You are an amazing carpenter & inspiration to me. You make your plans so easy to read & follow. Thank you so much. I can't wait to make more of your plans. ❤️

Jodi Inman


Built from Plan(s)

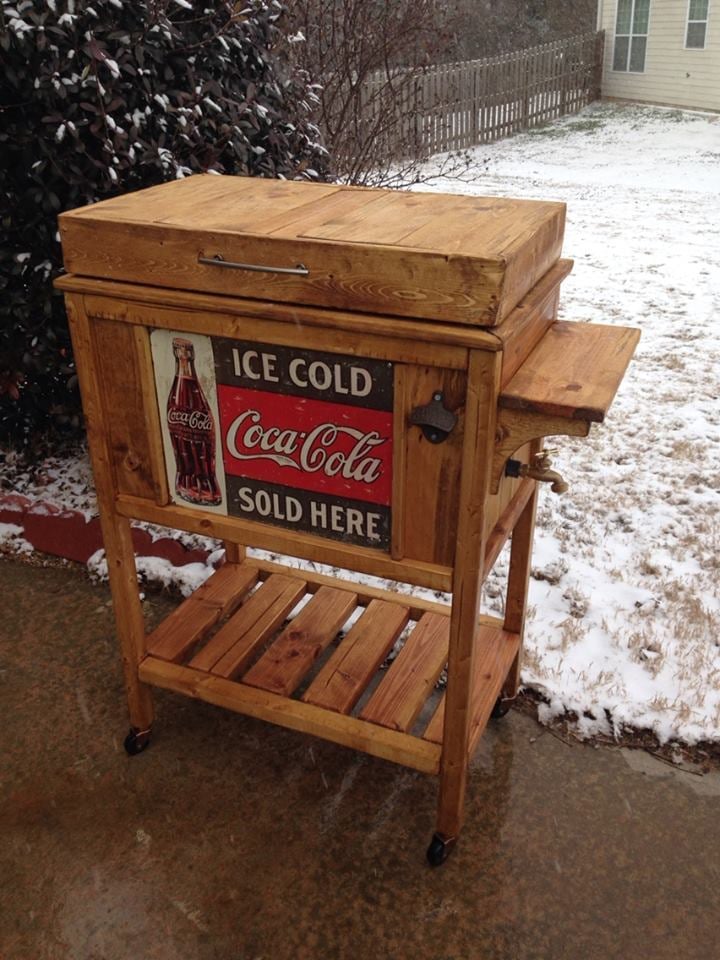
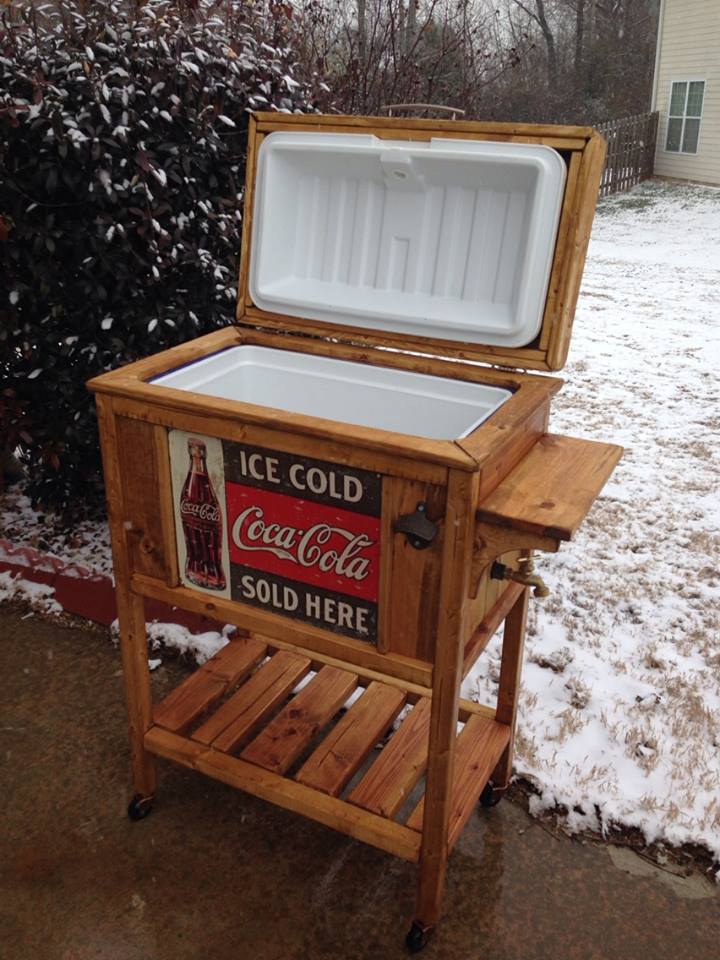
DIY Wooden Cooler Stand - Vintage Look

Got this idea from the blue cooler project - but decided to deck it out with vintage trimmings. Everyone who has seen it loves it! Very fun project.

Estimated Cost
70.00
Estimated Time Investment
Weekend Project (10-20 Hours)
Finish Used
Minwax Summer Oak - followed with polycryllc and johnson's furniture wax.
Recommended Skill Level
Intermediate

Comments

DIY everything

Tue, 02/04/2014 - 21:32

I'm in the process of building one out of this plan too except I'm trying to use pallet wood. I love how your cooler turned out so I hope you don't mind that I use the same Coke sign. Awesome job!

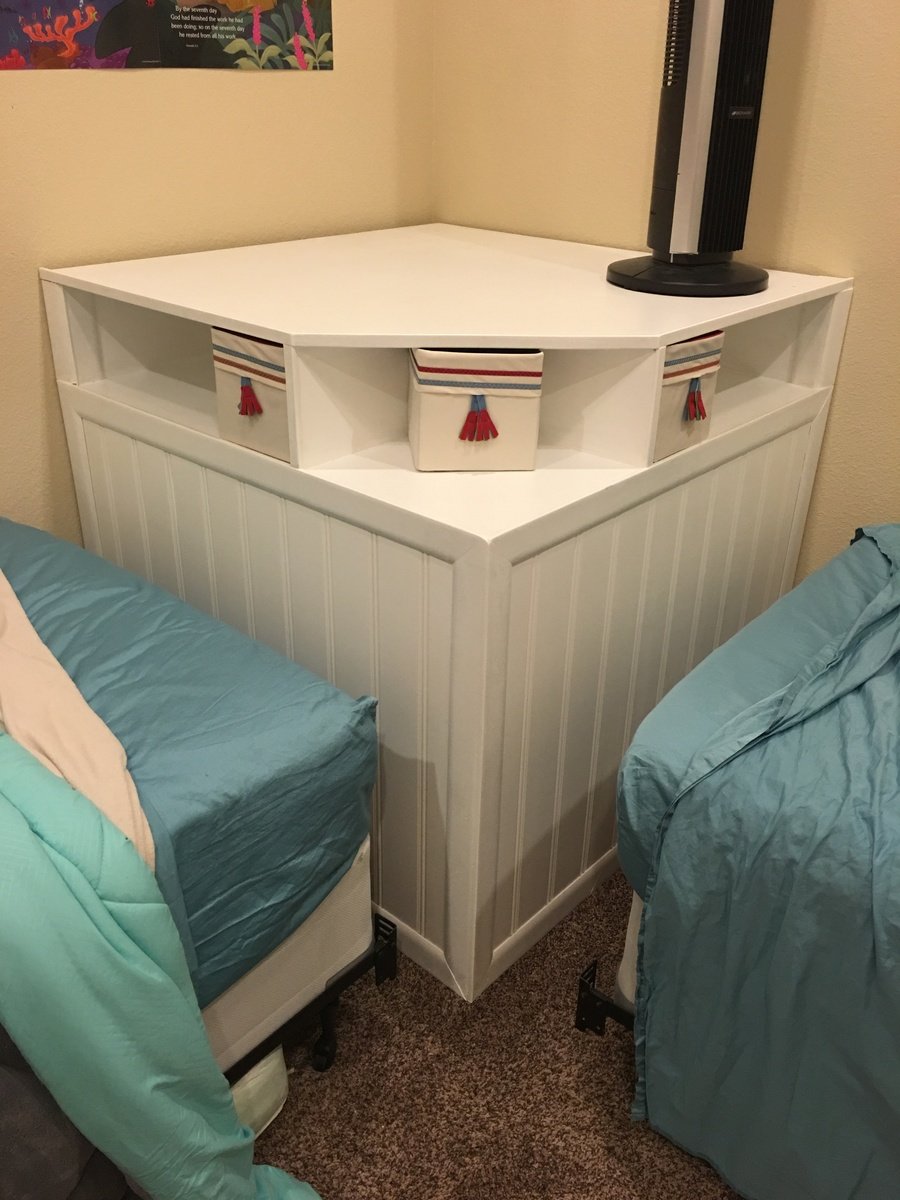
Corner Headboard Storage for Twin Beds

Submitted by Anonymous (not verified) on Sun, 05/08/2016 - 18:27

Corner unit for kids bedroom. Added fabric boxes from ikea. The fit perfectly 

Estimated Cost
$200.00. All the materials are from the Home Depot
Estimated Time Investment
Day Project (6-9 Hours)
Finish Used
Behr. Polar bear white
Recommended Skill Level
Beginner

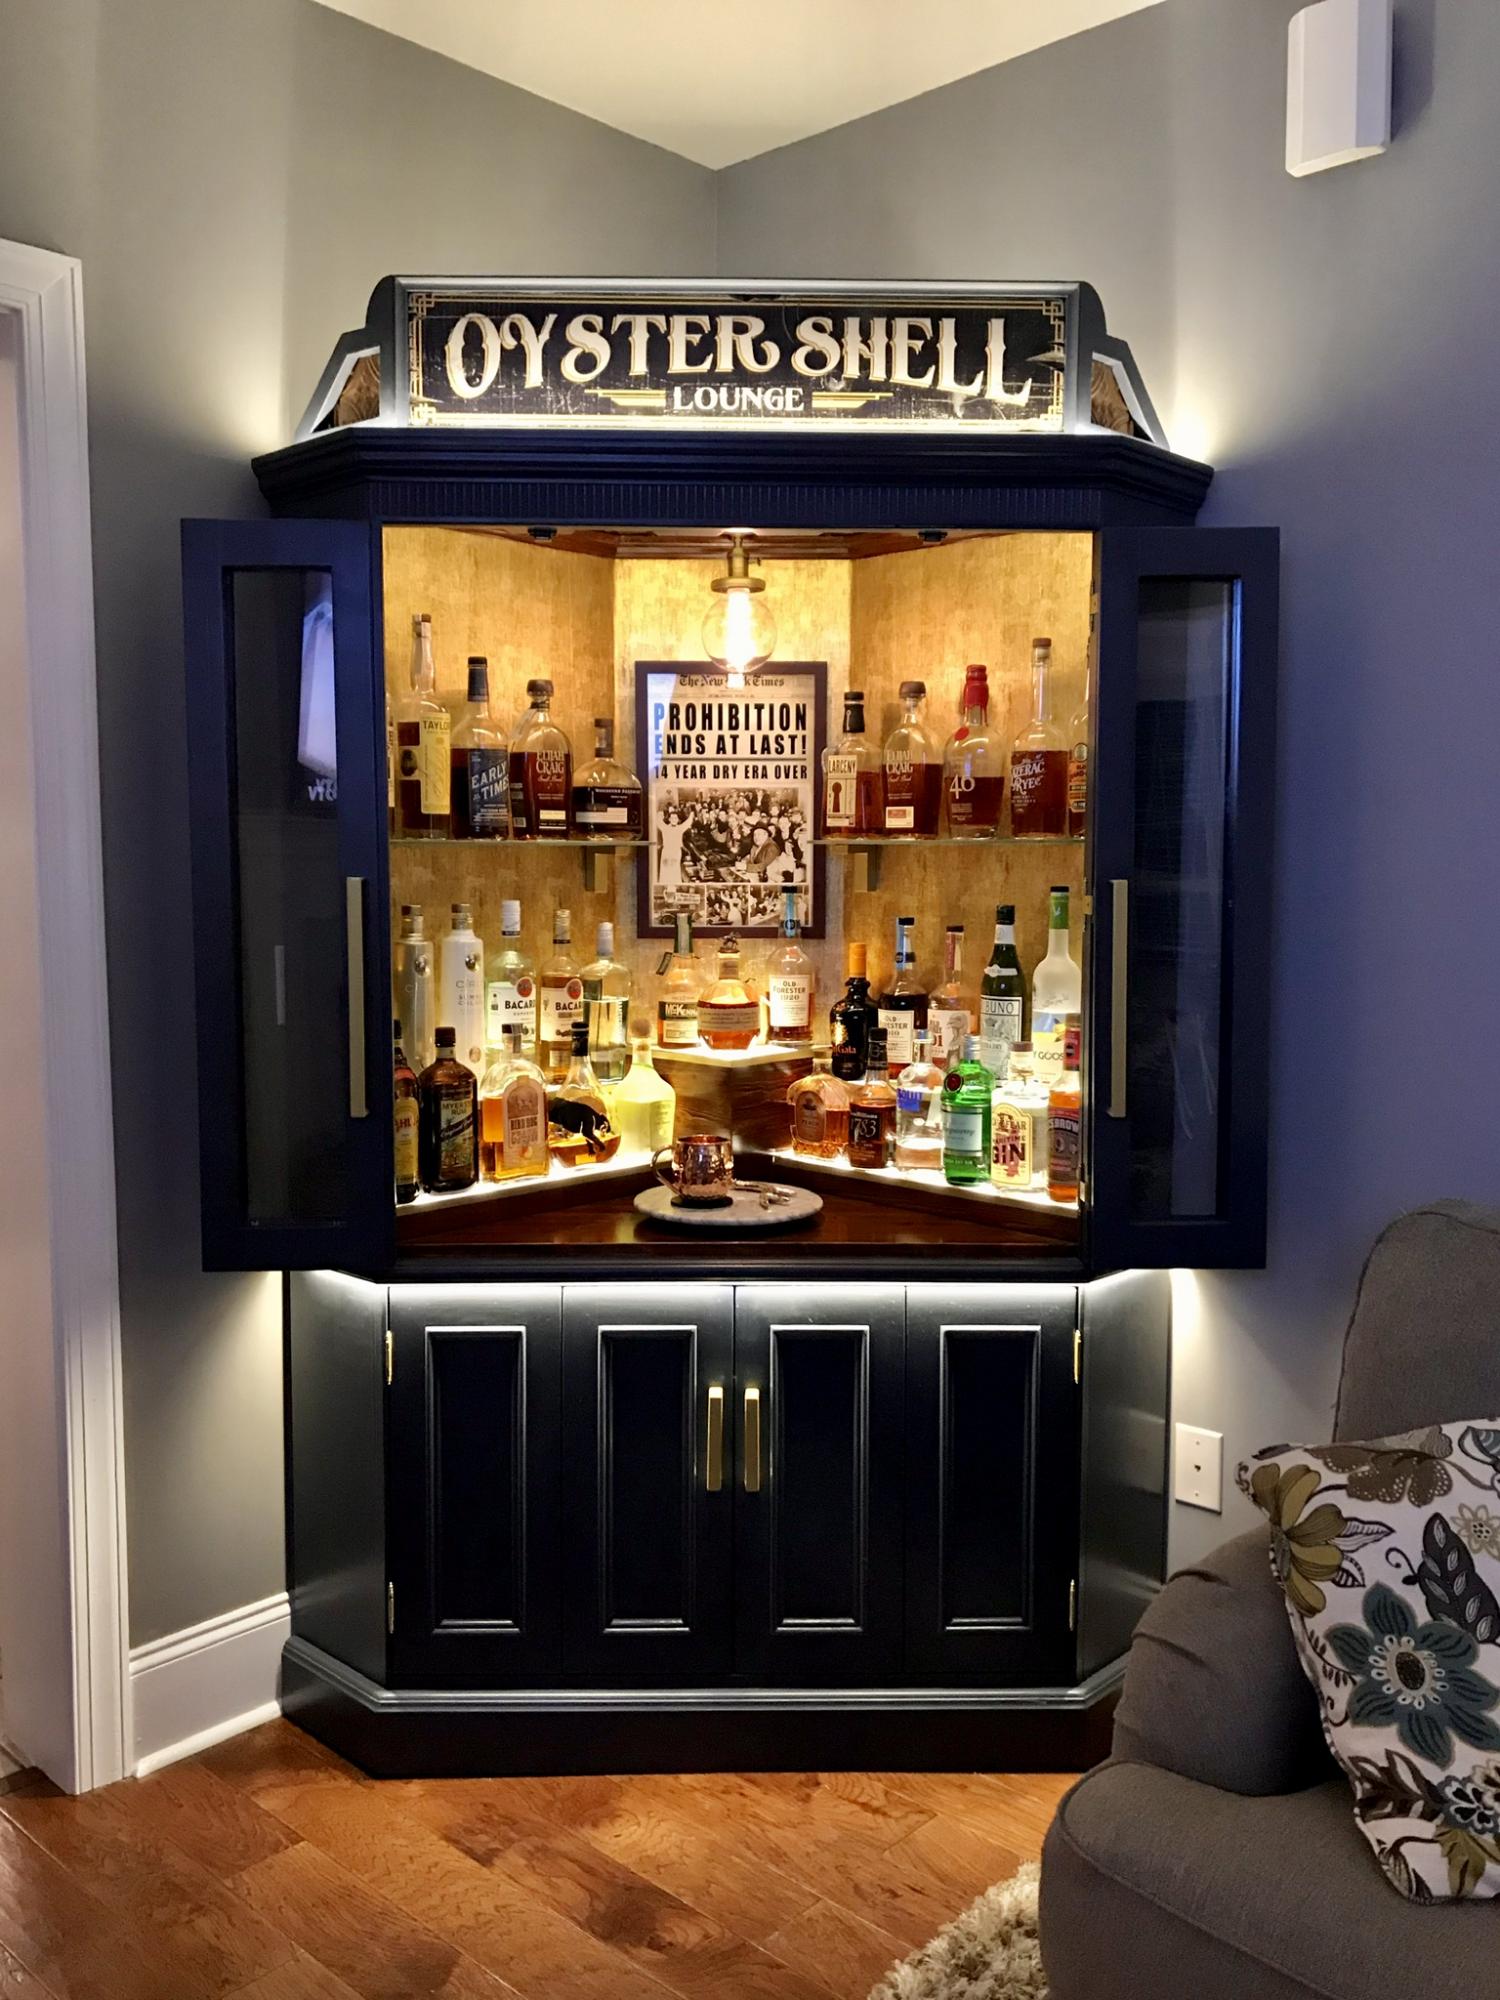
DIY Bar Cabinet

Submitted by Anonymous (not verified) on Mon, 02/24/2020 - 16:27

I bought this tv corner cabinet for $40. I spent many hours turning into my perfect bar cabinet. I built a custom lighted liquor display. I have posted photos of the transformation.

Estimated Cost
$1000
Estimated Time Investment
Week Long Project (20 Hours or More)
Finish Used
Benjamin Moore- hale navy
Recommended Skill Level
Intermediate

Comments

frendlygrl

Tue, 07/06/2021 - 19:04

So this is not your project? Because there isn't much information or a before and after picture. This gave me an idea for our home.

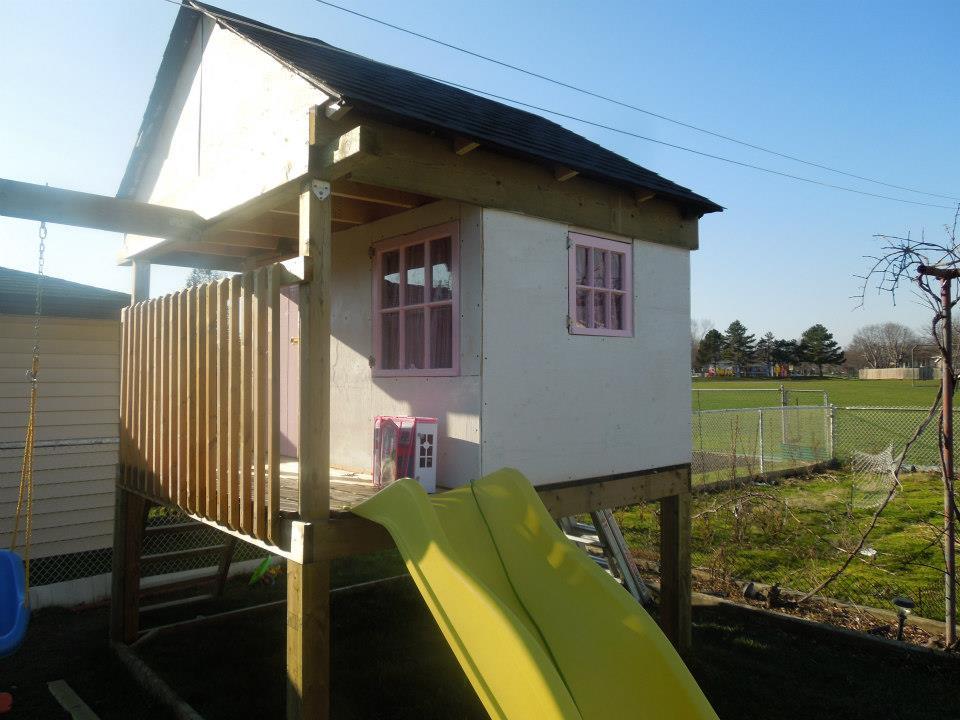
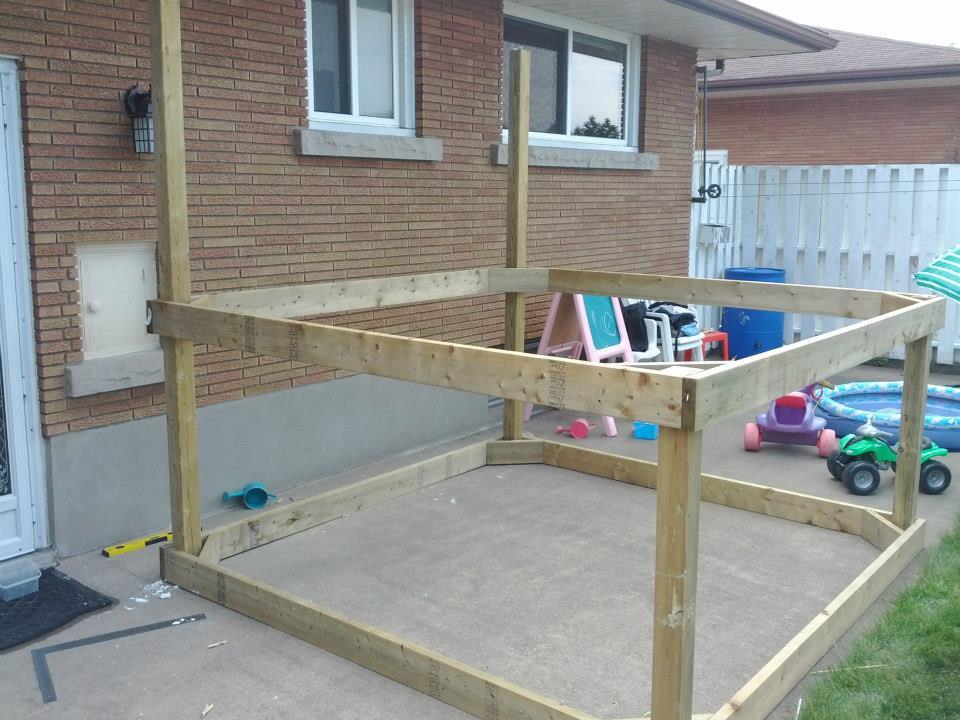
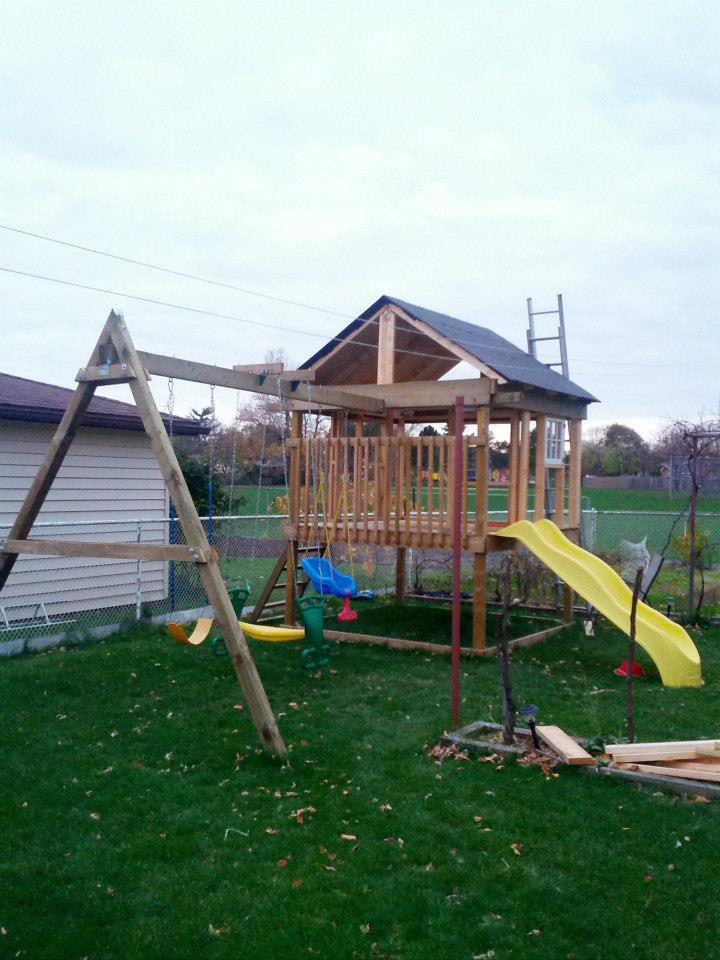
Playhouse with swingset

Submitted by GreenEnvy on Tue, 02/25/2014 - 21:58

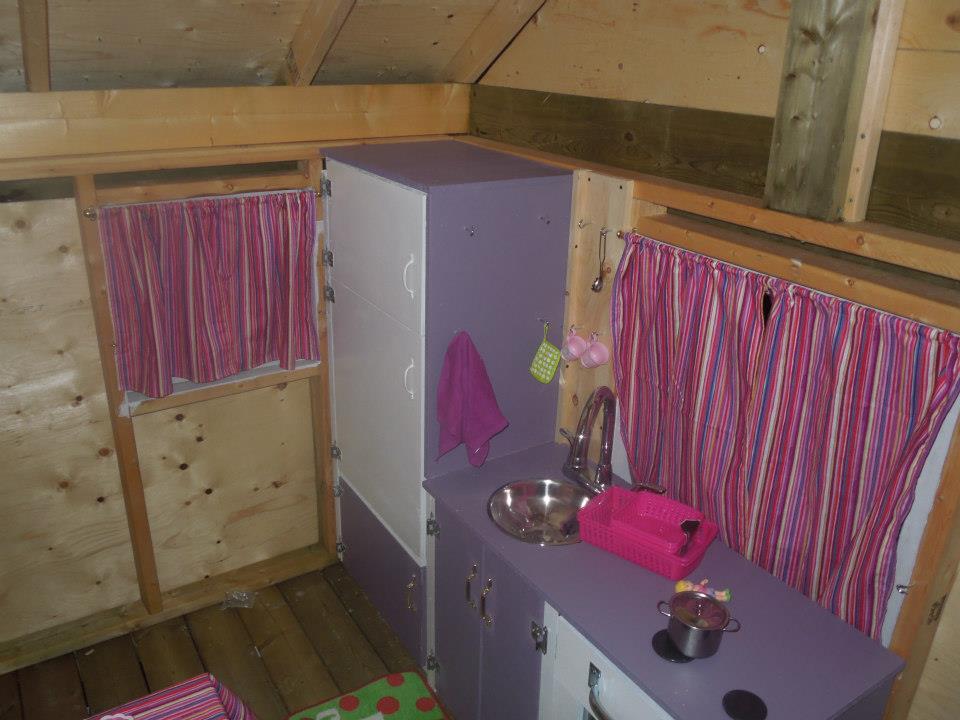
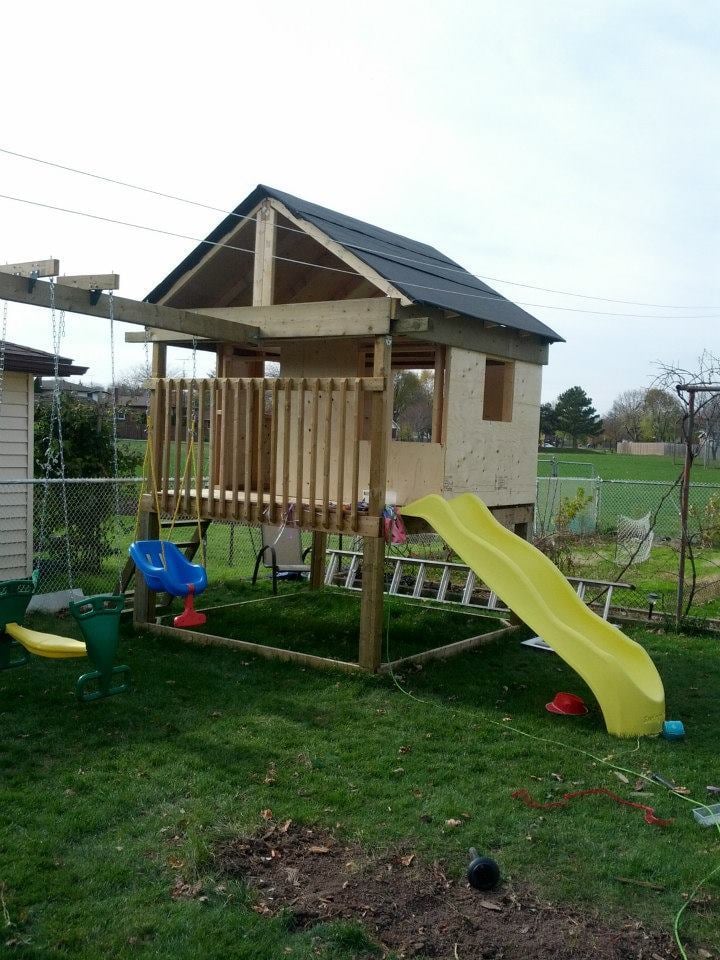
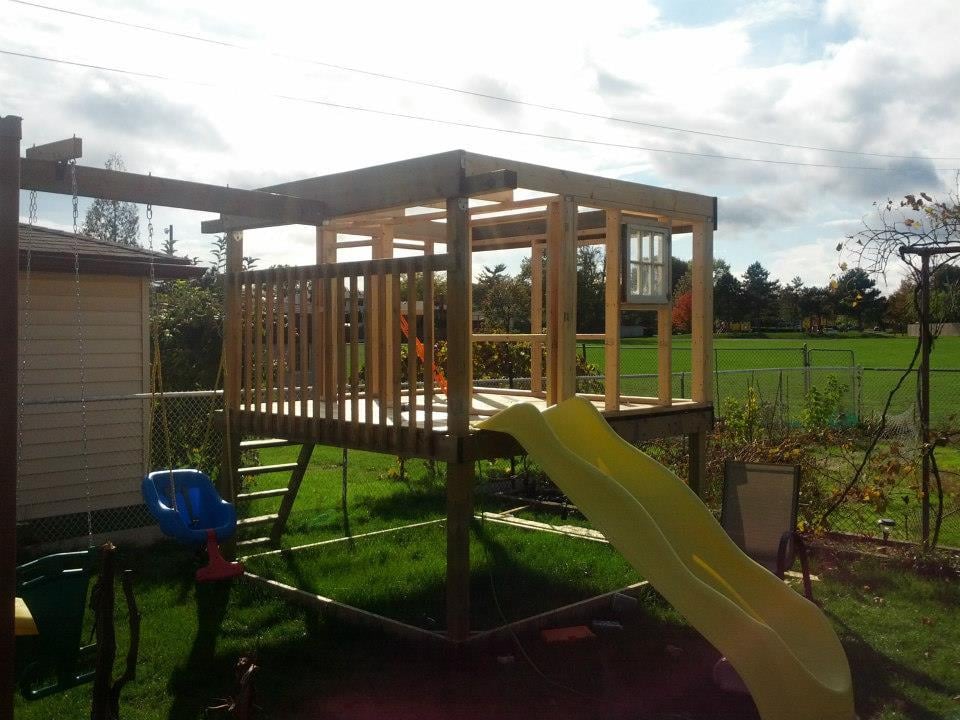
I combined a few different plans here, mostly the Playhouse deck, swingset.

I haven't finished it yet, this spring I want to finish the exterior as it's just primed plywood right now. Still going to add a window above the balcony (there is a loft up there).

I insulated the roof/ceiling and will insulate the walls when we finish it. In the bottom we'll be putting in a sandbox with a cover that folds up into benches.

It was a fun project and should give our girls many years of fun.

Estimated Cost
$1000
Estimated Time Investment
Week Long Project (20 Hours or More)
Finish Used
Right now the plywood is just primed, we'll be putting some sort of siding or other exterior sheets to finish it.
Recommended Skill Level
Advanced

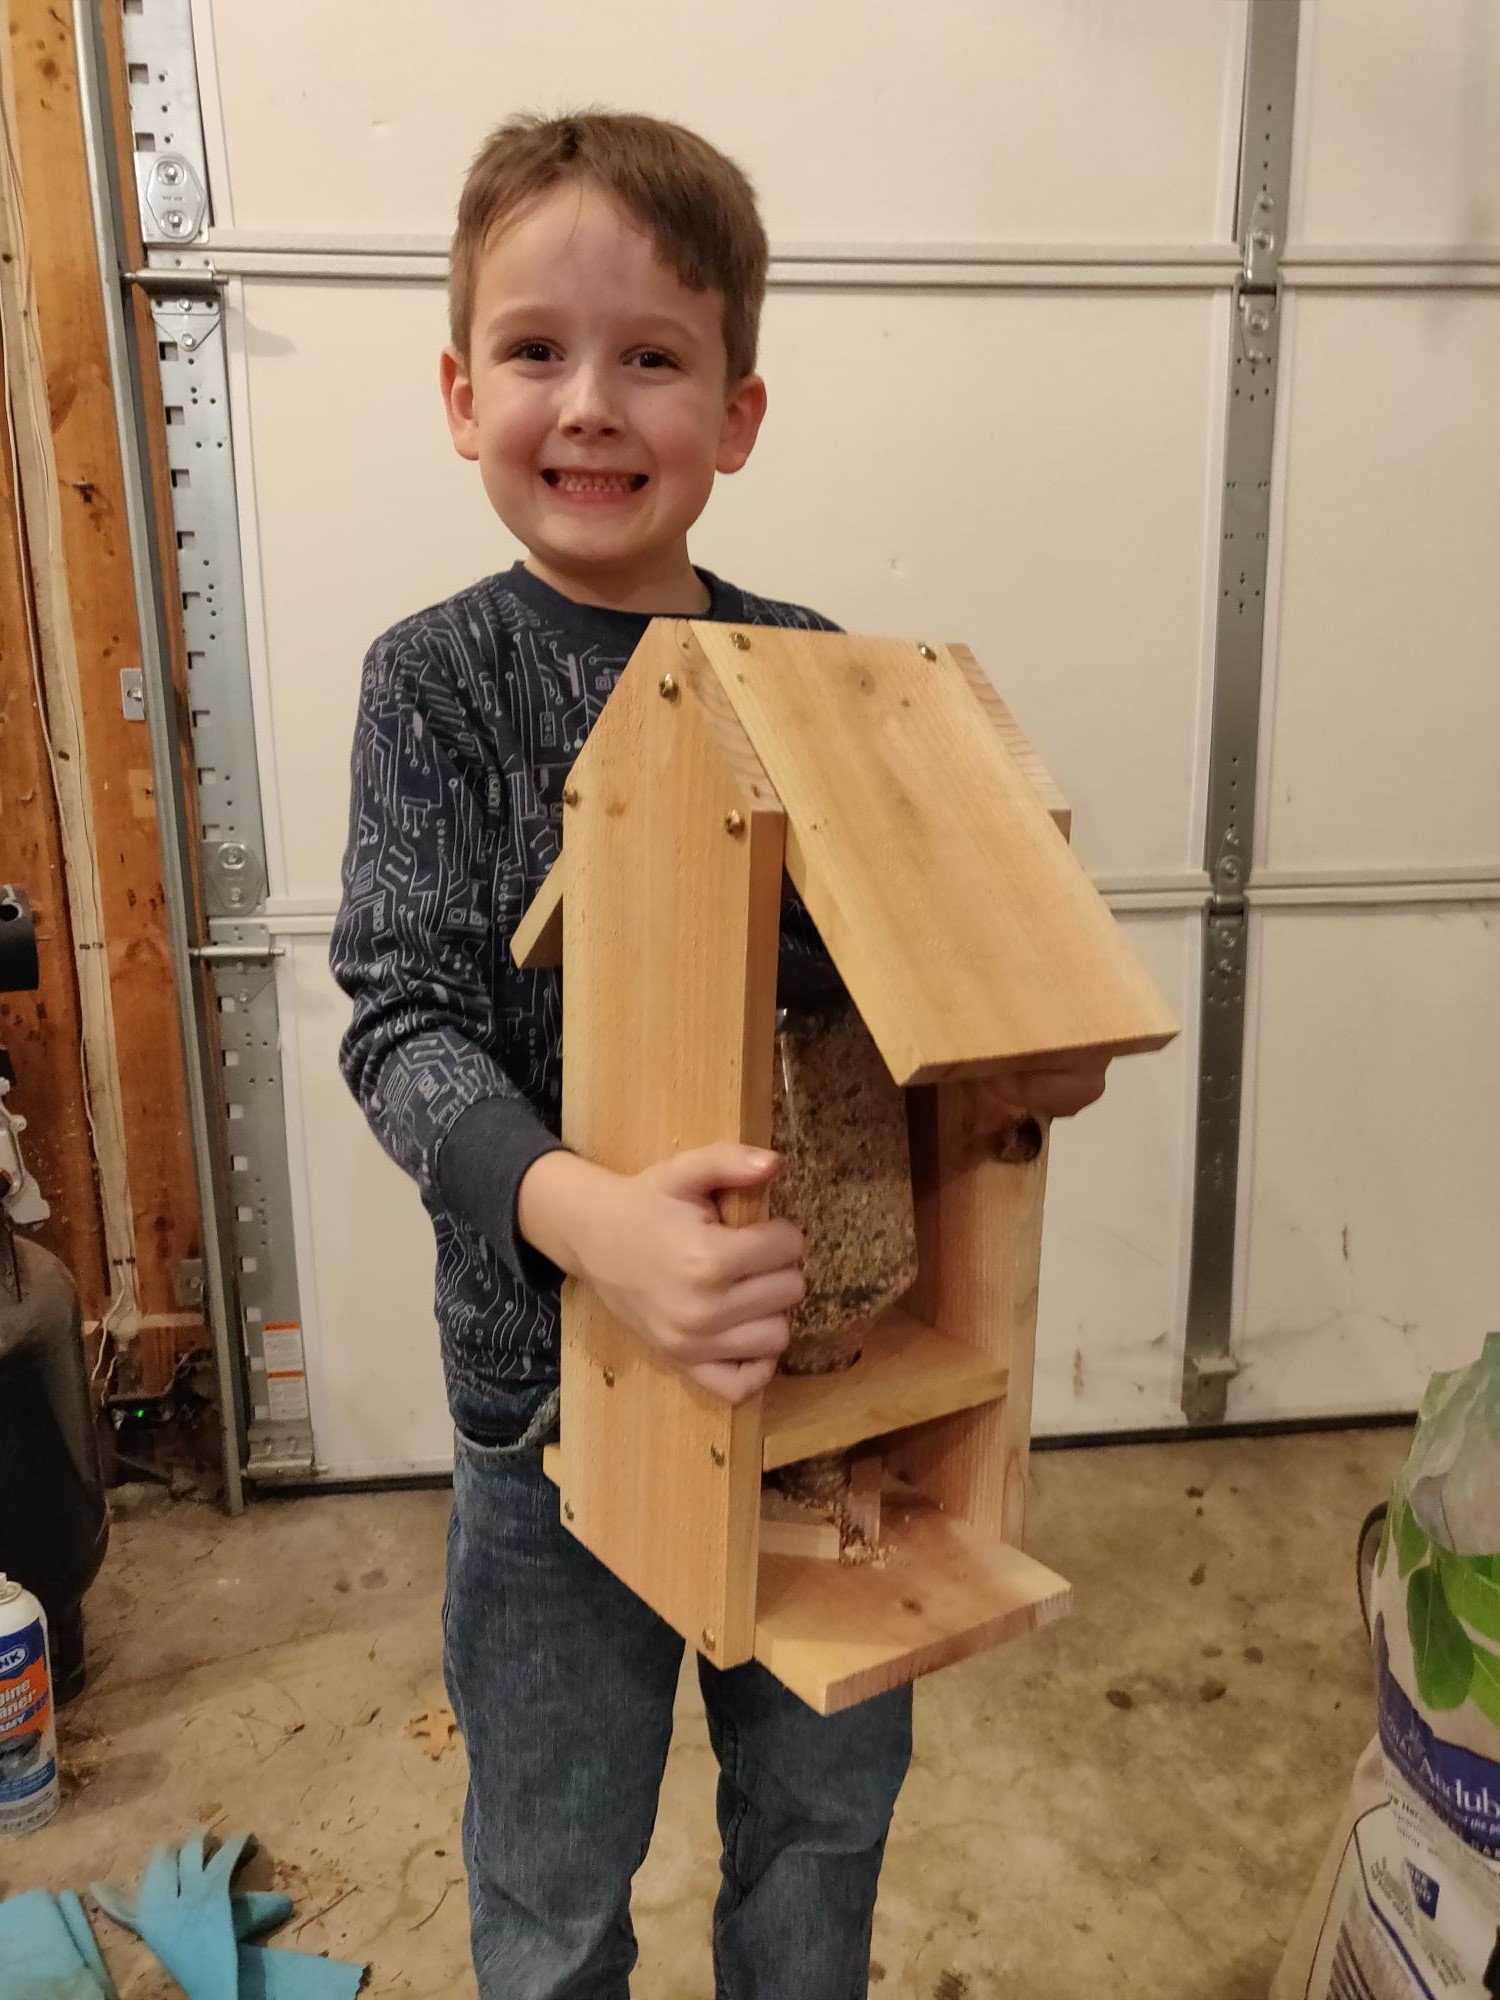
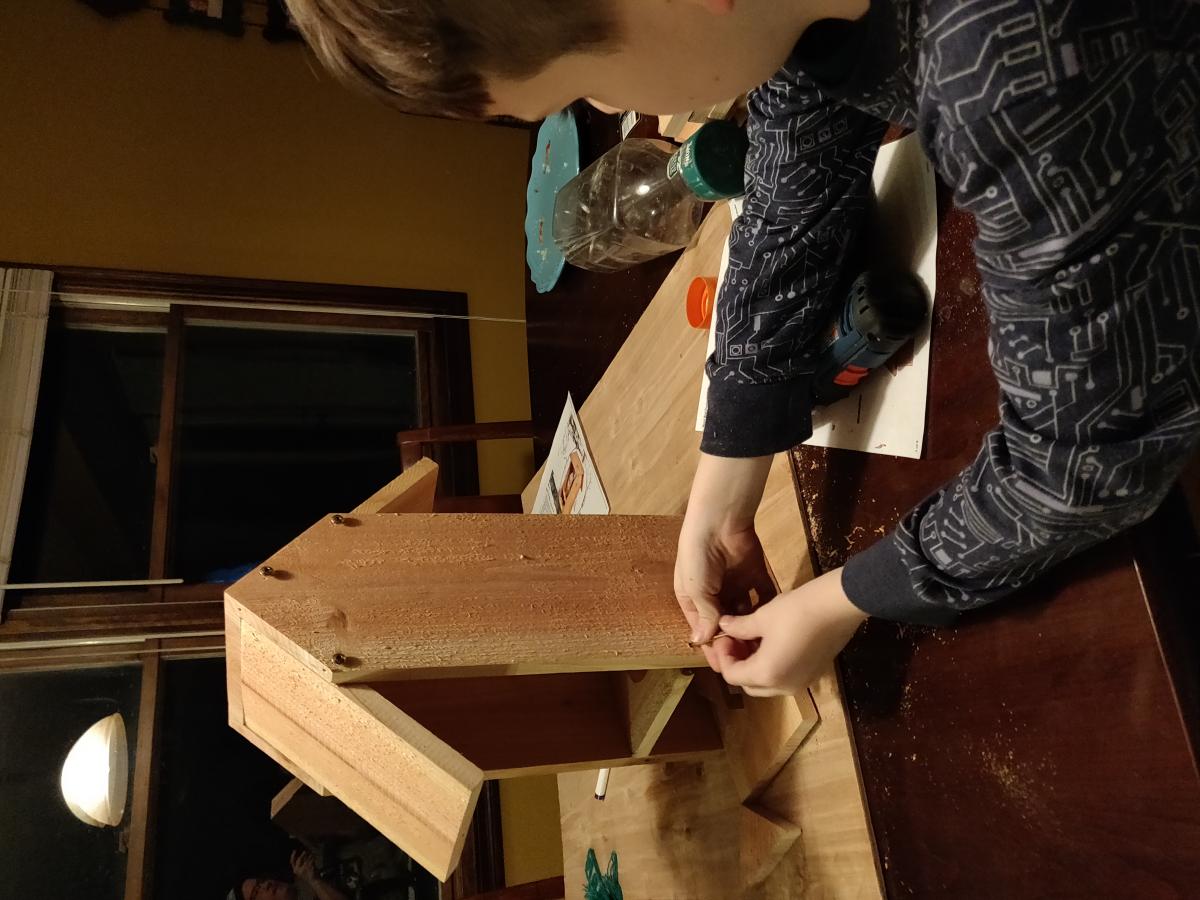
Single picket recycle friendly bird feeder

Submitted by sxewhodey on Fri, 03/13/2020 - 06:45

I deviated unknowingly from the plan, lol. The top is wrong. I trimmed a half inch off one side to make the two lengs even, but you aren't supposed to use the lengths to go all the way down, but rather the lengths going accross as an overhang. Our project still came out nice, and my little girl will put hers together tomorrow.

I am getting ready to do a privacy fence project and I was debating between pine and cedar....this project actually seems to have confirmed I am allergic to cedar, so it was very useful in plans for a bigger project and saved years of sneezing.

Estimated Cost
$5
Estimated Time Investment
An Hour or Two (0-2 Hours)
Recommended Skill Level
Starter Project

Scrapwood Potting Bench

Submitted by Anonymous (not verified) on Mon, 03/23/2020 - 15:51

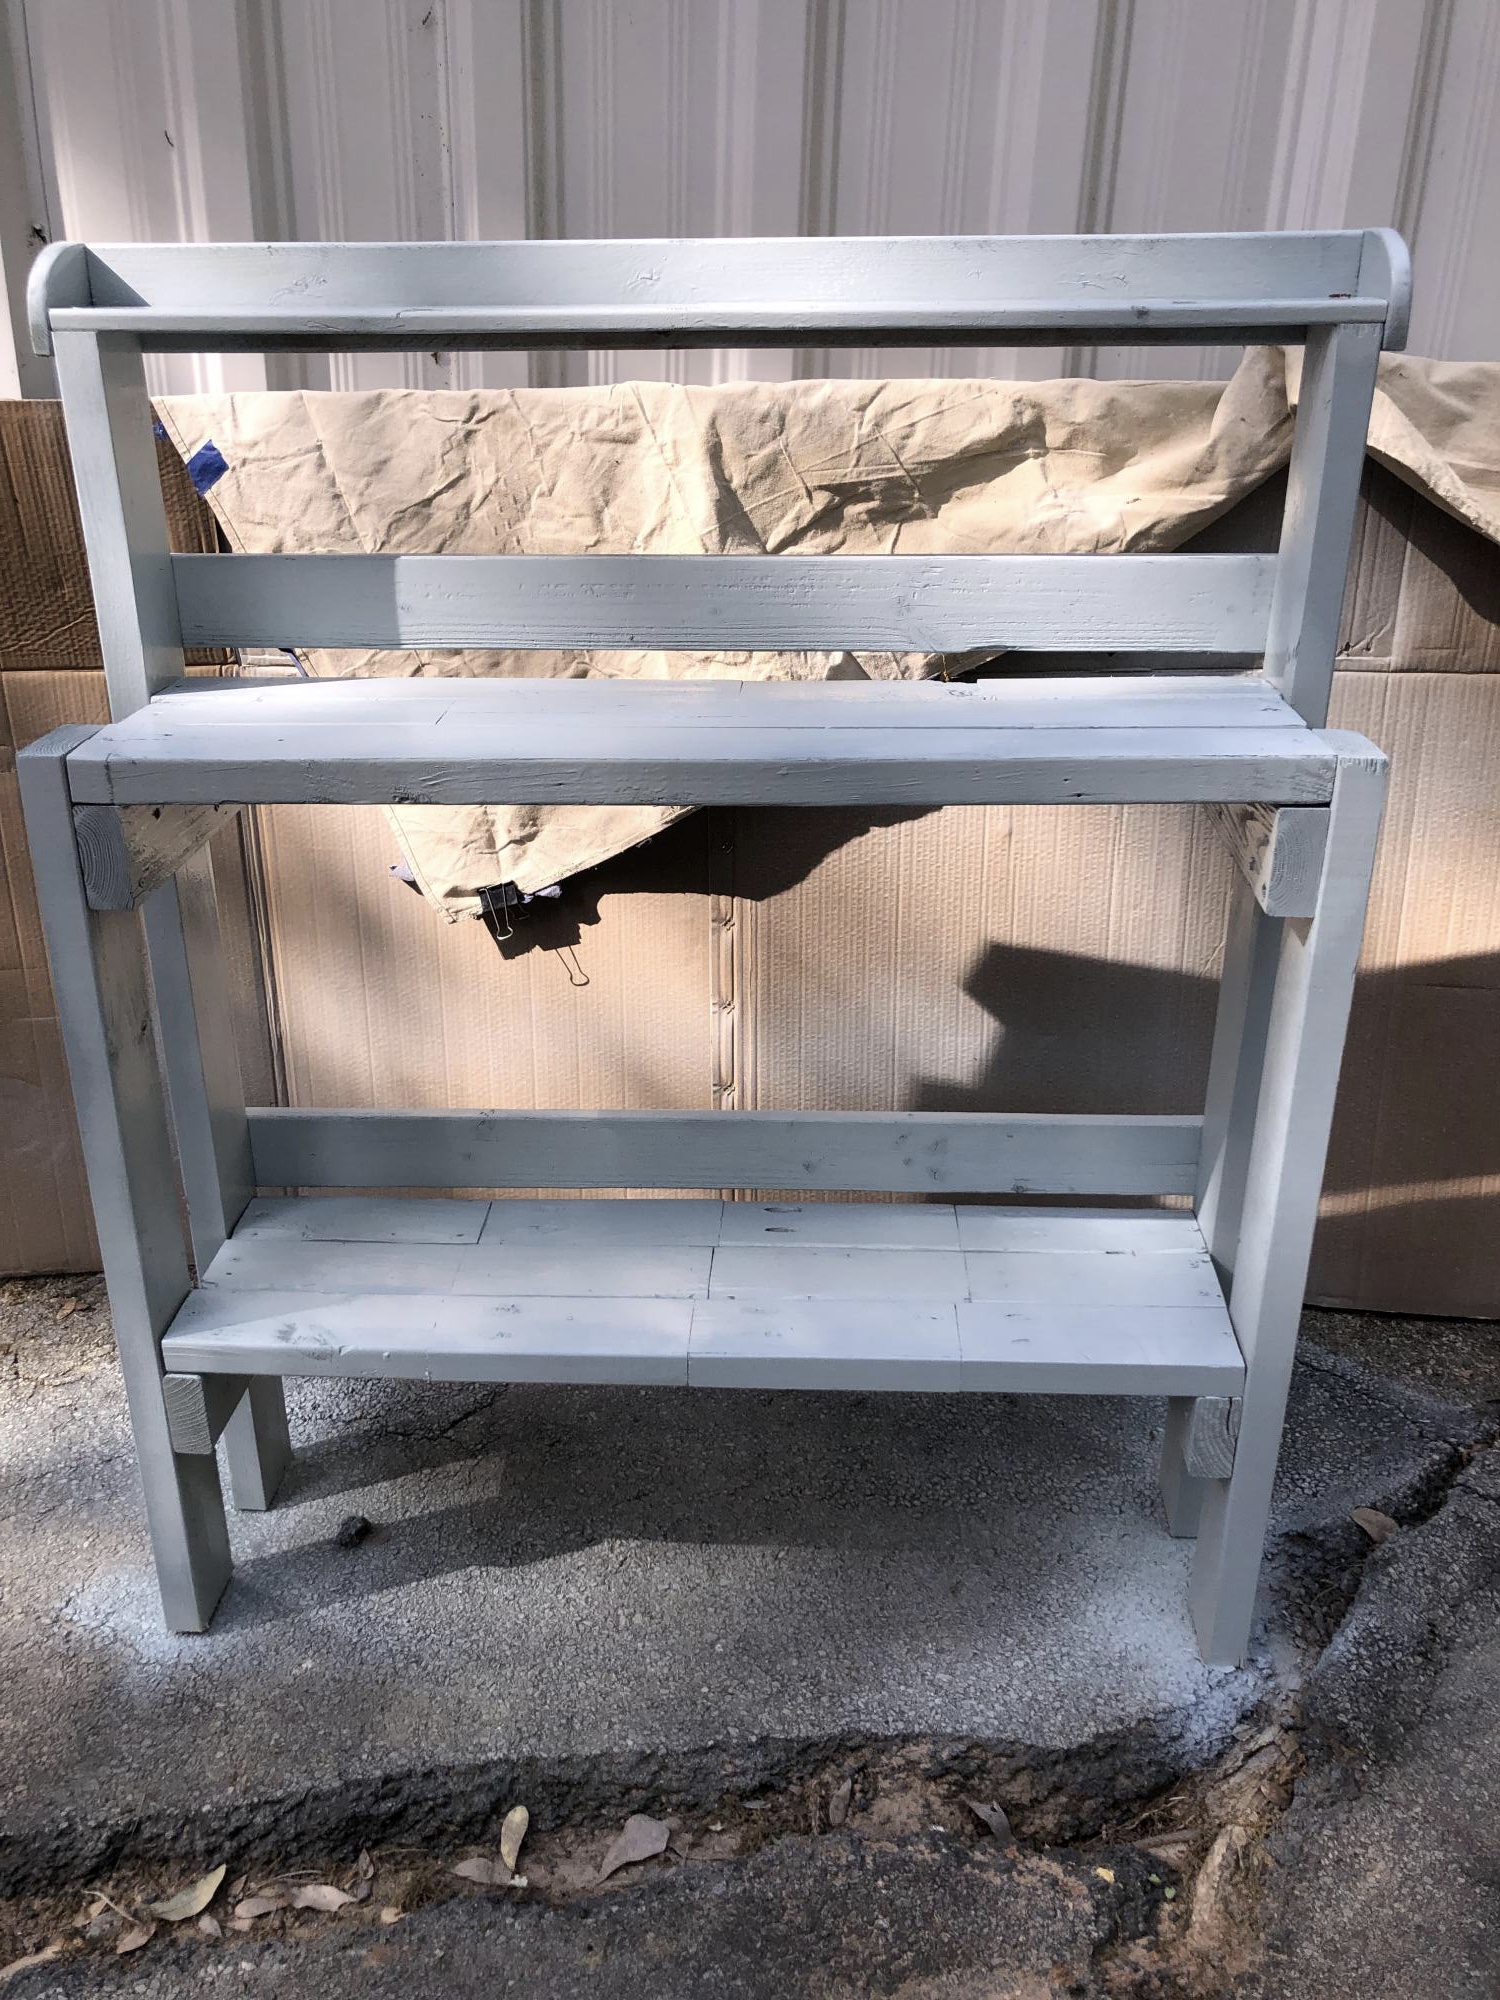
I wanted to plant some herbs and have them easily accessible from my kitchen, plus I had a ton of scrap wood lying around the garage. Hence, my scrap-wood planting bench. No cost to build and only a couple of days. It's not as deep as the original post due to where it will be located. The size is 39 in.x10.5 in.x48 in.

Built from Plan(s)
Estimated Cost
$0
Estimated Time Investment
Week Long Project (20 Hours or More)
Recommended Skill Level
Starter Project

Pool Steps & Safety Gate

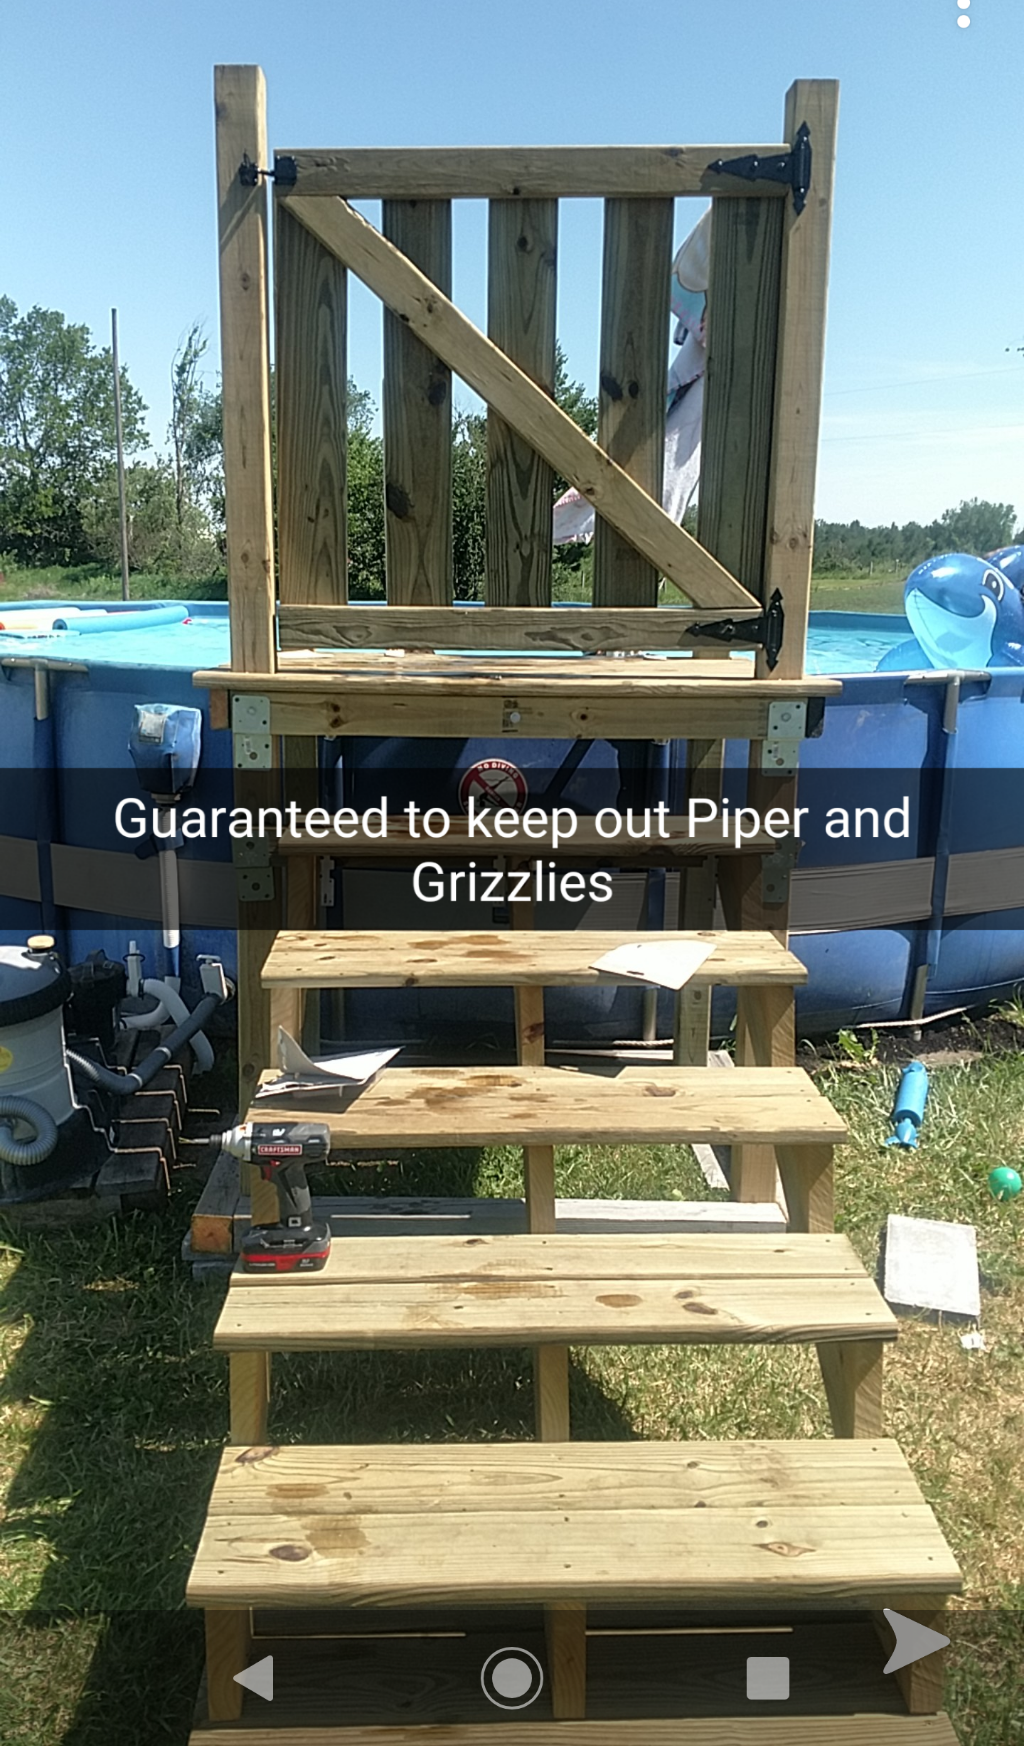
Needed a safety gate and steps to get into the pool. Even provided shelter for the pump and filter.

Estimated Cost
$100
Estimated Time Investment
Day Project (6-9 Hours)
Finish Used
None
Recommended Skill Level
Beginner

King size Farmhouse Bed

Submitted by Anonymous (not verified) on Sun, 04/19/2020 - 15:59

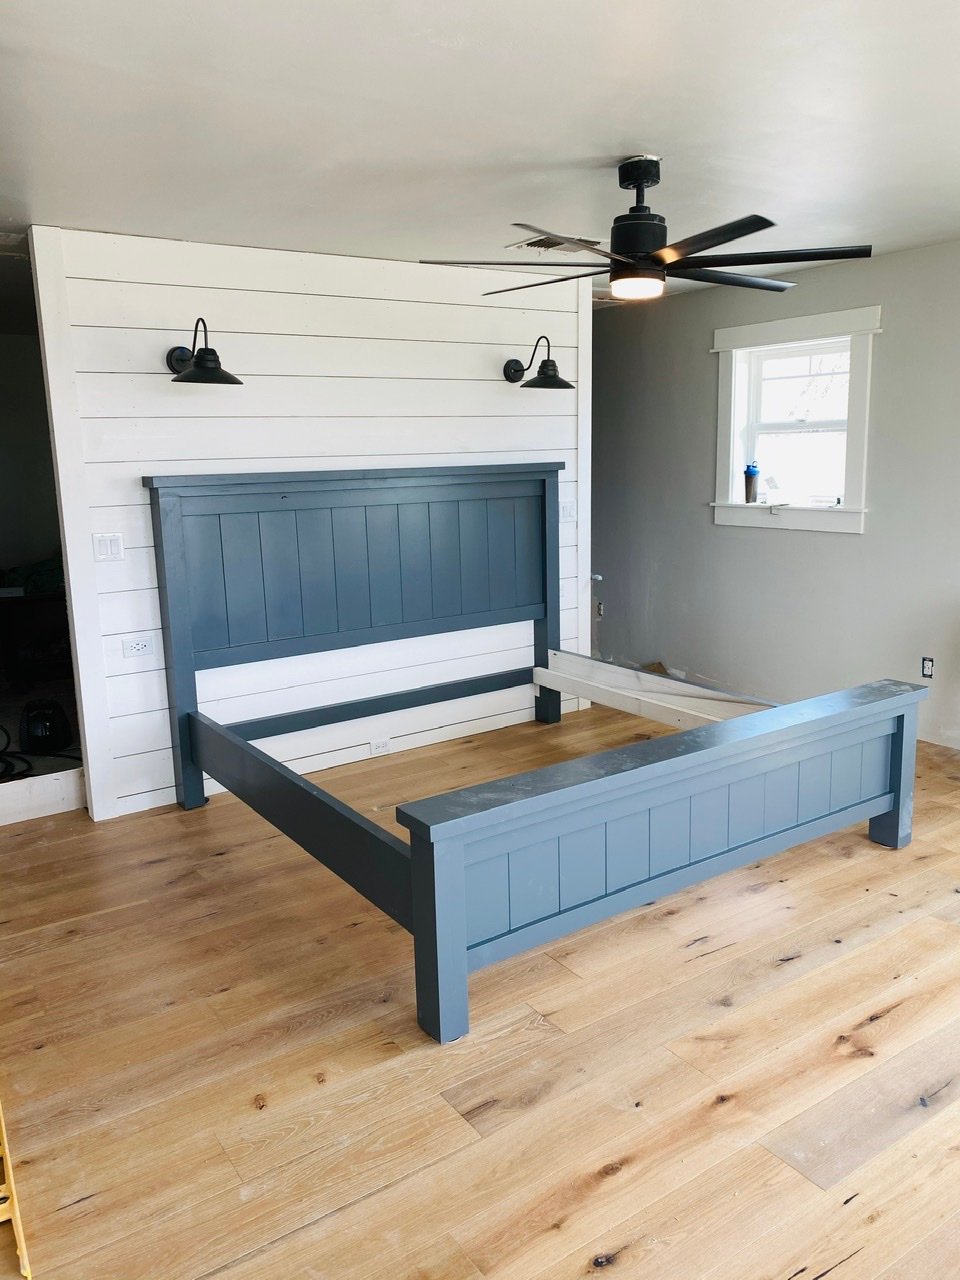
This is a plan that My 16 year old son chose to do for a project to fulfill a goal to learn some woodworking skills during our unexpected downtime from School.
Mom is thrilled with the new space.
He adjusted different sizes based on what lumber we already had. He used 1x7’s and routed a 45deg on the edges to give the tongue and groove look. Posts are 4x5 and top railing is 2x7.

Estimated Cost
$40 in paint and supplies. Wood was free from a friend.
Estimated Time Investment
Weekend Project (10-20 Hours)
Finish Used
Valspar Furniture Enamel.
Color - Web Grey
Recommended Skill Level
Beginner

Comments

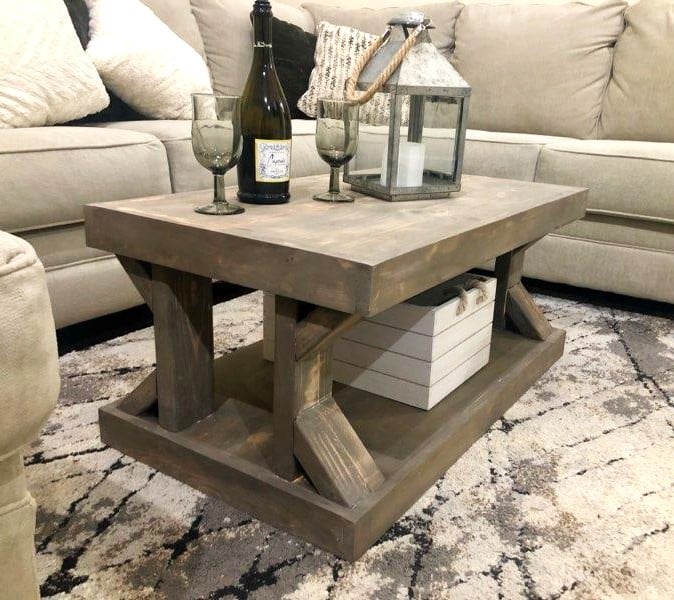
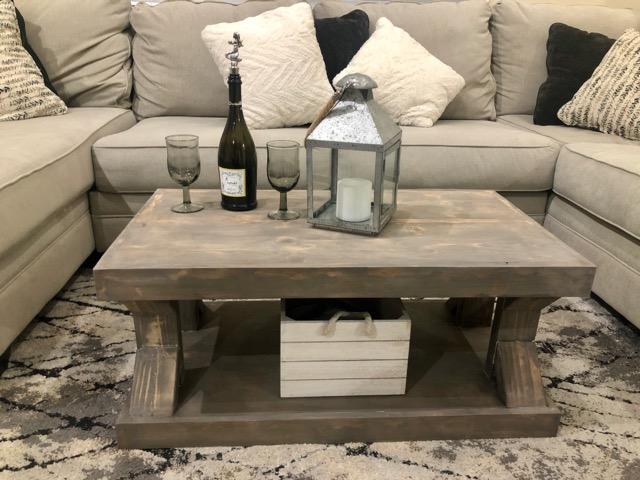
Small X End Table

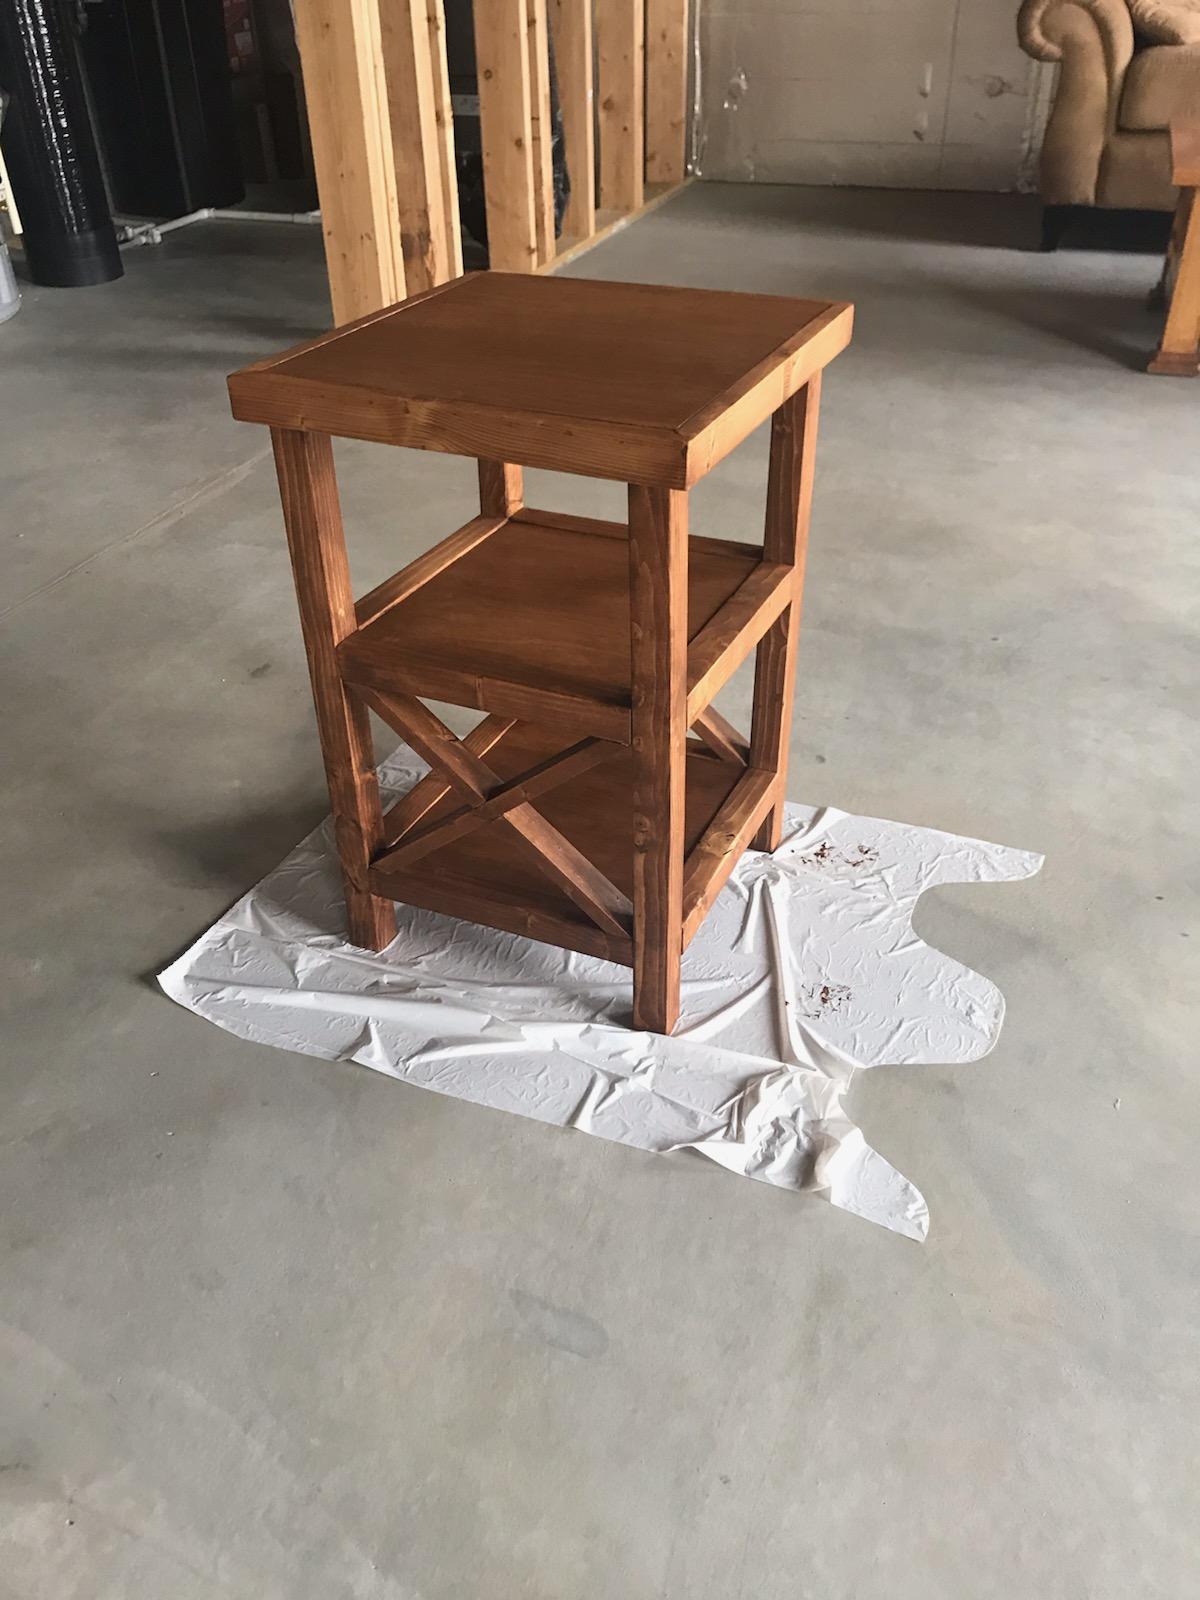
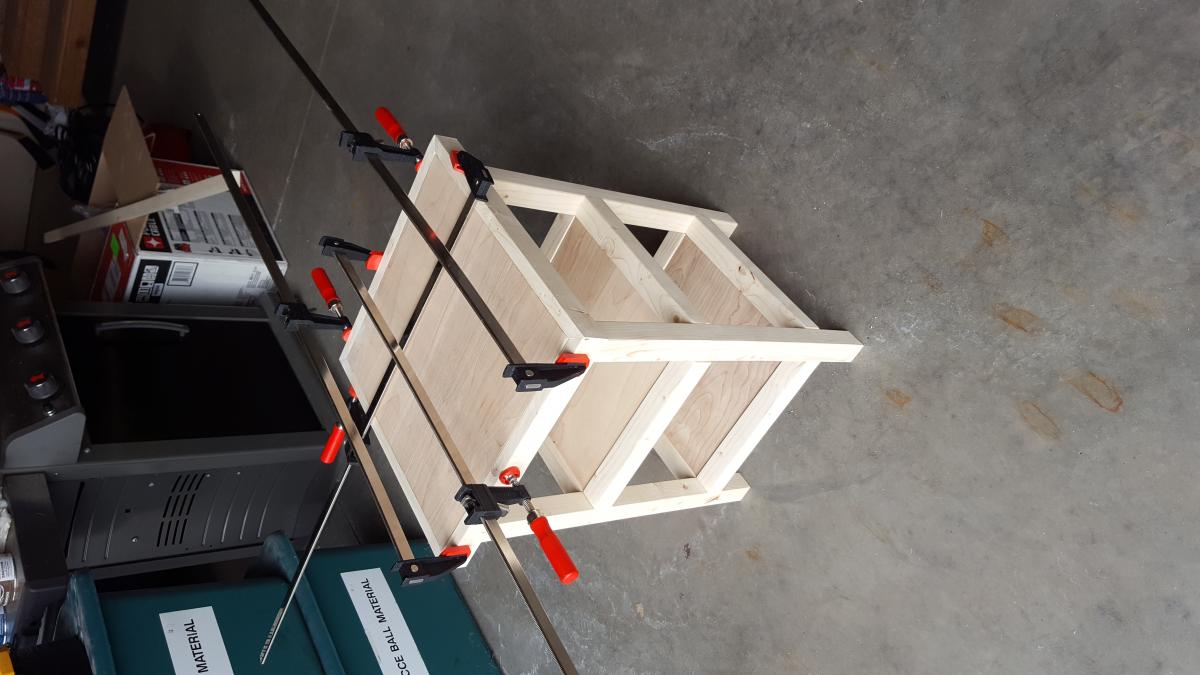
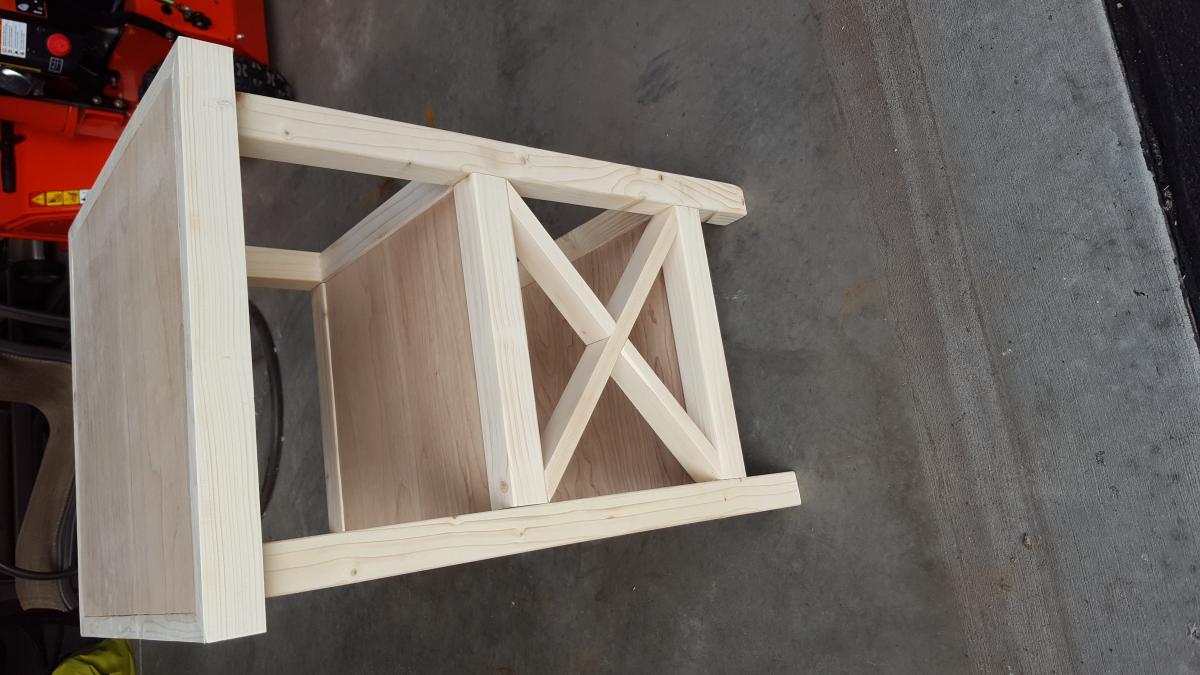
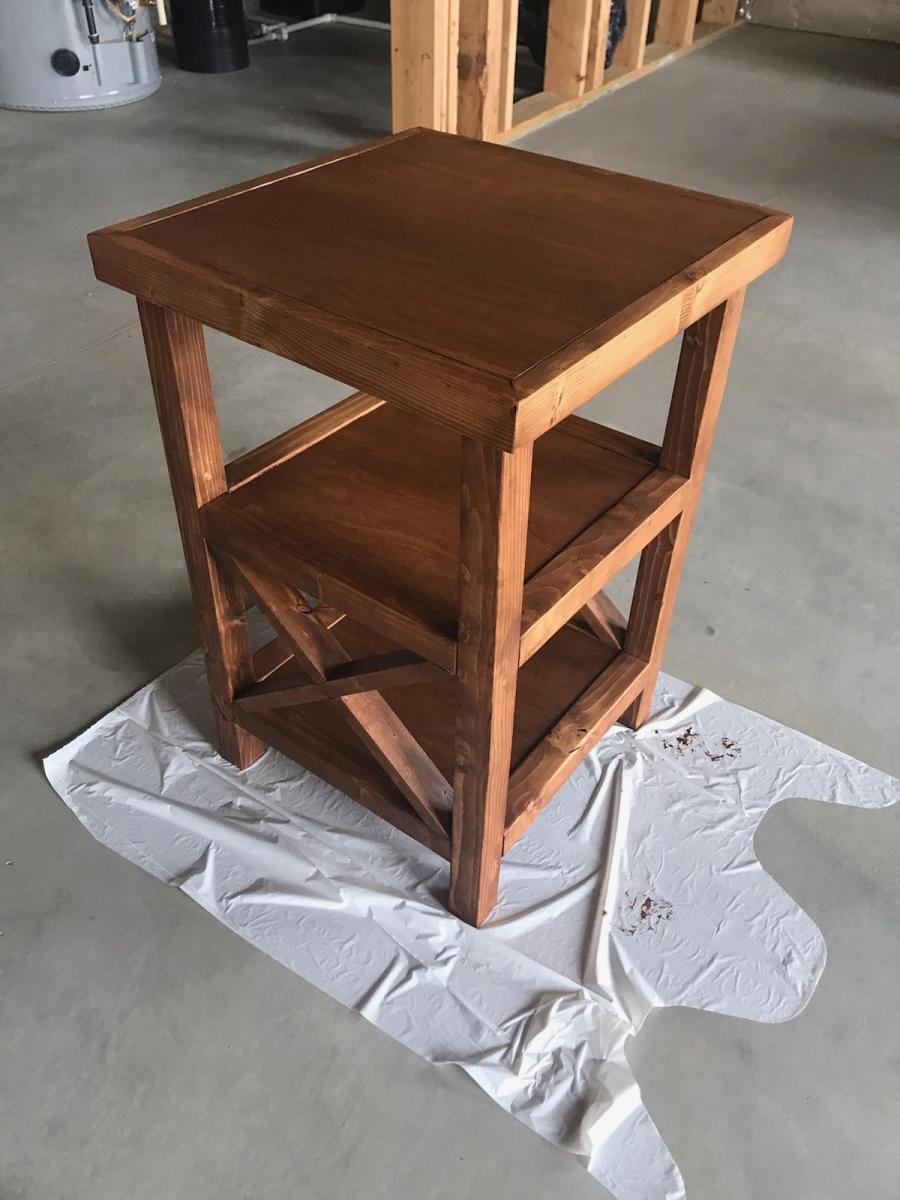
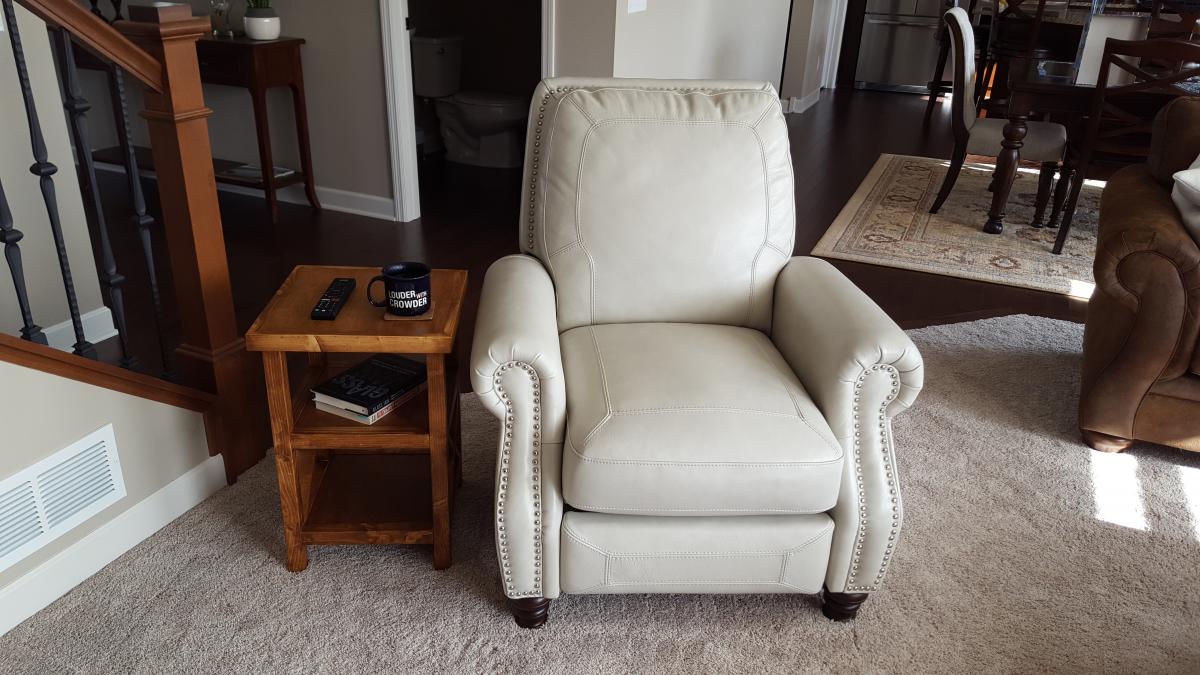
This was a fun project spread out over 3 weeks to enjoy working on while quarantined at home. It was the first project I worked on featuring mitered corners. It took some practice and many "polishing" cuts to get everything to line up right, but in the end they looked great! I went with a Birch interior plywood instead of you typical (pine?) plywood because it looked a lot more furniture esque. I trick when using a circular saw to cut the plywood is to keep the desired side up when cutting in the direction with the grain and the desired side down when cutting across the grain. When cutting across the grain, the blade can fray the edge of the top ply. I also added braces attached to all 4 legs flush with the top of the legs using 1x2's. This allowed me to glue and screw (1" screws) the table top to the base from underneath so it was hidden rather than nail from the top. I didn't want to have nail holes on the table top because, even with wood filler, they would stand out from the rest of the wood.

I chose to go with the cheap pine that home depot sells instead of the Select Pine because the cheap pine has a lot more character and offers a more rustic look. The pine can be pretty beat up so it takes a while of digging to find the straight boards without any major defects or cracks. I just figure it's part of the experience. Once I have my straight boards I sand everything down so the boards are completely smooth and have softened edges. Clamps are a must and a HUGE help with getting everything lined up during the assembly. I neglected clamps in some of my first builds because I didn't have them and didn't want to invest. I had a real hard time getting things level and straight. Never again.

Other pieces I've build from Ana's plan include (in order of build):
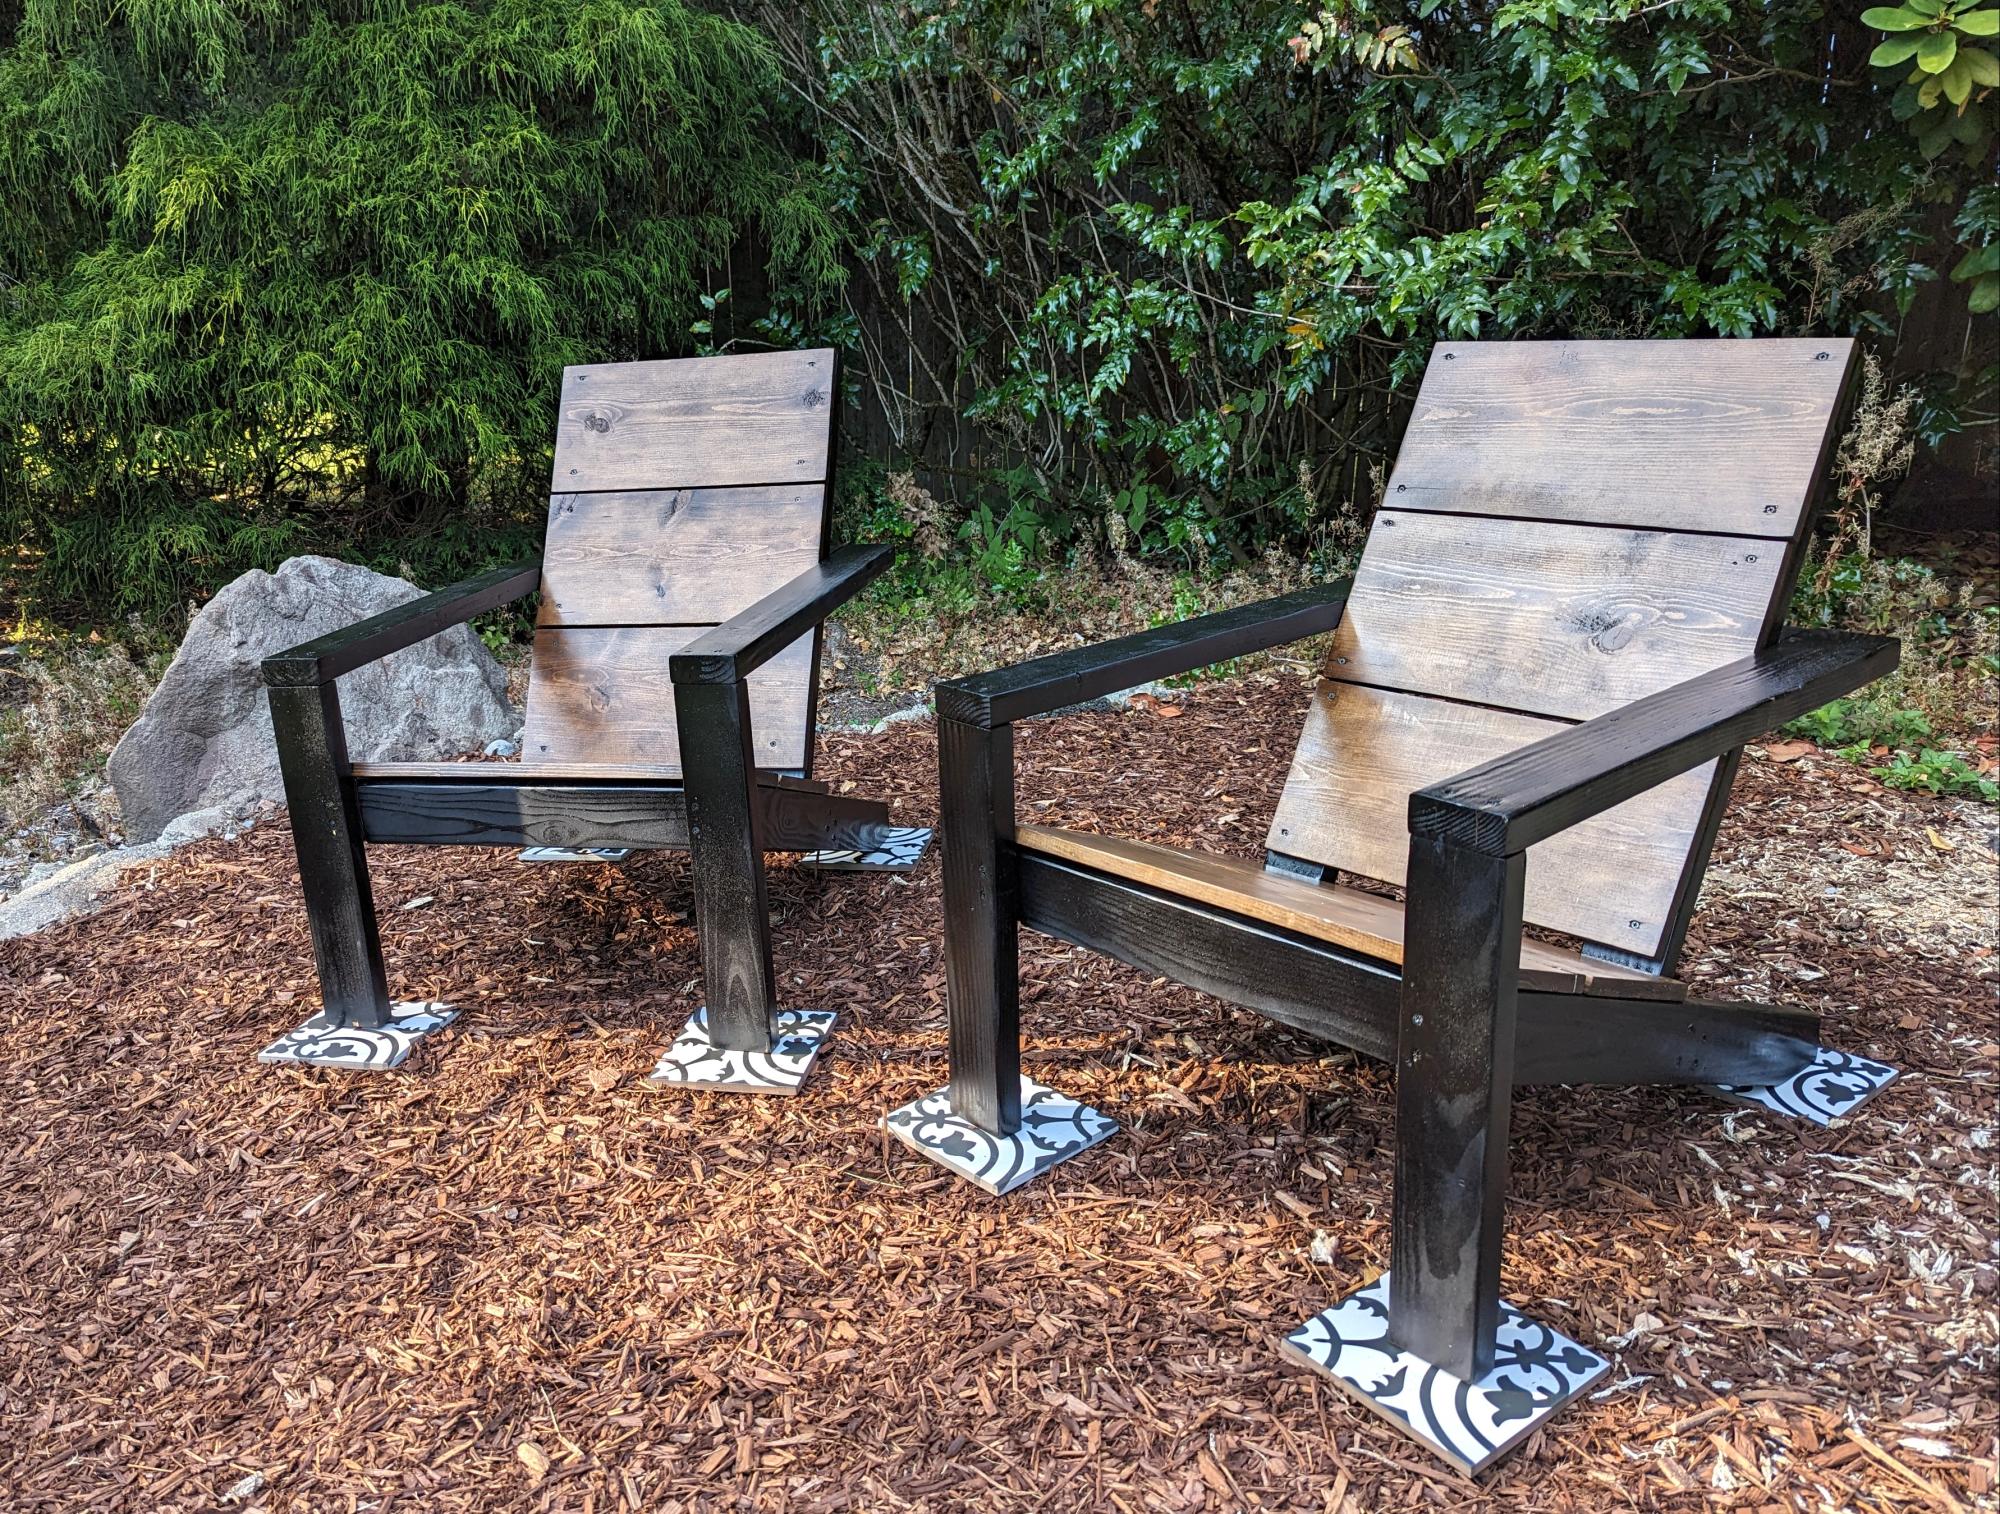
Ana's Adirondack Chair (4x)
Reclaimed-Wood Look Headboard, King Size
Modern Outdoor Chair from 2x4s and 2x6s (2x)
Simple White Outdoor End Table
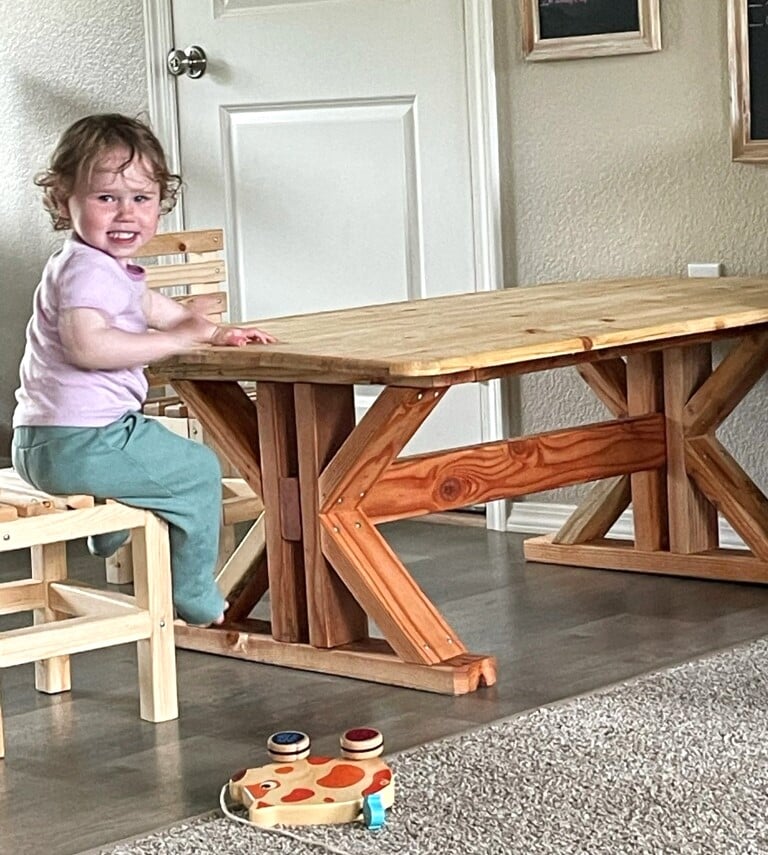
Rustic X End Table
Estimated Time Investment
Weekend Project (10-20 Hours)
Finish Used
One application of Varathane Early American Premium Wood Stain
Three applications of Varathane Crystal Clear Matte Water Based Ultimate Polyurethane

We Built a Greenhouse!

Submitted by Anonymous (not verified) on Tue, 05/05/2020 - 15:28

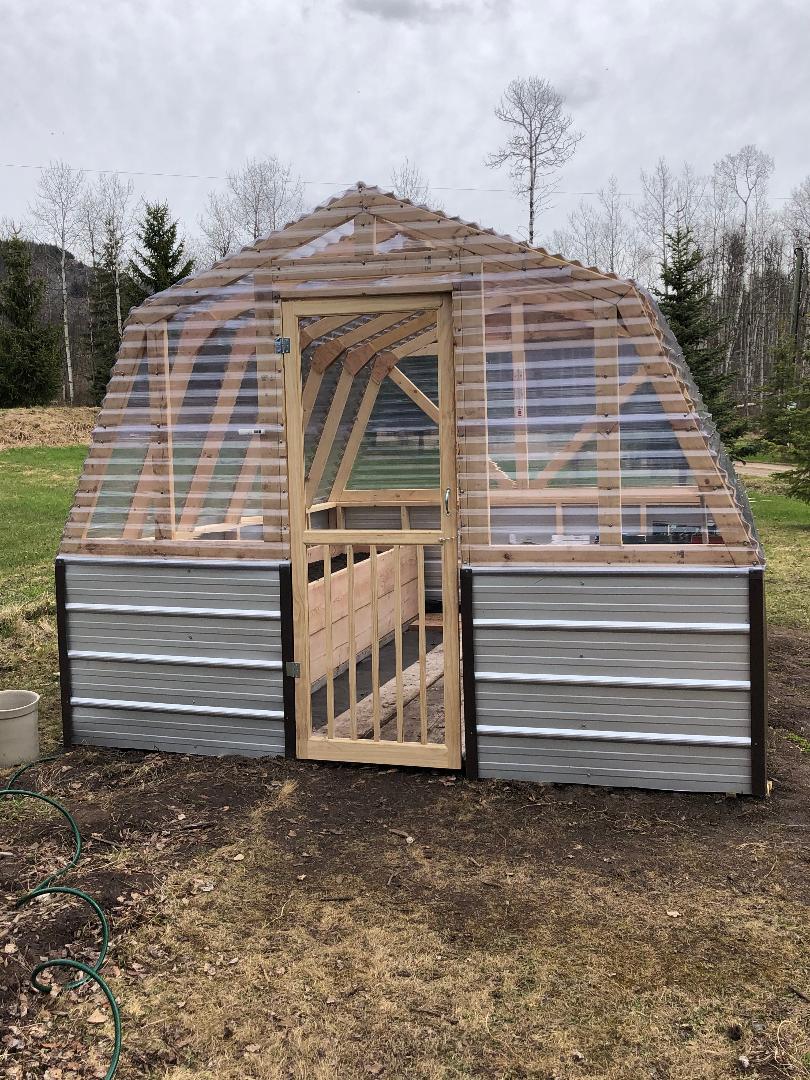
When the Covid quarantine hit we decided to build a greenhouse - it's been on our To Do list for 9 years. The DIY Greenhouse was the first design I found via Google search and it looked so easy and has all the materials listed so we just had the materials delivered and dived right in! It took us 5 days, about 4 hours per day. The smartest thing we did was borrow a mitre chop-saw. There's a lot of 22 degree angles to cut. Other than that it was easy peasy as long as you follow directions. Also got a skill saw blade that cut both the plastic and the tin. It cost us about a grand Canadian, but the closest kit I found online was smaller and was $1500 US. I'm already growing stuff in it and the temperature here in Northern BC gets below freezing at night (around -1C) but everything is ok. The current temp outside is 15, but it's 30 in the greenhouse. We cut a few vents in the back wall panel to allow for airflow and I'm going to purchase a solar muffin fan to move the air a bit. Highly recommend this unit!

Built from Plan(s)
Estimated Cost
$1000 Canadian
Estimated Time Investment
Weekend Project (10-20 Hours)
Finish Used
None
Recommended Skill Level
Intermediate

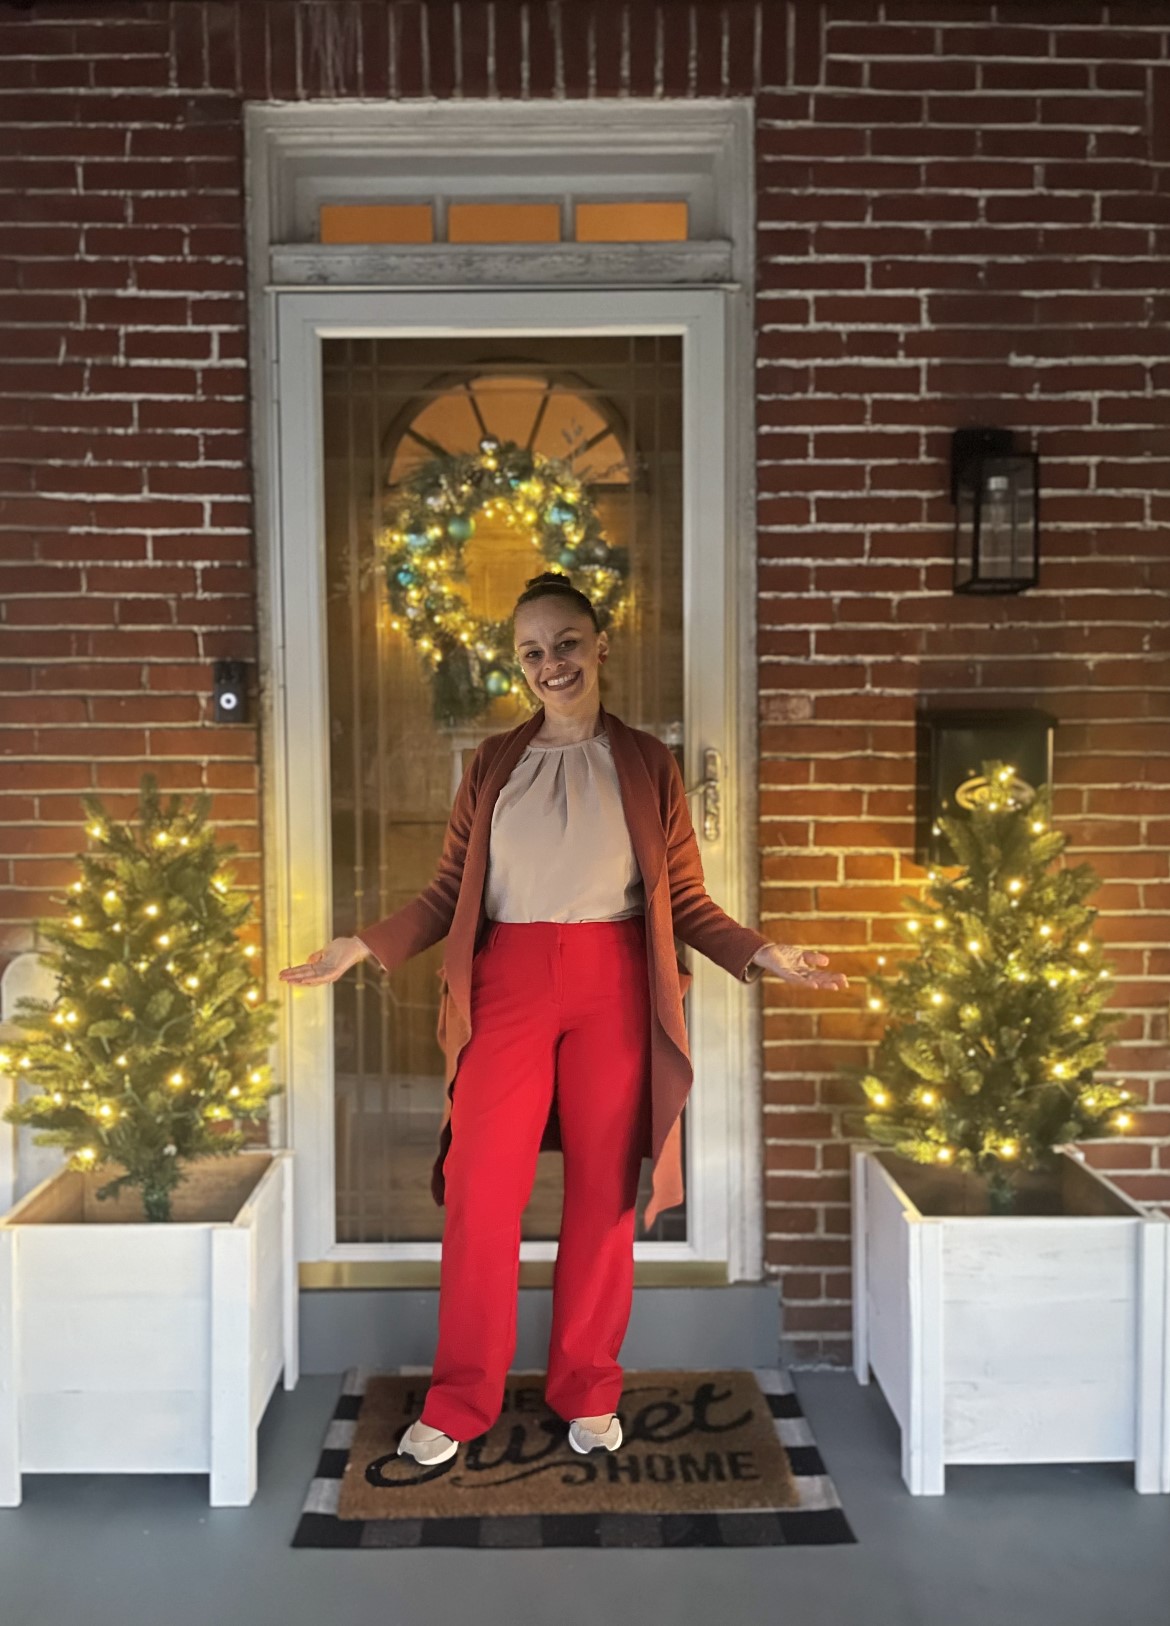
Holiday Fence Picket Planters

Submitted by Anonymous (not verified) on Wed, 01/03/2024 - 07:36

I built these picket fence planters with my husband. They were very easy to build. I can use them all year around. I’ll add flowers in the spring and summer and mums in the fall and Christmas trees in the Winter. I’m definitely building more for my back porch. Happy building! - Celines

Seasonal And Holiday

Kitchen Island

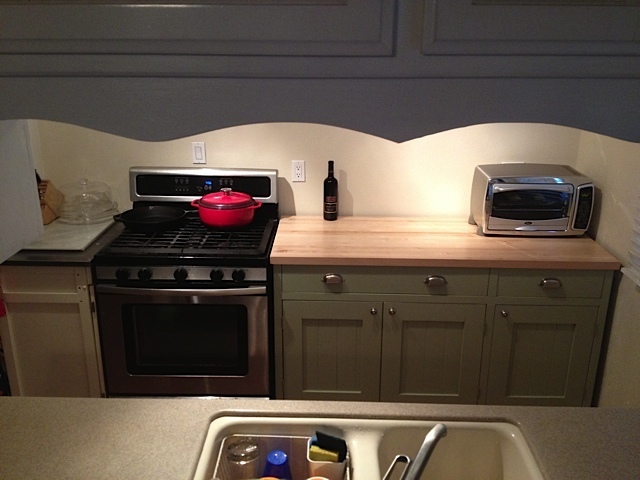
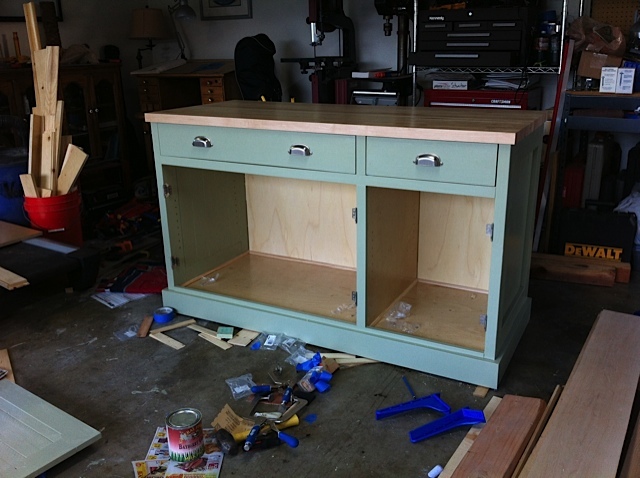
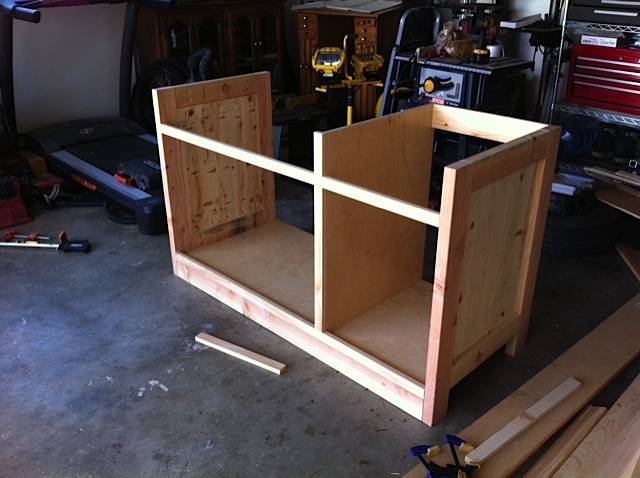
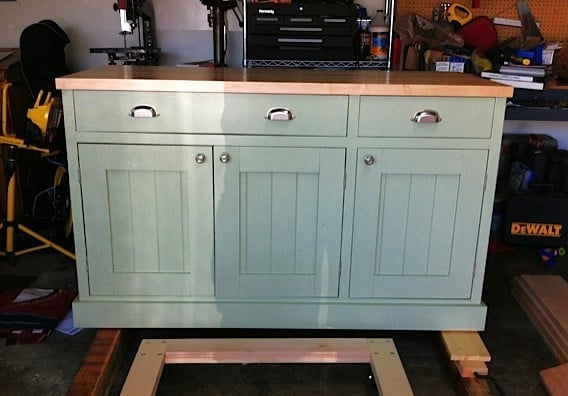
We had an area in our kitchen where the washer and dryer use to be, and we wanted to build a cabinet that would fit in that spot. We took these plans and adjusted the sizes to fit the space we needed. We made the depth deeper and we cut off one of the side drawers and doors. We found a pre-made 1 1/2 inch butcher block counter top at a local wood supply warehouse that fit our needs perfectly. The countertop was about a quarter of the price of the whole cabinet, but it was worth it. In the drawers we used wrapping paper that we found at Cost Plus which fits us to a "T". We painted it with General Finish Milk Paint in Bayberry Green and used a clear coat with a satin finish. My biggest advice to someone making this cabinet is to take your time and make sure everything is square.

Built from Plan(s)
Estimated Cost
$600
Estimated Time Investment
Week Long Project (20 Hours or More)
Finish Used
General Finish Milk Paint Bayberry Green, Satin Clear Coat
Recommended Skill Level
Intermediate

Comments

vabvive

Mon, 07/02/2012 - 10:10

You've done a beautiful job! What did you find was key to getting everything square?

This is lovely & has inspired me to make my own. I need a piece for my master bedroom that I can use as a TV stand and also to conceal my laundry baskets. Originally I'd planned on adapting a sideboard and using a tip-out door like Ana's trash bin for the laundry -- but this piece is so beautiful I may just ensure that my laundry basket will fit inside and build as-is so that I can easily have the option to use it differently if I want to.

Schweizerfamily

Wed, 07/04/2012 - 06:59

Thank you so much. We purchased a couple of Clamp it Assemby Sqares from rockler.com. These helped a lot for getting everything square. We also took our time and did not rush.

Dustin (not verified)

Wed, 07/11/2012 - 19:42

Love your modified sideboard! The color is gorgeous and the butcher block is a great addition!

I was wondering what kind of hinges you used. I looked for flush mount hinges at Lowes today and they are not going to work. I want it to look like yours where you can barely see the hinge.

Do you remember the name of it? Where you got it? Pic? Any help would be appreciated!!

Dustin Roberts
[email protected]

Schweizerfamily

Wed, 07/11/2012 - 20:15

Thank you very much. We had a really hard time finding hinges also. We tried Home Depot and Lowes and came up empty. We finally went on to Hillary Louise's blog and follow the links to the website where she bought her hinges. http://www.cabinetparts.com

Here are the links that she posted.

http://www.cabinetparts.com/p/amerock-traditional-cabinet-hinges-AMCM31…

http://www.cabinetparts.com/p/amerock-traditional-cabinet-hinges-AMCM31…

We just bought ours in a different color.

Becka (not verified)

Sat, 09/08/2012 - 13:14

My husband & I are looking to build our own too but the dimensions of the original plan would make it too big for our dining area. Yours would be a perfect size though - would you mind posting the size adjustment for yours? Or could you email it to me? I would be forever grateful :)

Love the color you painted it too....very nice choice!

Becka Krikorian (not verified)

Sat, 09/08/2012 - 13:18

My husband & I are looking to build our own too but the dimensions of the original plan would make it too big for our dining area. Yours would be a perfect size though - would you mind posting the size adjustment for yours? Or could you email it to me? I would be forever grateful :)

Love the color you painted it too....very nice choice!

rhettar

Sat, 01/19/2013 - 11:37

This is exactly the size down I had in mind and was wondering how it would look with one door off by itself, it looks great! I even thought about incorporating one door to actually be a tilt or pull out for trash. You guys did a wonderful job and it looks like it was built in where you ended up putting it in your kitchen... Are you going to do a little something now to match on the other side of the stove?

Schweizerfamily

Fri, 01/25/2013 - 09:12

Thats a great idea. We were thinking one our next projects would be a mix between this and Ana's recycling center with the tilt out for dog food.

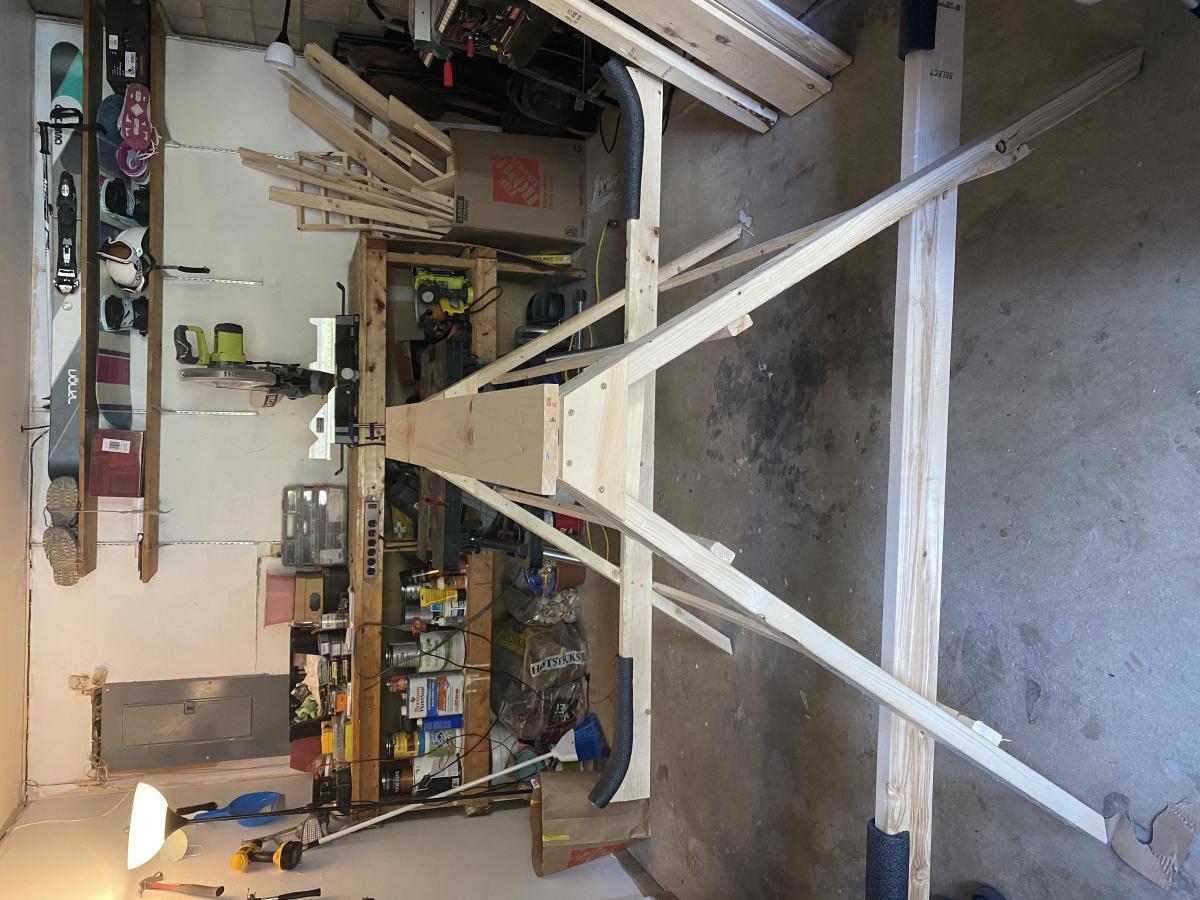
Double Kayak Rack

Submitted by JamieLynn on Tue, 05/26/2020 - 09:44

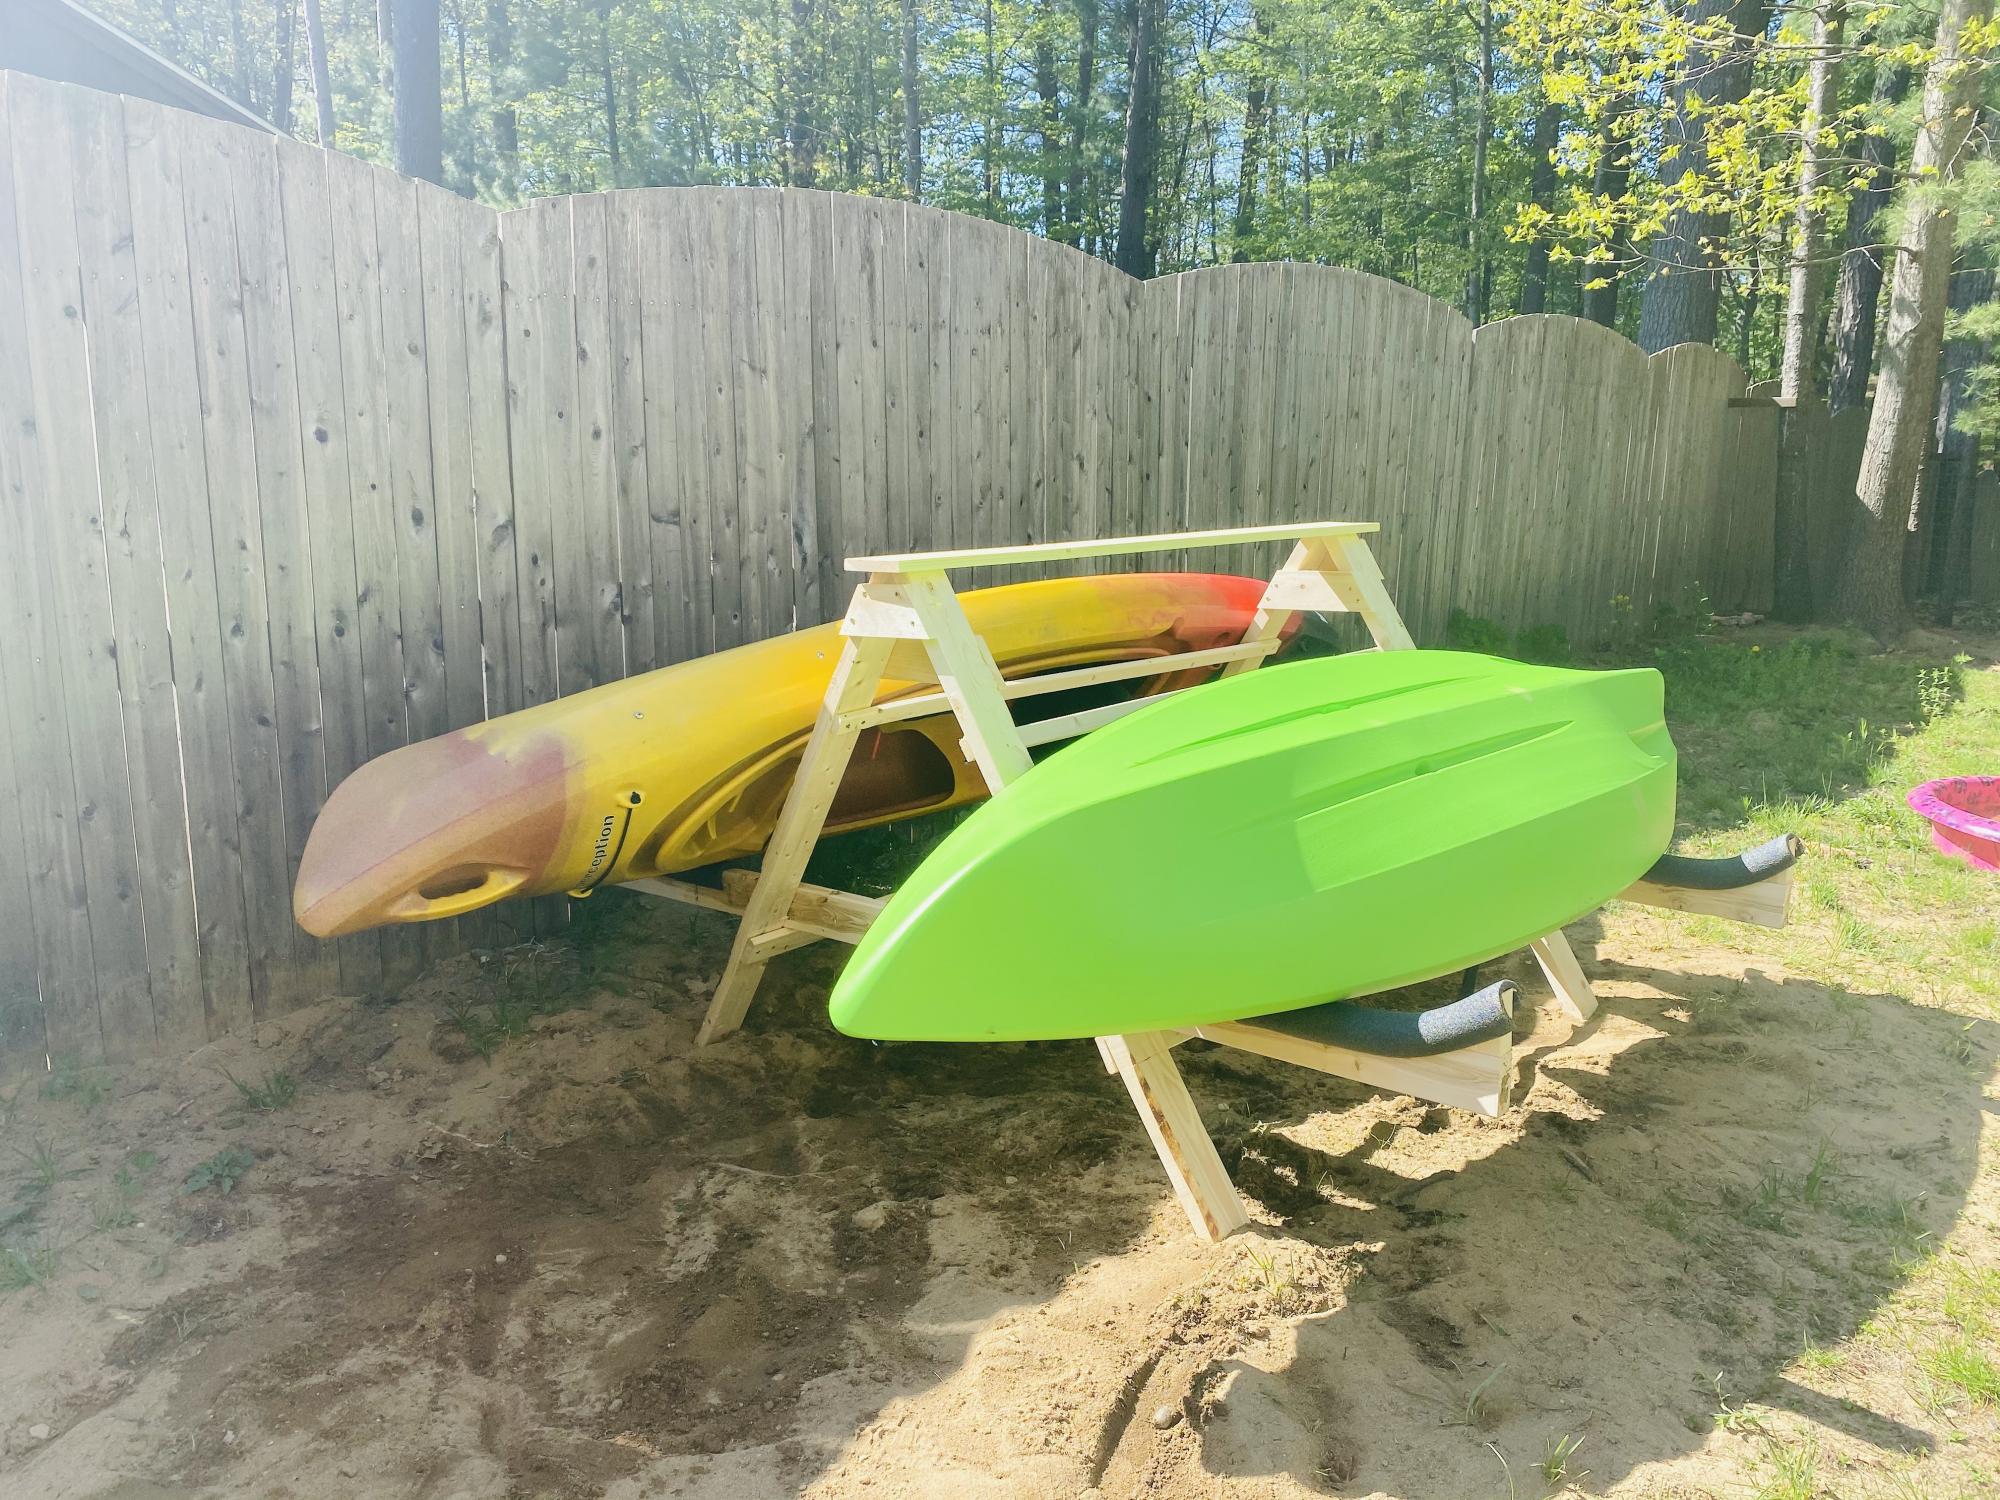
I couldn't find a plan for this but found a picture of what I was looking for. It's a little too big but works. Took about 3 hours to make. Used mostly scrap wood.
Estimated Time Investment
Afternoon Project (3-6 Hours)
Recommended Skill Level
Beginner
Back